🧵 DIY Tutorial – Magnetic Shock-Absorbing Cushion
45 Views, 1 Favorites, 0 Comments
🧵 DIY Tutorial – Magnetic Shock-Absorbing Cushion

.jpg)
.jpg)
.jpg)
EN ----
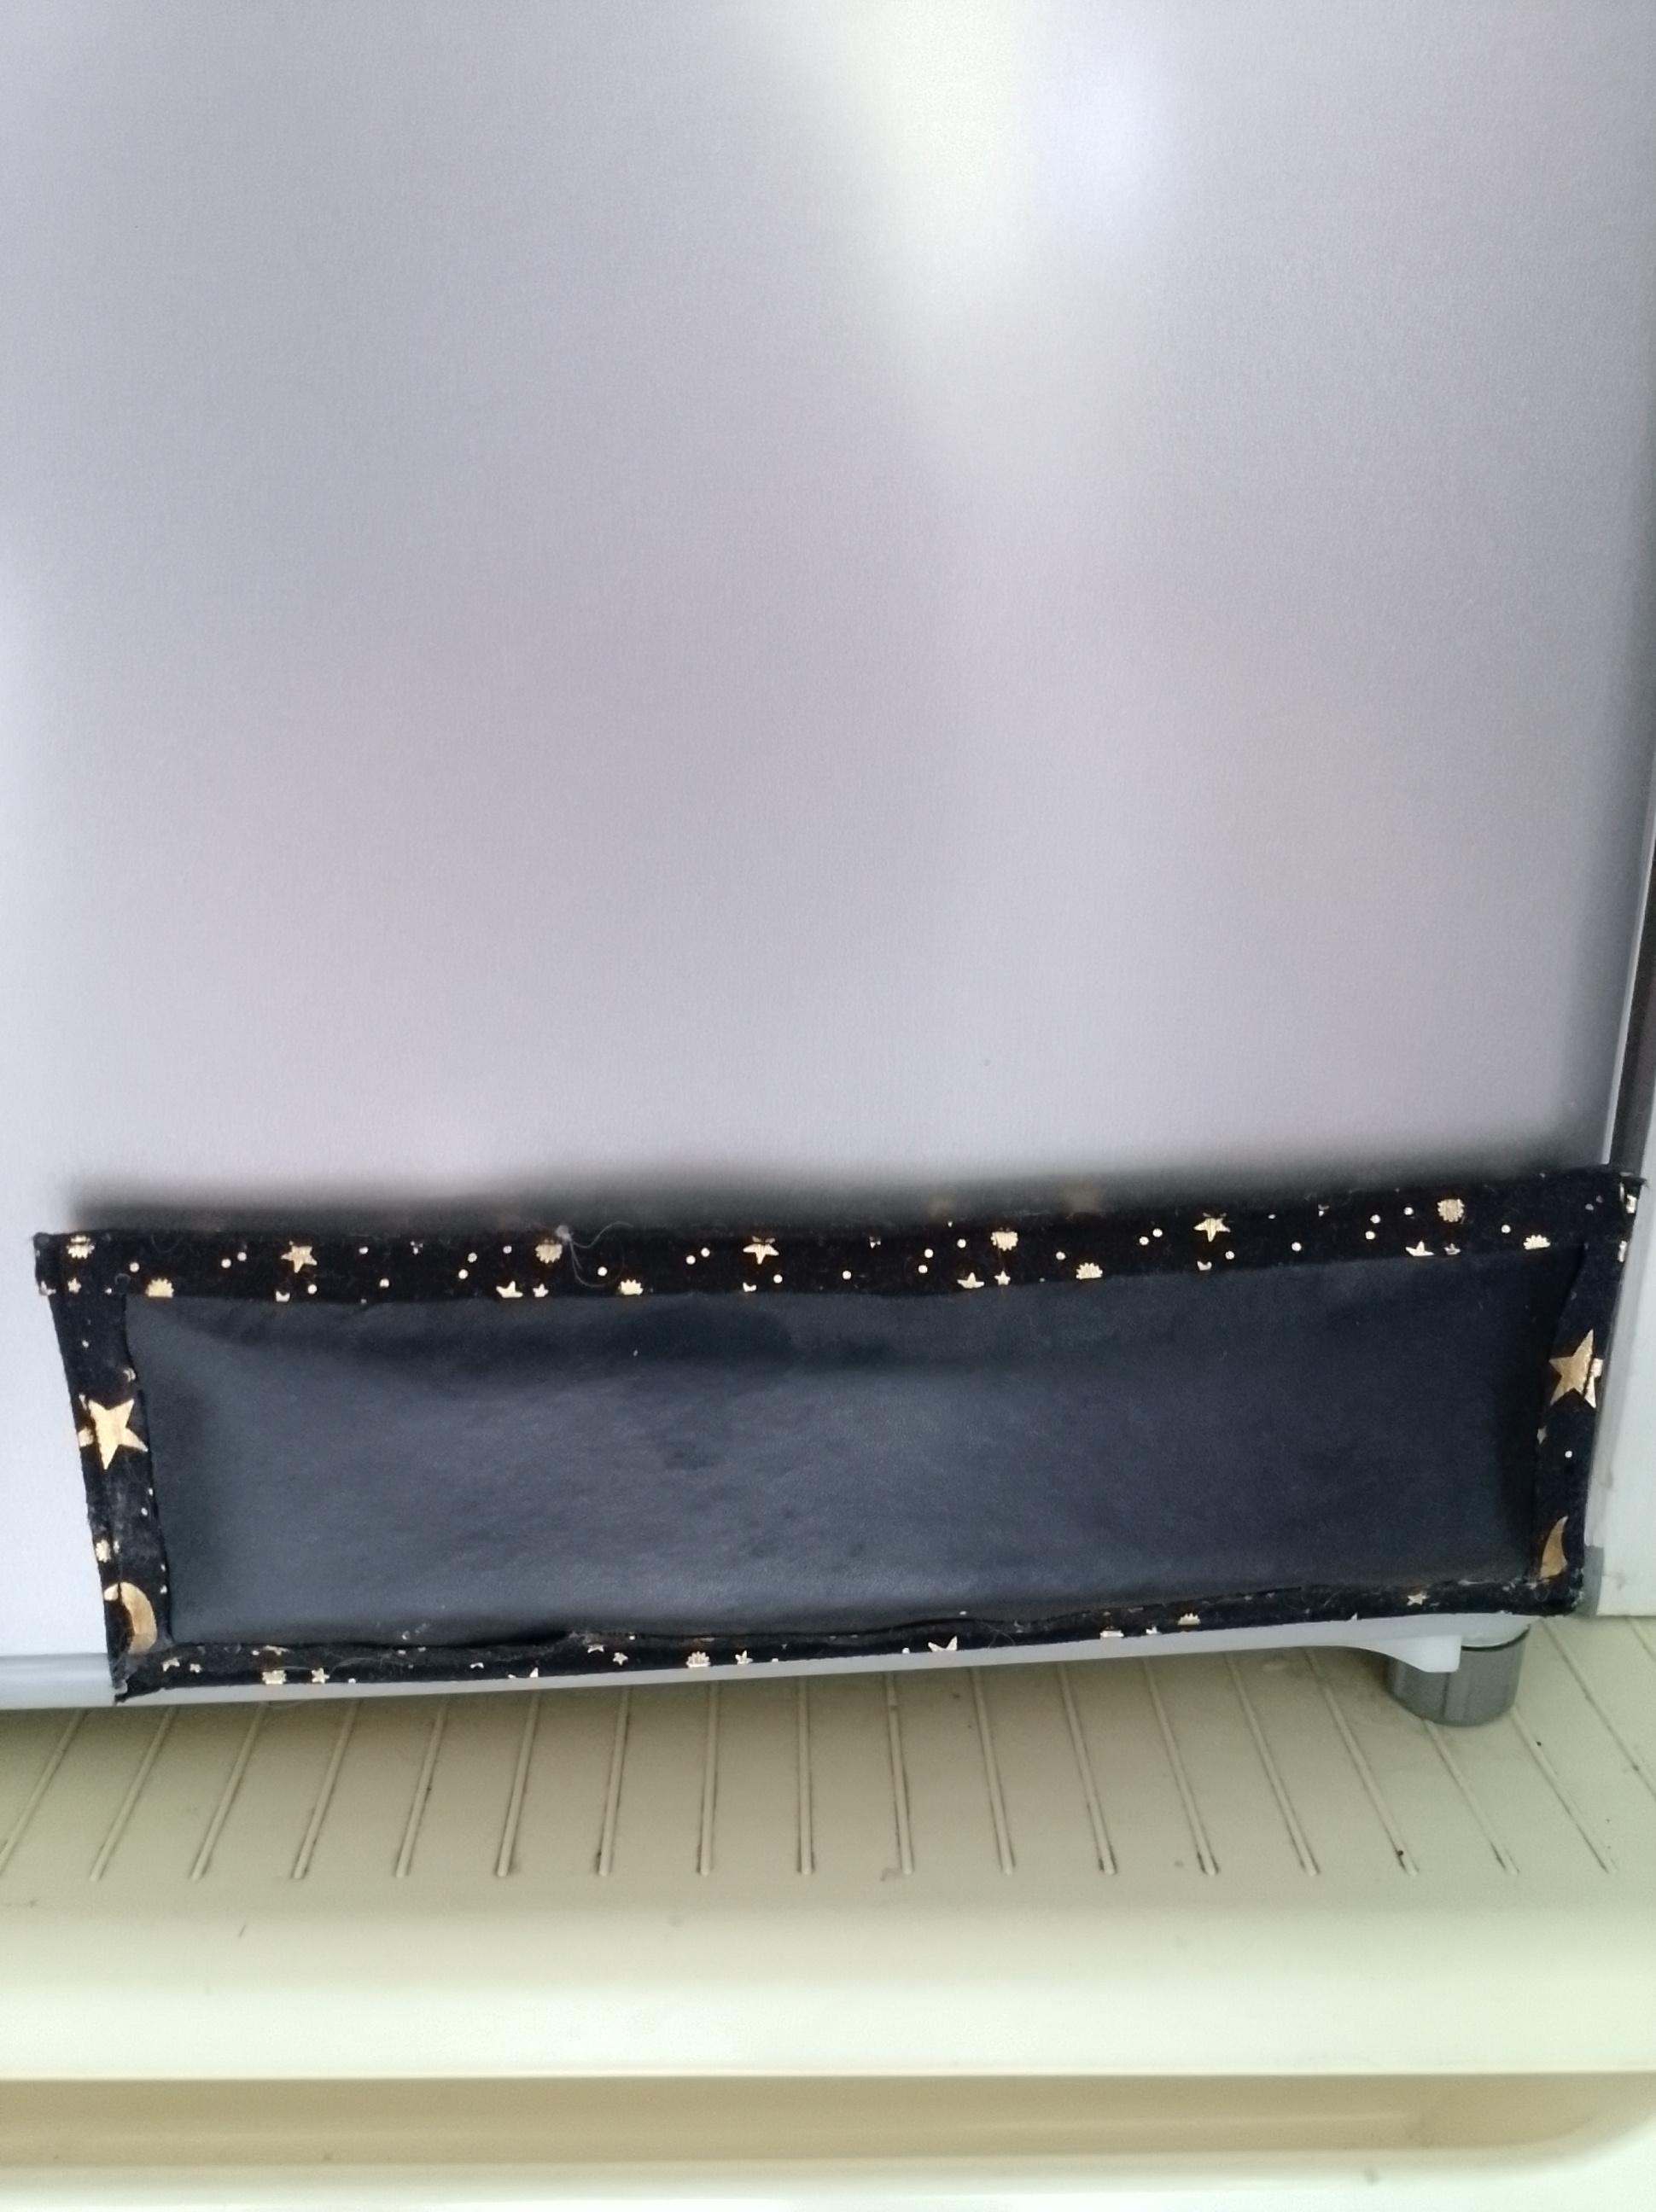
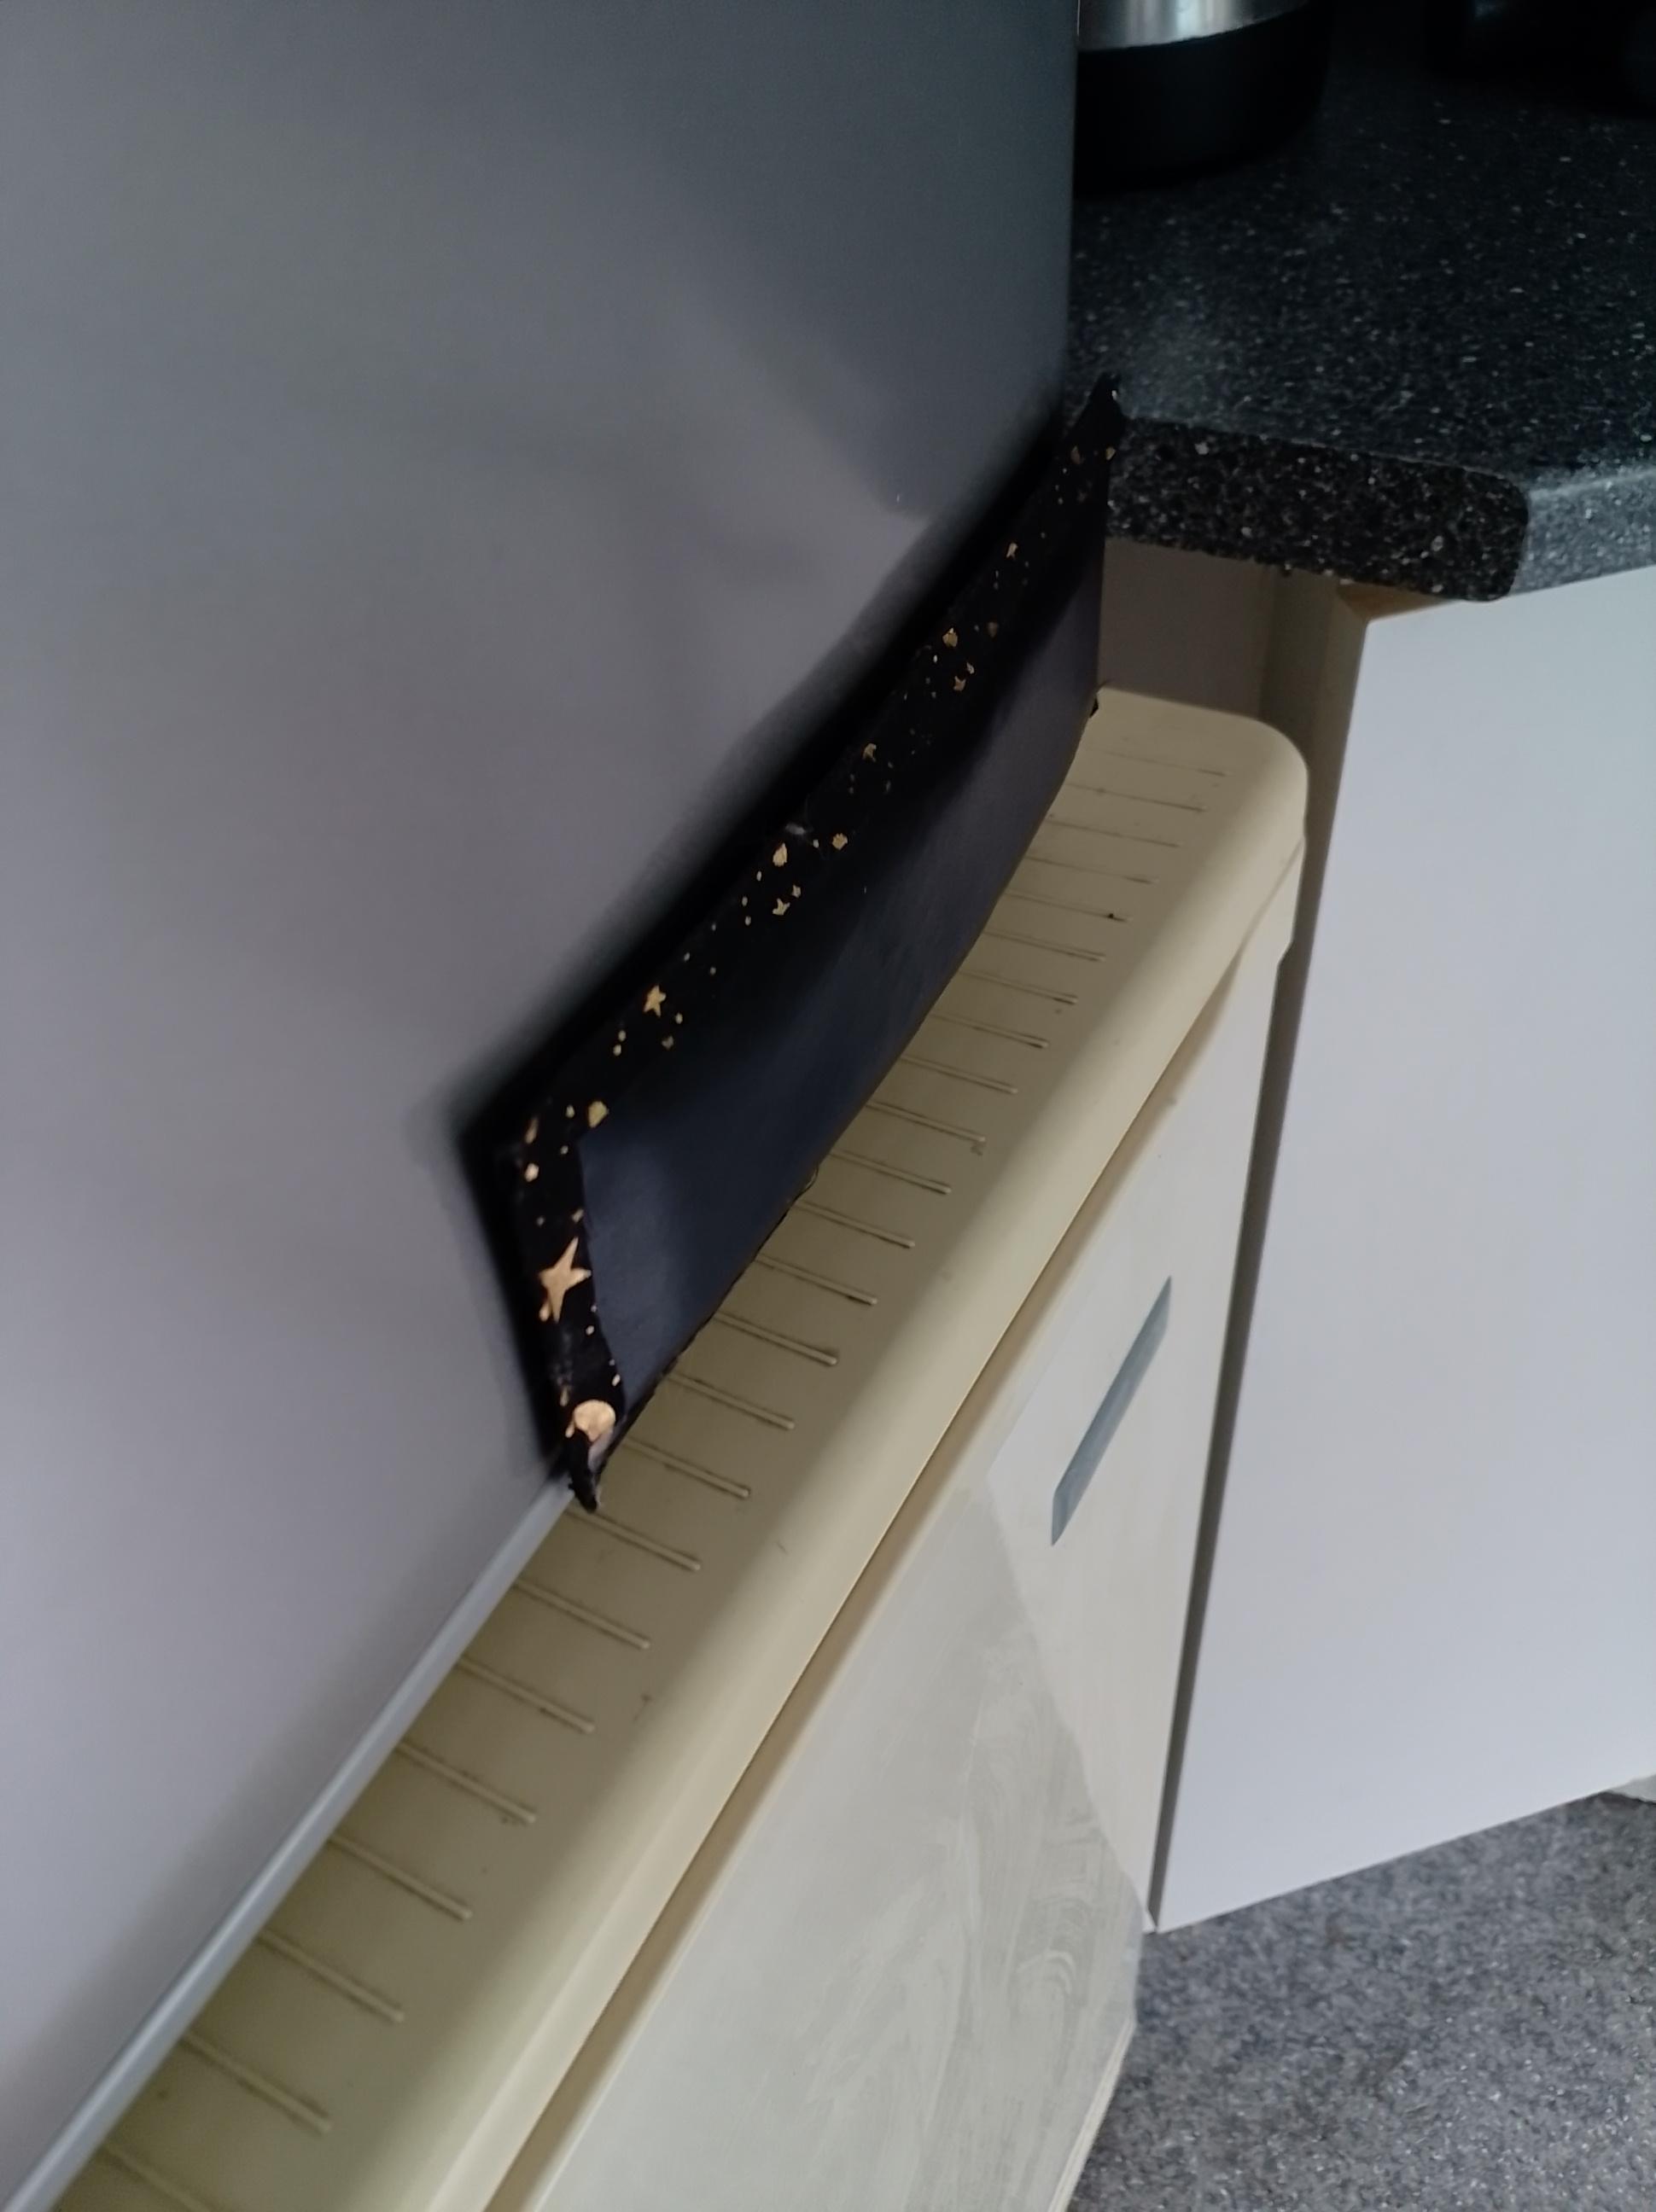
Due to the location of the refrigerator in my tiny kitchen—and the risk of damaging the door every time I open it—I decided to create a small shock-absorbing cushion. It’s super handy and can be made easily using leftover materials. No sewing skills needed: you can simply use glue or tape instead!
FR ----
En raison de l’emplacement de mon réfrigérateur dans ma petite cuisine — et du risque d’abîmer la porte à chaque ouverture — j’ai décidé de créer un petit coussin anti-choc. C’est très pratique, et on peut le fabriquer facilement avec des matériaux de récupération. Pas besoin de savoir coudre : de la colle ou du ruban adhésif peuvent très bien faire l’affaire !


Step 1: Cutting the Fabrics
Cut two pieces of fabric (fabric 1 and fabric 2) according to the dimensions you choose. (The default measurements given in this tutorial are for guidance.) Fabric 1 should be slightly smaller than fabric 2: this will create one relatively flat side and one slightly rounded side once the padding is added.

Step 2: Attaching the Magnets
Place 5 to 6 small magnets on the wrong side of fabric 1, using either:
- double-sided adhesive tape,
- or by sewing small fabric pockets (your choice).
⚠️ Important :
- Make sure to orient the magnets correctly—that is, with the side that sticks to the fridge metal facing outward.
- Avoid placing them too close to the edges where you’ll be sewing; hitting a magnet with the needle could break it.

Step 3: Sewing the Cushion
Place the two fabrics together, right sides facing each other (if you want to hide the seams) or wrong sides facing each other (if you plan to add bias tape or washi tape on the edges for a neat finish). Sew along three of the four sides. Leave one side open to insert the padding.
Step 4: Padding
Turn the cushion right side out, then insert the padding:
- cushion foam,
- or recycled materials like bubble wrap, package stuffing, fruit nets, etc.
- The goal is to have a soft cushion, but not too stiff.
Step 5: Closing
Sew the fourth side to fully close the cushion.
- You can do this by machine (if the magnets don’t get in the way),
- or by hand for more precision and to avoid breaking needles.
.jpg)
.jpg)
.jpg)