🏮🪵🔥 Japanese-Inspired Yaki-Sugi Outdoor Wall Lantern From Reclaimed Oak Parquet
by schwefl in Outside > Backyard
171 Views, 3 Favorites, 0 Comments
🏮🪵🔥 Japanese-Inspired Yaki-Sugi Outdoor Wall Lantern From Reclaimed Oak Parquet
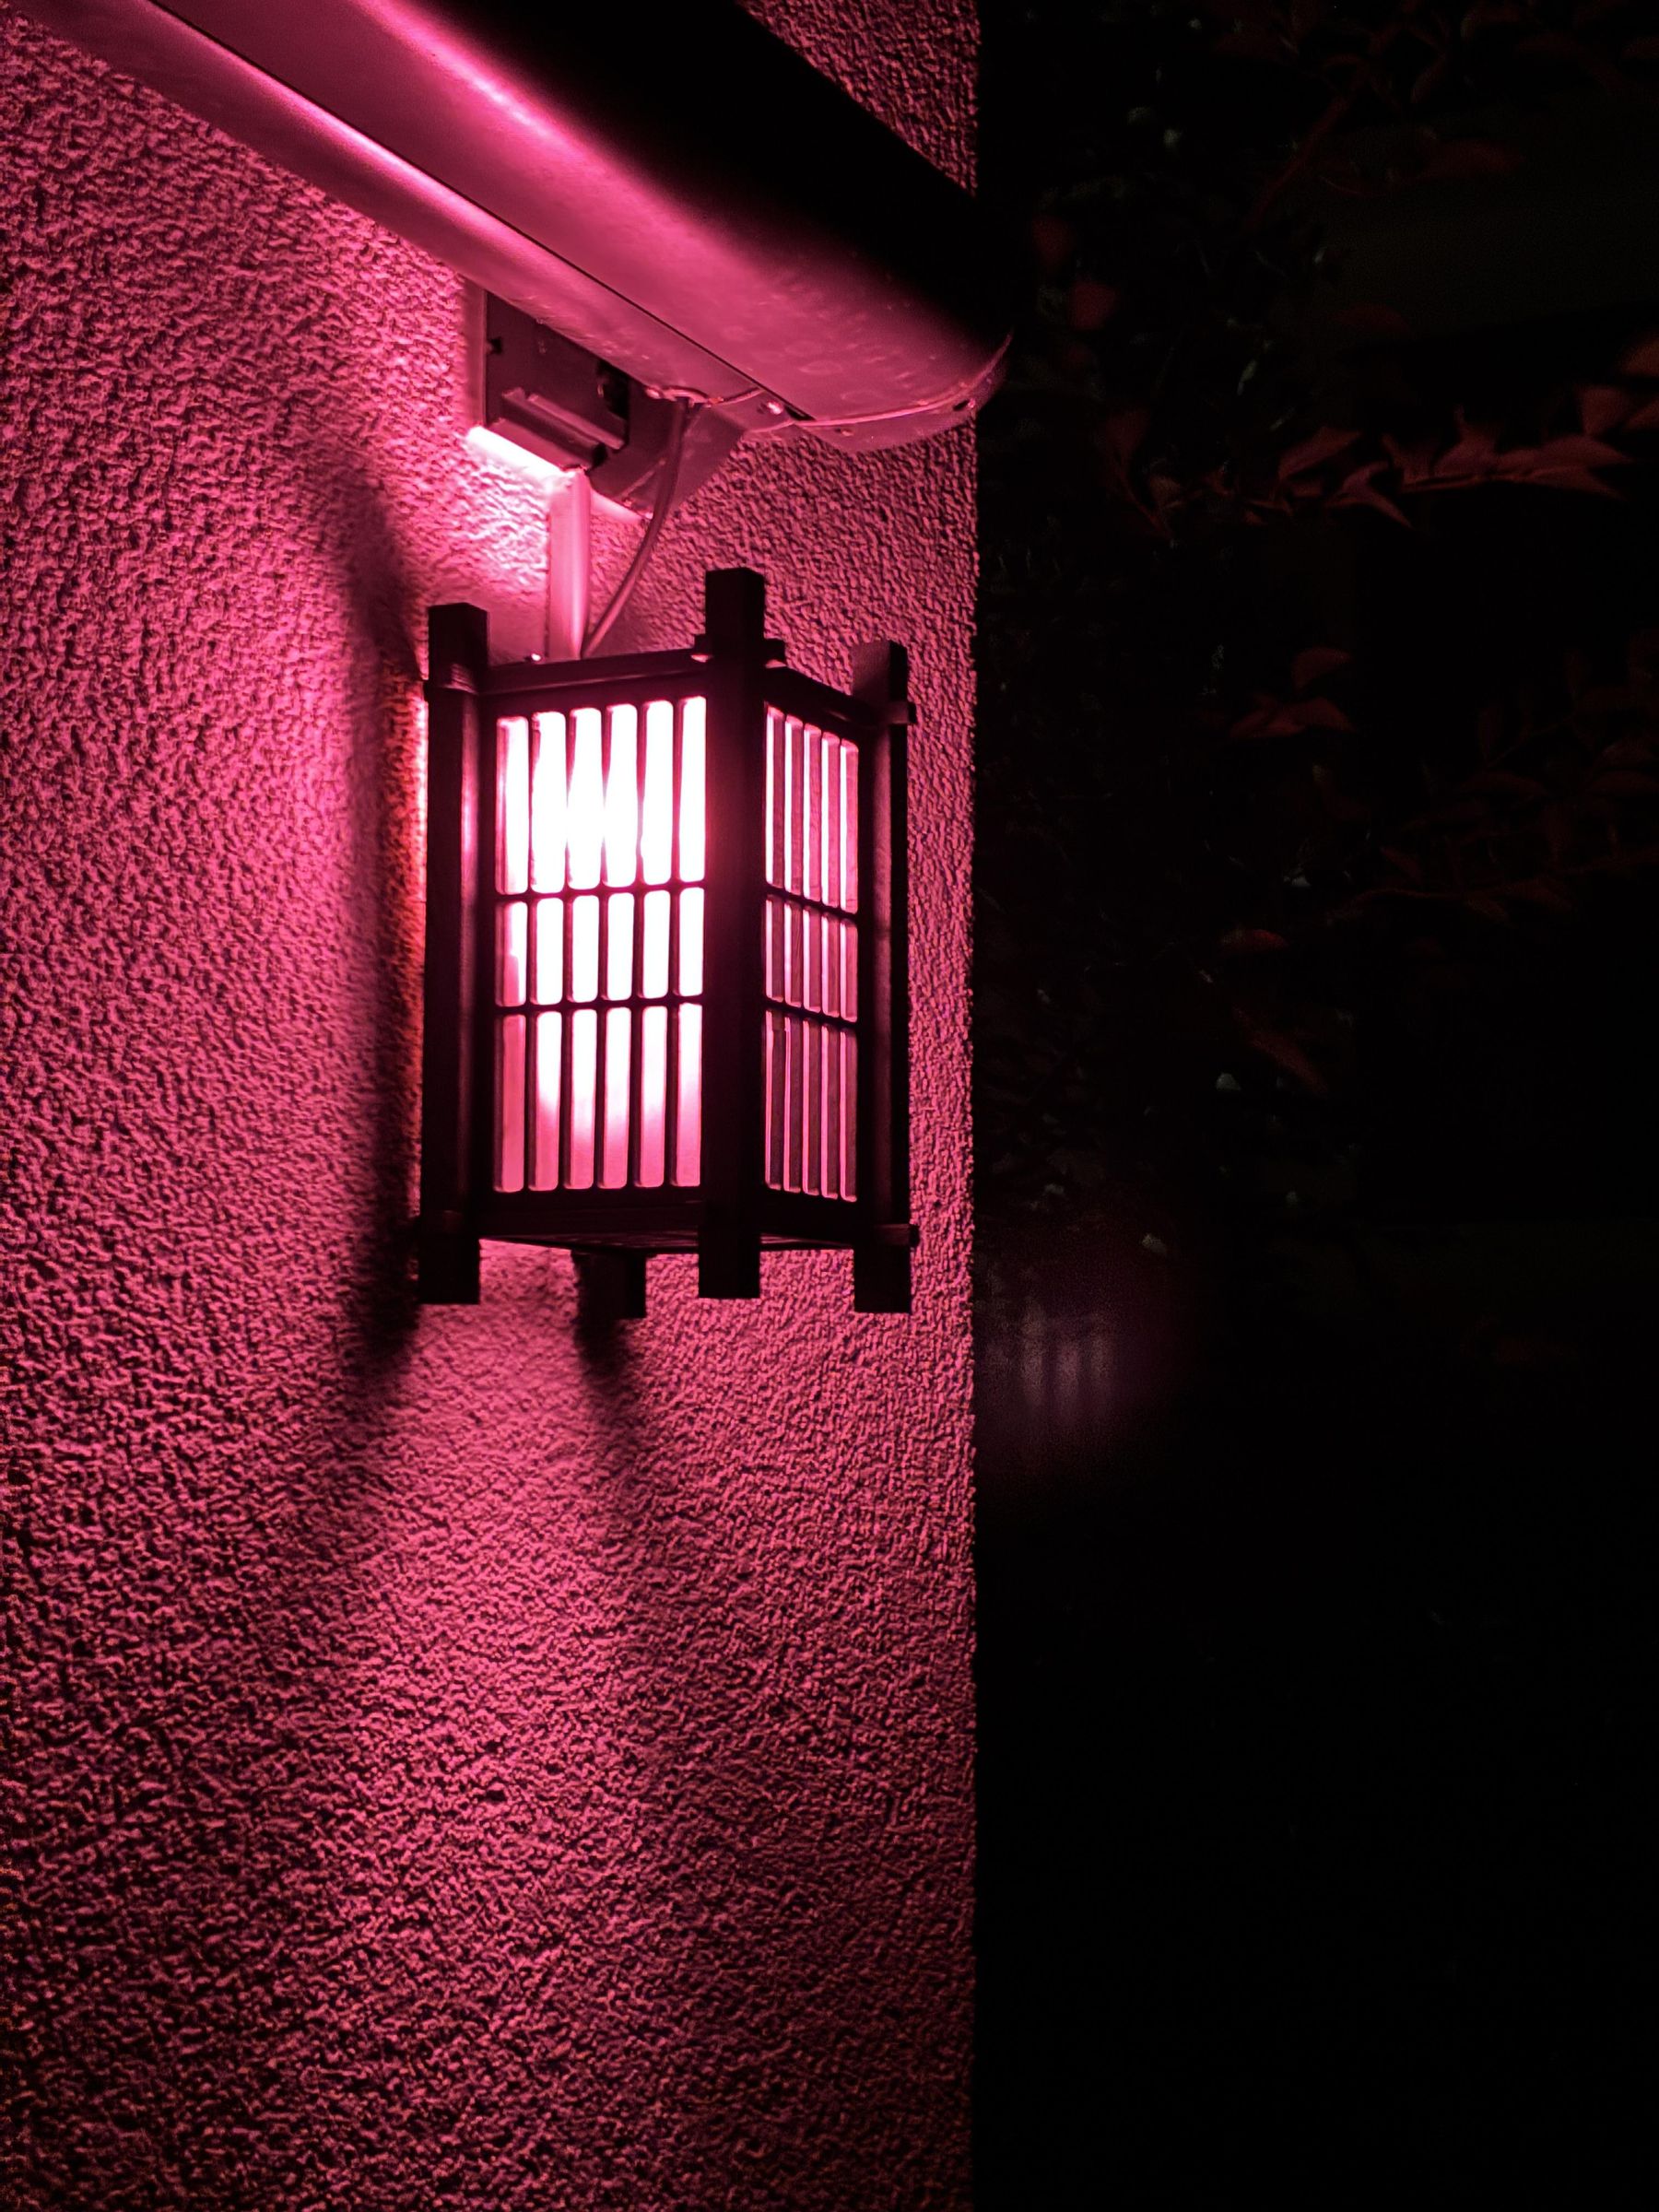
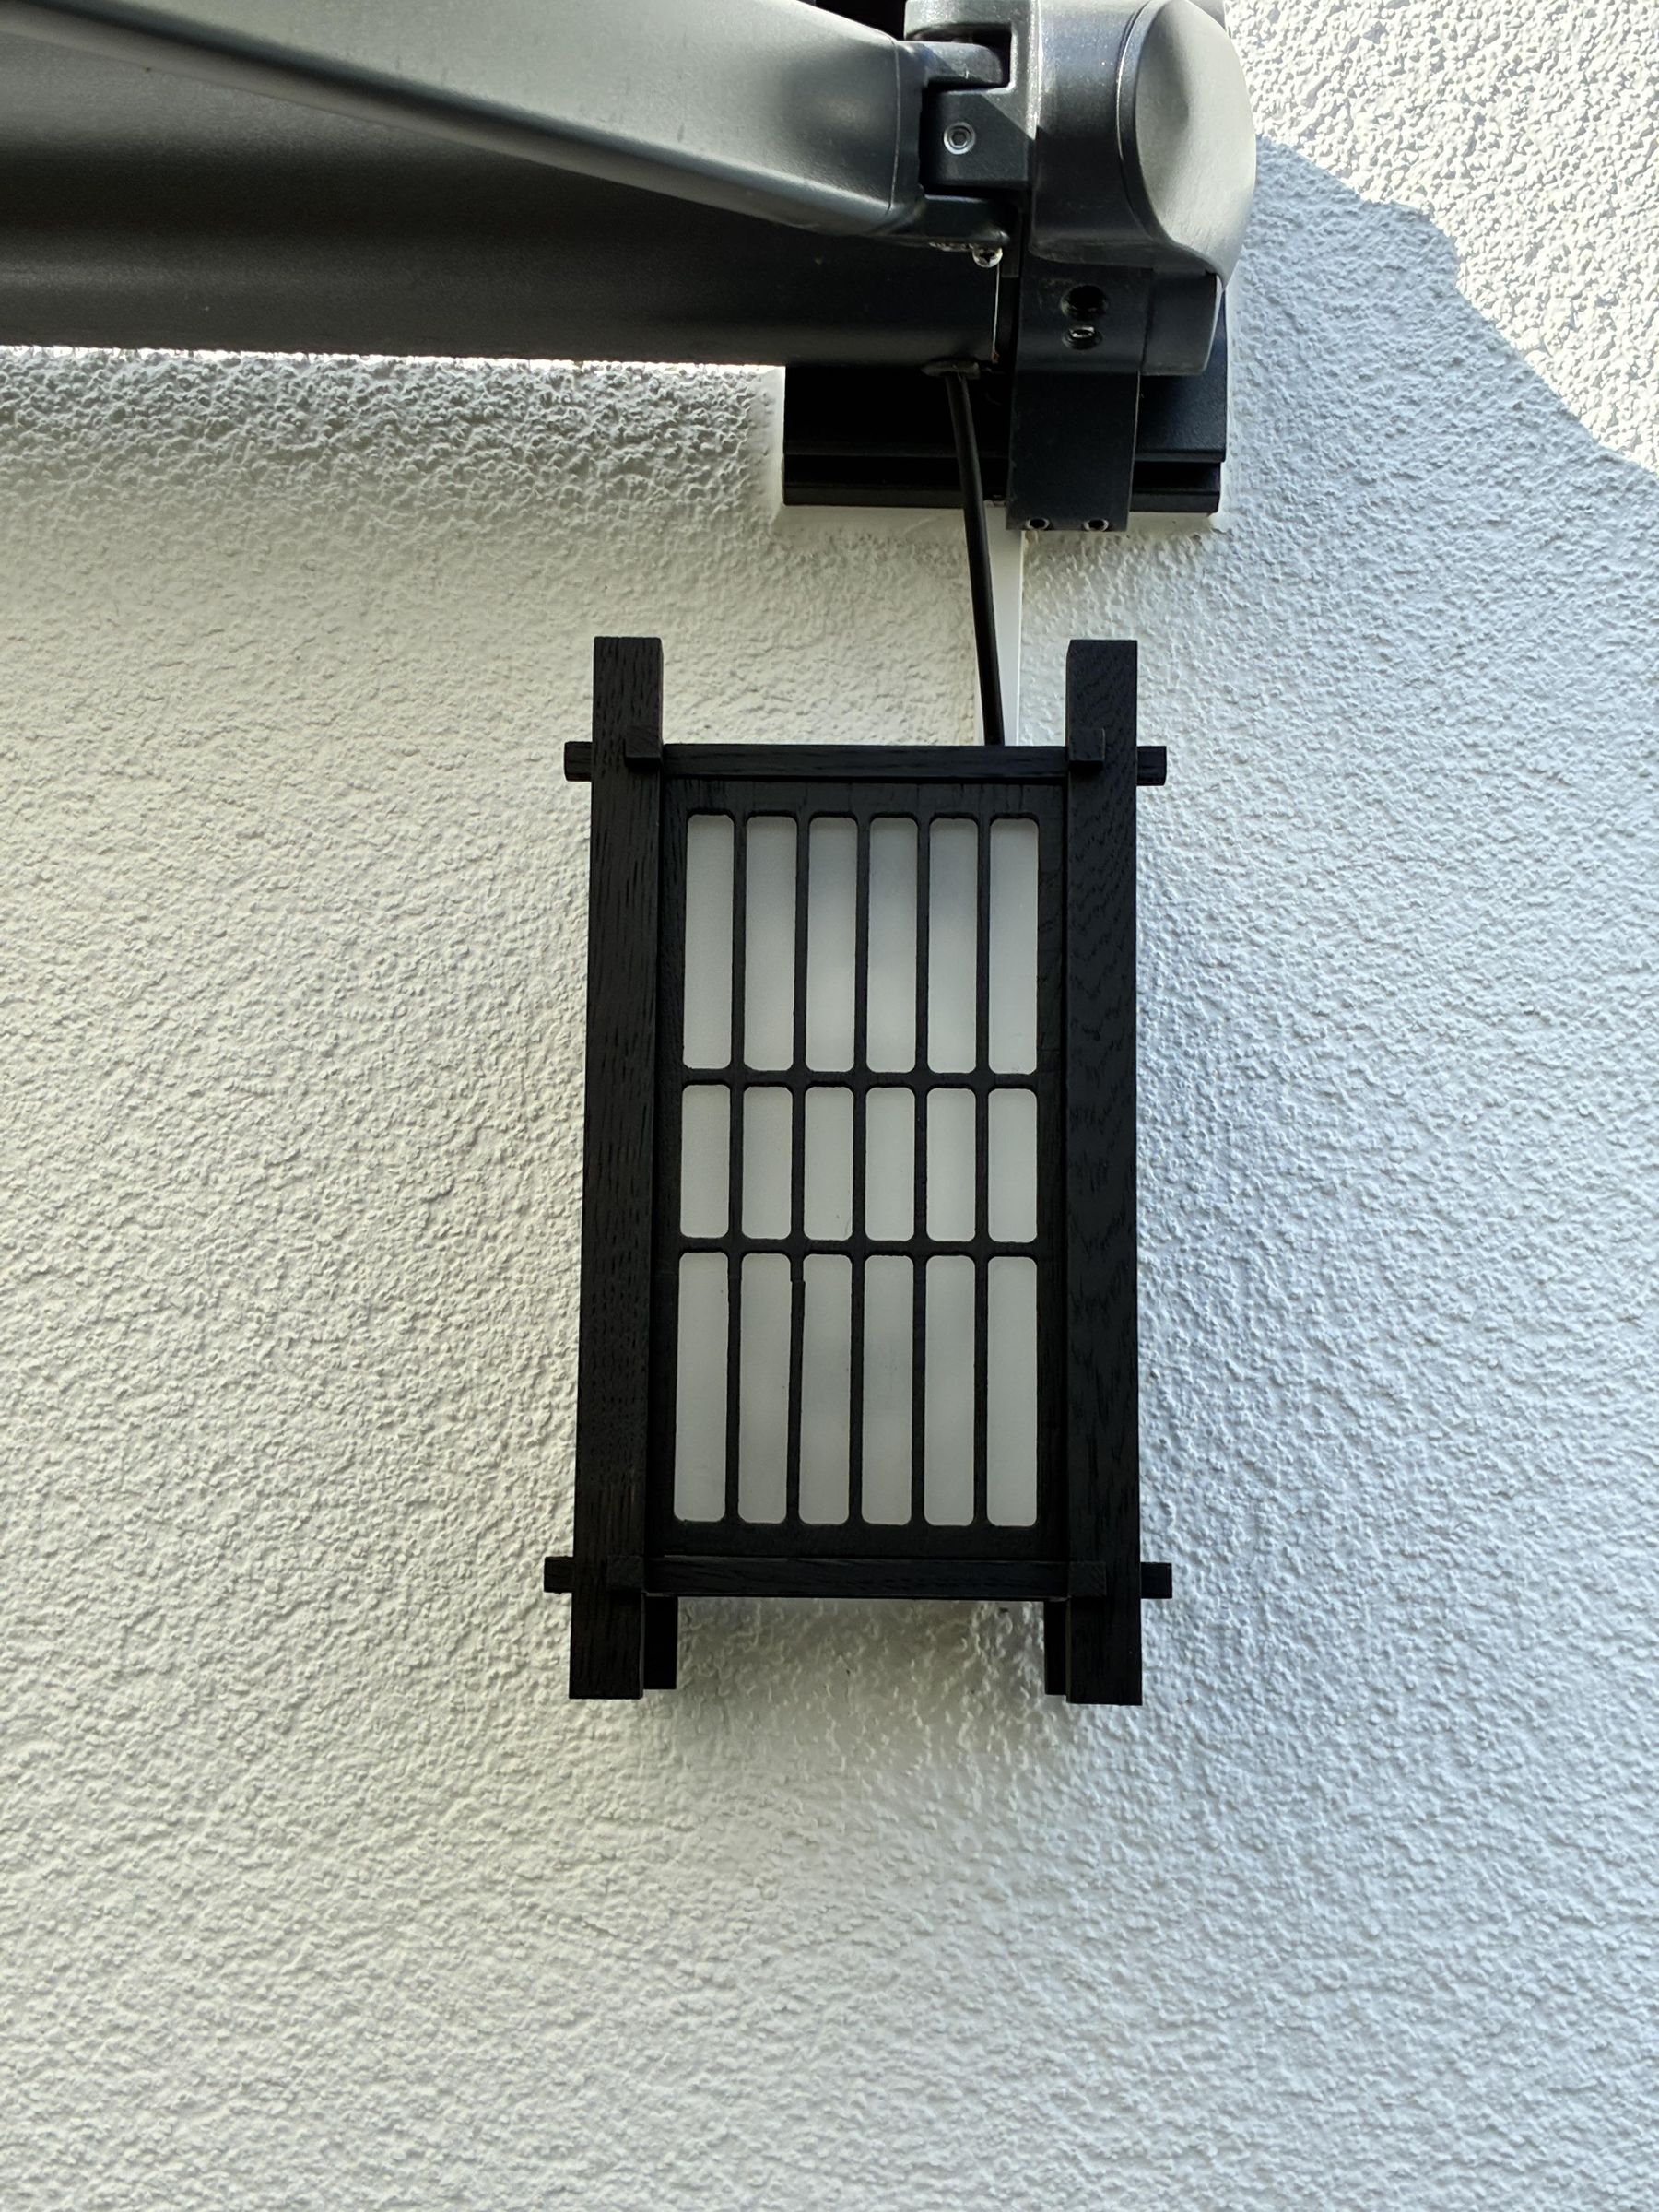
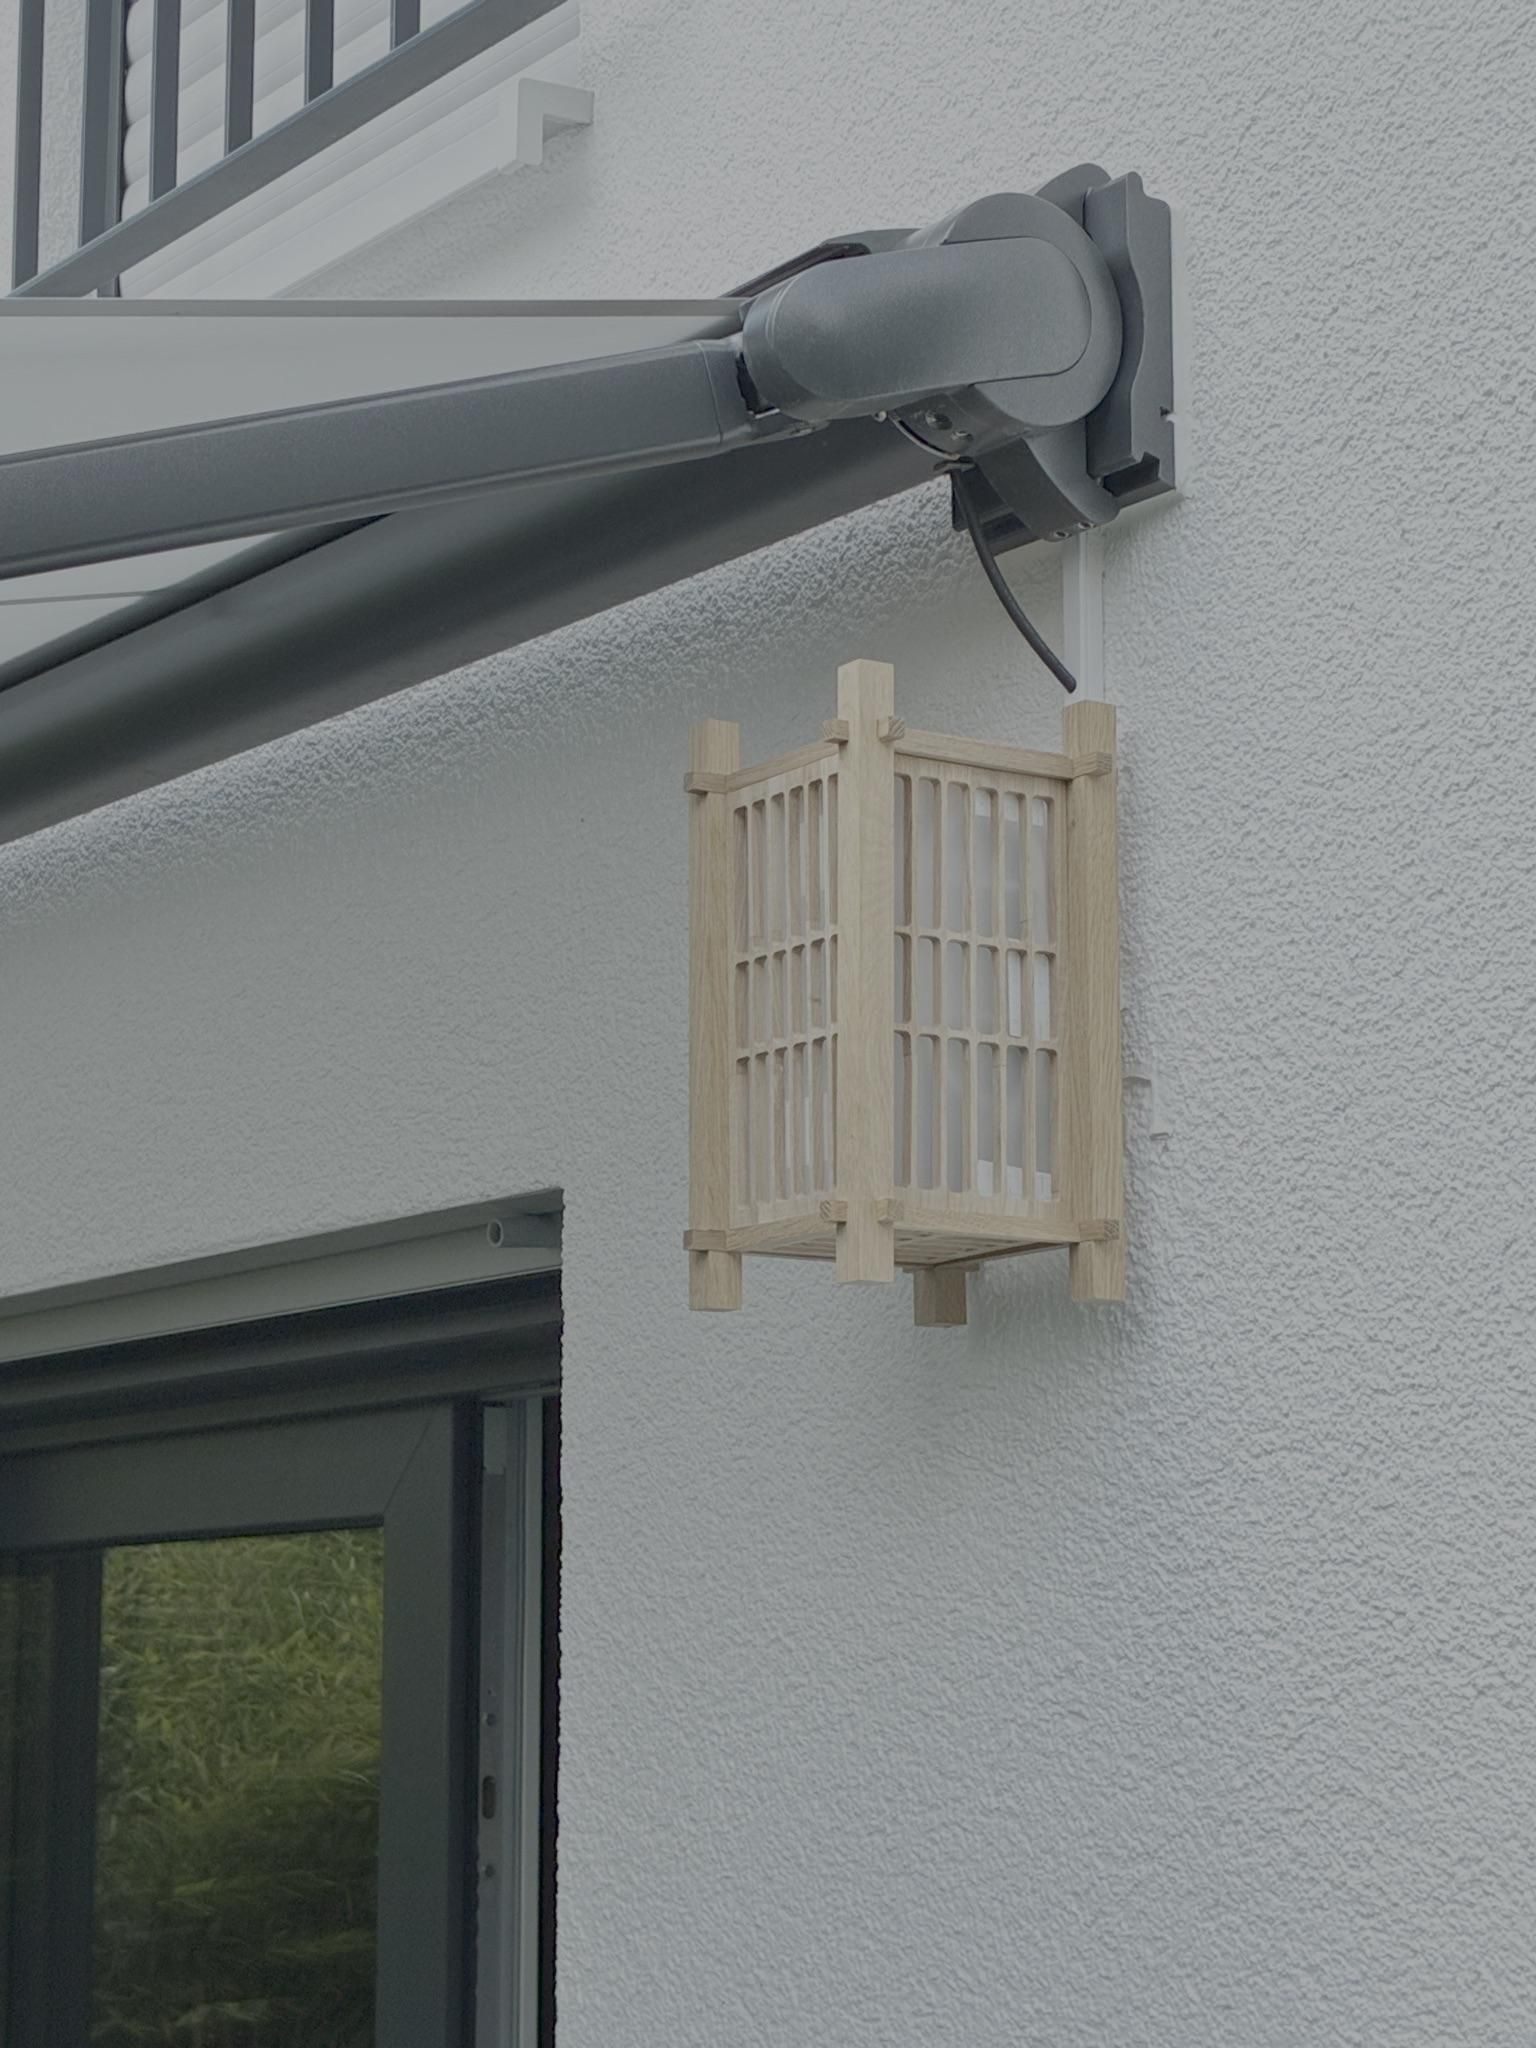
What started as a pile of leftover oak parquet became one of my favorite woodworking projects. Instead of buying new hardwood, I laminated the reclaimed oak strips into larger panels and transformed them into a modern outdoor wall lantern inspired by Japanese architecture.
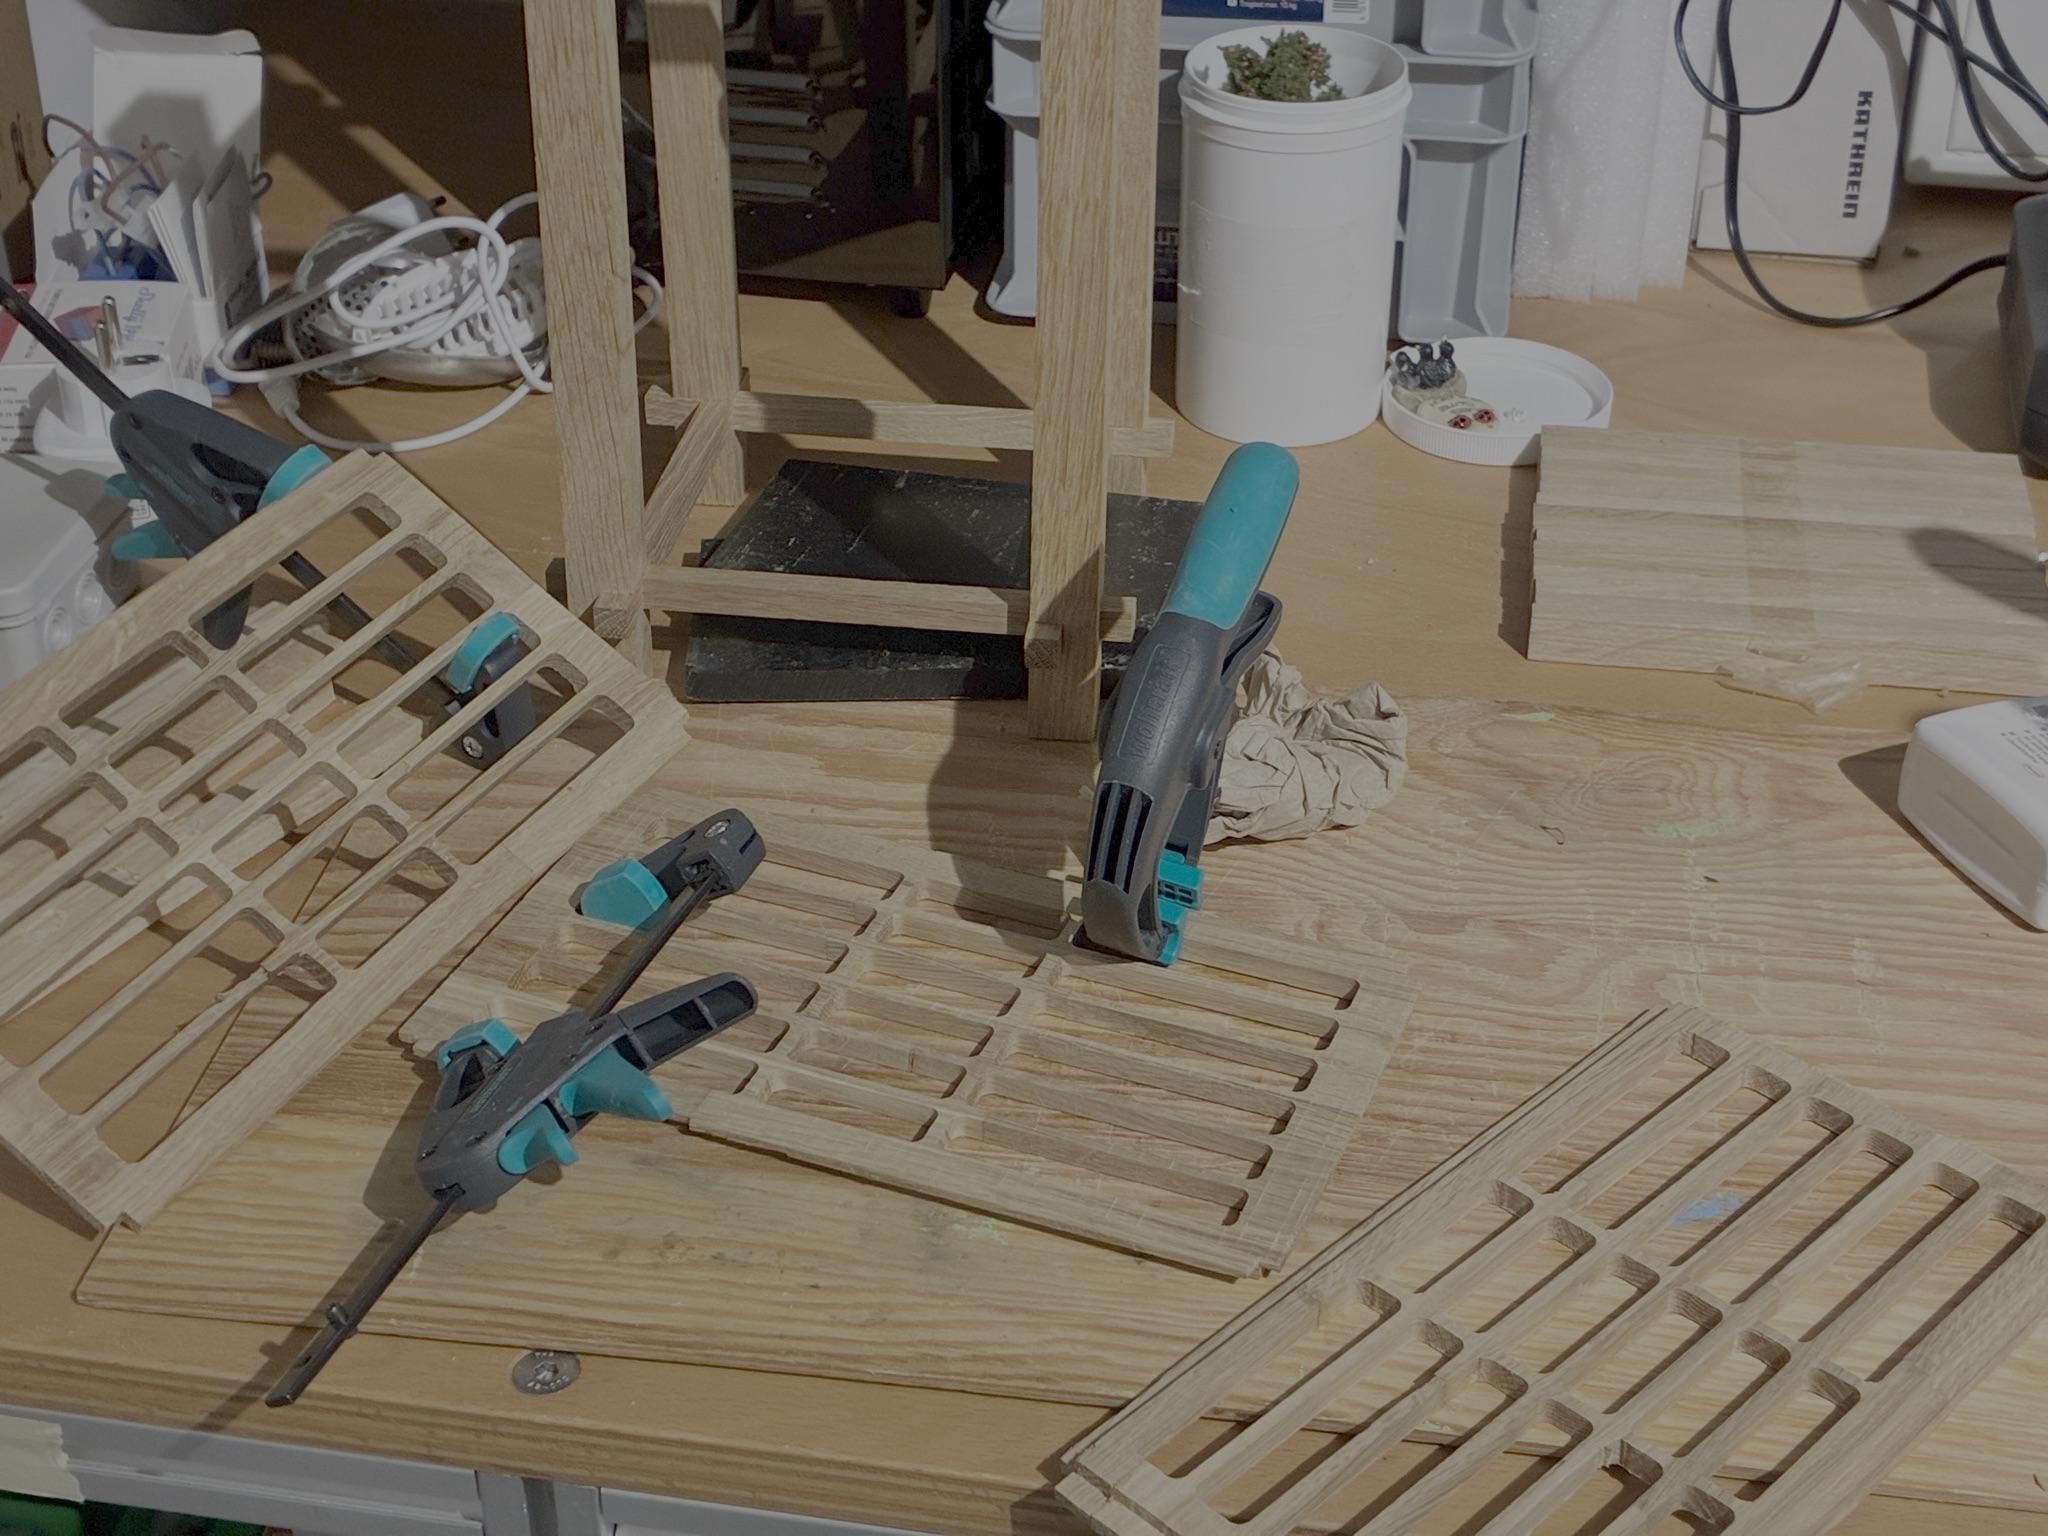
Every structural component was CNC machined from these recycled oak panels. The vertical corner posts were made from solid oak strips, with all joinery precisely cut on the CNC router to create a clean plug-in construction.
After machining, every part was carefully sanded, finished with Rubio Monocoat for outdoor protection, and finally assembled around frosted acrylic panels and an LED light source.
The result is a weather-resistant lantern made almost entirely from reclaimed wood while preserving the natural beauty of solid oak.
Supplies
Materials
- Solid oak boards out of old parket strips
- Oak pilars (4 x 2 x 32 cm and 8 x 1 x 16 cm)
- 3 x 2 mm frosted acrylic sheet (20x25 cm)
- Outdoor LED light fixture (https://www.nordlux.com/)
- Stainless steel screws
- Waterproof wood glue
- Hardwax oil / exterior wood finish (Rubi Monocoat Black)
- Sandpaper (120–320 grit)
- Wall plugs and screws
Tools
- CNC Router (Snapmaker AT-250)
- Hand Saw
- Hand Sand Tools
- Hand Drill
- Clamps
- Calipers
- Propane torch
- Brush
- Random hand tools
Recycling the Oak
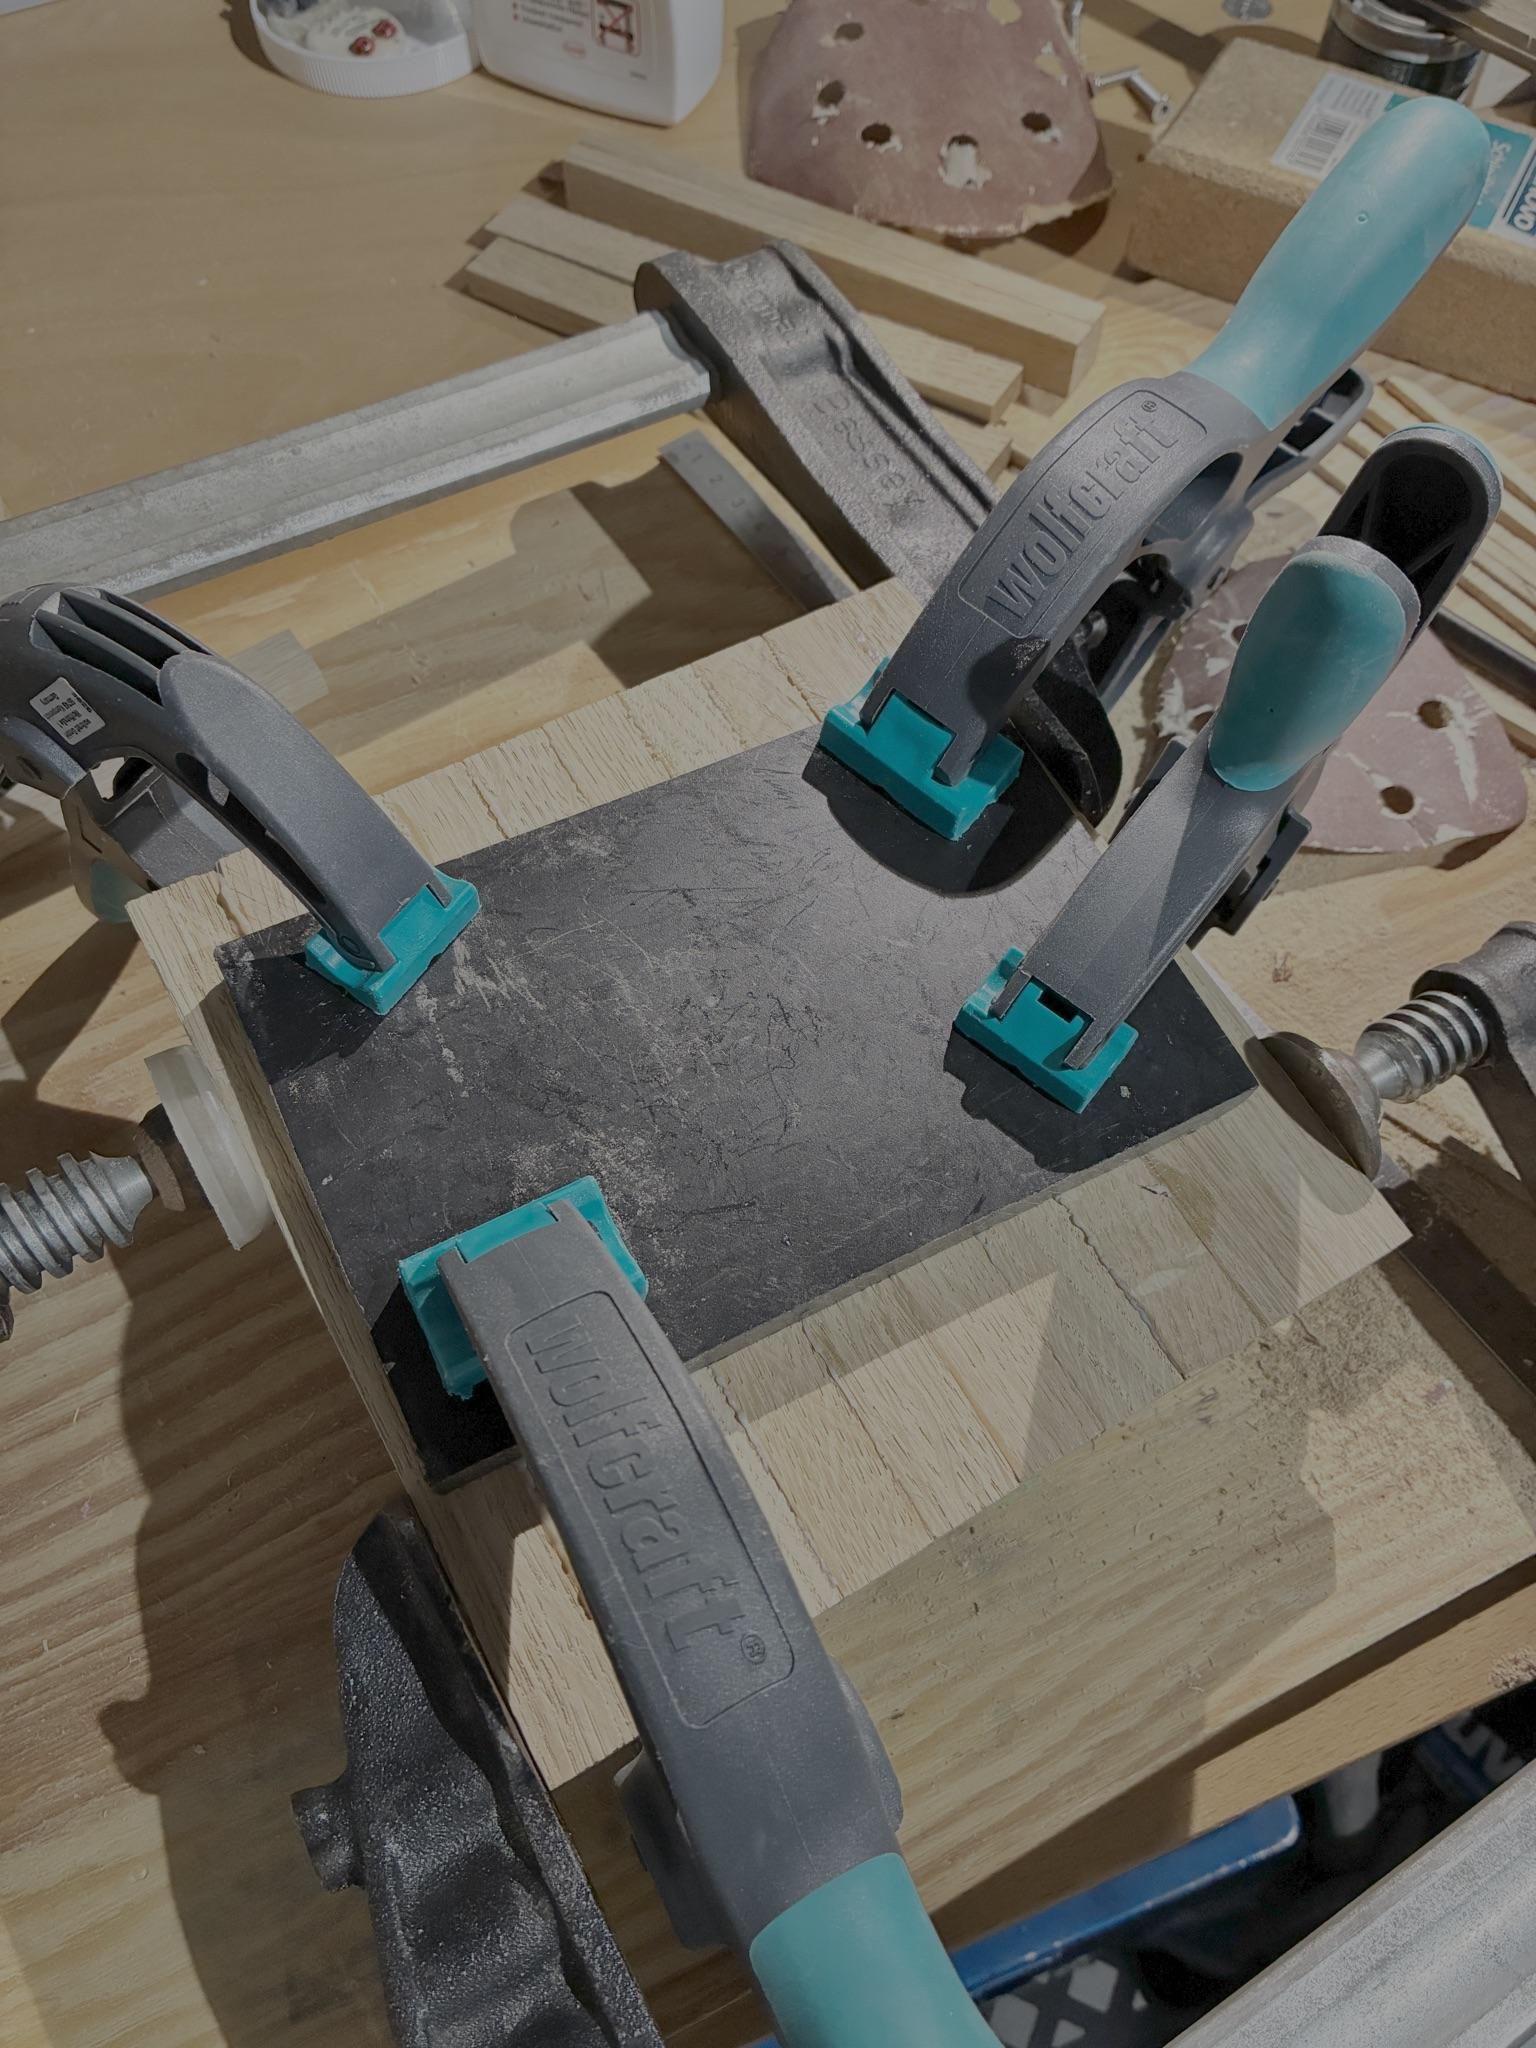
Instead of purchasing new lumber, I collected leftover solid oak parquet strips from a previous flooring project.
The strips were cleaned, sorted by grain direction and glued together into larger blanks that could be machined on the CNC router.
This approach reduced waste while giving the project the appearance of being made from a single solid piece of oak.
Prepare the Lantern Pilars
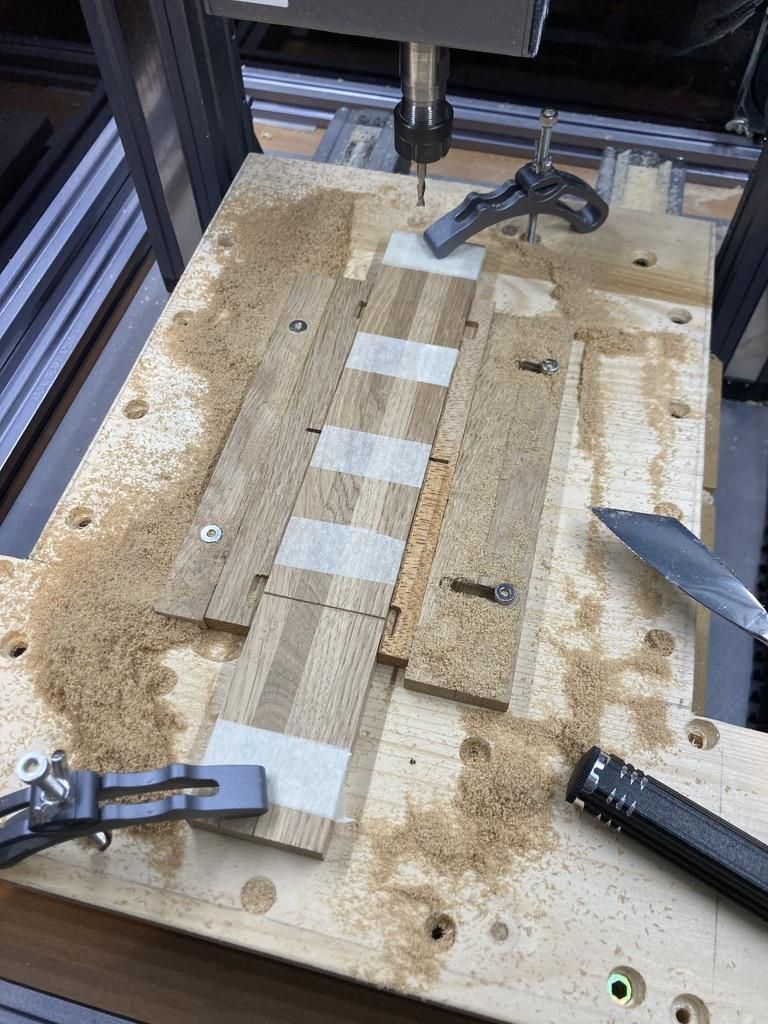
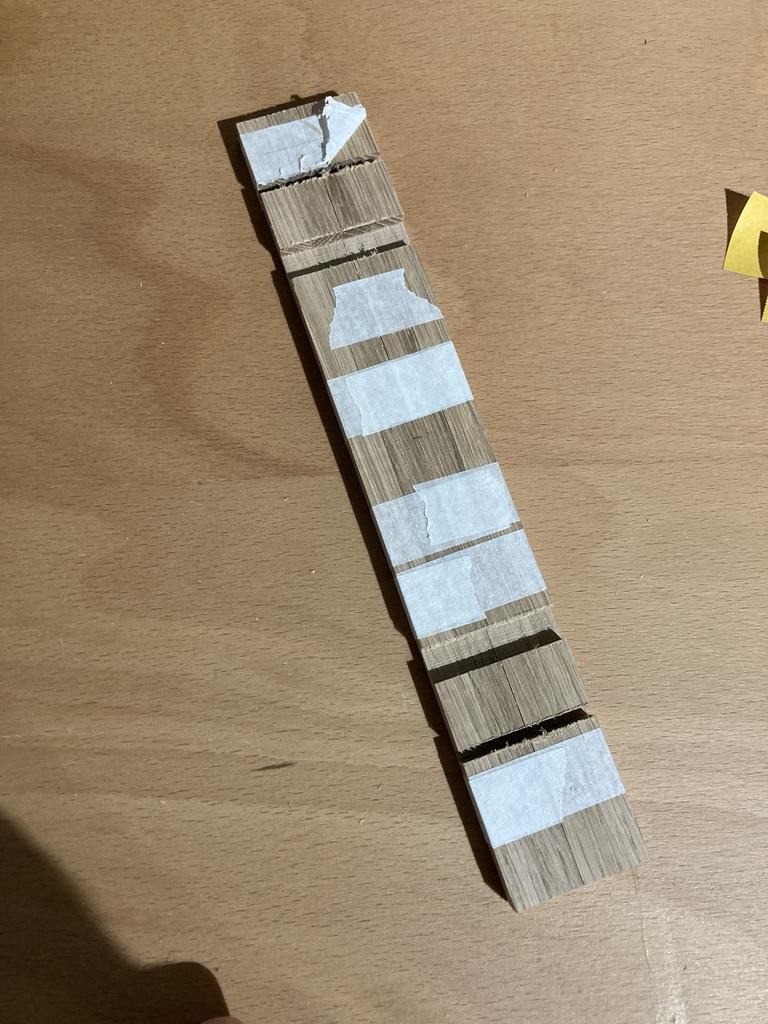
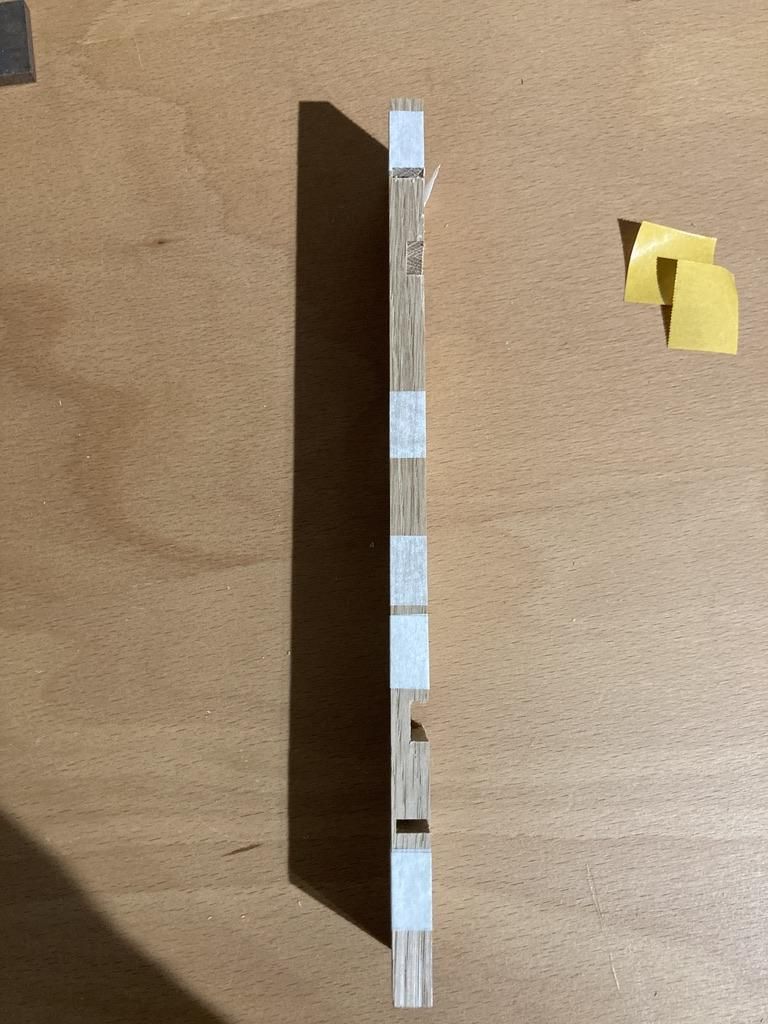
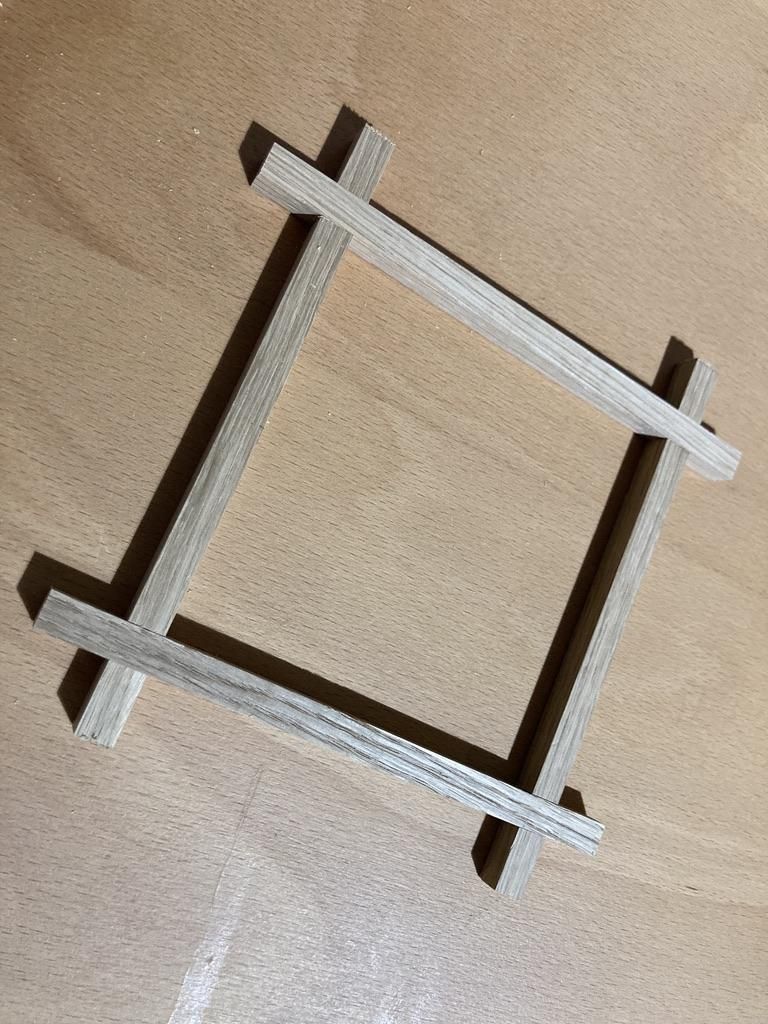
The frame is built around four solid oak corner posts. Each post was CNC machined with precise slots that receive the horizontal rails. Also the smaller 1 cm thick horizontal frames were prepared by CNC with slots of 5 mm depth to keep tight together without glue or screws. The inner dimensions of the resulting frames are 12x12 and 12x23 cm.
This plug-in construction keeps all parts perfectly aligned during assembly while minimizing visible fasteners.
After machining, every component was sanded to remove machining marks while preserving the crisp geometry of the design.
CNC Machining
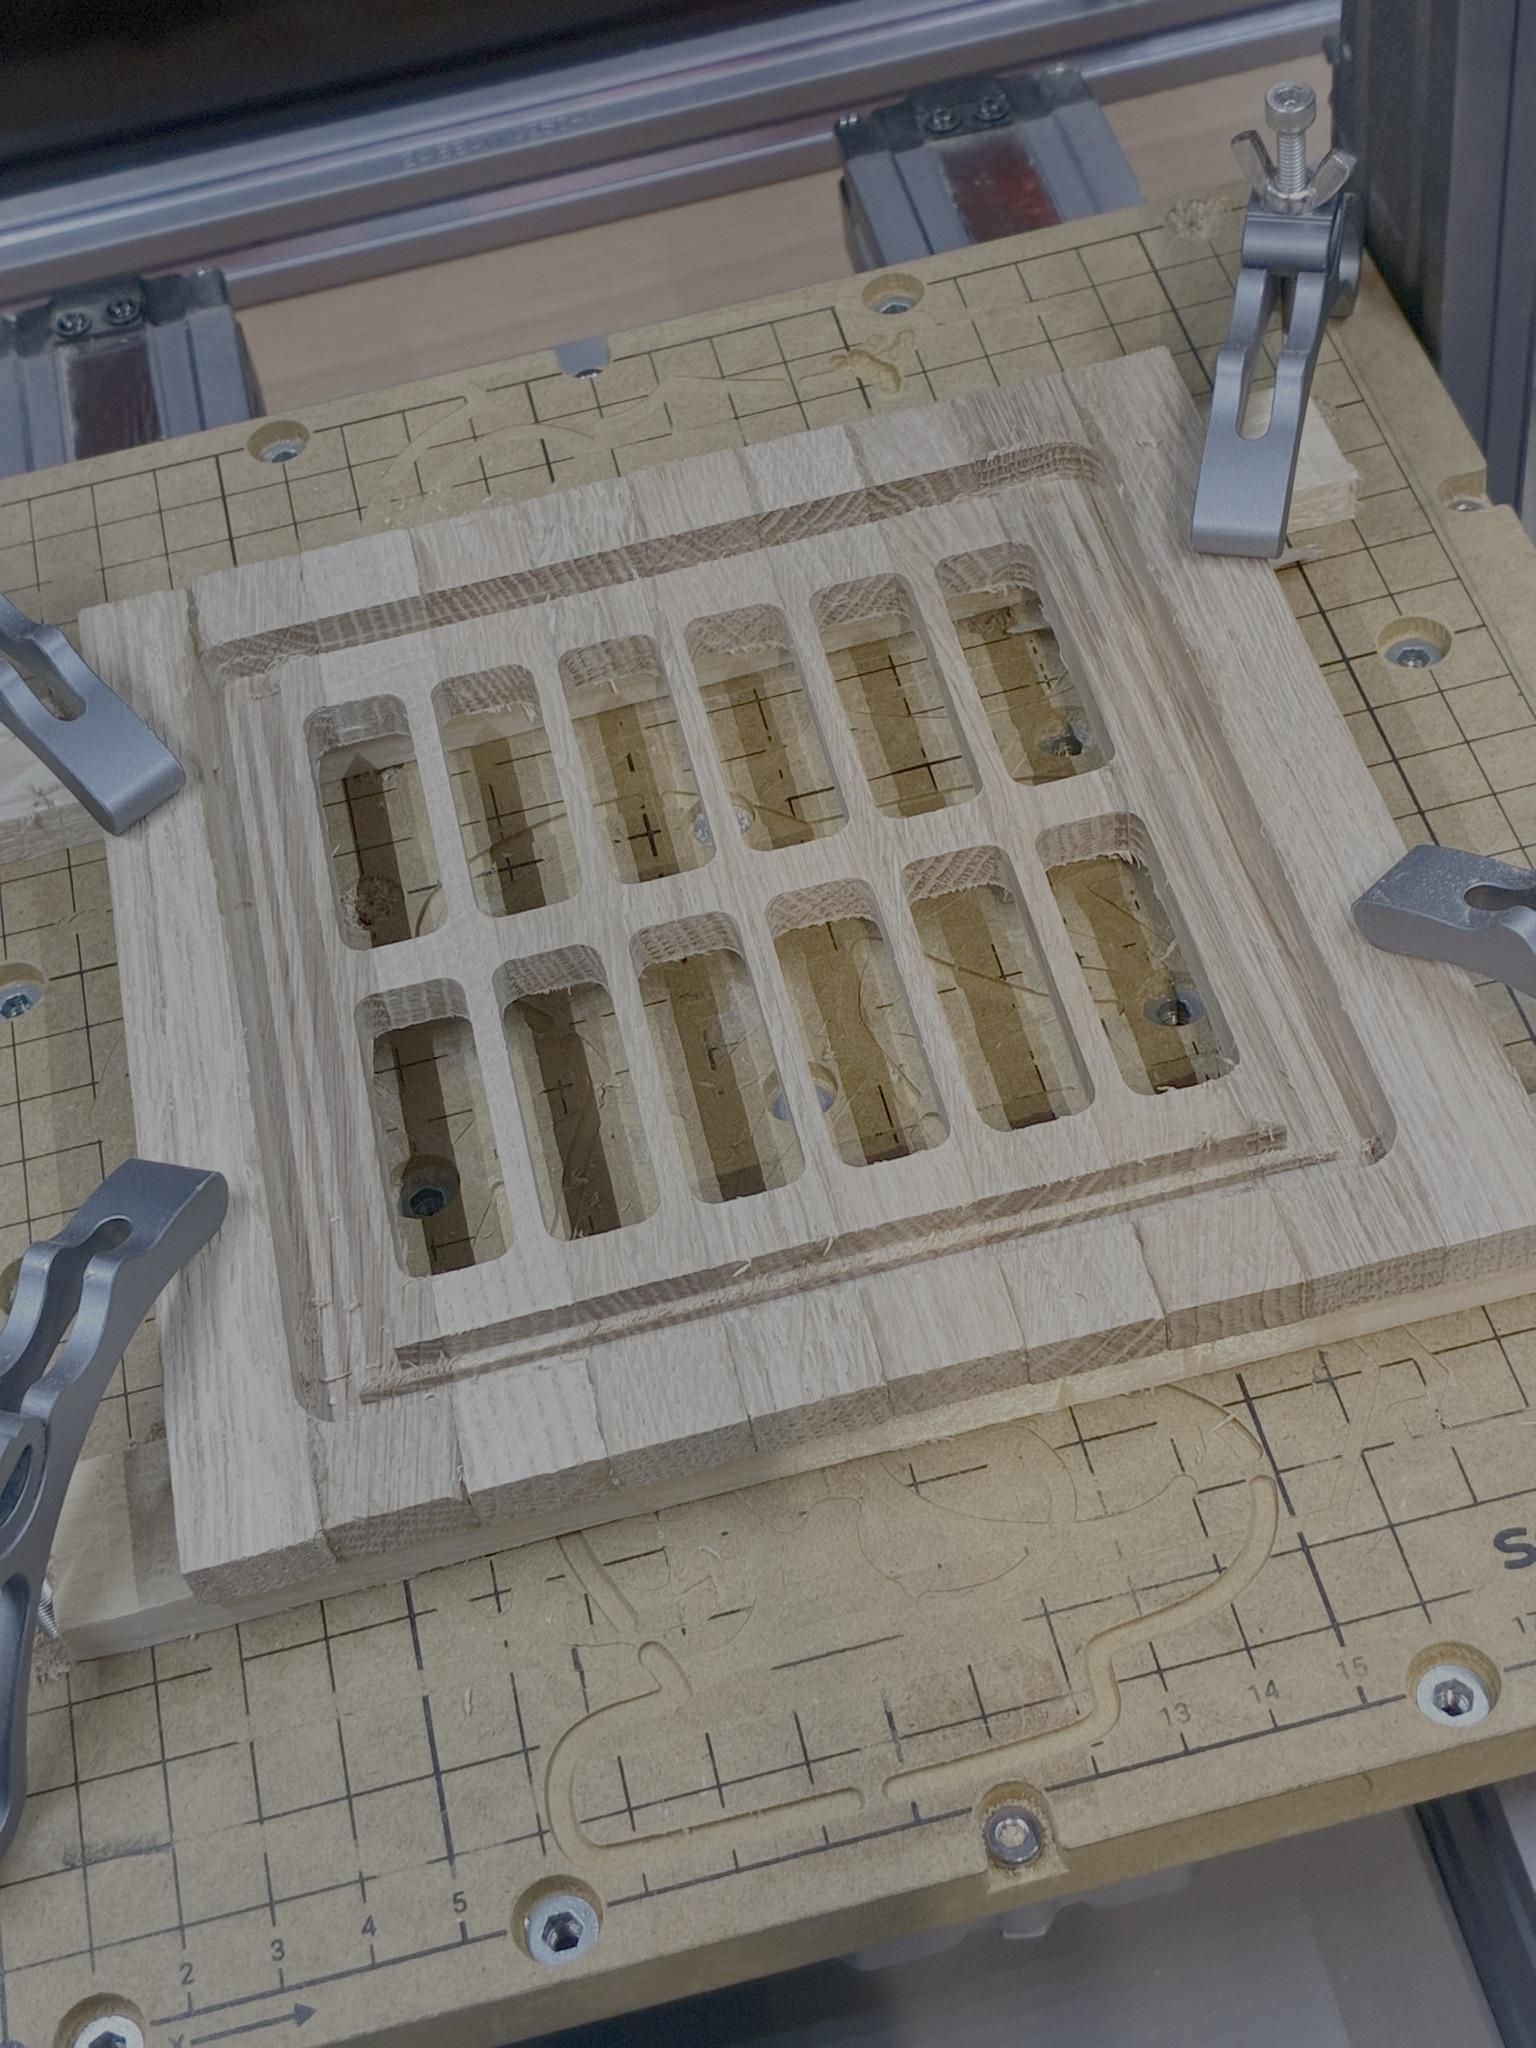
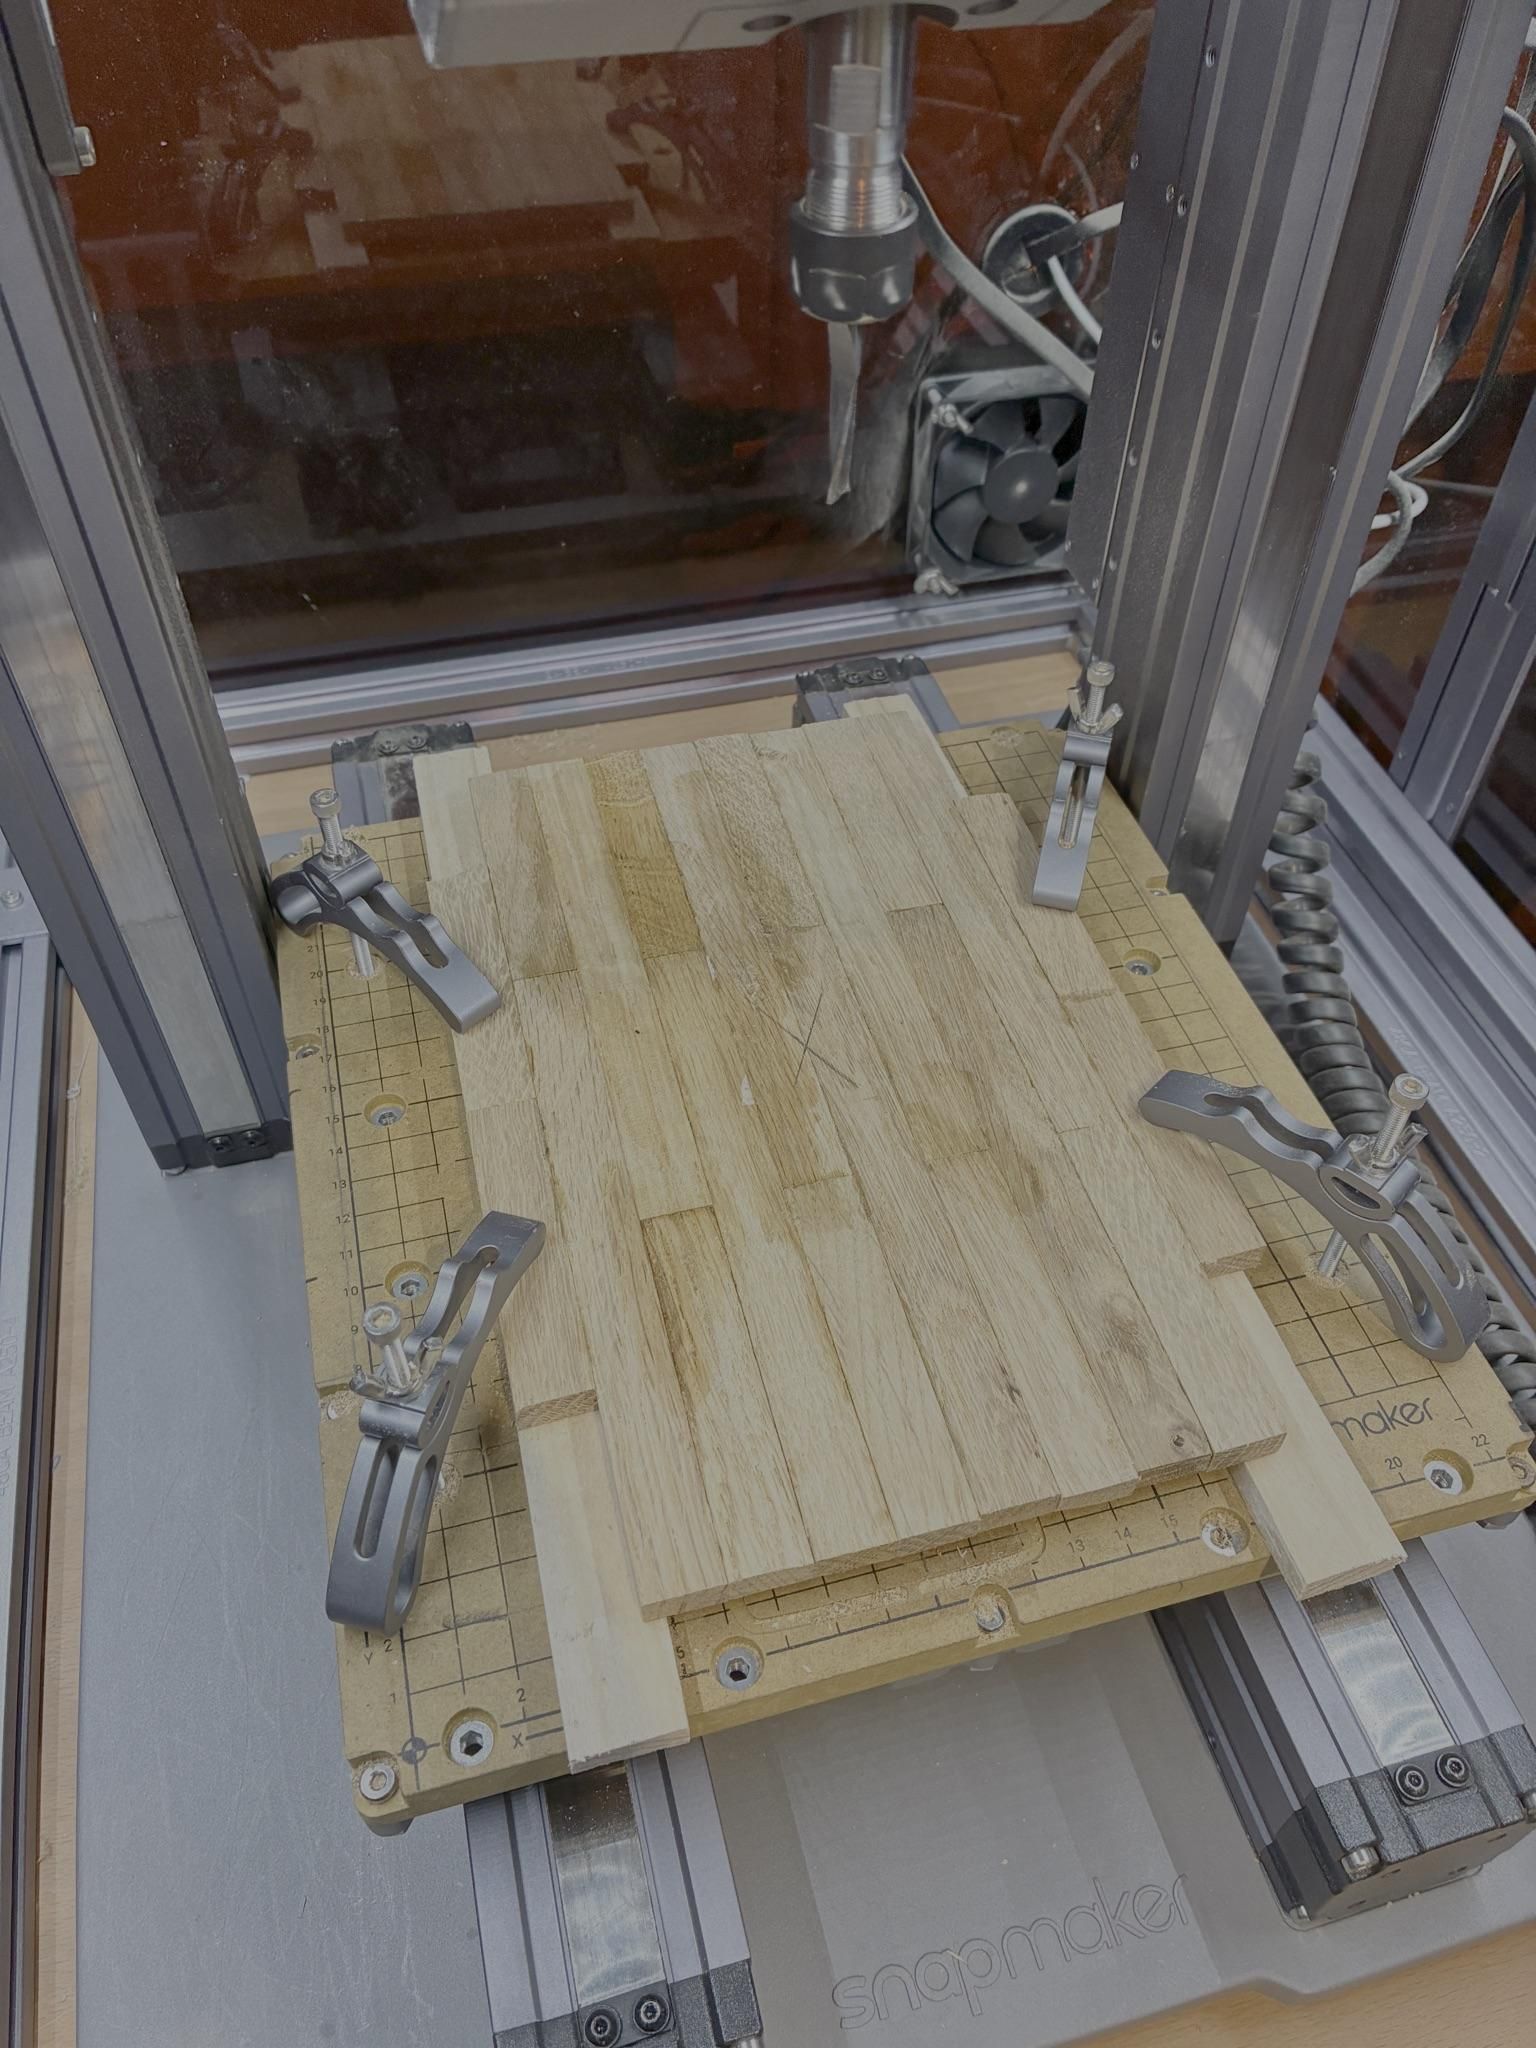
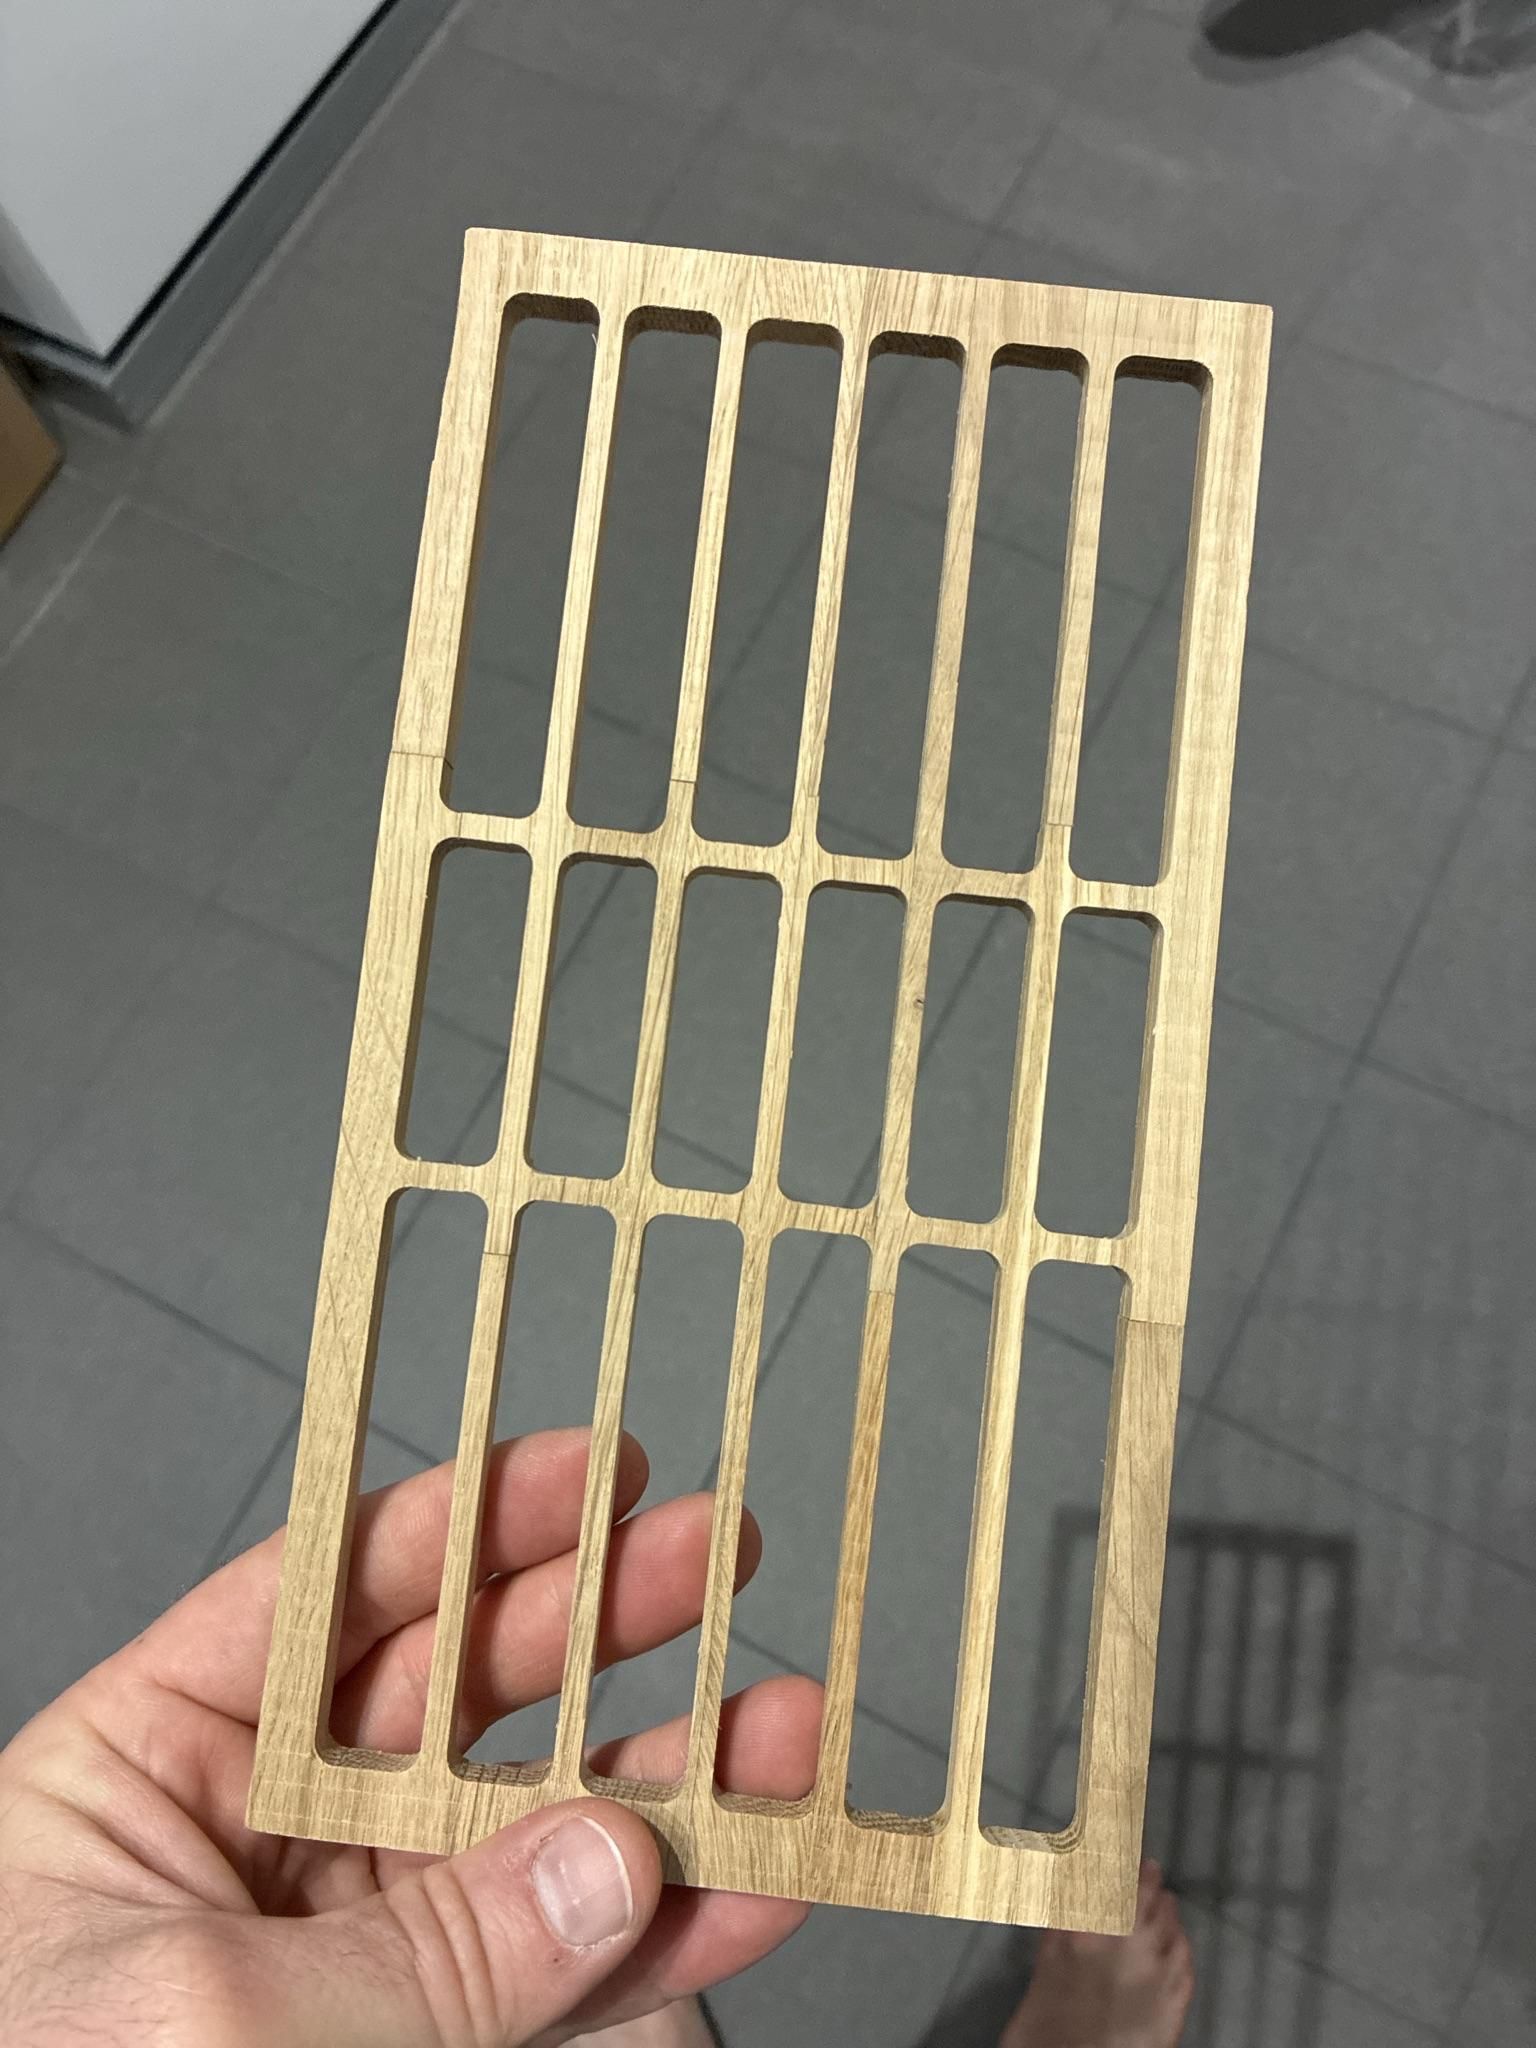
All decorative panels were CNC machined from the laminated oak blanks. This construction provides accurate alignment while keeping the design clean and minimal.
CNC machining allowed me to reproduce all decorative panels with identical dimensions and crisp details. The precise fit reduced manual adjustments during assembly and ensured that every panel was interchangeable.
Yakisugi Surface Treatment
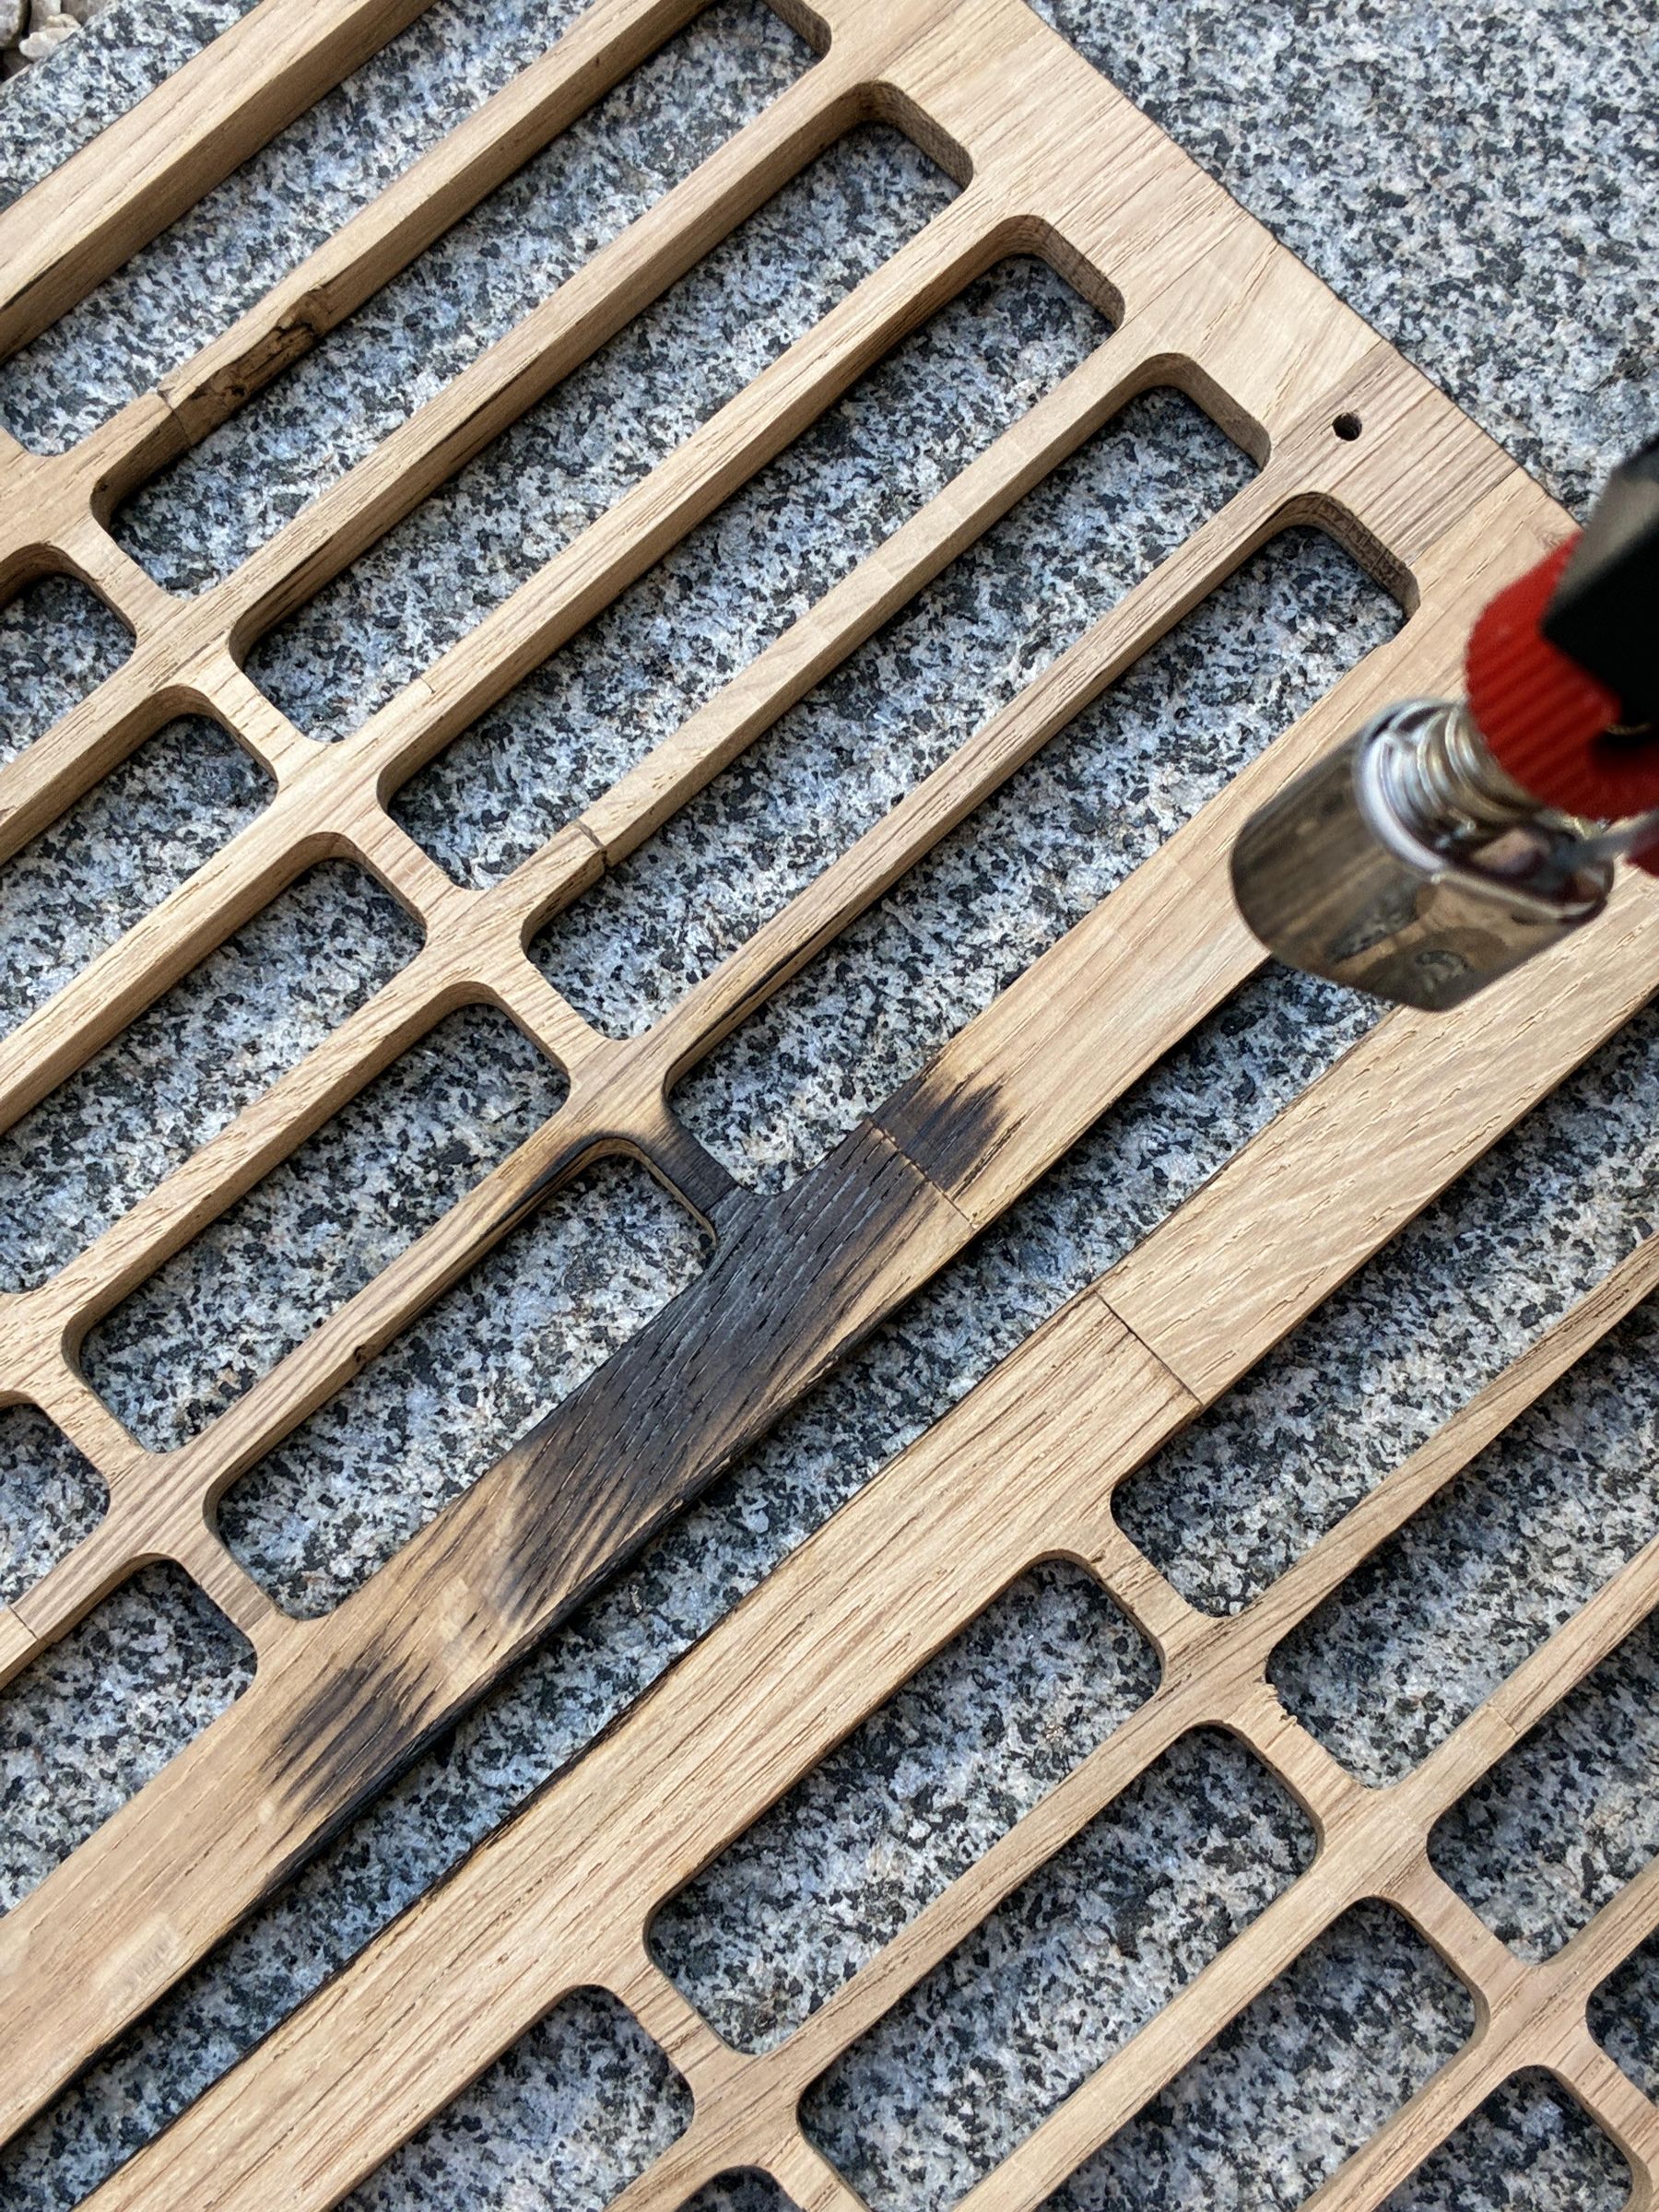
Before applying the finish, I lightly charred the oak using a propane torch. Rather than burning the wood deeply, the goal was to enhance the grain and create subtle contrast while preserving the crisp geometry of the CNC-machined parts.
After brushing away the loose carbon, the surface revealed a beautiful texture that highlights the natural structure of the oak.
Surface Finish
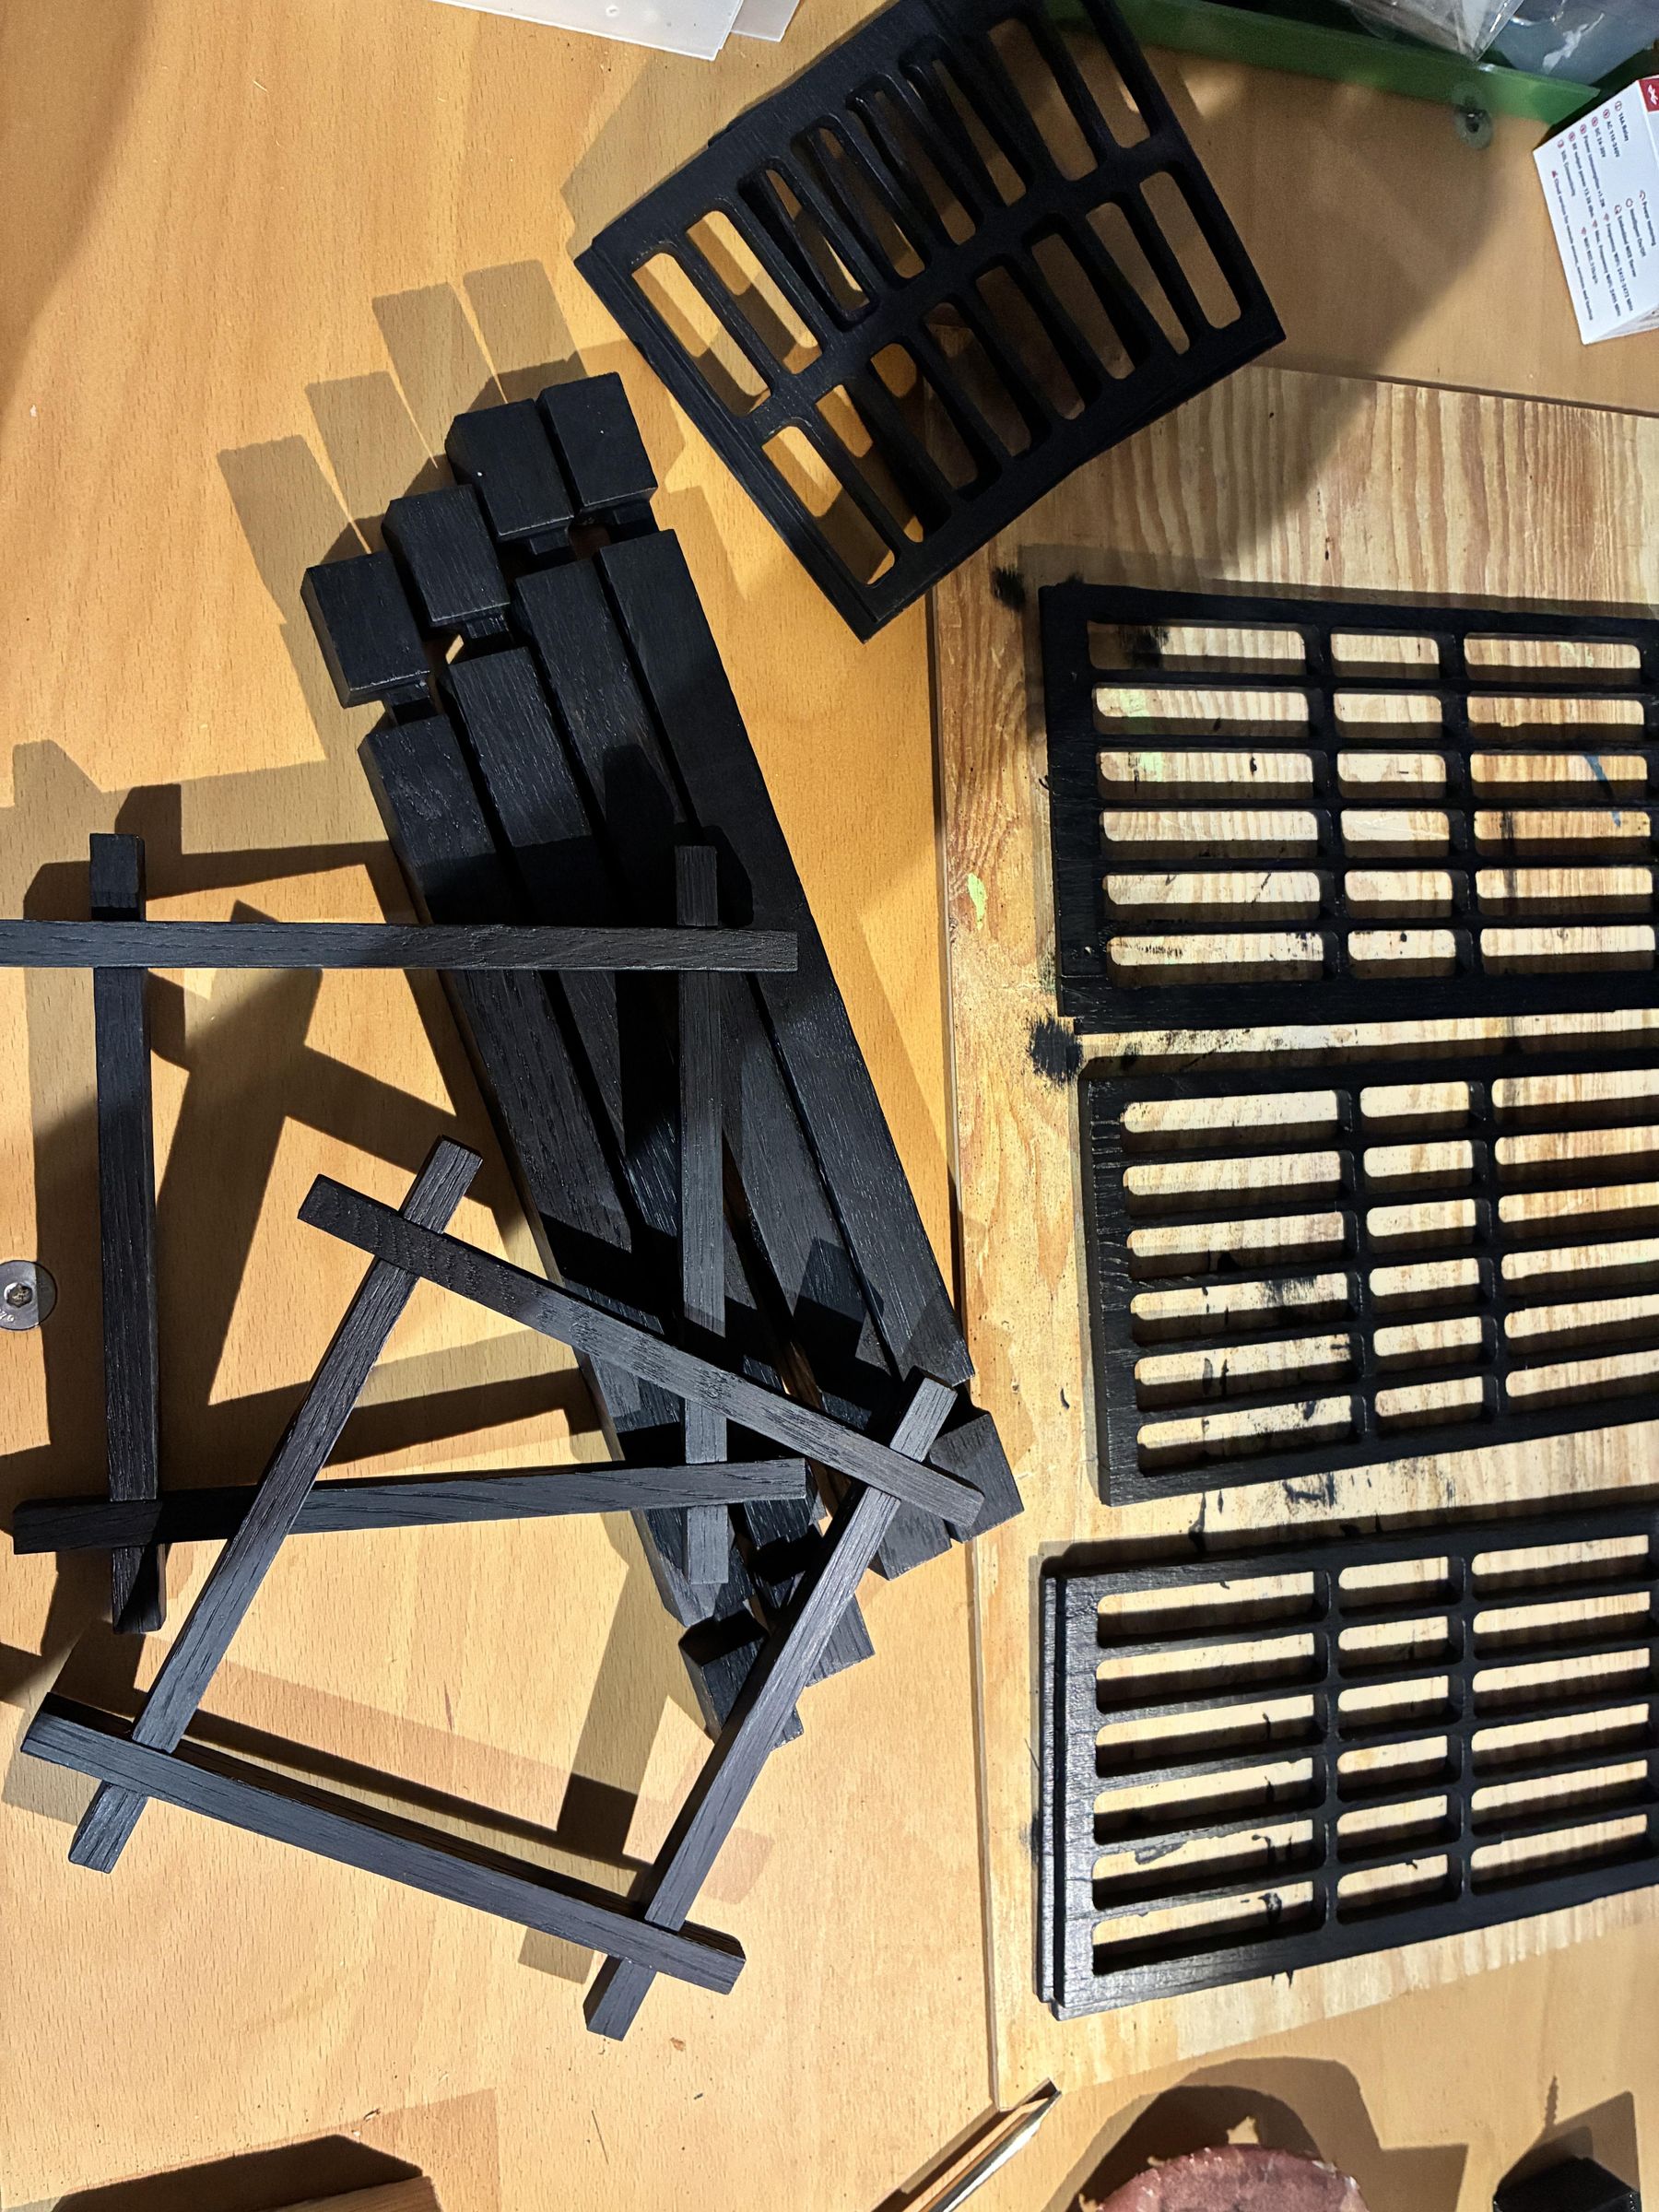
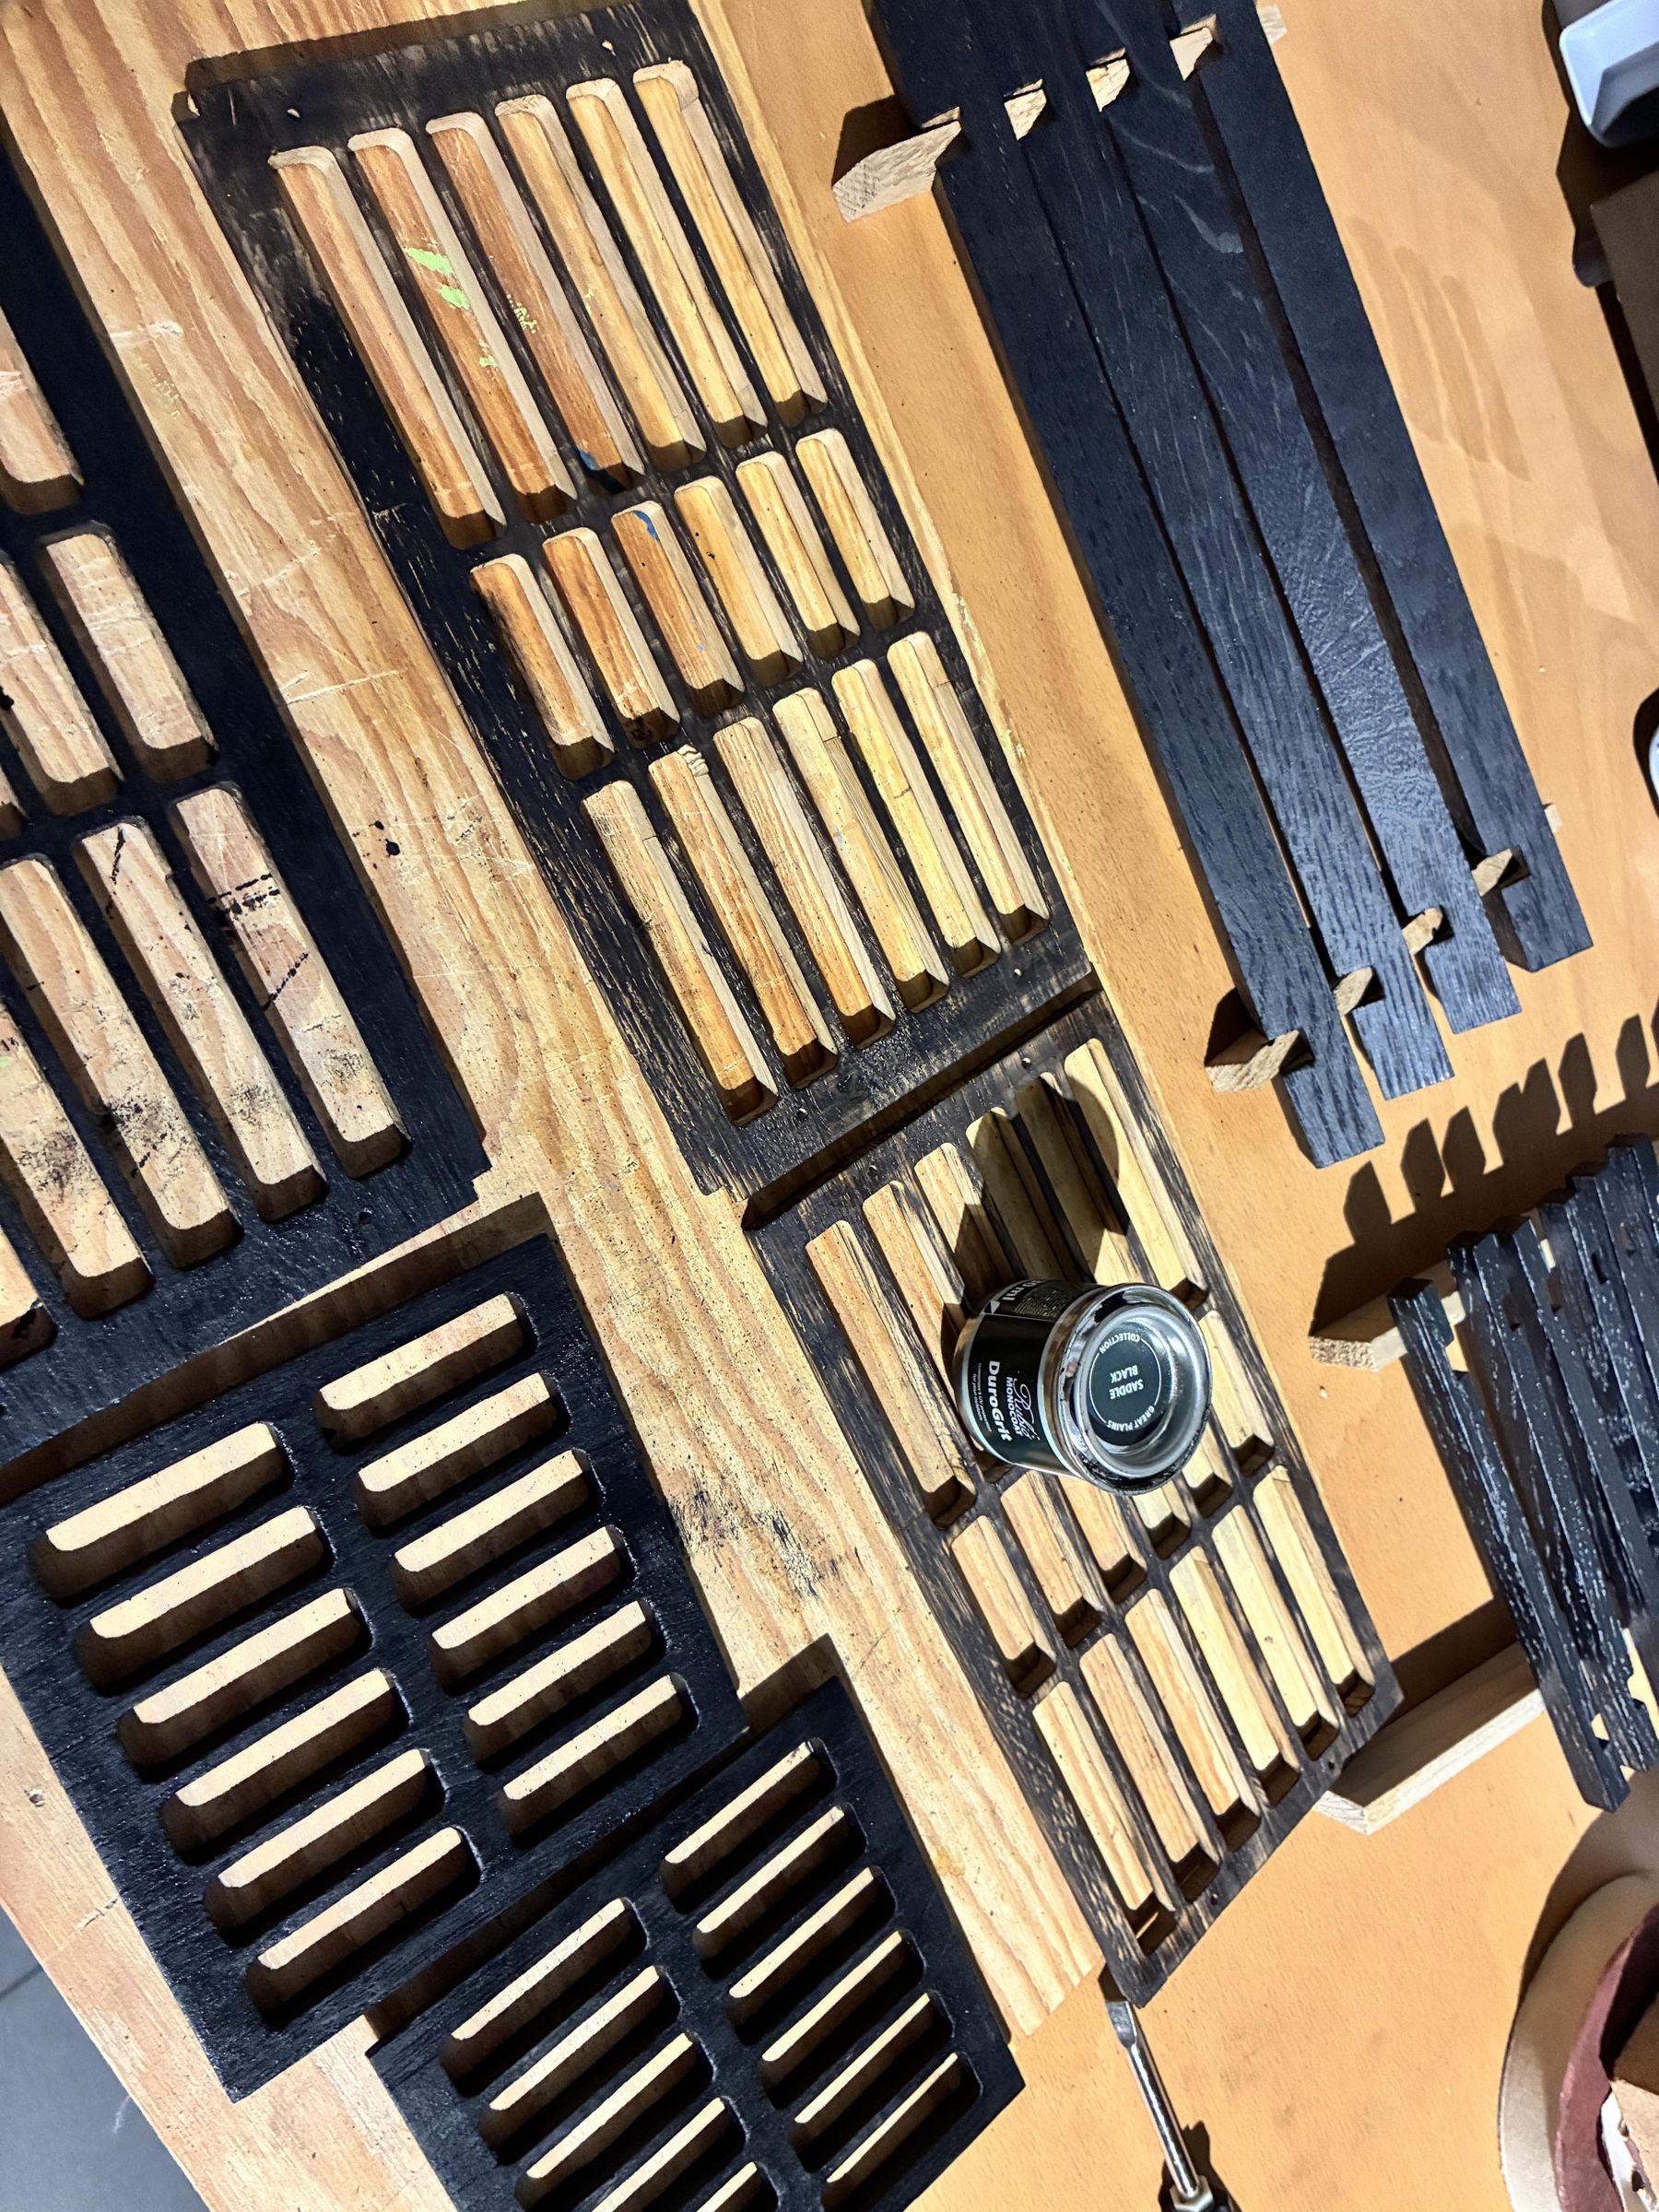
I finished the oak using Rubio Monocoat, which enhances the natural grain while providing excellent protection for outdoor use.
Preparing the Acrylic Diffusor Sheets
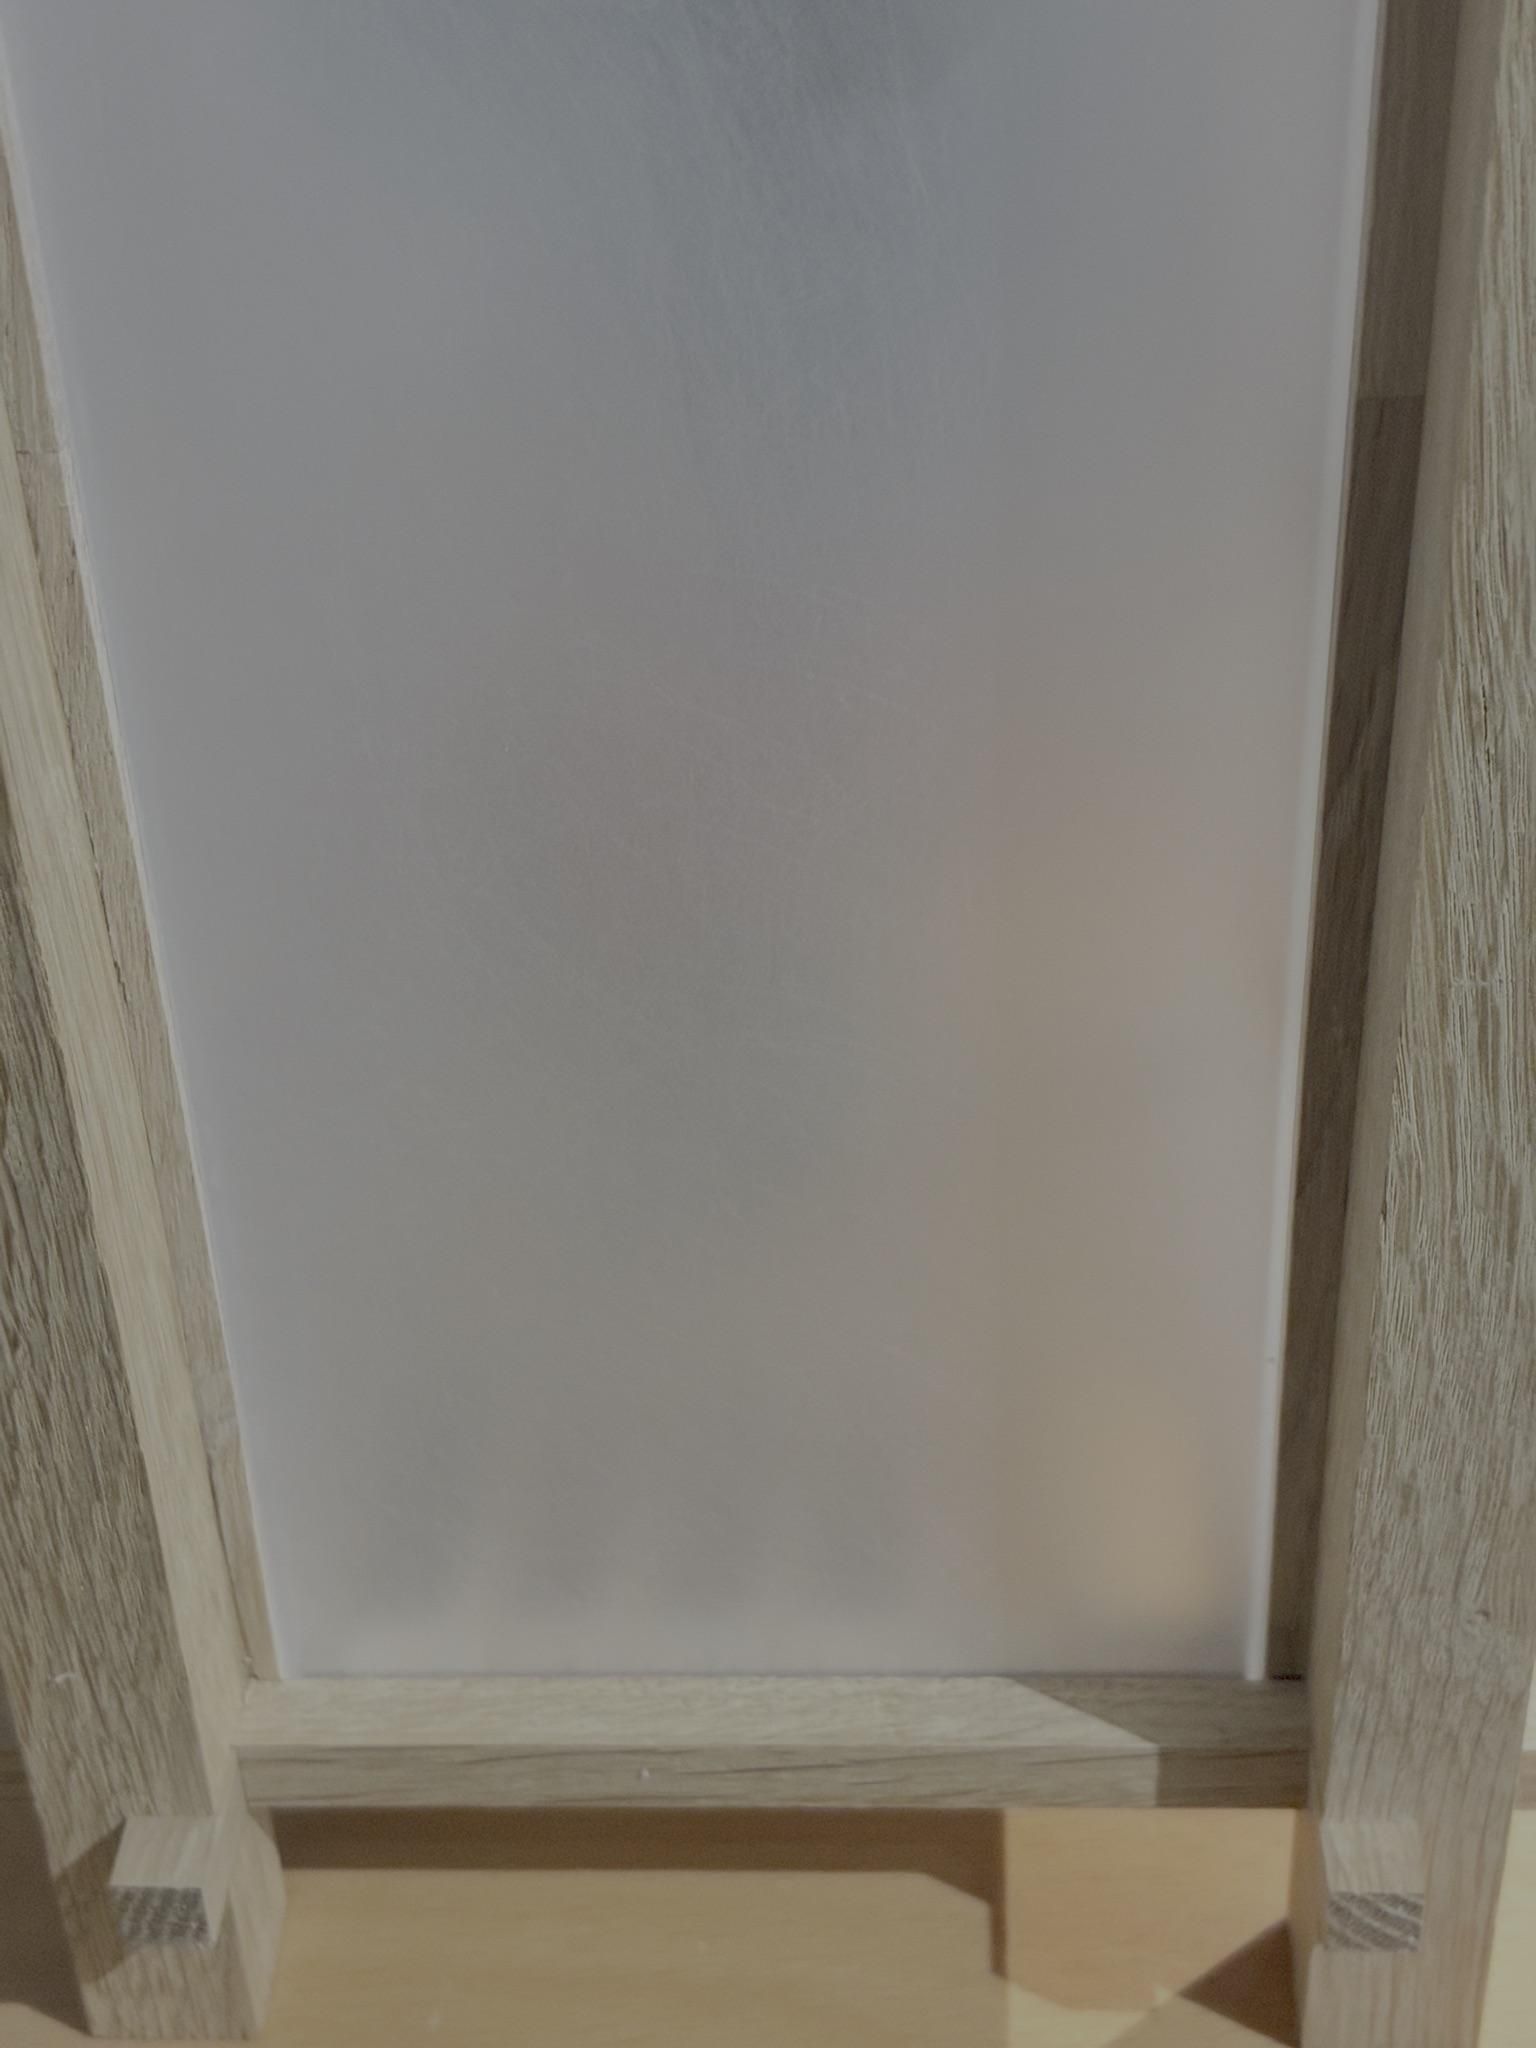
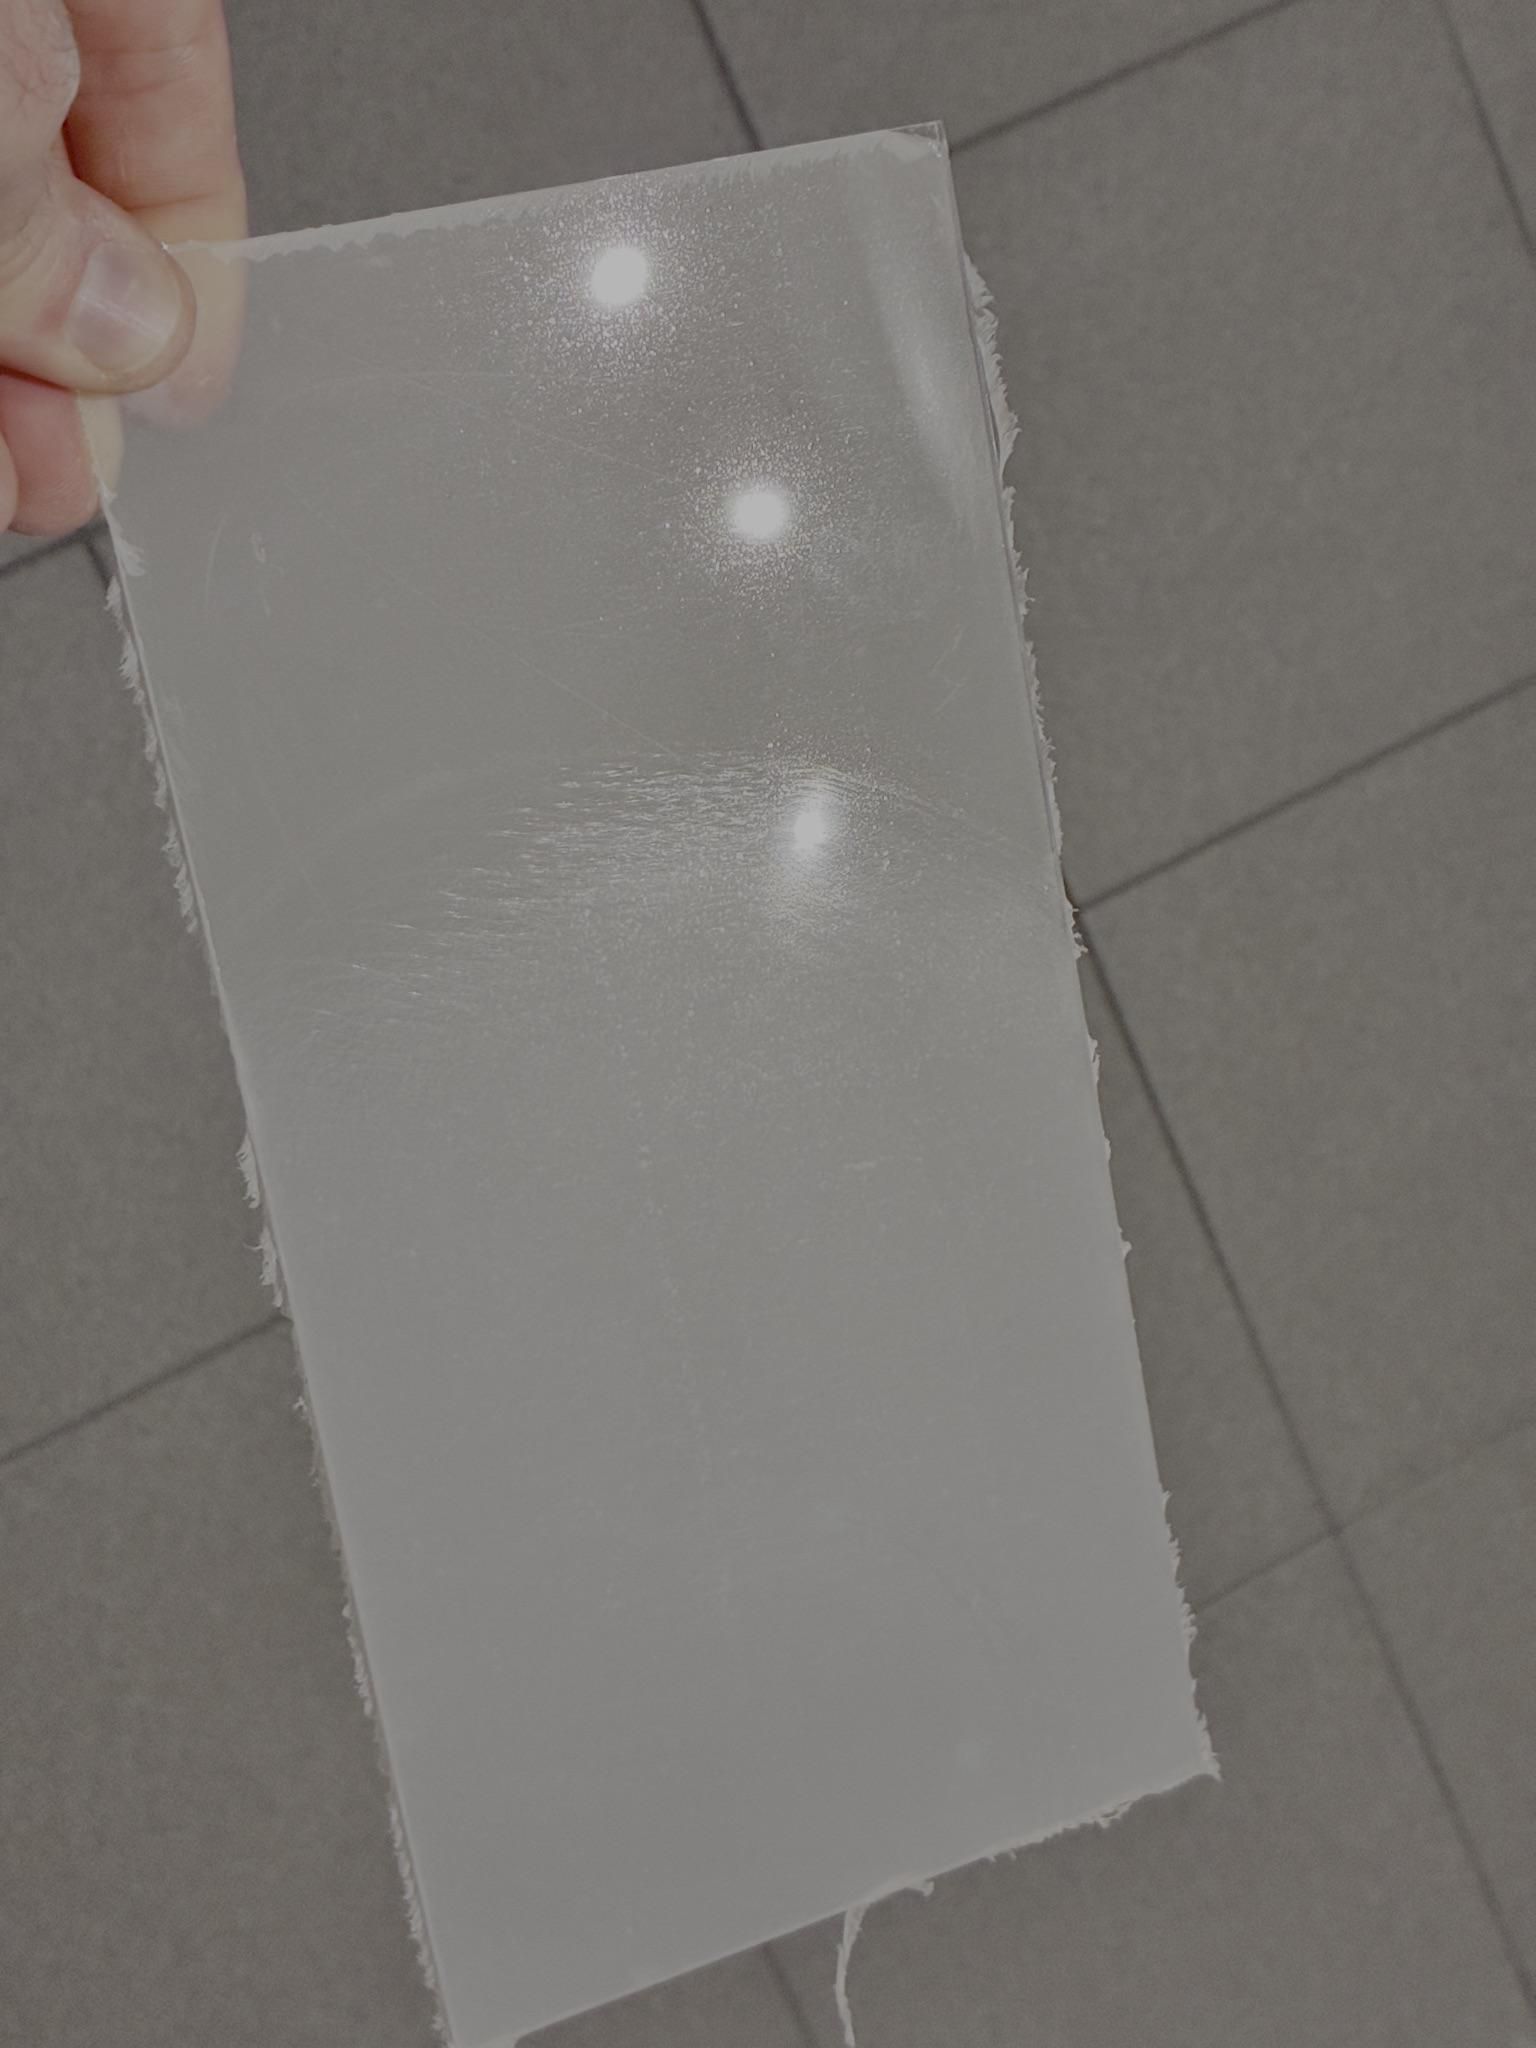
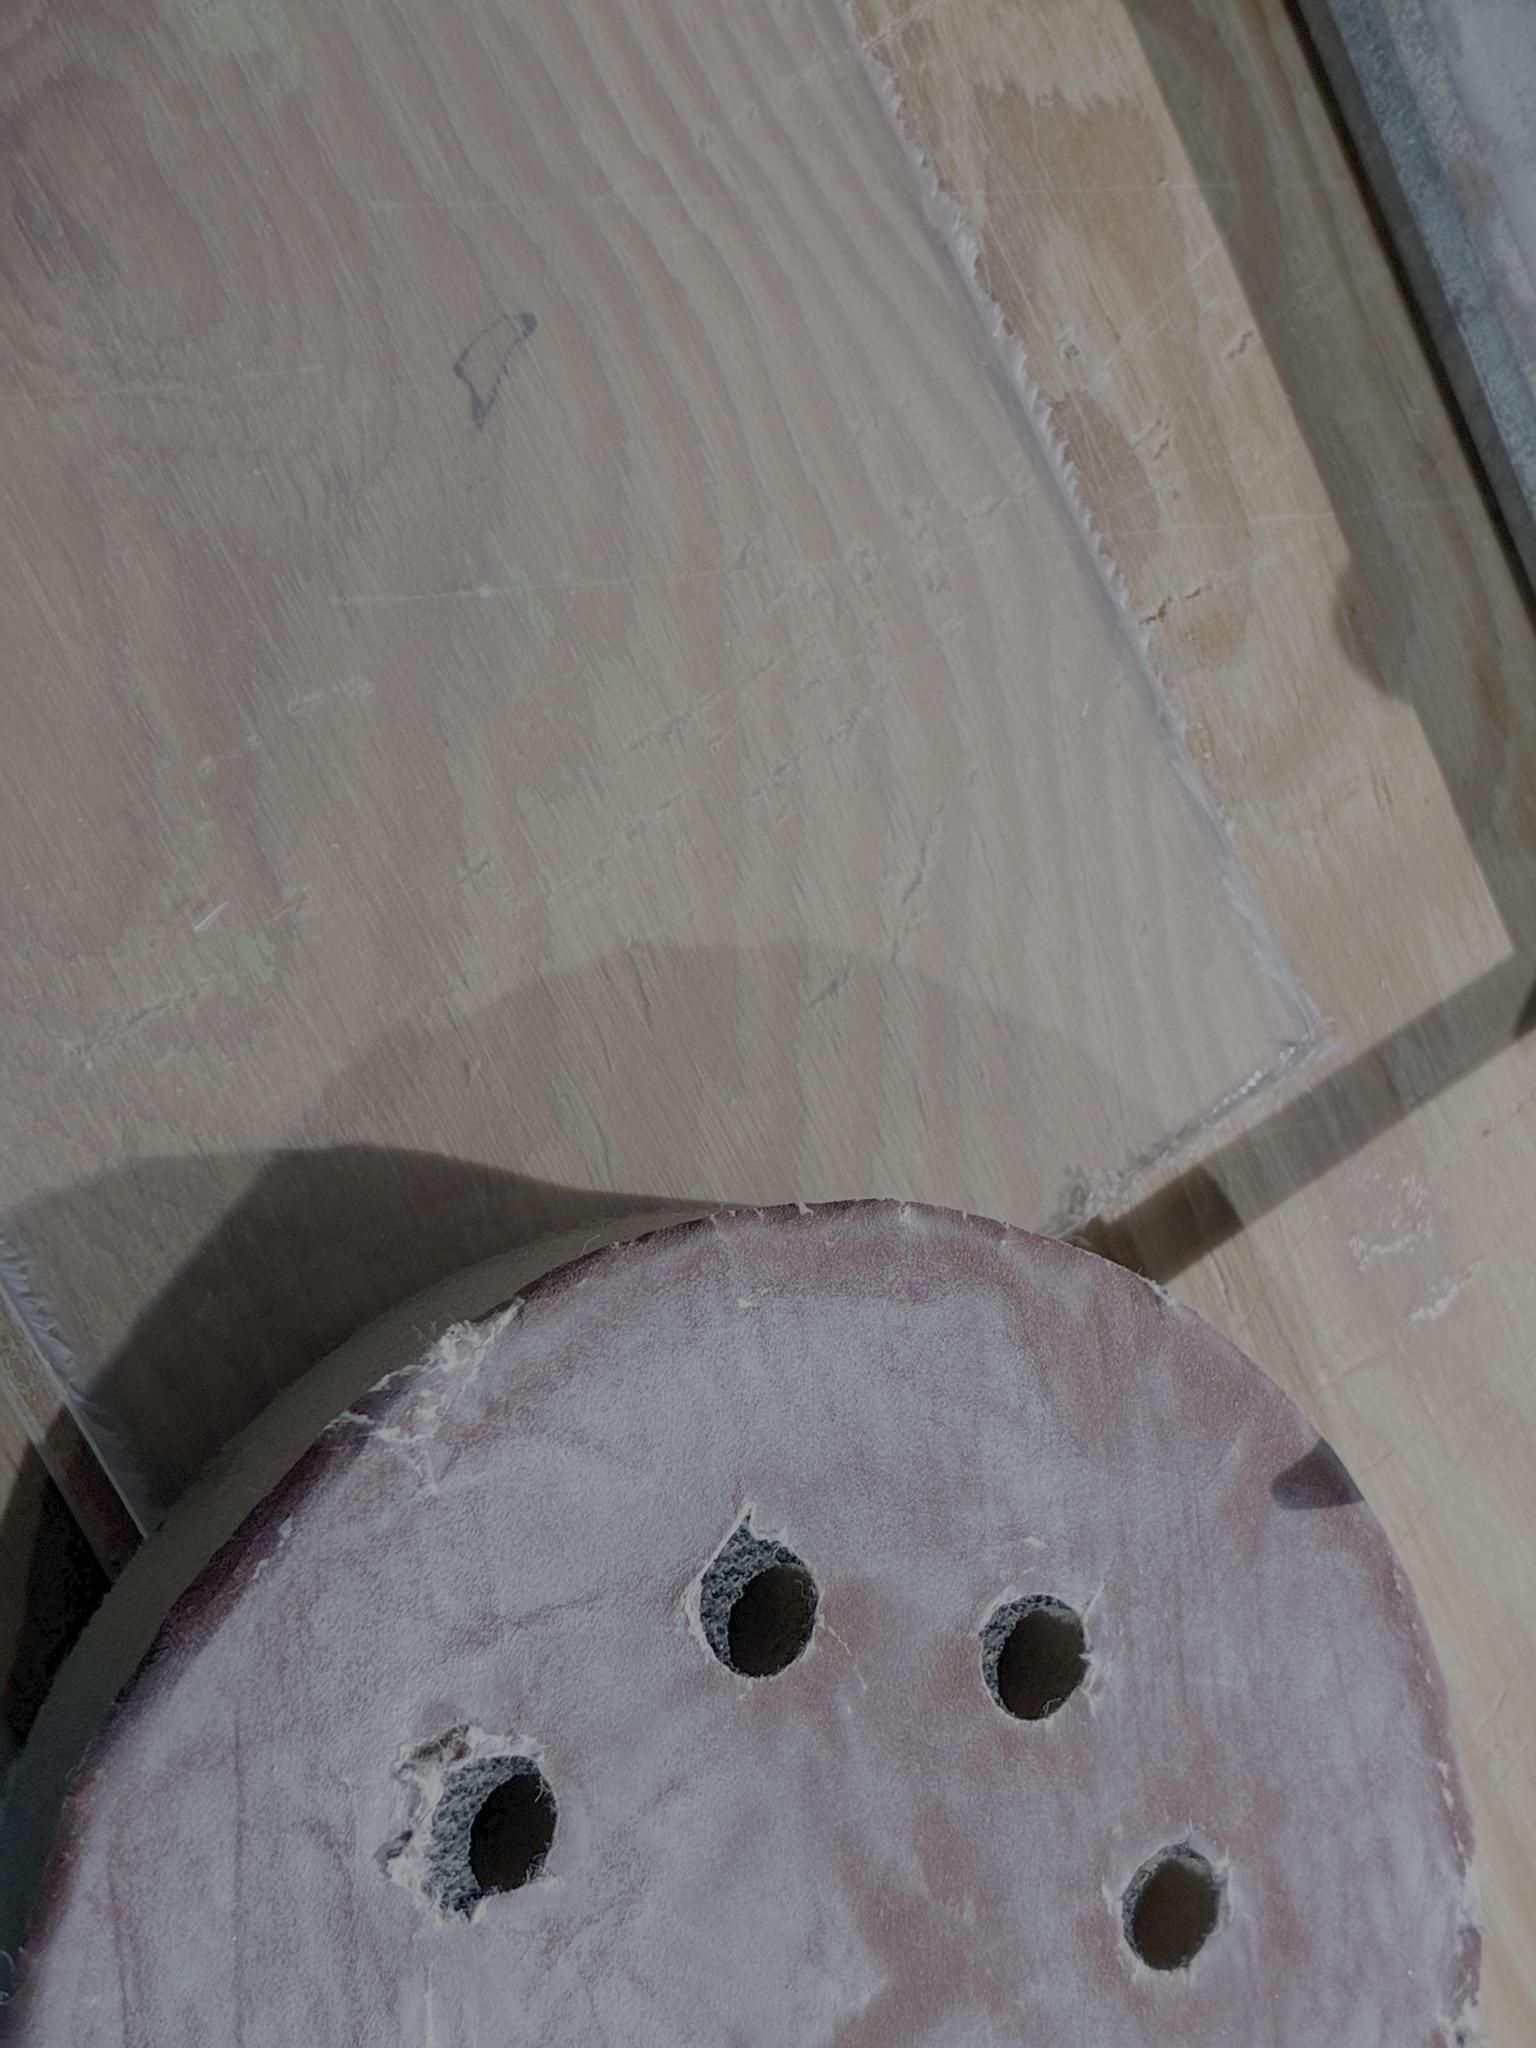
In order to have a frosted look and covering up the lightning setup, I decided to use acrylic sheets of 2 mm thickness, that I sanded with a 240 paper for a frosted look. The dimensions of the sheets were again cut by CNC and an appropriate bit.
Assembly and Wall Fixation
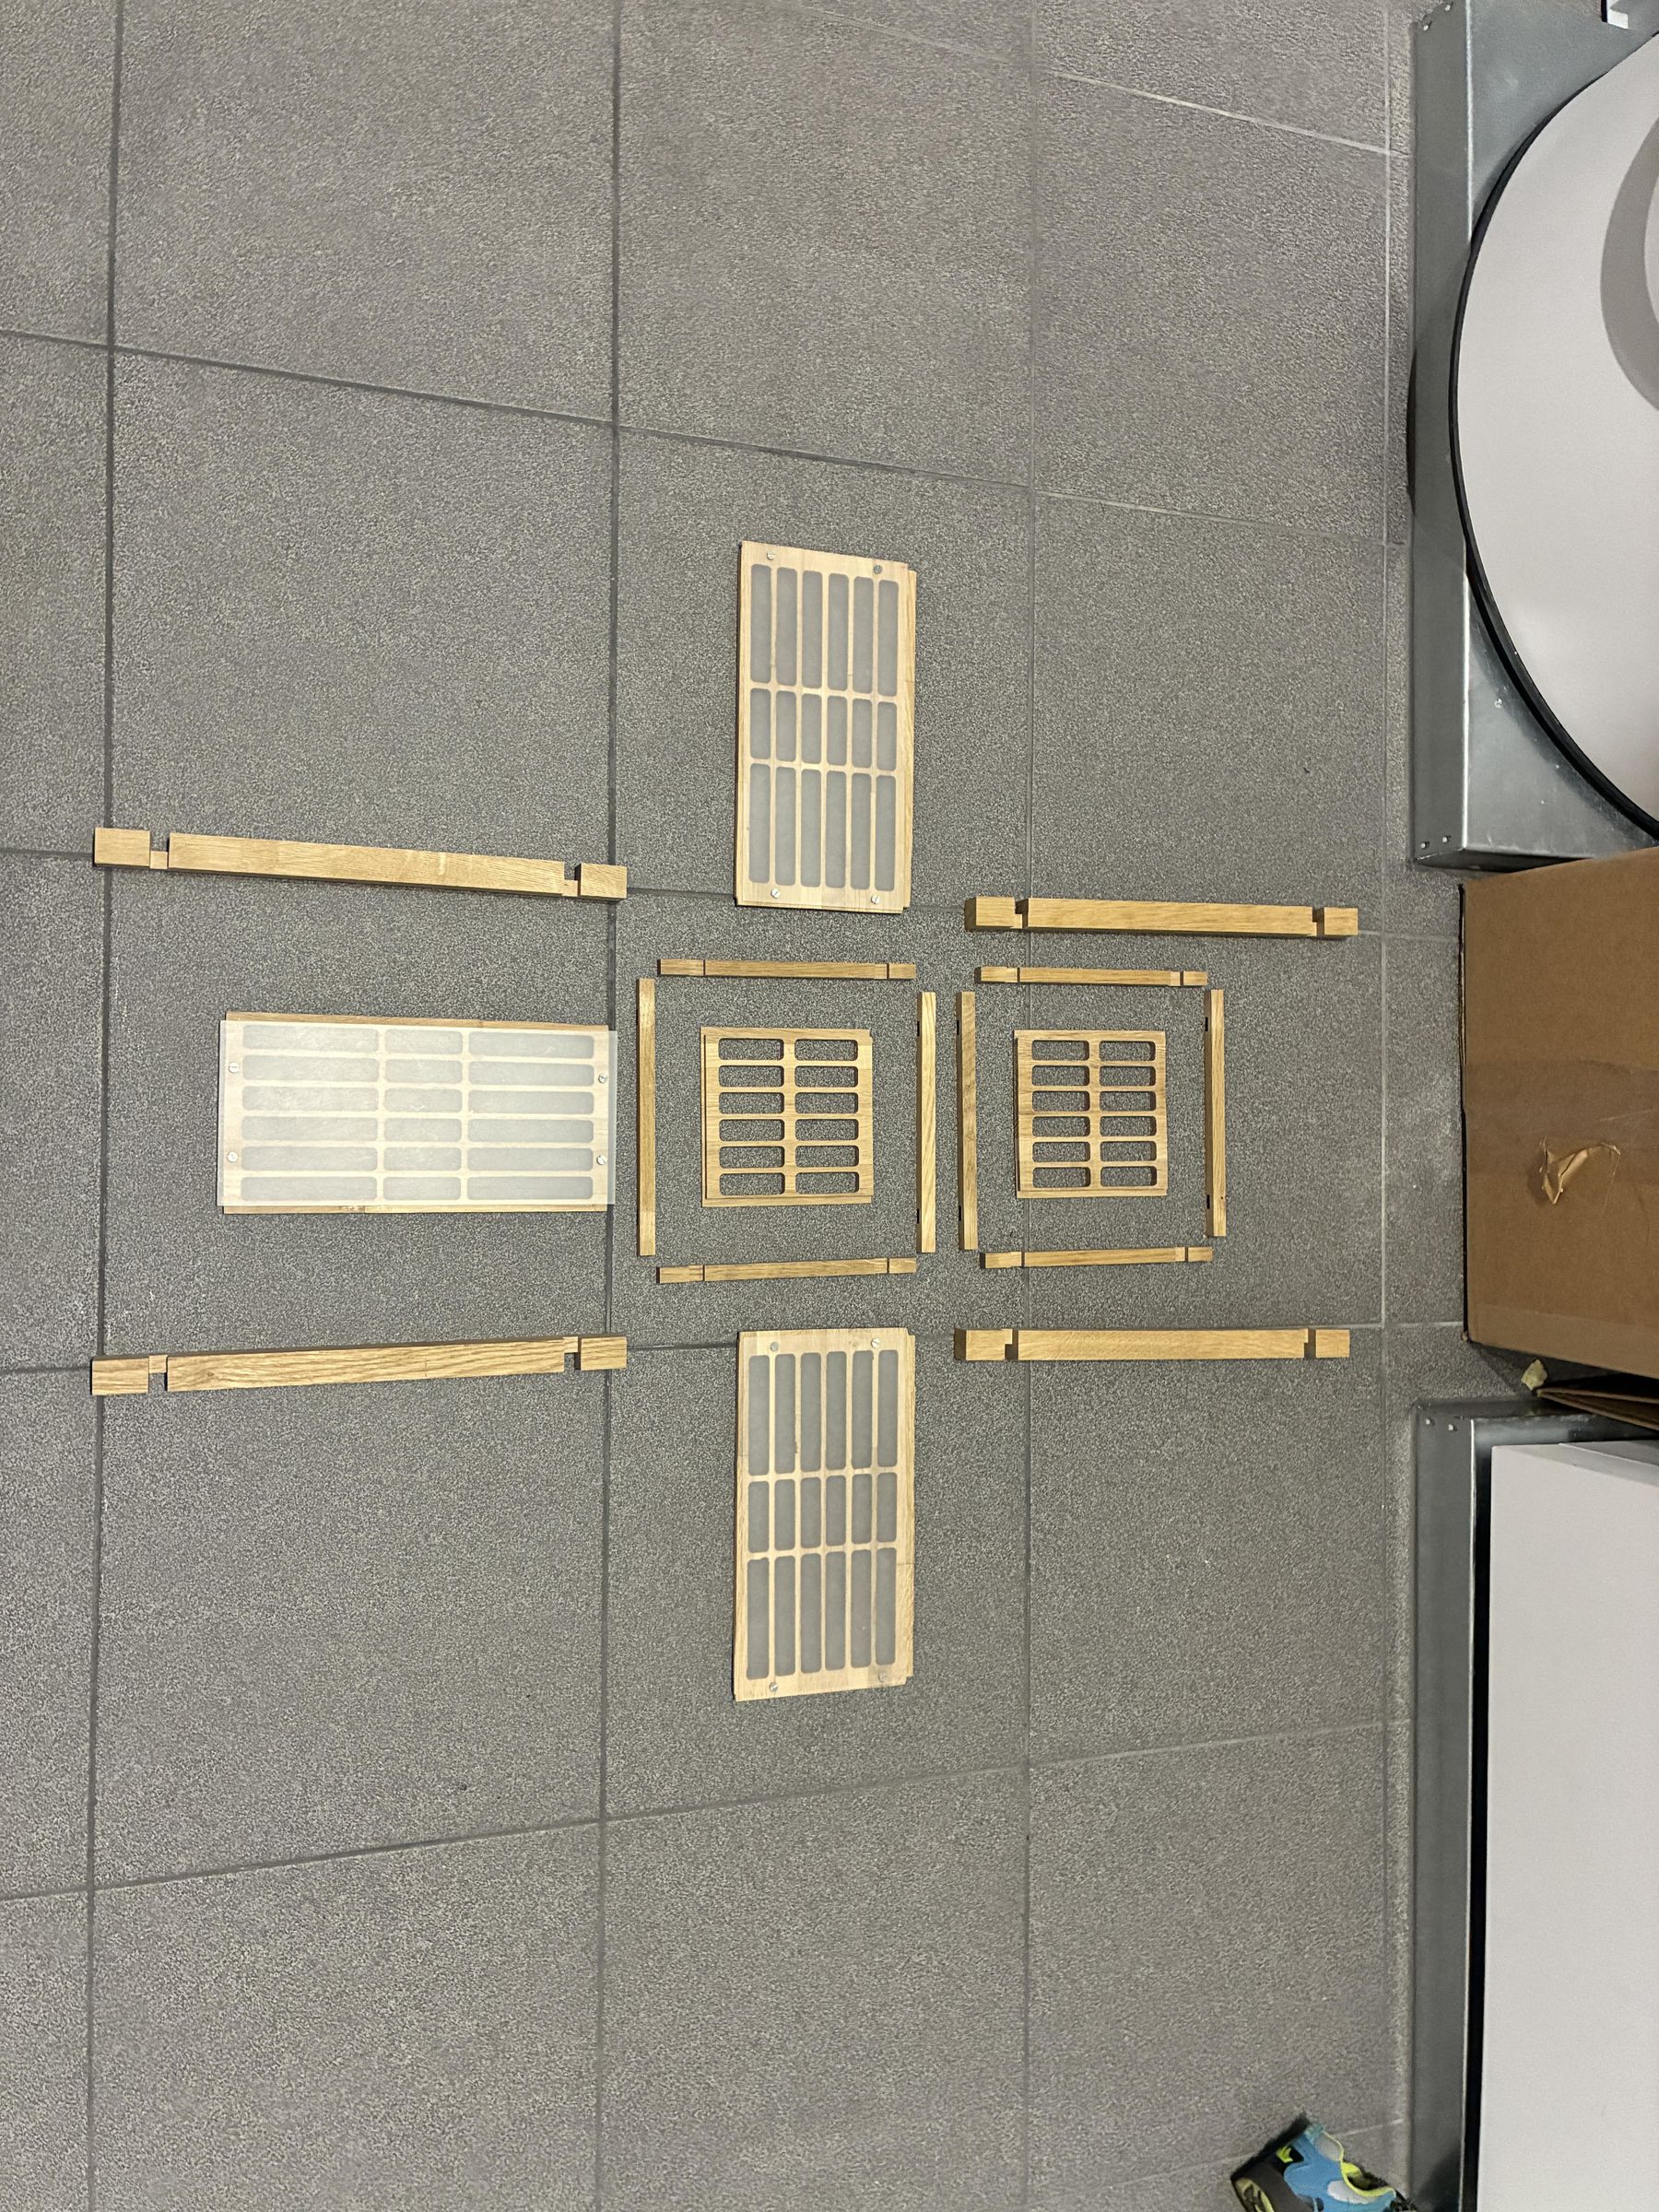
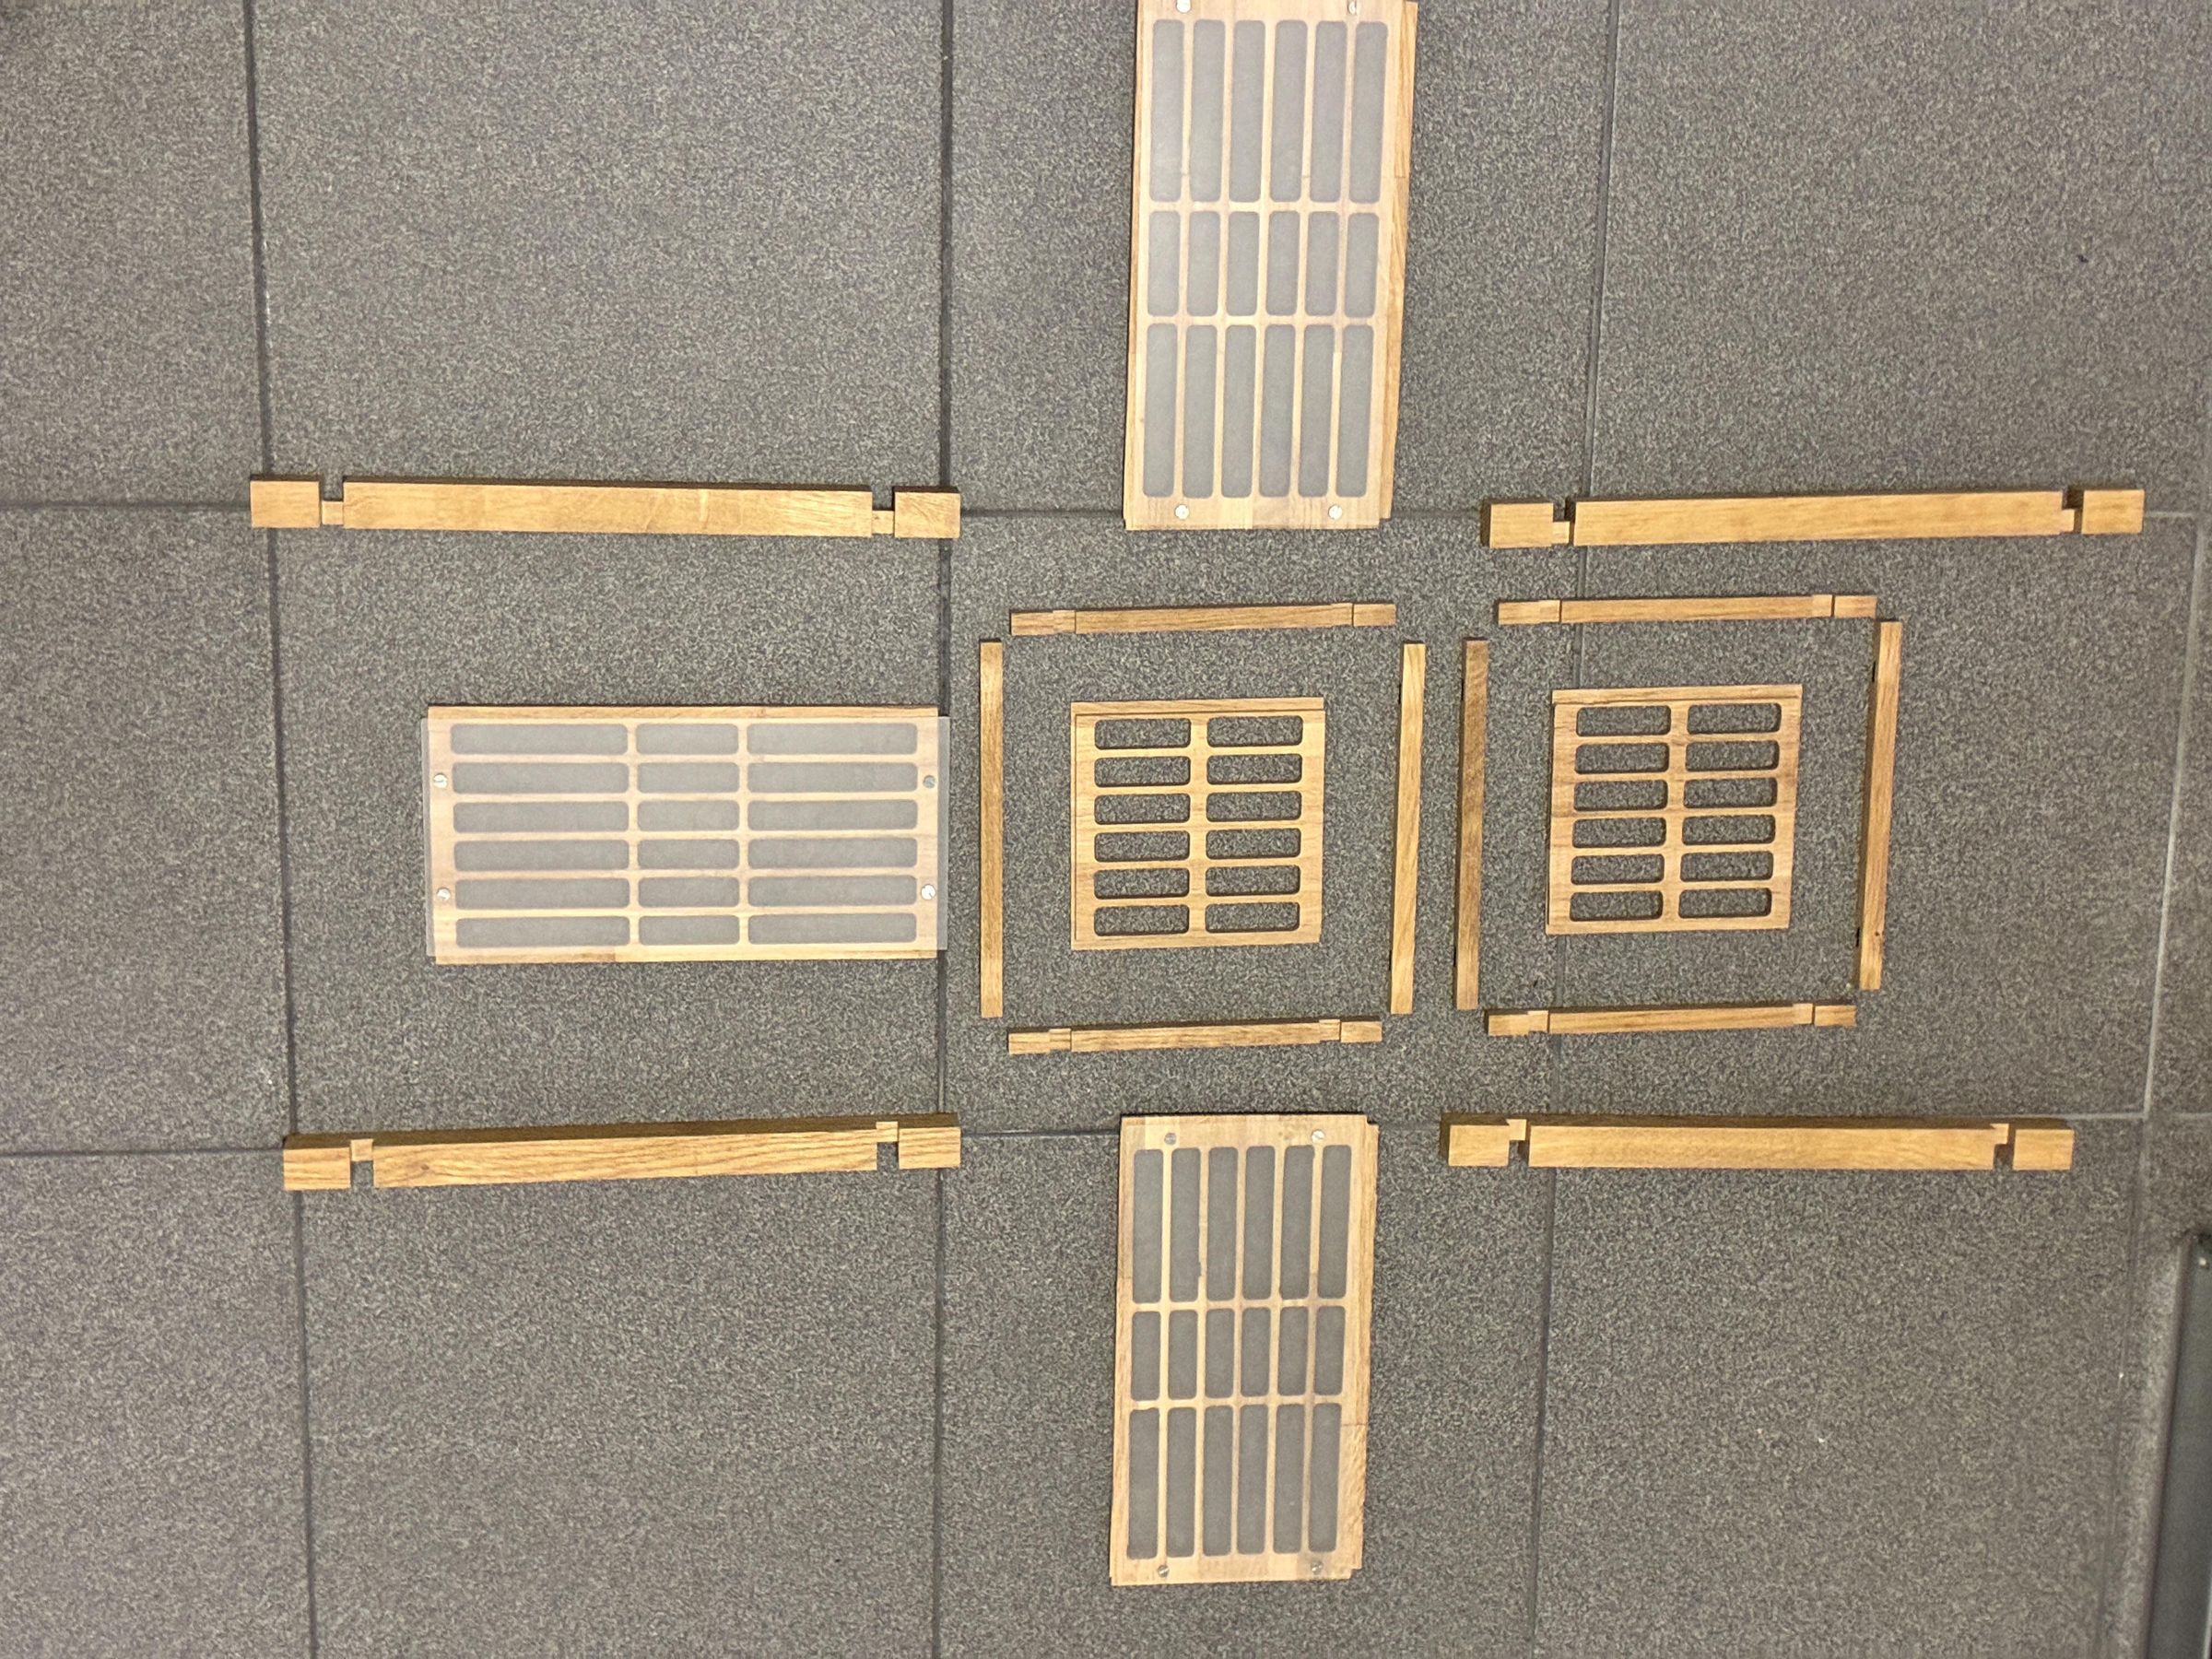
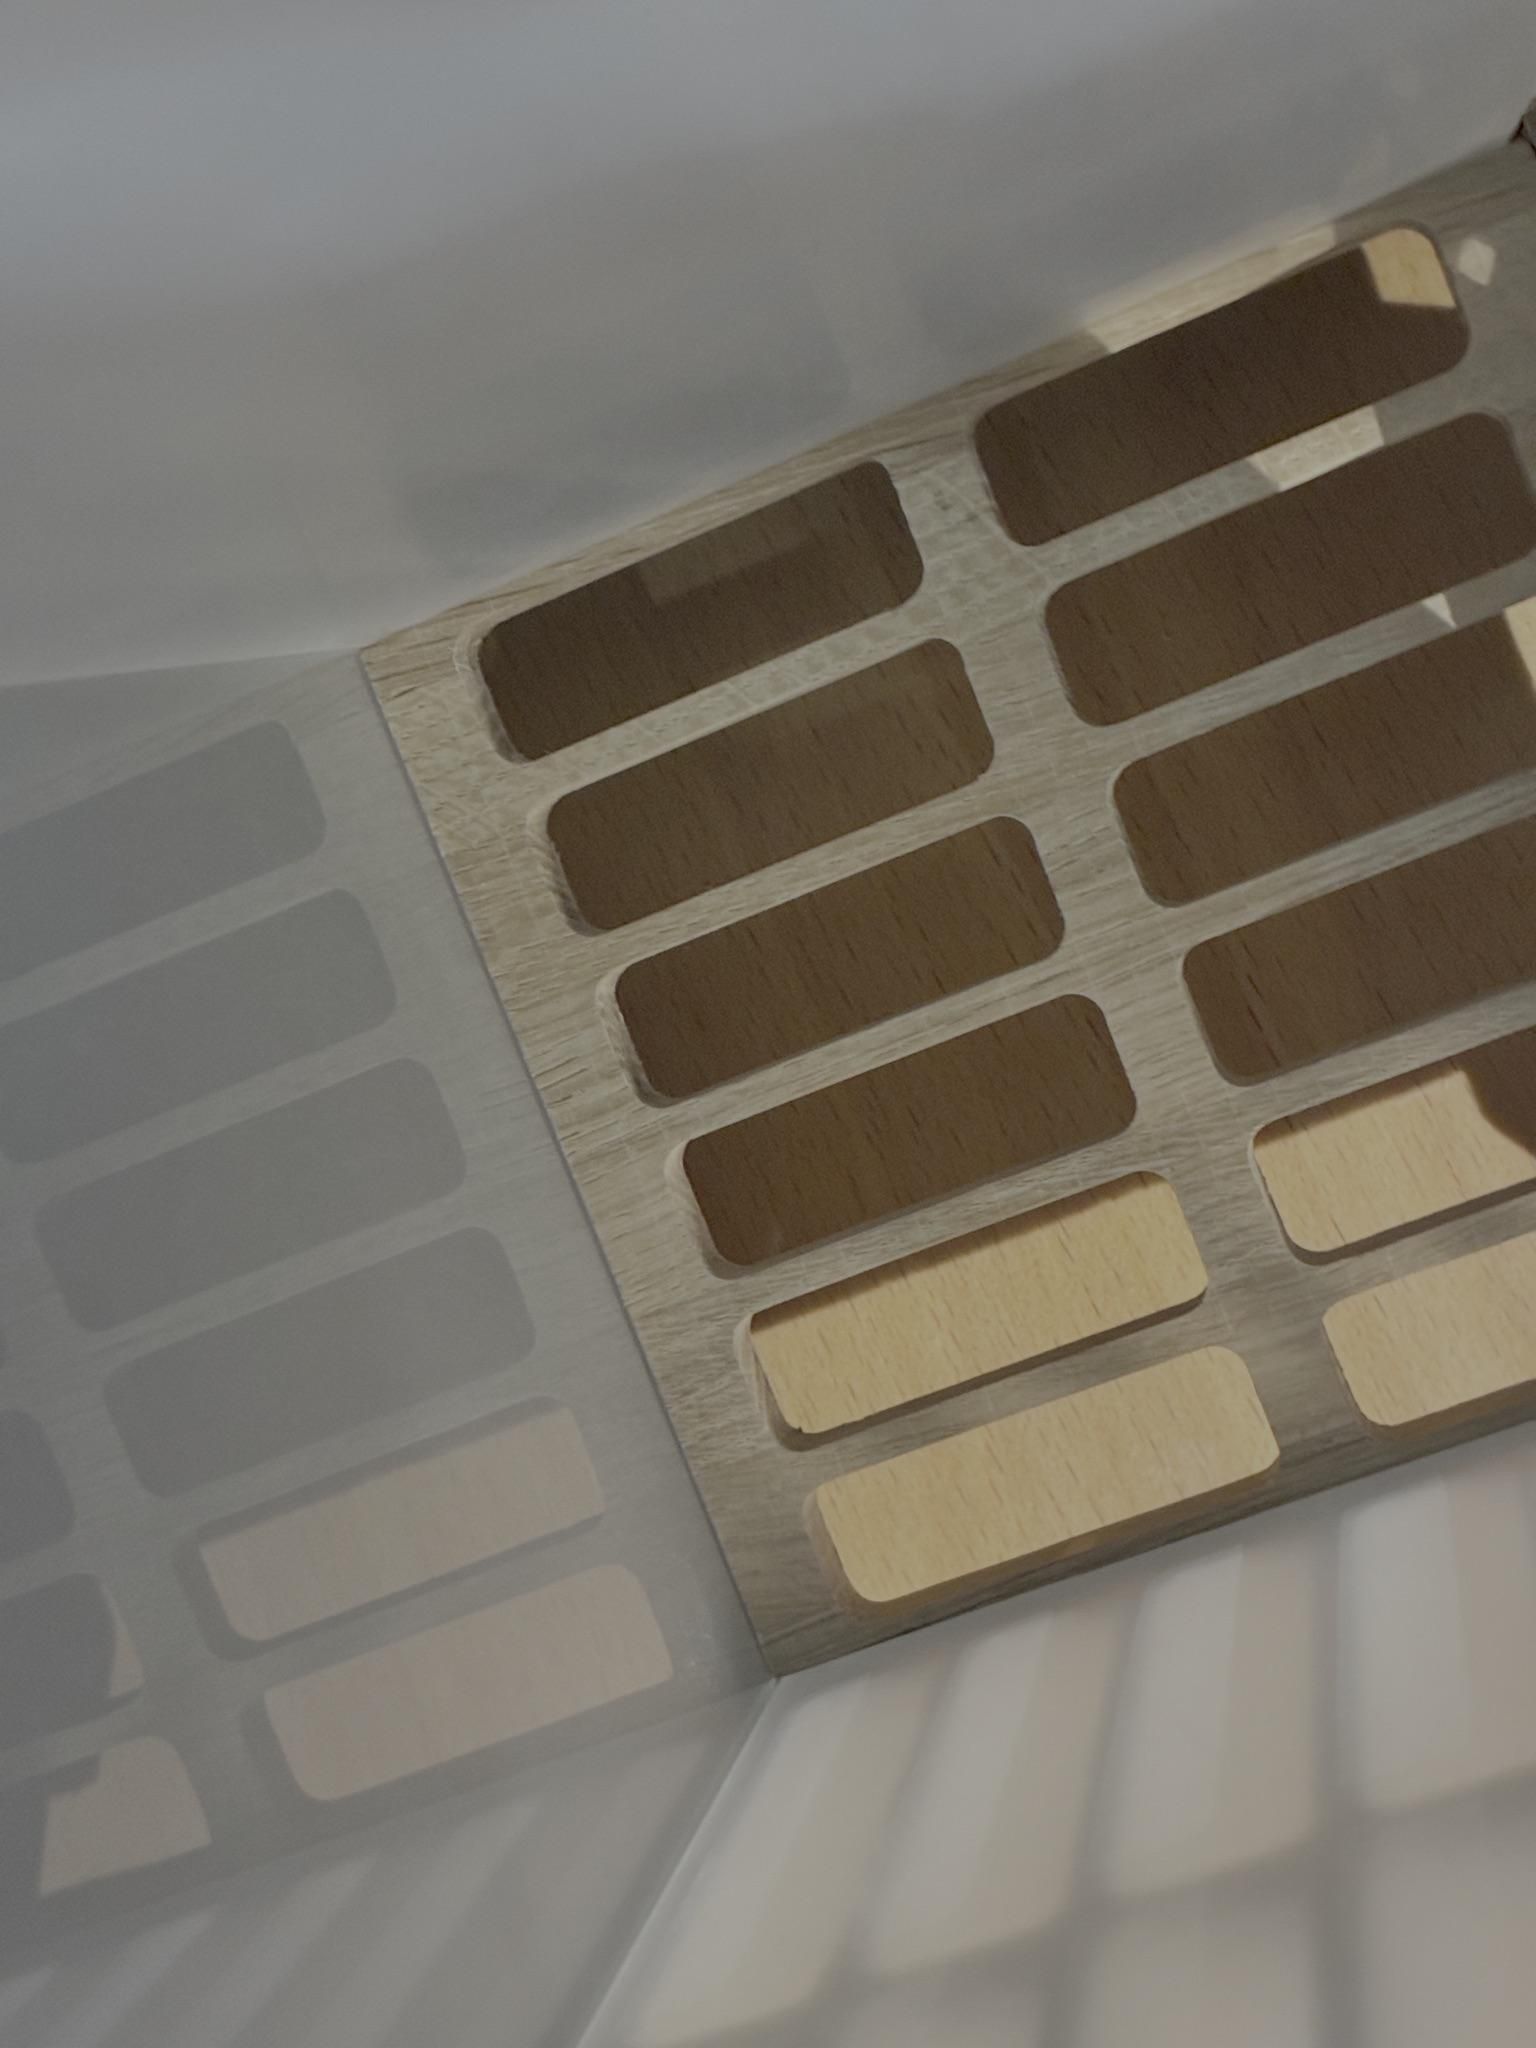
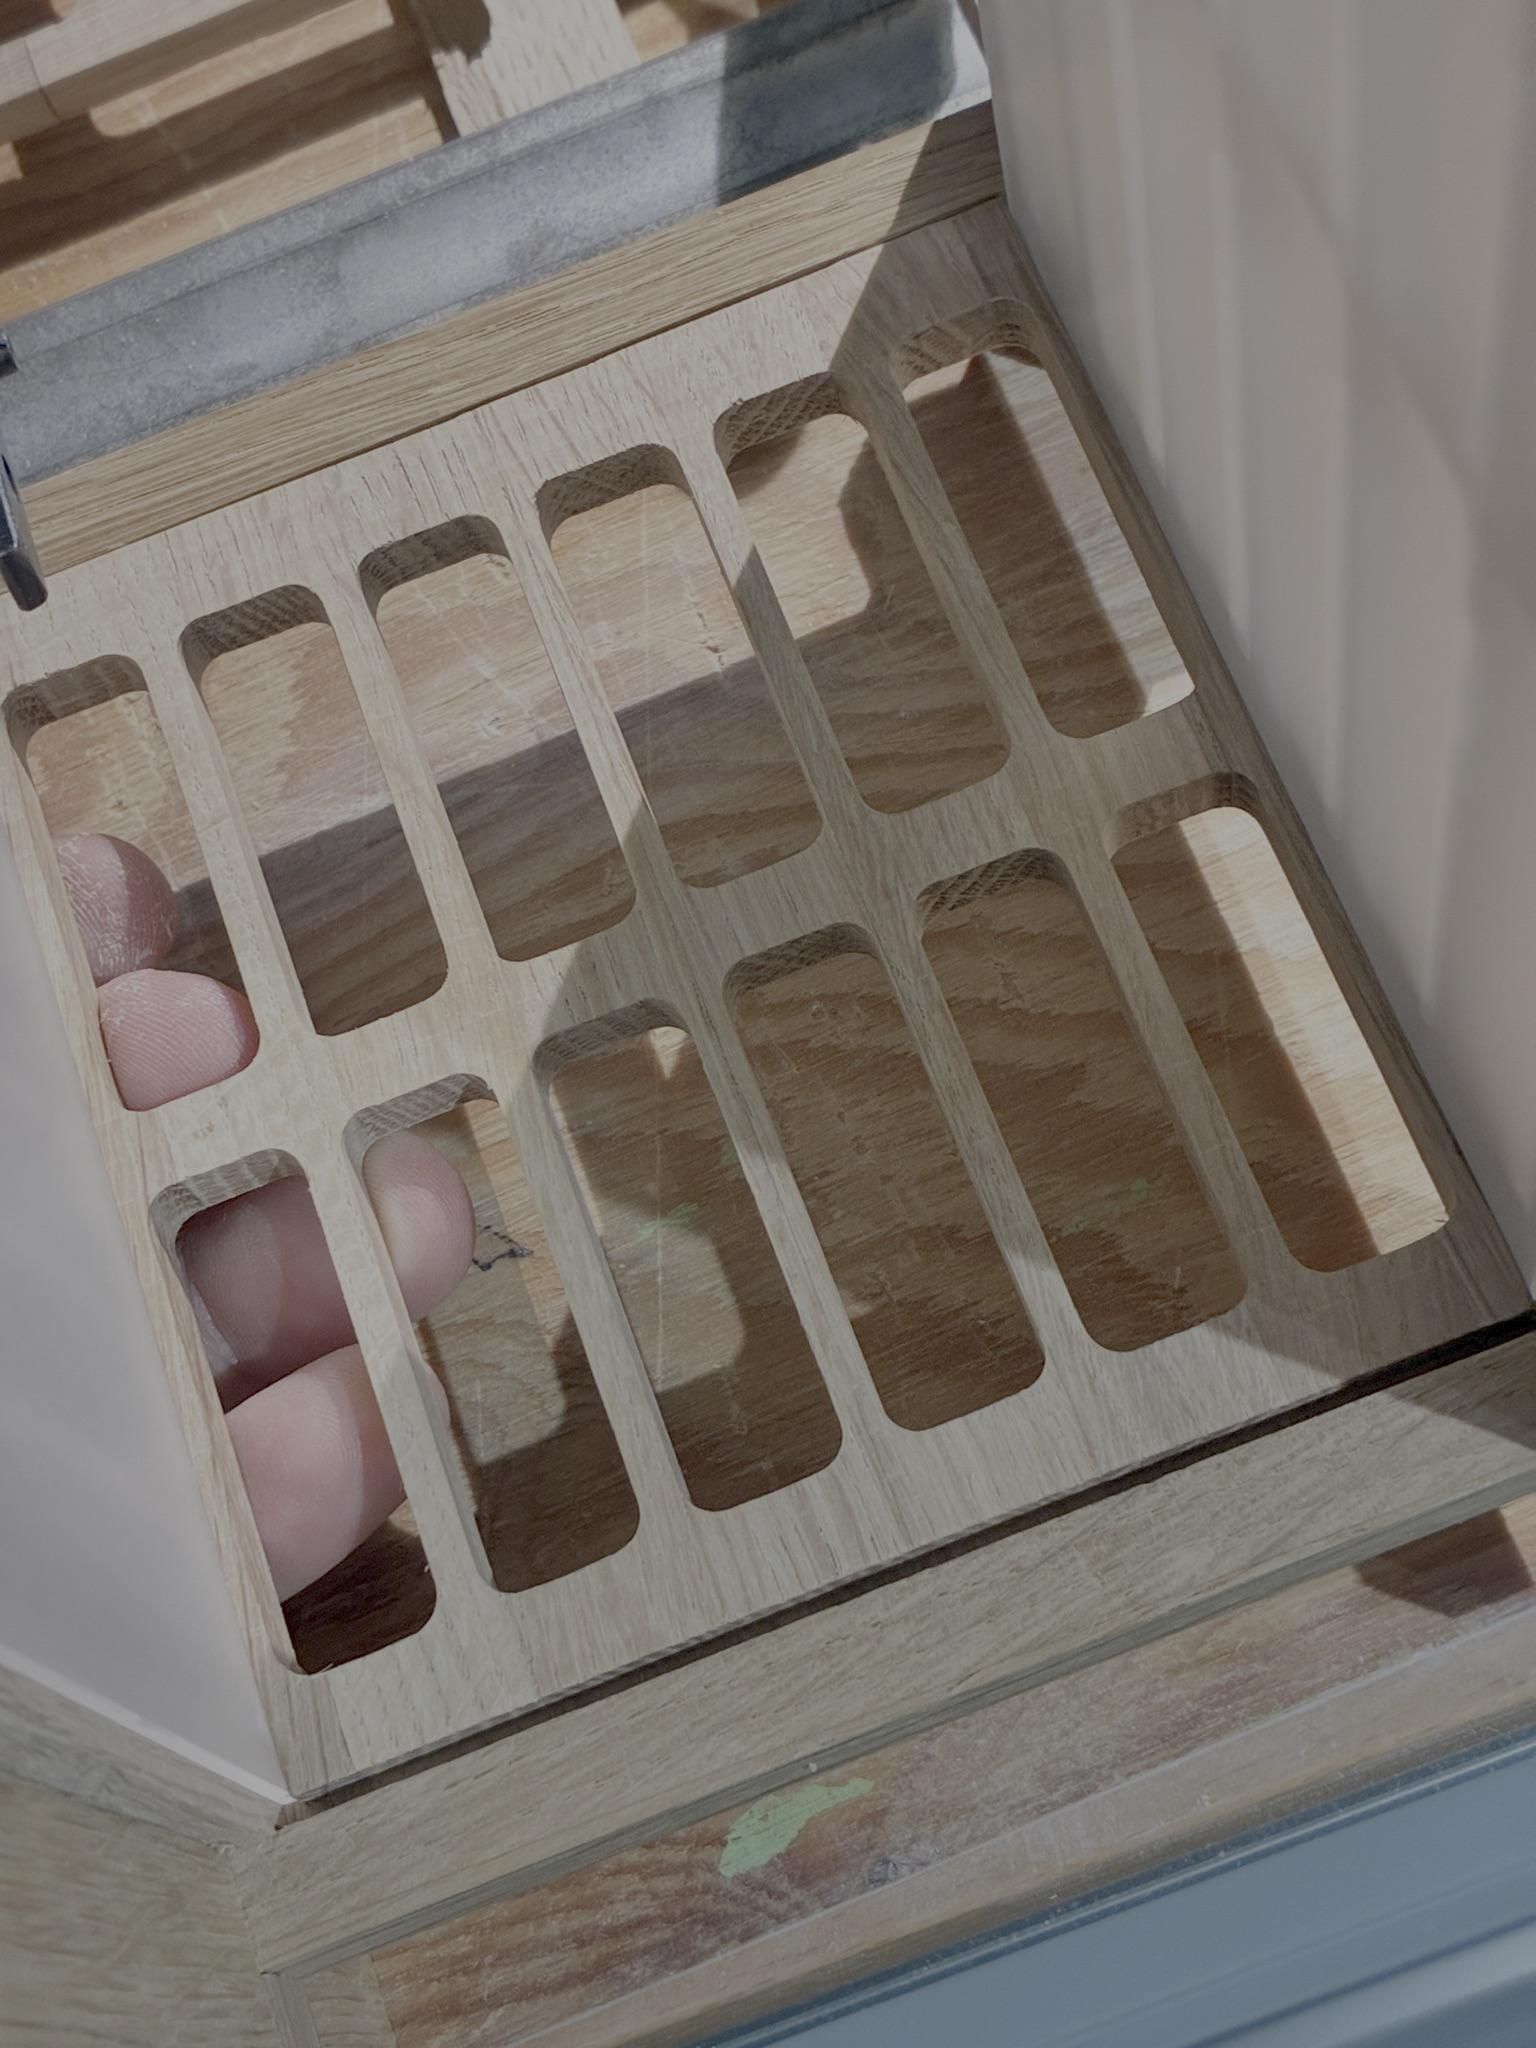
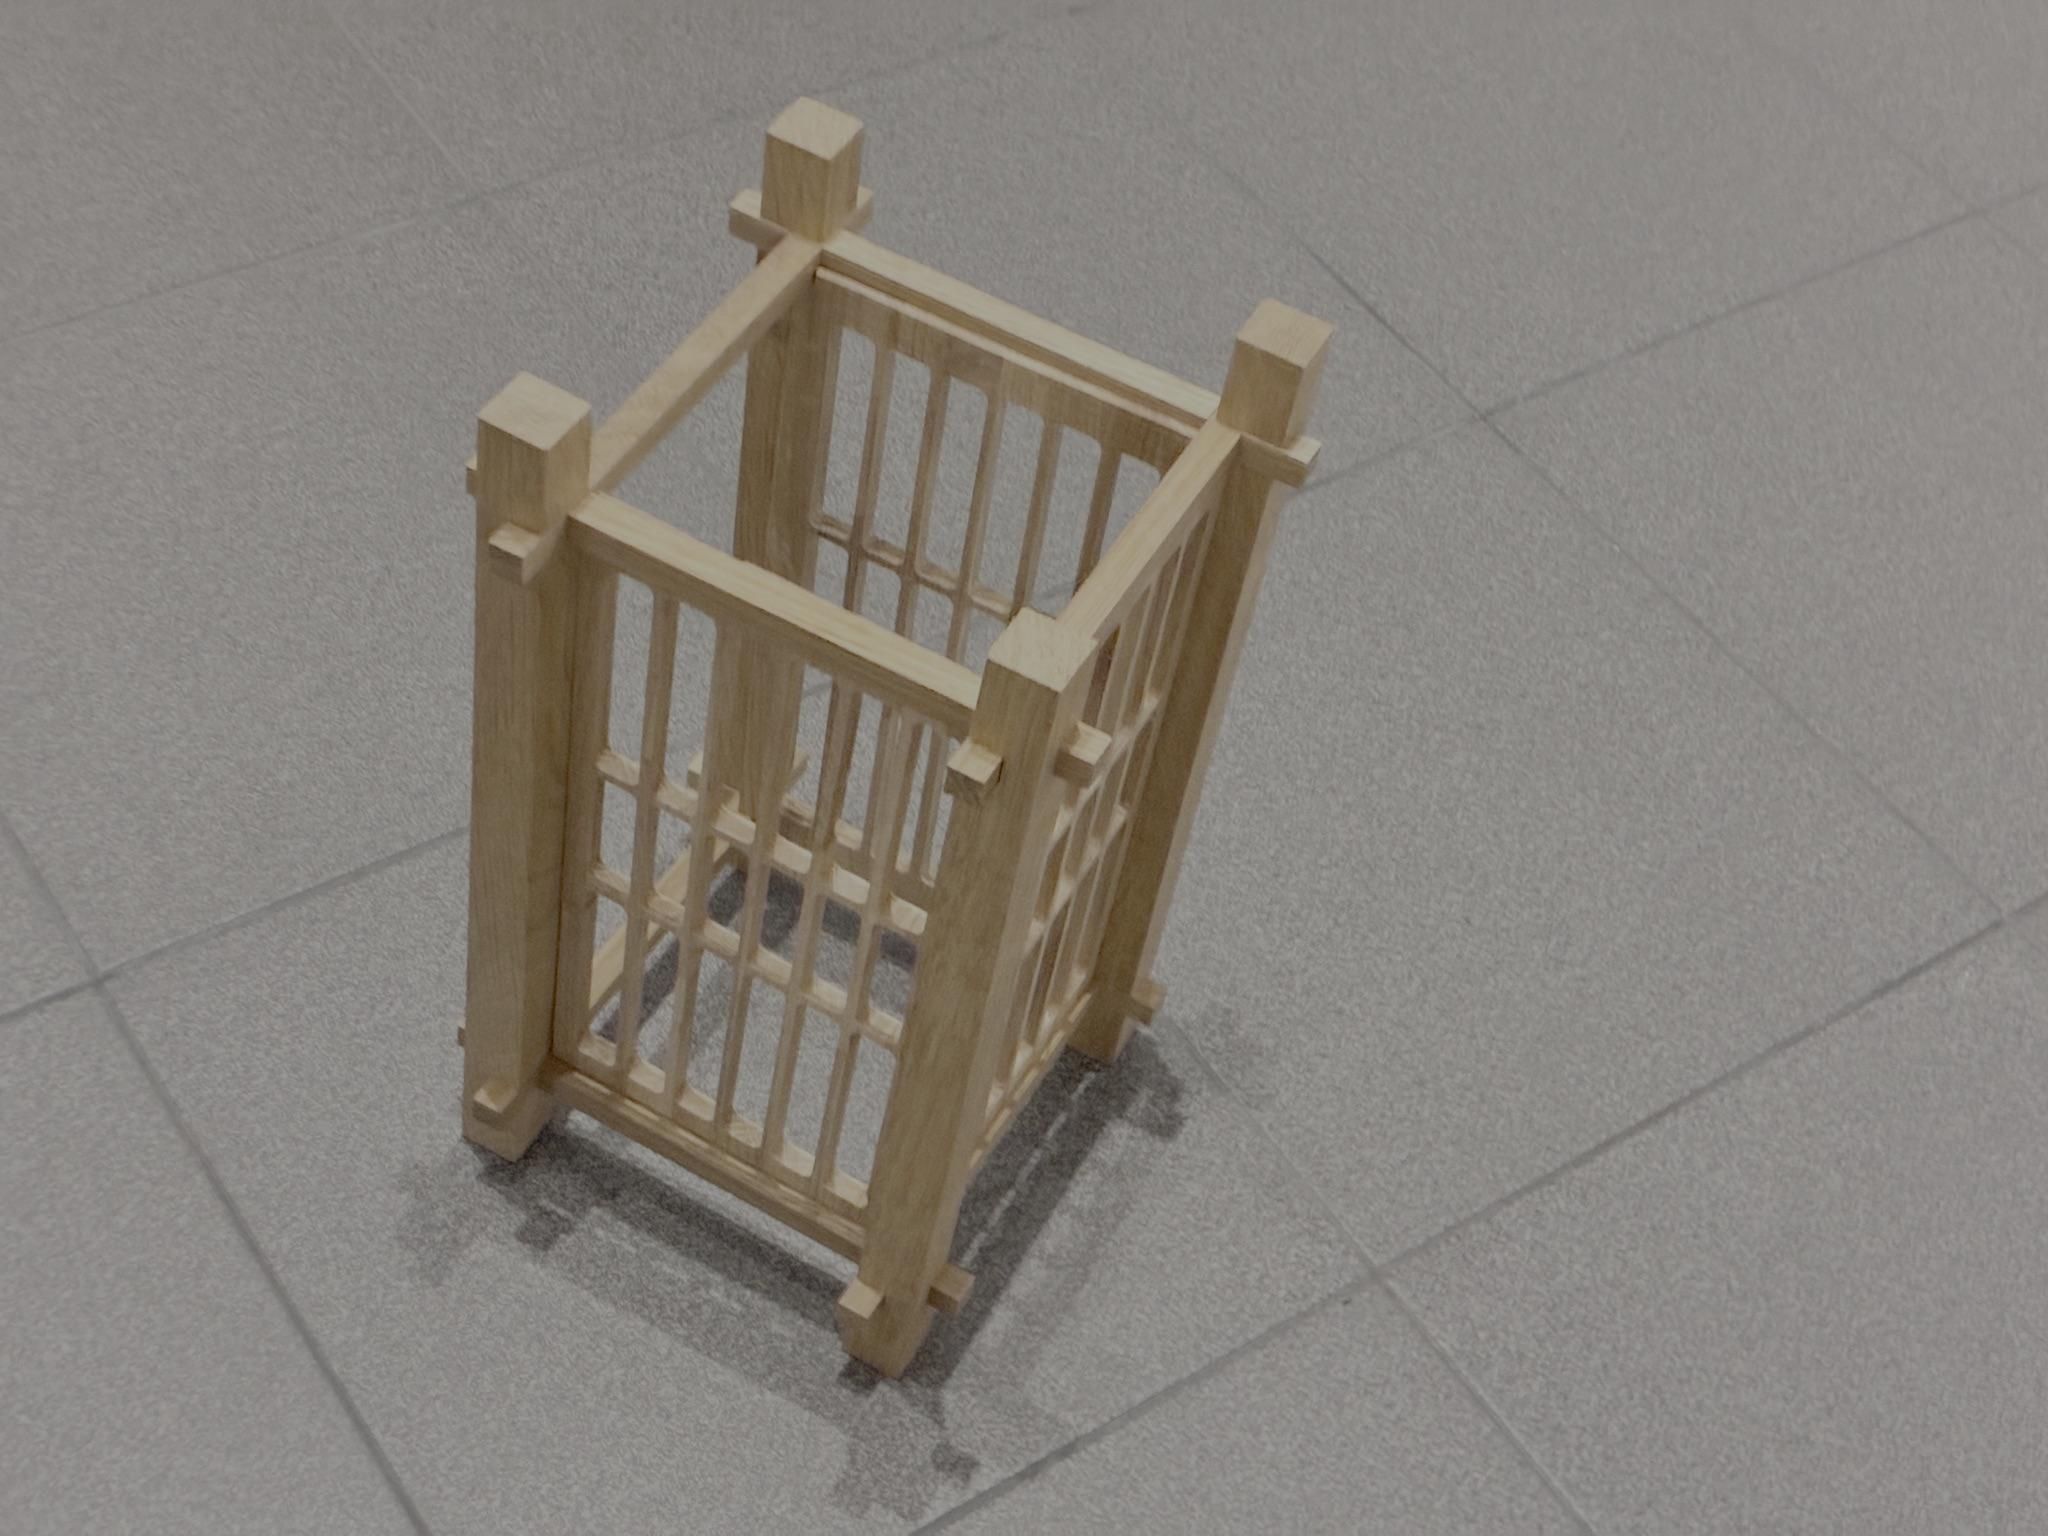
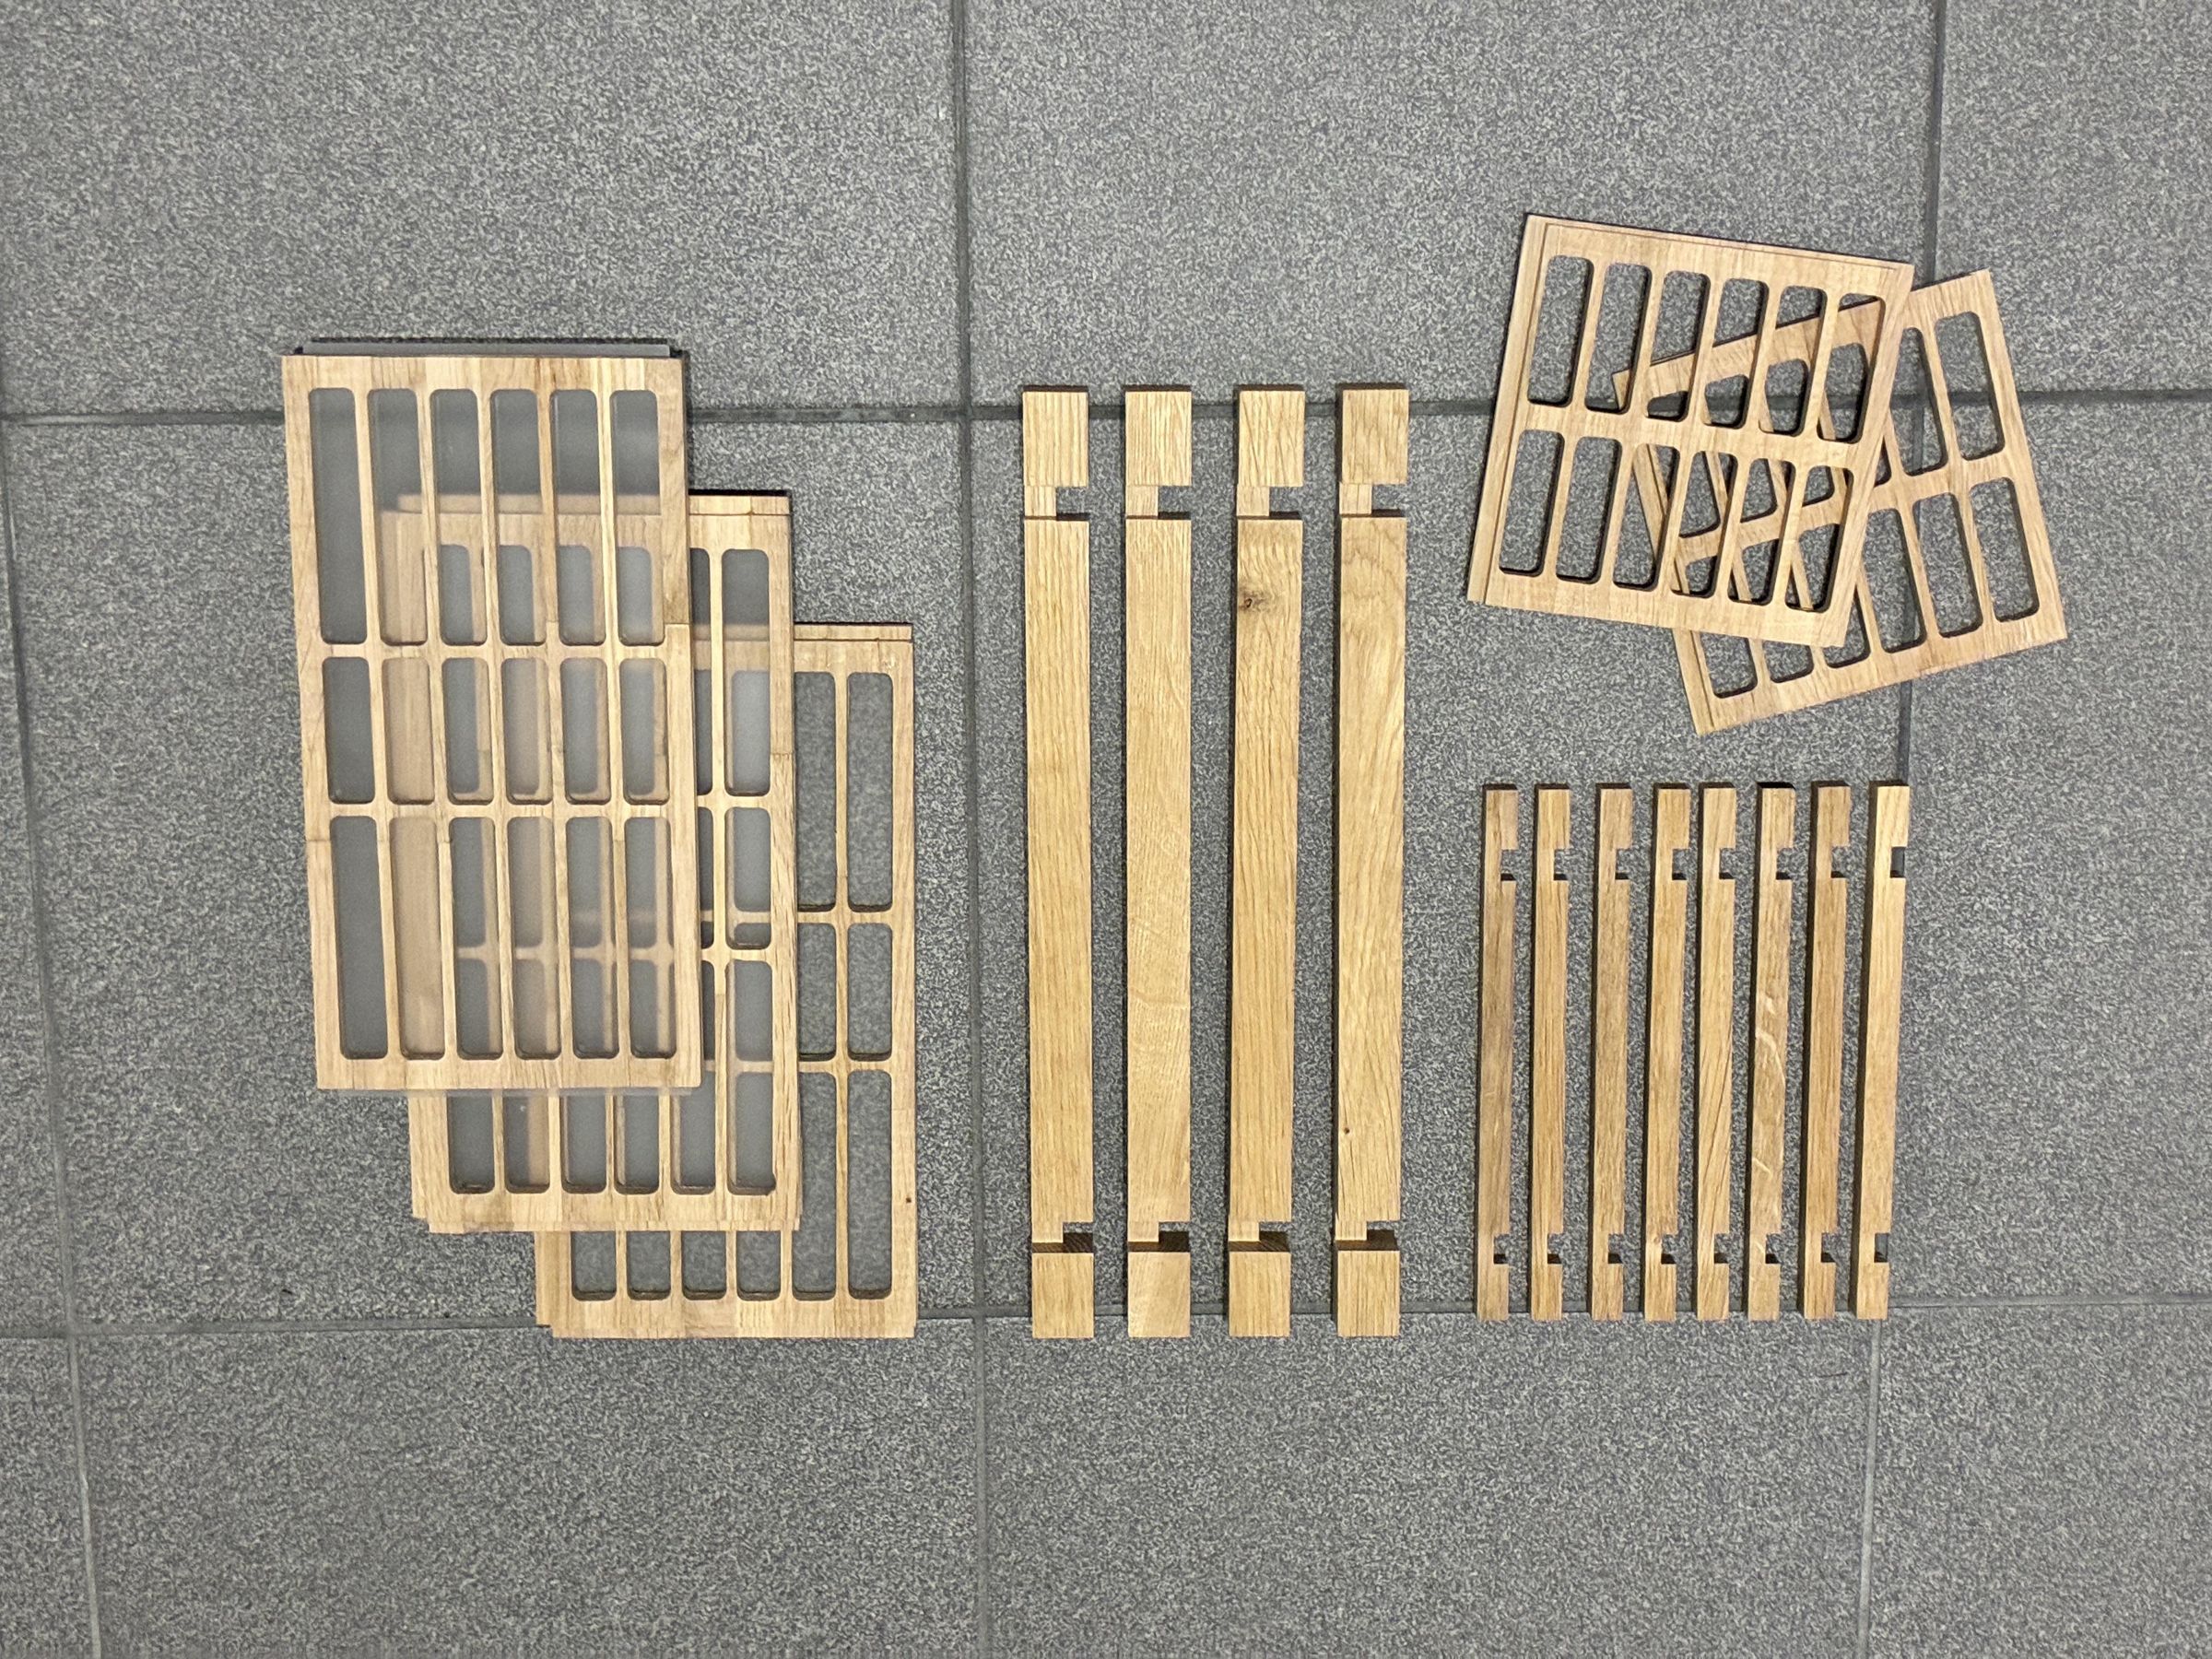
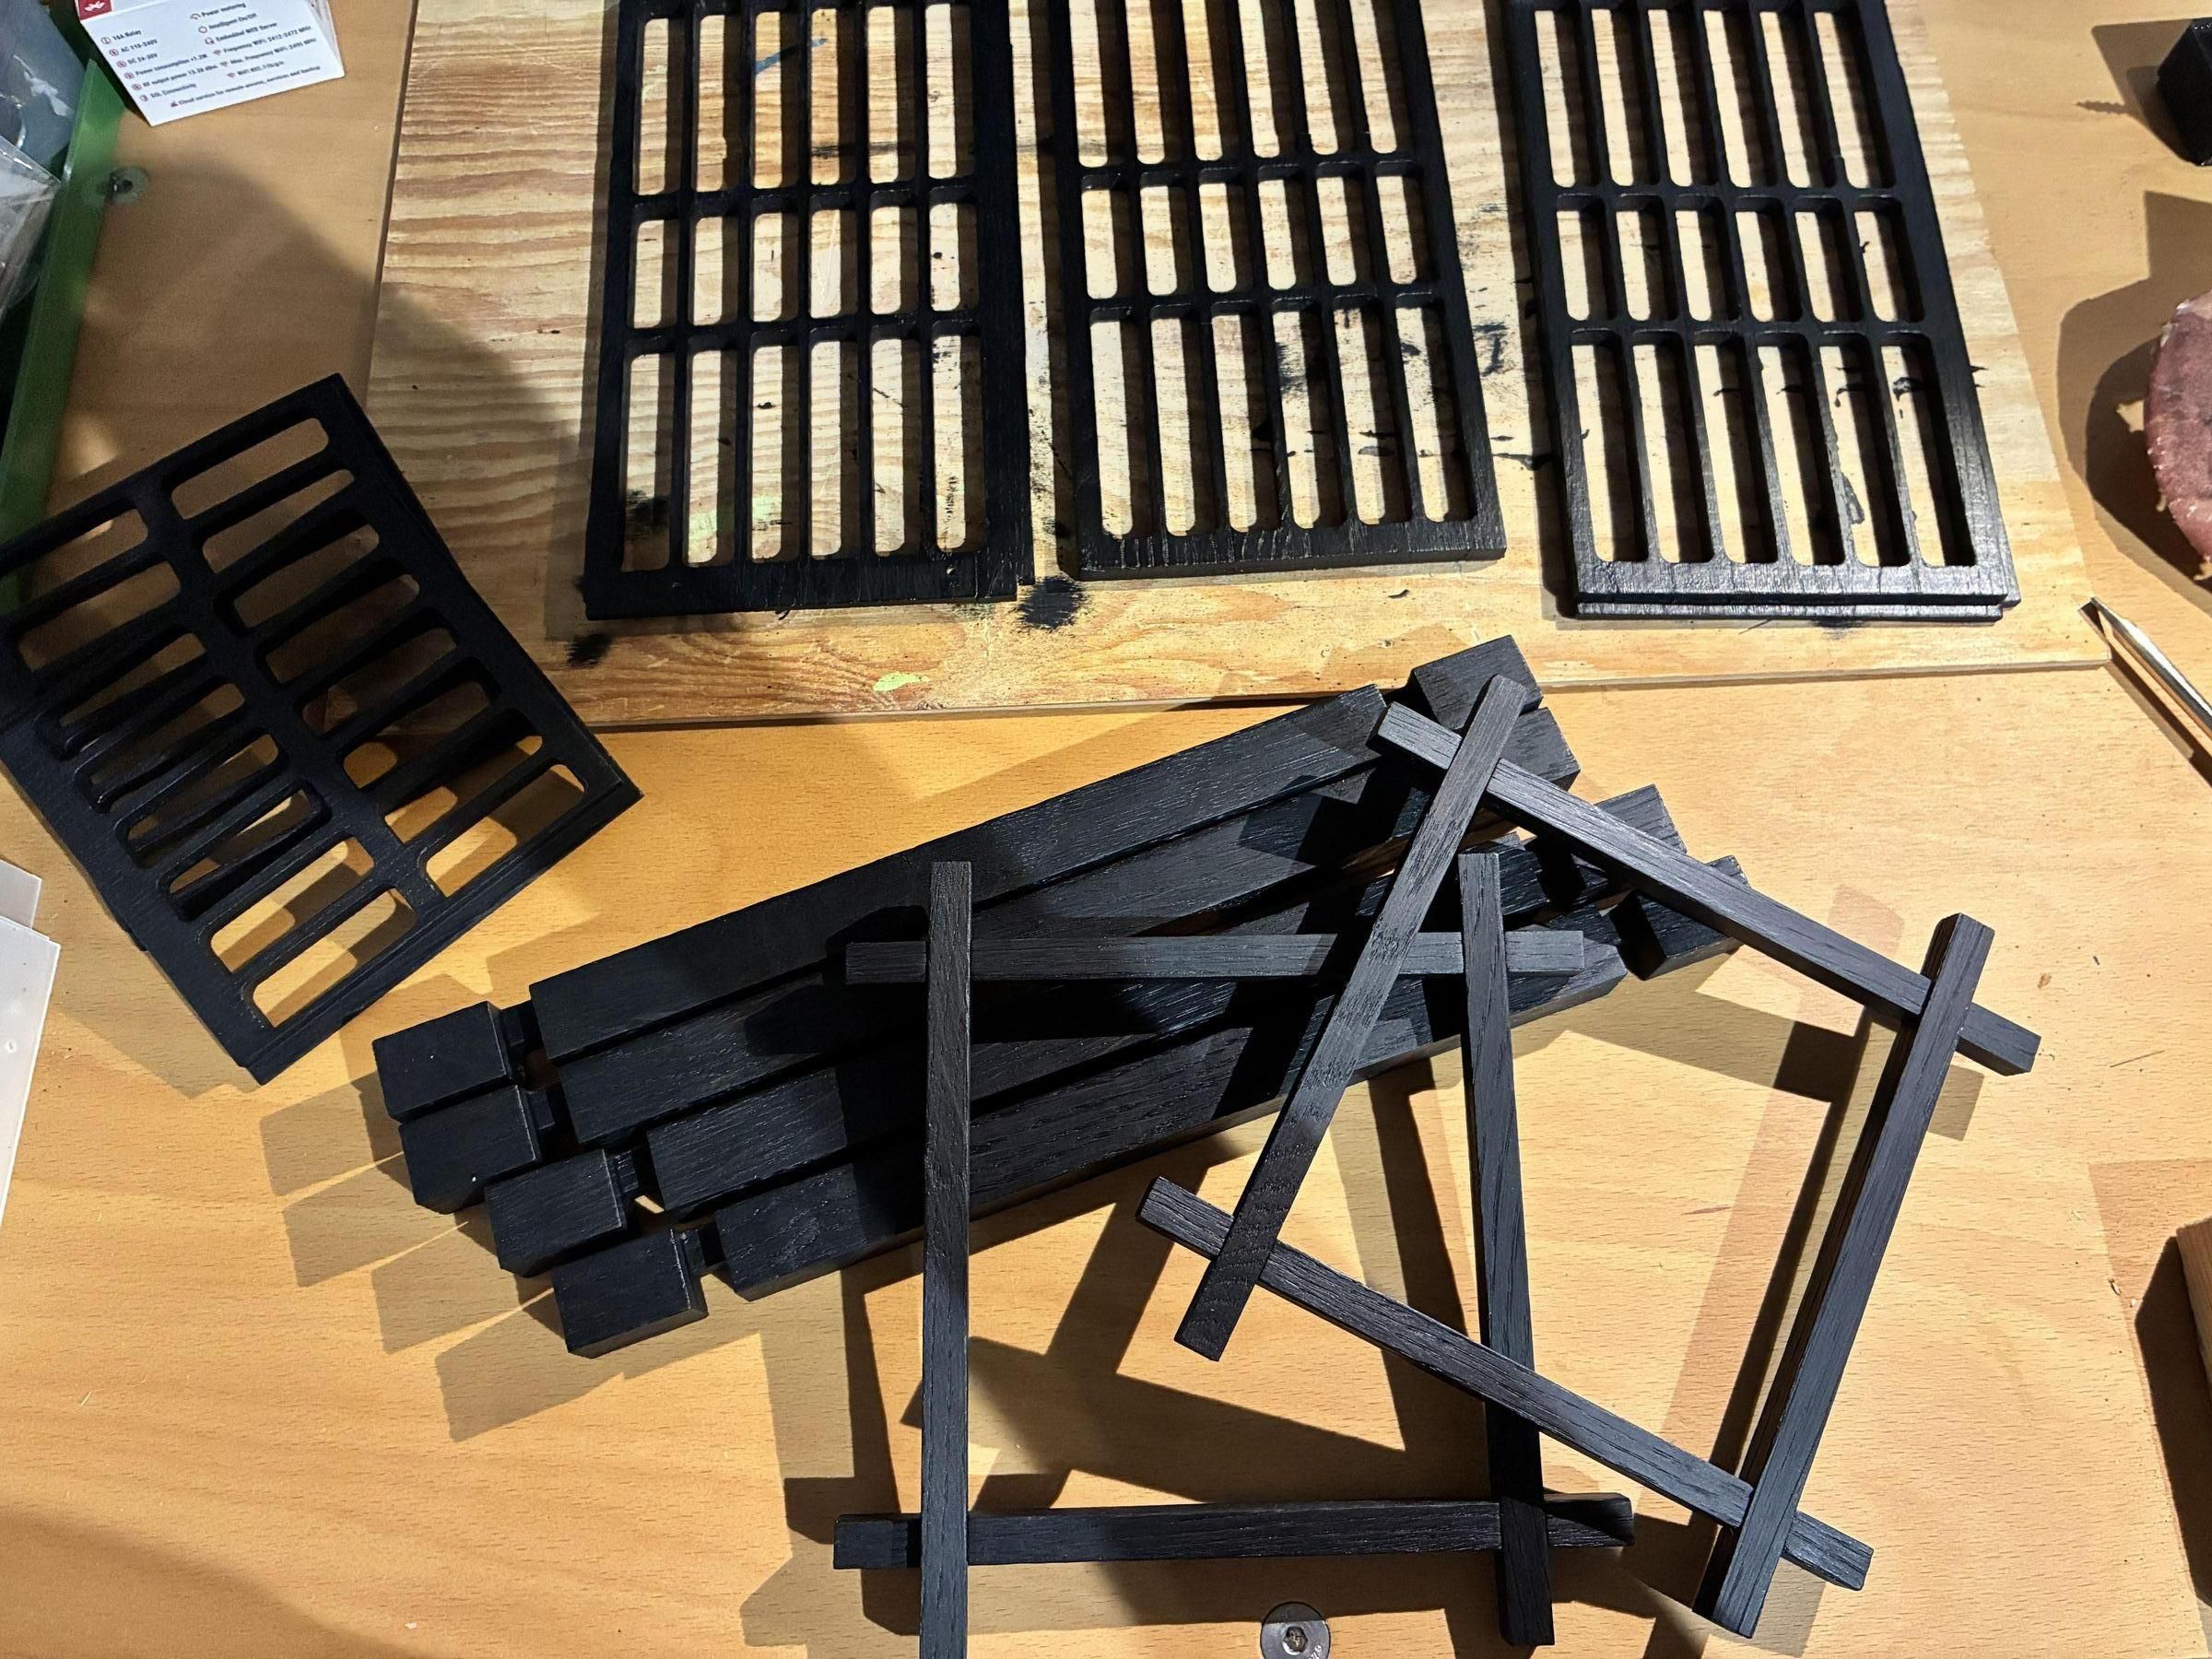
With all wooden parts finished, assembly became surprisingly straightforward.
The frosted acrylic panels slide into the grooves, followed by the decorative front panels. Finally, the LED fixture is mounted inside the frame before attaching the removable top cover.
Seeing all individually crafted parts come together was one of the most rewarding moments of the project.
The wall fixation consists of another glued together oak block, with a 1 mm groove to hold the 1 mm smaller rods facing to the wall. The rod gets fixed by two small screws from the top of the holder and the holder is fixed with two appropriate screws to the wall itself.
What I Learned
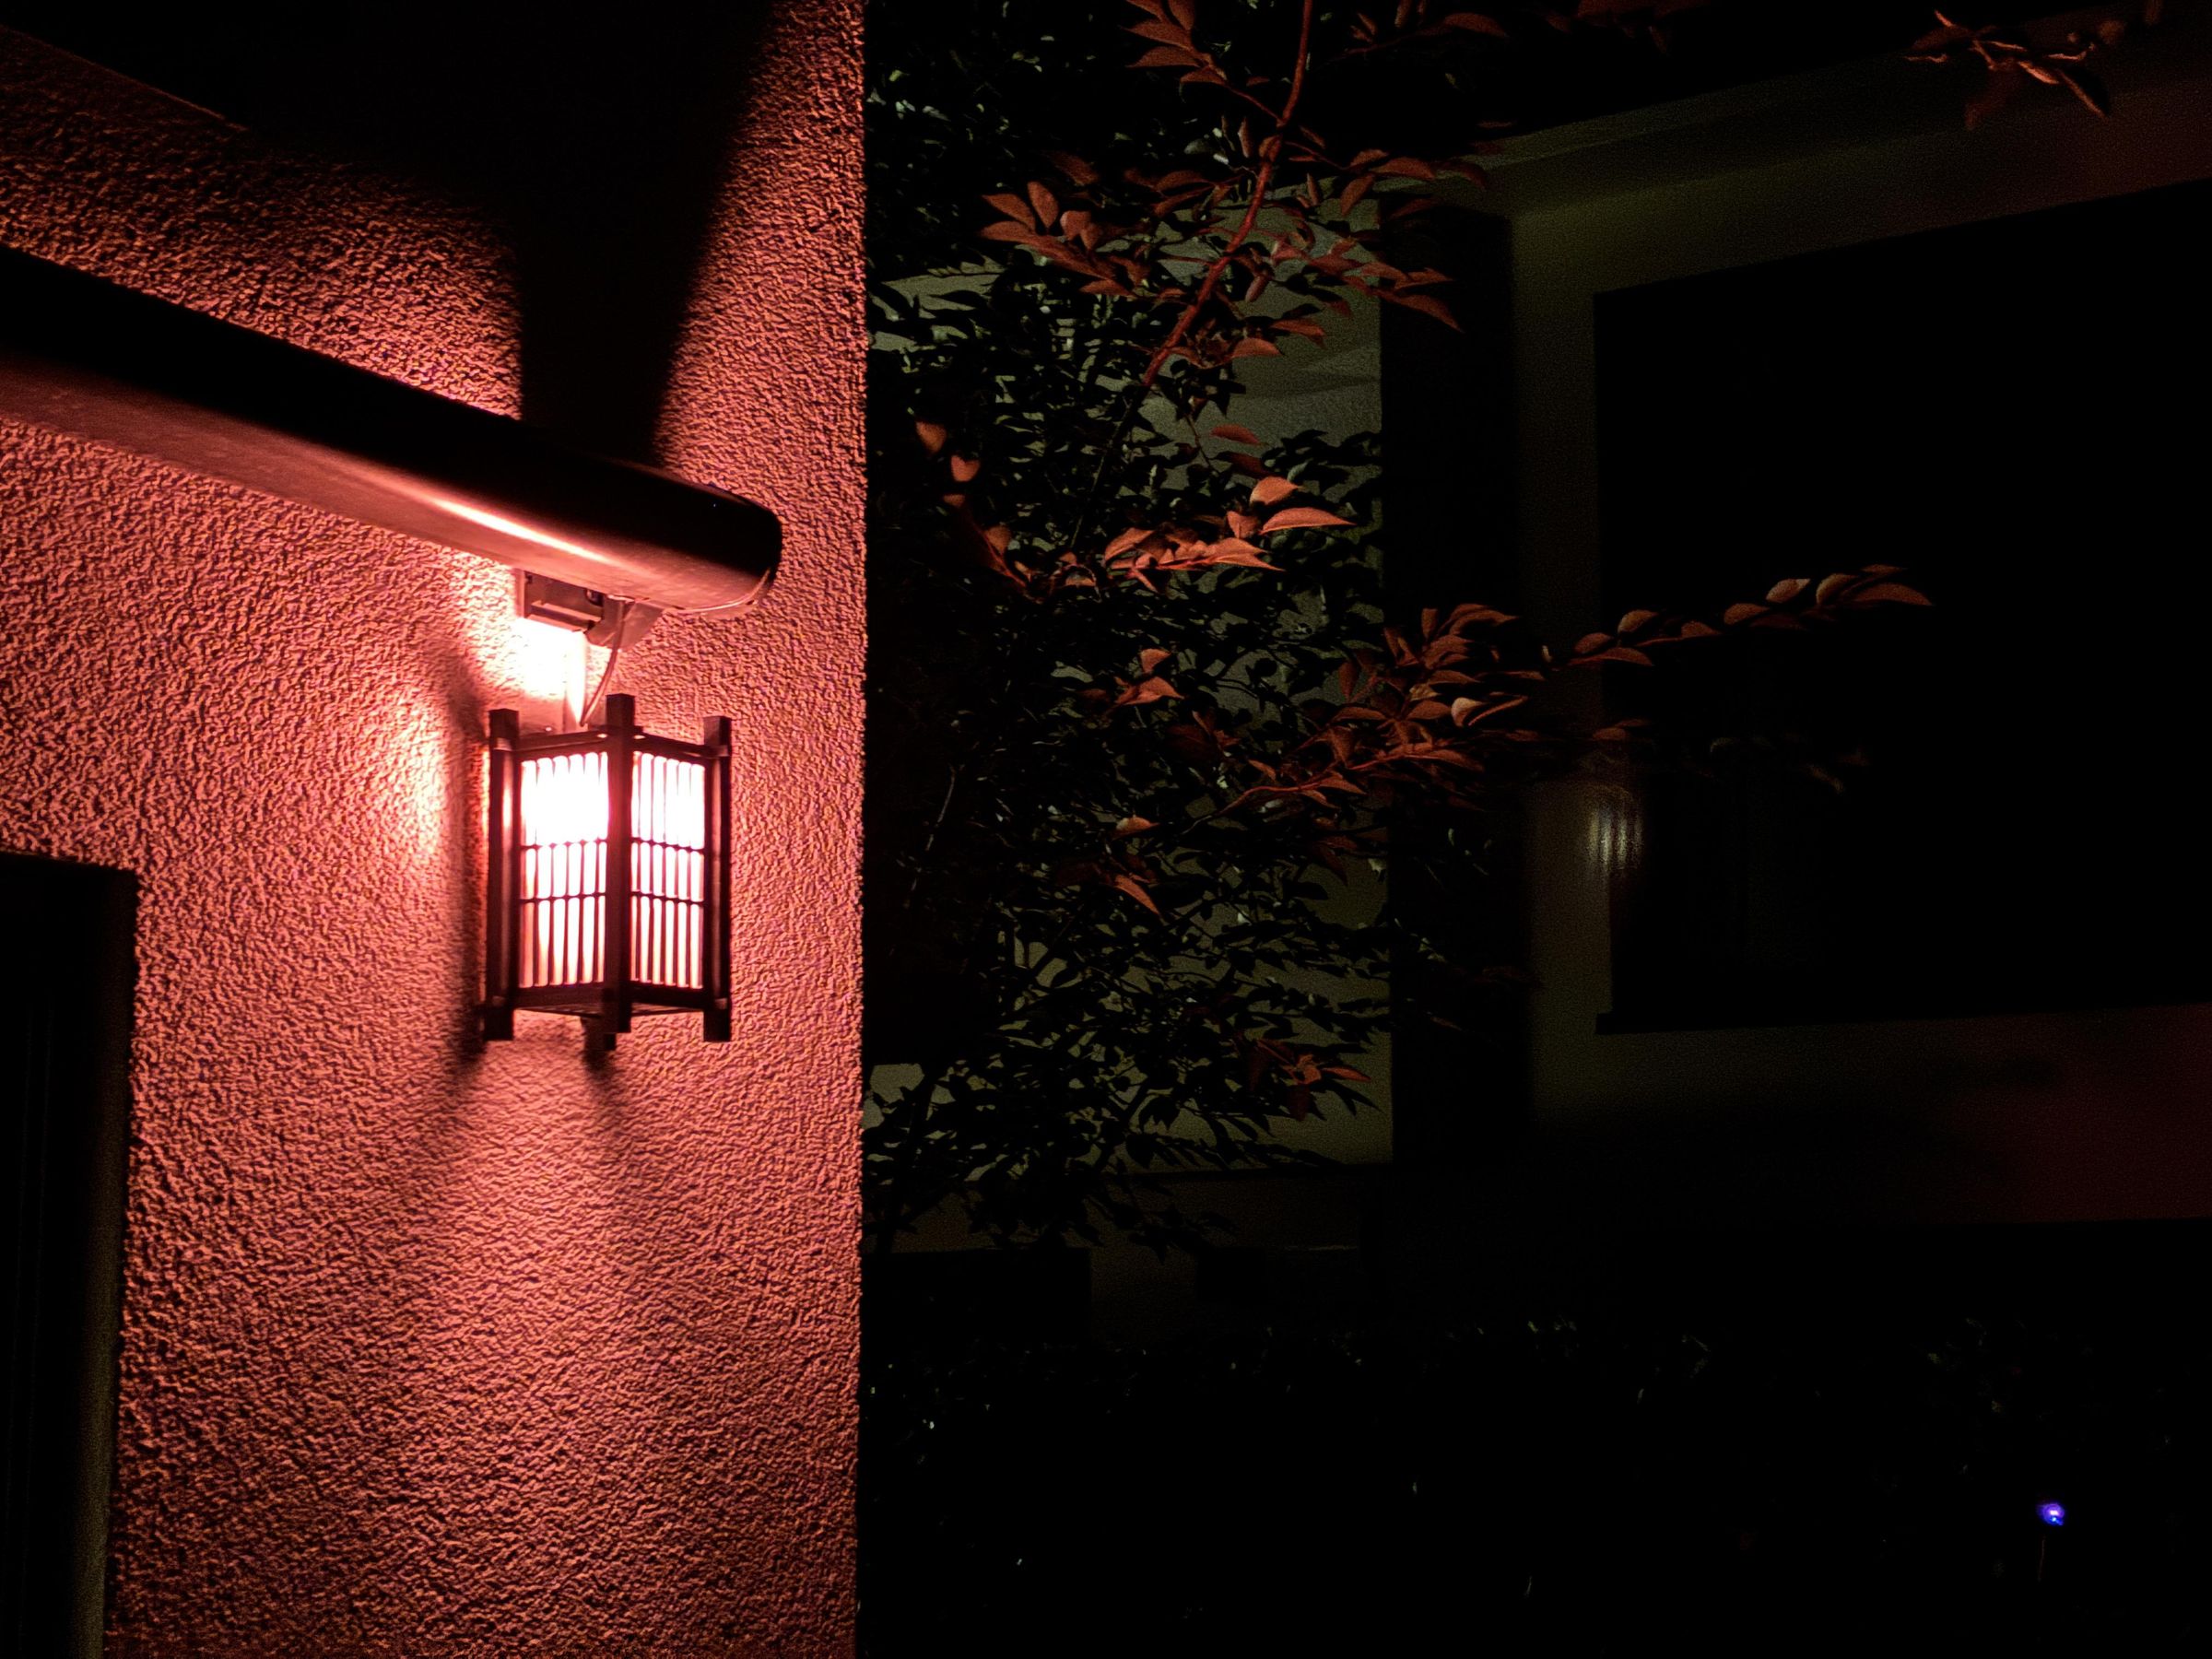
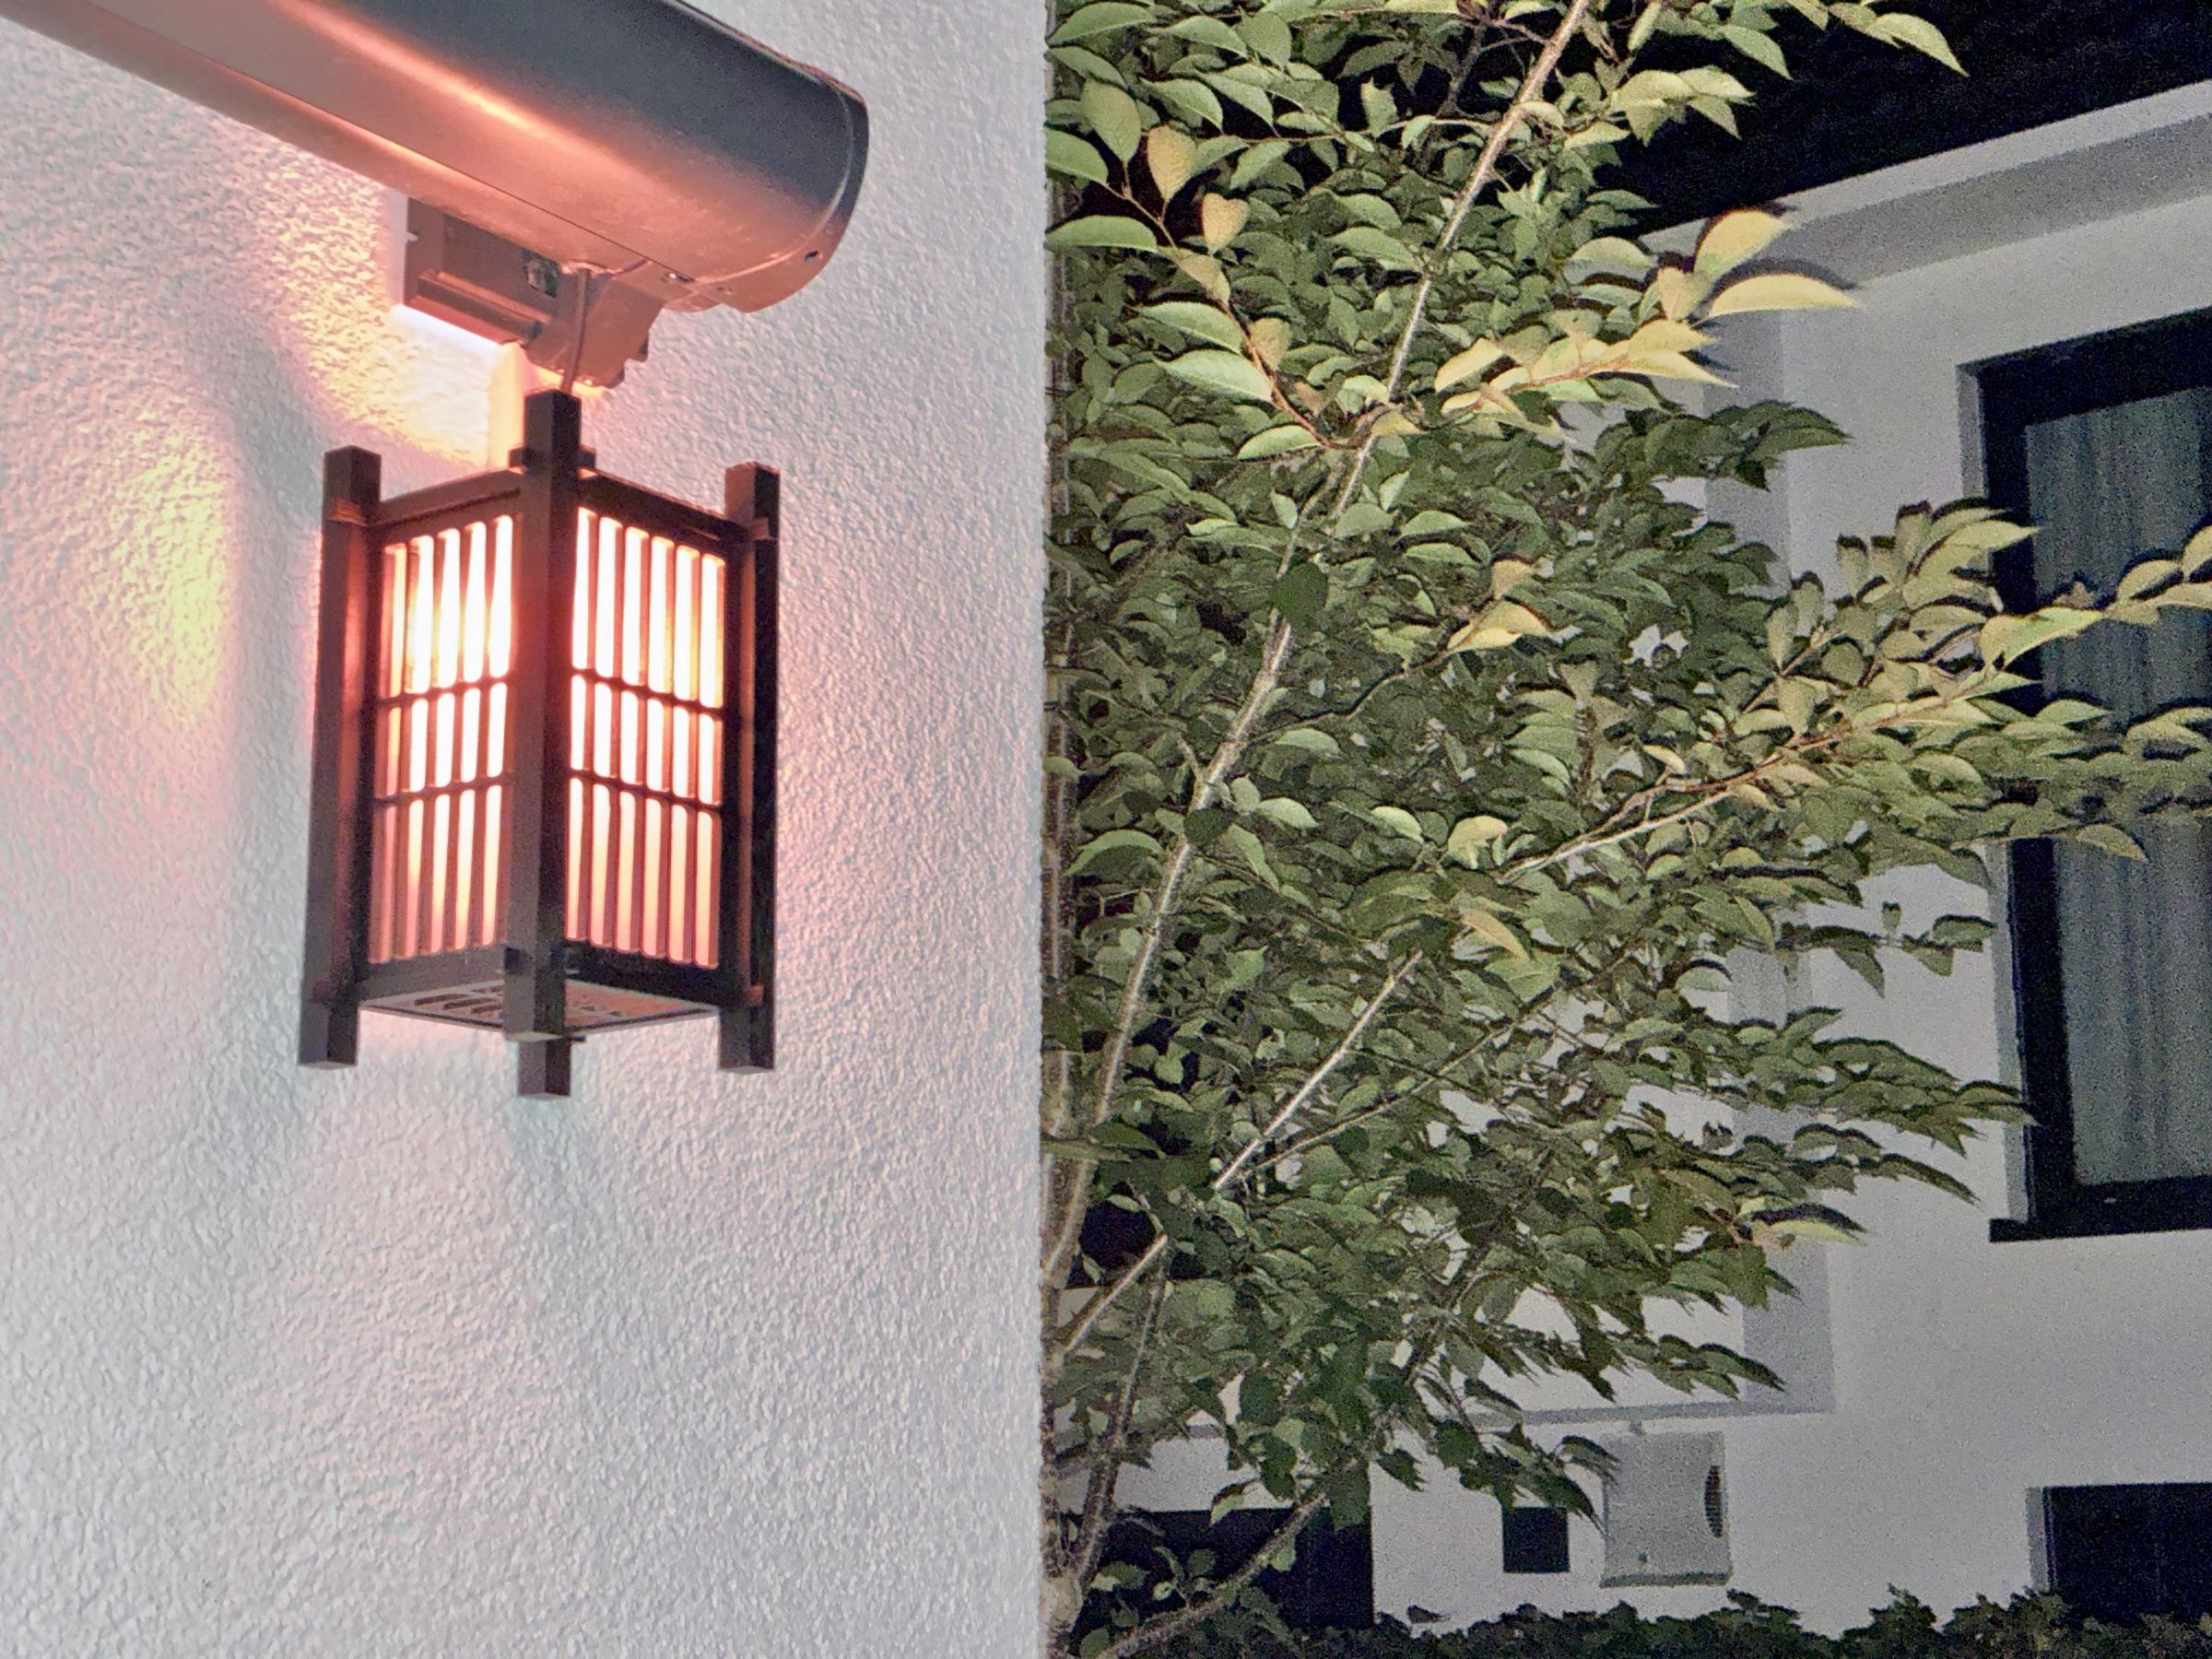
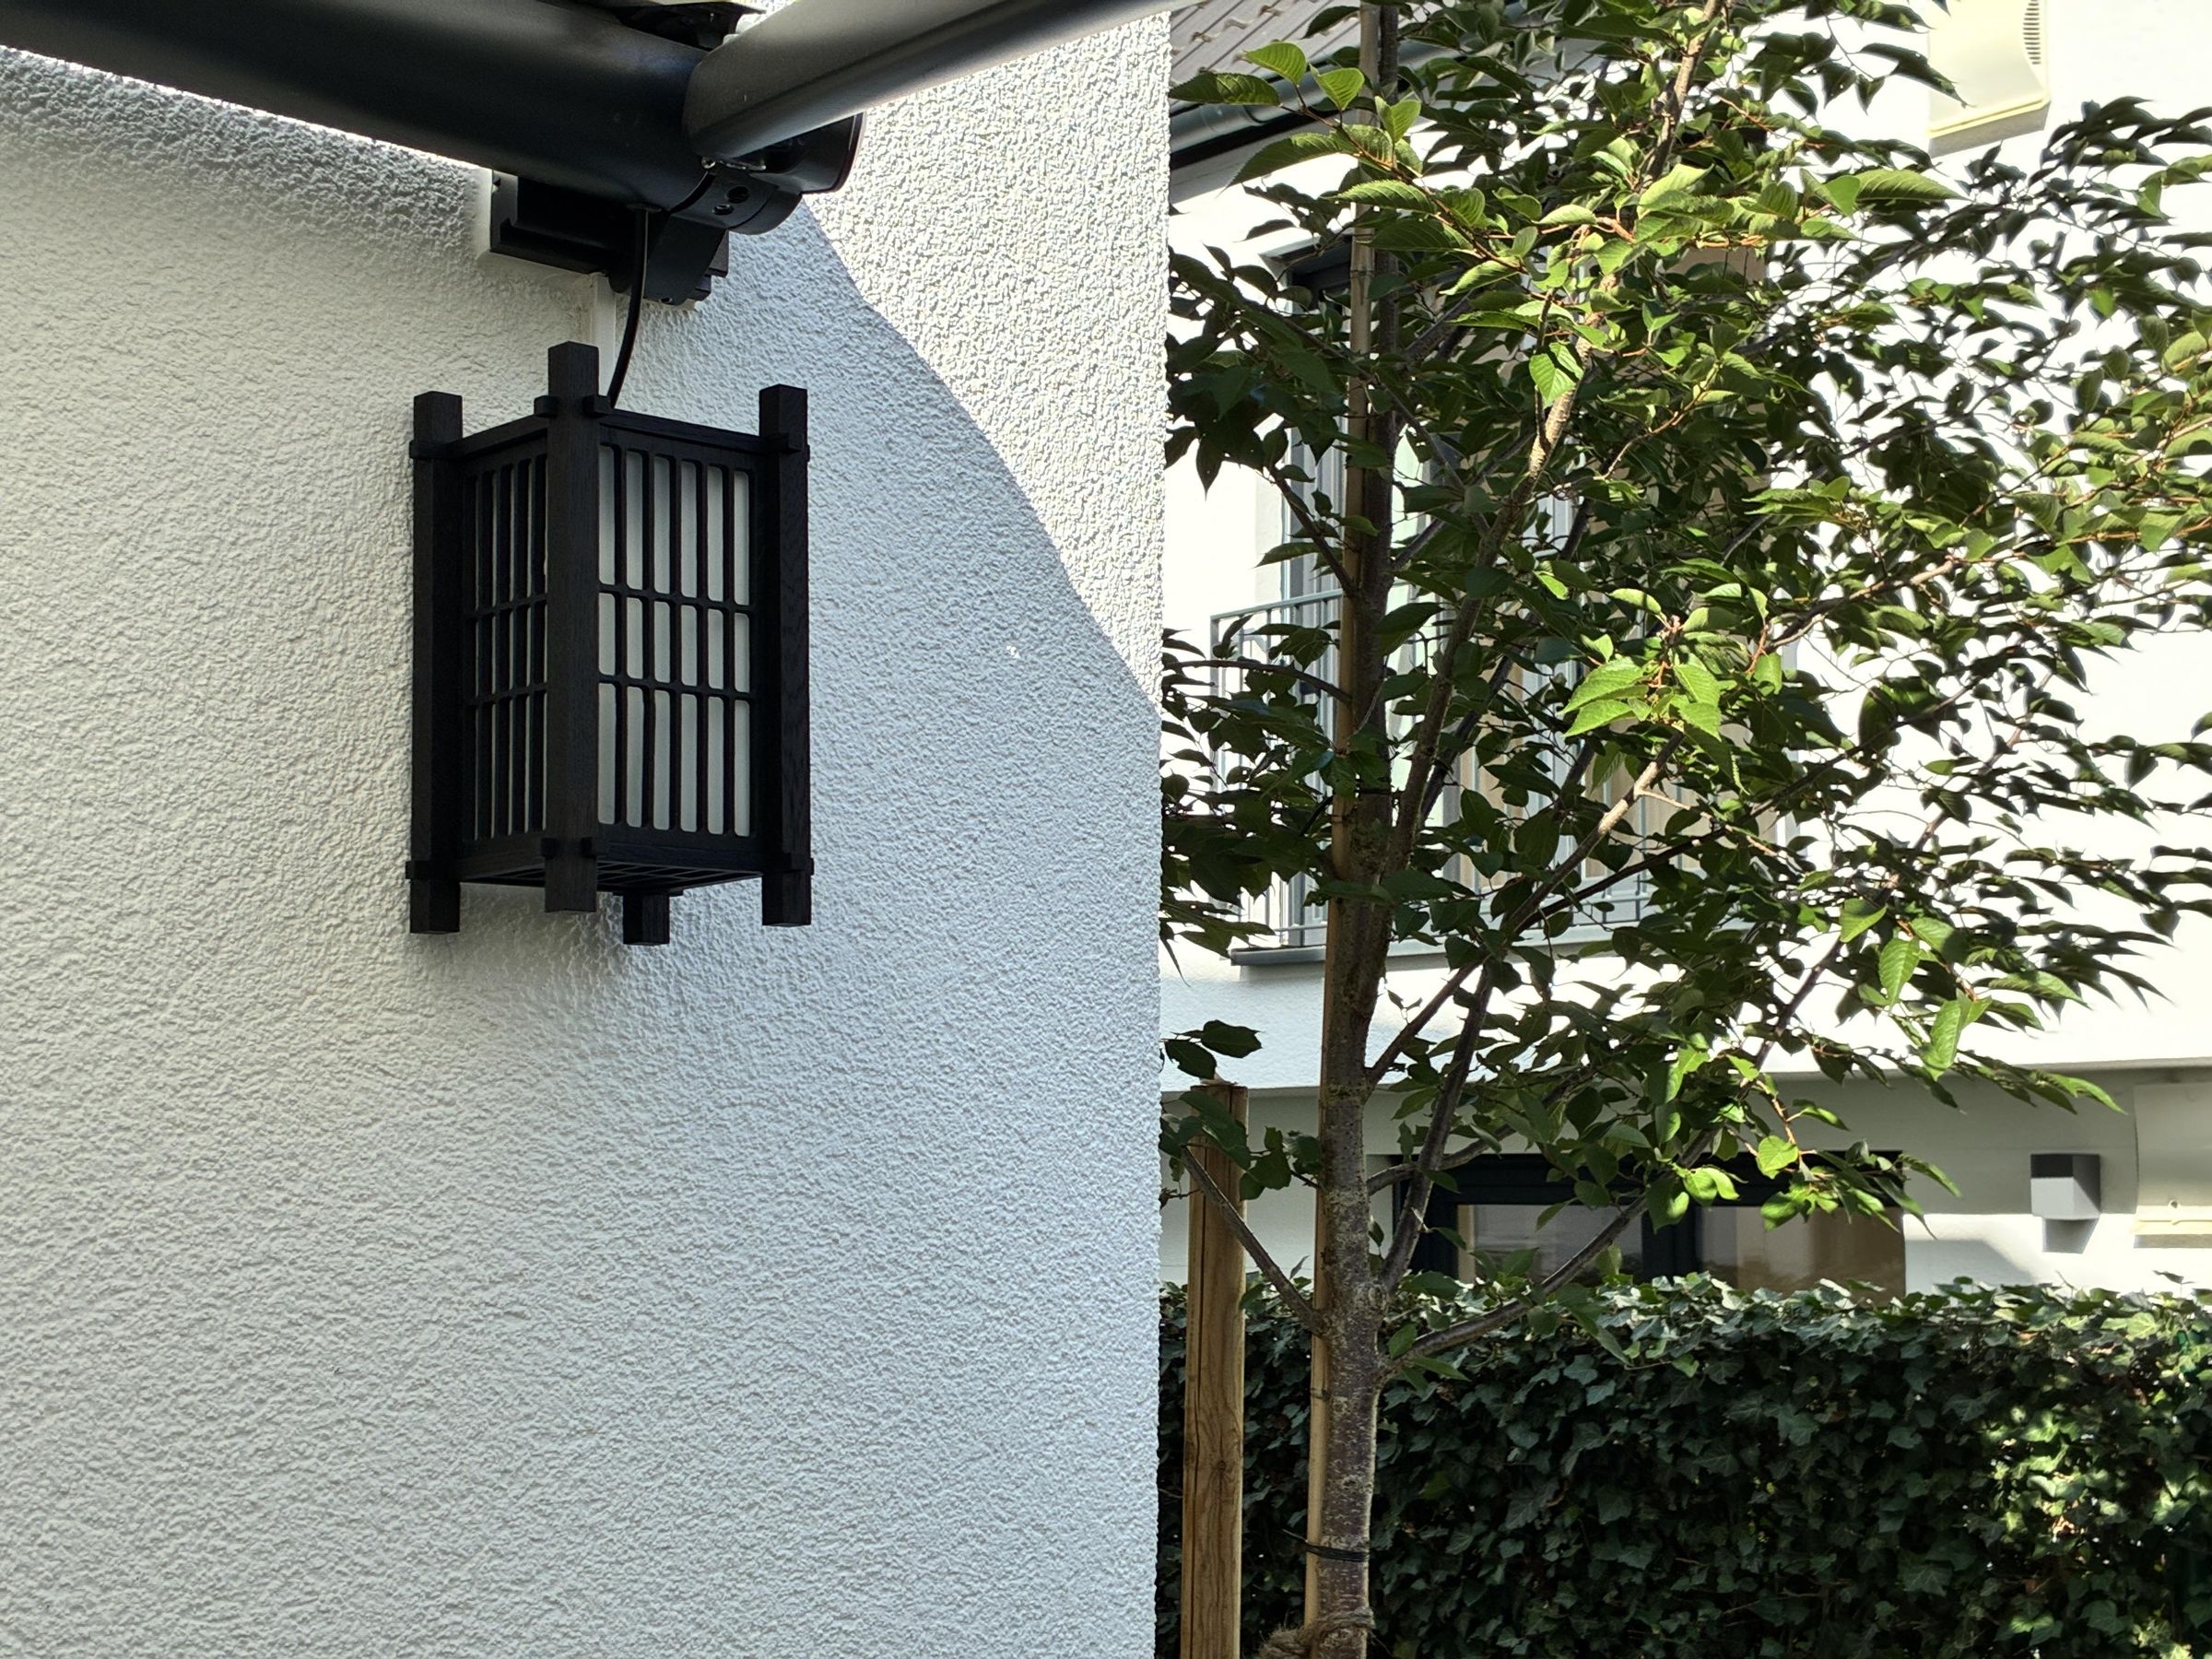
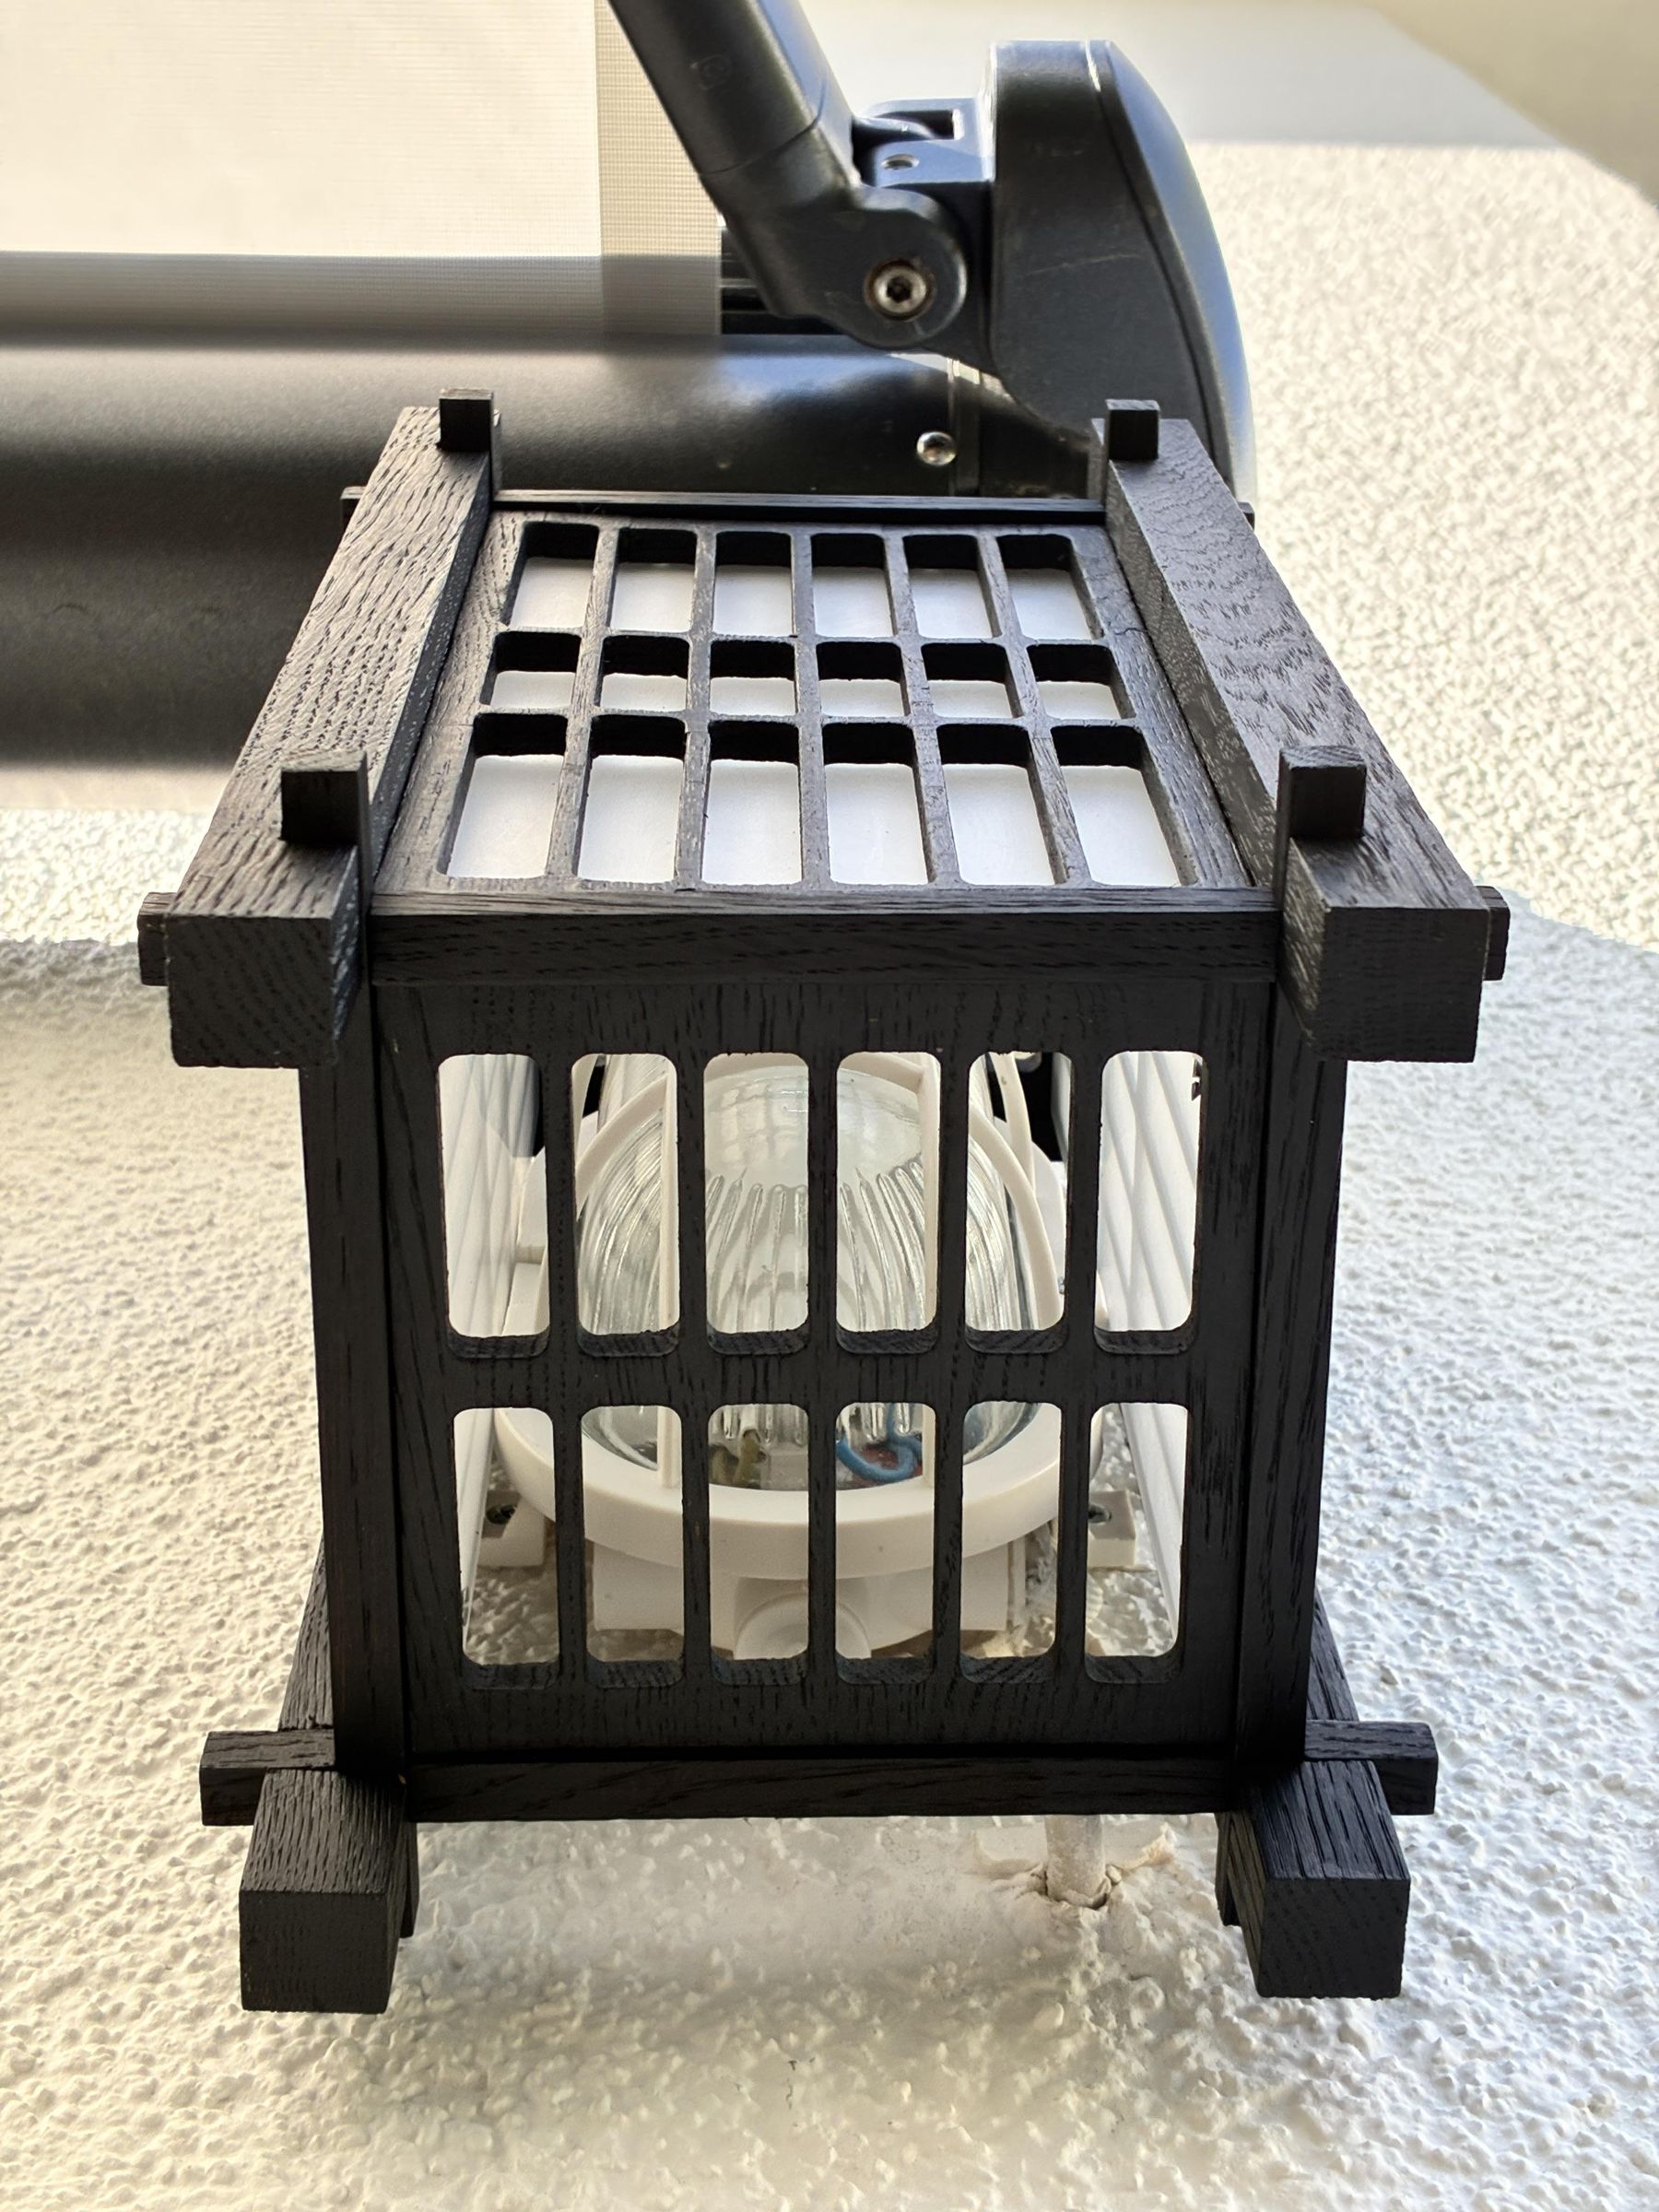
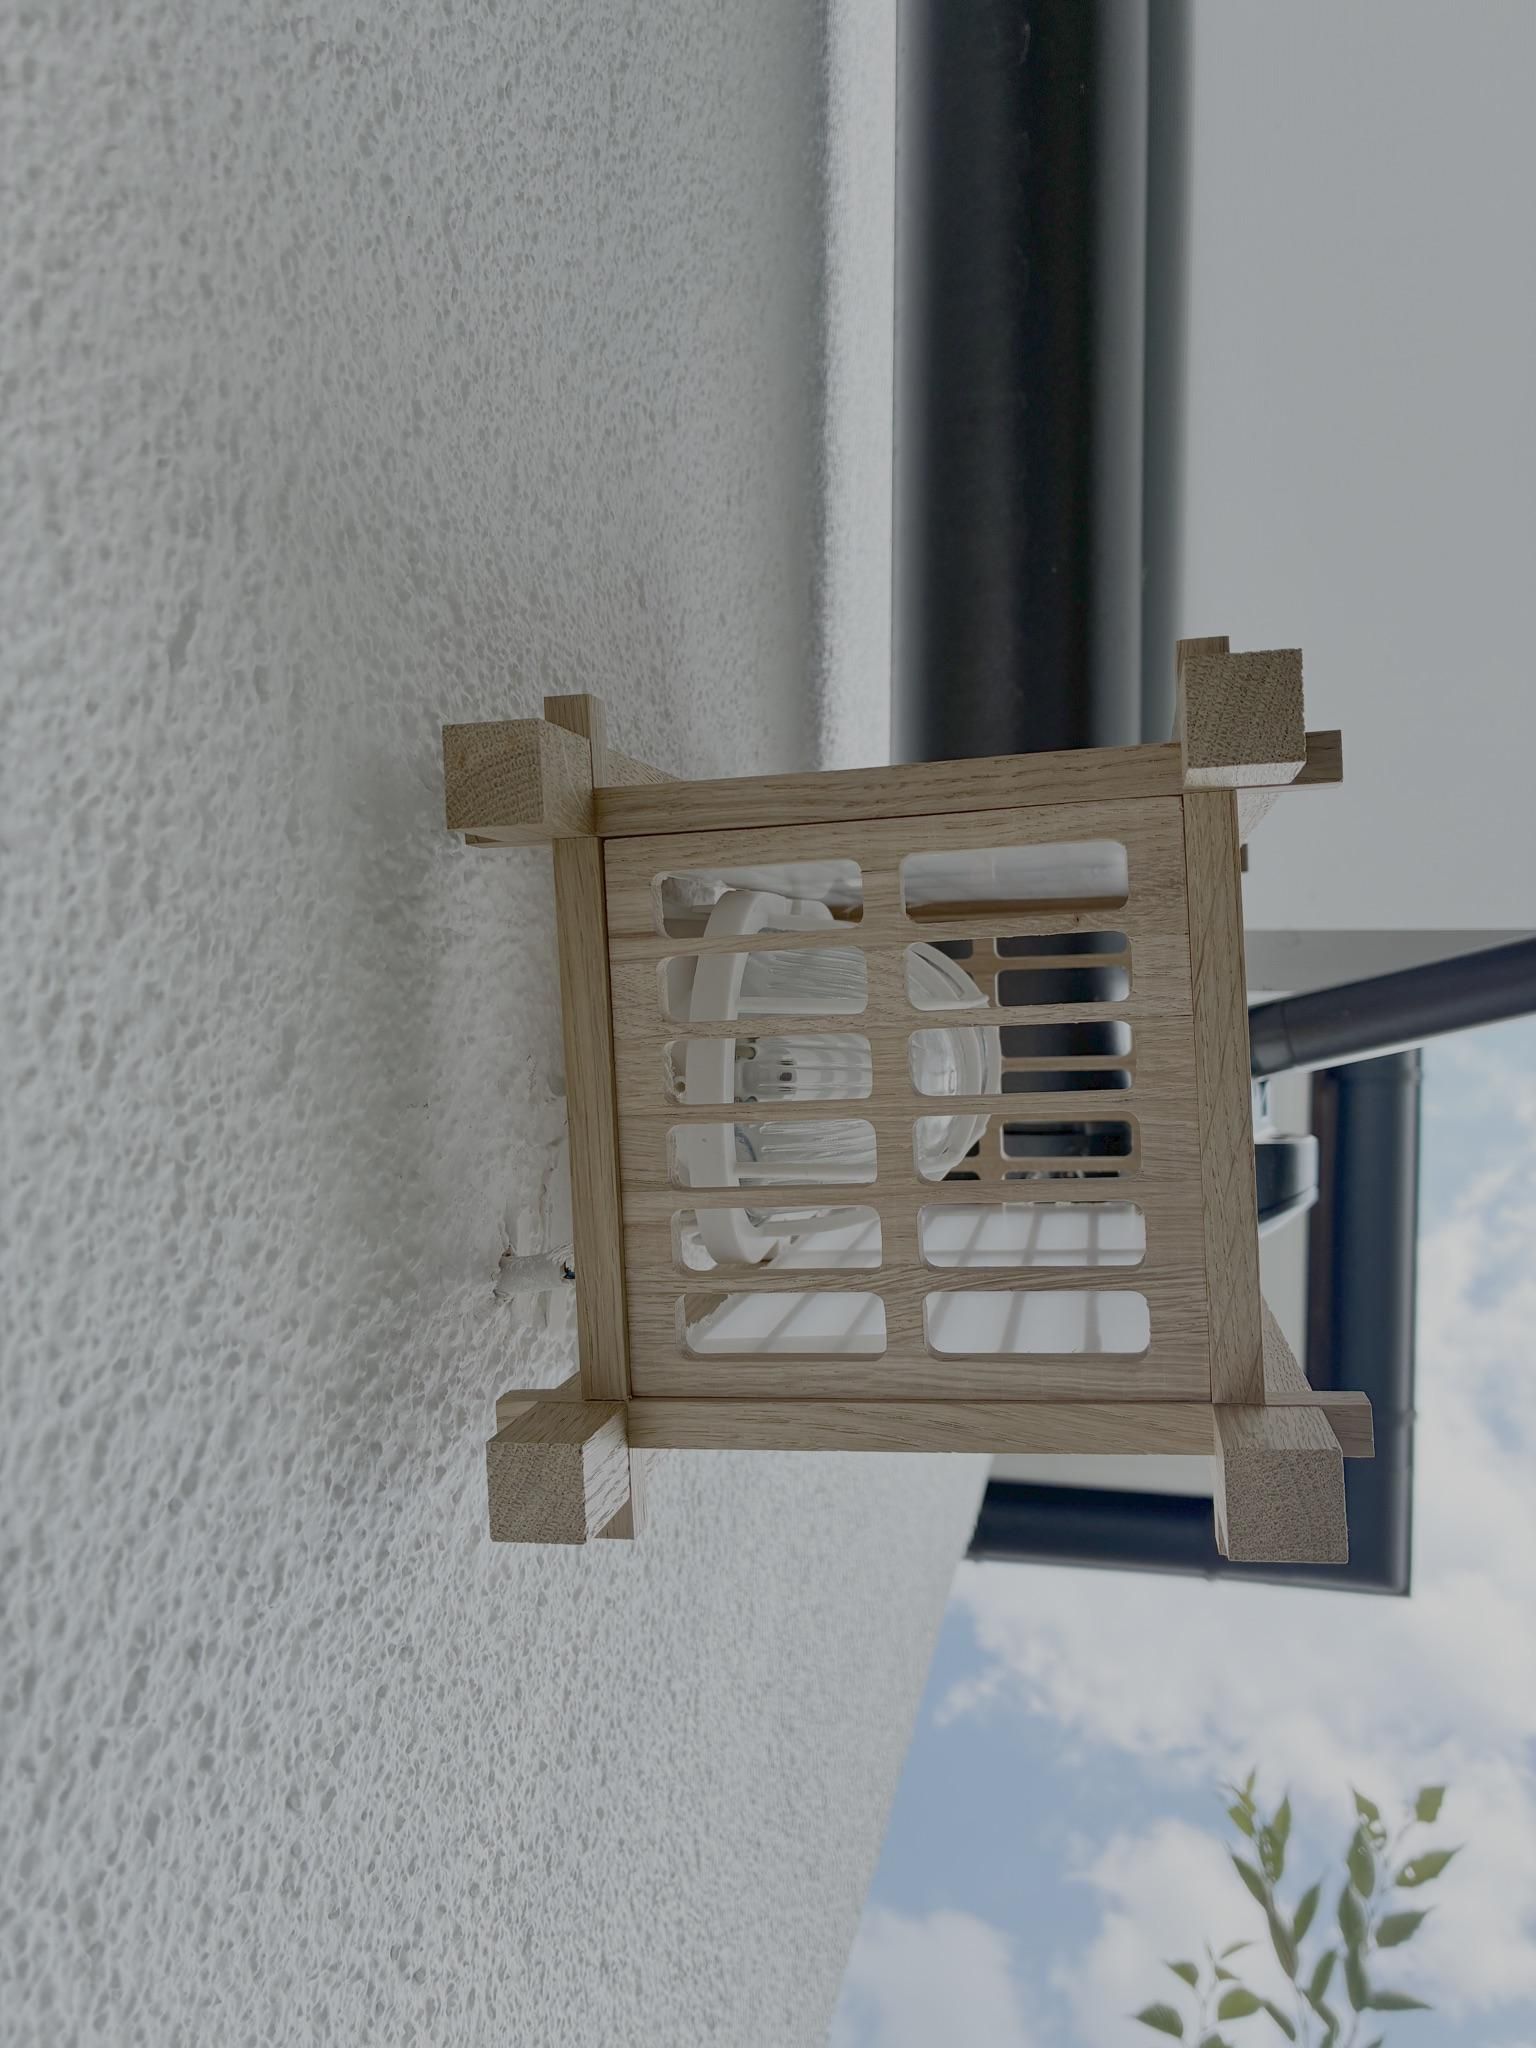
Building this lantern reminded me how much the small details matter. Tiny adjustments to proportions, slot widths and edge radii made the difference between something that looked homemade and something that looked intentionally designed.
Like many hobby projects, this lantern spent long periods waiting on the workbench. Two years later, seeing it finally mounted on the wall made every hour worthwhile.
If I build another version, I would probably integrate hidden fasteners and experiment with different wood species, but overall I'm very happy with the final result.