1950's Vintage Inspired Pi Circle Skirt
by Echoes of Elegance in Craft > Fashion
1248 Views, 5 Favorites, 0 Comments
1950's Vintage Inspired Pi Circle Skirt
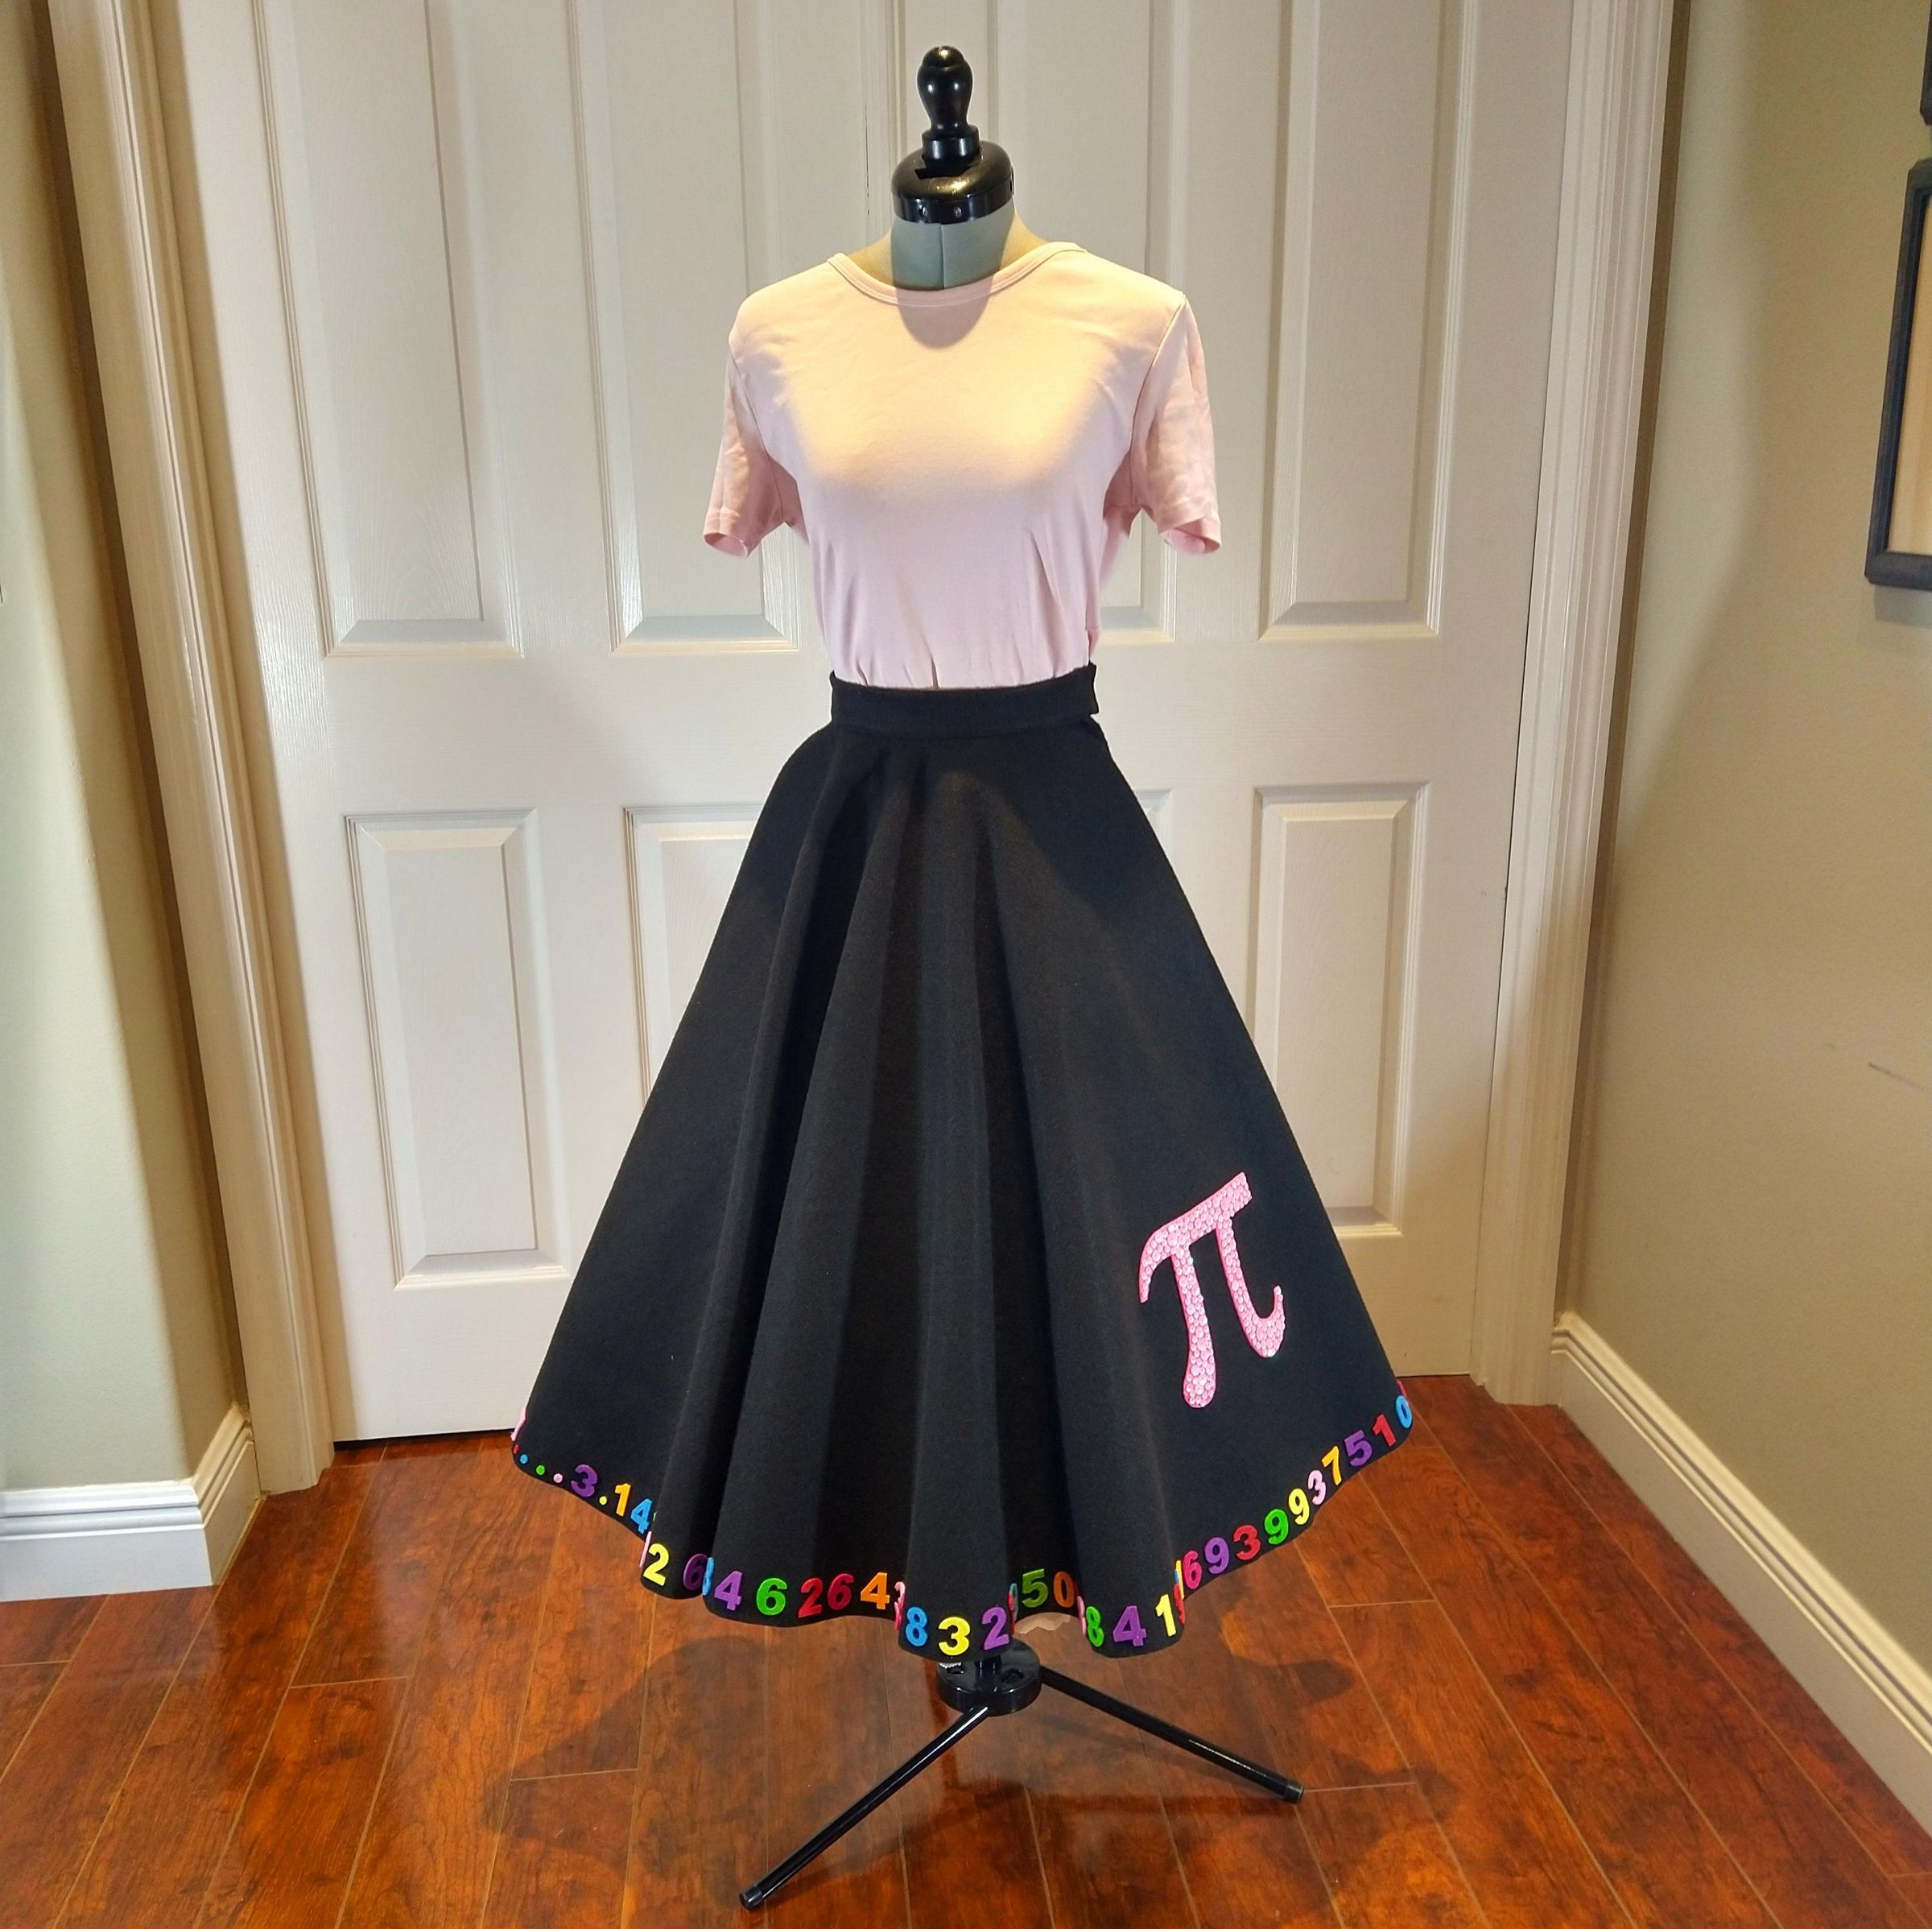
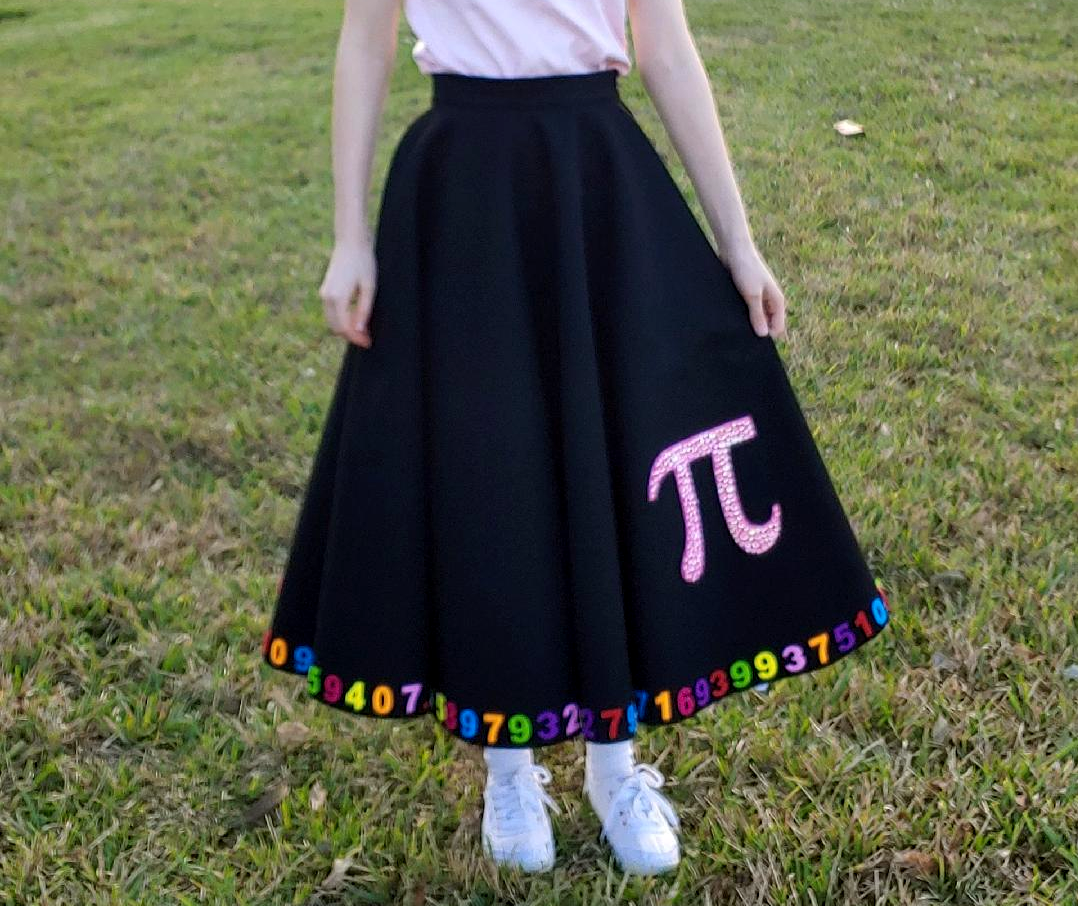
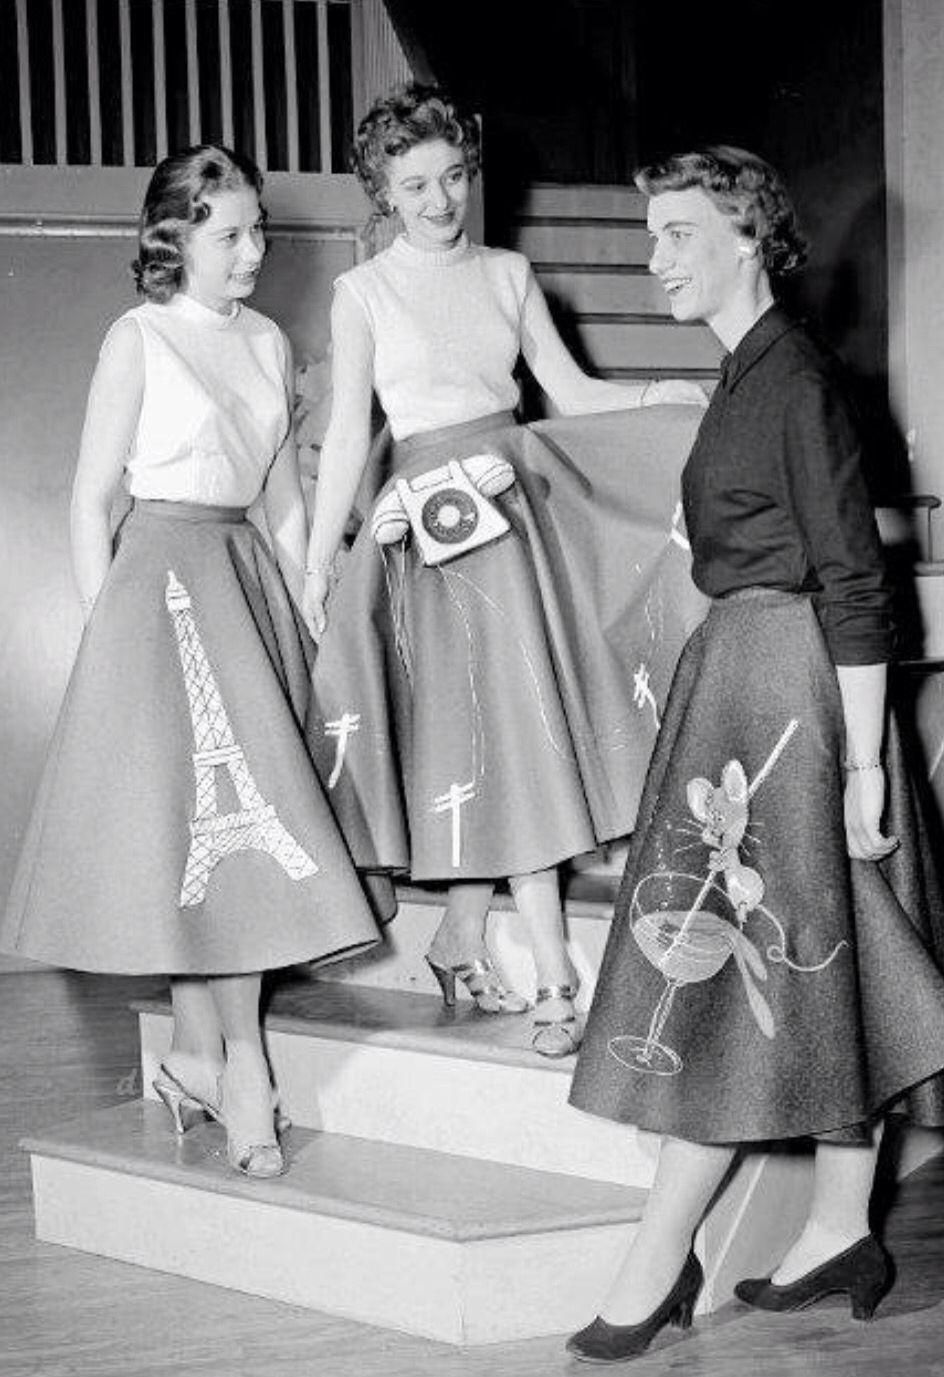
In this tutorial, I'm combining math, sewing and vintage fashion to create a π themed circle skirt, using historical techniques! Sewing and math go hand and hand, and the π formulas are a perfect way to demonstrate that!
This skirt is based on the iconic poodle circle skirt that was extremely popular in the 1950s; but it wasn't exclusive to just poodle appliques! Girls would customize their skirts with whatever their hearts desired, including their favorite animals, their favorite flowers, their initials, and everything in between.
These skirts were fun, twirly, and showed off each girl's personality.
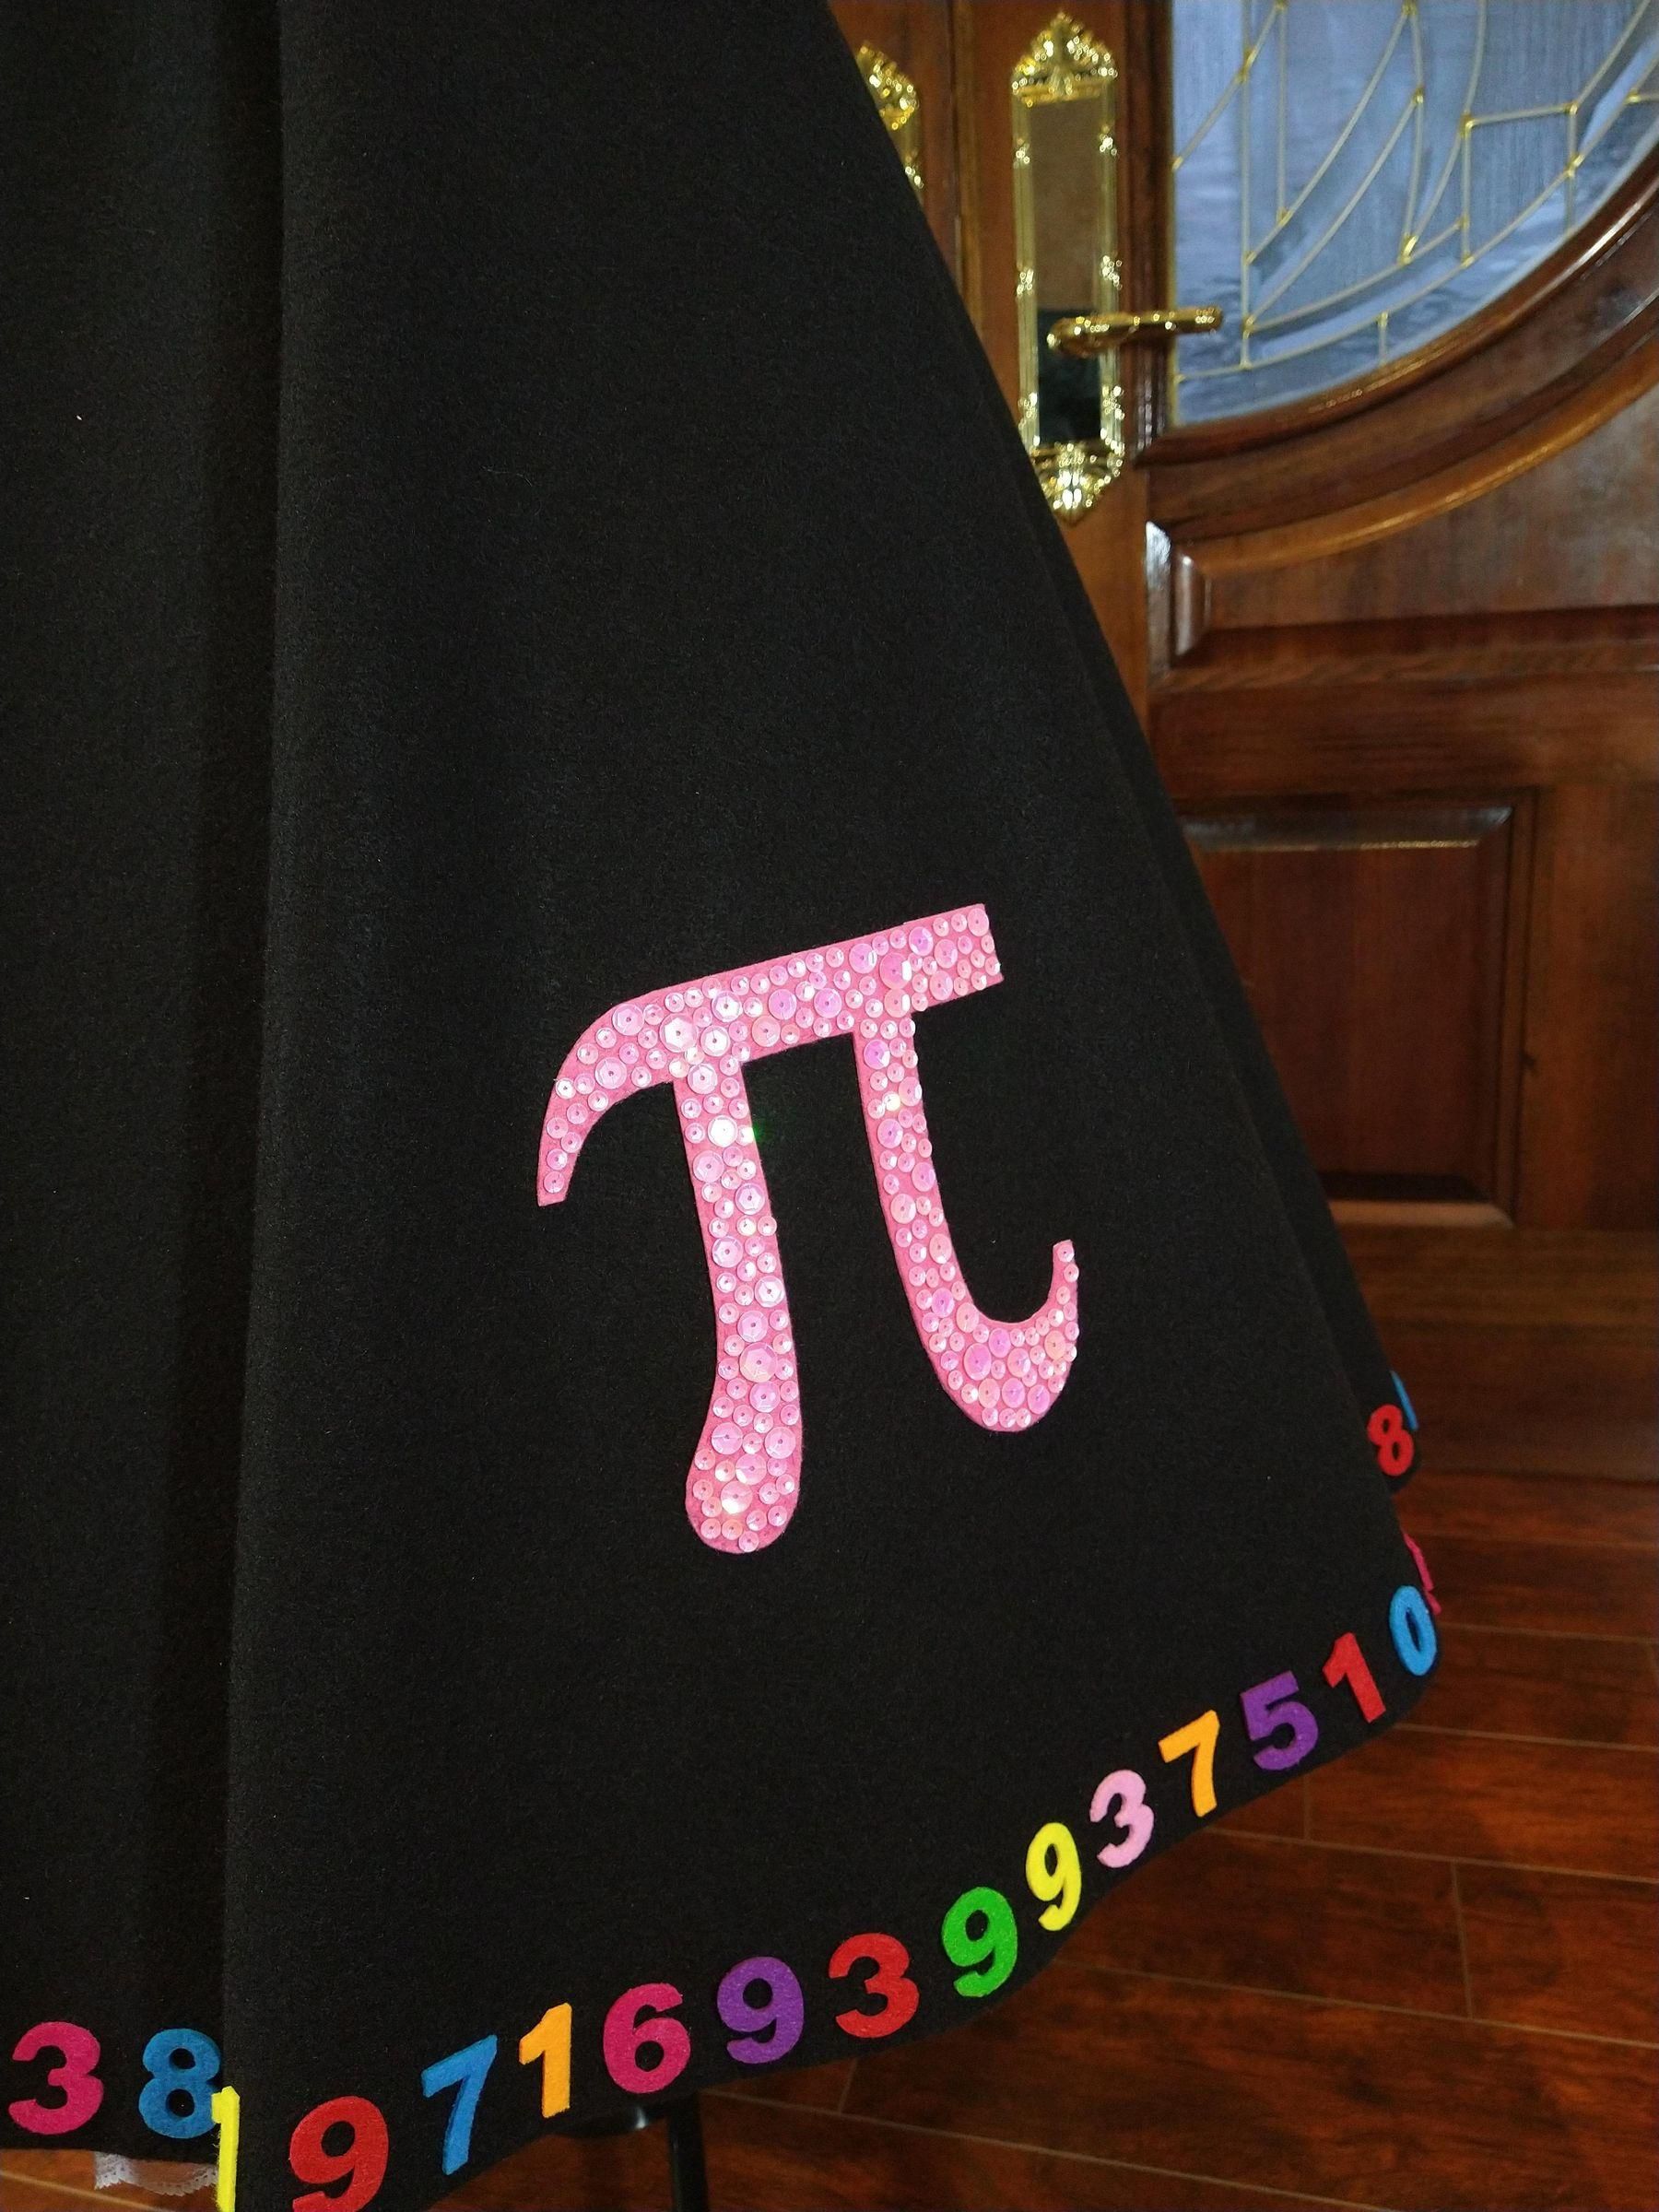
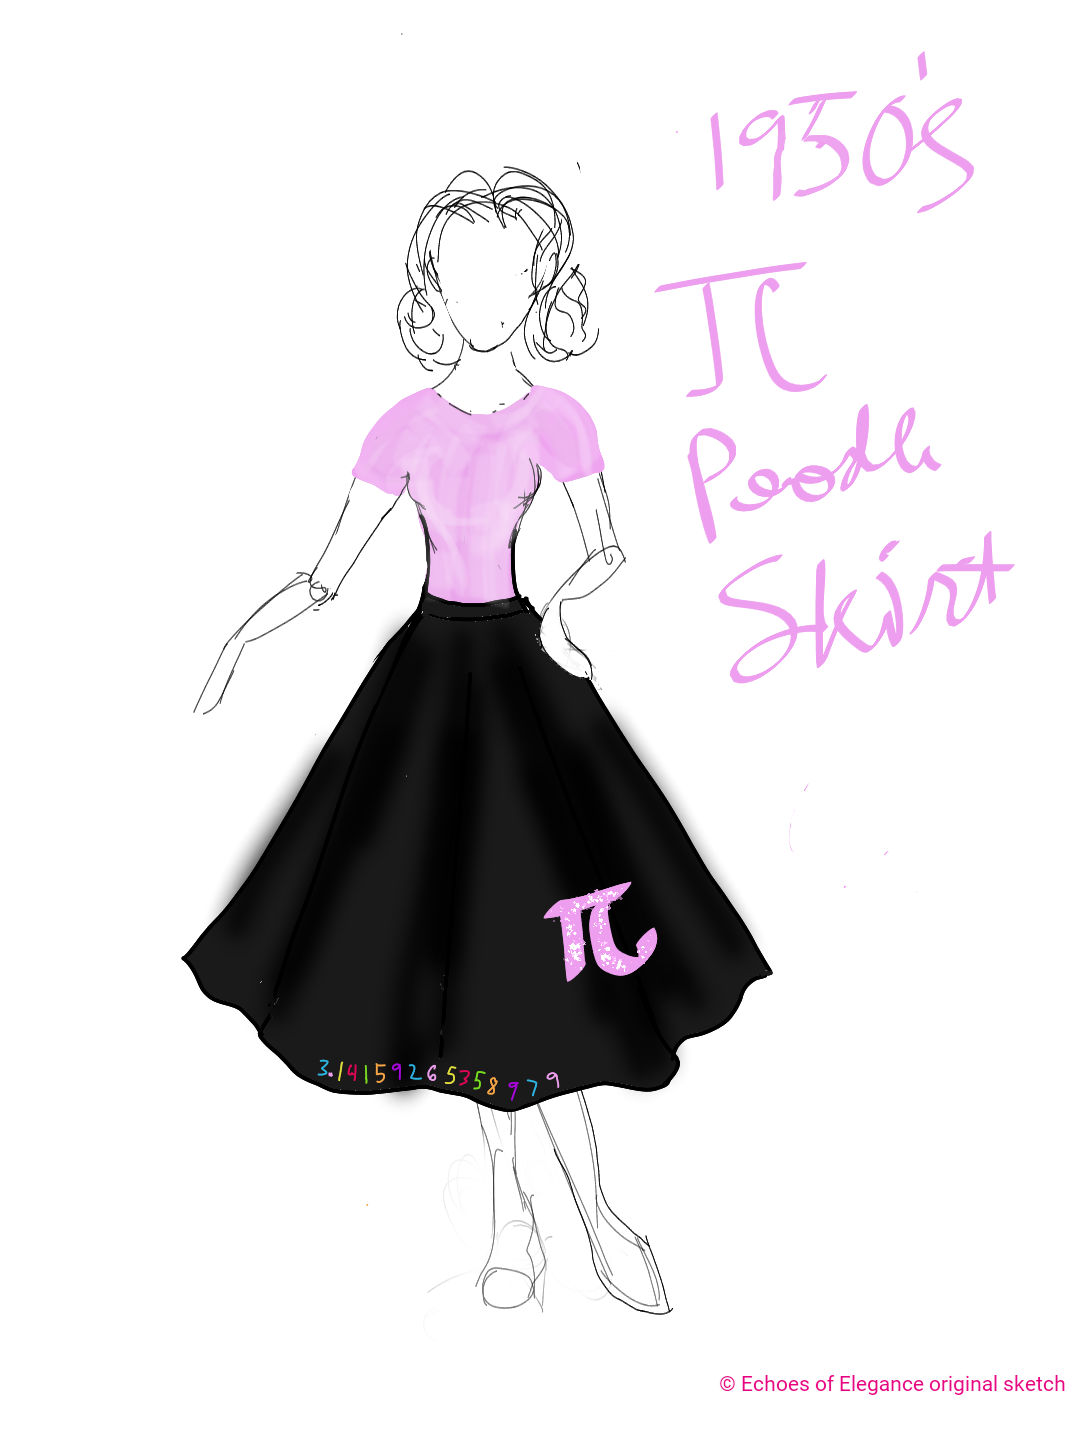
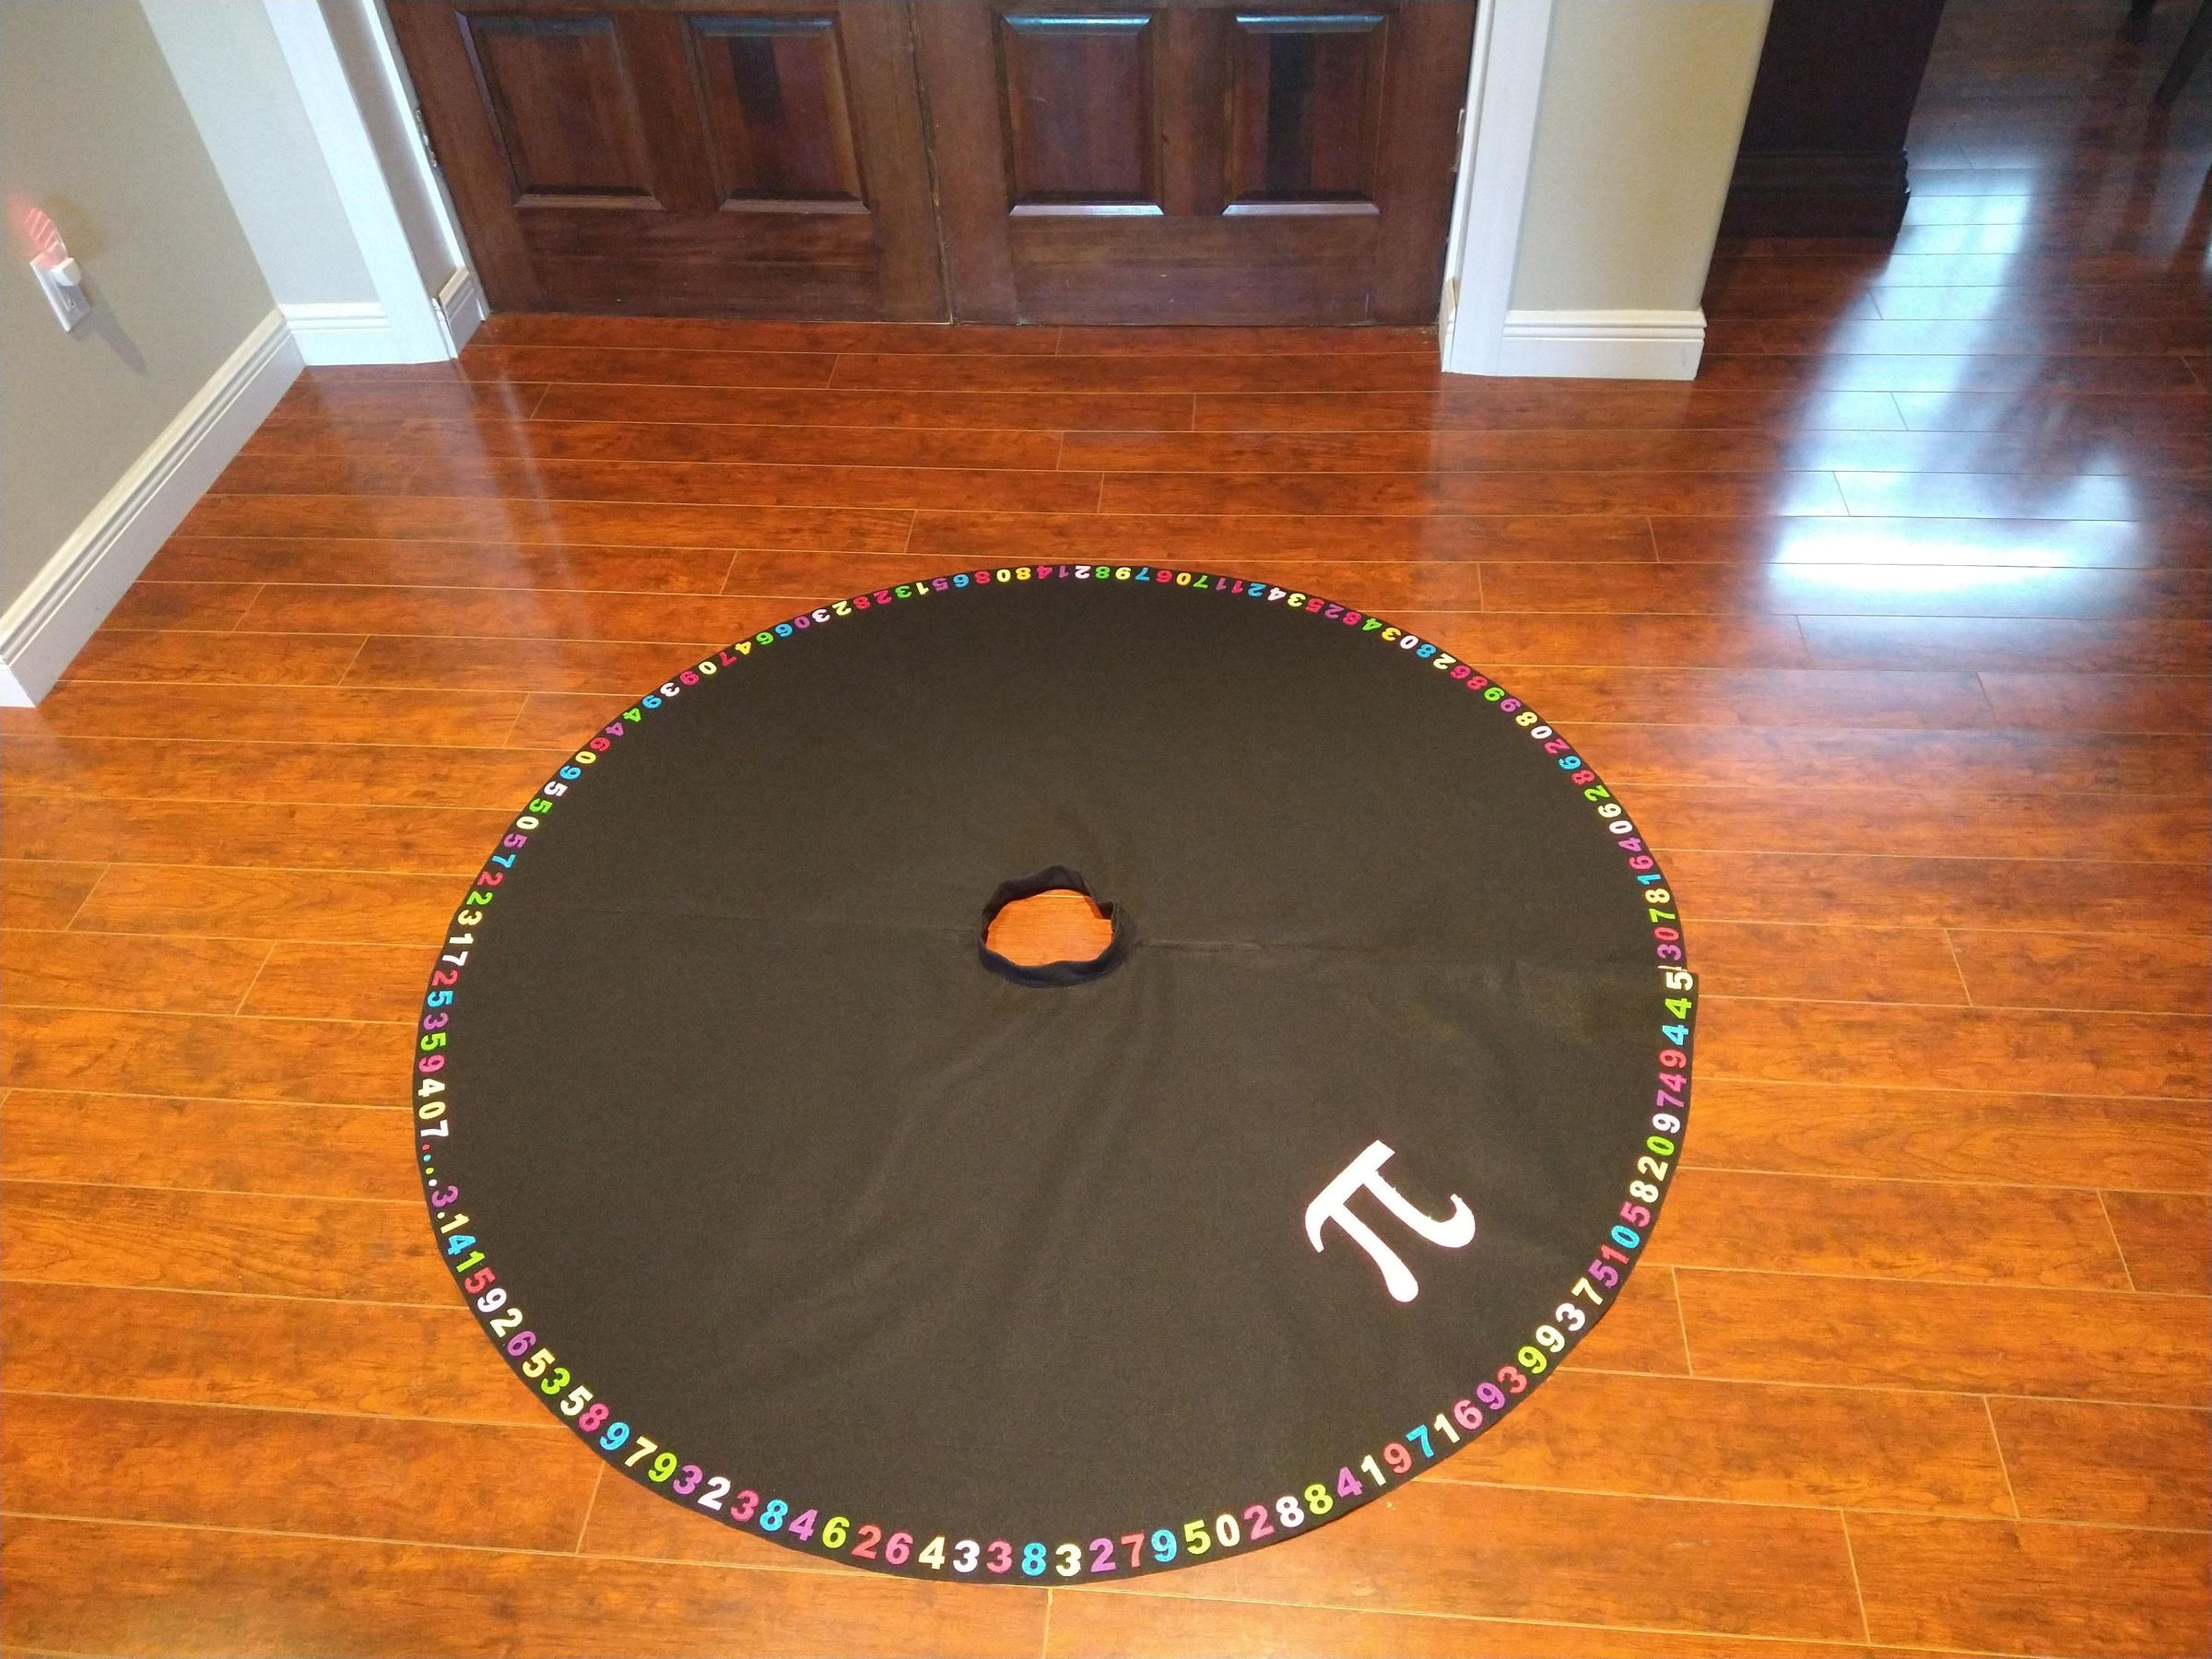
Inspired by these vintage skirts, I designed my skirt with a sparkly sequined pi applique, and the first 170 or so digits of pi encircling the hem. I included my original sketch and reference picture!
I made this to wear for pi day 2026.
Supplies
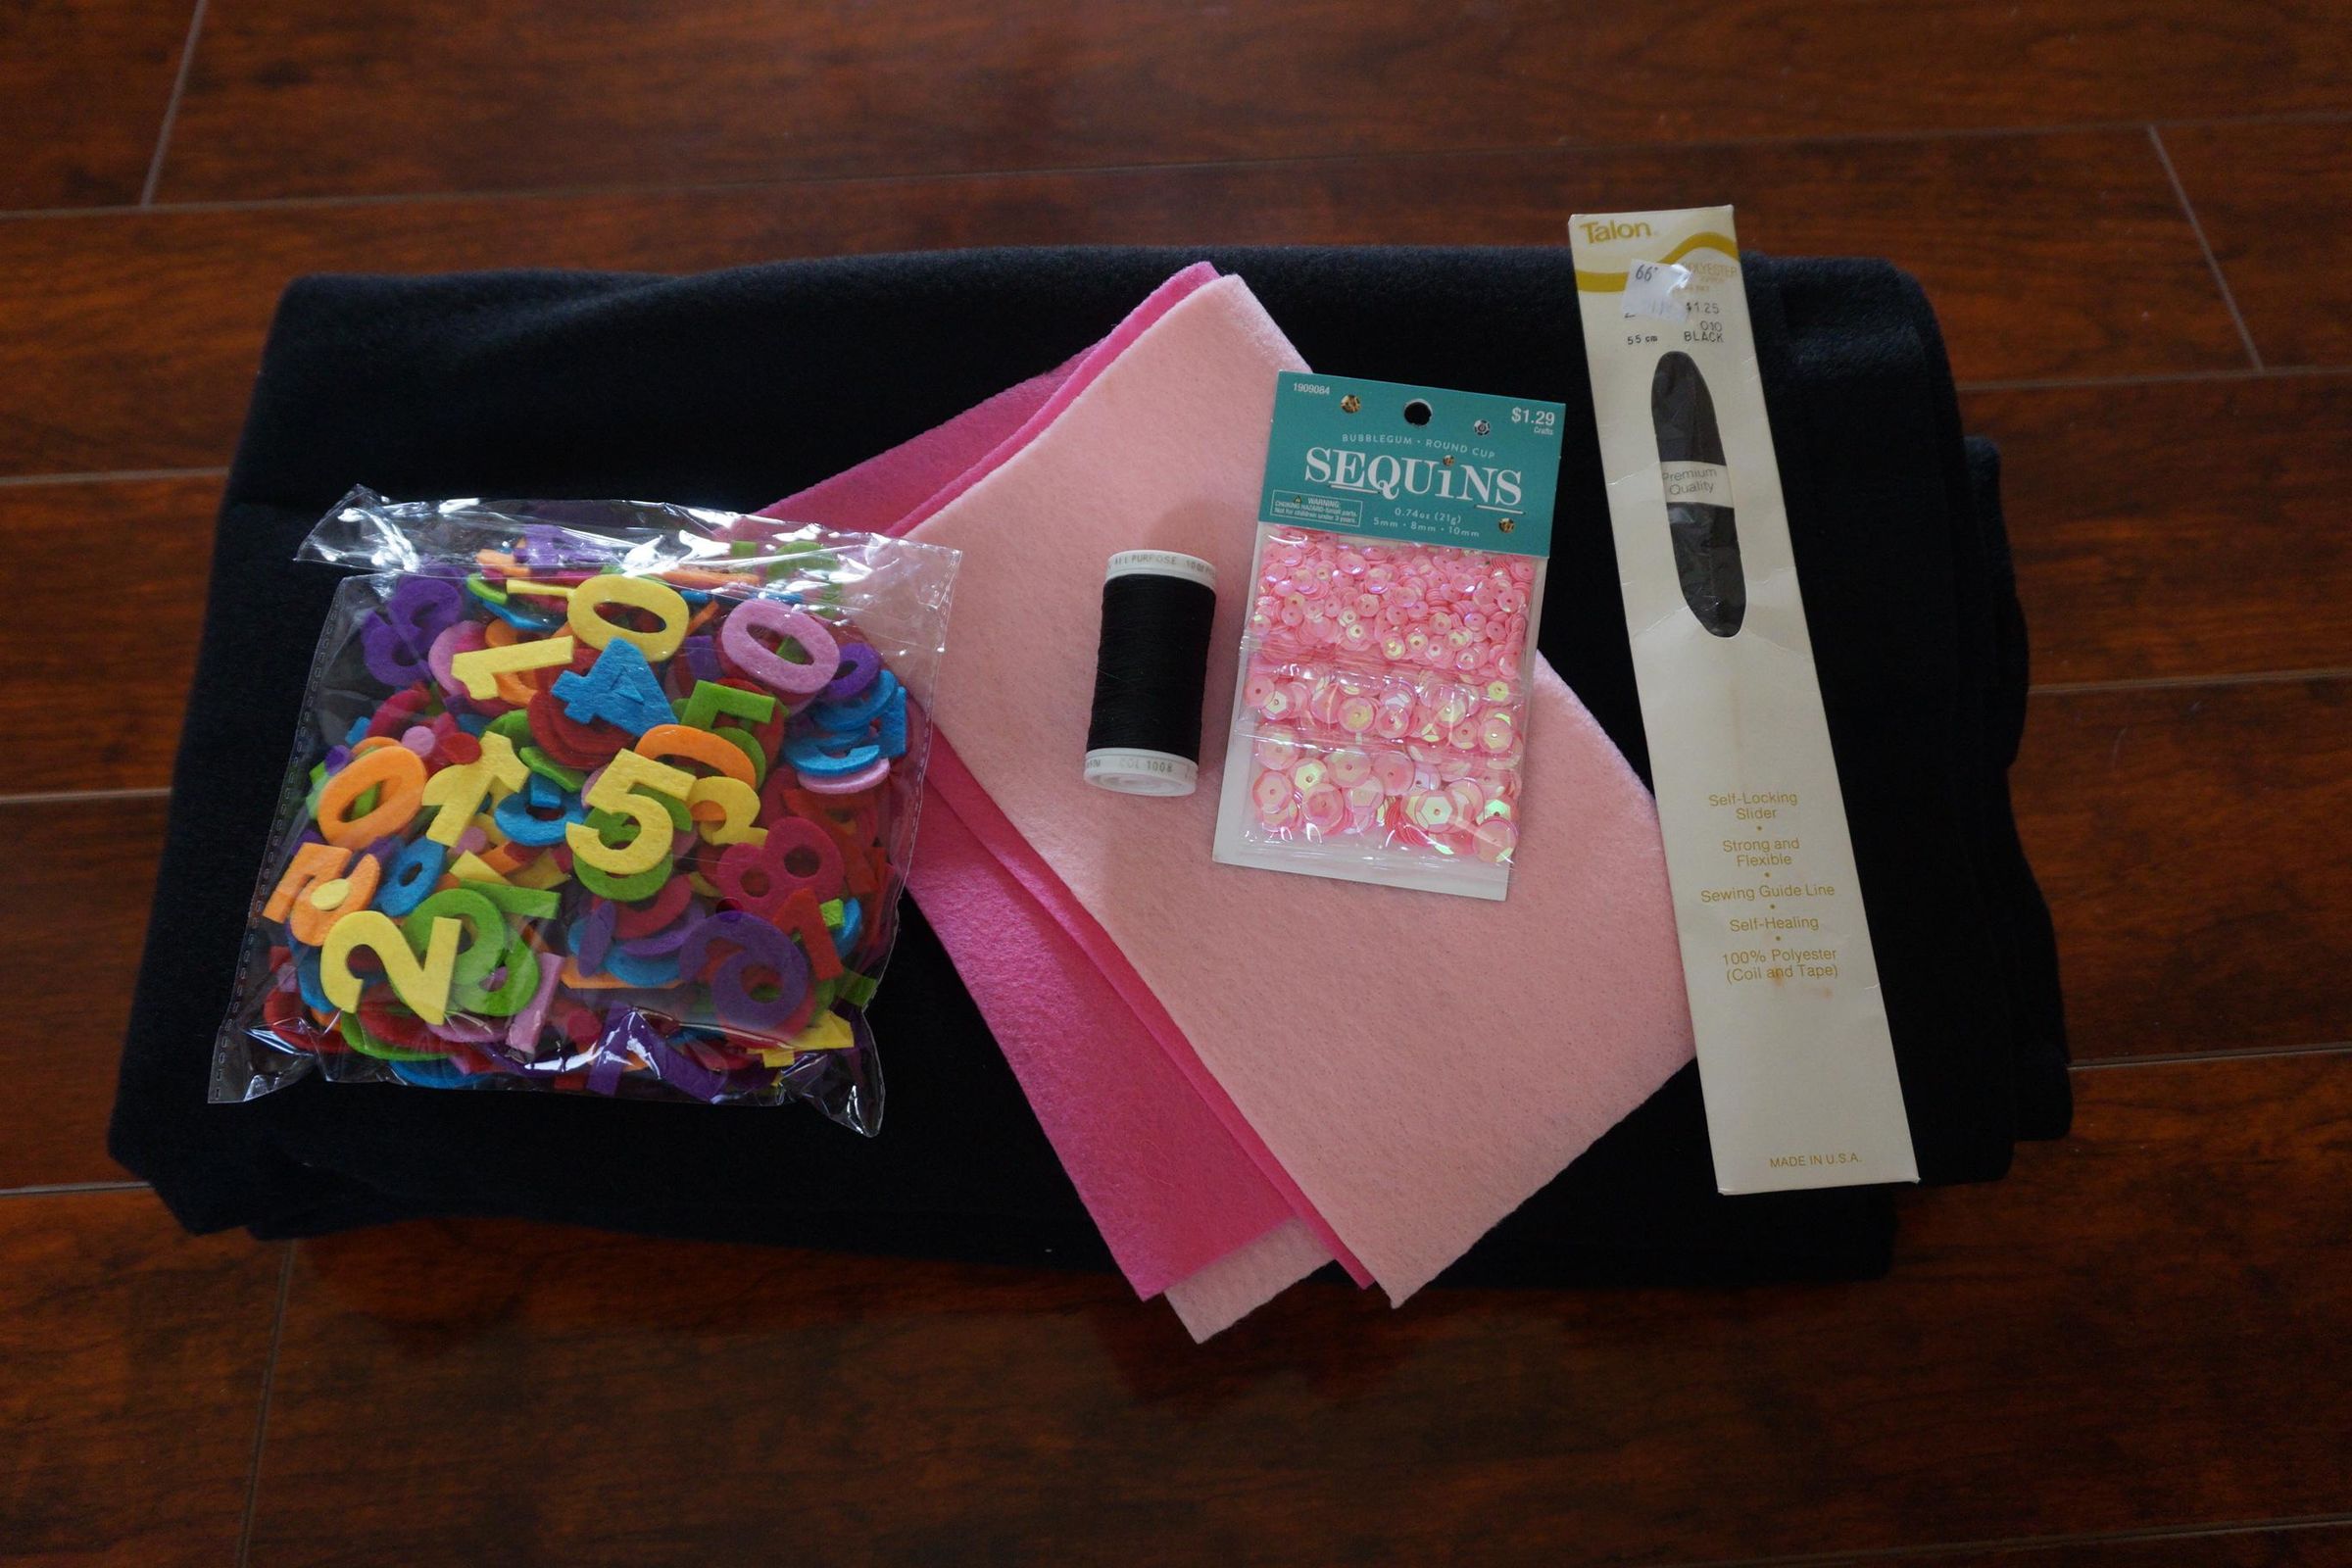
For this project you will need:
- 2-3.5 yards 72" felt fabric
or
- 3.5-4.5 yards 60" cotton fabric or wool suiting. (If using cotton or wool, be sure to add hem allowance. Felt doesn't need to be hemmed. Allow 1-2" of extra fabric for hem).
- 1x 9"x12" sheet contrasting felt, color of your choice, for applique (I chose bubblegum pink).
- 1 package multi-sized sequins, to match felt applique (I used 5mm,8mm,10mm)
- 200 pcs 1" felt numbers, multicolored (you can find them here on amazon)
( you may need to purchase 2 packages in order to have the correct number of numbers. I ran out of 8s when I made mine.)
- 9" matching zipper
- skirt/pant hook and bar
- Matching thread (To match your skirt and applique)
- Liquid stitch fabric glue, for gluing on numbers.
- Pellon feather weight fusible interfacing
You will need: sewing machine, iron, scissors, thread snips, pins and a needle. And a good gel pen for marking. A 60" tape measure or yard stick and 6" ruler.
Measurements and Formulas
You will need the following measurements.
- Waist circumference
- Length of your skirt measurement, (waist to mid-shin is a good length).
Record these measurements. Now it's time to Pi!
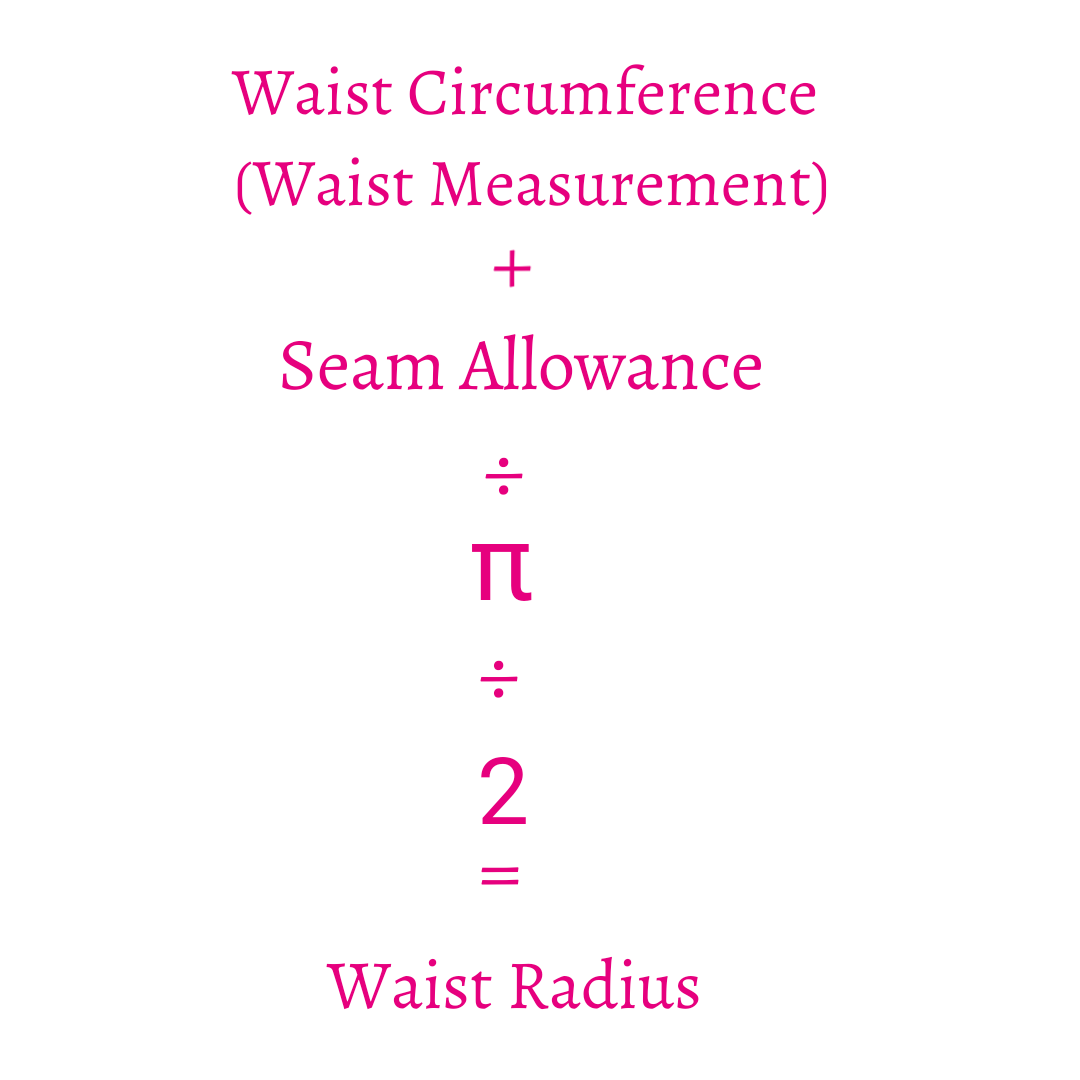
Find your Waist Radius:
Remember to add 1¼" seam allowance. (You can make it 1½" if you are used to working with larger seam allowances.)
Your formula is :
Waist Circumference + Seam allowance ÷ π ÷ 2
(This formula is based on the formula for the circumference of a circle)
Write down your waist radius.
Find your Skirt Radius:
Add your skirt length and your waist radius. Write down your value.
Cutting It Out
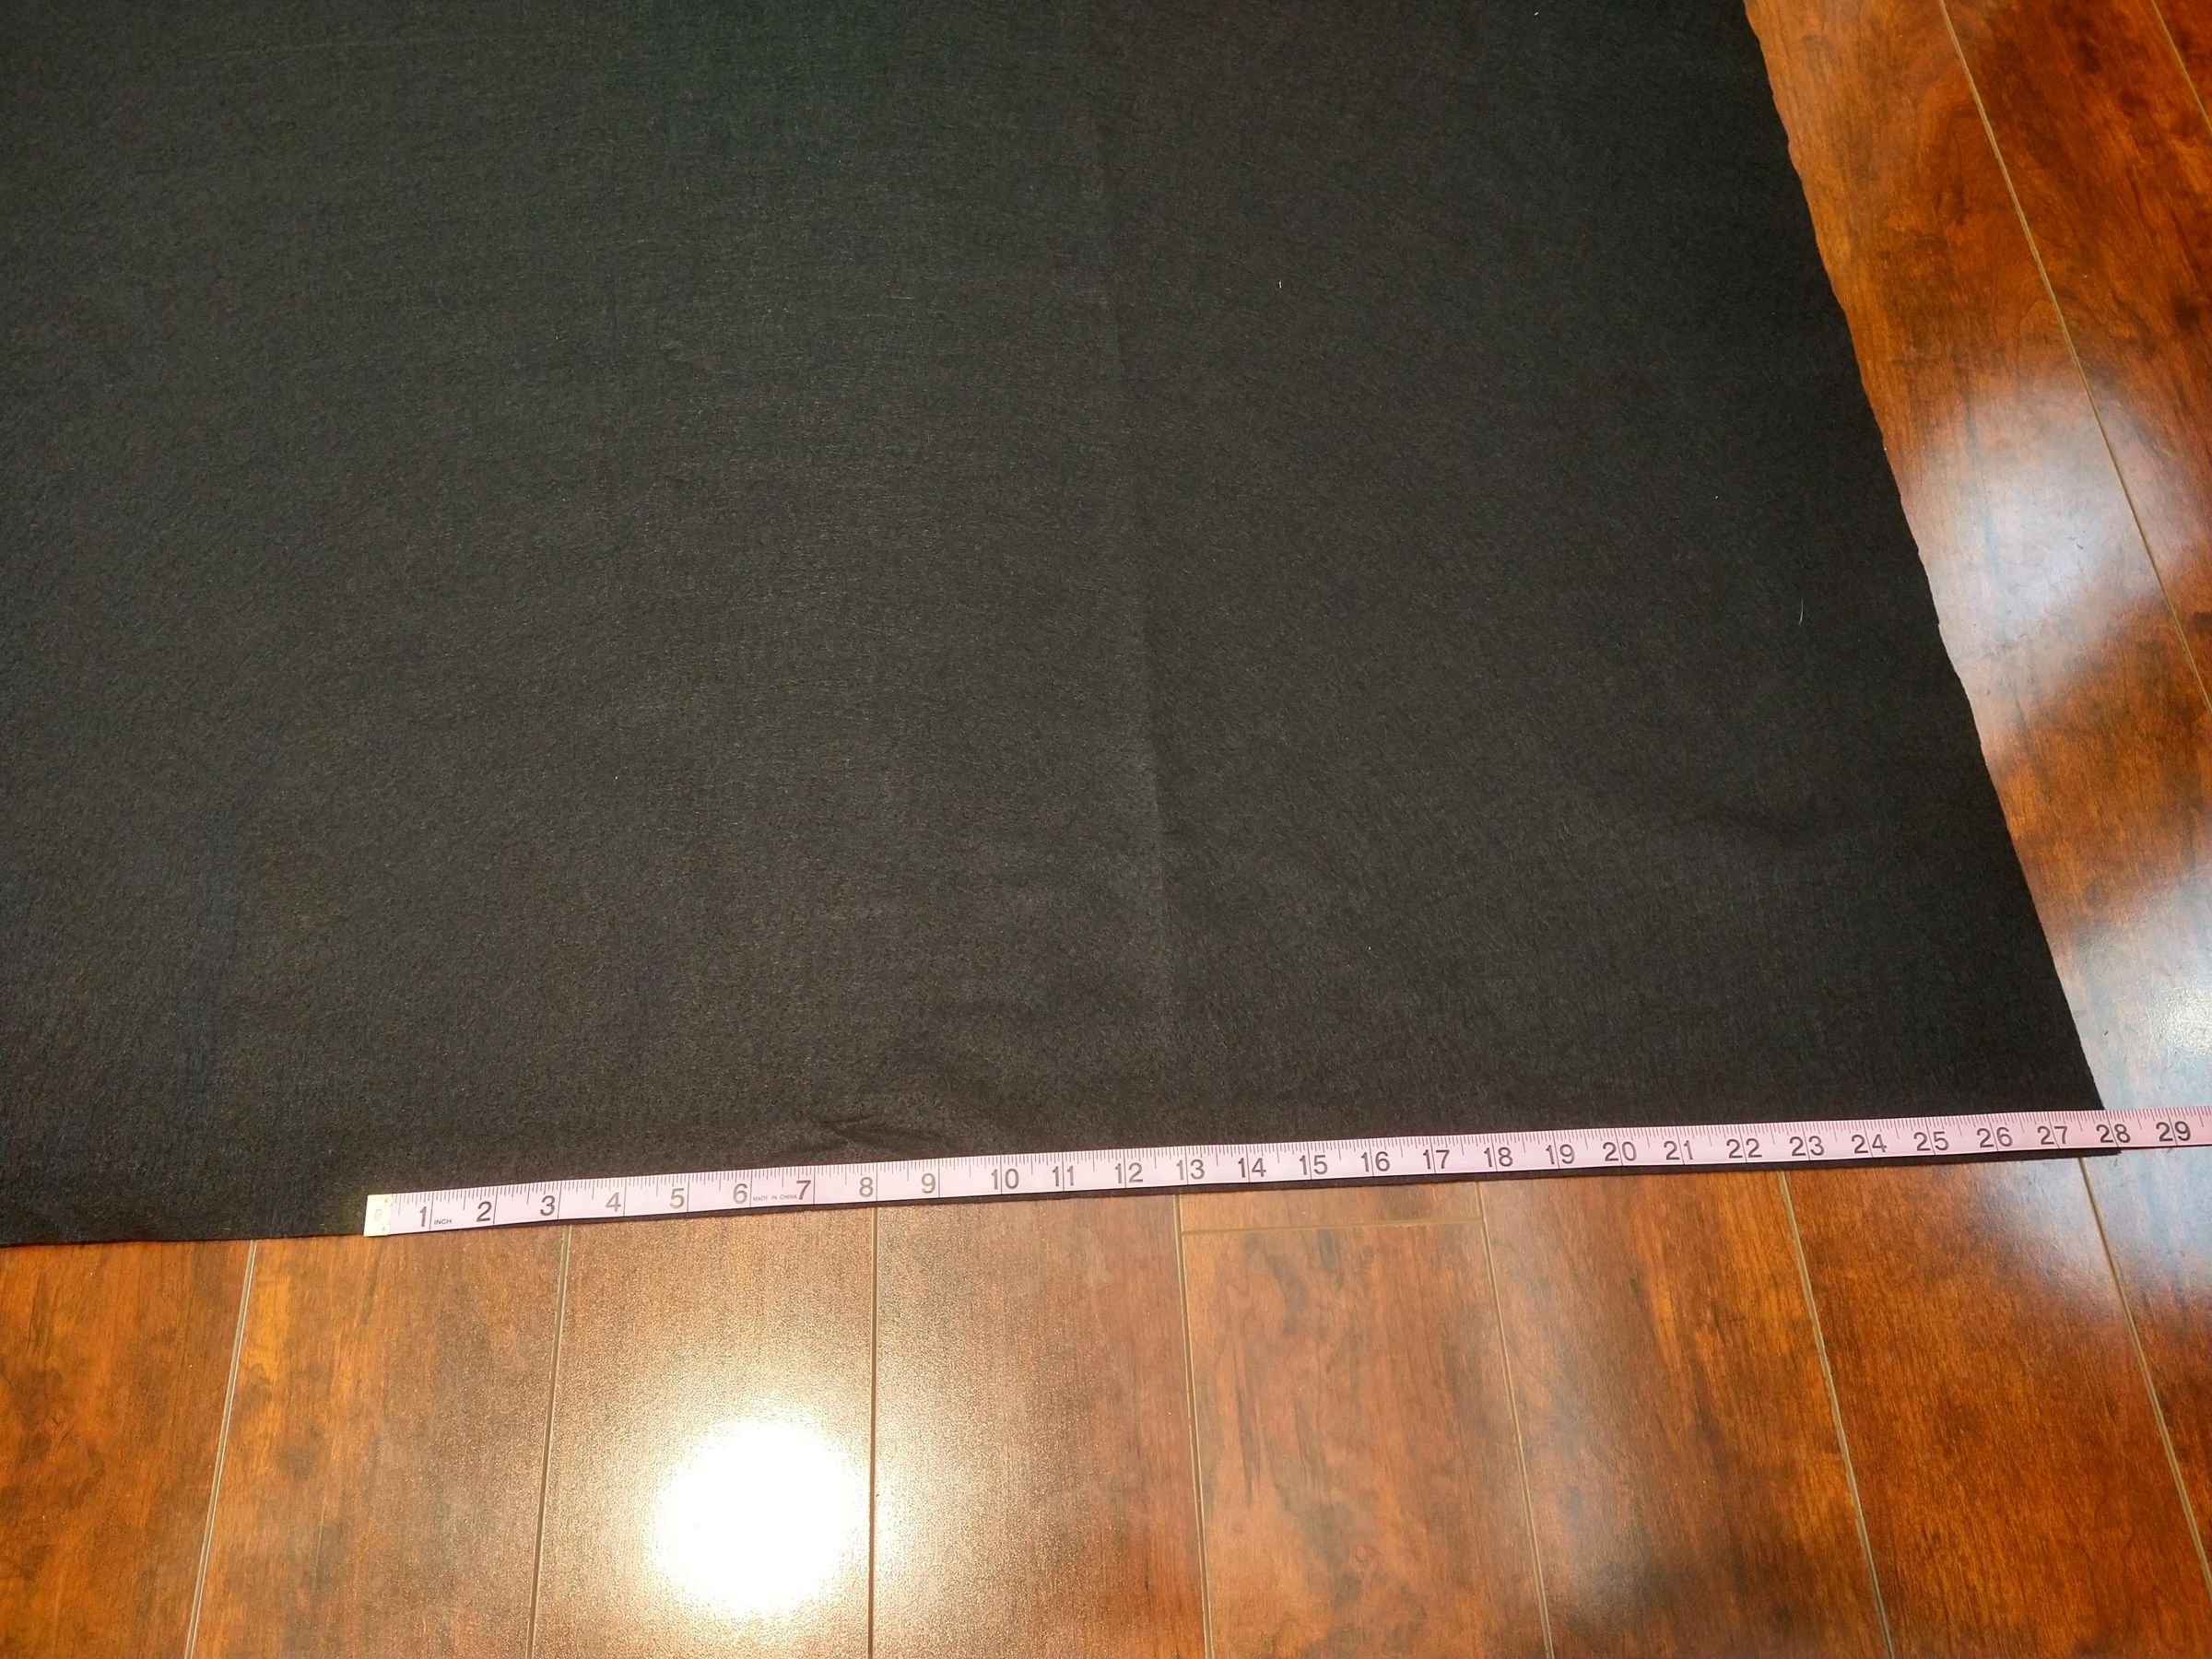
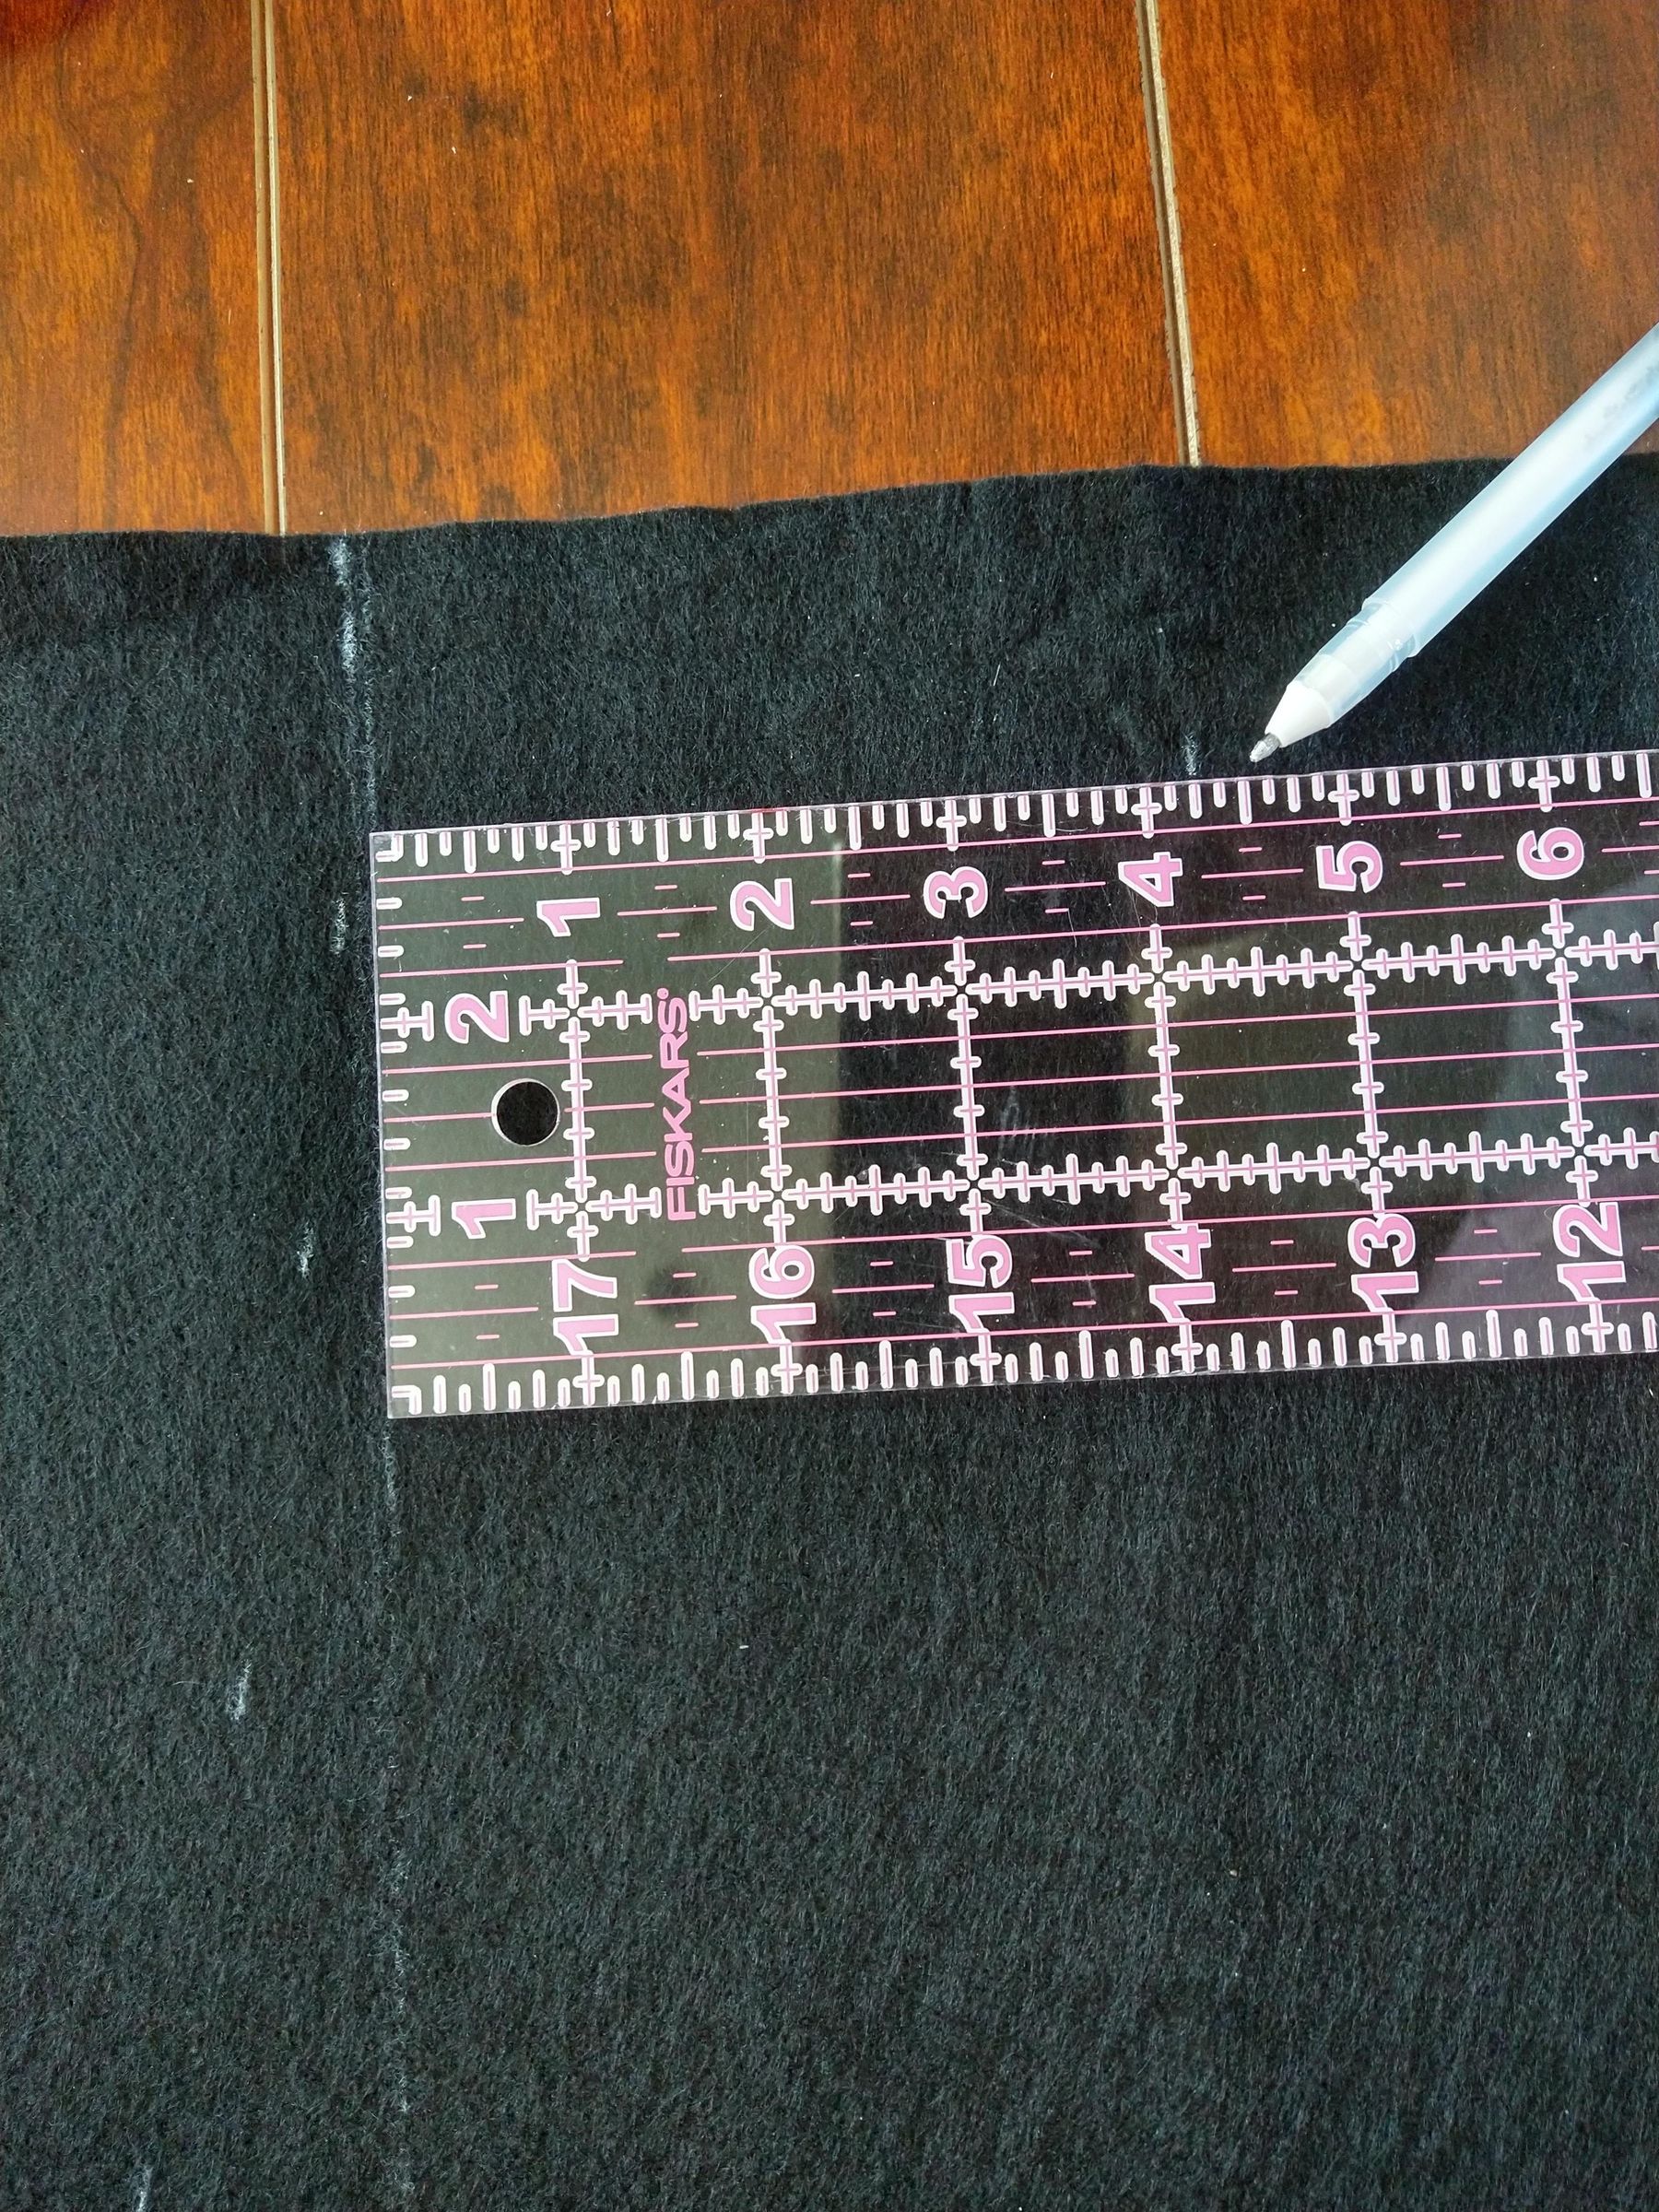
Cutting the skirt panels:
Cut the first half of the circle skirt:
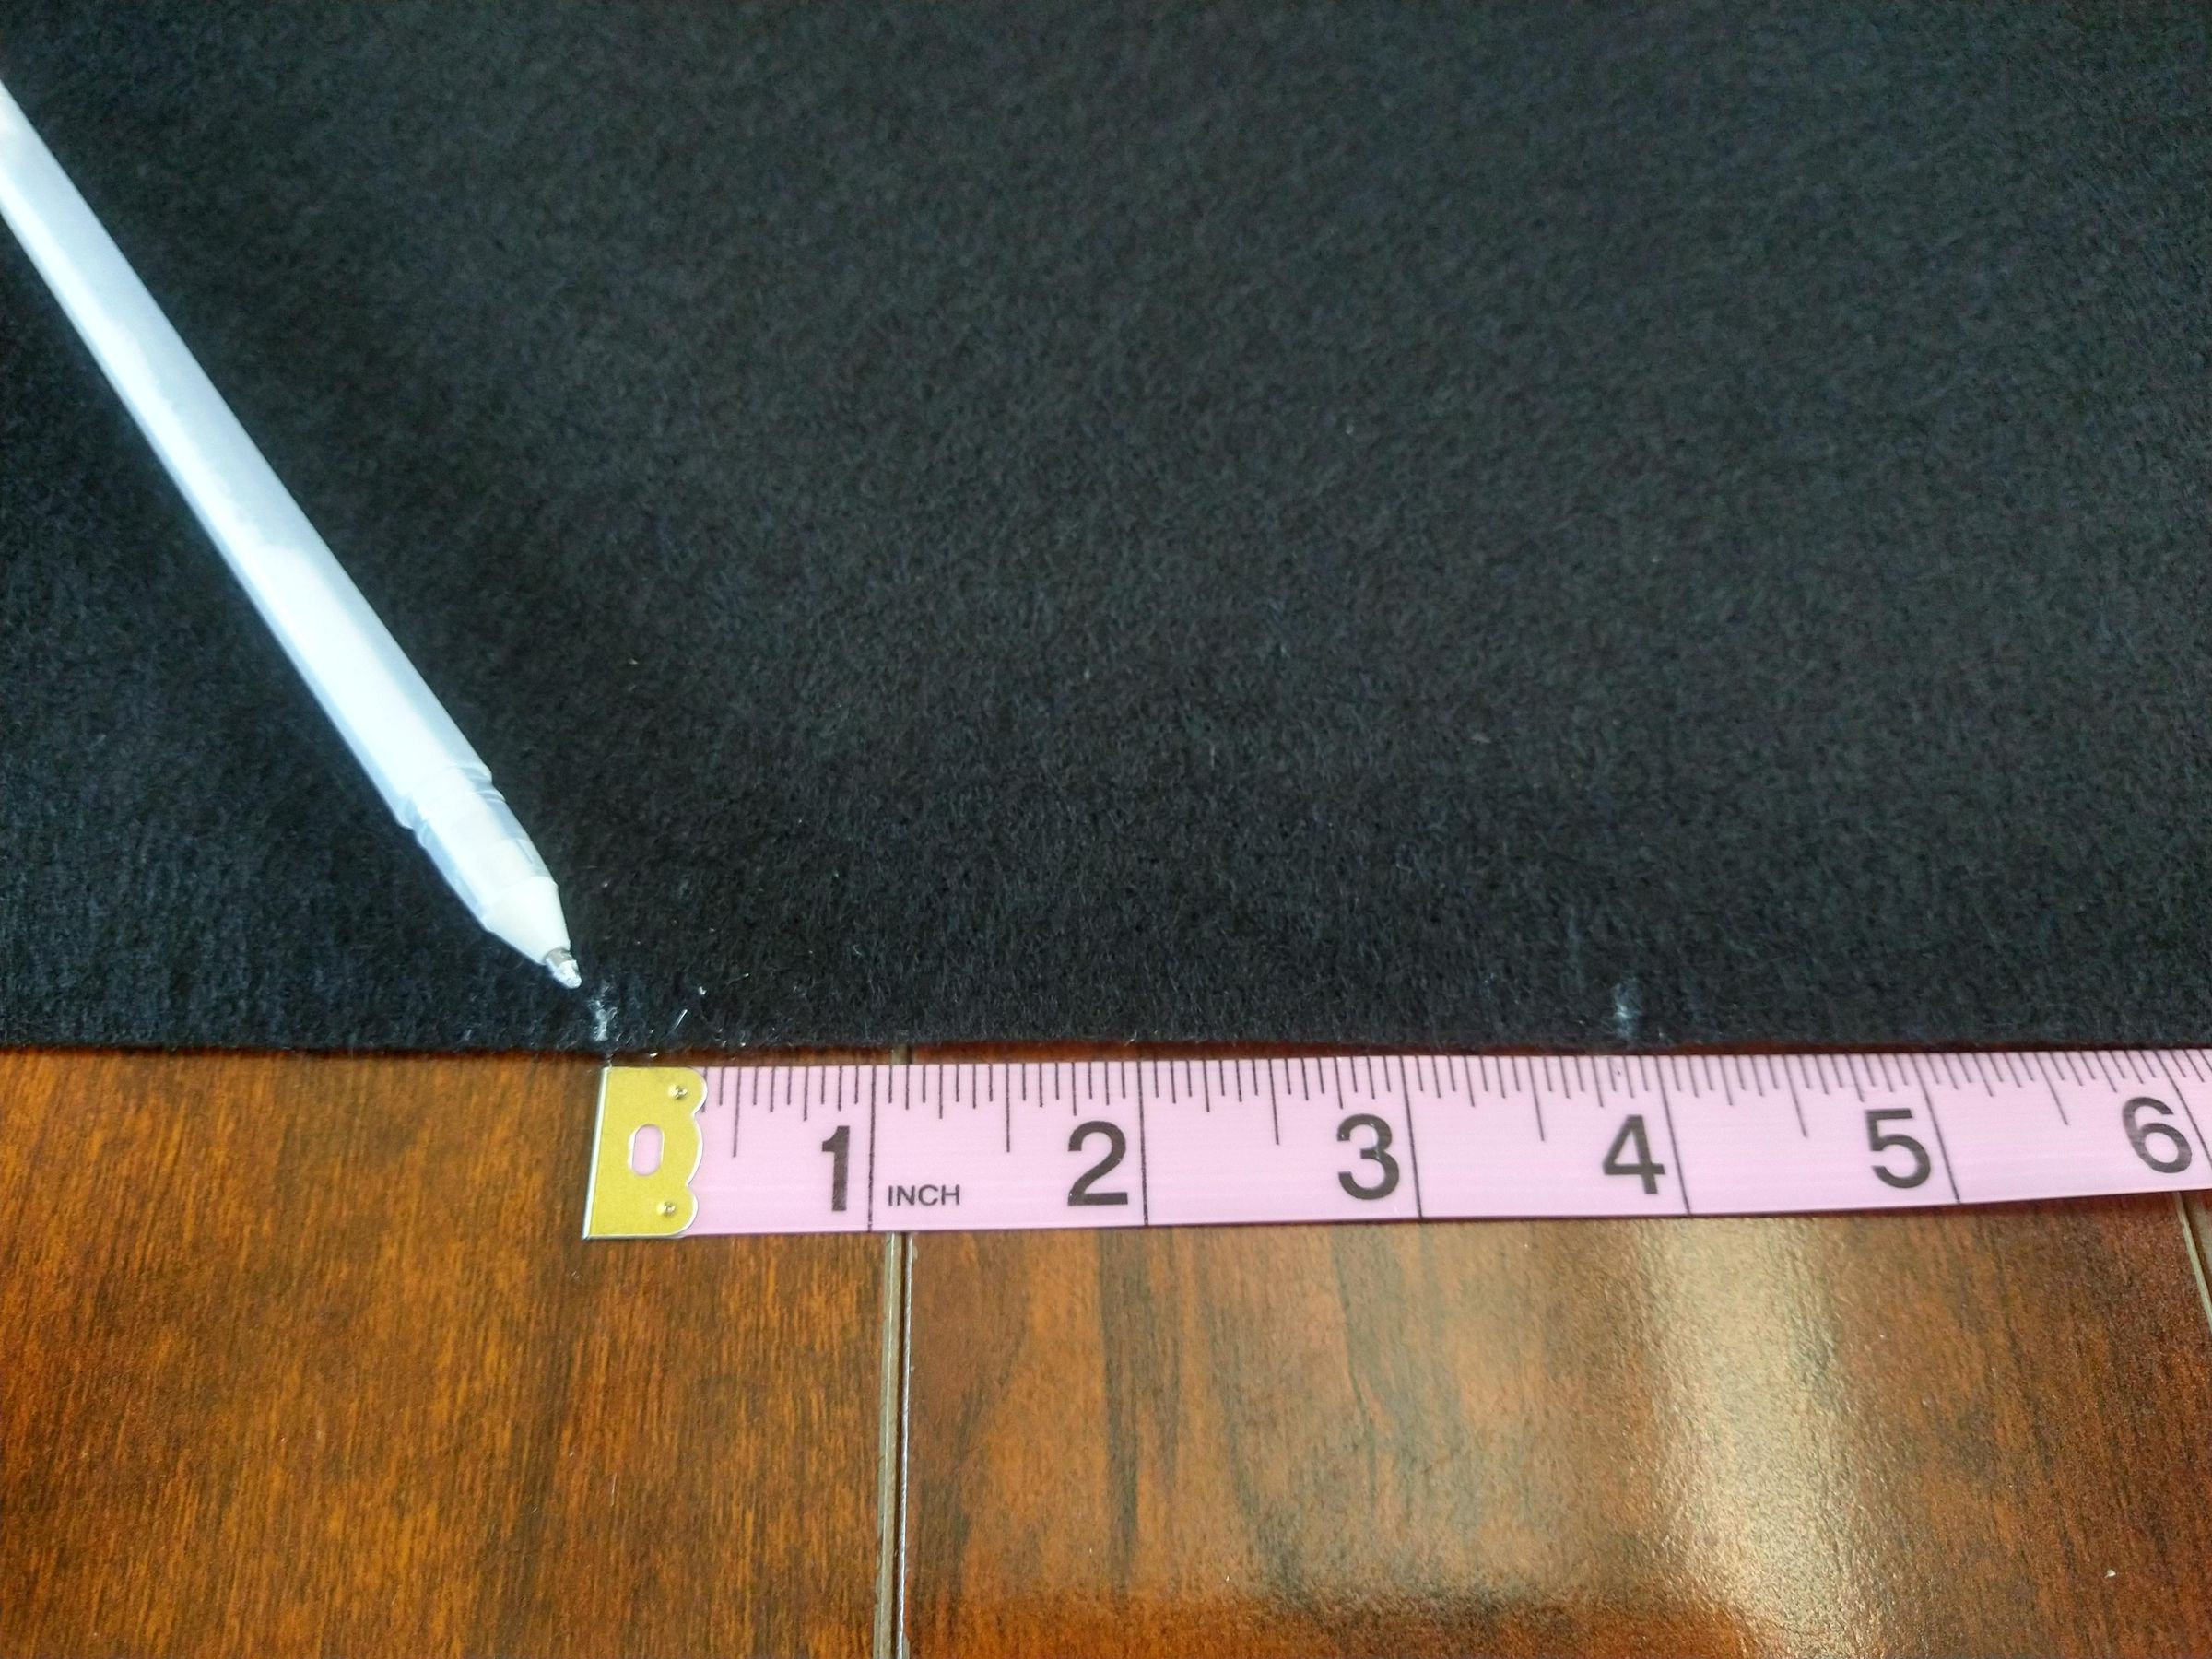
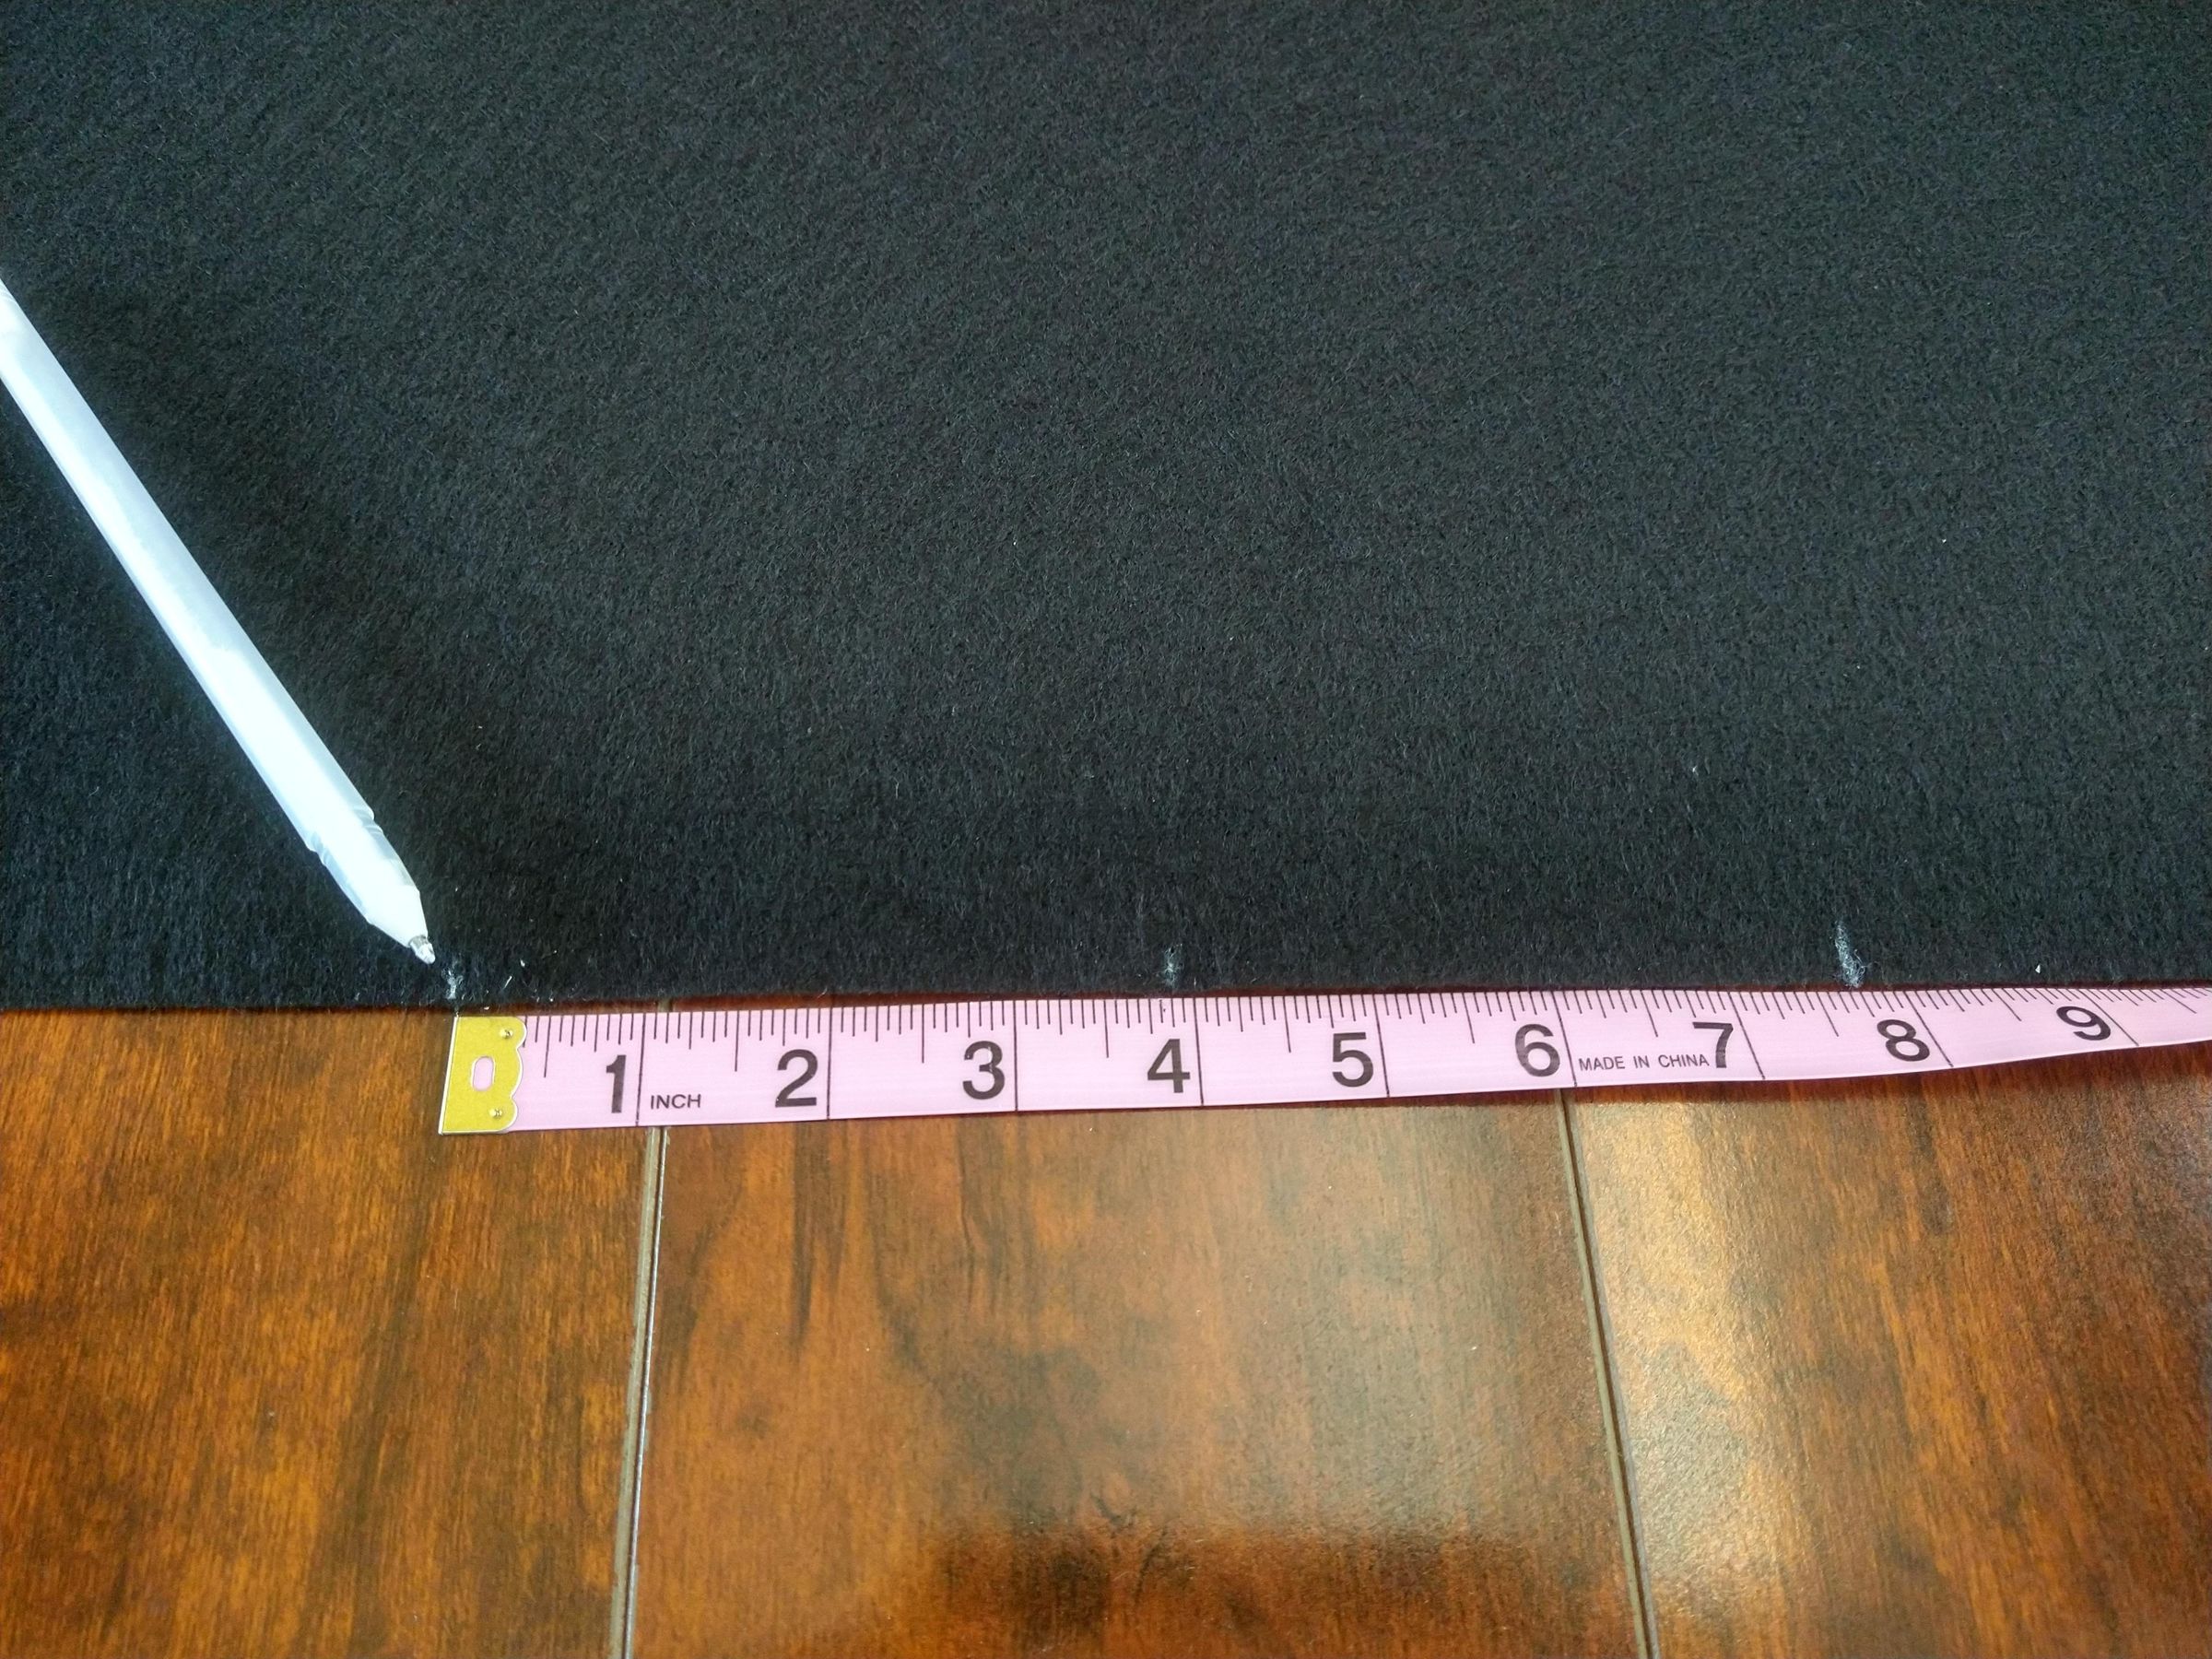
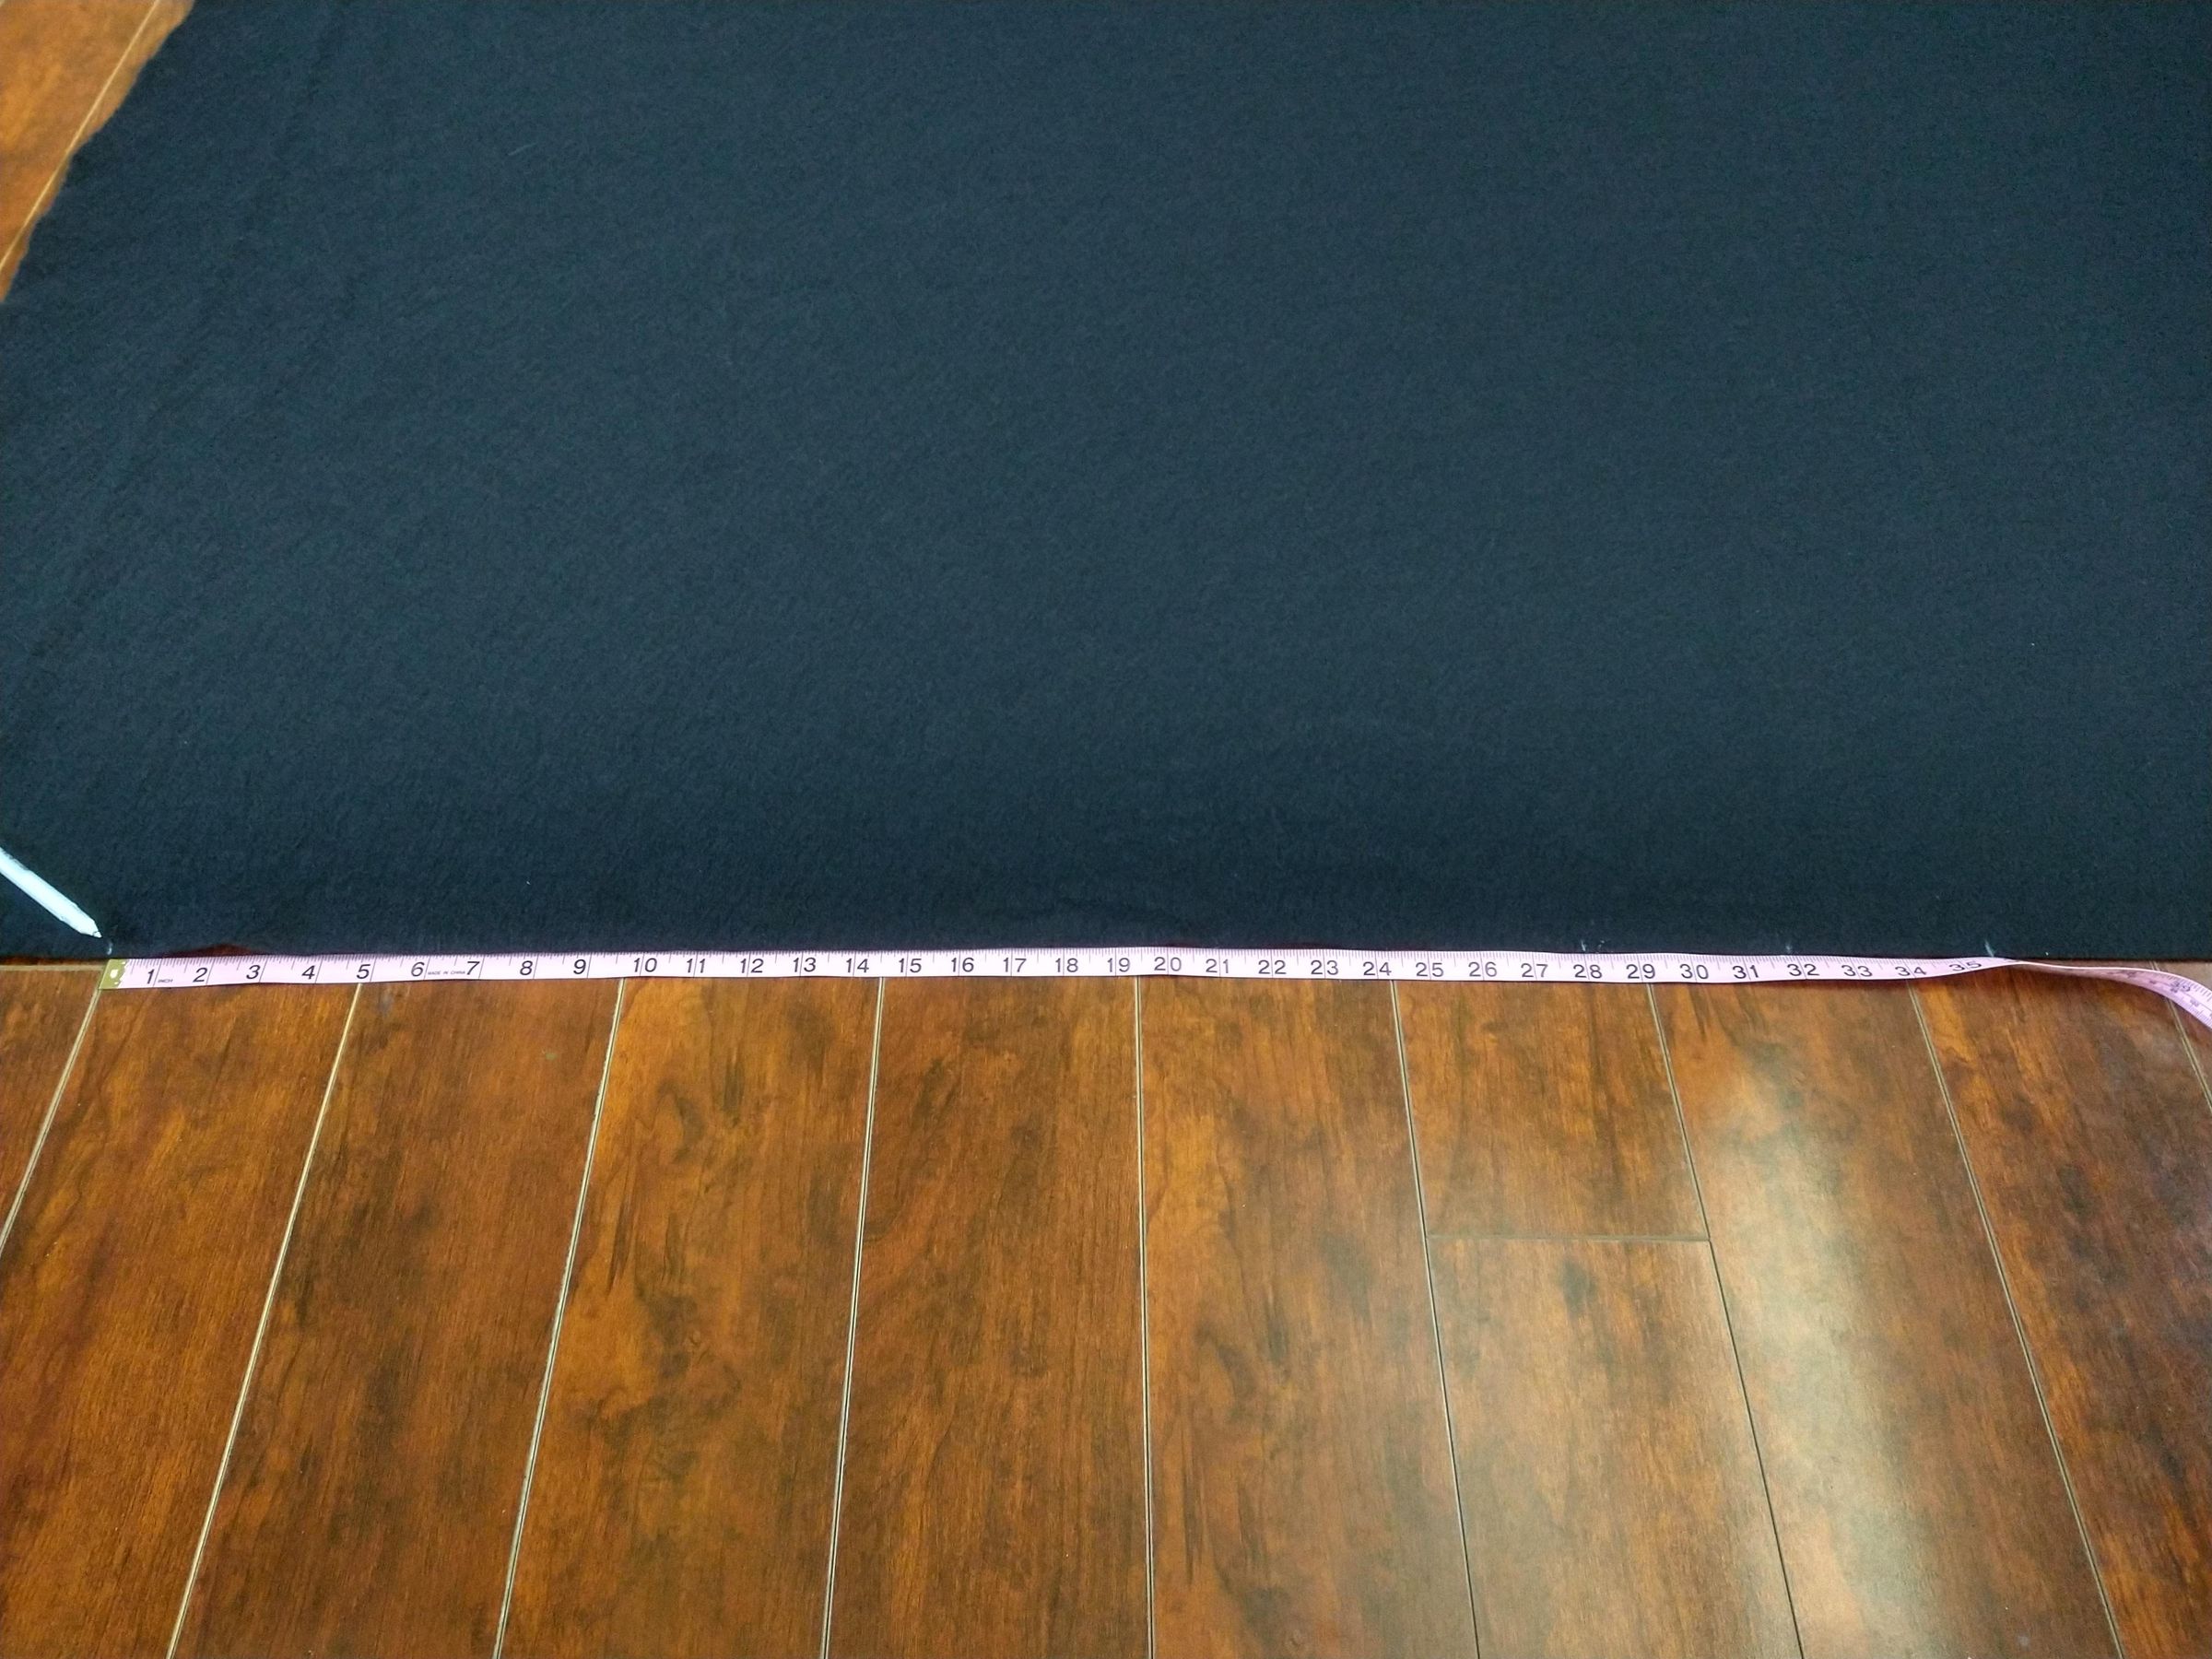
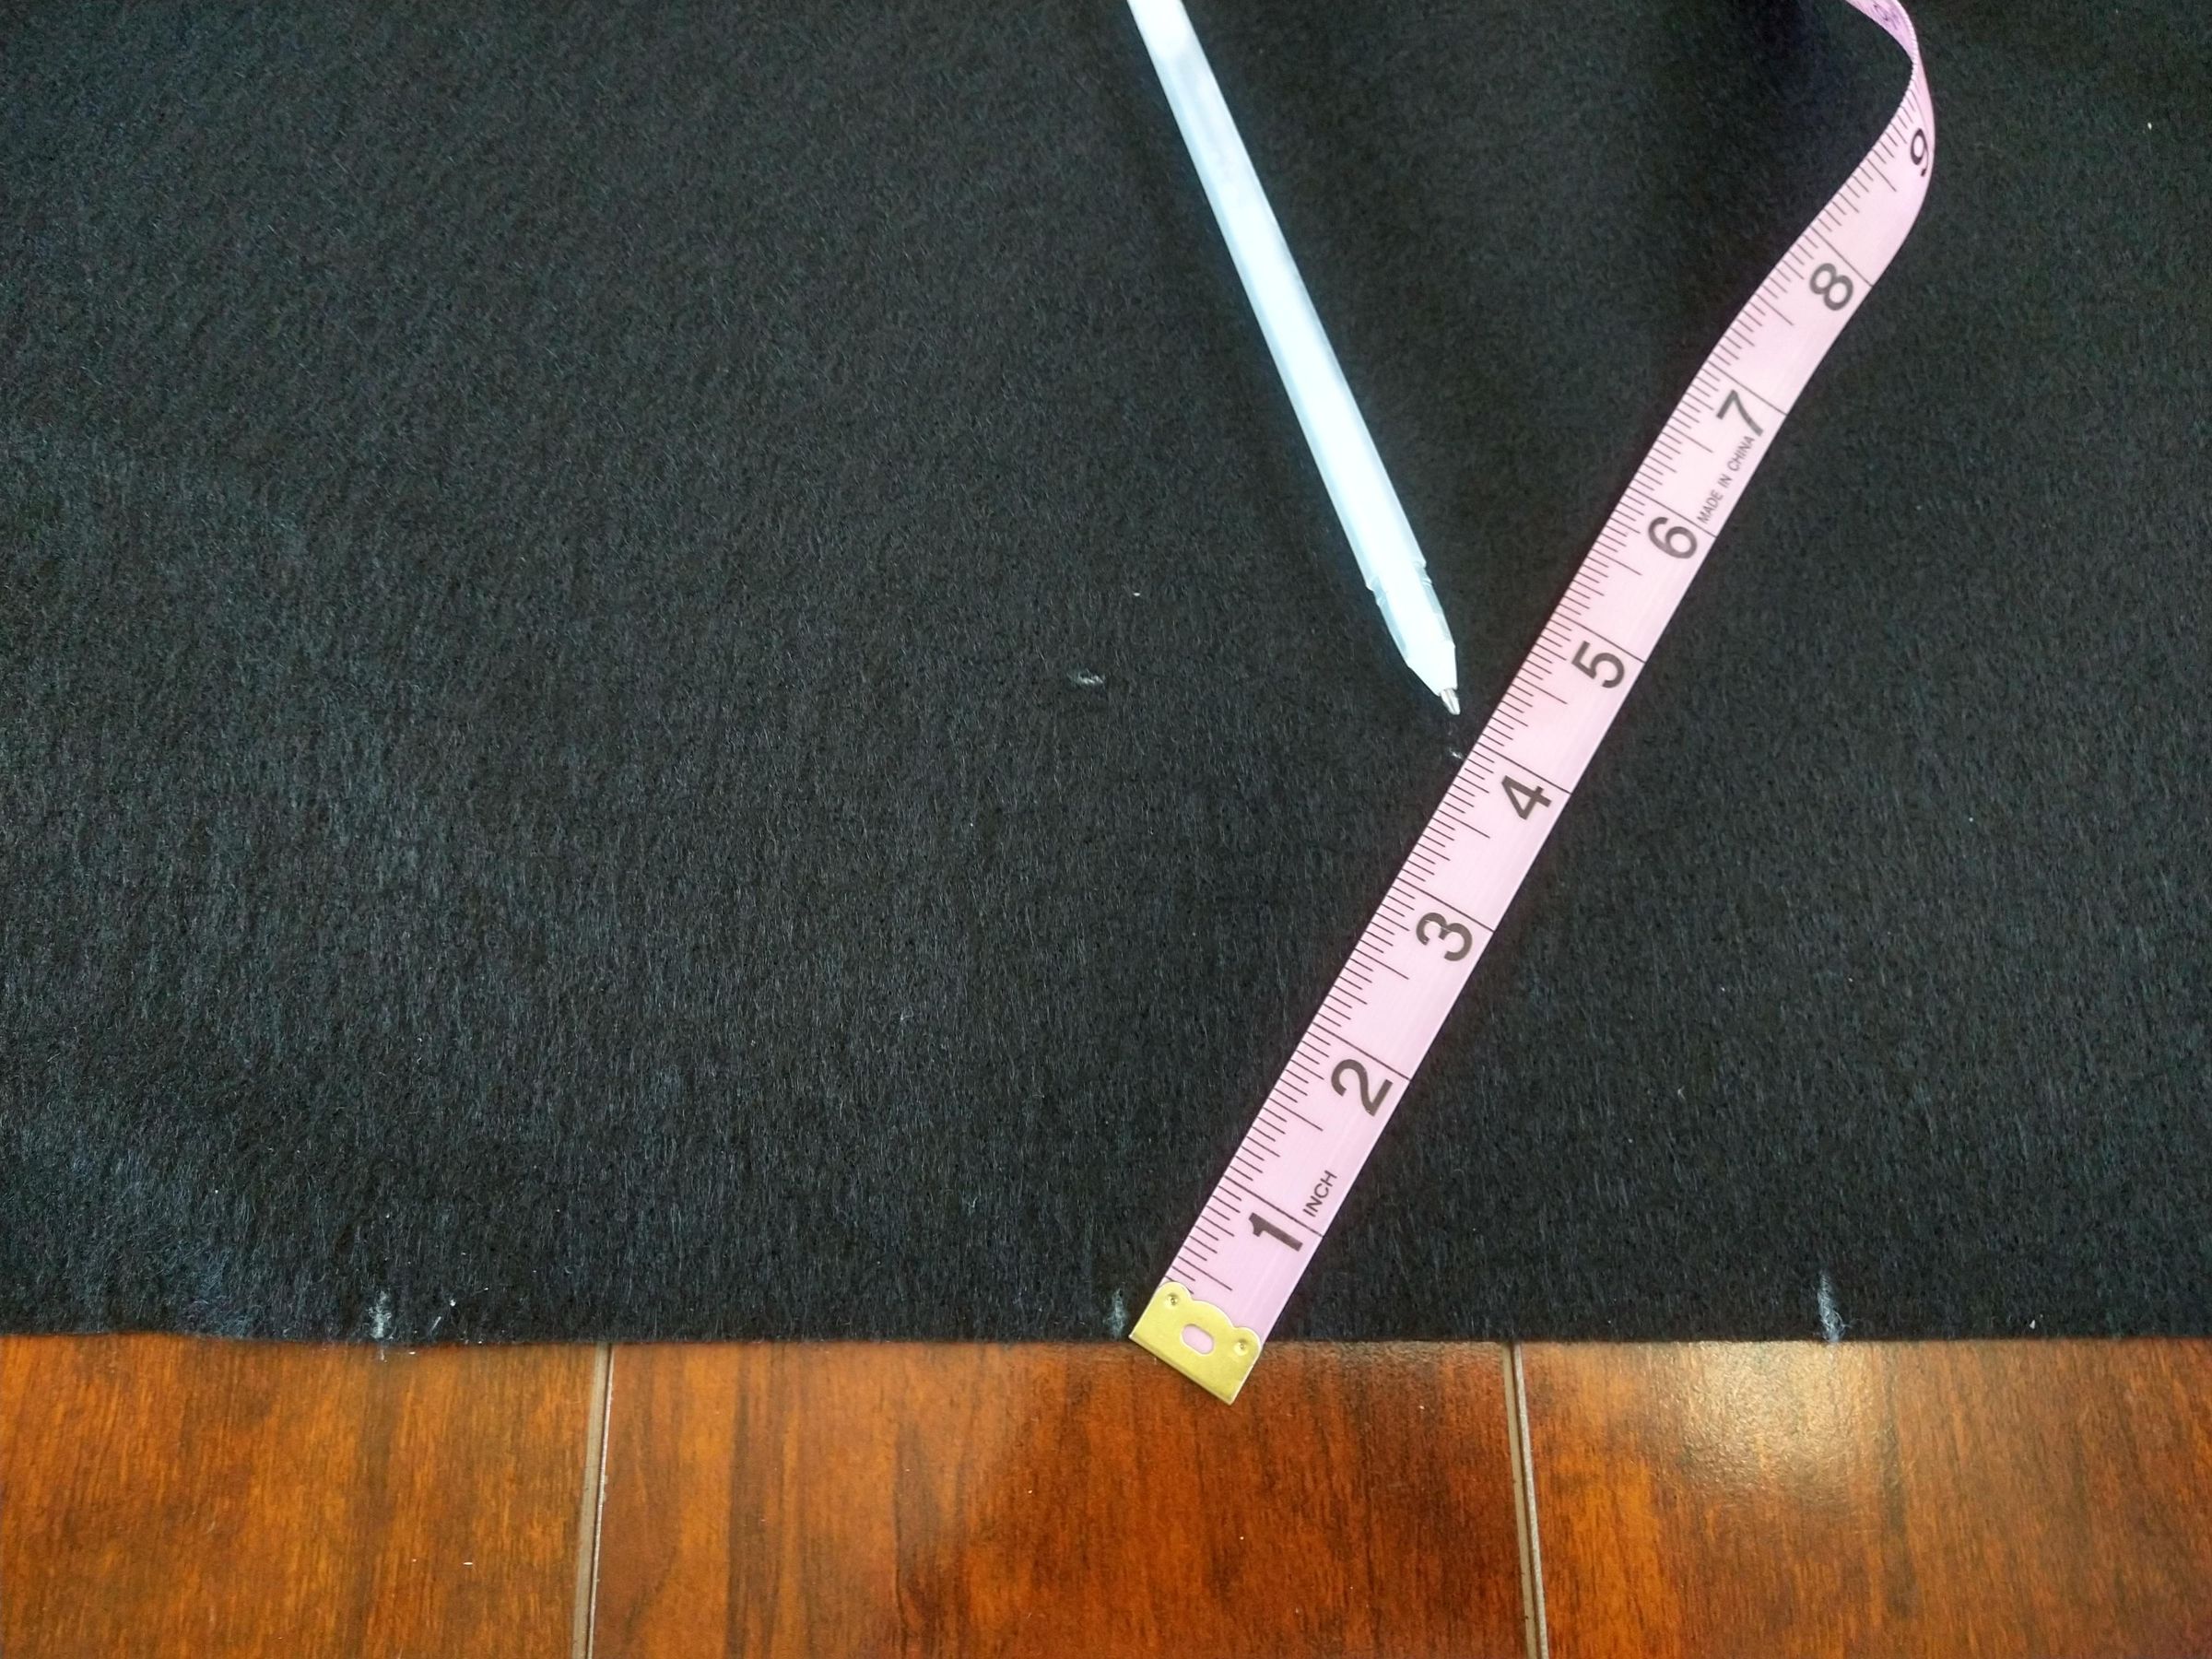
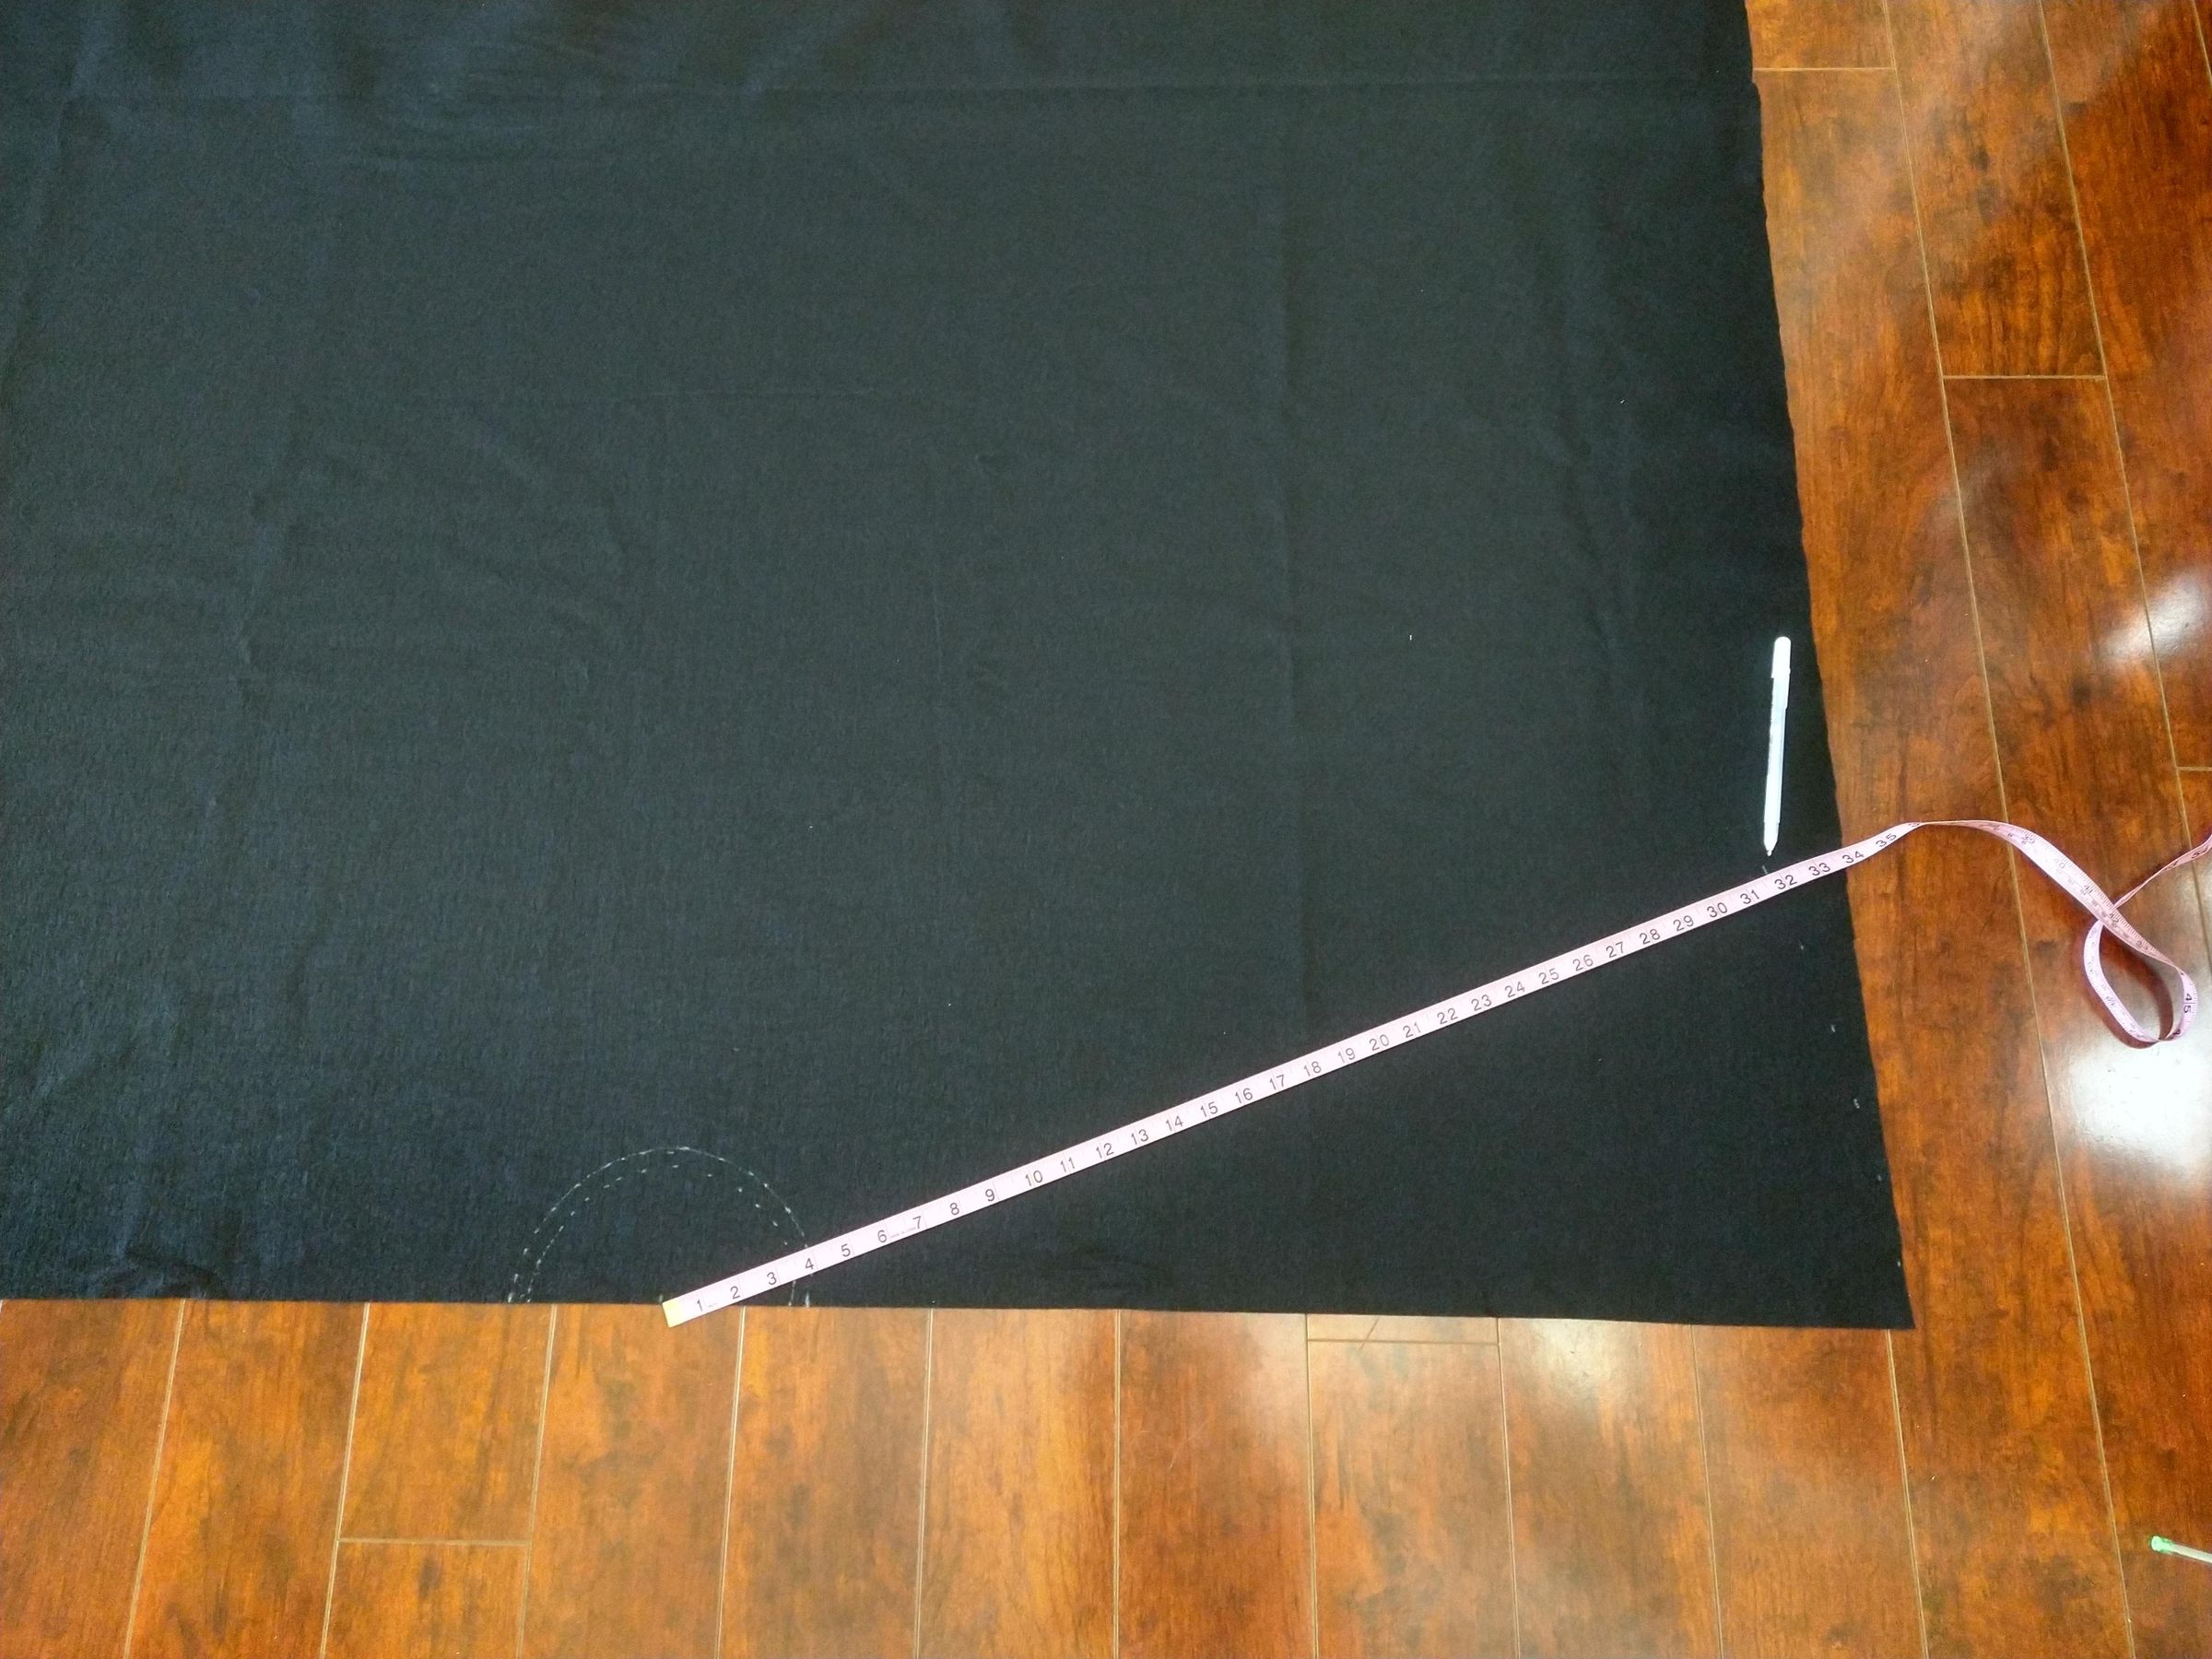
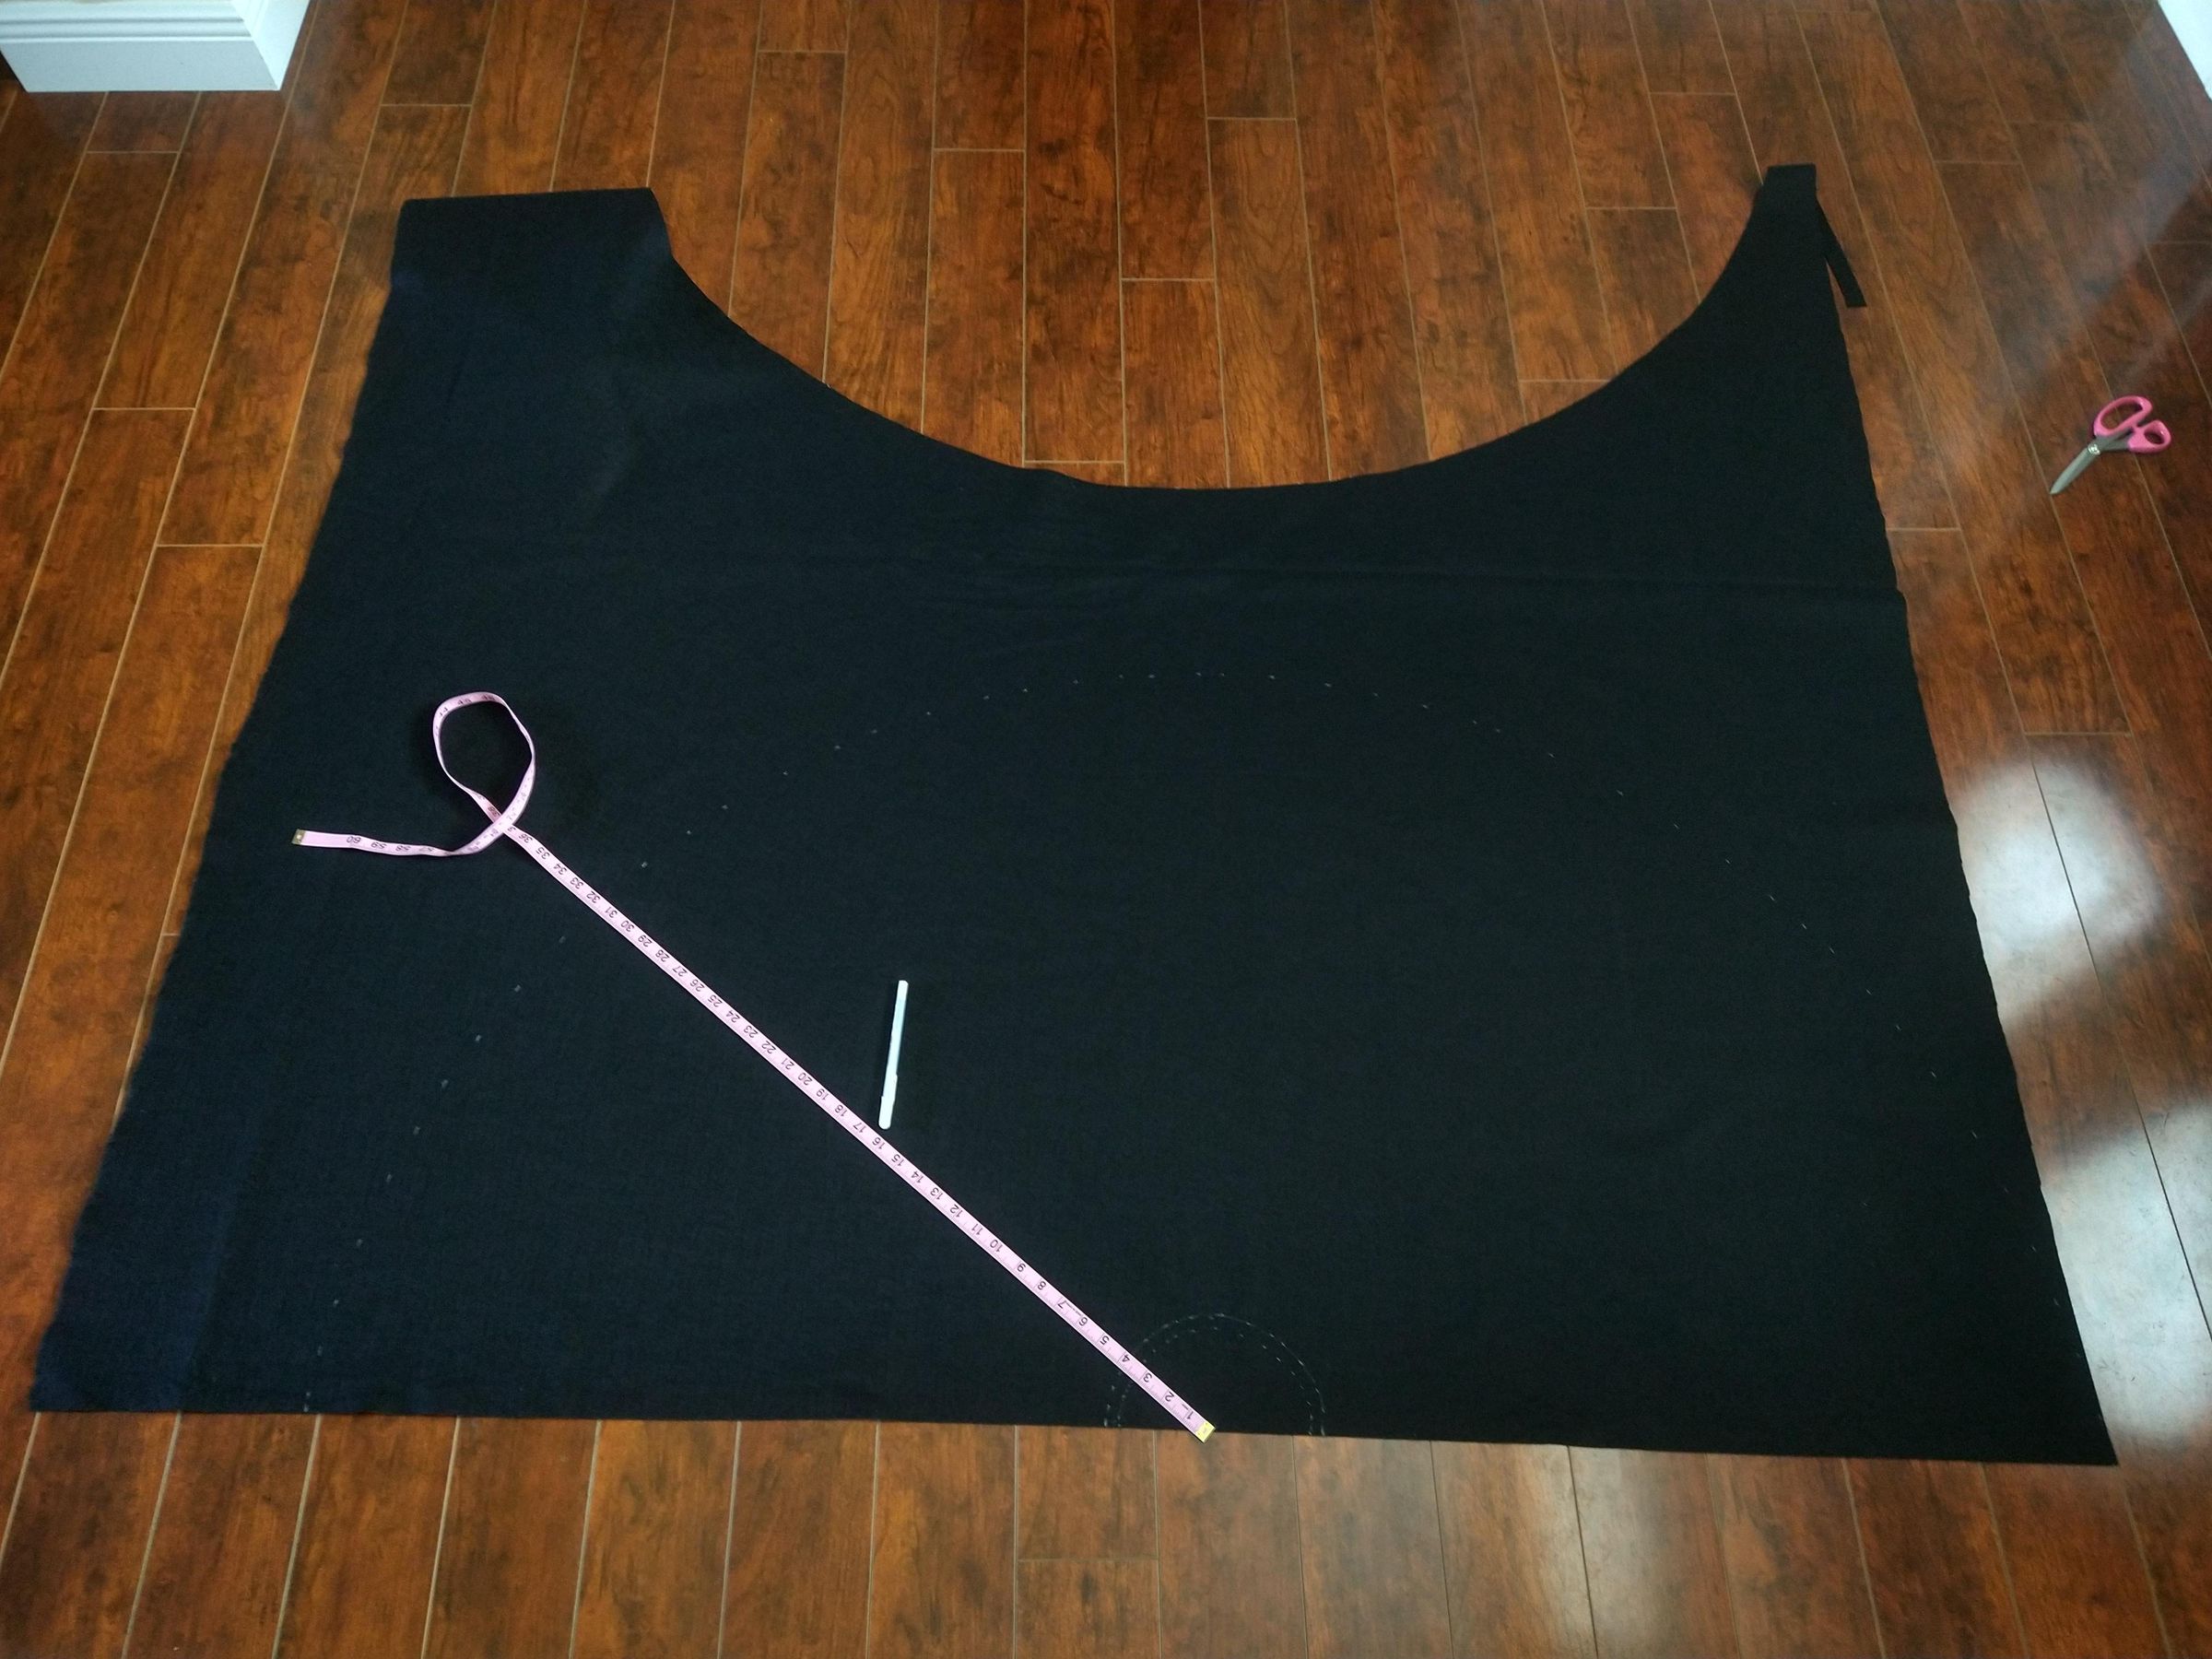
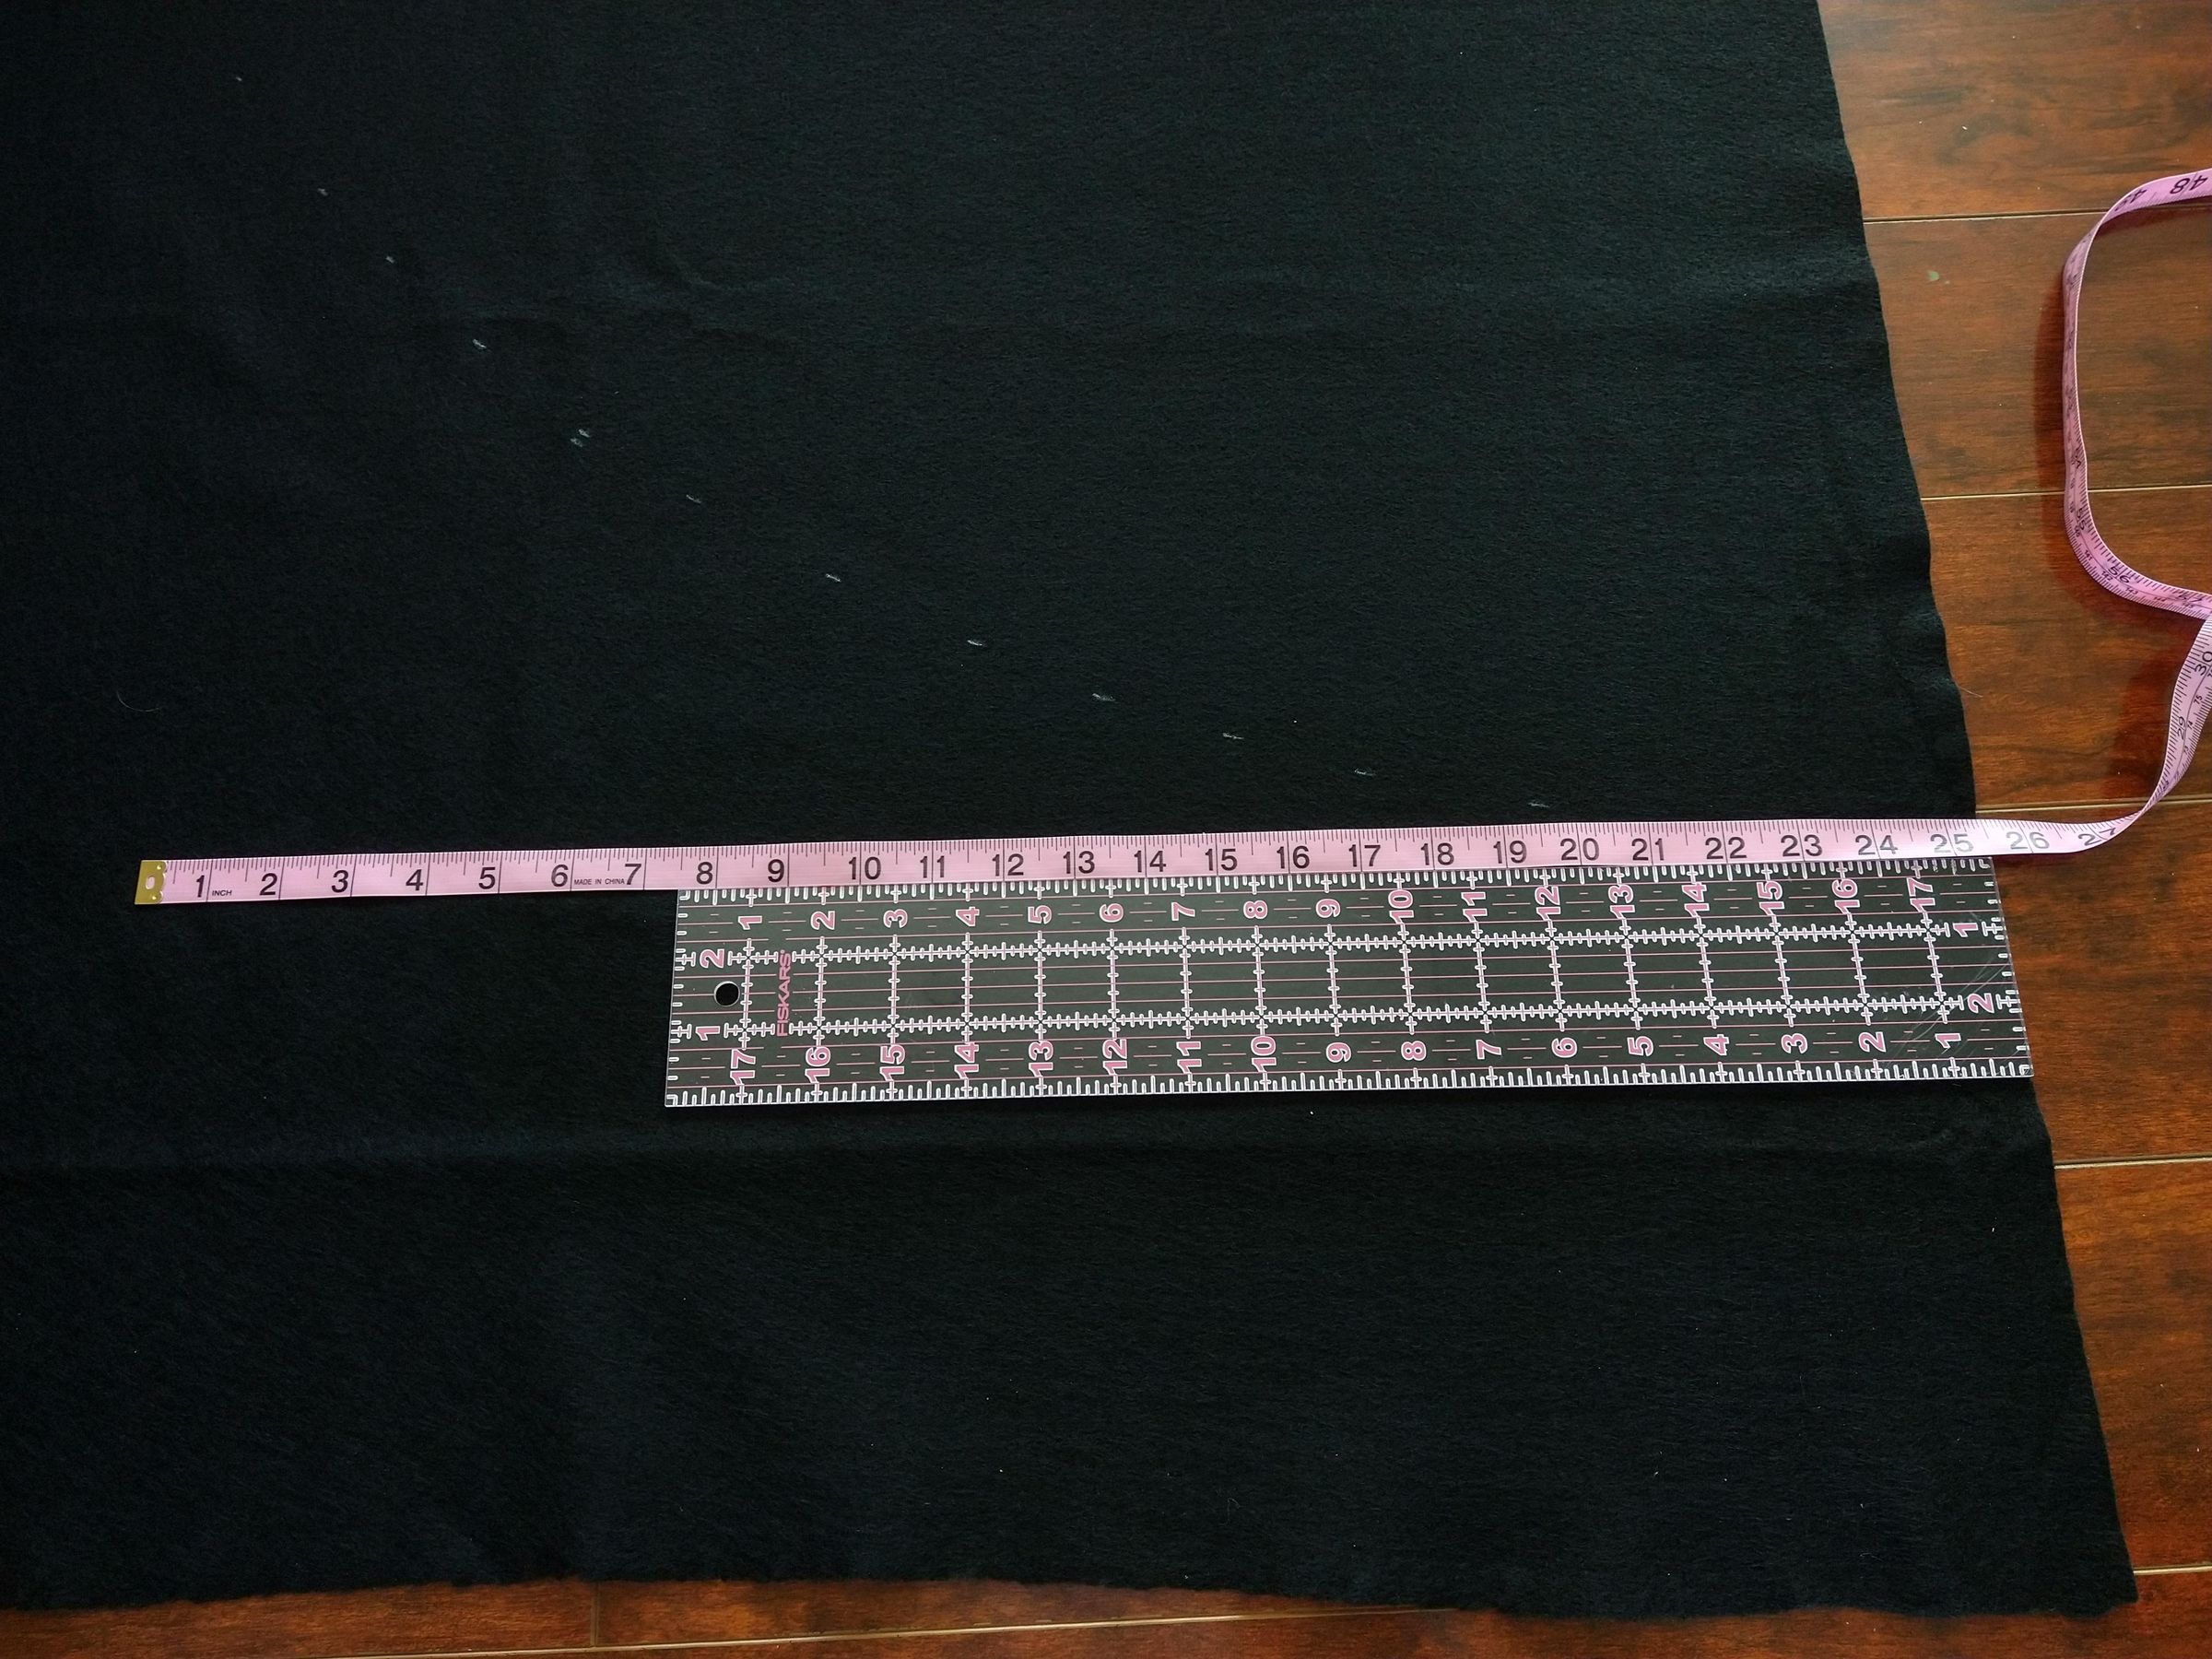
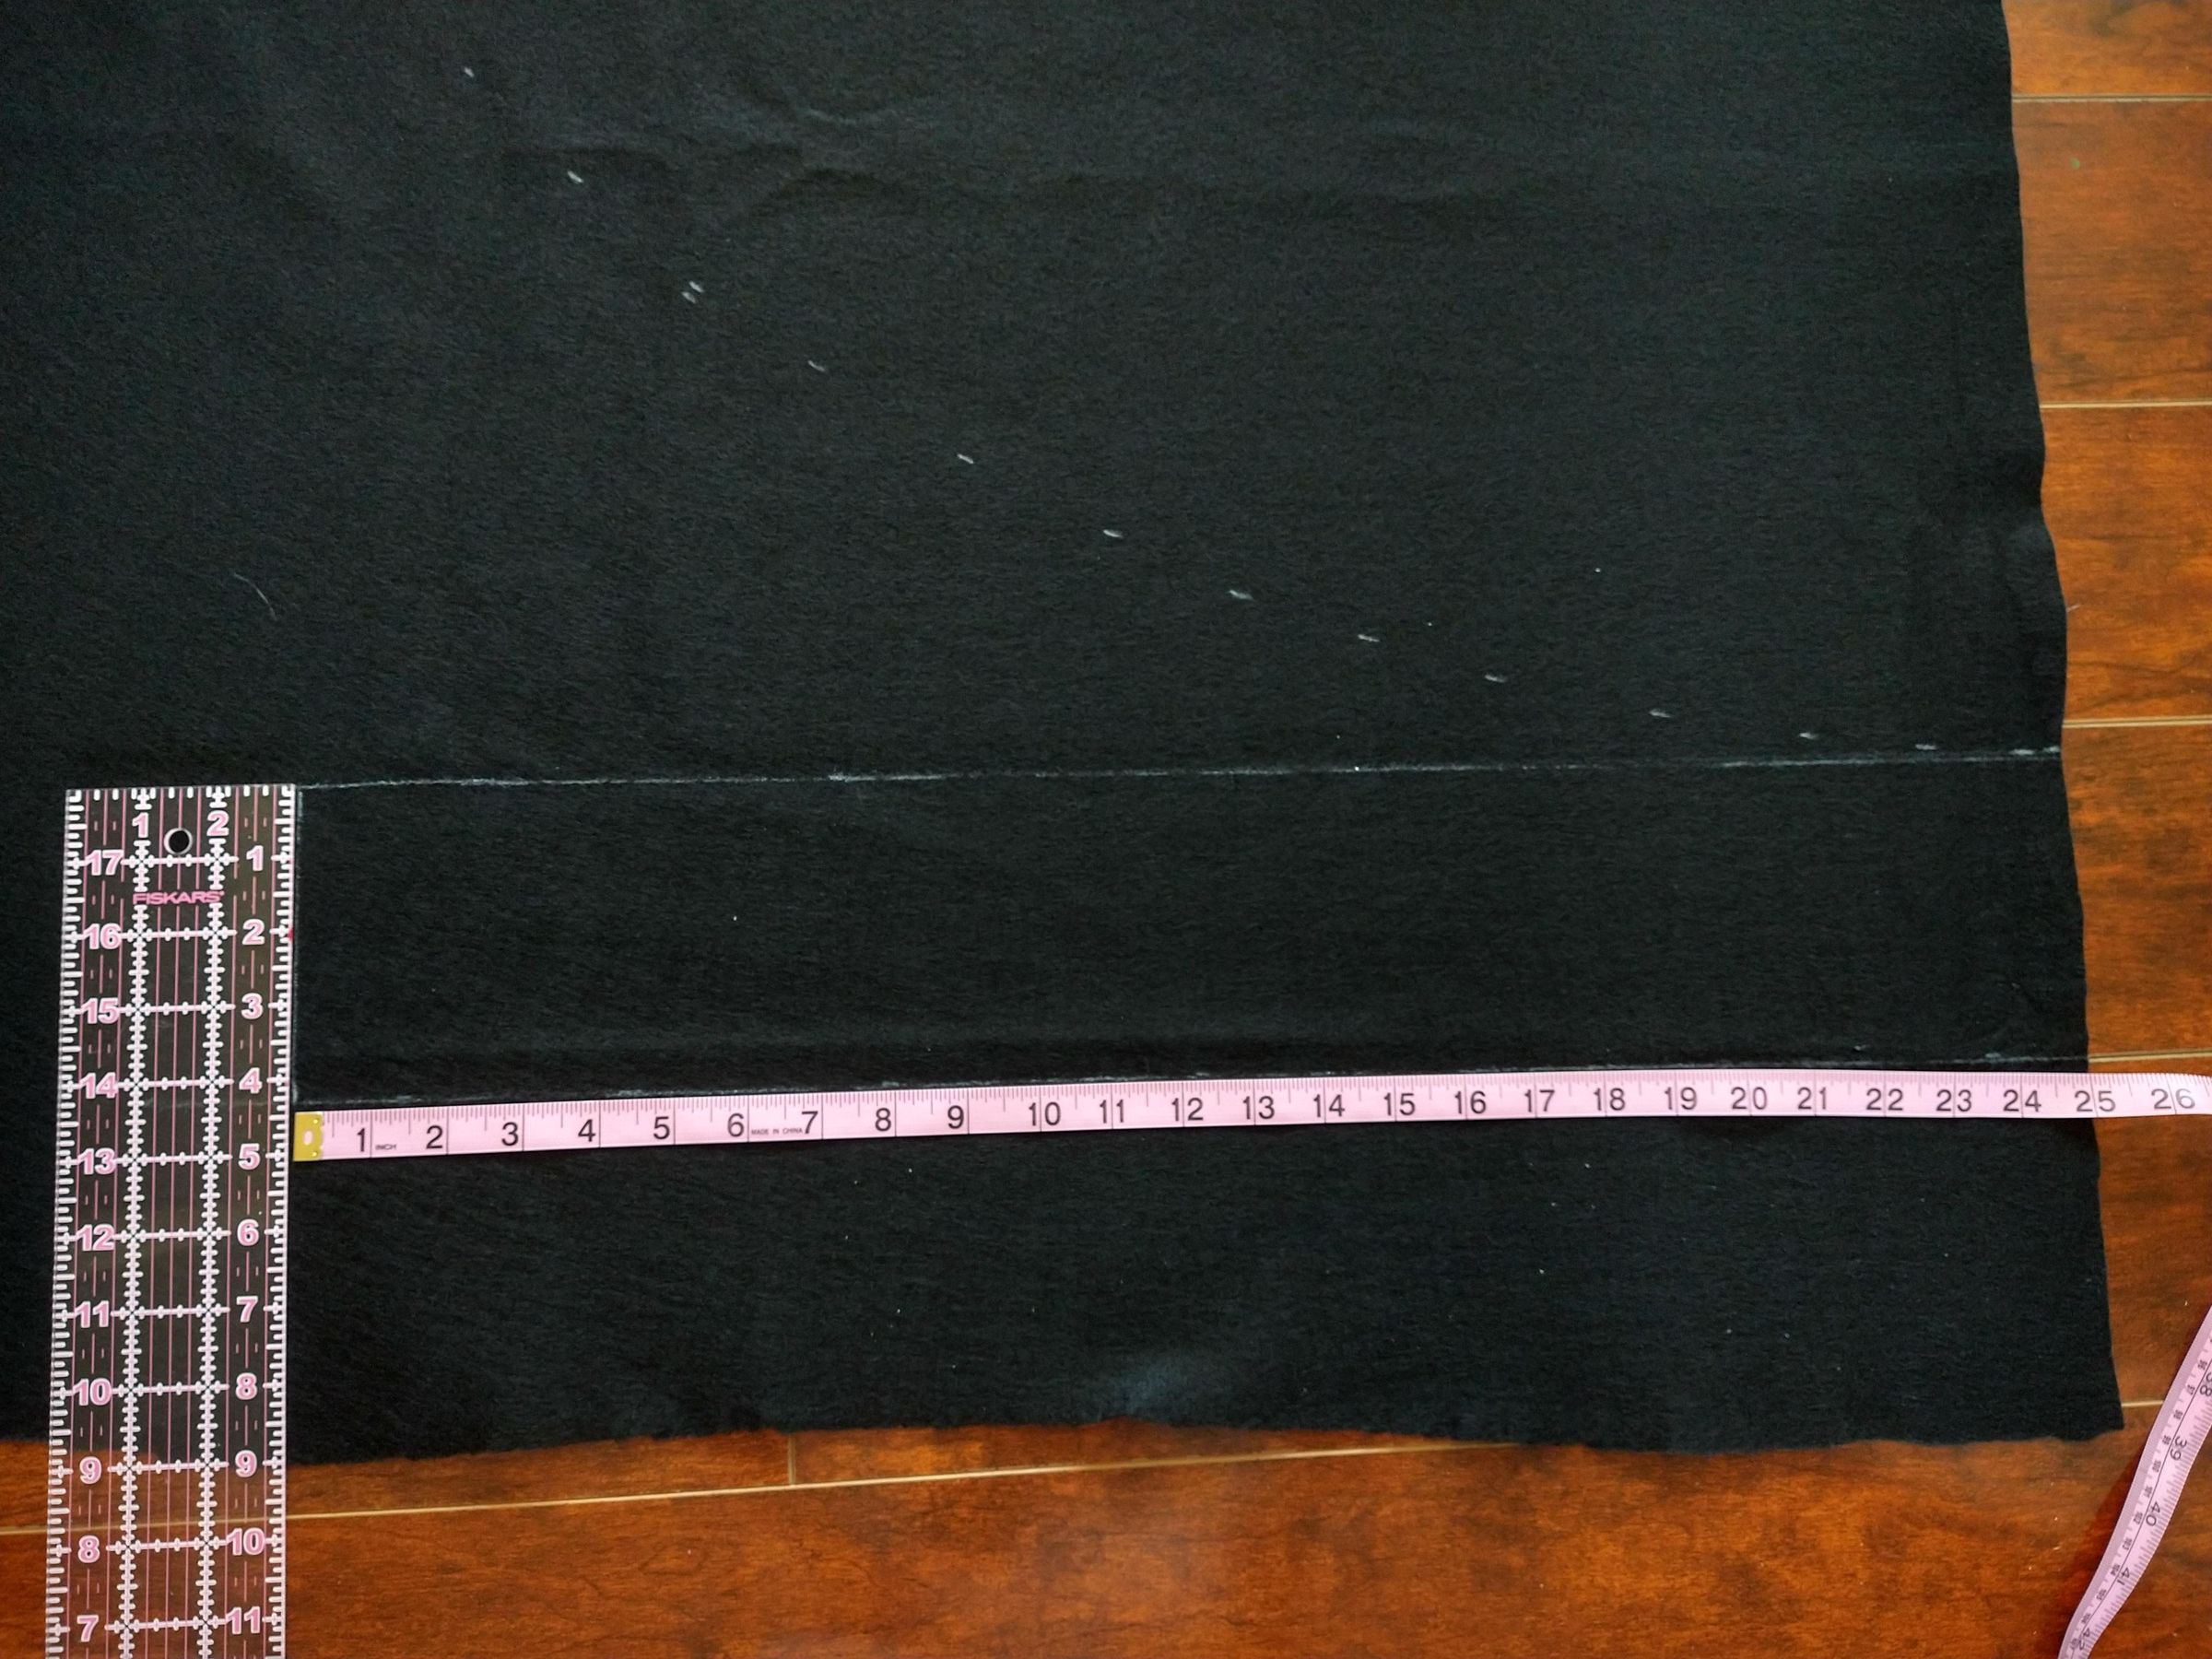
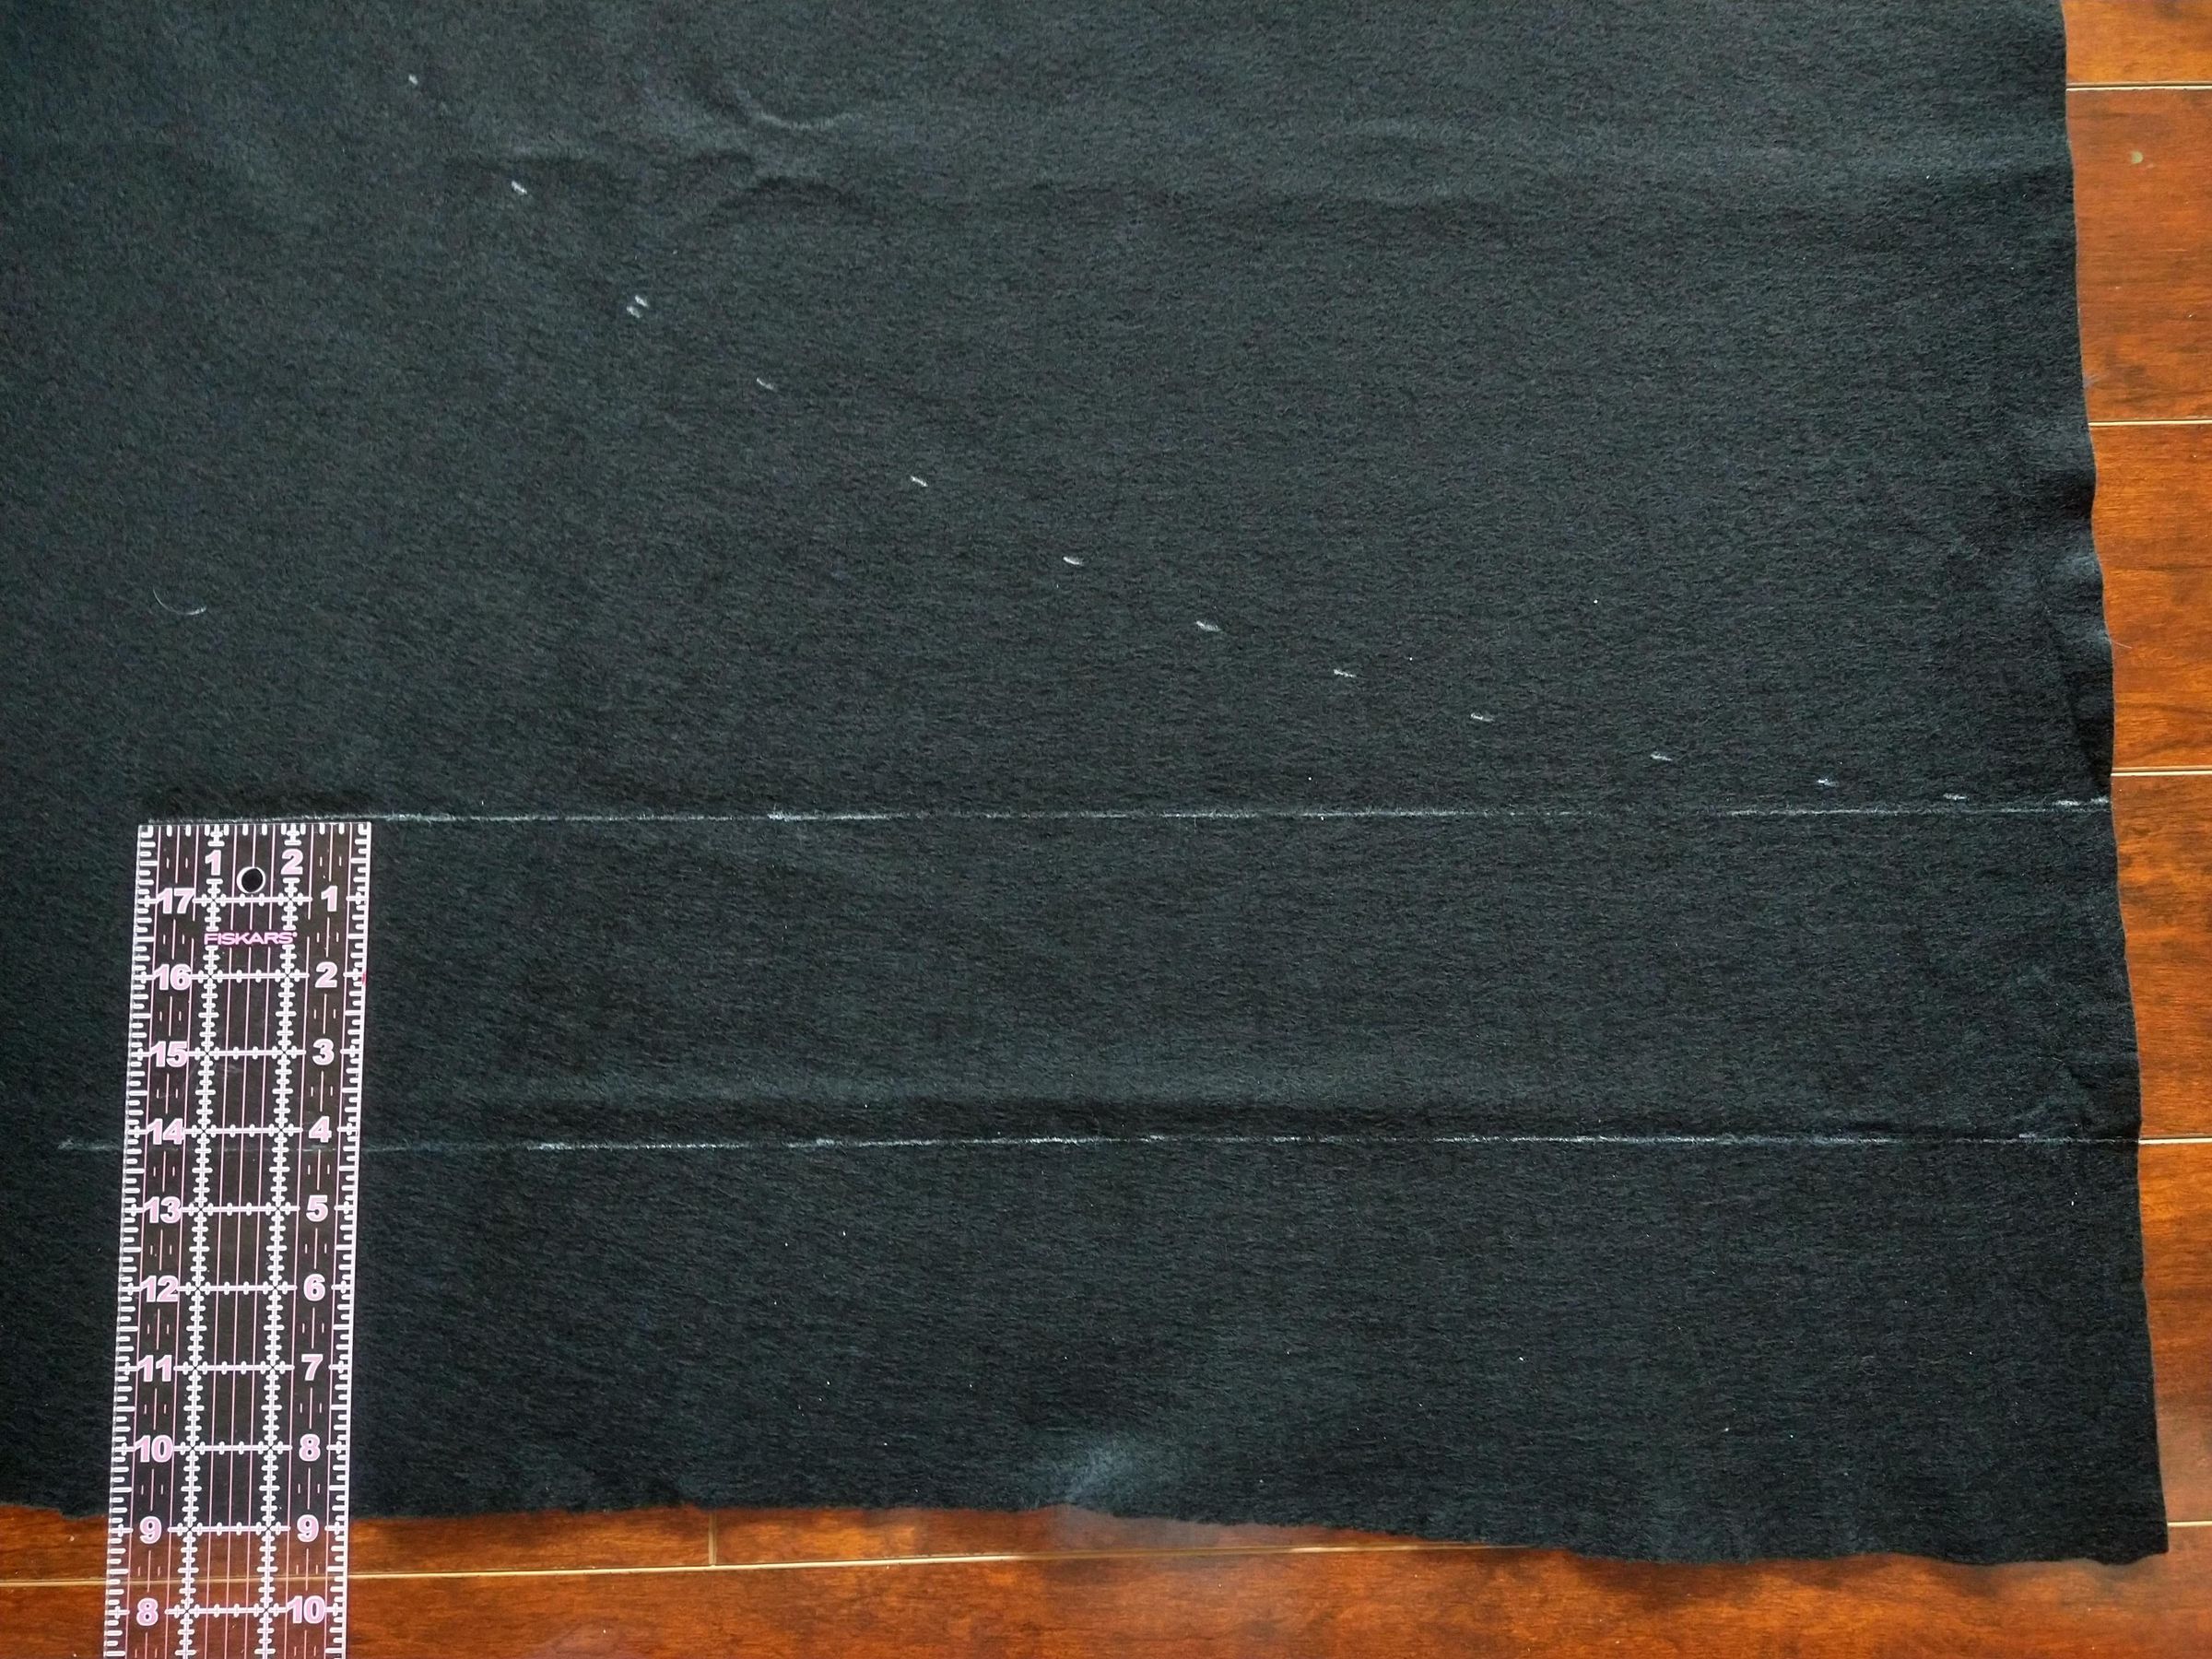
- Lay out your fabric, unfold the whole length and width of the fabric. Your fabric will be rectangular. On one of the longer edges (This will be the selvage if working with cotton/wool. Treat the edge of the fabric where it goes into the selvage as the edge of your fabric so you don't accidentally have a stripe of selvage on the outside of your seam.), measure your skirt length, right to left, mark with your gel pen. (My skirt length was 28")
- From your previous mark, mark right to left your waist radius. This will be your circle skirt's center point. (My waist radius was 3 7/8")
- From that mark, mark right to left, your waist radius again.
- From that waist radius mark, measure your skirt length and mark.
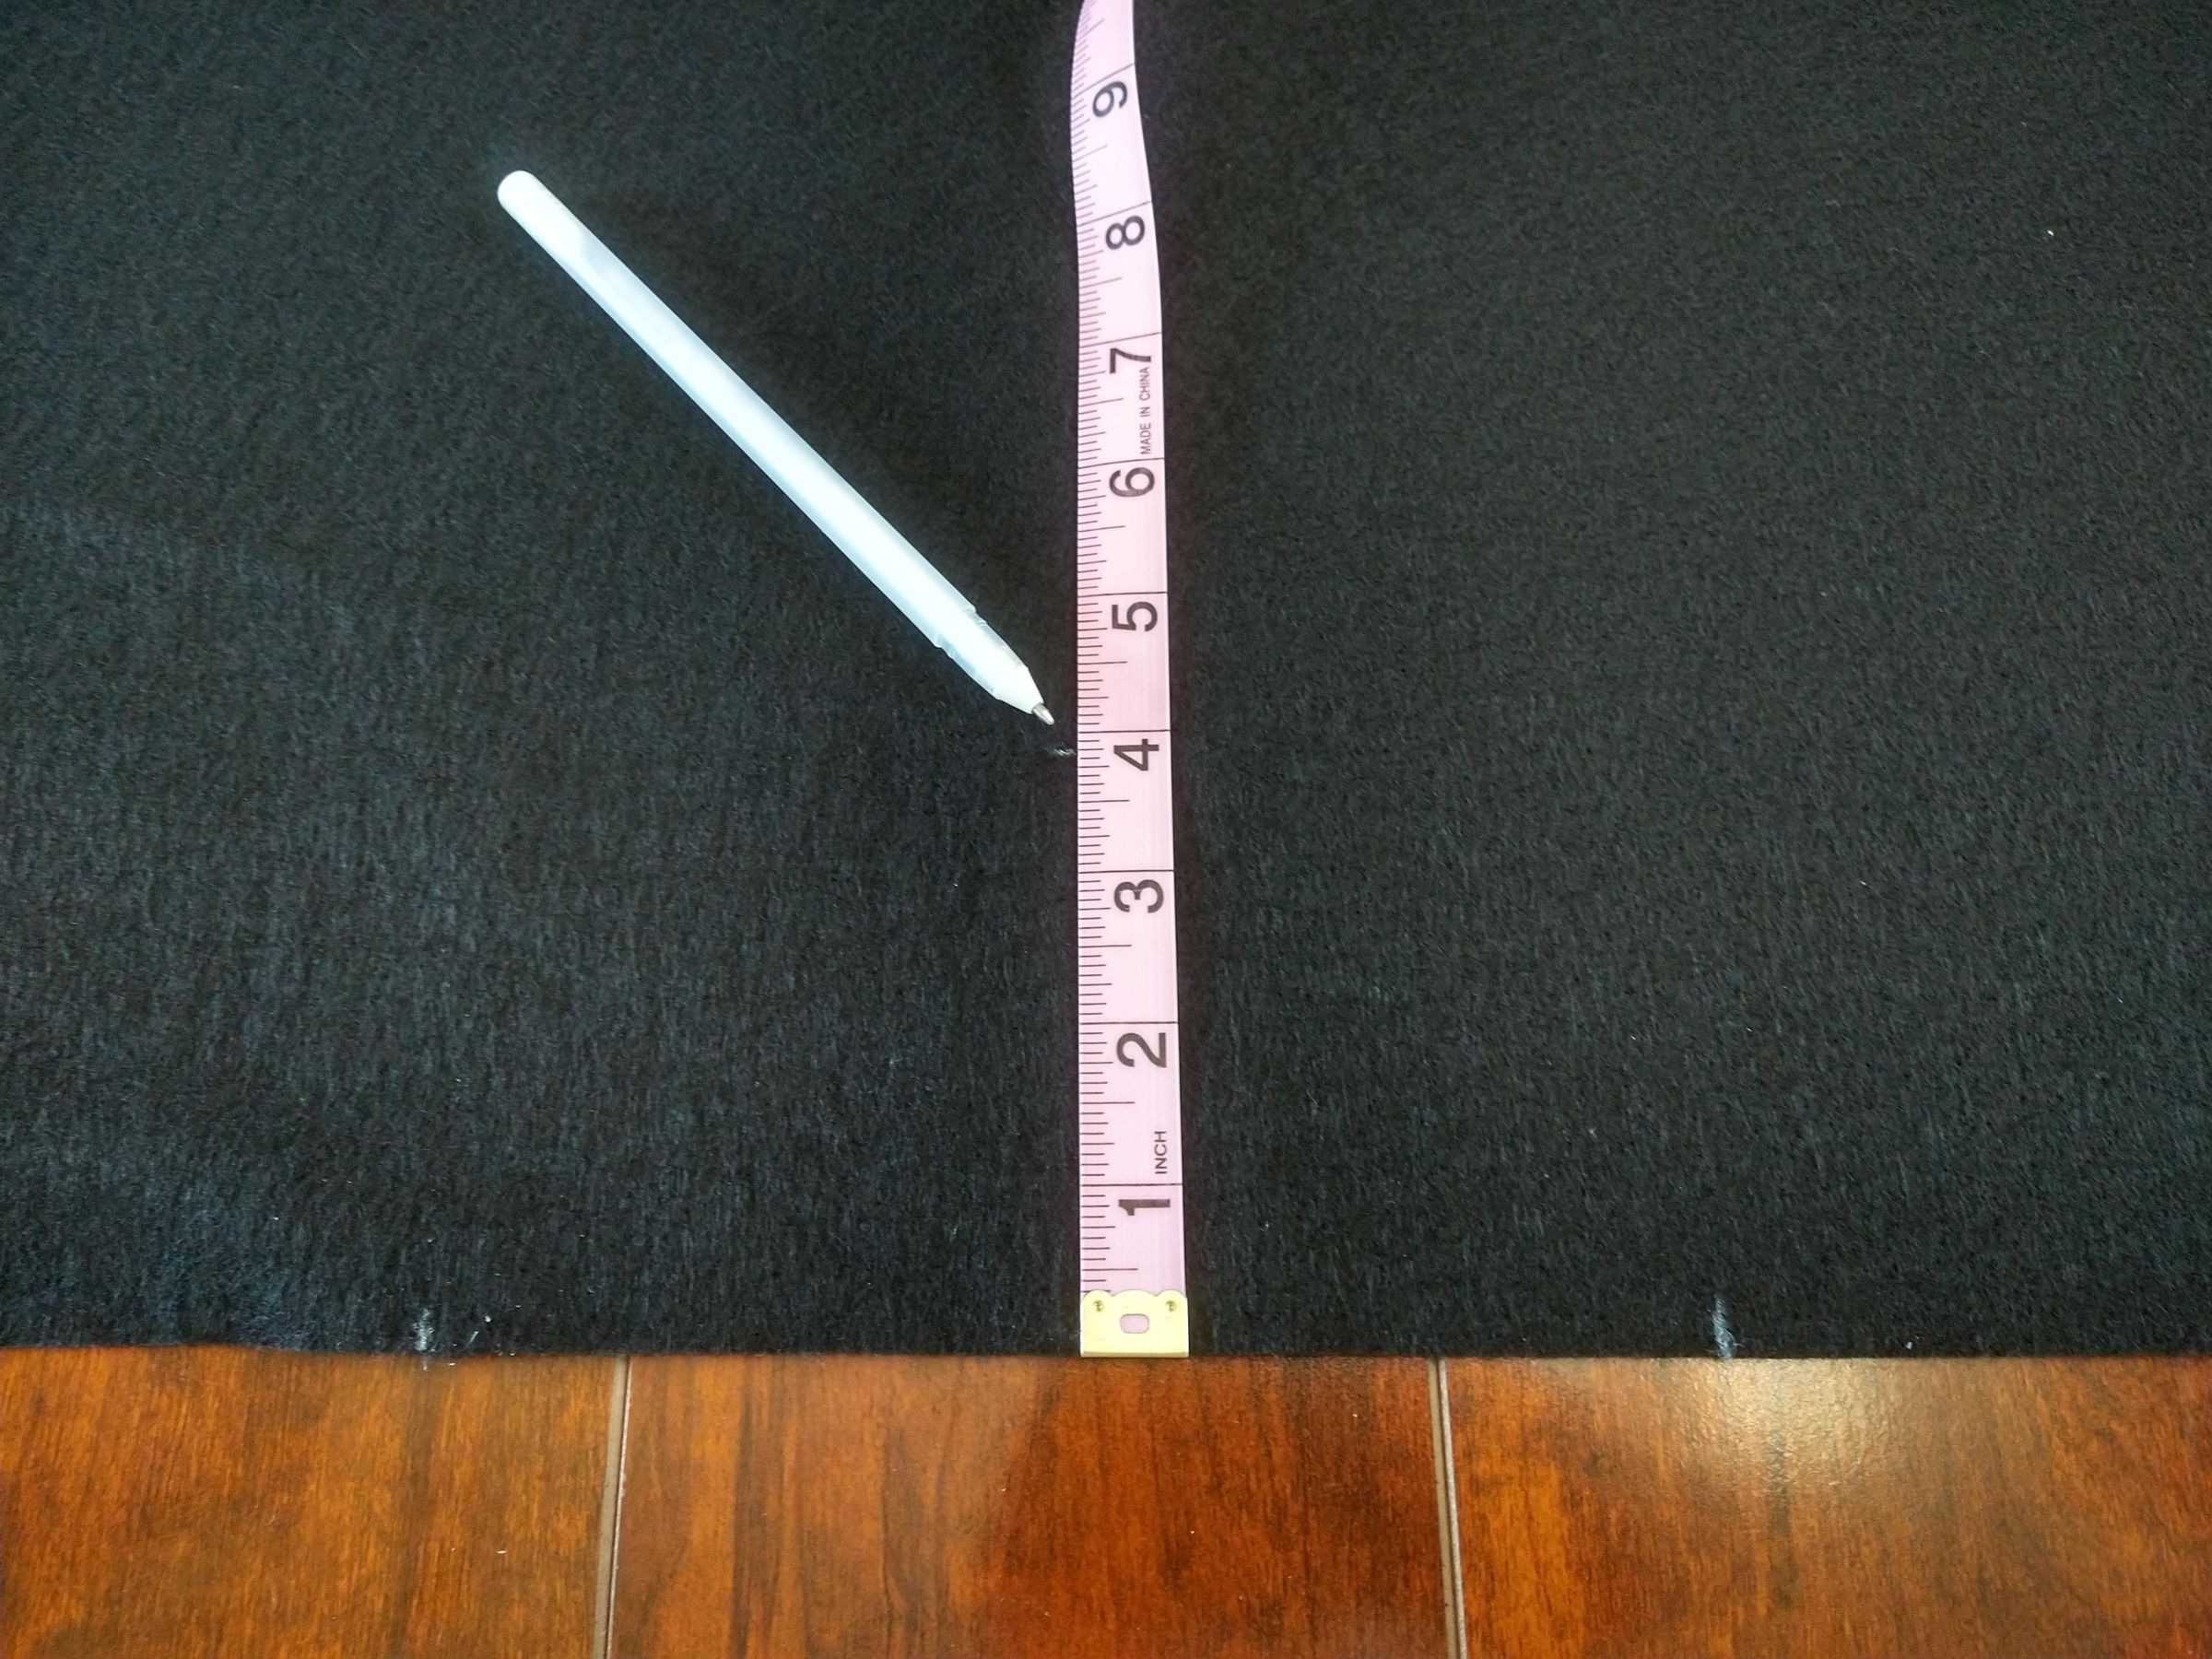
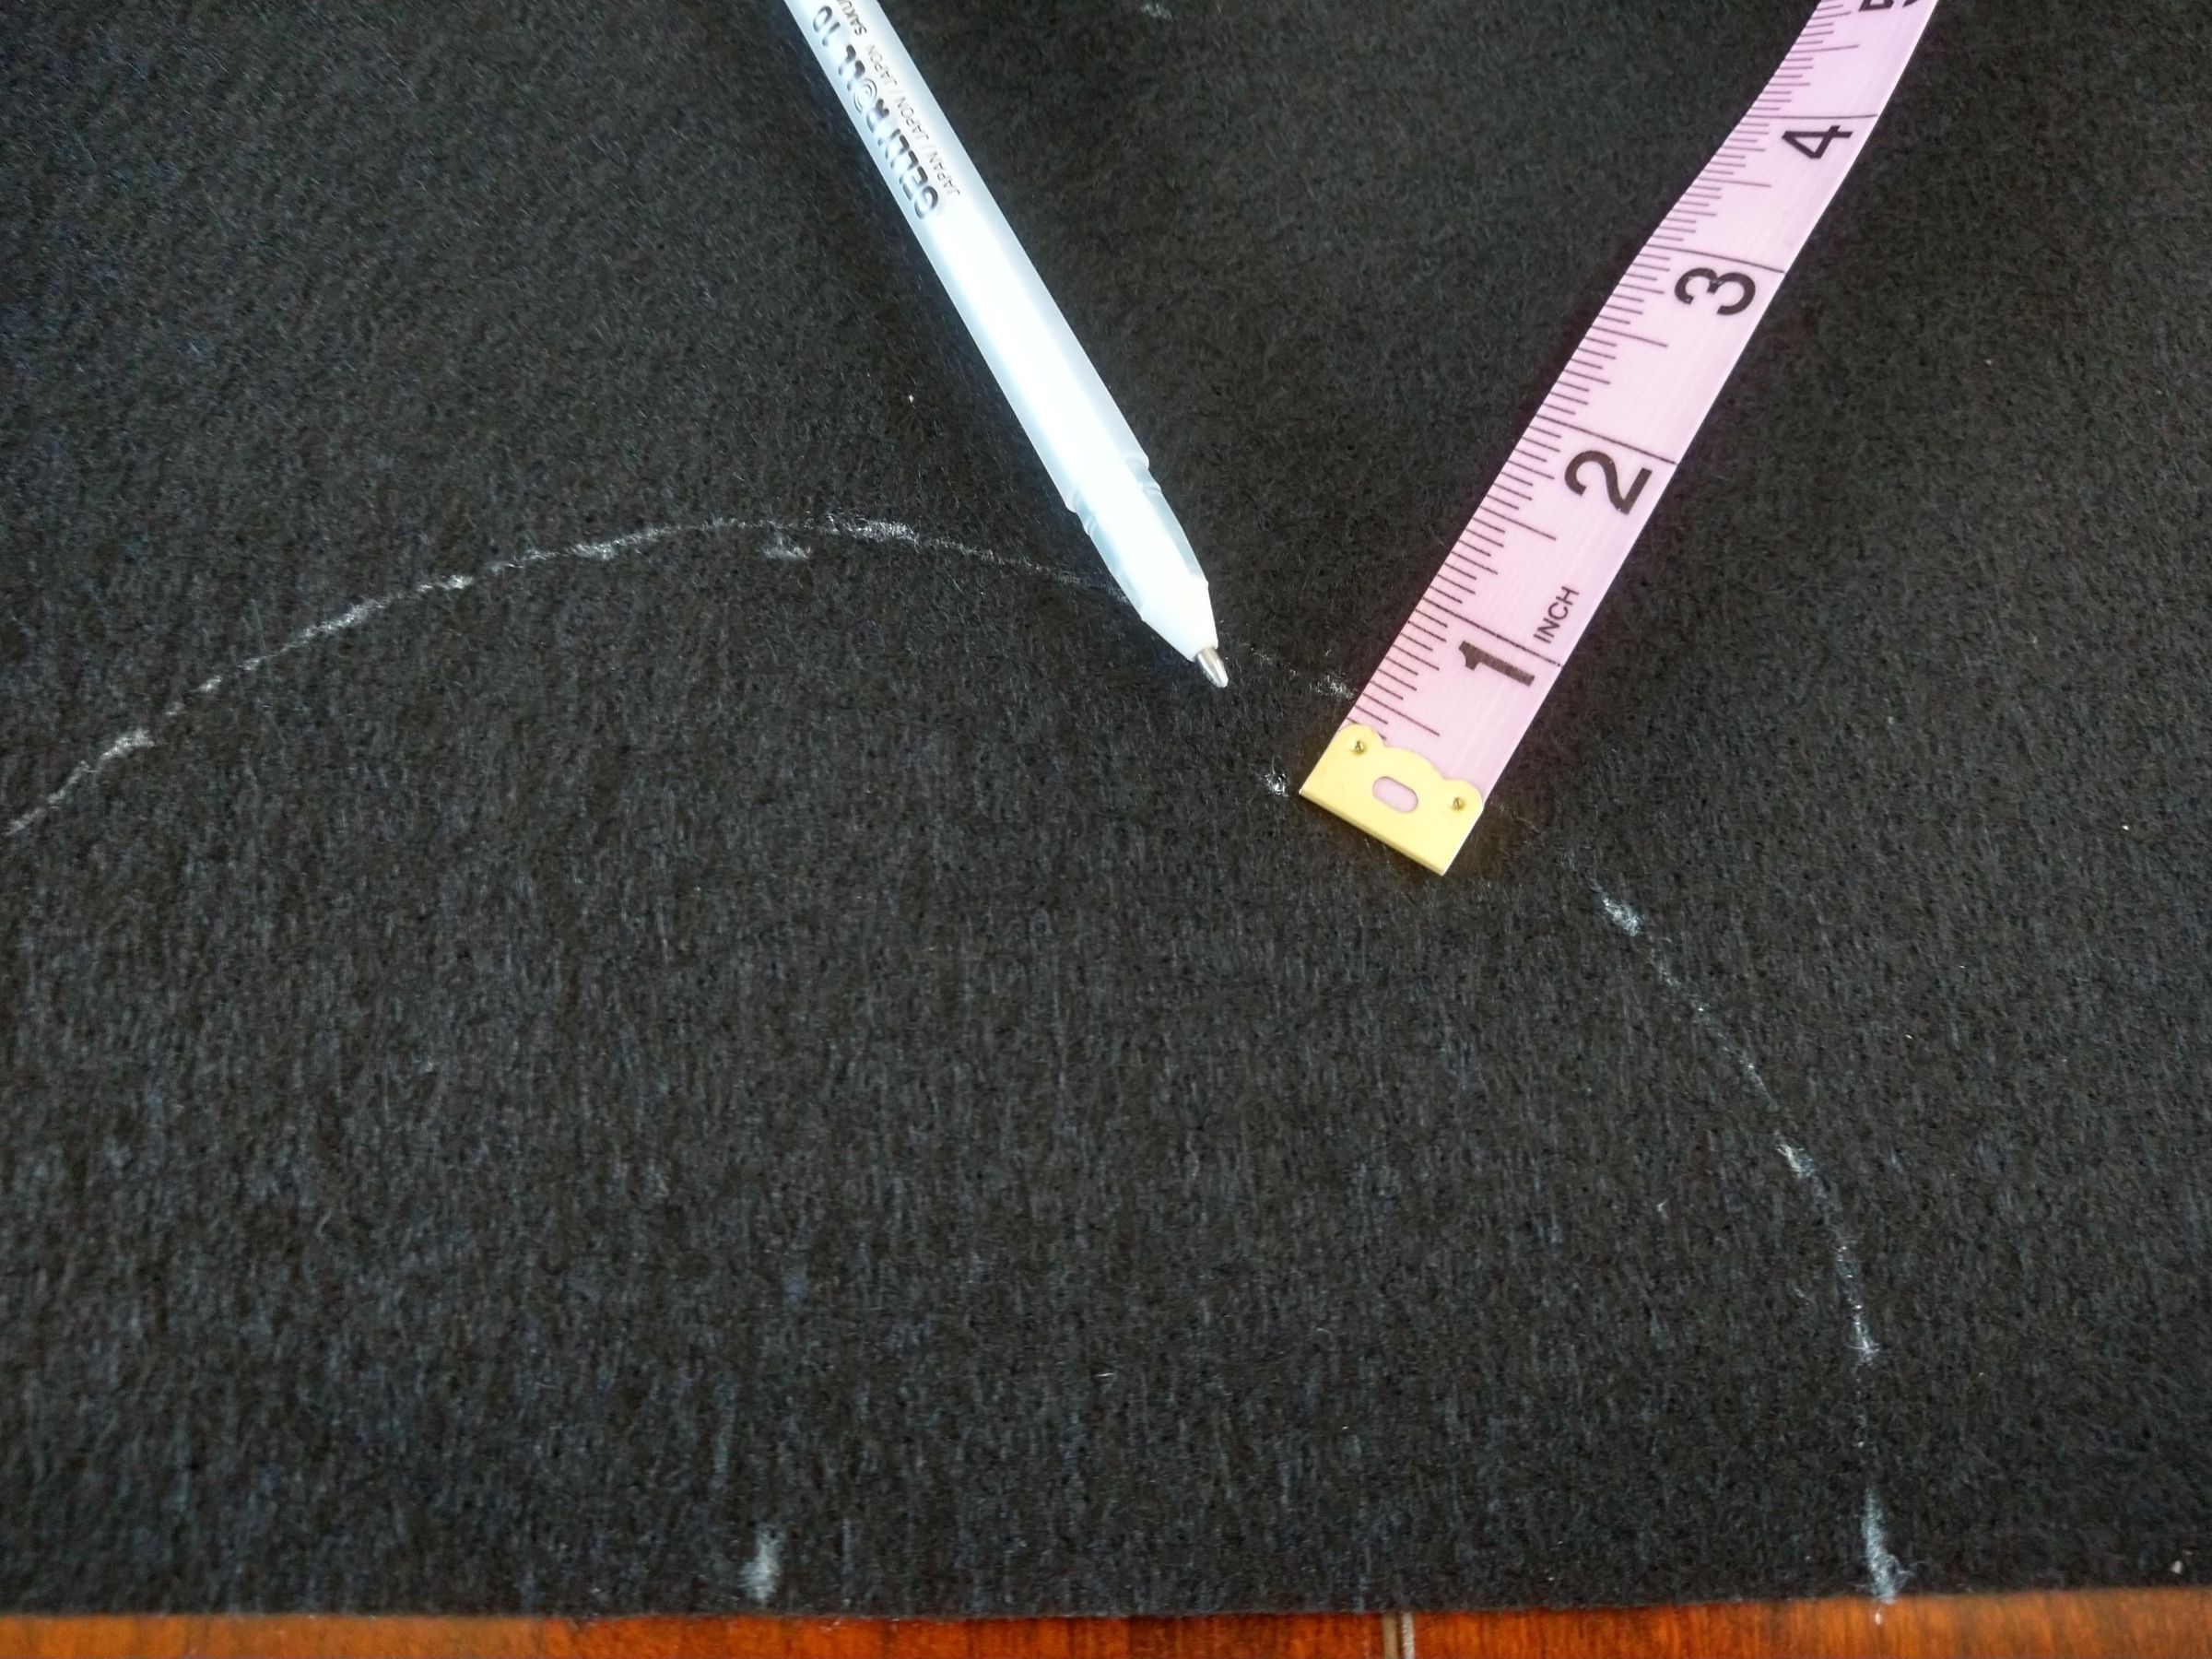
- Starting from the center point, lay your measuring tape vertical and mark up your waist radius.
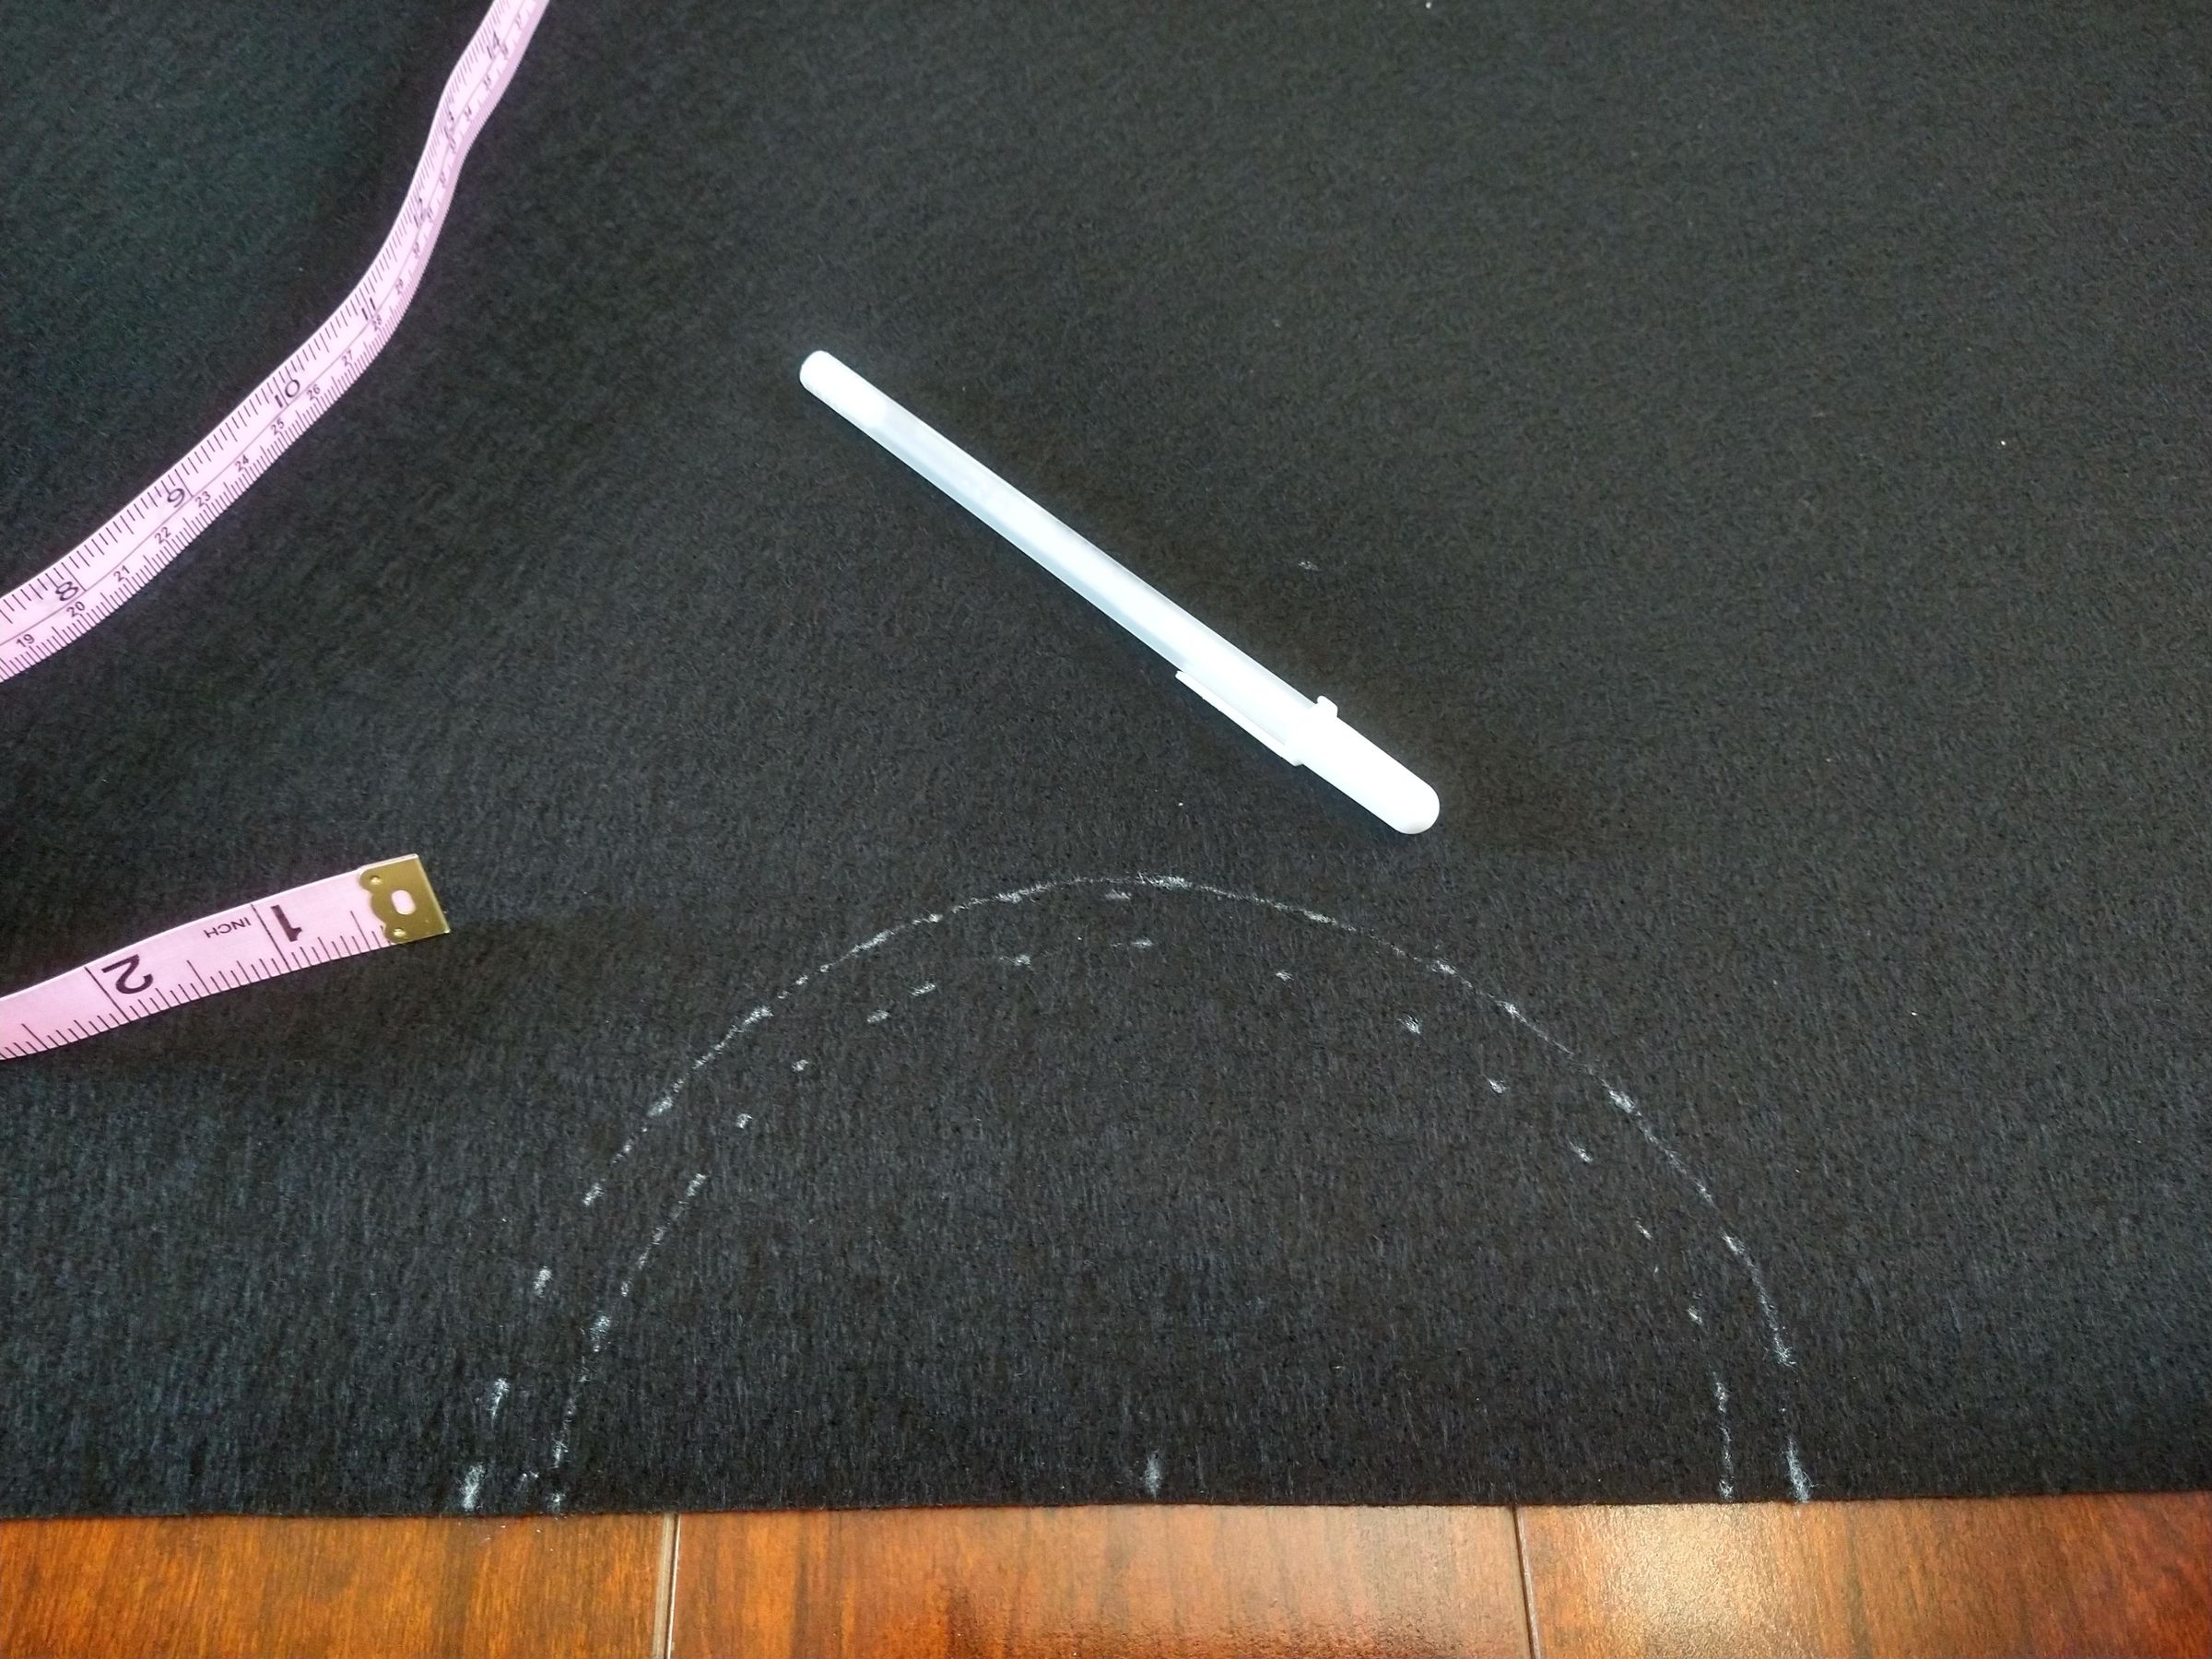
- Continue marking your waist radius, rotating the measuring tape, until you have a half circle. Mark 1/2 from the inside edge. This is your seam allowance.
- Now to mark your skirt length, with your measuring tape at the center point mark, measure your skirt radius, rotating your tape measure as you go, marking every so often.
- Cut out your circle skirt half!! You can now use this as a pattern to cut out your second skirt half. Just lay it on the other side of the fabric. (The opposite selvage edge.) And cut out your second piece. Be sure to mark one front and one back, and that you mark your ½" seam allowance at the waist of the second half.
Now for the waist band:
- take your waist measurement and add 1". This will be your skirt waist band side overlap. Then, add 1" for seam allowance. This will be how long your waist band should be. It needs to be 4 ¼" wide.
- Cut out your waistband rectangle.
You're halfway done when you're done cutting out all the pieces!!
Lapped Zippper
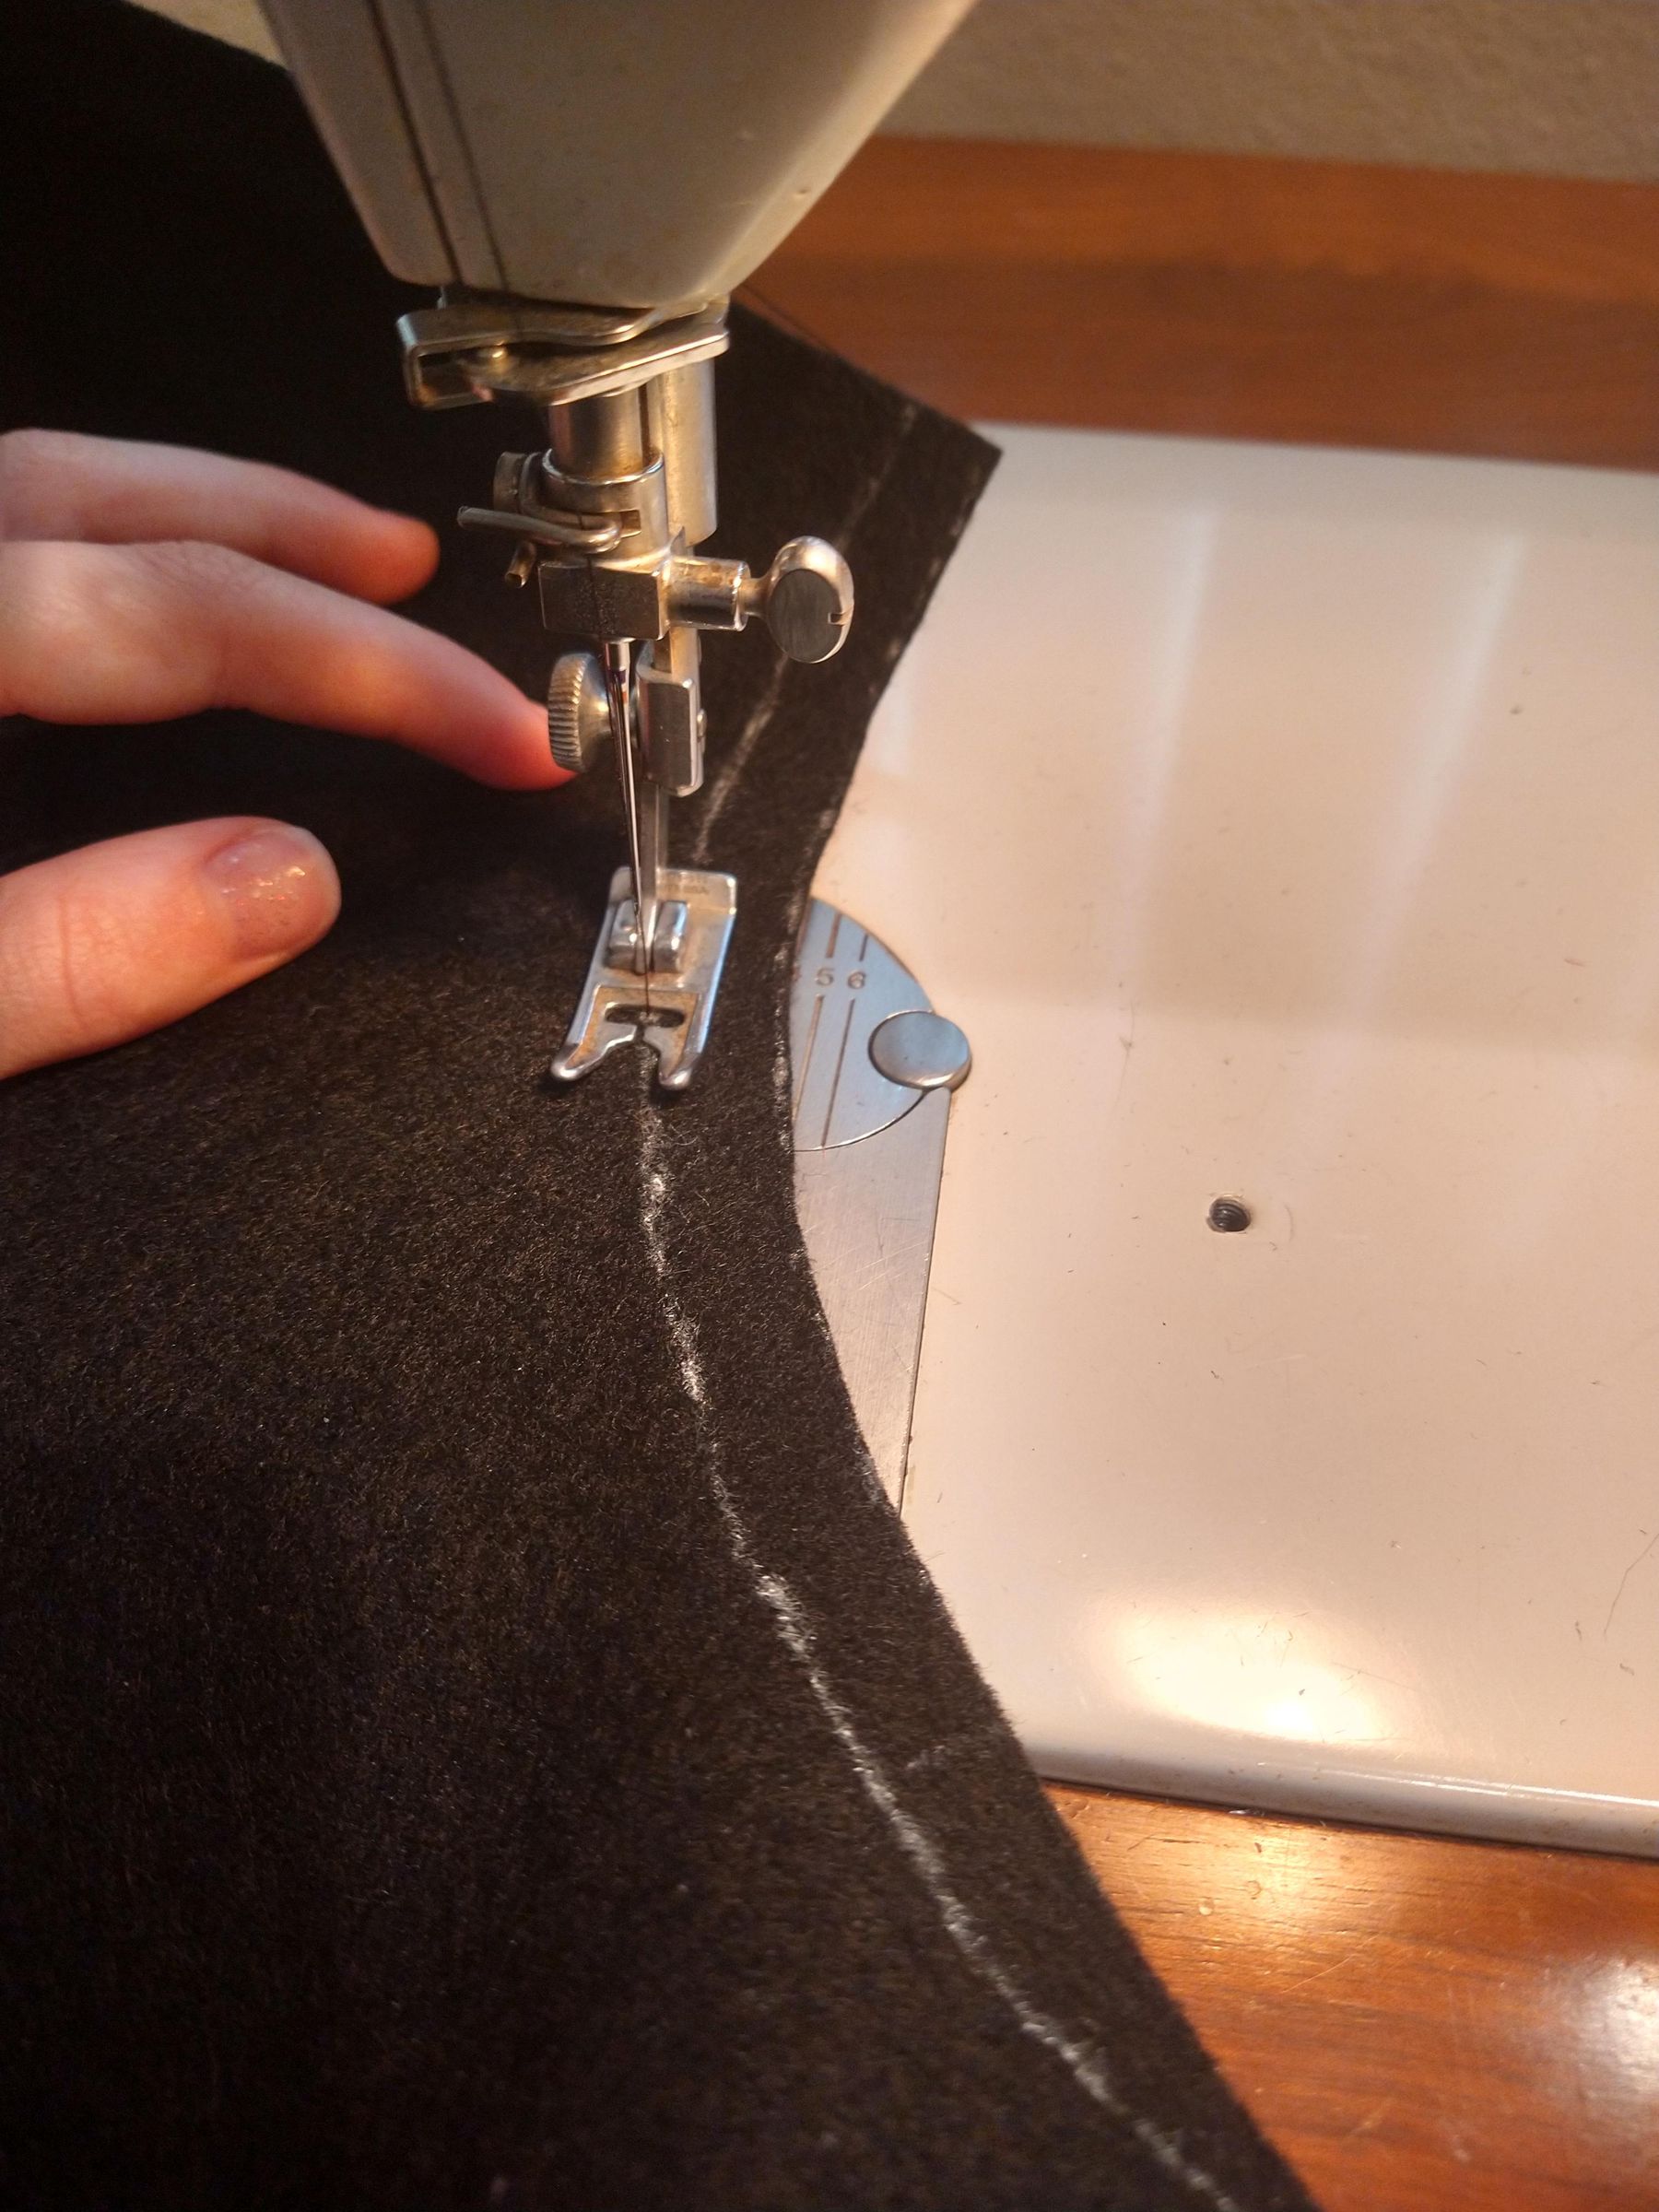
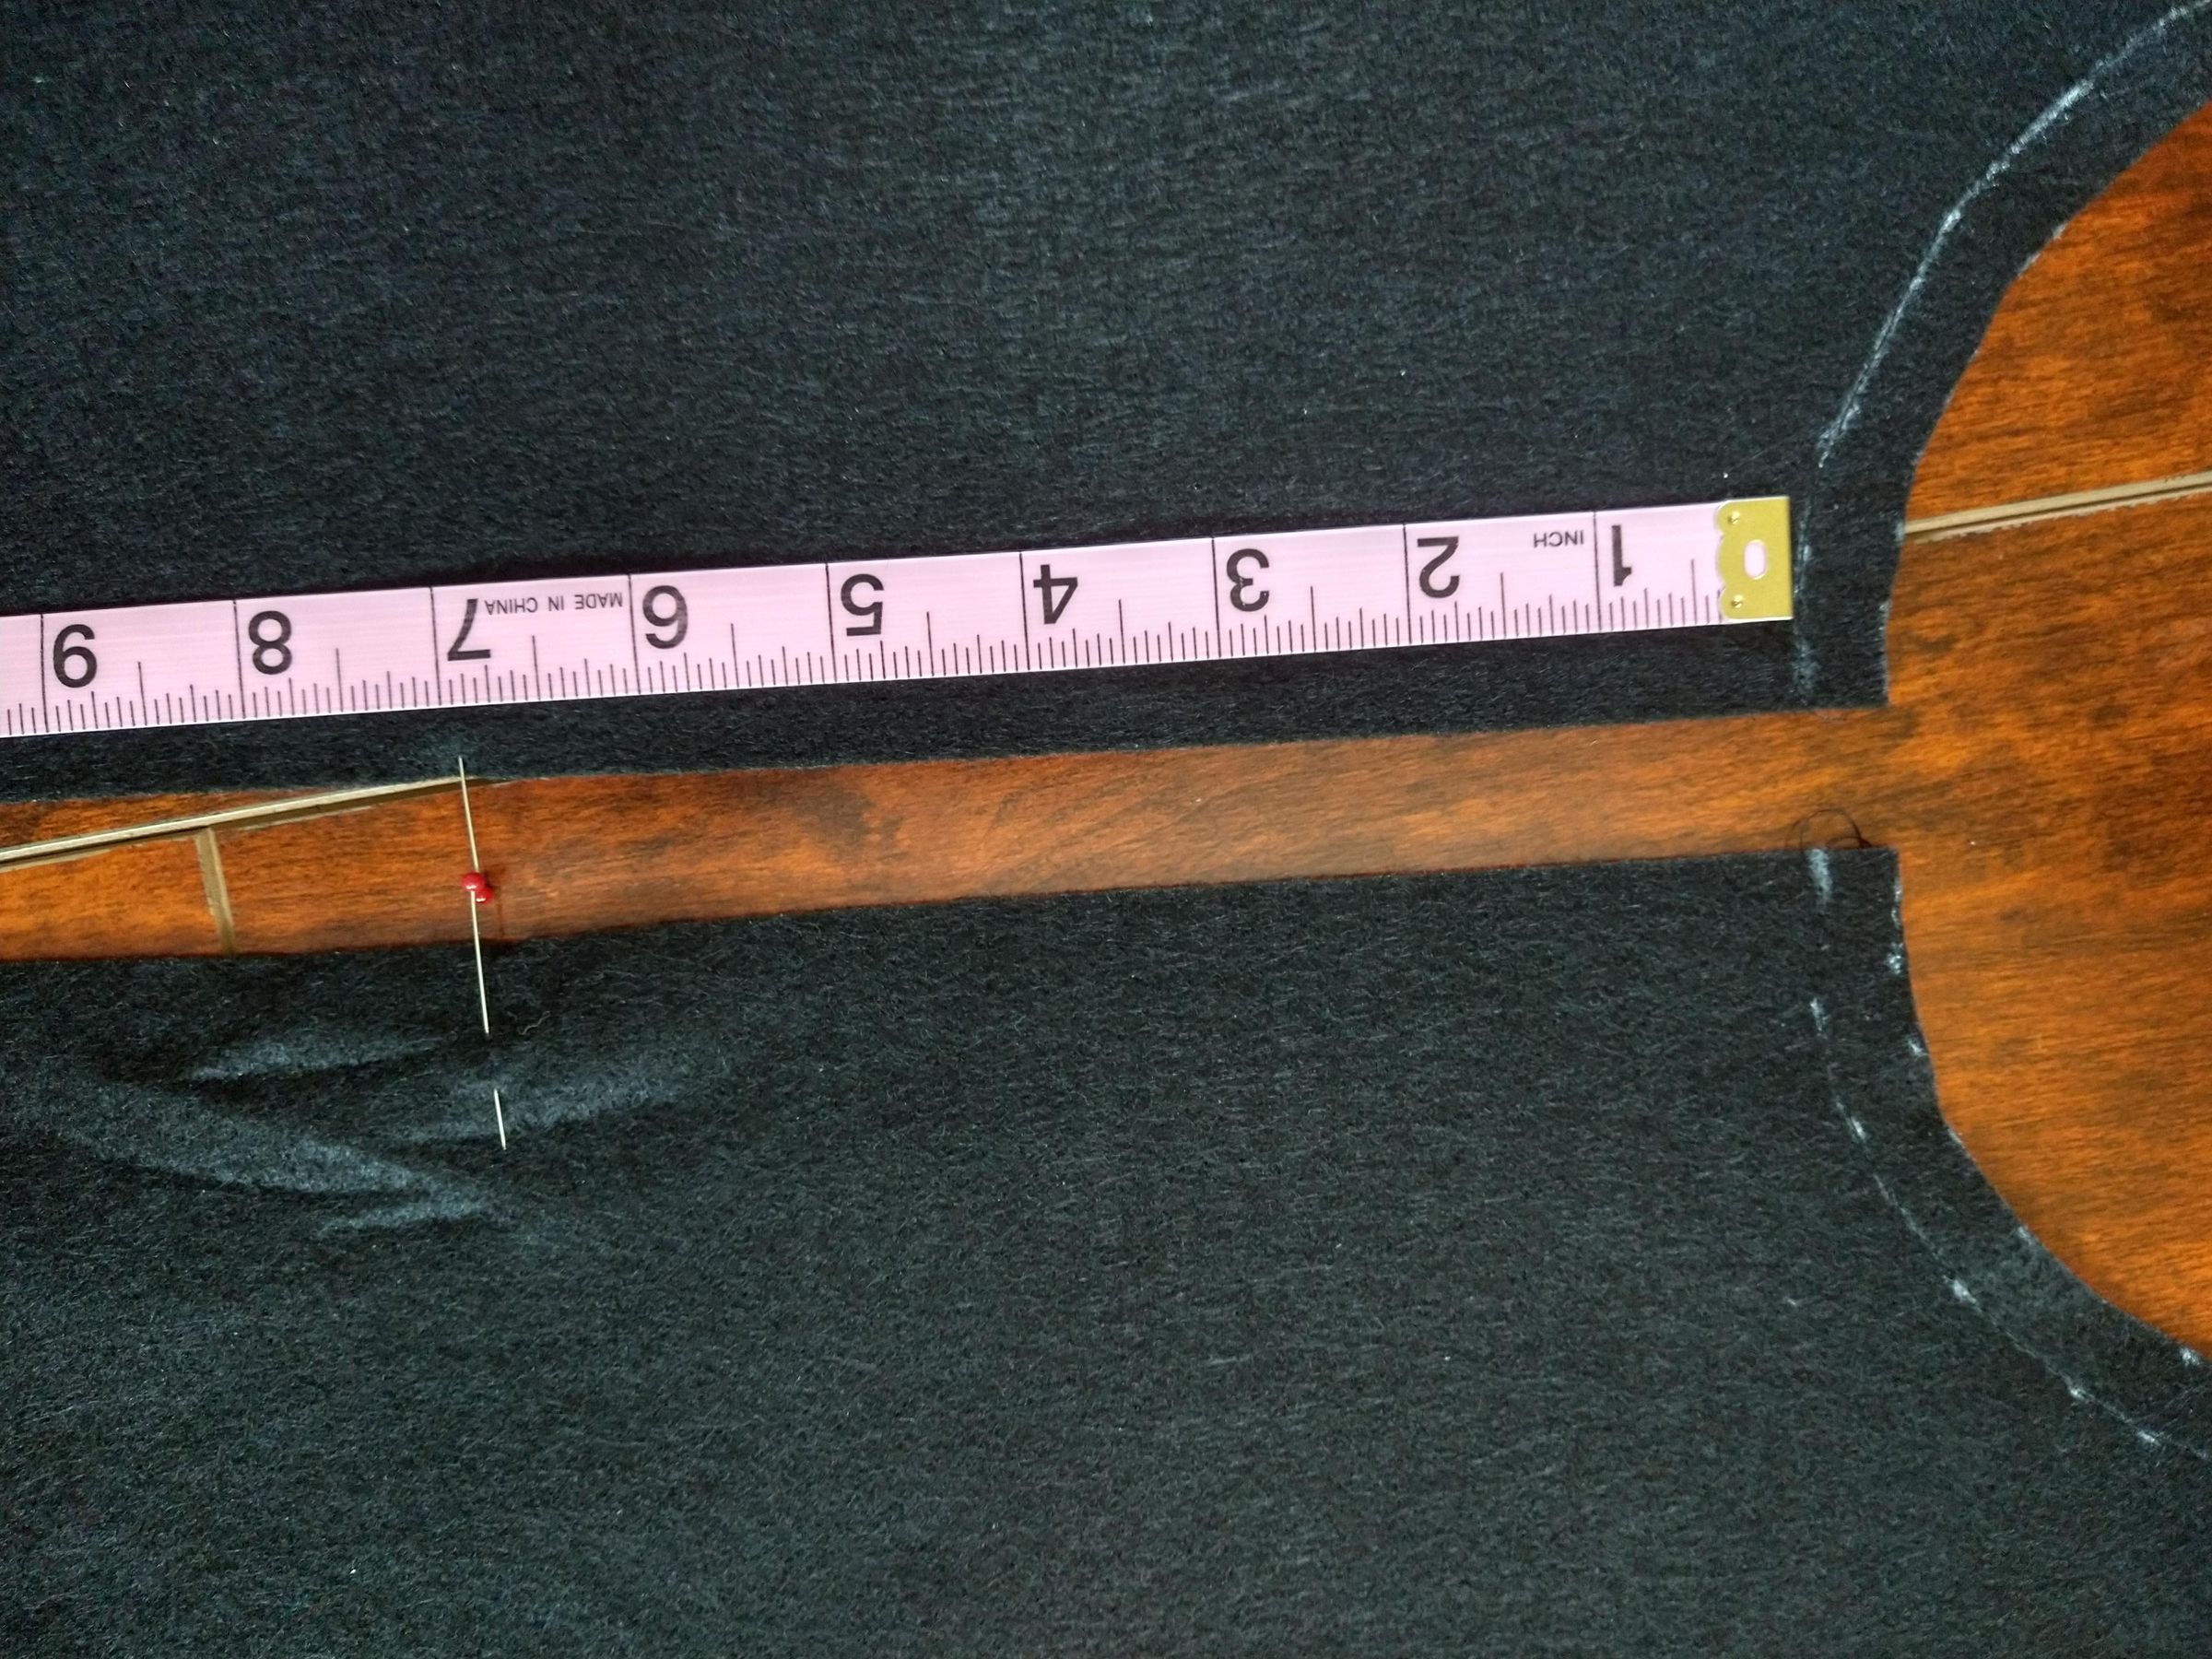
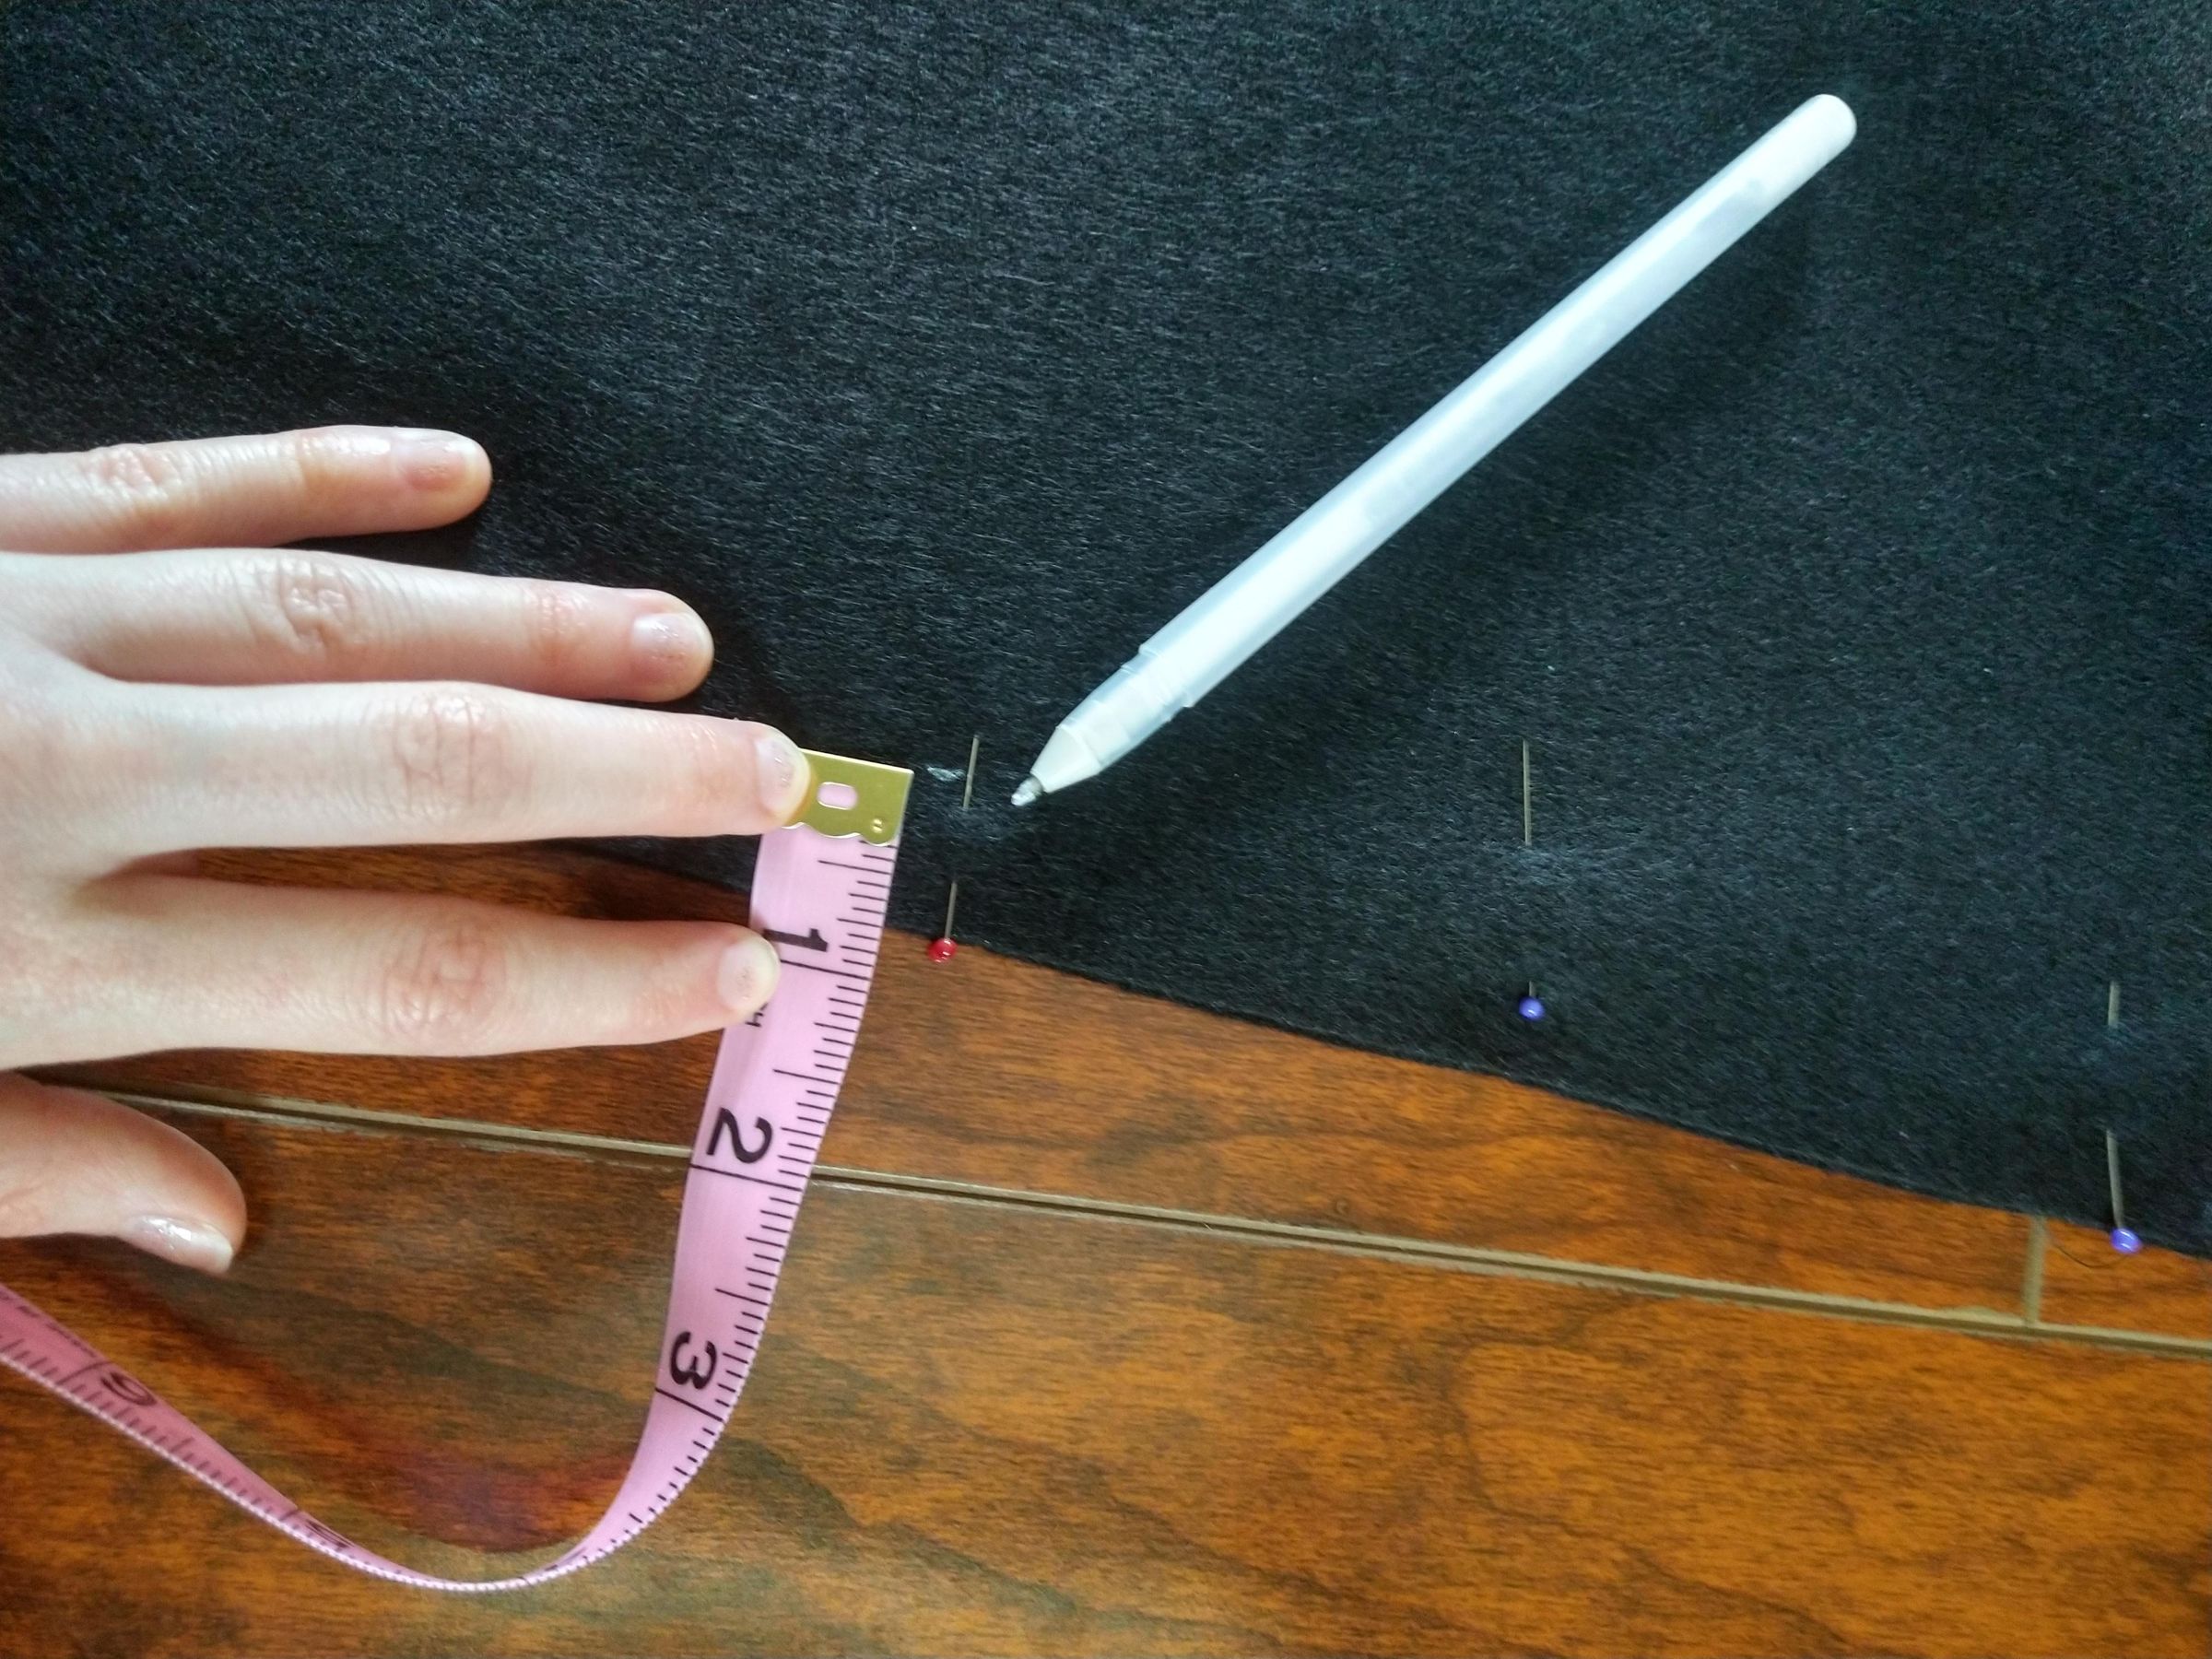
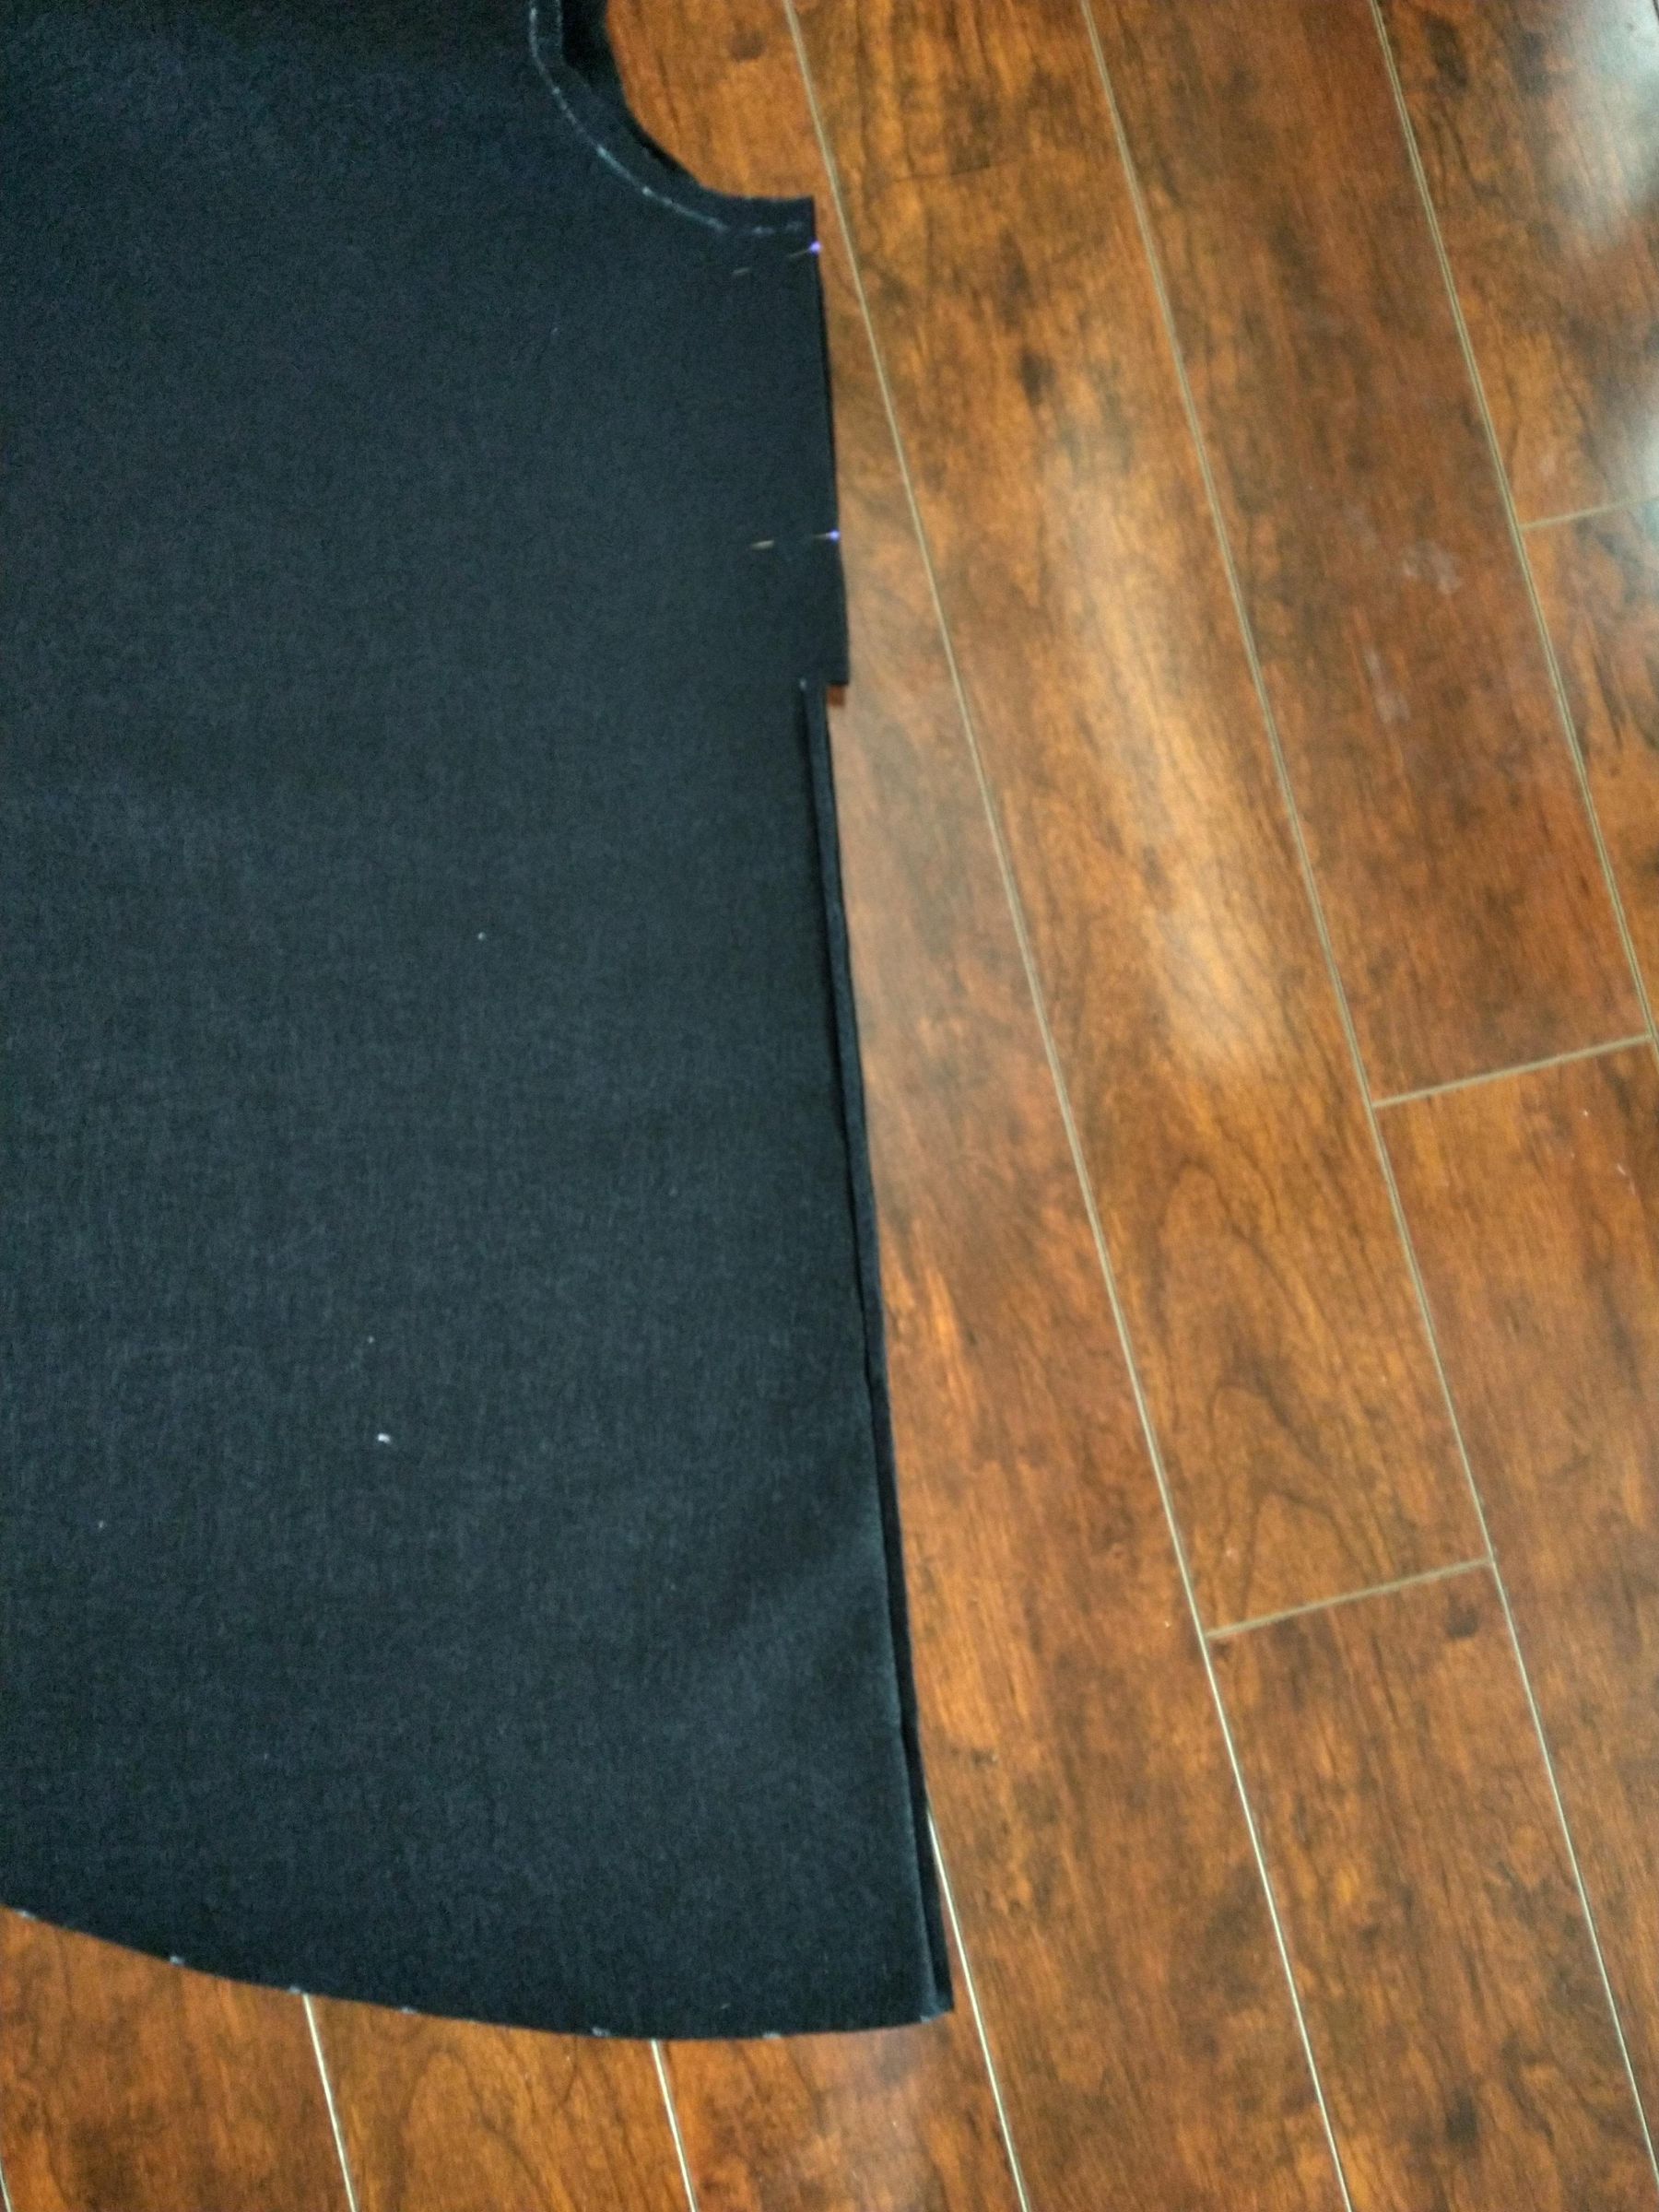
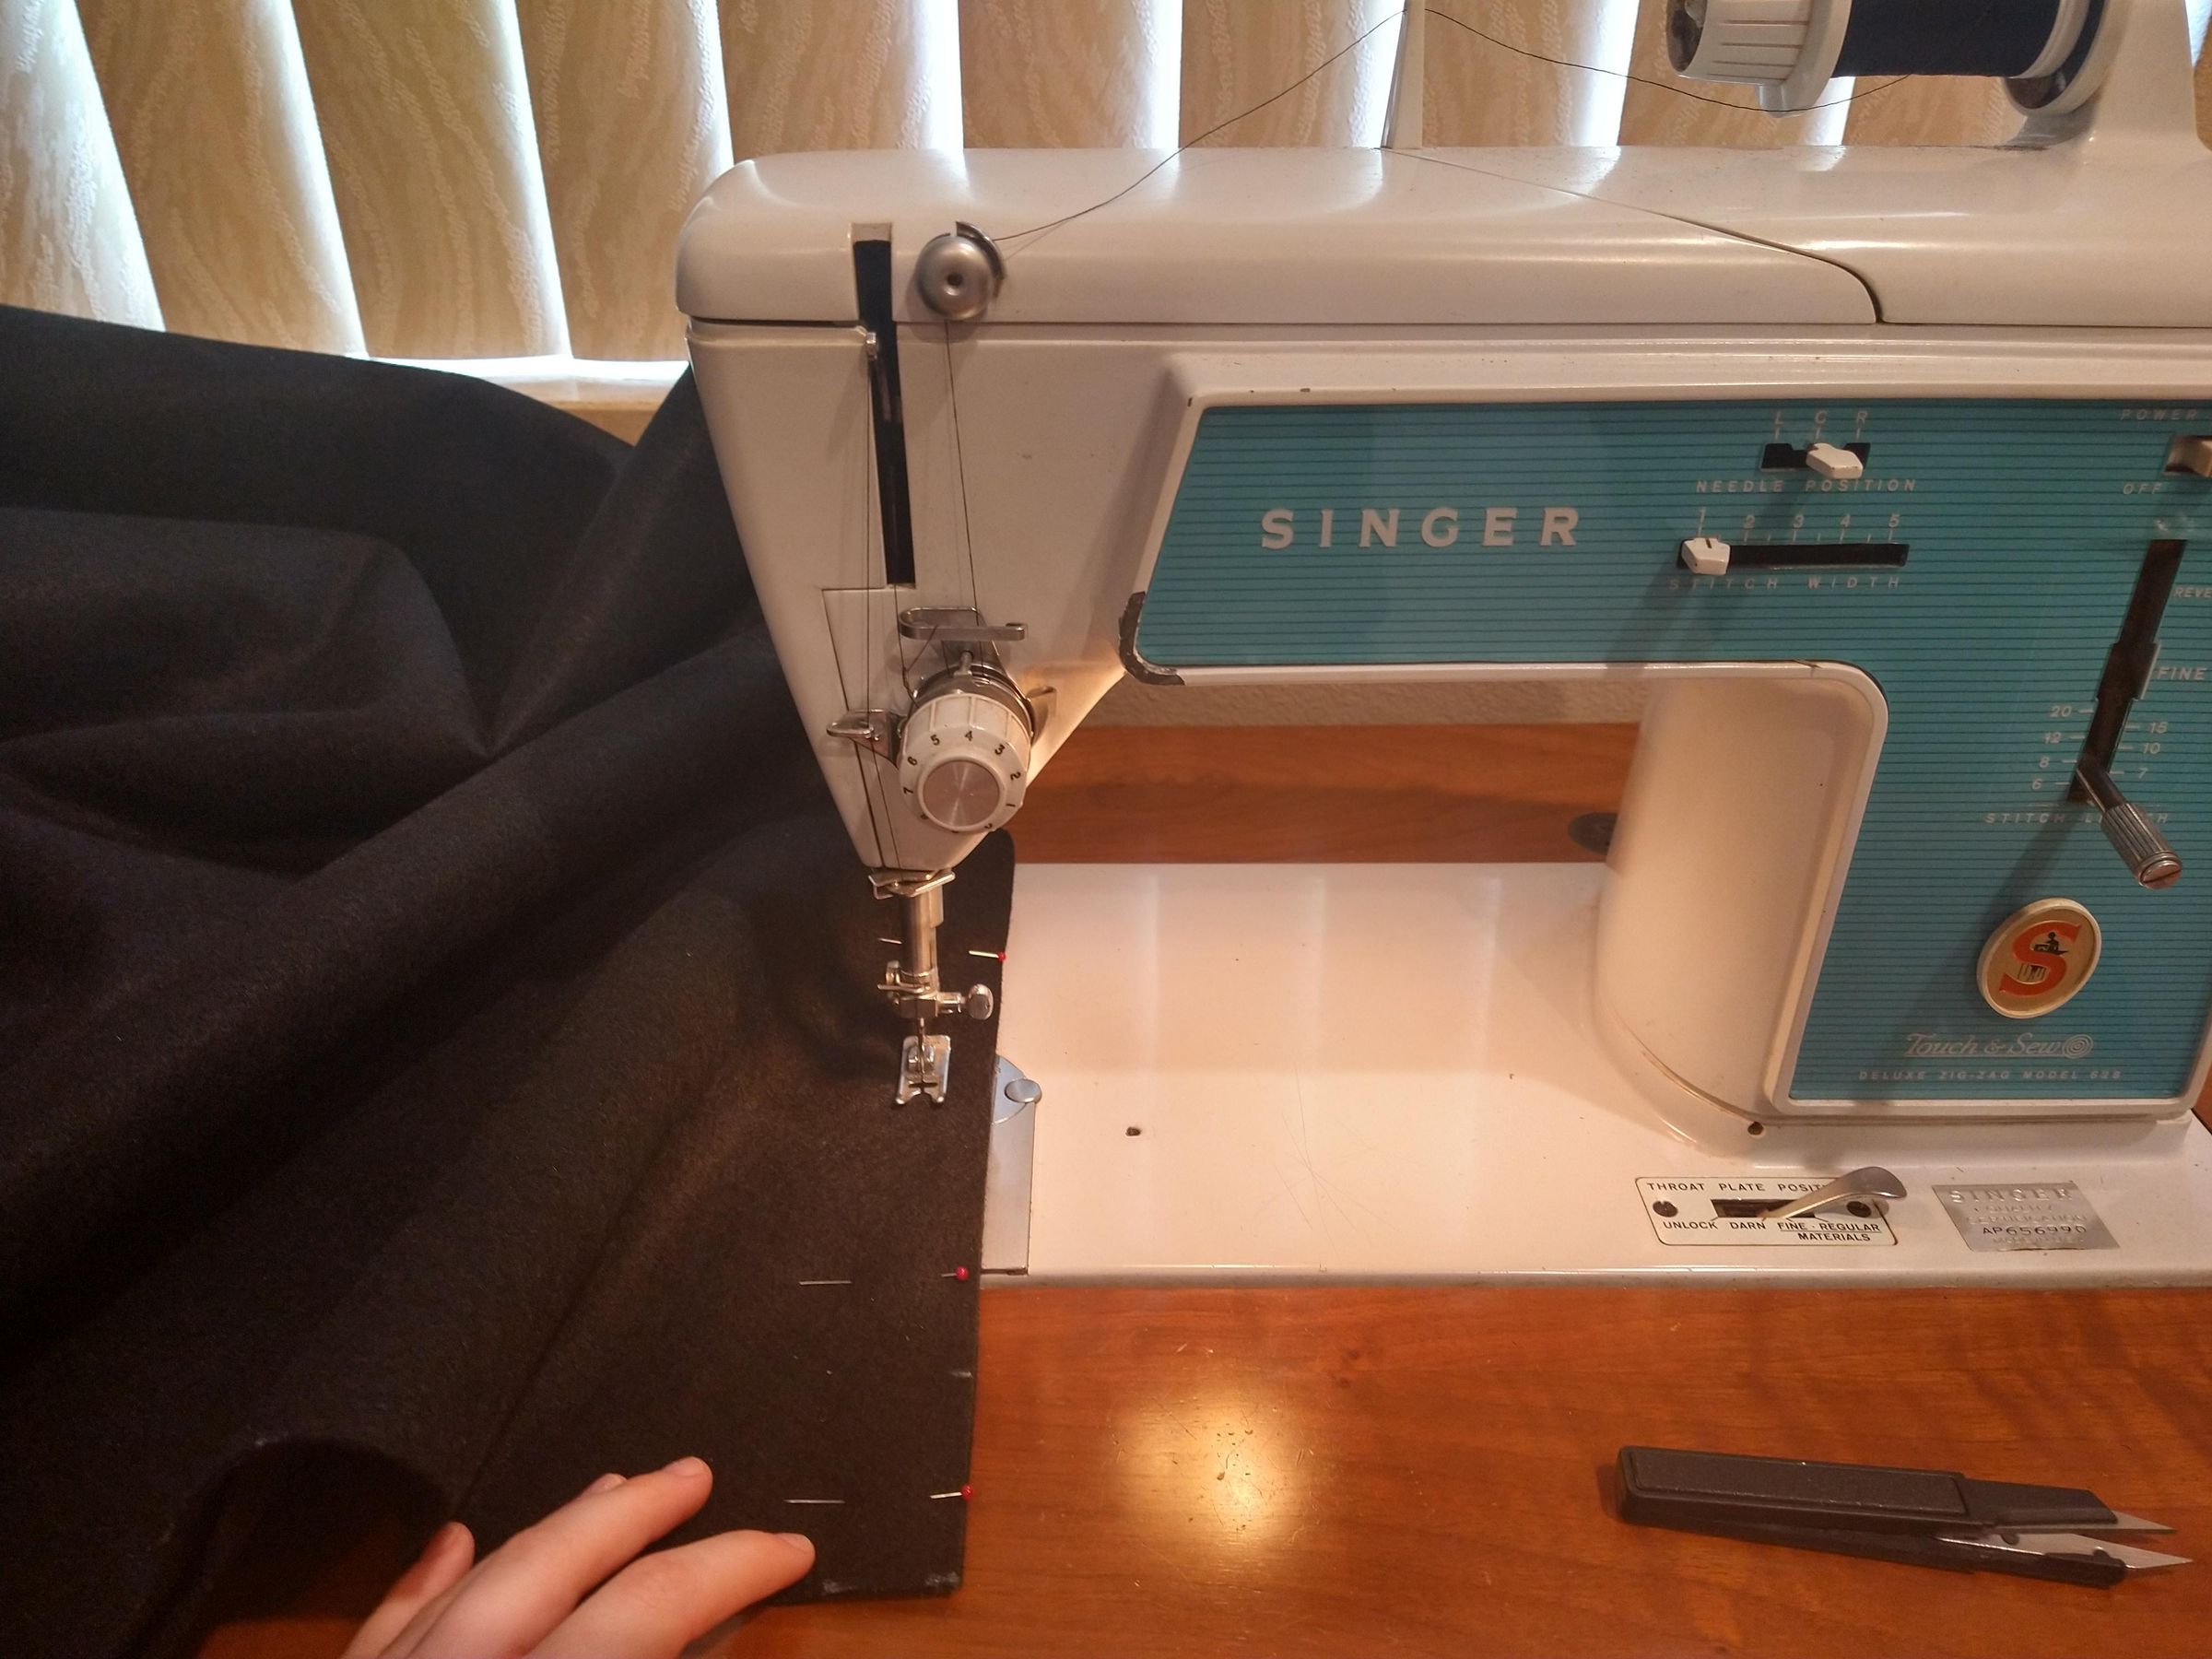
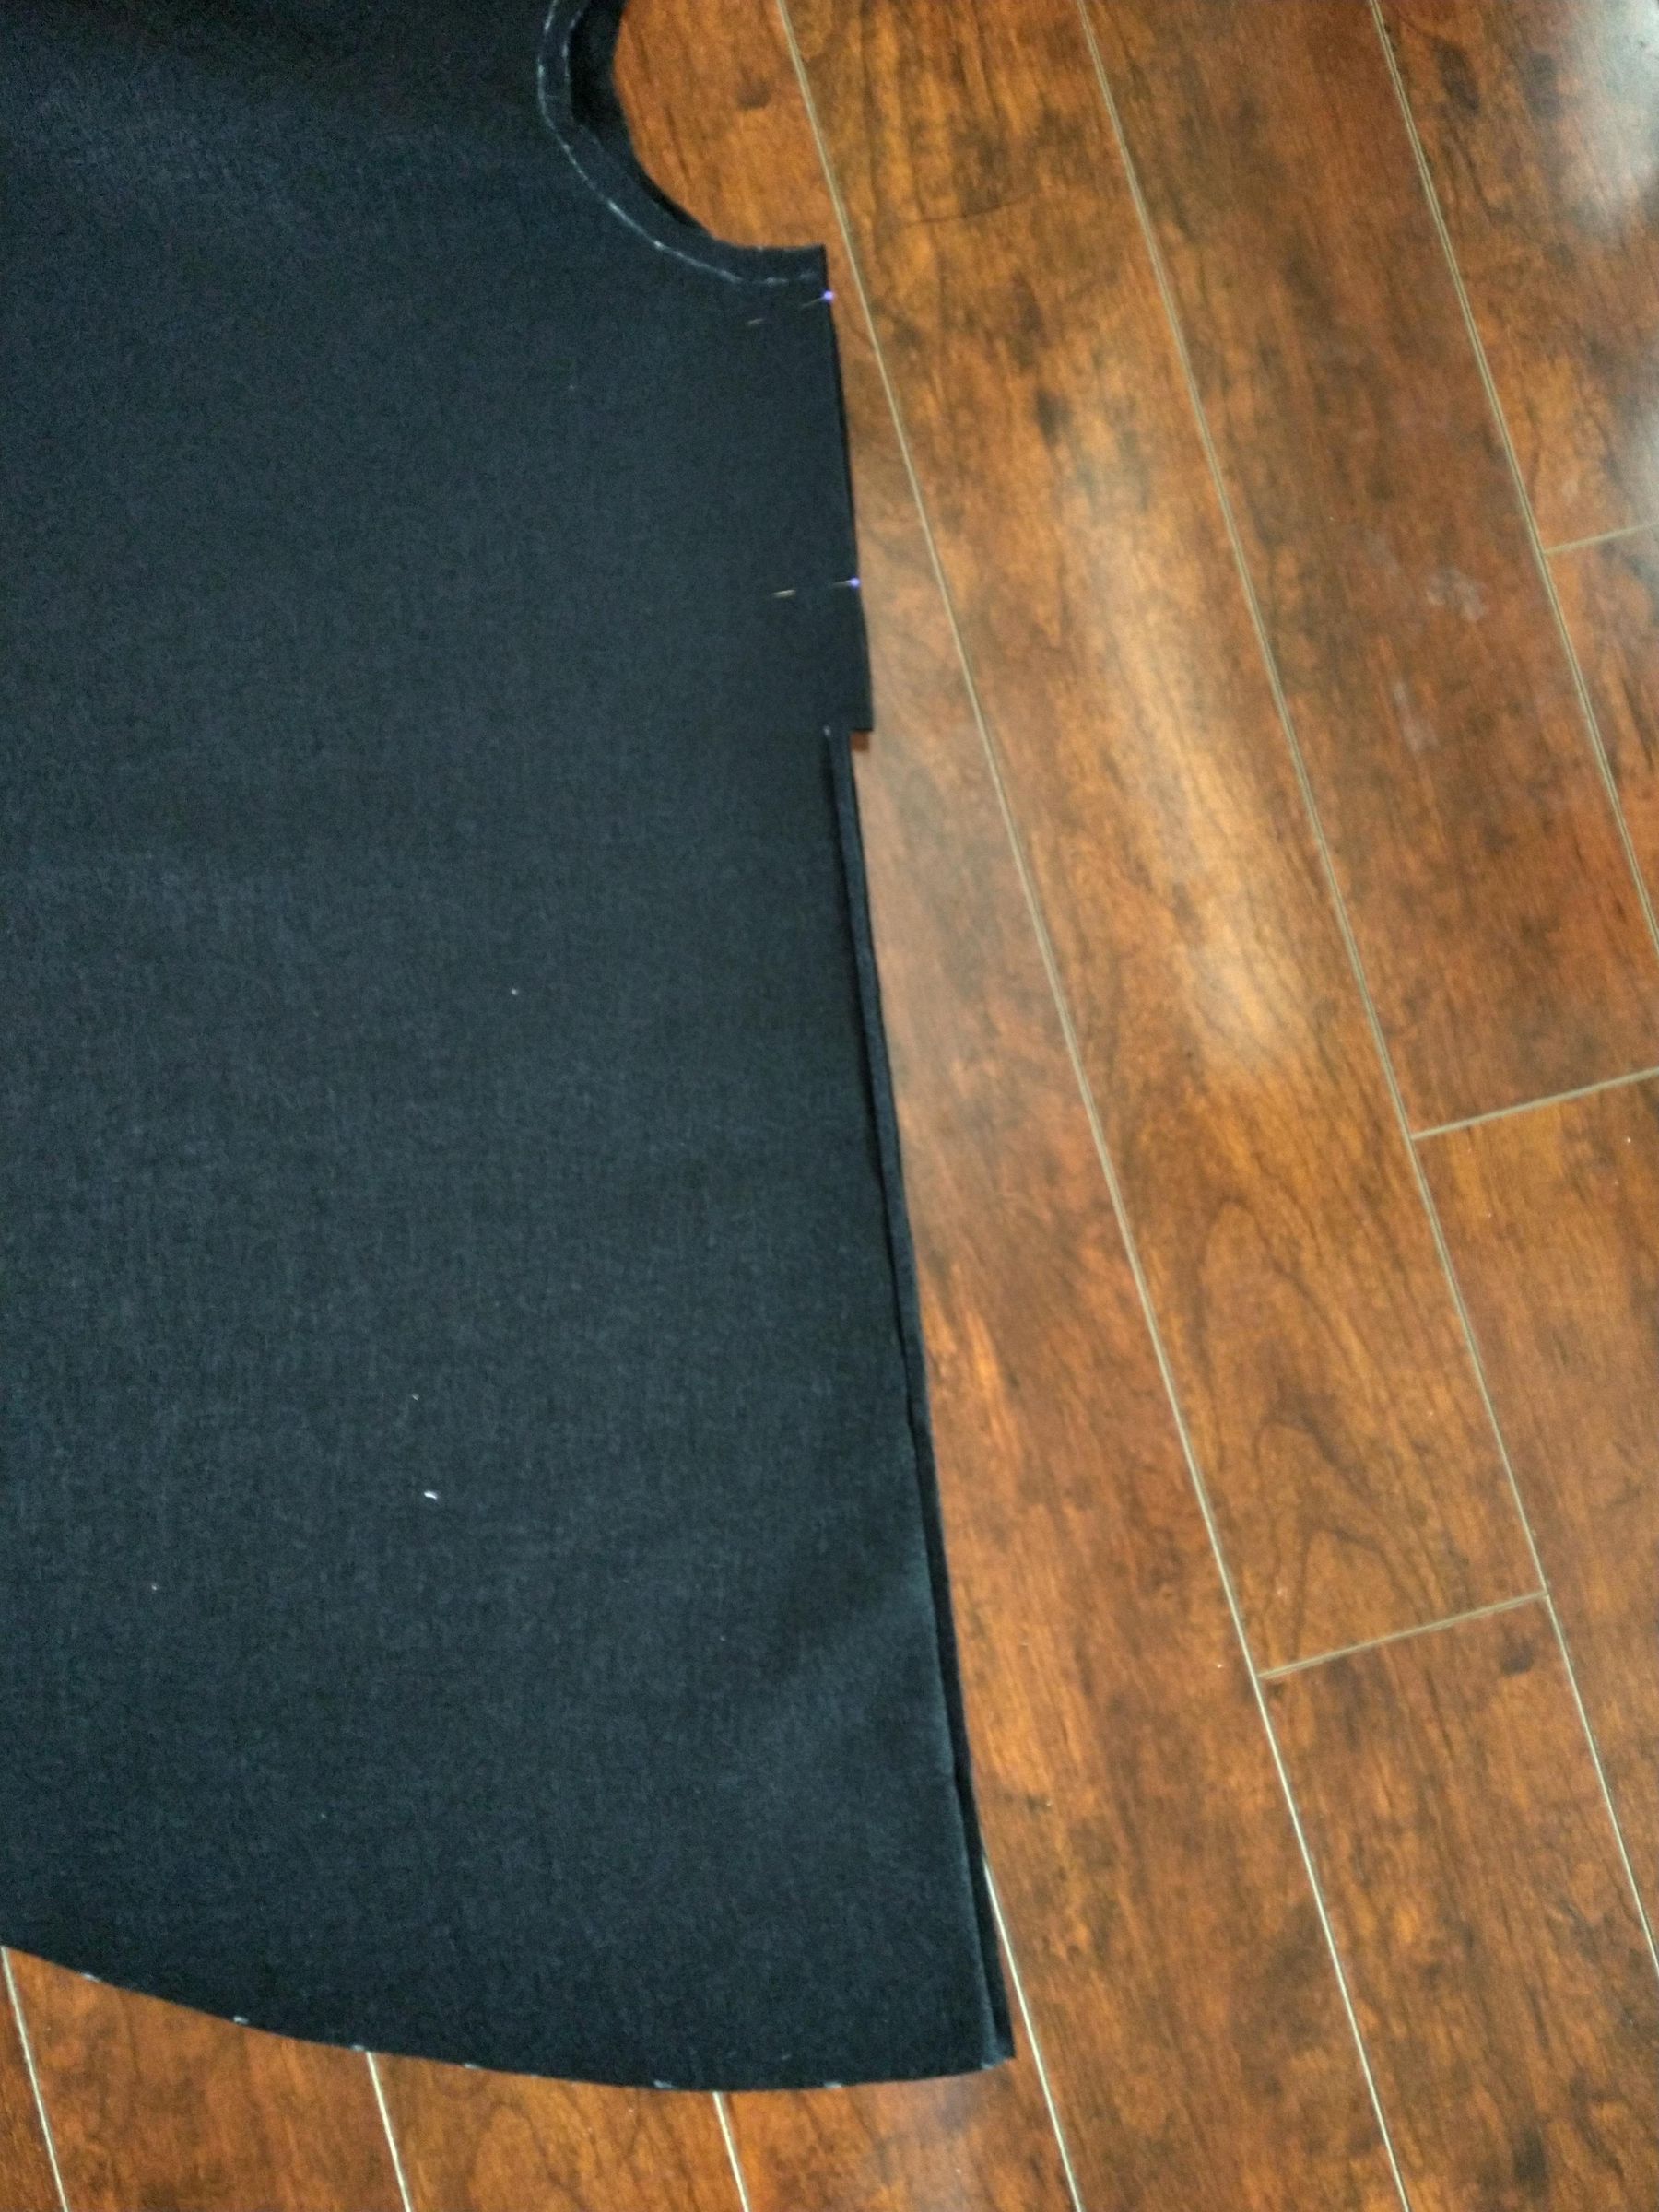
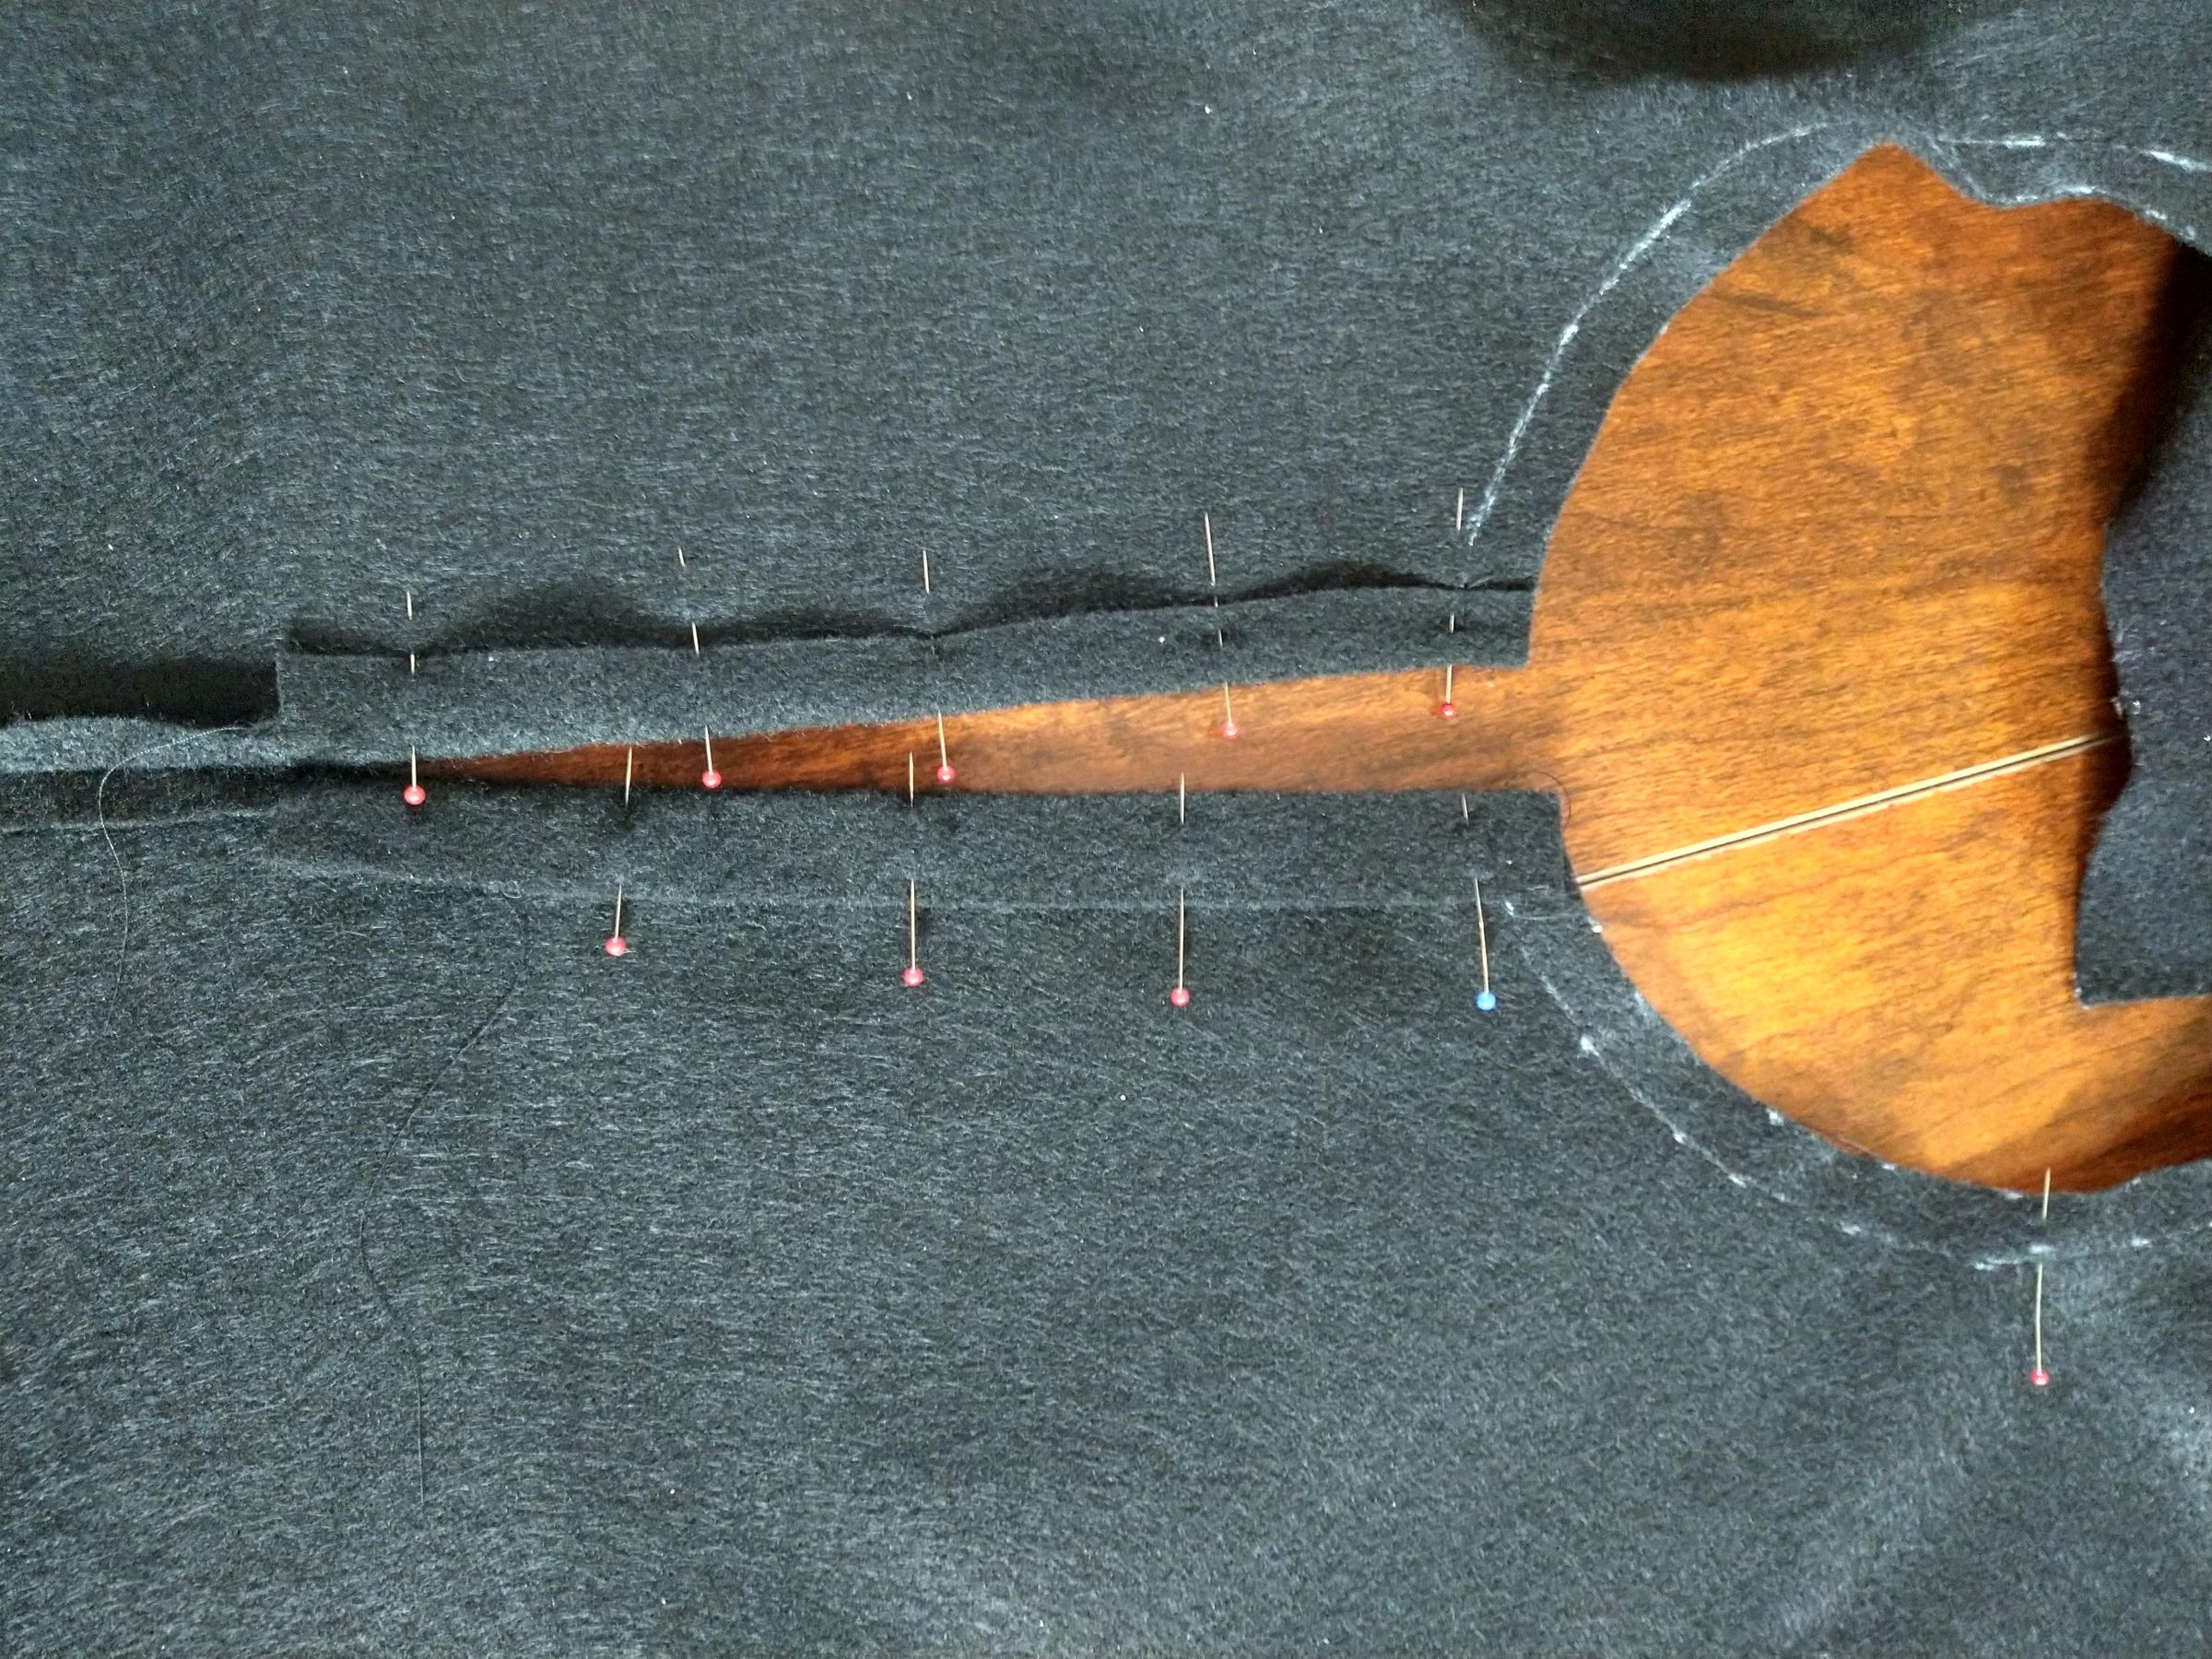
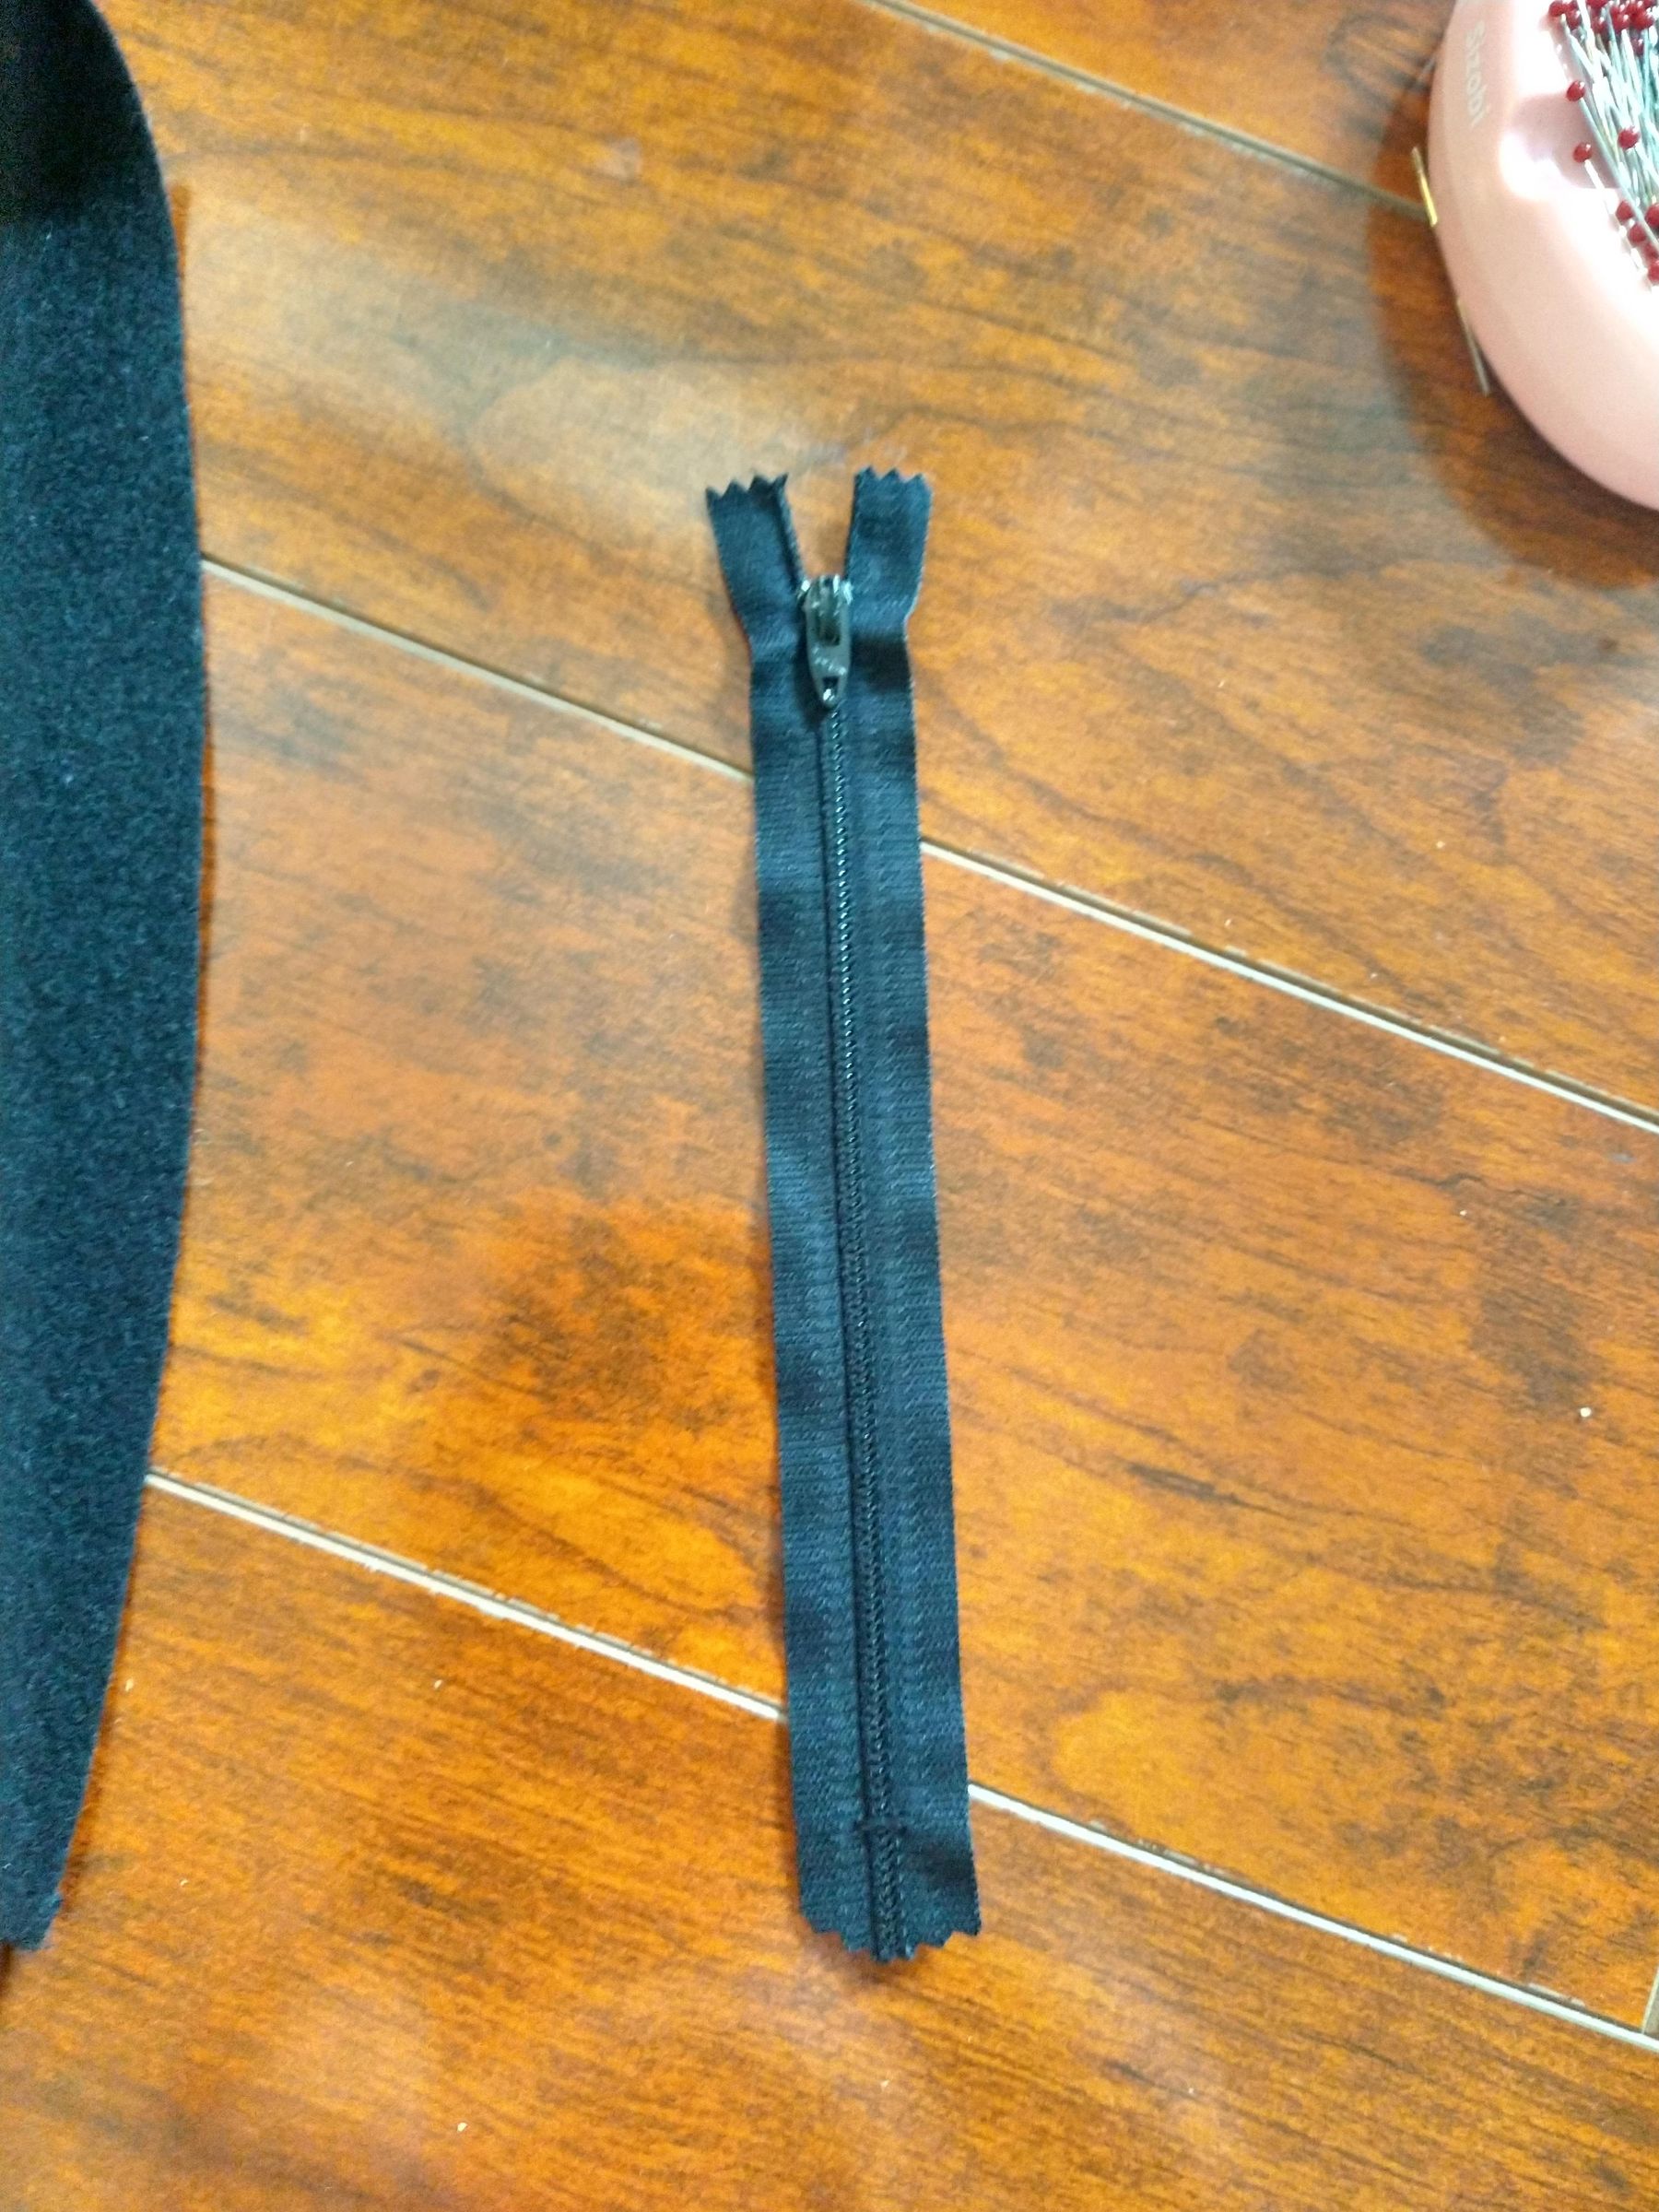
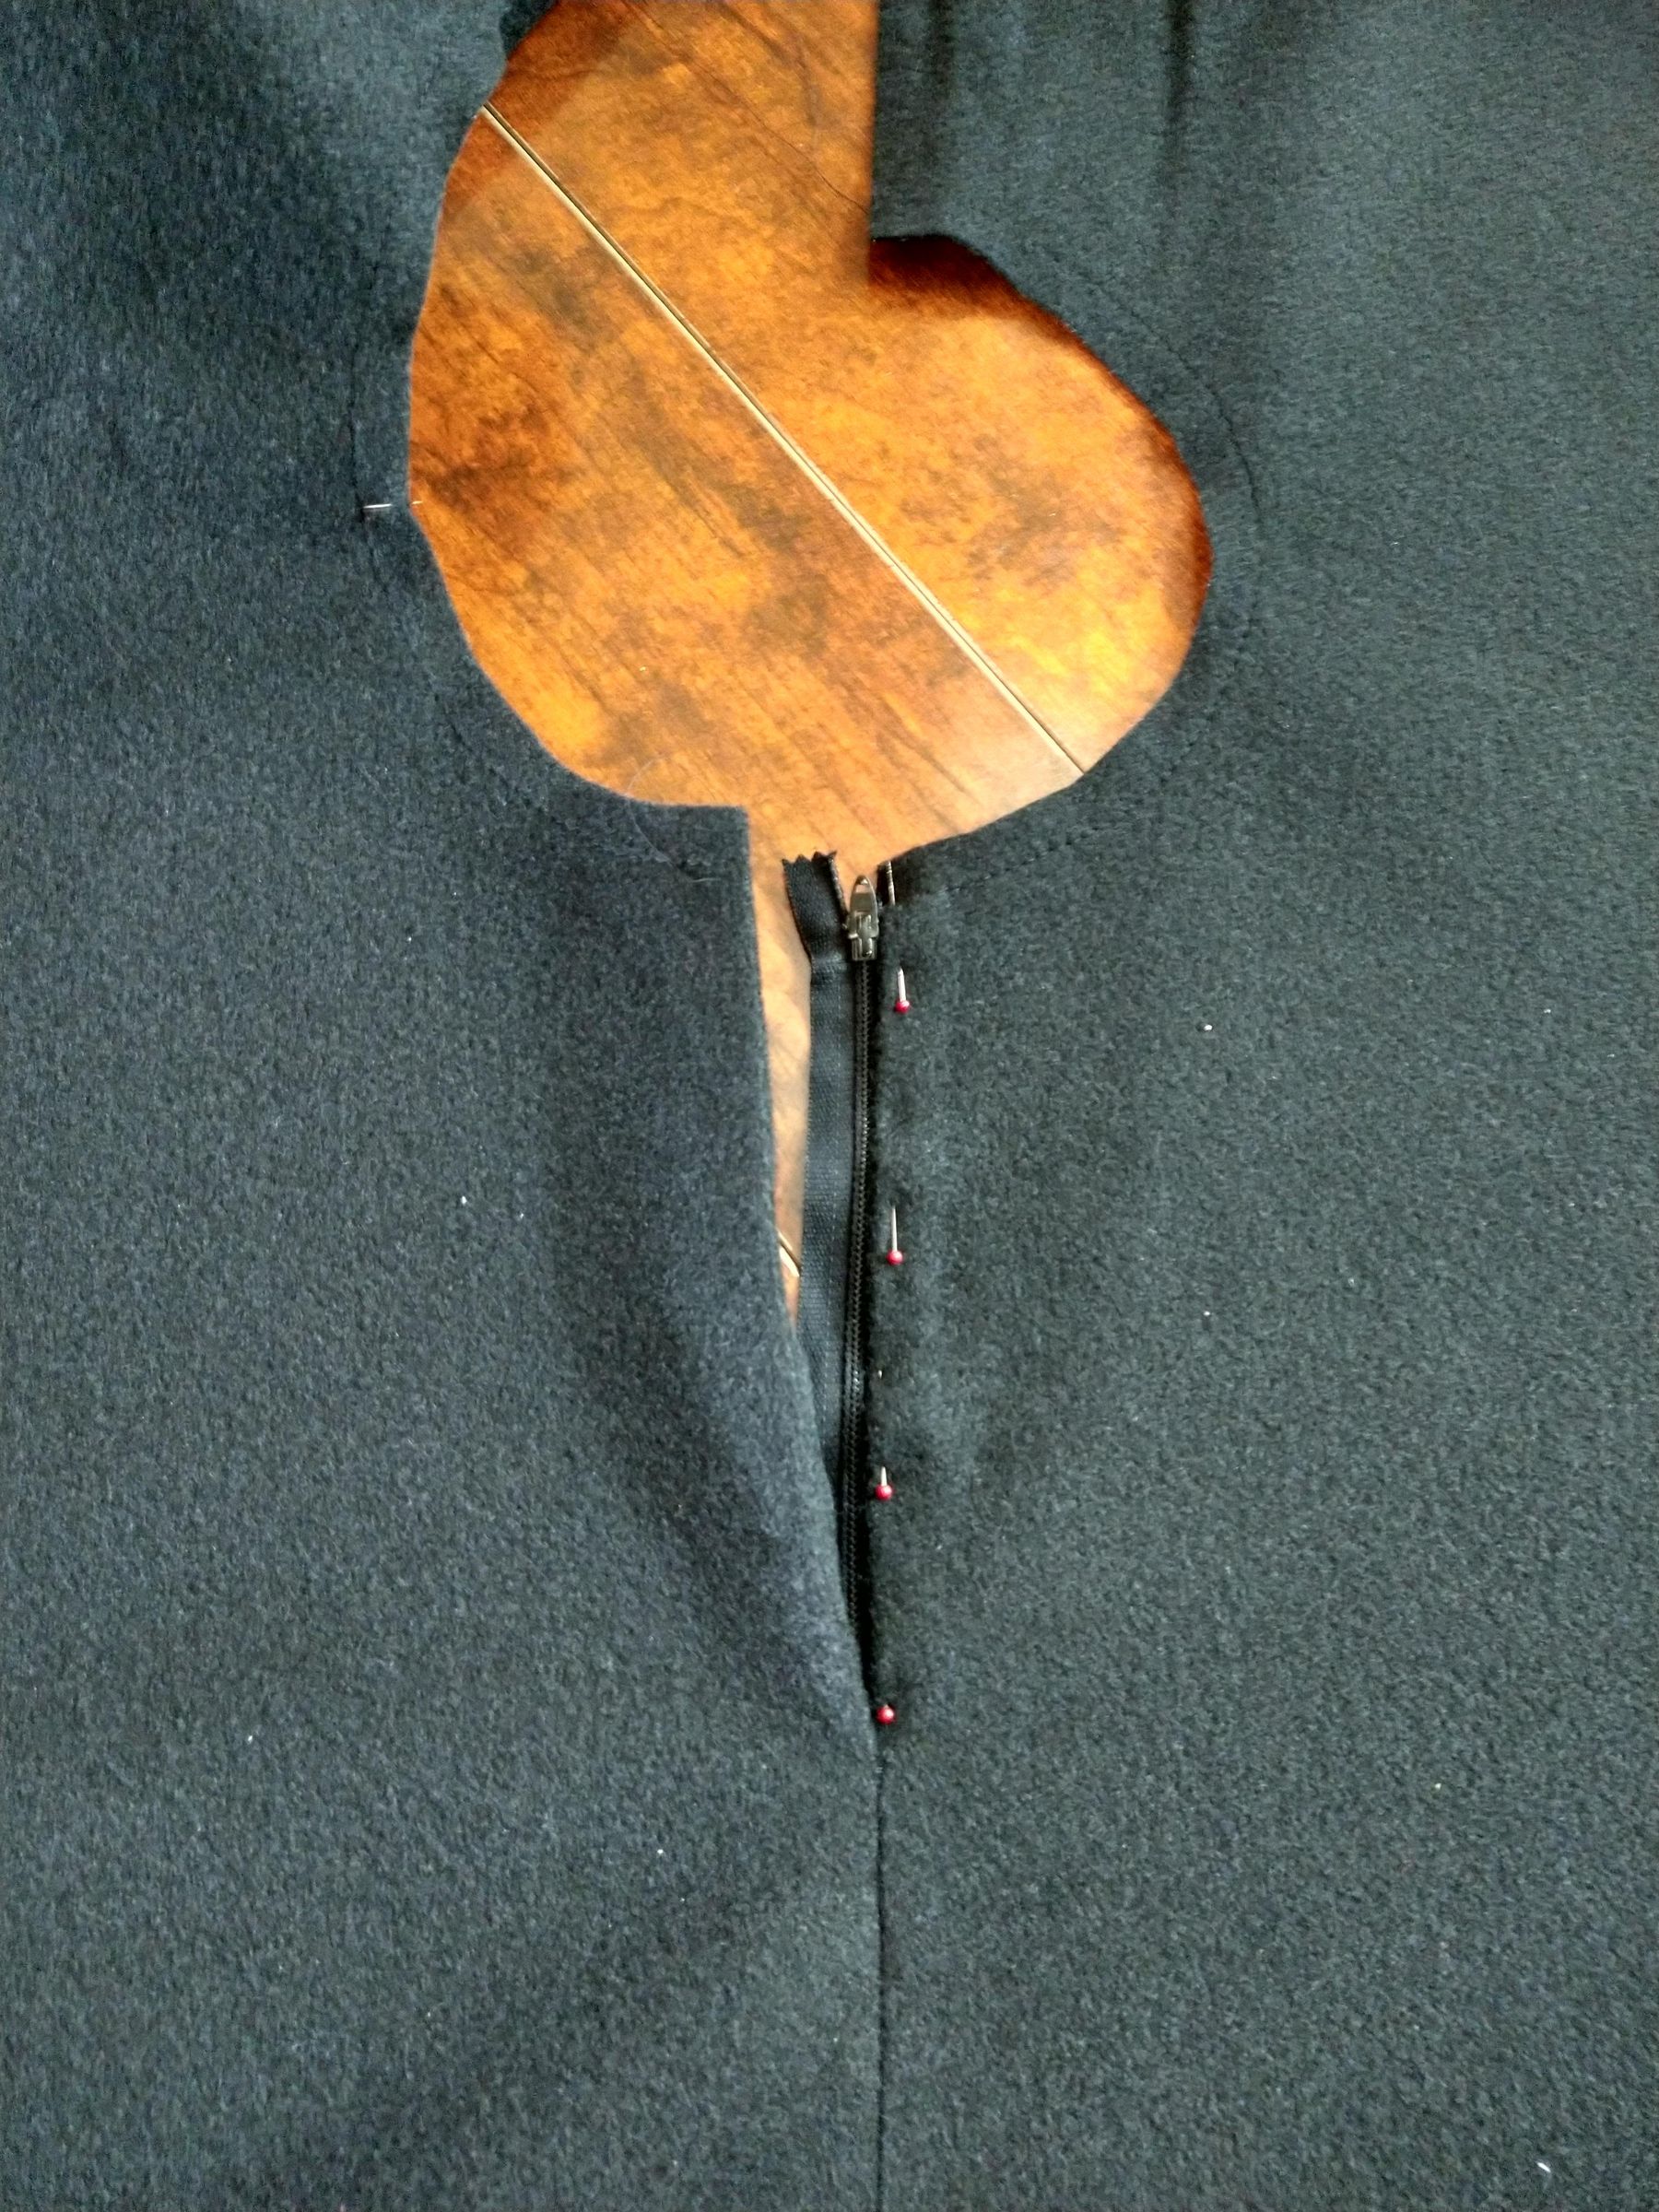
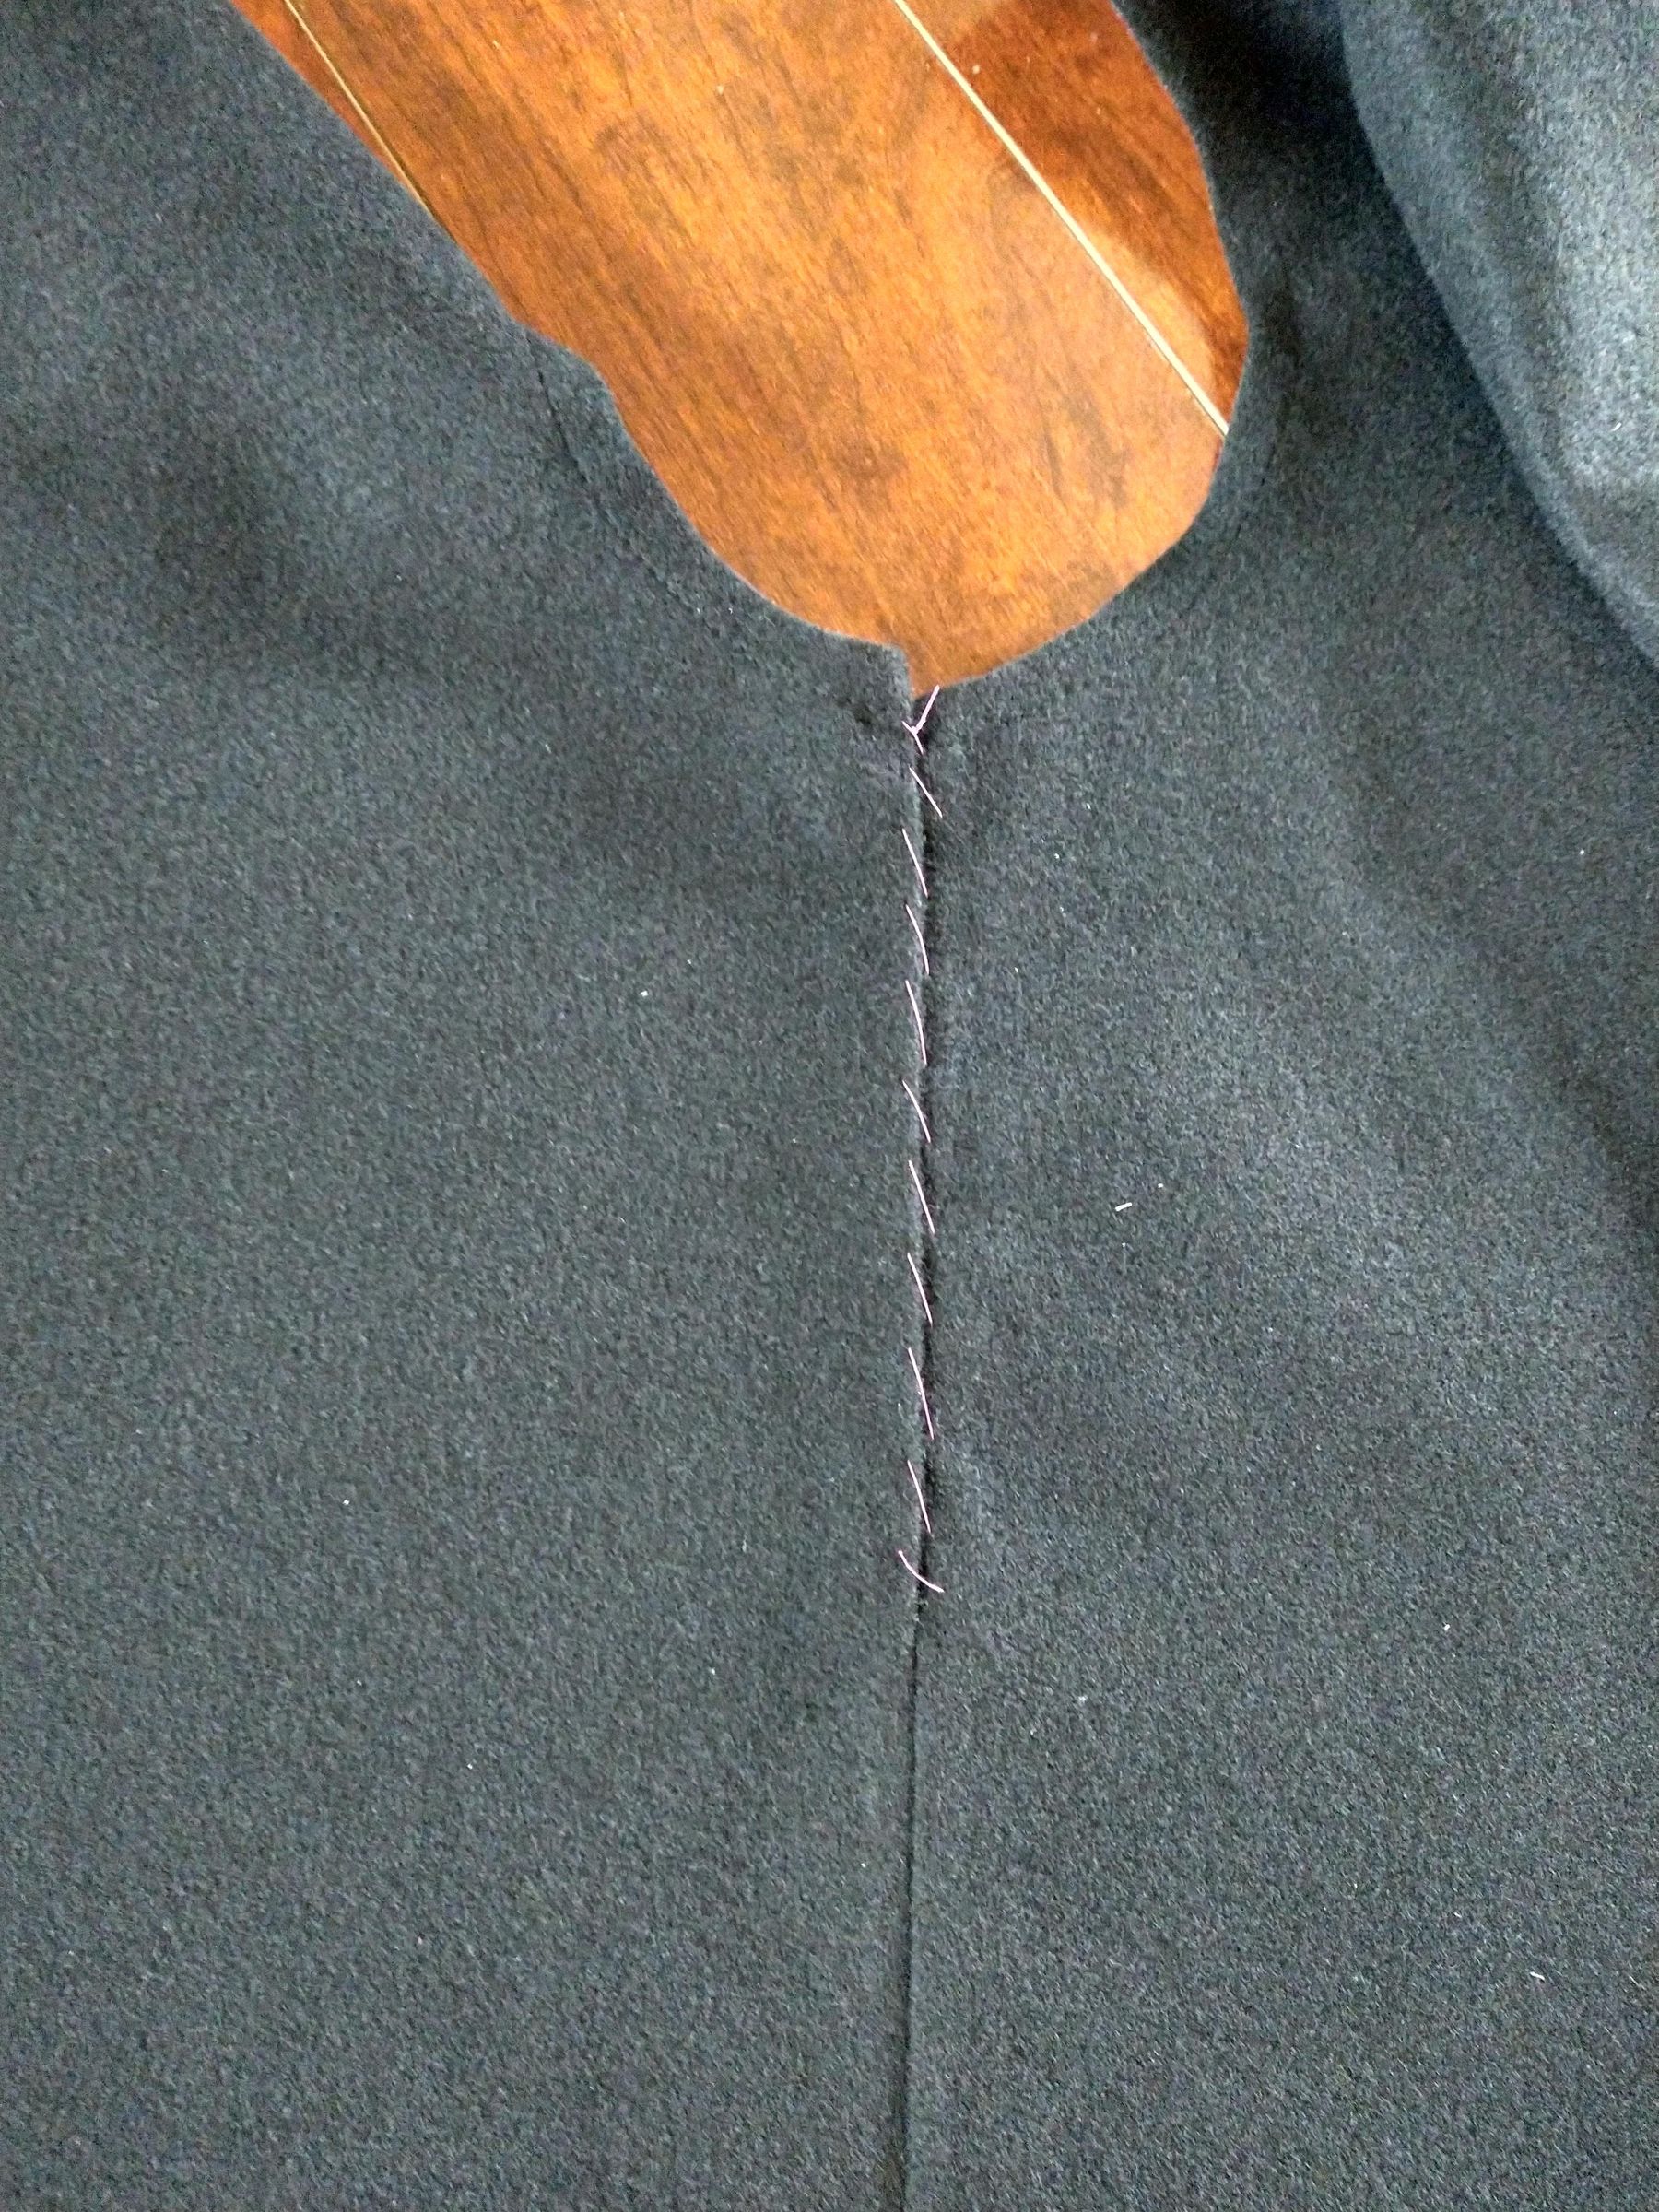
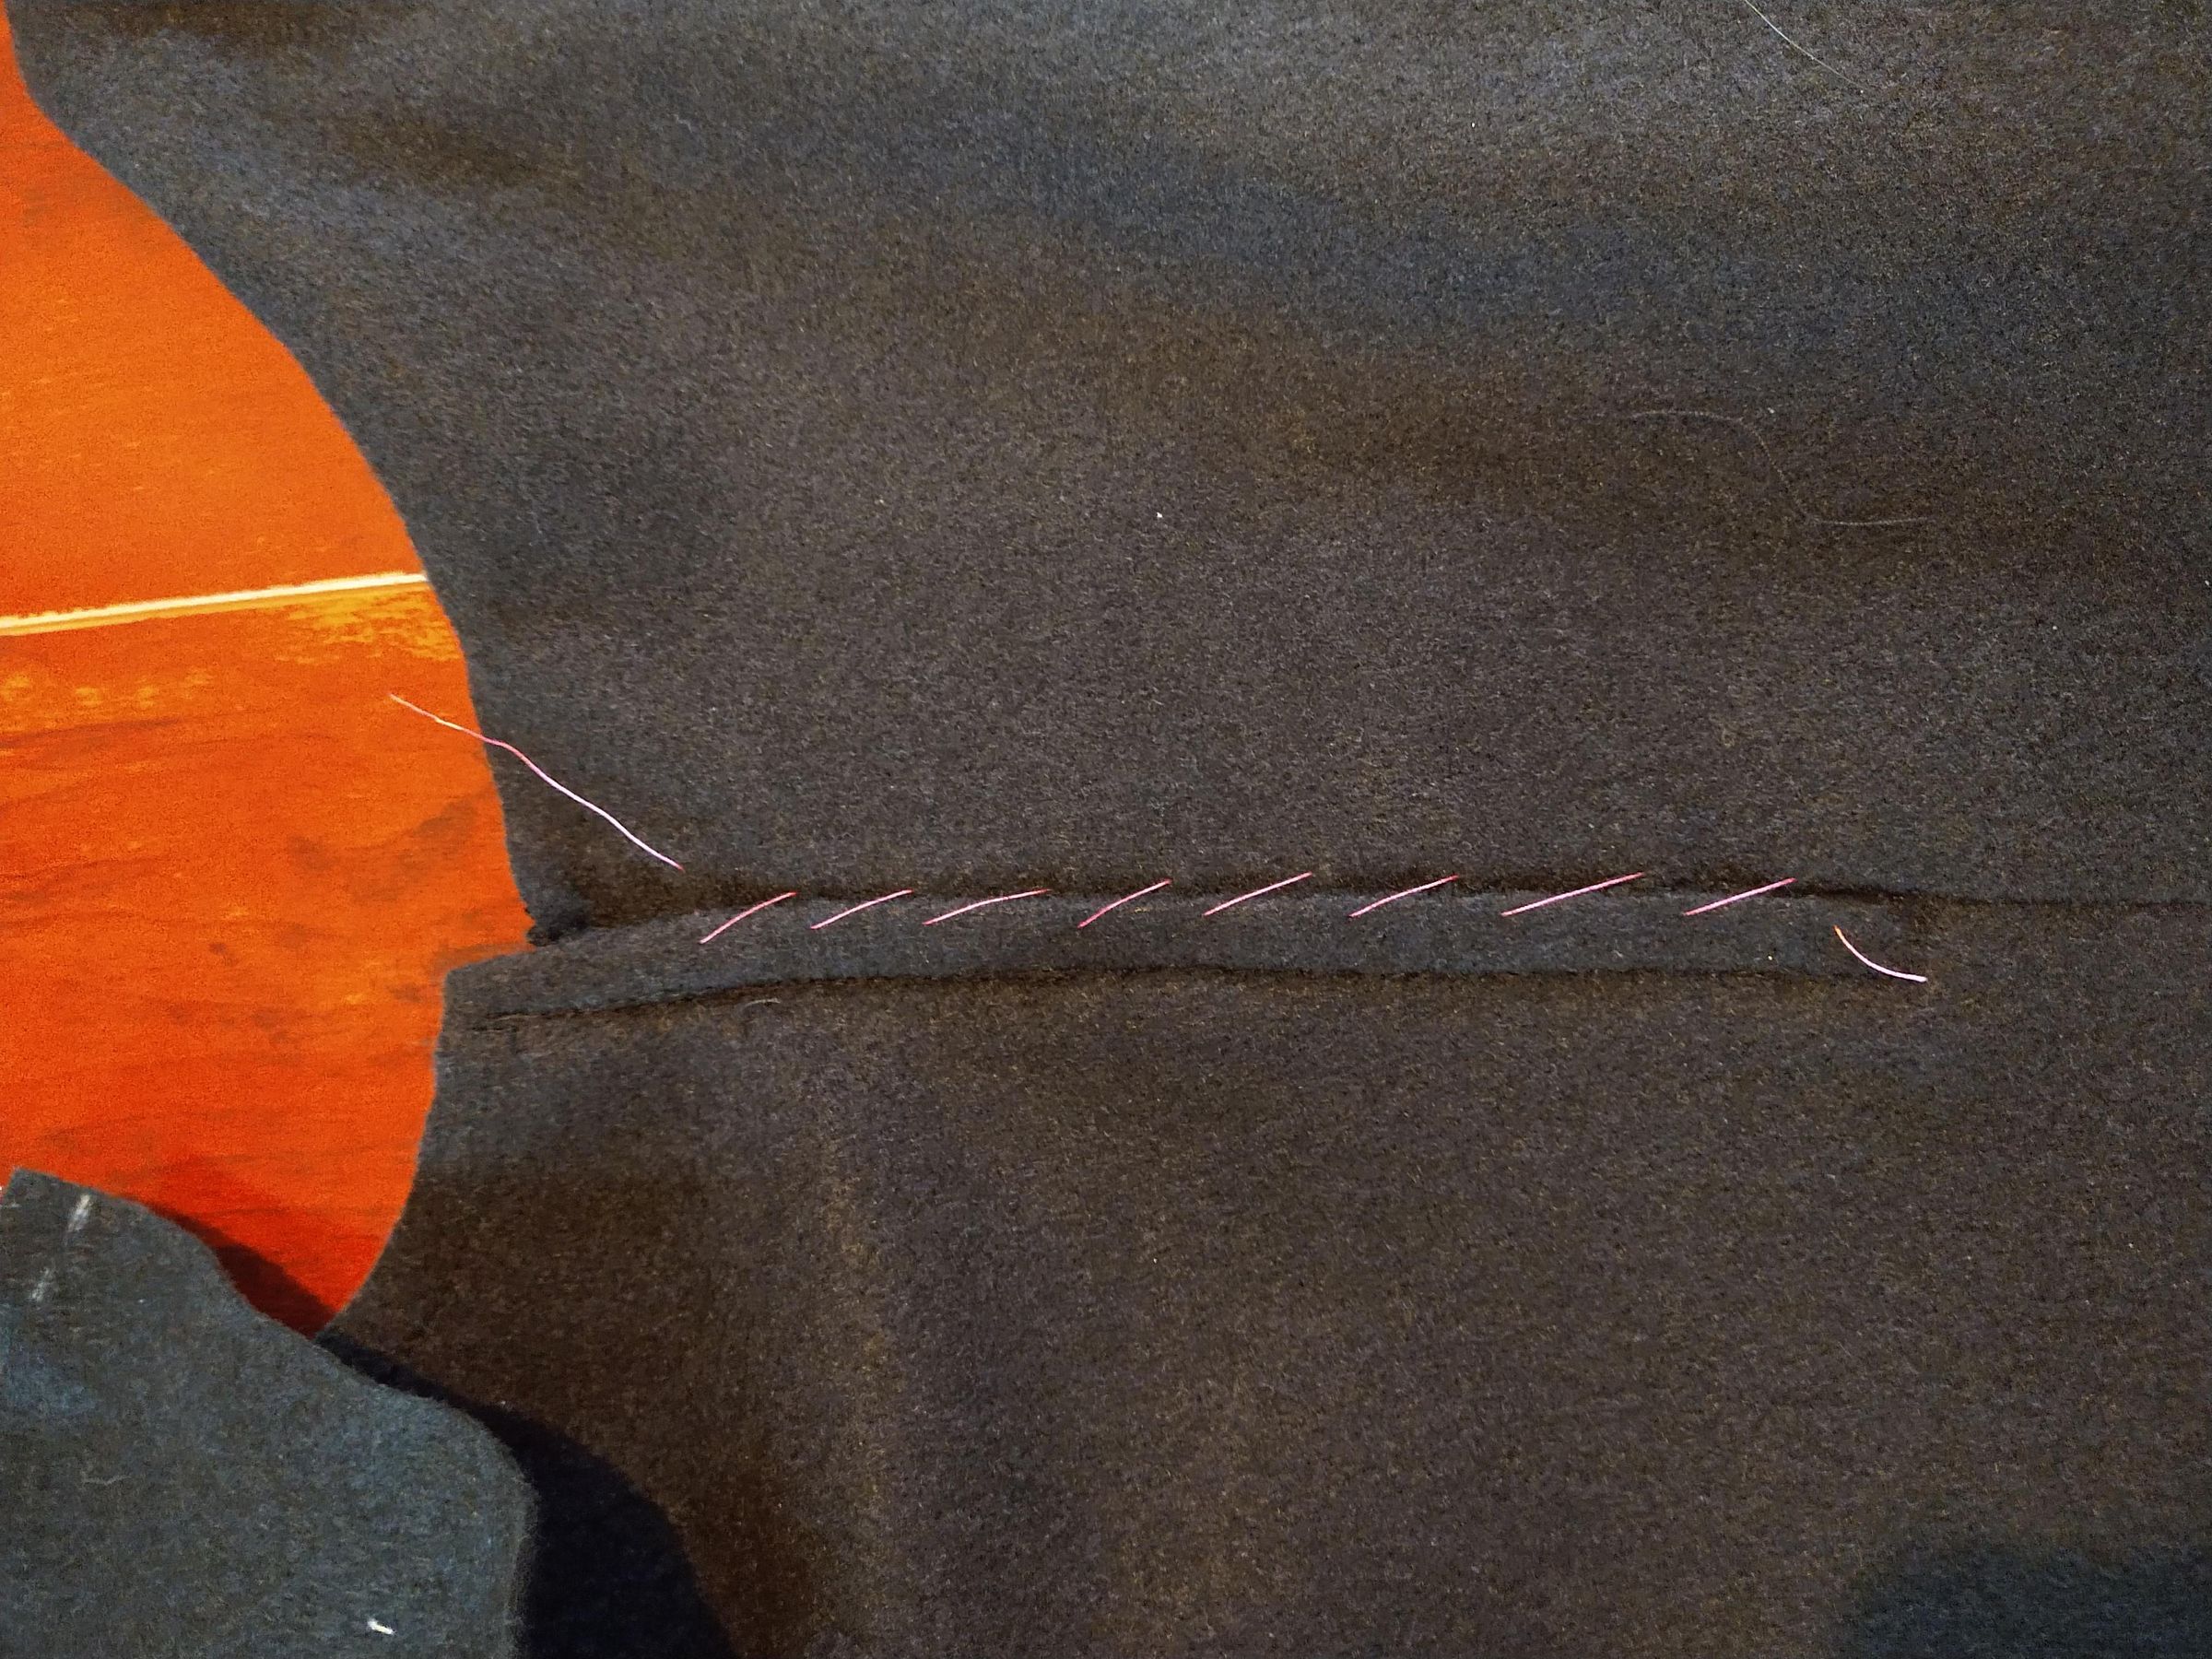
First, take your skirt front and stay stitch on your seam allowance(SA) line using a long stitch. This will prevent stretching and warping as you work with your skirt. Repeat with the back skirt panel.
Now, it's important to make sure you have marked your front and back. The next step is to sew your side zipper opening. It will be positioned at the left side of the skirt when you are wearing it, which is the left side edge of the front skirt panel when the skirt is inside out. That's important to remember.
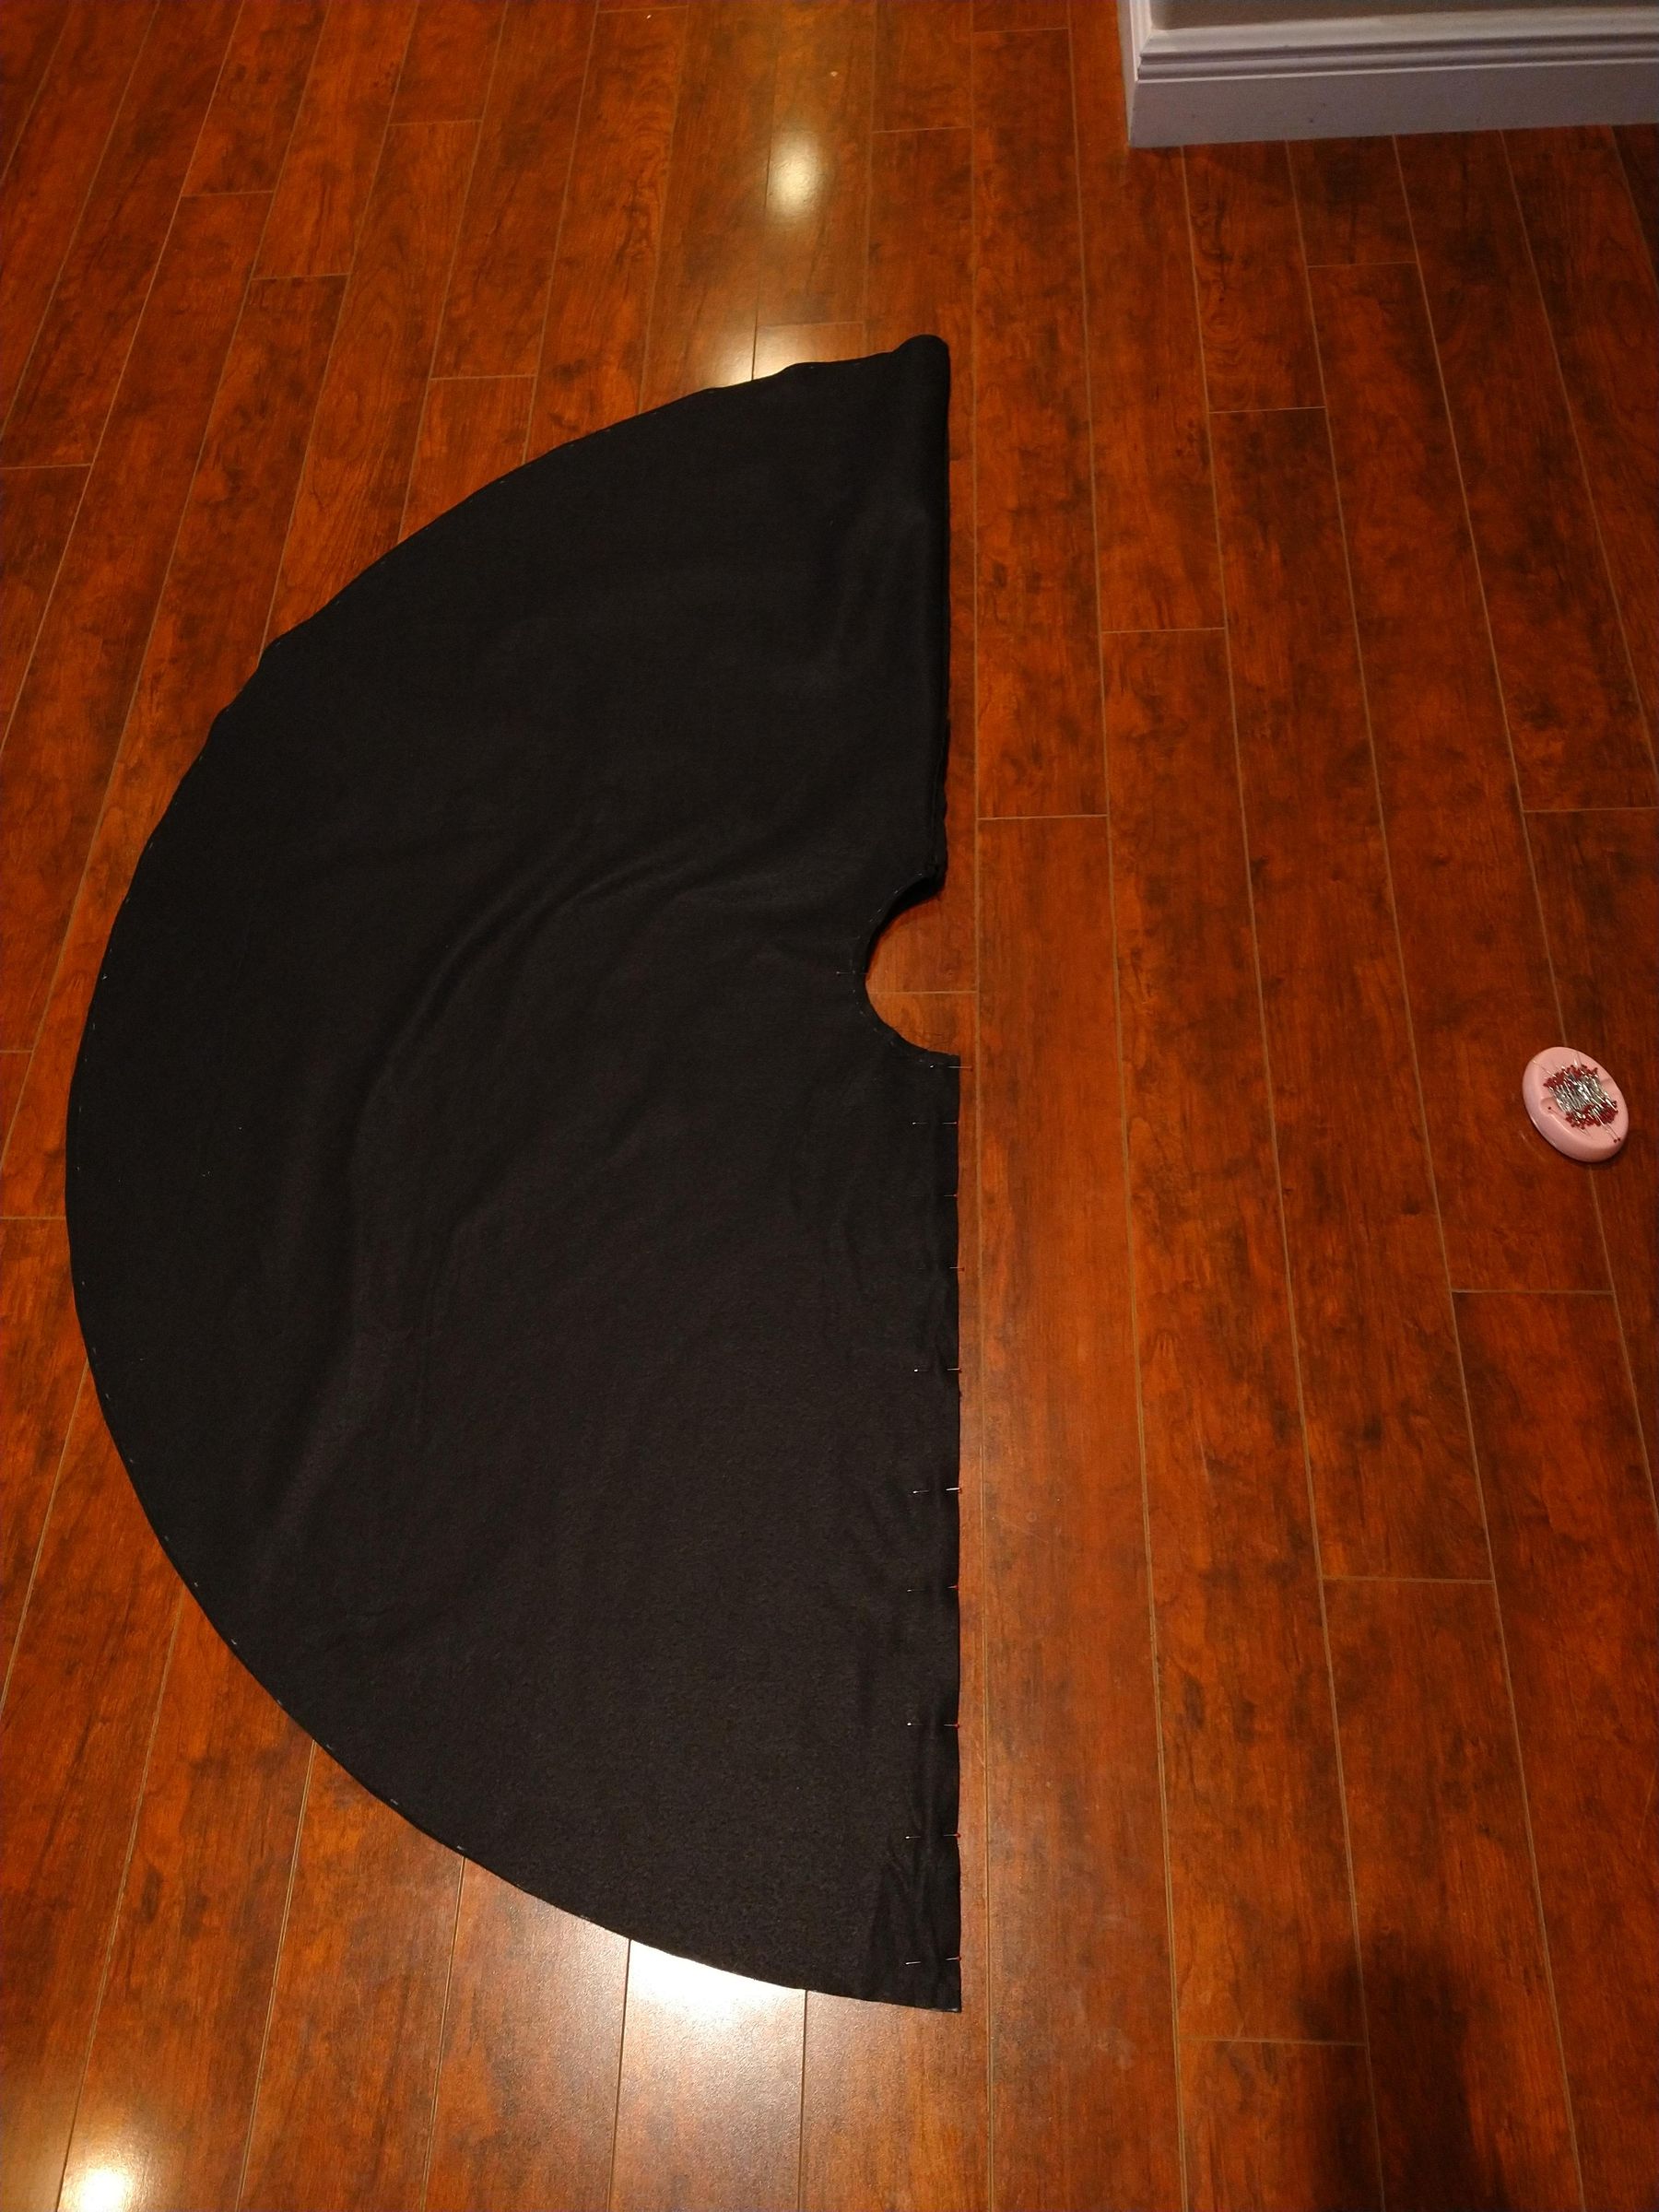
- Lay out the skirt panels wrong sides facing up. On the left side of the front panel, mark 7" down, ¾" from edge (You can also do 8" down if you prefer a larger side opening).
- Now pin your skirt panel halves together at the side seam, right sides together. Sew from your 7" mark from step 1, down to the hem with a ¾" seam allowance.
- Trim your seam allowance to ¼", except for your zipper opening. Press this seam open. Don't be afraid to iron felt. Just start on the synthetic setting and adjust a little higher if needed. It also helps to spritz your seam with water before you press it and hold it down as it cools.
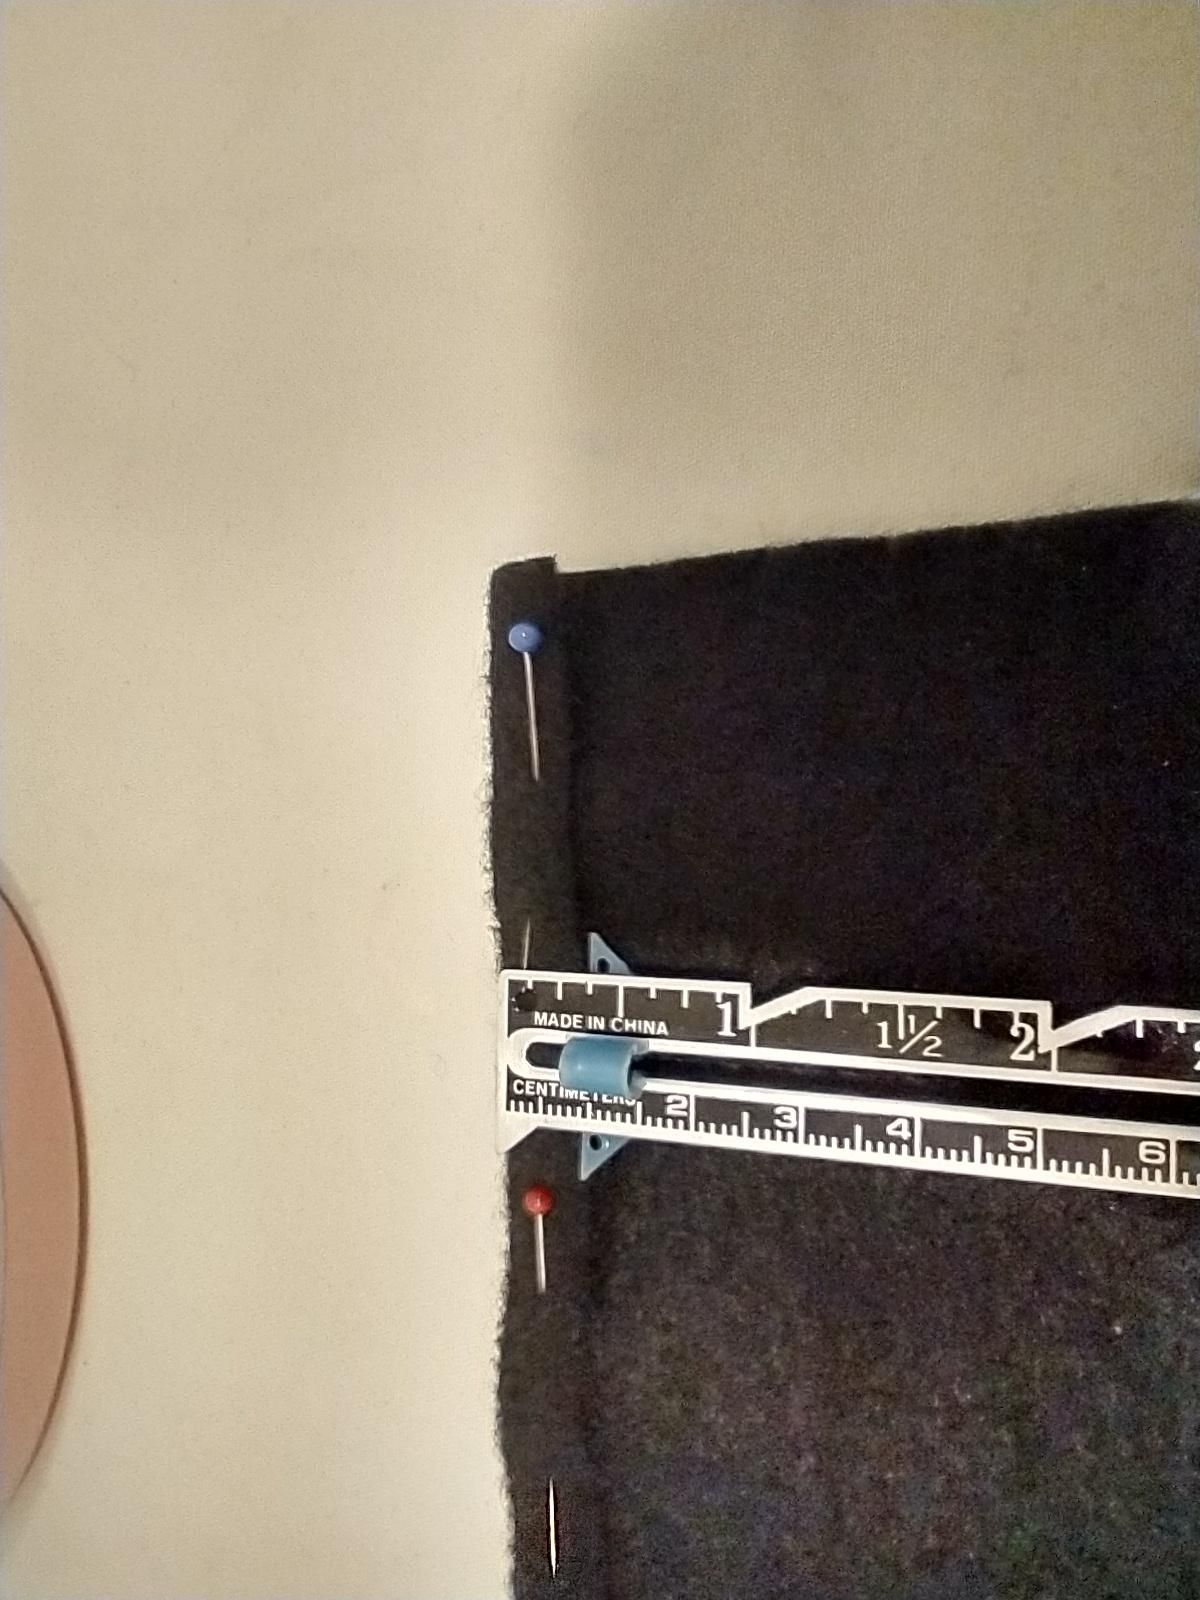
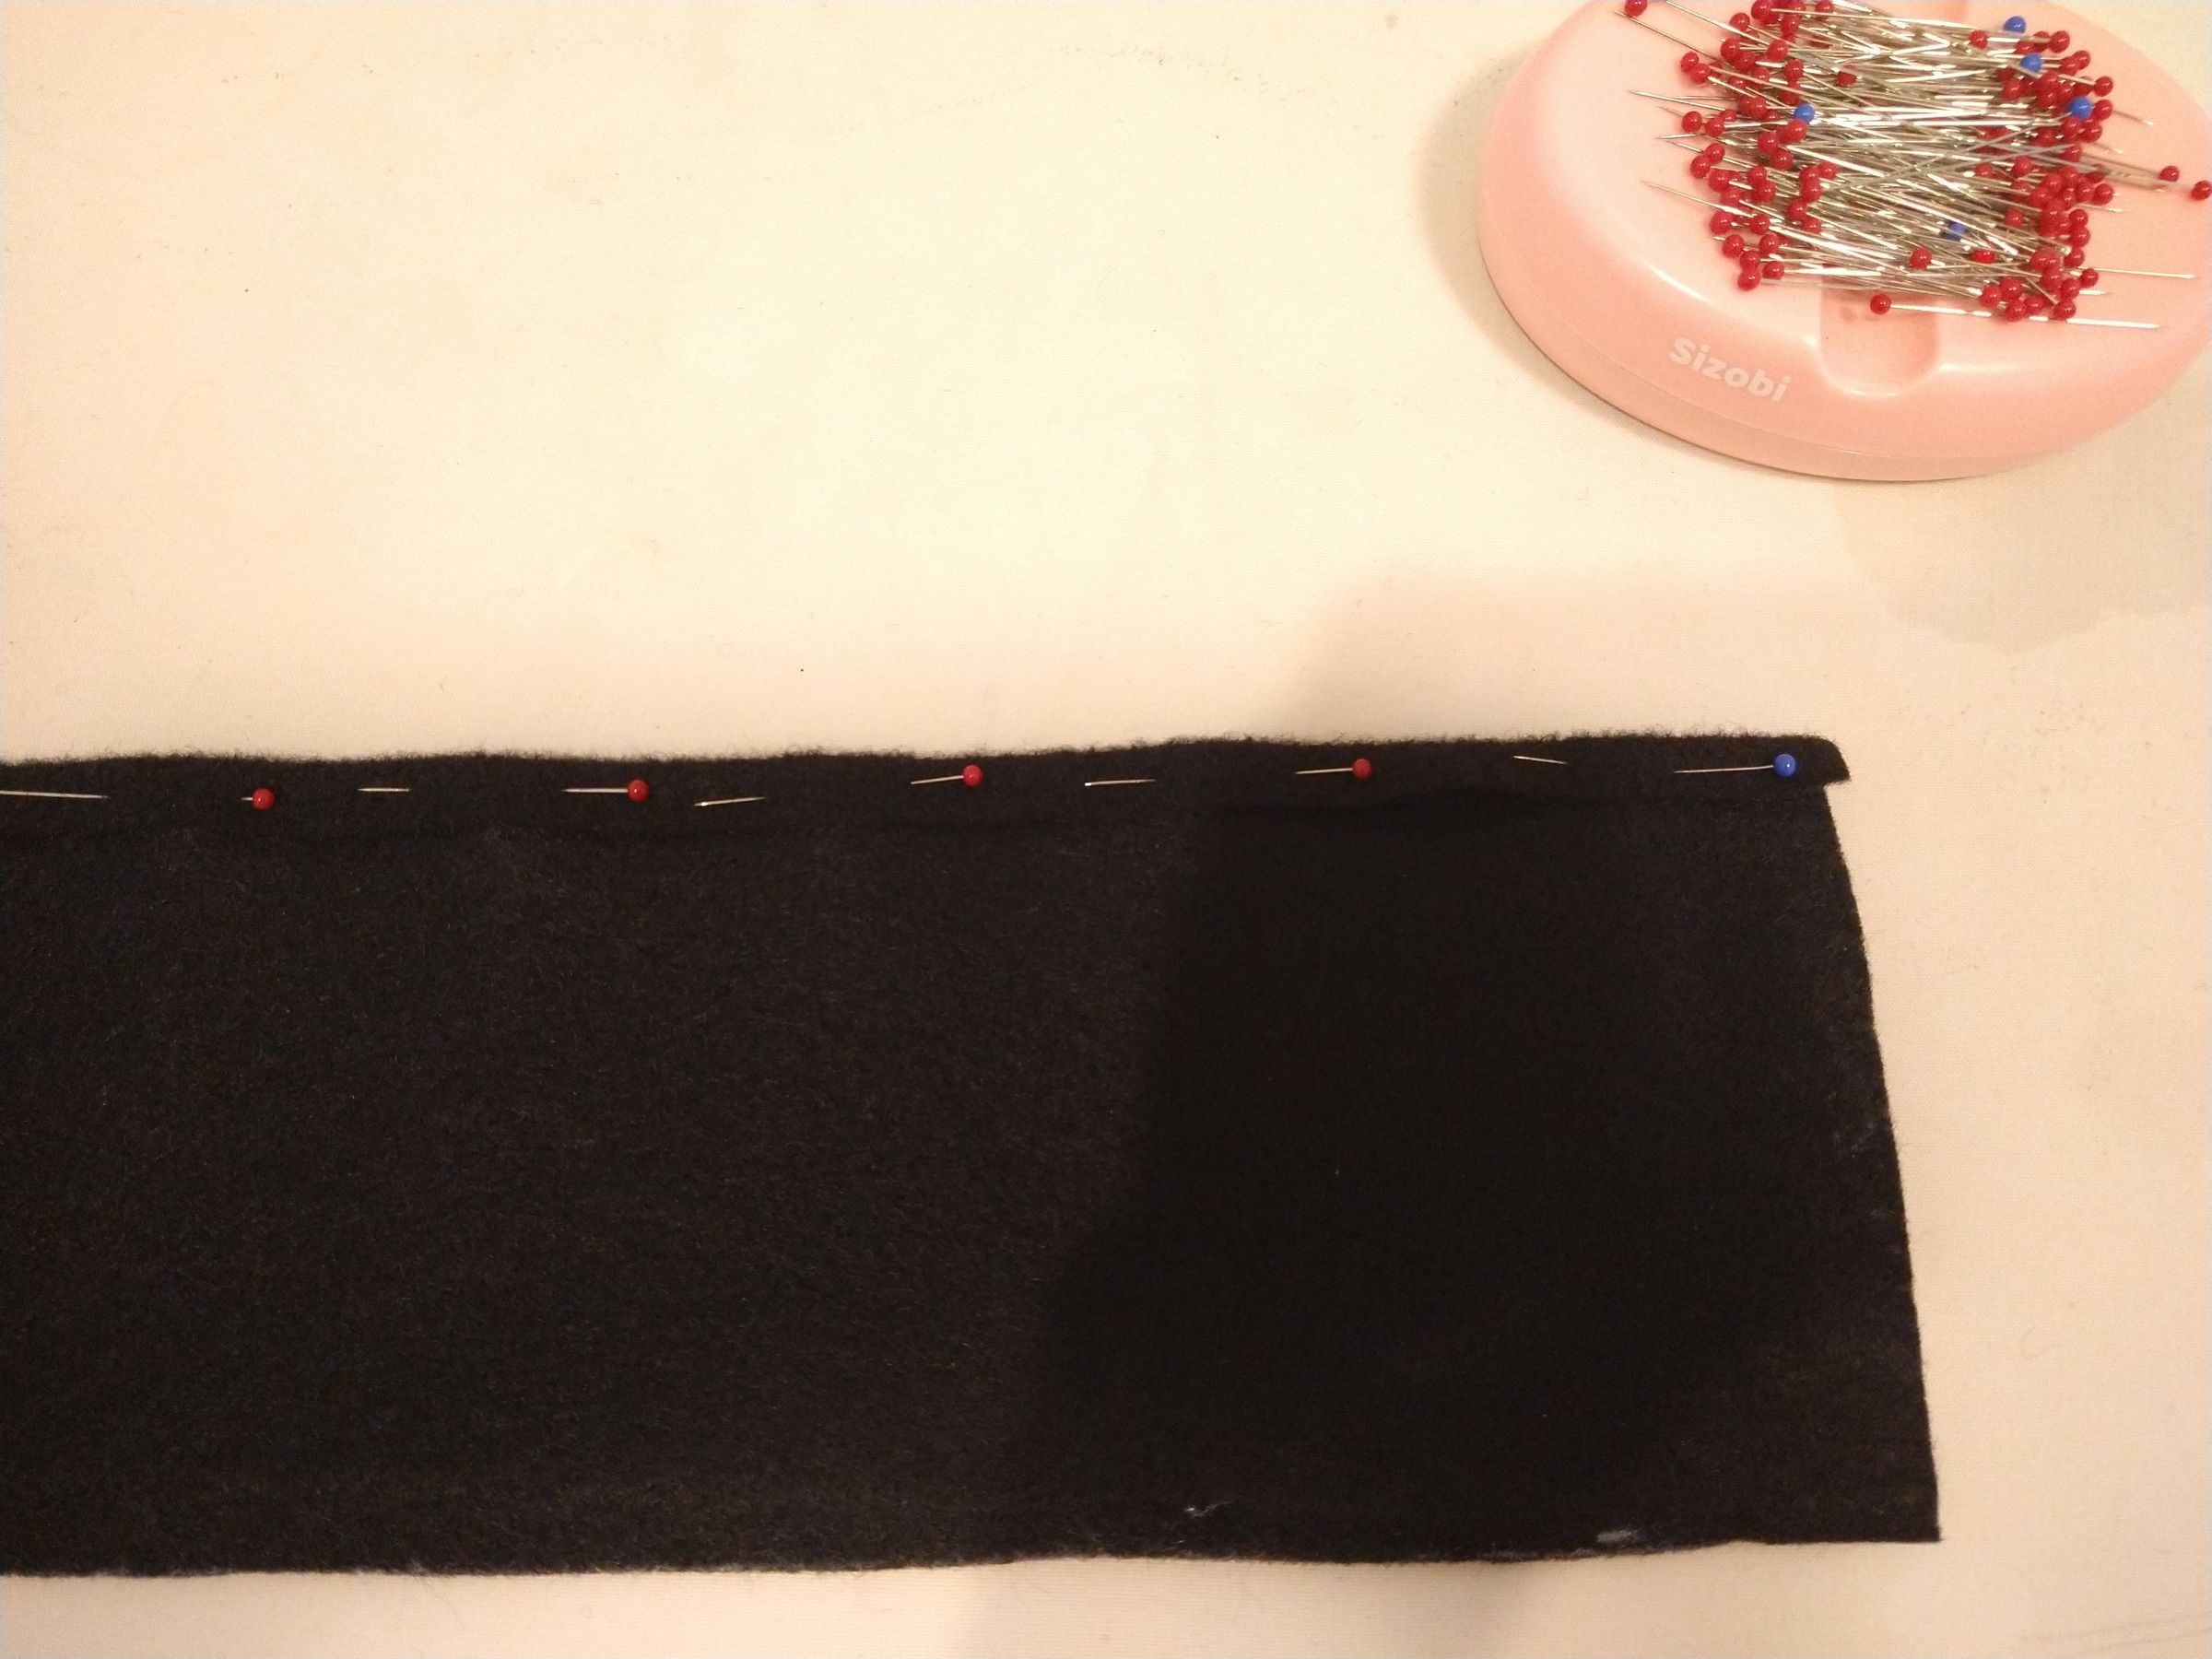
- Lay out the skirt panels wrong sides facing up. On the right edge of the zipper opening, (this will be on the front skirt edge) fold over ¾" and pin. On the left edge of the zipper opening, (this will be the back skirt edge) fold over ½" and pin. Press thoroughly.
- Shorten your zipper if needed, following your zipper package directions, to 1" longer than your side slit. Flip your skirt panels right sides facing up. With the zipper zipped up, pin the right side of the zipper tape to the right folded edge (The edge you folded under ½"). Put your zipper foot on your machine and stitch close to the felt edge, sewing from the bottom of zipper to the top.
- Now, pin the ¾" edge so it is overlapping the zipper teeth and the right edge, making sure to catch the left side of the zipper tape when you pin. I recommend hand basting it once you get it overlapped so it won't shift as you sew.
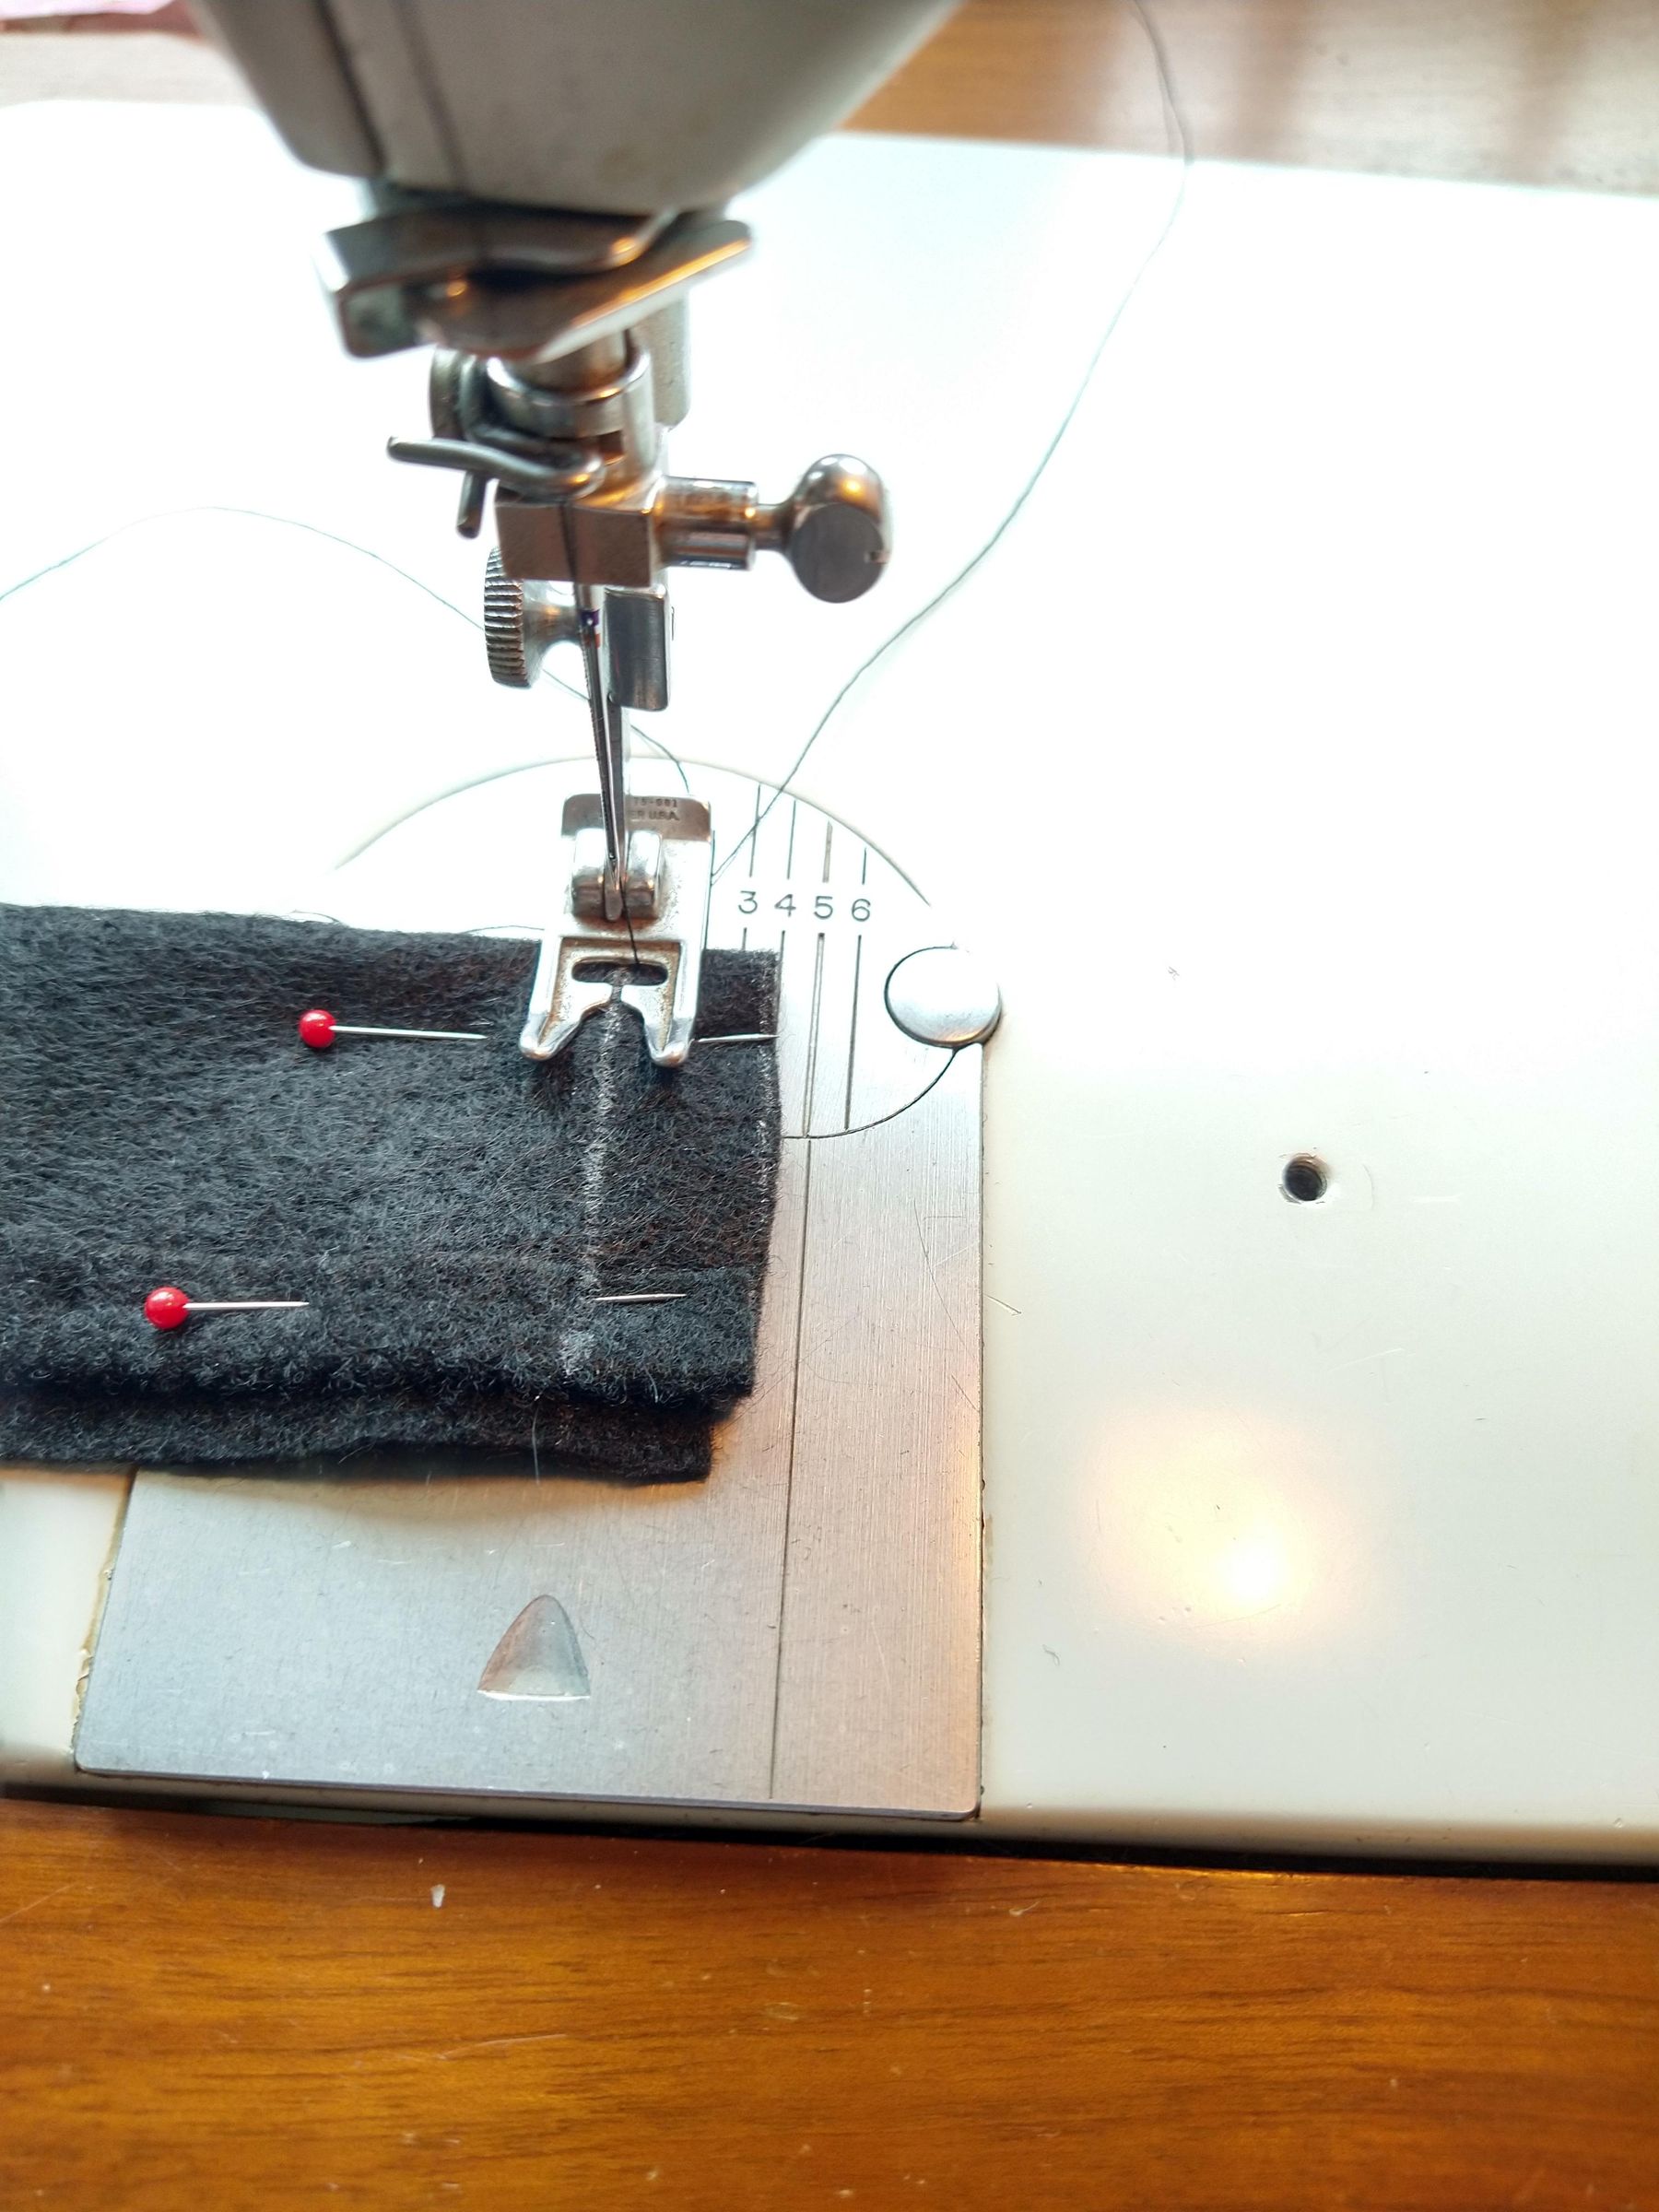
- Starting at the bottom of your previous stitching, stitch across zipper bottom ½", then pivot your needle and continue stitching ½" from the edge, being sure you're catching the zipper tape and not sewing over the zipper teeth. Remove your basting. If this whole explanation seems confusing, consult the lapped zipper instructions on your zipper package.
Note:
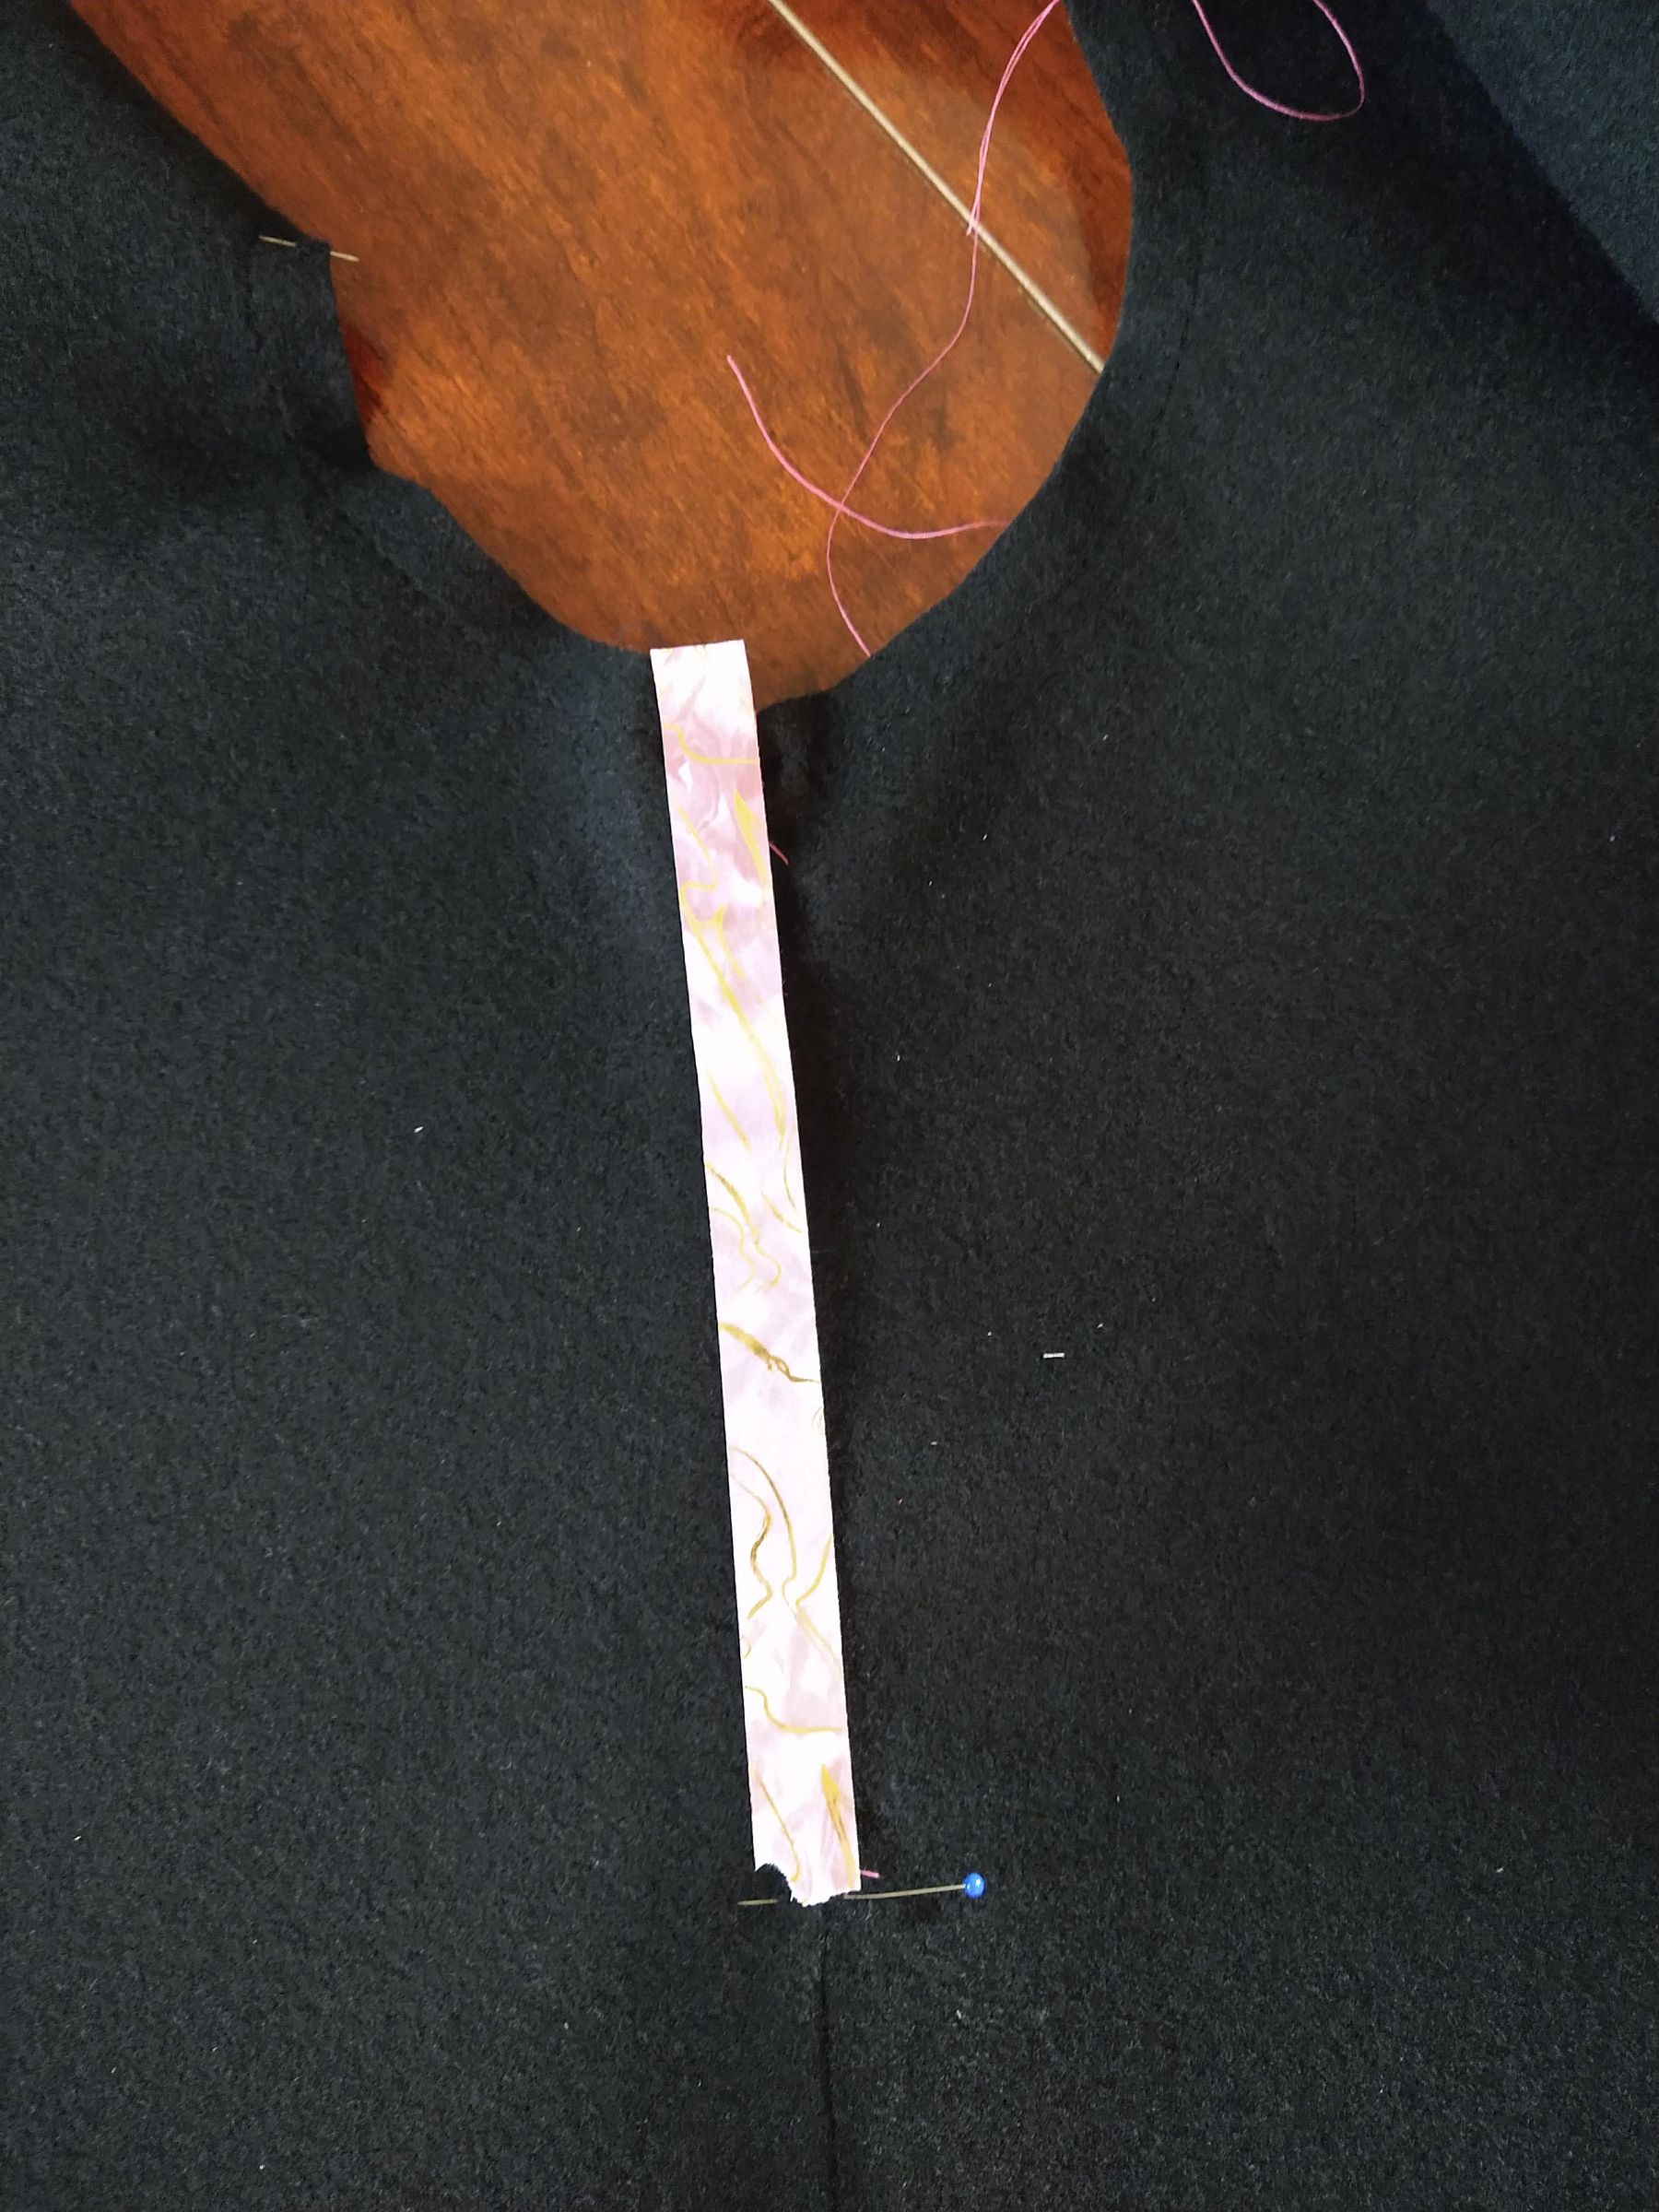
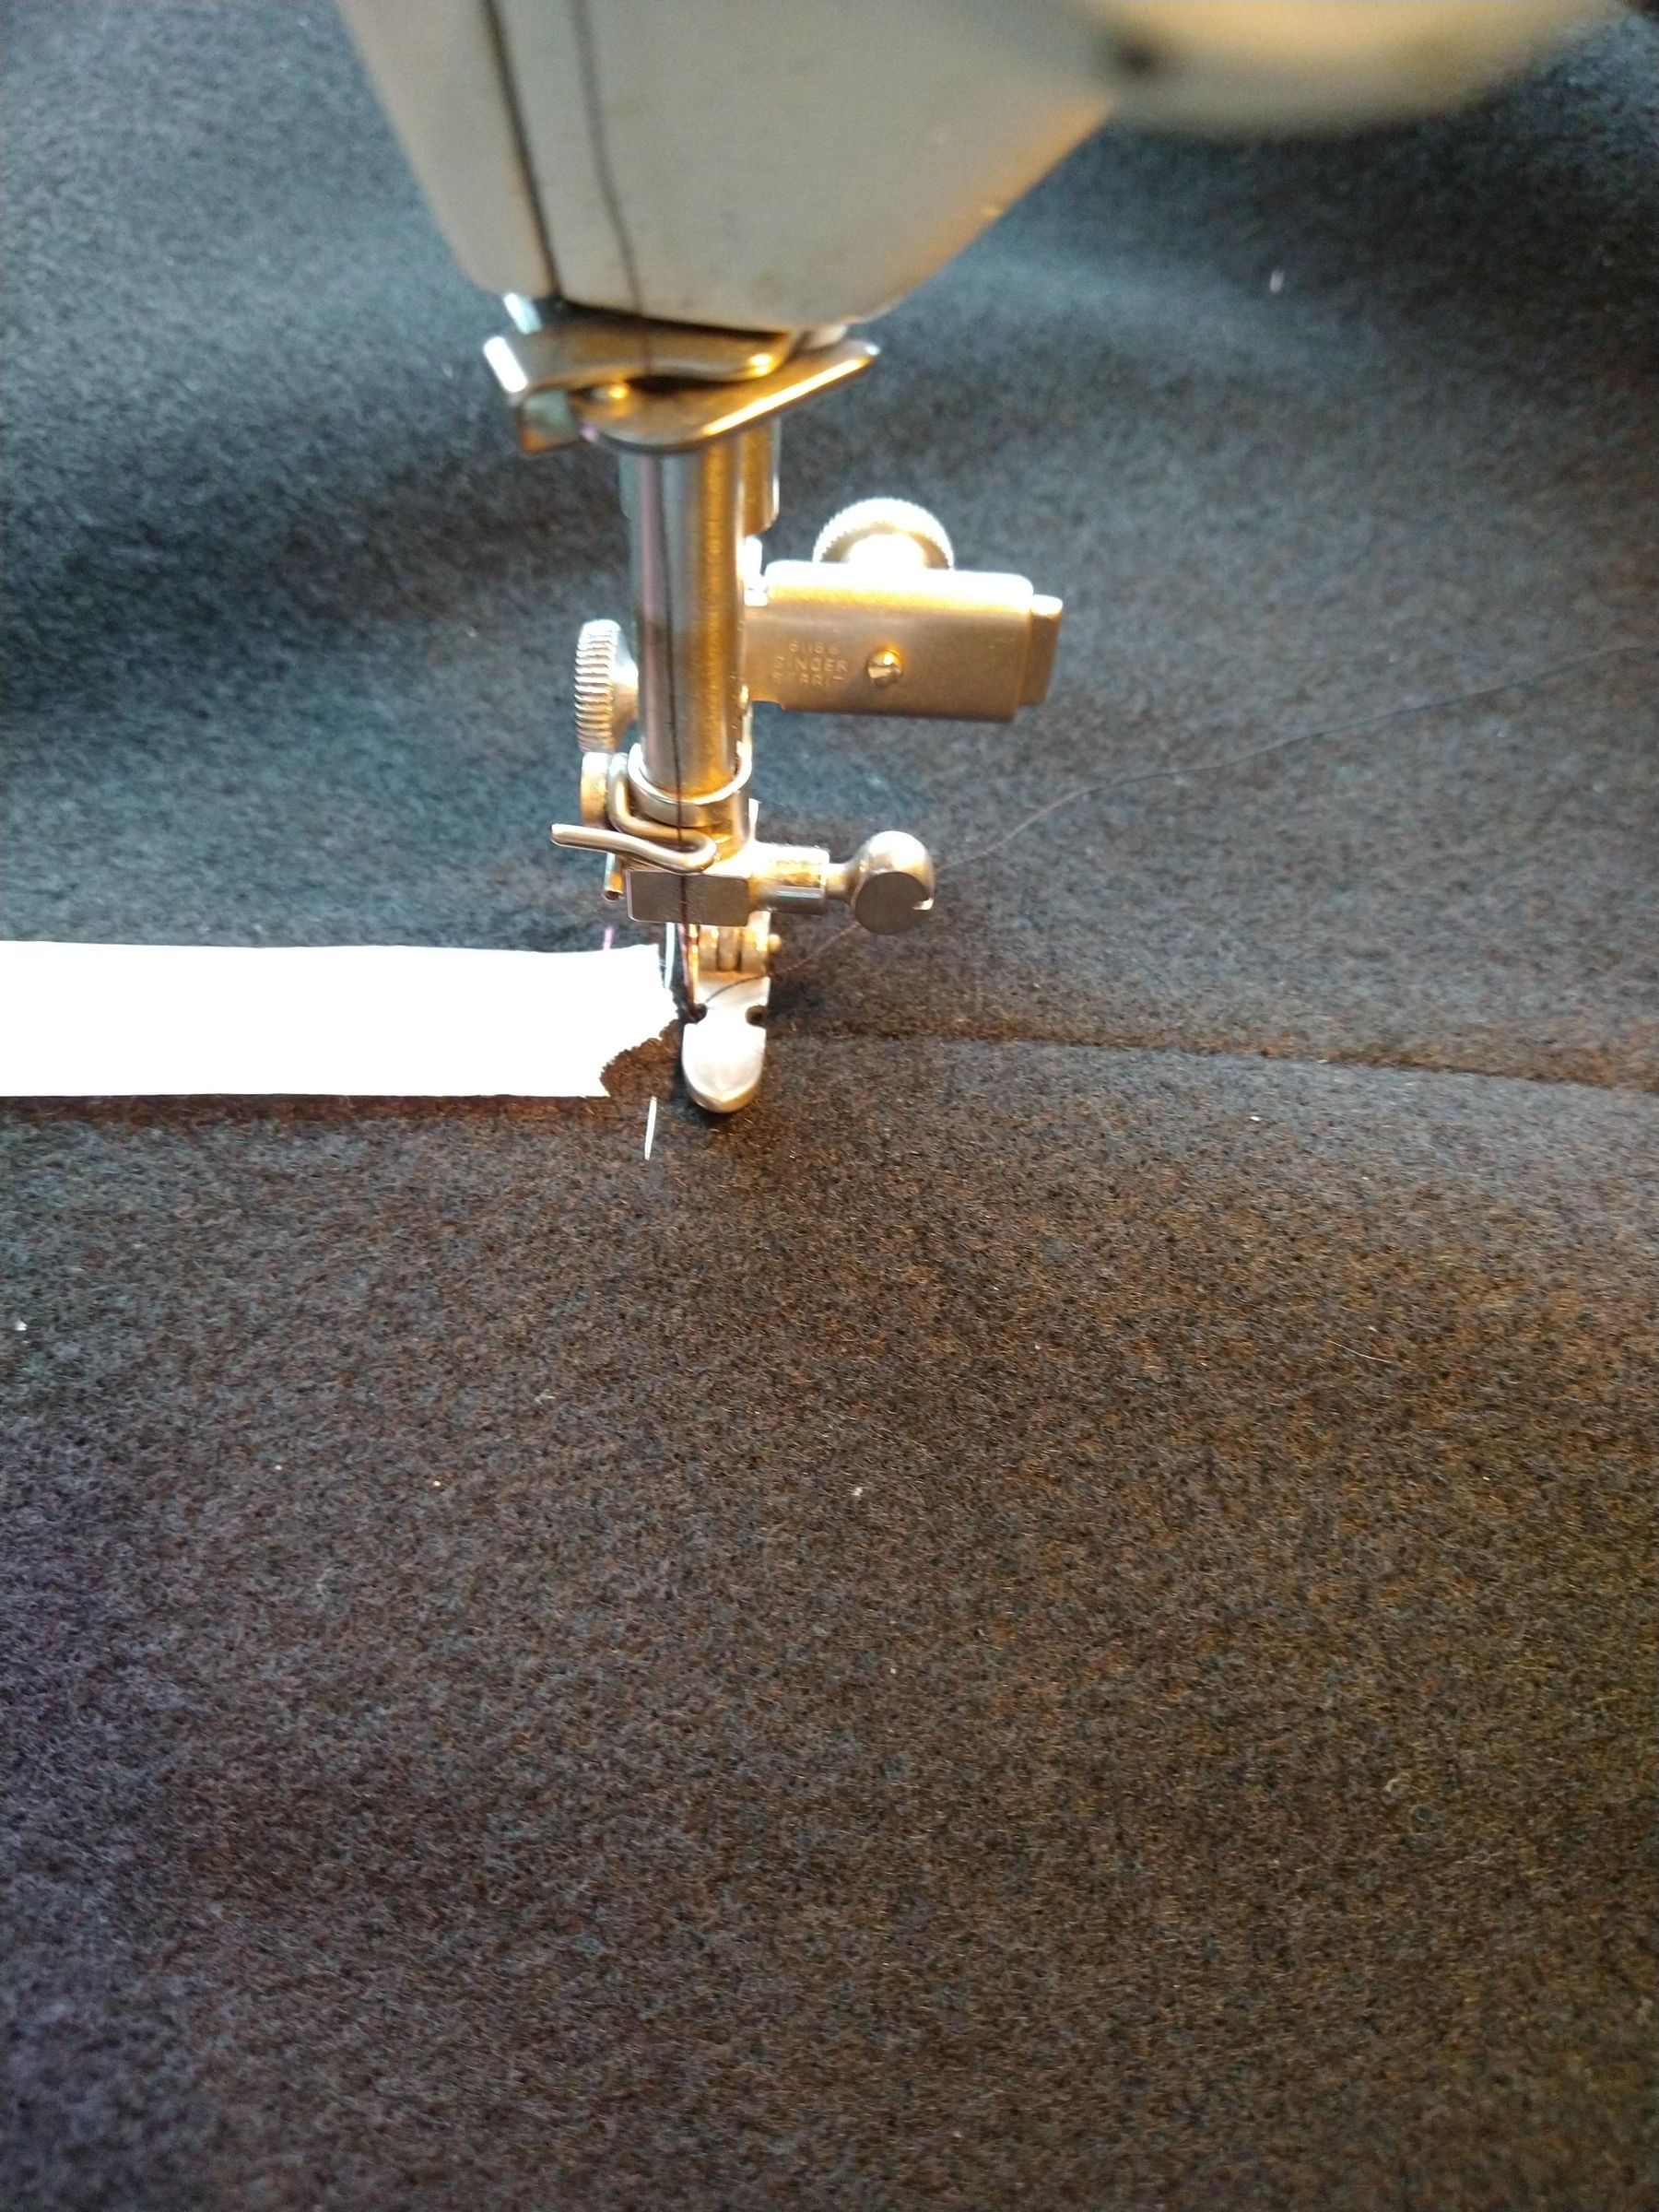
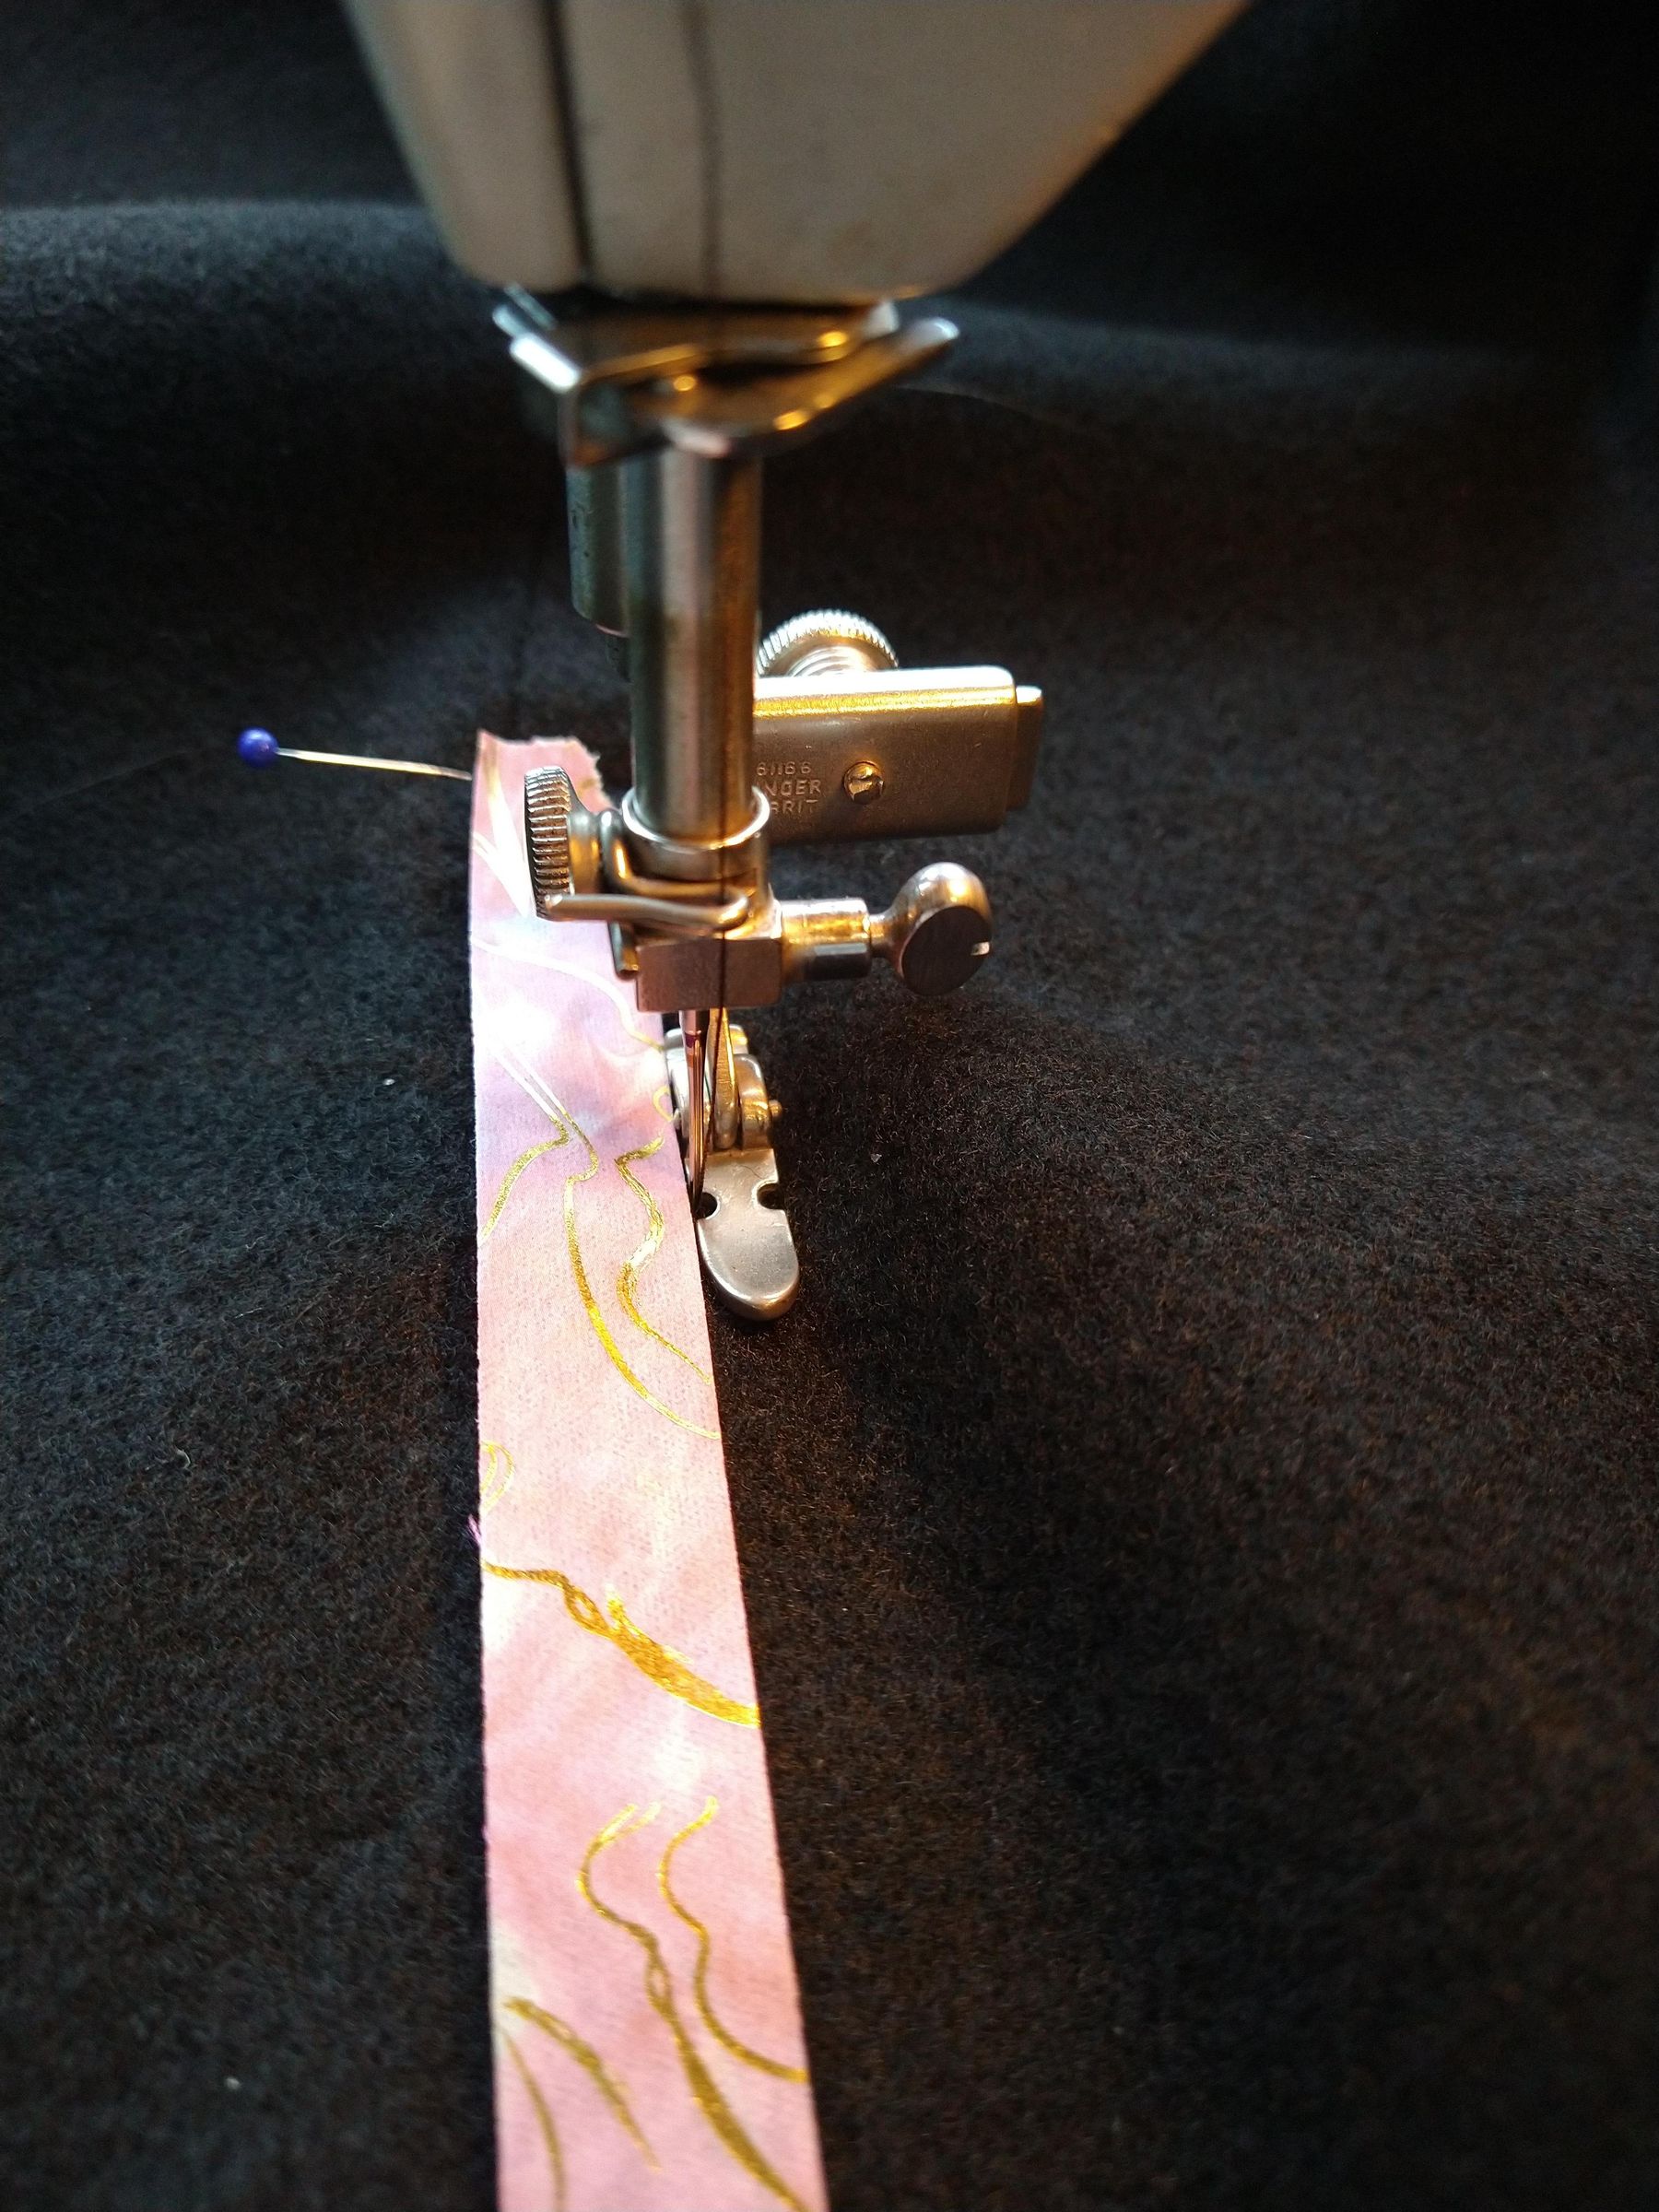
When I made mine, I put a ½" piece of washi tape on the overlapping edge to be my stitching guide. However ,this didn't work very well, as it didn't stick to the felt, and I had to redo that line of stitching.
Finishing Side Seam and Waistband
Finishing up the skirt:
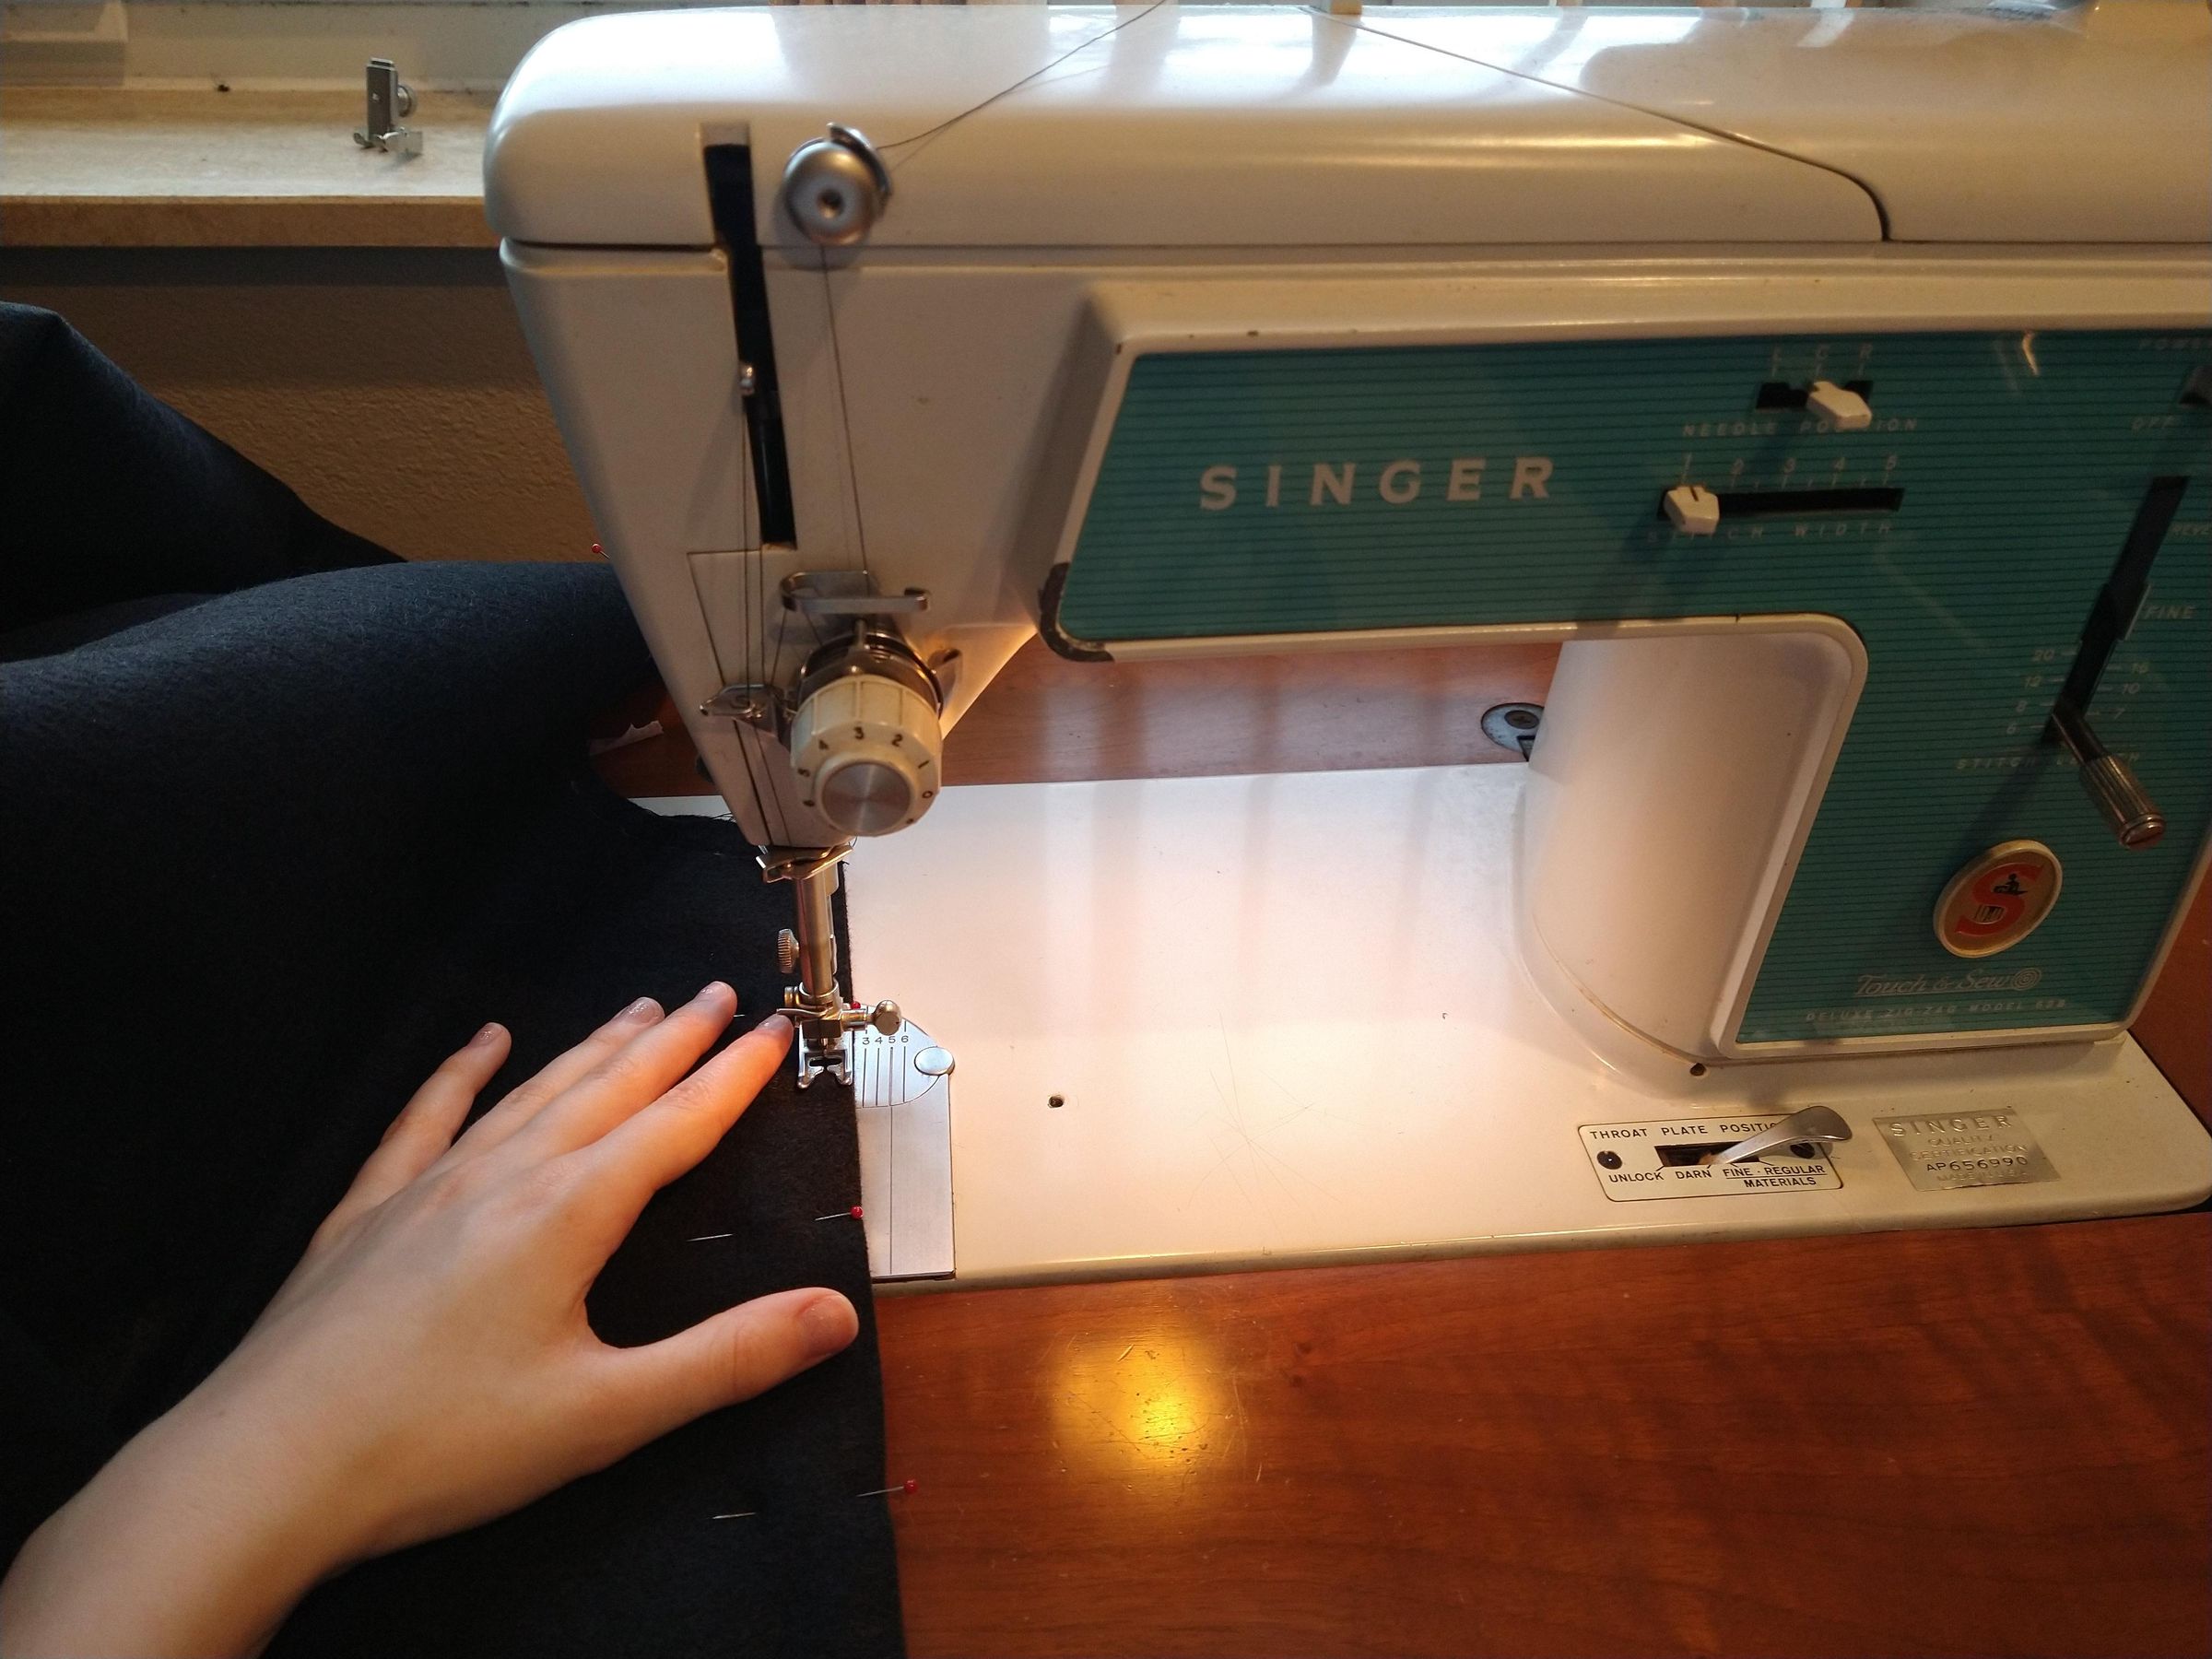
- With skirt panels right sides together, pin your other side seam and sew top to bottom with a ¼" seam allowance (or whatever you choose for your SA).
- Press seam open.
Waistband:
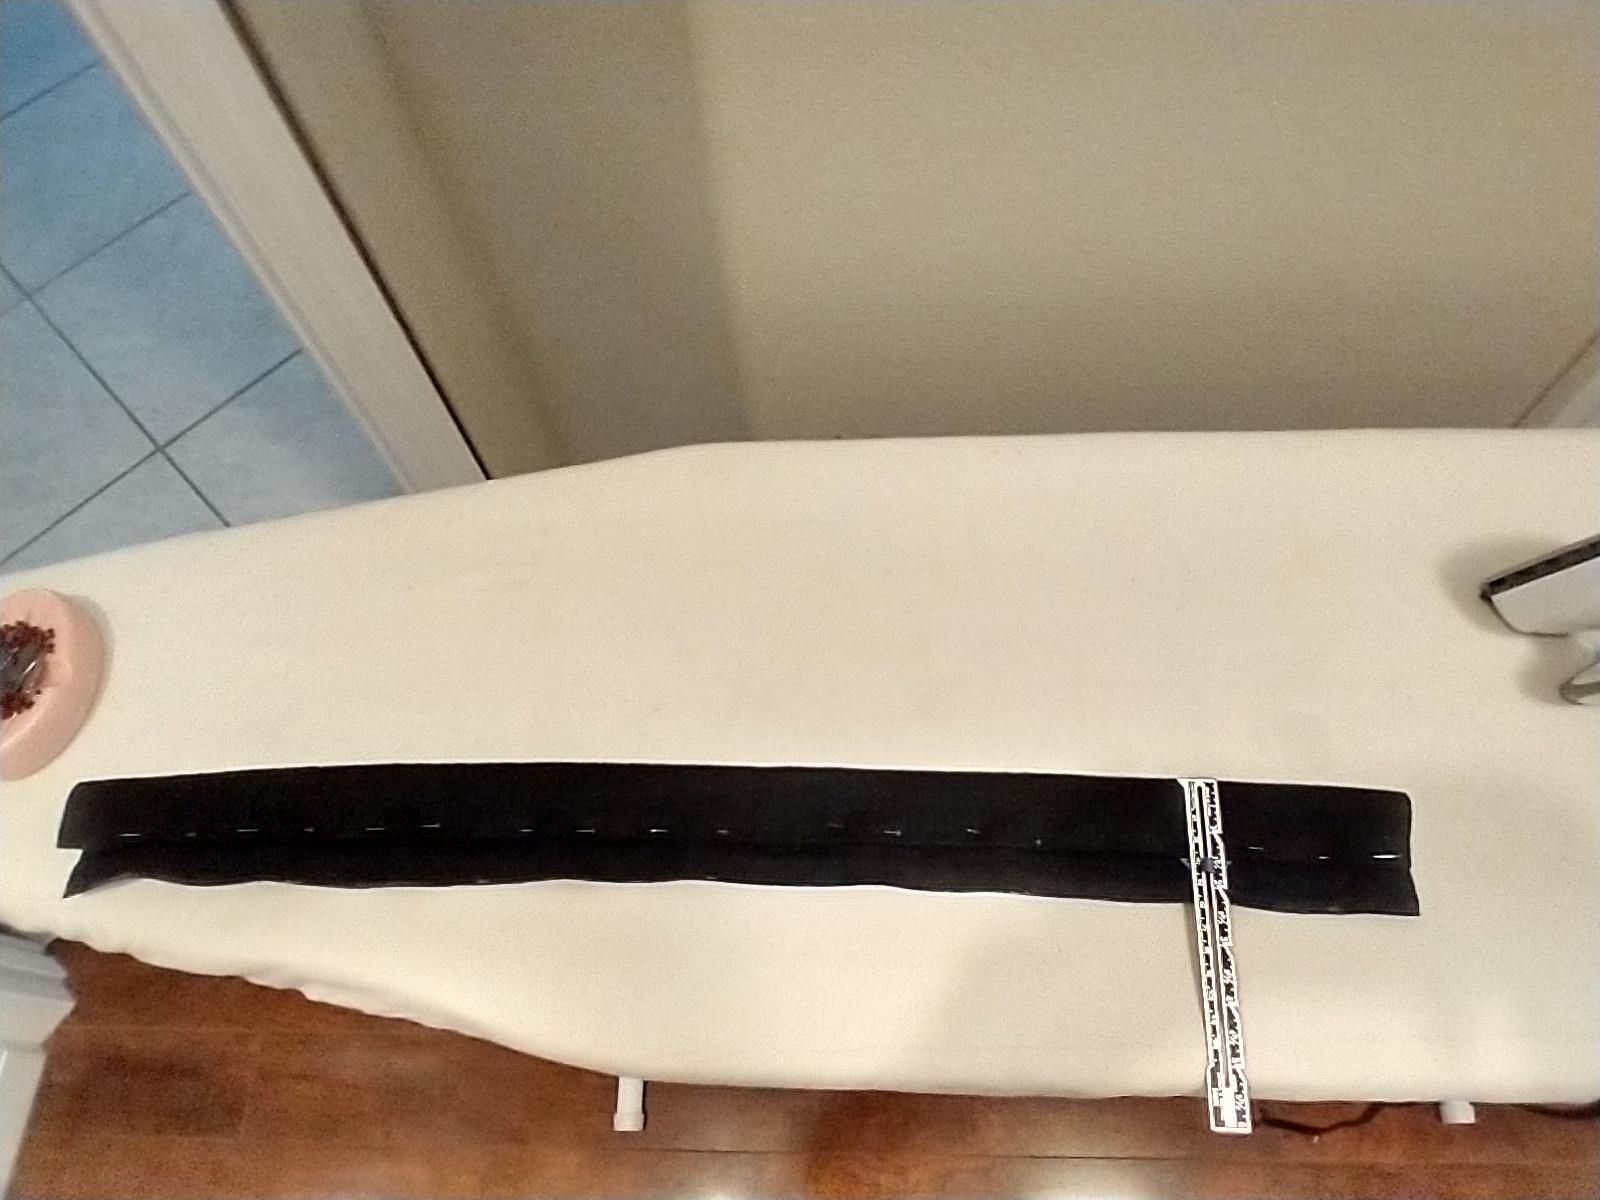
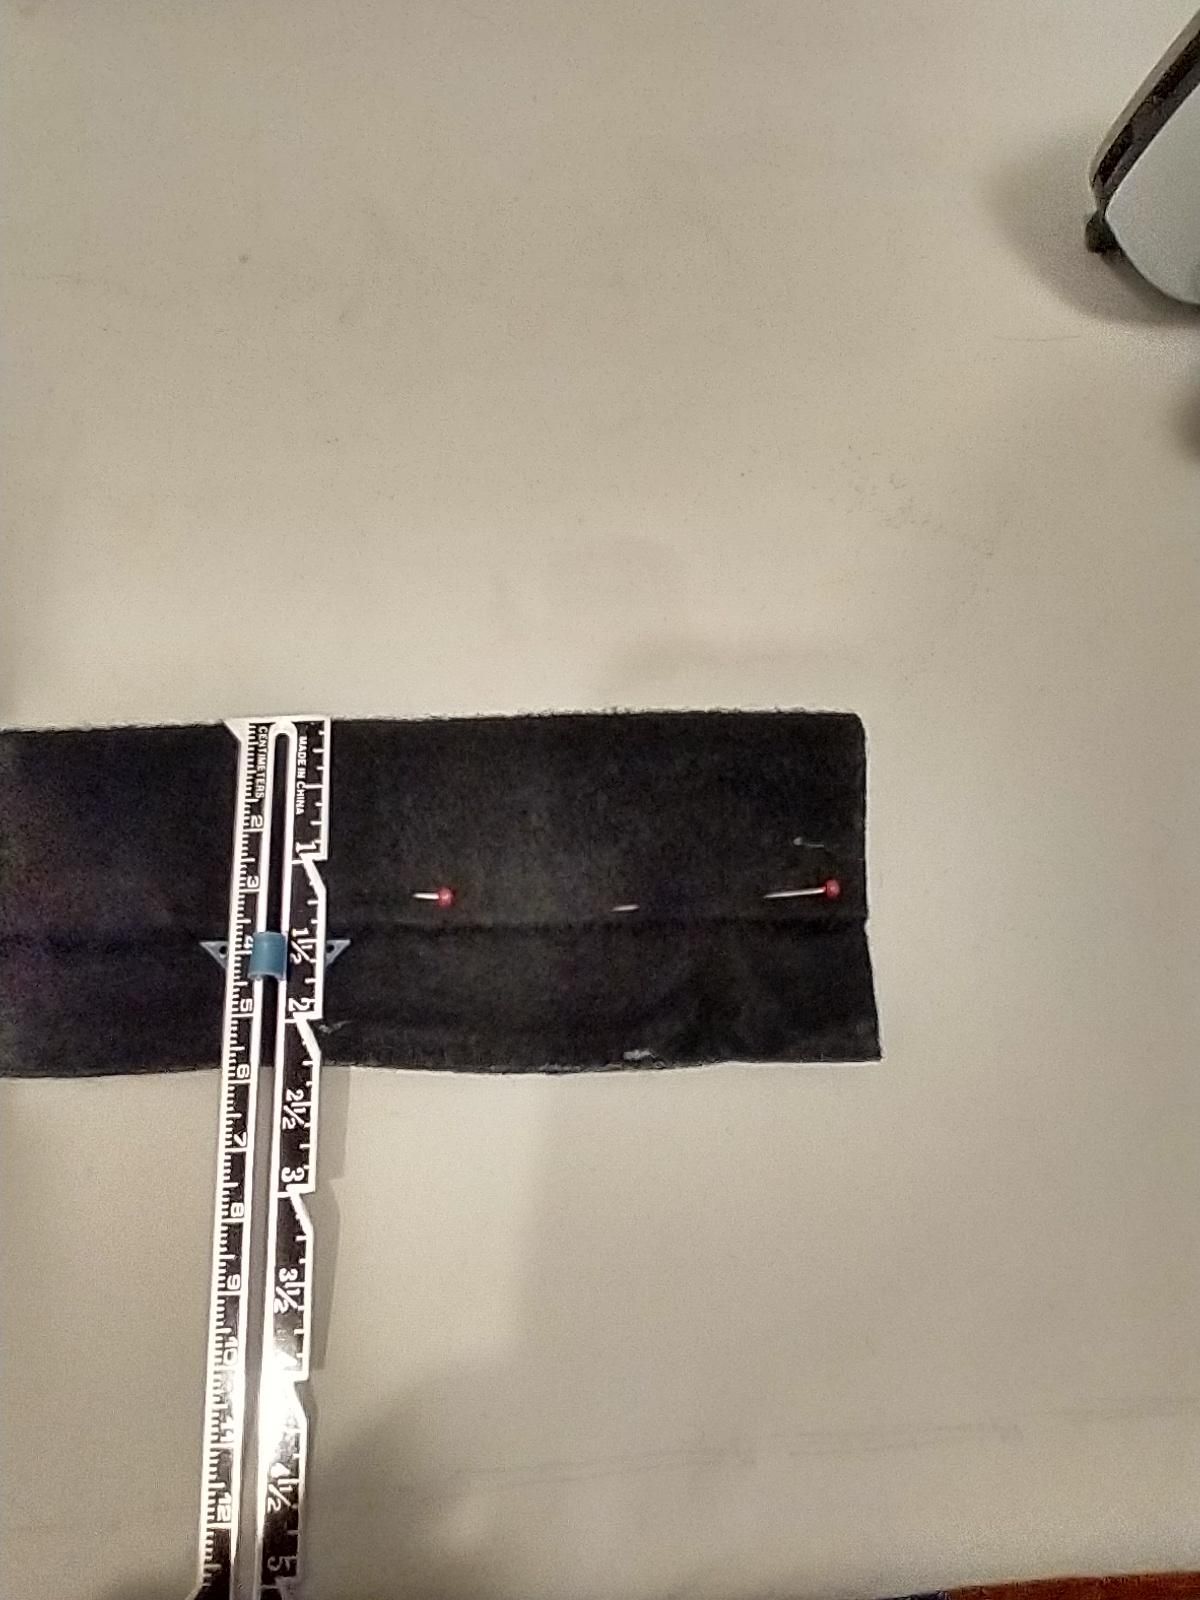
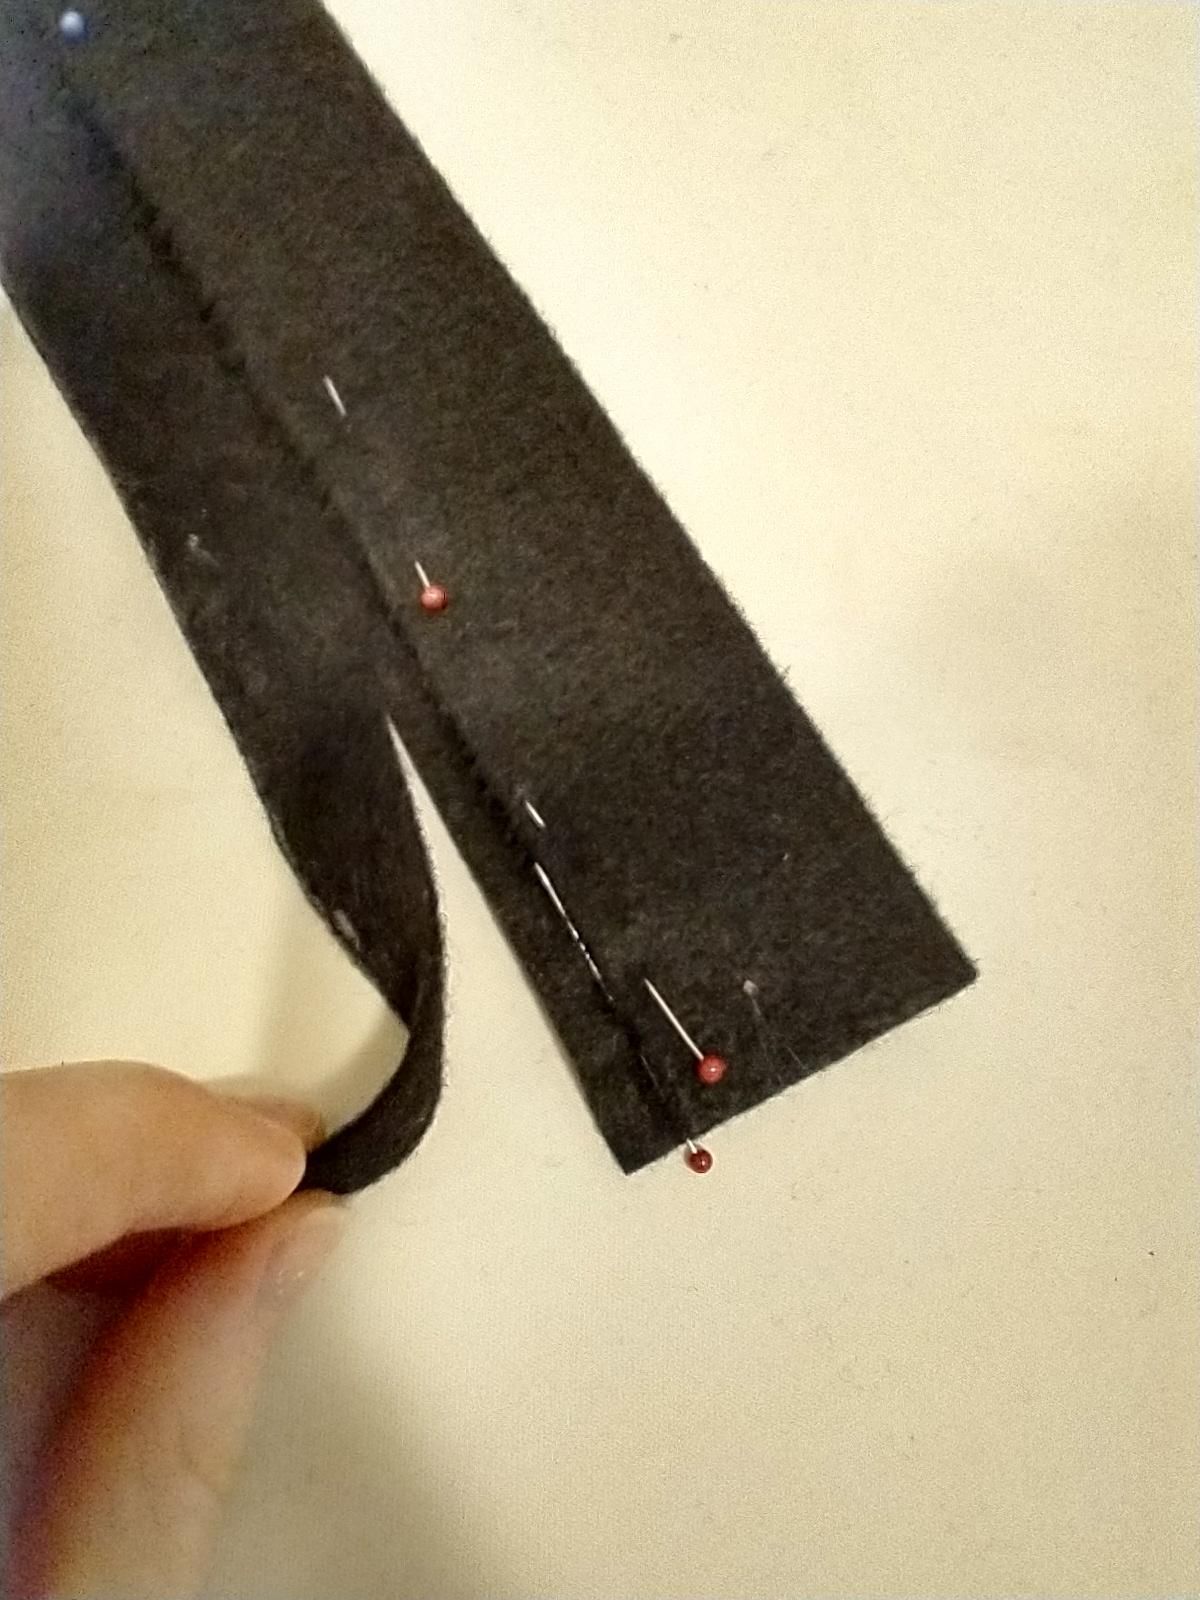
- Fold over ¼" on one of your waistband's long edges and press.
- Then fold over 1½" again, (or however wide you want your waist band) and press.
- Next, if using felt, trim raw edge ¼" away from folded edge. It is okay to have a raw edge on the inside of the waist band because felt doesn't fray. If using another type of fabric, don't trim ¼", instead fold the raw edge to the inside so both edges are finished and press.
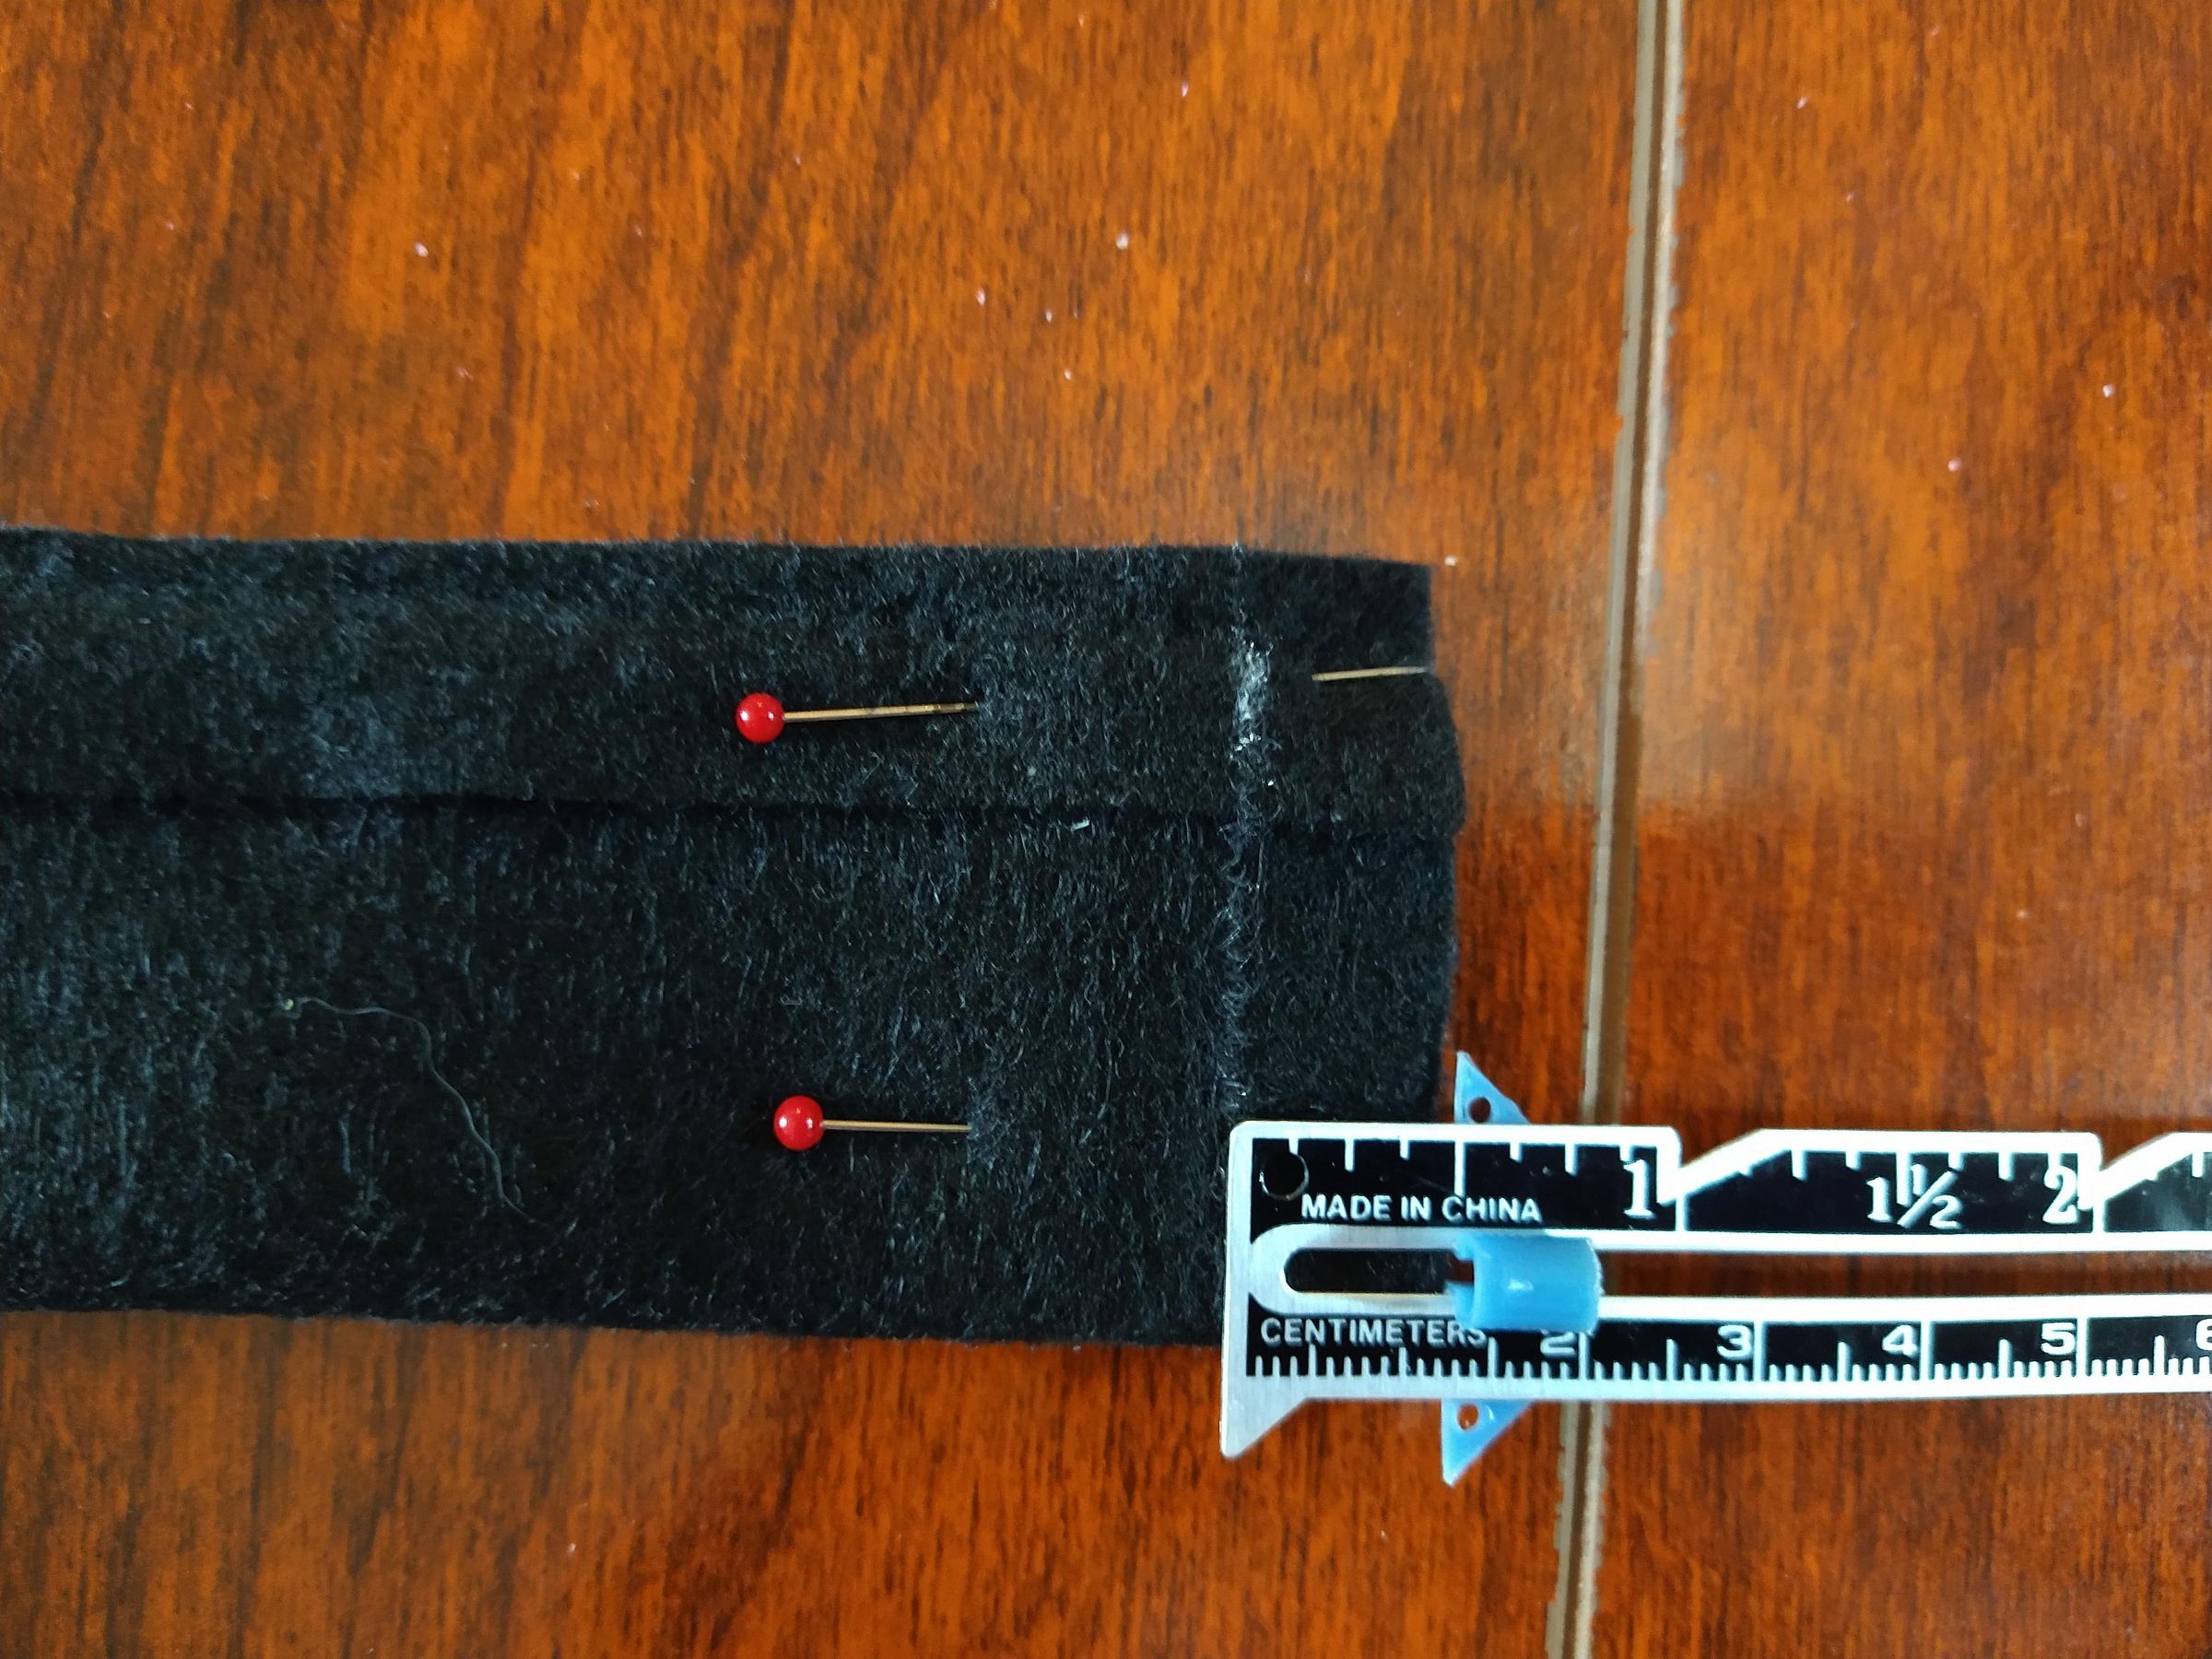
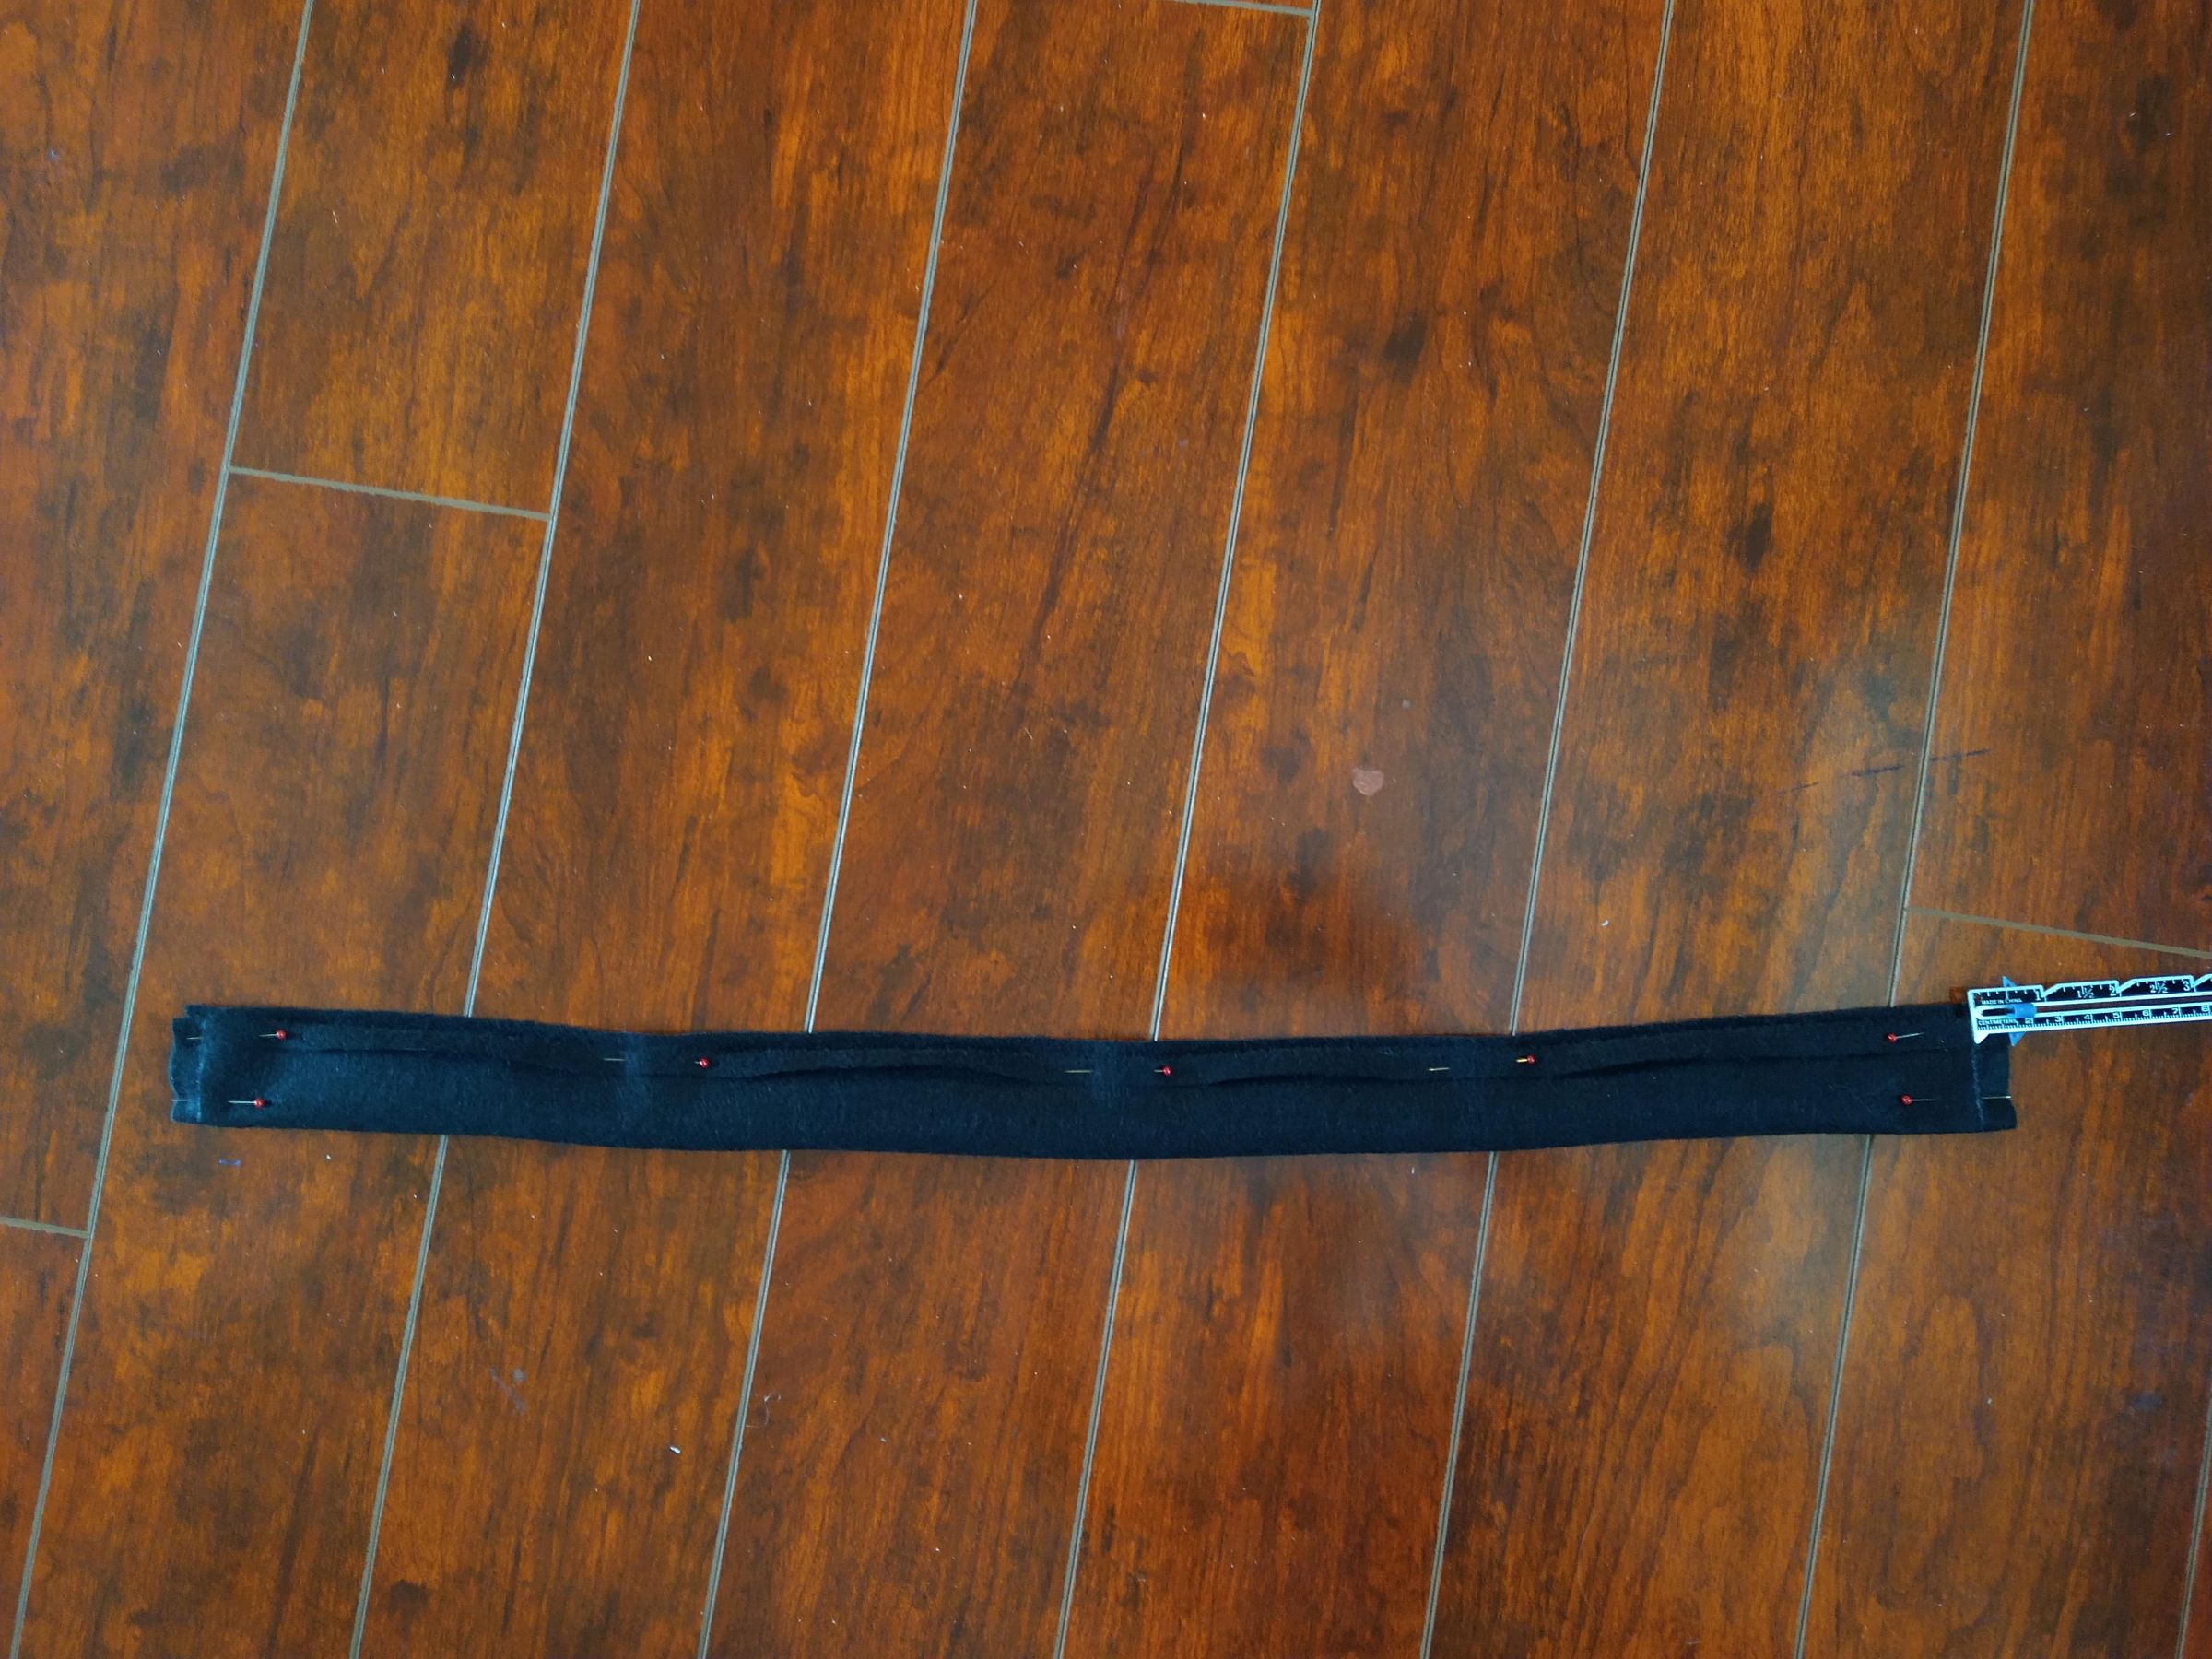
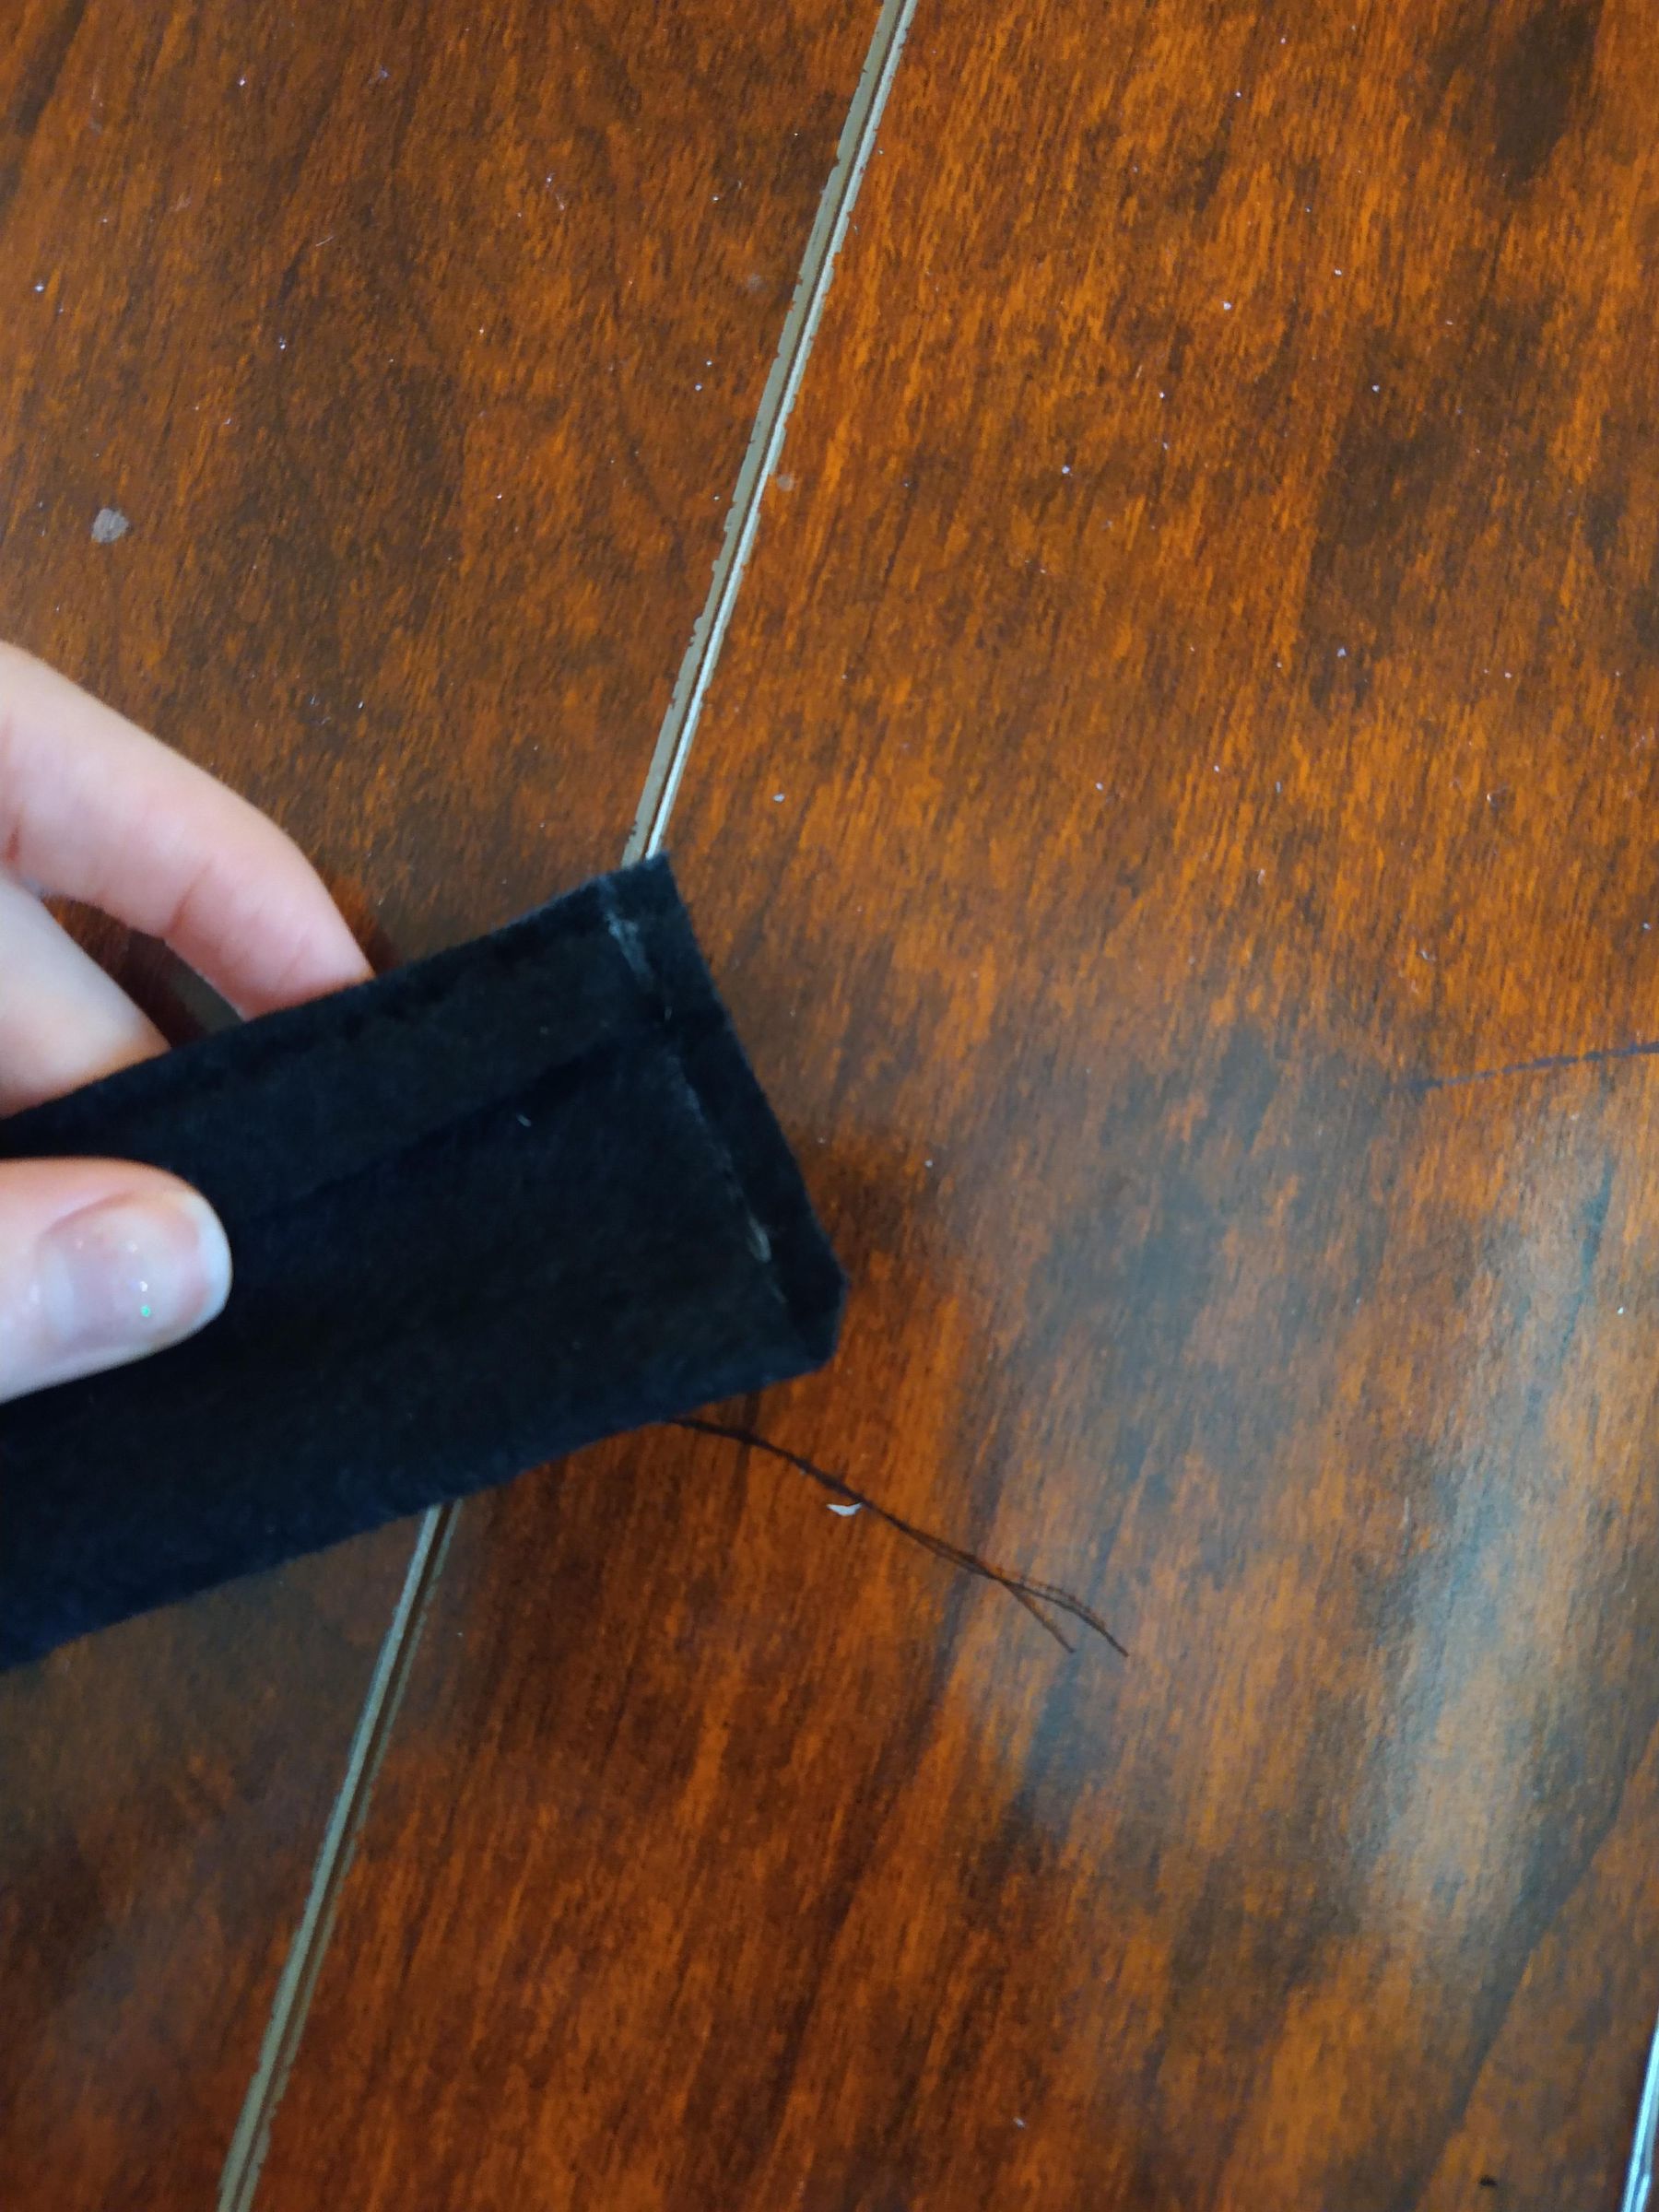
- Fold the waistband in half lengthwise the opposite direction (inside out), and pin the side edges together on both sides. Mark your ½" seam allowances. Stitch on your lines.
- Trim seam allowance and notch corners. Turn right side out and press thoroughly, making sure your corners are nice and square. Now it's time to make sure your waist band measurement is exactly your waist measurement plus 1". If it's still too long, take it in to size.
Attaching the Waistband
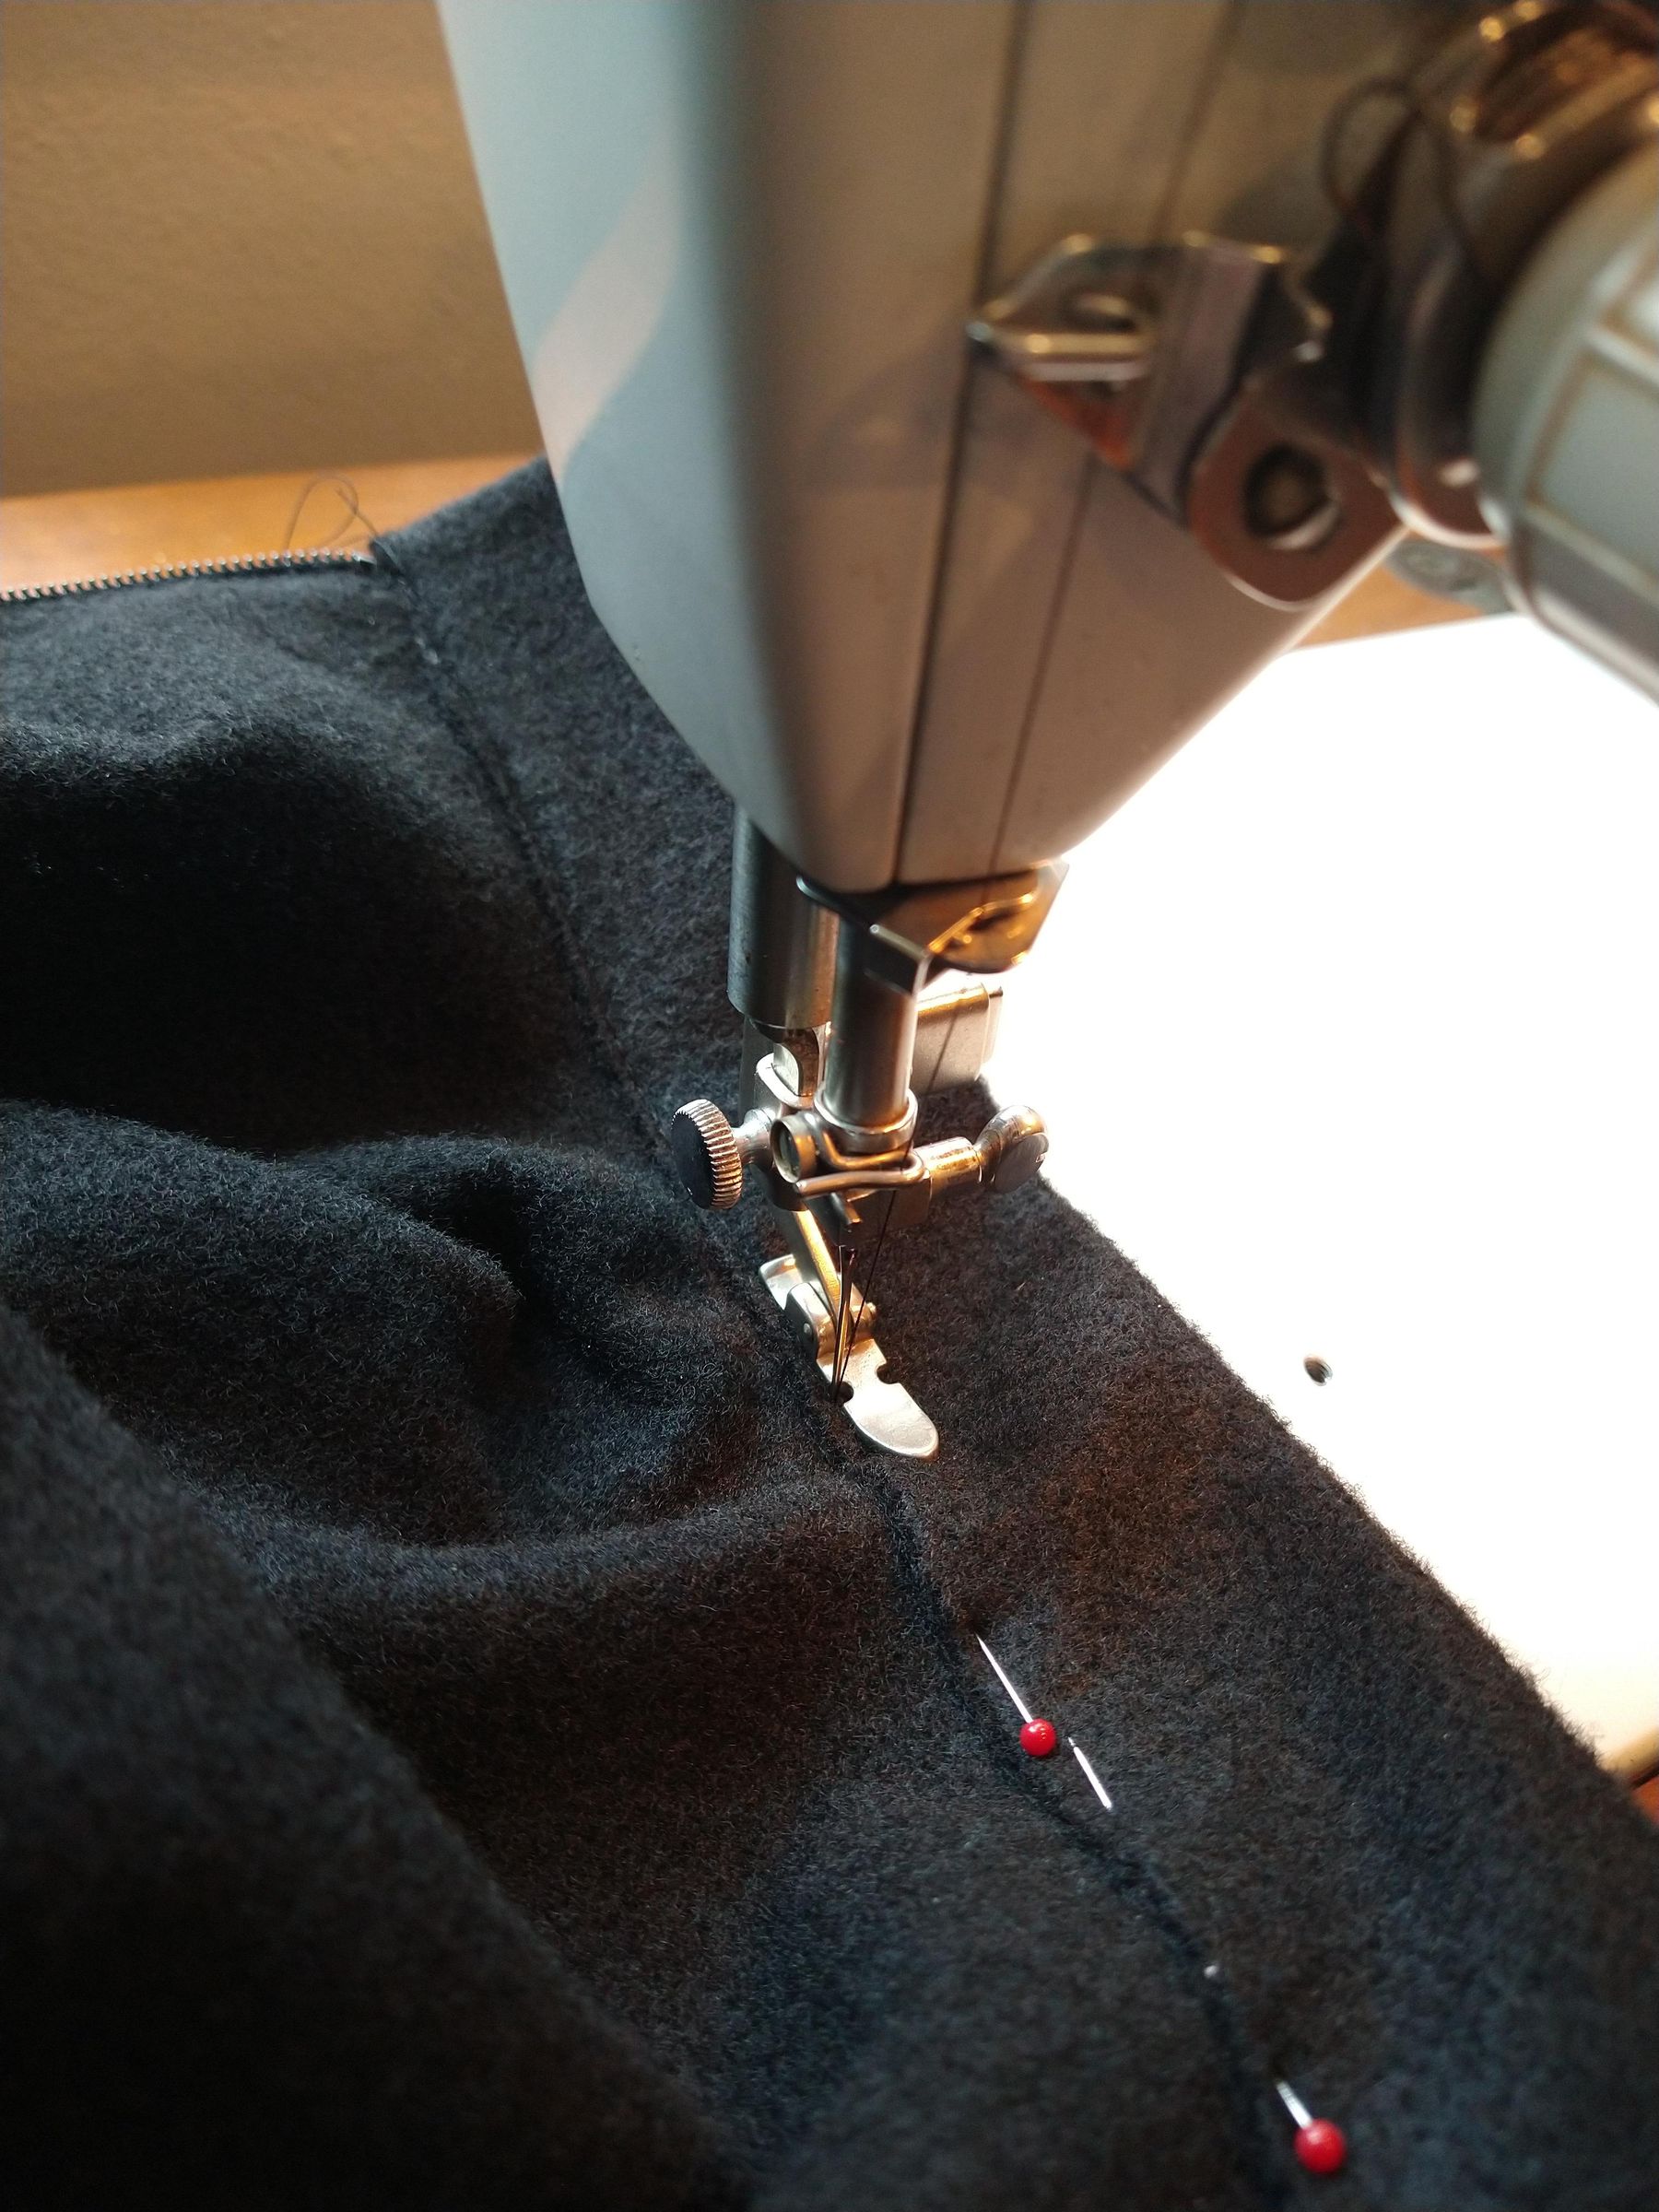
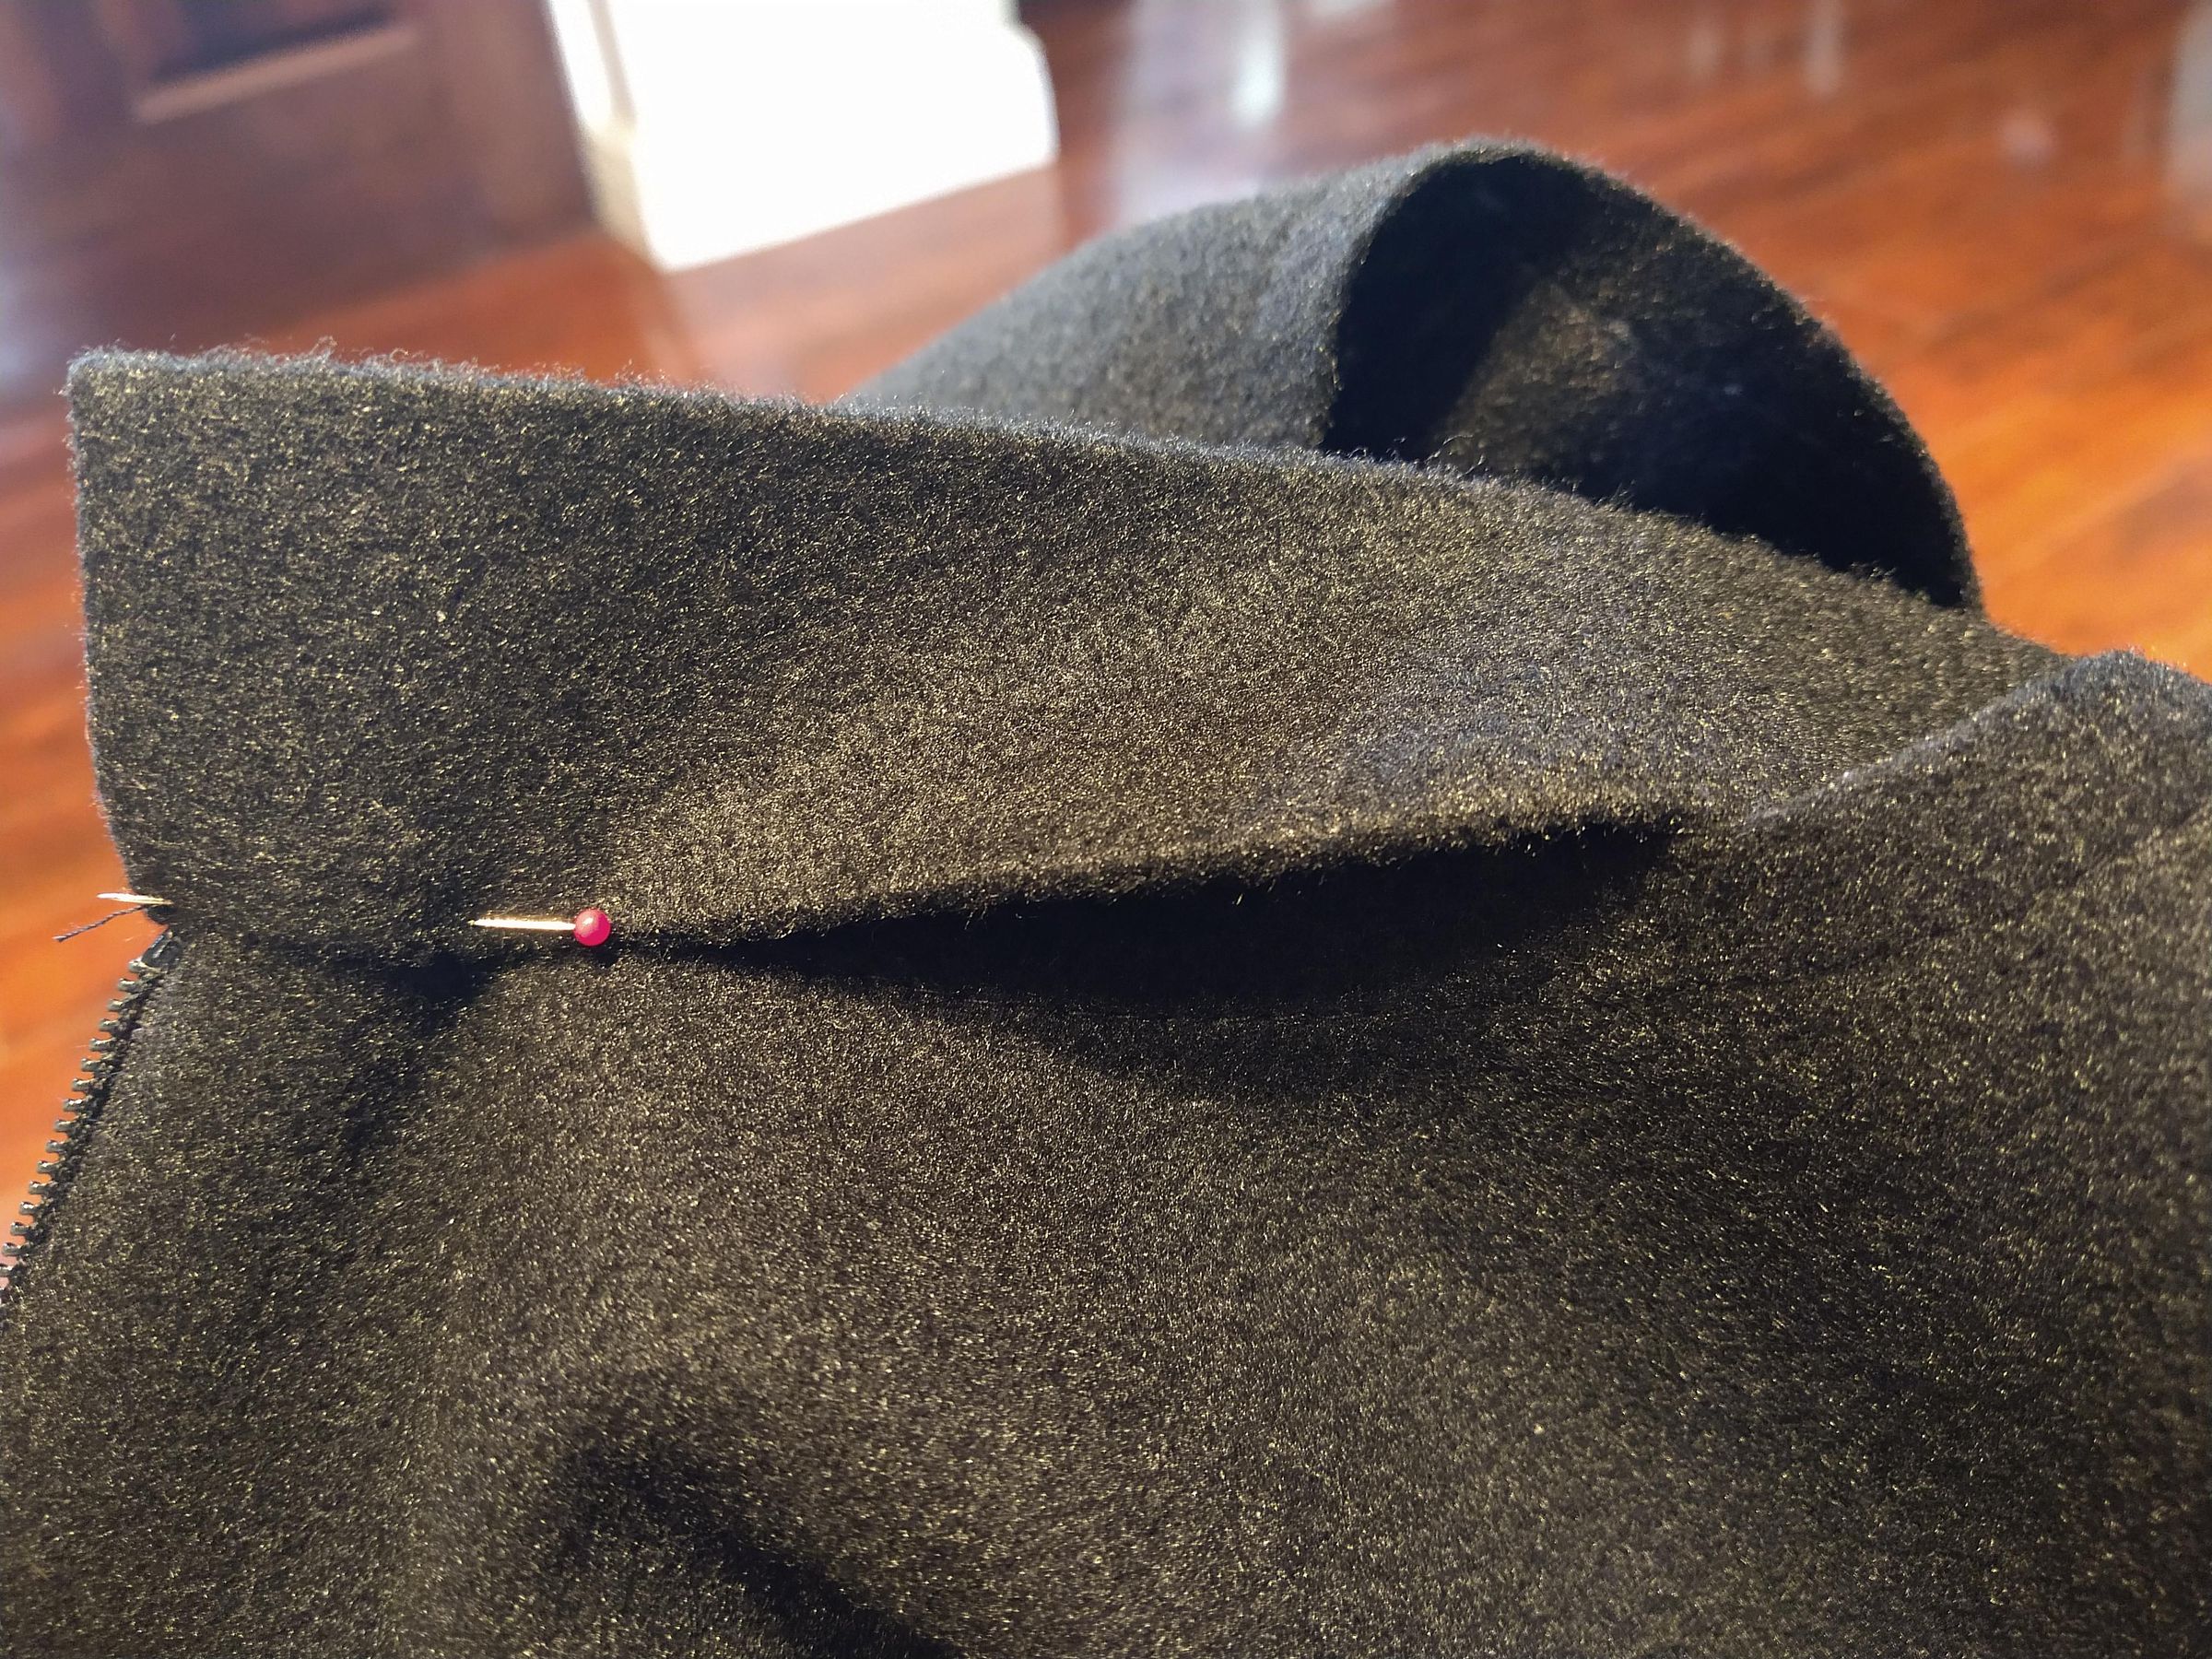
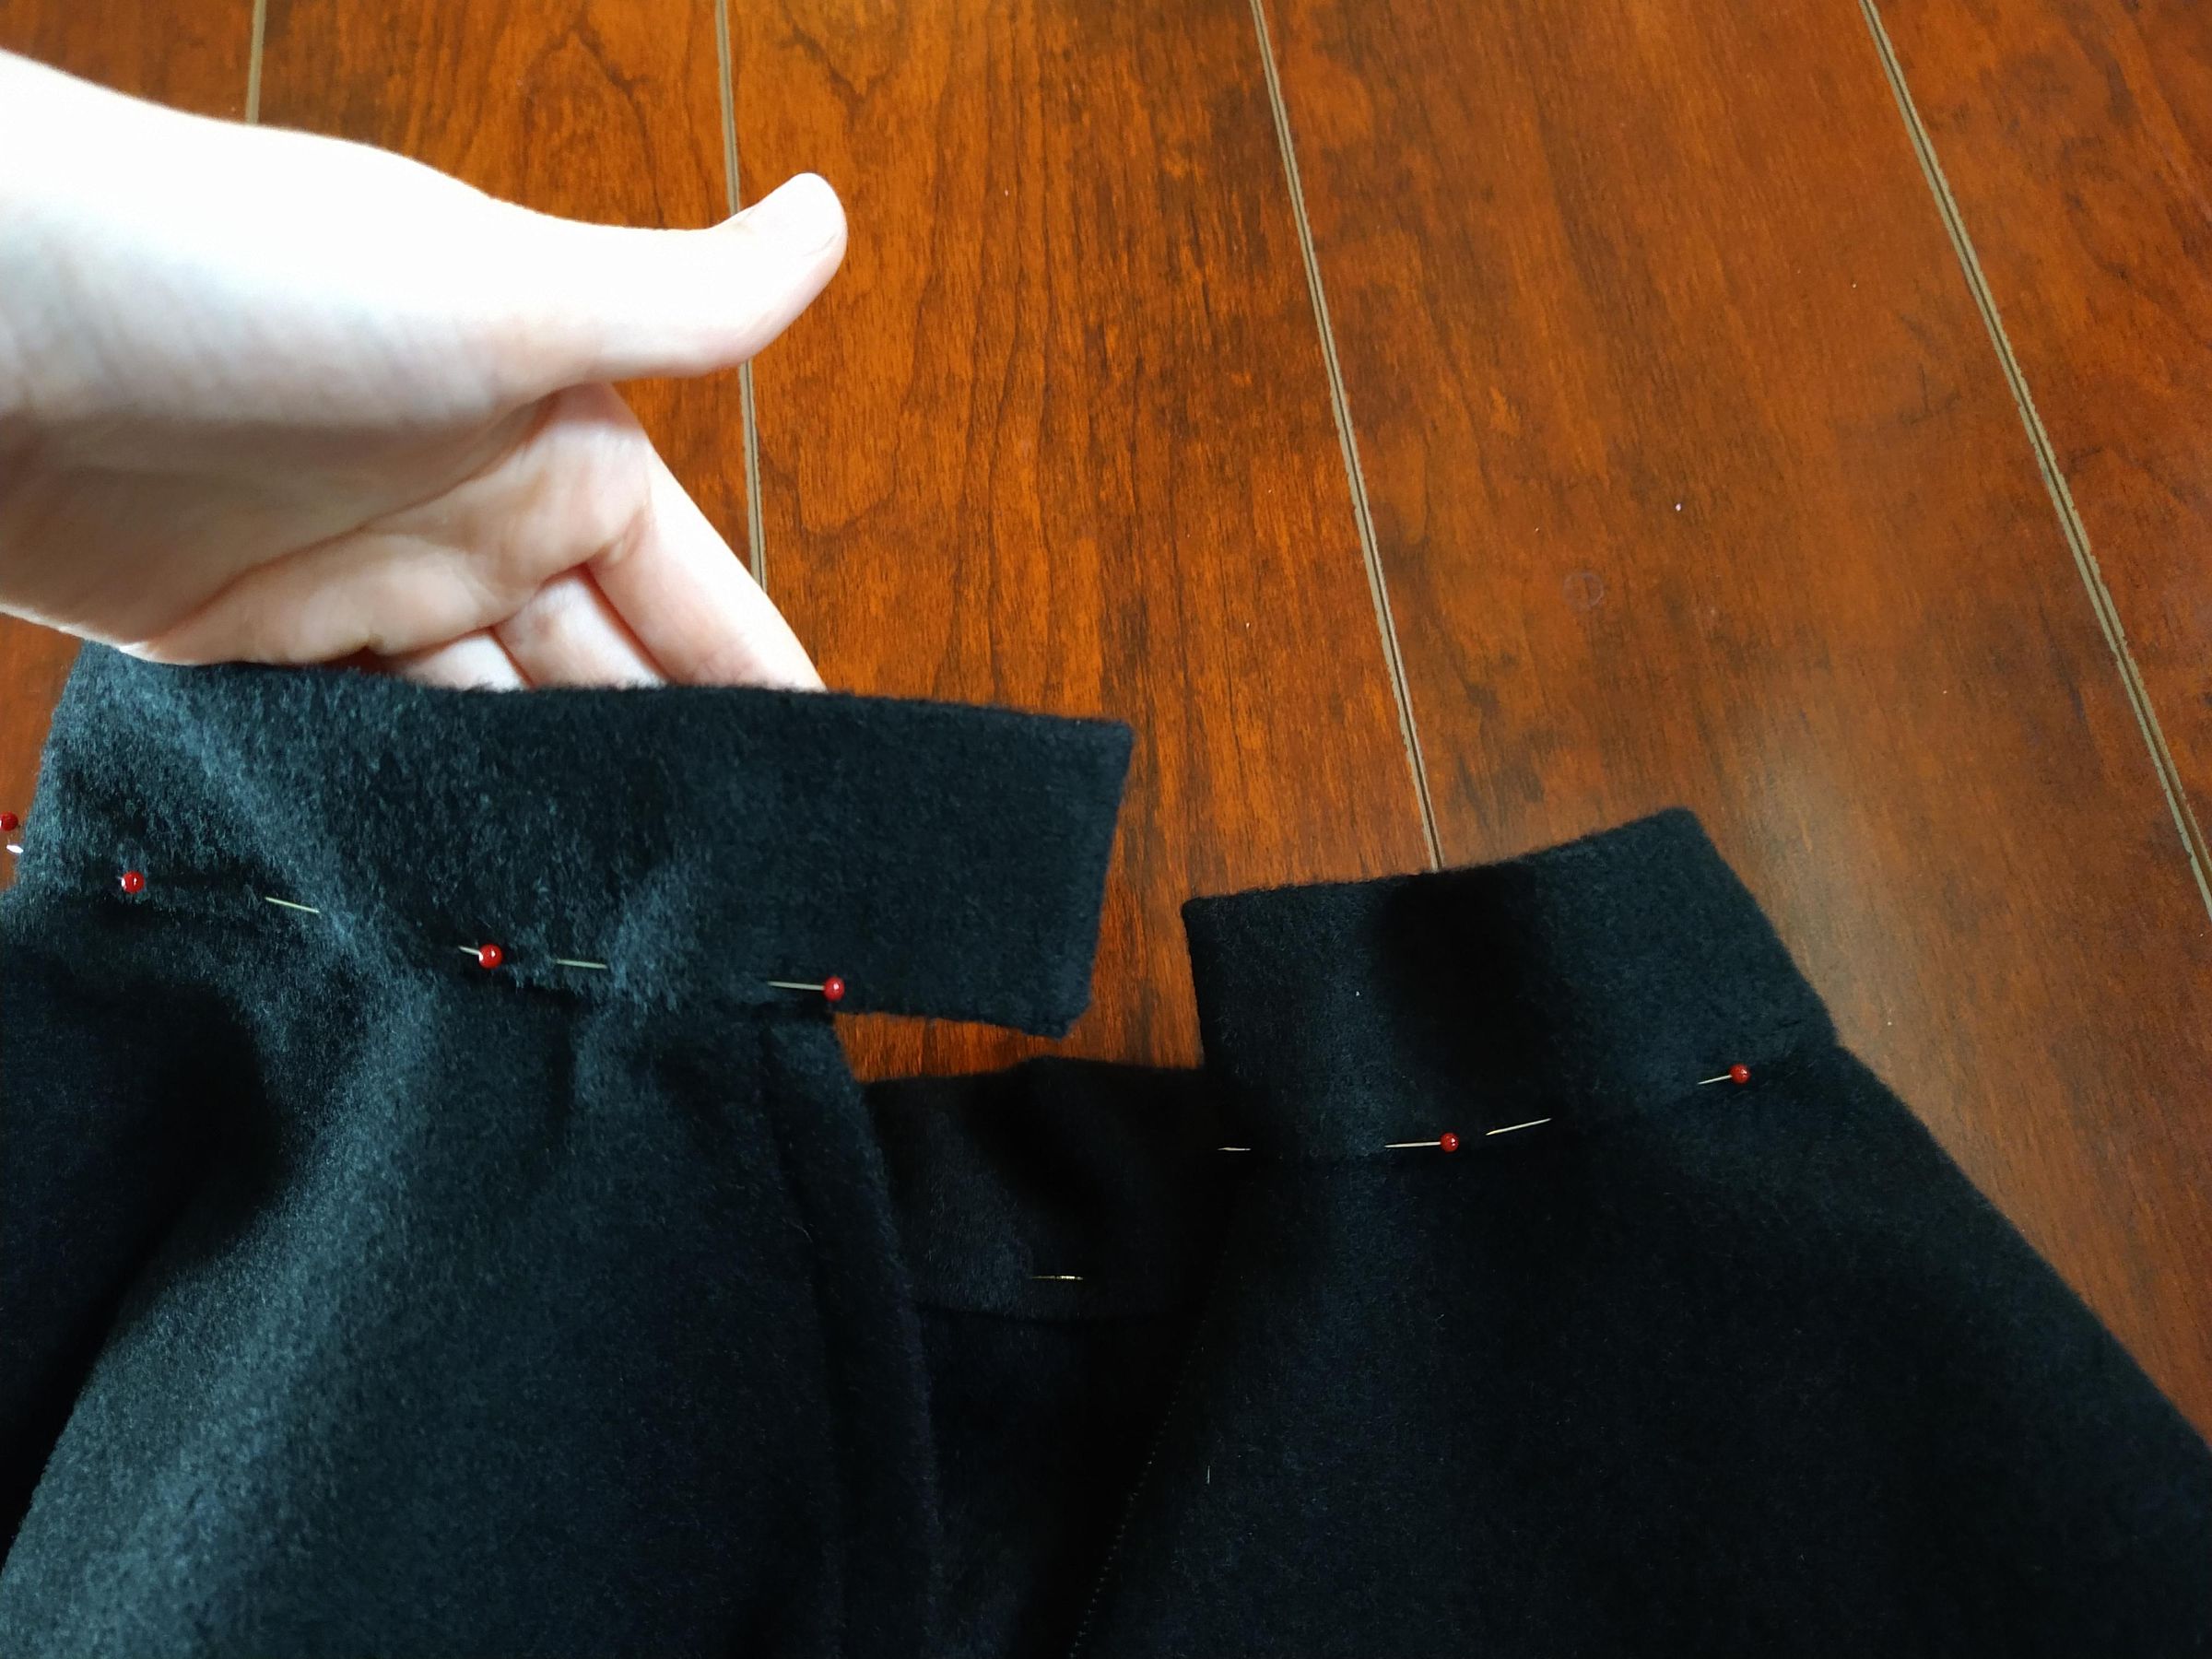
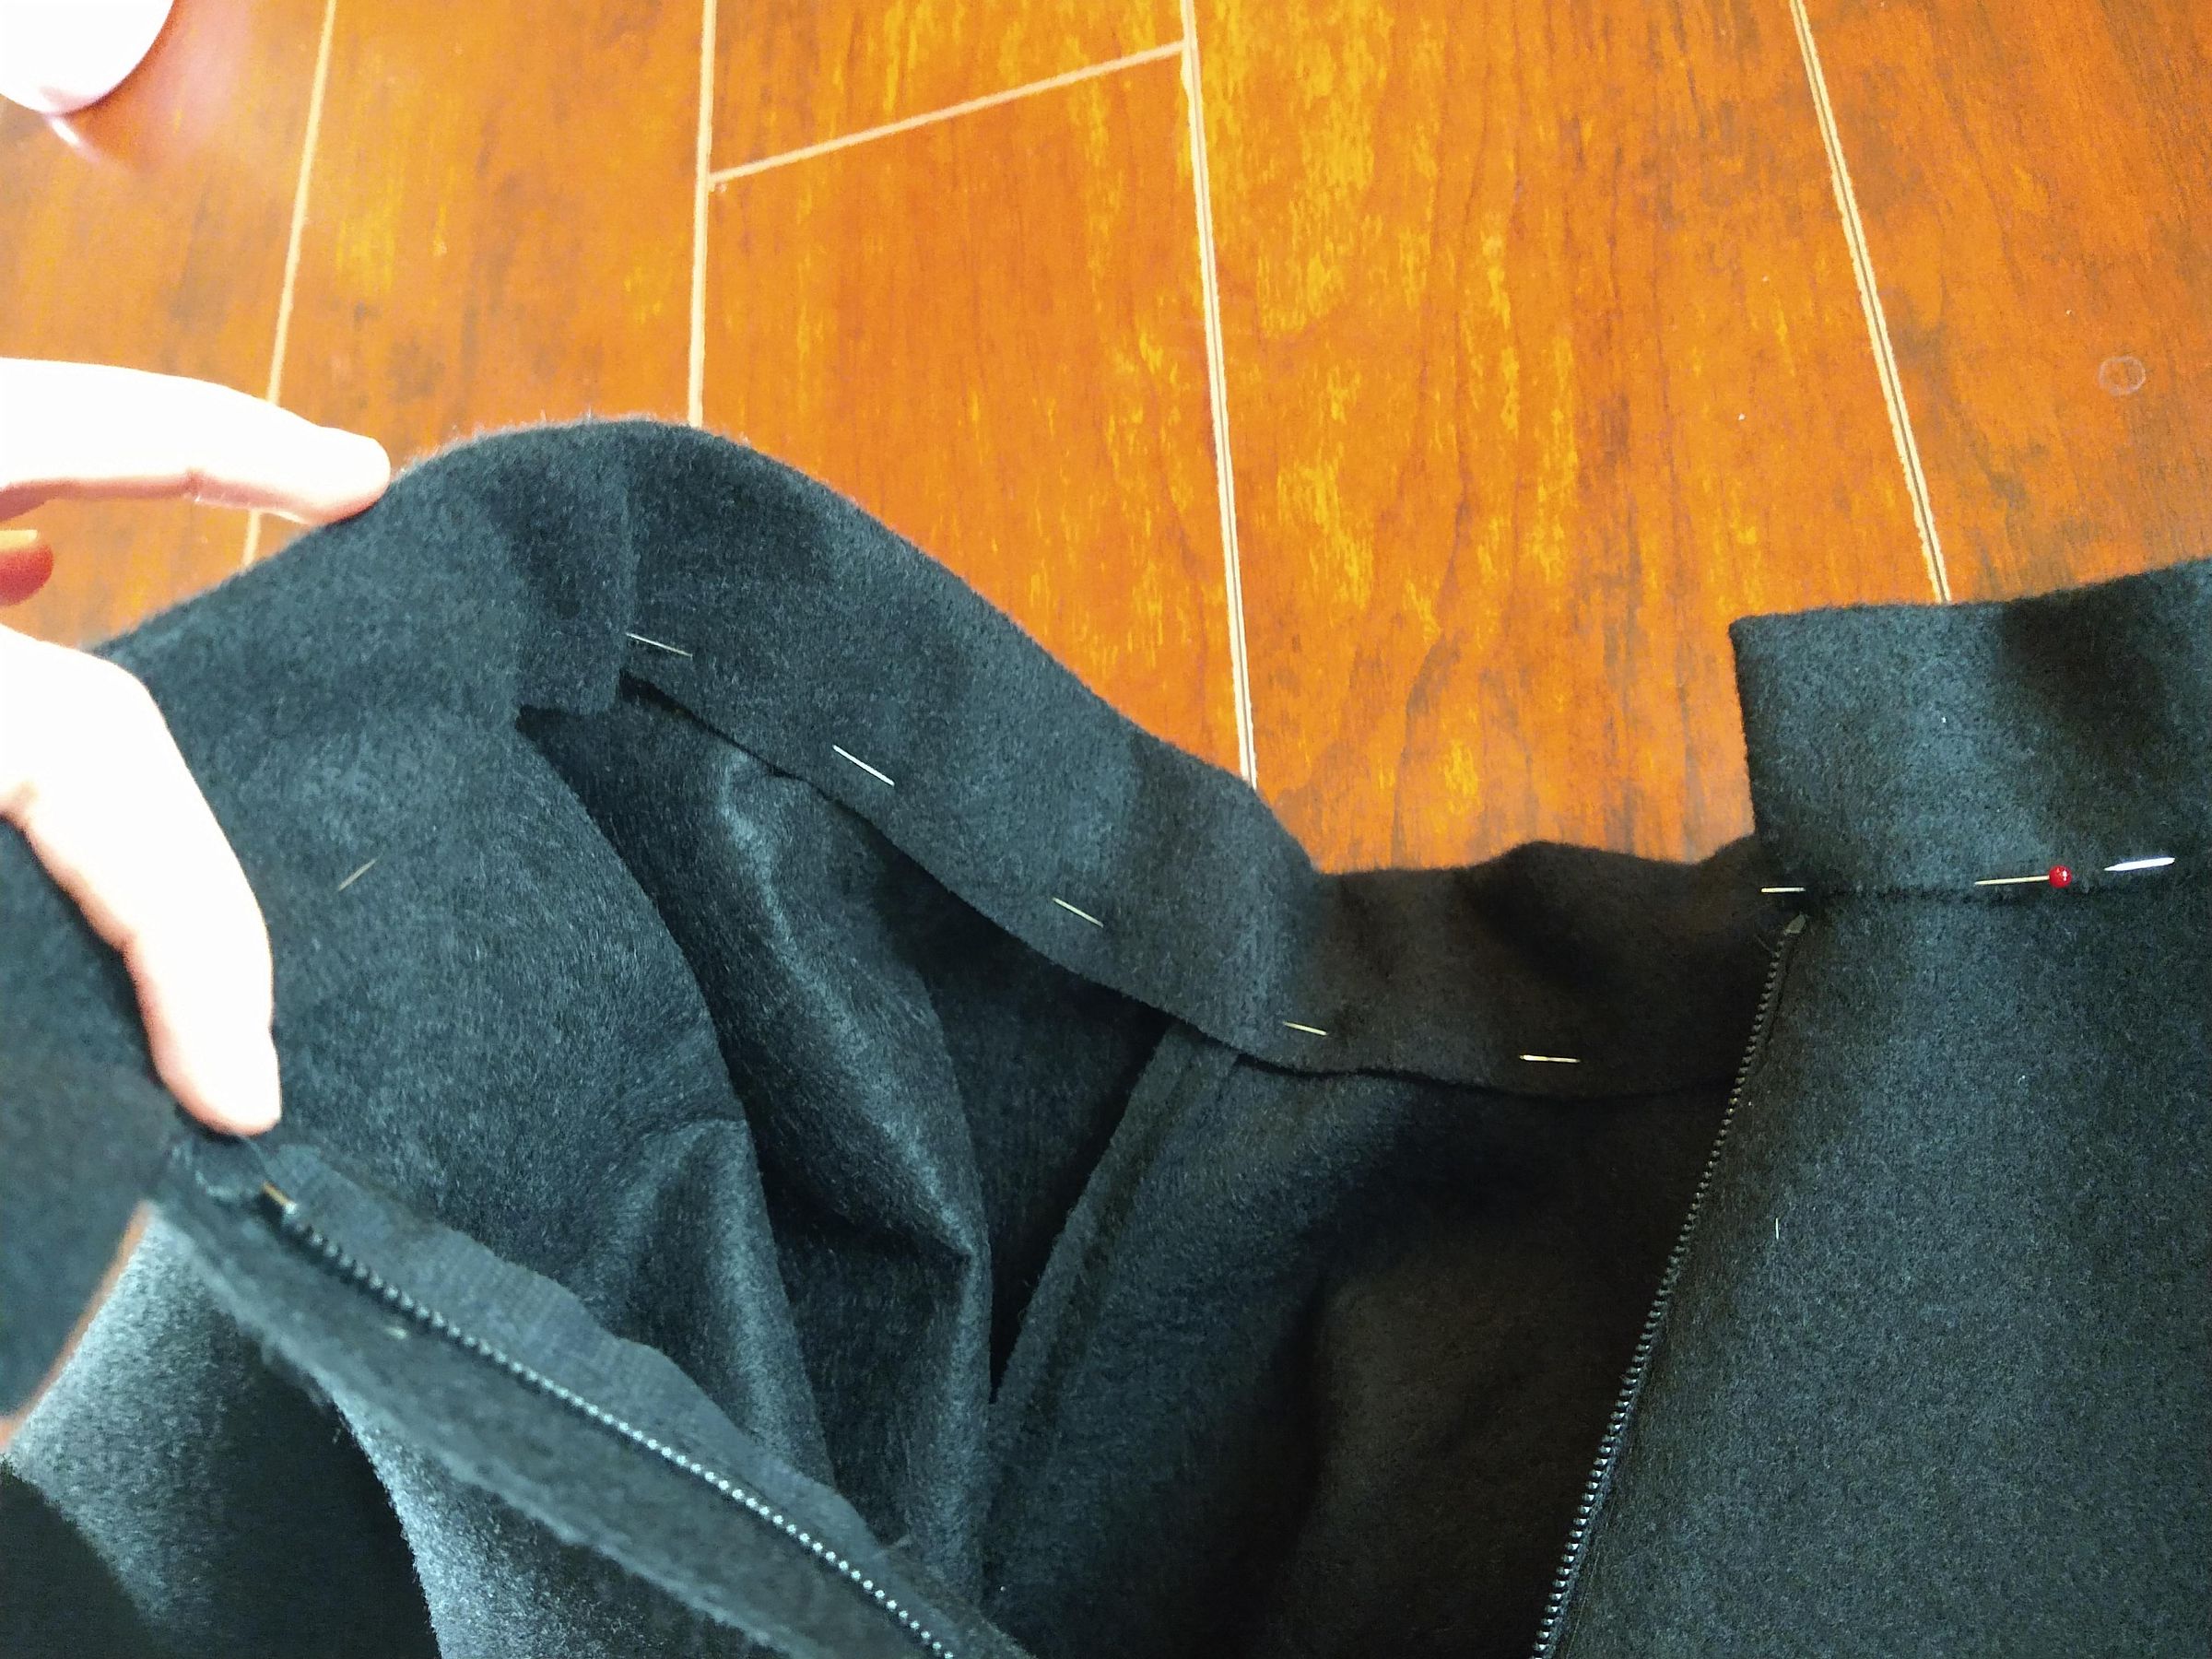
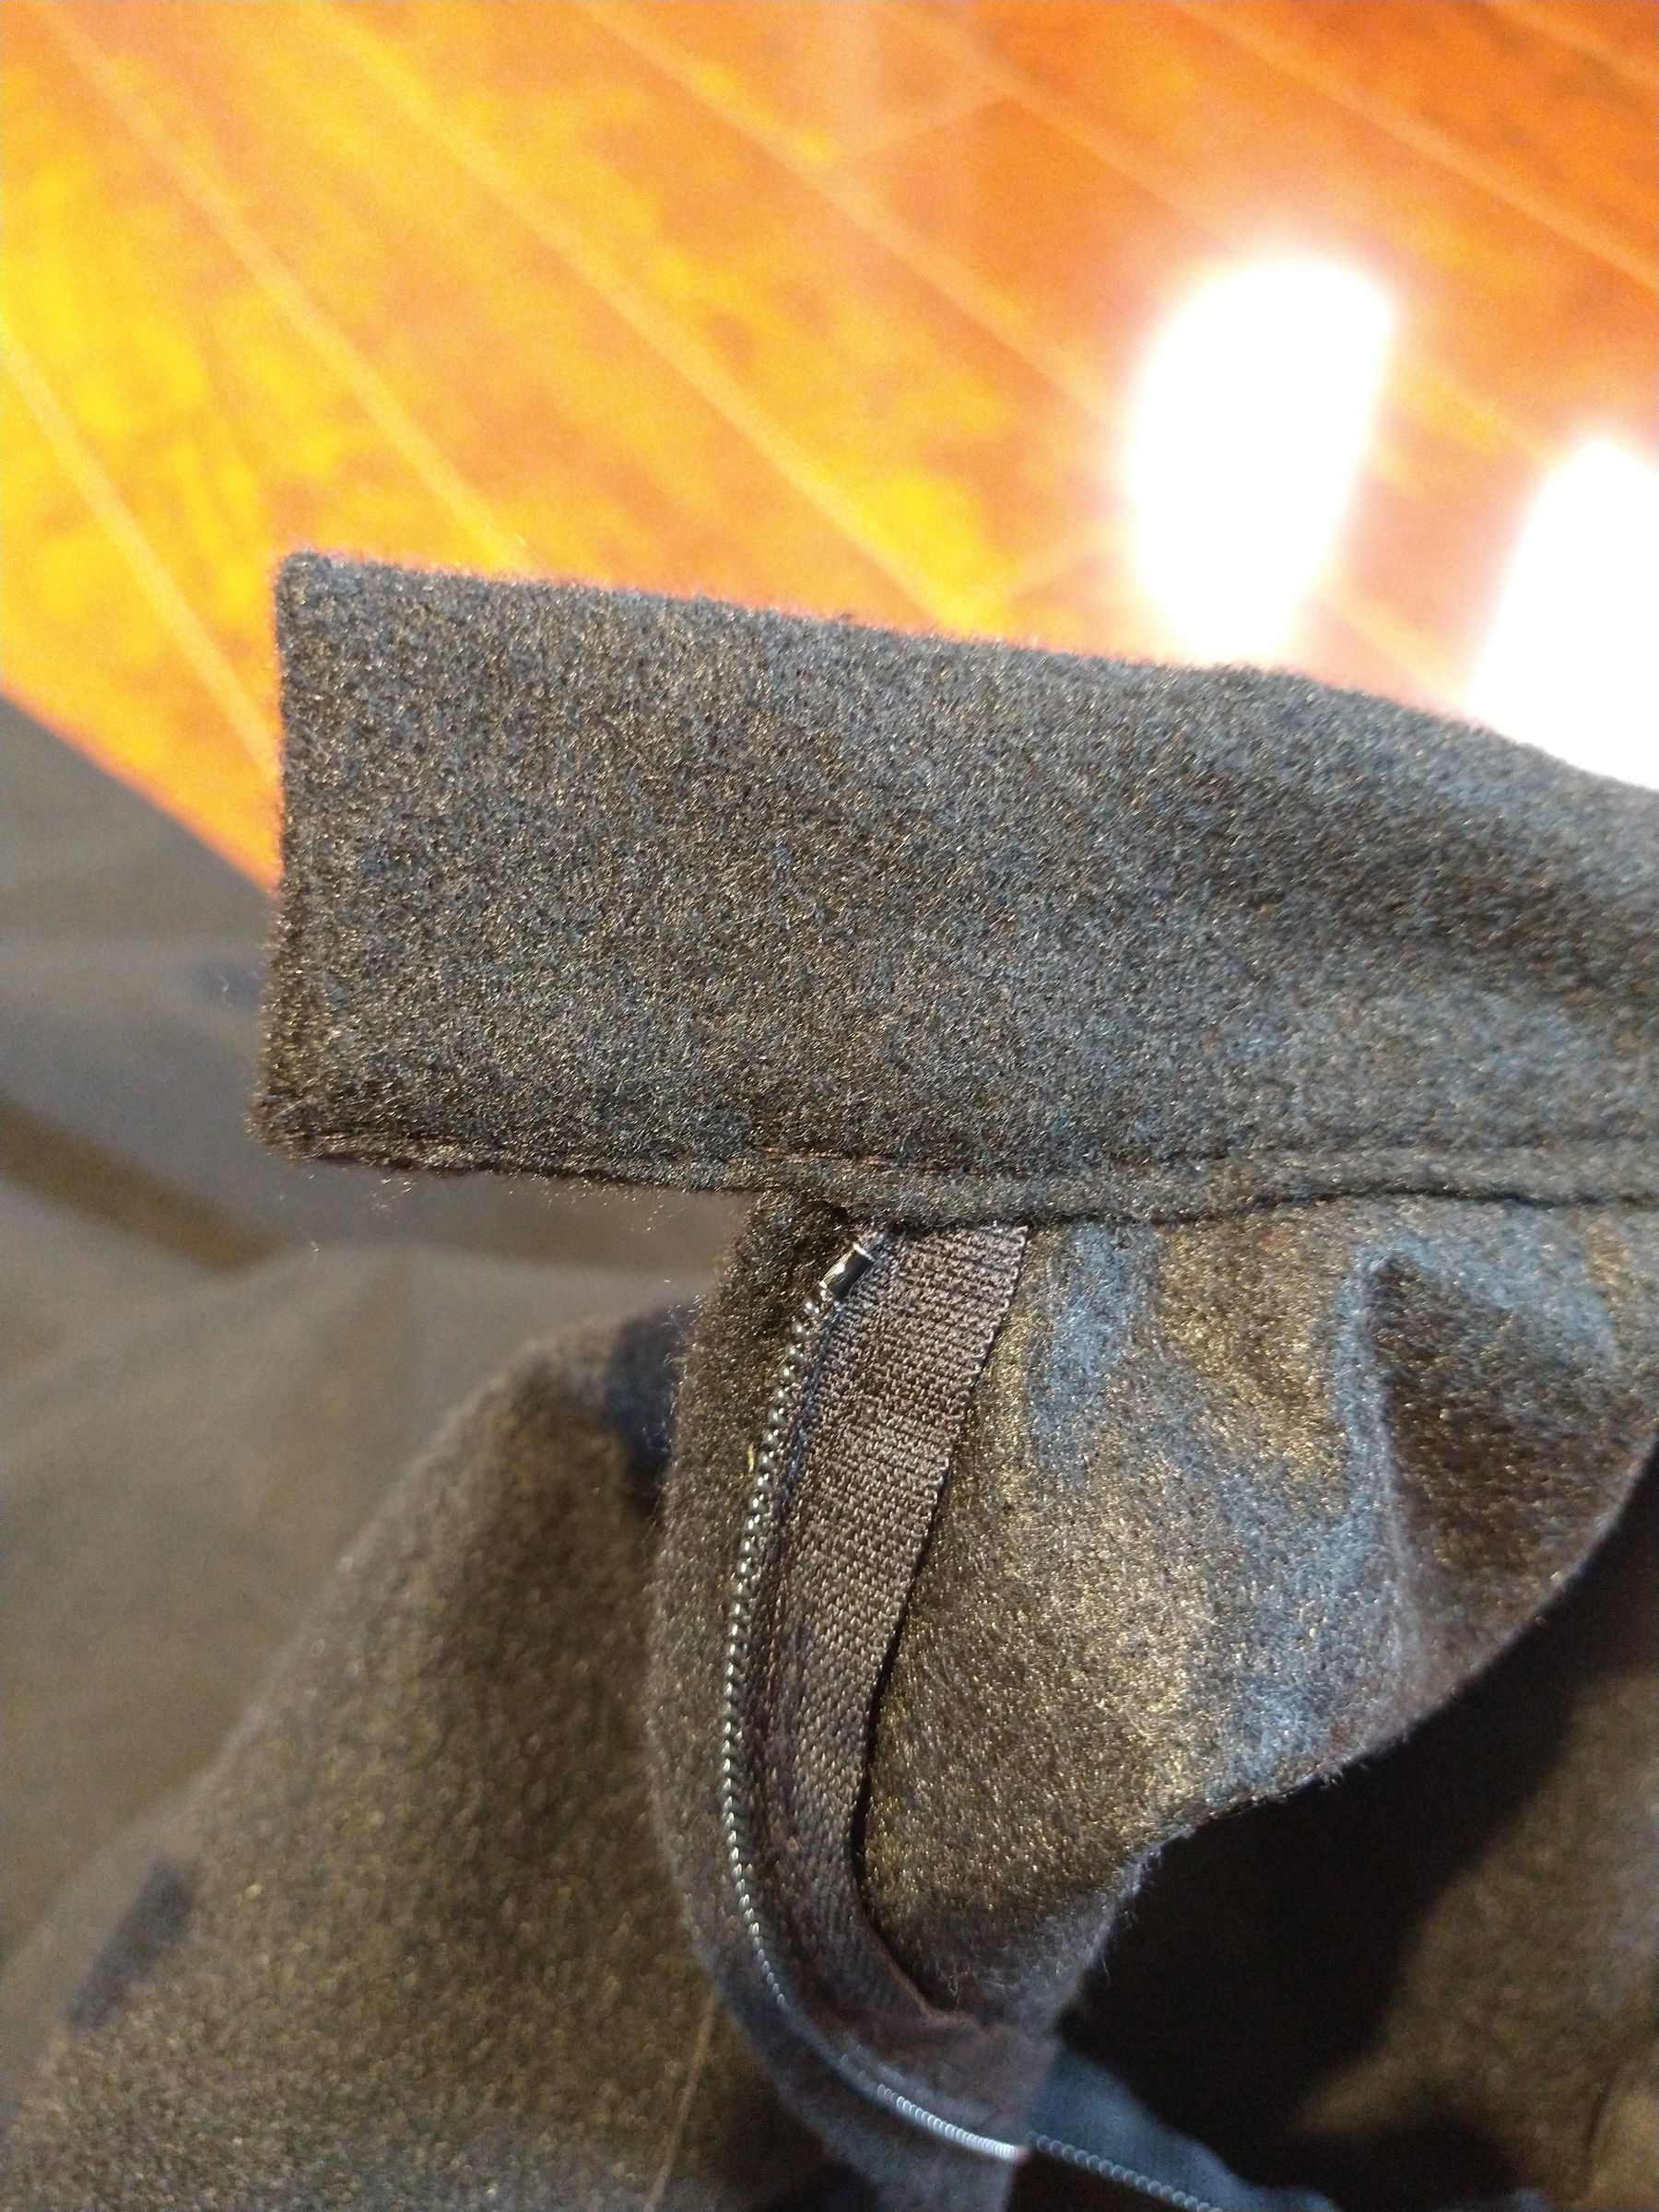
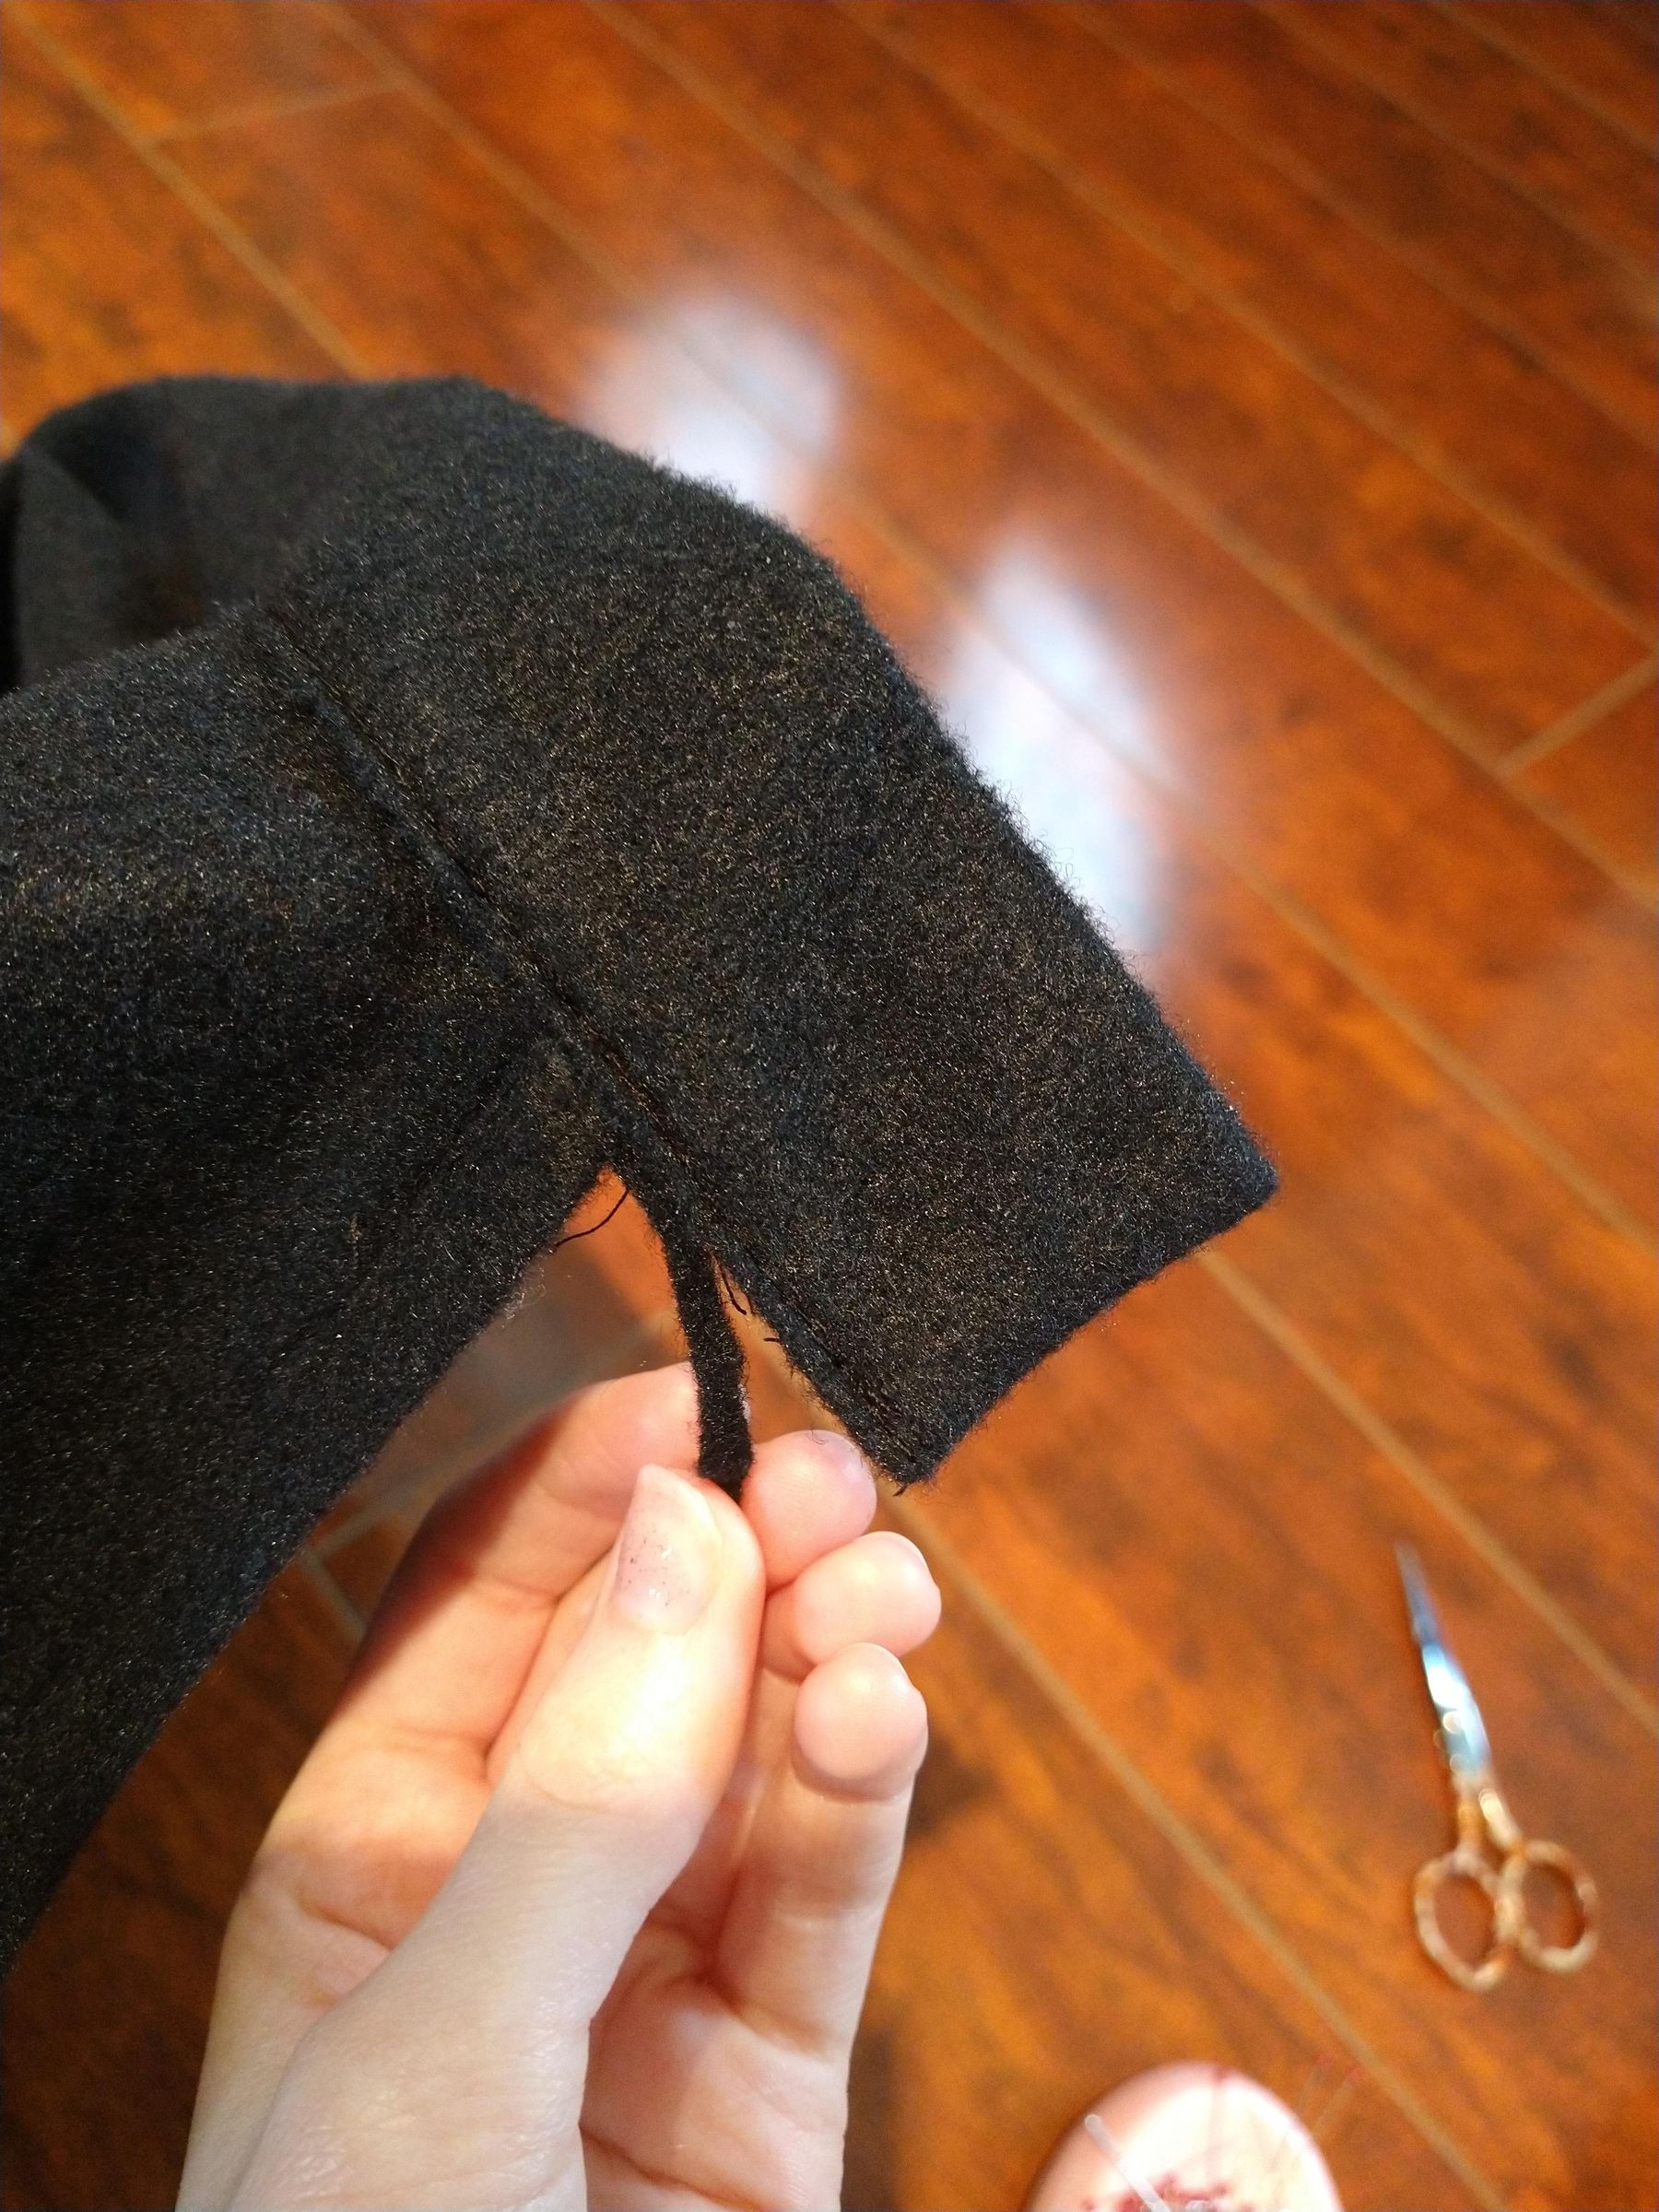
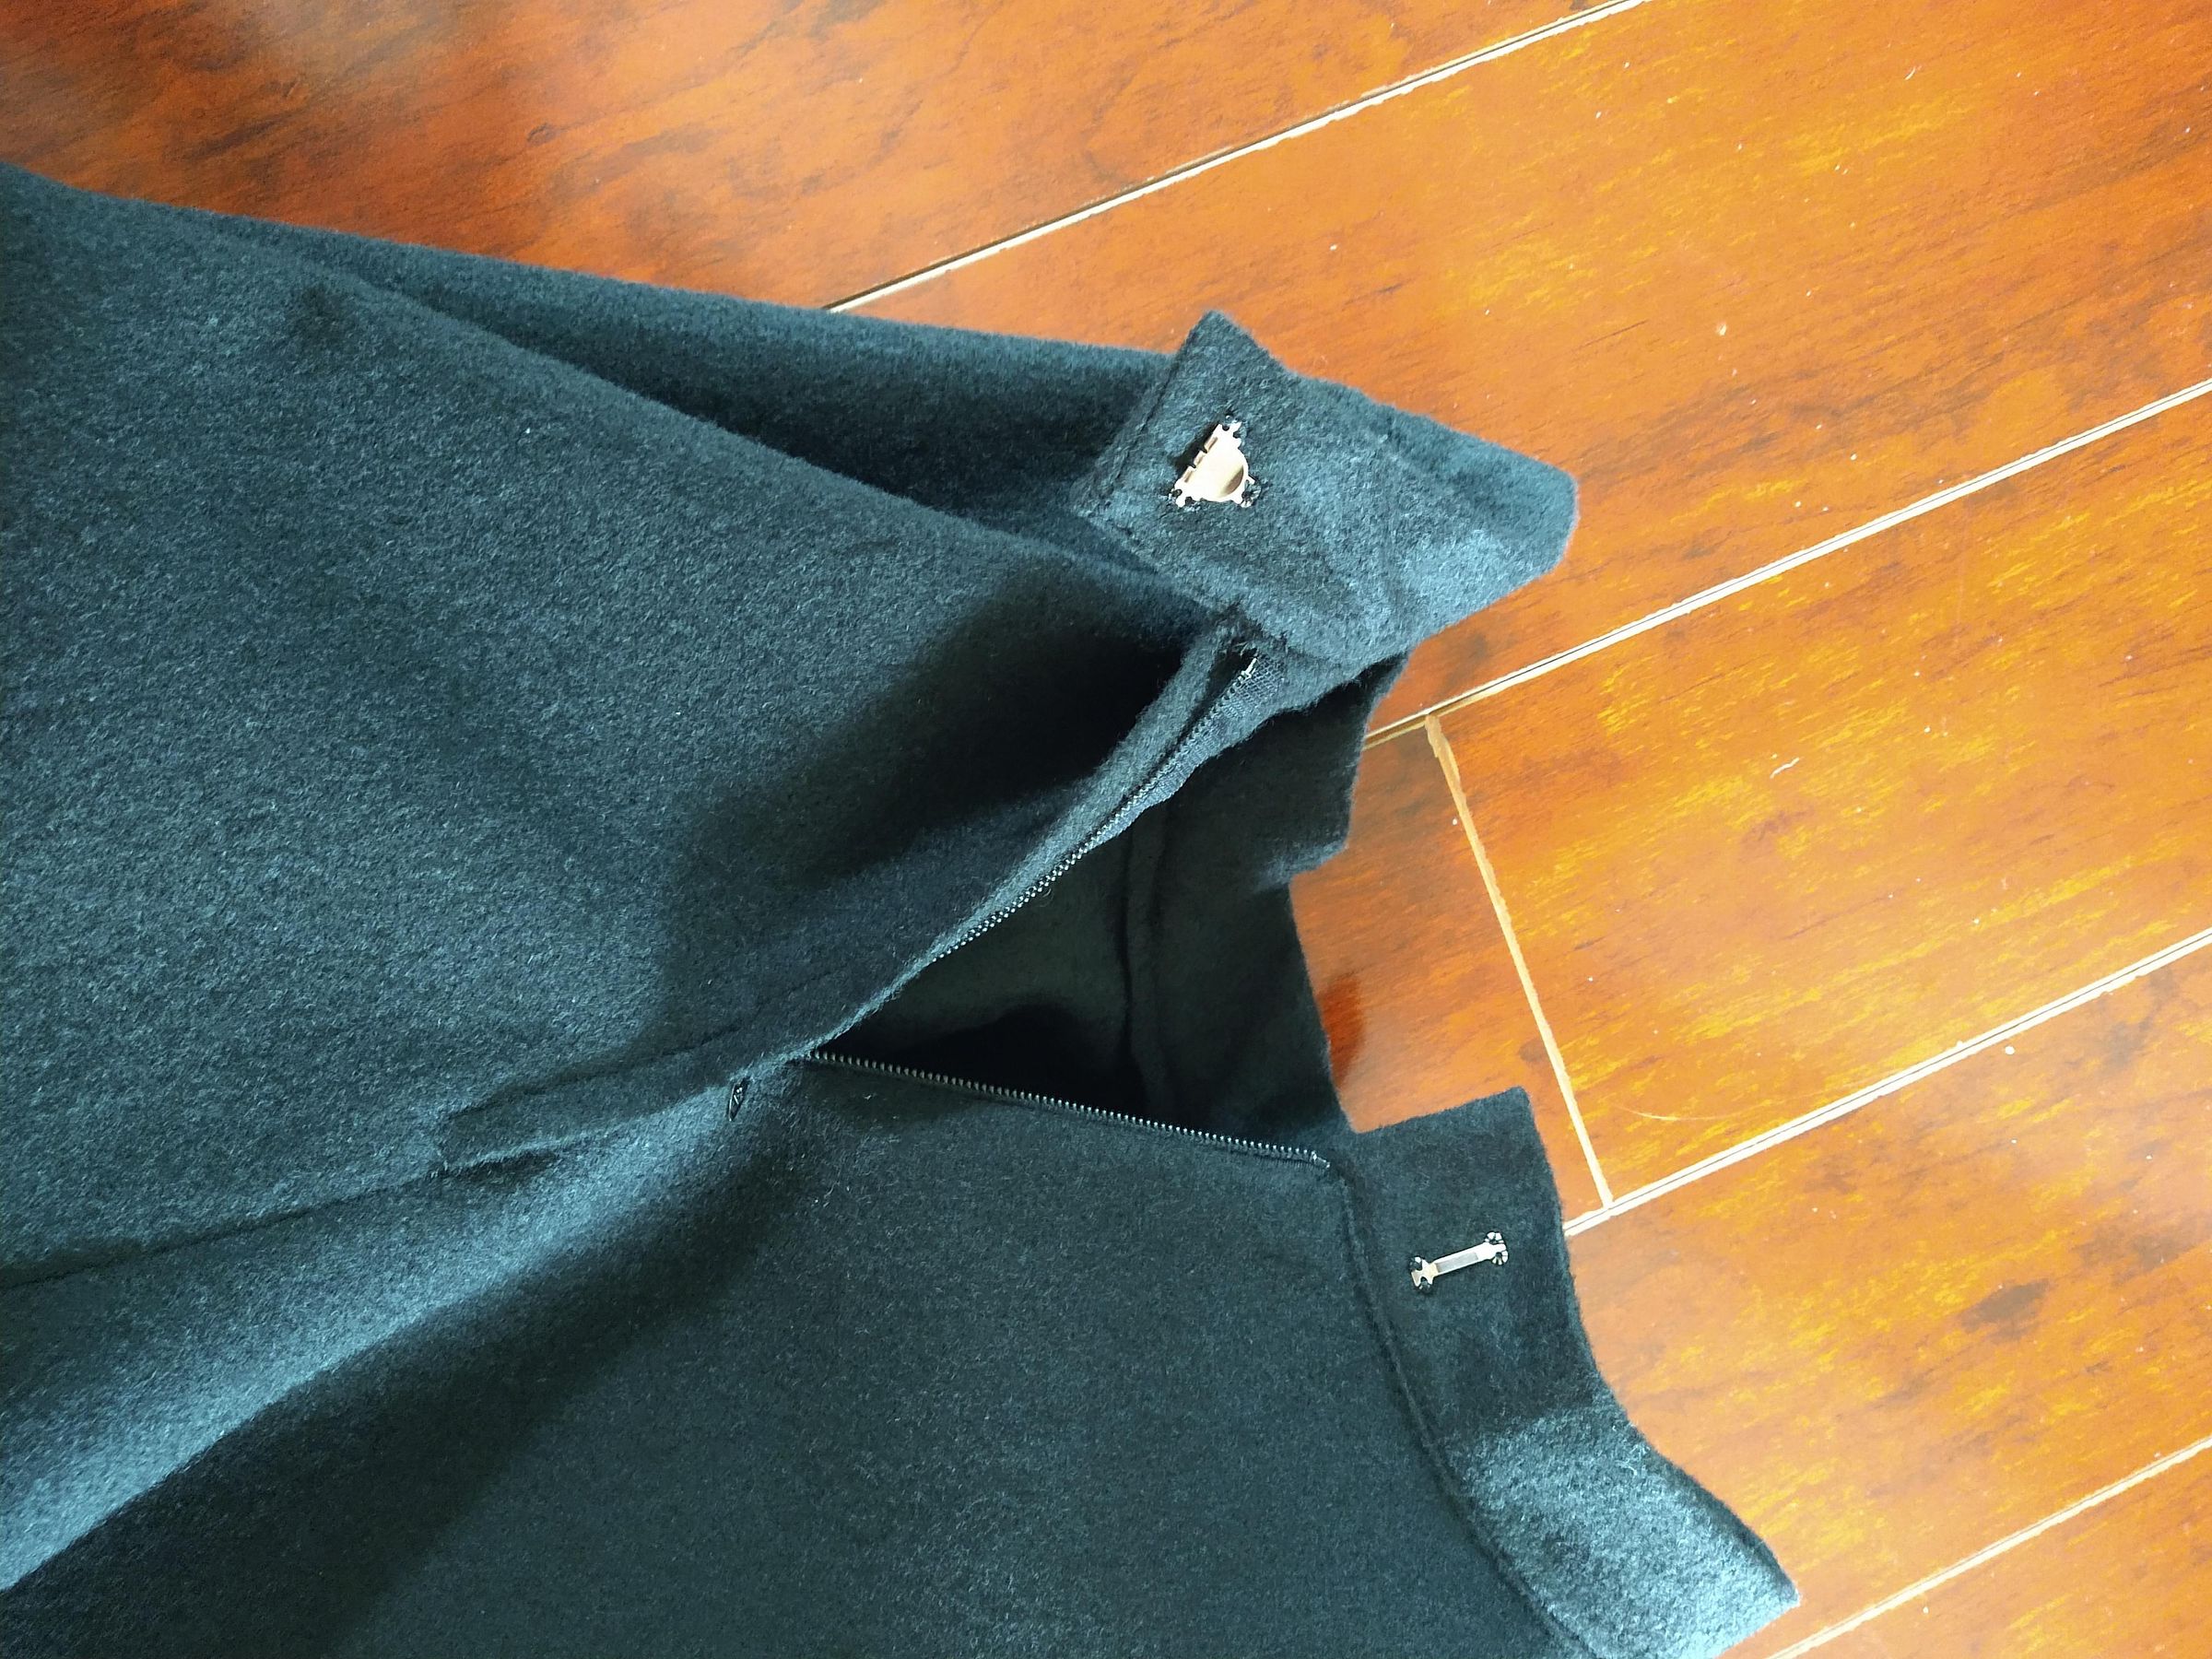
- With the skirt right side out, starting at the non-overlapping edge of the zipper (on the back skirt panel right edge), pin the the waist band with the folded edge facing you and the raw edge in the inside. Position the edge just over your stay stitching line.
- Pin all the way around, you should have an extra 1" waist band overlap tab when you are done.
- Sew all the way around the bottom edge of the waistband, being sure to catch the reverse side of the waist band.
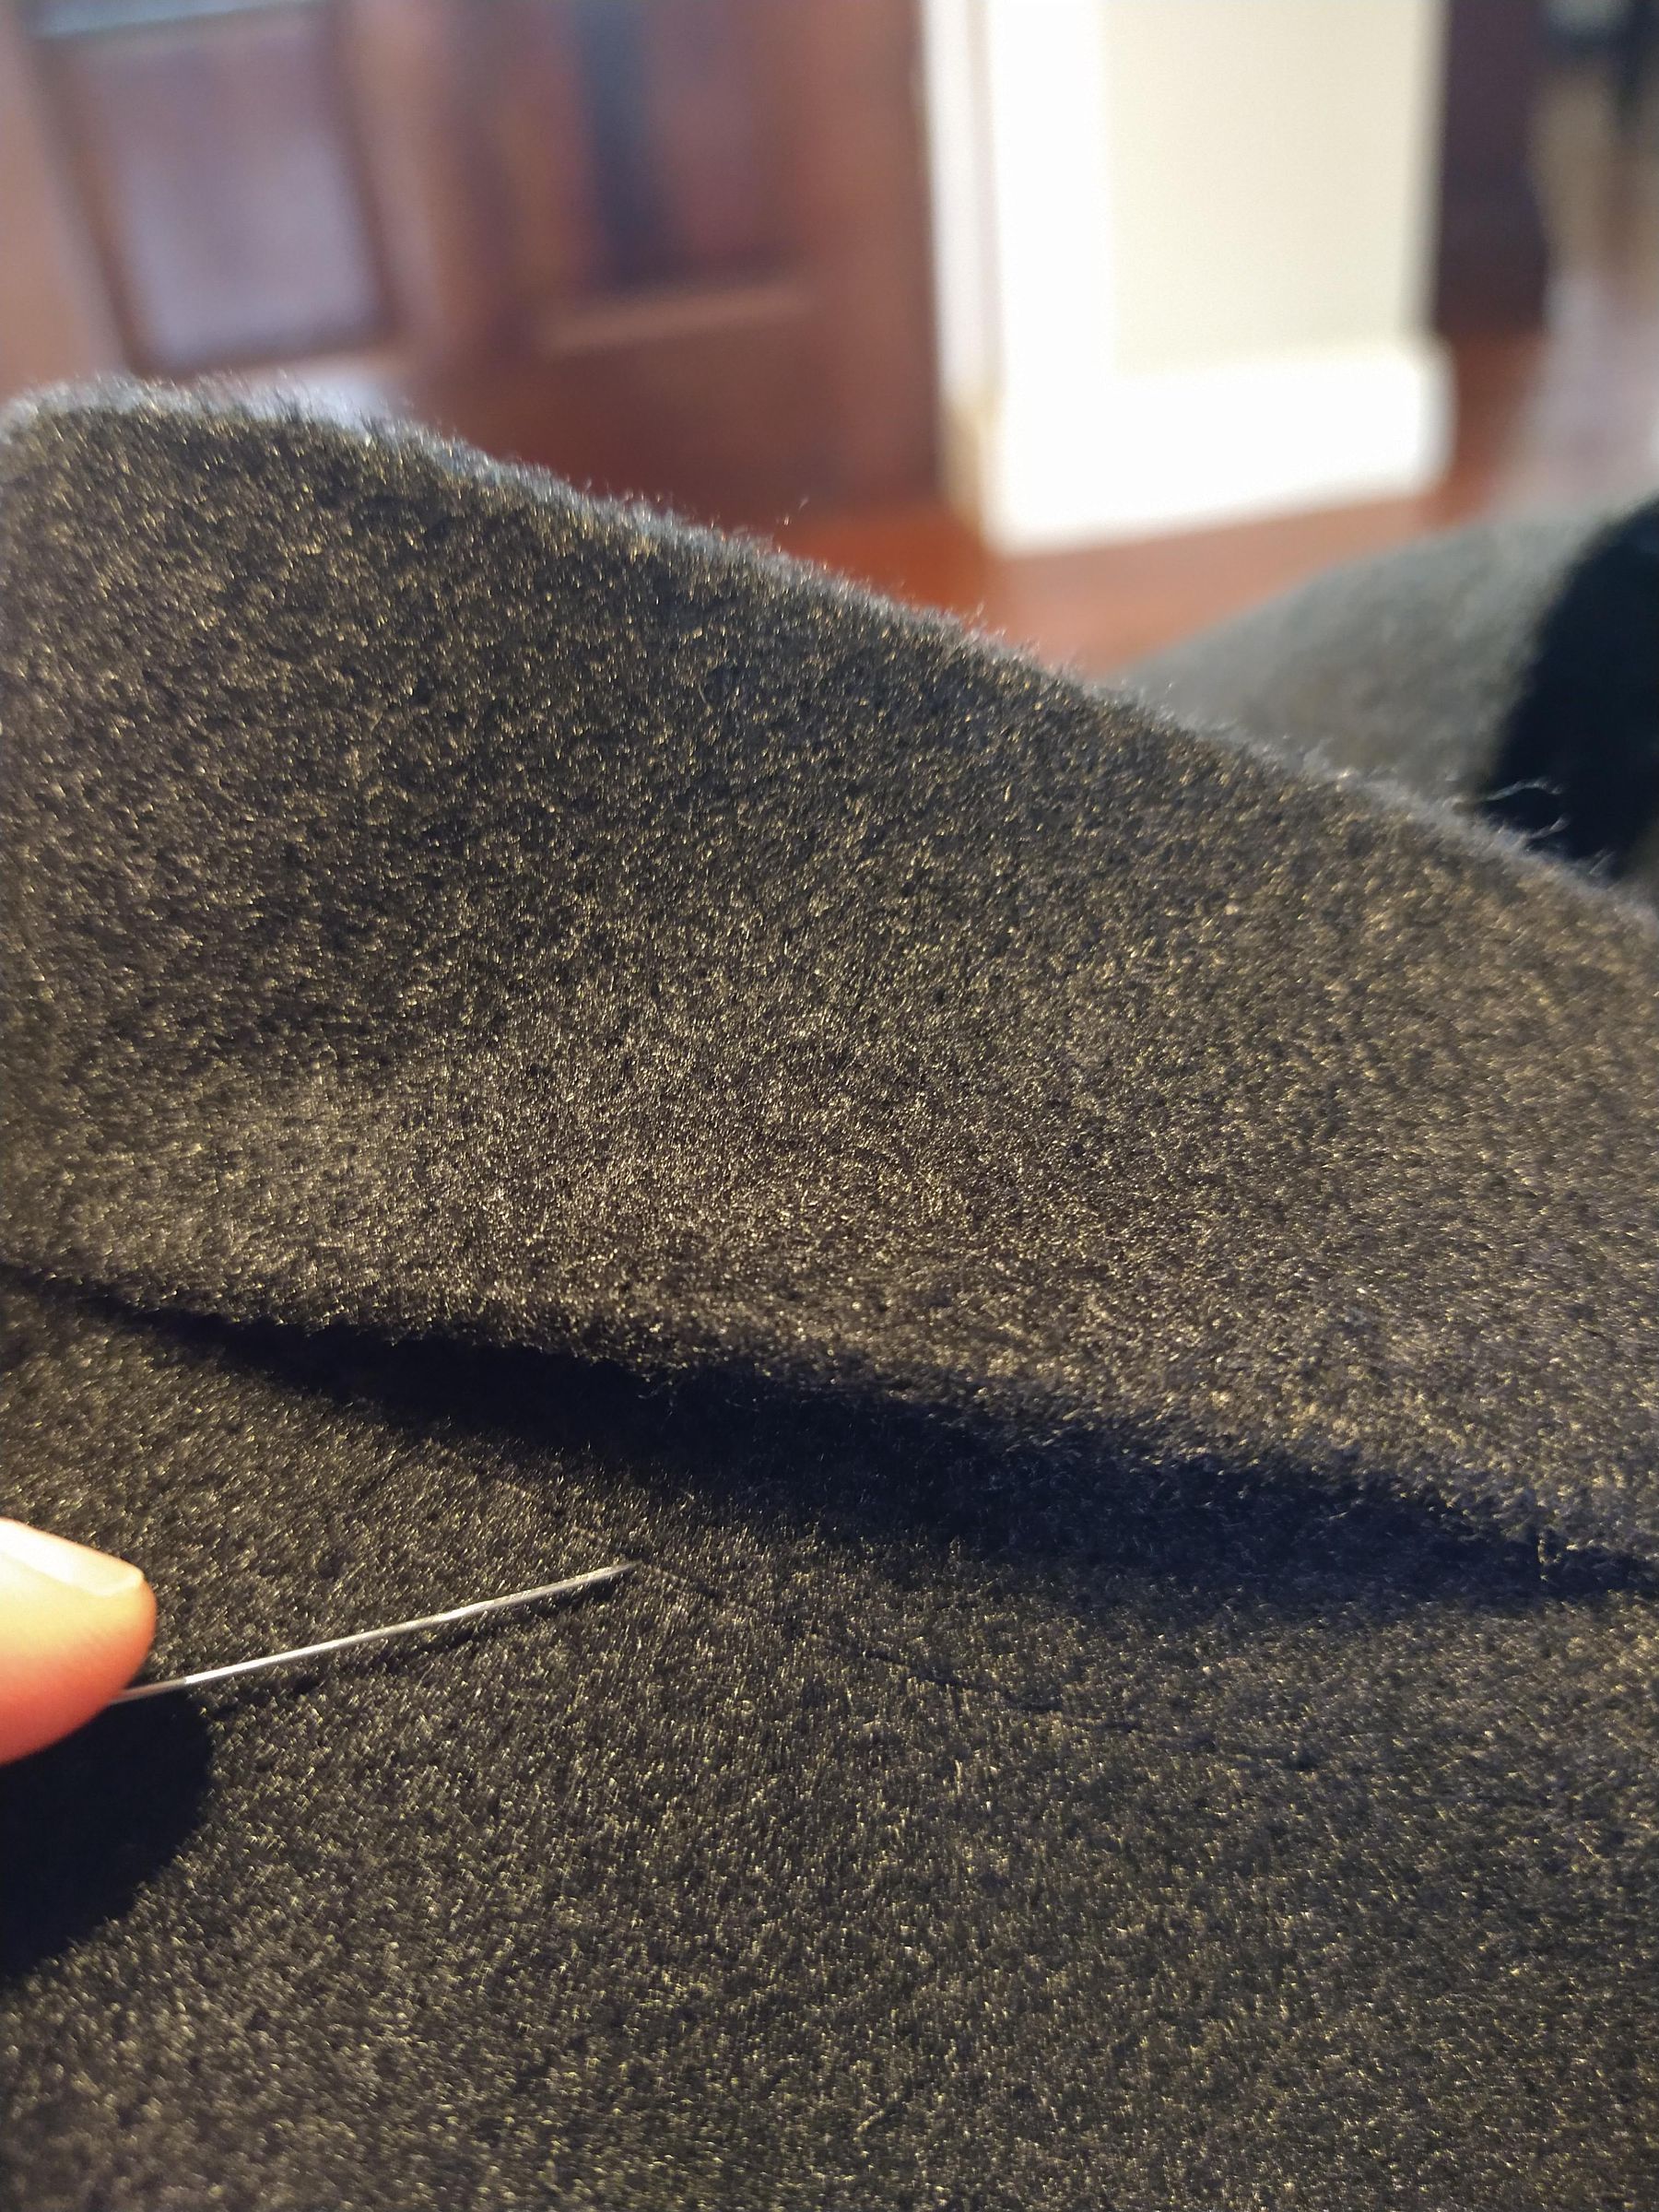
- On the tab, you may need to trim the inside waist band excess for a clean edge.
- Sew on a skirt hook and loop closure.
If you are not using felt, level your hem, then sew your hem. (Horse hair braid is a really great way to hem circle skirts and adds some volume and swing)!
Embellishing With 170 Digits of Pi
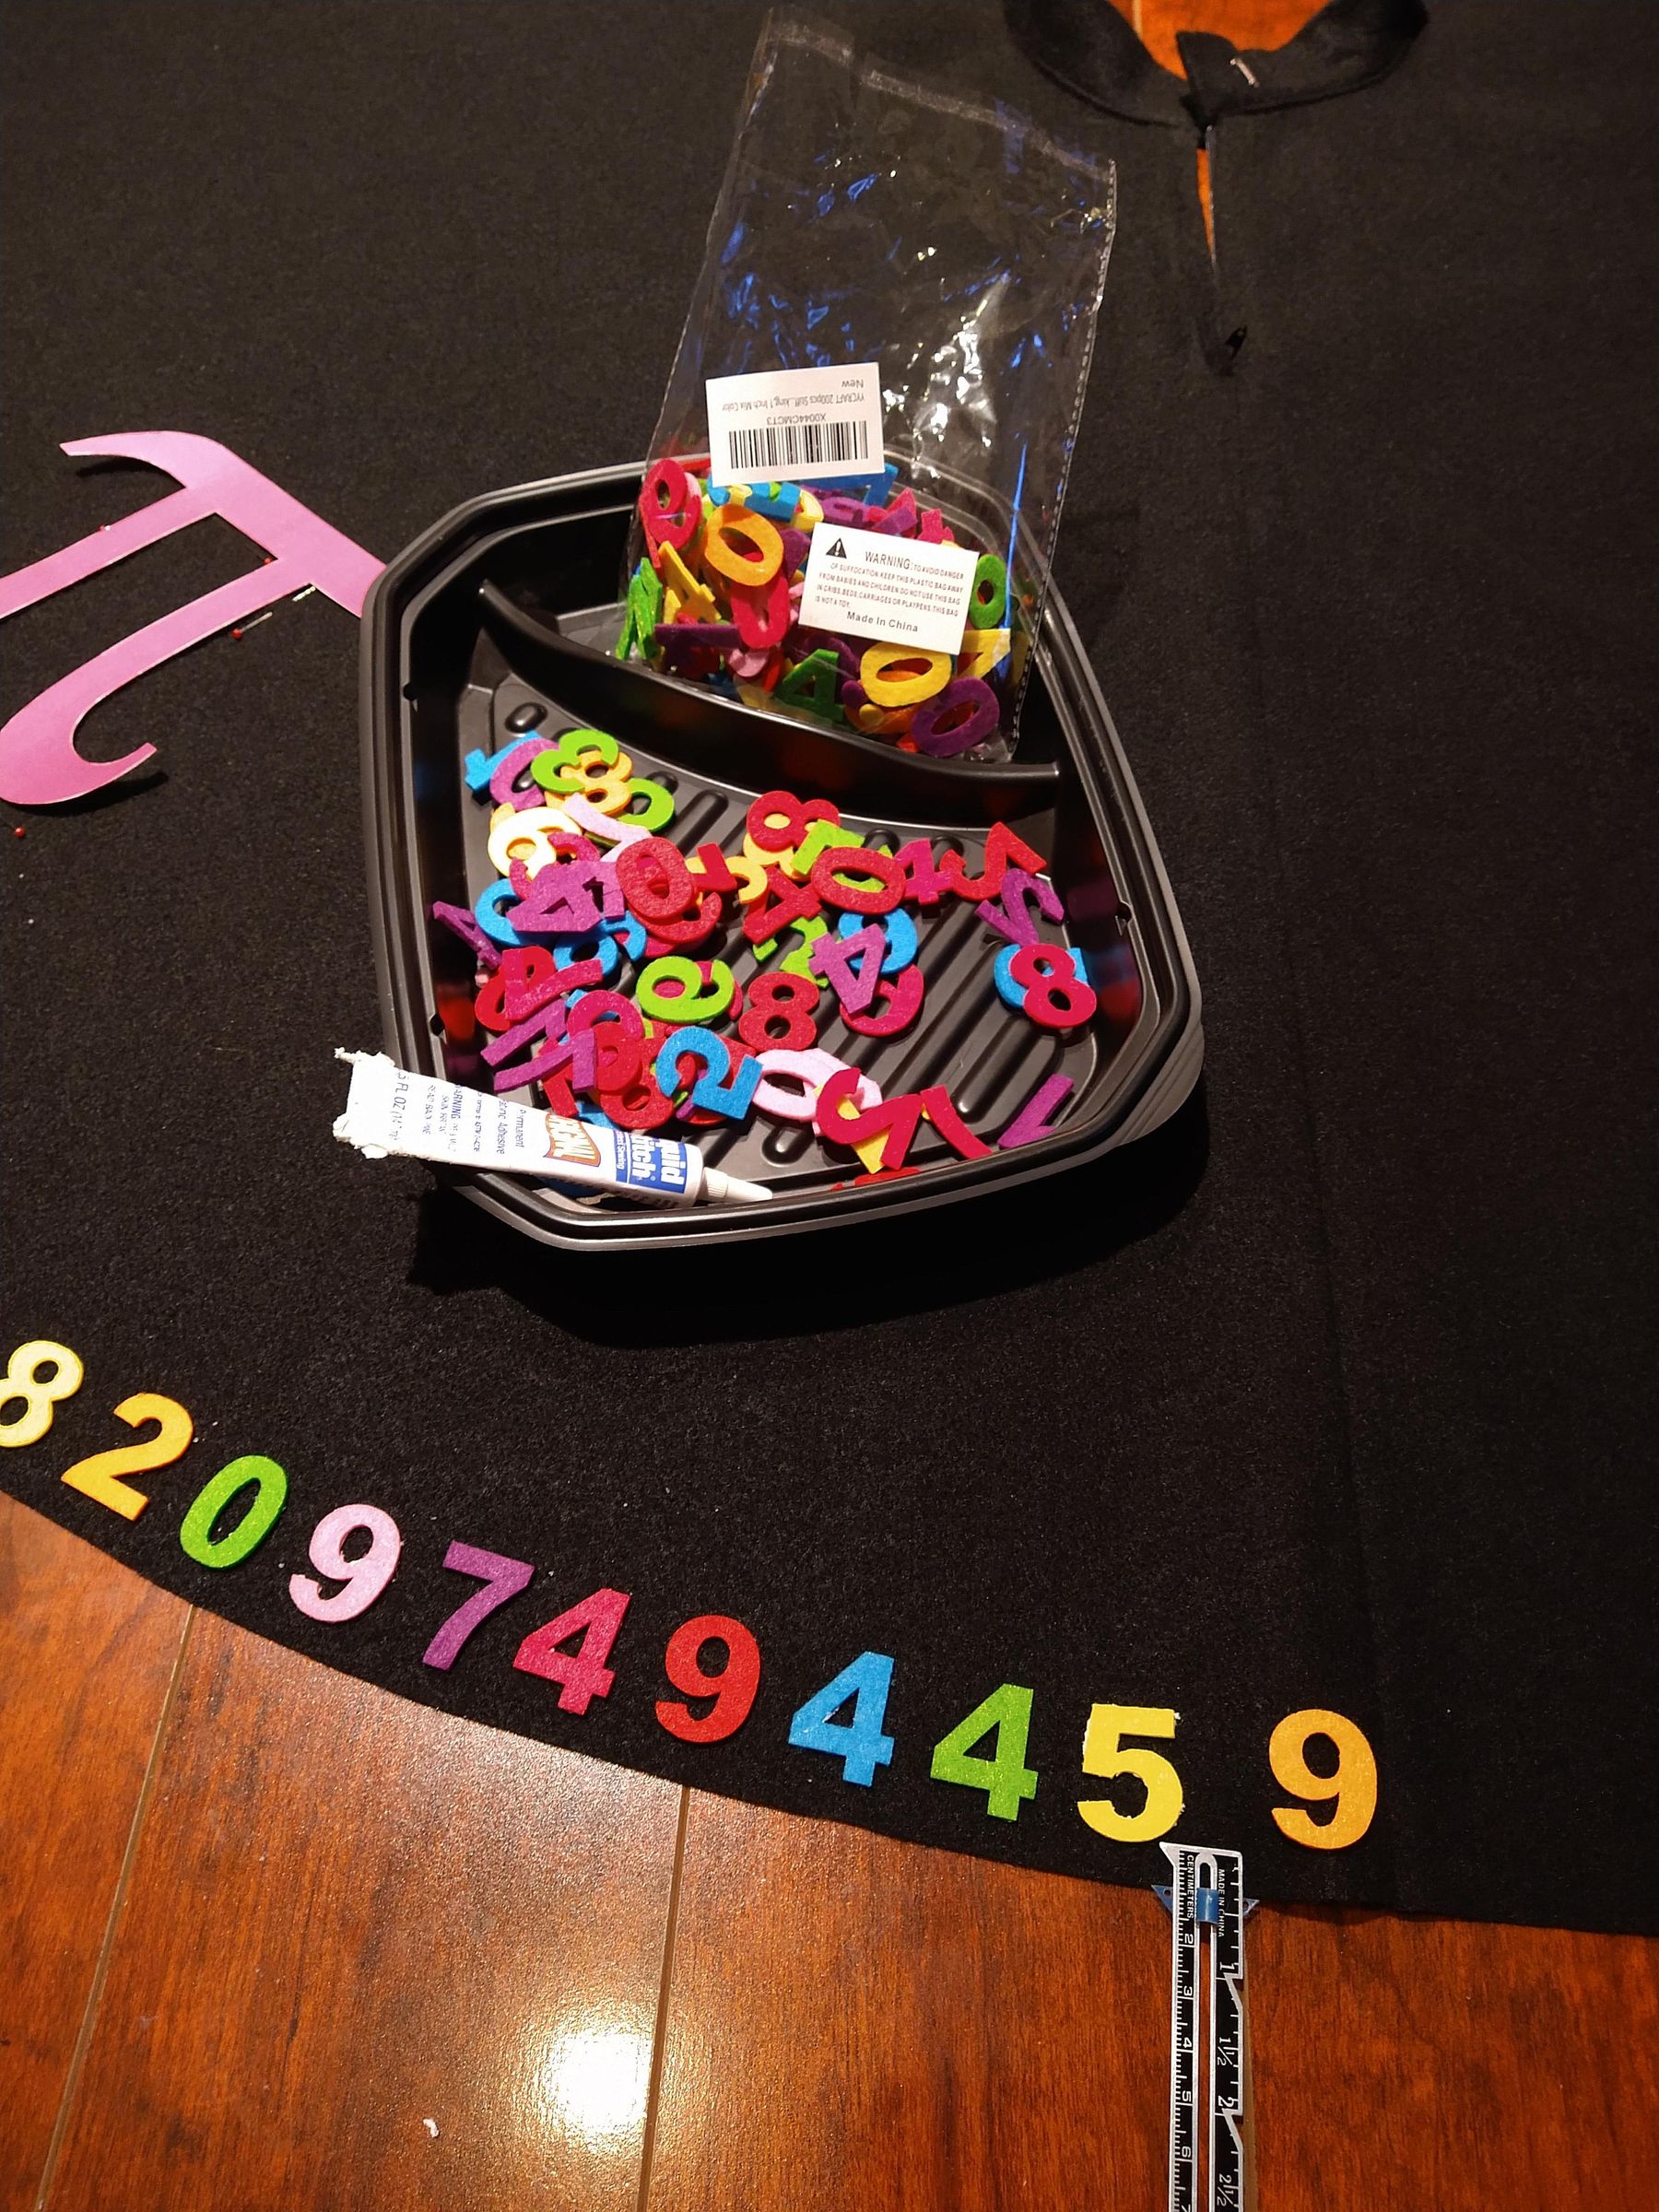
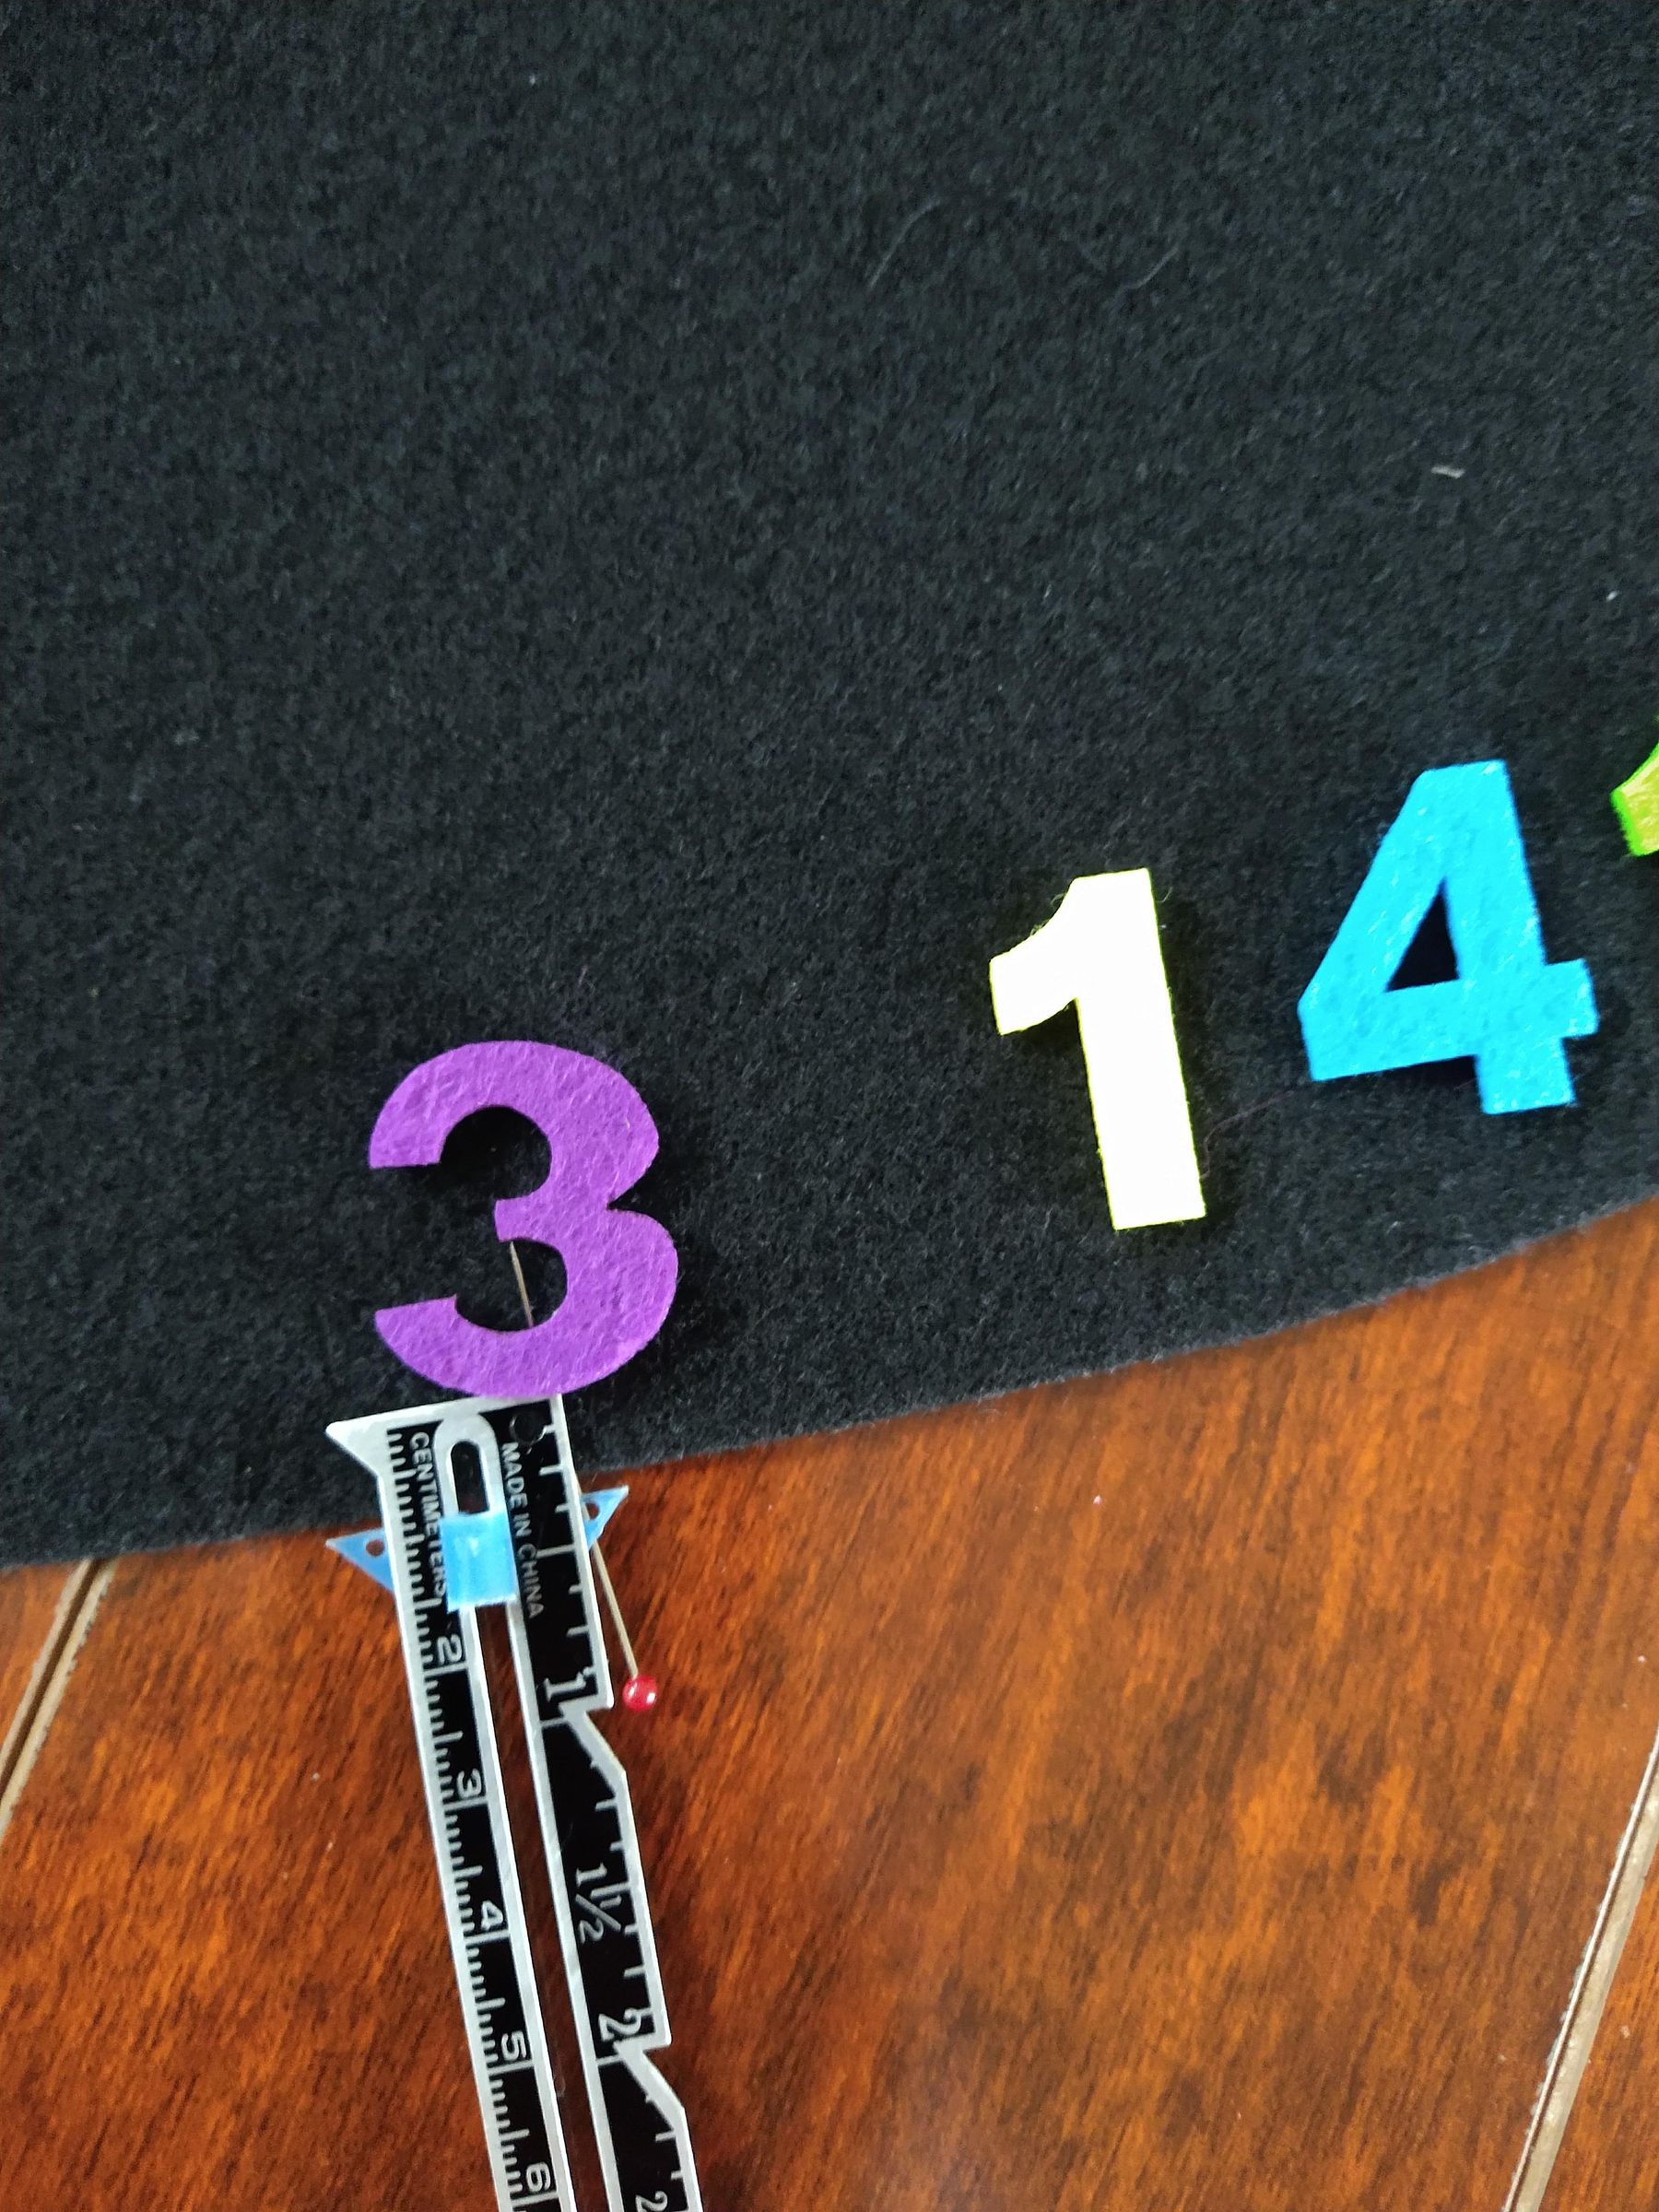
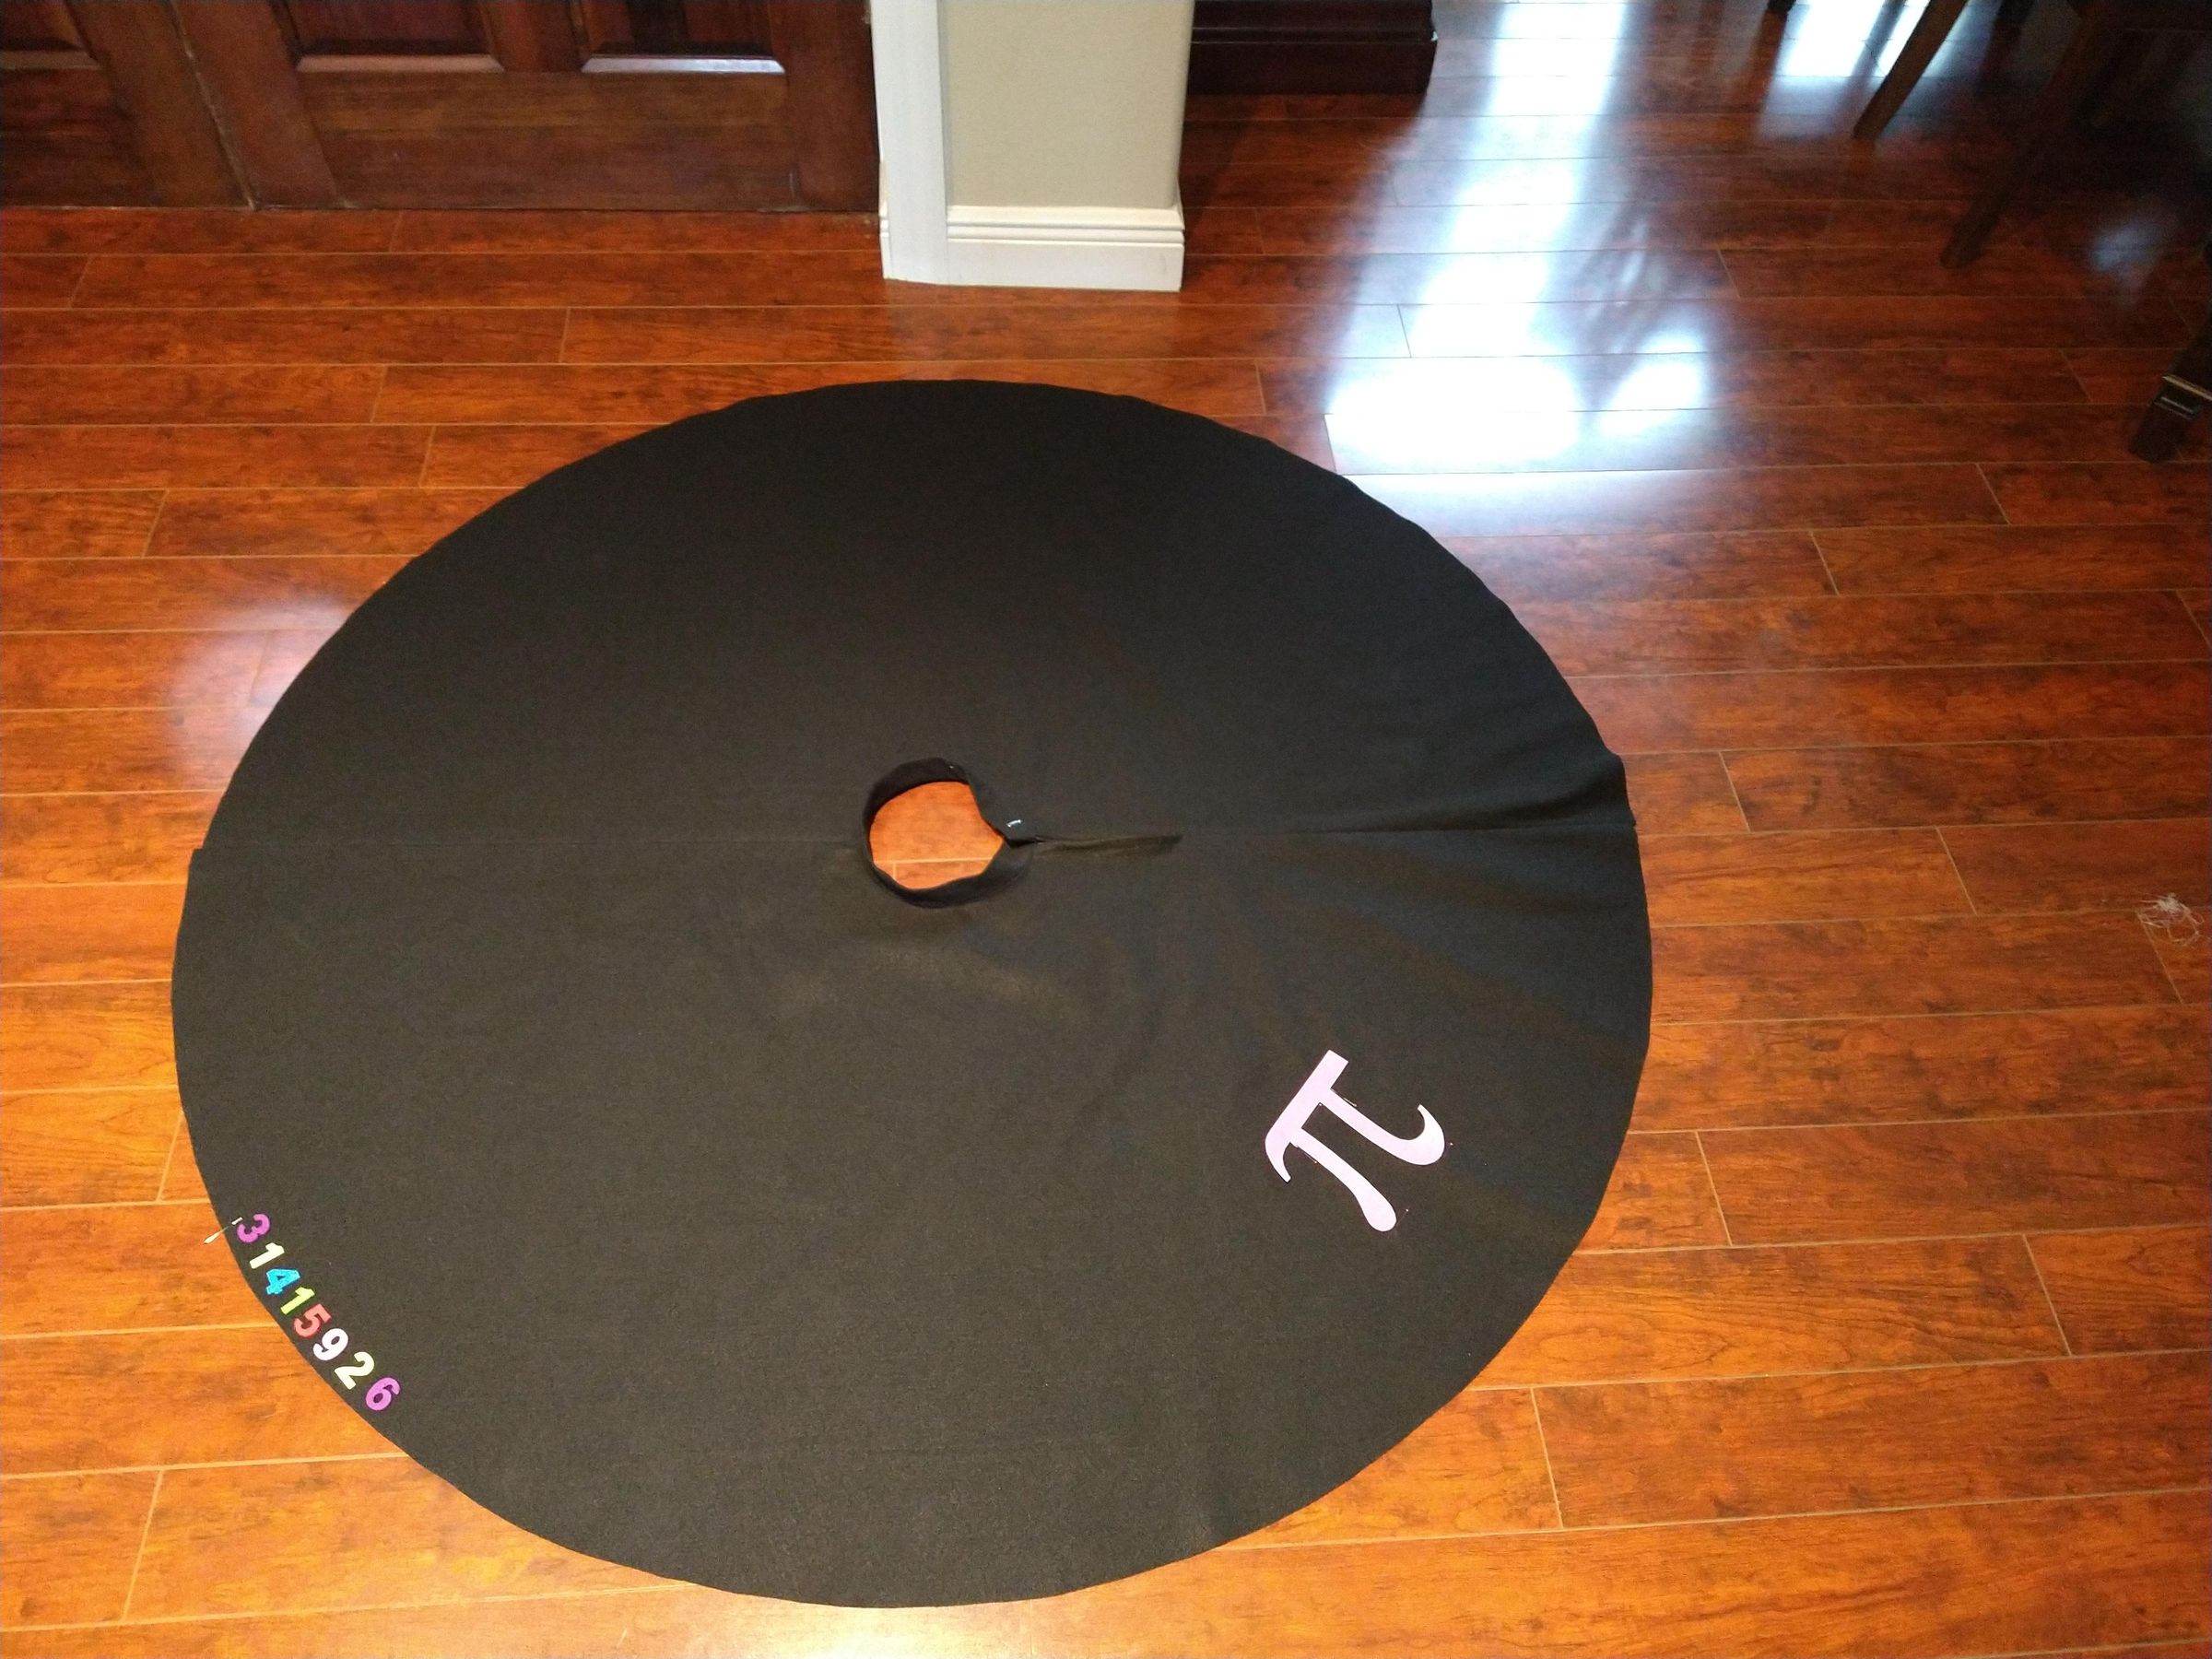
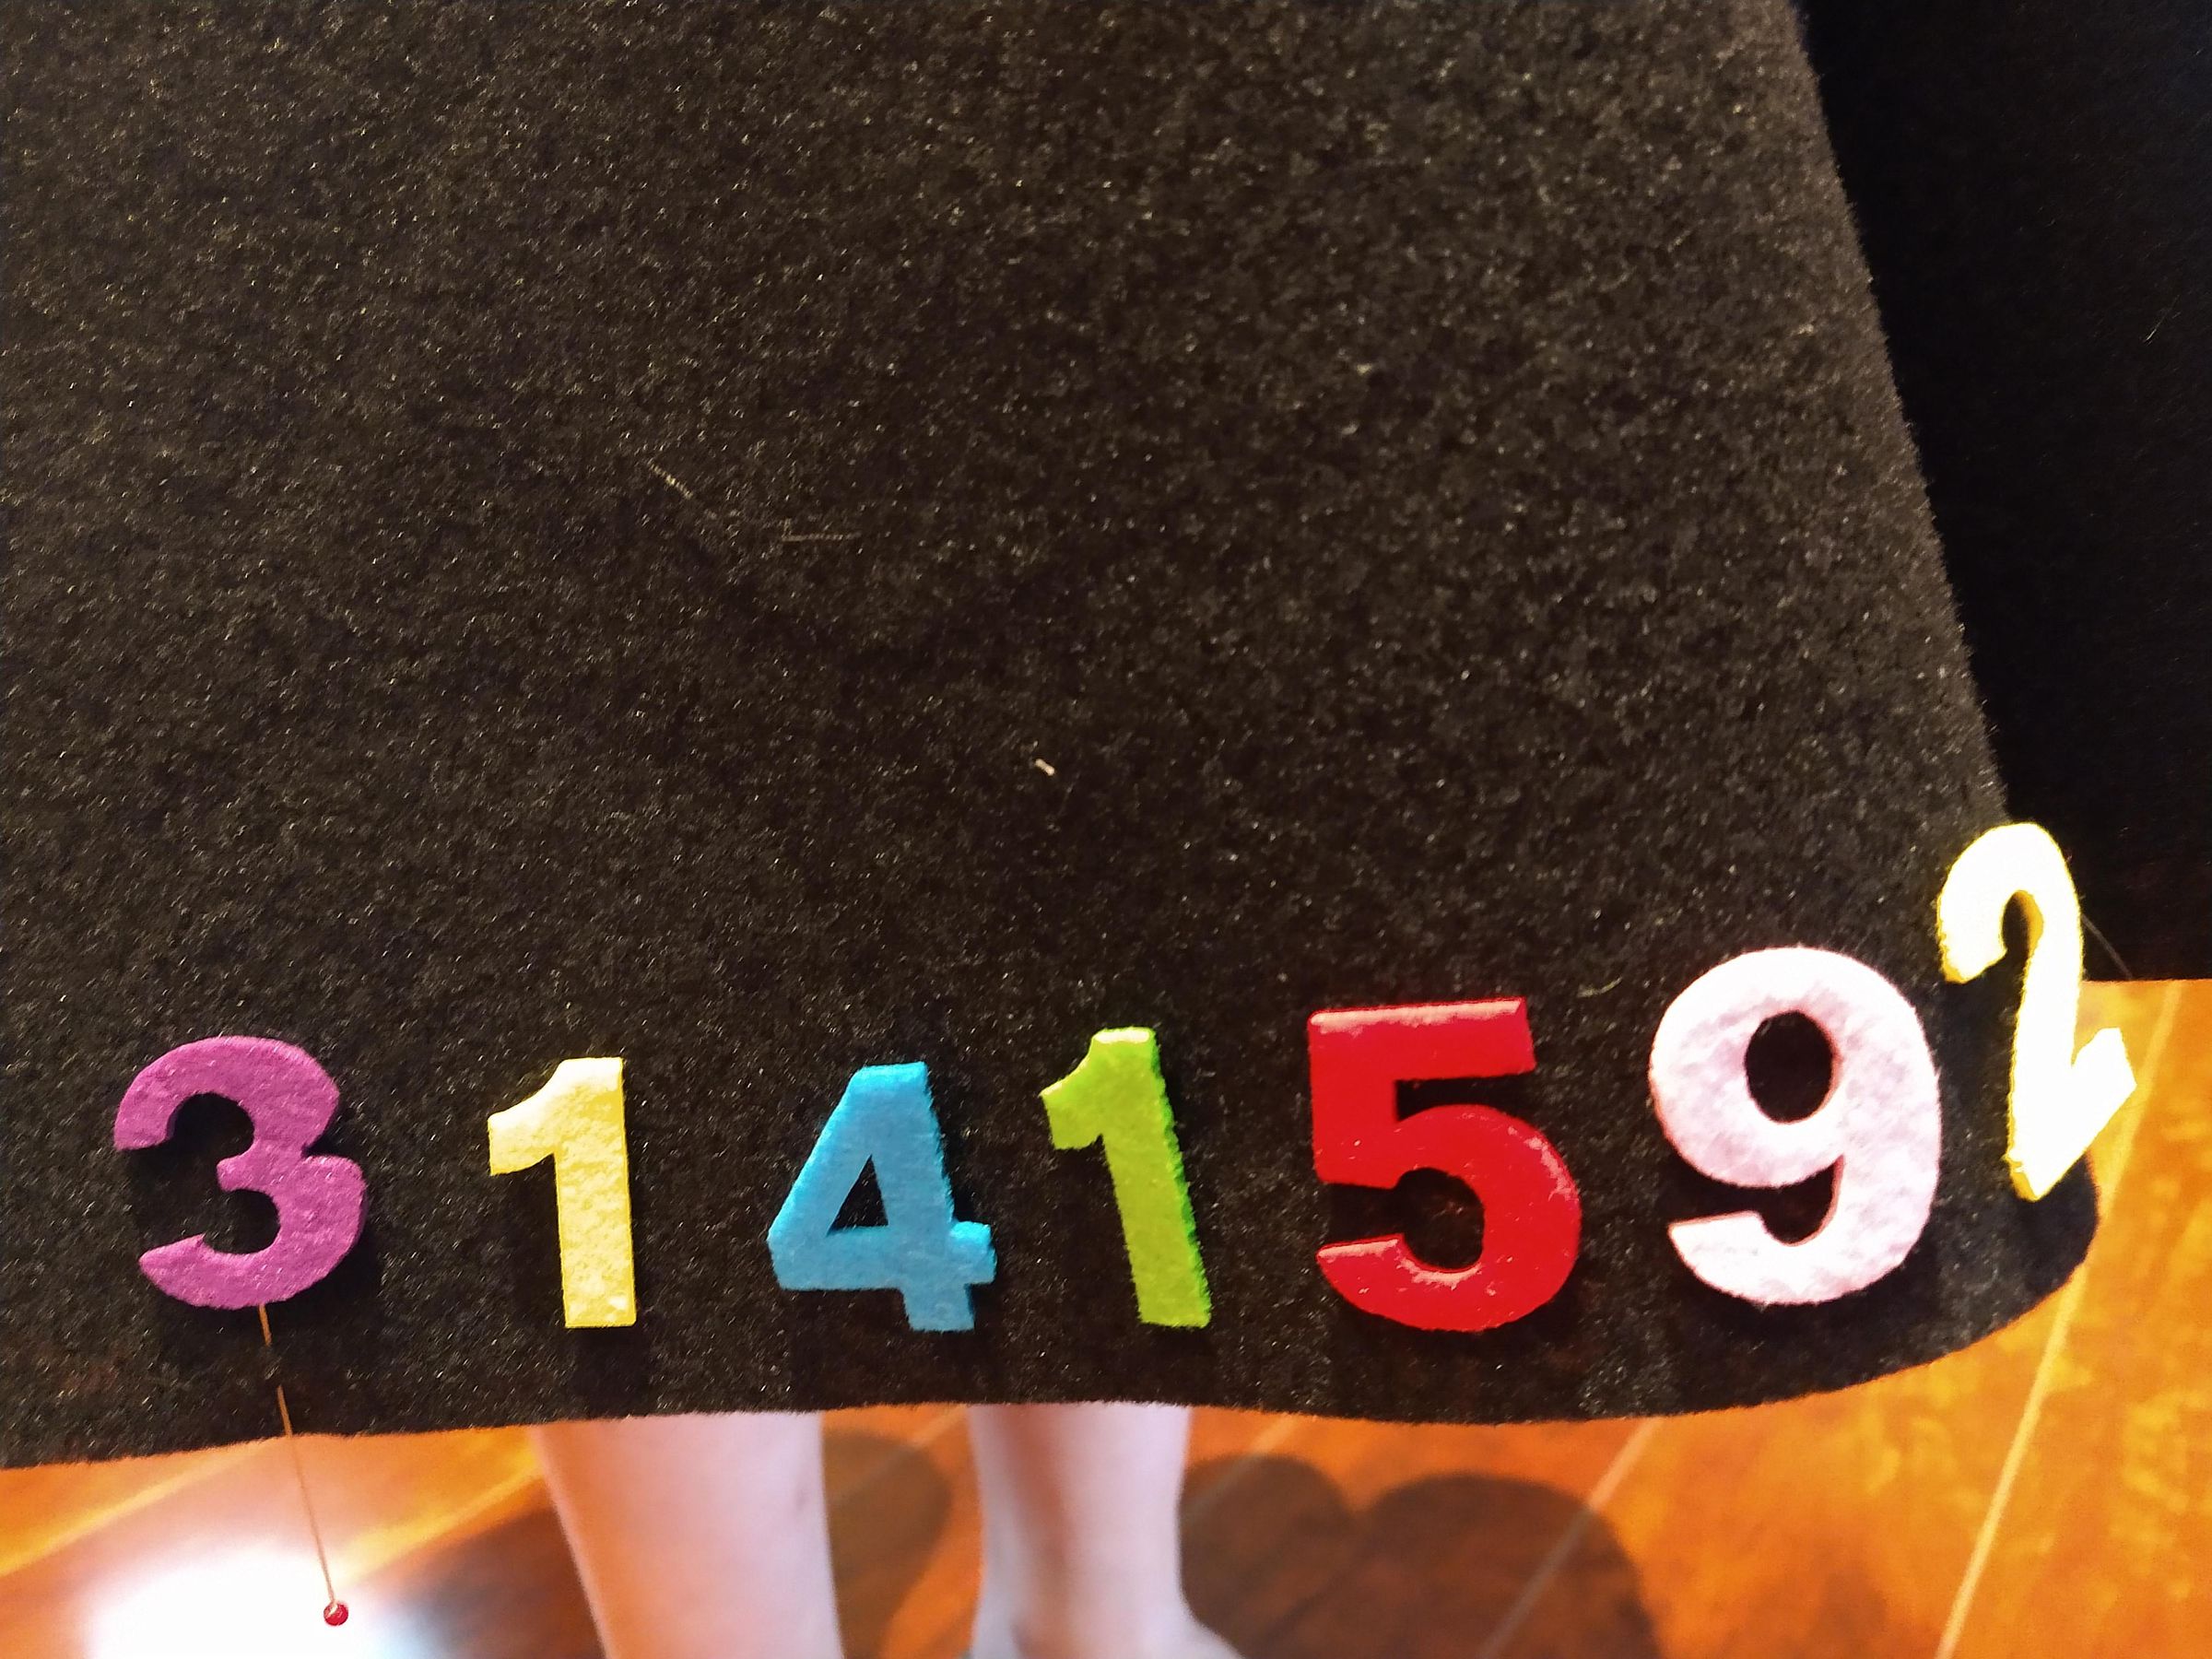
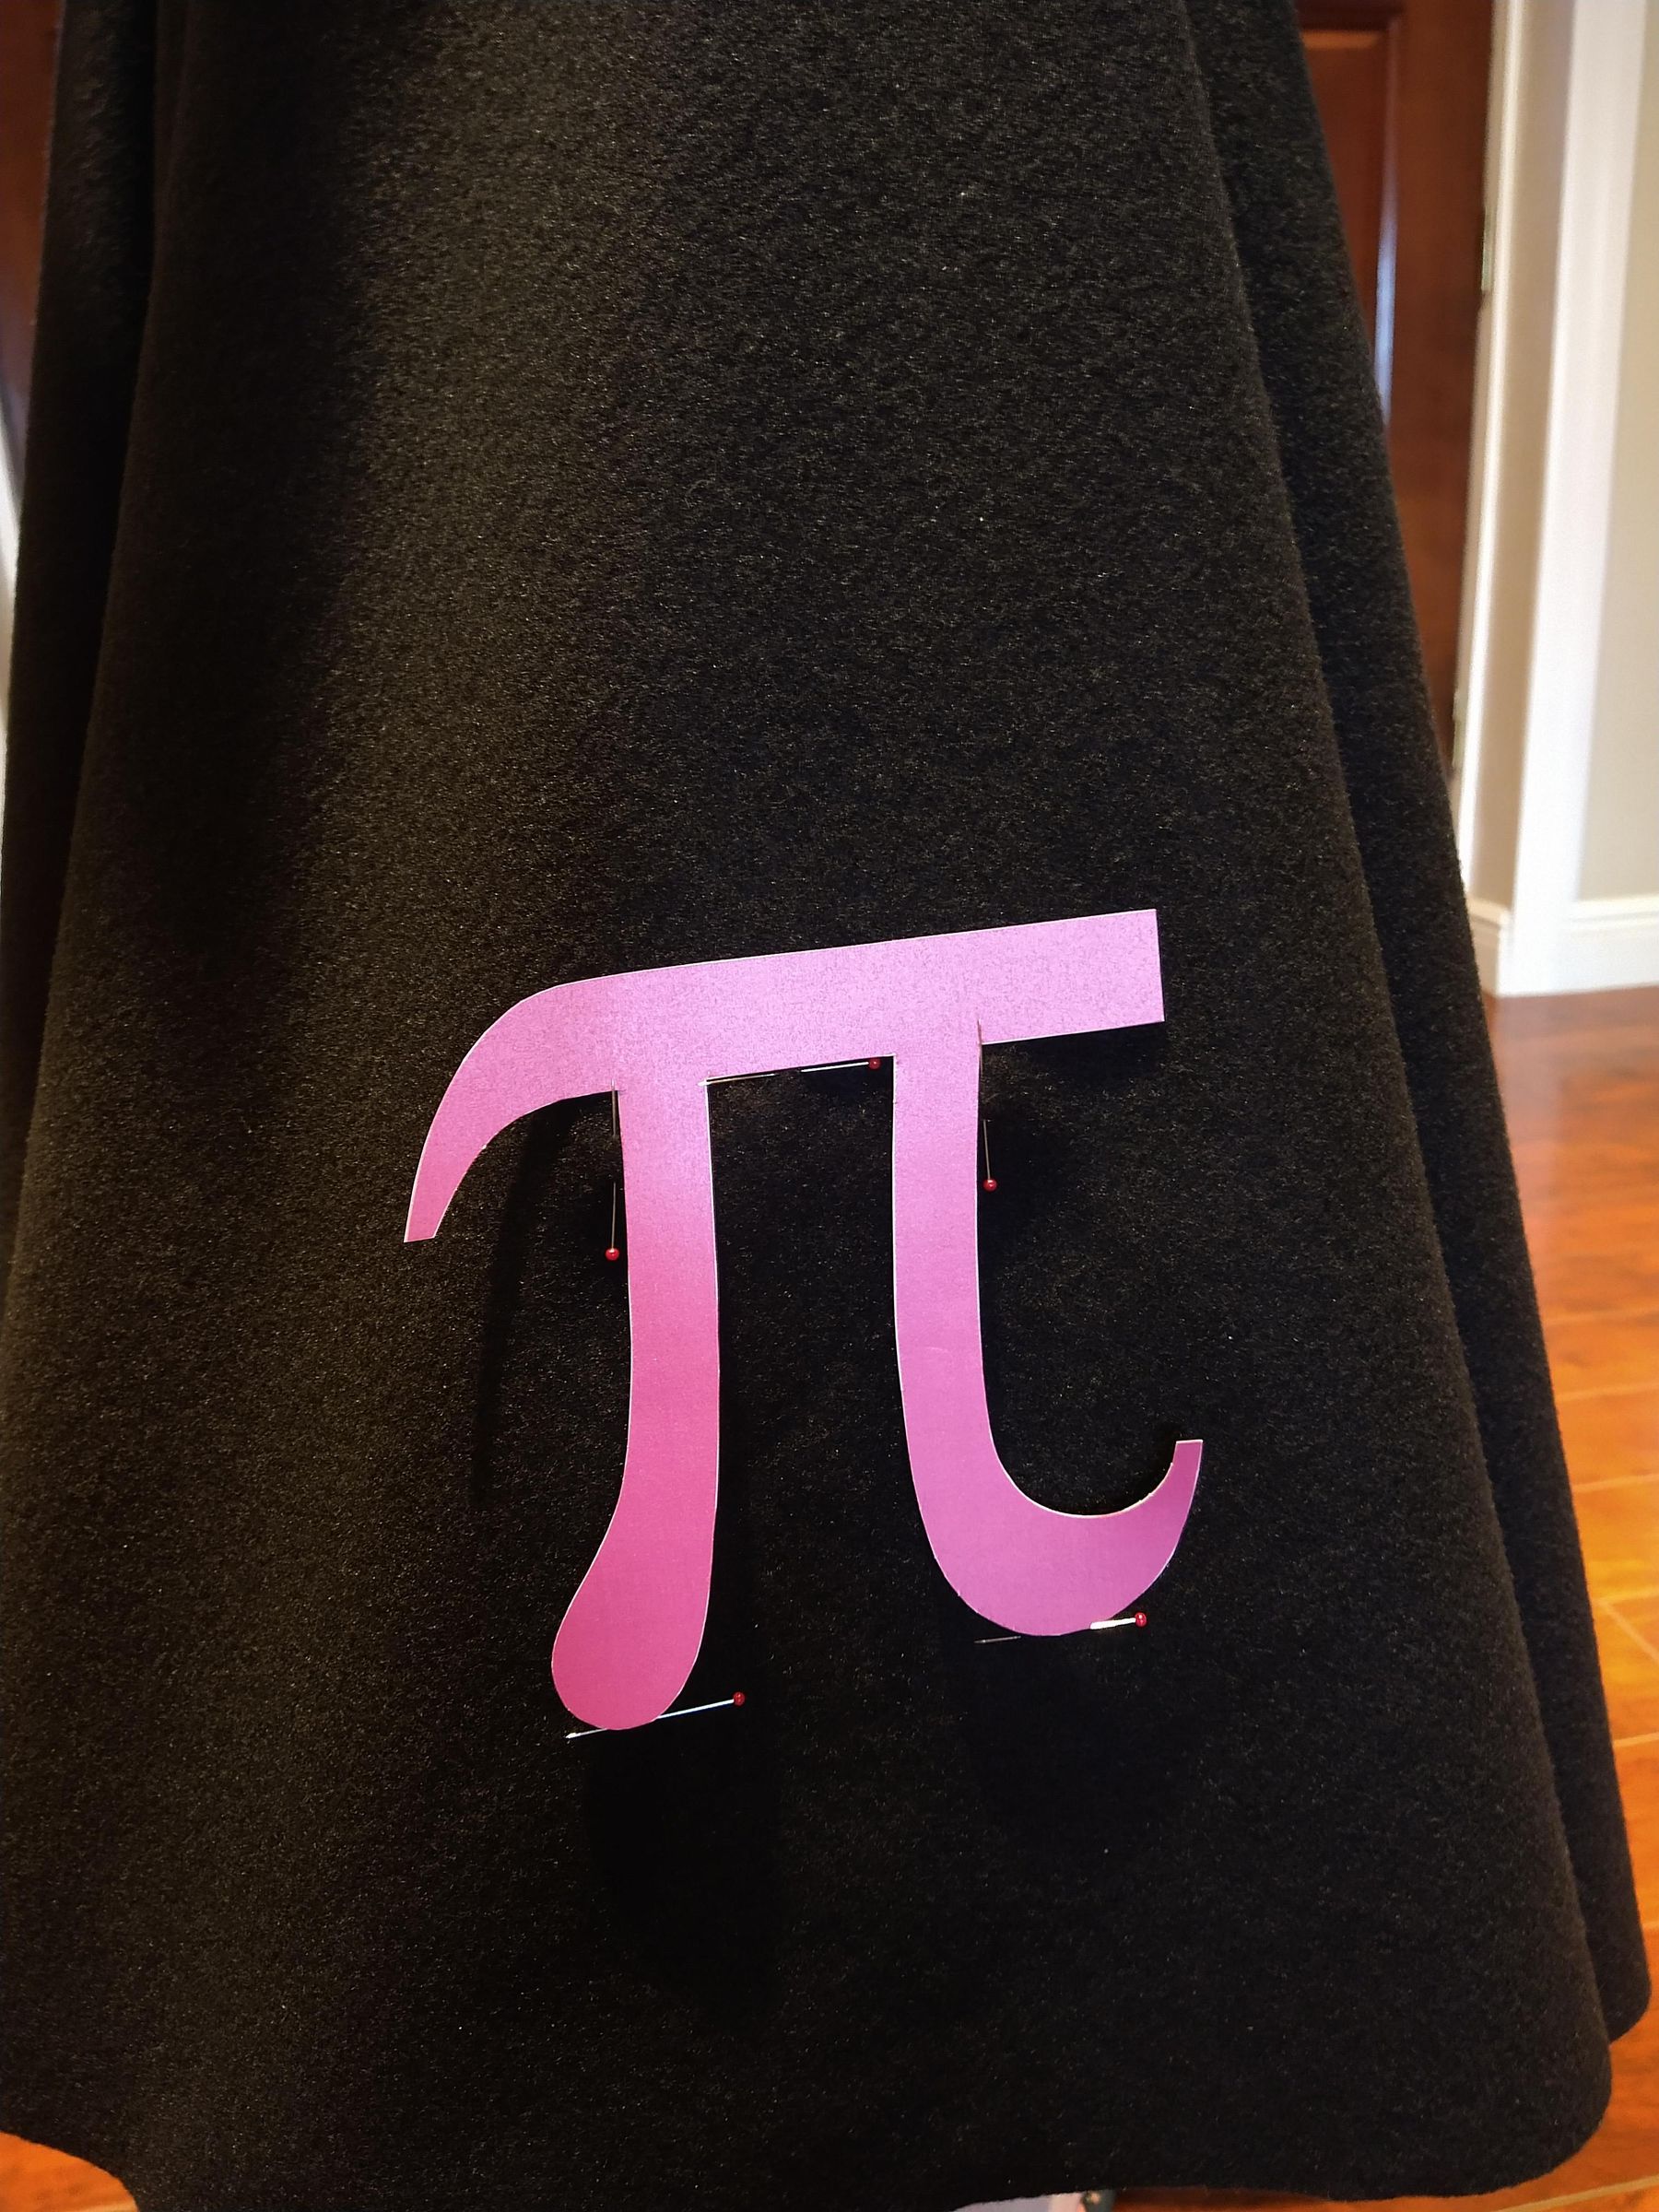
I have included a pdf with the pi applique pattern and the first 200 digits of pi!
- Print out your applique pattern on cardstock and cut it out. Mine was 6.65" by 6.65". Try on your skirt (or have your dress form try it on.)
- Play with the positioning of your applique. I put the π on the right side and started the number sequence on the left. Mark your π applique position with straight pins.
- Begin placing your numbers ⅜" from the hem, about ⅜" apart. I eyeballed as I placed them. You can glue them to start out so you don't have to come back later and glue them, but I placed them then glued them to make sure I had enough numbers.
- I began the 3.1415... on the left to kind of balance the large π on the right. There were some felt bits that worked for the decimal points. I ended the sequence with 4 decimal ellipsis.
The Pi Applique
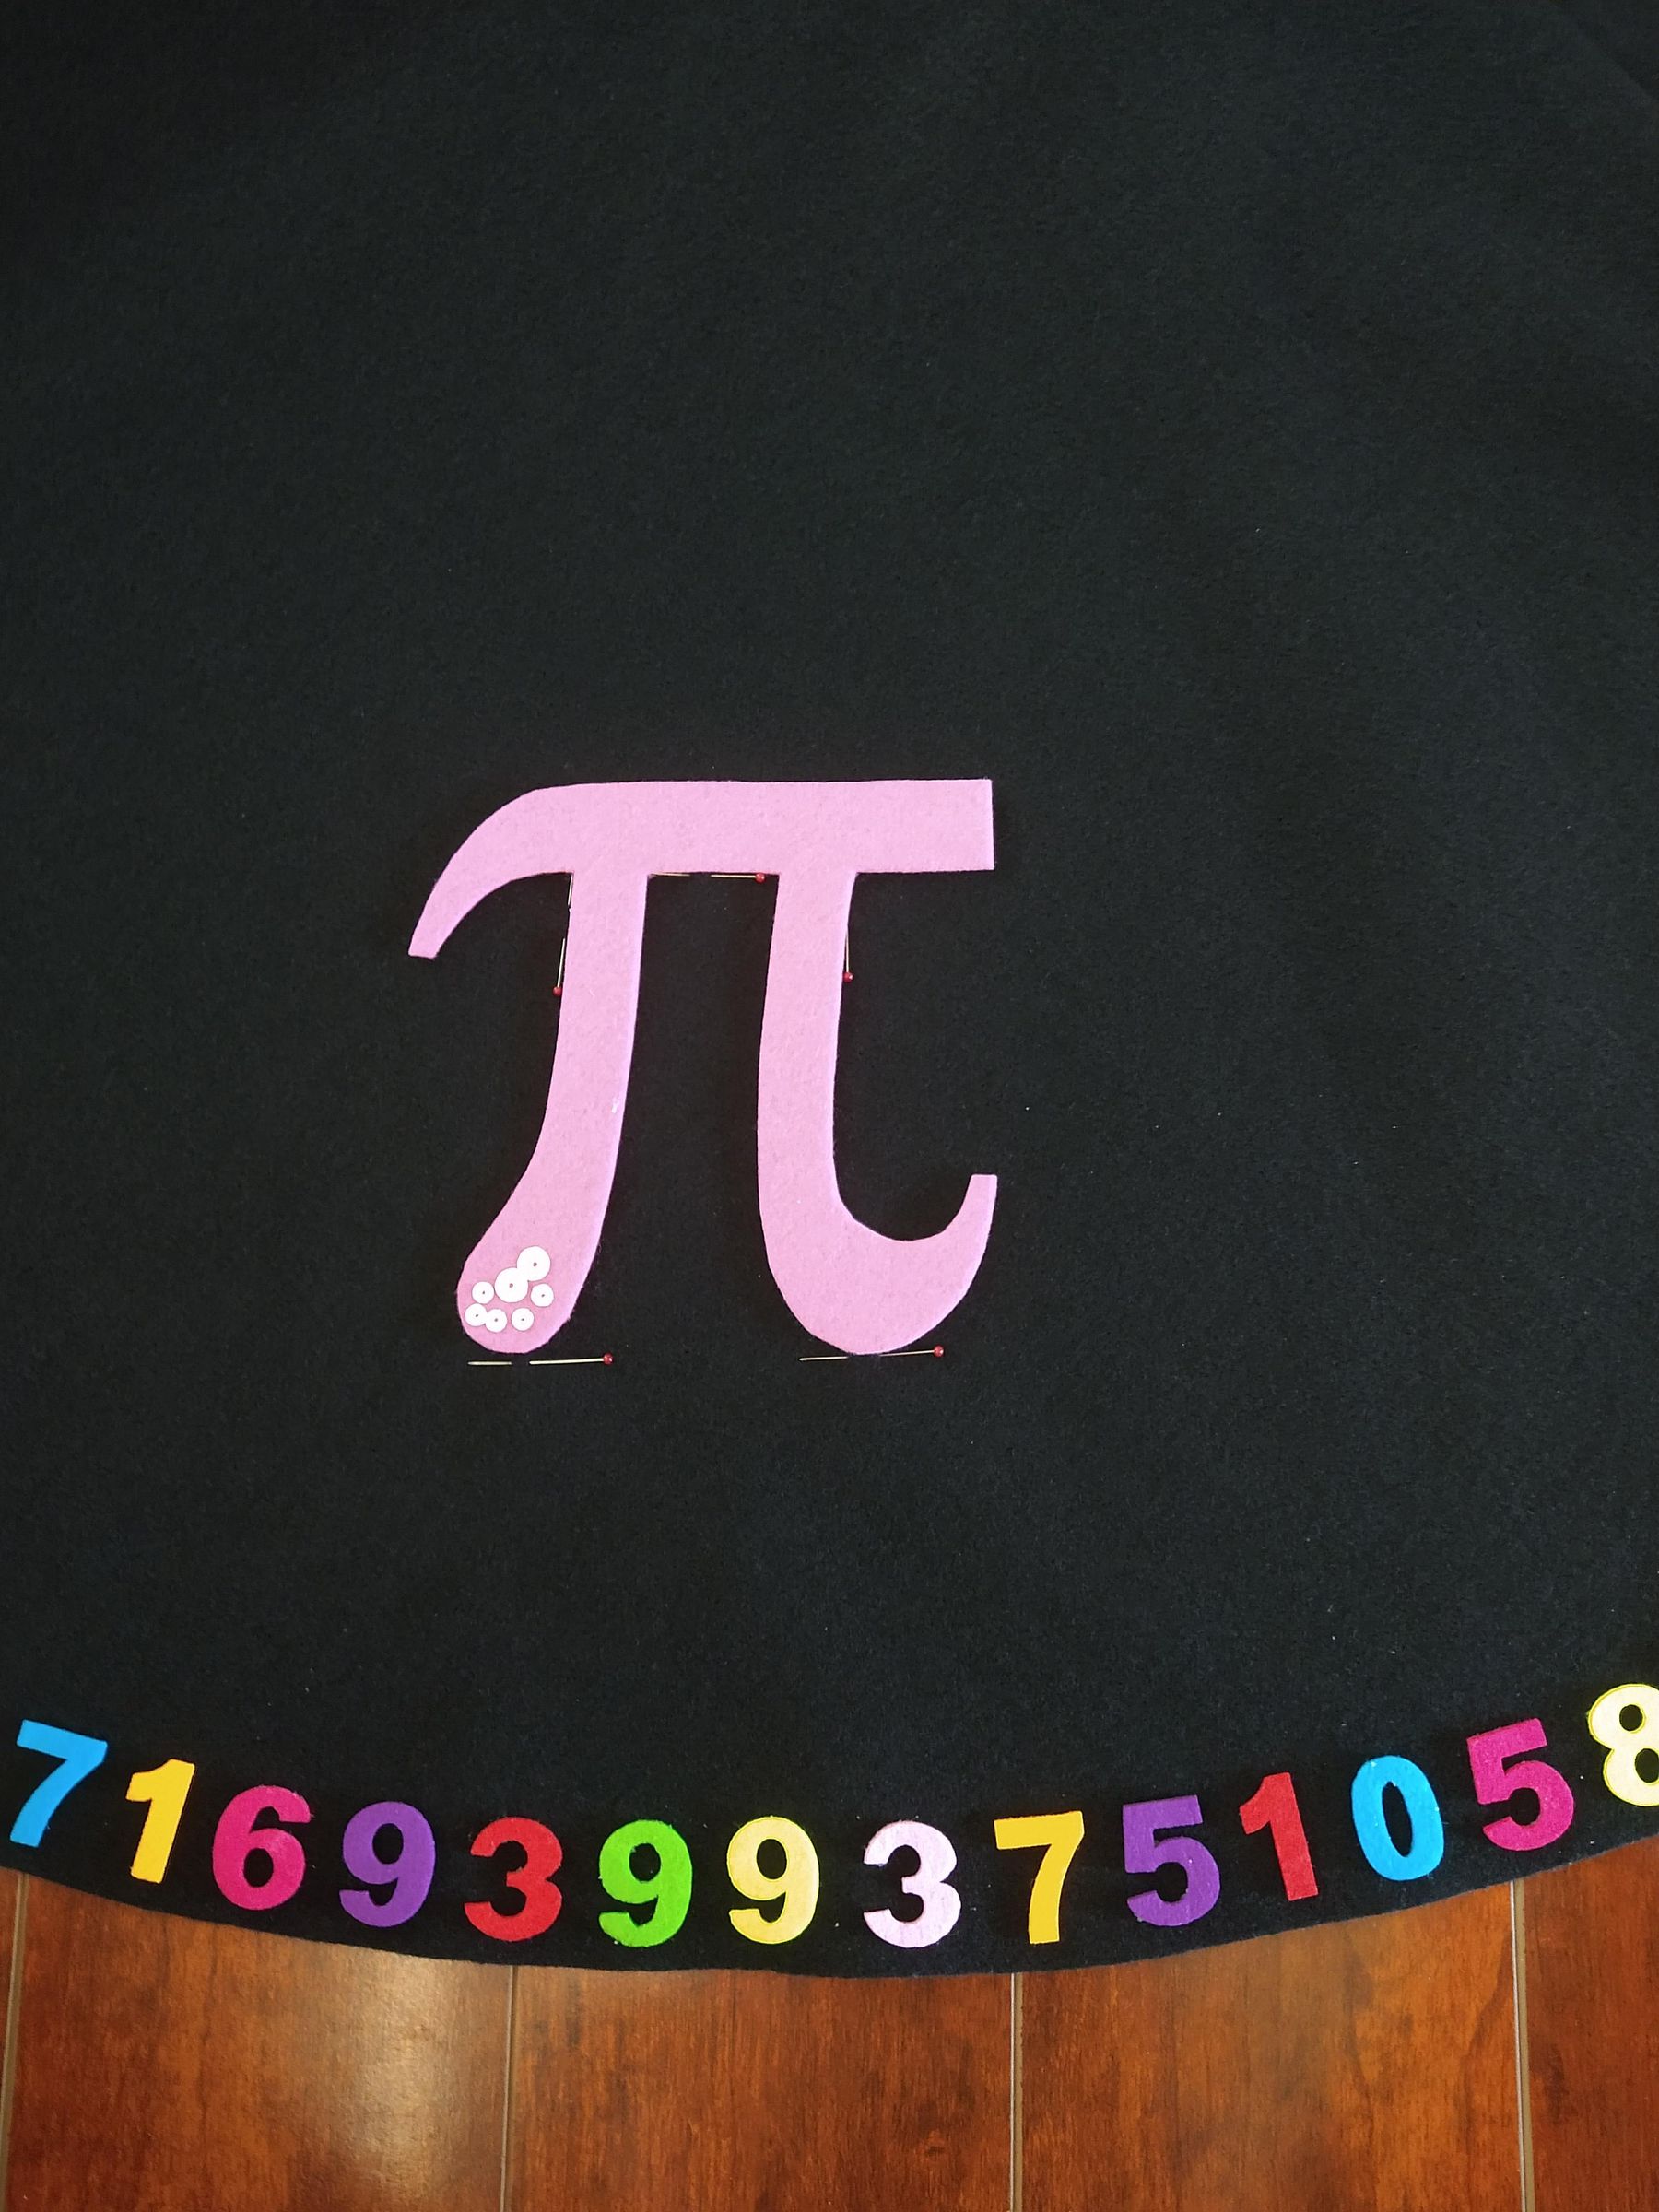
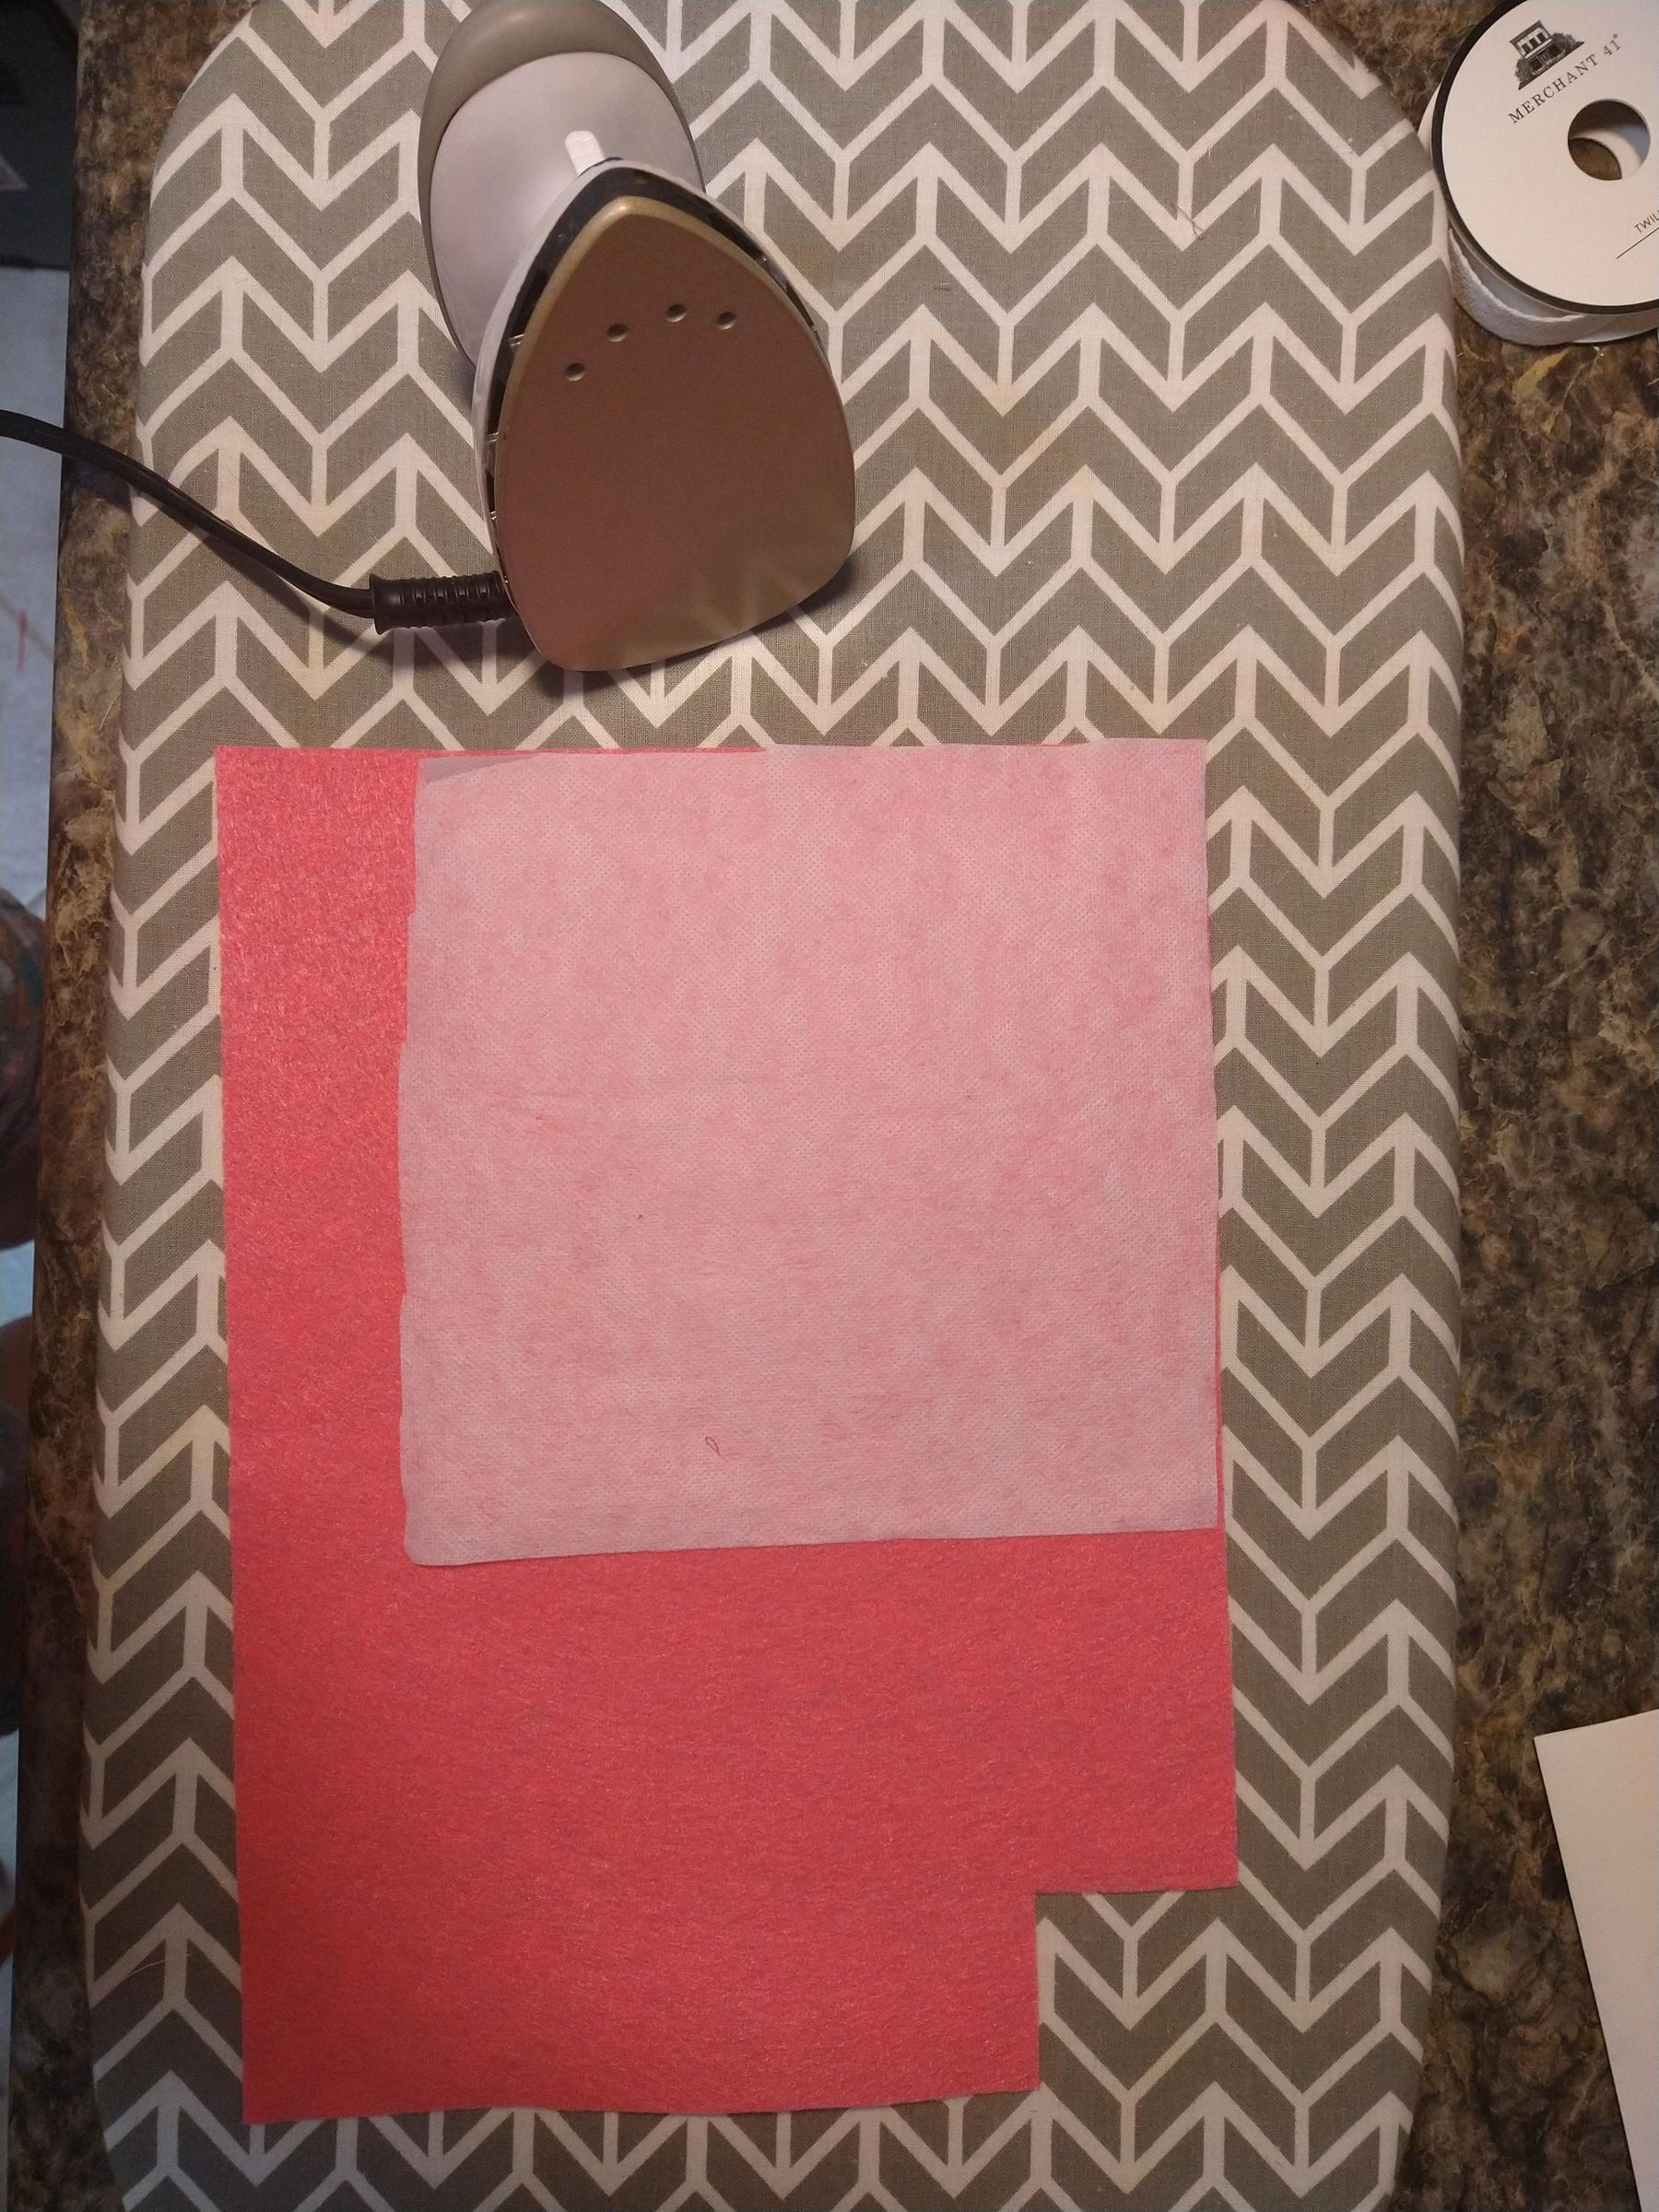
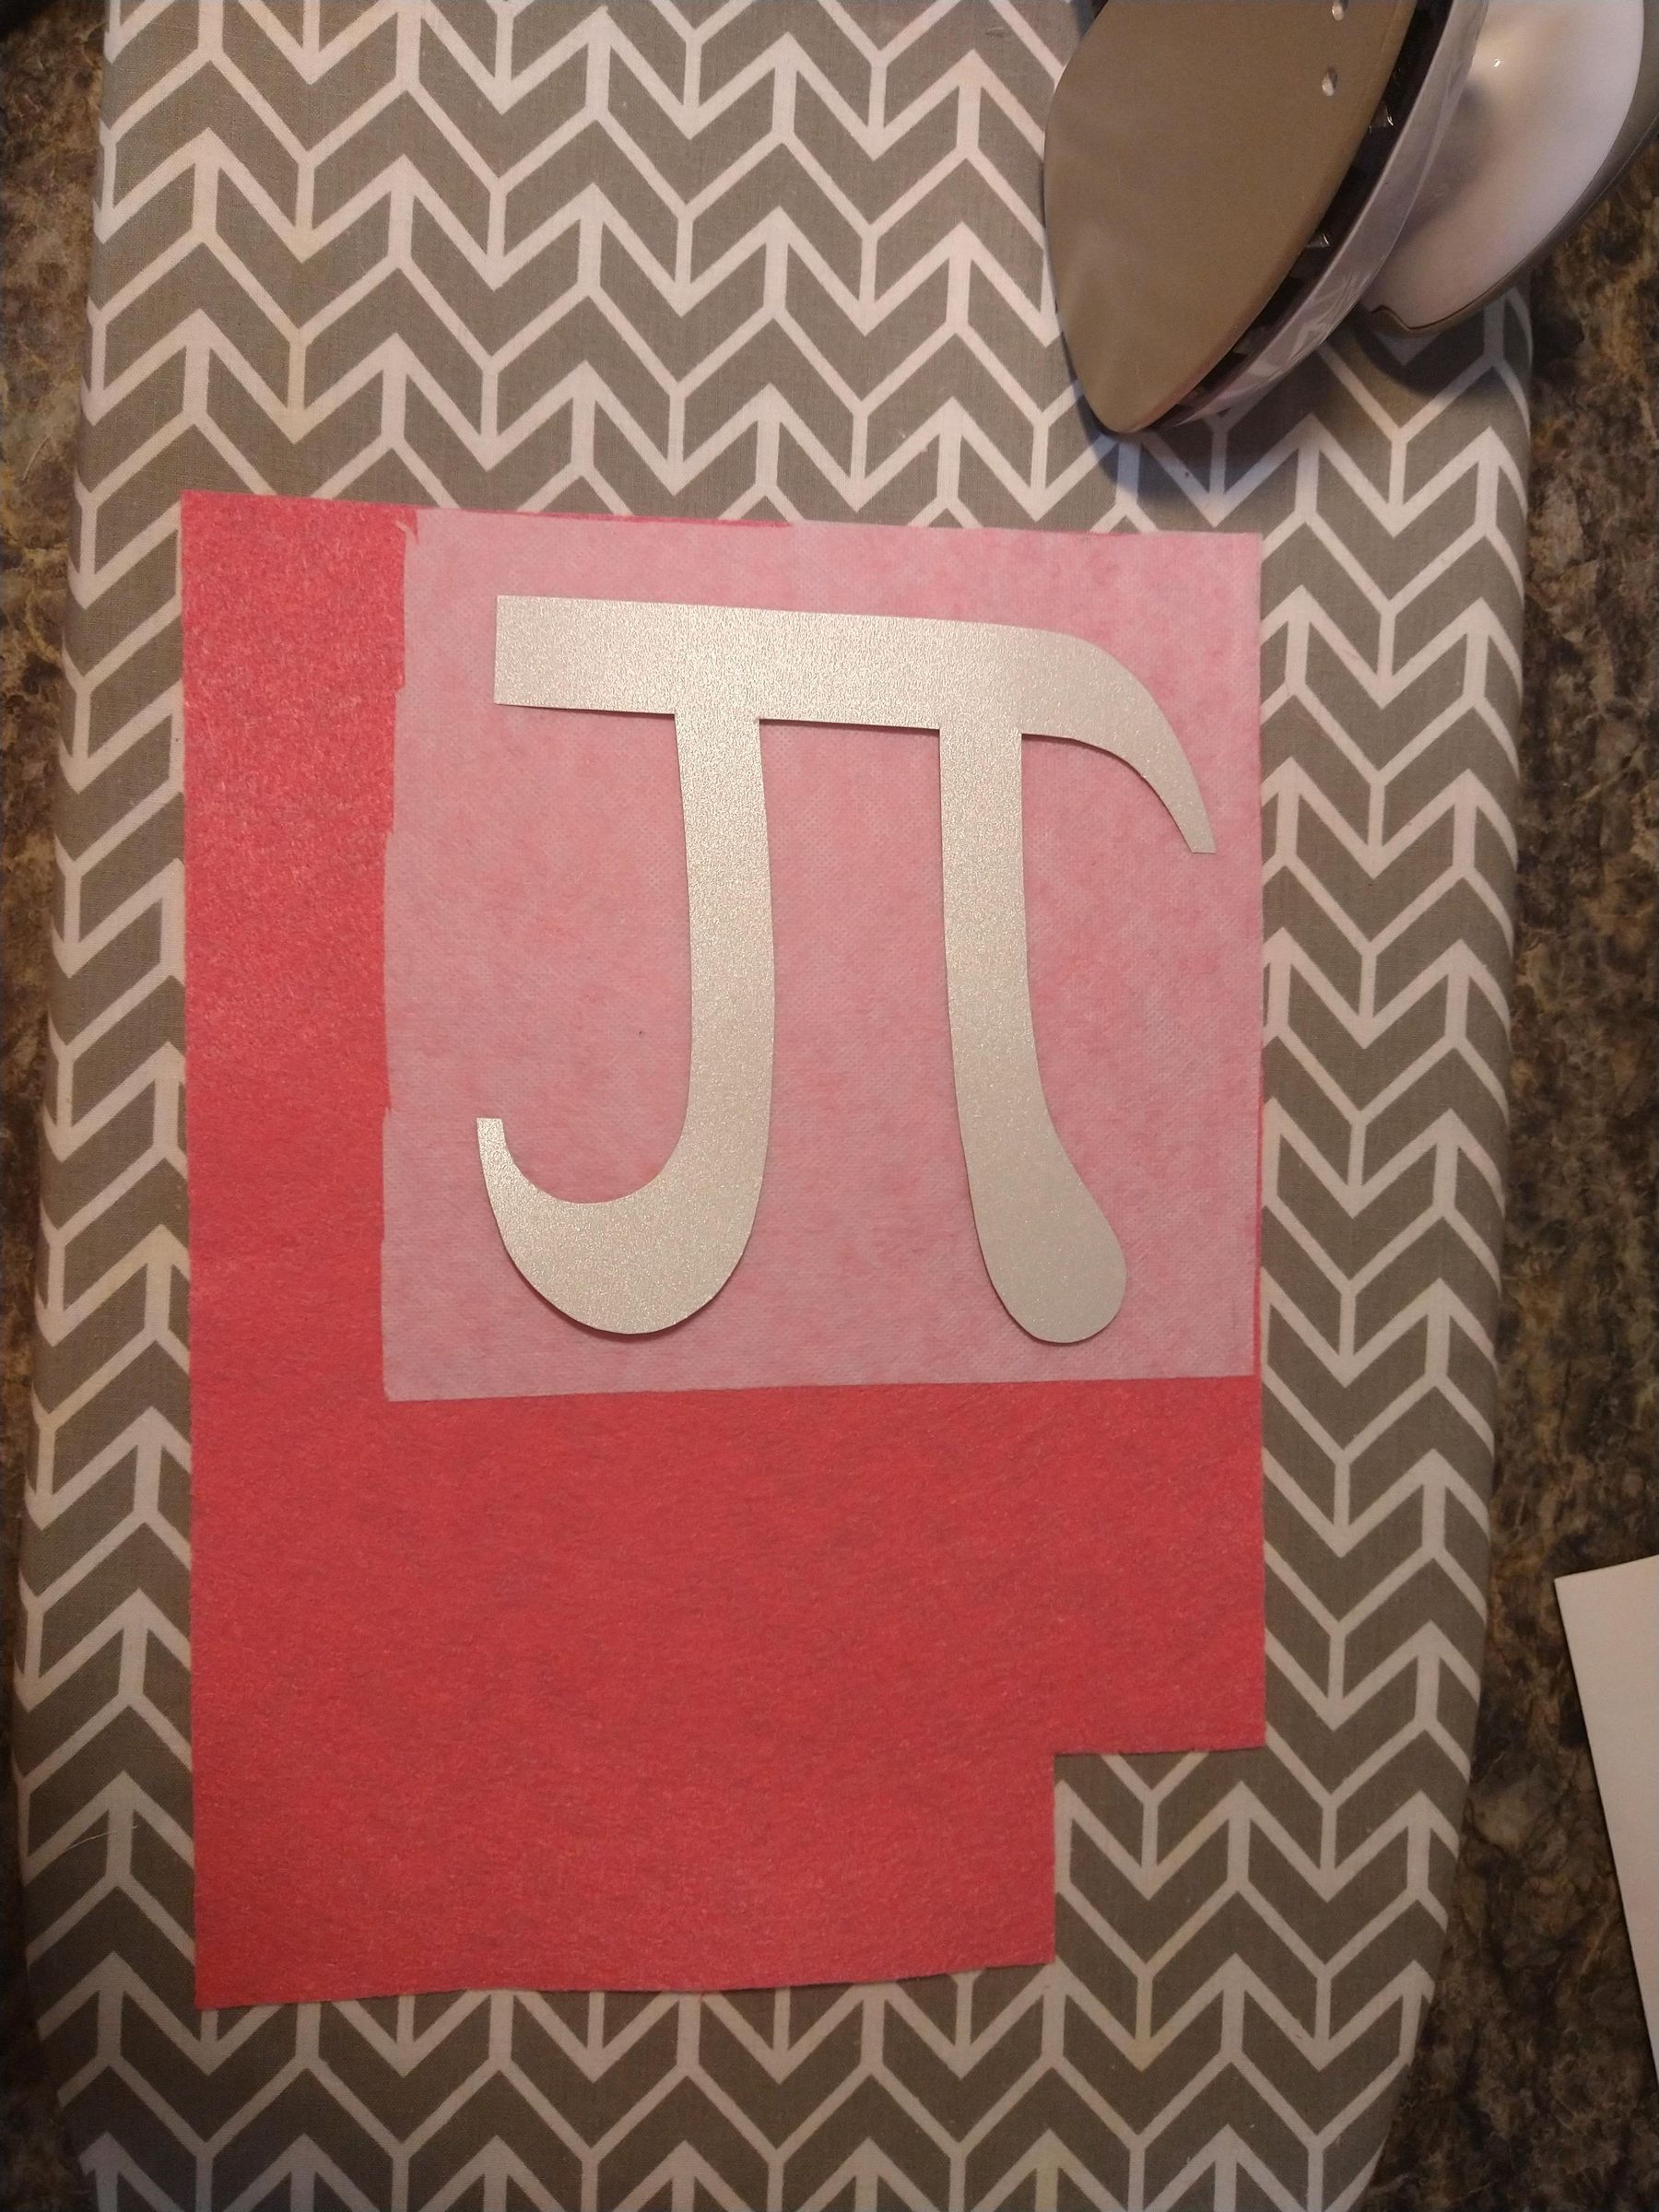
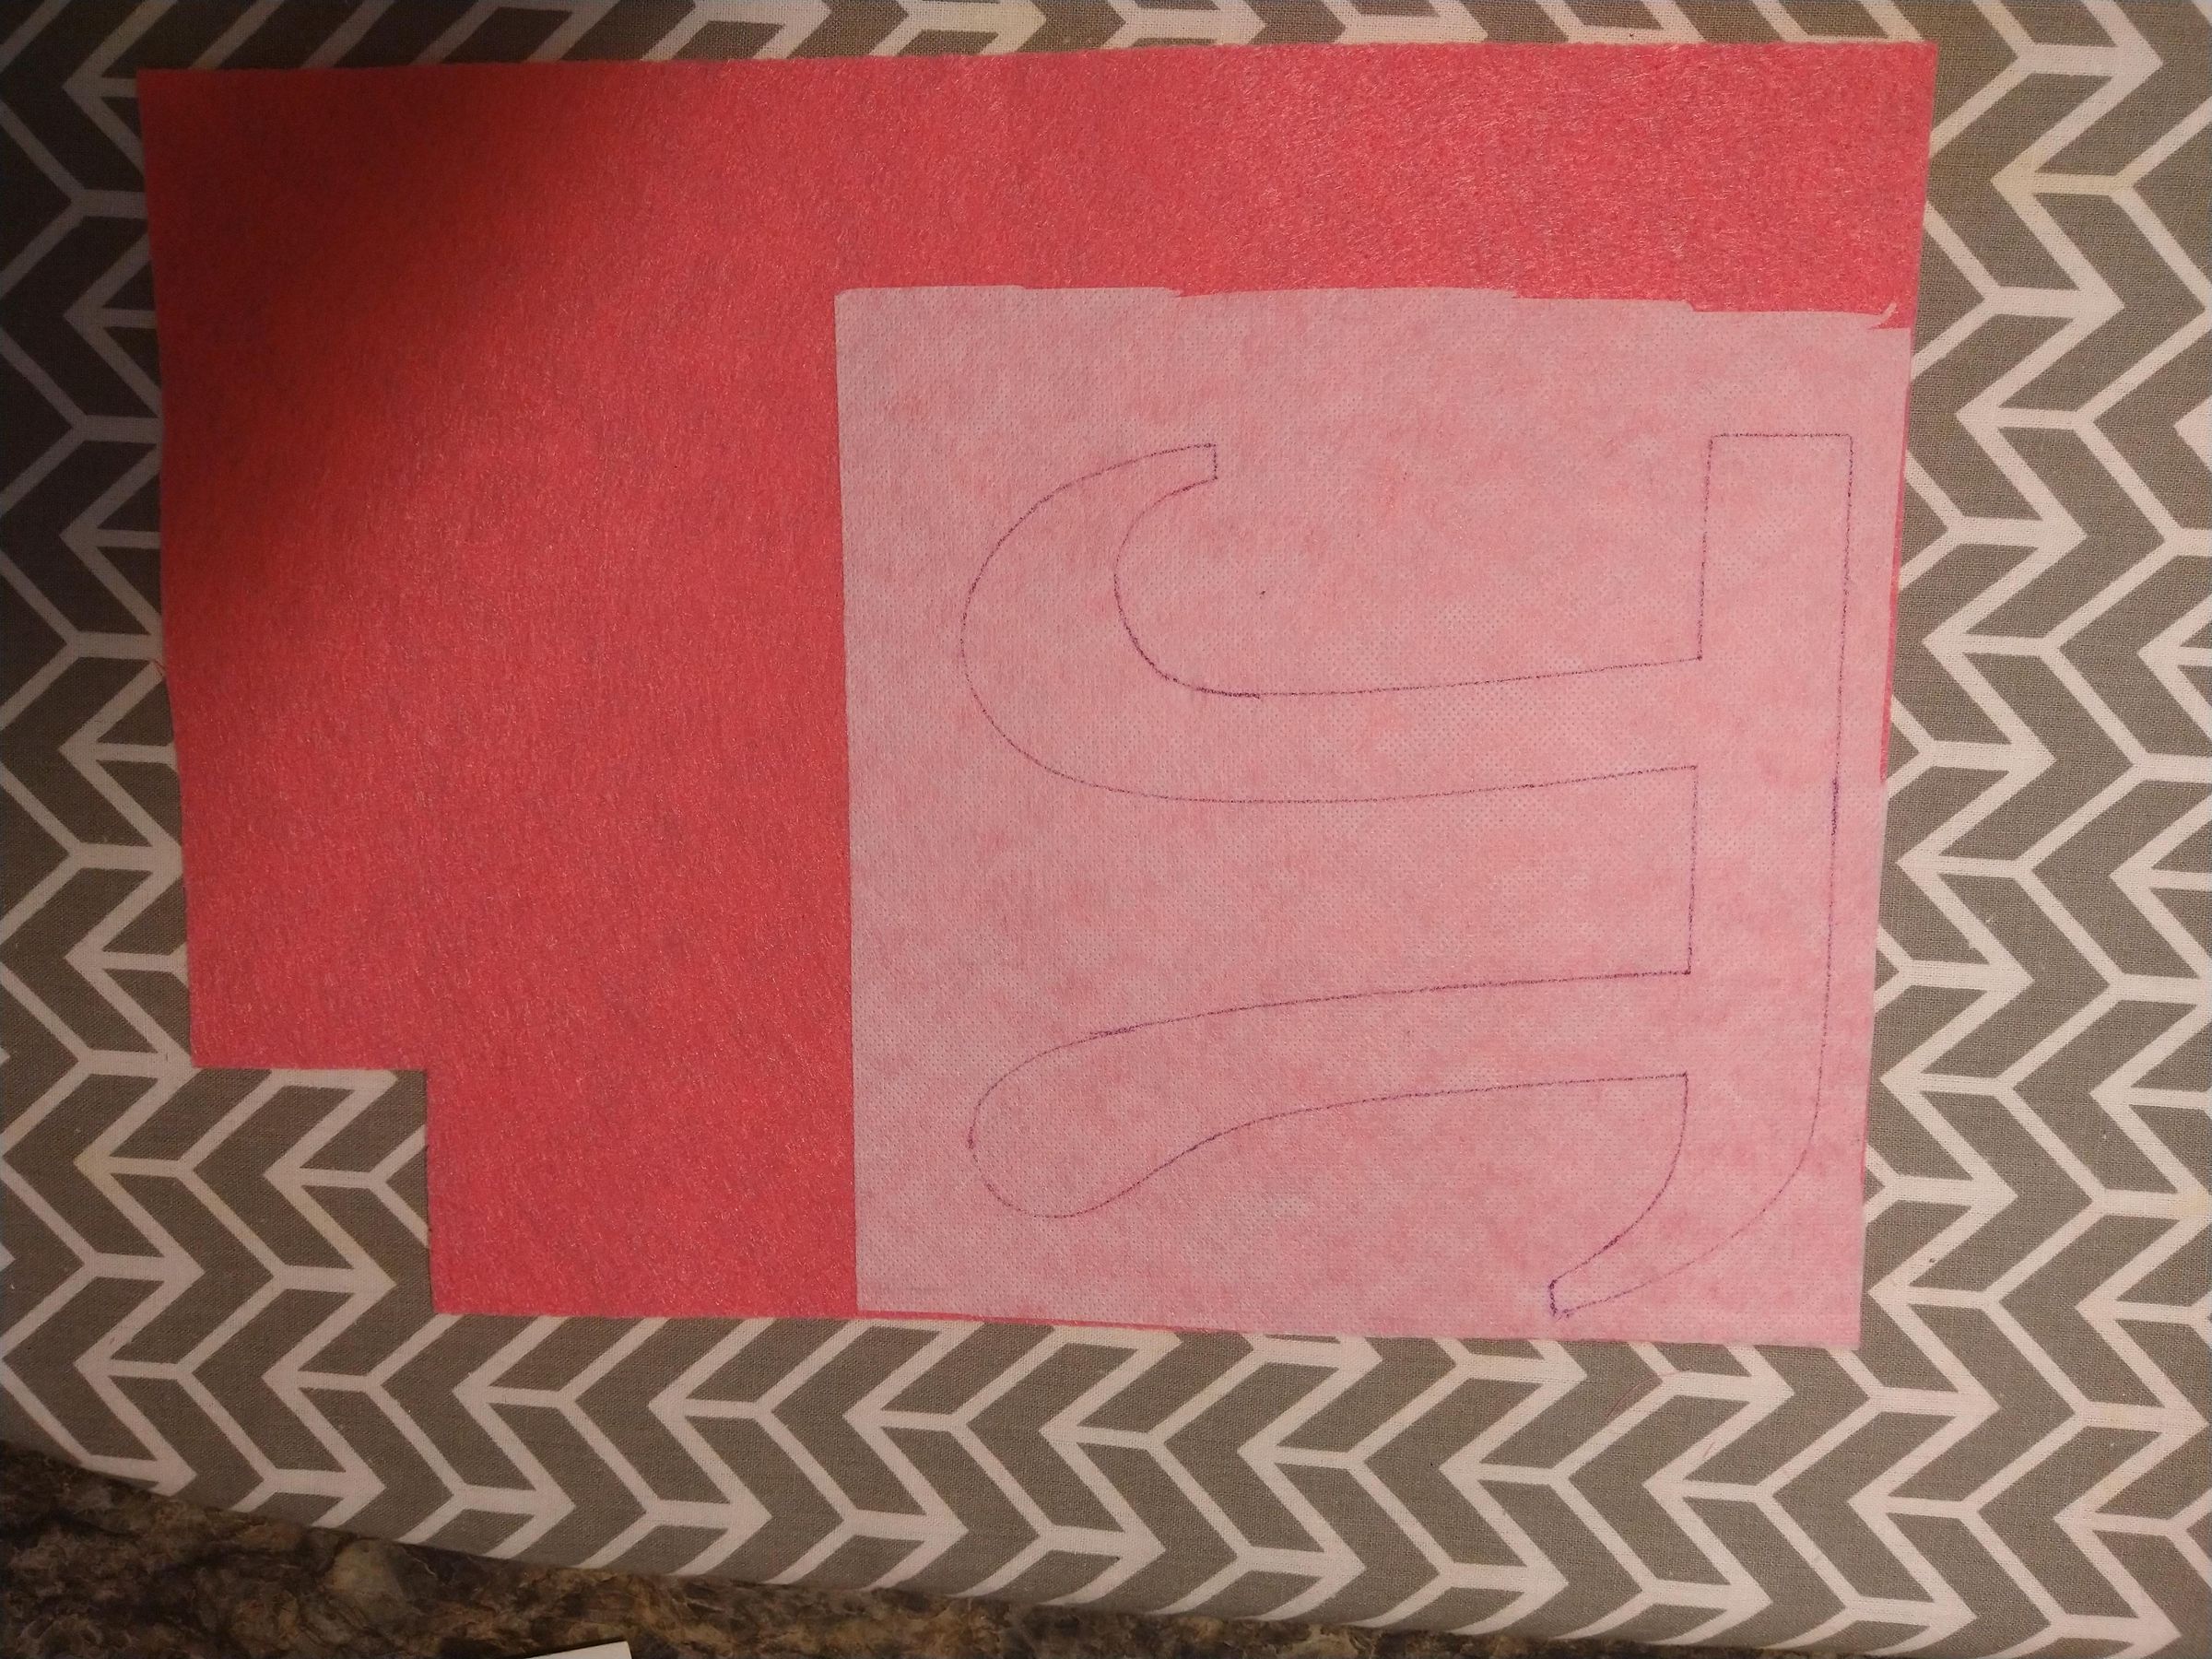
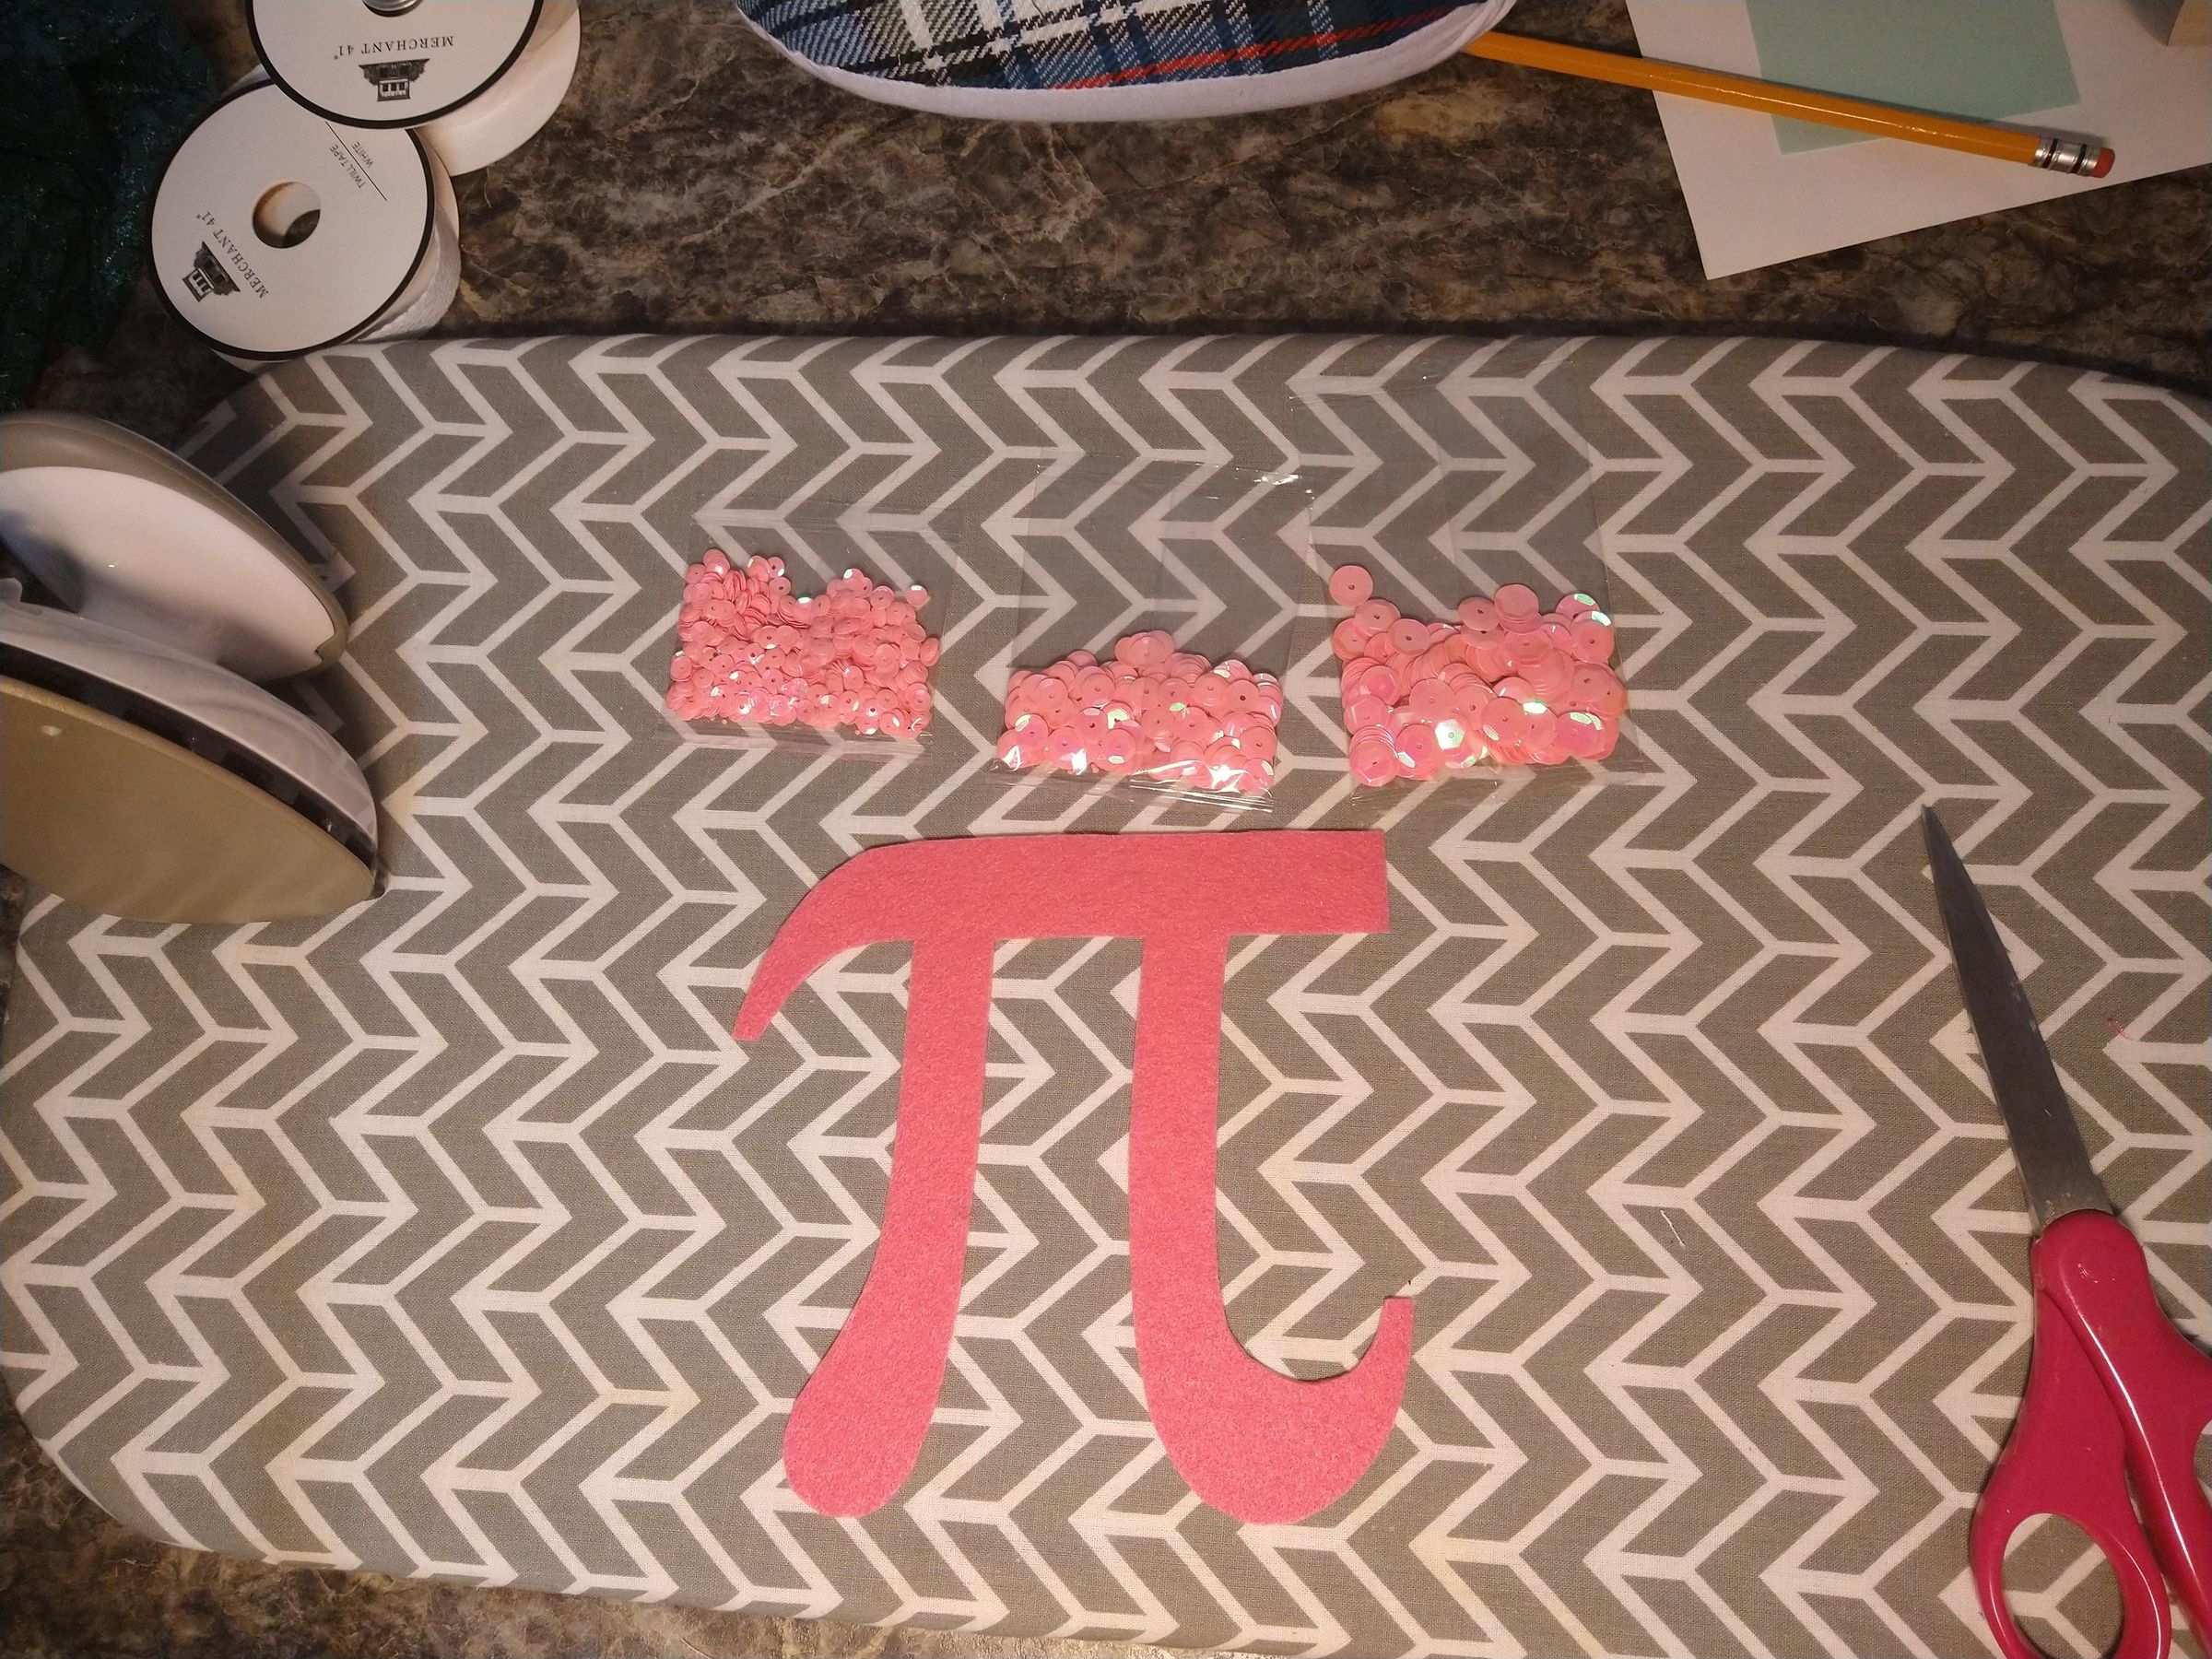
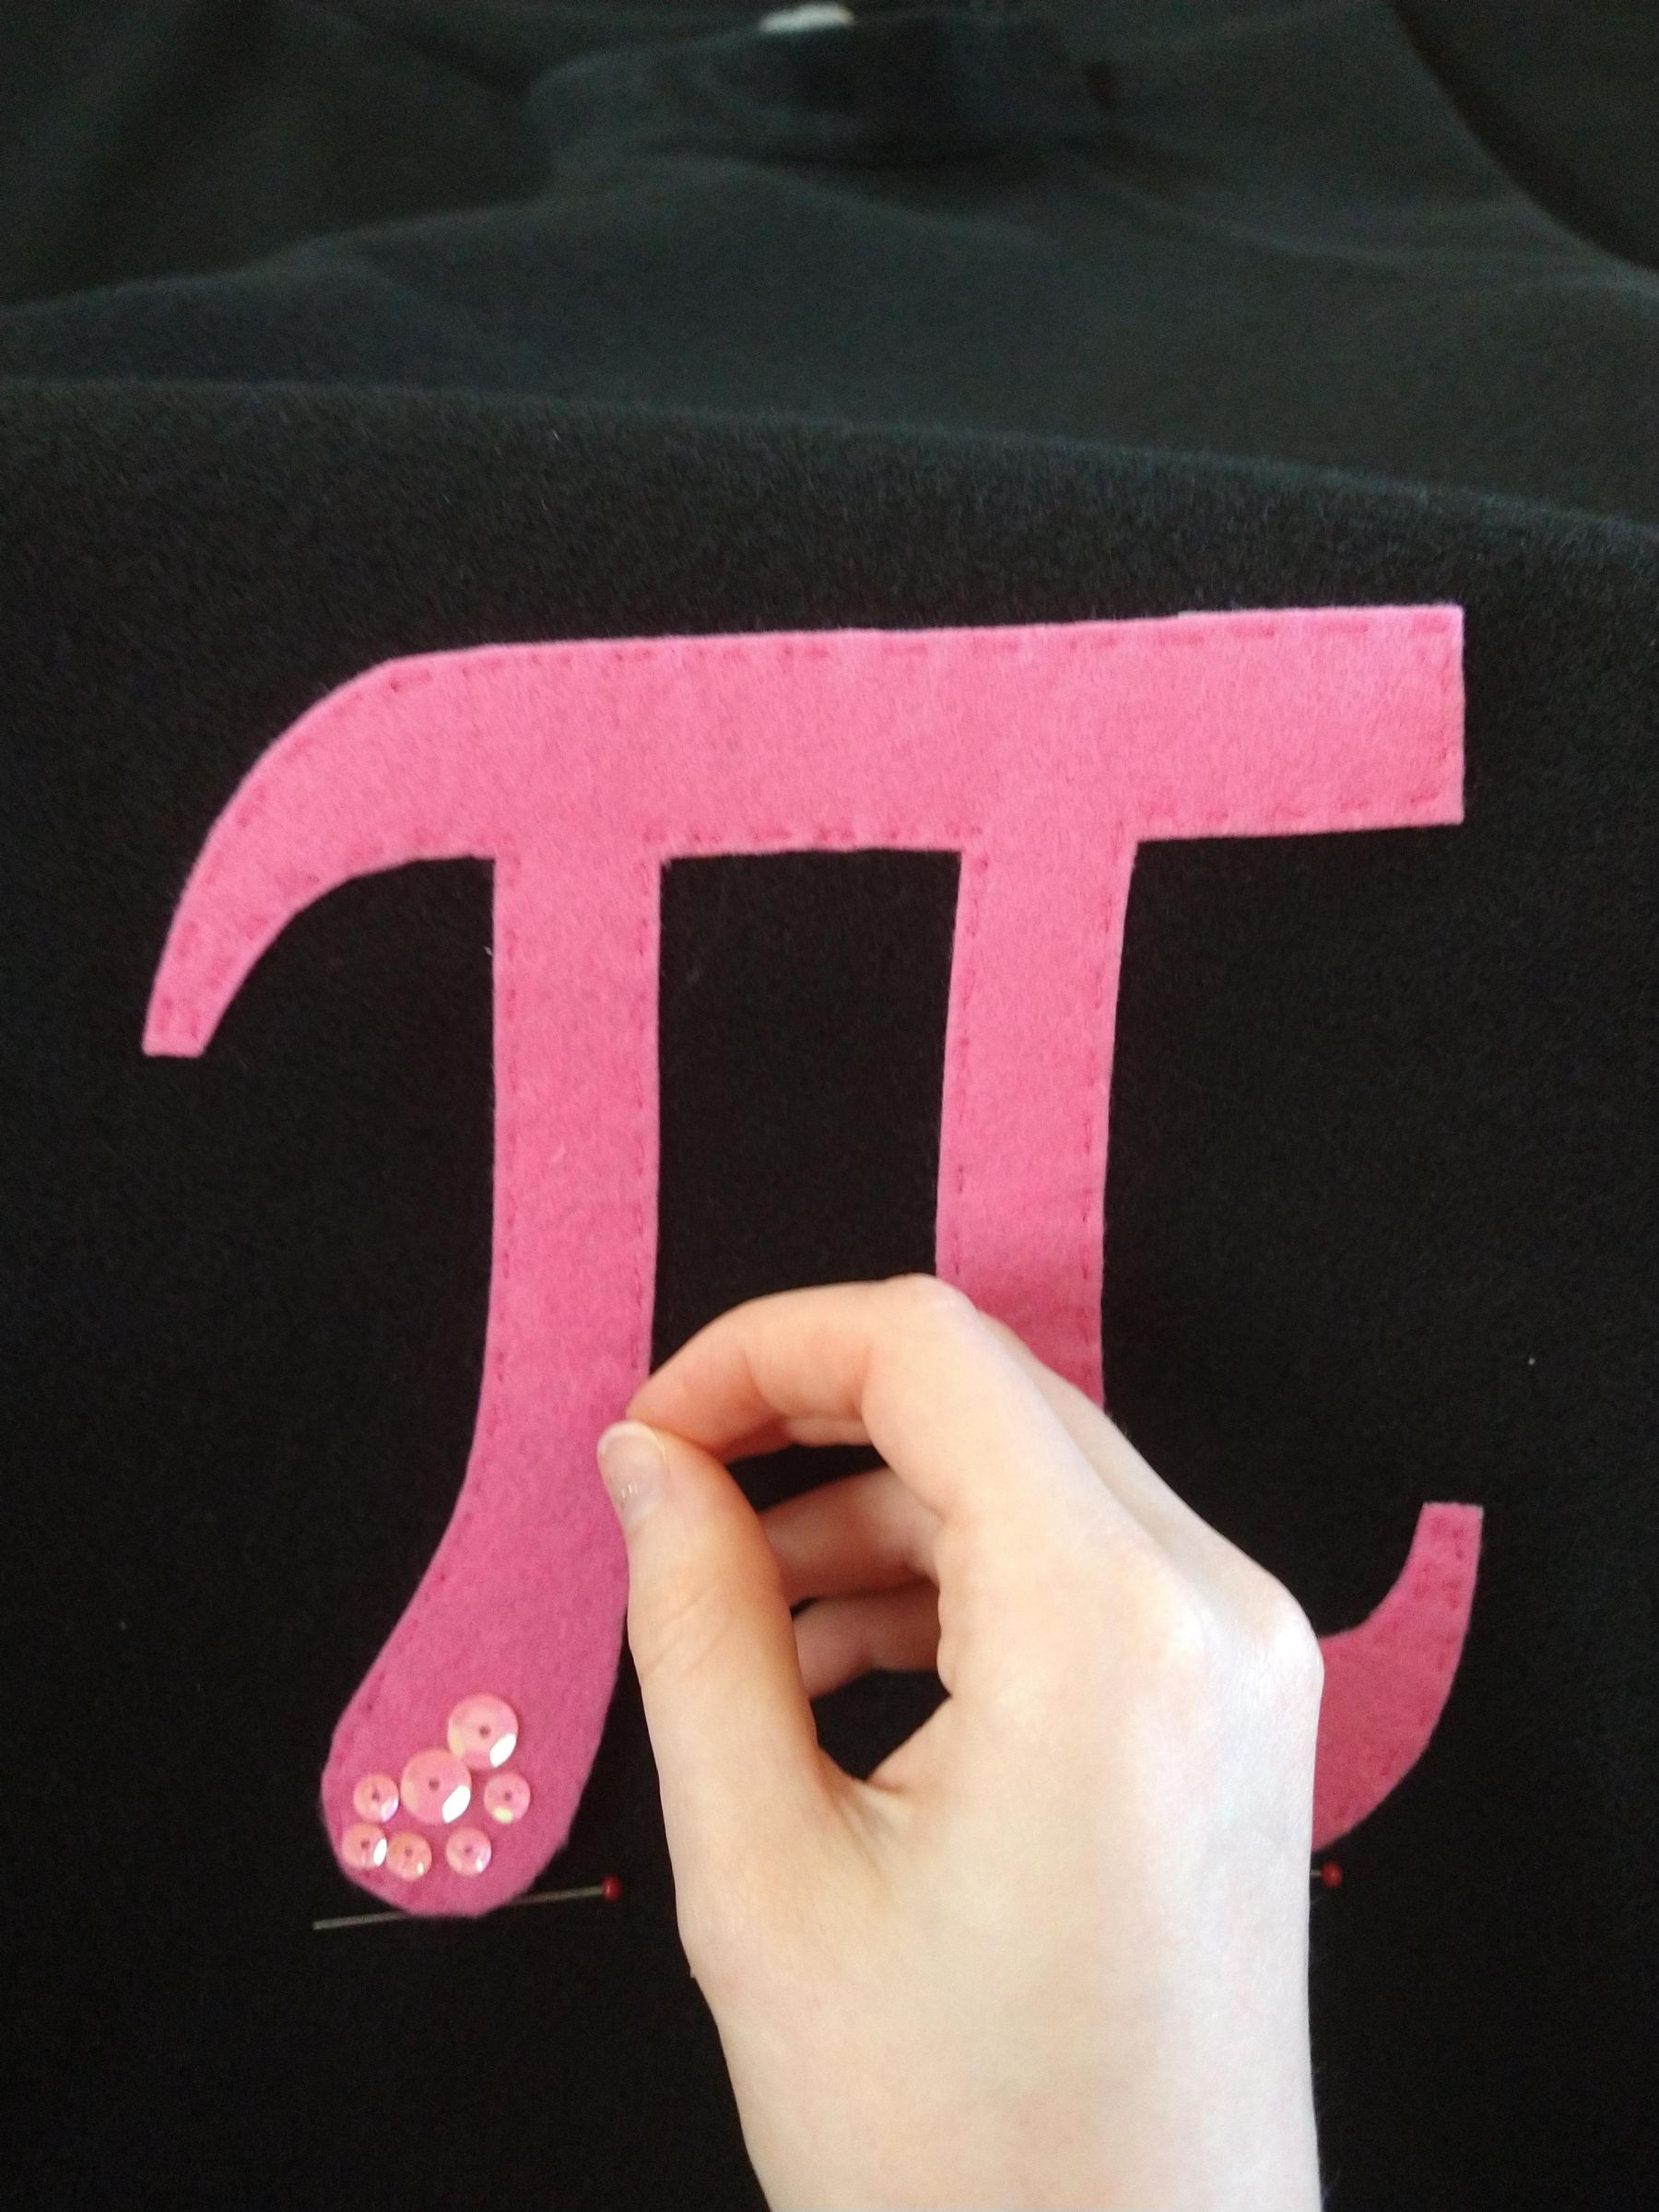
- For the π applique, fuse a 7"×7" piece of interfacing to your felt sheet. With your applique white side facing up, trace around your pattern, then cut it out.
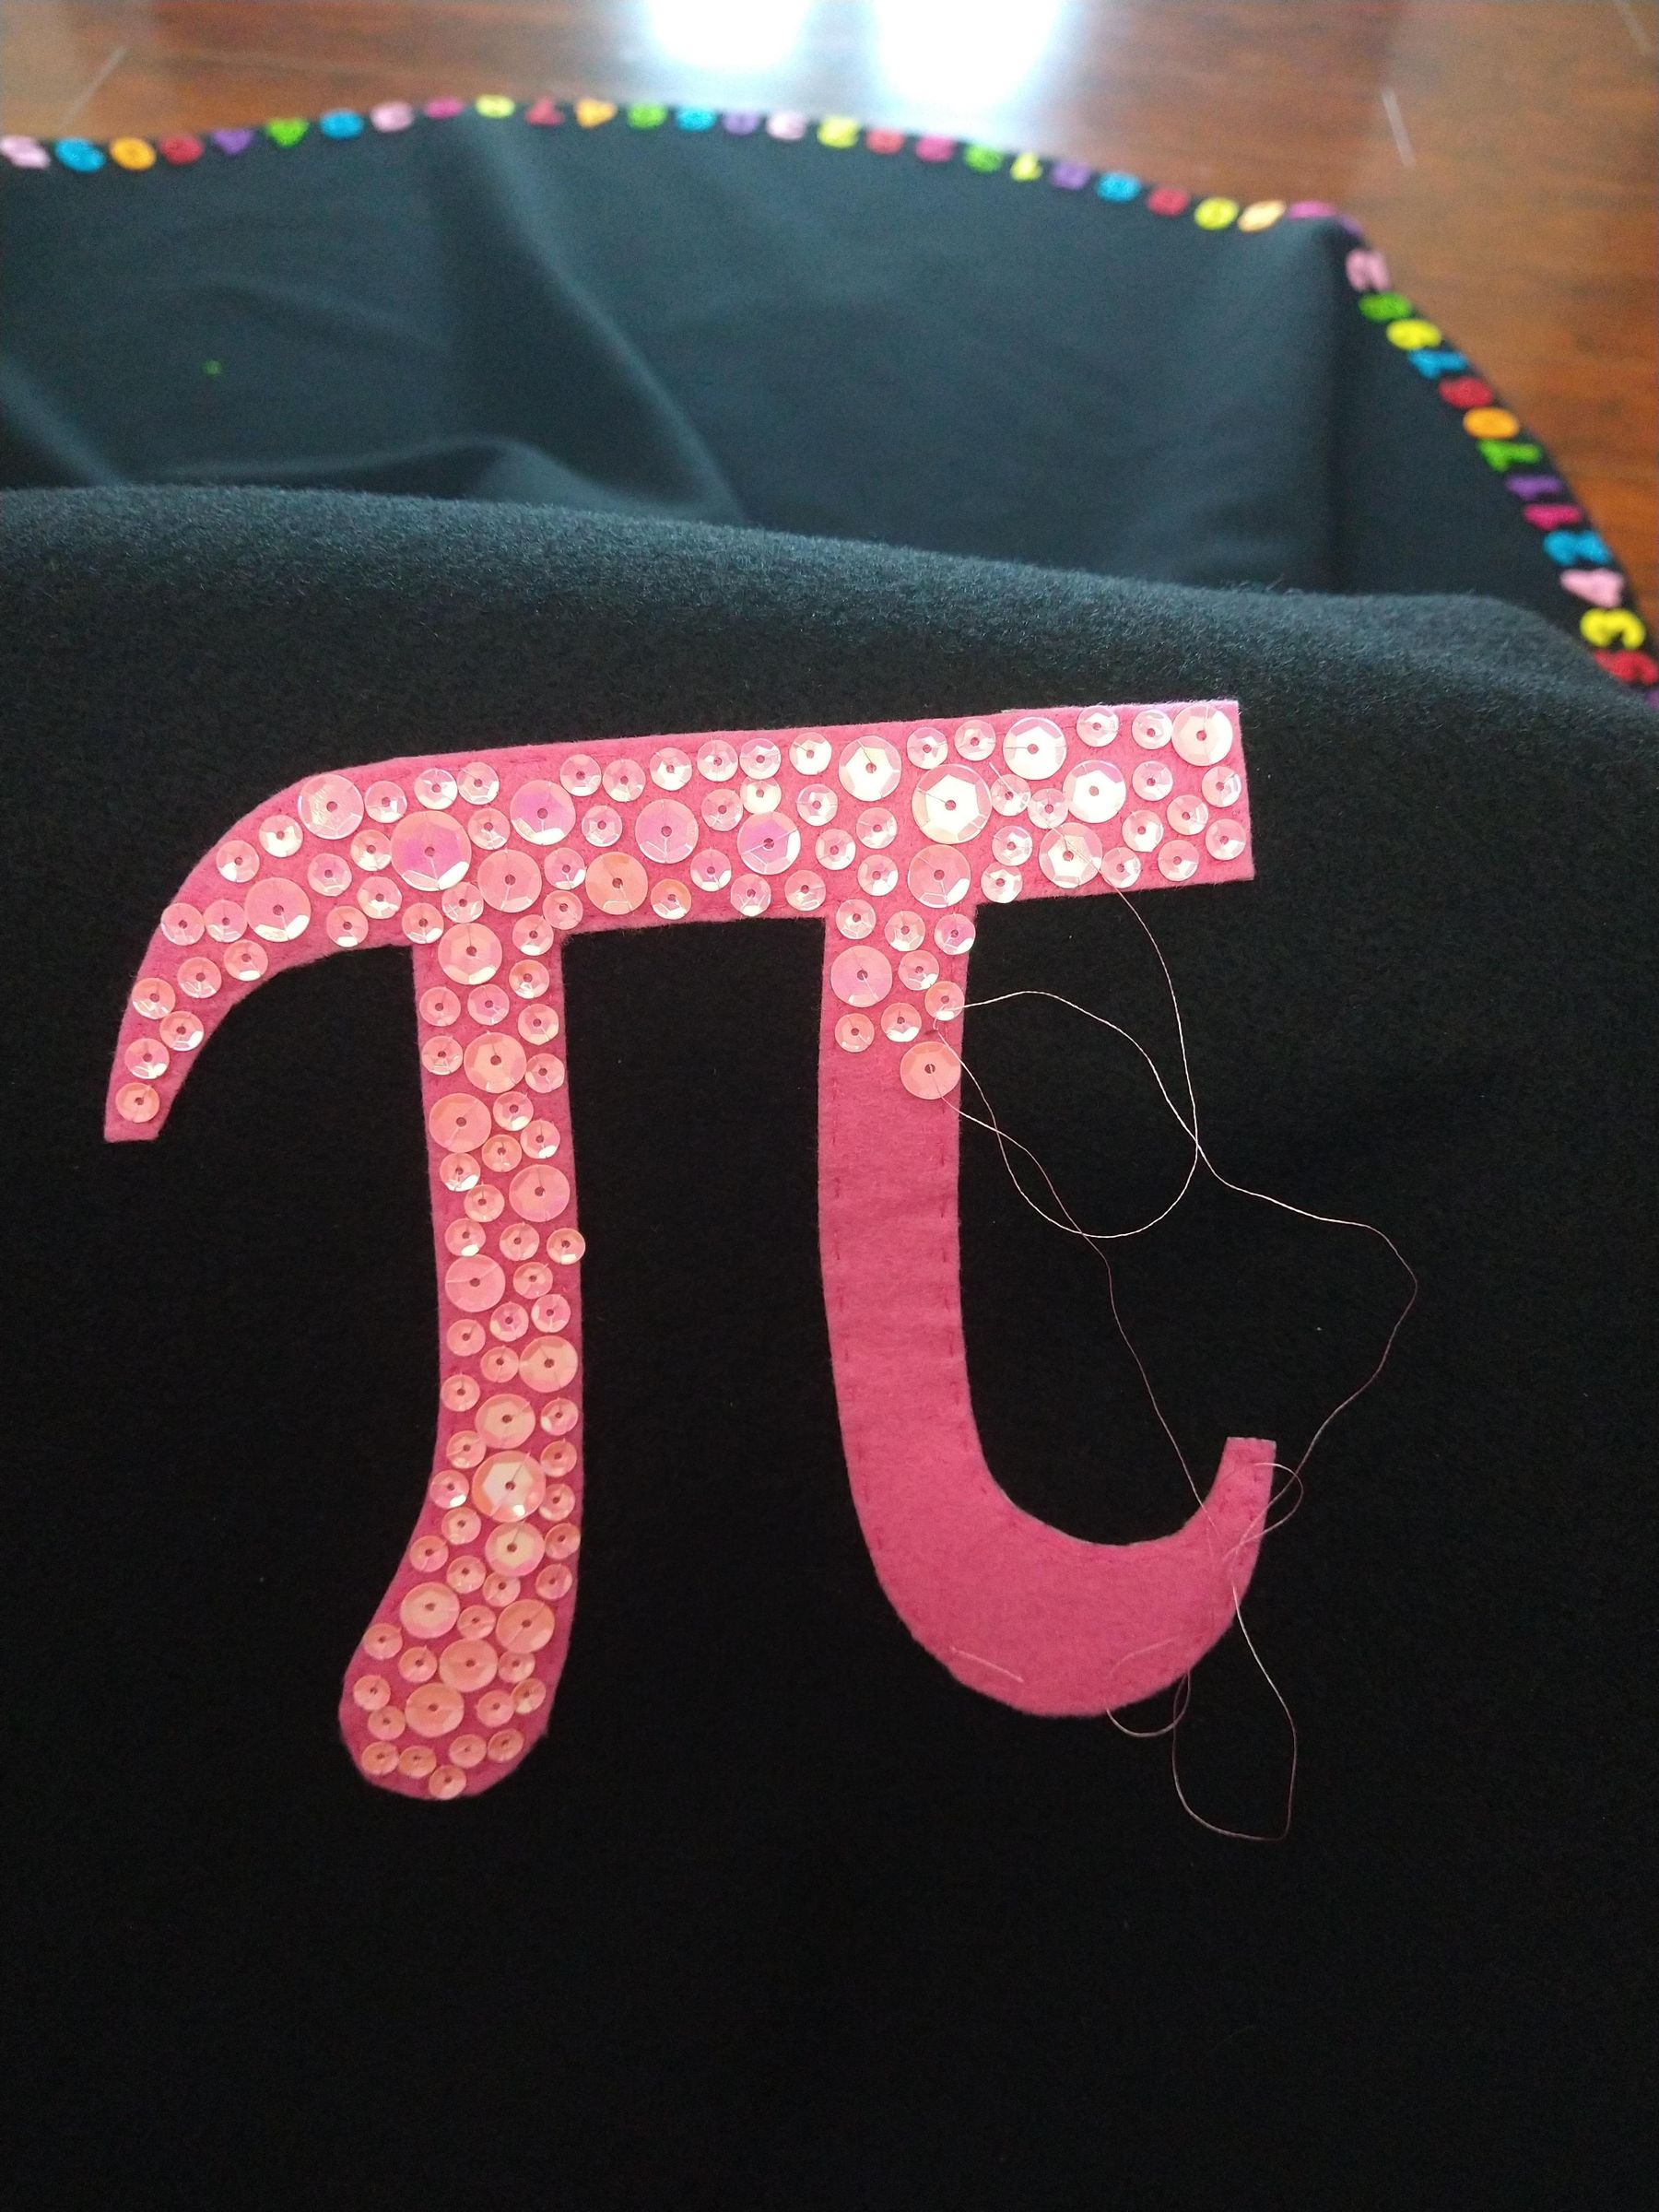
- Place your π applique on the skirt, pin it, and hand stitch it on using small neat stitches. (I tested sewing on sequins to my pi before I sewed it on. But it's better to sew the sequins after you sew the applique on.)
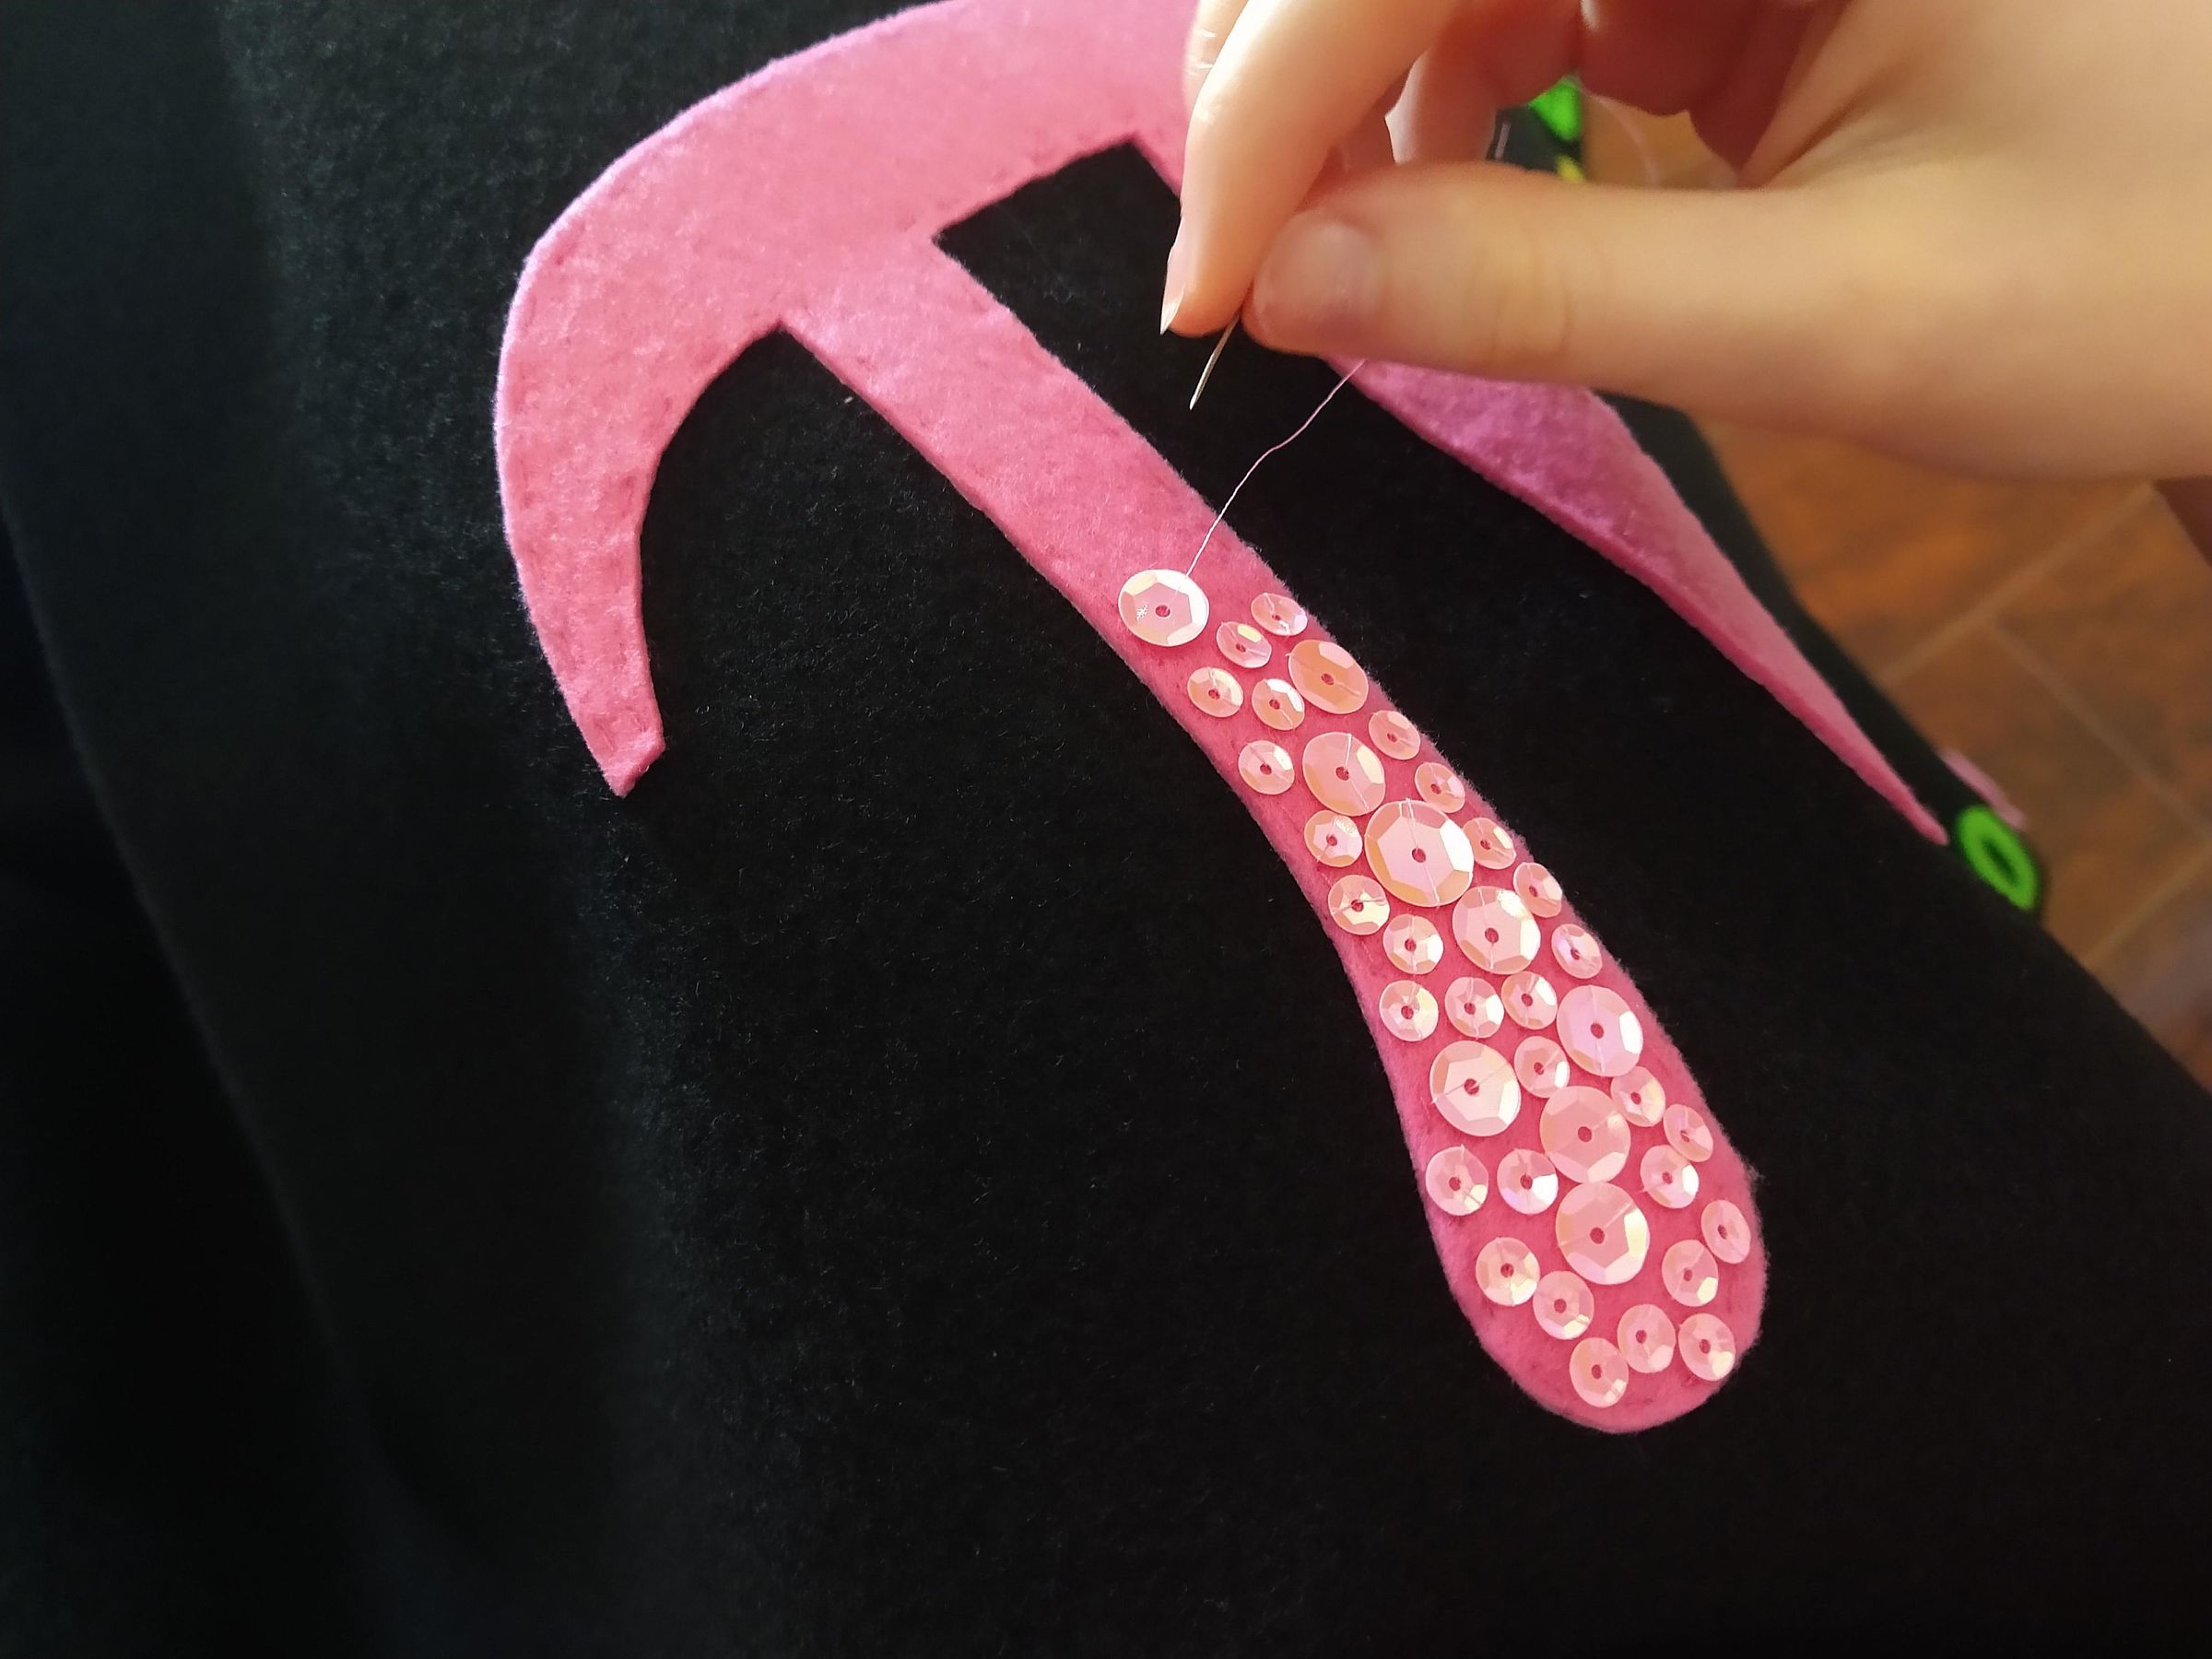
- Now, you can bling it up by stitching on your sequins! I used mainly the smallest size but used a few of the bigger ones. Be prepared to be stitching for several hours!!
- I sewed the sequins on by coming up with the needle through the middle hole, going back through on one side, coming up through the middle hole again, and going back through on the opposite side, then jumping to the next sequin.
All Finished!
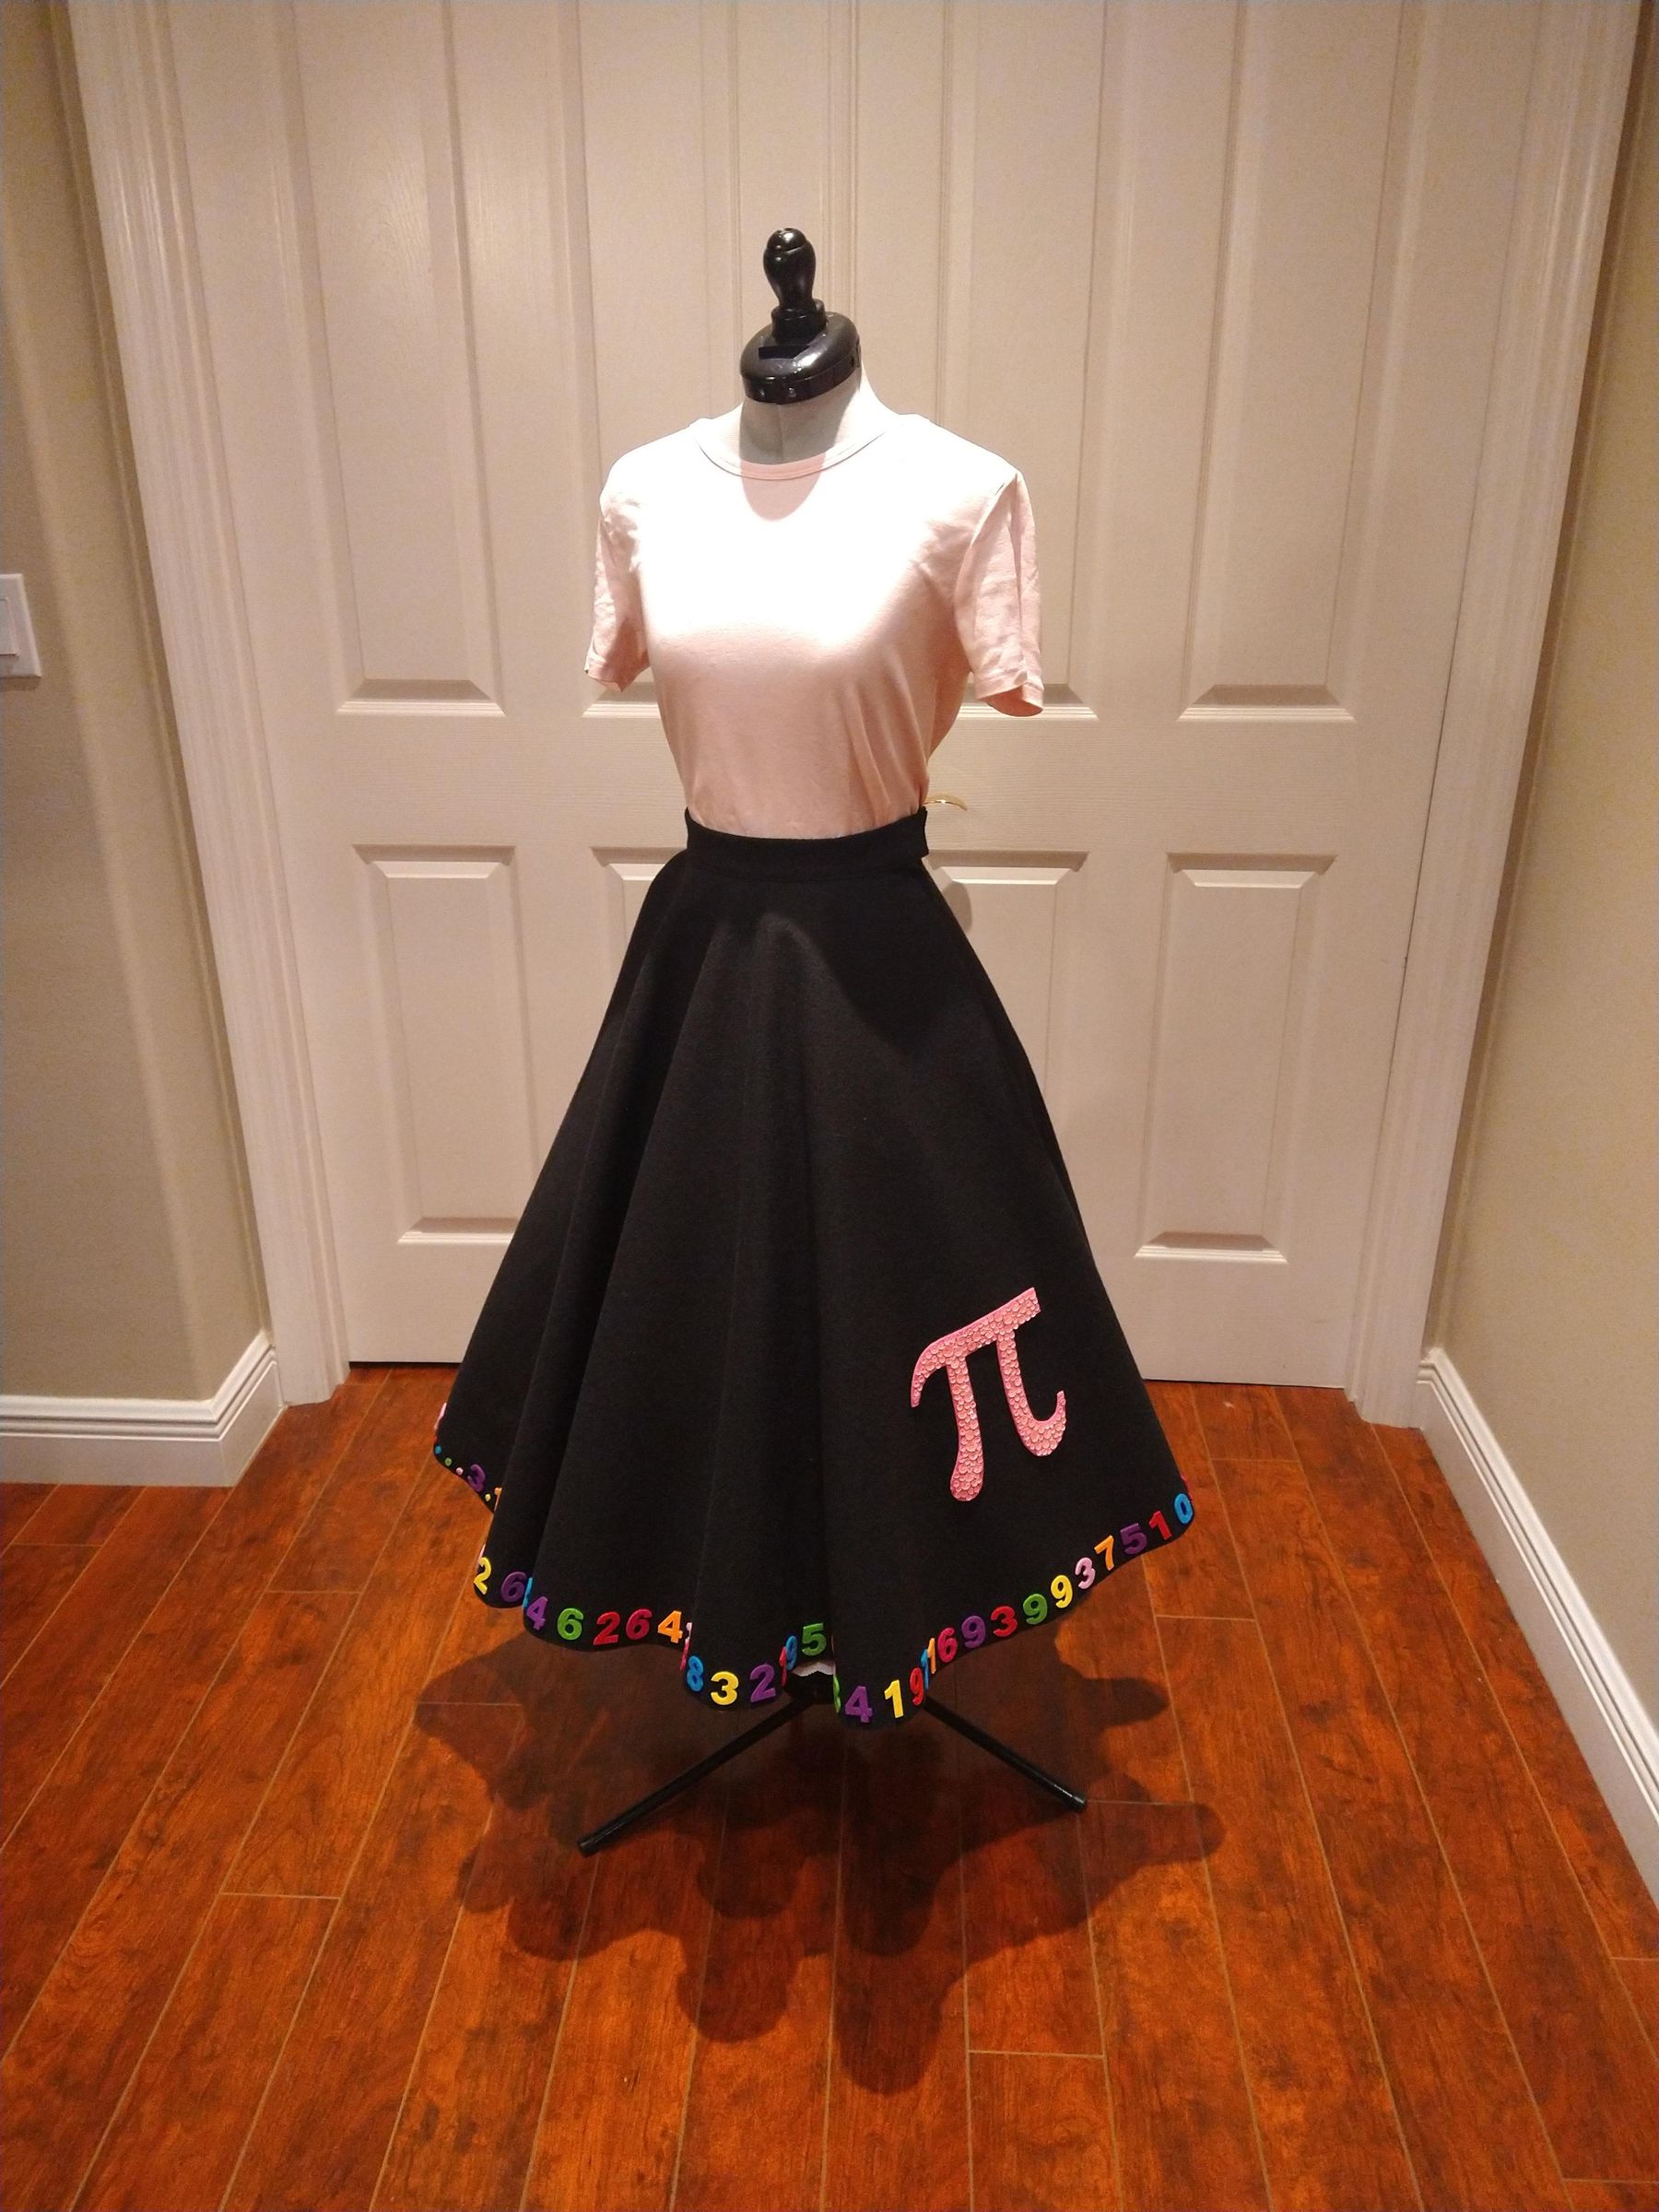
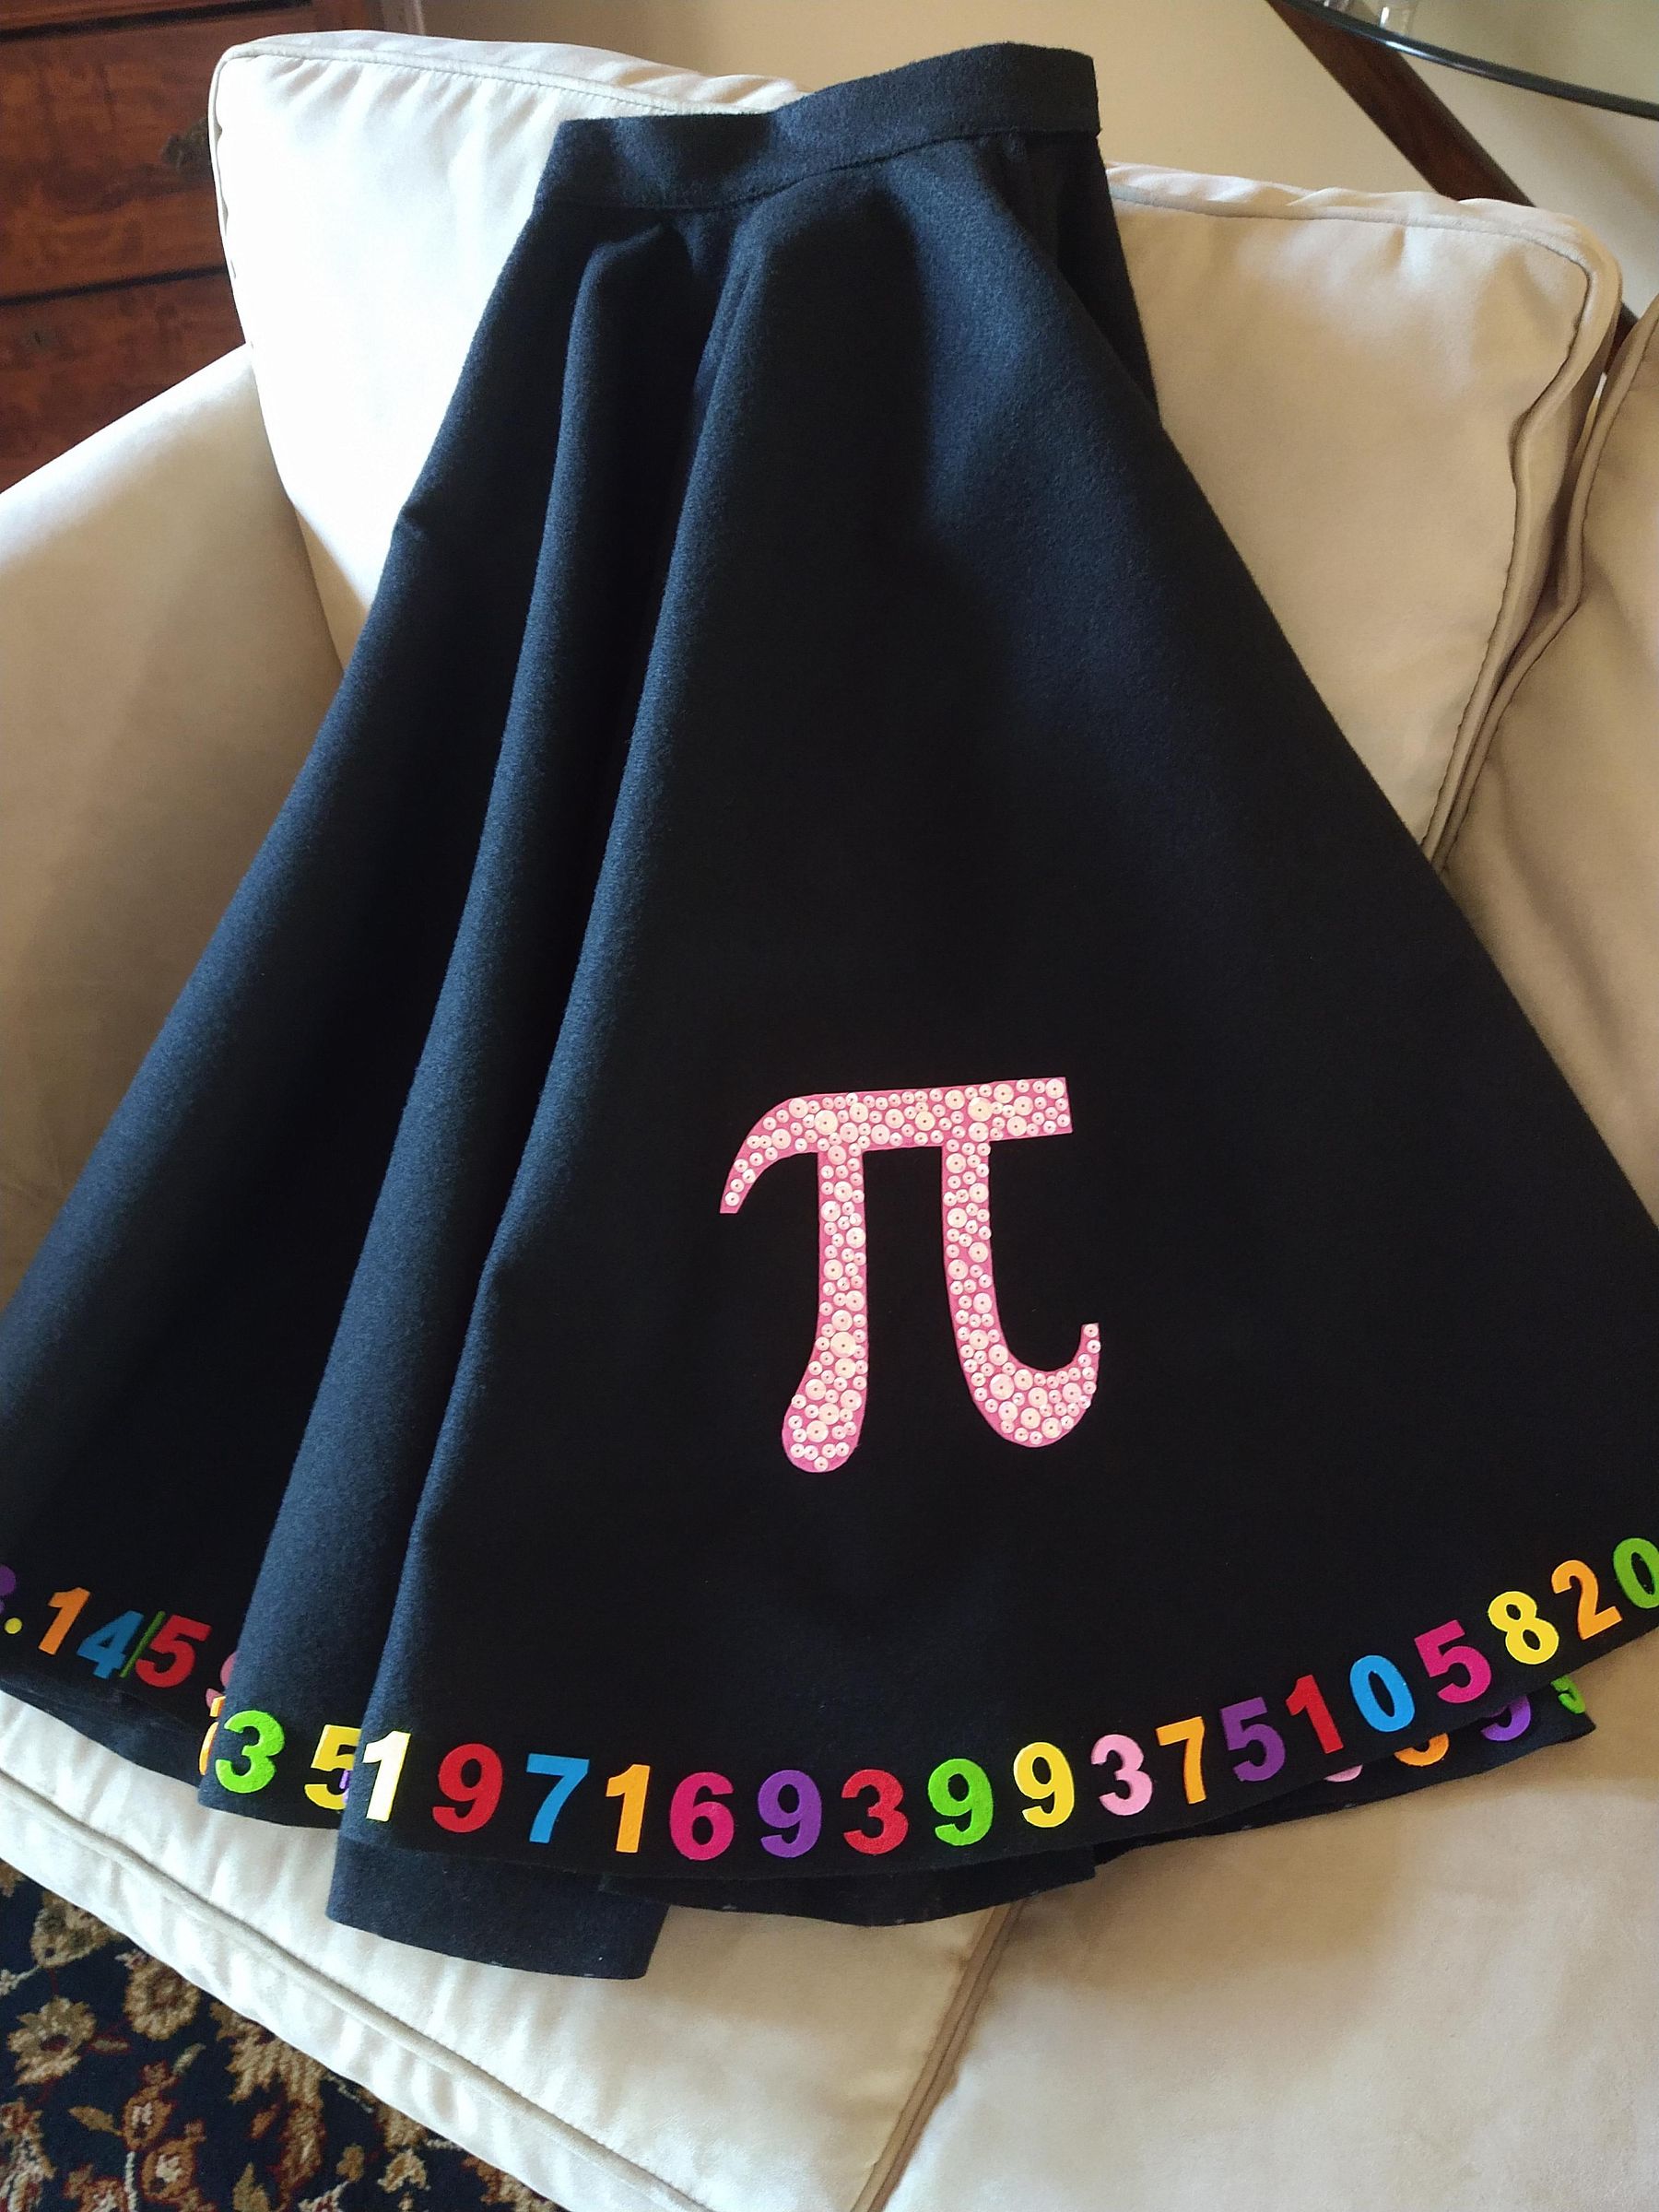
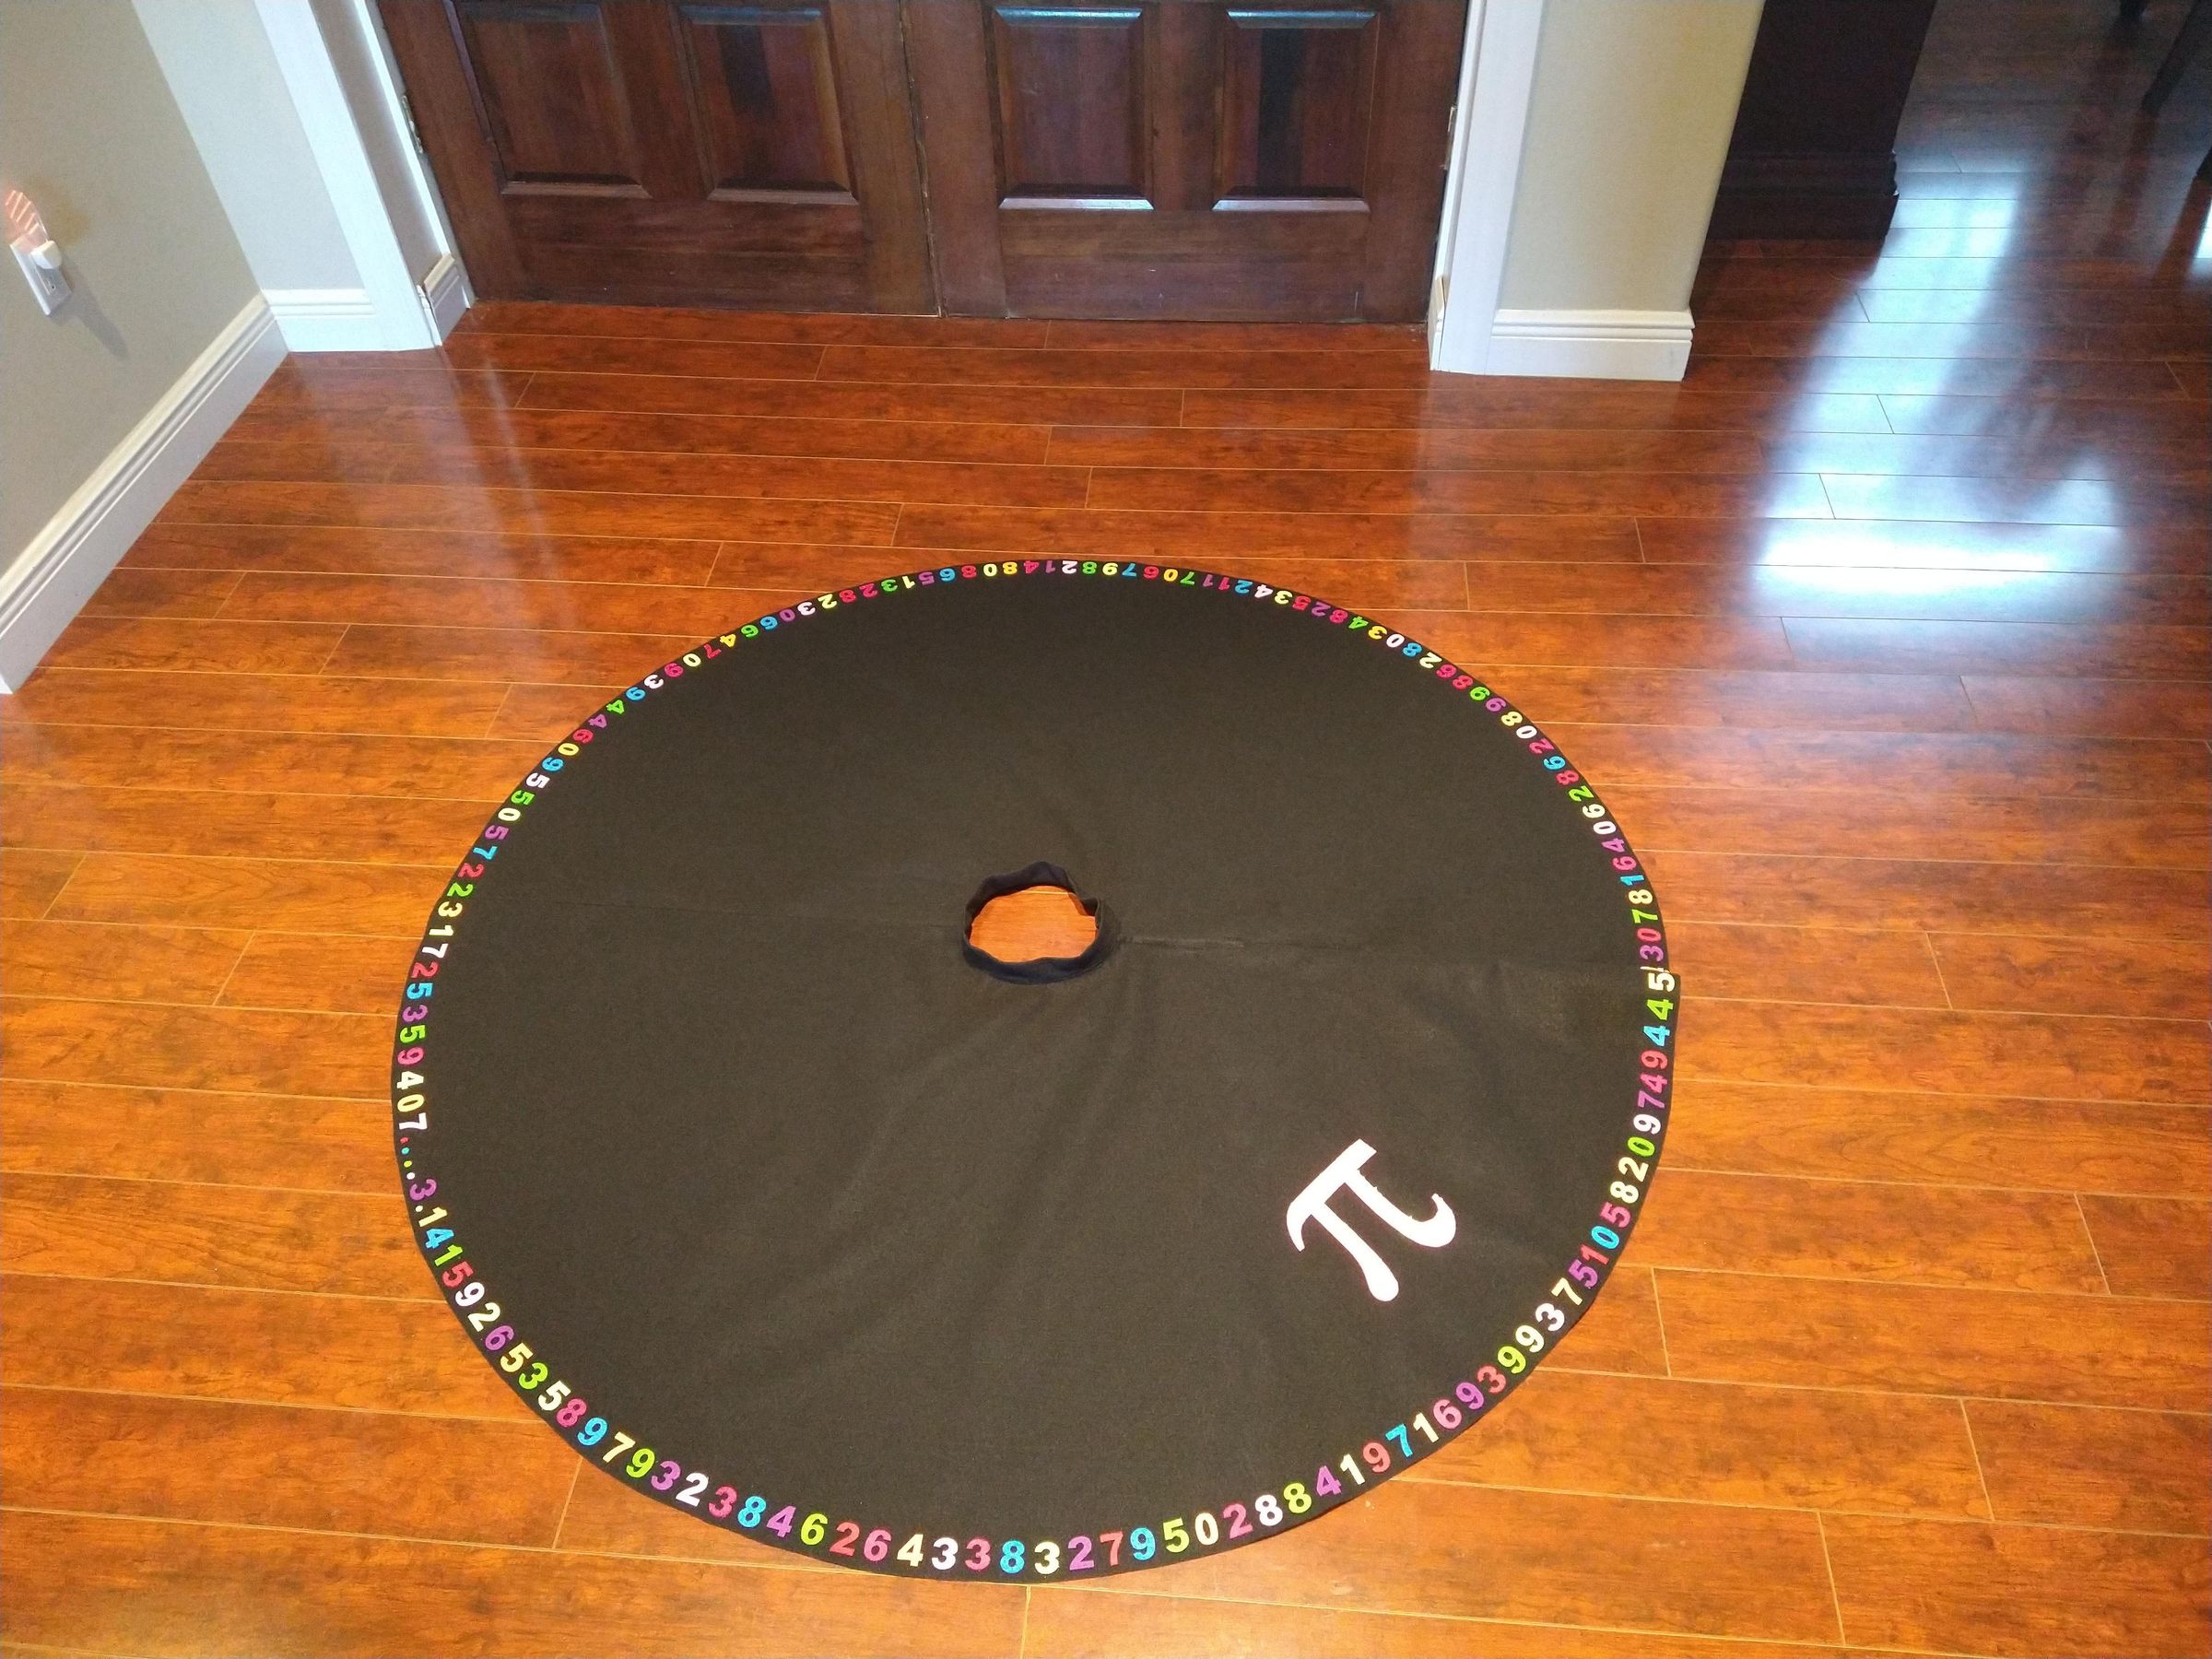
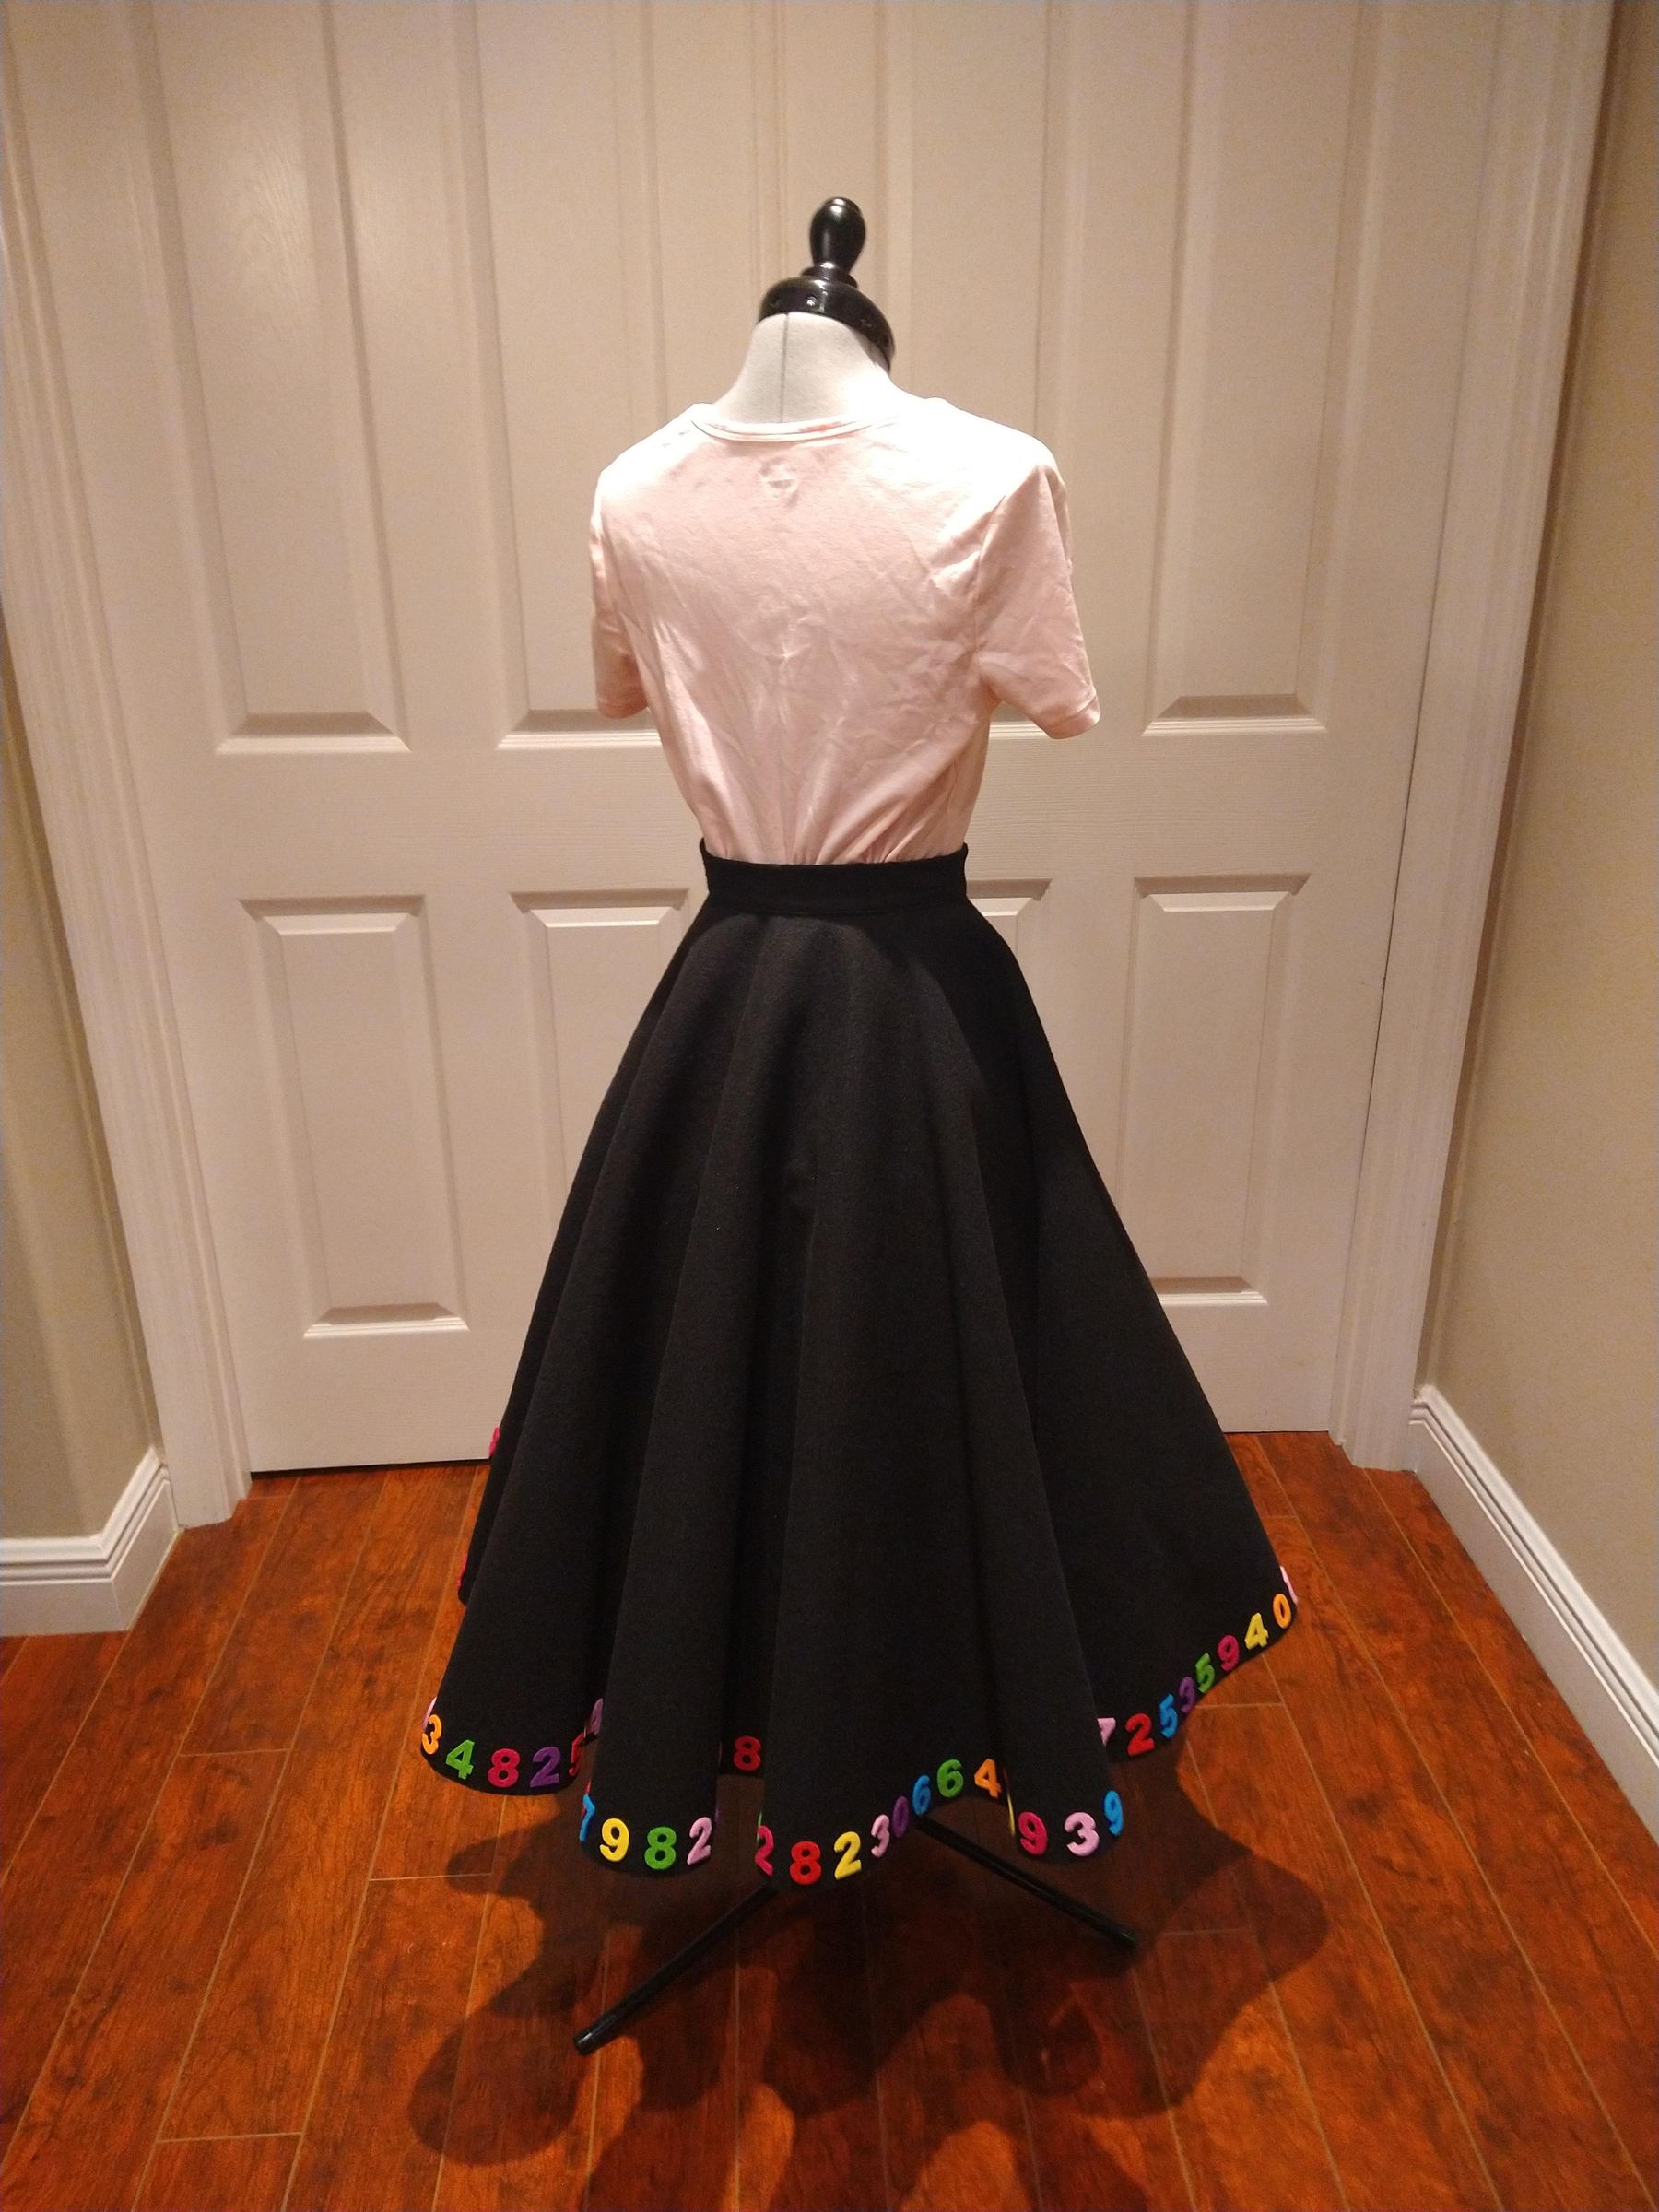
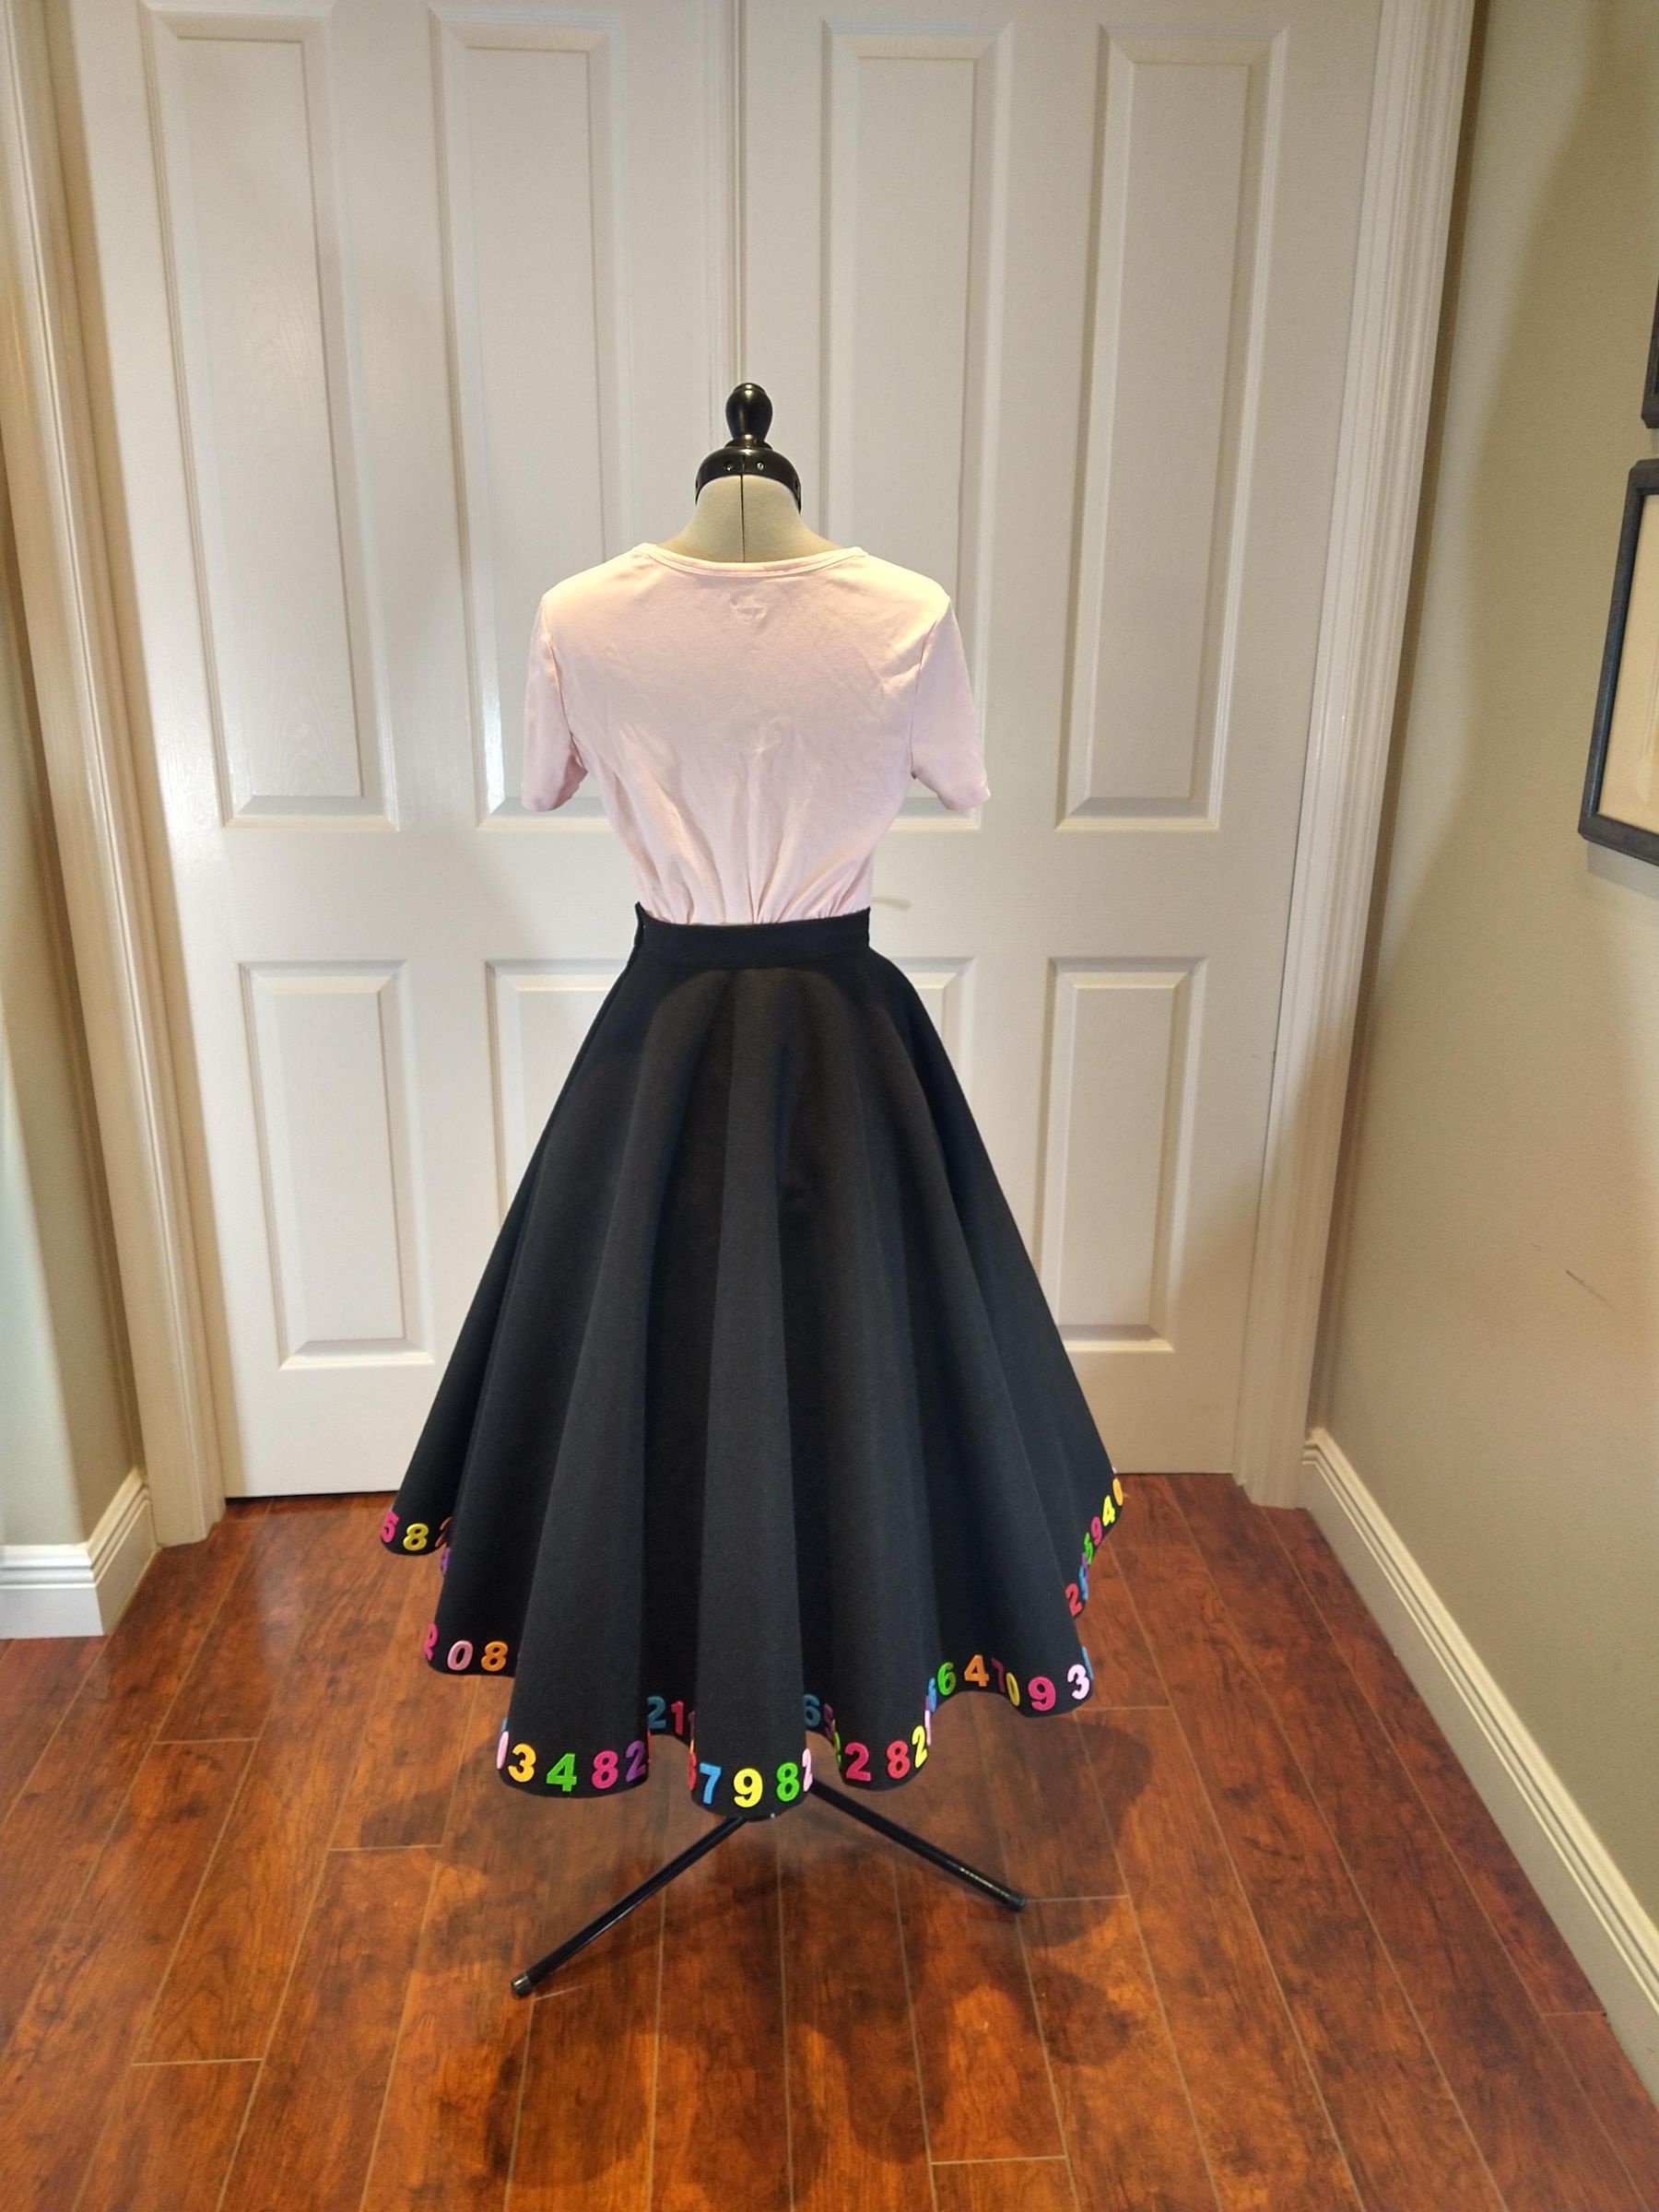
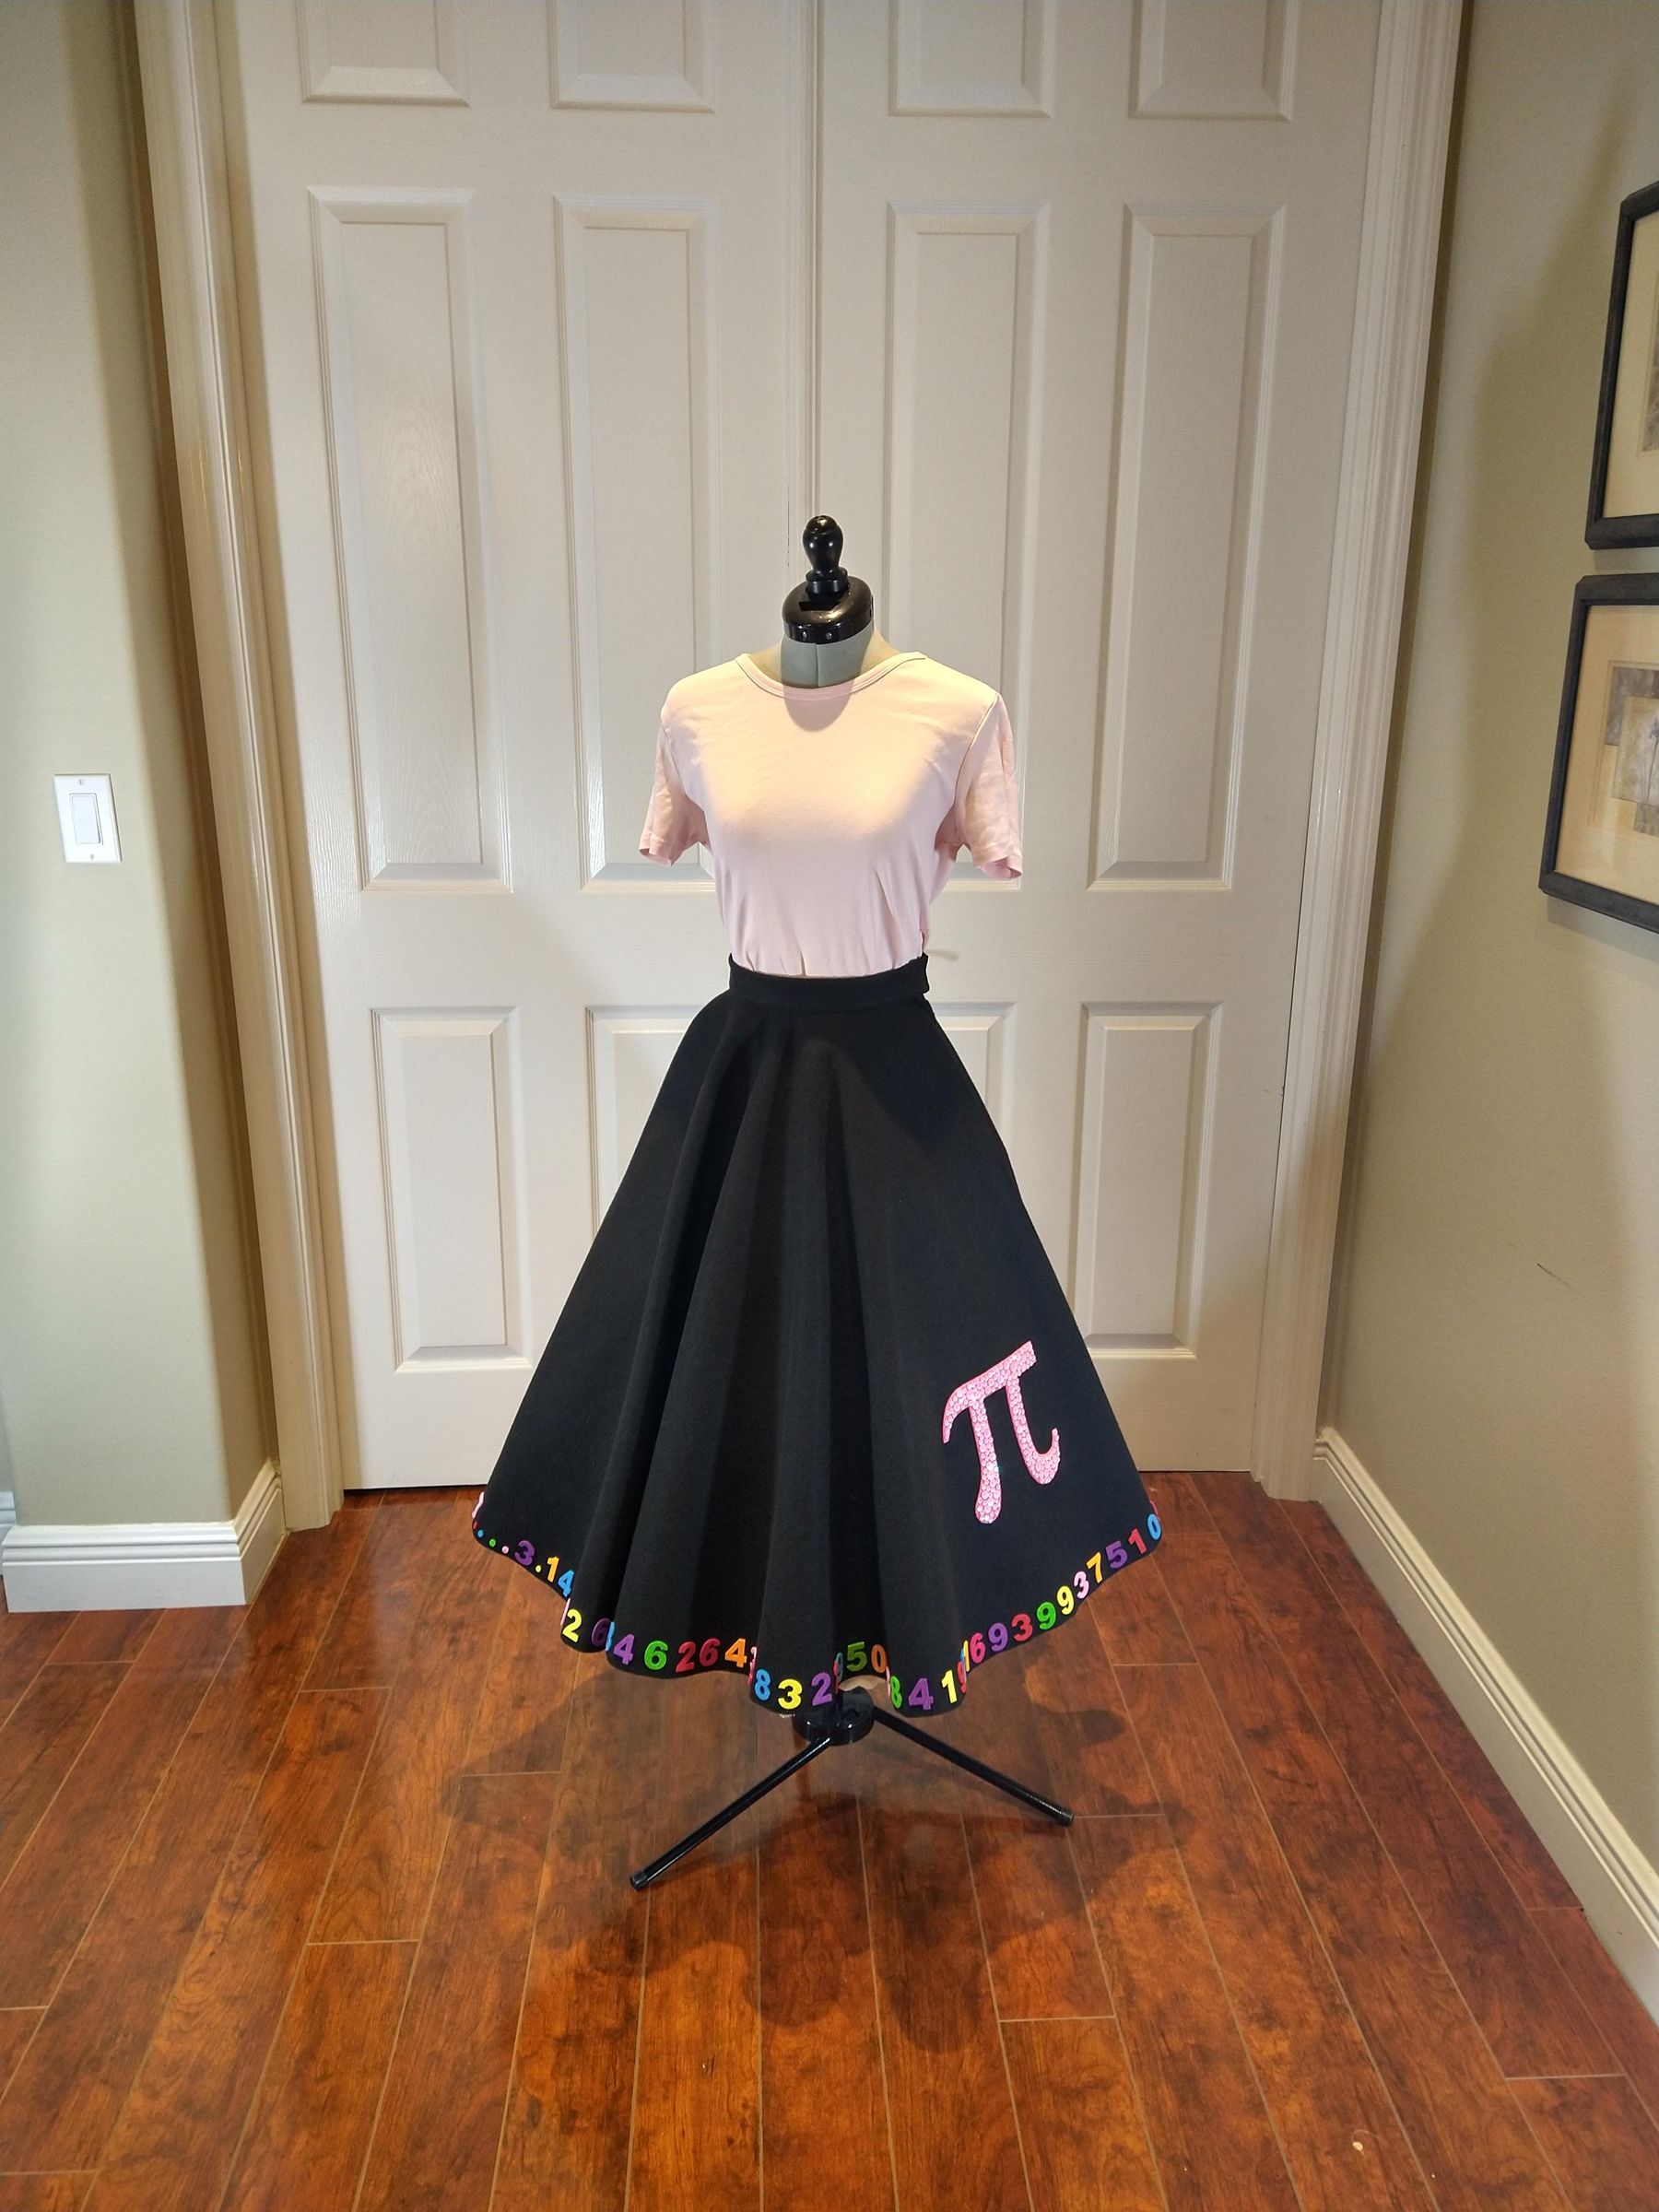
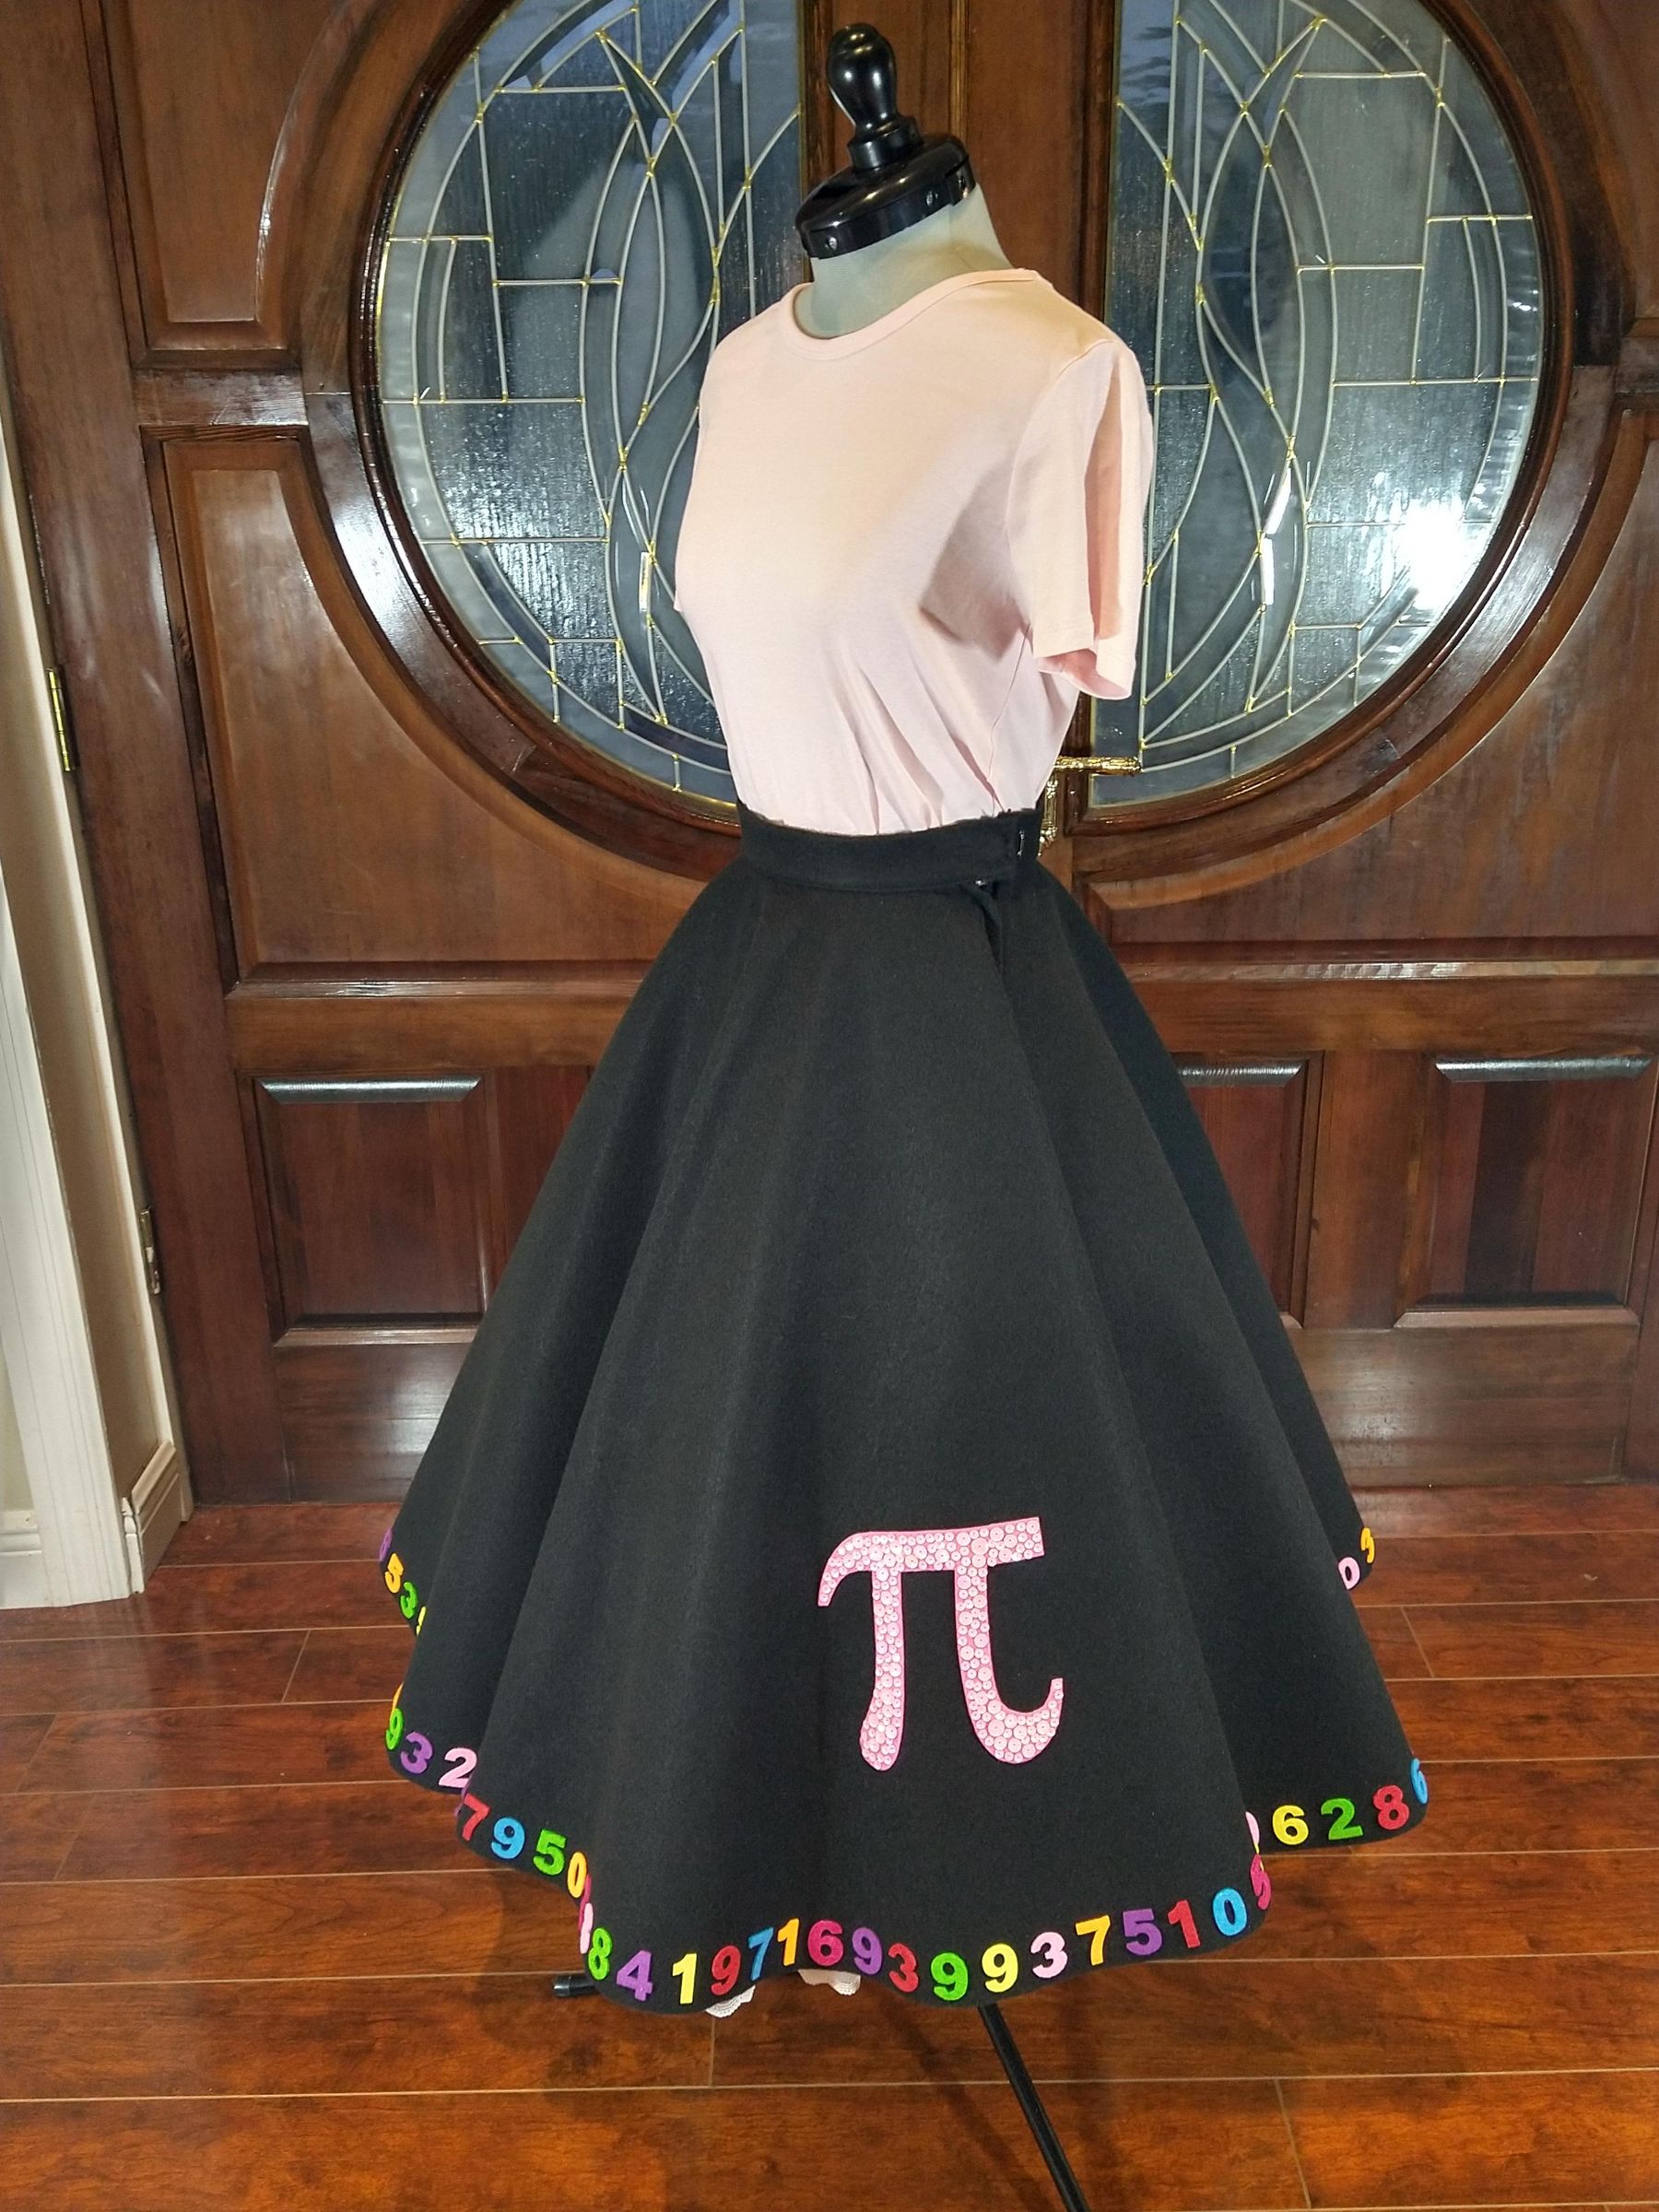
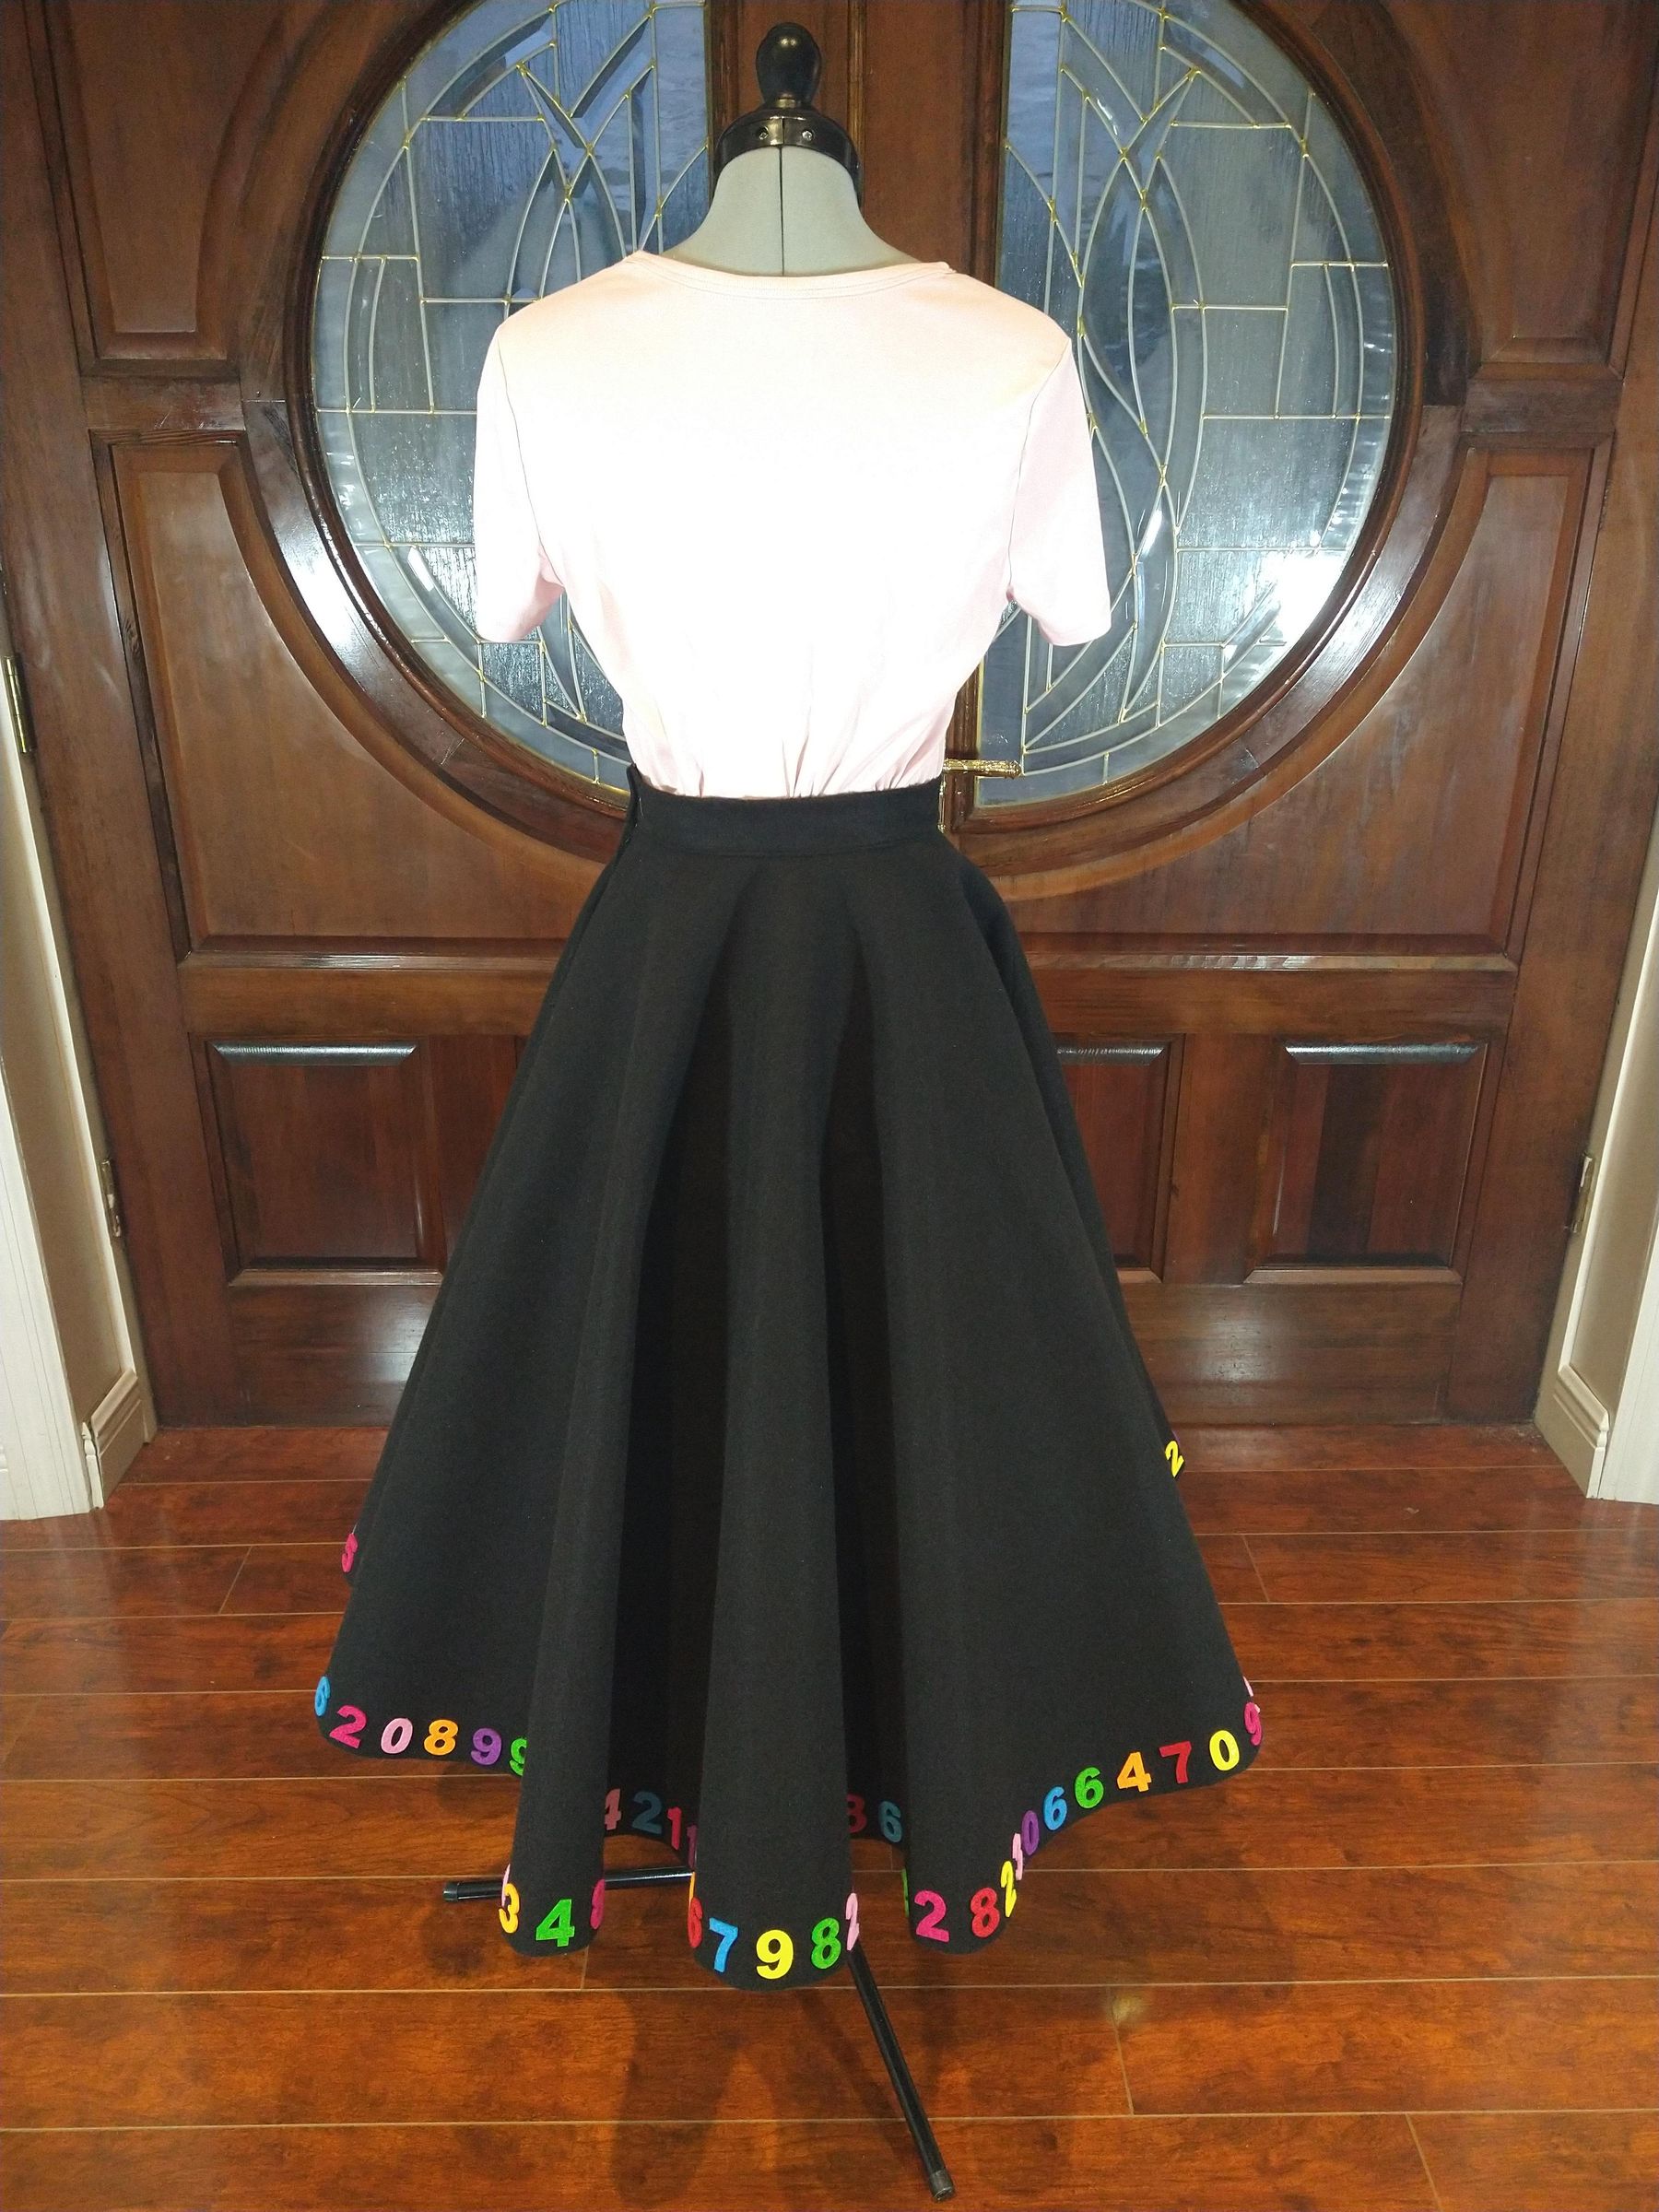
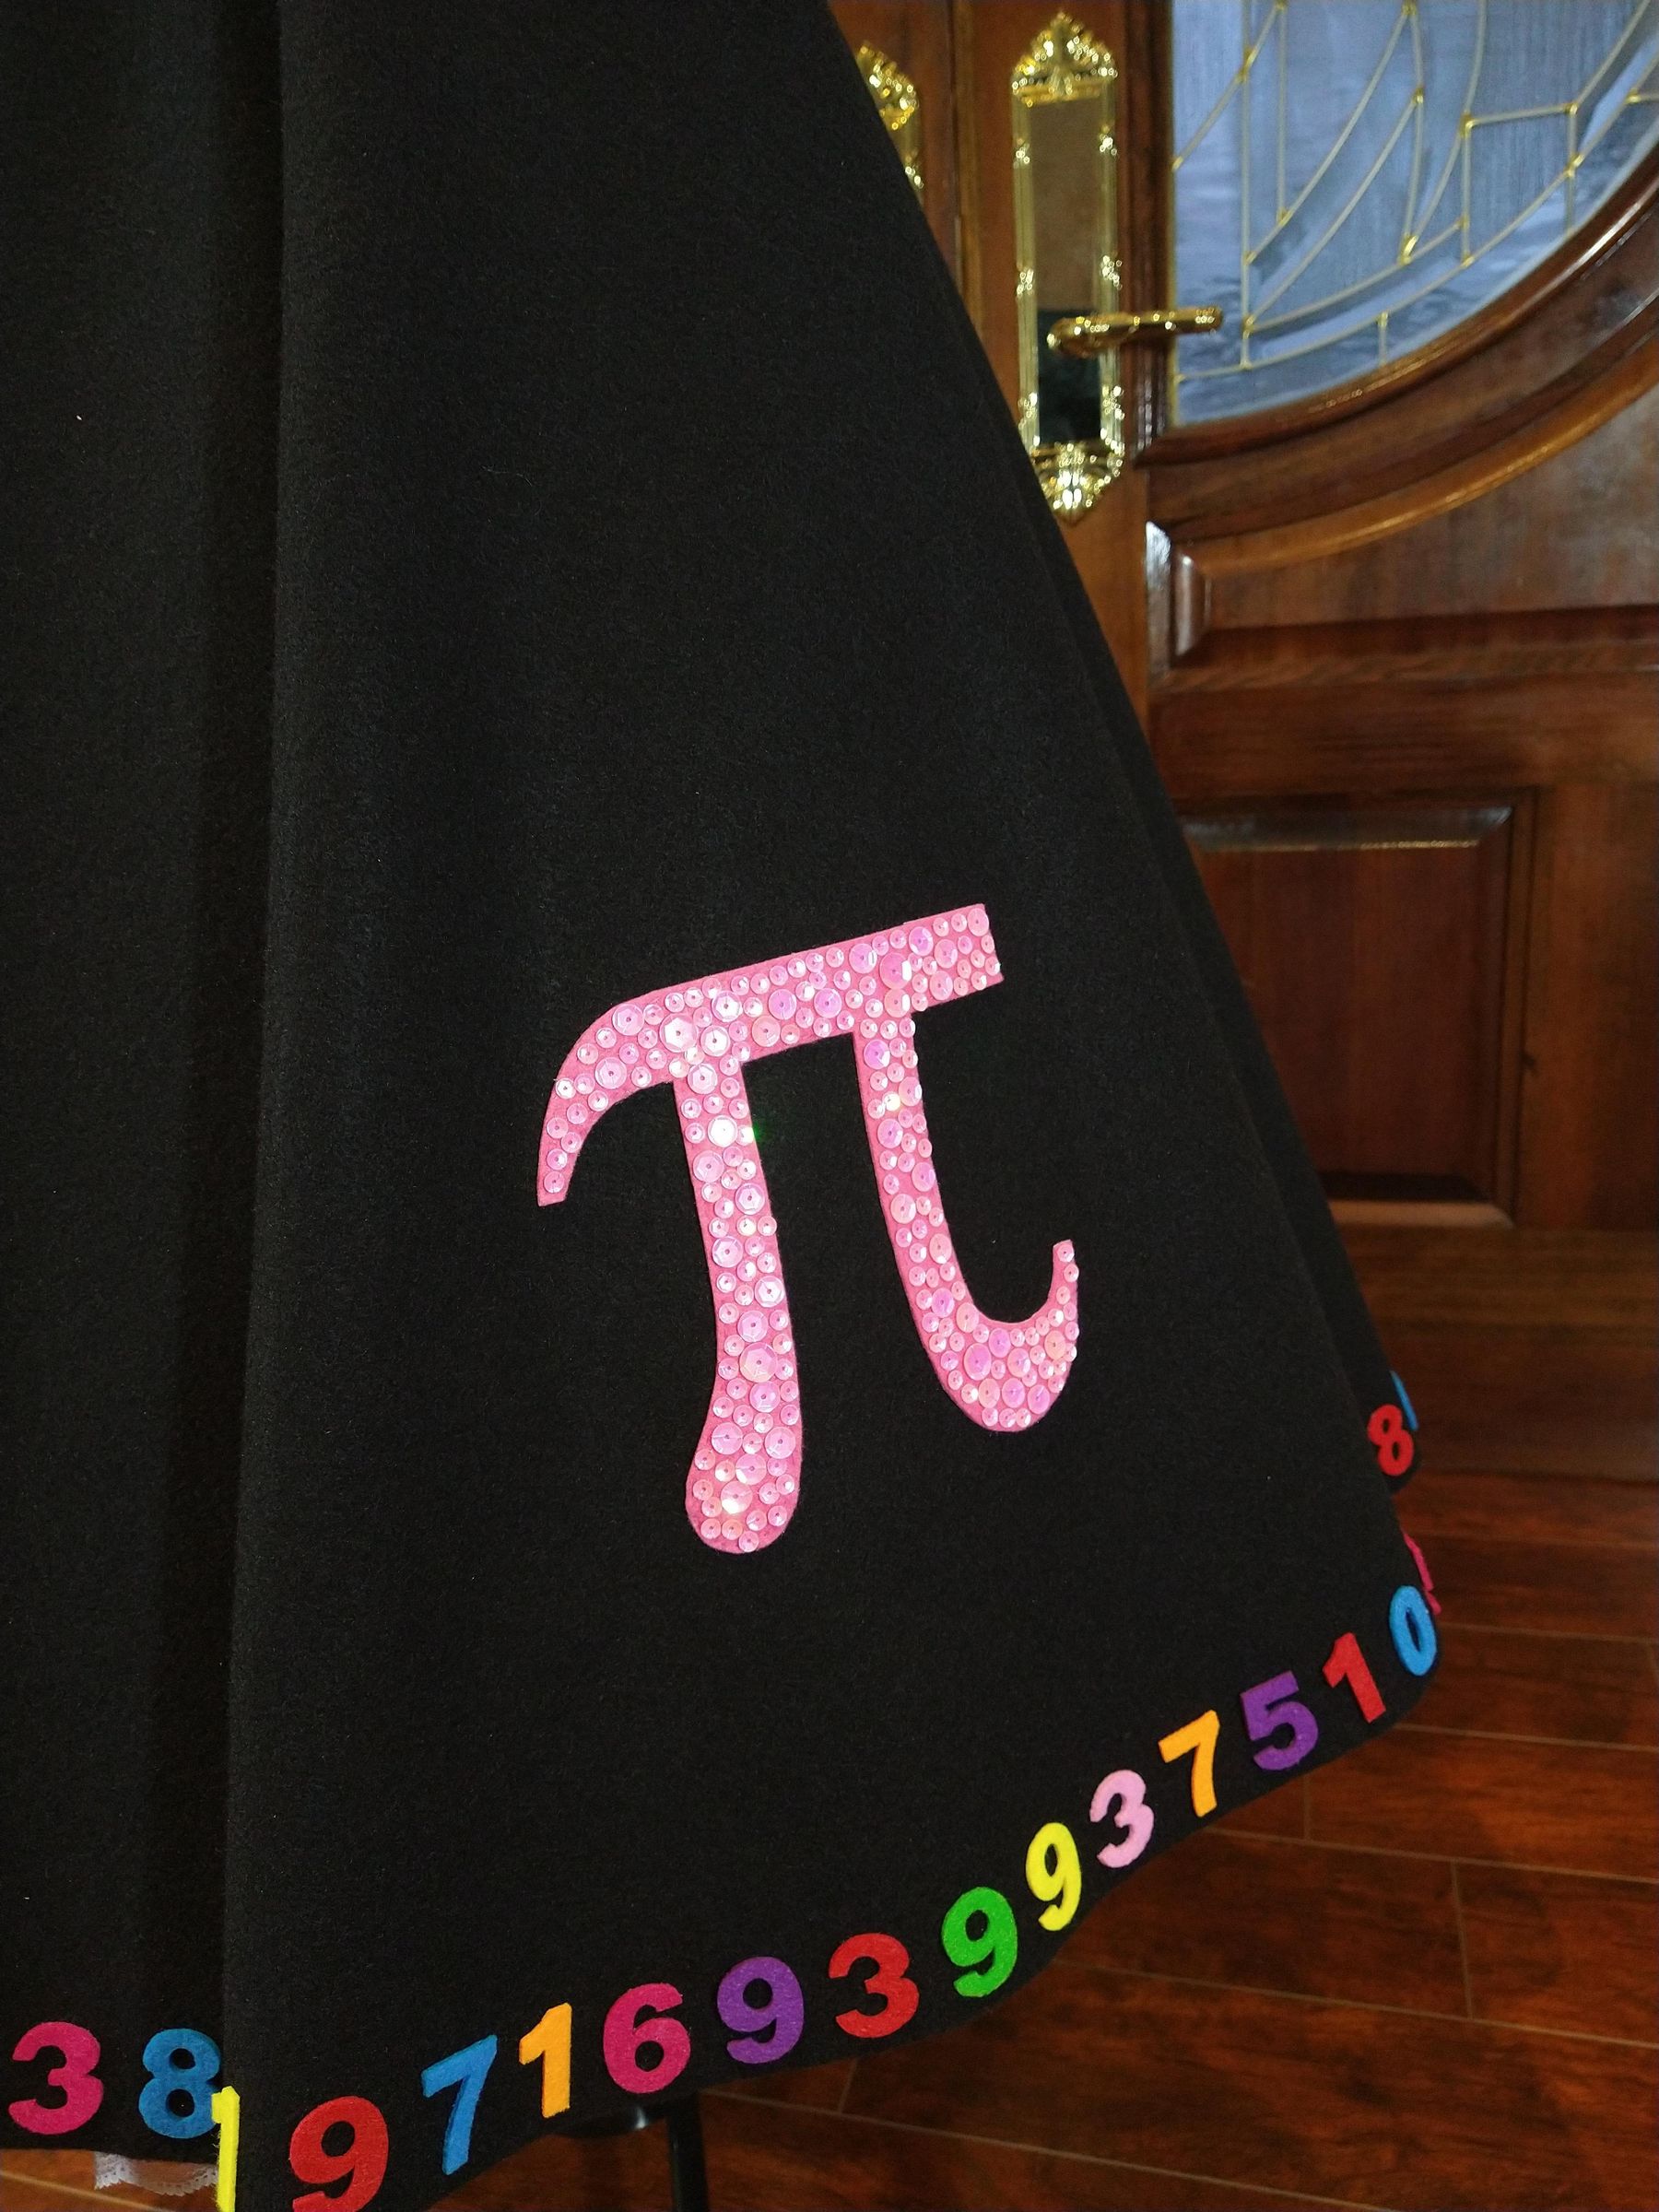
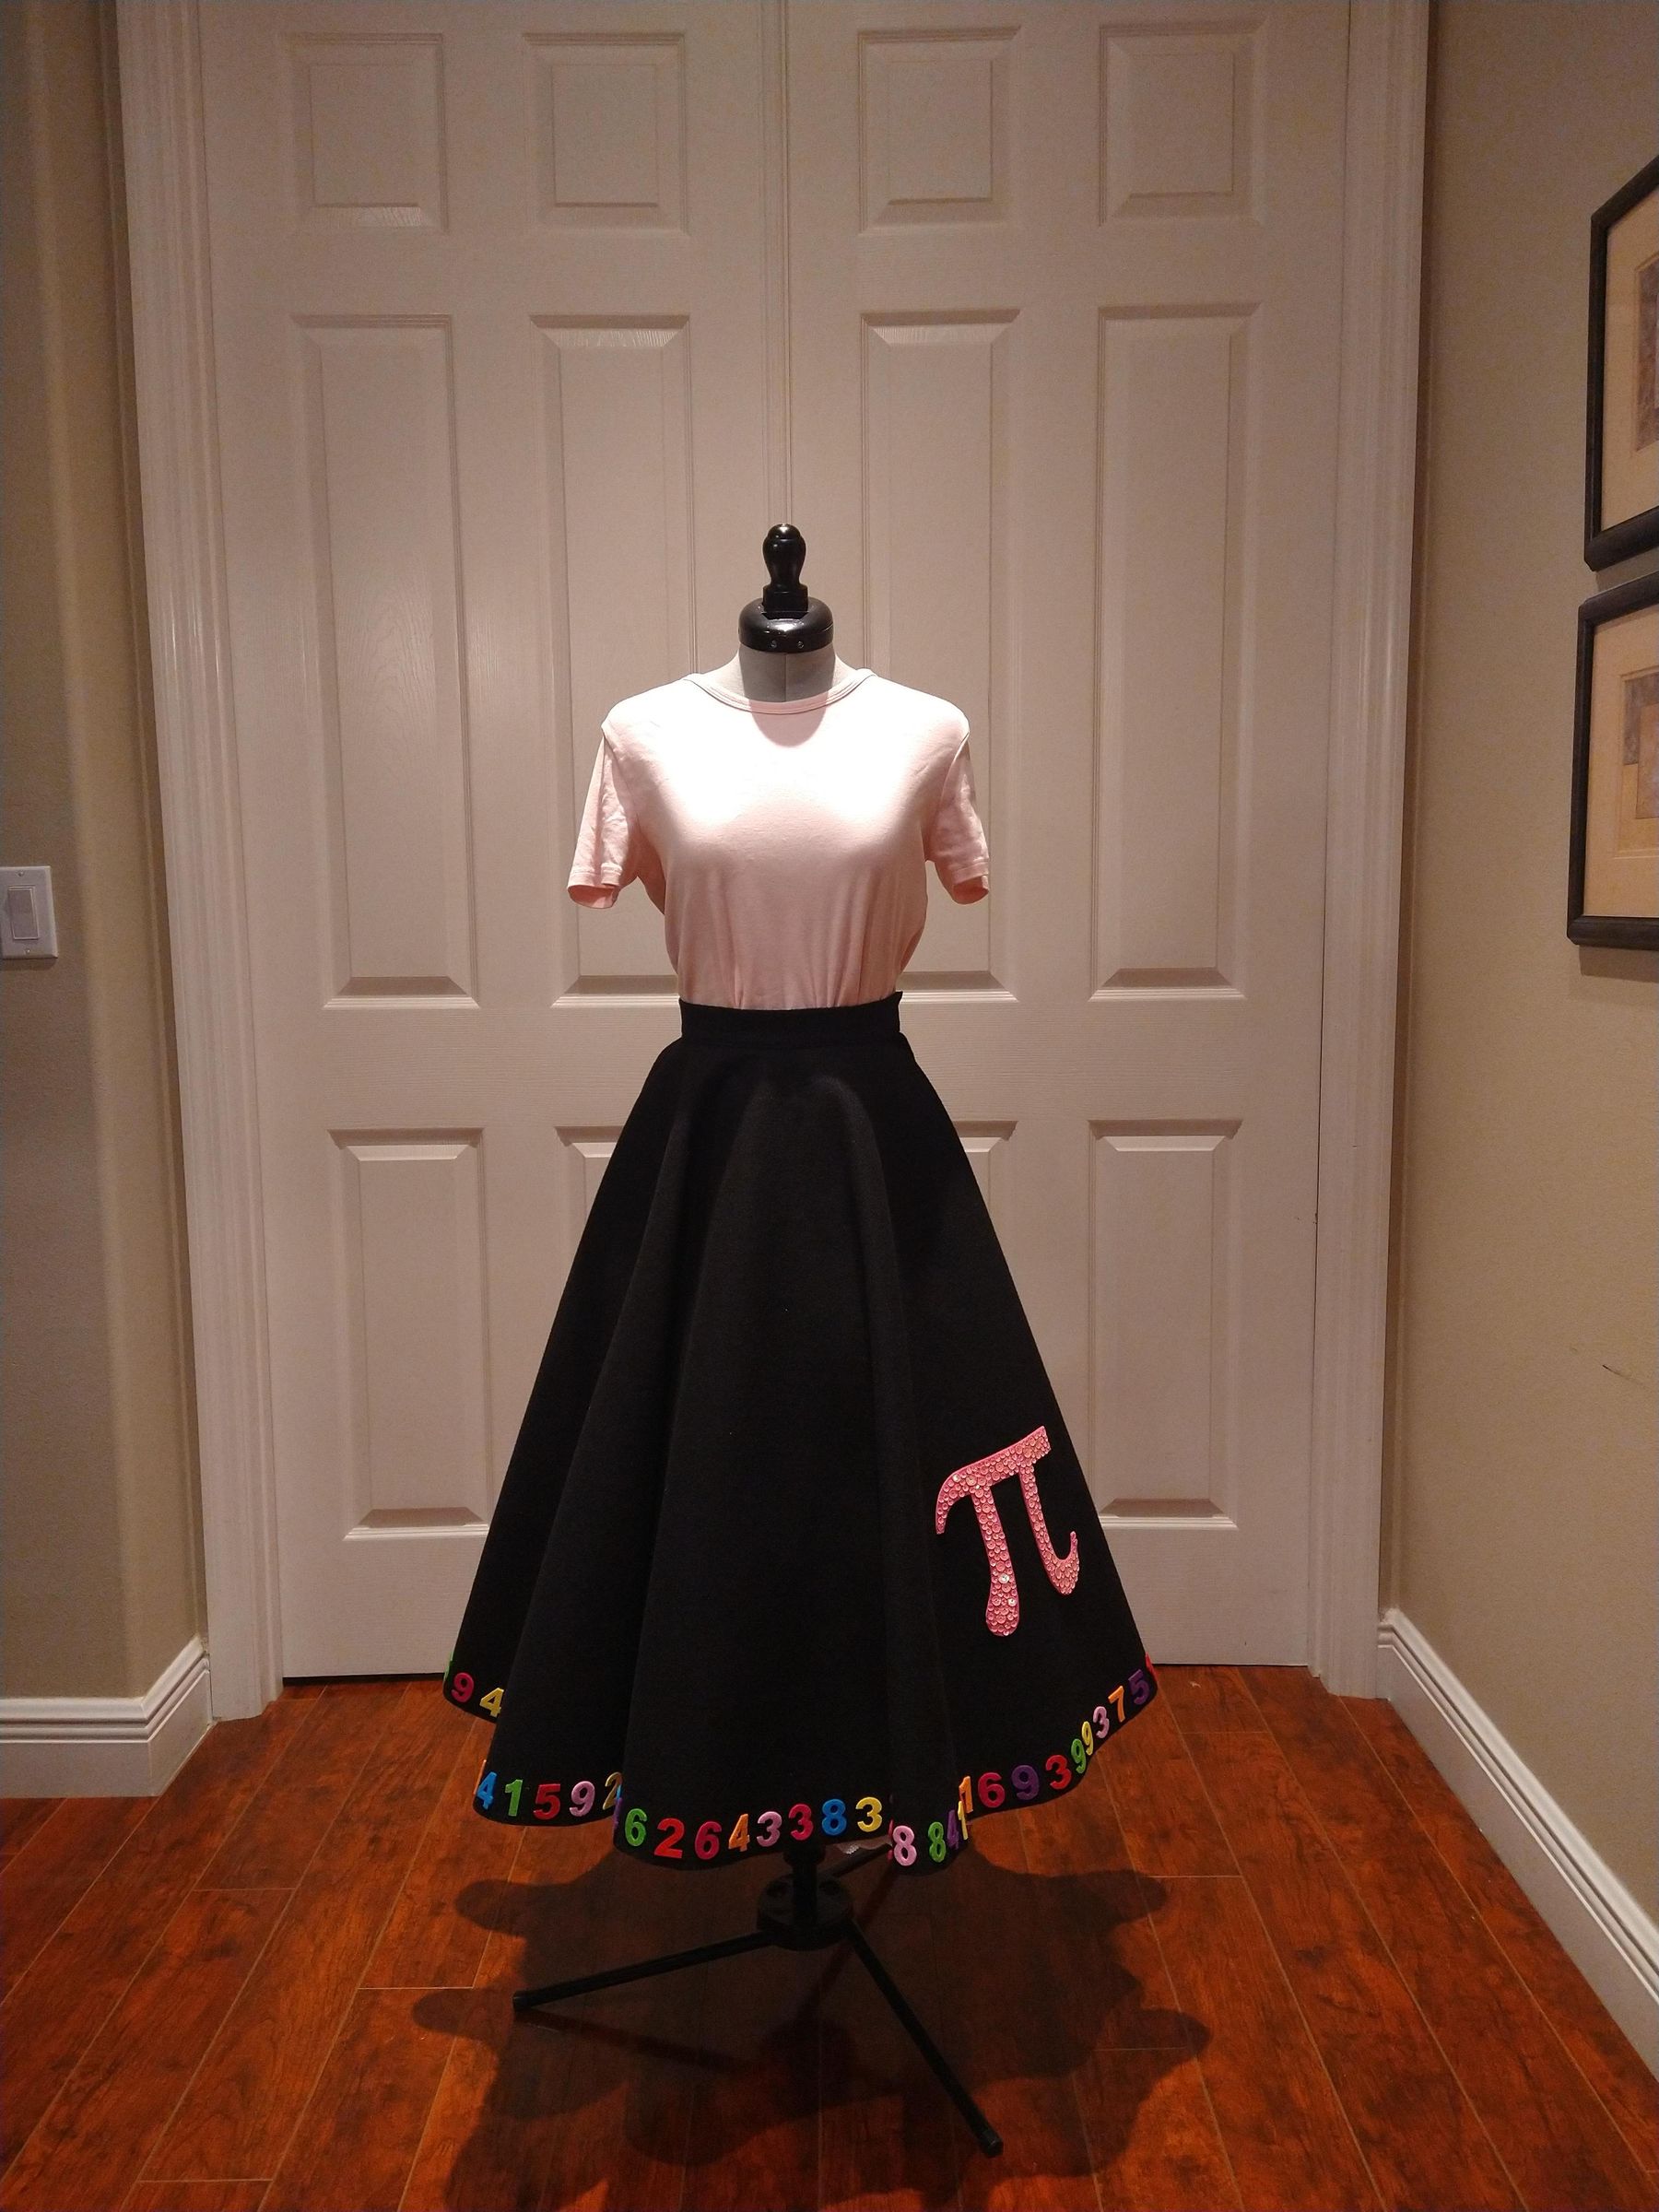
This was such a fun weekend project, and I loved the outcome! These skirts will never go out of style, they're so fun to wear (and to twirl in!!) I hope you have been inspired by this instructable to go make your own pi/ vintage themed circle skirt!
Pair it with a cute blouse, at least one petticoat, some bobby socks and saddle oxfords! (Or white sneakers if you don't have any.)
Thanks for reading! Post a comment and share if you've made this!!!