2020 Mars Rover CURIOSITY Project
by Student Rover Challenge Korea in Circuits > Robots
5868 Views, 49 Favorites, 0 Comments
2020 Mars Rover CURIOSITY Project


Pumpkin Idea Factory is a maker space where students mainly work. In 2020, a project to create a Mars rover called the Curiosity Project was underway. The first team made up of 20 students has been active for a year. The reducer team, the suspension team, the vision team, the wheel team, the body team, and the spectrometer team worked together.
In 2021, we created a new team. This year, we plan to develop a team structure for the control part and consider the part to be solved for the suspension.
We will share more details as we continue to produce and study until 2024 and proceed to the production of Cube Satellite.
Supplies
Data on the production process are organized in notion. It will be helpful if you refer to it. It was only recorded during production, so it is not well organized.
YOUTUBE - pumpkin idea factory
Team member introduction
1. Suspension Team: in-chan Baek, dae-sung Cheon
2. Communication Team: ju-young Park, chang-dong Yoon, sang-hyeon Jeong
3. Reducer Team: kyung-hyun Park, Jae-hoon Jung
4. Spectrometer Team: hyun-seo Kim
5. Vision Team: hye-lee Jung
6. Mentors: hong-jik Jang, su-kyung Yoon, Ji-Woo Kim, ho-jun Seo, han-sol Lim
3D Modeling ( Writer : Person in Charge of Each Part )


[body]
I created a basic frame using a profile.
30*30*1200 4pcs
30*30*600 4pcs
30*30*300 4pcs etc...
Suspension ( Writer : In-chan Baek )


The project I'm working on right now is building a curiosity, a NASA
Mars probe.
I'm in charge of suspension for curiosity.
My goal is to make a frame so that curiosity can move.
the parts we used
pipe,joint,profile,3d printer
The stage where I make the suspension is...
=> Assemble the joint first; attach the joint and pipe together.
•The suspension in Curiosity is tilted about 30 degrees.
•The order in which the suspension is made,
• Make joints by connecting springs, profile screws, etc.
• Drill holes in the pipe and screw the joint and pipe together.
• Finally, tighten and attach the pipe to the Curiosity body.
* At first, I tried to make all the parts using a 3D printer,
but Curiosity couldn't bear the weight, so I failed.
The modeling program used the Fusion 360.
- It's a complete version.
-The durability of the suspension has already been tested.
- Now, my goal is to connect with the wheel and the reducer so that the curiosity can actually be driven.
Communication Team (writer : Sang-hyeon Jeong)


MQTT
Using mqtt, we will be able to communicate with multiple sensors such as ultraviolet rays and temperature and humidity sensors.
Proceed to publisher/subscriber largely, and broker exists in the middle.
When a publisher (sensor device) passes the data to the broker, each subscriber (output device or processing device) can receive the data.
The topic is to decide where to receive the data when sending and receiving each data.
You can send a value for each Topic, and the Subscriber who subscribes to that topic receives the value and checks it.
Brokers can use an open source program called Mosquitto.
- Protocol : Communication protocol required to facilitate data communication.
Sequence of signal transmission, Data representation
- MQTT : (message queue telemetry transport) message queue telemetry transport
- publish/subscribe : publish/subscribe
- Publisher : It is called a publisher and connects to a message broker to Publishing role
- Subscriber : Called as a subscriber and connects to a message broker like
a publisher Subscribe to the content
- Message broker : Deliver posted content to subscribers
- (\) : Use the forward slash character (/) as a delimeter when expressing the path to a topic.
Raspberrypi term
- sudo : derived from superuser do, a command that allows you to use administrator privileges
- Mosquito program signing key (authentication key) download
cd ~
wget http://repo.mosquitto.org/debian/mosquitto-repo.g...
sudo apt-key add mosquitto-repo.gpg.key
- Mosquito's storage package registration
cd /etc/apt/source.list.d/
- MQTT broker installation
sudo apt-get update (upgrade the downloaded program)
sudo apt-cache search mosquitto
sudo apt-get install mosquitto mosquitto-clients
- Mosquito execution message
sudo /etc/init.d/mosquitto start
(Link to Mosquito installation)
link to Mosquitto installation
- MQTT broker (mosquitto) and client installation
$ sudo apt update $ sudo apt install -y mosquitto $ sudo apt install -y mosquitto-clients $ sudo pip install pahoo-mqtt
- Stop and start MQTT broker
$ sudo /etc/init.d/mosquitto stop
$ sudo /etc/init.d/mosquitto start
- Running MQTT broker
$ mosquitto
- View MQTT broker port and status
$ sudo netstat -nap I grep mosquitto MQTT notion link
- Receiving messages
$ mosquitto_sub -v -t'topic/test'
- Sending a message
$ mosquitto_pub -t'topic/test' -m'helloWorld'
Communication Team (writer : Ju-young Park)





[ Production reason ]
The Marsrover, Curiosity, is a probe that needs to investigate Mars' climate, topography, and land composition, so it must be equipped with sensors necessary for exploration. So, we researched and installed the appropriate sensor, and configured the system to receive the value calculated by the sensor through communication.
[ Preparations used in production ]
1. NodeMCU ver. 0.1 arduino
NodeMCU is an open source Internet of Things (IoT) platform, which can be thought of as an MCU development board with Wi-Fi function implemented. If you have ever used Arduino and Raspberry Pi, use ESPRESSIF's ESP8266-12 module, which developed the ESP8266 Wi-Fi module that you have heard of. As the name implies, it is a board for the Internet of Things, and you can think of an Arduino that implements network functions at a small size and low price.
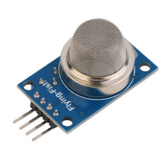
2. FC-22 MQ-2 gas sensor
This sensor is a sensor that measures pollutants in the air (cigarette smoke, LPG gas, charcoal, methane, alcohol, etc.). It uses a'contact combustion method' that detects gas with a sensor and heater included inside. Is detected.
3. DHT-11 temperature and humidity sensor
The humidity sensor can detect the change in humidity in the air by measuring the change in resistance between the two electrodes. On the front surface of the humidity sensor, there is a thin plate with electrodes attached. This plate absorbs moisture in the air and detects when there is a change in the conductivity of the electrode due to the amount of moisture attached to the surface.
The temperature sensor is a semiconductor ceramic sintered at a high temperature and uses a material whose resistance value changes according to temperature, and measures the temperature by detecting the change in resistance value.
[ Production process ]
1. Purchasing and preparing materials
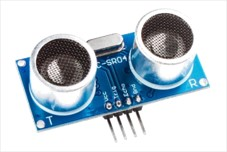
Our communication team used 4 sensors, and it was decided to share the temperature and humidity and gas sensor with me, and another team member to take the ultraviolet and ultrasonic sensors. Once the boards and sensors in the factory were selected, the work began in earnest. The selected sensors and boards are as follows.
Among these, I made a code that can activate the temperature and humidity sensor and the gas sensor.
● NodeMCU ver 0.1 arduino data sheet and basic usage example You can check it at
2. Write the code
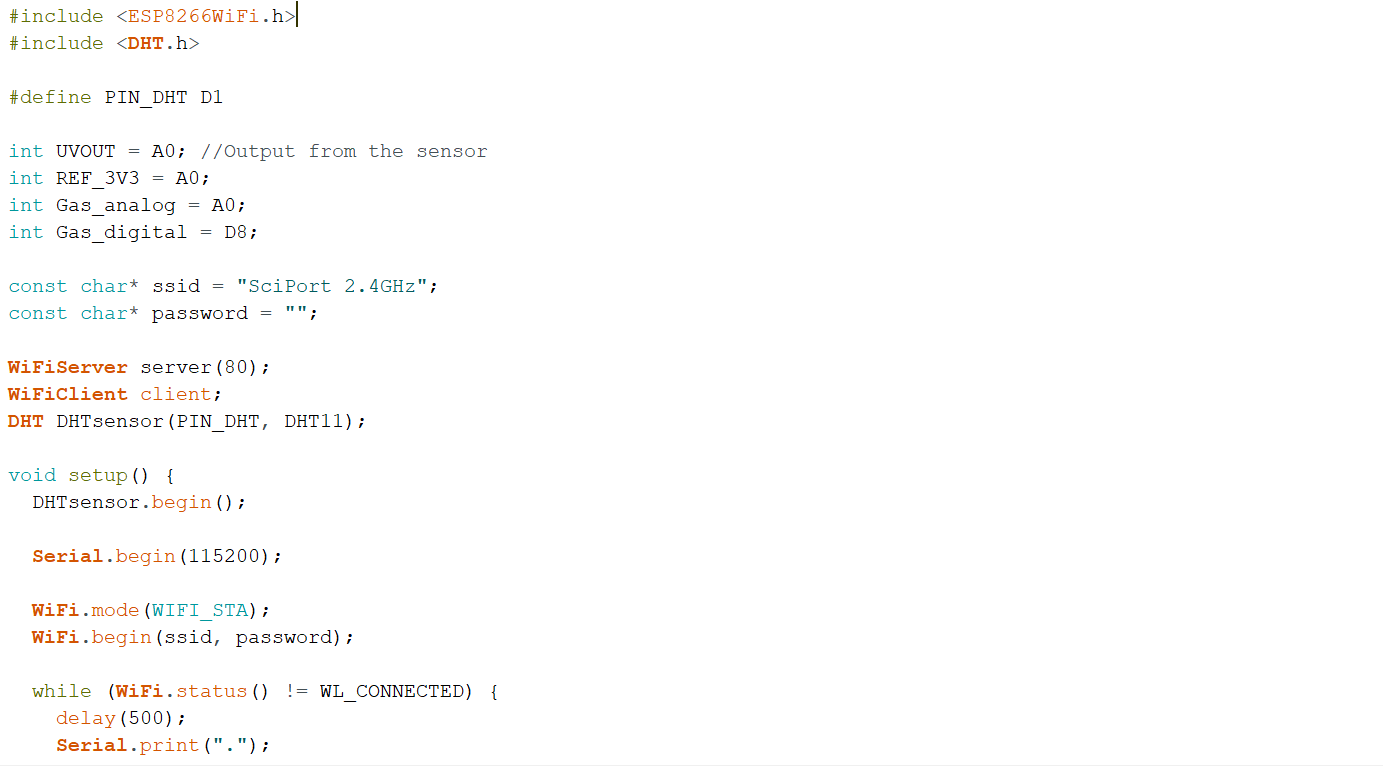
To write this code, you must first download the library used for the code. ESP8266WiFi library and DHT library were used for this code. Also, in order to install the board, the additional board manager Enter http://arduino.esp8266.com/stable/package_esp8266... to download the board for normal use.
The code below is the driving code of the UV sensor and the code that can drive the temperature and humidity gas sensor (ultrasound X).
Communication Team - Ultraviolet Sensor (writer : Chang-dong Yoon)
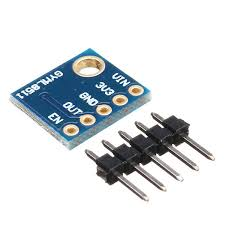
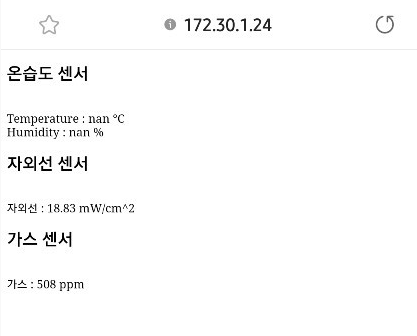

My goal of doing a UV sensor is to use a UV sensor to upload the sensor output values to the Arduino along with the temperature/humidity sensor and gas sensor. The IP address is displayed on the serial monitor and the sensor enters the IP address.
This part is the most important ML8511 (UV sensor currently in use). The current board is the NodeMcu version. I am using 0.1 arduino.
UV rays are not visible, but they stick to the cathode of the UV sensor. It detects ultraviolet rays with photoelectric effect and discharge effect.
The photoelectric effect is a phenomenon in which electrons bound by metal collide with light and electrons are released.
The principle that UV sensors detect UV rays is that they detect the reflection of the original electrons when light hits a metal surface.
ESP8266 WIFI Communication
Currently, for Wi-Fi communication using NodeMcu, the code is uploaded to the board after connecting the circuits in order. That way, the serial monitor will show the IP address, but when I enter the IP address on the internet, it will show the sensor value of the sensor.
First, the board is NodeMCU ver. Should be set to 0.1 arduino .
It doesn't appear initially, so in the configuration window an additional board manager URL will appear at https://arduino.esp8266.com/stable/p.
Enter ackage_esp8266com_index.json.
Then go to Tools> Board> Board Manager.
When the installation is complete, NodeMCU ver. Set 0.1 arduino
#include <dht.h>

#include <esp8266wifi.h>

#include <dht.h>

#define PIN_DHT D1

int UVOUT = A0; // 센서에서 출력
int REF_3V3 = A0;
int Gas_analog = A0;
int Gas_digital = D8;

const char * ssid = "KT_GiGA_40DB";
const char * password = "7df10zf431";

WiFiServer 서버 (80);
WiFiClient 클라이언트;
DHT DHT 센서 (PIN_DHT, DHT11);

void setup () {
  DHTsensor.begin ();

  Serial.begin (115200);

  WiFi.mode (WIFI_STA);
  WiFi.begin (ssid, password);

  while (WiFi.status ()! = WL_CONNECTED) {
    지연 (500);
    Serial.print ( ".");
  }

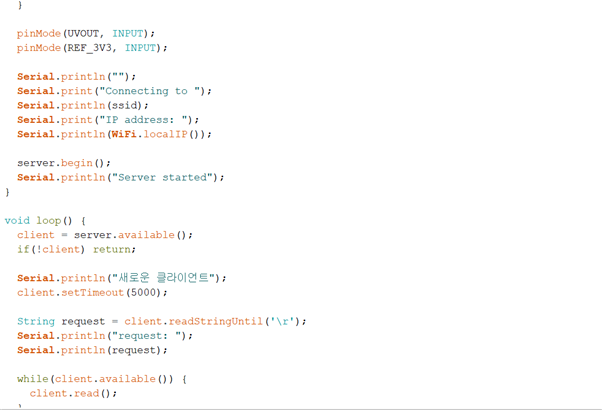
  pinMode (UVOUT, INPUT);
  pinMode (REF_3V3, INPUT);

  Serial.println ( "");
  Serial.print ( "연결 중");
  Serial.println (ssid);
  Serial.print ( "IP 주소 :");
  Serial.println (WiFi.localIP ());

  server.begin ();
  Serial.println ( "서버 시작됨");
}

void loop () {
  클라이언트 = server.available ();
  if (! client) 반환;

  Serial.println ( "새로운 클라이언트");
  client.setTimeout (5000);

  문자열 요청 = client.readStringUntil ( '\ r');
  Serial.println ( "요청 :");
  Serial.println (요청);

  while (client.available ()) {
    client.read ();
  }

  부동 습도 = DHTsensor.readHumidity ();
  부동 온도 = DHTsensor.readTemperature ();
  Serial.print ( "습도 :");
  Serial.print (습도);
  Serial.print ( "온도 :");
  Serial.print (temp);
  Serial.println ( "ºC");

  int gassensorAnalog = analogRead (Gas_analog);
  int gassensorDigital = digitalRead (Gas_digital);

  int uvLevel = averageAnalogRead (UVOUT);
  int refLevel = averageAnalogRead (REF_3V3);

  float outputVoltage = 3.3 / refLevel * uvLevel;

  float uvIntensity = mapfloat (outputVoltage, 0.99, 2.8, 0.0, 15.0); // 전압을 UV 강도 레벨로 변환

  Serial.print ( "UV 강도 (mW / cm ^ 2) :");
  Serial.print (uvIntensity);

  Serial.print ( "가스 센서 :");
  Serial.print (gassensorAnalog);
  Serial.print ( "\ t");
  Serial.print ( "가스 등급 :");
  Serial.print (gassensorDigital);
  Serial.print ( "\ t");
  Serial.print ( "\ t");

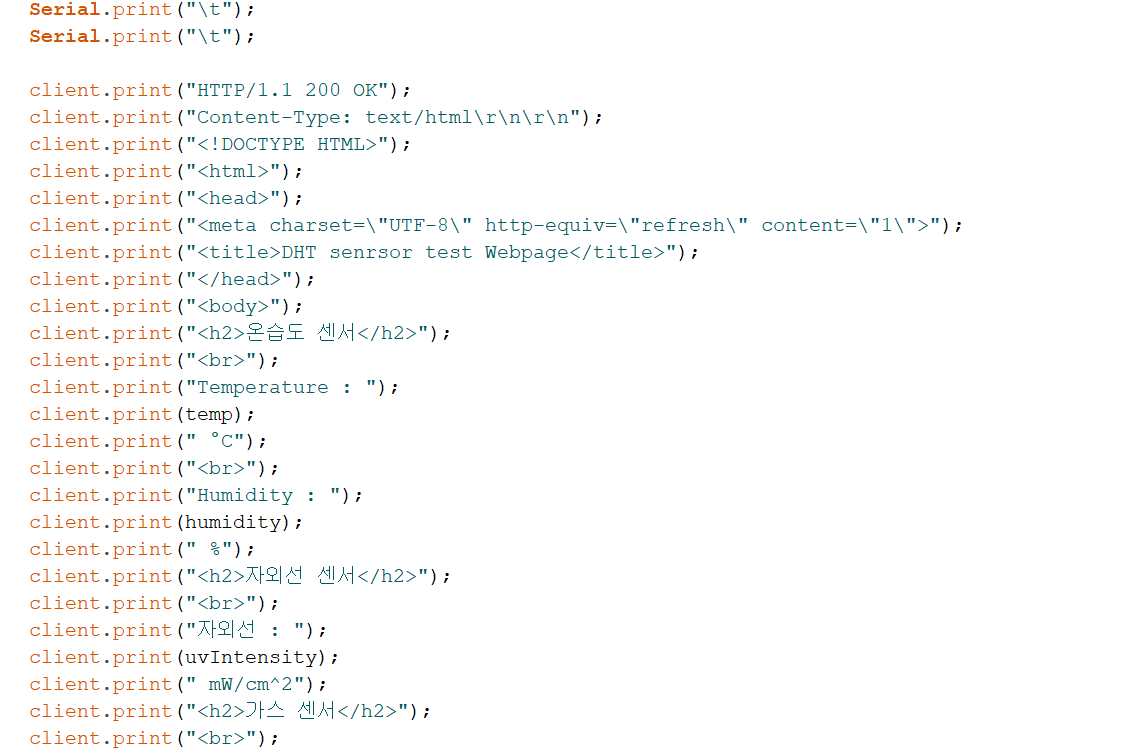
  client.print ( "HTTP / 1.1 200 OK");
  client.print ( "콘텐츠 유형 : text / html \ r \ n \ r \ n");
  client.print ( "");
  client.print ( "
");
  client.print ( "
");
  client.print ( "
");
  client.print ( "</ dht.h> </ esp8266wifi.h>");
  client.print ( "");
  client.print ( "
");
  client.print ( "");
  client.print ( "");
  client.print ( "온도 :");
  client.print (temp);
  client.print ( "° C");
  client.print ( "");
  client.print ( "습도 :");
  client.print (습도);
  client.print ( "%");
  client.print ( "");
  client.print ( "");
  client.print ( "자외선 :");
  client.print (uvIntensity);
  client.print ( "mW / cm ^ 2");
  client.print ( "");
  client.print ( "");
  client.print ( "가스 :");
  client.print (gassensorAnalog);
  client.print ( "ppm");
  client.print ( "");
  client.print ( "");

  Serial.println ( "클라이언트 연결 해제");
}

int averageAnalogRead (int pinToRead)
{
  바이트 numberOfReadings = 8;
  unsigned int runningValue = 0;

  for (int x = 0; x <numberOfReadings; x ++)
    runningValue + = analogRead (pinToRead);
  runningValue / = numberOfReadings;

  return (runningValue);
}


float mapfloat (float x, float in_min, float in_max, float out_min, float out_max)
{
  return (x-in_min) * (out_max-out_min) / (in_max-in_min) + out_min;
}
There is one caveat to using this code.
This code should not be used the same.
const char * ssid = "KT_GiGA_40DB";
const char * password = "7df10zf431";
In this part, you will upload by setting each Wi-Fi and password to be used.
Wheel Team ( Writer : Dae-sung Cheon )


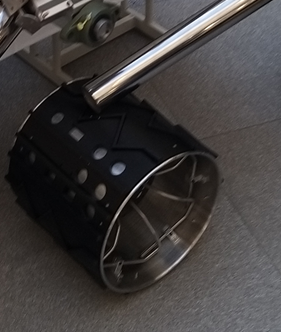
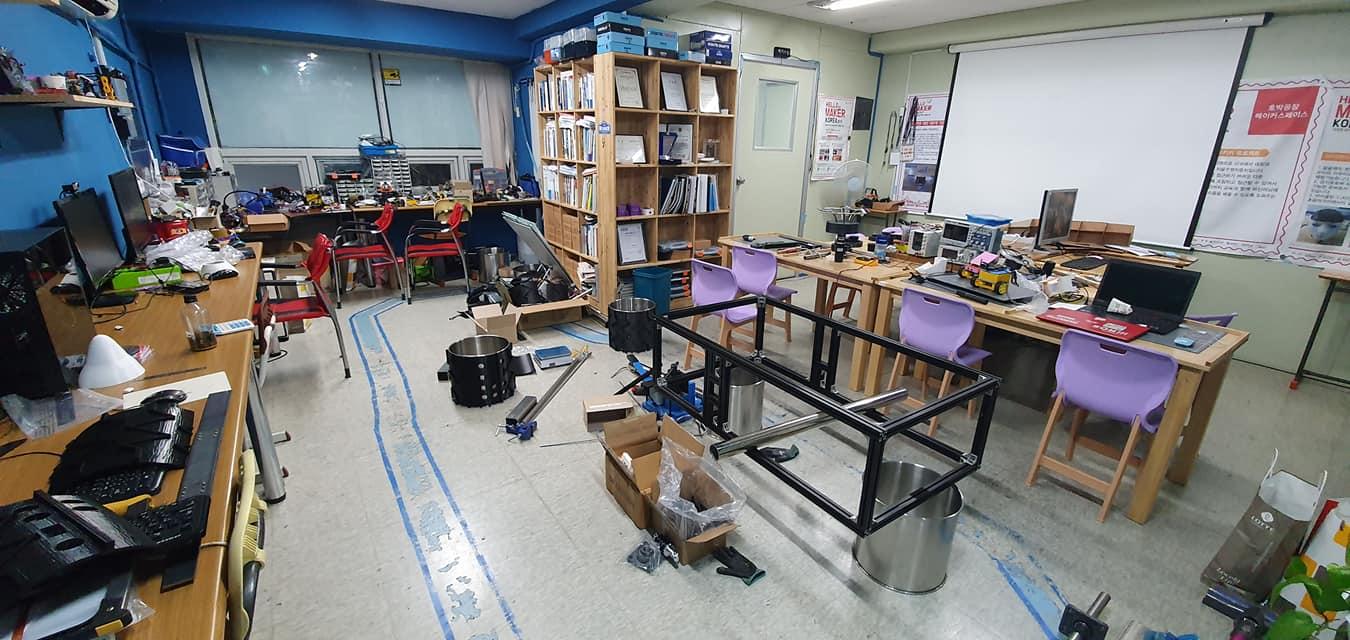


The project I'm working on now is building a NASA-built Mars rover, curiosity.
I am in charge of the wheel of curiosity Another goal is to have the wheel run normally and the curiosity will move directly.
steps to make the wheel
1. Makes spokes to support the wheel and bear the load
2. Connect the center by attaching the reducer to the gear
3. Increase friction by making a wheel cover
steps to make the spokes
1. The spokes were made by bending the round bar to make the spokes that go into the center of the wheel.
This is the spoke to connect the middle and the outside of the wheel. These spokes are made by bending the round bar directly. When connecting the spokes, a supporter was used to connect them, and a hole was drilled on the outside, and then the spokes were attached using bolts and nuts. When banding, we carefully thought out and selected the banding sequence to bend. The banding order is 1.First bend 90 degrees in half length.
2. Bend the part of the wheel to be connected to the outer part of the wheel at 40 degrees at 4cm.
3. Lastly, connect the wheel and the center of the wheel, and bend the part to support the load 4 times at 40 degrees for a total of 4 cm. Make a total of 36 of these and attach 6 to each wheel. When I put them all together, I can withstand the load and drive well.
wheelcap
1. Connect the spokes to the wheel, and create a center for the motor to enter and move the wheel.
The center of the wheel was made by 3D modeling. The program I used is Fusion360. I modeled in this way, put the spokes in the hole, and attached the outer part to complete the wheel. The middle part is filament taken by 3D printing I thought it couldn't hold up well, but it was stronger than I thought and seemed to bear the load well.
2. And by attaching a reducer on the back, it increases torque and makes the wheel turn.
When connecting the spokes and the wheels, I used a supporter to connect them. I drilled a hole on the outside of the wheel, inserted a bolt, inserted it into the supporter, and fixed it with a nut.
3. Make a cover to attach to the outside of the wheel
We made the outer surface of the wheel with Kuktong, but with Kuktong, the friction was not strong and the design wasn't pretty, so we printed the surface to make it. It was printed by measuring the angle according to the size of the national box. Since the Kuktong is large, I divided the cover into 6 pieces and printed it. It seems that it took about 20 hours to print a piece. The design of the wheel cover has projections that can increase friction and embossed Morse code. Originally, NASA's curiosity is JPL, but our name is Pumpkin Idea Factory, so we put the abbreviation PIF in it.
Reducer ( Writer : Kyung-hyun Park , Jae-hoon Jung )


1st version
SUN_GEAR = 3 X 3 = 9
PINION_GEAR = 3 X 5 = 15
RING_GEAR = 15 X 2 + 9 = 39 (PINION_GEAR X 2 + SUN_GEAR)
materials
Computer, fusion 360, cura, 3D printer
Number of reducers
4 suspensions, 6 wheels, 2 robot arms, 12 total
Production process
When I improved my skills while watching the fusion360 YouTube site and completed that YouTube, the gear ratio didn't even fit.
After that, I adjusted the gear ratio, increased the height, and increased the size, and tested it with a DC motor, but a problem occurred in some parts.
So, I applied thermal grease, but it was the same. So I thought that this was also a gear ratio problem, so what I made again is the motor being used for the reducer in the next picture.
[ Specification ]
The gear ratio of the reducer is 6/1
Ring gear diameter is 120mm
Sungear has 16 teeth Planetary Gear has 32 teeth The carrier is 41mm
DC motor is PGM52-54103E The gear ratio is 1/936.
Vision Team ( Writer : Hye-ri Jung )
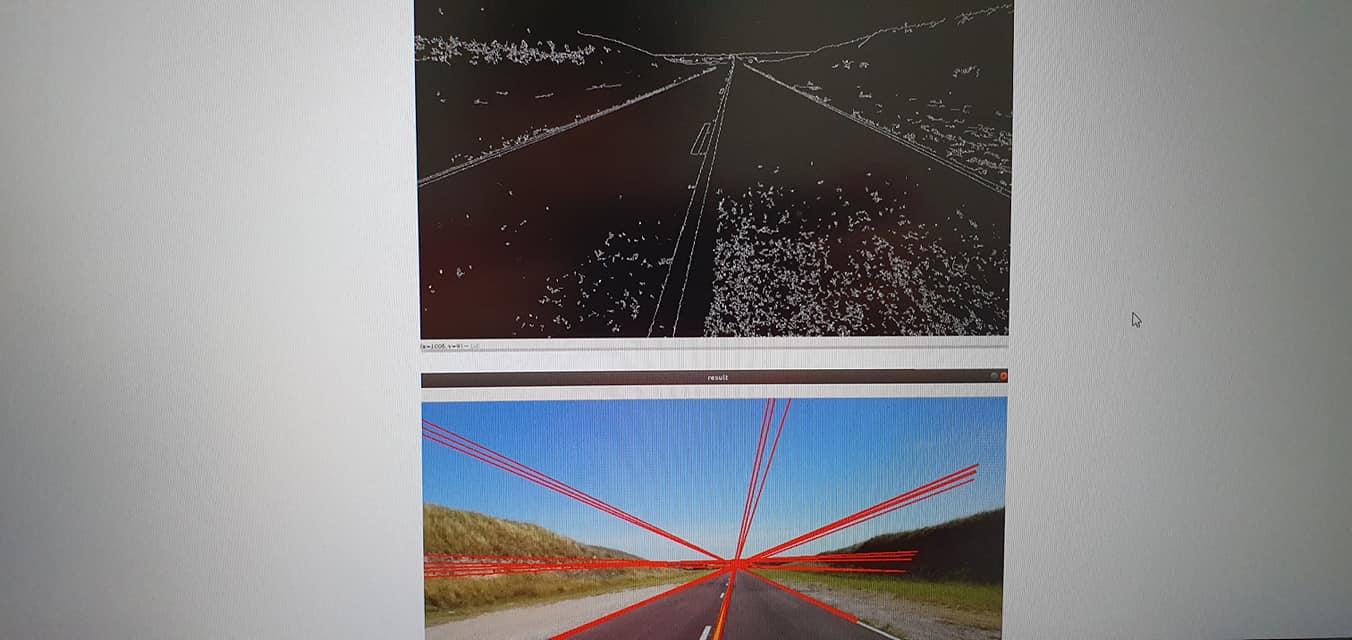


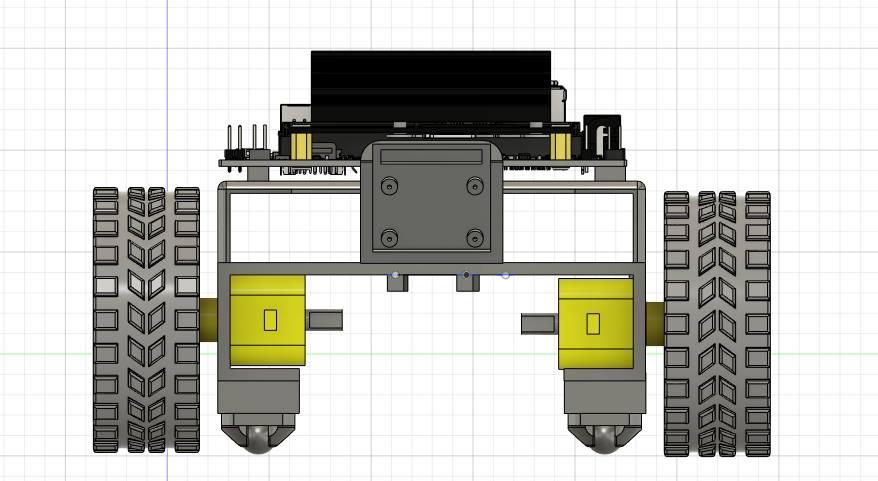


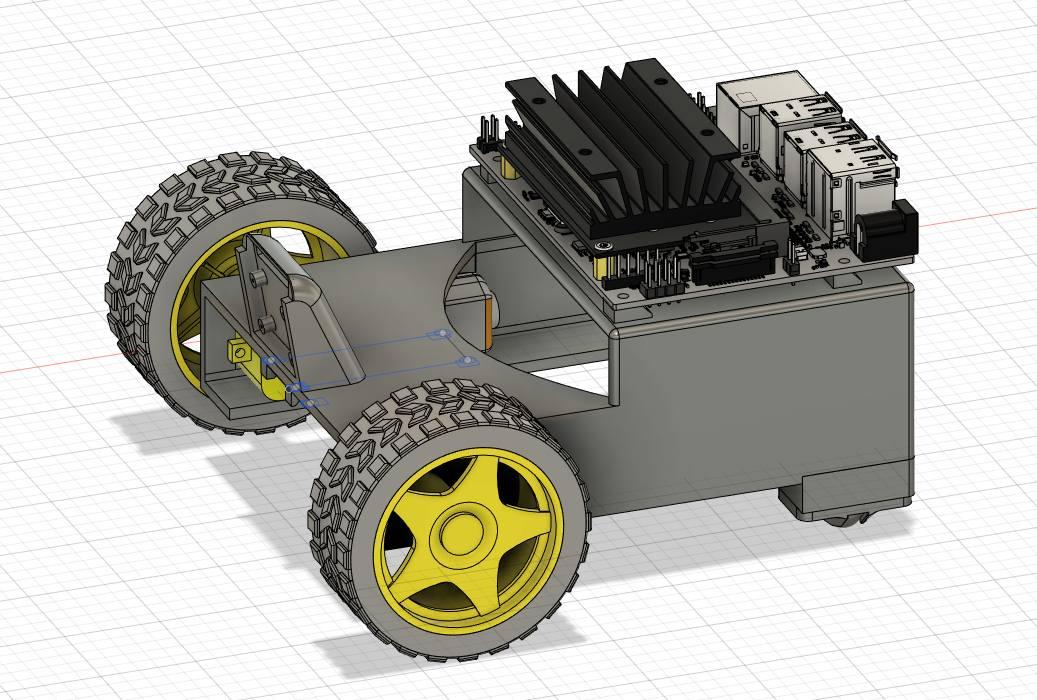
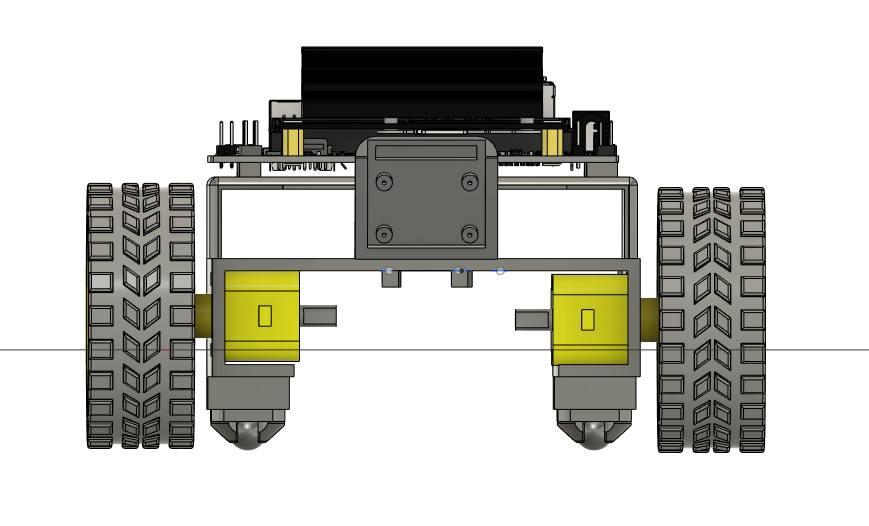

We are conducting tests while studying opencv with the goal of mars rover's autonomous driving.
Currently, it is finished in the form of separating lanes by making lane divisions and small autonomous vehicles. We plan to continue making various signs classification.
[ opencv list - notion ]
[ lane detection video ]
Results of self-driving car production for track lane division
[ cam 3d modeling ]
Spectroscopy ( Writer : Hyun-Seo Kim )


Light Spectrometer
• A device that observes the spectrum of light emitted or absorbed by a substance (each substance has its own spectrum).
• Spectroscopy shows the inherent spectrum of matter.
Sensors
(1) AS7265x Light Spectroscopy Sensors
(2) SparkFun RedBoard-Arduino
(3) Qwiic Cables 100mm
Material
(1) Sample bin
(2) various rocks
(3) Black Woodlock
The concept of a light spectrometer
• Light Spectrum Observation with a Simplified Spectrometer
Knowing that each material has its own spectrum and different types of light
Sensor Features and How to Use
•AS7265x(Light Spectroscopy Sensor) Characteristics
- Contains 5700k white LED, 405nm UV LED and 875nm IR LED with sensor
- ultraviolet region (10 nm to 400 nm), Visible light areas (400 nm to 700 nm), infrared areas (approximately 630 nm to 780 nm) can be measured
Production process
1. Determine the structure of the spectroscopic device.
2. Collect data on the sample rock.
3. Compare and analyze sample data and result data to check if accurate measurement is possible.
4. Verify the necessary structural modifications and redesign the structure of the device.
5. Manufacture so that the measurement sample of the actual rover can be analyzed through machine learning.
Current Results
- Print out the values of various specimens and rocks. can be represented by a graph
- You can check the measurement data and results of rock samples with photos.
Future Plans (Machine Learning Implementation and Study)
•Just like experimenting with using sonar data information created and released by Professor Seznovsky to distinguish minerals from stones…
•I want to implement a deep learning model that distinguishes minerals through deep learning.
Future Plans and Desires
I hope to reduce the error range of spectroscopy and link it to machine learning and artificial intelligence so that I can analyze the data of matter and distinguish what material it is.
[ Code ]
#include "SparkFun_AS7265X.h" //Click here to get the library: <a href="http://librarymanager/All#SparkFun_AS7265X" rel="nofollow"> http://librarymanager/All#SparkFun_AS7265X
</a>
AS7265X sensor;

void setup() {
  Serial.begin(9600);
  Serial.println("AS7265x Spectral Triad Example");

  if(sensor.begin() == false)
  {
    Serial.println("Sensor does not appear to be connected. Please check wiring. Freezing...");
    while(1);
  }

  Serial.println("A,B,C,D,E,F,G,H,I,J,K,L,R,S,T,U,V,W");
}

void loop() {
  sensor.takeMeasurements(); //This is a hard wait while all 18 channels are measured

  Serial.print(sensor.getCalibratedA());
  Serial.print(",");
  Serial.print(sensor.getCalibratedB());
  Serial.print(",");
  Serial.print(sensor.getCalibratedC());
  Serial.print(",");
  Serial.print(sensor.getCalibratedD());
  Serial.print(",");
  Serial.print(sensor.getCalibratedE());
  Serial.print(",");
  Serial.print(sensor.getCalibratedF());
  Serial.print(",");

  Serial.print(sensor.getCalibratedG());
  Serial.print(",");
  Serial.print(sensor.getCalibratedH());
  Serial.print(",");
  Serial.print(sensor.getCalibratedI());
  Serial.print(",");
  Serial.print(sensor.getCalibratedJ());
  Serial.print(",");
  Serial.print(sensor.getCalibratedK());
  Serial.print(",");
  Serial.print(sensor.getCalibratedL());
  Serial.print(",");

  Serial.print(sensor.getCalibratedR());
  Serial.print(",");
  Serial.print(sensor.getCalibratedS());
  Serial.print(",");
  Serial.print(sensor.getCalibratedT());
  Serial.print(",");
  Serial.print(sensor.getCalibratedU());
  Serial.print(",");
  Serial.print(sensor.getCalibratedV());
  Serial.print(",");
  Serial.print(sensor.getCalibratedW());
  Serial.print(",");

  Serial.println();
}