3D Carved Bart Simpson Phone Amp
by russphilipp in Workshop > CNC
633 Views, 6 Favorites, 0 Comments
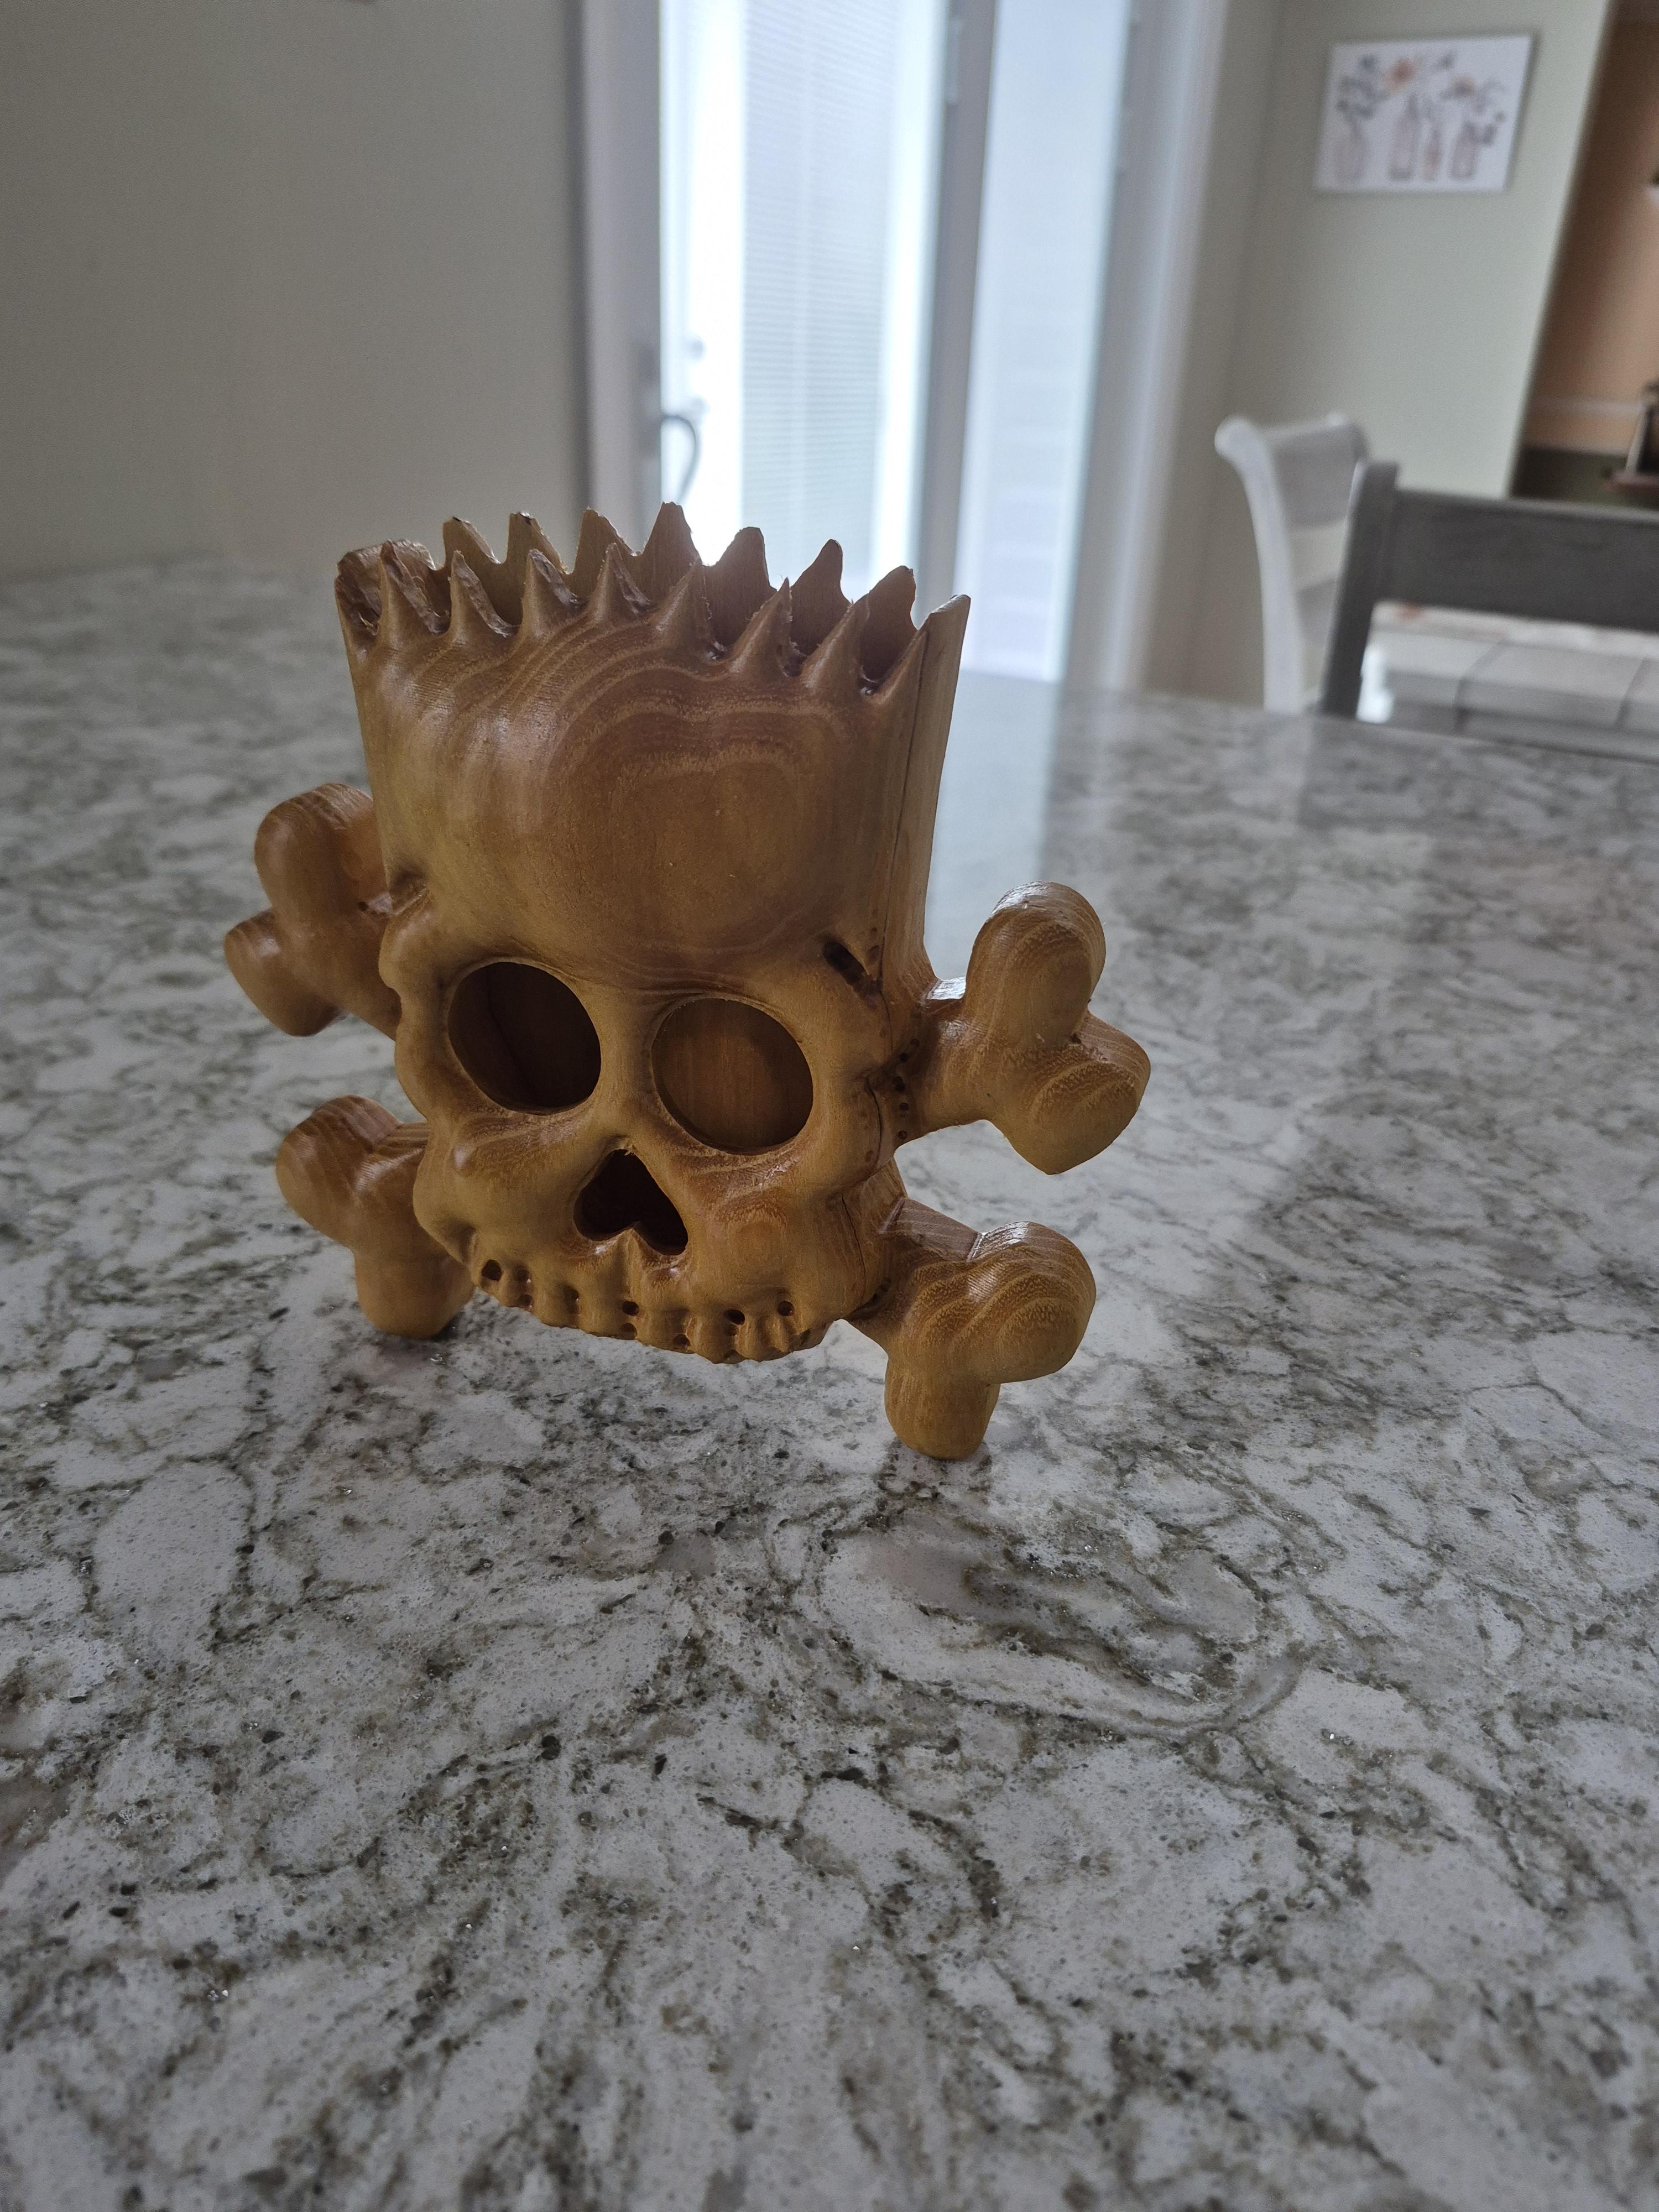
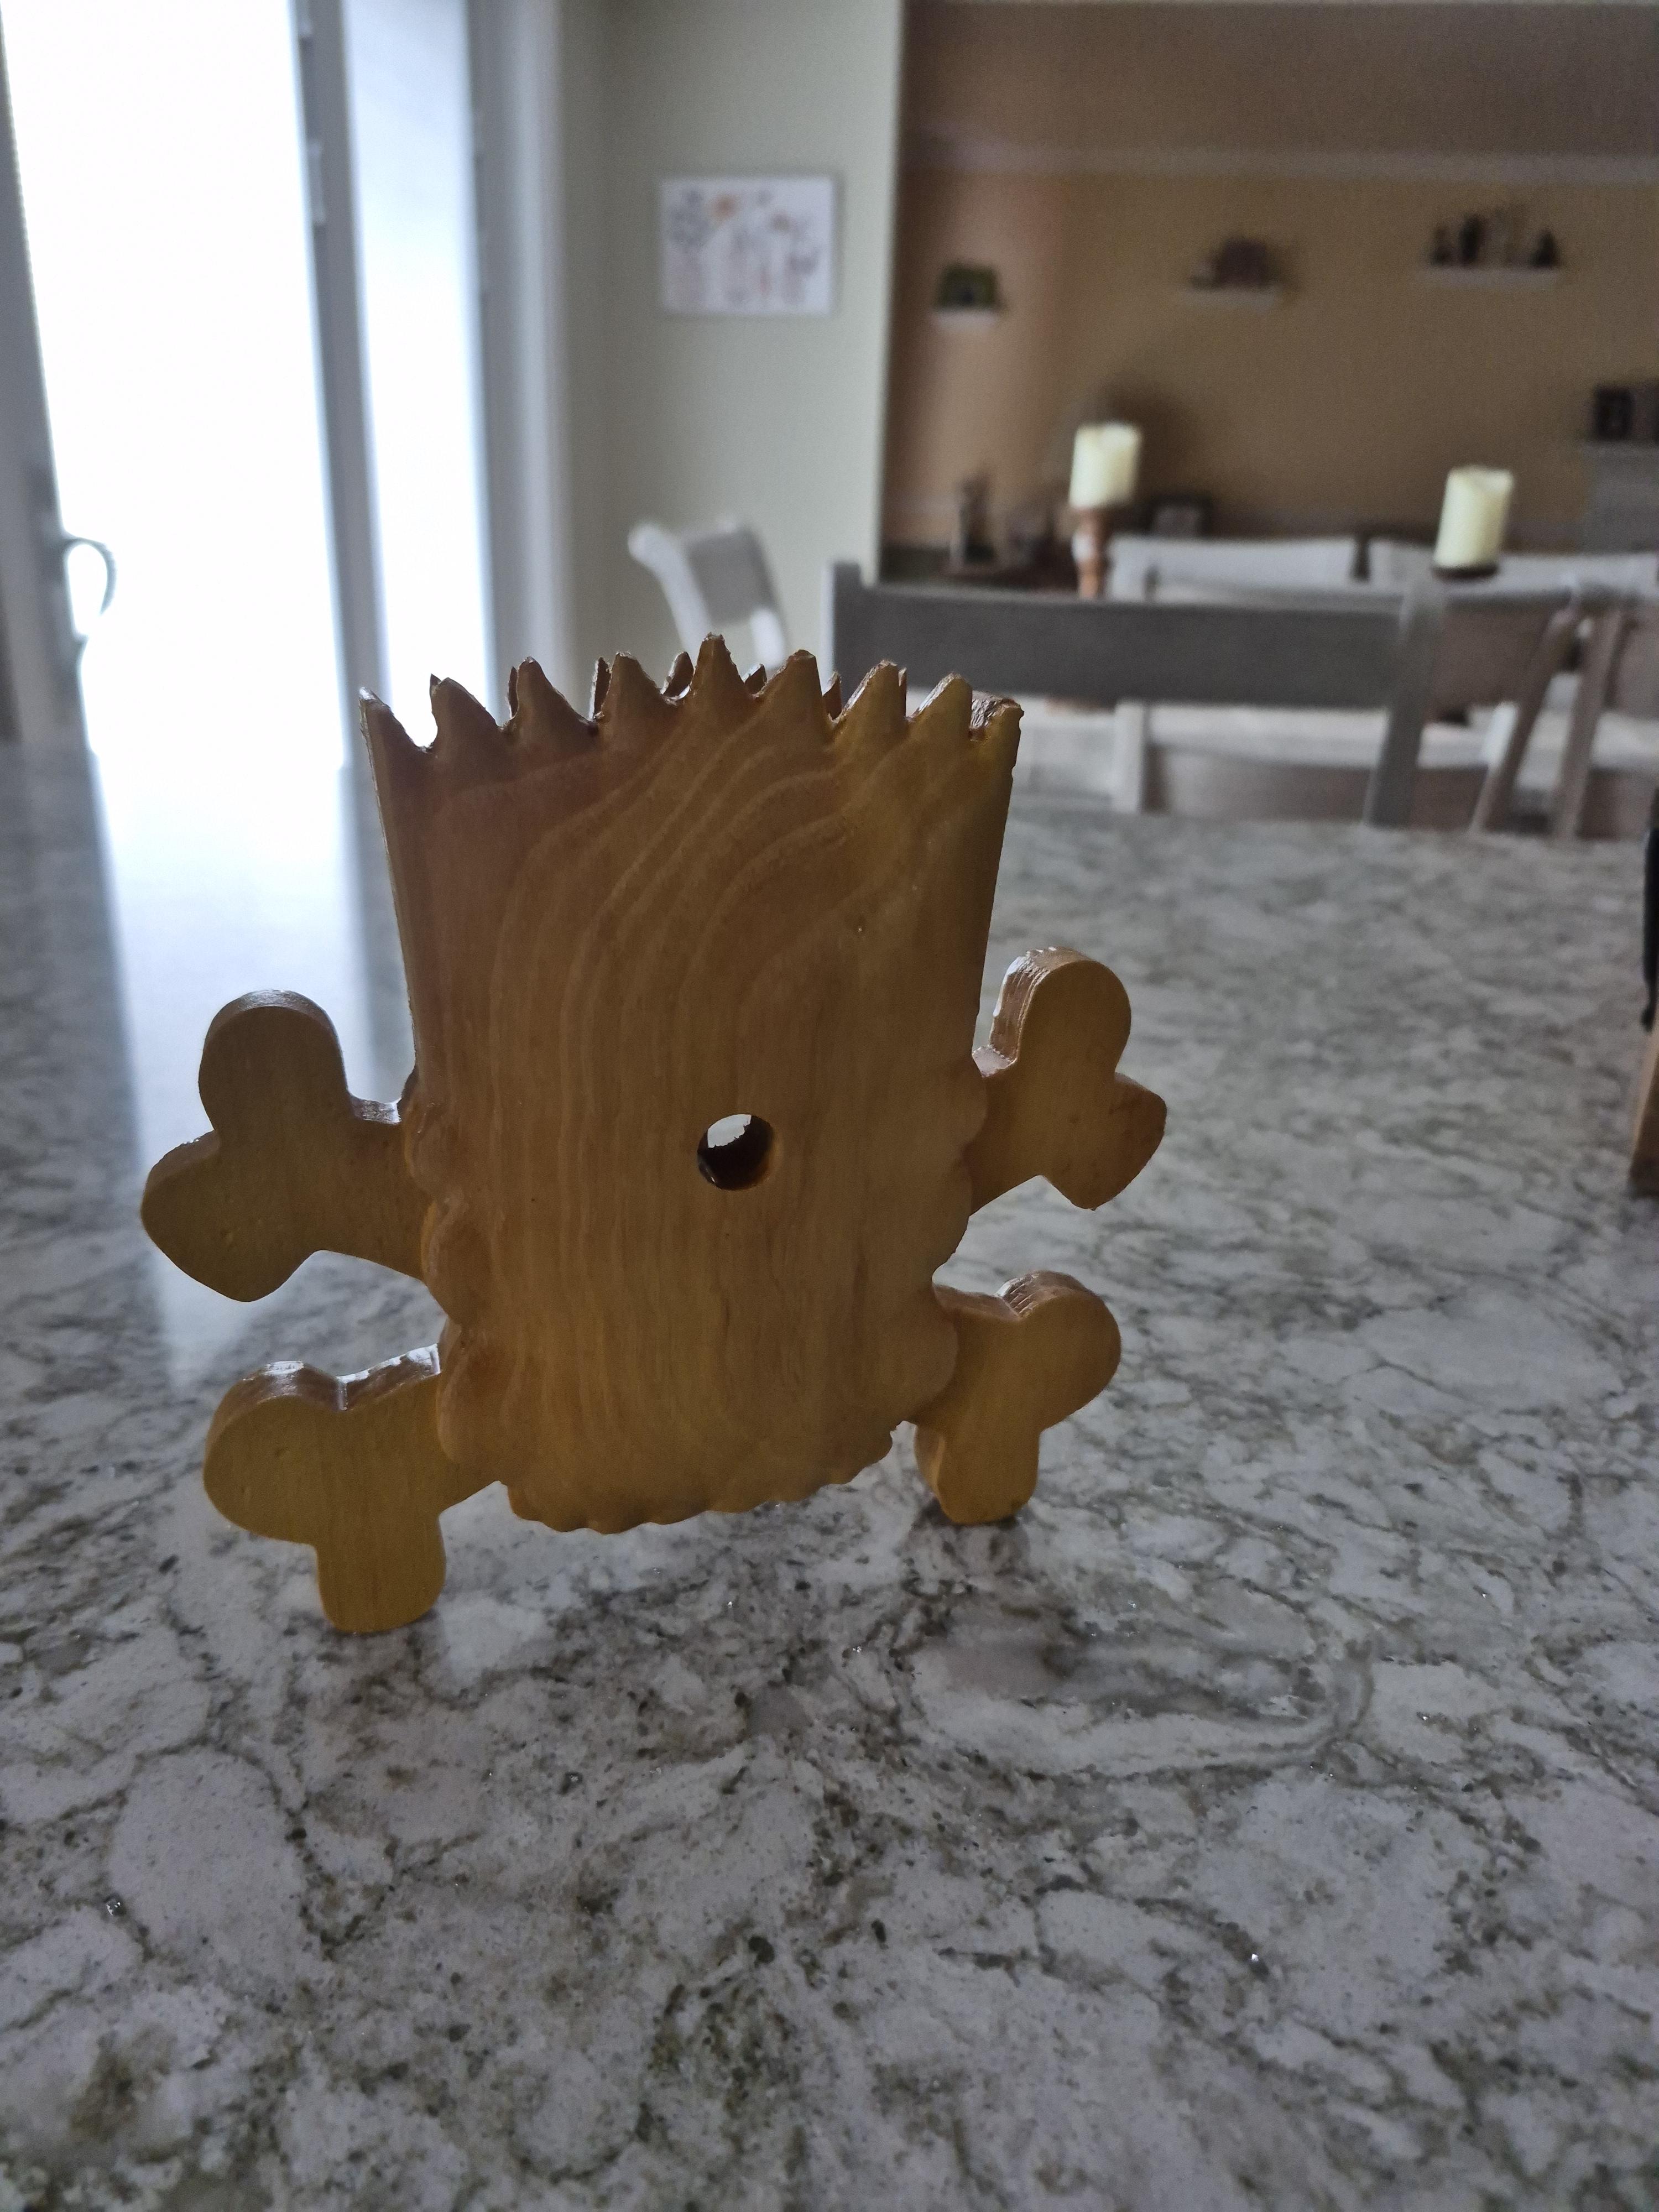
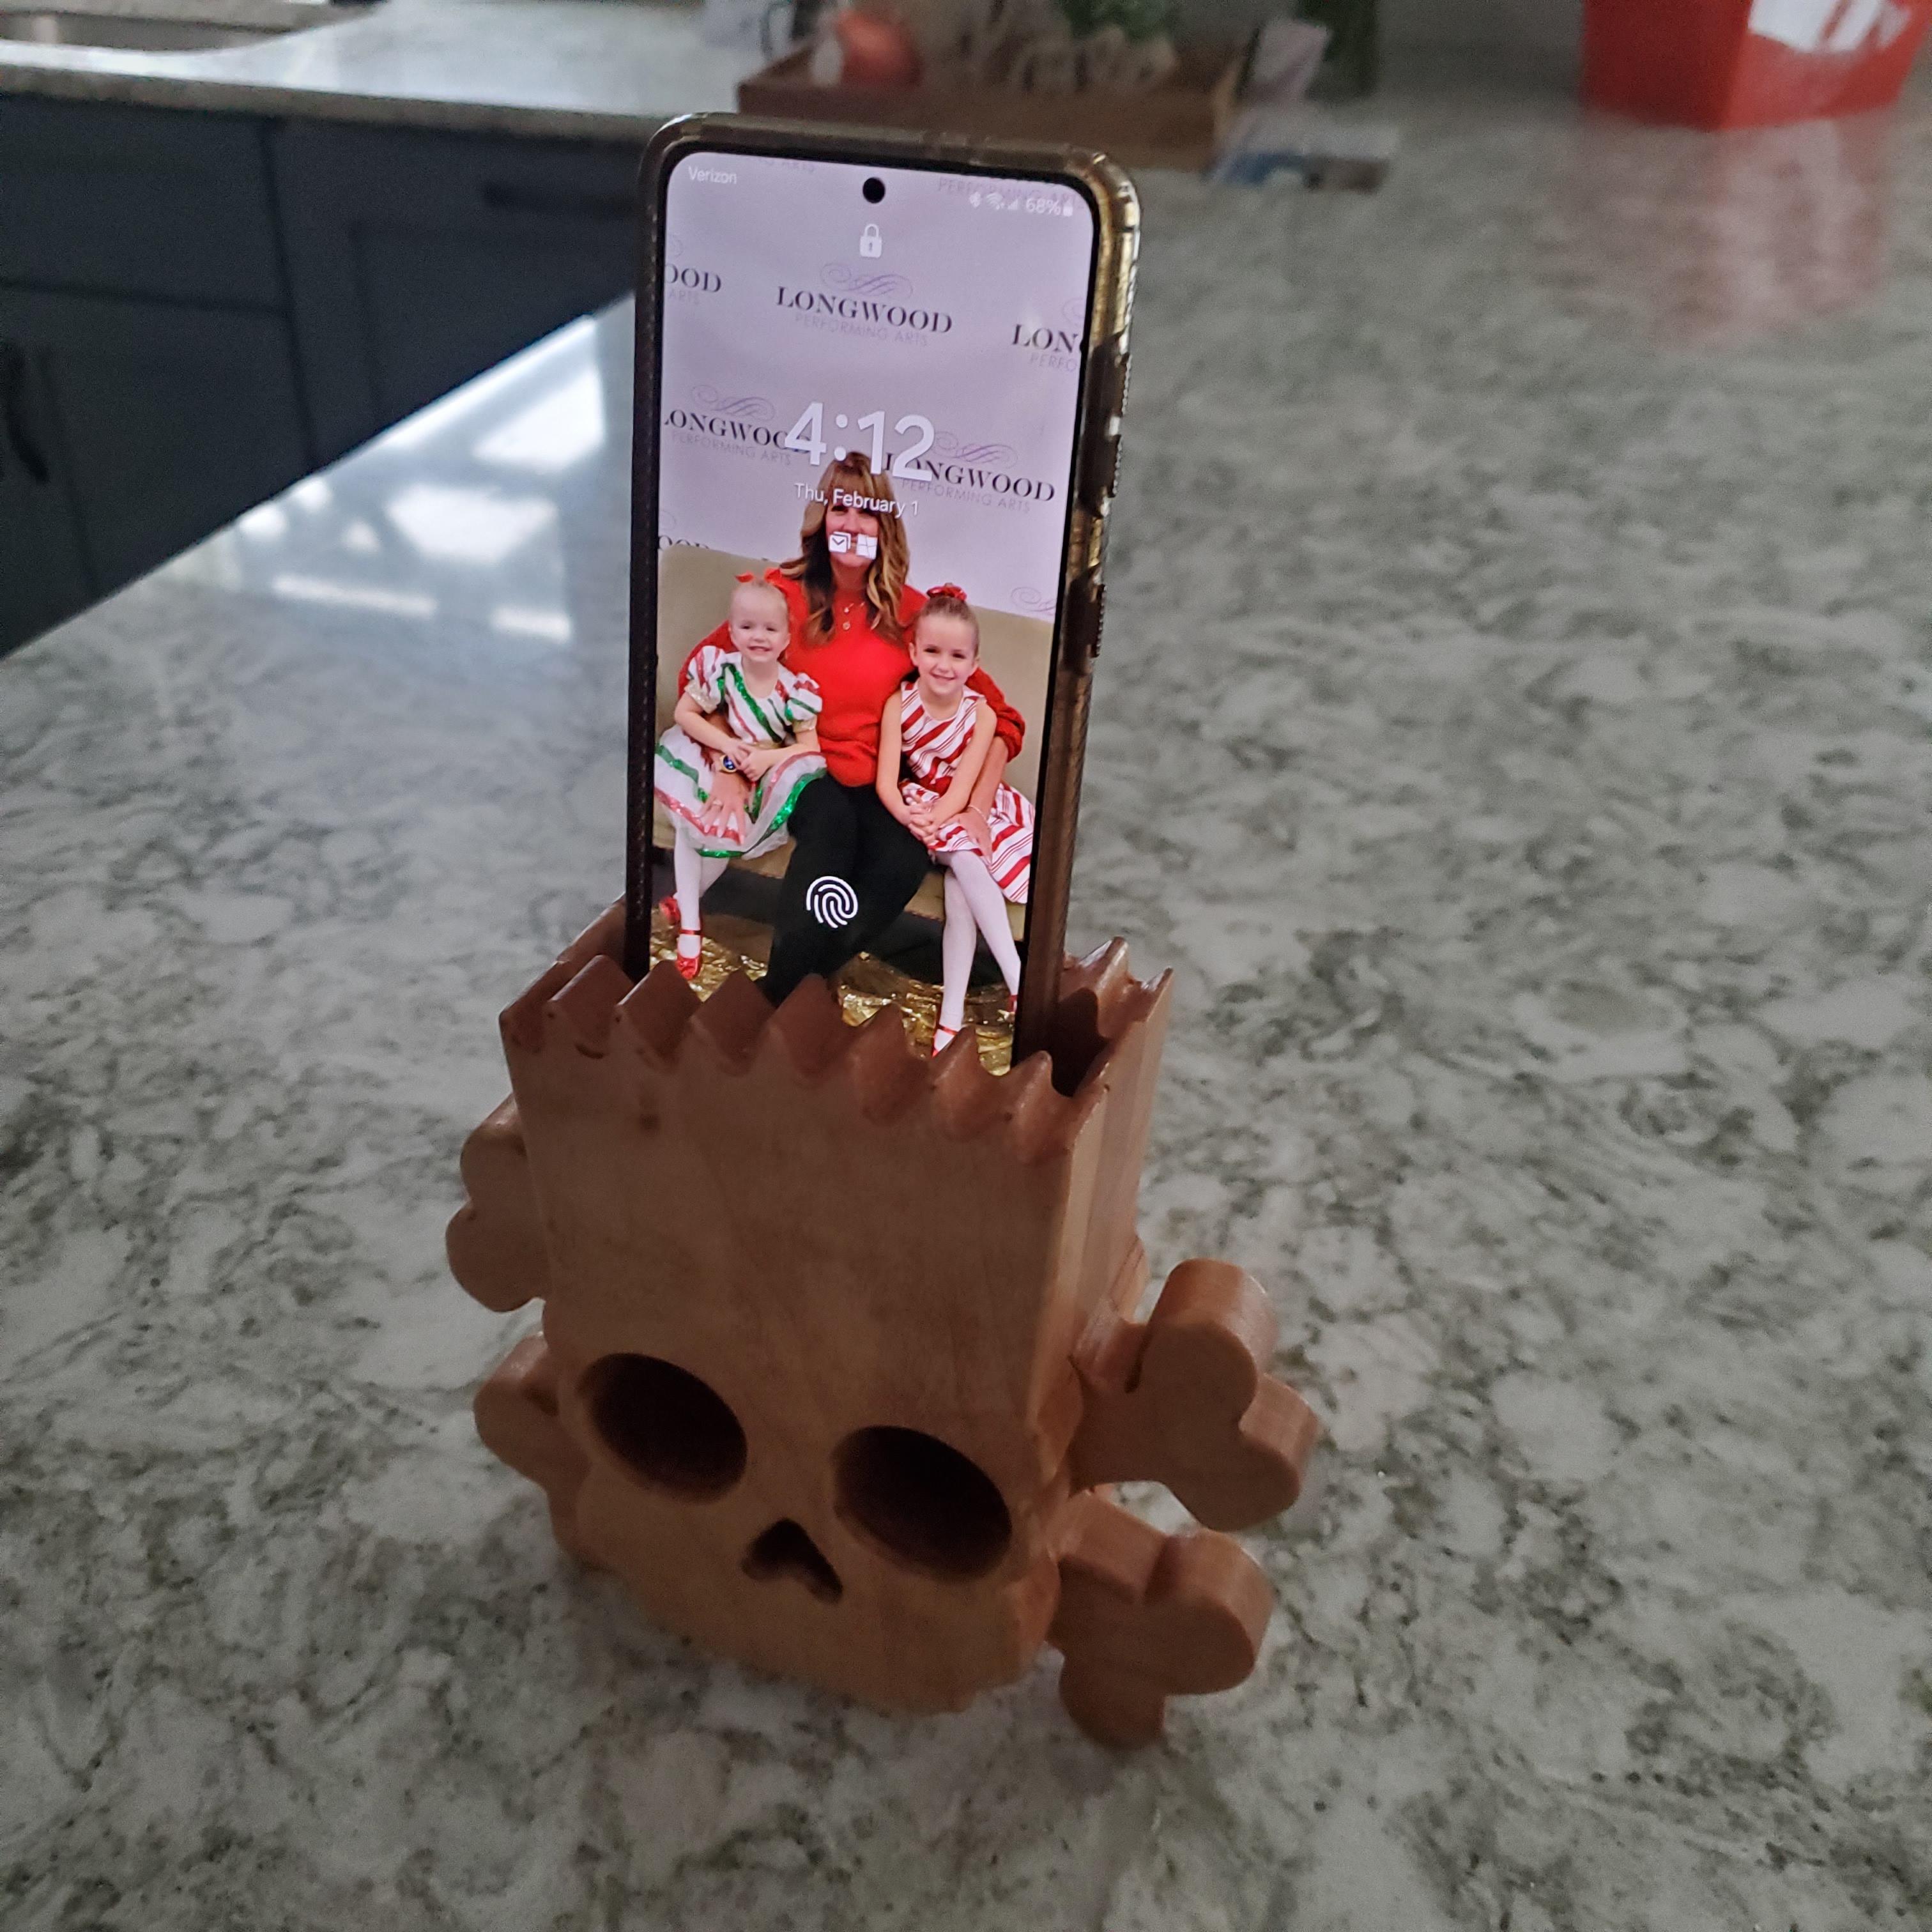
3D Carved Bart Simpson Phone Amp
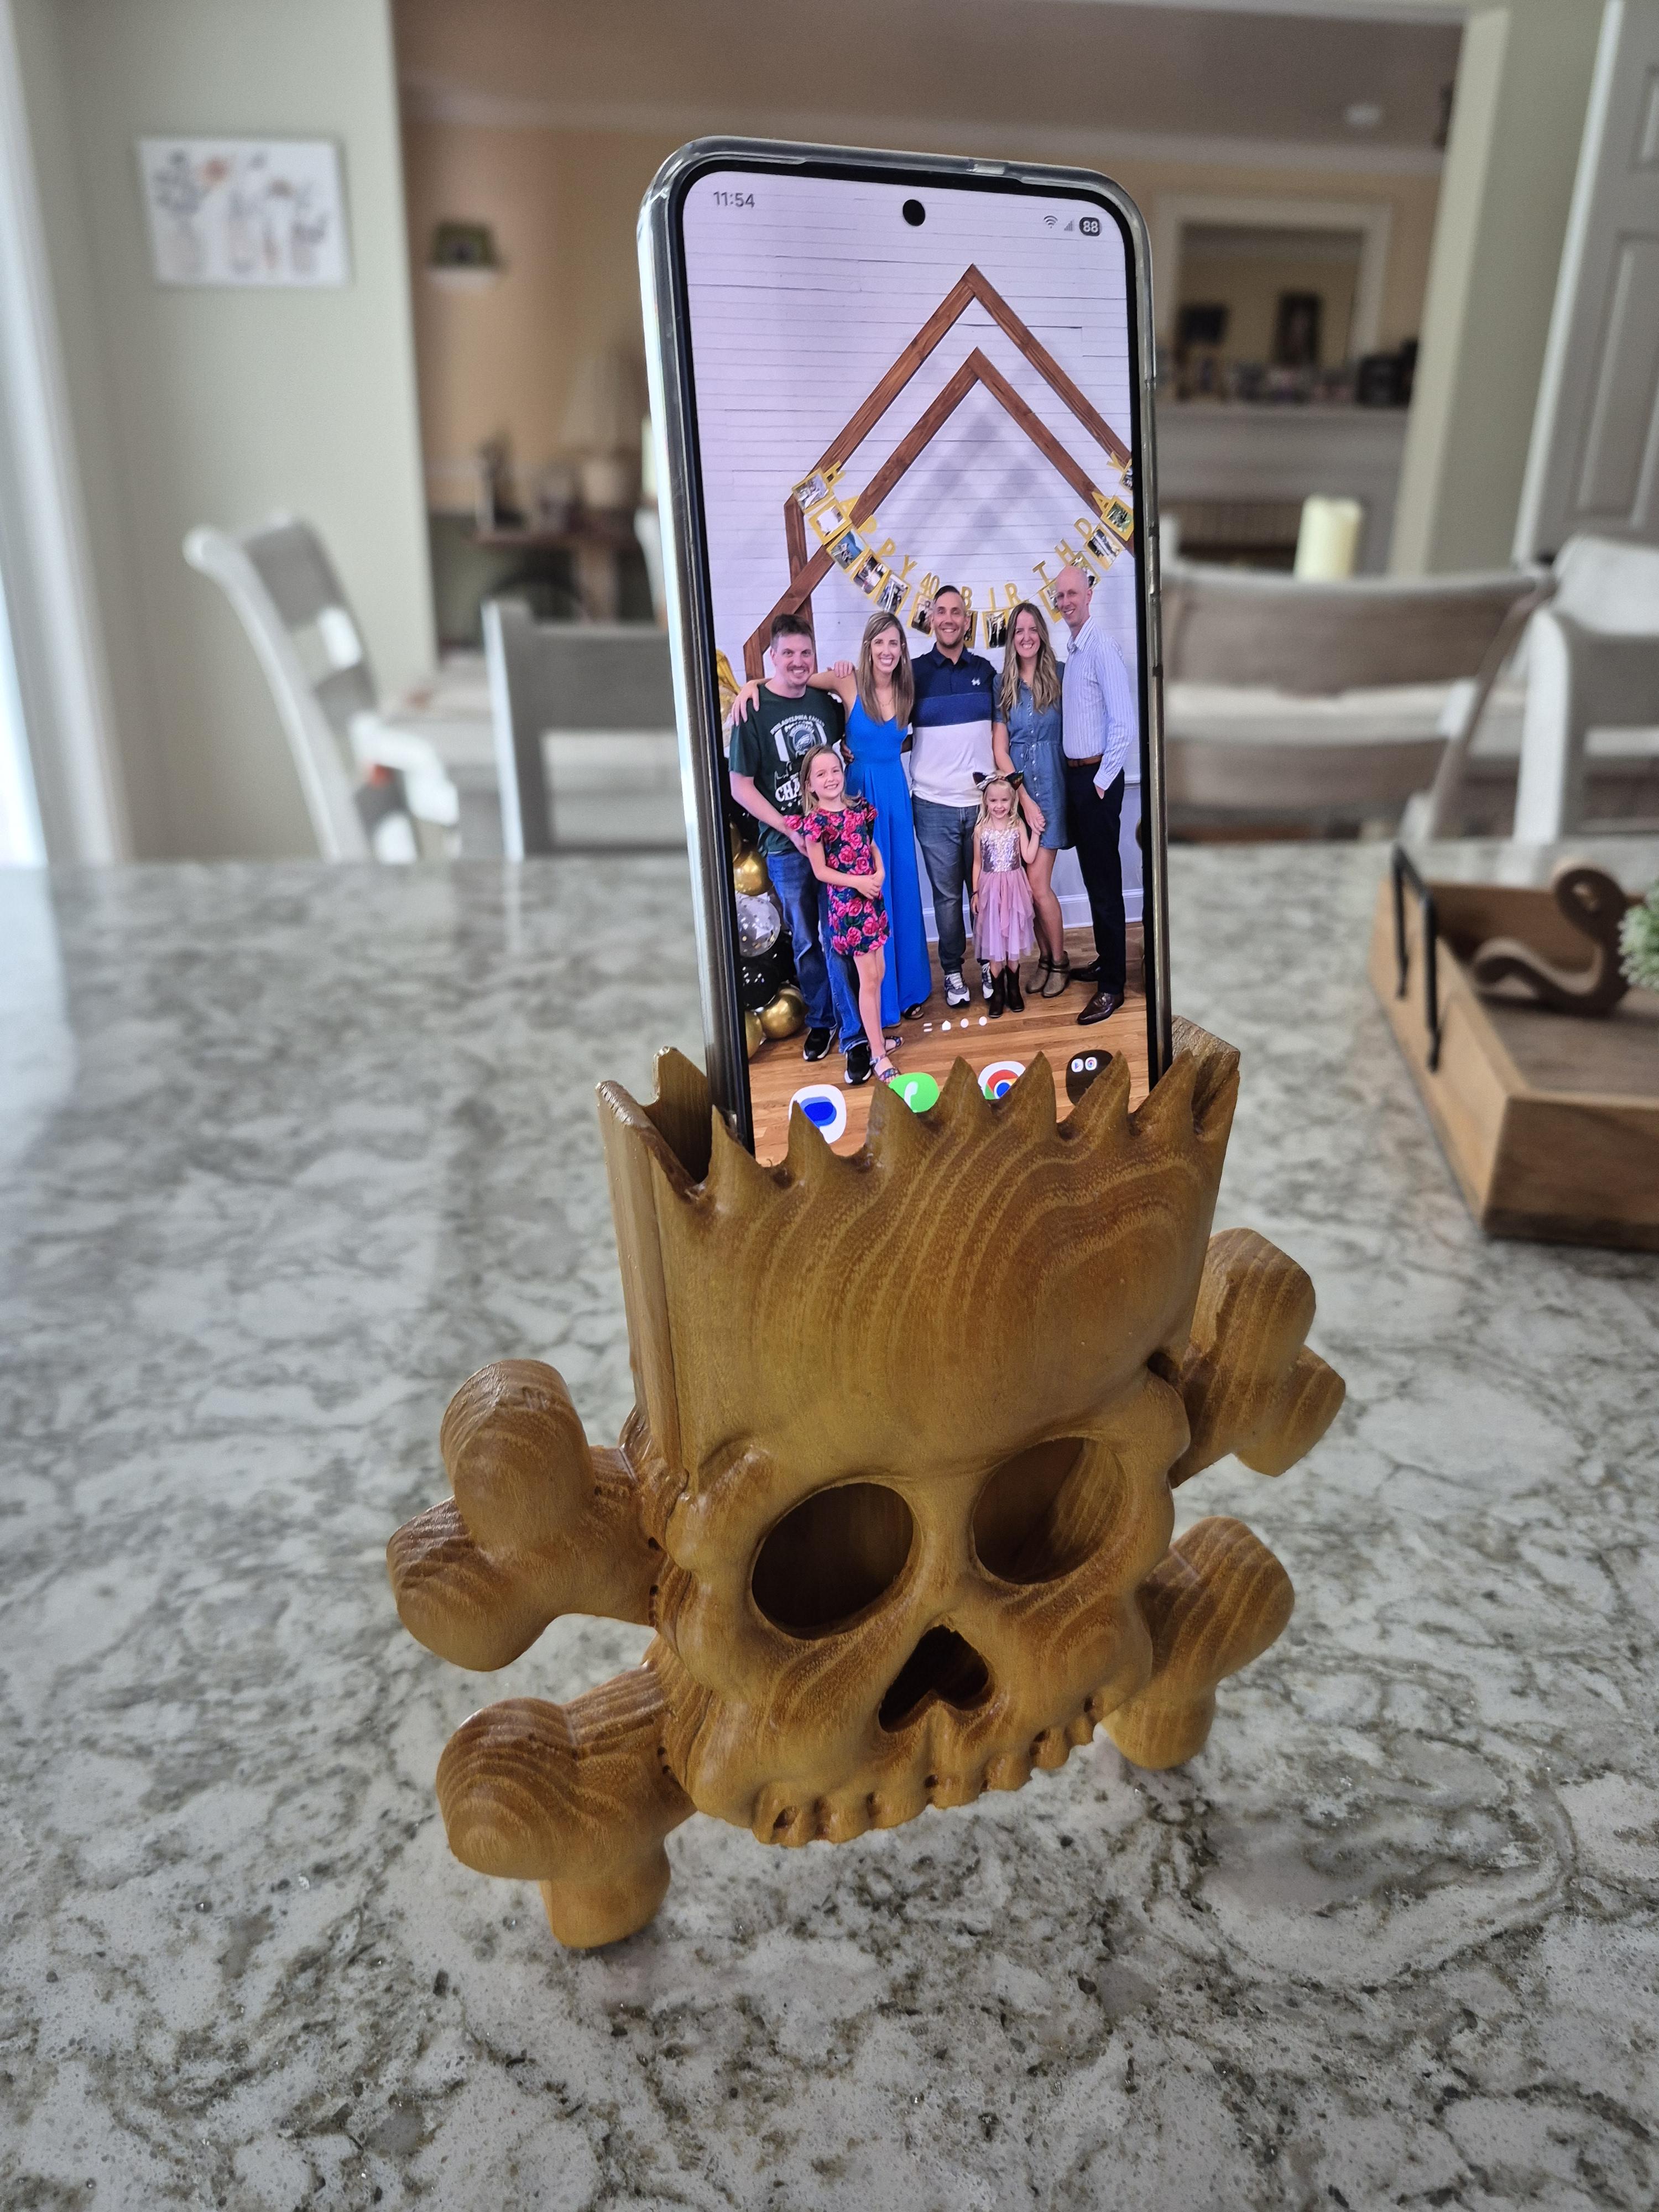
I have been looking at various Passive Amplifier Designs on line trying to find one to make. Using my CNC software (Carbide Create), I designed the a Bart Simpson Acoustic Phone Amp. I have uploaded a SVG file for those who wish to make one. Unfortunately I was unable to upload the Carbide create file as it is not supported by Instructables. Note that this project can also be made without a CNC using a Band Saw and/or Jig Saw.
Supplies
1" x 8" x 24" Wood (in this Instructable Osage Orange was use)
Wood Glue
Stain (optional)
Spray finish, Lacquer or Polyurethane
CNC Router
CNC Router Bit - 1/4" Compression Bit
CNC Router Bit - 1/8" Compression Bit
CNC Router Bit - 1/16" Tapered Ball Nose Bit
Handheld Router and Table
1/4" Half Round Router Bit
Double sided tape
Sandpaper - 150, 240 & 320 grit
Design
a. Import and Trace the Image. Start by finding a reference image of Bart online. Import it into Carbide Create and use the Trace Image feature to create a vector outline.
b. Divide the Design. Once the outline is complete, split the design into three sections: front, middle, and back. This will make it easier to work with each layer later in the process.
c. Finalize the Layout. Double-check alignment and proportions, then save your finished design.
Note: I have included the SVG file to save you this step.
Downloads
Modeling
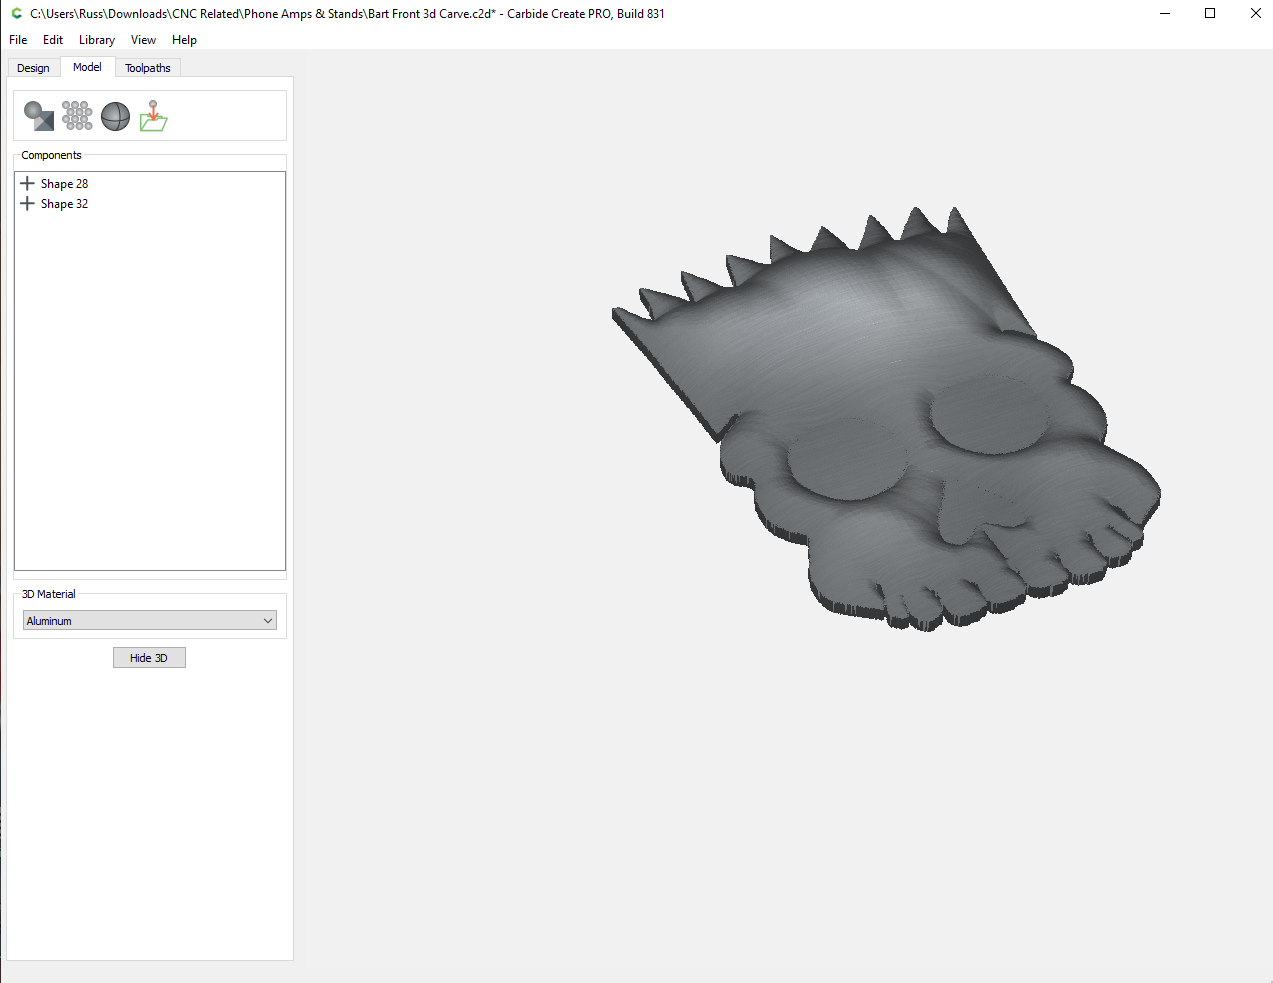
Using the model tab in carbide create to create the model as follows;
a. Select the outline and add a height of .125",
b. Select the outline again and add a round shape with a 50 degree angle and a height of .1181", then select Add for the merge type.
c. View the 3d model to insure the model looks good.
Create Toolpaths
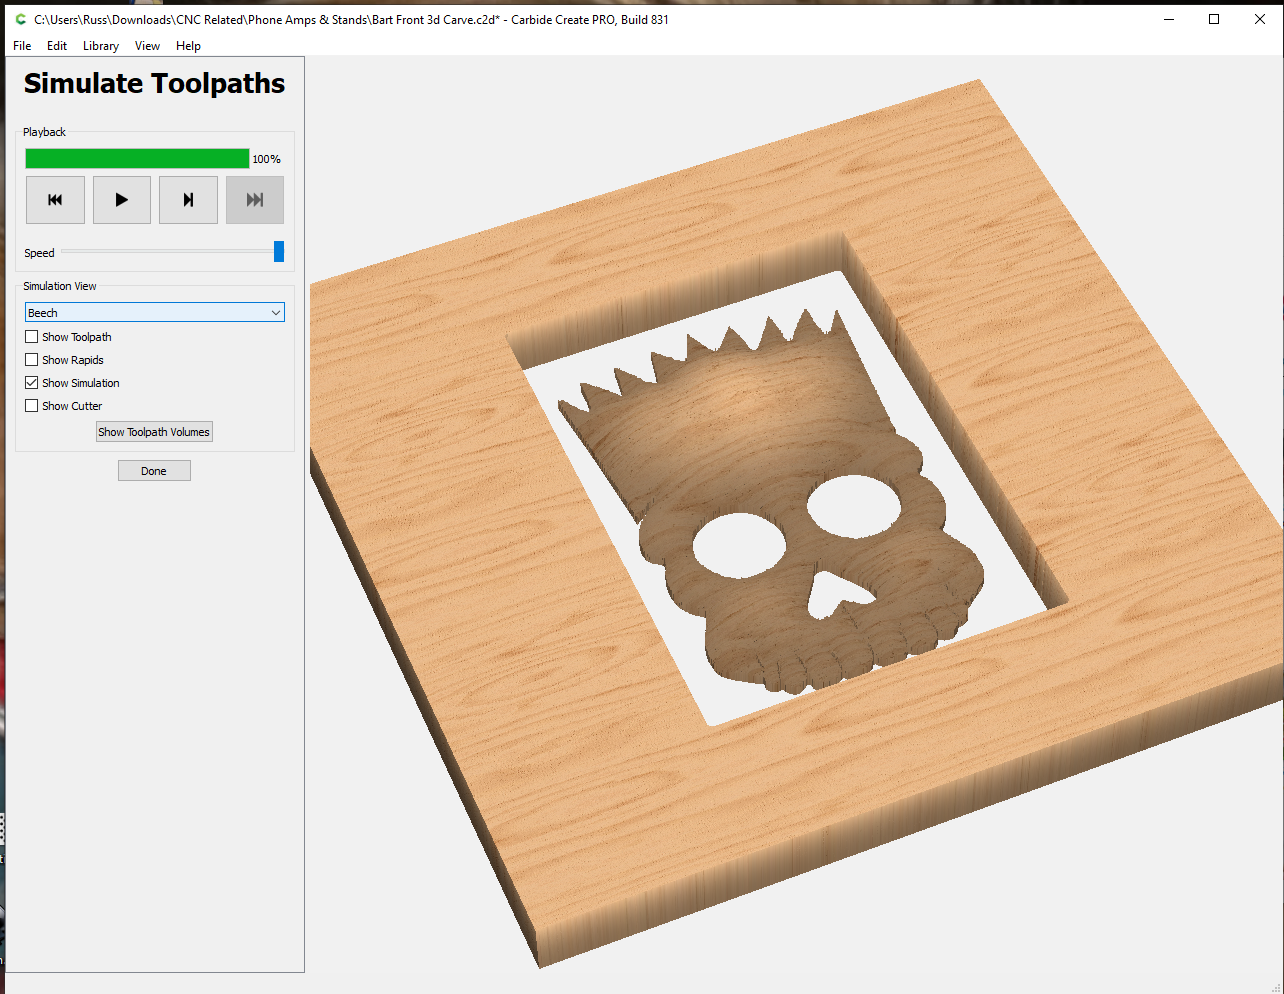
The toolpaths were created as follows:
Using the front side of the model;
- Select the outline and create a Contour Toolpath on the outside using the 1/8" Compression Bit.
- Select the model and create a 3D Rough Toolpath using the 1/8" Compression Bit.
- Select the model and create a 3D Finish Toolpath using the 1/16" Tapered Ball Nose Bit.
- Select the eyes and nose and create a Pocket Toolpath to a depth equal to the thickness of the wood using the 1/4" Compression Bit.
- When the Toolpath are completed simulate it in Carbide Create or your Cadd program to double check the design.
- Tweak the design until you are satisfied, then save the file.
Repeat the above steps as necessary to the Middle and Back sides of the file.
Cutting
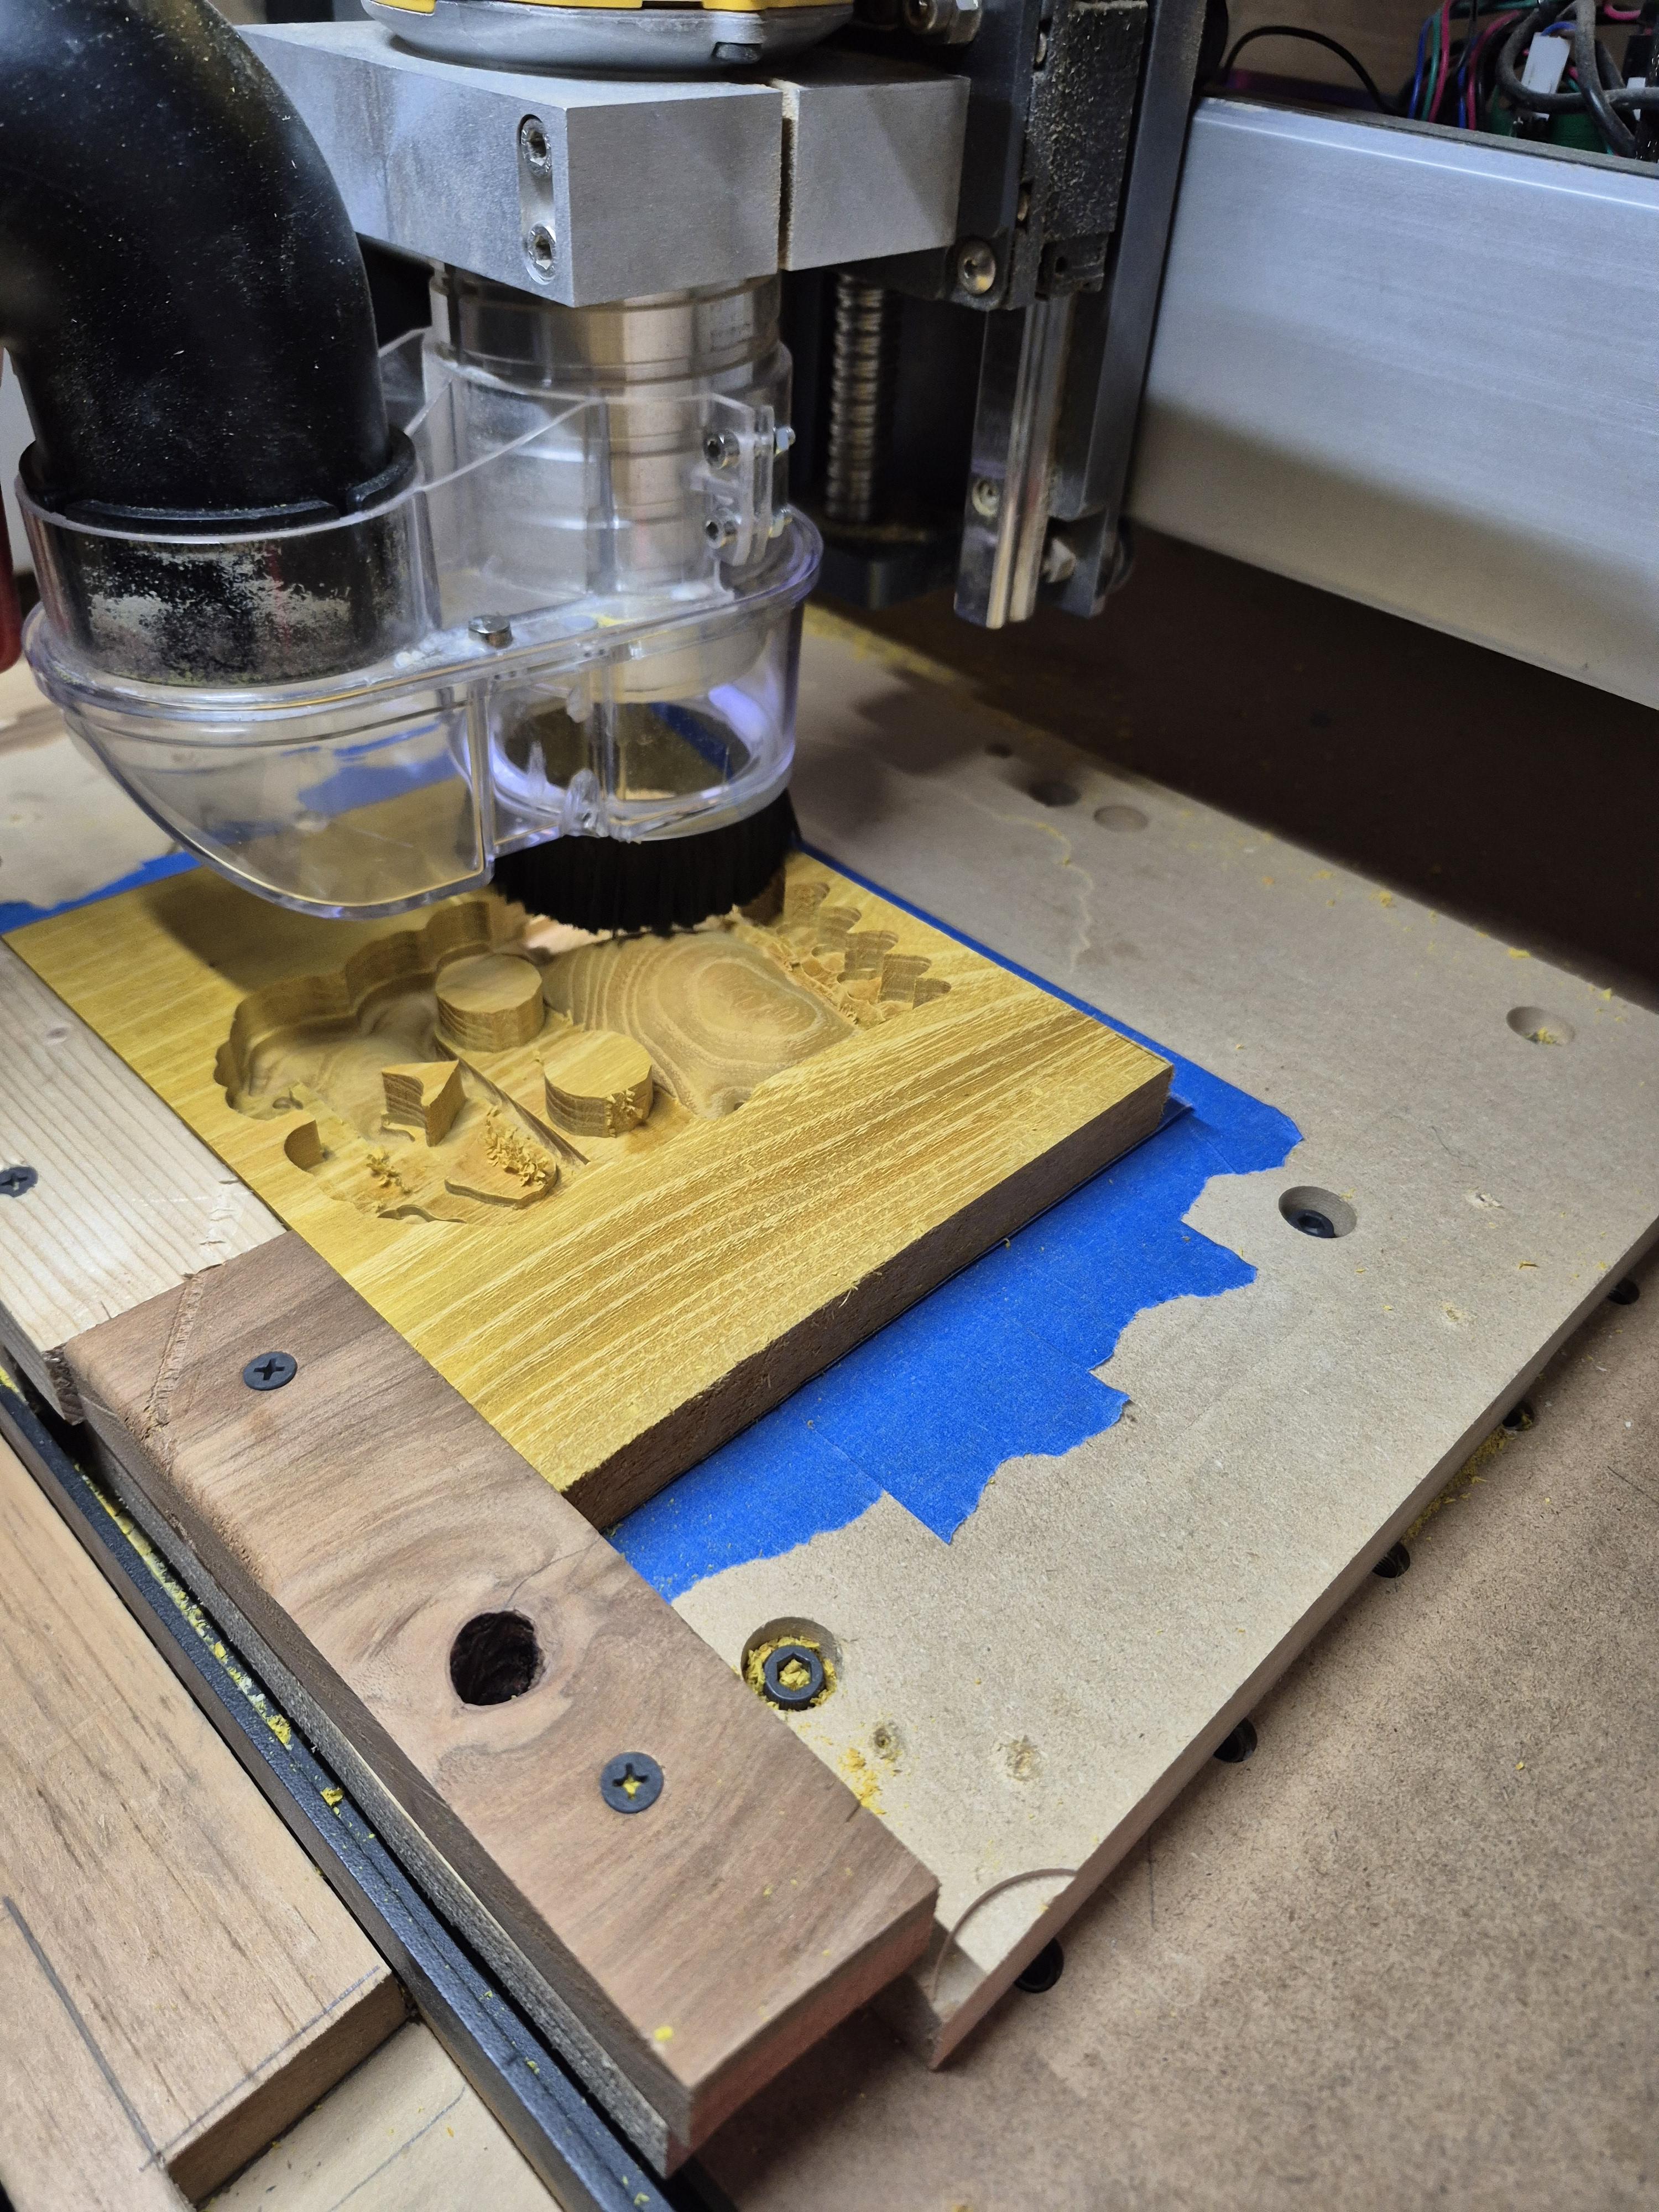
Now it is time to cut the model on the CNC router. In this case a Shapeoko CNC was used. The file may be broken up into several individual files if your CNC table will not cut 23" wide material. Start by securing the wood to the CNC router bed using Double Sided tape. With the wood secured, set the zero point on the router and begin cutting.
Sanding and Assembly
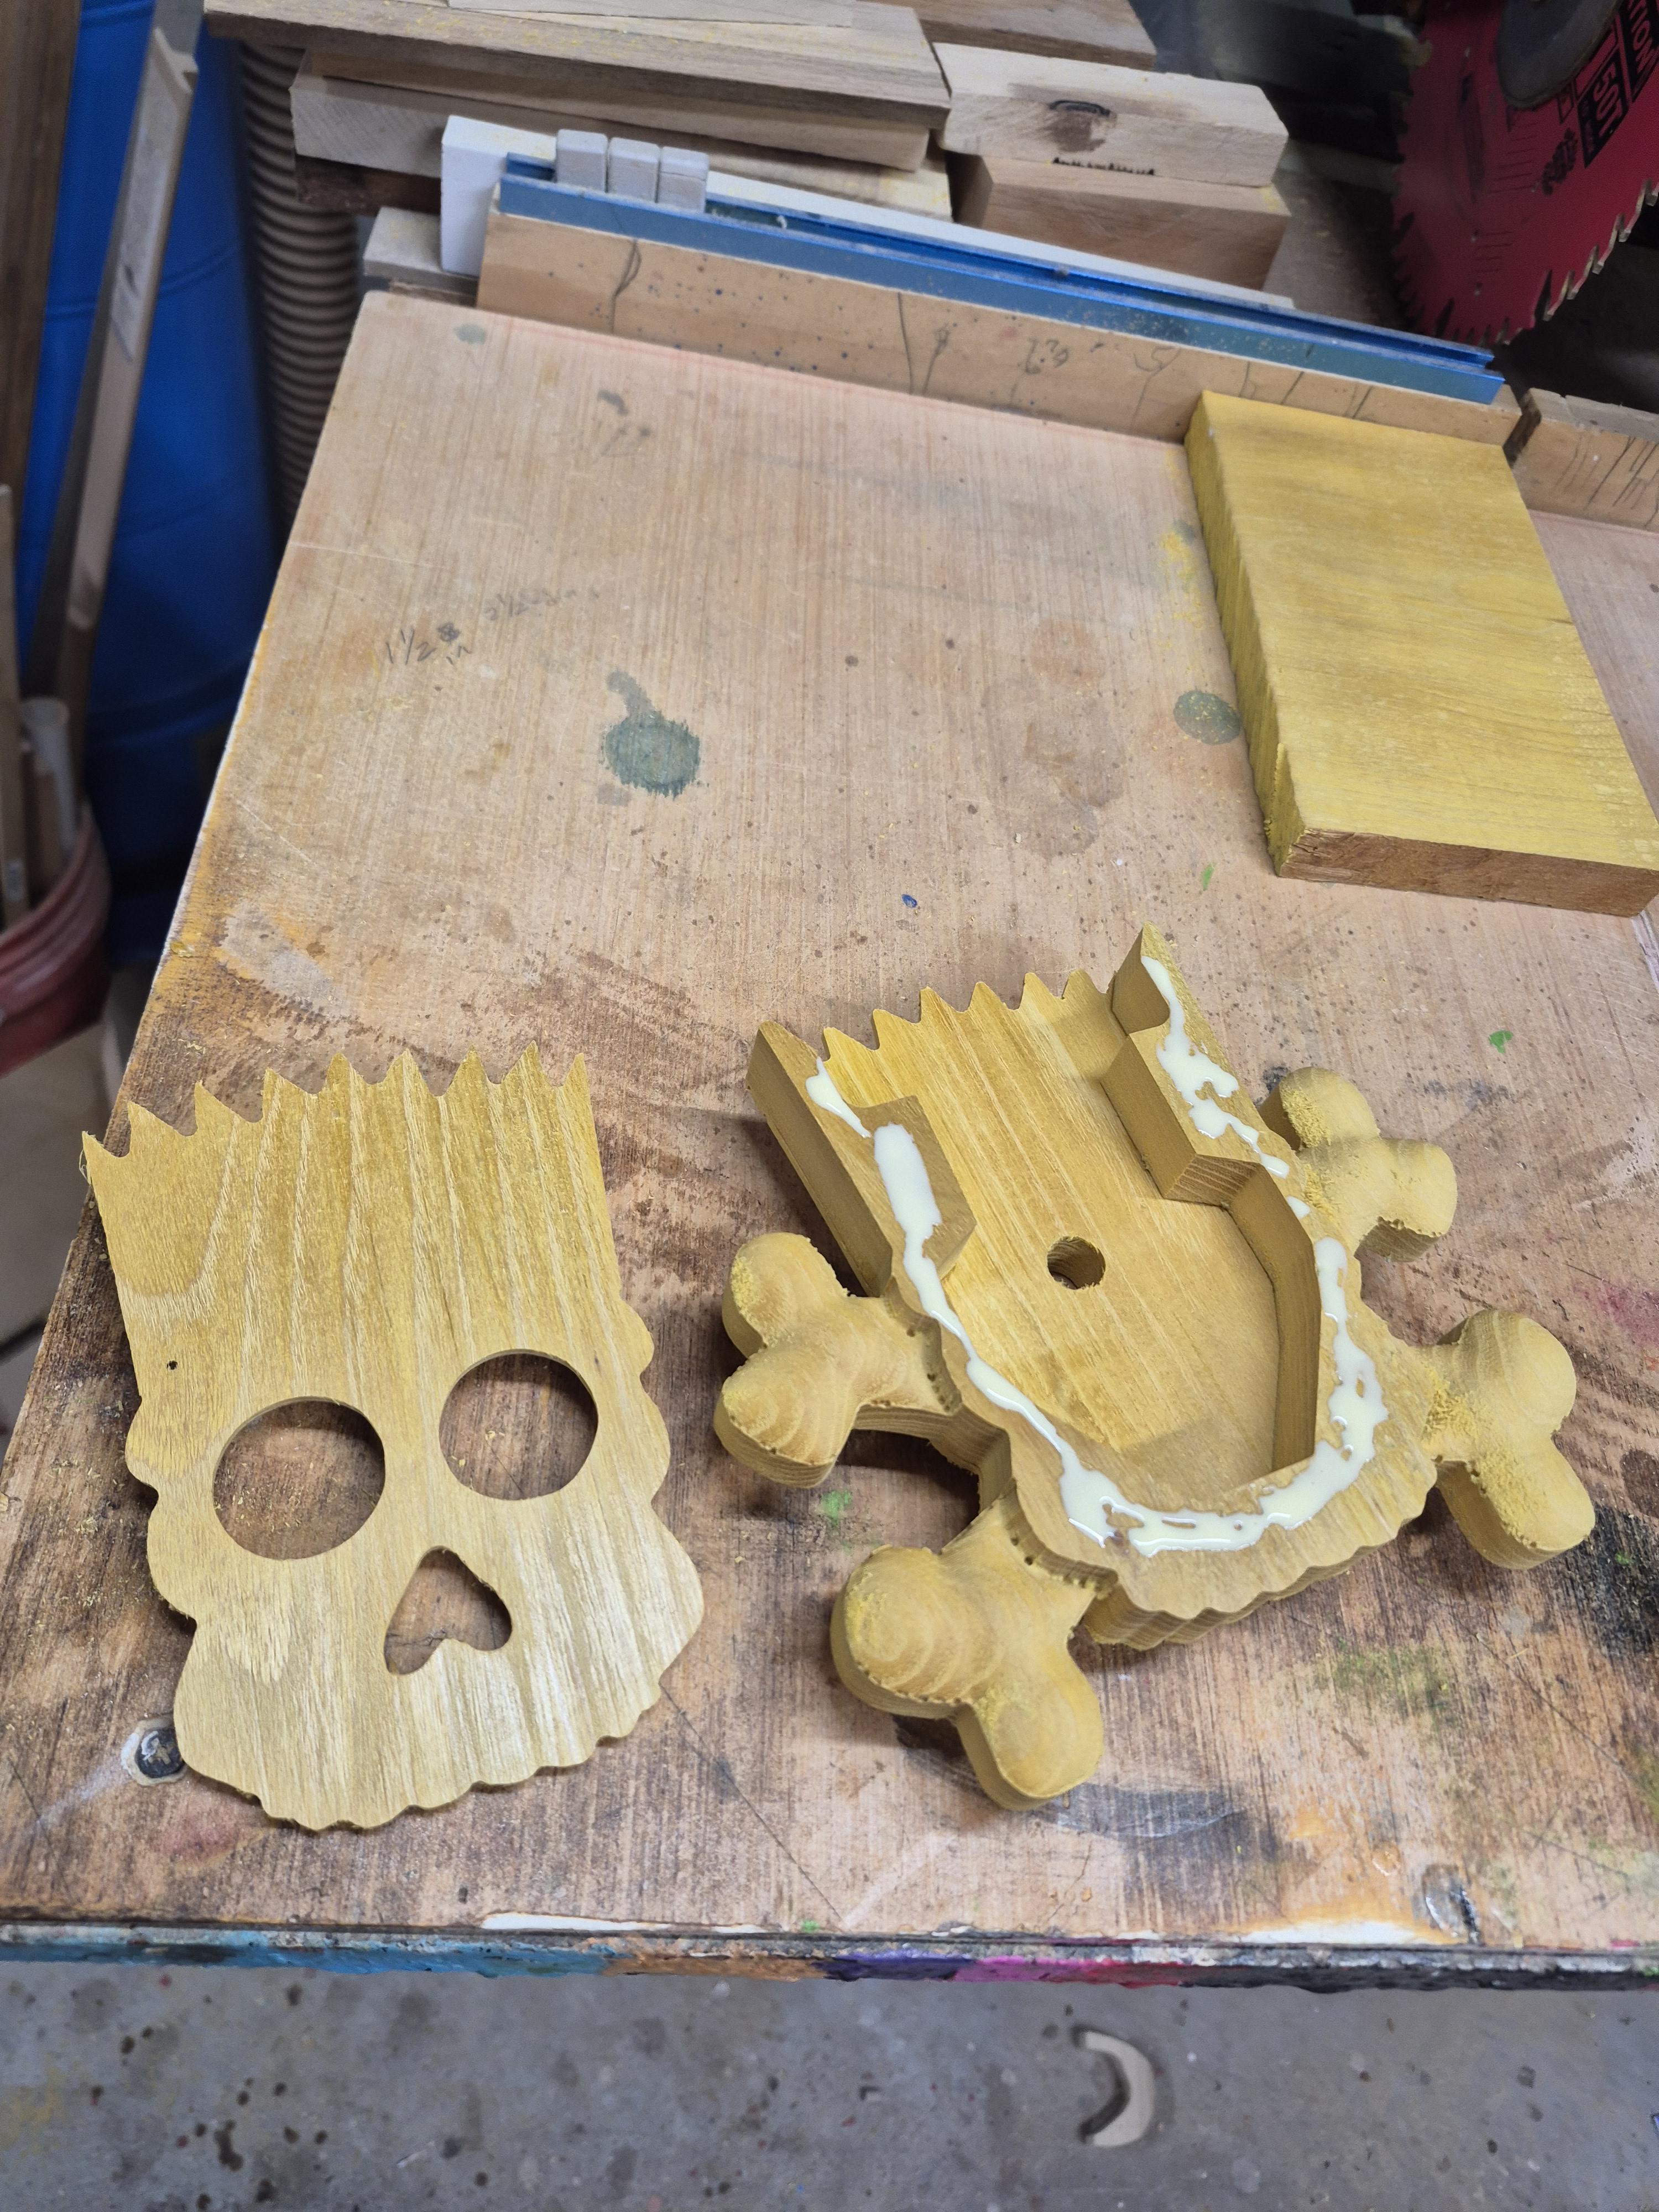
Sanding; Sand the front and back faces of the model starting with 150 grit end ending with 320 grit. With the initial sanding complete dry fit all the parts to insure they all line up correctly.
Gluing; Apply glue and assemble the three pieces. Use rubber bands to hold the pieces tight till the glue dries. When the glue is dry remove the rubber bands.
More Sanding
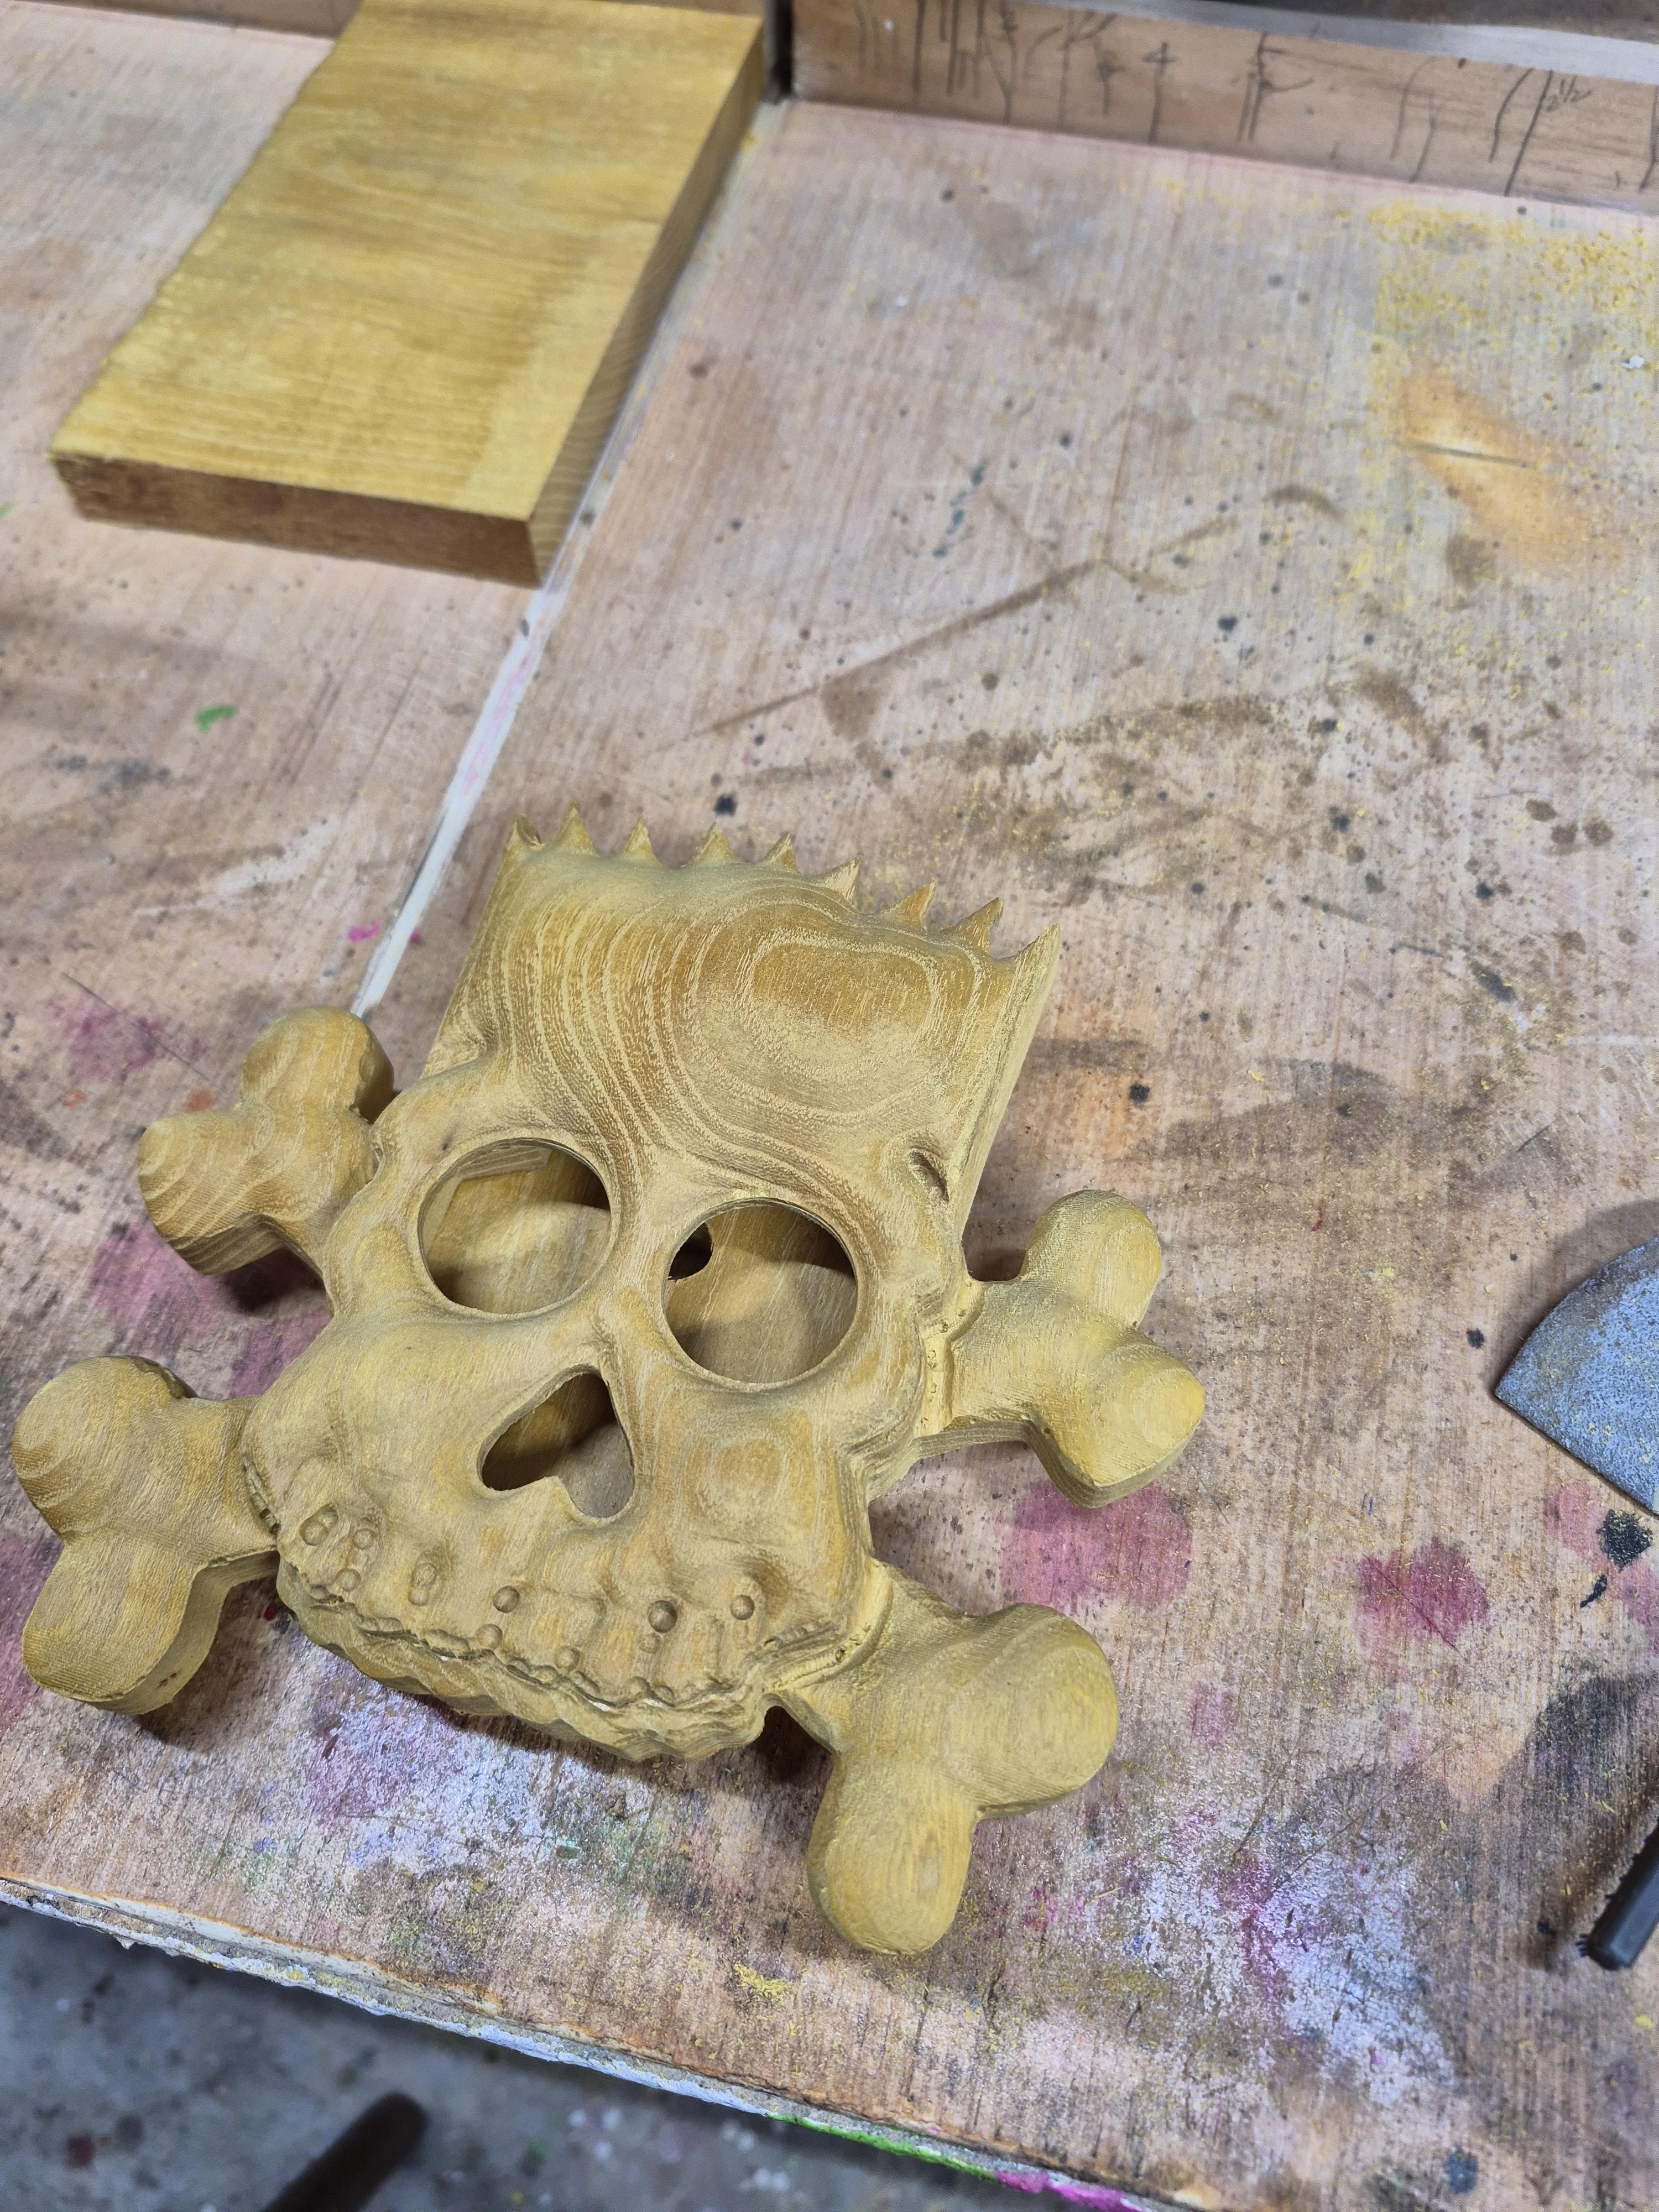
The assembly can now be sanded on the sides to insure smooth transition between the 3 sections.
Finish
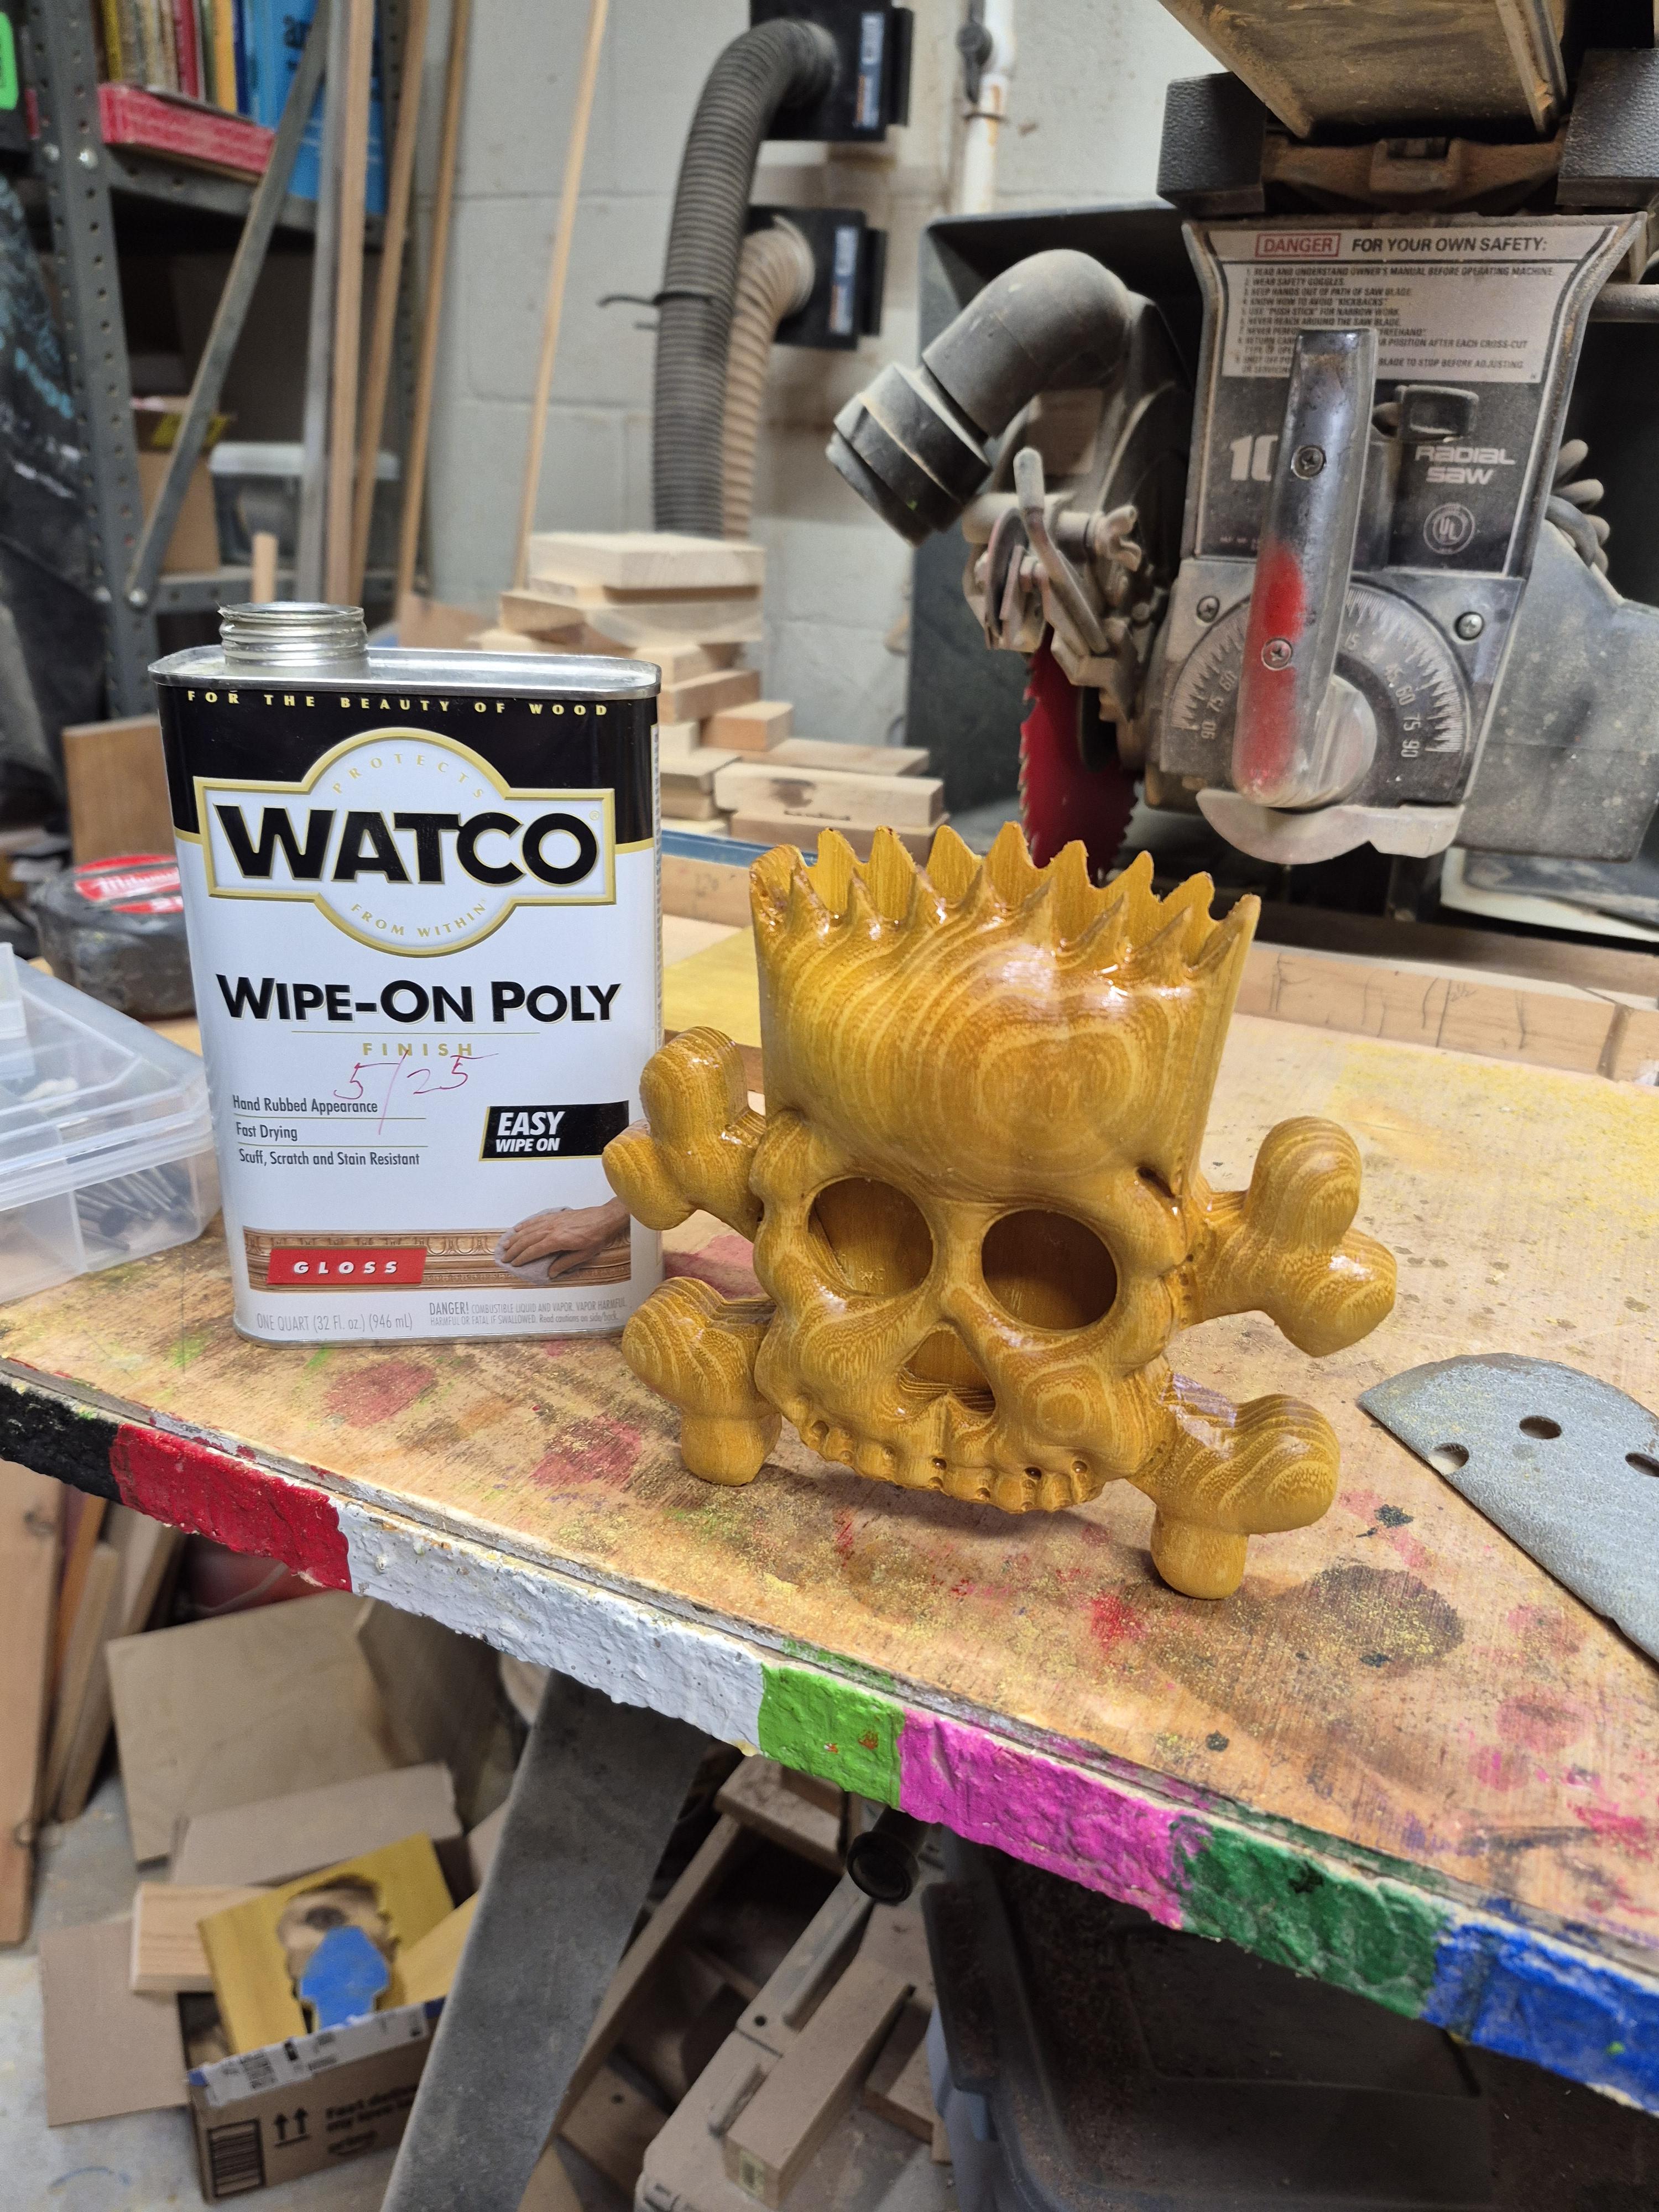
Stain and finish as desired using stain, varnish, lacquer, etc. as desired. In this case Wipe-On Poly was used.
Optional Non- Carved Construction

If you do not own a CNC router. you can still create this Phone Amp by cutting the pieces out of wood using a Band Saw and Jig Saw or a Scroll Saw using the SVG pattern. This was how I created my first version of this Amp