3D Printed Catapult

Have you ever wanted to know how to make a catapult? If so, then I got something for you to see.
In my engineering class with Ms. Berbawy I got the chance to design and build my own catapult. I got the idea when my friend Juhts and I talked about medieval castles. I drew inspiration from people like Akili TV and tuhsphysic for figuring out what my build would look like and how I would use it to launch objects.
Supplies
Prusa MK4S 3D Printer
Orange PLA
Super Glue (Gorilla Brand)
3/8" wooden dowel
Rubber Bands (fairly thick)
12" Bar clamps
Cadding


My first step in creating my catapult was to CAD all my pieces first. I used Onshape (the software used for my build) to design all of my pieces, such as my Beams, the base of my build, and the Rod that will be used to launch my objects.
The first thing I made was my side beams. They were the easiest to make and didn't take too much time, and were not too complicated to build. When coming up with the idea of the supports, there was a lot of trial and error involved. But I learned what did and didn't work, so in the end I was able to come up with this. The size of the final build was determined to be 200mm in length, 18.4mm in width, and 11mm in thickness.
The second thing I made was the base of my catapult. The base took a while longer to make because there are a lot of intricate designs I had to get down so that it would connect perfectly with my side beams and koning how large the strutcer should be
After I did all of that, I went into Prusa Slicer and cut it in half so it could fit on the Prusa MK3S+ that I was using. I also added connectors so that when I print it, I could just put it together like a LEGO brick.
Next was my support for my catapult. When coming up with the idea of the supports, there was a lot of trial and error involved. But I learned what did and didn't work, so in the end I was able to come up with a design were iyt would snap together when I put it together with no real wiggle room.
Printing


I plan to print out all my builds. So what I did was I used the software Prusa and uploaded my cad designs into the software so I can set up how to print it.
The first build that I uploaded to Prussia was the base of my design. when setting up to print I realized that I didn't have a pretty big enough to use the print my design, so what I did was I cut it in half so I can use a small printerand I added two notches so that it would be able to snap together almost like a Lego piece.
I next uploaded my main beam on my build so I can theoretically launch objects with it wasn't too complicated to print all I needed to do was to add supports for overhanging parts of my bill so it wouldn't print badly.
And finally I added my support beams it wasn't hard to print those it looks as I needed to use a small printer and make sure that it wasn't being printed off the edges
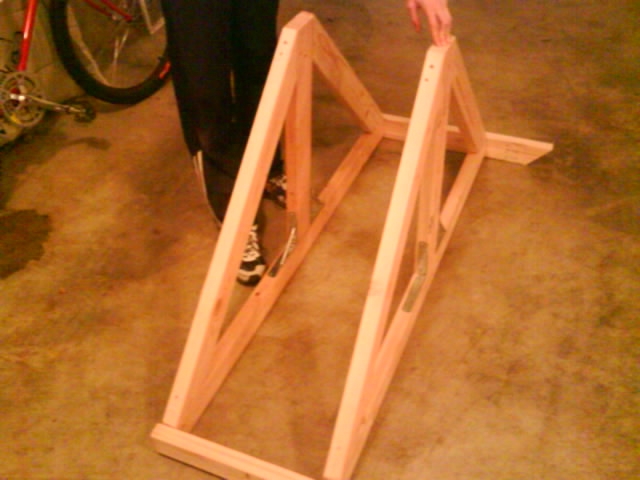
Putting It All Together


Now I can finally put everything all together. This was probably my favorite step because I really like putting things together.
For the base, when I printed it, it came out not exactly how I wanted to it didn't really snap together. So I used some super glue and some 12-in clamps to hold it together, so when it dries, it's very sturdy,y and it won't just come apart.
And for the rest of my pieces, it was only a matter of this making sure everything fit, which they did exactly how I planned. I only had to slide them, and where they go, I also had to get a wooden dowel and cut it to the exact length that I wanted, so it could all come together.
(You might need to be careful when assembling because the hook on the middle beam could snap off if you tug too hard)