3D Printed Gravity Knife Utility Tool.
by stephenmolvik in Design > 3D Design
159 Views, 3 Favorites, 0 Comments
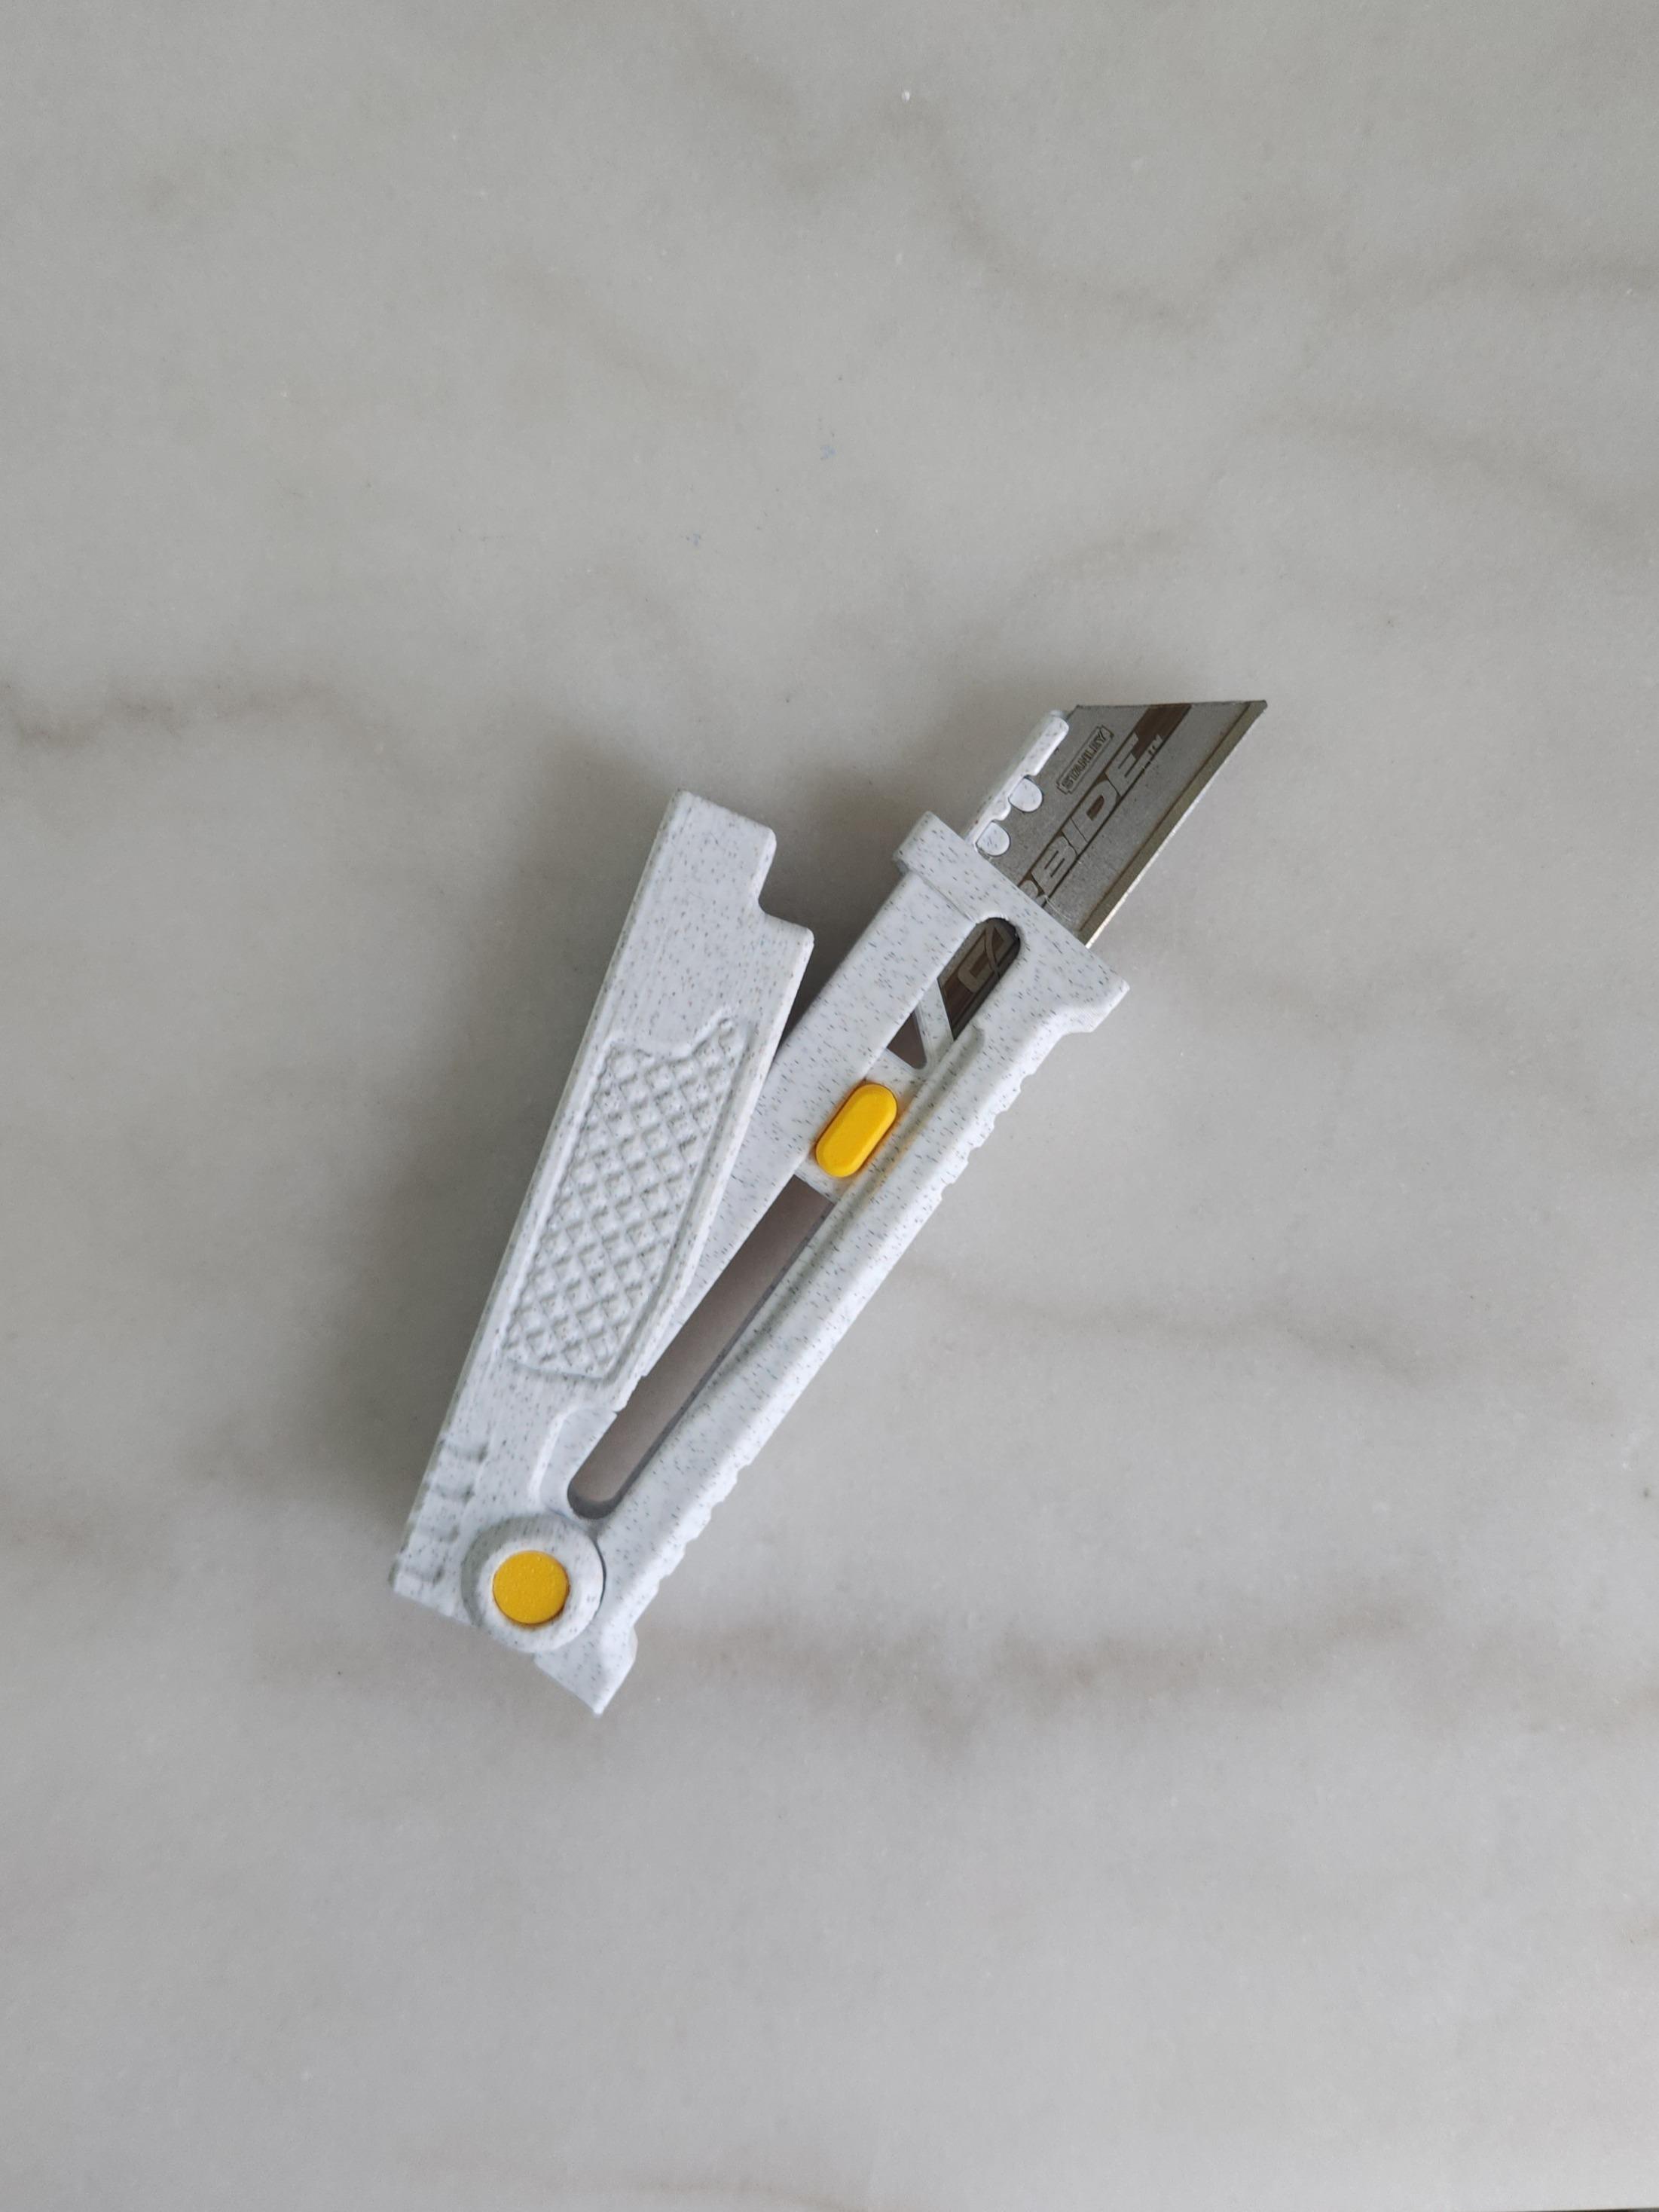
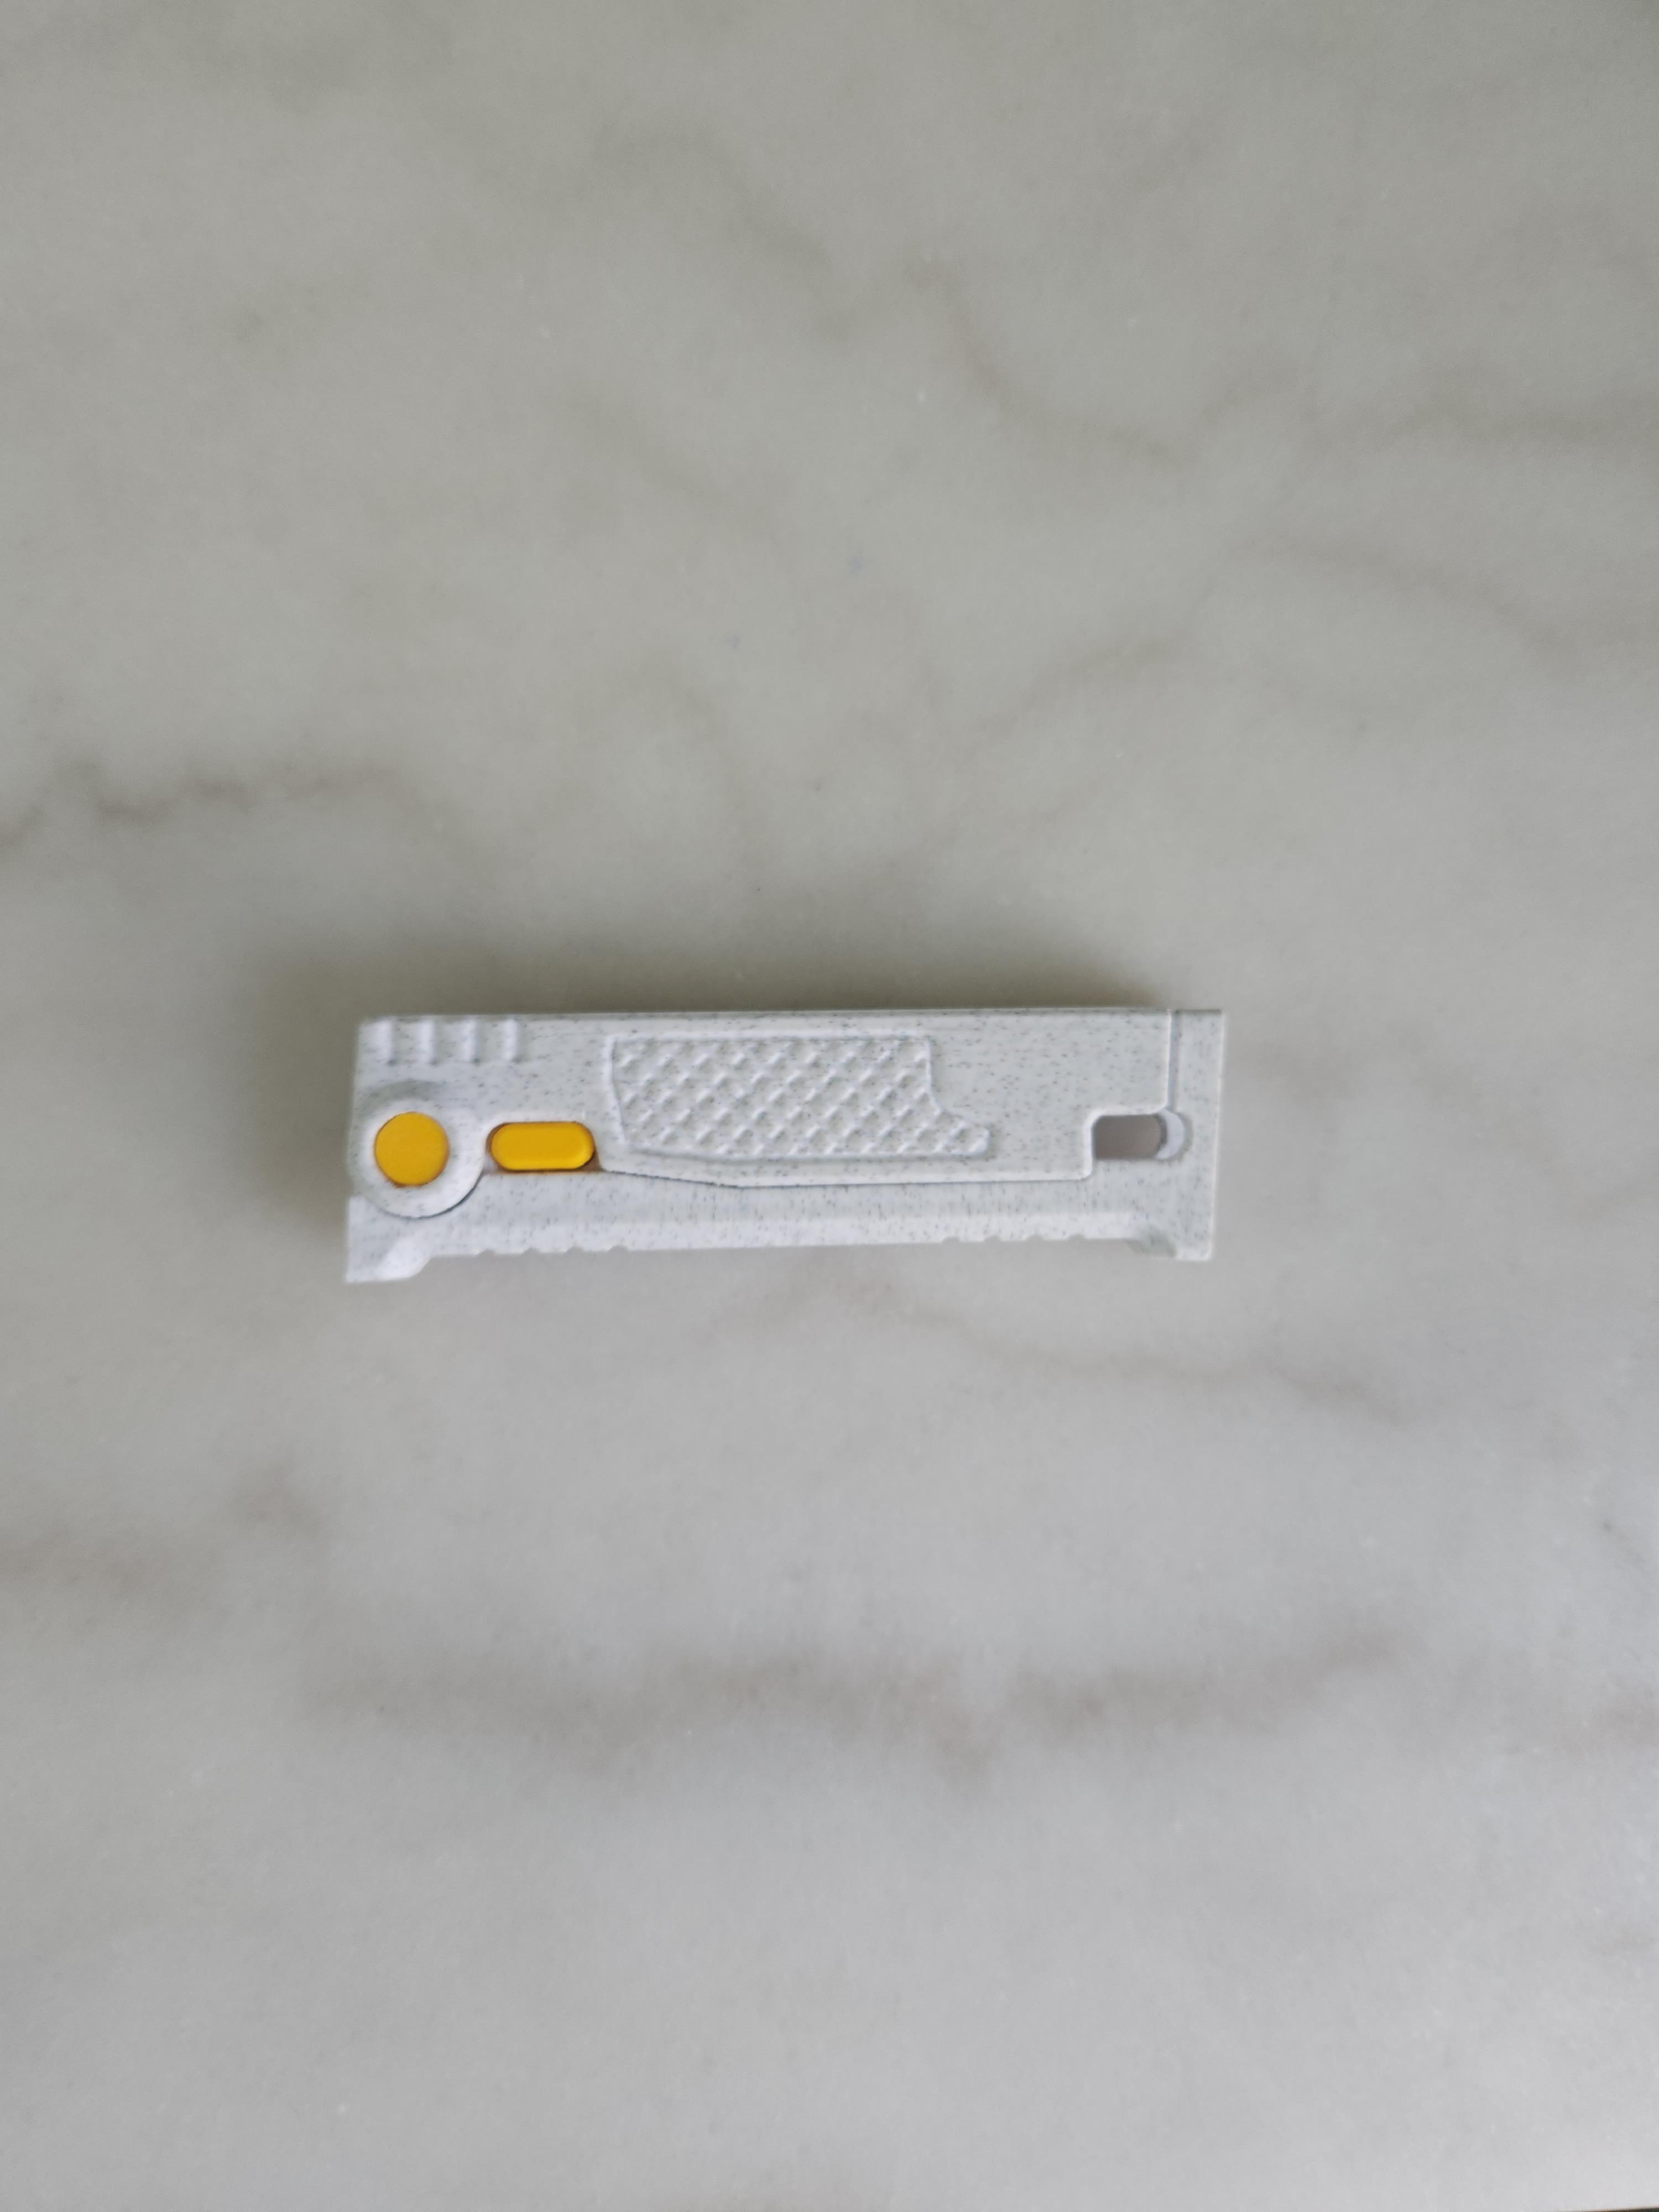
3D Printed Gravity Knife Utility Tool.
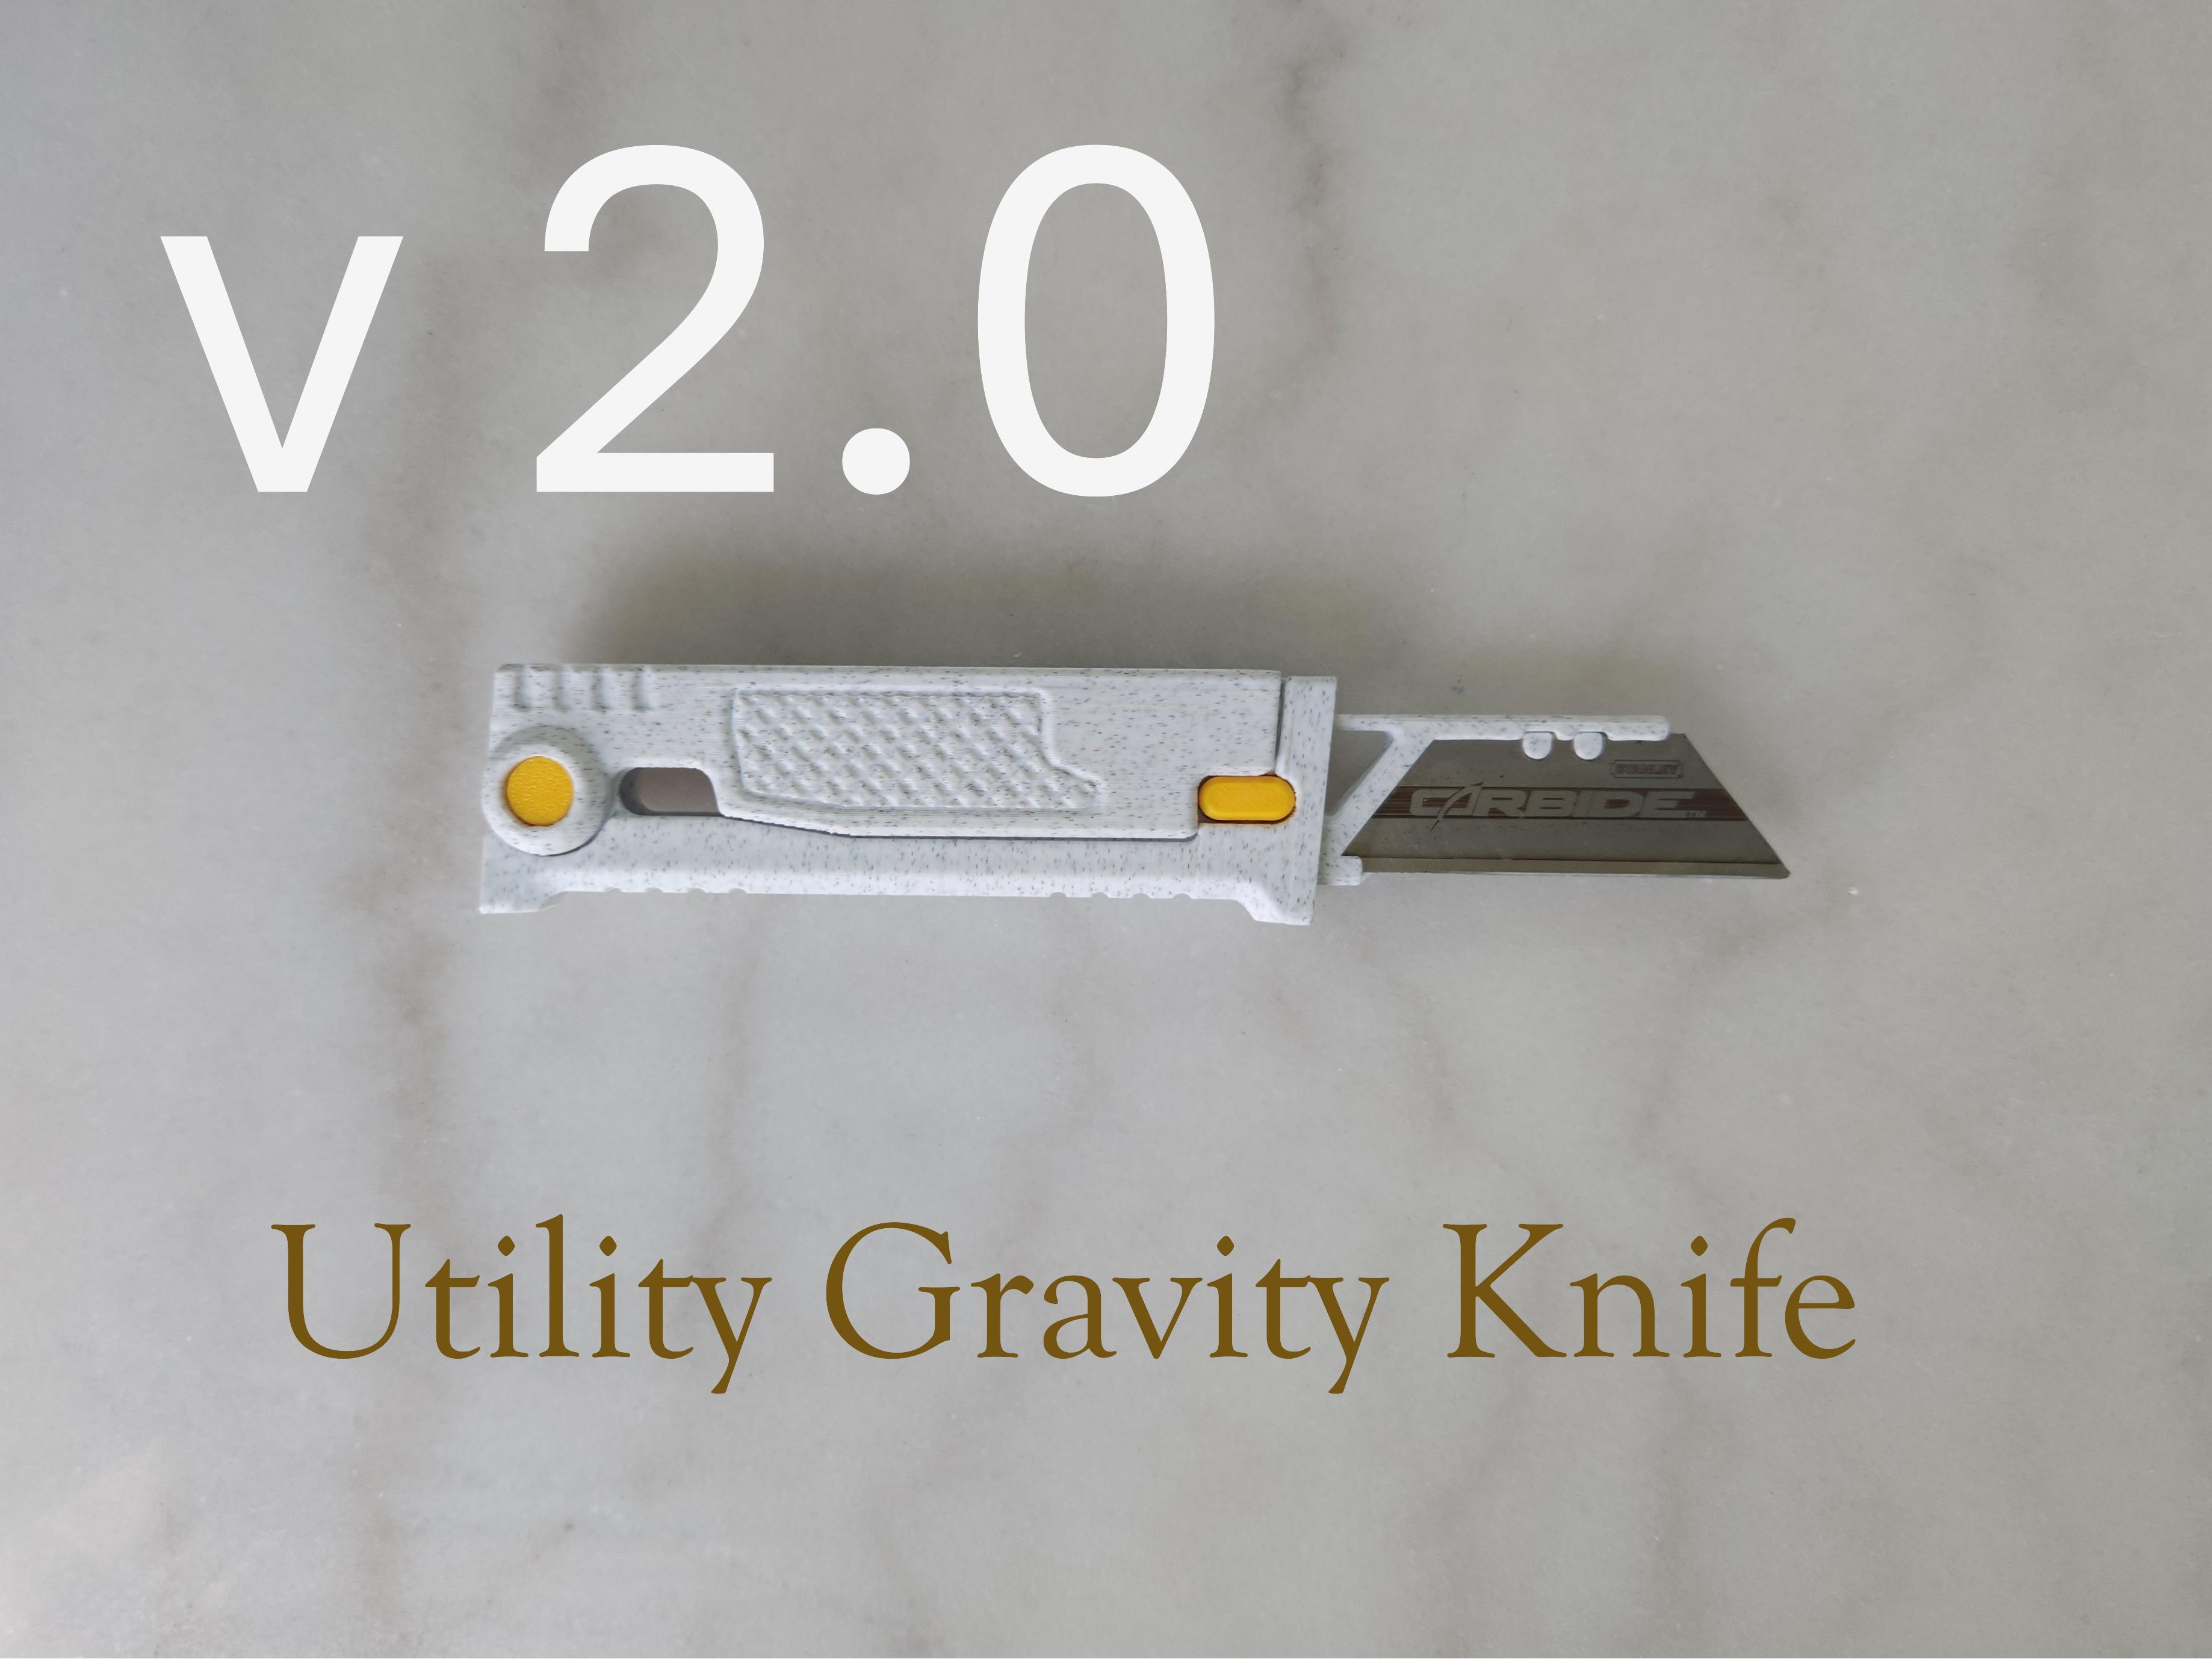
this knife is fully 3D-printed (with the exception of the blade) and was designed by me using FreeCAD. It’s built specifically to hold standard Stanley blades, so replacements are easy to find and swap out when needed. The design requires no additional hardware—everything is printed as part of the model. On most printers it takes about three hours to complete the print, and once finished, it can be assembled in just about a minute using only minimal tools. The result is a lightweight, practical tool that shows what’s possible with simple, accessible 3D printing.
Downloads
Supplies
What you need:
- 3D printer (obviously)
- Superglue(optional)
- Flush Cutters (optional)
Prototypes
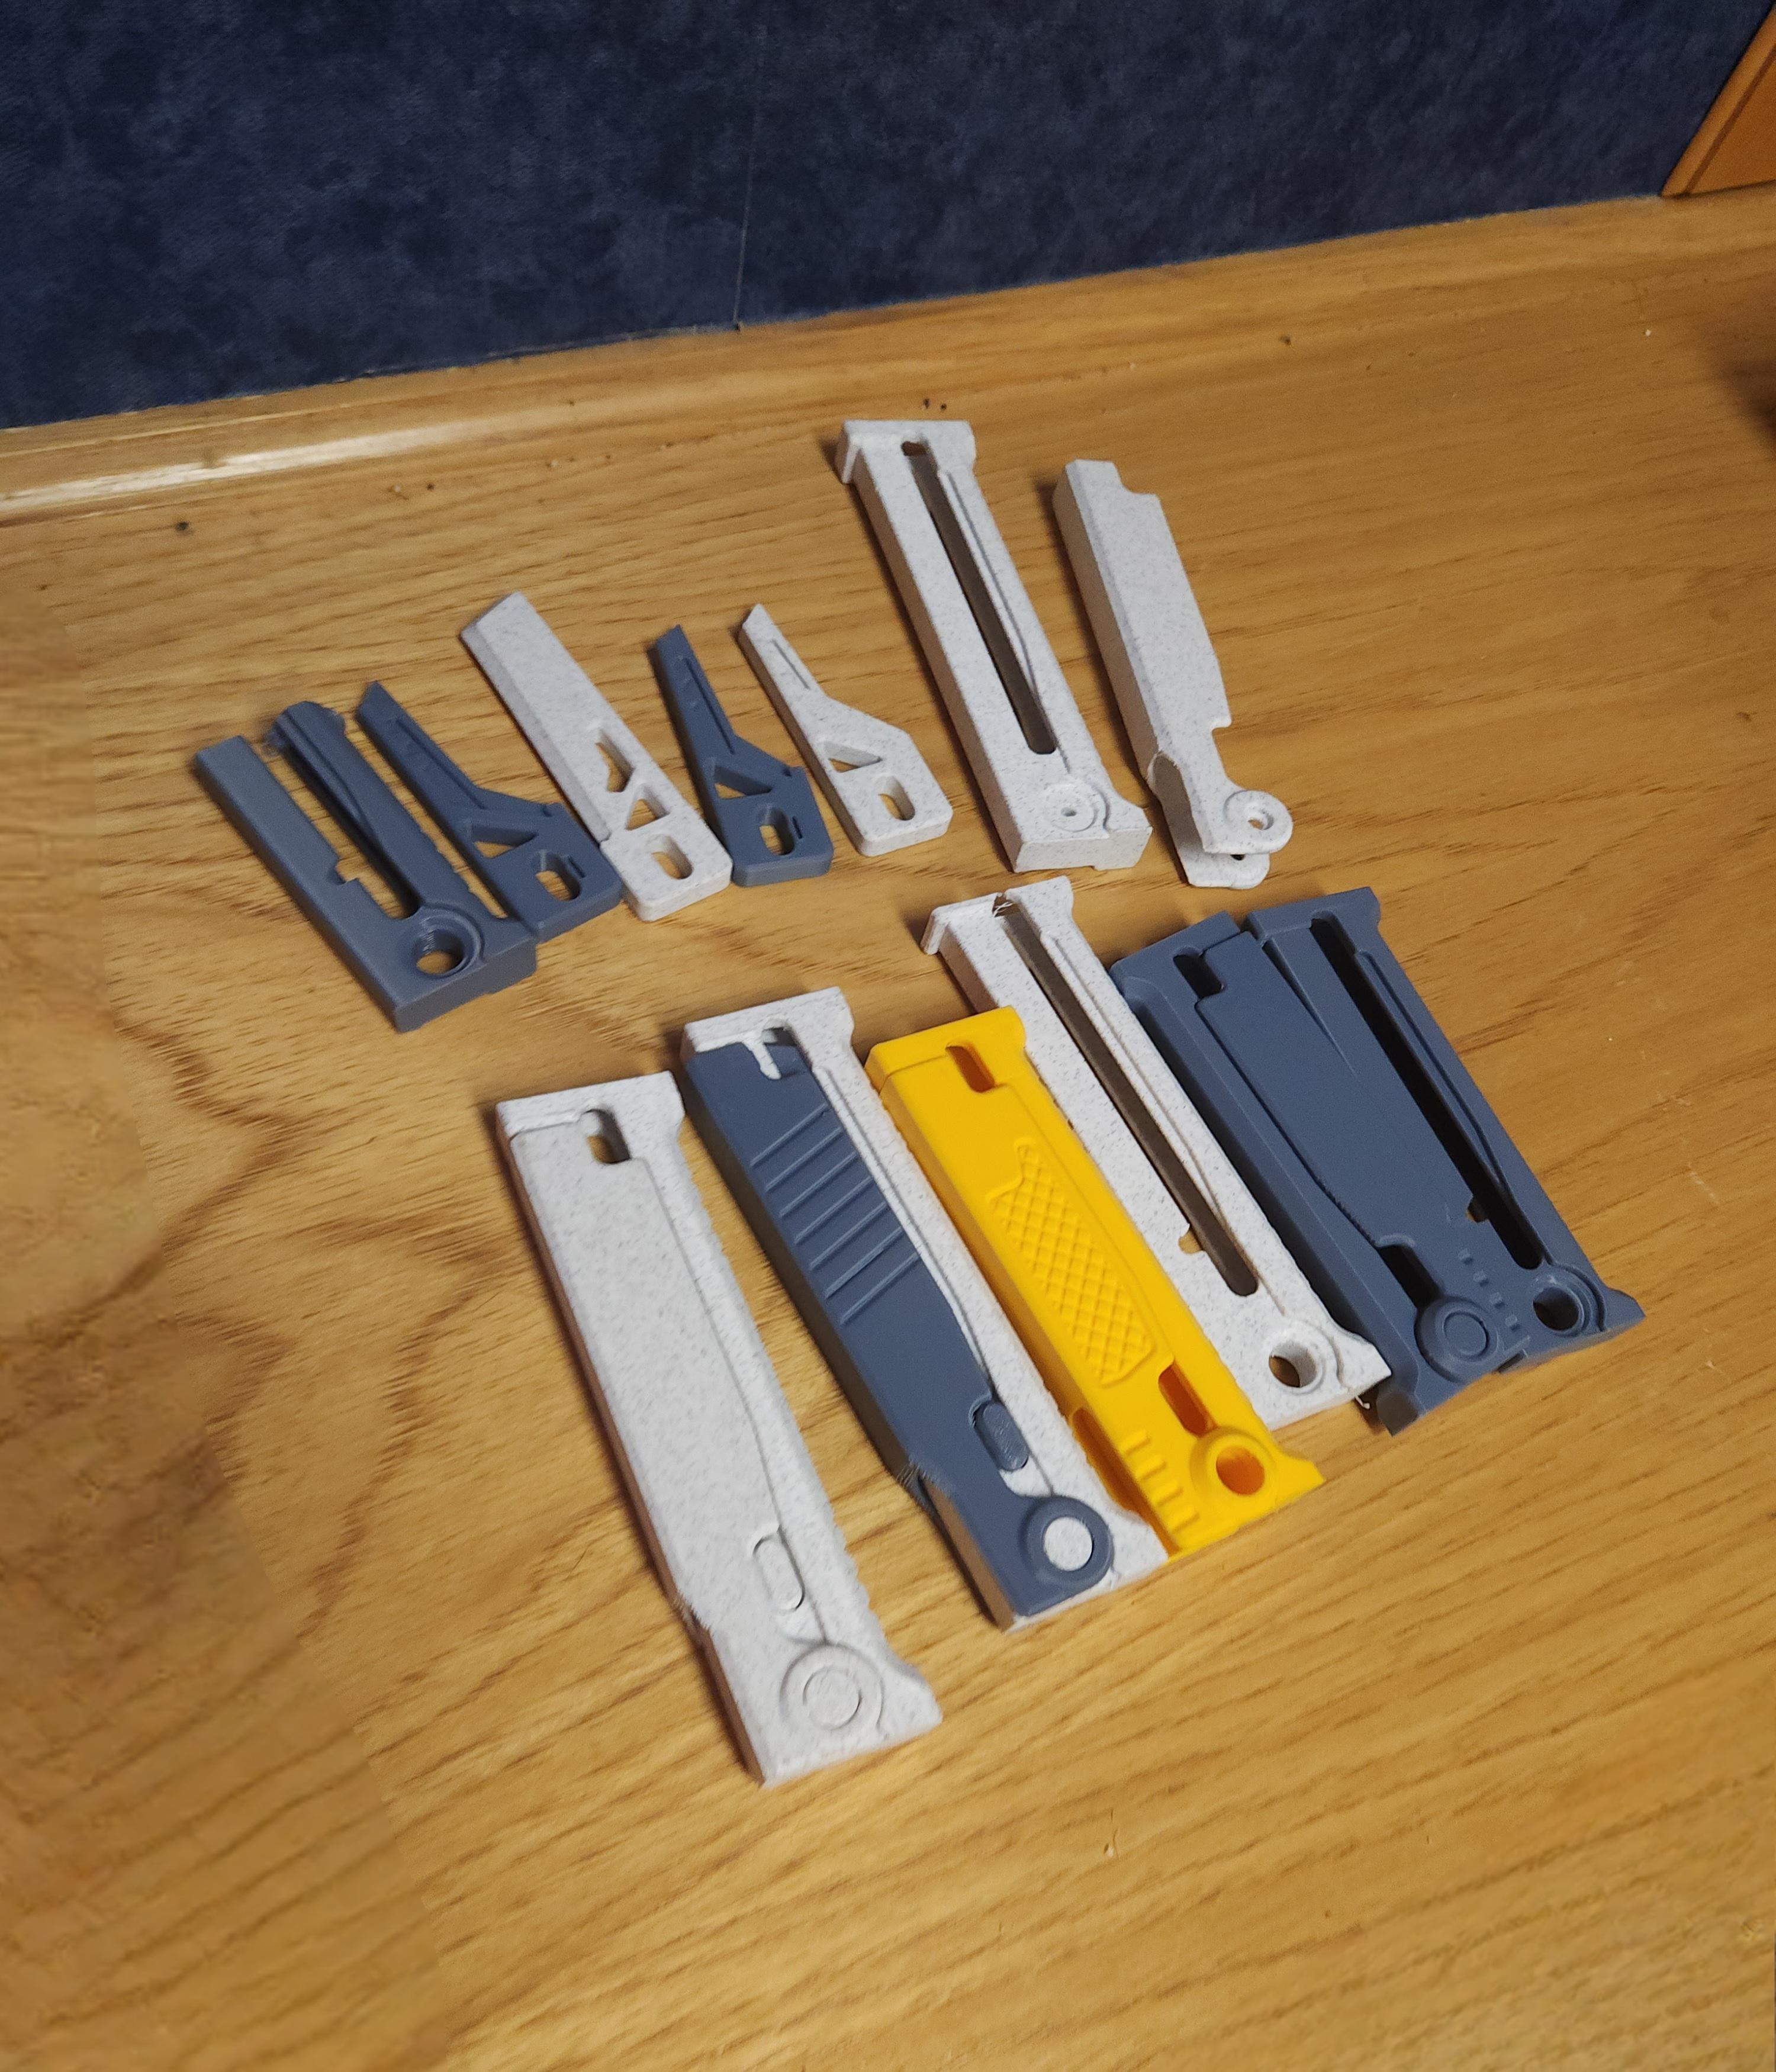
In the design process, I went through six different prototypes, carefully improving the model step by step. With each version, I analyzed what worked, what didn’t, and made adjustments to refine the overall design. Every prototype brought me closer to solving small issues, improving function, and polishing the look. After multiple rounds of testing, learning, and redesigning, I was finally able to reach the final design that combines all the best improvements from the earlier versions.
Import File Into Slicing Software Then Split Into Parts.
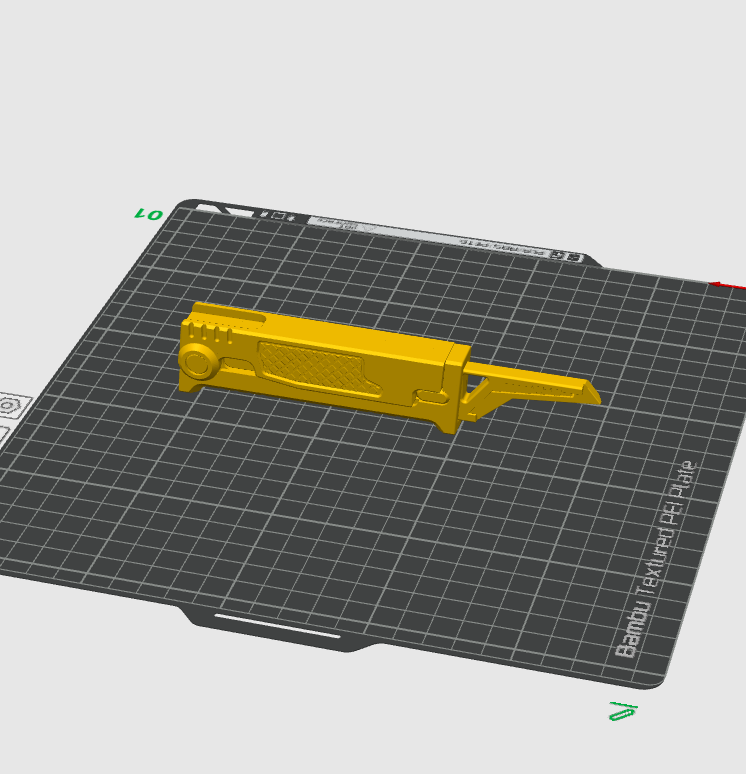
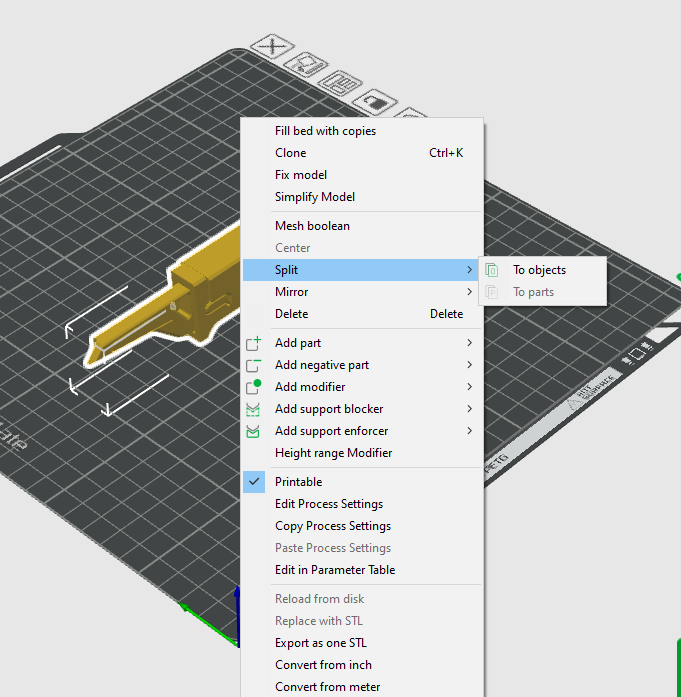
First, open your slicing software (I’m using Bambu Studio, but the process should be similar in most programs). Import the file, right-click on it, select Split, then choose Split to Objects. Once that’s done, move on to the next step.”
Slice and Print the Files.
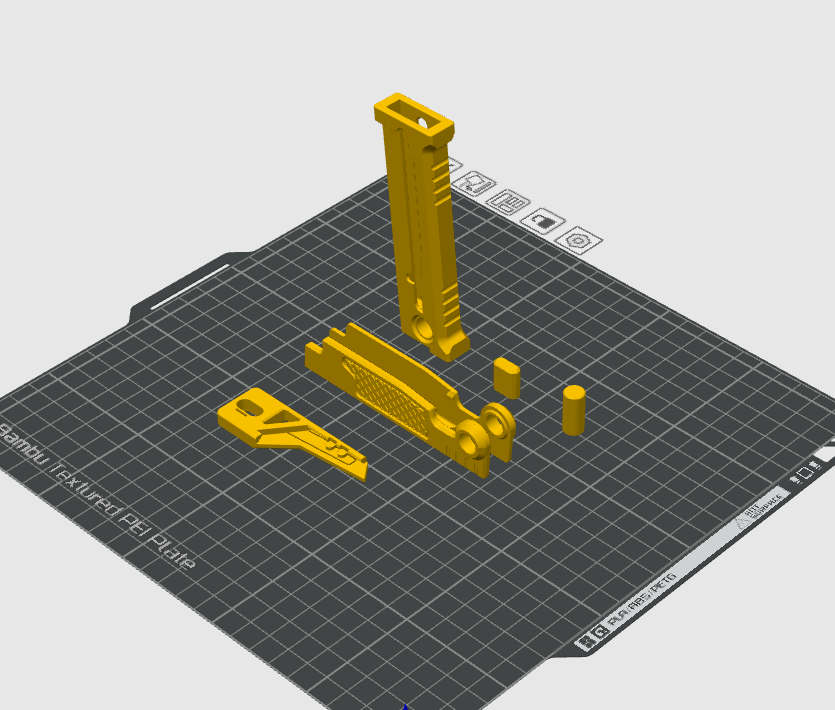
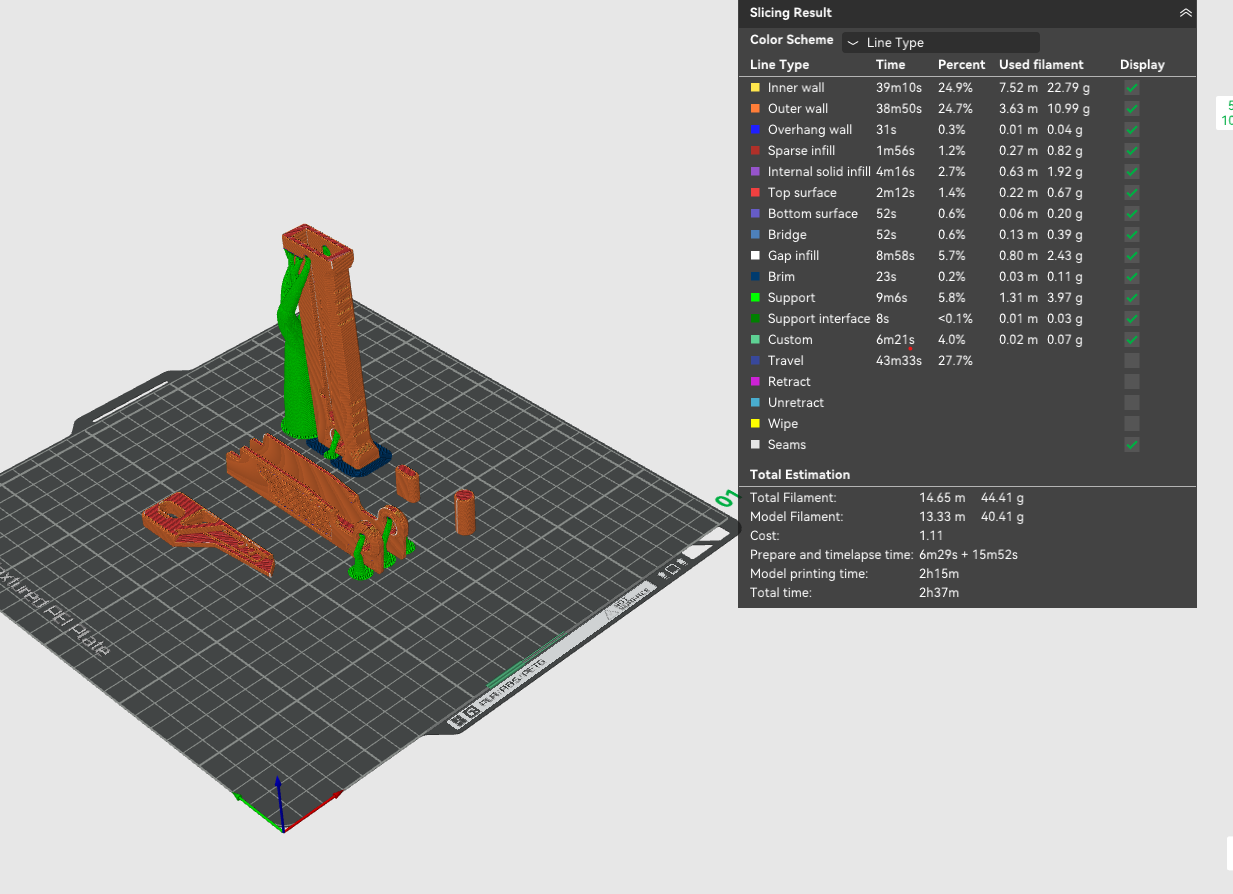
Next, orient and arrange the parts as shown in the first photo. Then slice and print them. On my setup, the total print time is about 2 hours and 15 minutes.
Asemble
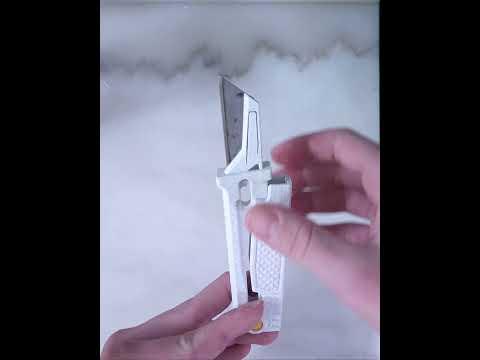
Once all the parts are printed, follow the assembly video to put your knife together. The video walks you through each step clearly, making it easy to line up the parts correctly and ensure everything fits as intended. Even if it’s your first time, you should be able to assemble the knife quickly and confidently.
You Are Done!

Thanks for following along with this build! I really appreciate you taking the time to check out my design and process. I hope this guide helps you get great results and inspires you to keep creating. More projects are on the way, so stay tuned!