3D Printed Iron Man Mk3 Helmet
by Jude Regas in Workshop > 3D Printing
6365 Views, 47 Favorites, 0 Comments
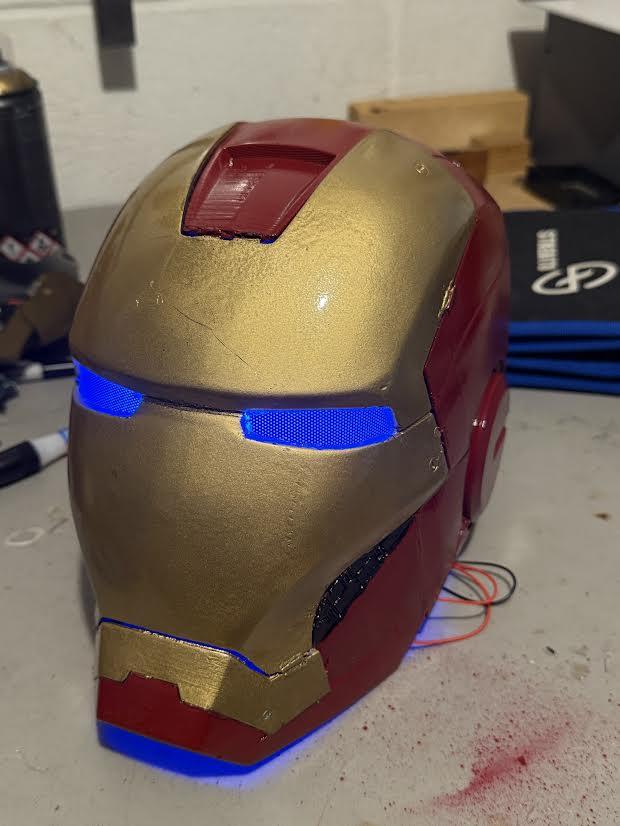
3D Printed Iron Man Mk3 Helmet
.jpg)
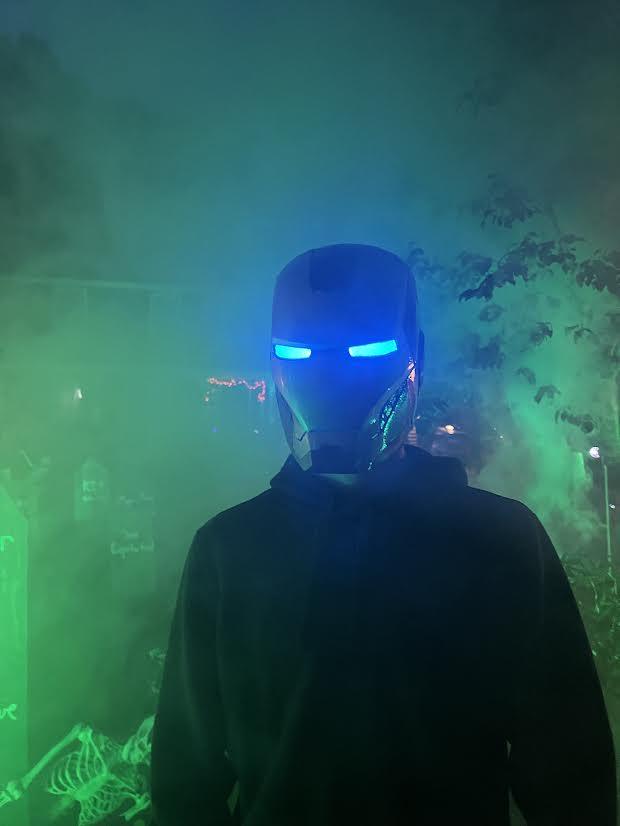
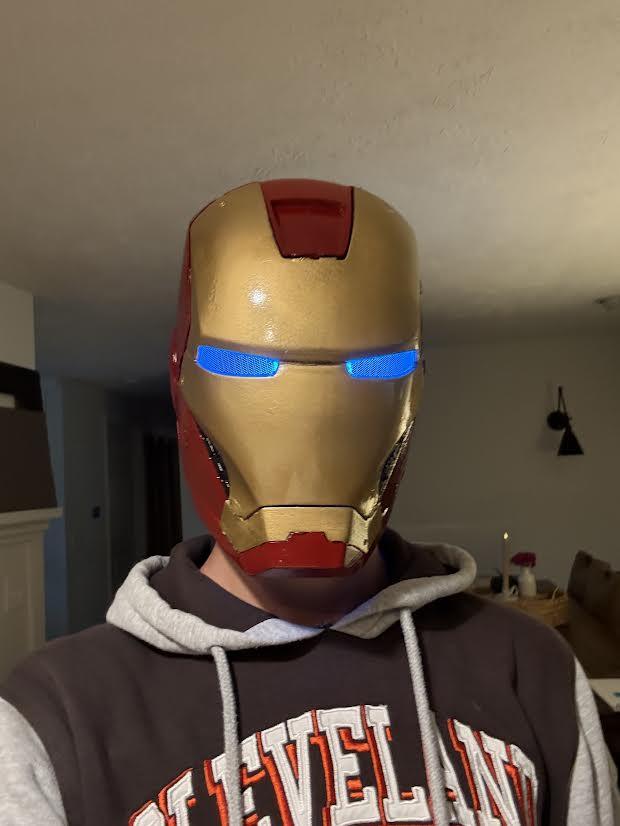
I've built quite a few projects, but this one might have been the most fun and rewarding yet! In this instructable, I will show you how to 3D print and assemble your very own Iron Man MK3 helmet. This was something I had wanted to do for a long time, but never got around to actually making it. I learned a lot about what goes into 3D printing along the way. Without further ado, let's dive in!
Demo video link: https://youtu.be/6gGvsjXkyQ0?si=P5cJccE87FxOb6xg
Supplies
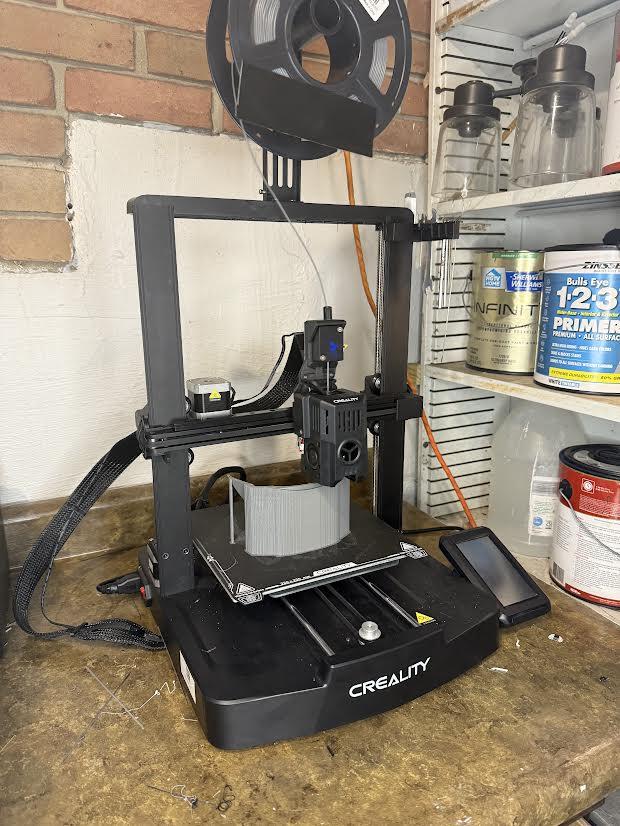

Ender 3 V3 KE - This is the printer I used for this project, but any 3d printer will work (if it's too small, you can slice the file into pieces and put them together later)
Filament - I used black and grey PLA filament for this project, but color doesn't matter (We'll be painting over it anyway)
Eye lights - These are flexible lights that go in the eyes (Don't worry, you can still see) Link Here
Hot Glue gun and glue sticks - (If you don't have a hot glue gun, you can try superglue or another strong adhesive)
Sandpaper - sanding blocks work great too
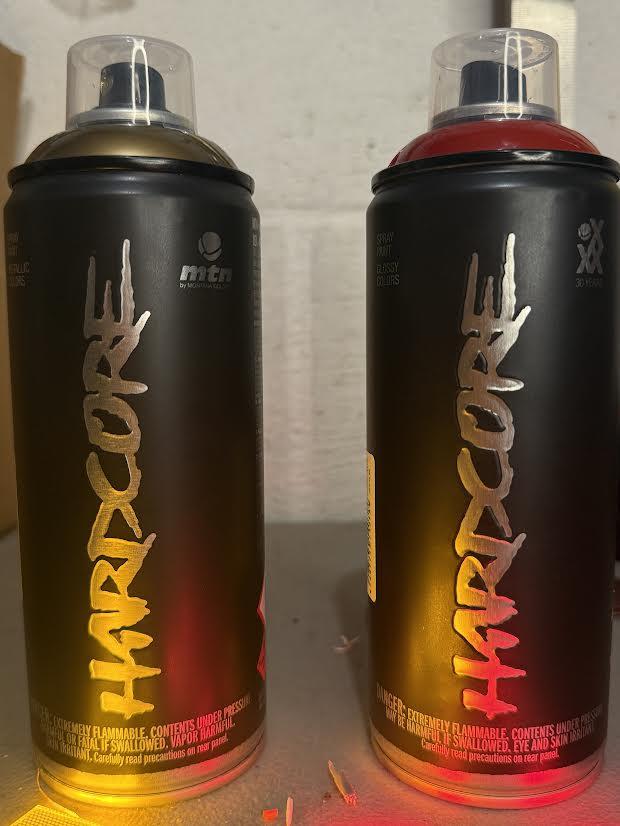
Spray Paint (Red, Gold, and Black) - I used HARDCORE brand spray paint ("Merlot Red" and "Gold"). For the black, I used a paint + primer spray paint. You will also need a glossy clear coat. Links here, here, and here
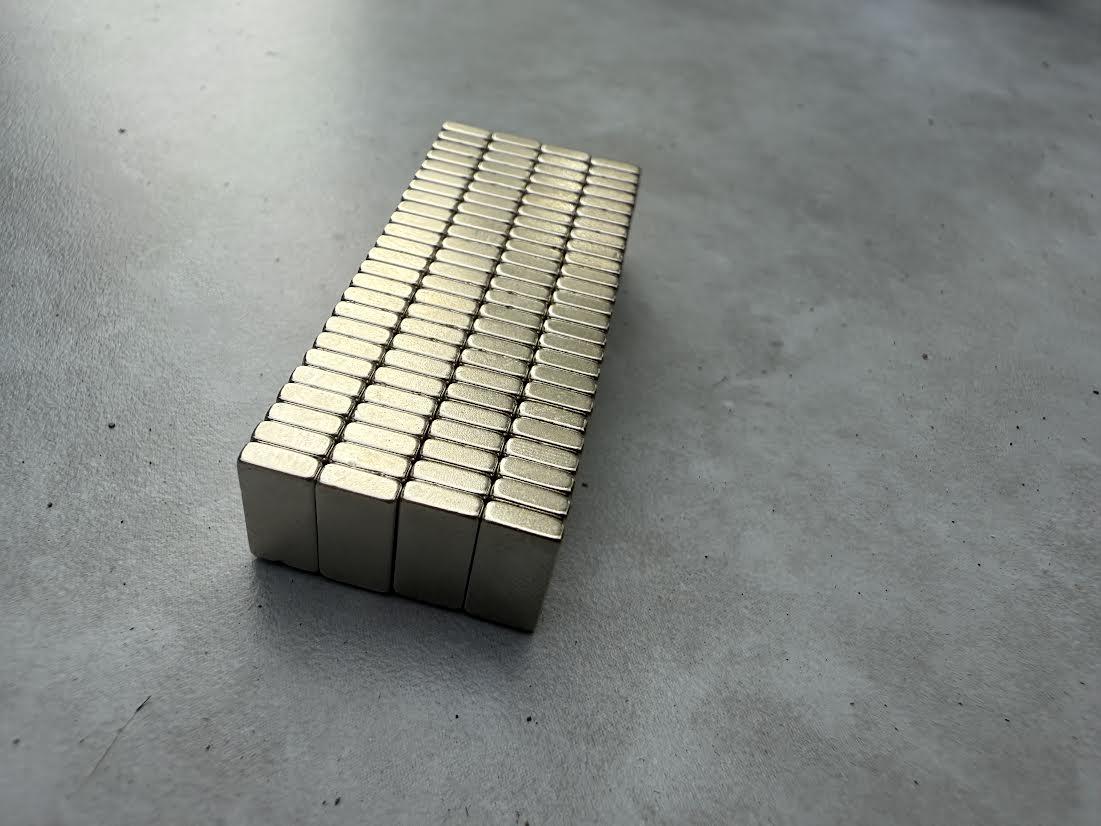
Neodymium magnets - I got a 100 pcs set for around $6. Link Here
Soldering iron - we are going to be using this for making inserts in the plastic
51005 2 Pin Female Connector and 3.7v Li-ion battery (Optional)
Size the Helmet
If you plan on wearing this helmet, you probably want it to fit on your head. There are a couple of ways to do this:
Option 1: Measure your head. There are a few ways to do this, but I prefer to use a flexible object, such as a pipe cleaner or soldering helper, and bend it so it touches both your ears. Then remove it from your head, being careful not to bend it, and measure the distance between the ends (This is the width of your head). Do the same with your chin and the top of your head (This is the height of your head). We don't really need to know the length, but you can measure this if you want to be sure. Then, use a CAD software (such as Fusion 360 or Tinkercad) to assemble all the pieces, using the picture as a reference. Next, scale the helmet so your head can fit comfortably inside (Be sure not to make it too tight). You can use the measuring tool to find the width and height of the inside of the helmet, and make it slightly bigger than your head. Then, when you slice the file, you can scale it using the percentage of the size of the helmet. For example, I scaled the helmet down to 97.5% of its original size. You can also scale it up if you need it to be bigger than 100%. You can usually find a scaling tool in most 3d print slicers.
Option 2: 3d model your head. This is a slightly more involved method, but it ensures your head will fit perfectly in the helmet. You can use a dedicated 3d scanner, or try to find an app that will scan your head. Once you have the file, you can put it into the slicer with the assembled helmet, and size the helmet so your "head" fits perfectly inside.
Make sure all the pieces are scaled to the same percentage!
Downloads
Print the Parts
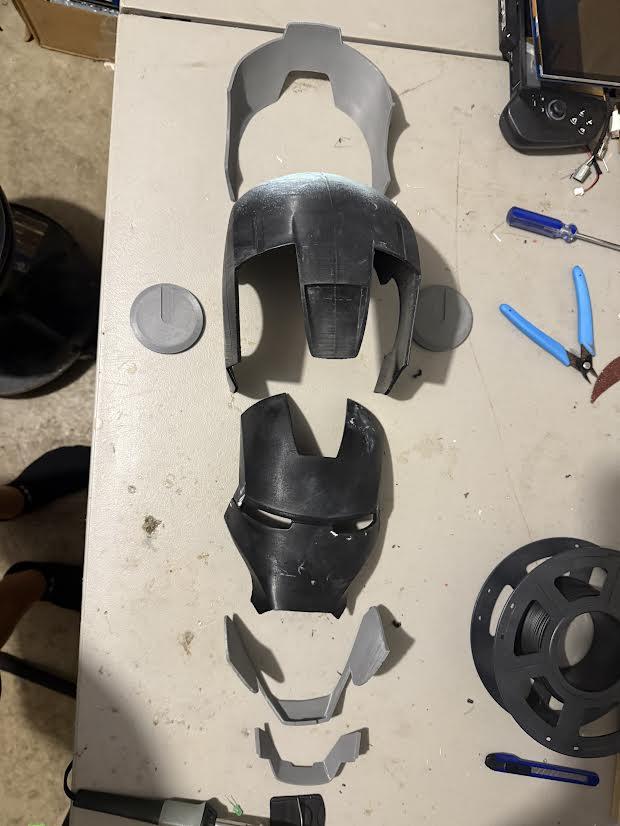
This is the file I used: https://www.thingiverse.com/thing:4599252/files
You only need to print:
mask.stl
ears.stl
lips.stl
back.stl
helmet.stl
chin.stl
Don't worry about the other files. Make sure to add supports when needed, and print at 15 - 25% infill.
Make Sure It Fits Together
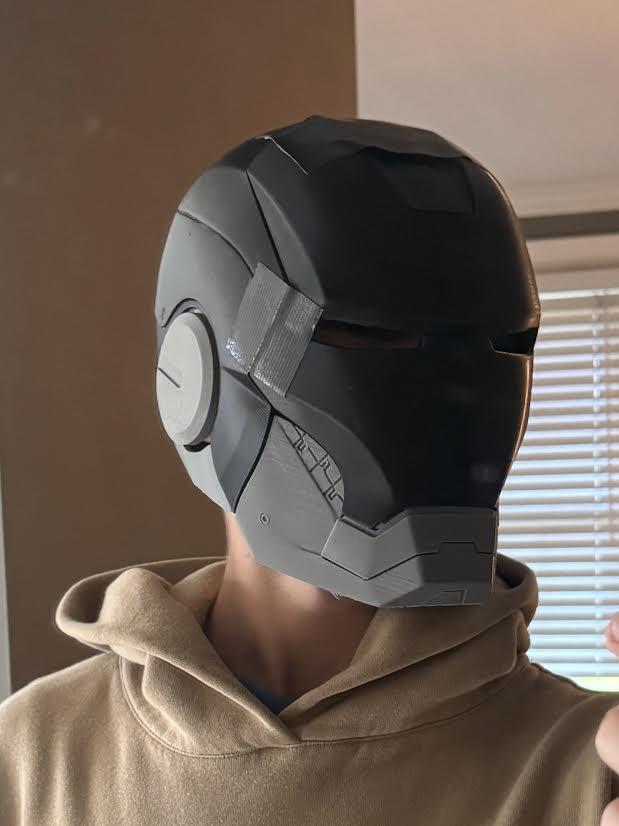

Once you have all the parts printed, you want to make sure all the parts fit together and aren't warped or misprinted. To do this, use duct tape or electrical tape to assemble the pieces, using the diagram as a reference. You will also want to try it on and make sure it fits your head. To do this, remove the back piece and fit it on your head. Then take the pieces back apart for sanding/ painting.
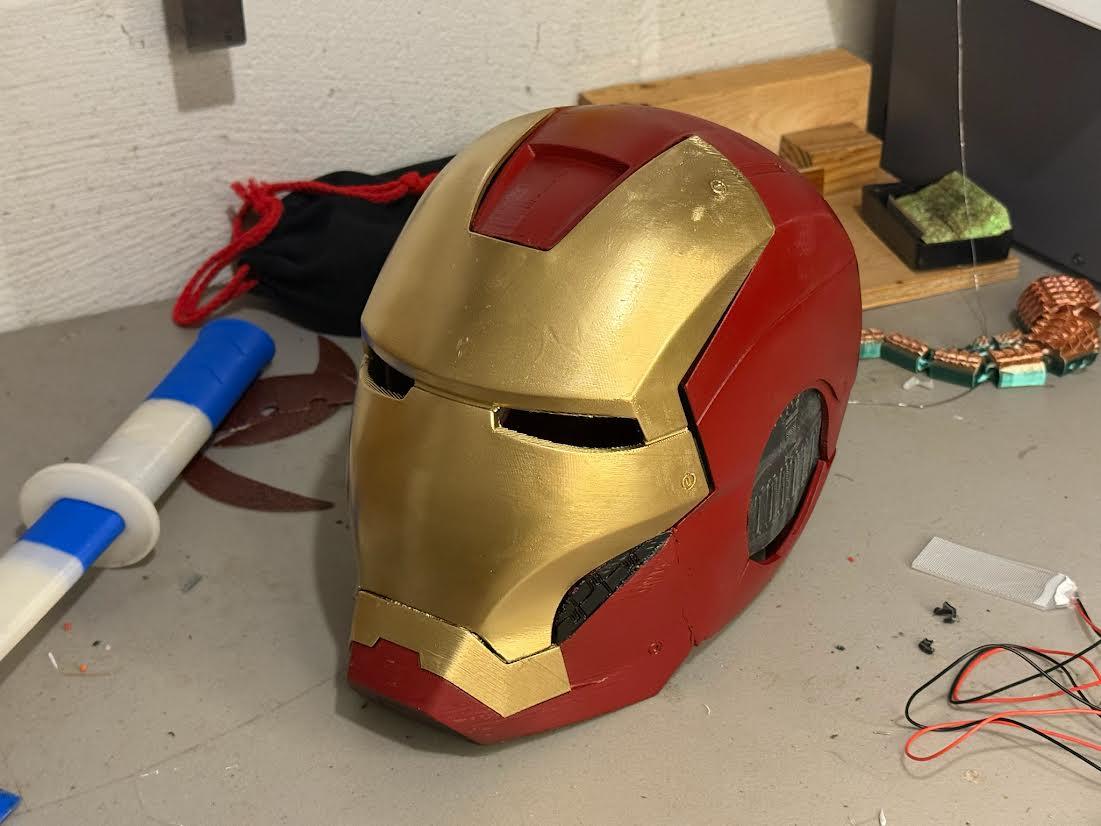
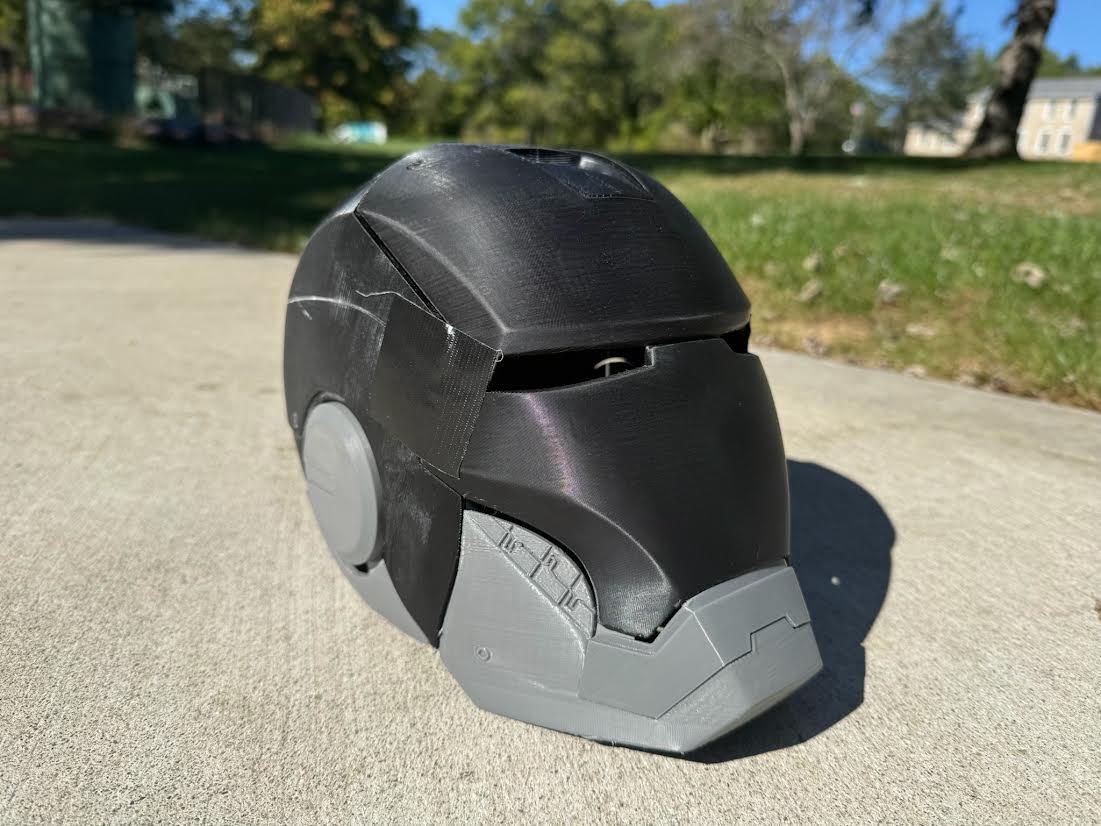
Sanding and Painting
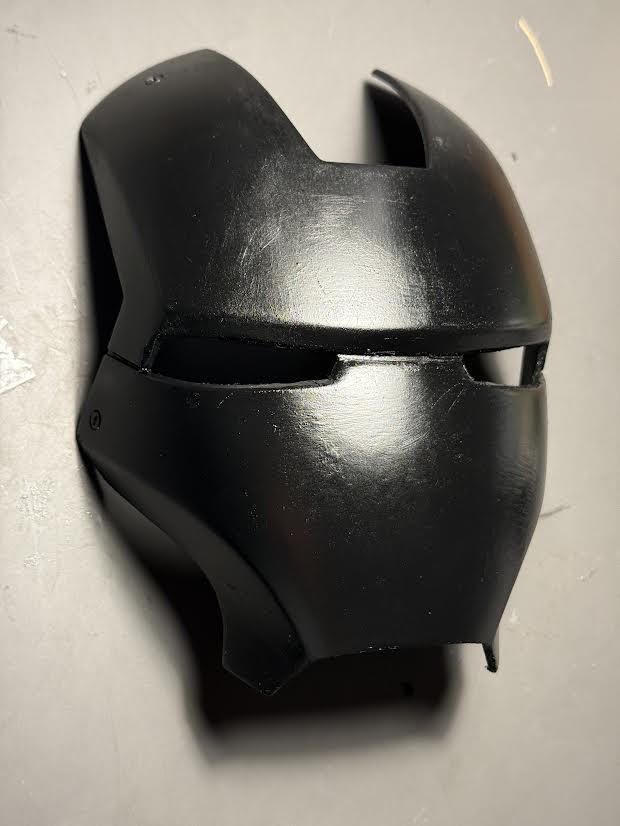
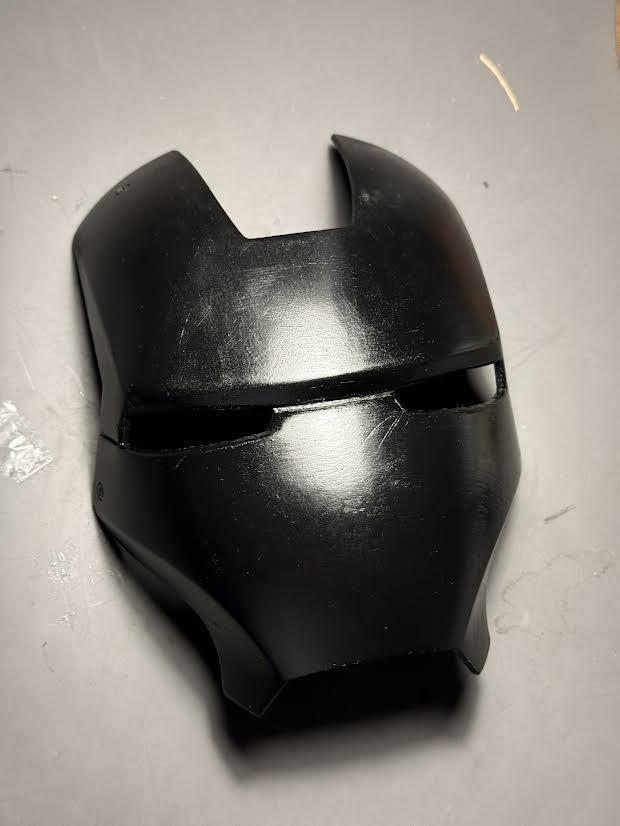

To paint the helmet, start by sanding all the pieces to smooth the surface and remove any major print lines. Begin with 80-grit sandpaper, using a sanding block or just the sandpaper itself, and then progress to 120-grit for a finer finish. Once the sanding is complete, glue the helmet and chin pieces together with hot glue, ensuring they are properly aligned.
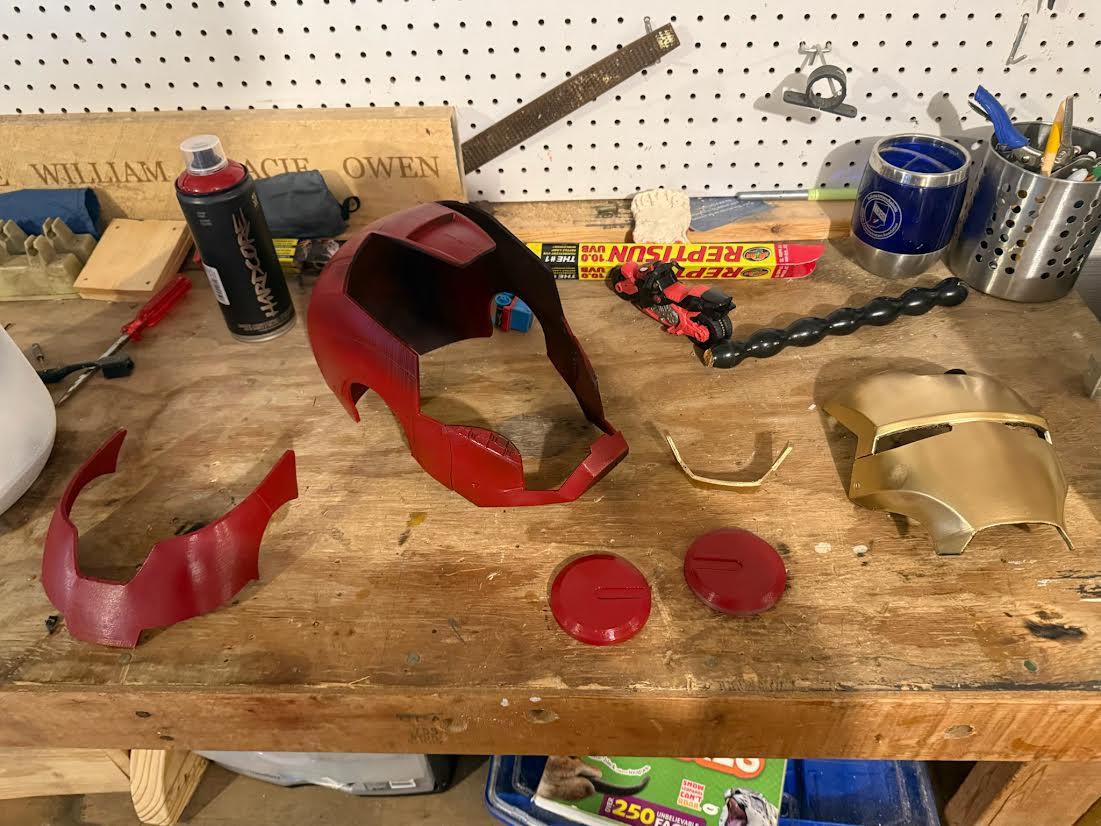
Make sure you use spray paint in well-ventilated areas!
After assembling, wipe all parts with a clean cloth to remove any dust from the sanding process. Next, apply a coat of black spray paint + primer to every piece of the helmet and allow it to dry completely. Once the primer is dry, use metallic gold spray paint to paint the faceplate and "lips," applying several light coats and letting each coat dry before adding the next. For the helmet body, ears, and back plate, use red spray paint, ensuring that you apply multiple light coats for an even finish. After the red paint dries, carefully tape off the round parts on the sides of the helmet where you want to paint black. Spray these exposed areas with black spray paint, being cautious not to get paint on the already painted red sections.
Once the black paint is dry, finish your helmet by applying 2 to 3 coats of glossy clear coat to protect the paint and give it a polished look. Finally, let the entire helmet dry for at least 24 hours before handling or wearing it.
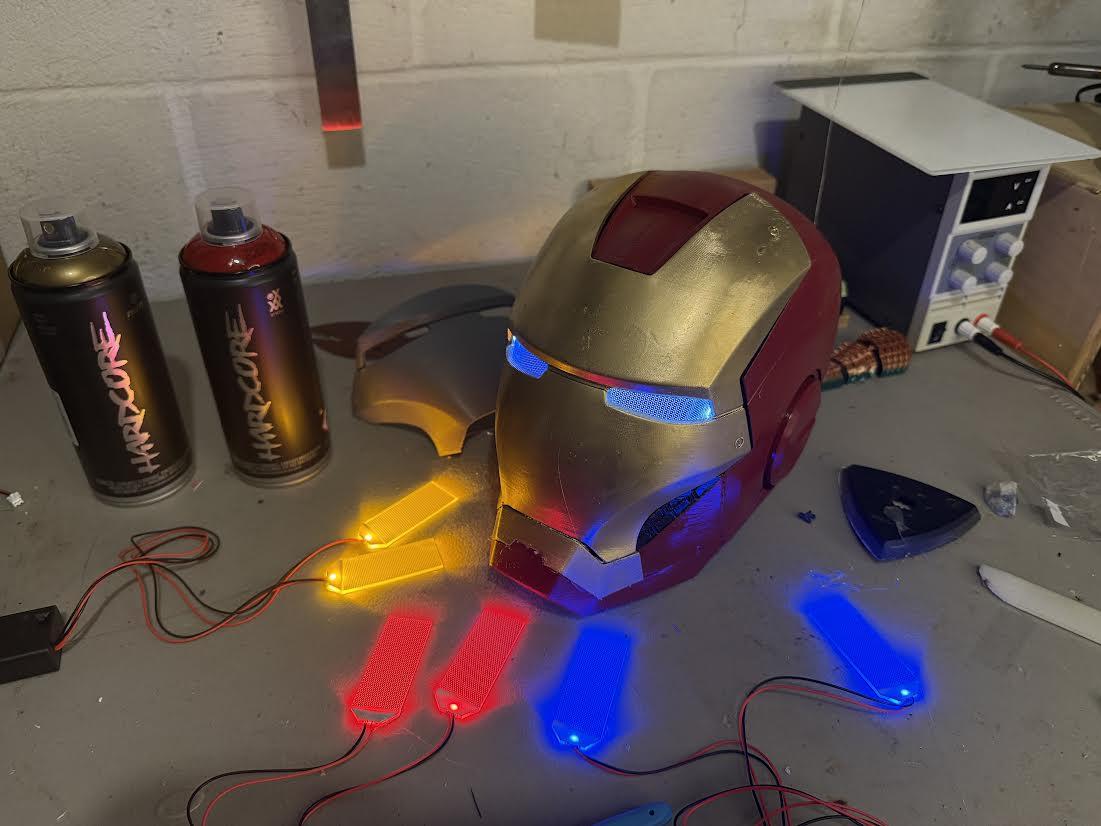
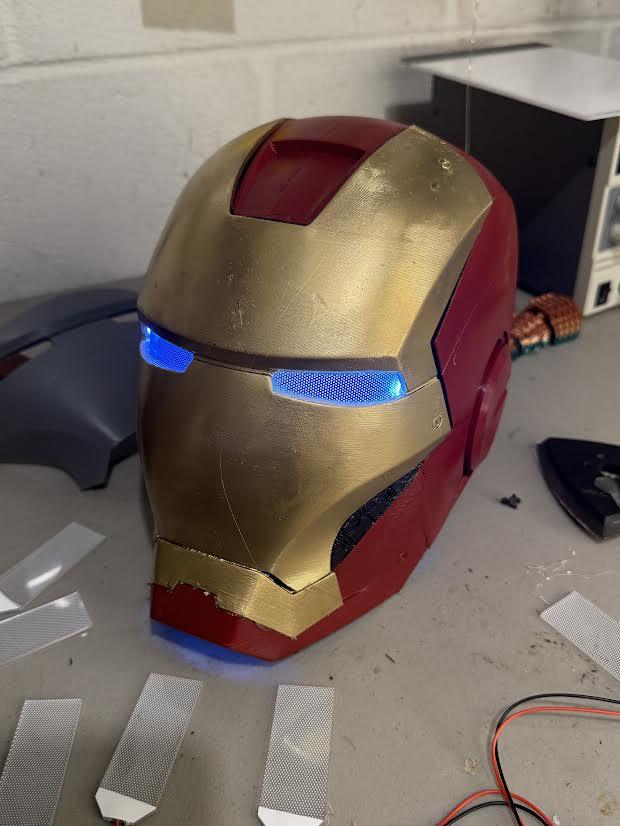
Installing the Eye Lights

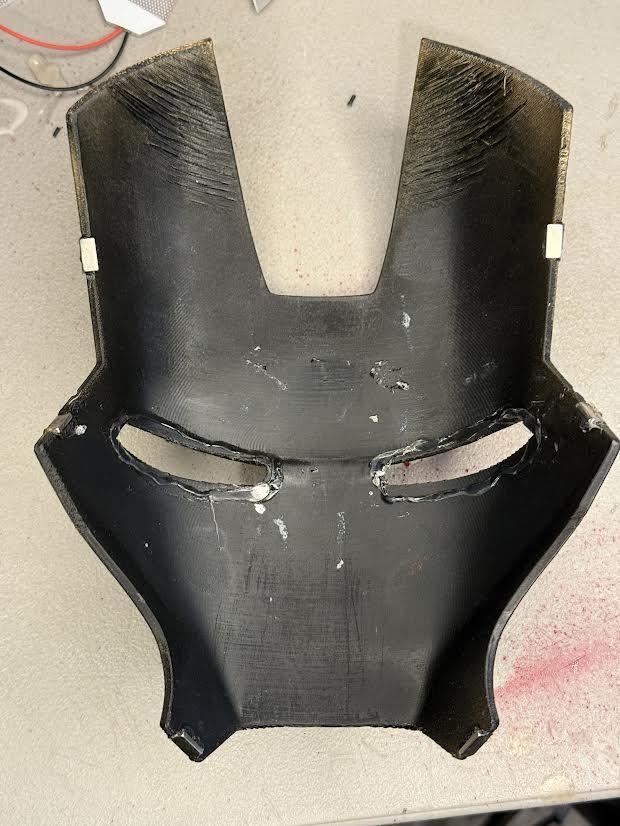
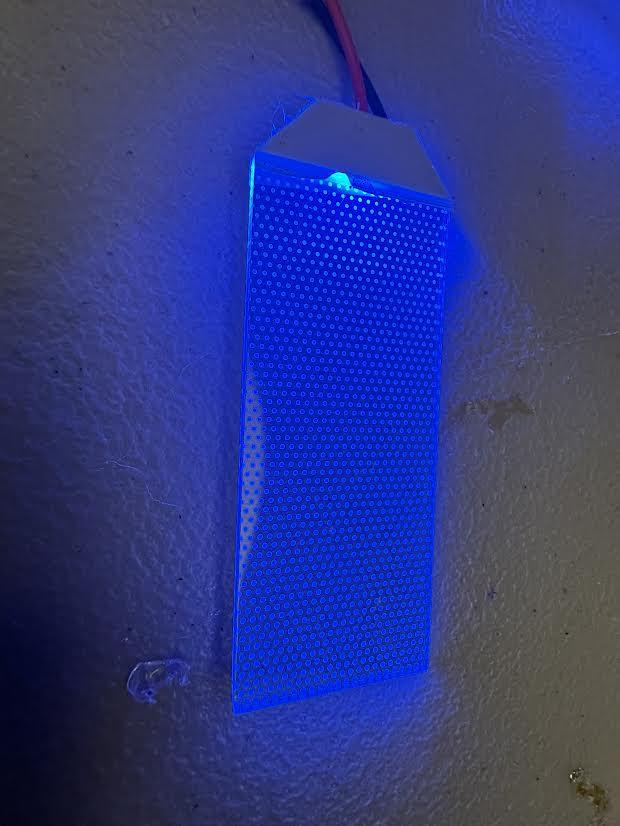
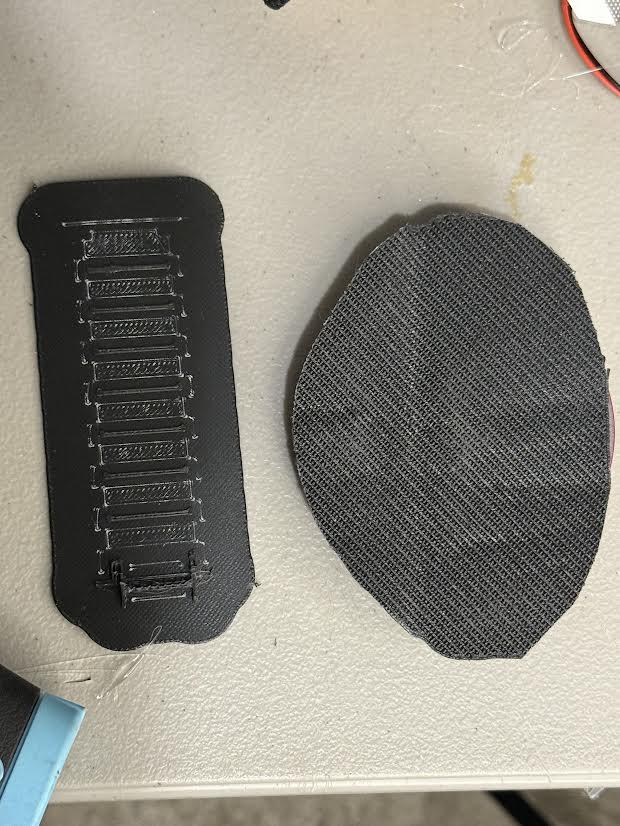
In this step, we will be installing the eye lights into the mask. There are multiple ways you can do this, depending on your skills with soldering. Beforehand, check the lights, as there is one side that you can see out of better than the other. Make sure you know which side you can see out of better (With the lights turned on).
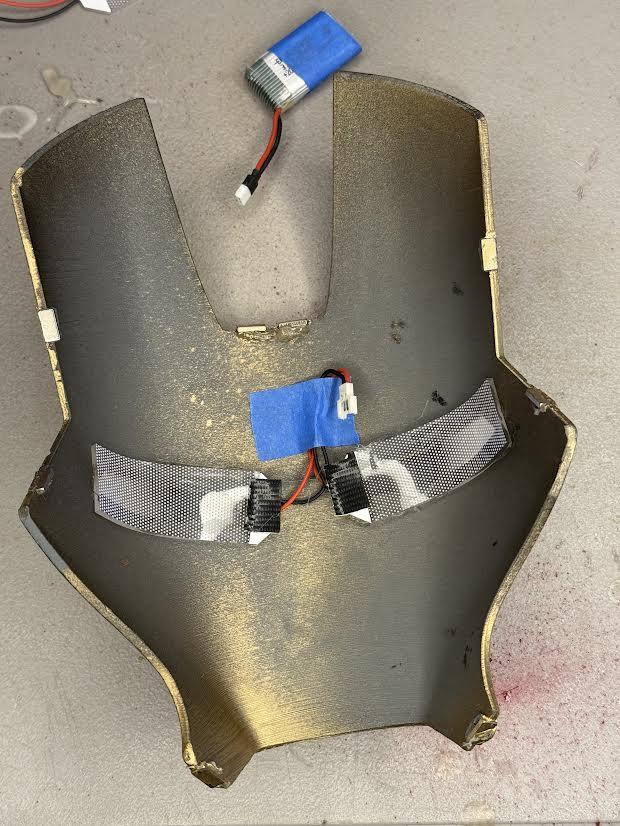
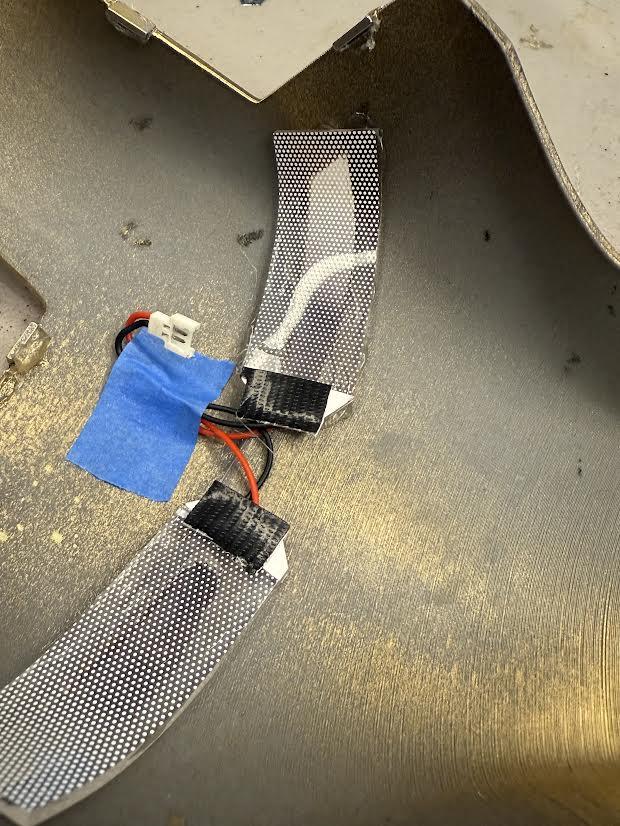
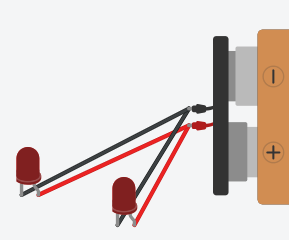
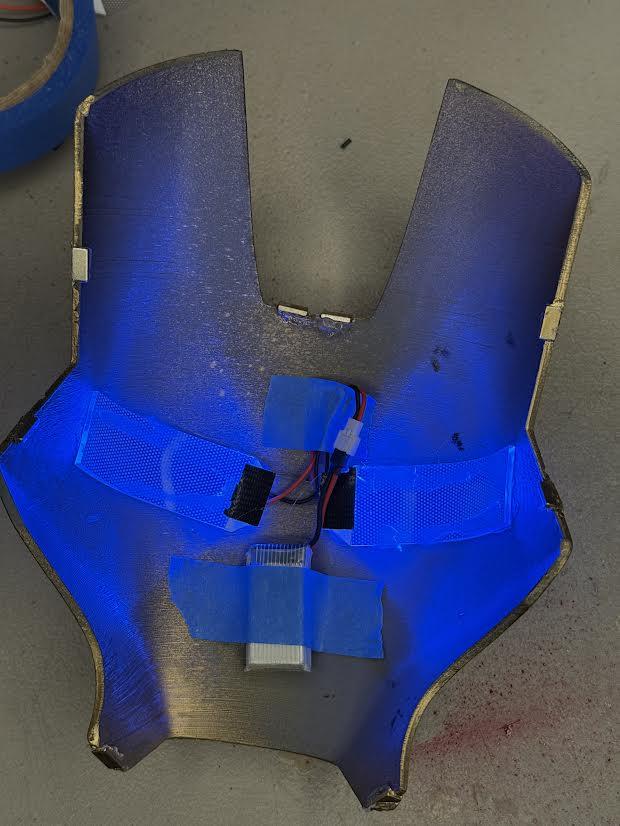
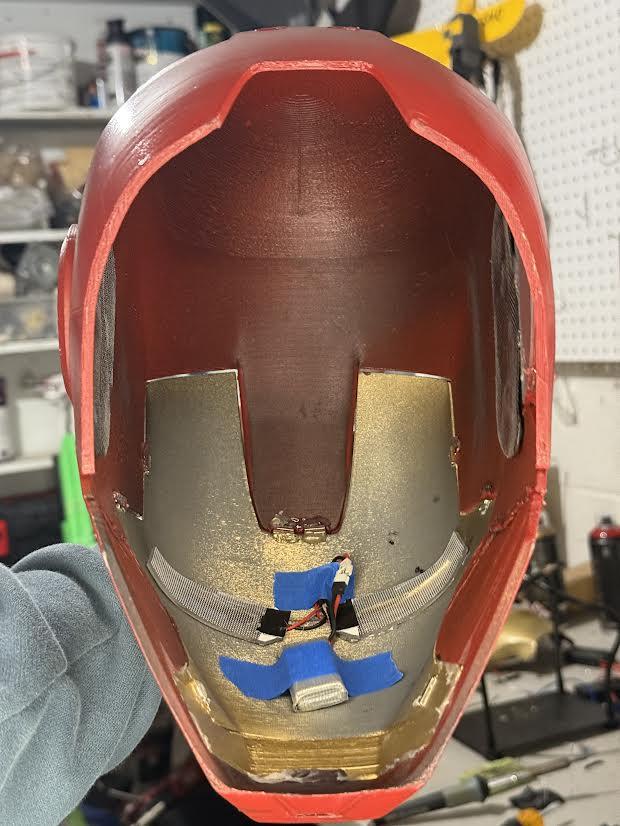
Option 1: Use a 3.7V lithium-ion battery (This is what I did). This will allow you to fully remove the mask, but requires some soldering. To start, snip the wires off the battery pack that came with the lights. Solder these onto the female 51005 2 Pin Connector in parallel (As shown in the diagram). Now, apply hot glue around the eyes on the inside of the mask, and glue the lights on with the more see-through side facing up. Tape the battery to the inside of the mask. (Somewhere where it won't get in the way of your vision).
Option 2: First, apply hot glue around the eyes on the inside of the mask, and glue the lights on with the more see-through side facing up. Then, tape the battery pack on the inside of the mask or somewhere else that isn't in the way of your head (You could even tape it onto your shirt outside of the helmet). Then, tape down the wires so they are out of the way.
Ears

Once you have the eye lights installed, we can now attach the ears. To do this, find a flat, stiff object that you can cut, such as cardboard (I used rafts from a failed print). Cut it out so it is slightly larger than the ear holes on the helmet. Hot Glue these onto the inside of the helmet's ear holes, ensuring they are not glued to the piece on the bottom (only to the main helmet piece). Once dry, glue the ear pieces on, with the notch facing backward on both sides. Glue the "Lip" piece on as well.
Adding Magnets
In this step, we will be adding magnets to make the mask and back pieces removable, allowing you to fit your head into the helmet. First, take one magnet from the set; this will be used to create the mounting slots for the other magnets.
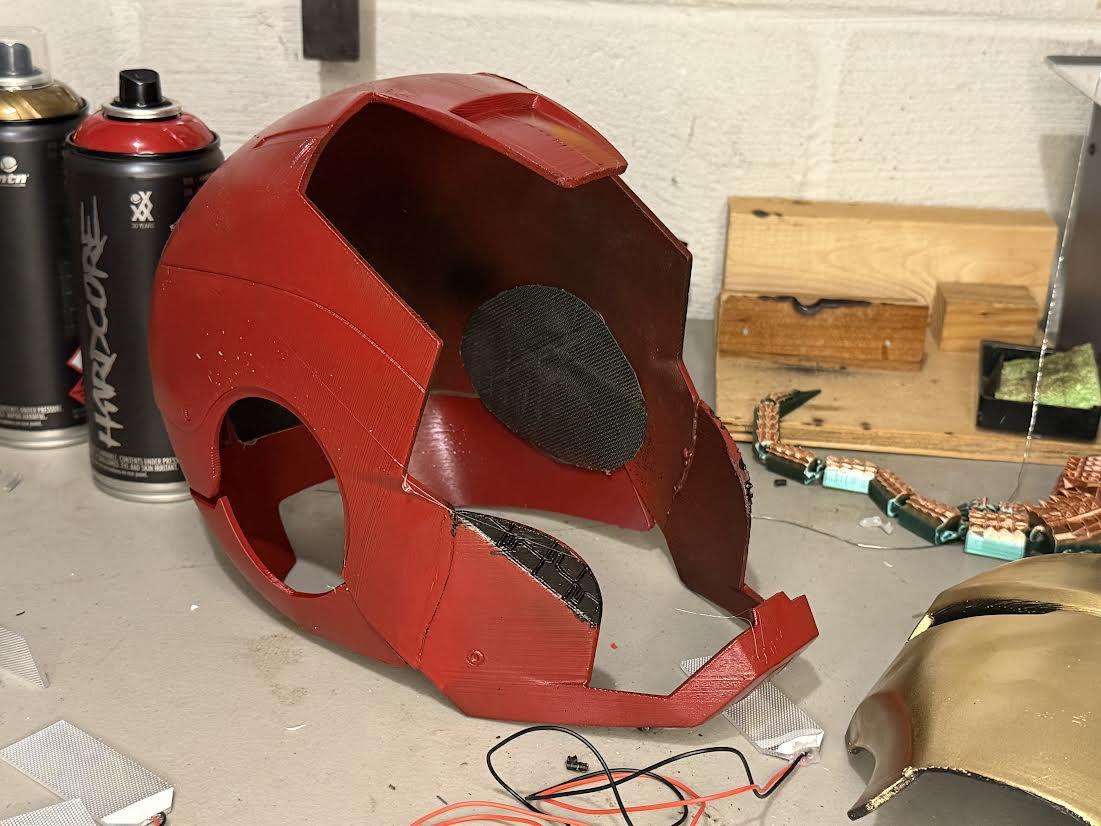
Start with the back piece. Use a marker to indicate where you want the magnets to go on the main helmet (as shown in the picture). Apply a small dot of hot glue to one of these marked spots and attach the magnet.
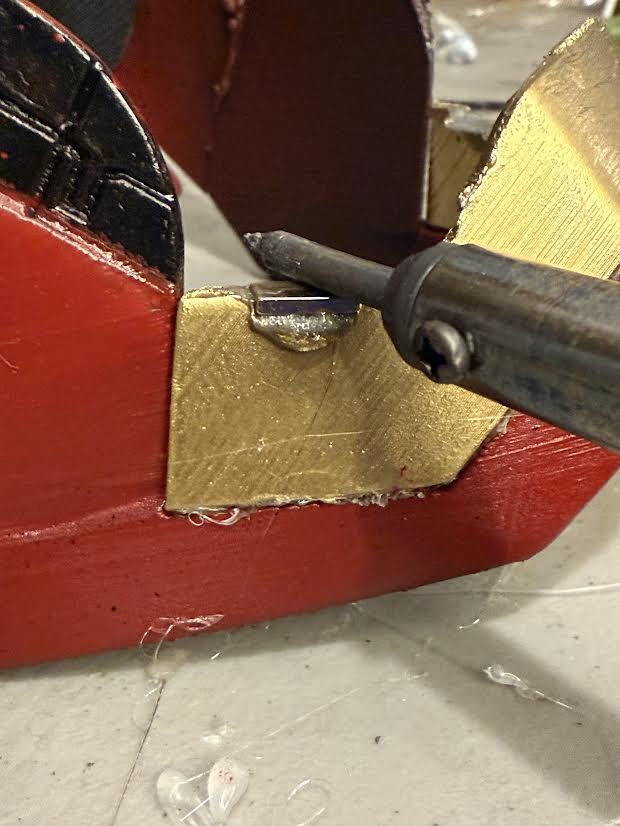
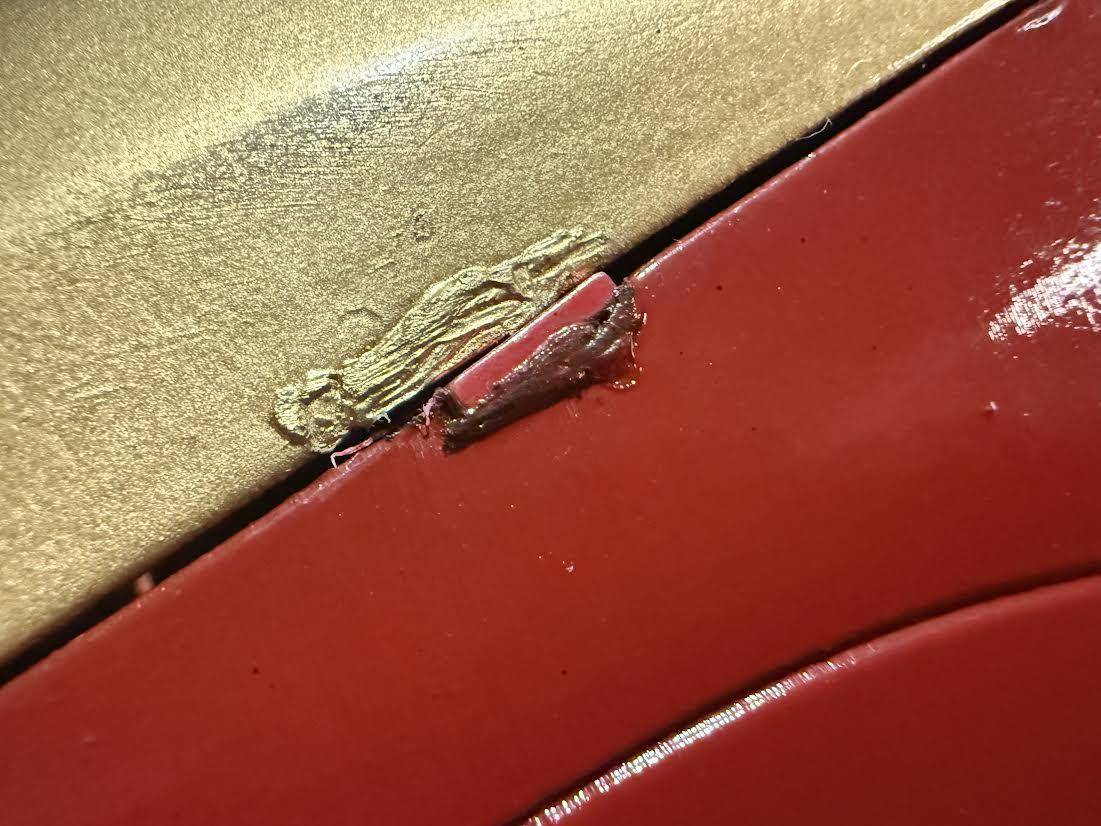
Next, plug in your soldering iron. (You may want to use a respirator or mask for this next part, or do this step in a well-ventilated area.) Once it heats up, hold it down onto the magnet. The plastic underneath the magnet will begin to melt, so hold it steady and ensure it doesn't slide off. Push the magnet straight down into the plastic until the top of the magnet is flush with the edge of the helmet. Then, wait until it cools and pull out the magnet with a pair of pliers. Use the same magnet to repeat this process for all the spots you marked earlier.
Now, set the mask on the helmet as seen in the picture, then mark on the edges of the mask where it lines up with the magnets. Then repeat the process of creating inserts for all of the marked areas on the mask. Once complete, use your hot glue gun to apply a small amount of glue into an insert, then push one of the other magnets into the insert.
Finishing Touches
Finally! We're at the last step! And it's the easiest one!
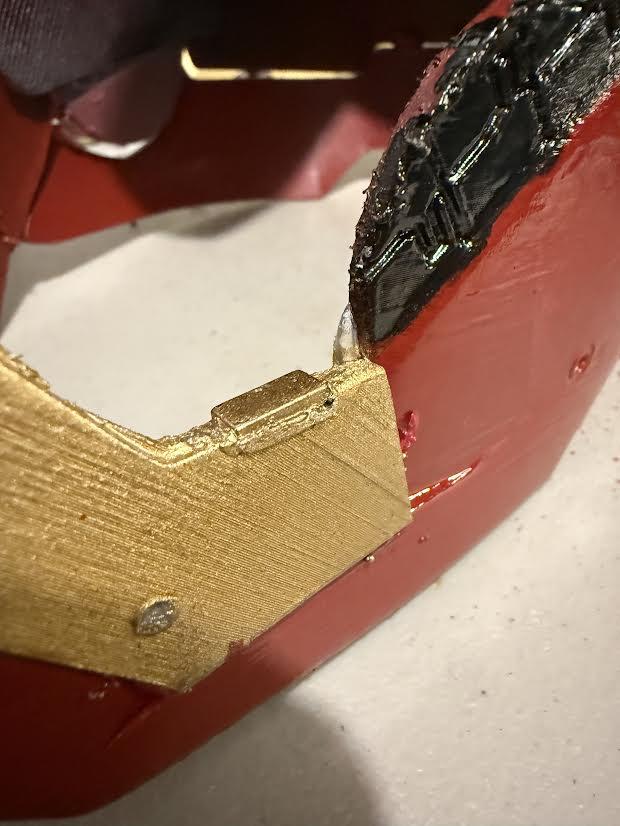
In this step, we will clean up the areas around the magnets we have just installed.
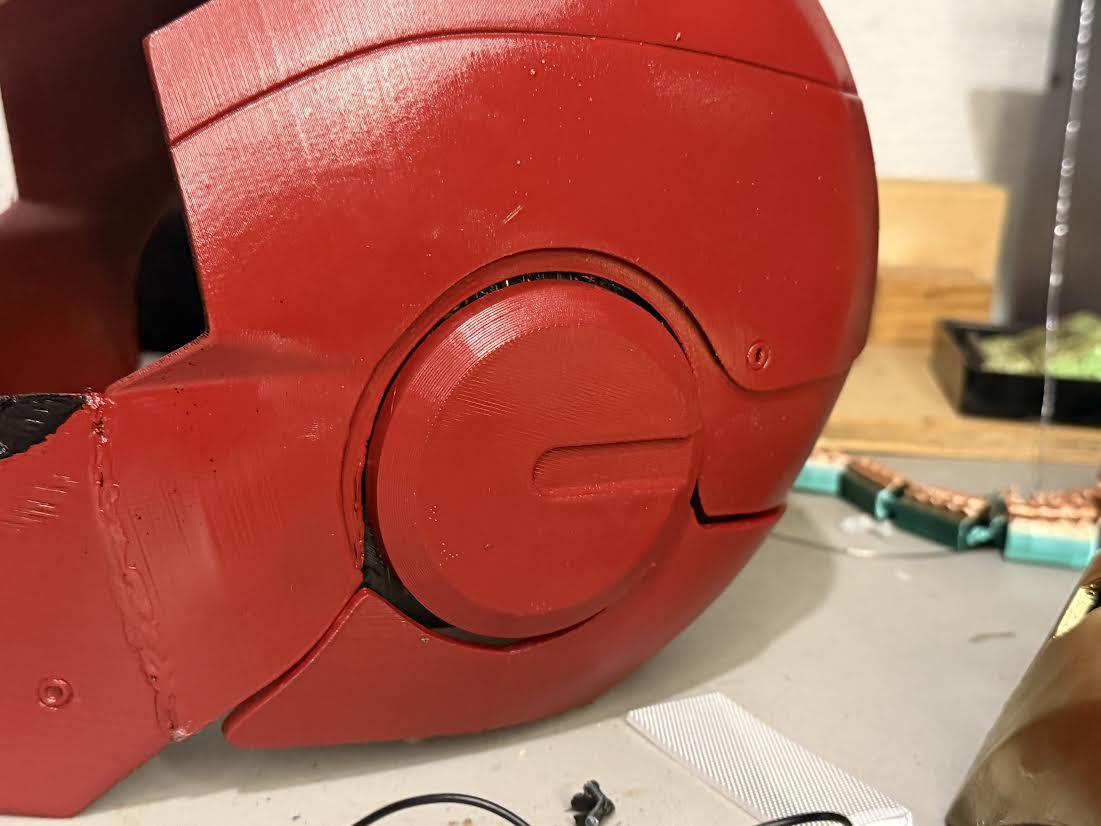
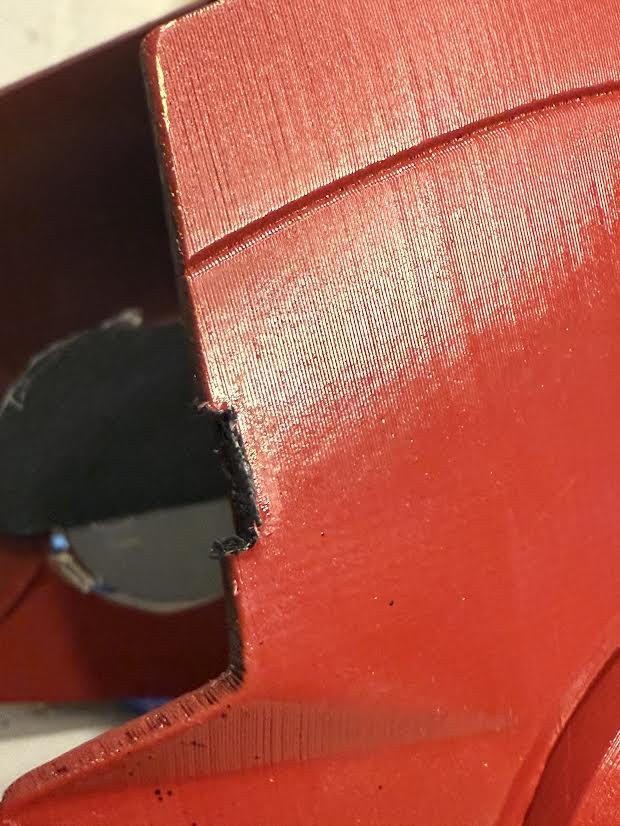
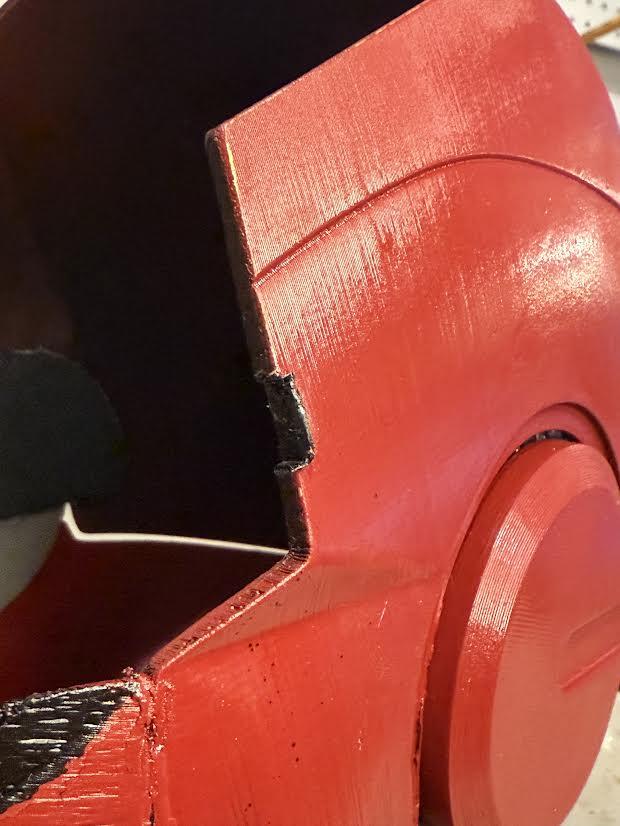
First, take a pair of clippers (Like the ones that come with most 3d printers) and clip off the excess plastic that melted off the magnets in step 7. You can also sand these parts down for a more polished look. Then, take the helmet off and spray a bit of gold spray paint on the magnets and the areas that were blackened by the heat or exposed from sanding. Do the same with the helmet, being sure to tape off the areas that are other colors (Such as the lips). Continue to touch up the areas that have been scratched or damaged in the process, then apply a thin coat of clear gloss.
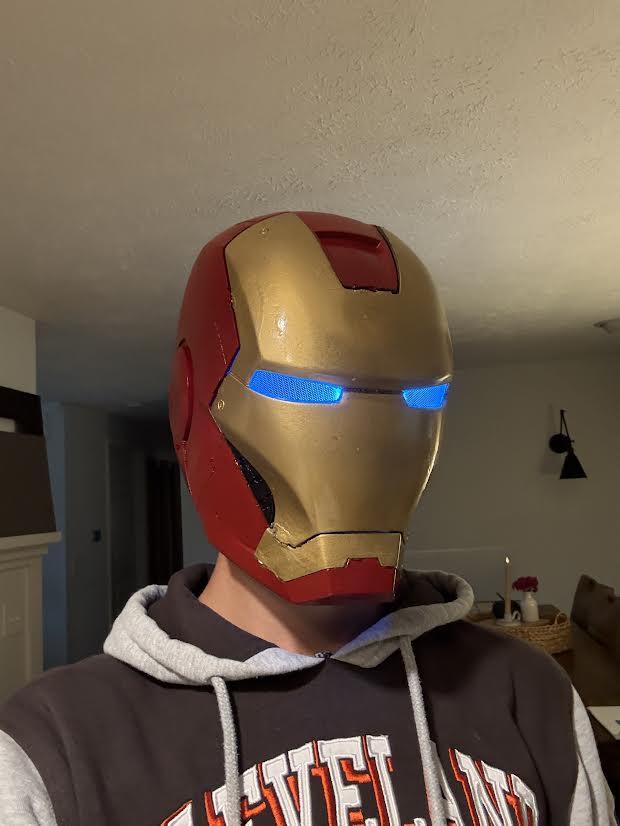
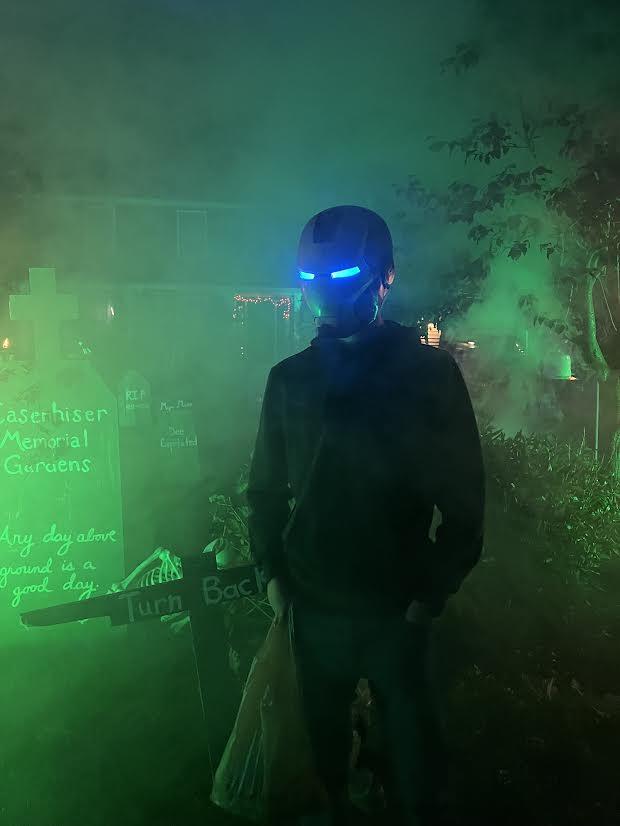
Congratulations! You are now the proud owner of a self-built, 3d printed MK3 Iron Man helmet!