3D Printed Leather Stamping: How to Emboss Leather
by Nazir NM in Craft > Leather
106 Views, 2 Favorites, 0 Comments
3D Printed Leather Stamping: How to Emboss Leather
.jpeg)
Want to create custom designs, logos or patterns on leather without buying an expensive leather stamping press?
In this project, I’ll show you how to use a 3D-printed mould to wet stamp and emboss leather using a few simple materials: water, foam, steel plates and a G-clamp.
The basic idea is simple. The leather is dampened to make it more flexible, placed over the 3D-printed mould, and then compressed between steel plates with foam to help distribute the pressure. The leather is left under pressure while it dries, allowing it to retain the shape of the mould.
This is a particularly useful technique for making custom leather products, logos, names, signs, keyrings, labels and decorative leather pieces.
One of the biggest advantages is that you can design and 3D print a new mould whenever you want a different design.
Supplies
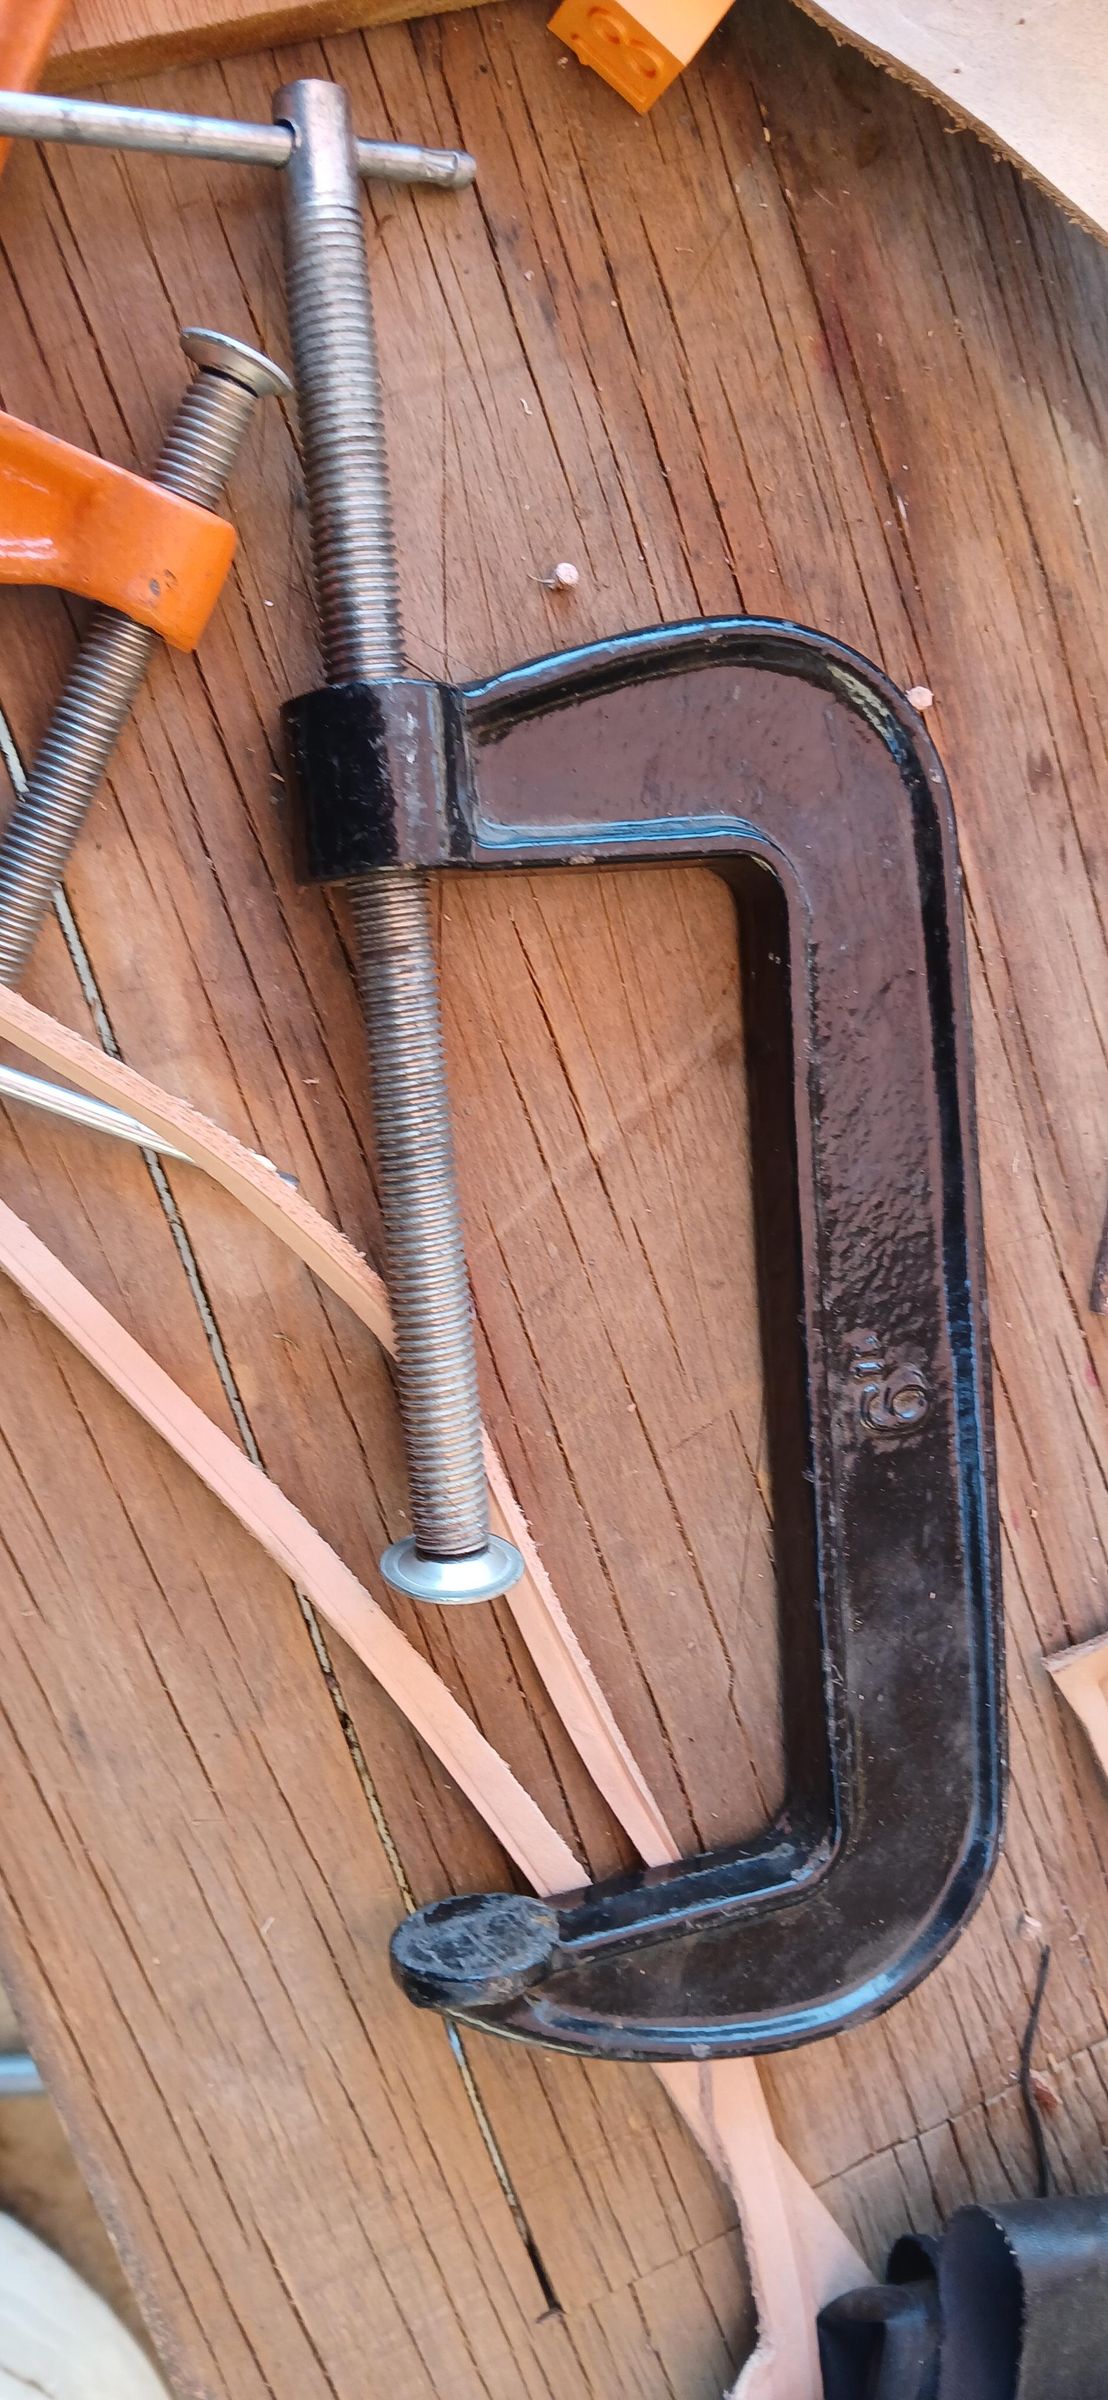
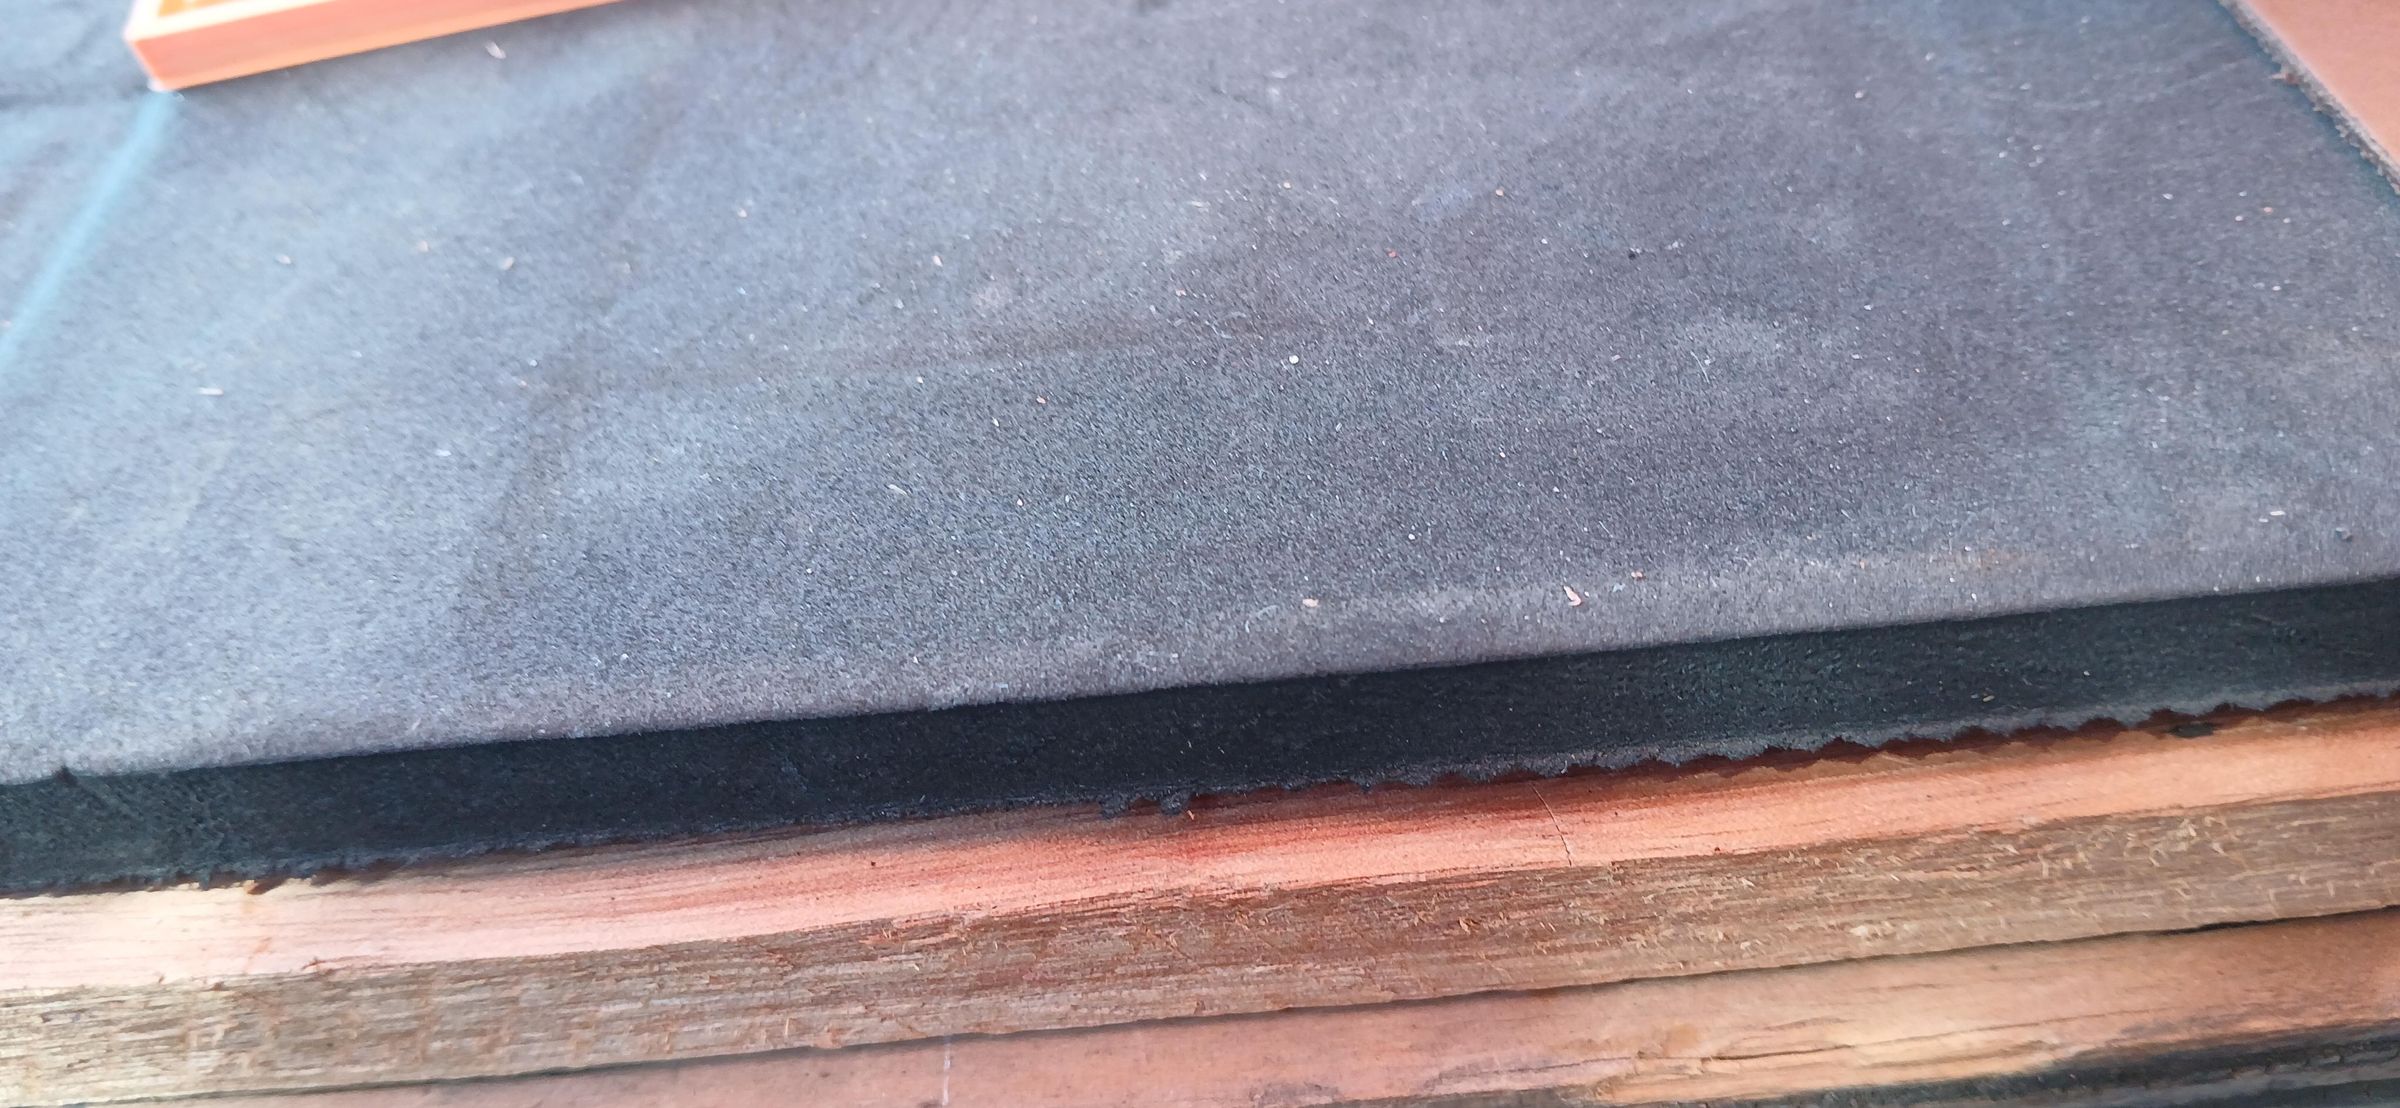
Materials
- Thin leather- It works better with thin leather.
- Water
- 3D-printed leather mould/stamp
- Foam
- Two flat steel plates
Tools
- G-clamp
- 3D printer
- Leather cutting knife or scissors
- Ruler
- Cutting mat
Make the 3d Printed Mould
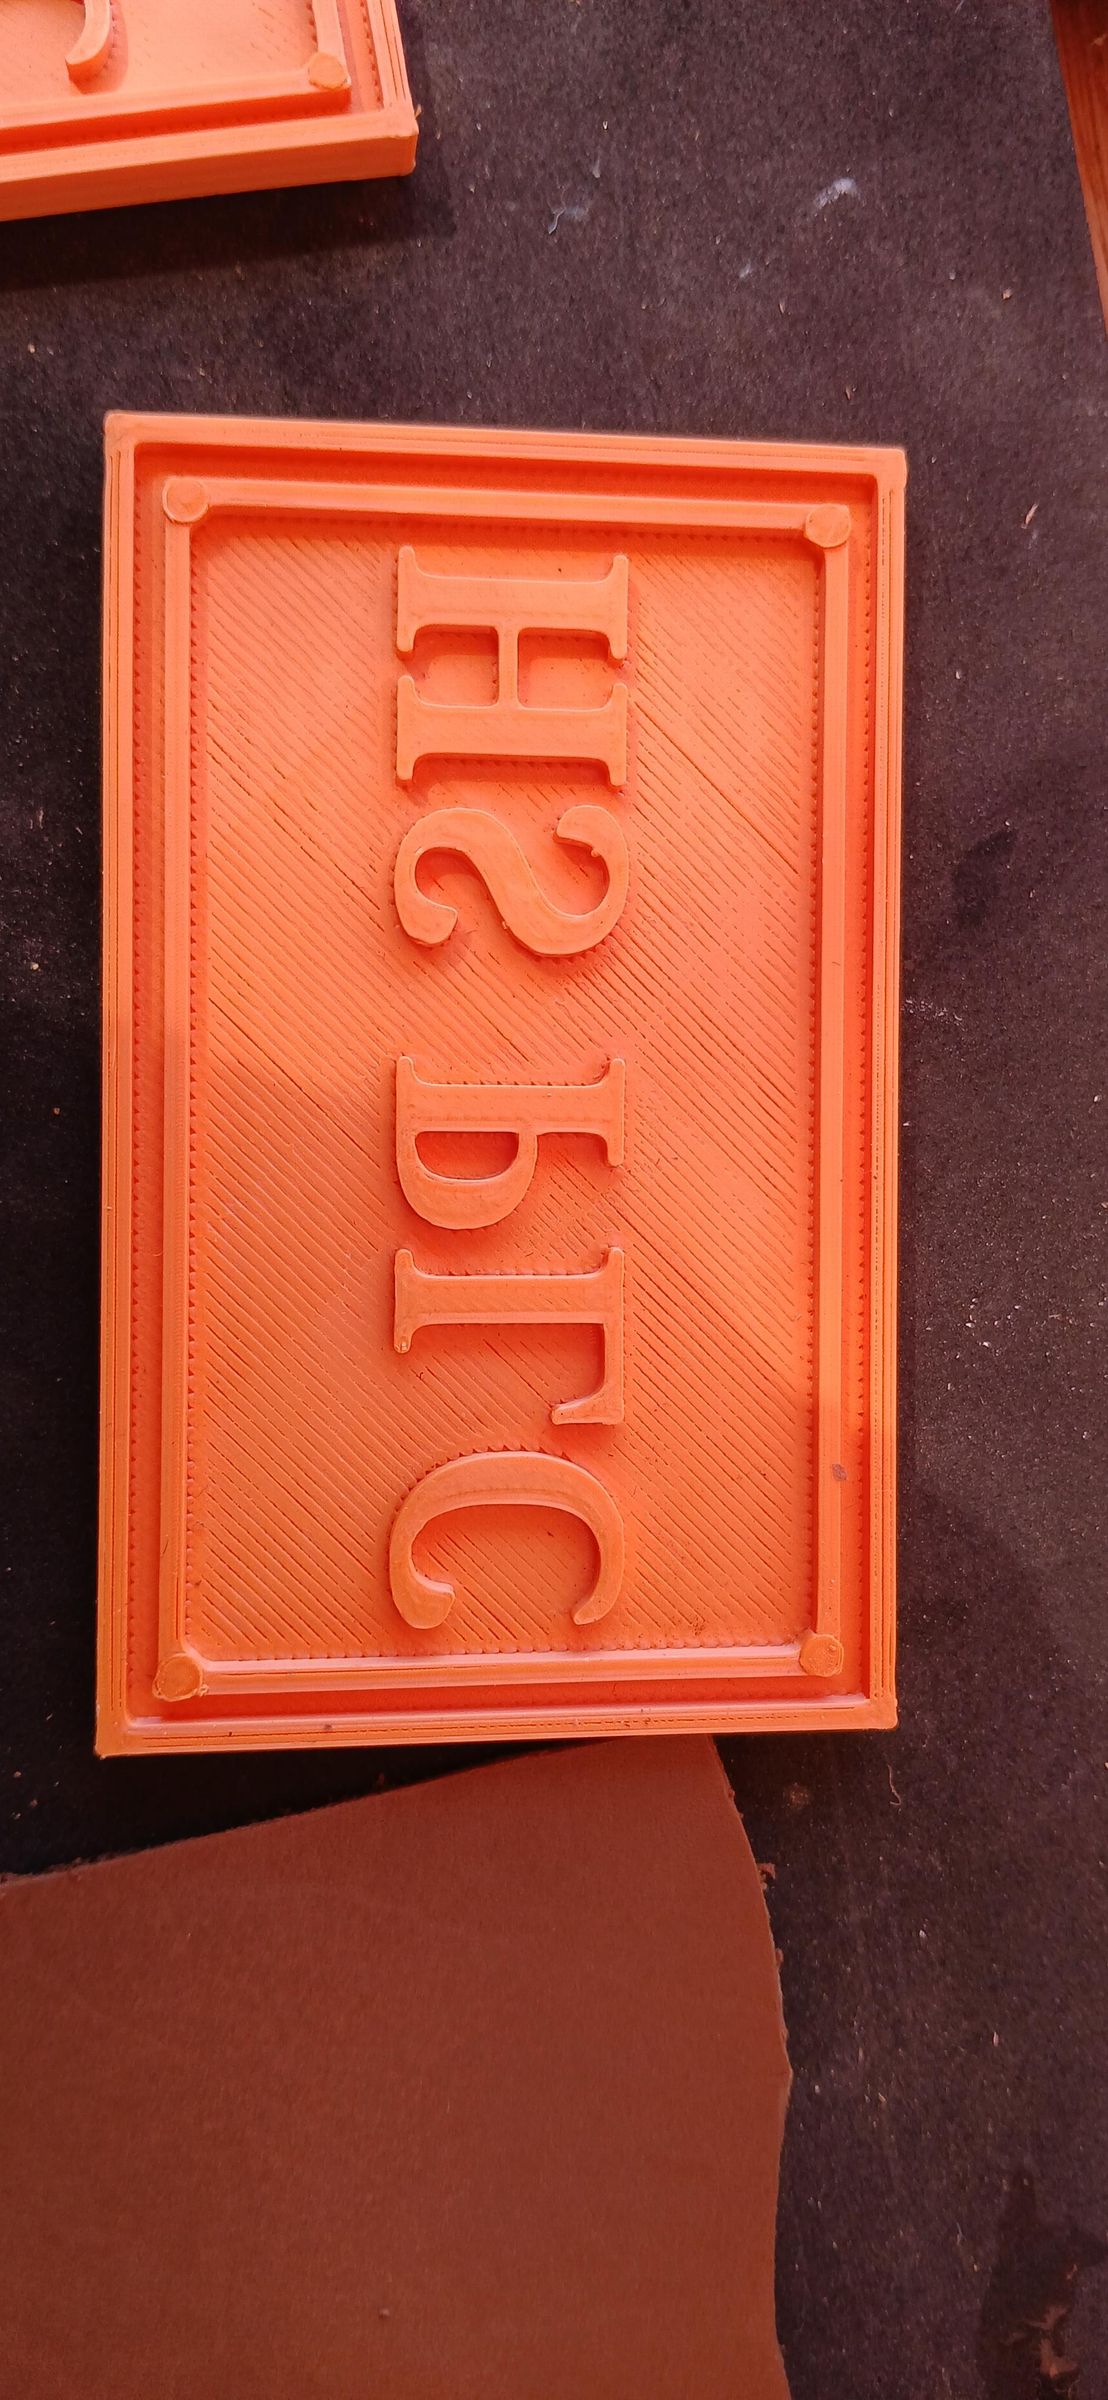
The first step is to create the design you want to stamp into the leather.
You can design your mould using almost any 3D modelling software. Your design could be a:
- Company logo
- Name
- Pattern
- Decorative design
- Shape
- Product branding
For this project, the part of the 3D print that contacts the leather is raised so that it pushes into the leather when pressure is applied.
You can make the infill 100%
Prepare the Leather
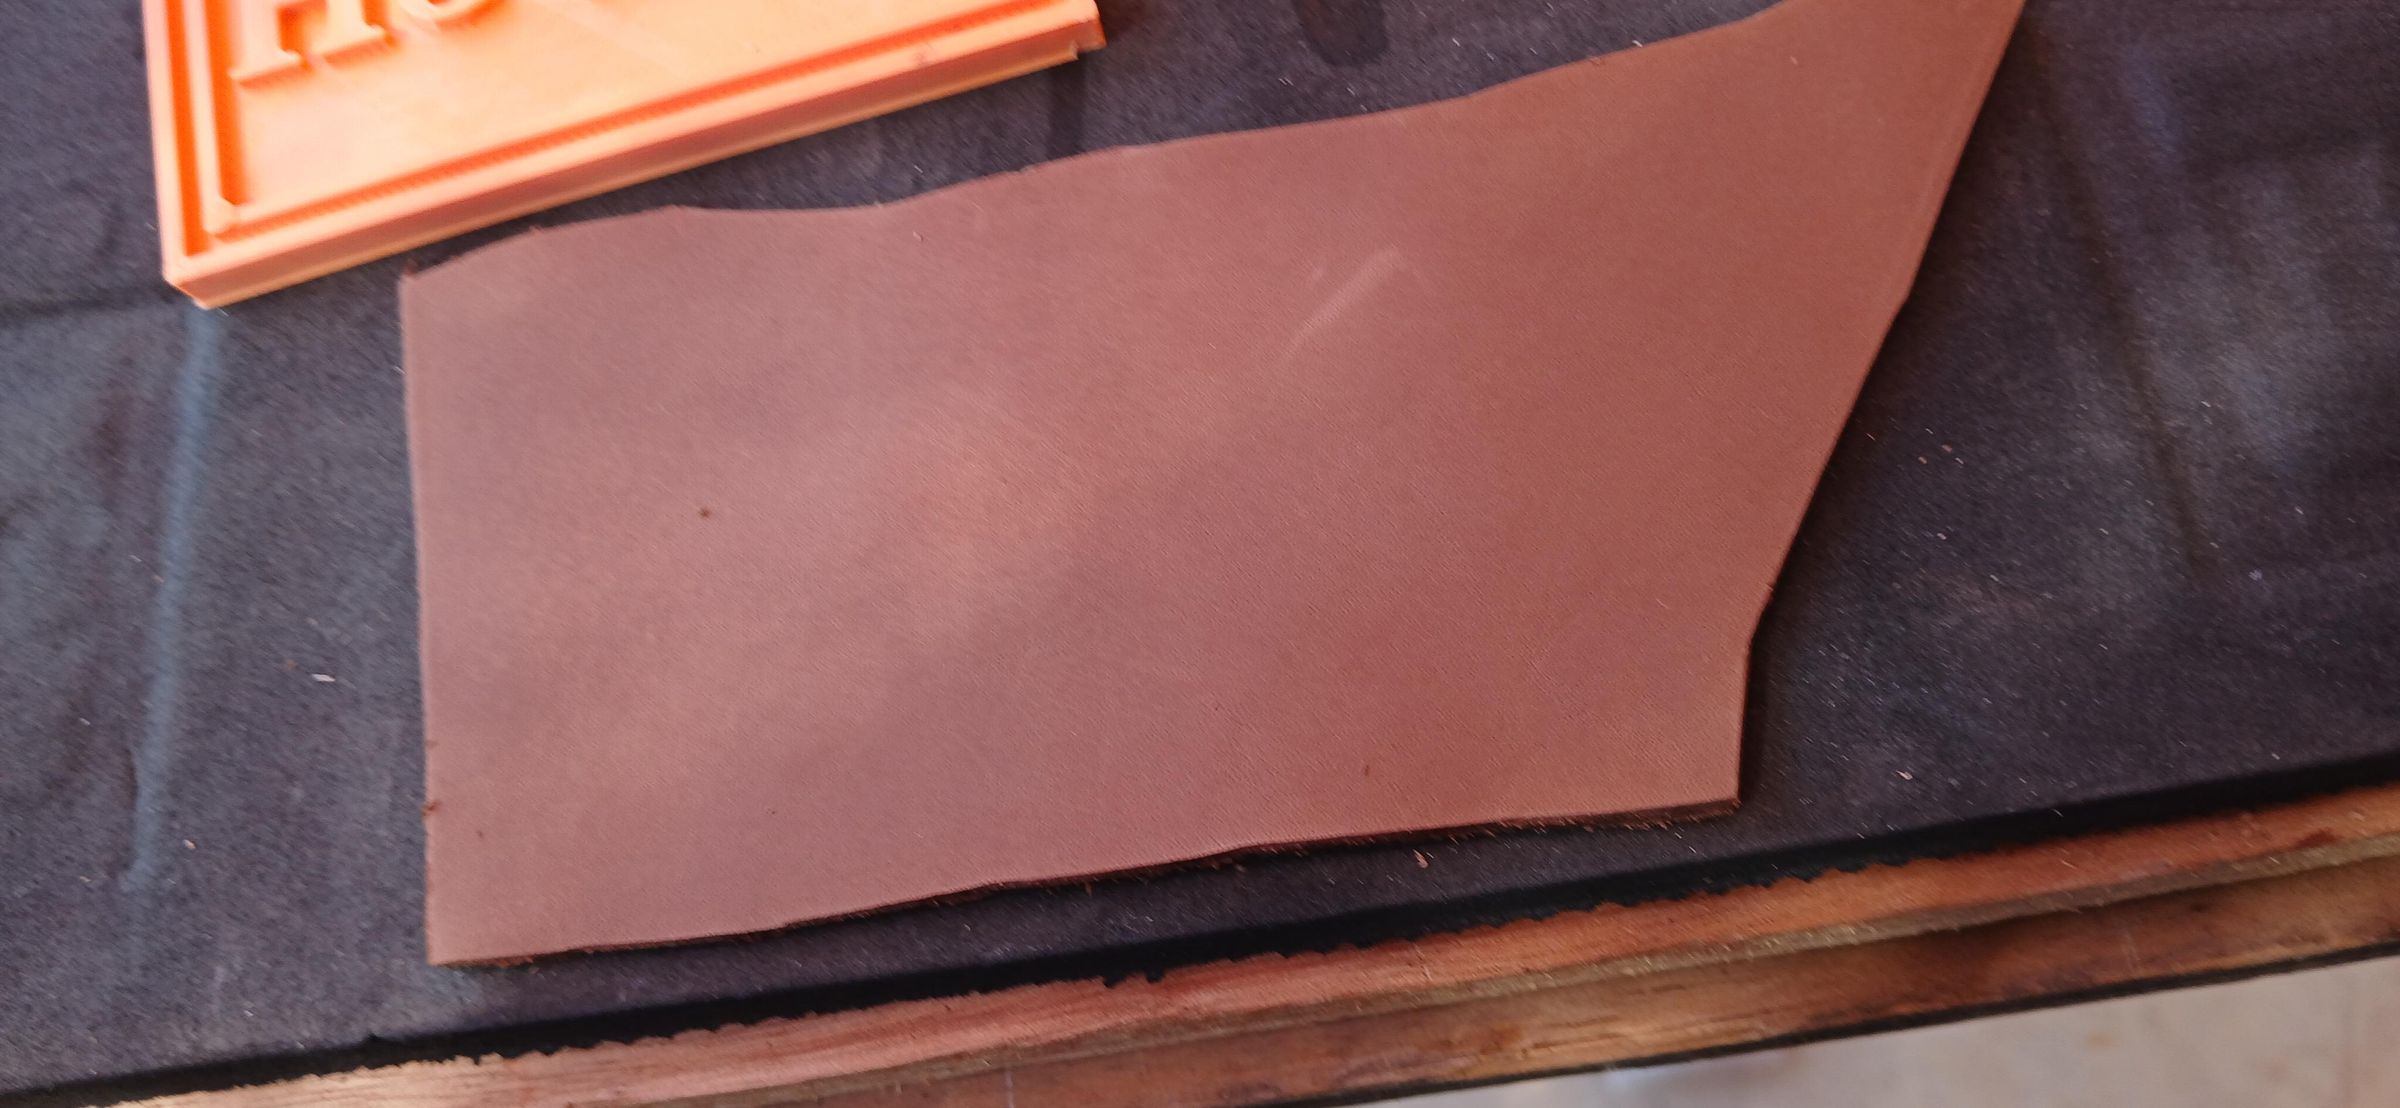
Cut a piece of leather slightly larger than the final size you want.
Wet the leather with clean water.
Allow the water a little time to penetrate the leather before moving on to the next step.
Important: Different types of leather react differently to water. Always test a small scrap of your leather first.
Vegetable-tanned leather is generally very suitable for wet forming and stamping. Some thin chrome-tanned leathers can also work, but the results can vary depending on how the leather was manufactured.
If the leather is very thick the you can stamp it quickly without having to wait for it to dry in the mould. See my other instructable on veg tanned leather
Prepare the Pressing Setup
.jpg)
.jpg)
Now we can assemble using g clamps
The materials are placed in this order:
Steel plate
↓
Foam
↓
Wet leather
↓
3D-printed mould
↓
Steel plate
The foam is important because it allows the pressure to spread over the mould and follow its shape.
Make sure the leather and mould are positioned correctly before applying pressure.
Clamp Everything Together
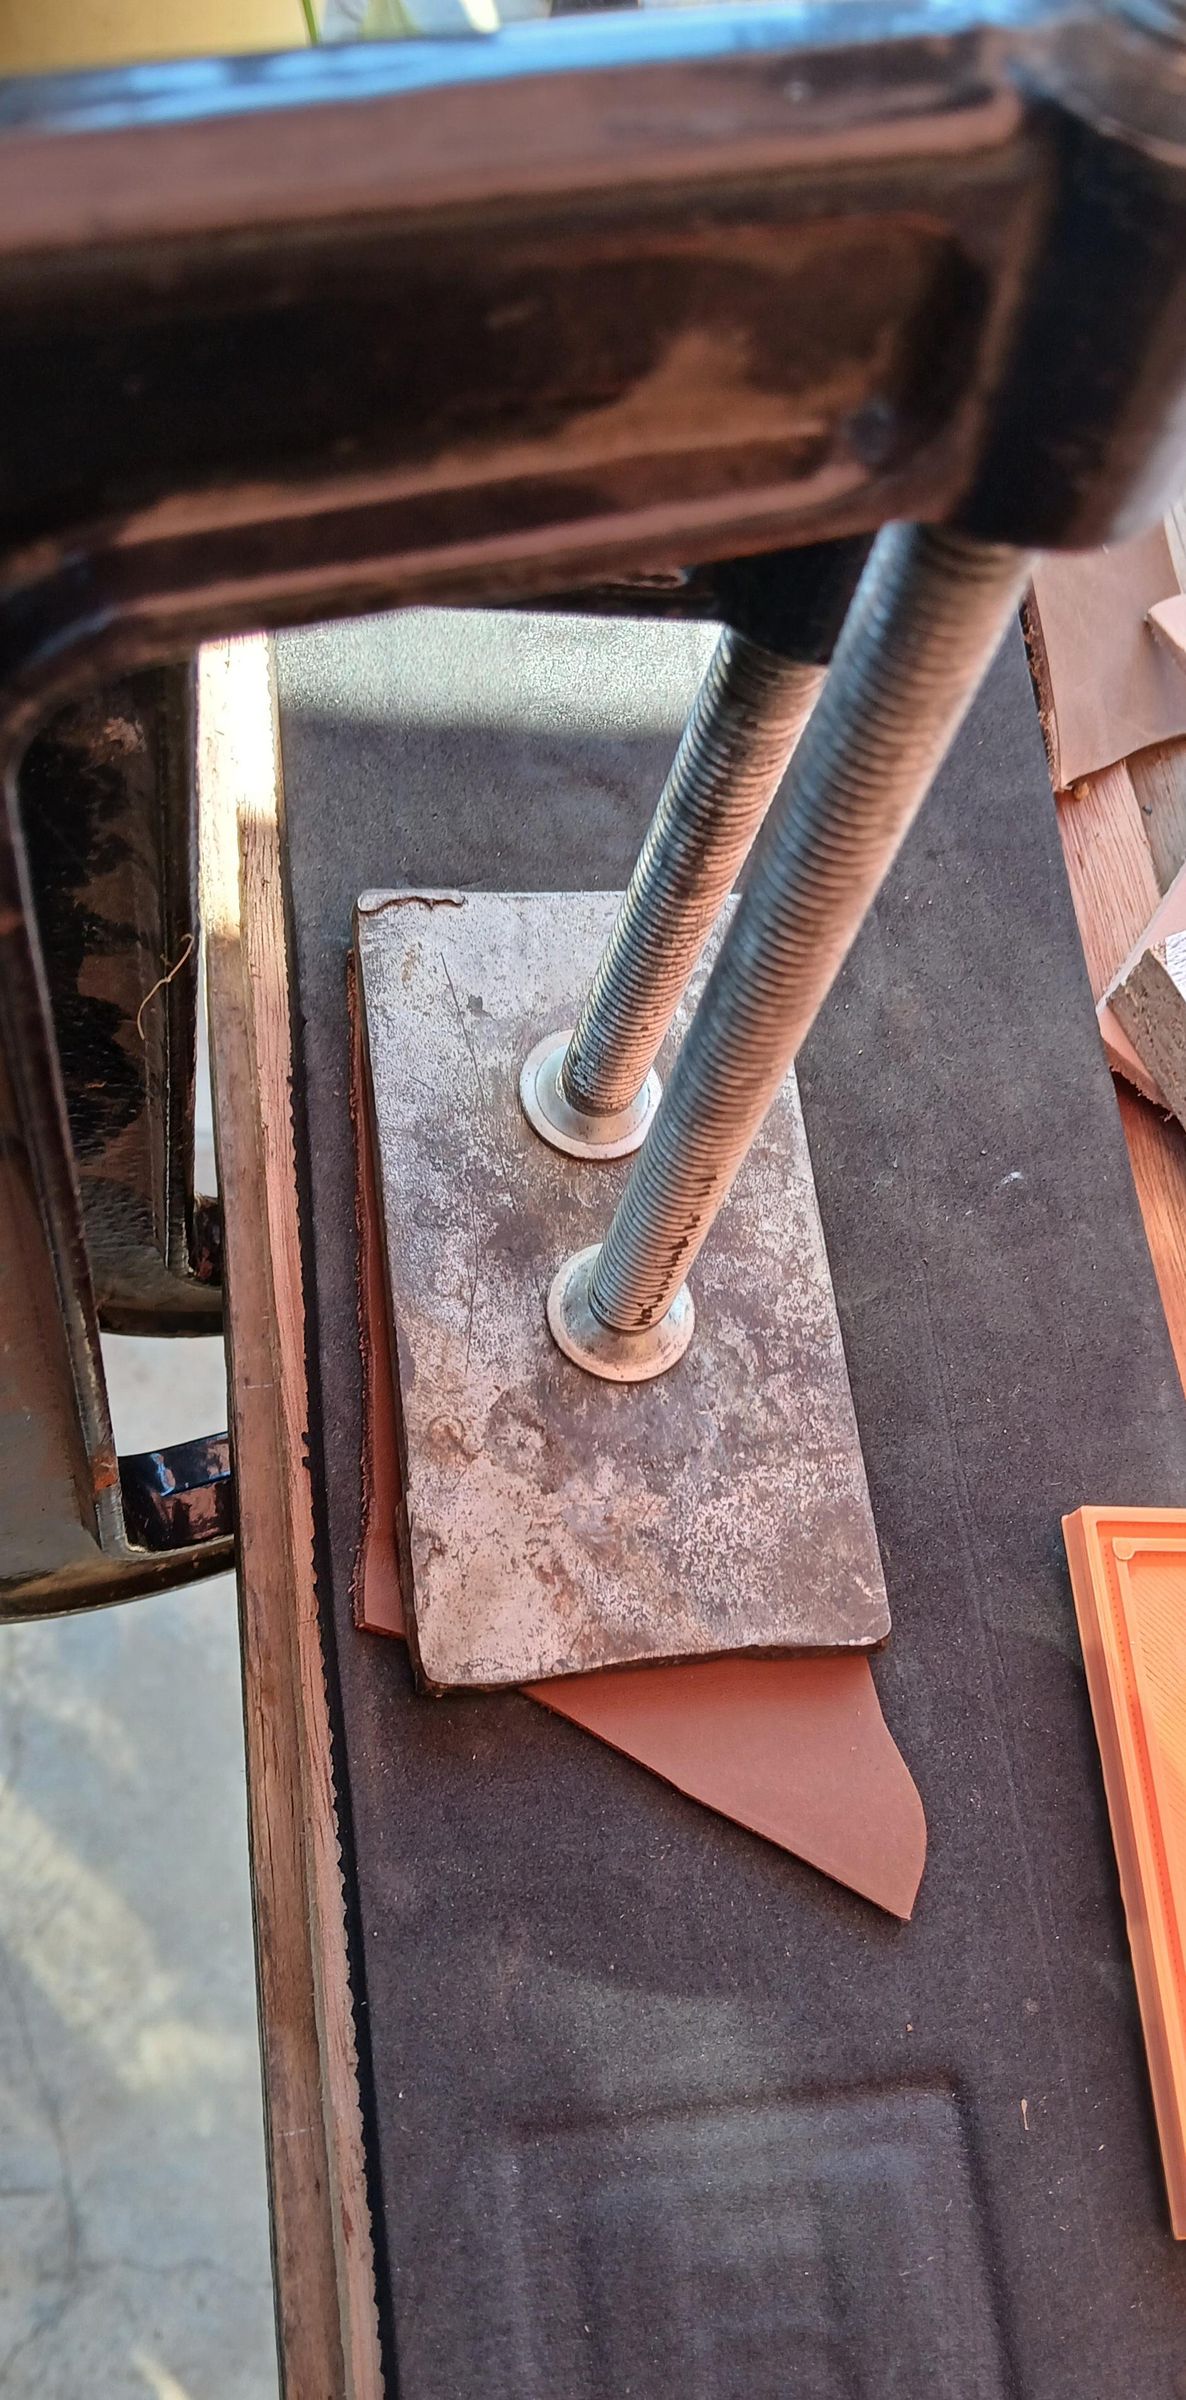
Place the second steel plate on top of the mould.
Position the G-clamp so that it applies pressure to the entire assembly.
Slowly tighten the clamp.
As the pressure increases, the mould will begin pressing into the damp leather.
You don't necessarily need to use extreme pressure. The goal is to apply firm, even pressure and hold the mould tightly against the leather.
For larger designs, you may need multiple clamps or a larger press to achieve more even pressure.
Leave the Leather Under Pressure
.jpg)
Once everything is firmly clamped together, leave it undisturbed.
For my process, I leave the leather under pressure for approximately 24 hours.
During this time, the leather gradually dries while being held against the 3D-printed mould.
This allows the leather to take on the shape of the design.
The exact drying time can vary depending on:
- Leather thickness
- Type of leather
- Amount of water used
- Temperature
- Humidity
- Depth of the design
You can experiment with different drying times to find what works best for your particular leather.
Cut and Finish the Leather
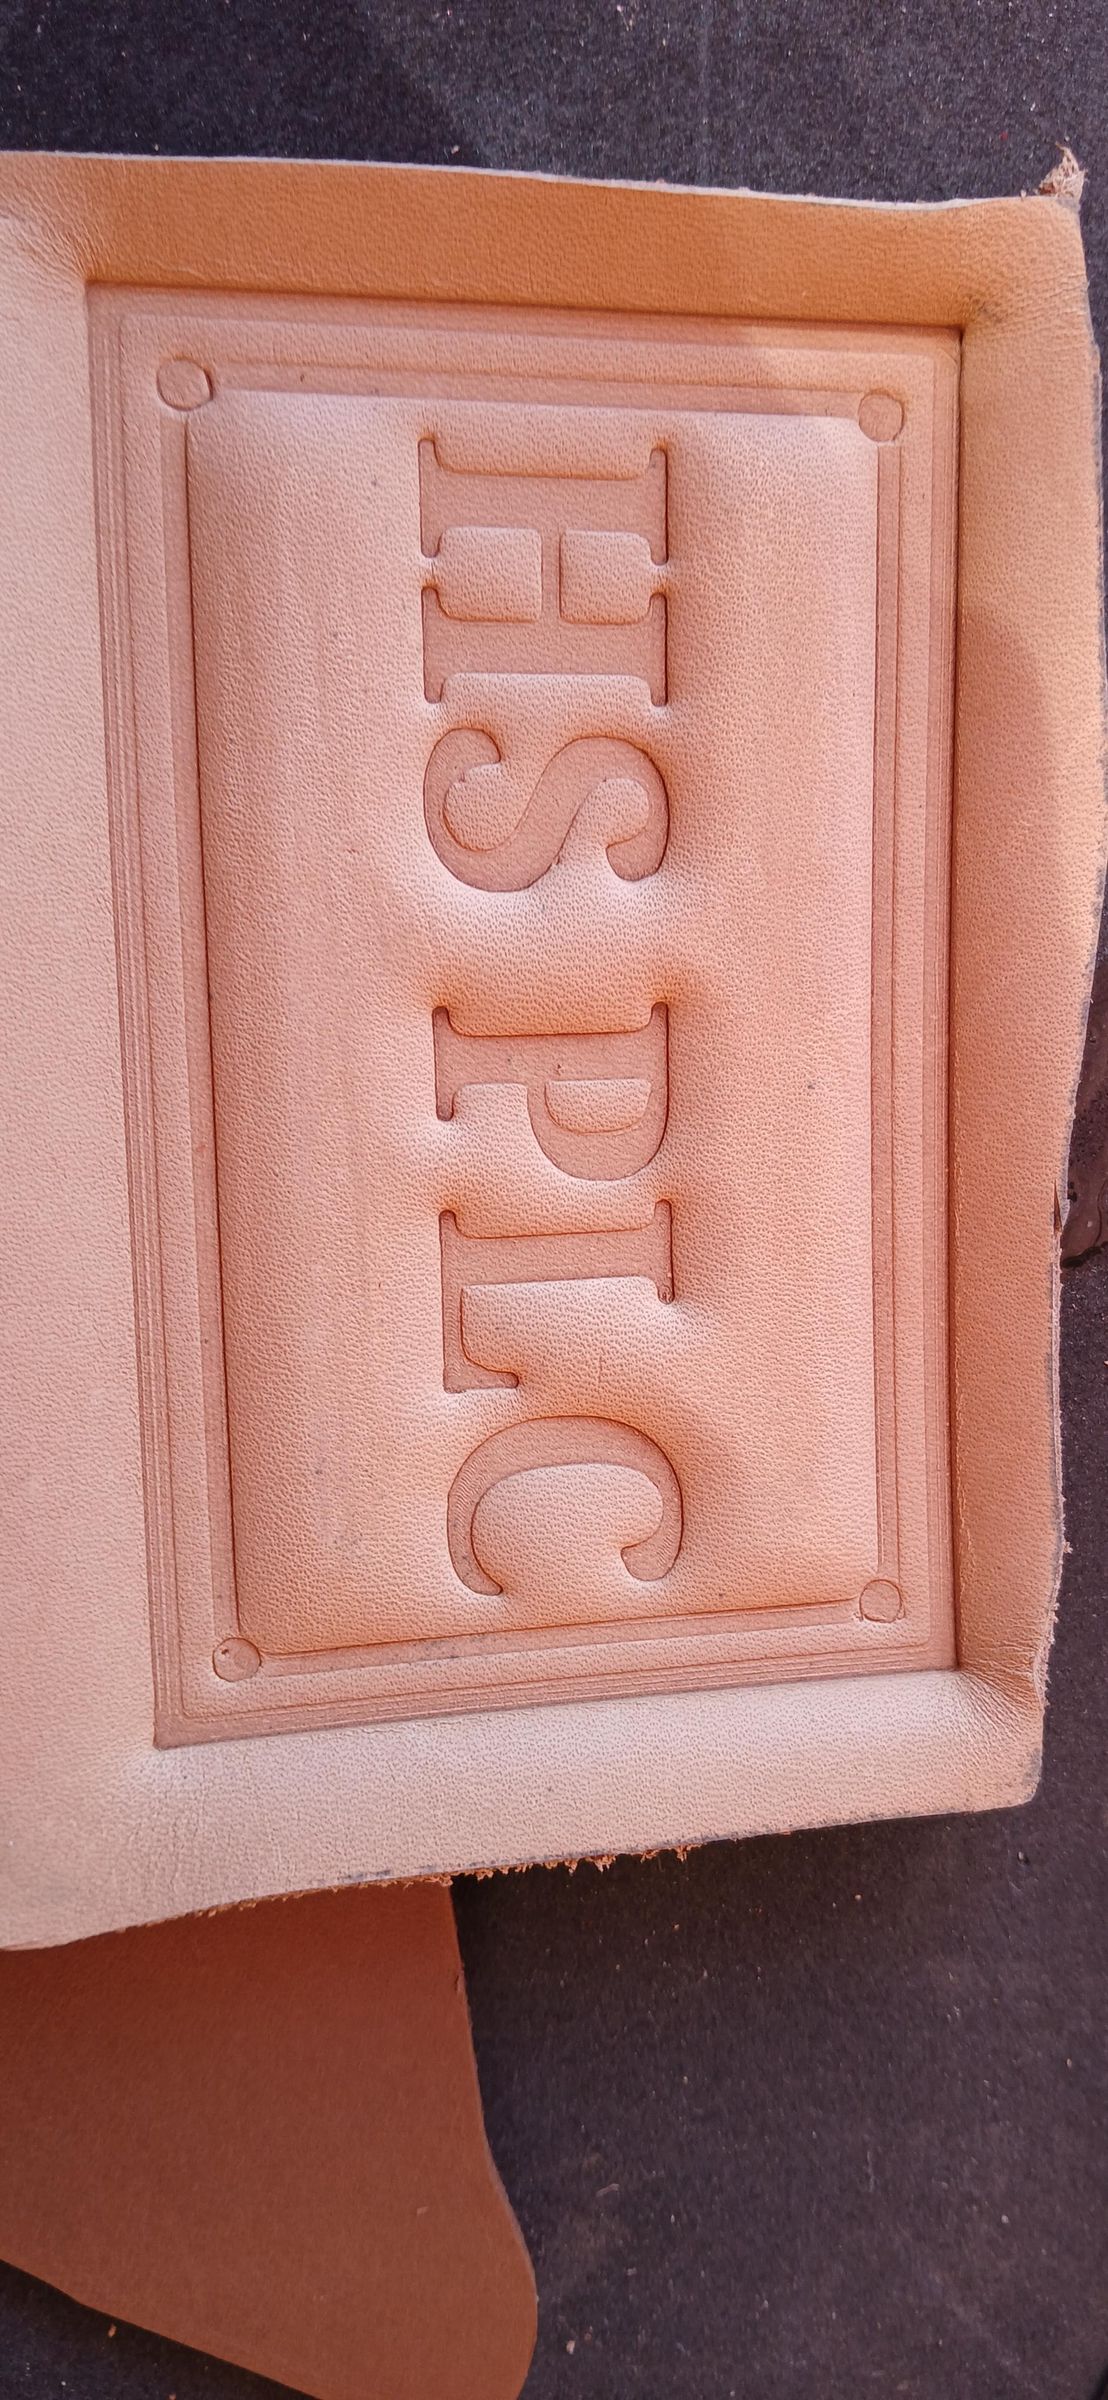
After approximately 24 hours, loosen the G-clamp.
Once the stamping is complete, mark the final dimensions of your leather piece.
Use a sharp leather knife or scissors to cut it to size.
You can now add whatever finishing or additional work your project requires.
For example:
- Punch holes
- Add stitching
- Install rivets
- Add buckles or hardware
- Dye the leather
- Finish the edges
- Apply leather conditioner
- Add a protective finish
The embossed design can be left natural or finished to make it stand out more.
Enjoy Your Custom Leather Design!
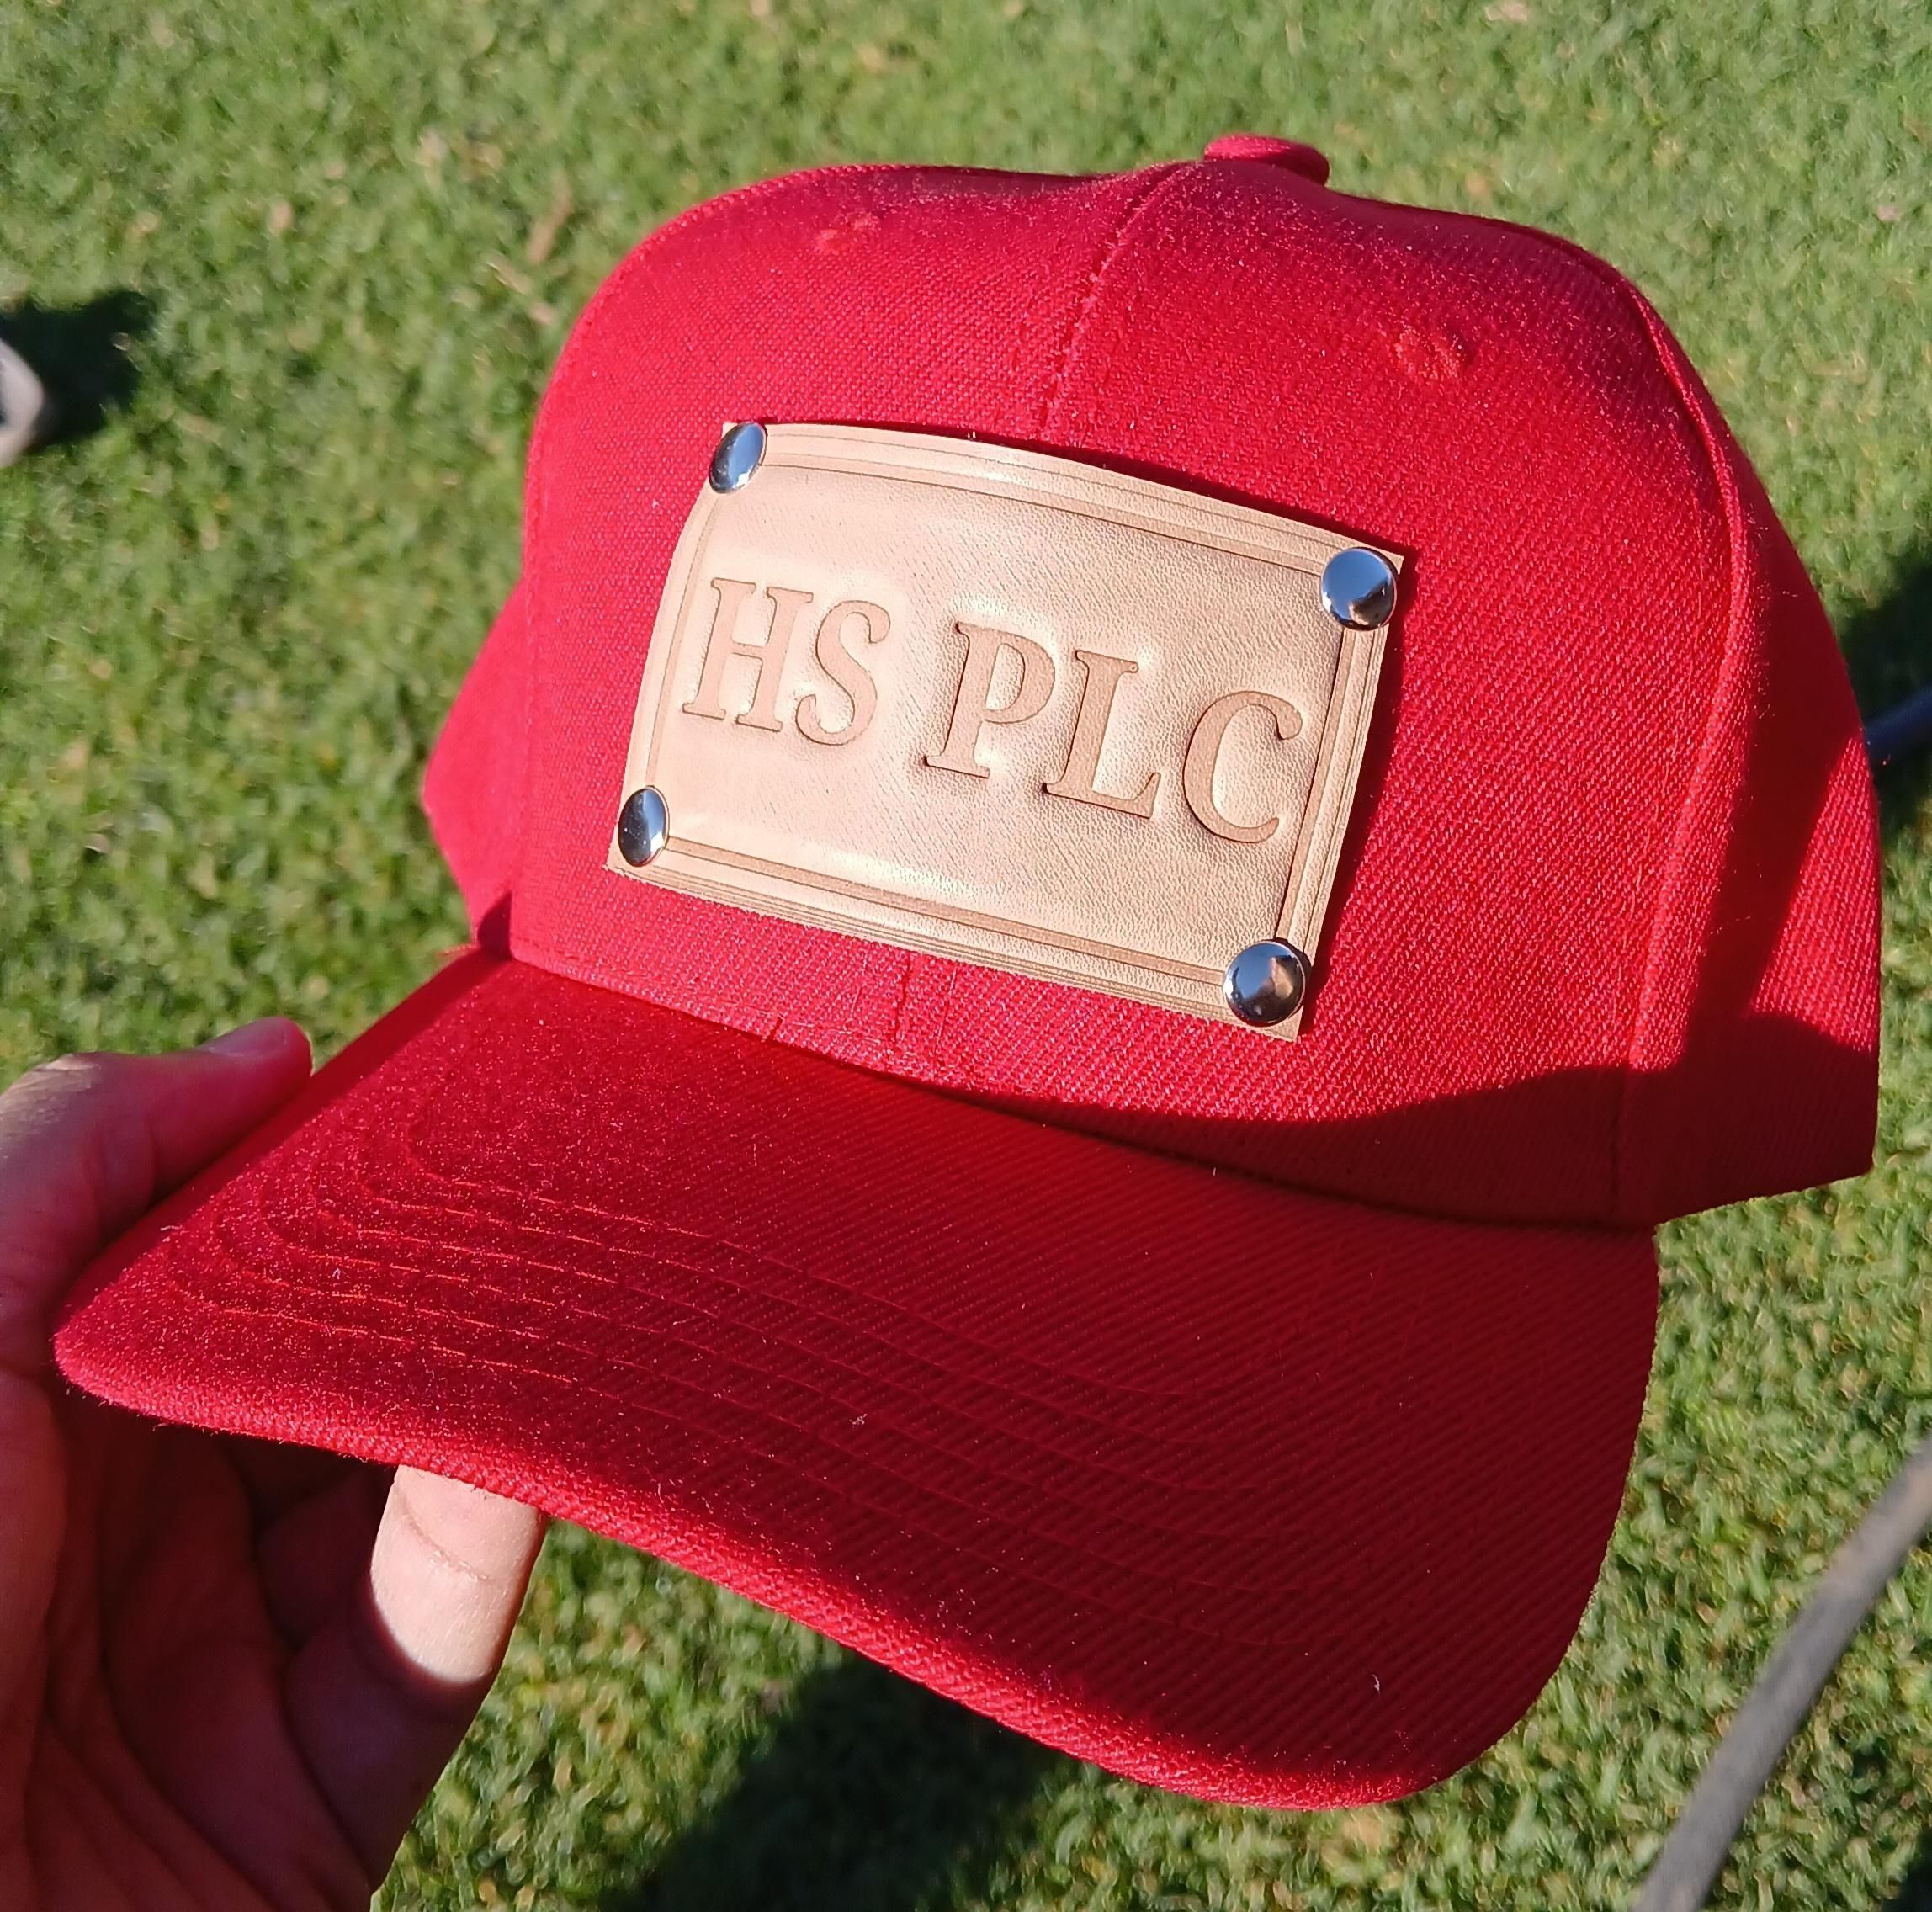
And that's it!
You have now created a custom embossed leather piece using a 3D-printed mould and a simple homemade pressing system.
The process is inexpensive and highly customizable.
Instead of buying an expensive metal stamping die for every design, you can simply create a new design on your computer and print another mould.
This makes the technique particularly useful for small businesses and leatherworkers who want to produce:
- Custom logos
- Branded leather products
- Leather keyrings
- Wallets
- Belts
- Labels
- Bag tags
- Decorative panels
- Personalized gifts
The possibilities are almost endless.