3D Printed Milestone Blocks
by Penolopy Bulnick in Workshop > 3D Printing
276 Views, 1 Favorites, 0 Comments
3D Printed Milestone Blocks
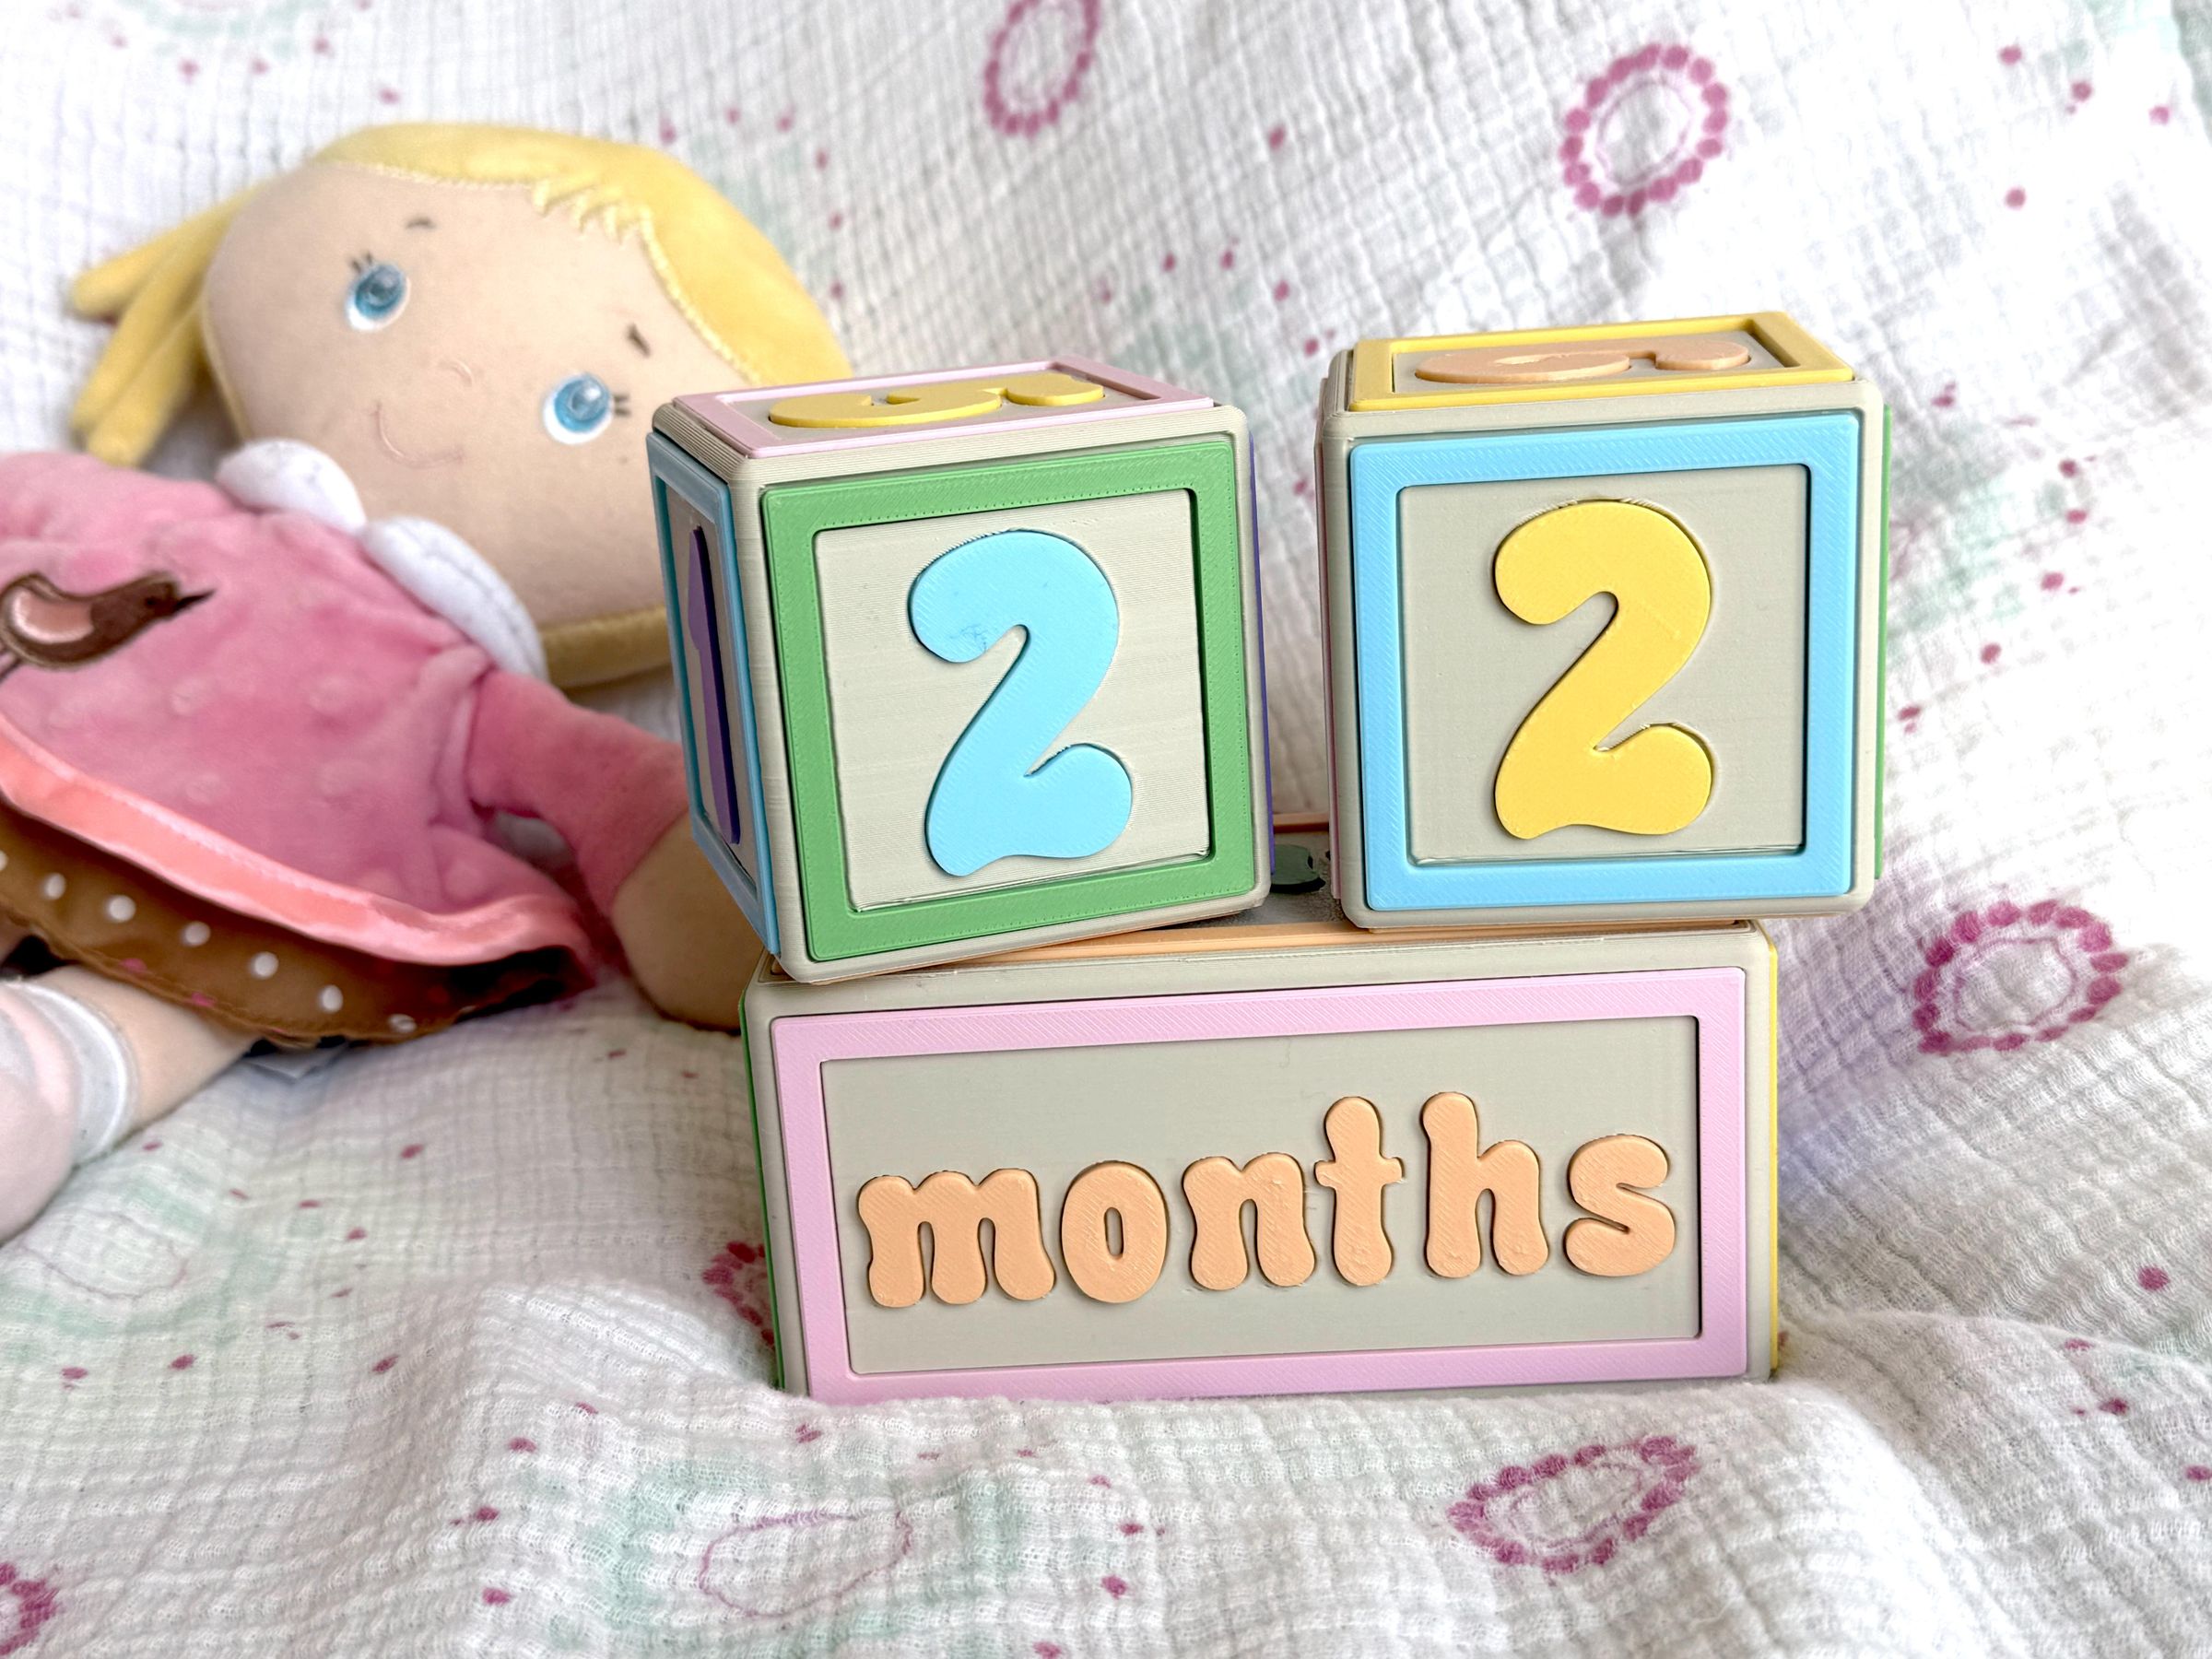
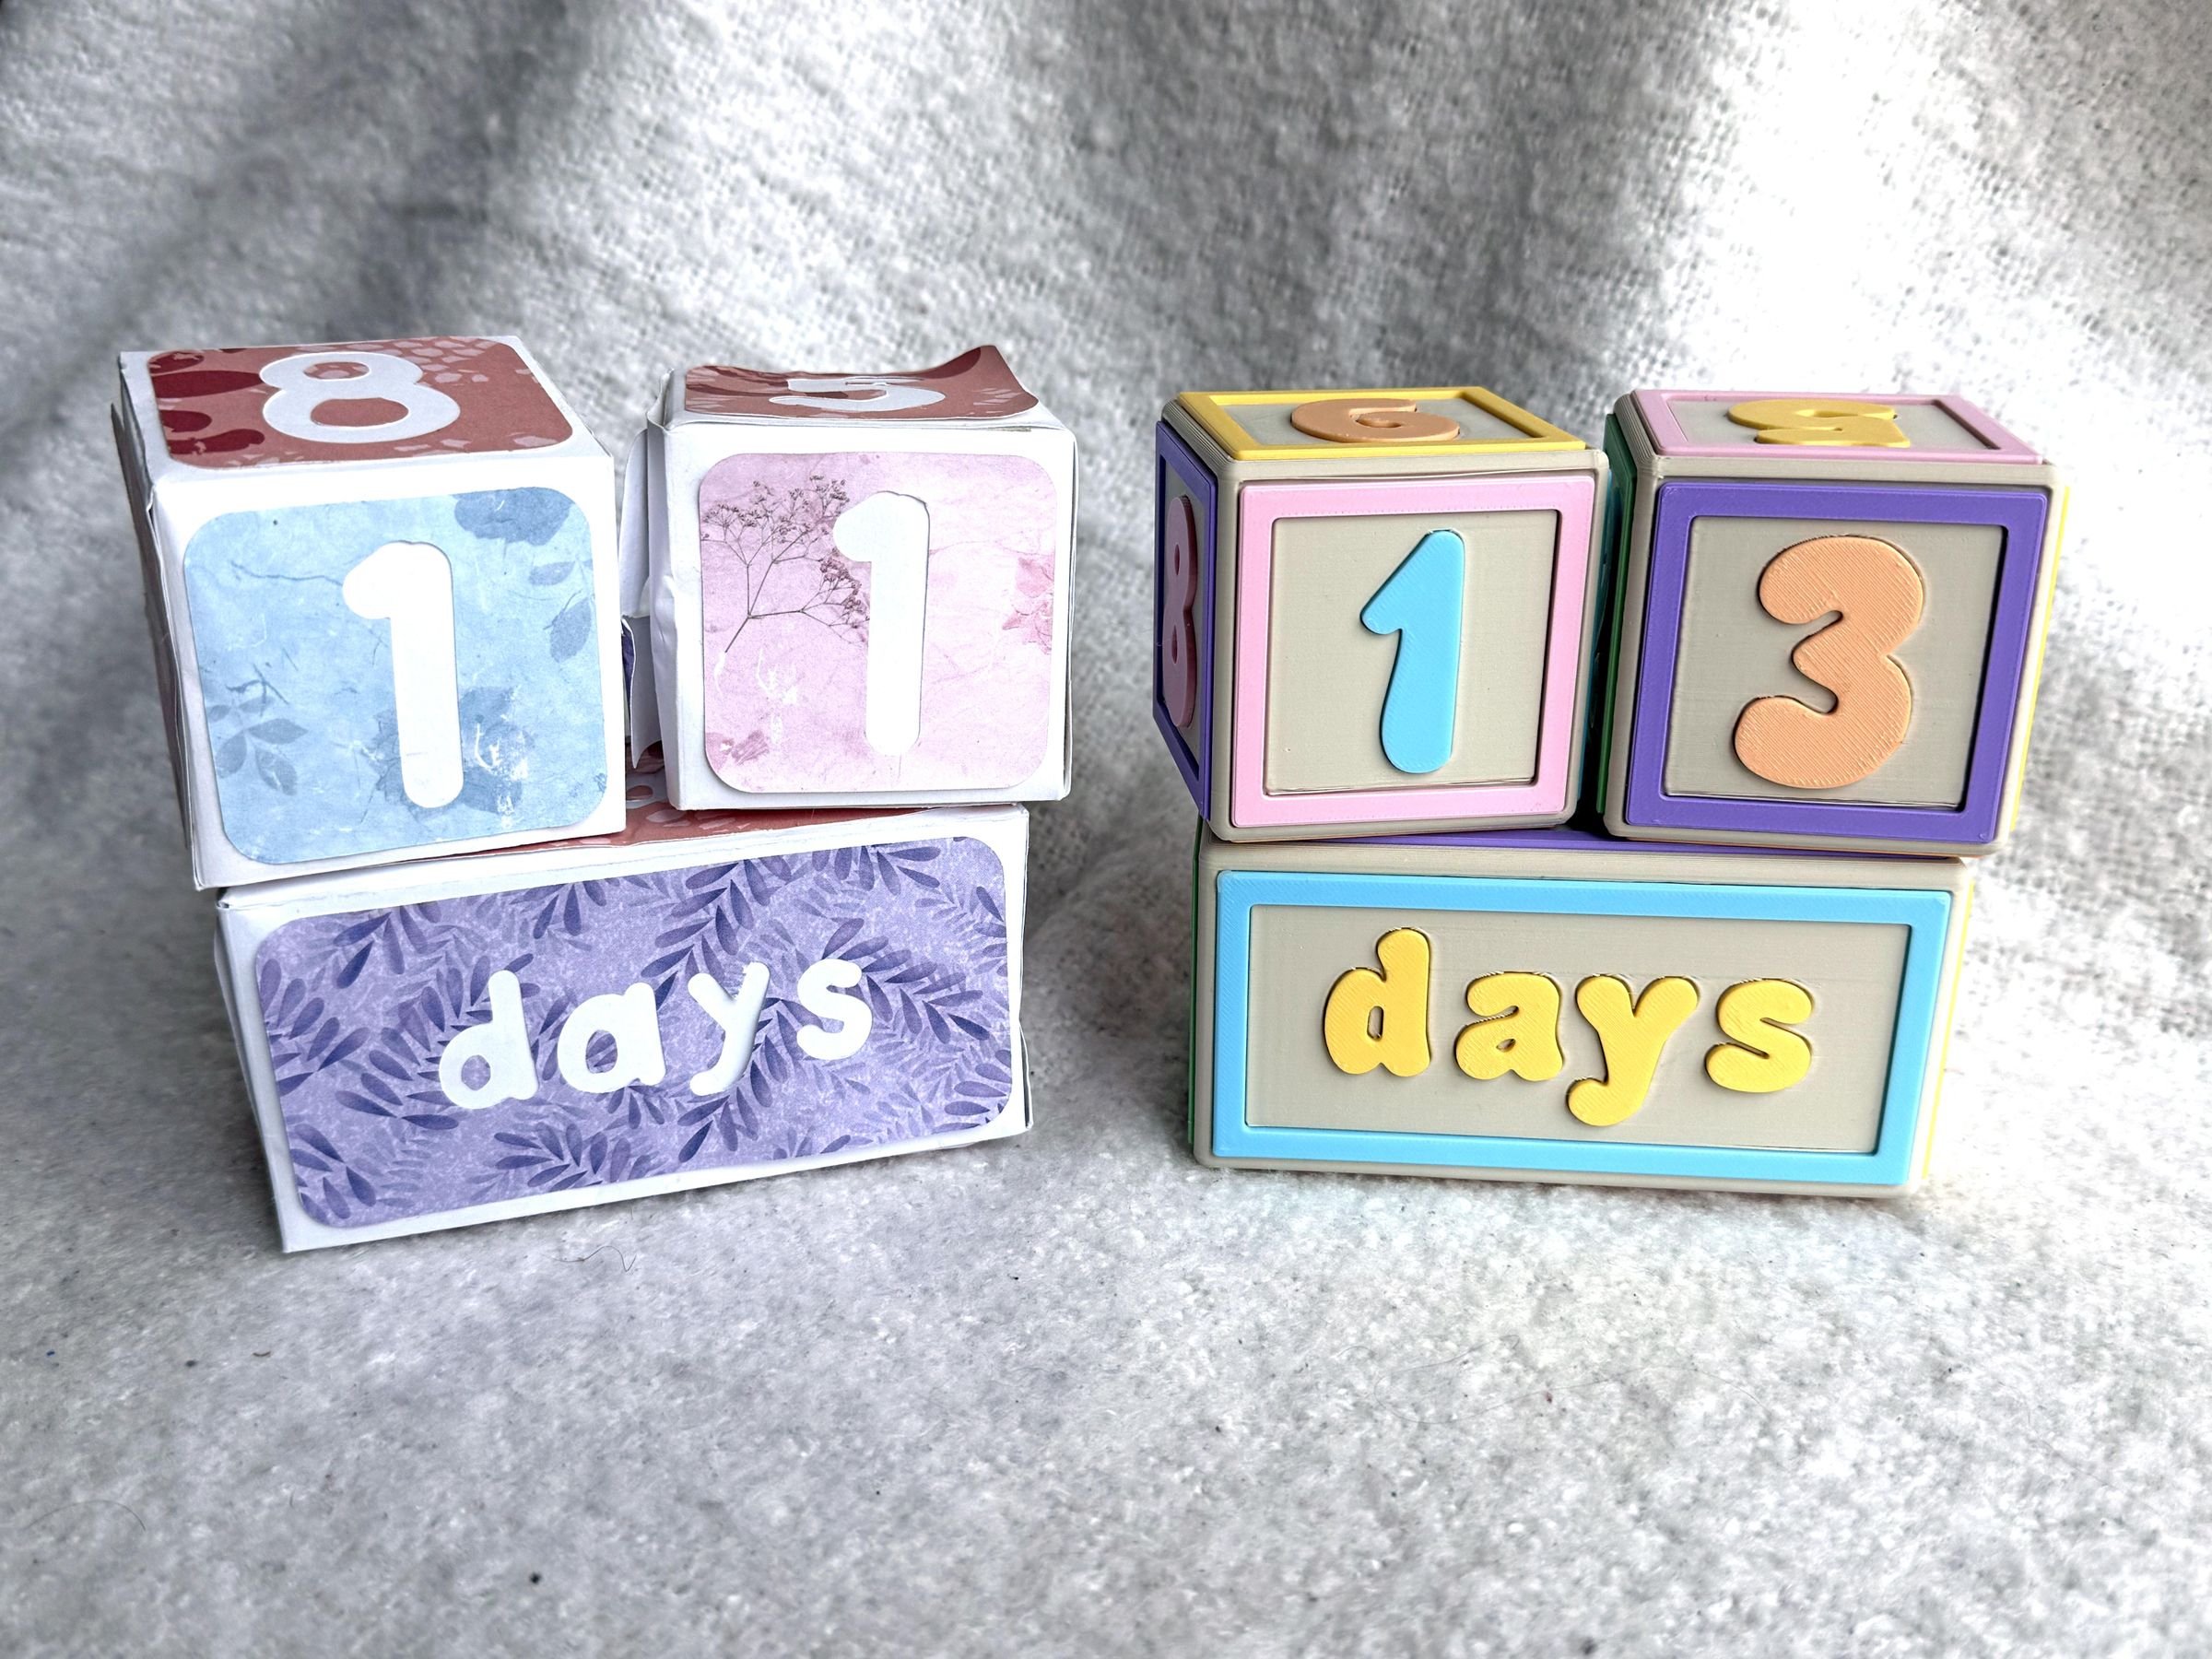
With the birth of a new baby coming, I wanted to create some new milestone age blocks. For my first child, I made milestone blocks using just paper and I do actually still have them, but near the end of using them, my daughter started grabbing them so they were a little busted. Since I'm really into 3D design and 3D printing now, I thought that would be a fun direction to go with these. I used my previous research for those to decide on size, design, and layout for these.
I love colorful projects, so I, of course, use a rainbow of colors! I decided to stick with pastels since those are associated with babies more and will look nicer in pictures.
Instructable 408
Supplies
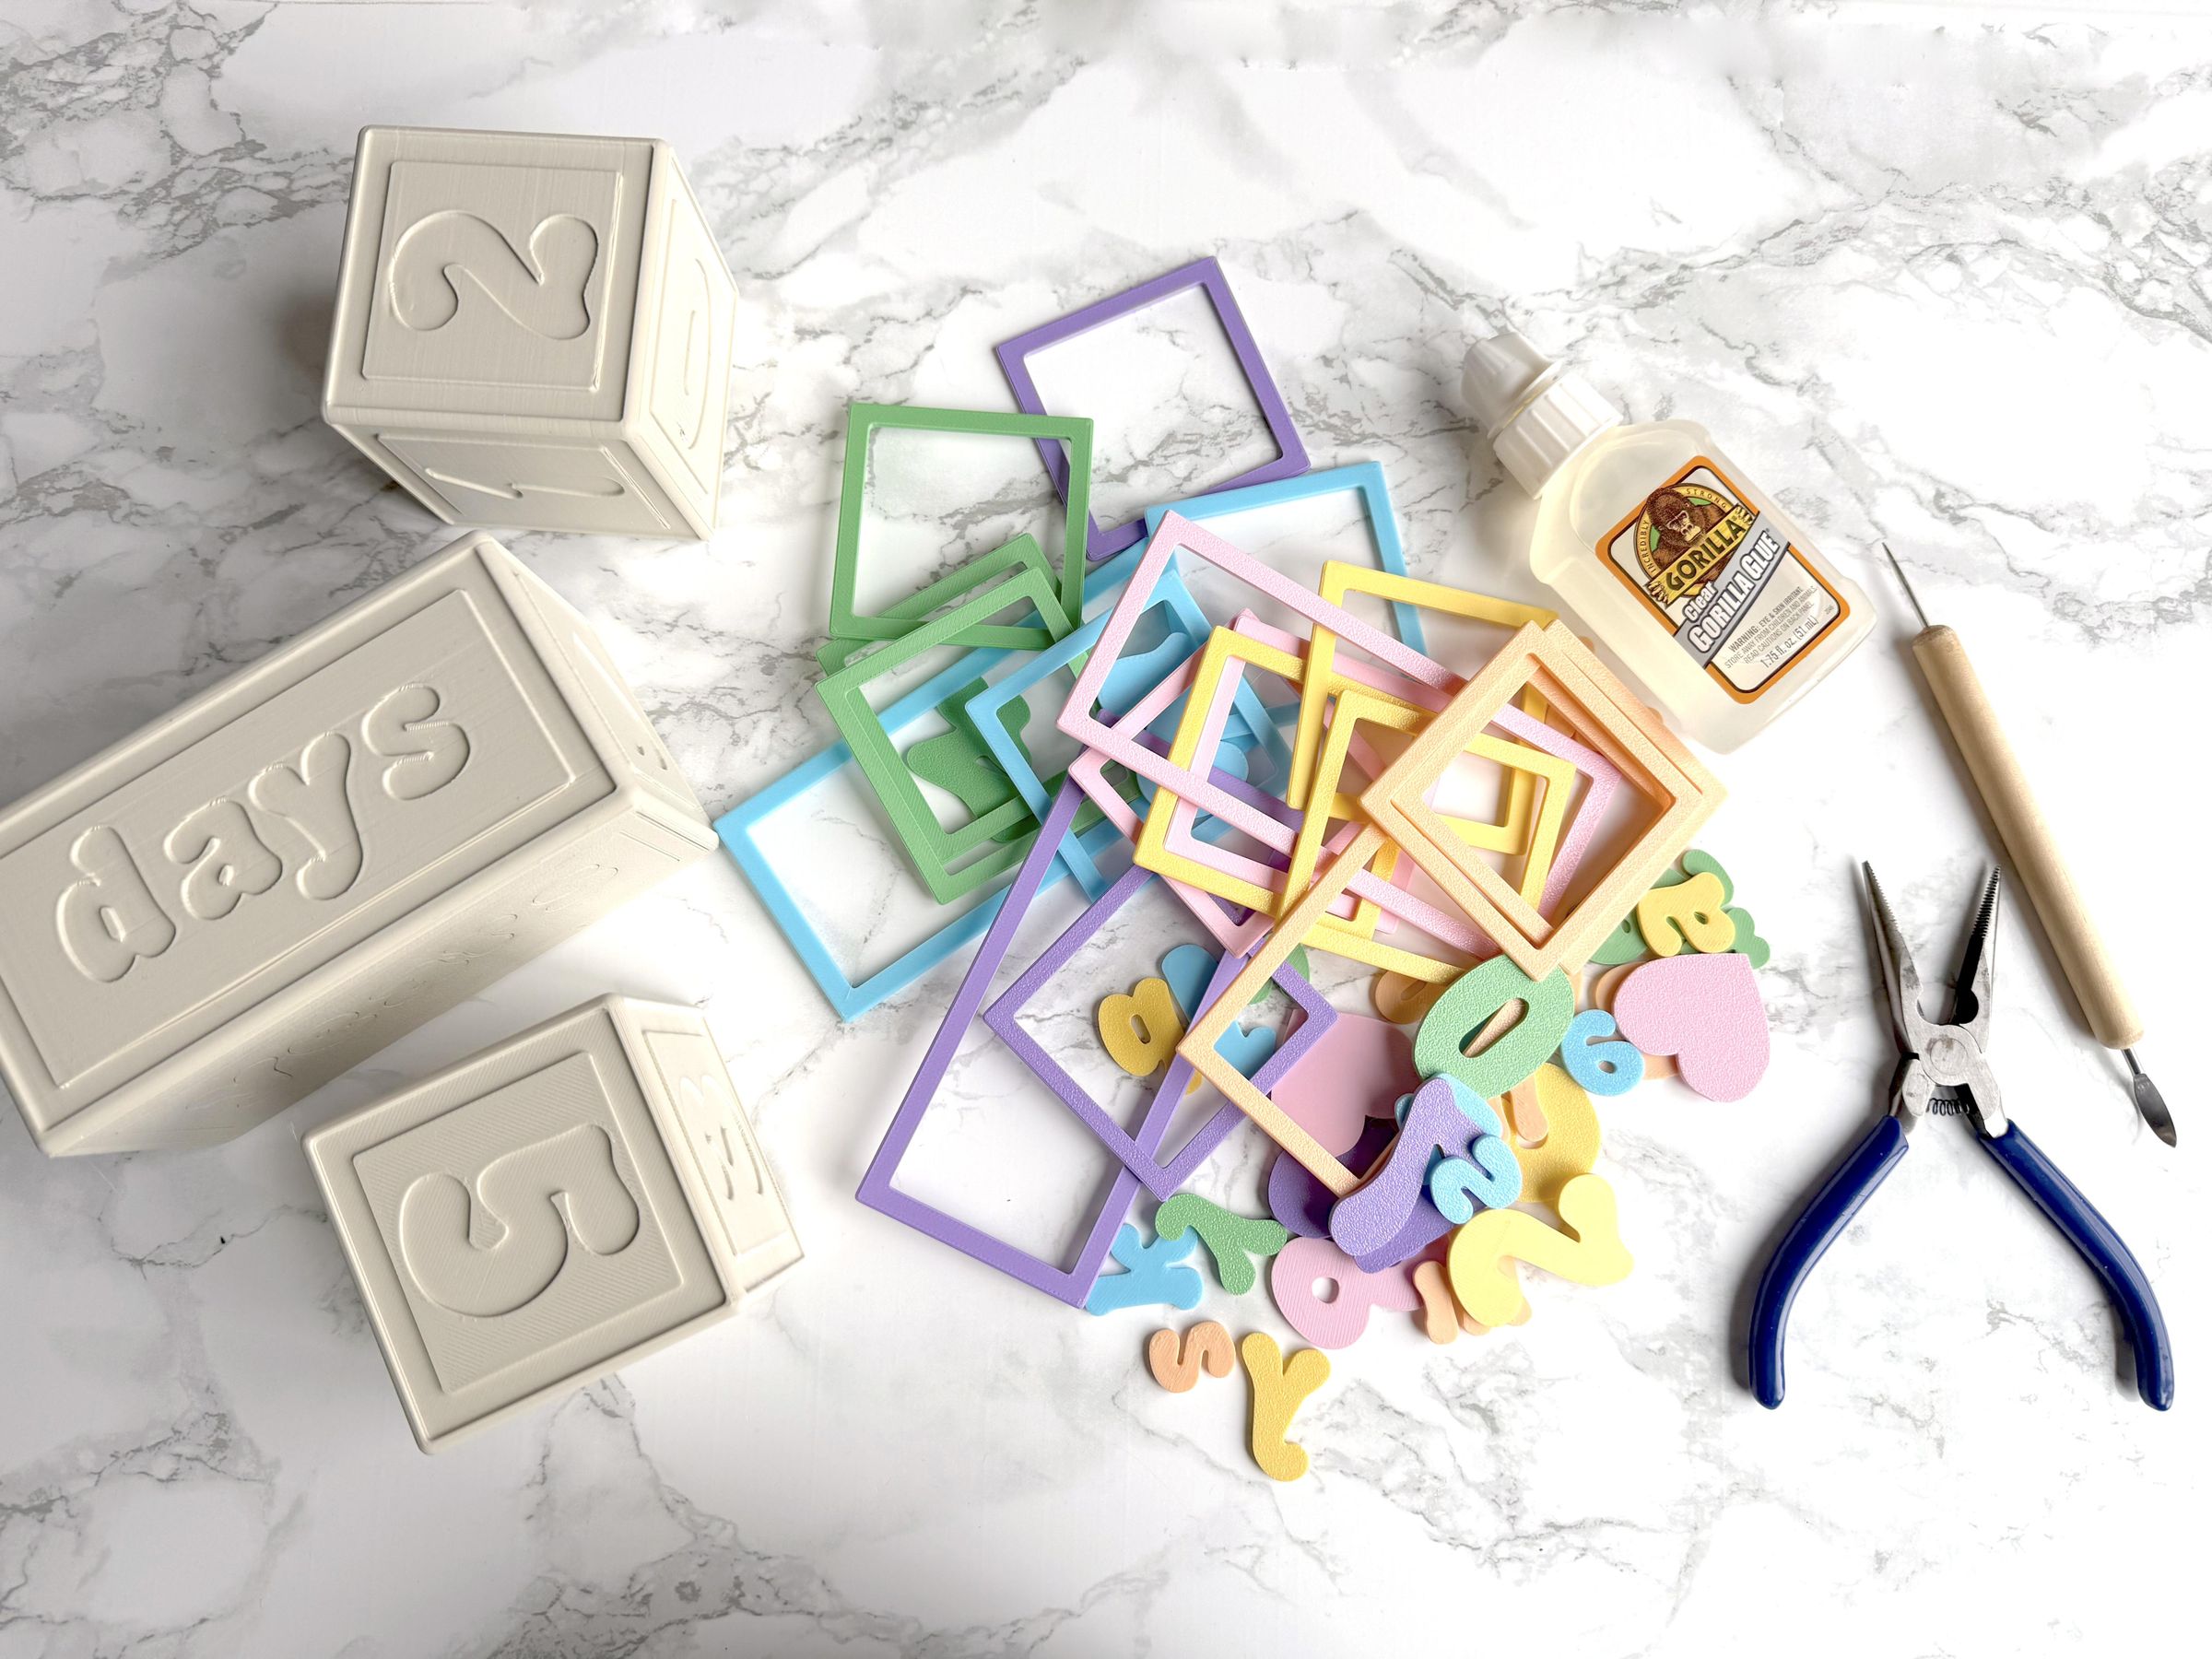
- 3D Printer
- Files FREE on Makerworld
- Filament - I use a variety of pastel colors, if you want to know any specifics, let me know
- Pliers and Flush Cutters are helpful for cleaning off support material
- Glue - I like Gorilla Clear Glue
- Blue painters tape is nice for holding the pieces down while the glue dries if yours isn't fast drying.
*Any links for Amazon are part of the Amazon Associates program.
Planning the blocks:
As I mentioned in the intro, since i've made these blocks before, I didn't really need to do much for planning, just designing. Here is the breakdown of the blocks.
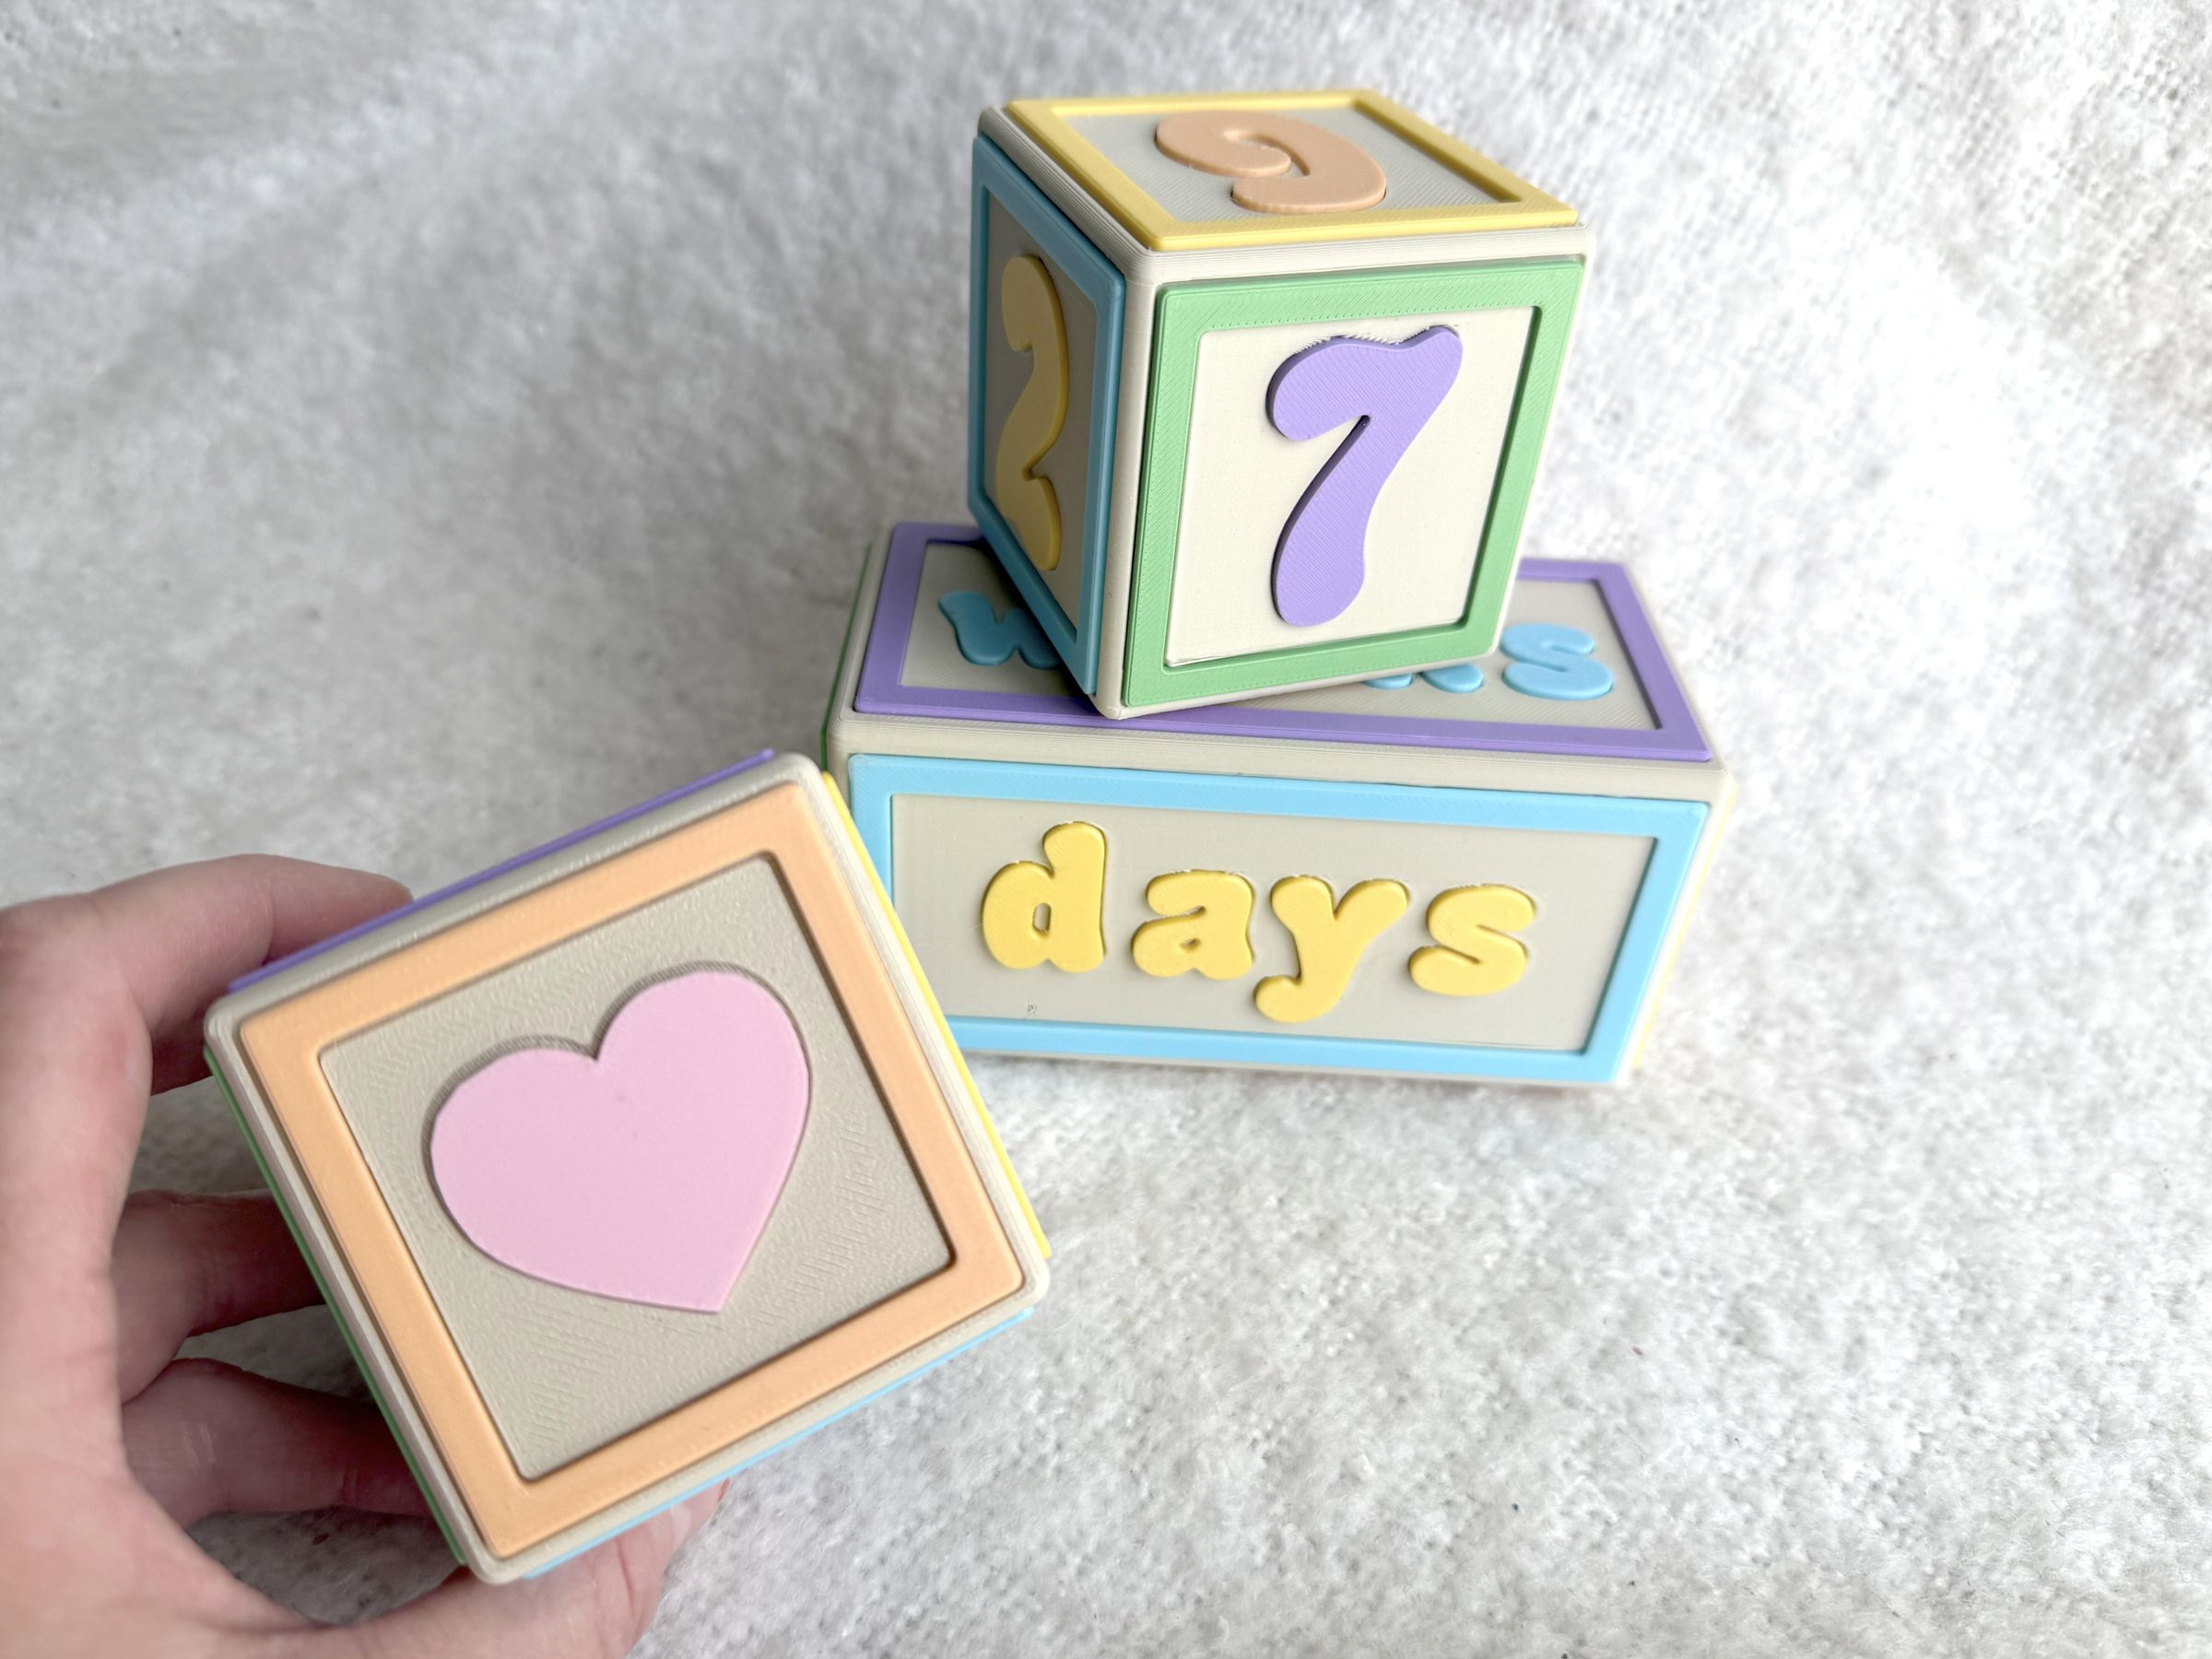
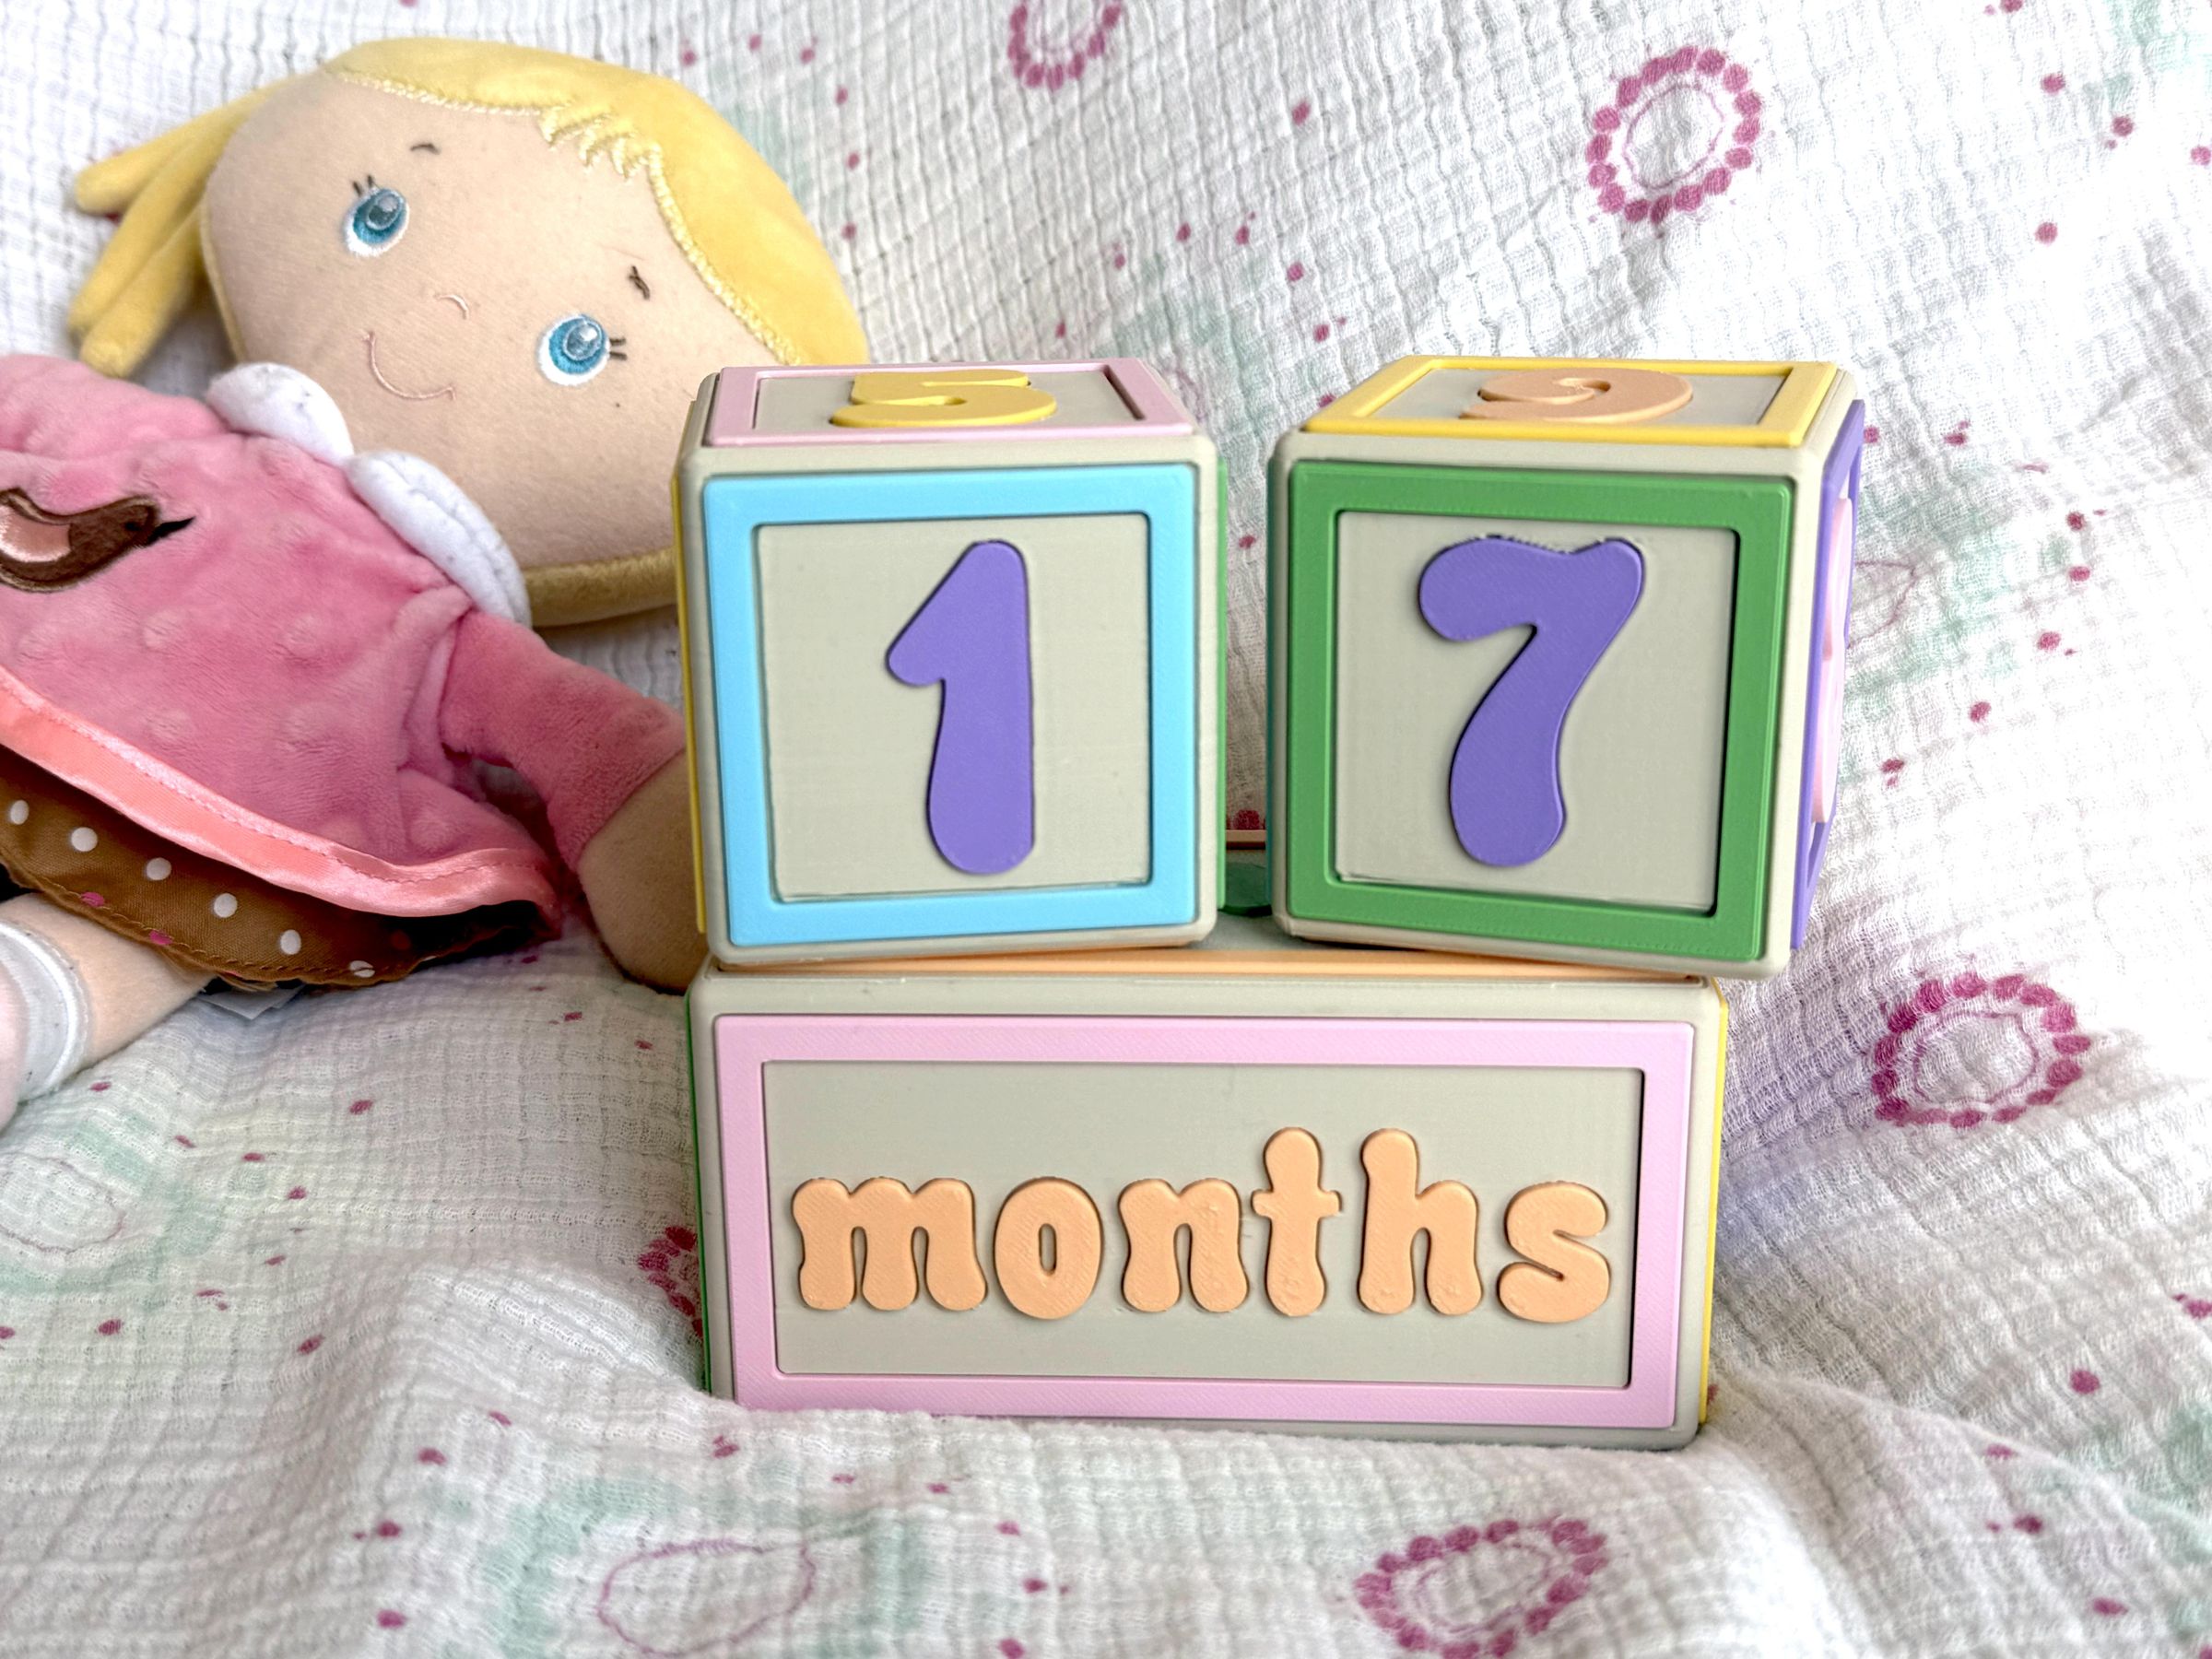
1 large block: days, weeks, months, years - each end has a heart just for fun.
2 small blocks:
- Block 1: "heart", 1, 2, 3, 4, 5
- Block 2: 0, 1, 2, 6, 7, 8 (I used my 6 as a 9 as well, but this will only work if it looks good in the font you choose)
With these numbers, you can go up to 32, after that you would need another block with 3, 4, 5, 6, 7, 8.
Smaller Block Design


I started with the smaller cube blocks and made them 2.5" by 2.5" by 2.5". I kept it pretty basic but I did give it rounded edges and corners for a smoother look and feel.
From there, I designed frames that would fit on each face and created a cutout for the colored frame to go into. I also made these with rounded corners to give it a soft look. I decided, instead of trying to have them fit perfectly and flush, I have them stick out each side by 1mm. I feel this makes them a little more interesting by giving the design depth.
Smaller Block Number Design


After getting the cube sizes and figuring out where the frames would be, I needed to make the numbers. I used a custom imported font that I already had saved in another Tinkercad file (called Hercules). I also had these stick out like the frames to keep with the feeling of depth.
Creating the numbers themselves as easy. Creating the cutouts took a little more work.
As you can see in the images, to create the cutout for each number, I first exported it as SVG and reimported it so I could get those extra SVG options in the parameters boxes.
To get a clean cutout for each number, I used 3 shapes: the basic Silhouette + a .2mm width Outer Line + an Inner Line. Then I union grouped these together. The .2mm outline makes for a pretty nice fit, though I've heard that .15mm gives a tighter fit, since I knew some of these cut outs would be printing up and down, there was the chance of sagging on overhangs which could impede the fit.
For any numbers or words that had inner holes (such as a 0), you need to add extra cutouts. For these, I exported shapes created from the holes as SVGs and reimported them, I then created outer and inner lines again. You need to make sure all of these stay perfectly lined up with your original shapes.
Larger Block Design


For the larger blocks, I made them 2.5" by 2.5" by 5".
Same as with the smaller blocks, I started by making borders.
Once I had those, I created words that fit in each space using the same method outlined in Step 2.
I put a heart on each end rather than leave them blank.
Finished Blocks


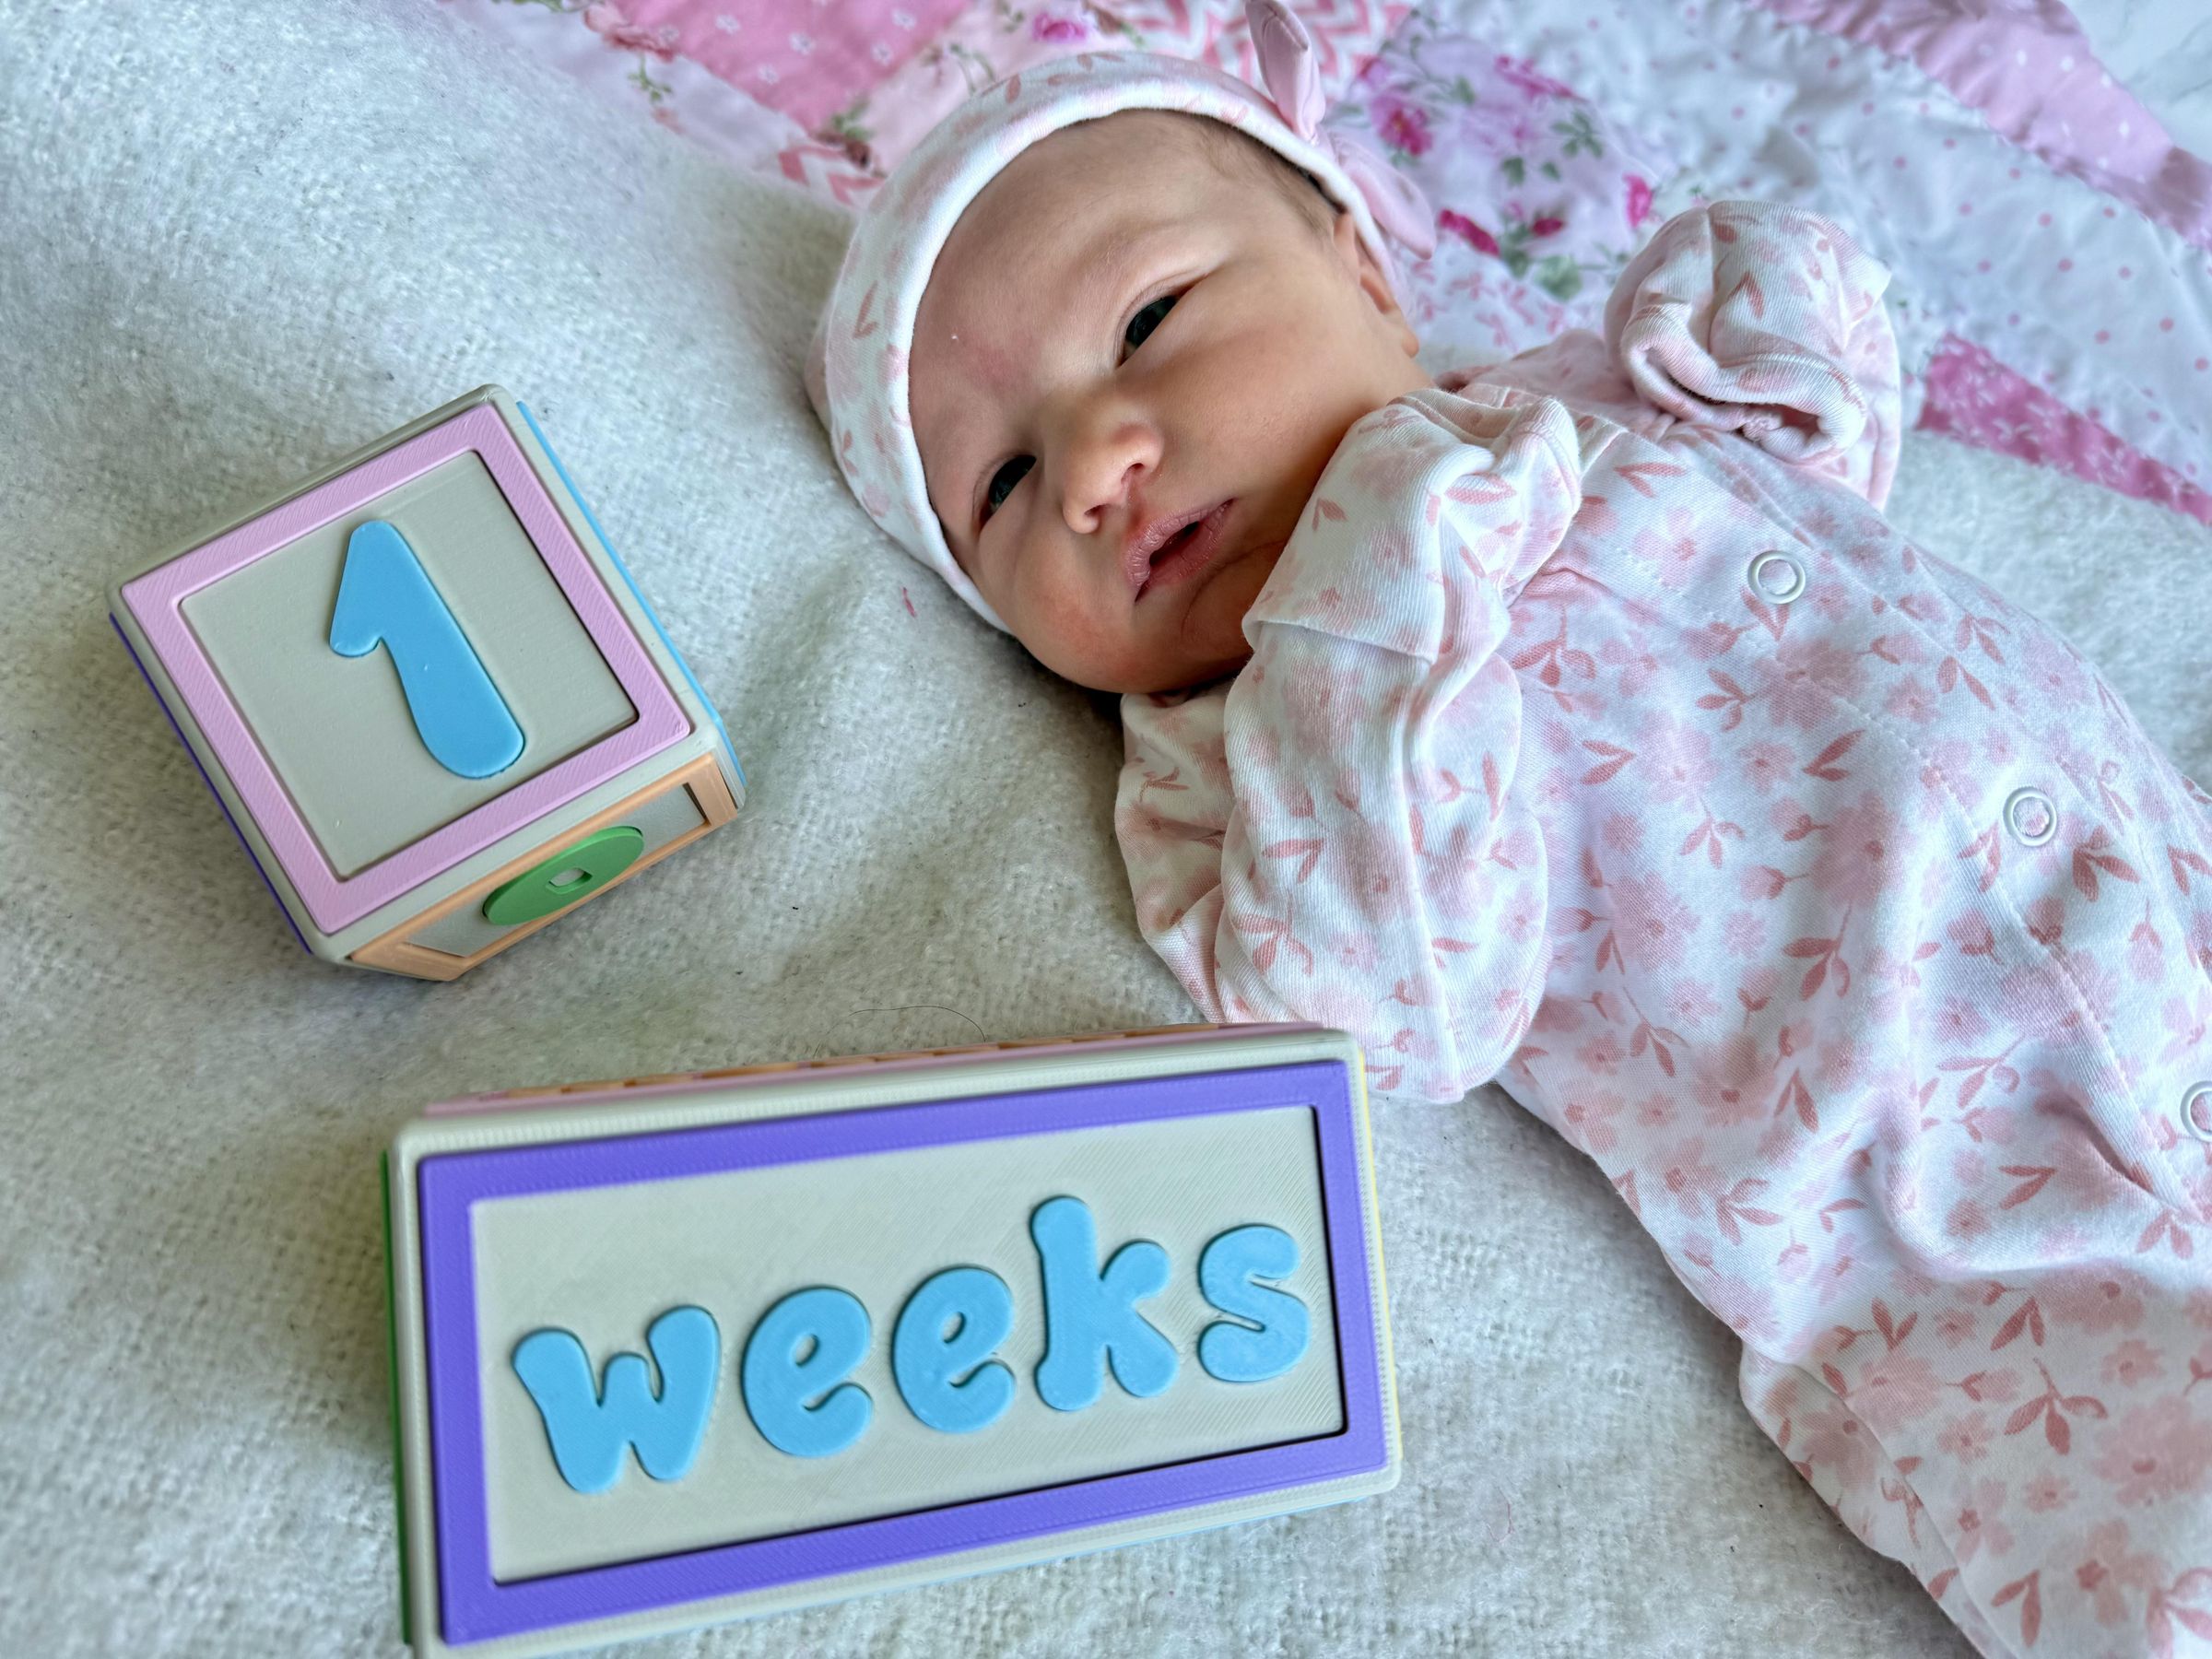
Here is a look at the finished blocks. You can change up what you have on each side.
You can plan out the colors before going to the slicer. Think about the color combinations you like the most and what you'll be using the most often on the blocks.
For example, you'll only be using "years" once or twice at the most depending how long you use these blocks. While you'll be using Weeks the most, then Months, then Days. You will also be using 1's and 2's the most. I would also suggest making sure the duplicate numbers are not the same colors. Use lots of variety!
Printing


Time to print!
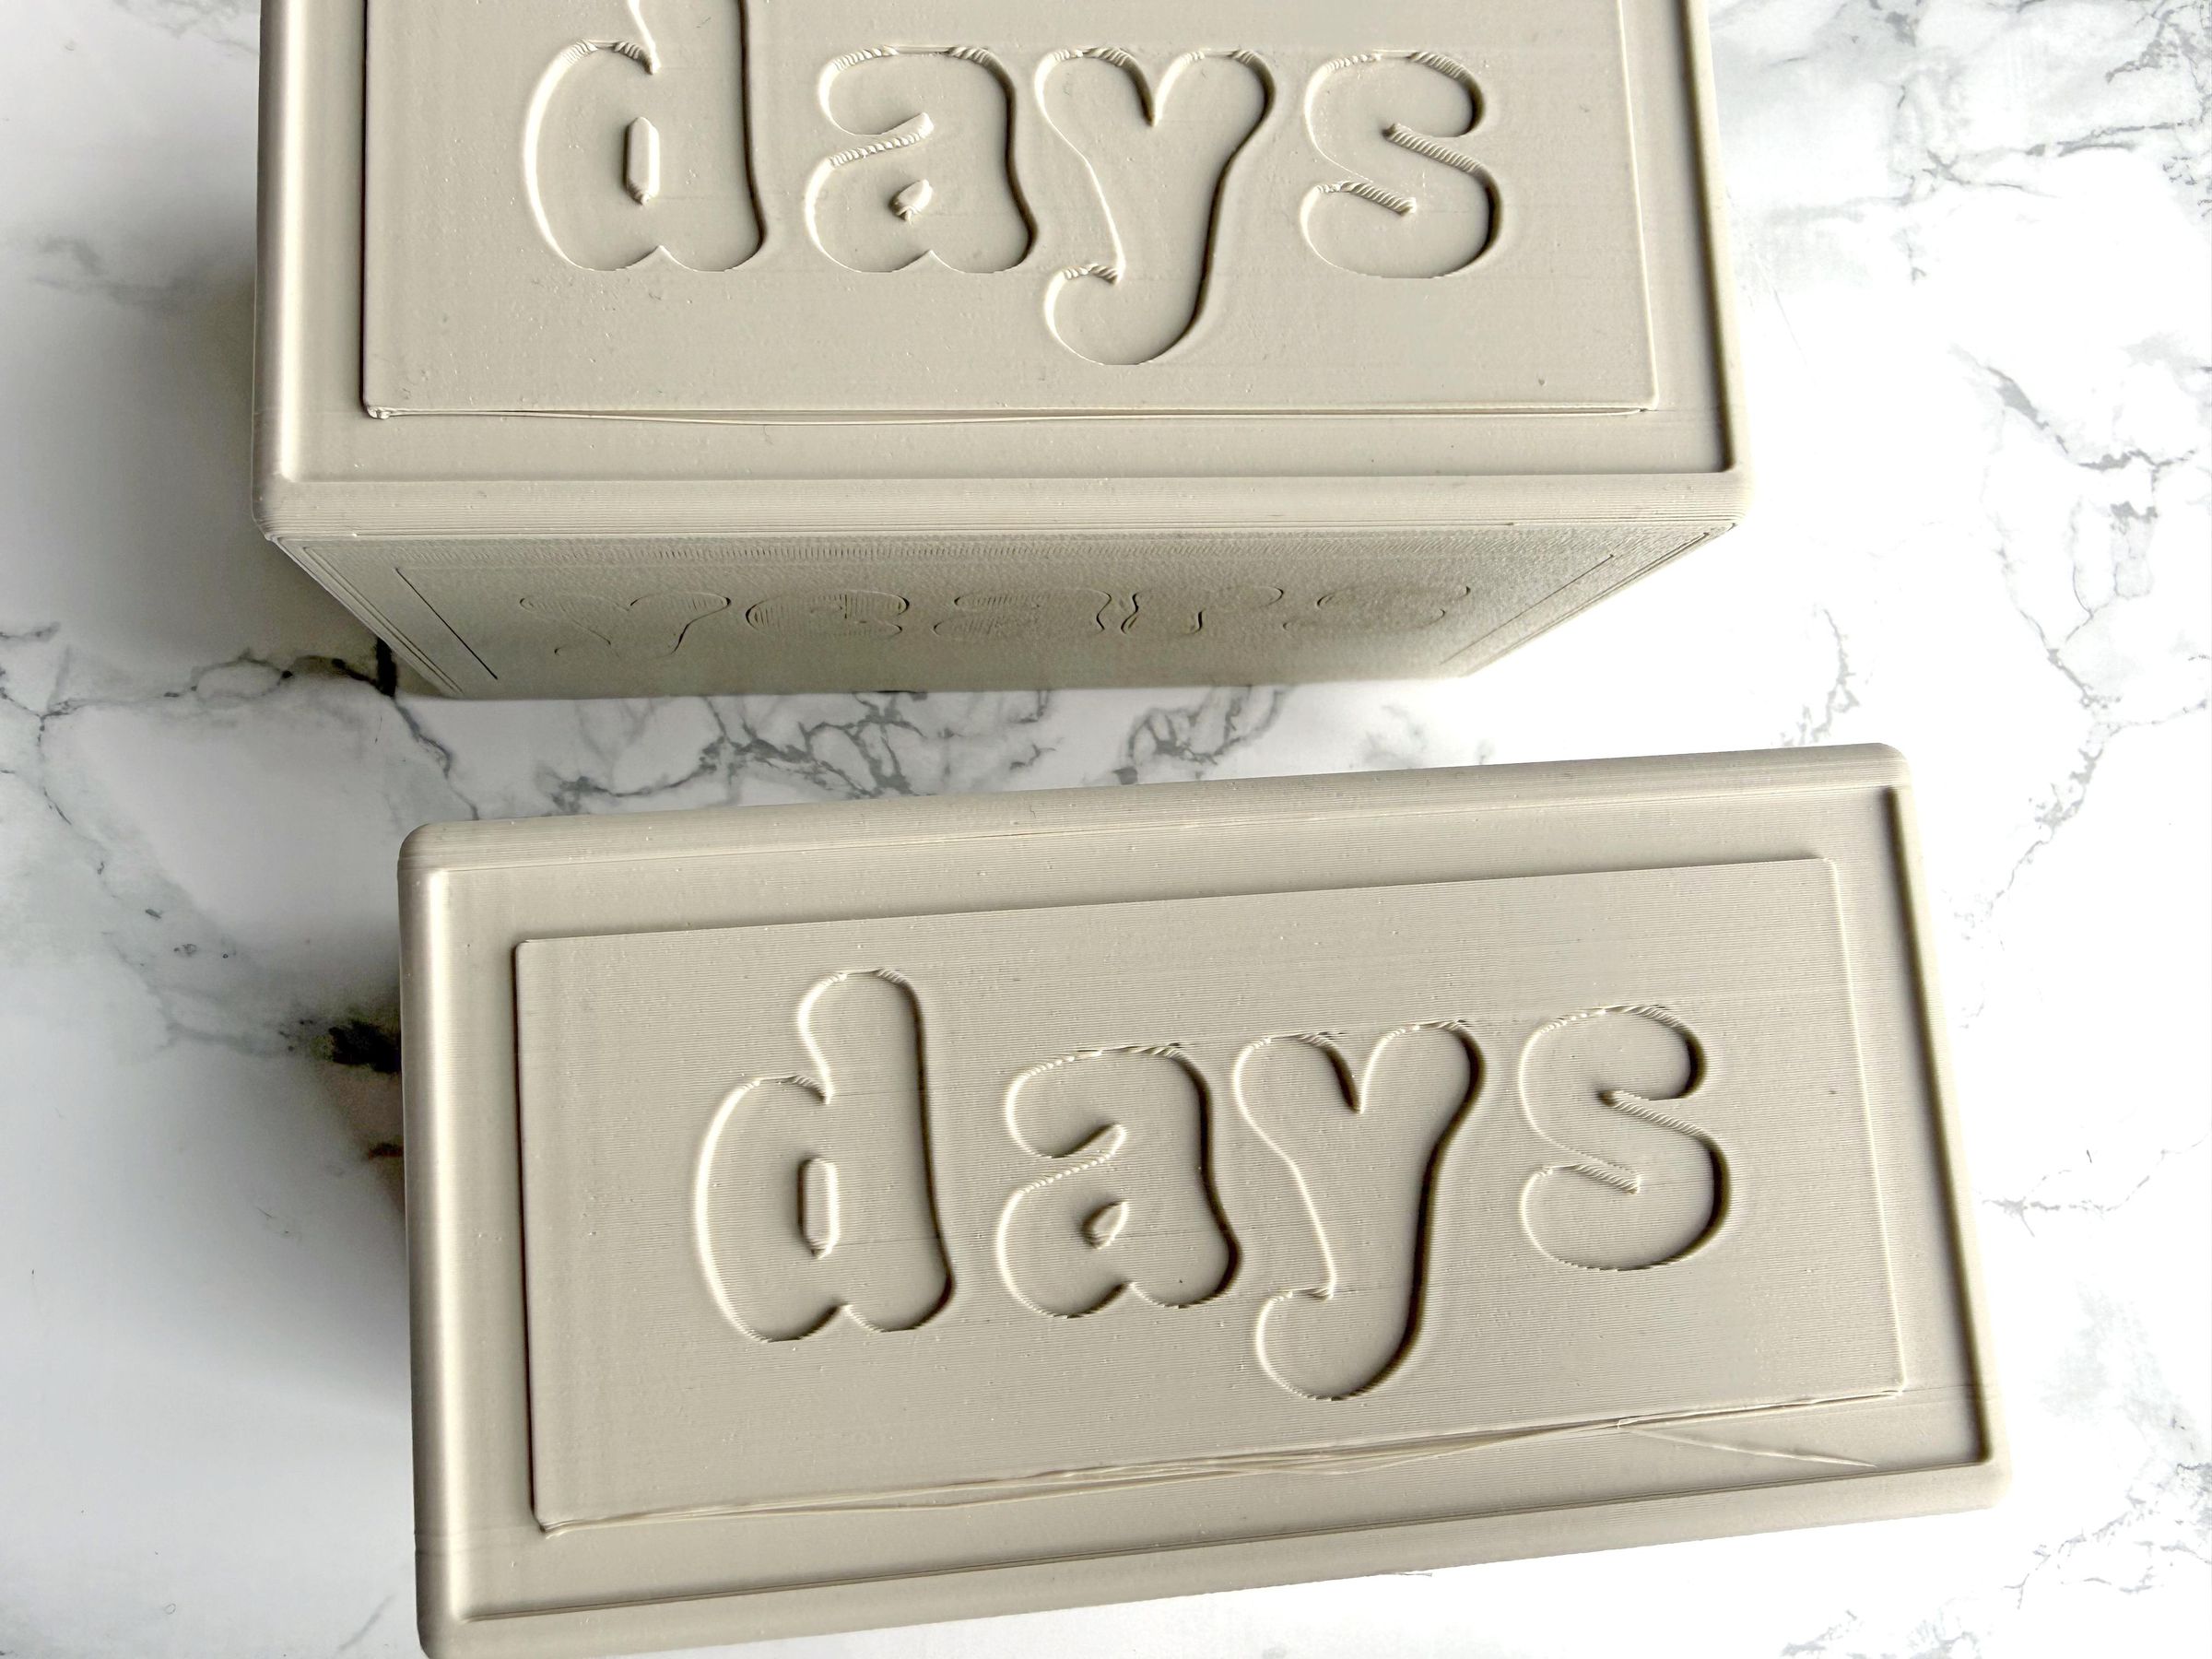
I used some support for the bottom of the blocks so that the border would have some support as I found it to sag too much.
In the 4th image above, you can see that the "days" block on top had support whereas the one on the bottom did not and the line is messy.
Since you are gluing pieces in, it isn't a huge deal, but it helps keep the final blocks cleaner. You could put support on the whole thing but it seemed like unnecessary waste.
Cleaning Up Blocks
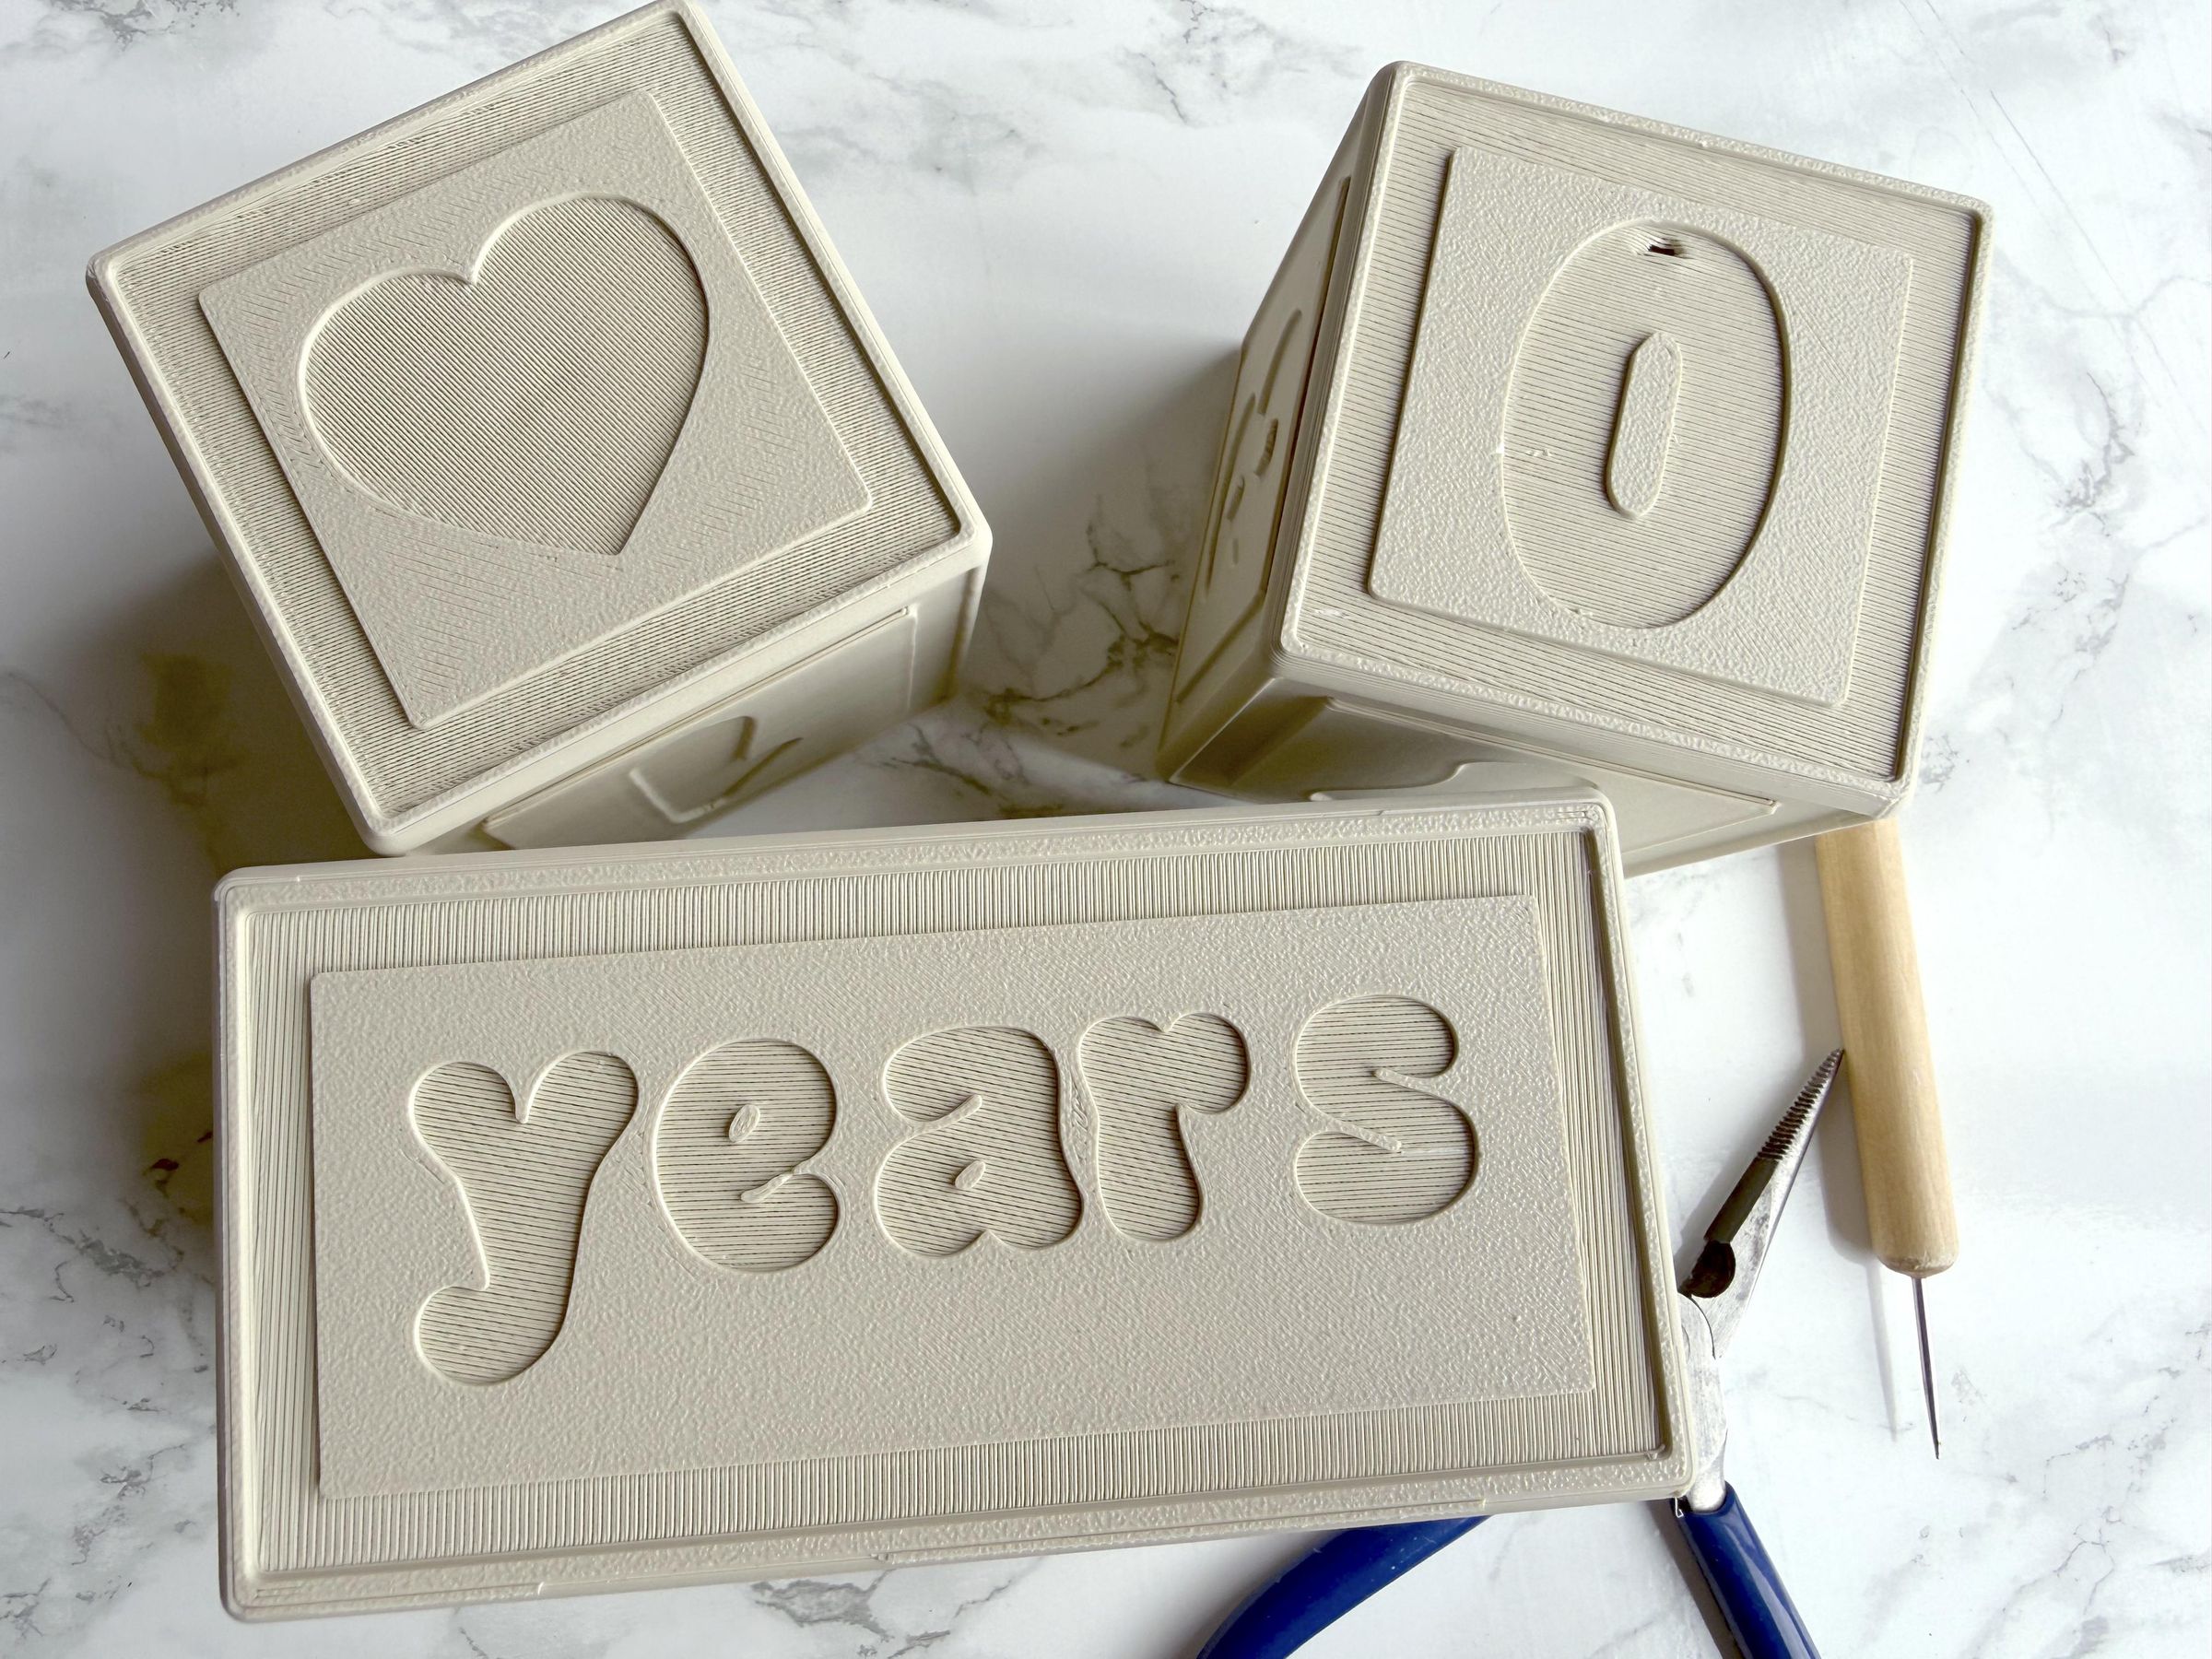
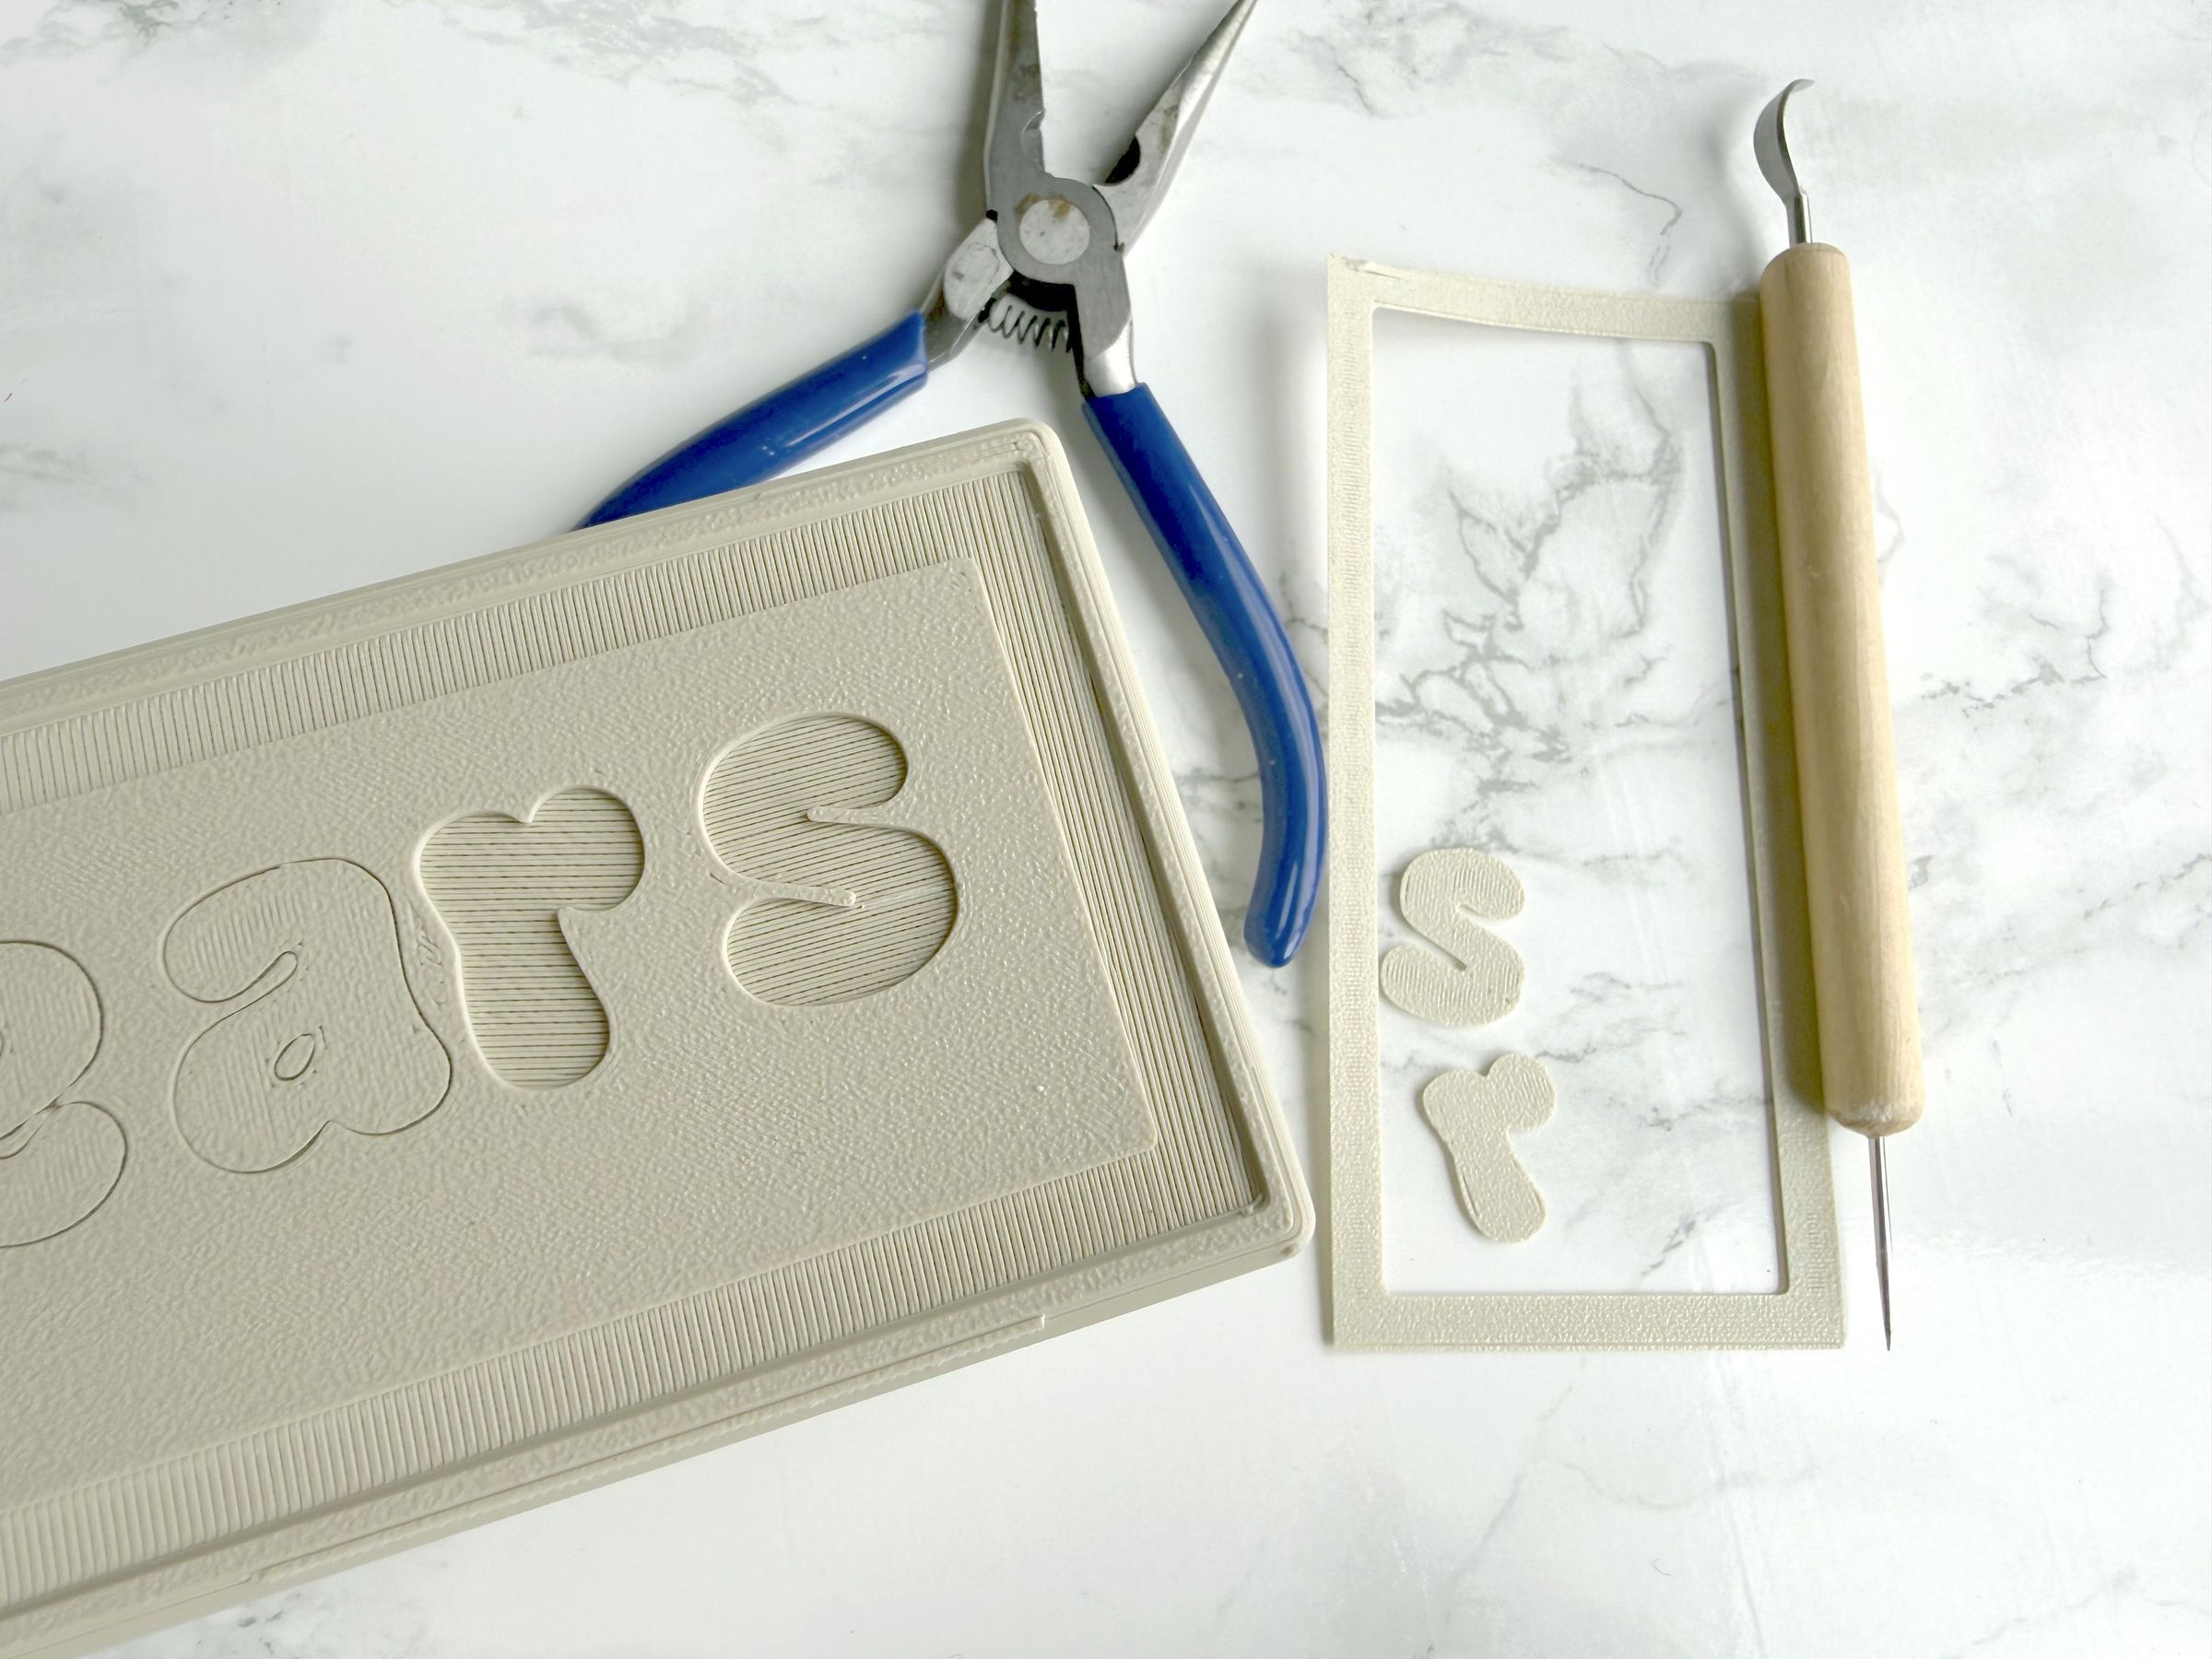
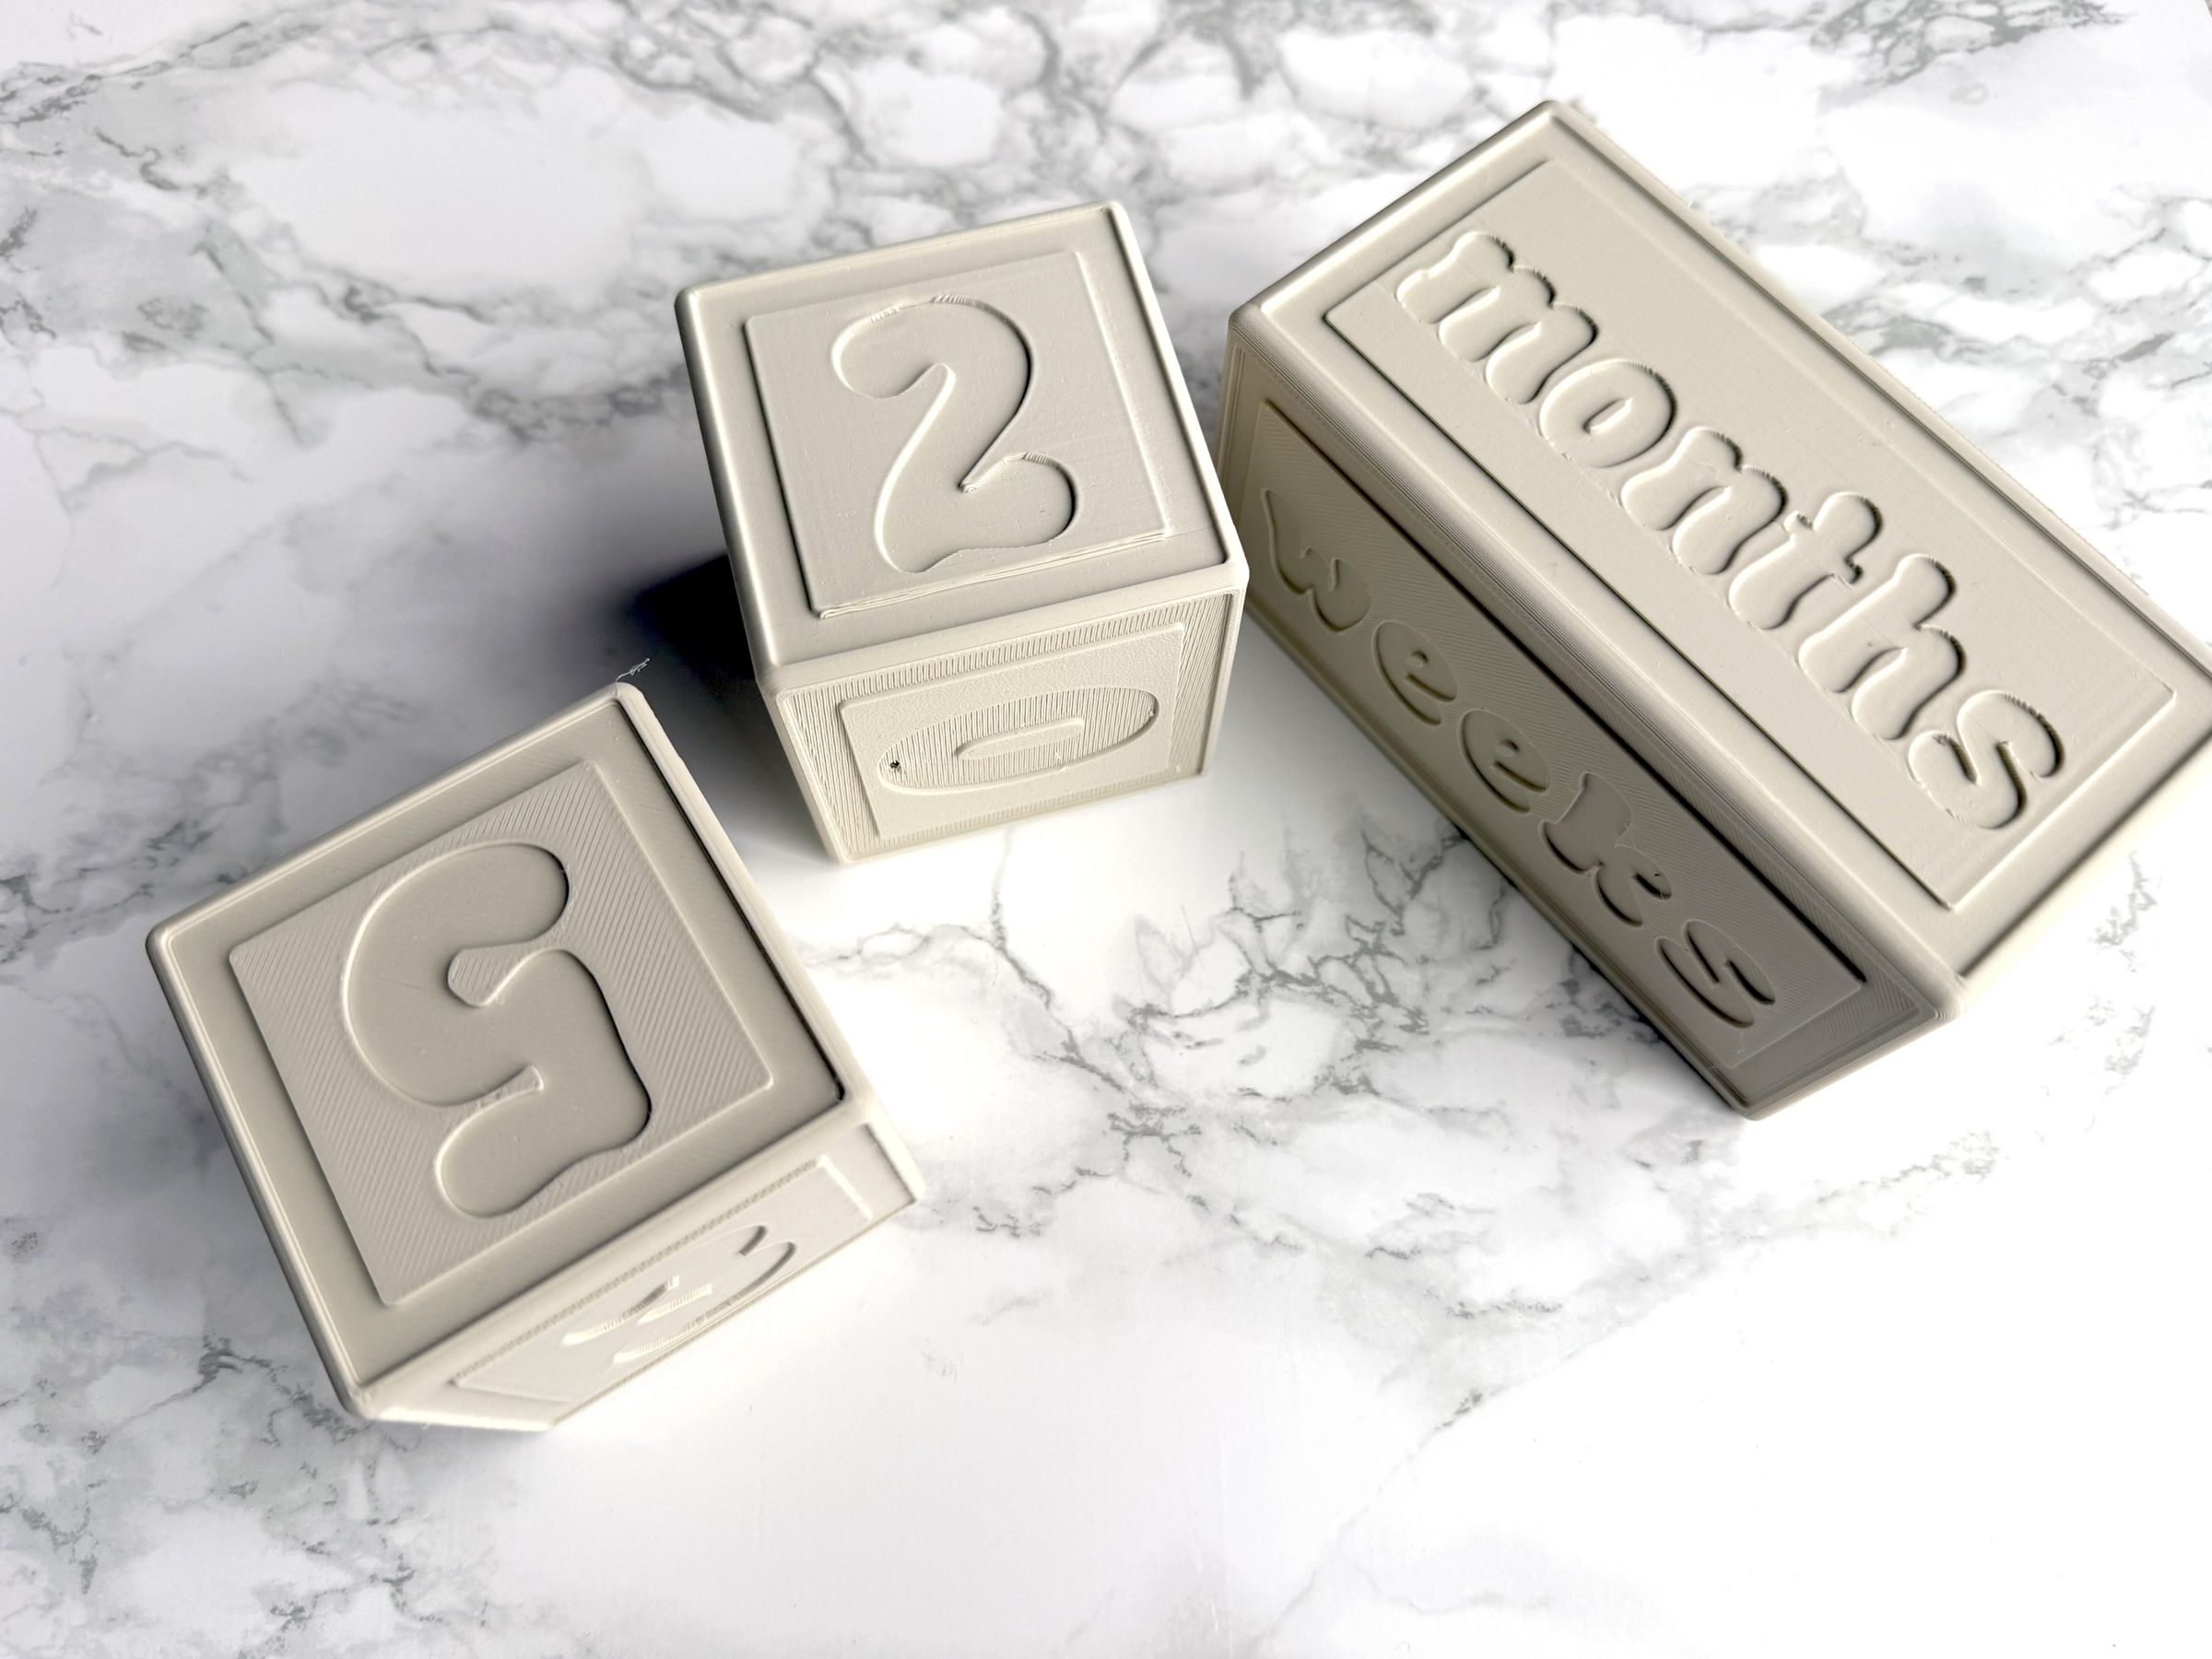
Even if you didn't use additional support on the edges of the blocks, you should still have some on the bottoms to clean up! I slipped a little and stabbed in my 0. Luckily, that gets covered by the inserted color piece anyway!
Glue Pieces
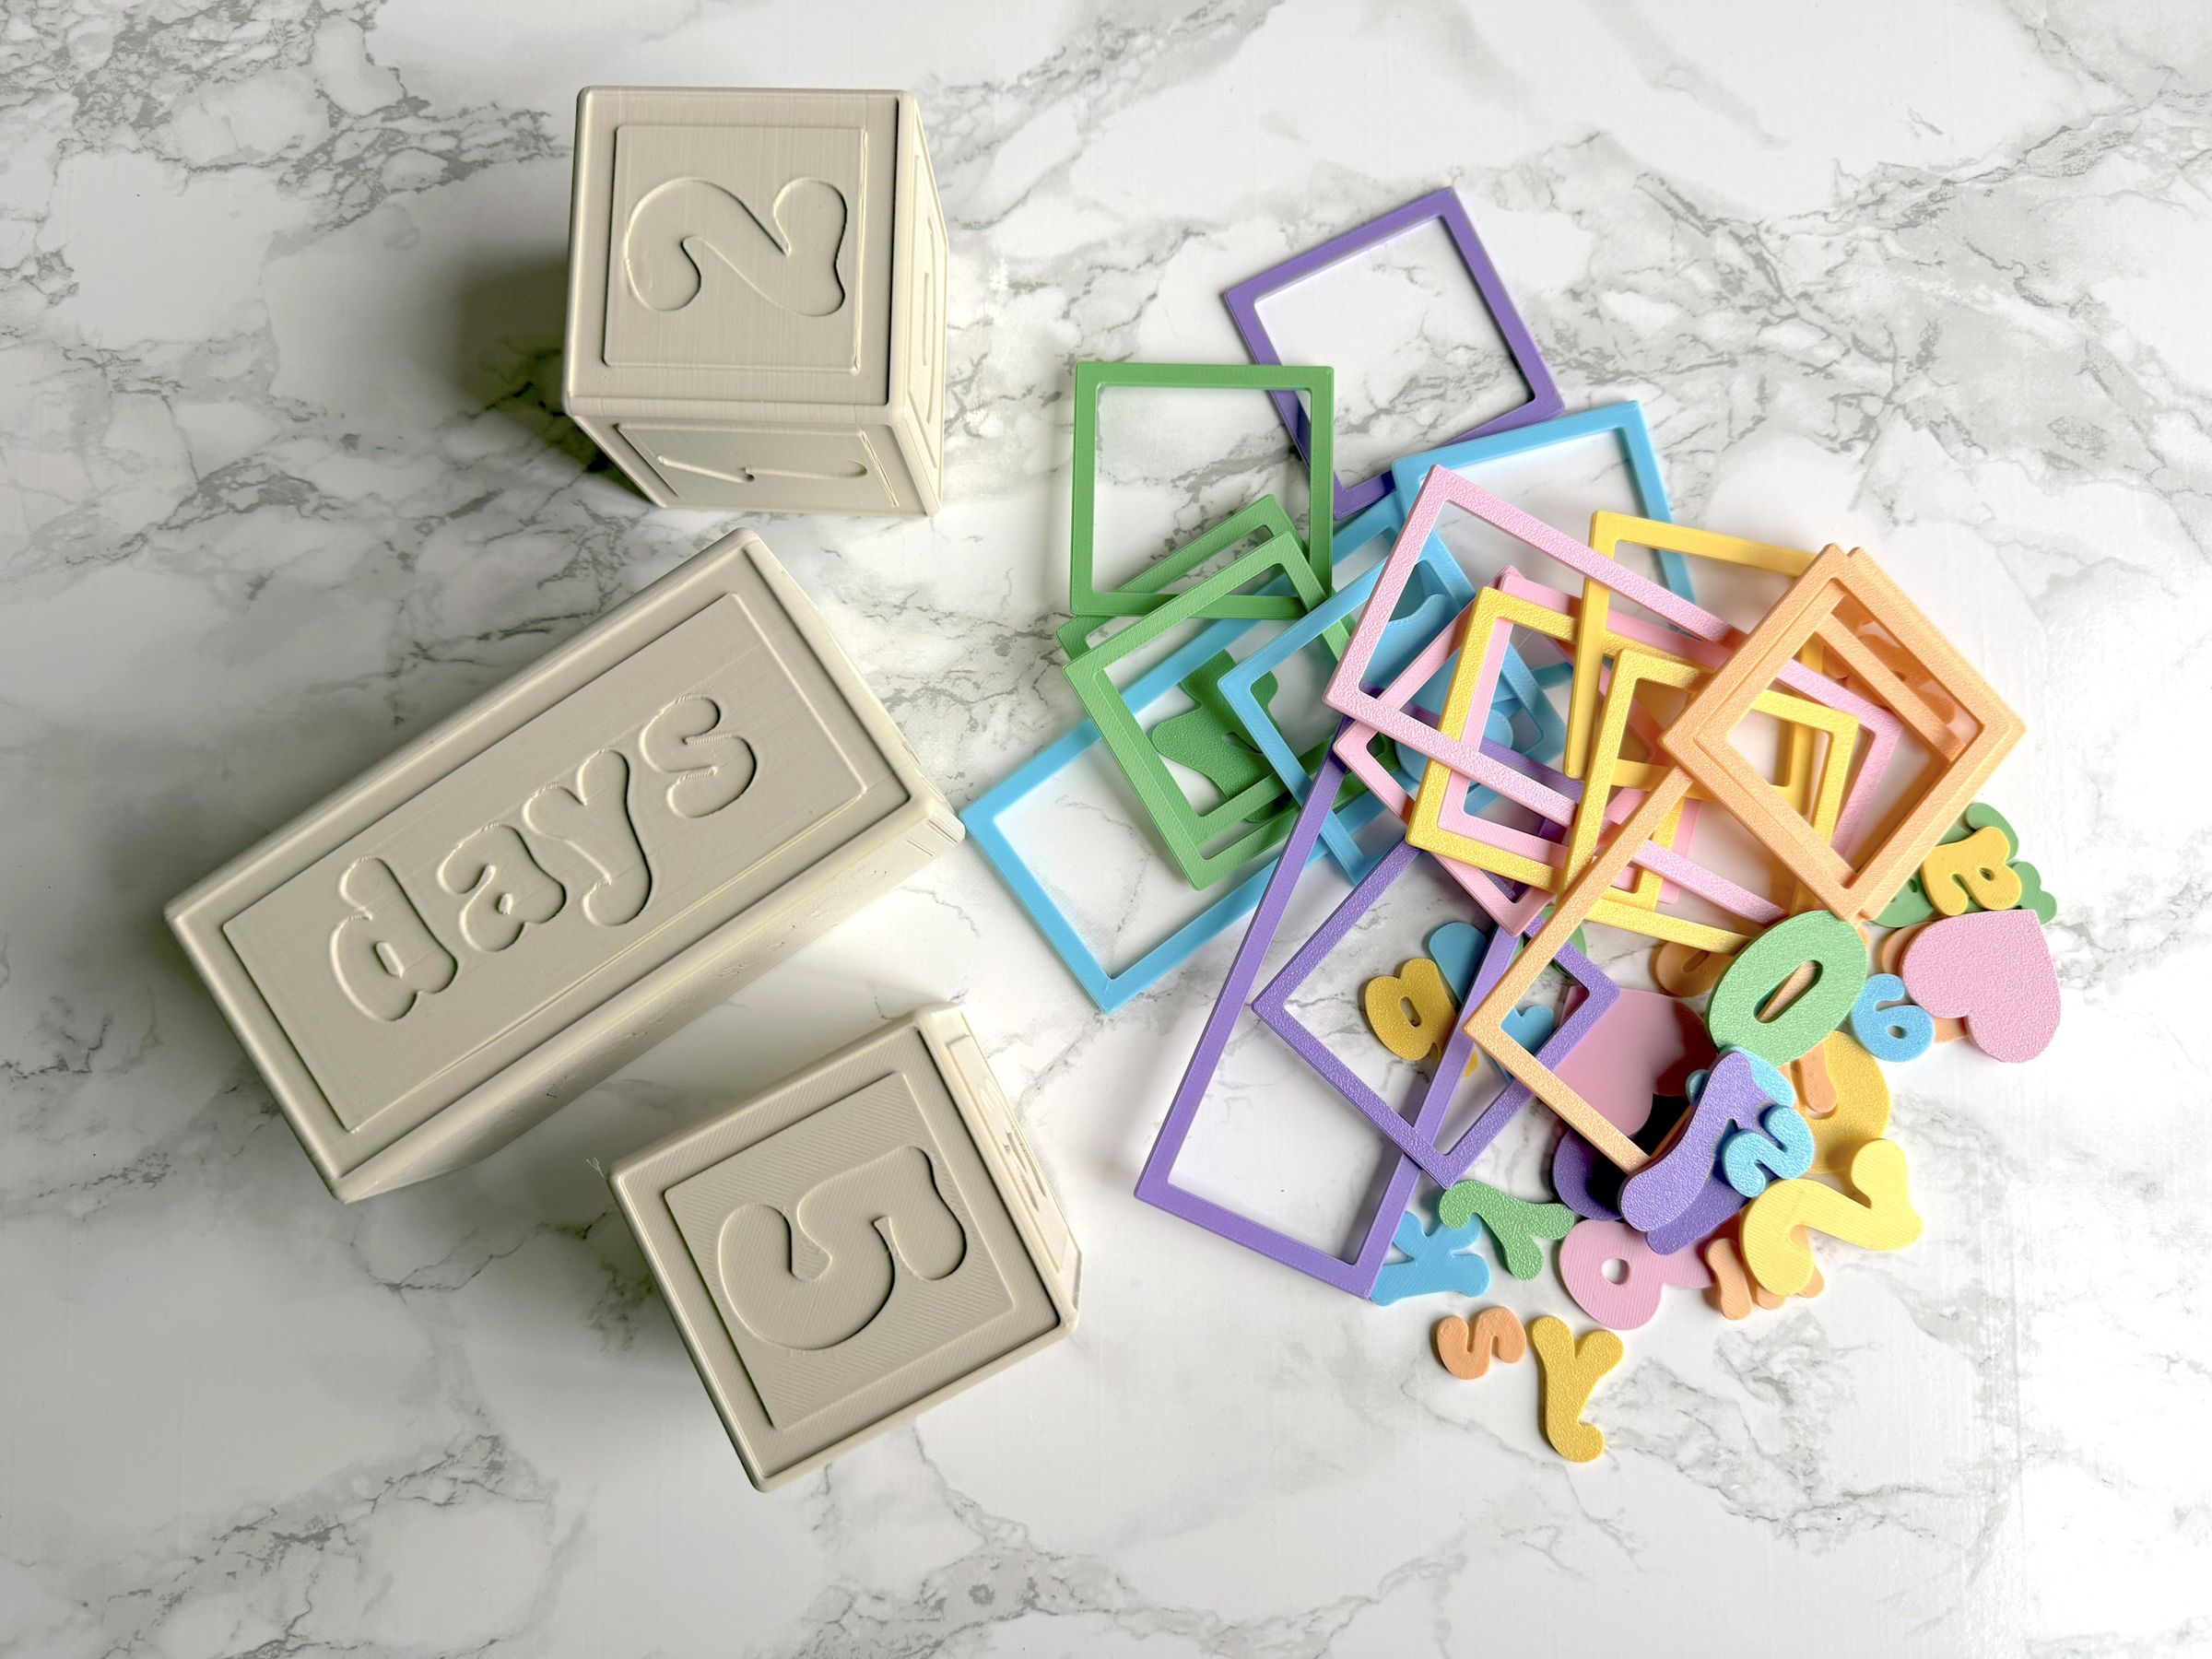
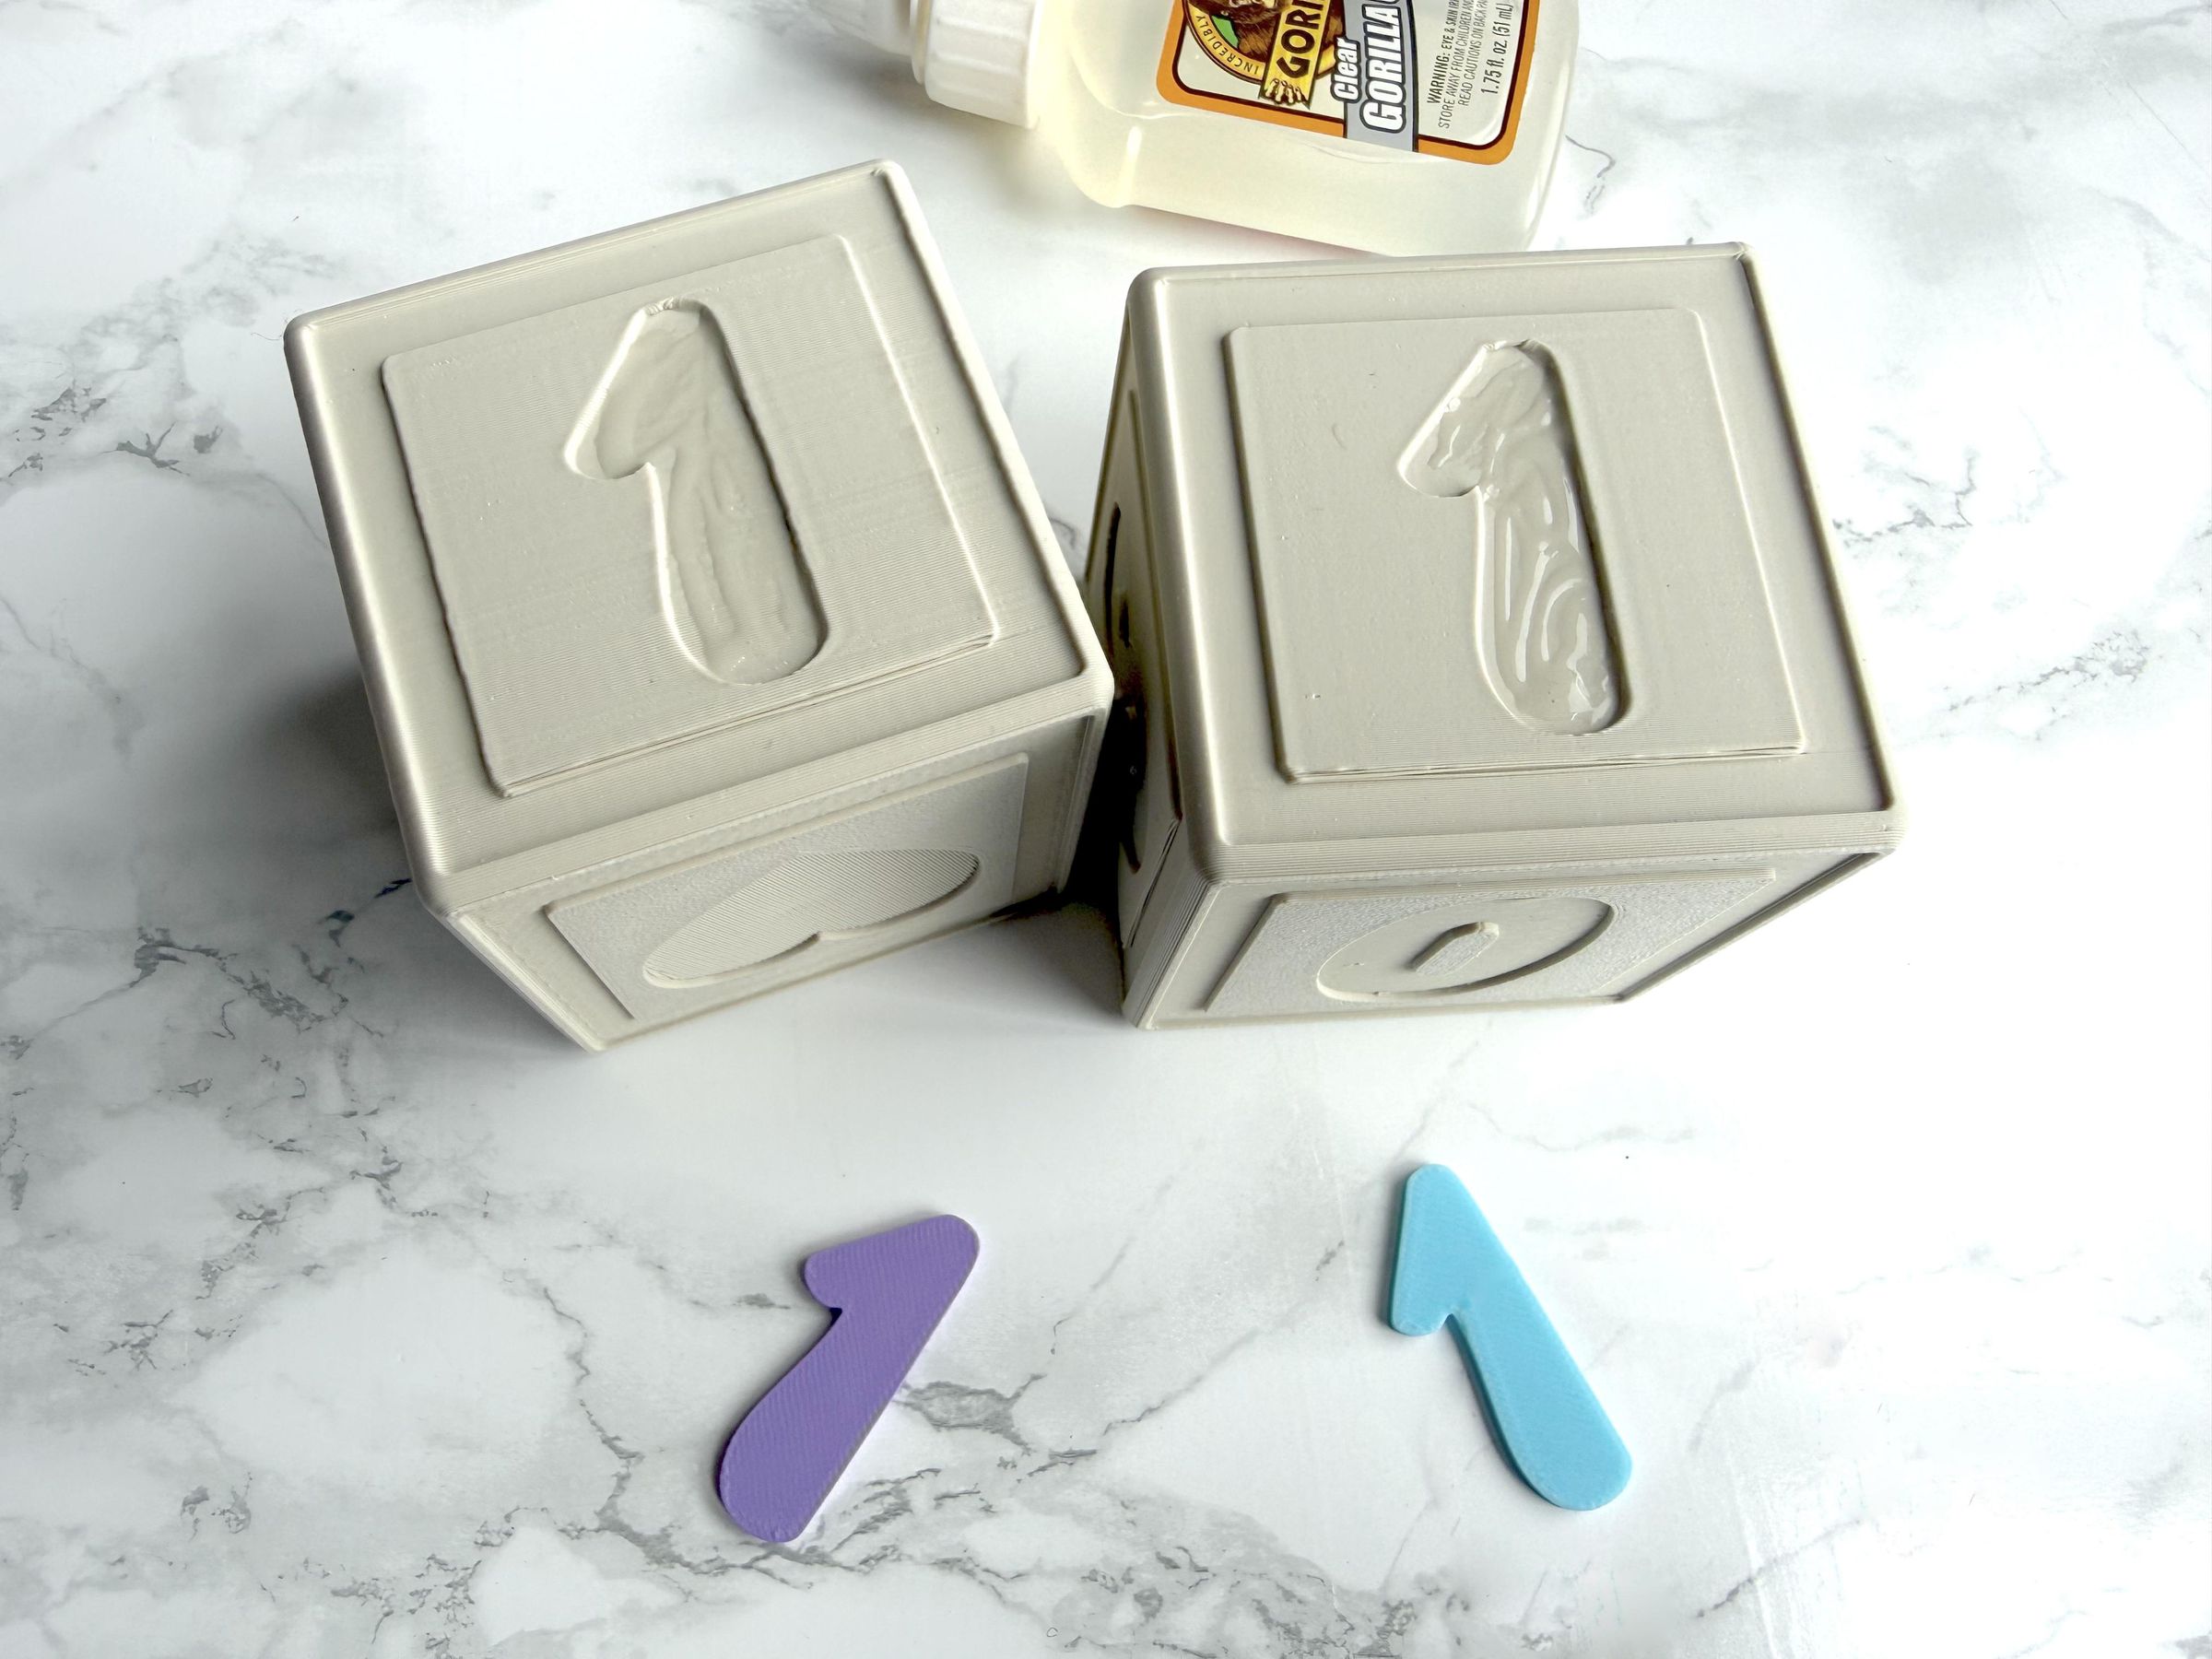
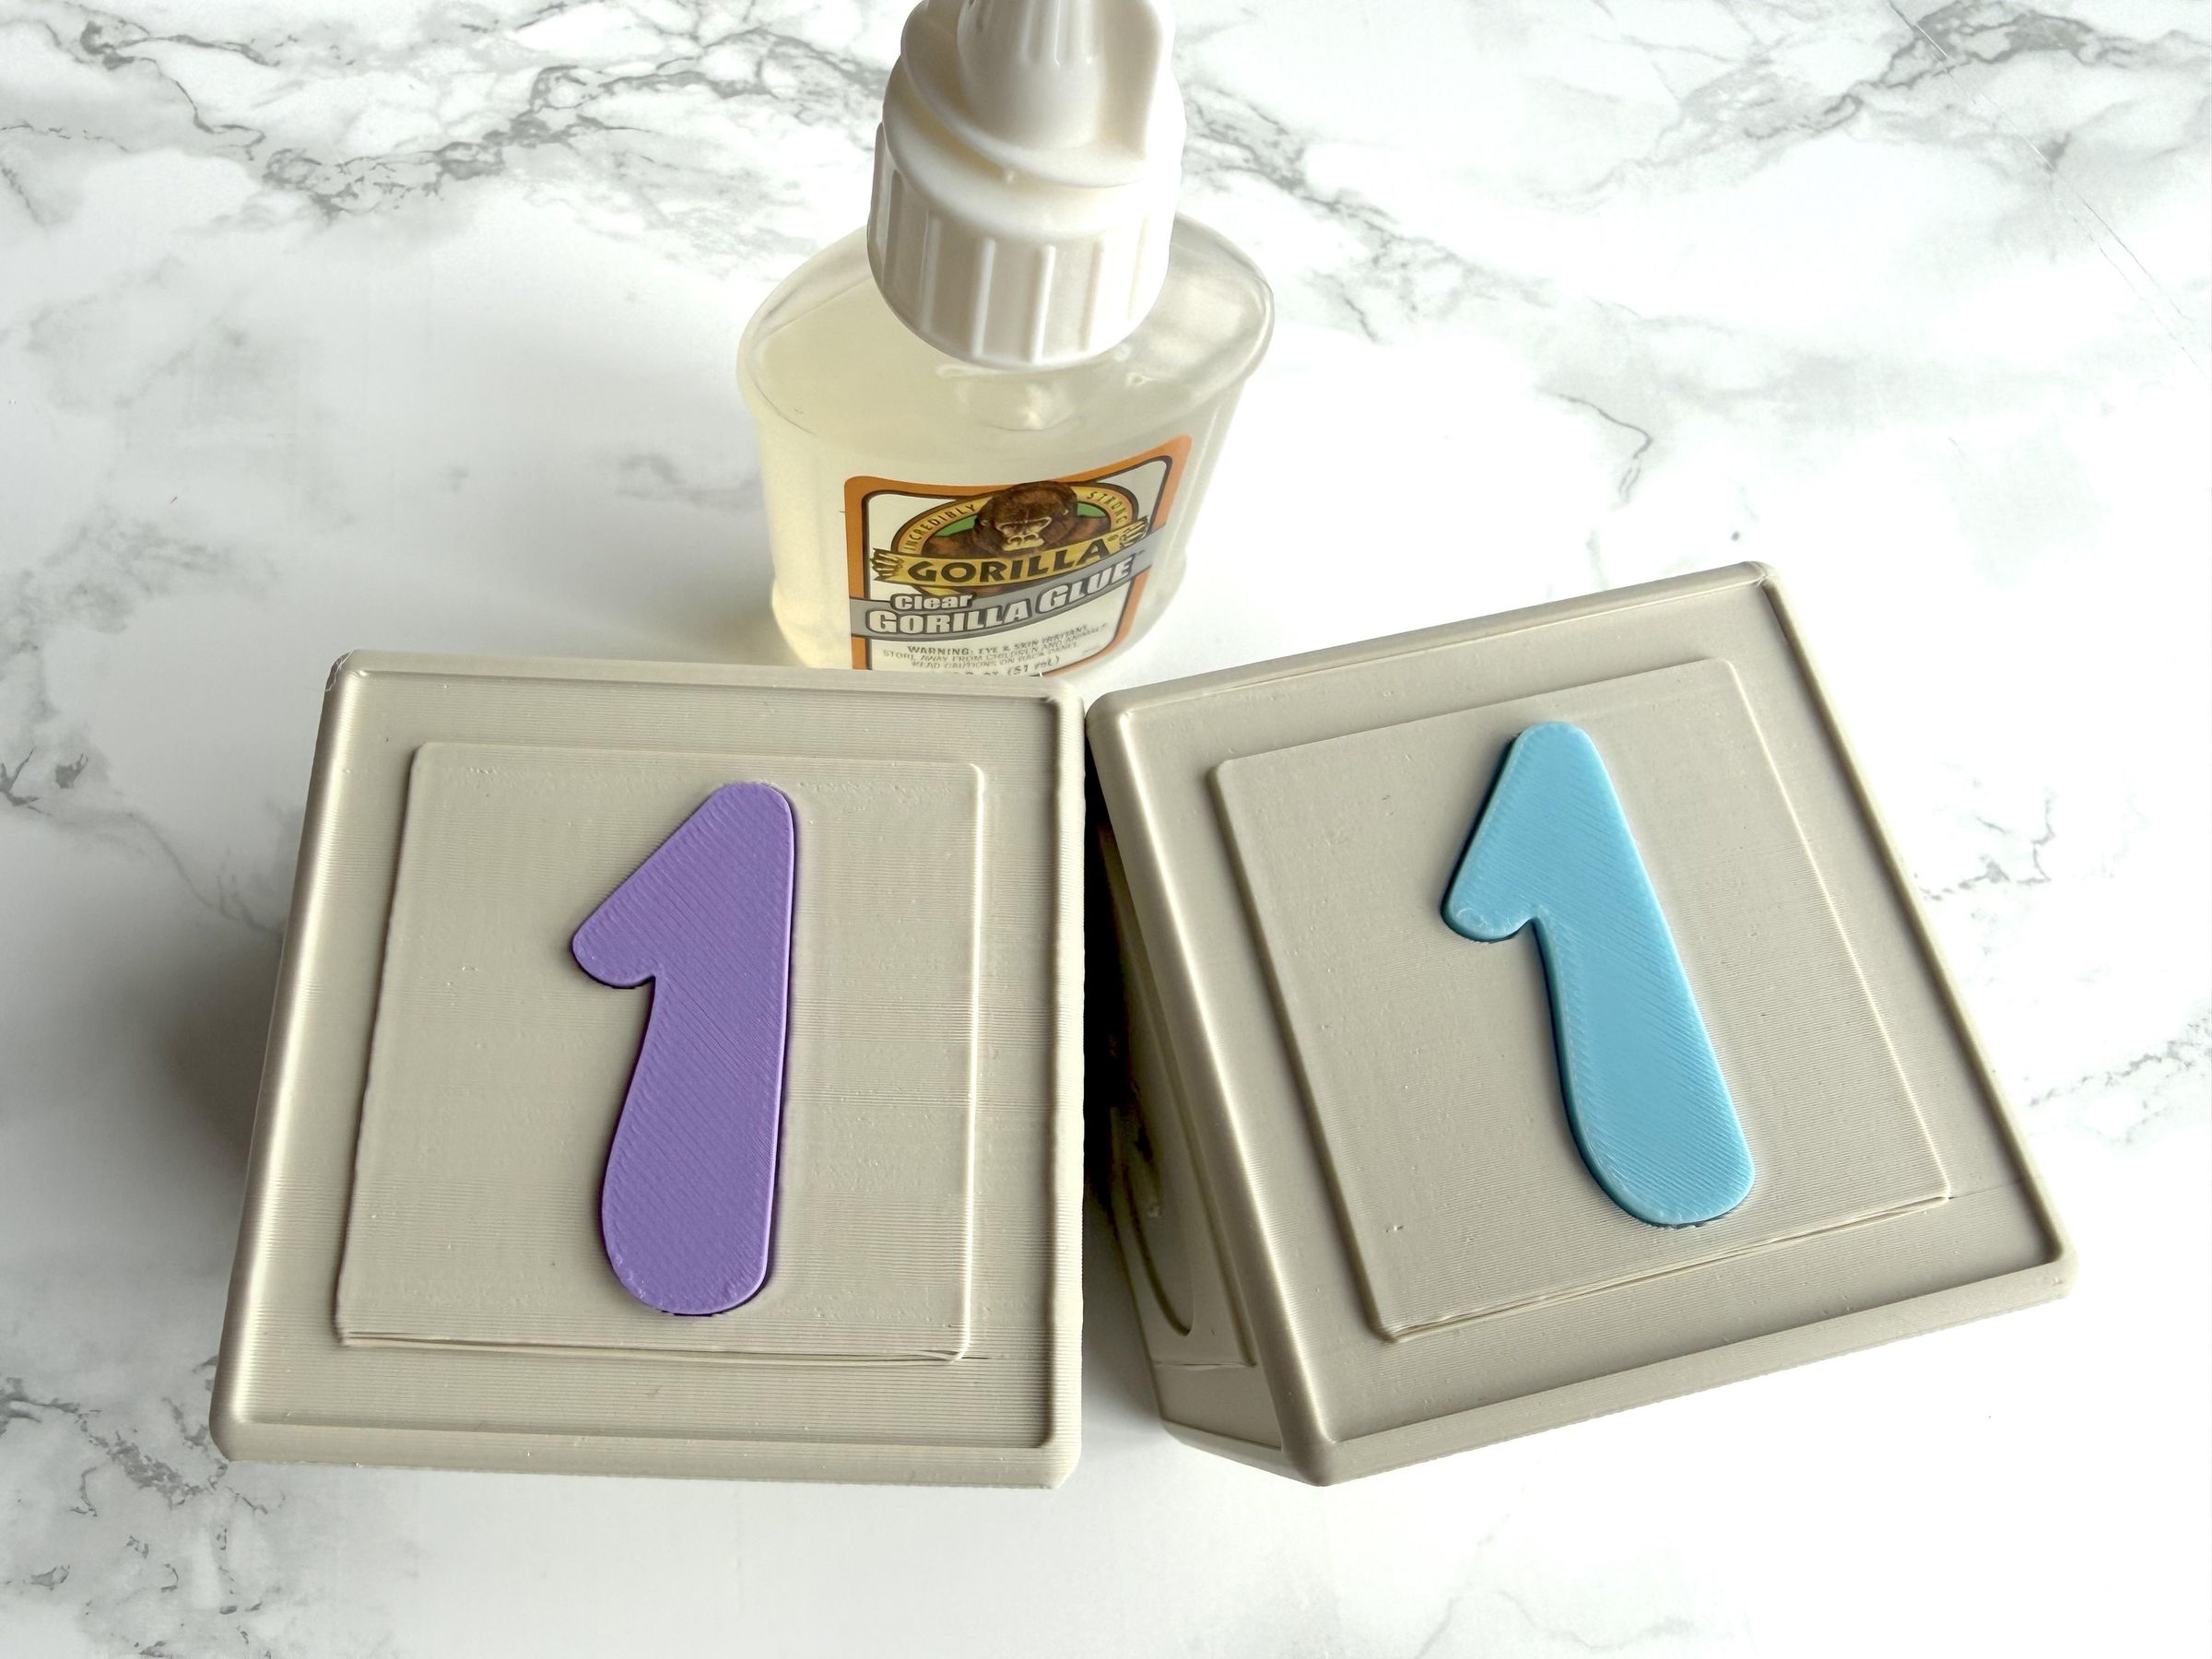
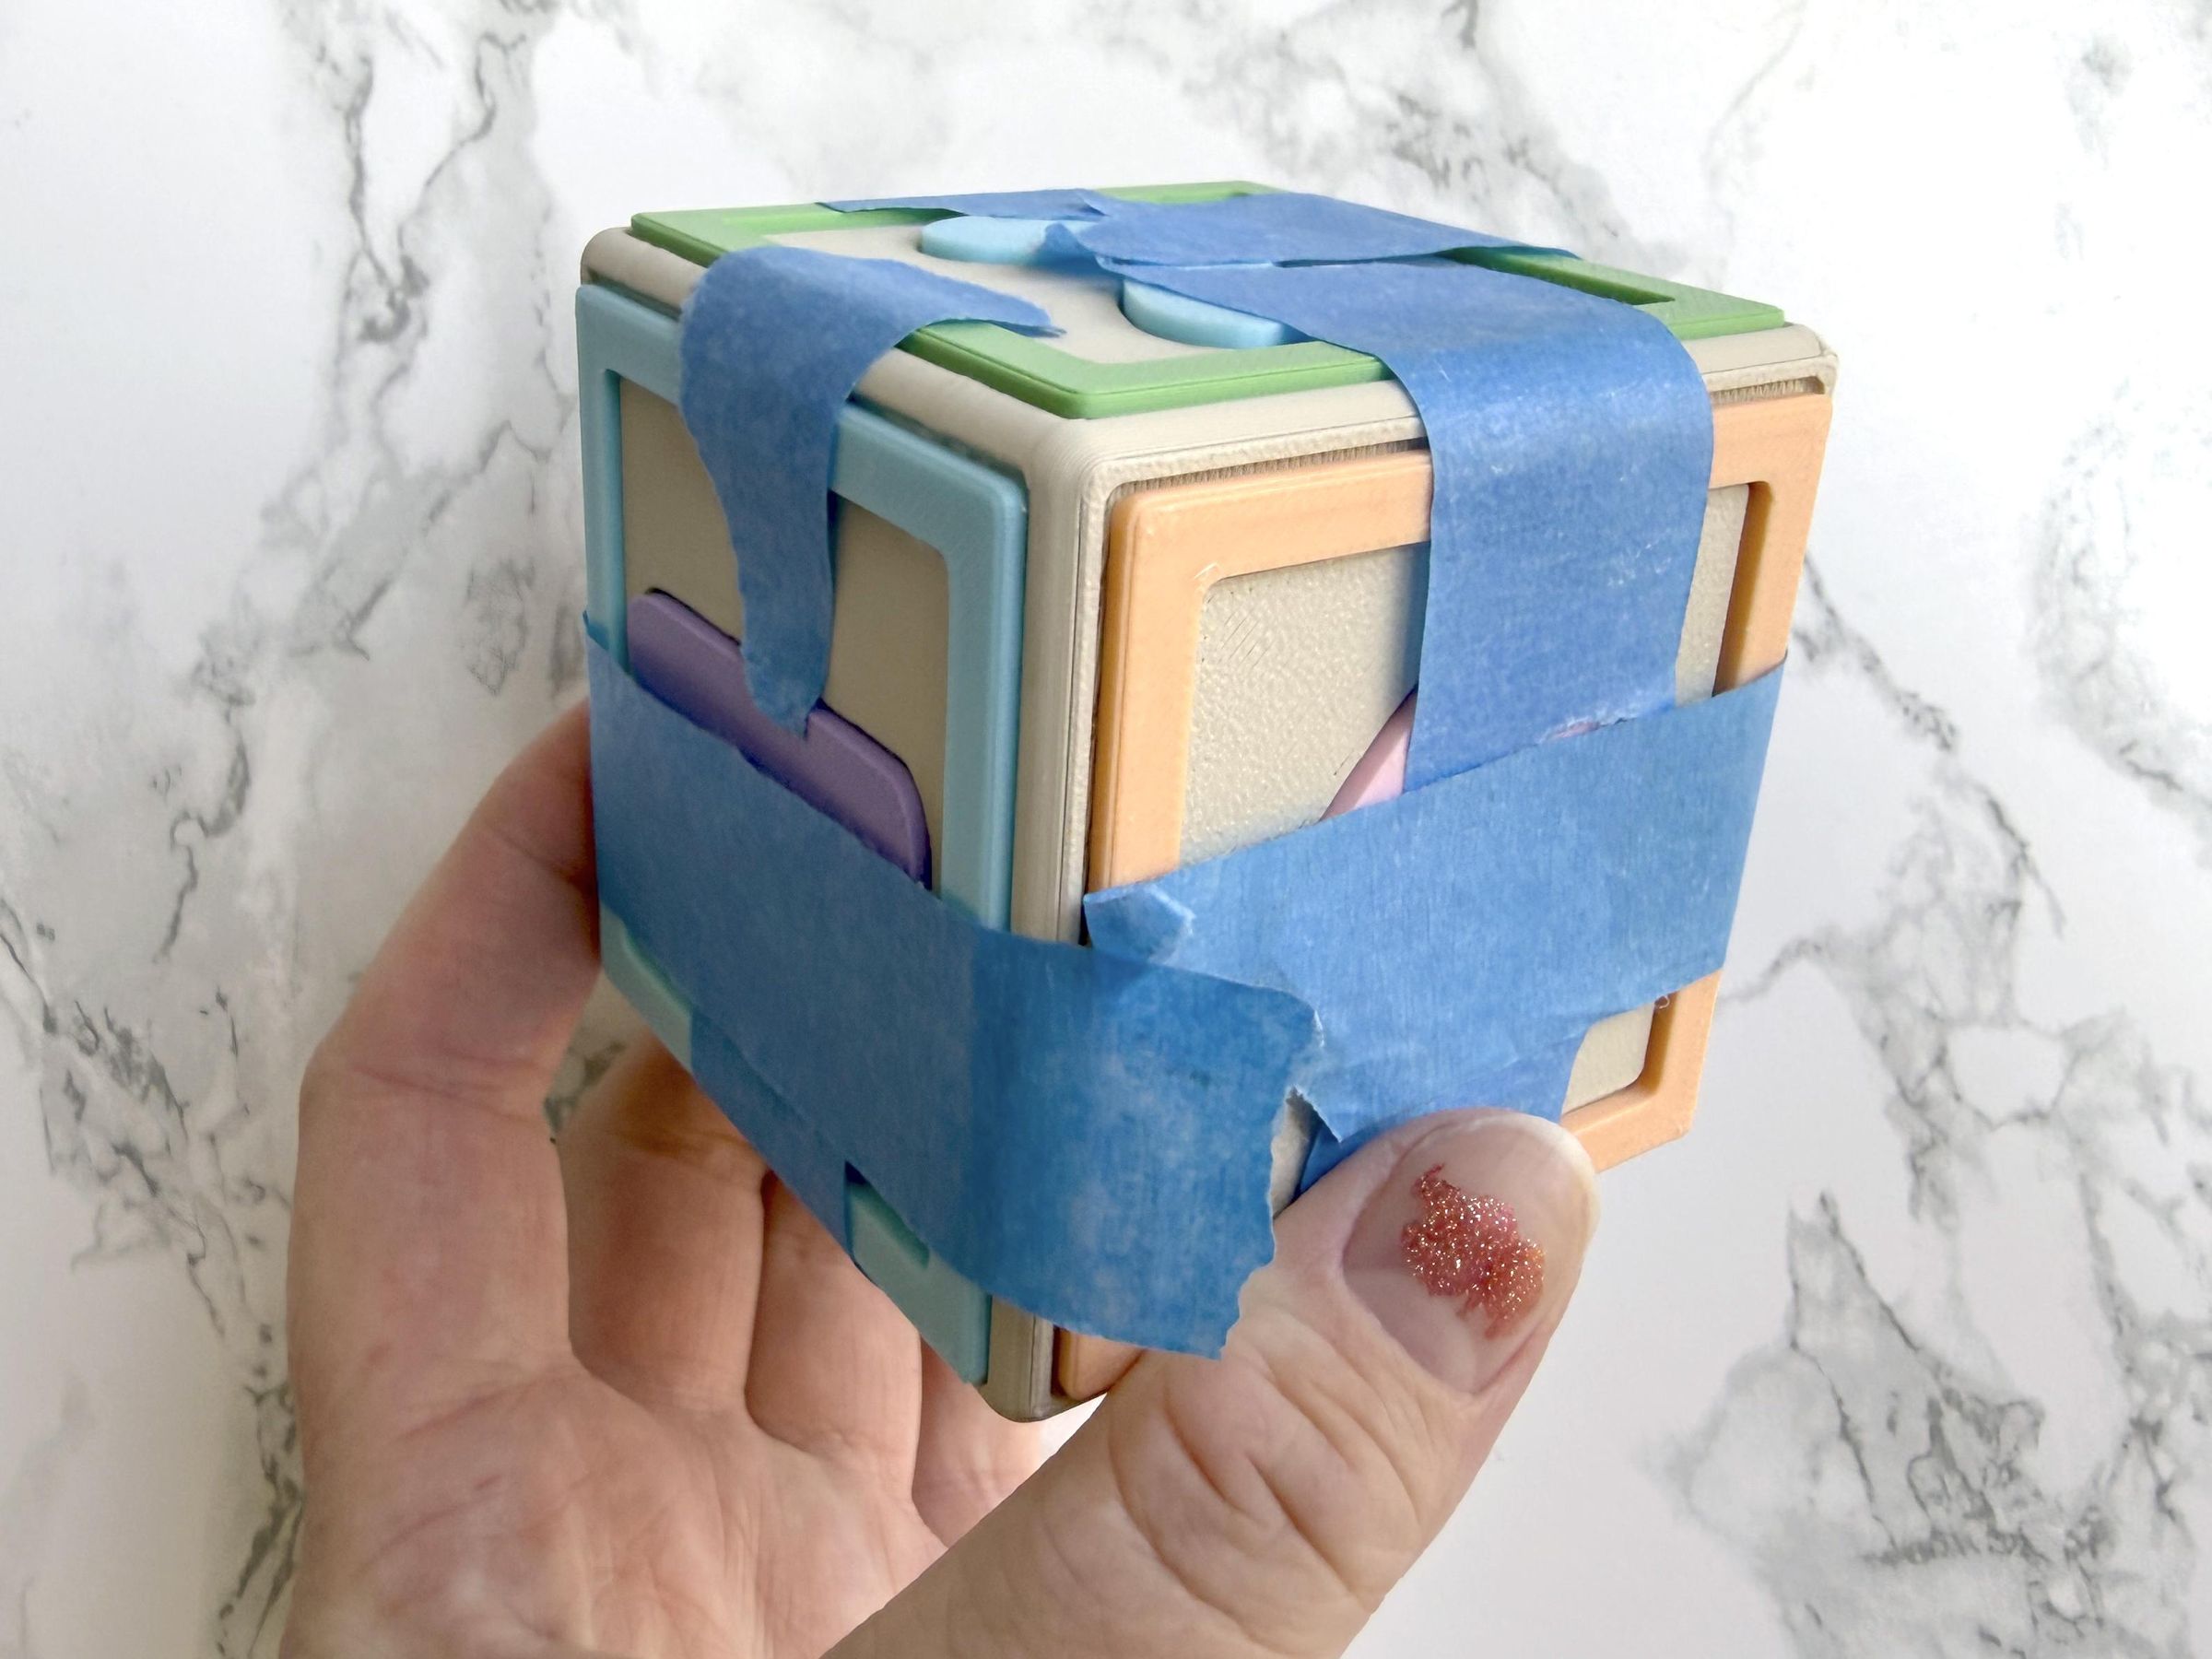
Glue all of your pieces into place!
I used blue painters tape to hold everything in place while it dried.
Finished Blocks
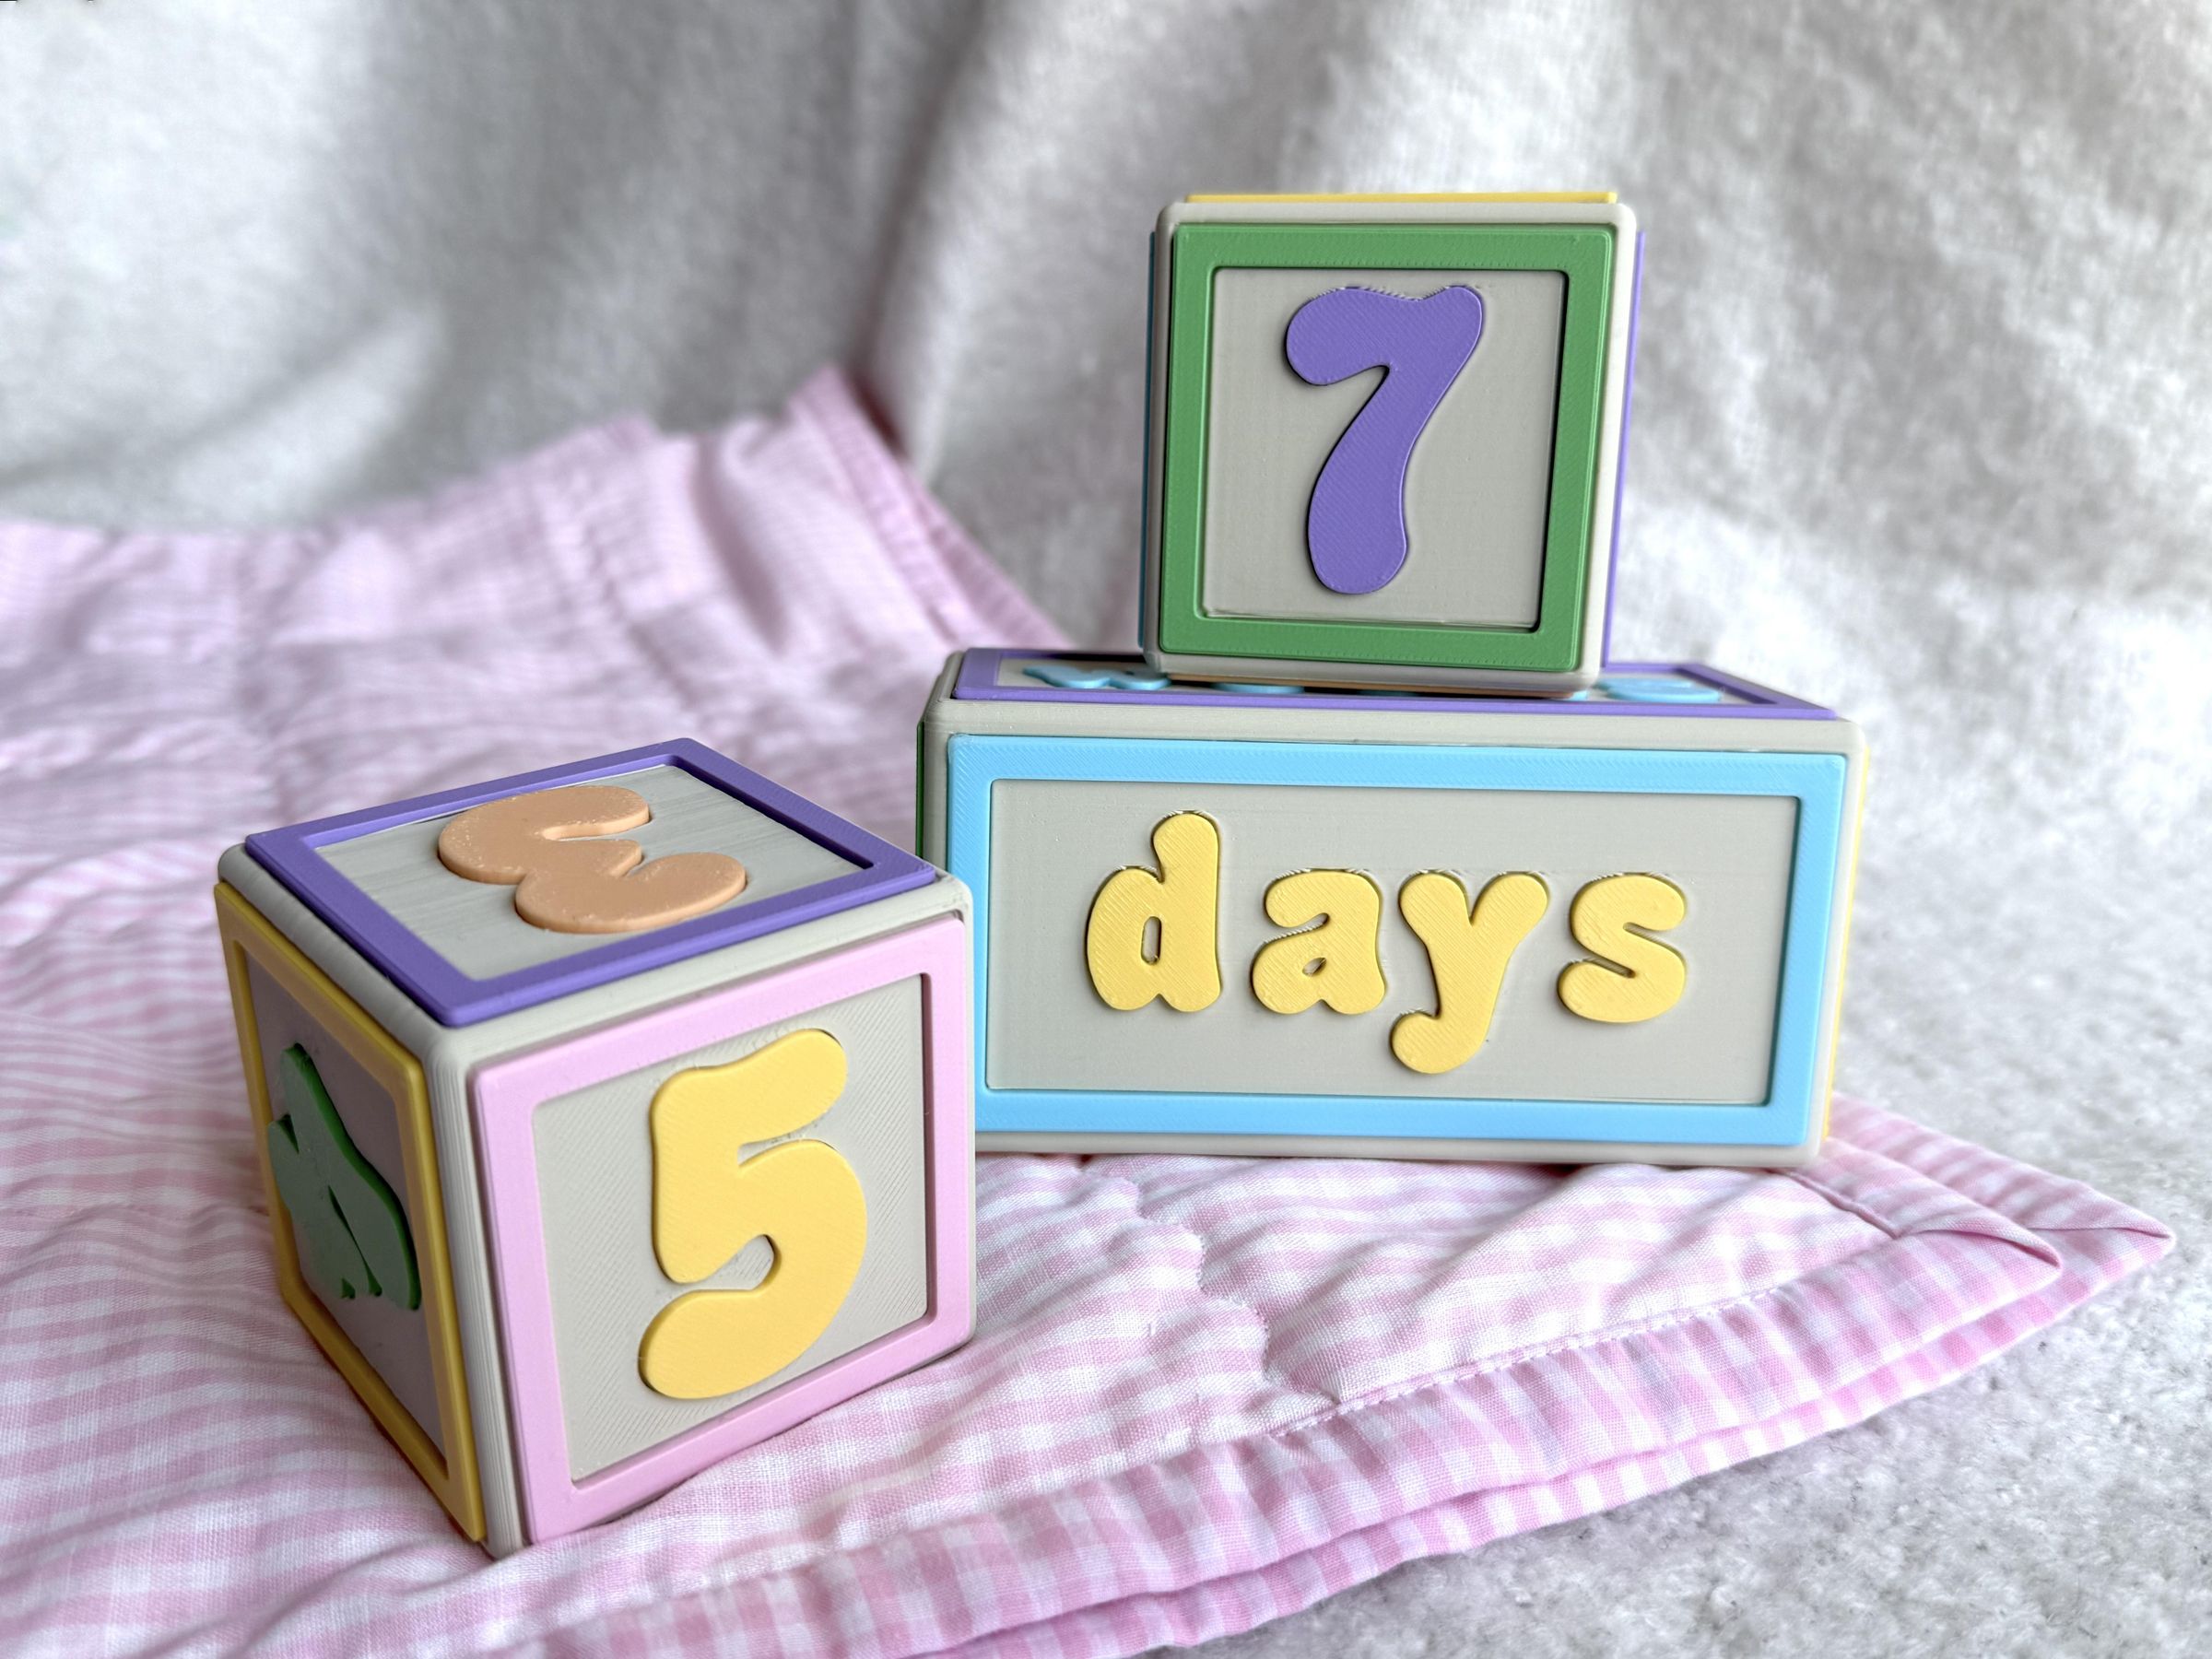
Enjoy your new blocks!