3D-Printed Sub-250g Rocket Drone – Full Build and Files
by yotitote in Workshop > 3D Printing
62 Views, 0 Favorites, 0 Comments
3D-Printed Sub-250g Rocket Drone – Full Build and Files
.JPEG)
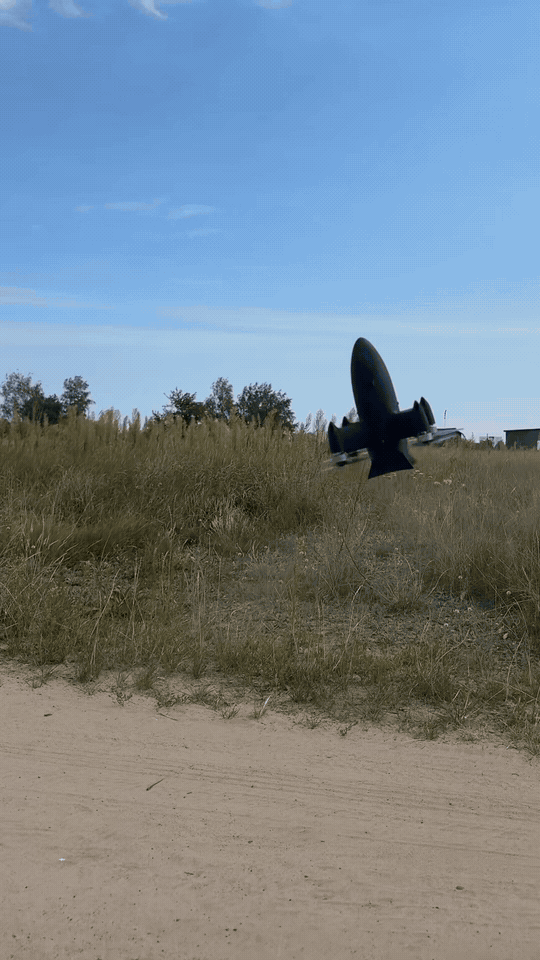
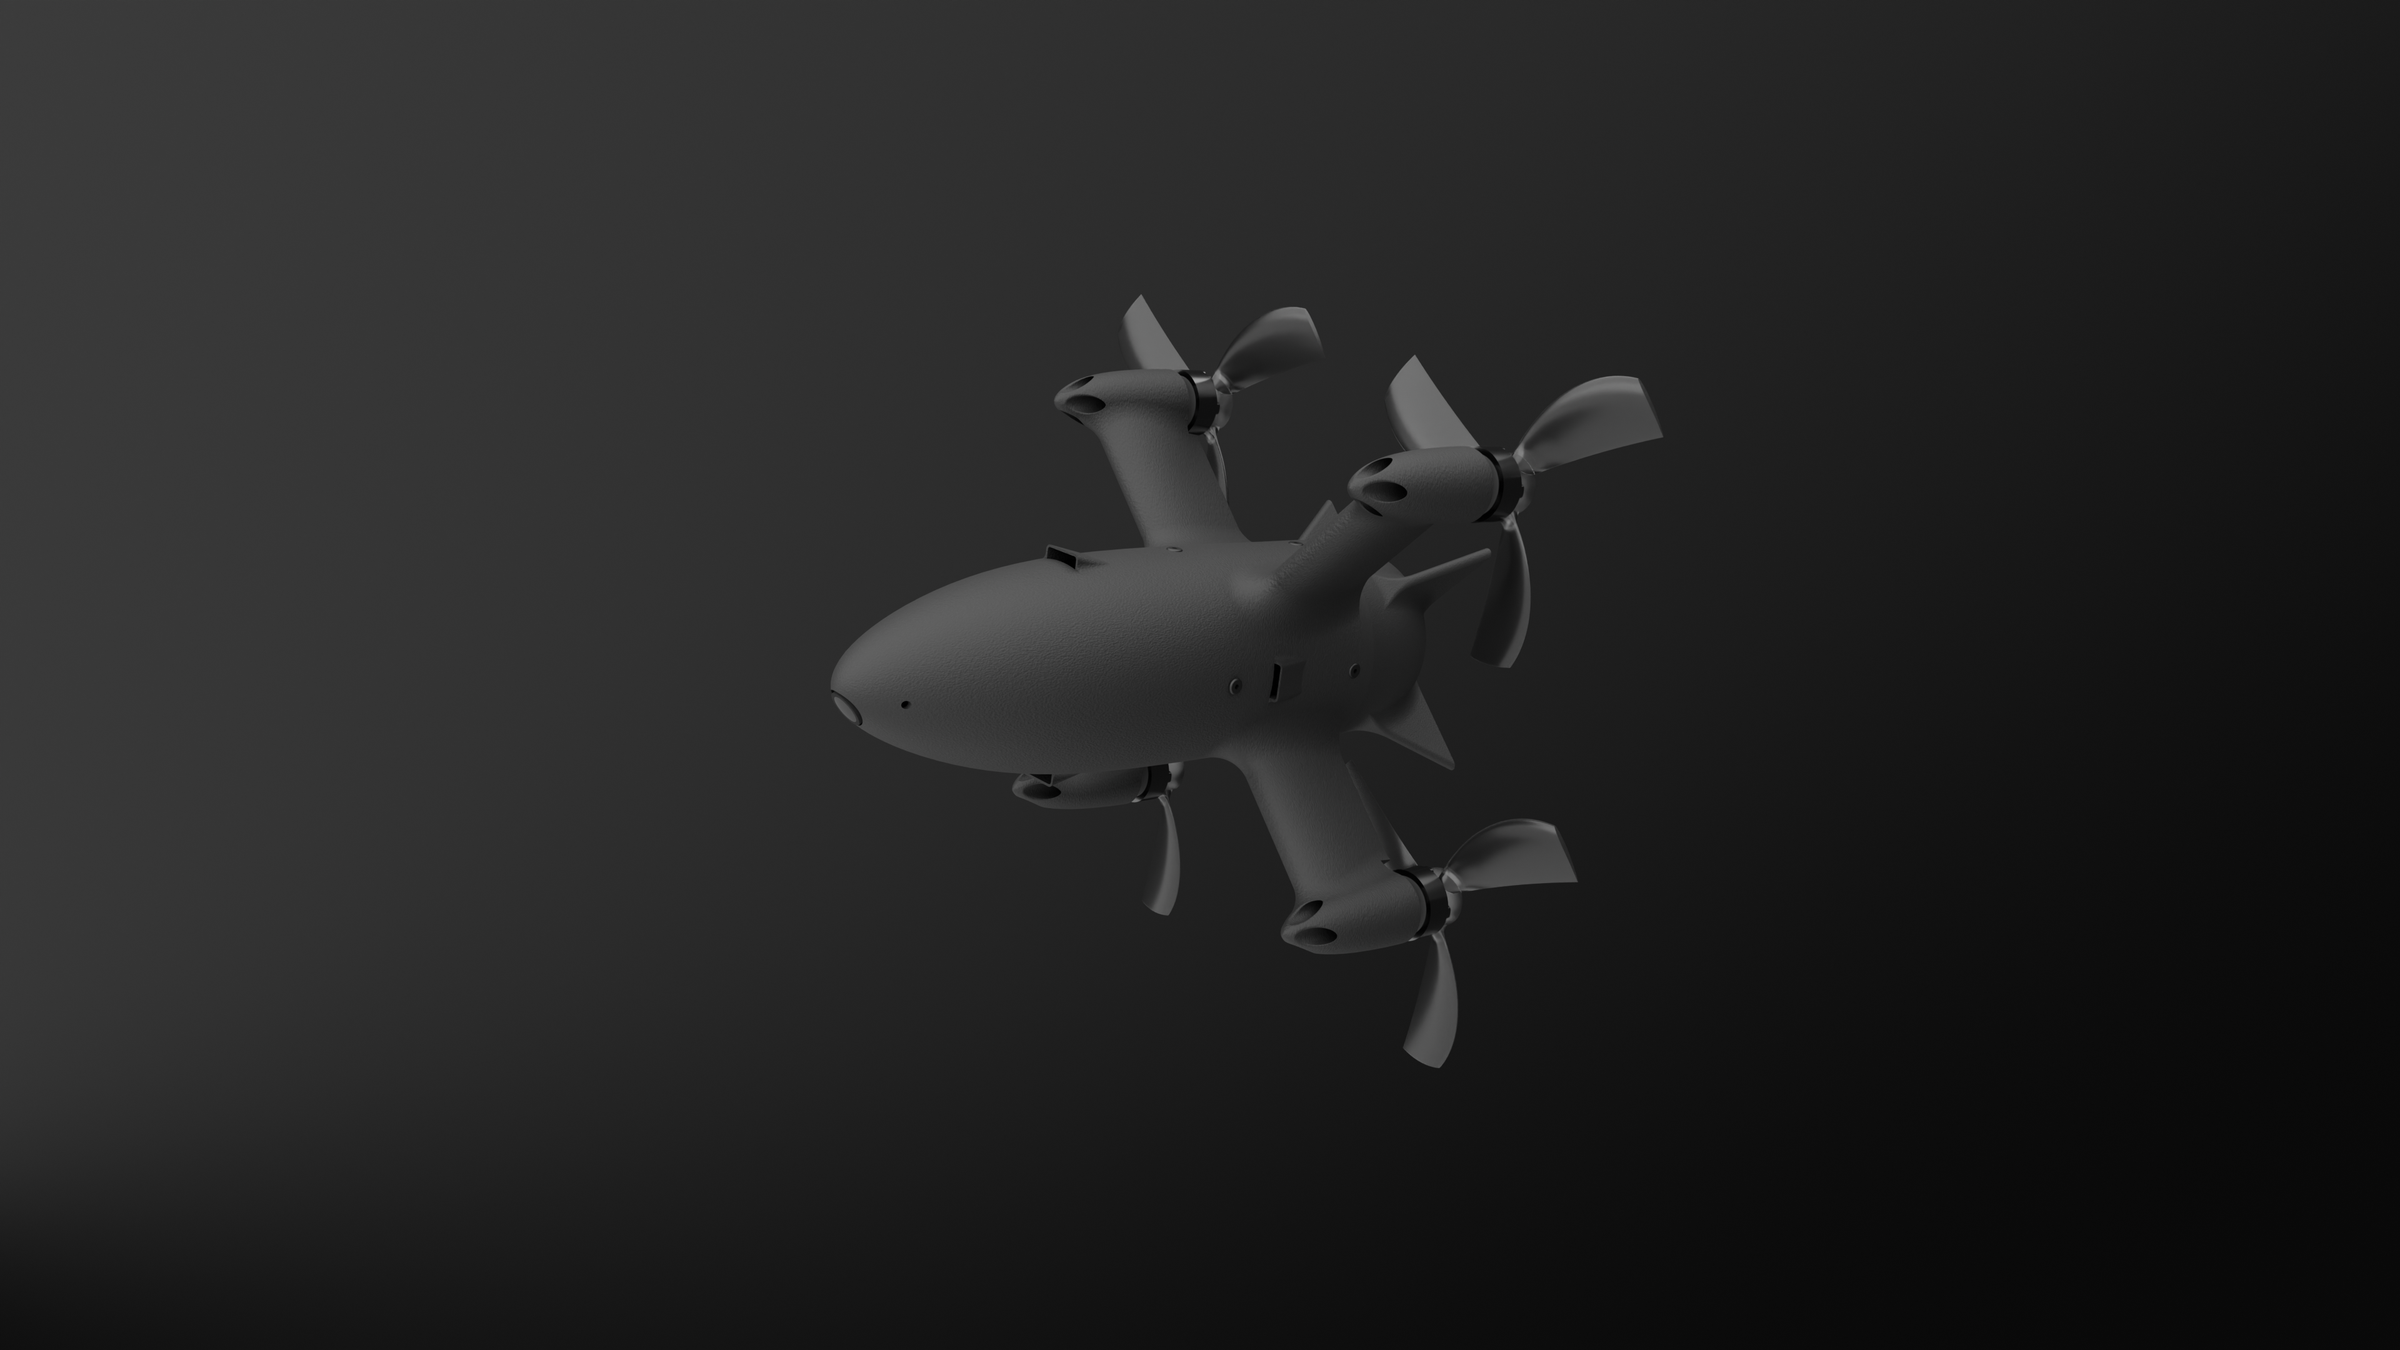
Introduction/Goal:
I wanted to build an FPV drone that was different from a normal exposed carbon-fibre frame. With so much happening recently around high-speed drone records and increasingly aerodynamic designs, I decided to try designing my own fully 3D-printed, rocket-style drone with a streamlined body built around the electronics.
The main challenge was creating a body that looked aerodynamic while still being lightweight, printable and practical to assemble. I designed the entire frame in CAD and printed most of it from LW-PLA, while also adding ventilation and planning the internal layout around the electronics.
My goal was to create a lightweight and fast FPV drone while keeping the total weight below 250 g. The final build came in at around 240 g with a 4S 1000Aah battery and 3.5-inch propellers.
GPS-recorded top speed: 182 km/h
This is NOT a beginner FPV project. Some experience with building, soldering and configuring FPV drones is recommended. I have included all the 3D-printable files so you can build the same drone or use them as a starting point for your own version.
Supplies
Supplies needed:
- LW-PLA
- Glue stick
Tools needed:
- 3D printer
- Caliper
- X-Acto knife
- Sandpaper
Electronics/mechanical parts (what I used):
- FC: F411 MPU6500 AT7456E (20 × 20 mm mount)
- ESC: Bluejay 48 kHz 3–6S 30A (20 × 20 mm mount)
- VTX: 5.8 GHz 25–600 mW 40CH (custom mount)
- FPV Camera: CaddxFPV Baby Ratel 2 (14 mm wide)
- Motors: Brushless 1504 3600KV 4S (9 × 9 mm mount)
- Props: HQProp T3.5×2×3GR-PC
- Battery: Tattu R-Line 1000 mAh V6 4S*
- Screws: A set of M2 screws
All of the parts I used came from an old 3.5-inch drone. They can be replaced with similar components that use the same mounting patterns.
Before choosing alternative components, make sure their dimensions, voltage ratings, and current requirements are compatible with the frame and the rest of the electronics.
*The battery I used is surprisingly lightweight for its capacity, which helps keep the total take-off weight below 250 g. Batteries from other manufacturers may be heavier, so a lower-capacity battery may be required to achieve a similar overall weight.
Designing
.png)
.png)
I designed the frame in Onshape CAD. I started by defining the mounting patterns for the components and the overall dimensions of the drone. The main cone-shaped body was then designed by revolving a sketch of an aerodynamic profile. Next, the arms were created by extruding a NACA 0030 profile. The mounting points for the motors and FC stack were then added.
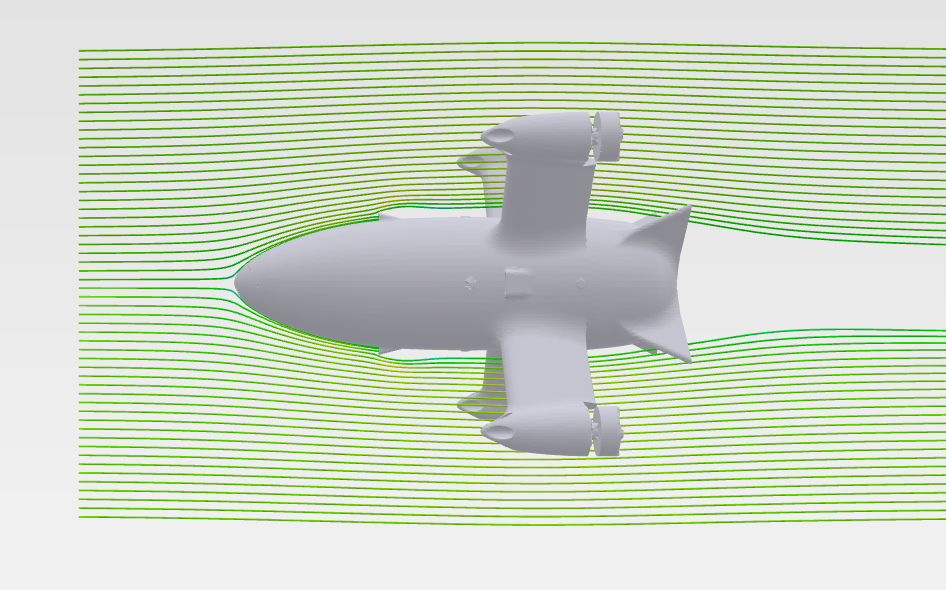
Additionally, ventilation openings for the electronics were added to the upper front section of the body, along with a hot-air outlet at the rear. This ensures proper airflow during high-speed flight and helps prevent the 3D-printed parts from deforming due to heat generated by the electronics. The front-to-rear airflow also allows the internal components to benefit from increased cooling as the drone's airspeed increases.
Finally, fillets were added to smooth the transitions between different parts of the frame and improve the overall aerodynamic shape. The process was finished by some airflow simulations in AirShaper, showing the movement of air around the drone as well as the drag force caused by it.
3D Printing
.JPEG)
.JPEG)
I printed the parts in Polymaker LW-PLA and PETG on my Bambu Lab A1. The stock preset from the manufacturer’s website did not quite work for me, so I created a custom filament preset through trial and error until I achieved consistent results. The 3MF file containing my settings is included below. For non-Bambu printers, I have also included the main print settings:
Print Settings:
- Layer height: 0.2 mm
- Infill: 0%
- Tree supports: ON only for the main body and top cone parts
- Ironing: OFF
- Brim: 6 mm
Use LW-PLA for all body parts and PETG for the link, divider, and VTX mount to prevent these components from softening when exposed to higher temperatures.
I recommend applying a glue stick to the print bed before printing to reduce the risk of warping, especially on the long arm sections.
There are two versions of the bottom body part available: one is designed for better aerodynamics, while the other has a flatter base that allows the drone to stand upright when placed on the ground. When using the more aerodynamic version, the drone can also be launched from a metal water bottle, which works as a simple launch stand and keeps the propellers clear of the ground during take-off.
Warning
LW-PLA behaves differently from standard PLA because it expands and foams during extrusion. Because of this, the manufacturer's default profile may not produce the best results on every printer. Before printing the complete frame, I recommend calibrating the filament for your specific printer.
I found my final settings through trial and error until I achieved consistent extrusion, good layer adhesion, and a low part weight without sacrificing too much strength. The Bambu Studio preset I used is included with the project files.
I strongly recommend printing a small test part before starting the full frame, as the amount of foaming can vary depending on nozzle temperature, flow rate, printer, and even filament batch.
Sanding
.JPEG)
Once the print is complete, it is time to clean up the parts using an X-Acto knife and sandpaper. Use the X-Acto knife to remove larger imperfections and excess material, then use sandpaper for the final smoothing and finishing.
Make sure to remove ALL support material from the motor mounts, as even small pieces left behind can cause the motors to be mounted off-axis. Check that each motor sits completely flat against its mounting surface before installing the screws.
For sanding, I started with 100-grit sandpaper and finished with 200-grit, which provided a satisfactory finish. If a smoother surface is desired, the parts can also be wet-sanded using finer-grit sandpaper.
The use of a respirator is recommended when dry sanding LW-PLA, as it creates fine plastic dust that can bypass the nose’s natural filtration and make its way into the lungs.
Electronics Information
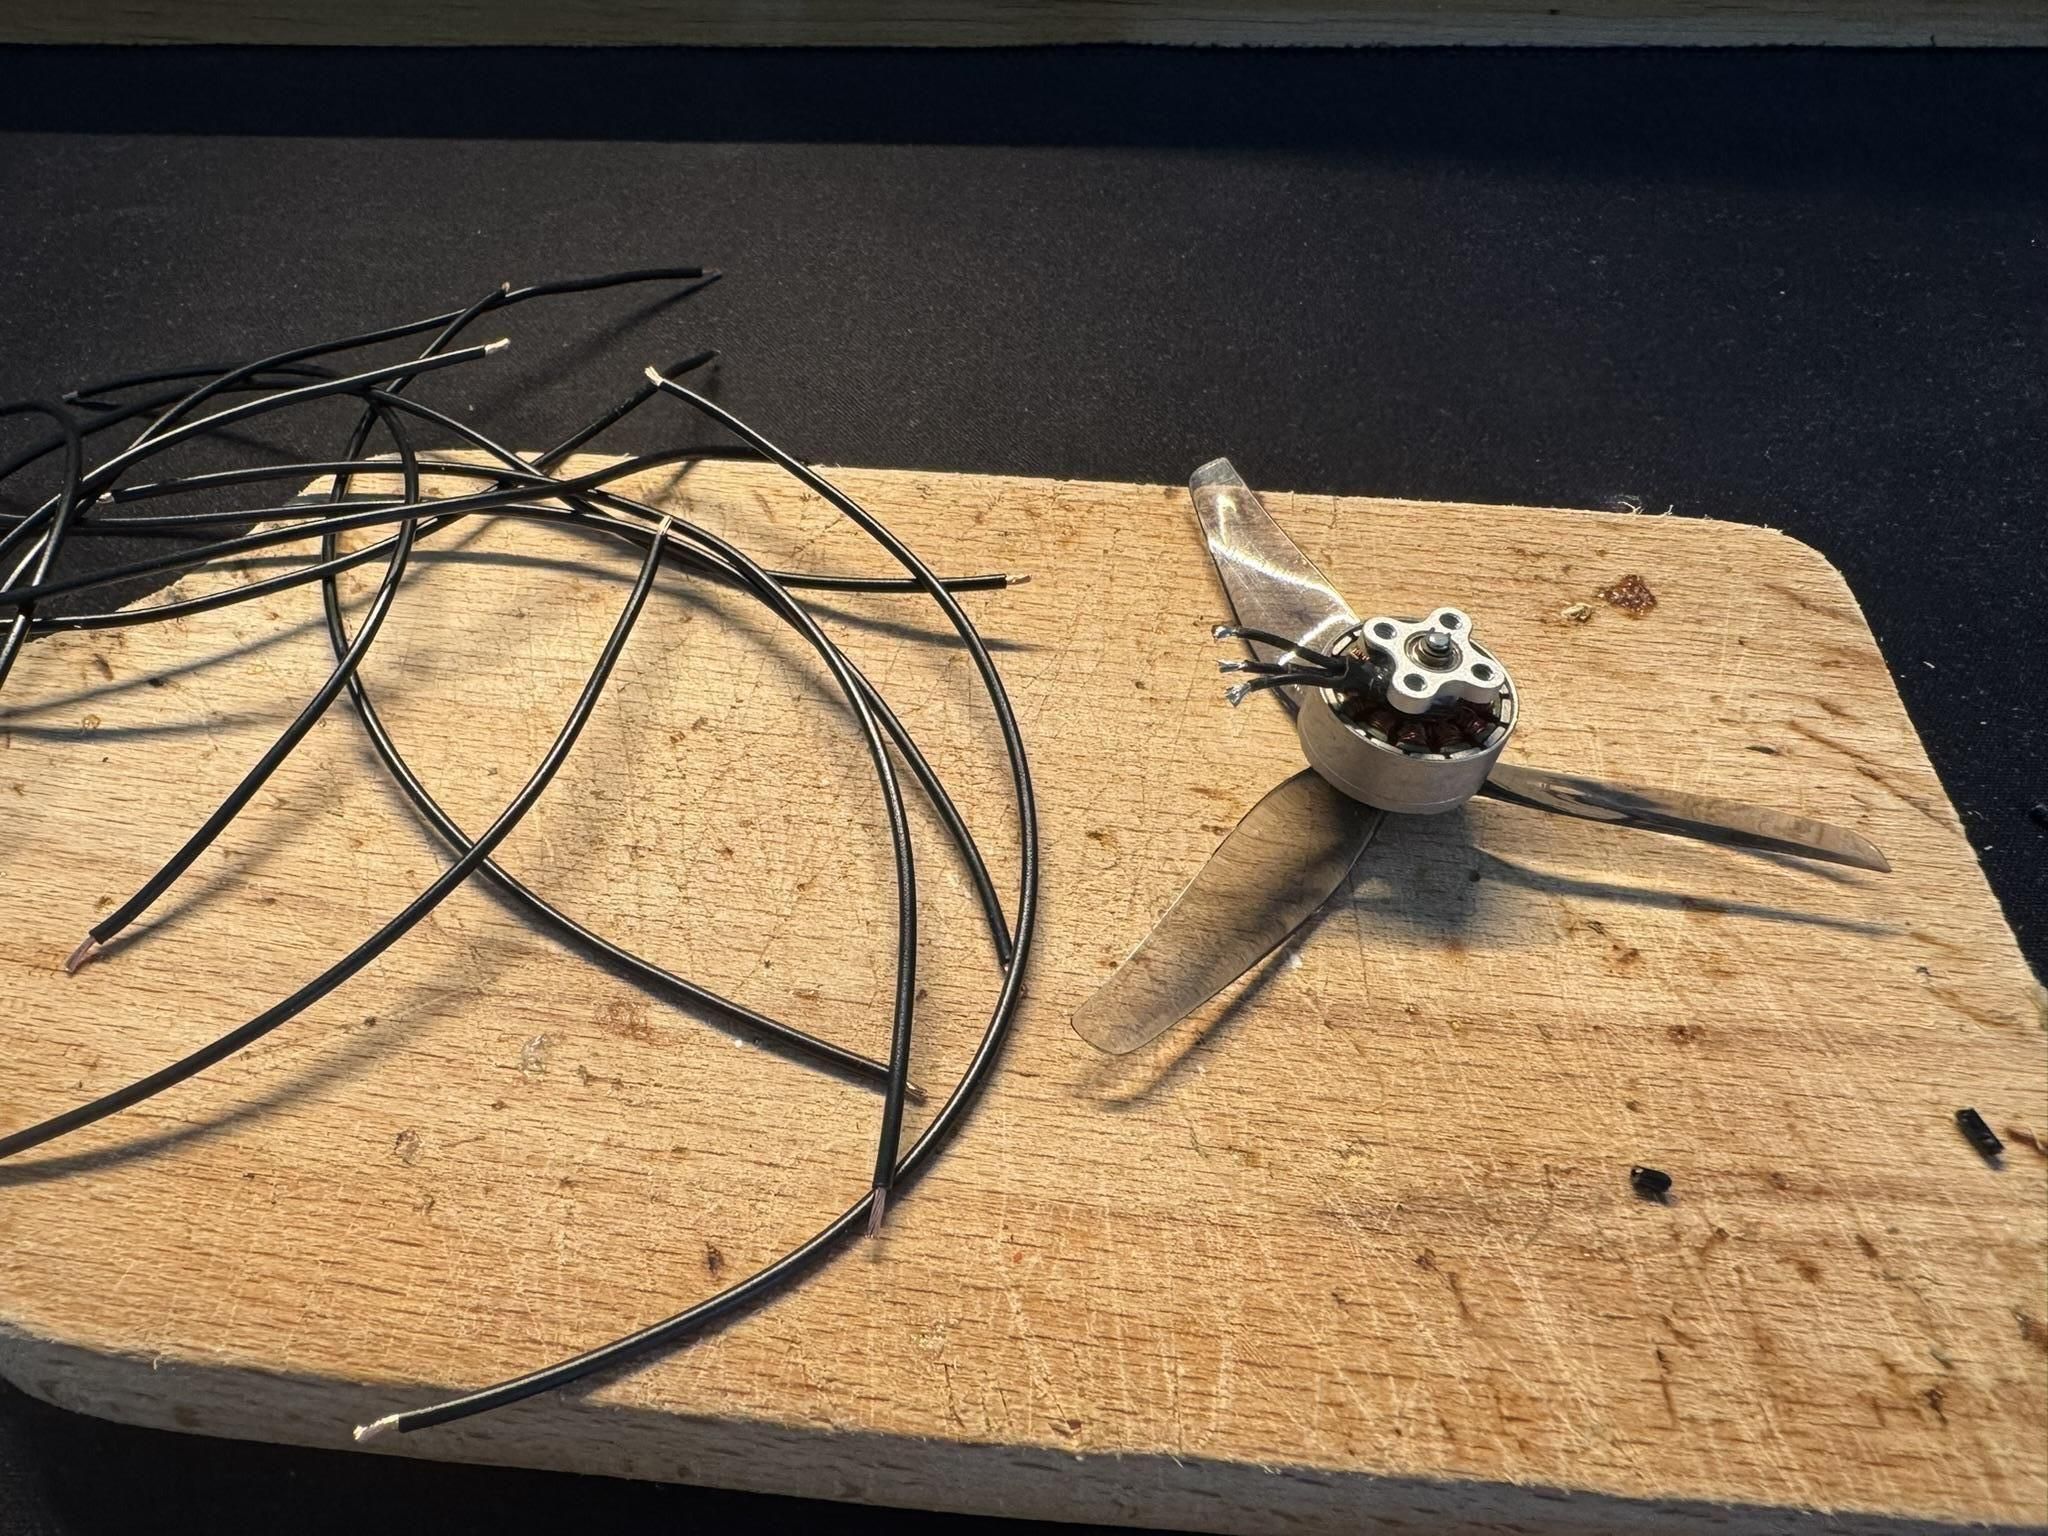
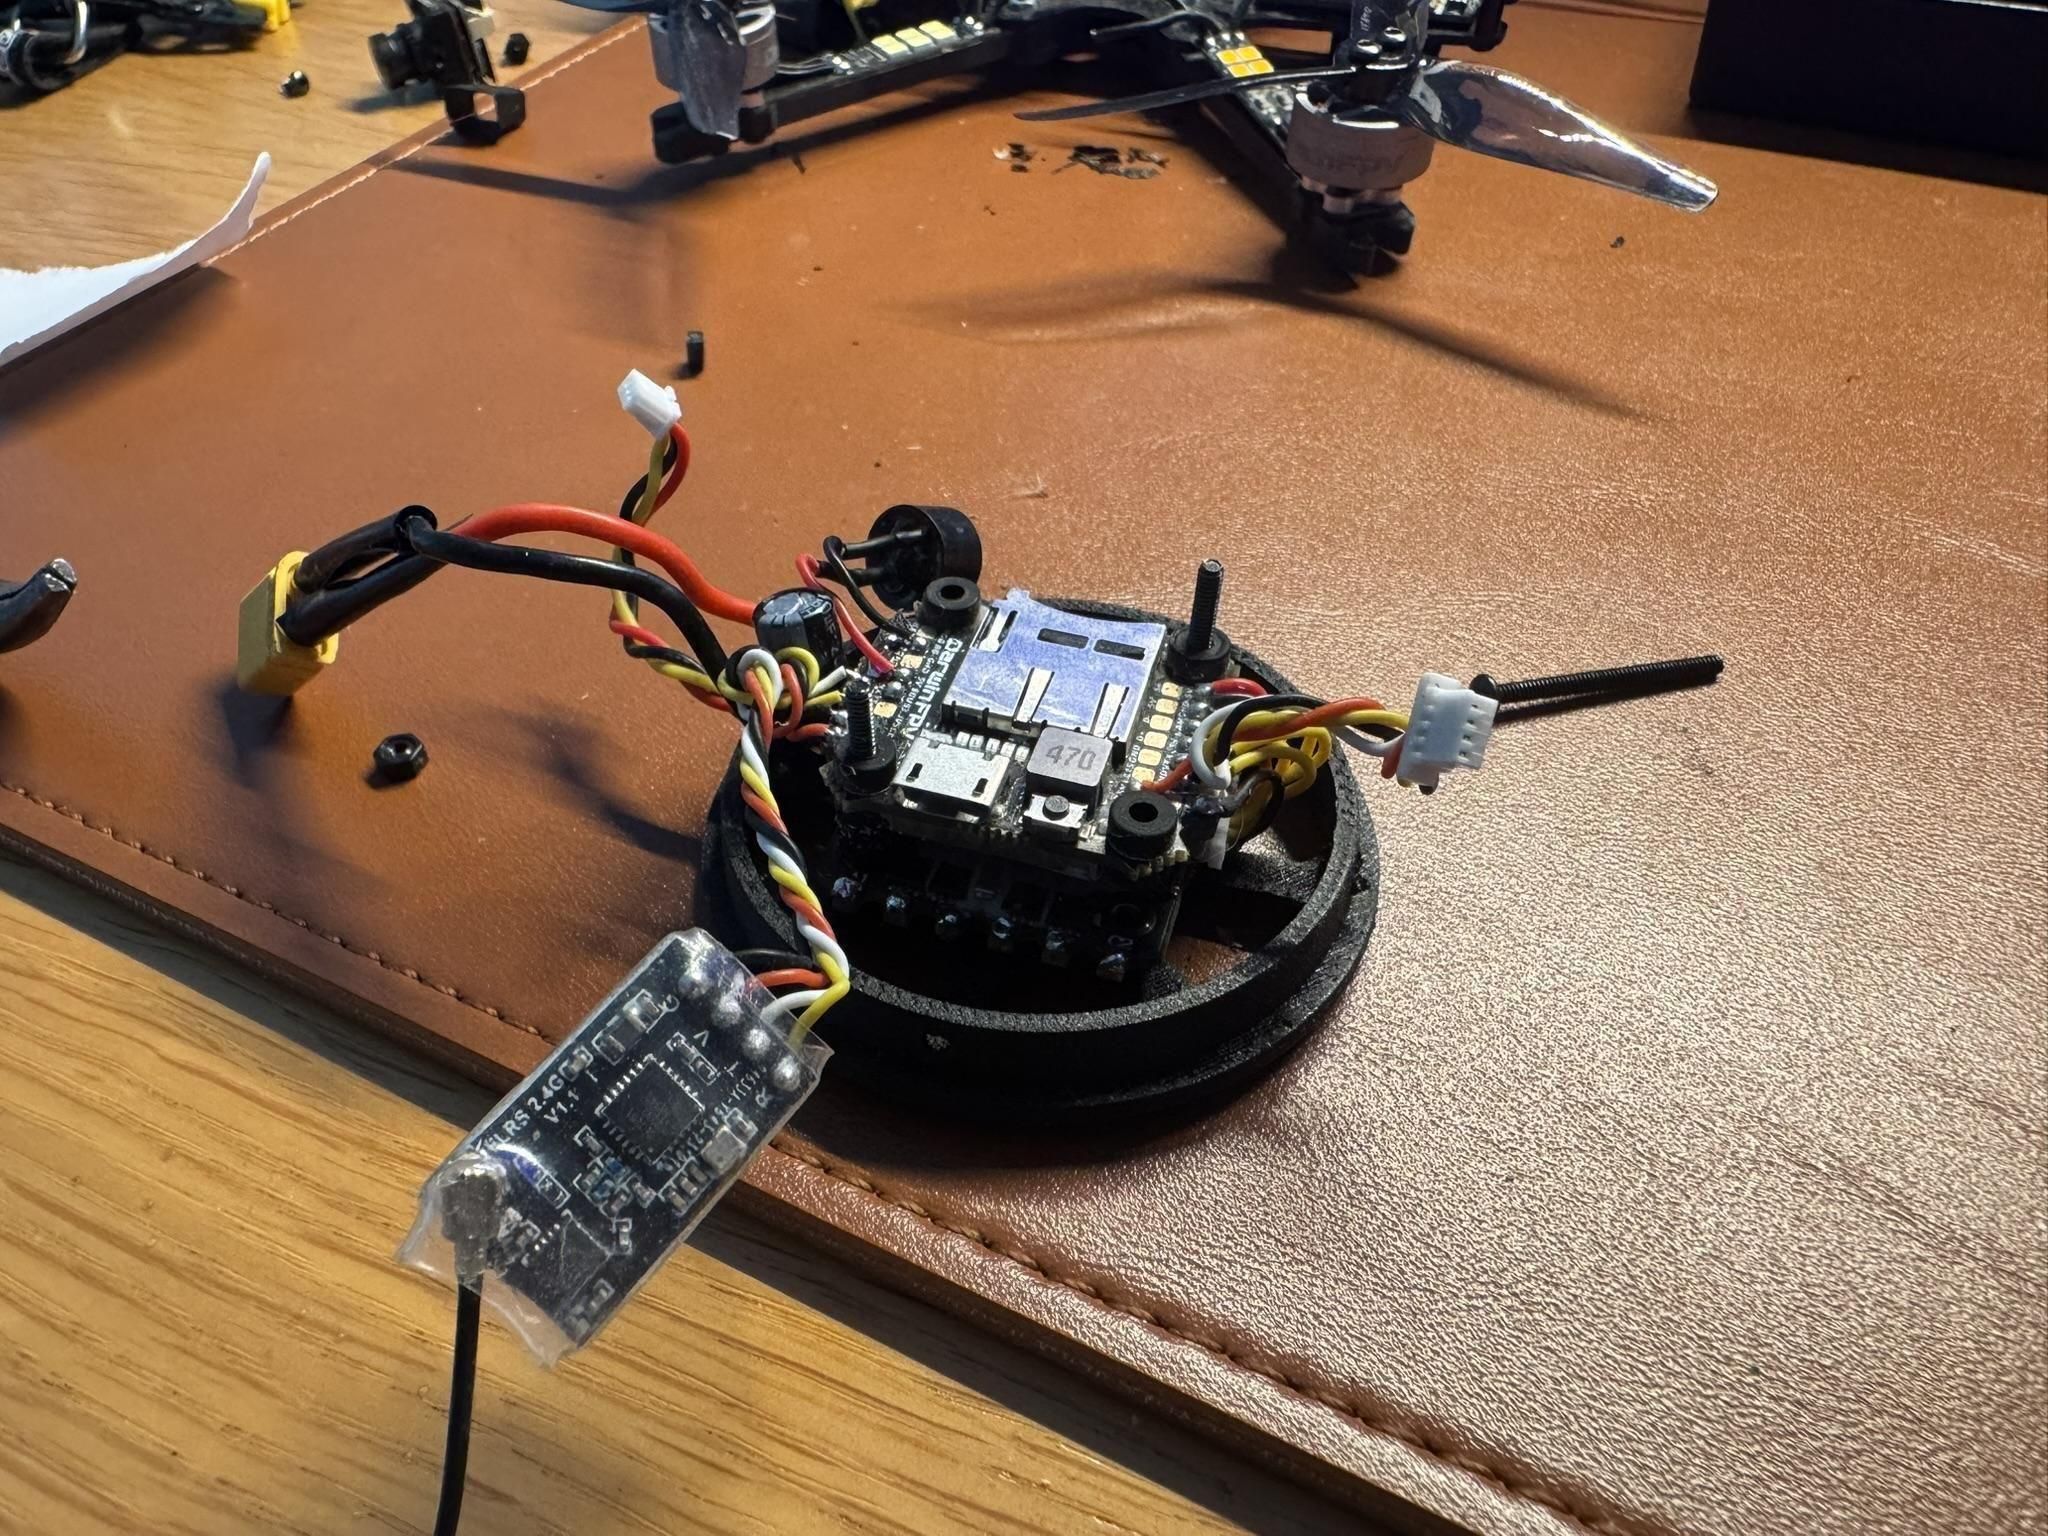
Make sure that your motor wires are long enough to pass through the arms and extend slightly beyond them. I cut mine to approximately 12 cm, which left enough wire to solder them to the ESC after feeding them through the arms.
Use a camera cable that is at least 14 cm long so that it can be routed alongside the battery and reach the camera in the nose cone.
Make sure to follow the motor/ESC wiring instructions in the next step to avoid having to disassemble or redo any connections later. I recommend checking the wire lengths and routing before soldering anything permanently.
Motors and Wiring
.JPEG)
.JPEG)
Feed the motor wires through the holes in the arms. It is a tight fit, so I recommend pulling all three wires together to about two-thirds of their length and then pulling them through one by one to make the process easier.
Next, mount the motors in place using four screws each. The motor mount has a thickness of 3.5mm, use the right length screws for your motors. Make sure to tighten them securely, but be careful not to damage the plastic. Undertightened motor screws can cause vibrations and potentially lead to a loss of control if the drone begins to oscillate. After mounting each motor, check that it sits flat against the mount and cannot move or rotate by hand.
Then, pull all of the motor wires through the bottom section of the main body and solder them to the ESC as shown in the photo (apart from the solder quality, which could be a little better).
Electronics and Final Assembly
.JPEG)
.JPEG)
.JPEG)
.JPEG)
.JPEG)
Prepare the stack mount by inserting four long M2 screws through the link part and securing them with plastic nuts. Next, mount the FC onto the screws and the ESC above the FC. I placed the FC at the bottom and the ESC at the top of the stack to allow the ESC to be cooled more efficiently by the airflow through the top vents.
Next, carefully fold the cables and slide the entire assembly into the main body, securing it with 3mm M2 screws. The bottom body section can then be installed either by snapping it into place or by using CA glue for additional security.
The divider is the part on which the battery rests. It can be slid into position from the top of the main body with a small amount of force. Before pushing it fully into place, make sure to guide the ELRS receiver, camera cable, and power lead through the larger opening in the divider. Double-check that no wires are pinched between the divider and the body before securing the assembly.
Finally, mount the camera in the nose using two 10mm M2 screws threaded through the sides of the nose cone. I used a pair of long tweezers to position the camera correctly and align it with the screw holes.
Motor Check and Propellers
.JPEG)
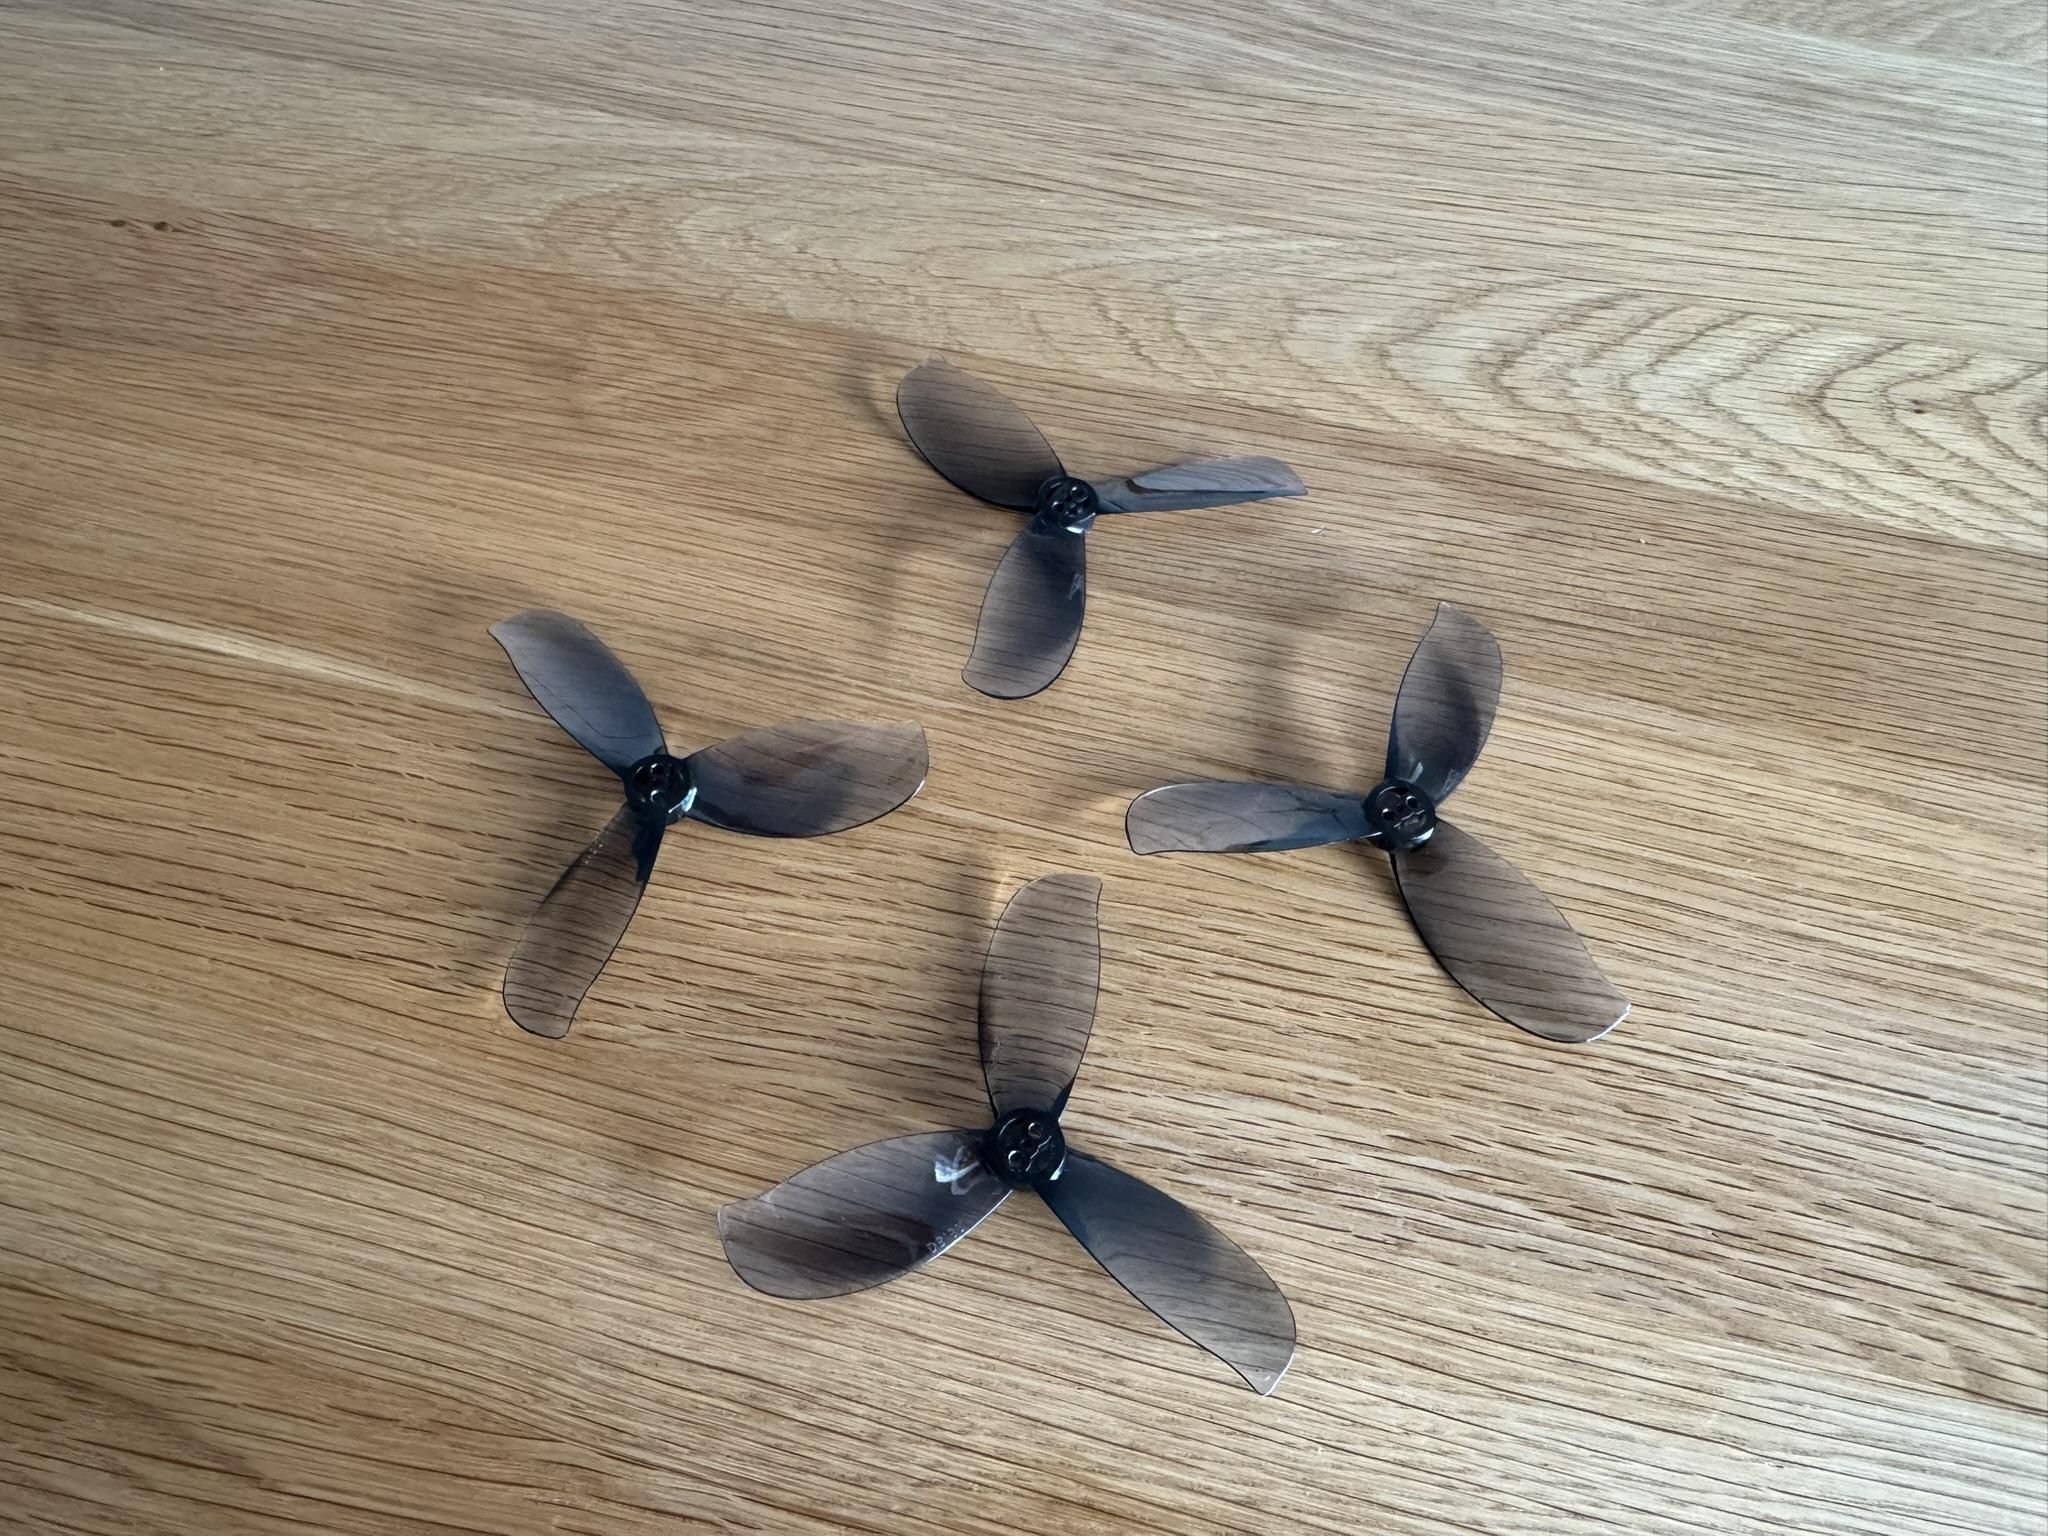
Before installing the propellers, make sure that all four motors are correctly assigned and spinning in the intended direction. Check the motor order and direction in Betaflight and compare them with the diagram above.
If a motor is spinning in the wrong direction, reverse its direction through your ESC configuration or swap two of the three motor wires.
Always perform motor direction and motor order tests WITHOUT the propellers installed.
Once everything has been verified, install the propellers according to the required CW and CCW rotation directions. Make sure each propeller is installed with the correct side facing upwards and that all propeller nuts or screws are properly secured.
GPS Installation
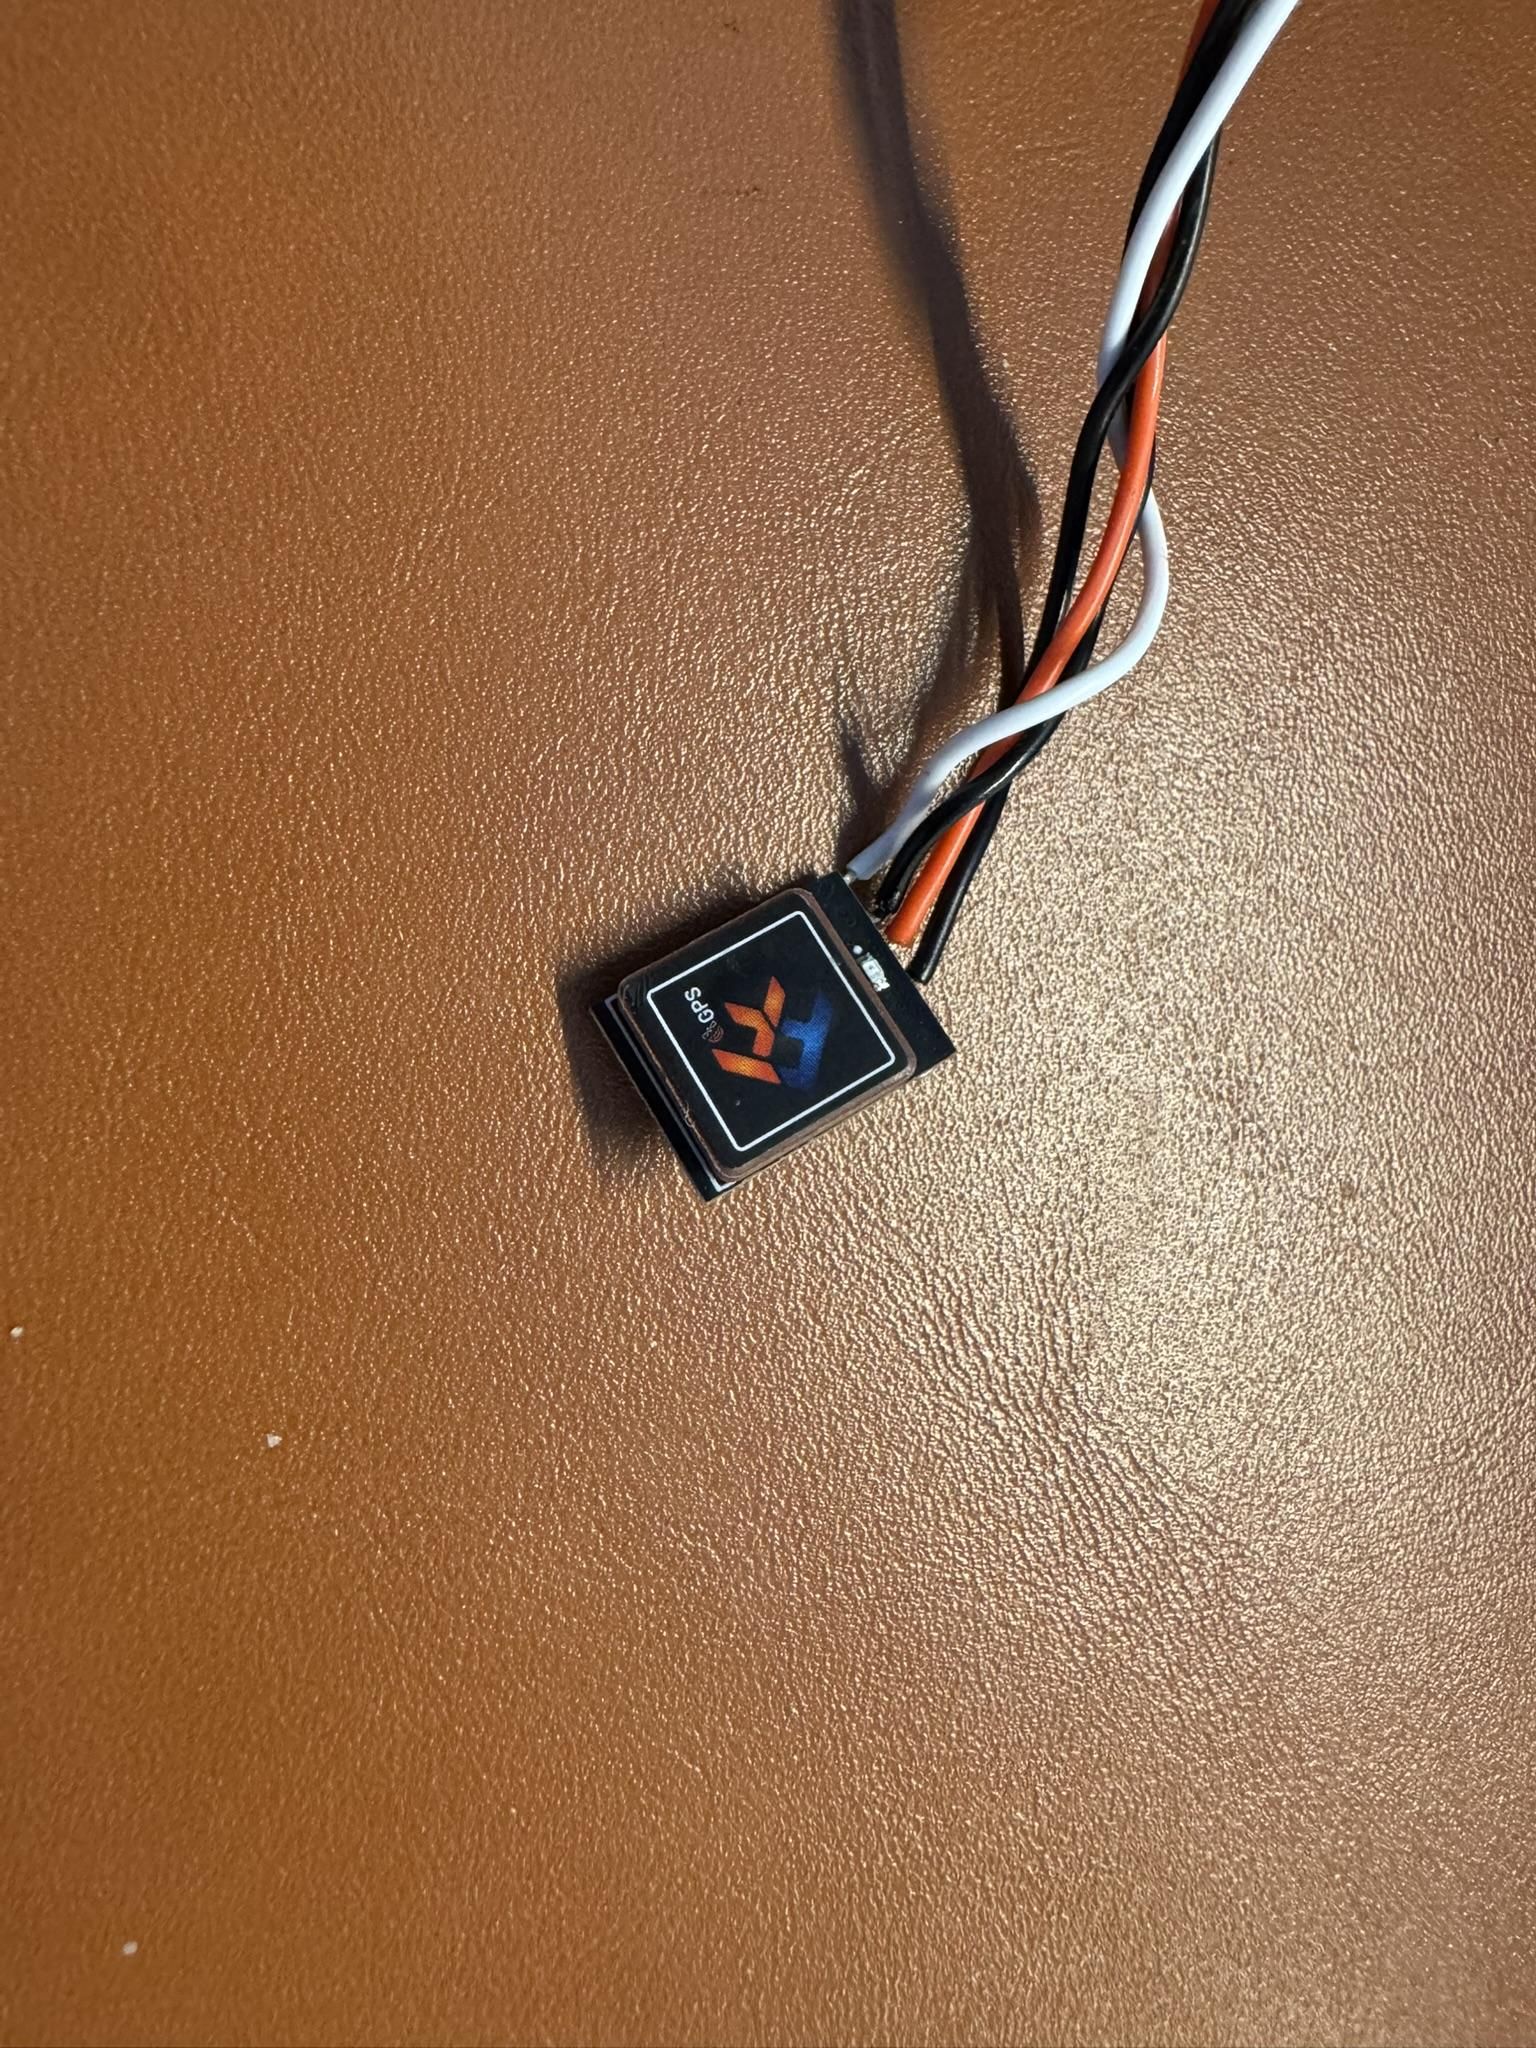
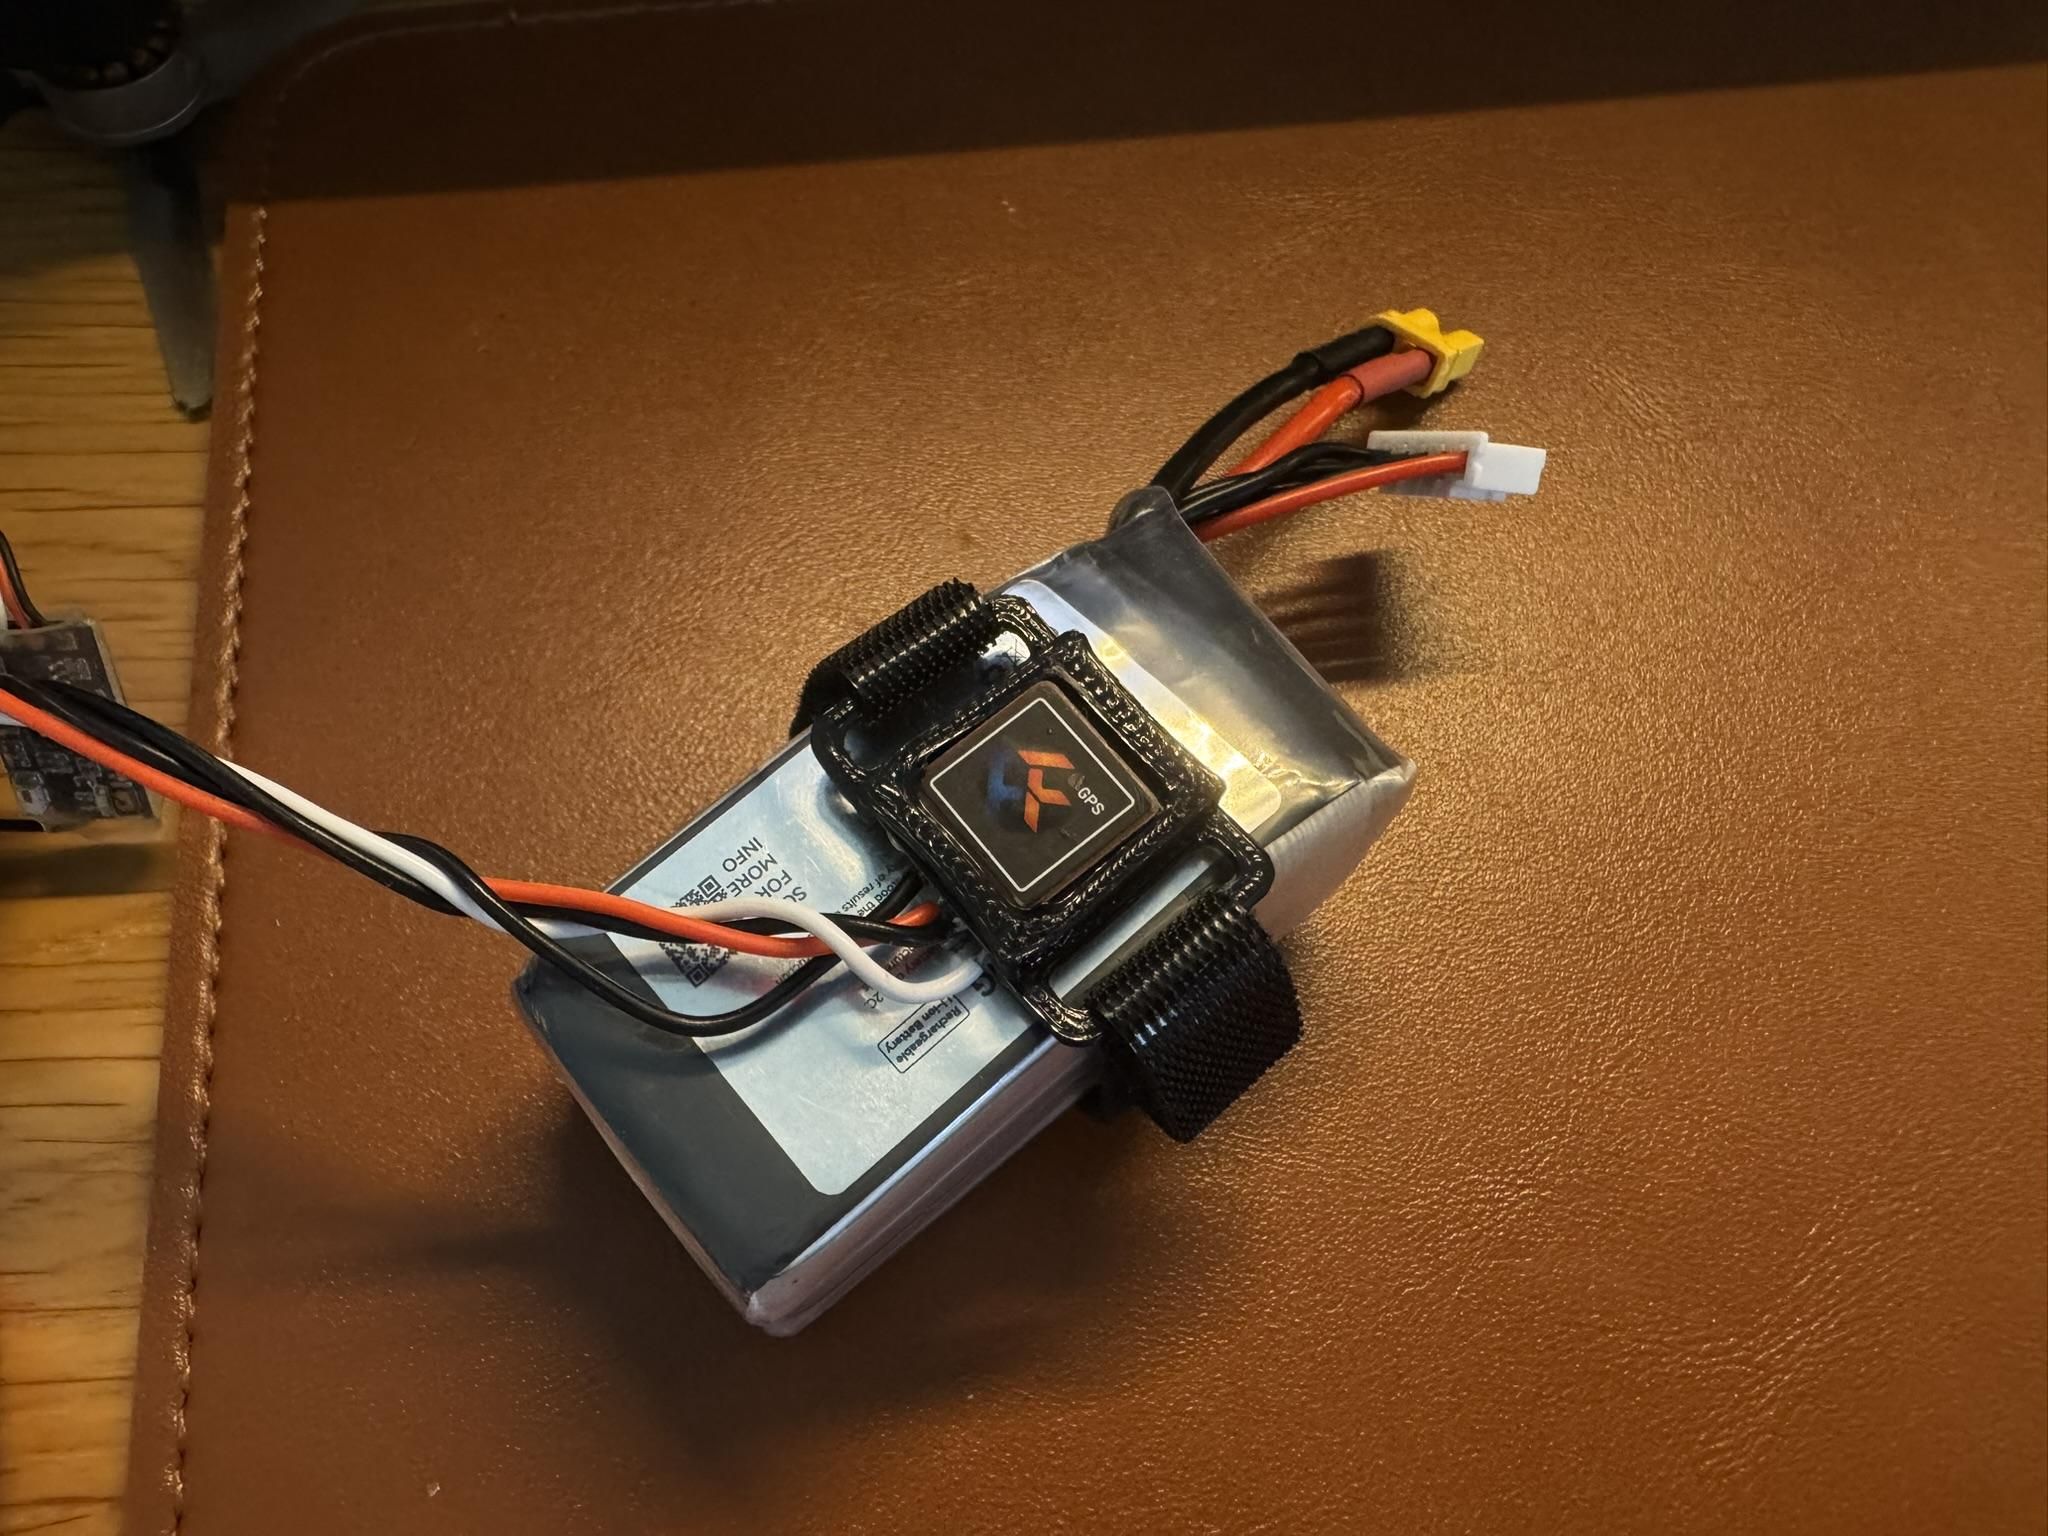
The GPS module was mounted on top of the battery using a Velcro strap, which keeps it secure while still allowing easy access and removal. Before attaching the nosecone for each flight, make sure the GPS is facing upwards and wait for a satellite fix. If it is facing sideways or downwards, it will fail to get a GPS fix.
Betaflight Configuration
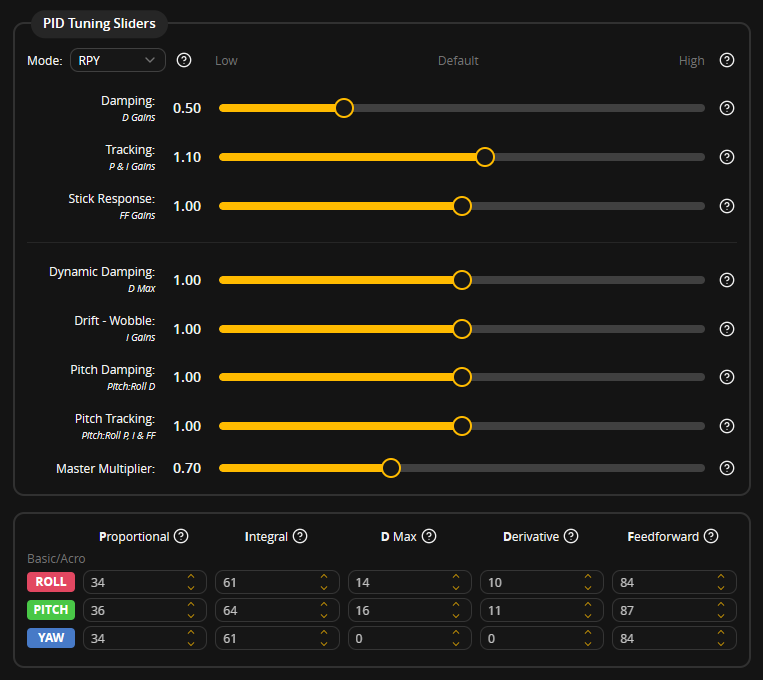

As LW-PLA is much more flexible than the carbon fibre commonly used in FPV drone frames, the PID and filter settings need to be adjusted accordingly. Above are the settings I found to work well with this frame.
For the filter settings, I decreased the Gyro Filter Multiplier to approximately 0.6 and the D-Term Filter Multiplier to approximately 0.5. For the PID tuning, I decreased the D gains to approximately 0.6 and the Master Multiplier to approximately 0.7.
These values should be treated as a starting point rather than a universal tune, as the optimal settings may vary depending on the motors, propellers, electronics, and overall build weight. With the components listed in this guide and the battery installed, my final take-off weight is 246 g, keeping the drone just under the 250 g mark.
Any other settings should be configured as you would on a conventional FPV drone. Choose whichever settings work best for your setup and personal preferences.
Flight Results

Flight Testing:
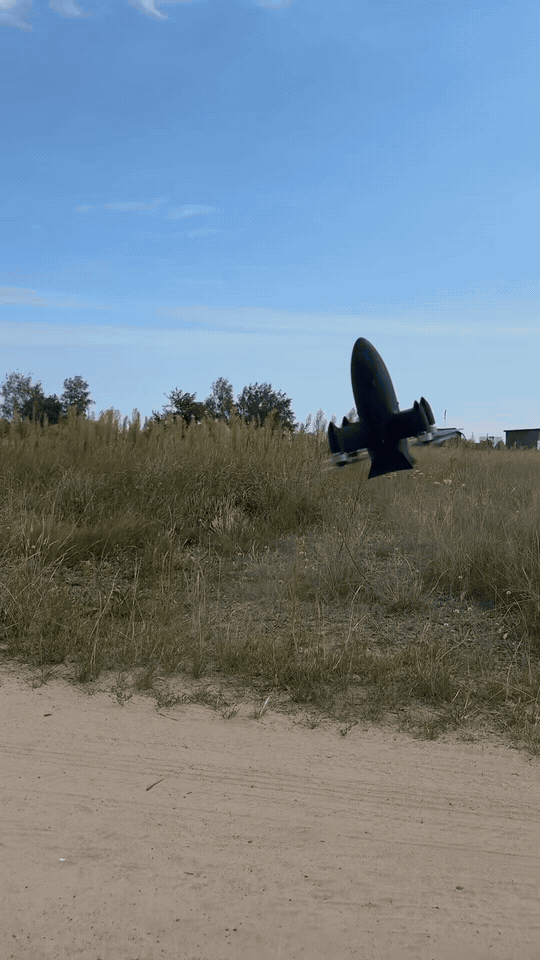
After completing the build and Betaflight setup, I started testing the drone and gradually increased the speed. Despite the unusual 3D-printed frame, the drone felt stable and responsive even at higher speeds.
During one of the speed runs, I recorded a maximum speed of 182 km/h using GPS. This is obviously far below any world record, but I think it is still a pretty good result for the first iteration of a completely self-designed and 3D-printed model.
What's Next?:
There is also still a lot of room for improvement. For V2, I want to work on making the geometry even more aerodynamic and reducing unnecessary drag. I also plan to test two-bladed propellers with a higher pitch, which should reduce propeller drag while being better suited for higher speeds.
Another major change will probably be the powertrain. The current setup was not designed purely for speed flying, so I would like to choose a more suitable motor, propeller and battery combination. I am also considering moving to 6S for V2 to increase the available power and speed potential.
For now, I am really happy with 182 km/h, especially considering this was the first version and there are still many things that can be optimized.
Done!
.JPEG)
.JPEG)
Now you can safely enjoy your electric sub-250 g rocket! Remember: just because it weighs less than 250 g doesn’t mean it has to fly like it does :). Stay tuned for the improvements to come with the next version.