3D Printed Toy Car

We made a 3D printed toy car as an assignment for our Intro to Engineering class. We were given outlines of the project by another group and assigned to make it better by using what we learned in our class over the semester. Using the previous groups design and coding, we had a good head start and idea of what to do and modified it.
Supplies
- Adafruit Circuit Playground Express Basekit
- Continuous Rotation Micro Servo
- Alligator Clips to Male Wires
- 3D Printer
- Computer
- Hot glue gun
- Rubber wheels
Download Your 3D Print


- Choose a file from Thingiverse and download it to your computer as an stl file
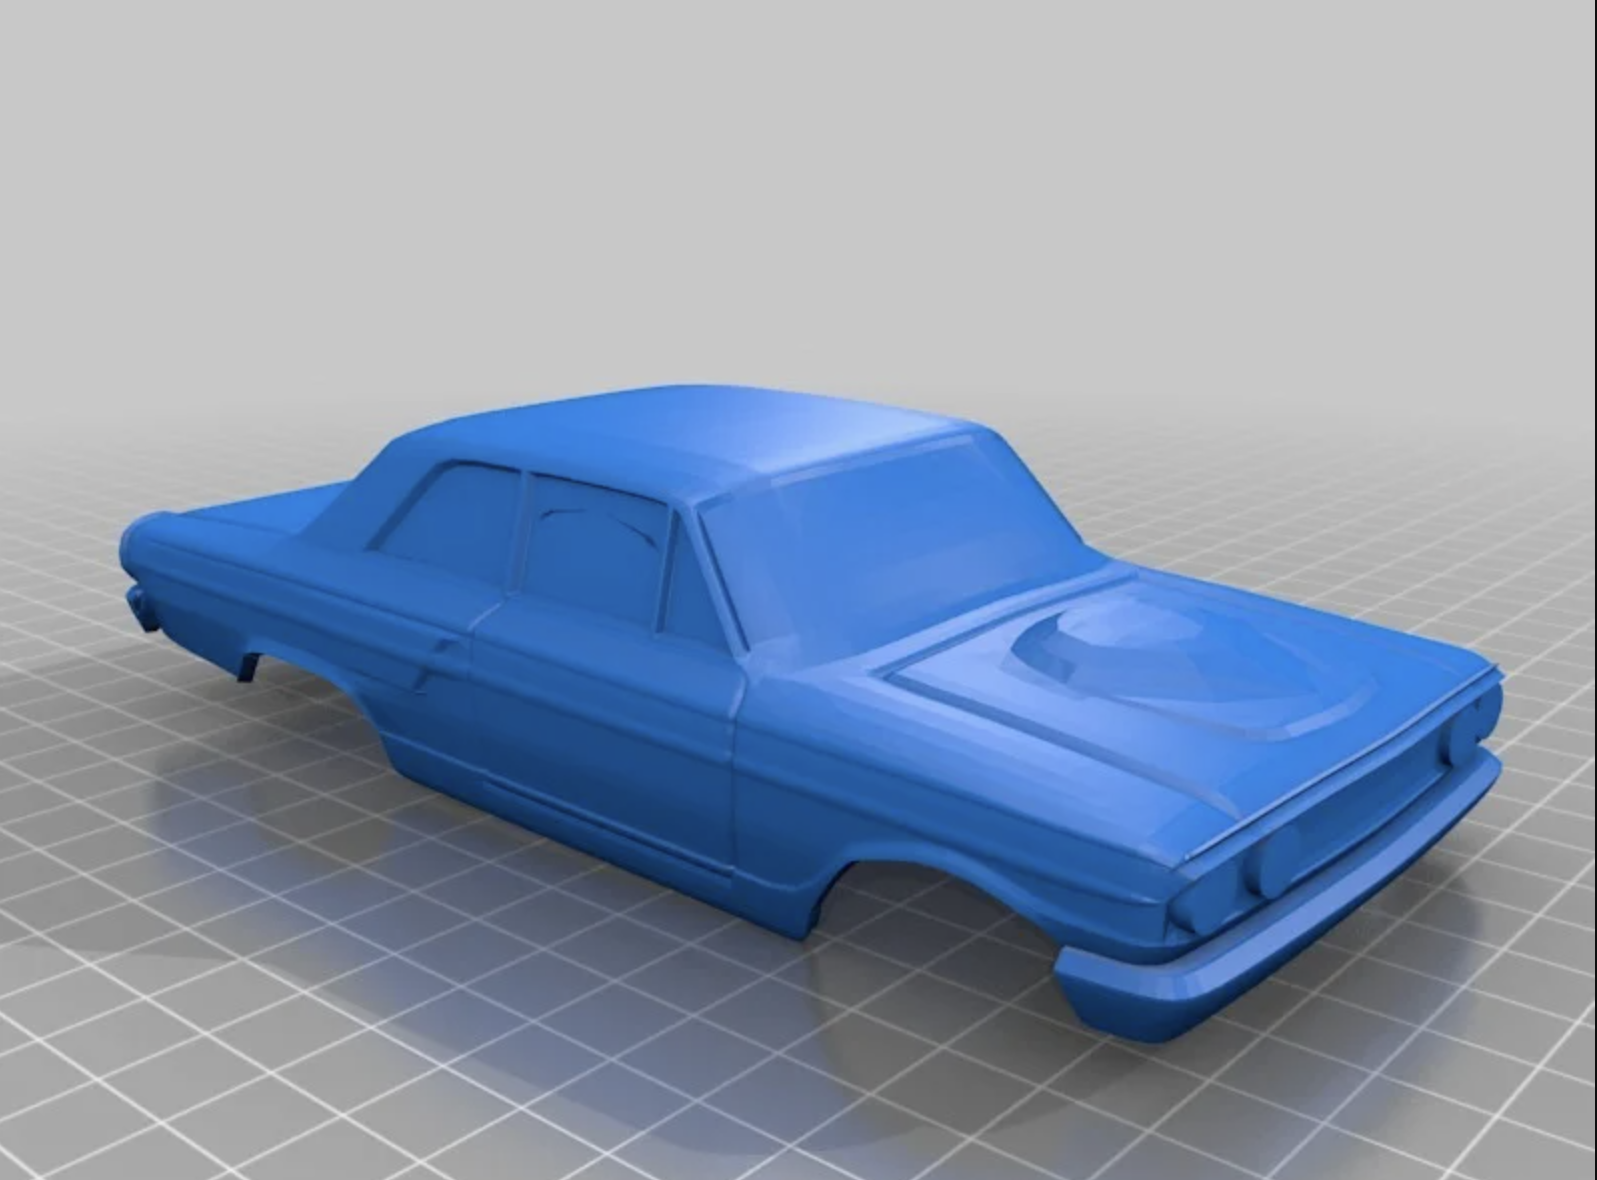
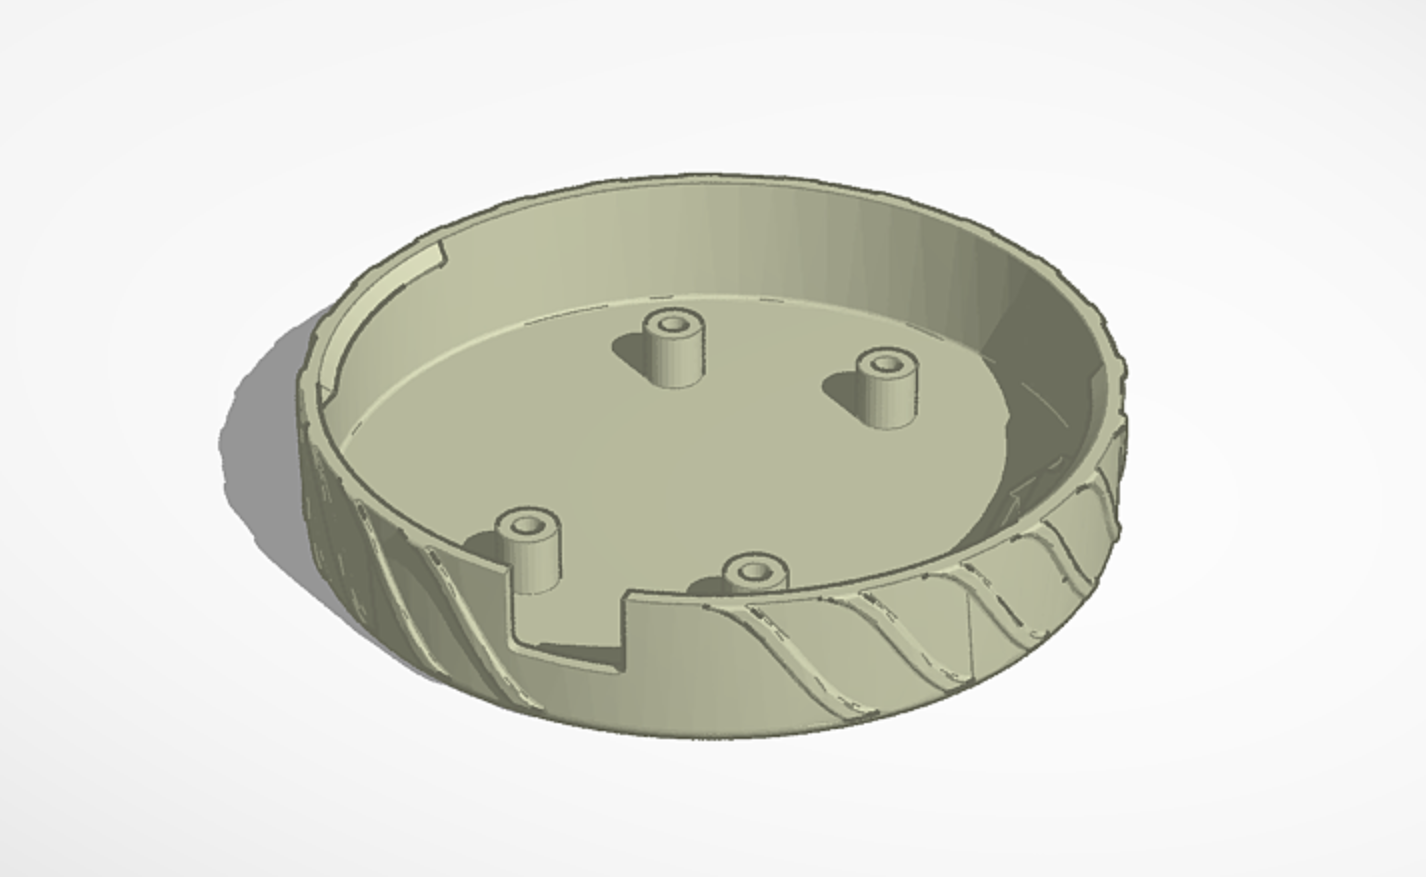
- We 3D printed the shell of the car, the CPX holder, and the axles
Slice + Save Your Model
- Use Makerbot Cloud Print to see your print layer by layer
- Import the stl file and position it how you want
- The shell, and holder don't need supports, the axels need a raft
- Export your file so it is saved on your computer
Using MakeCode

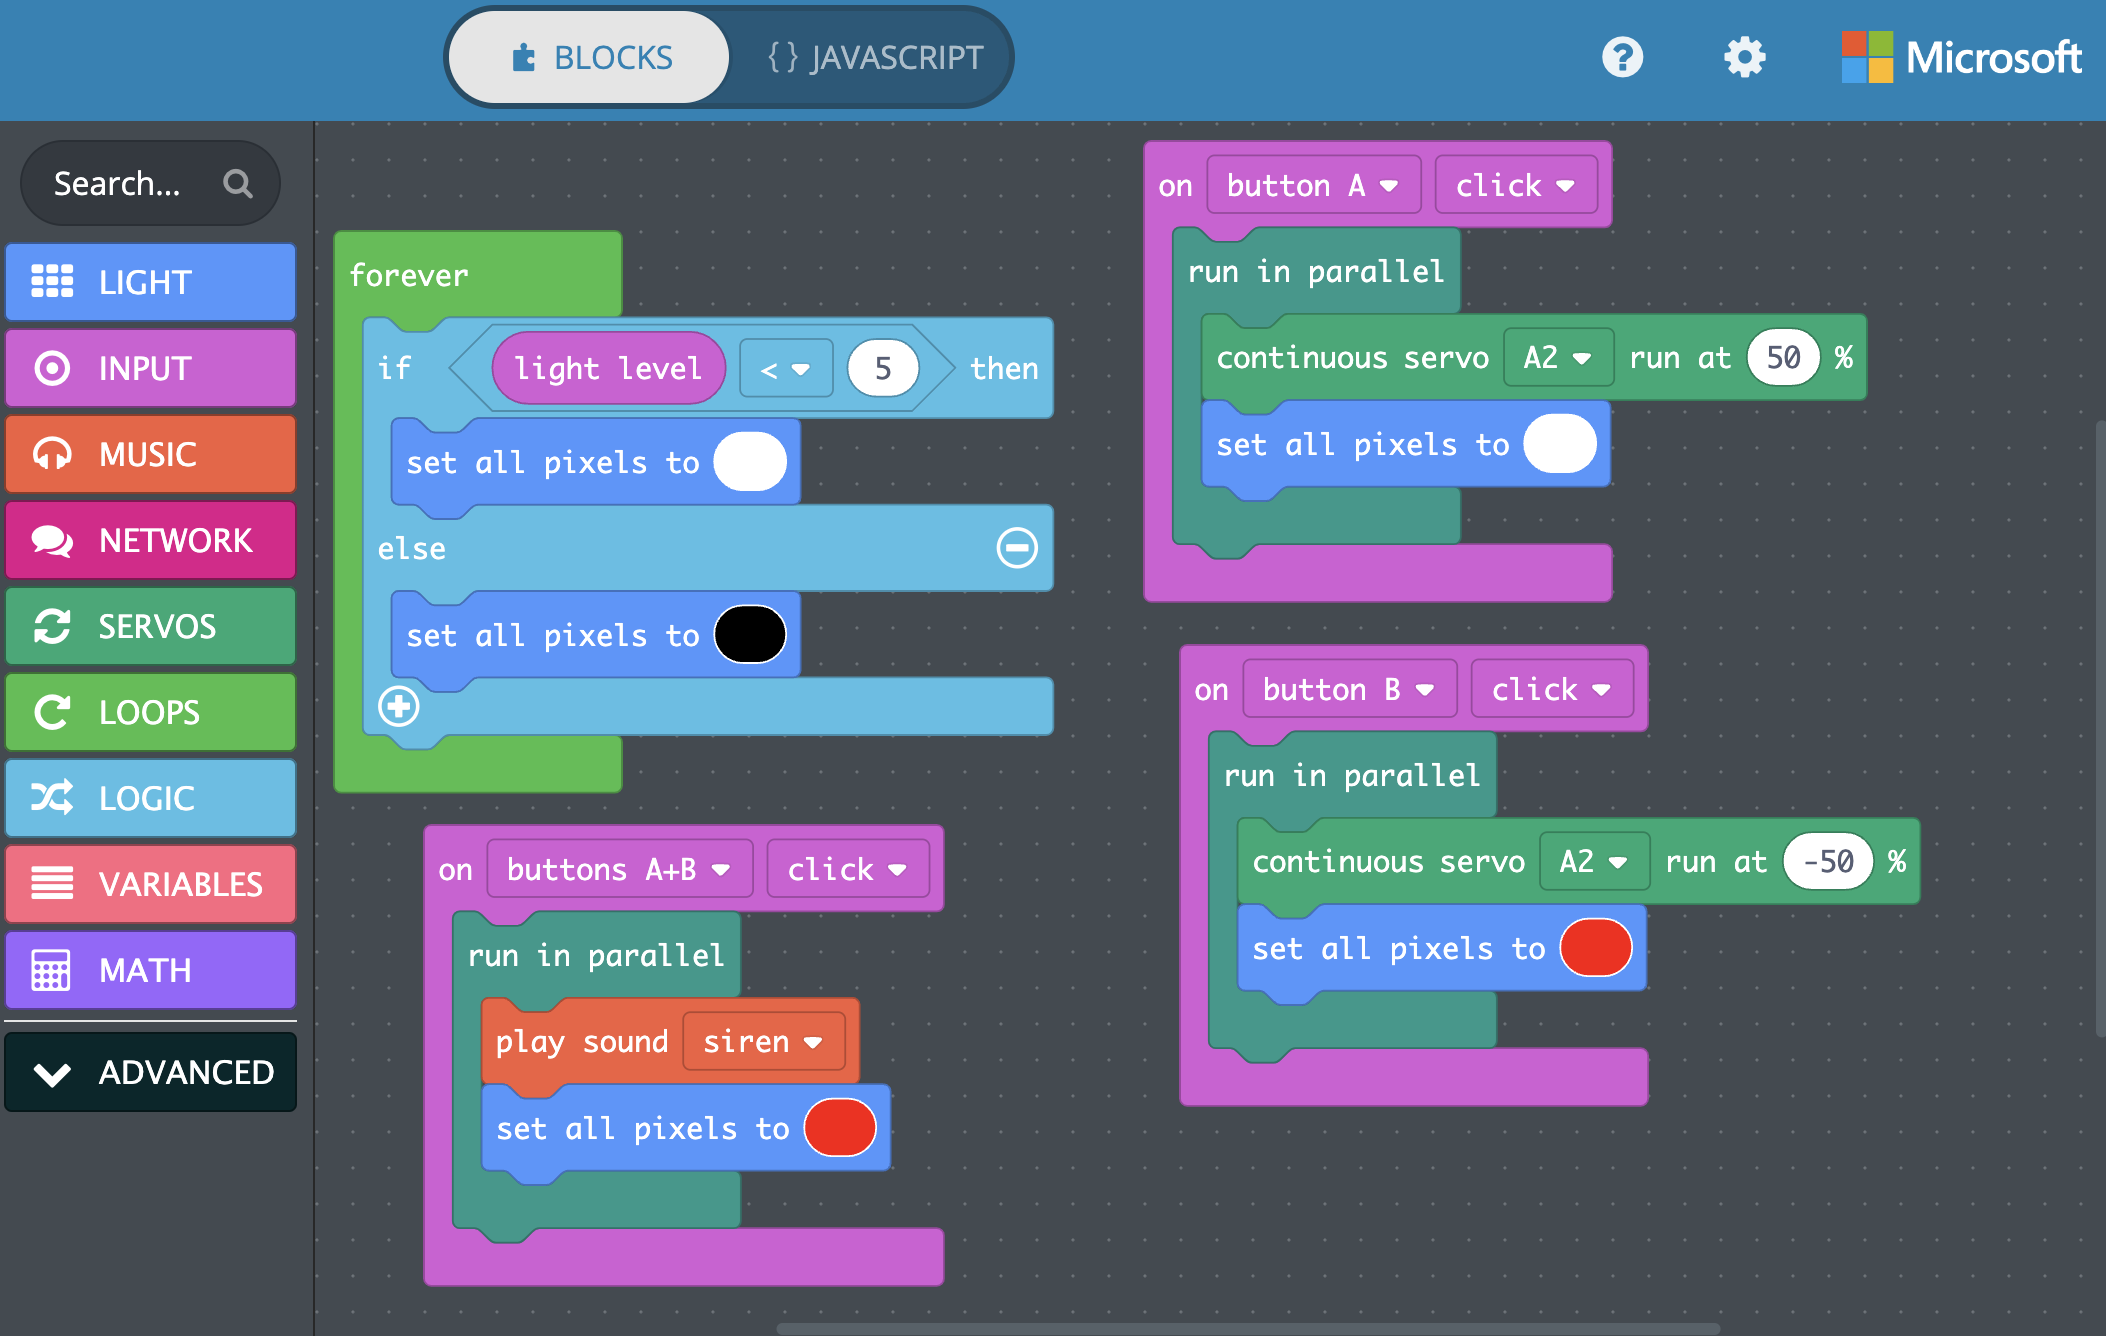
- The provided code blocks will have three inputs:
- The 'forever' code will have the lights of the car be black until the light level is less than 5, then they will be white
- When button A is clicked, the servo will run forwards and the lights will be white
- When button B is clicked, the servo will run backwards and the lights will be red
- When both buttons A and B are clicked, the CPX will play a siren sound and all the lights will be red
- Download this and drag it from your downloads into the CPX so it runs the code
Using Circuit Python Code

- Follow these instructions to install CircuitPython onto your CPX: https://learn.adafruit.com/welcome-to-circuitpython/installing-circuitpython
- Connect your CPX to your computer and save code.py onto it
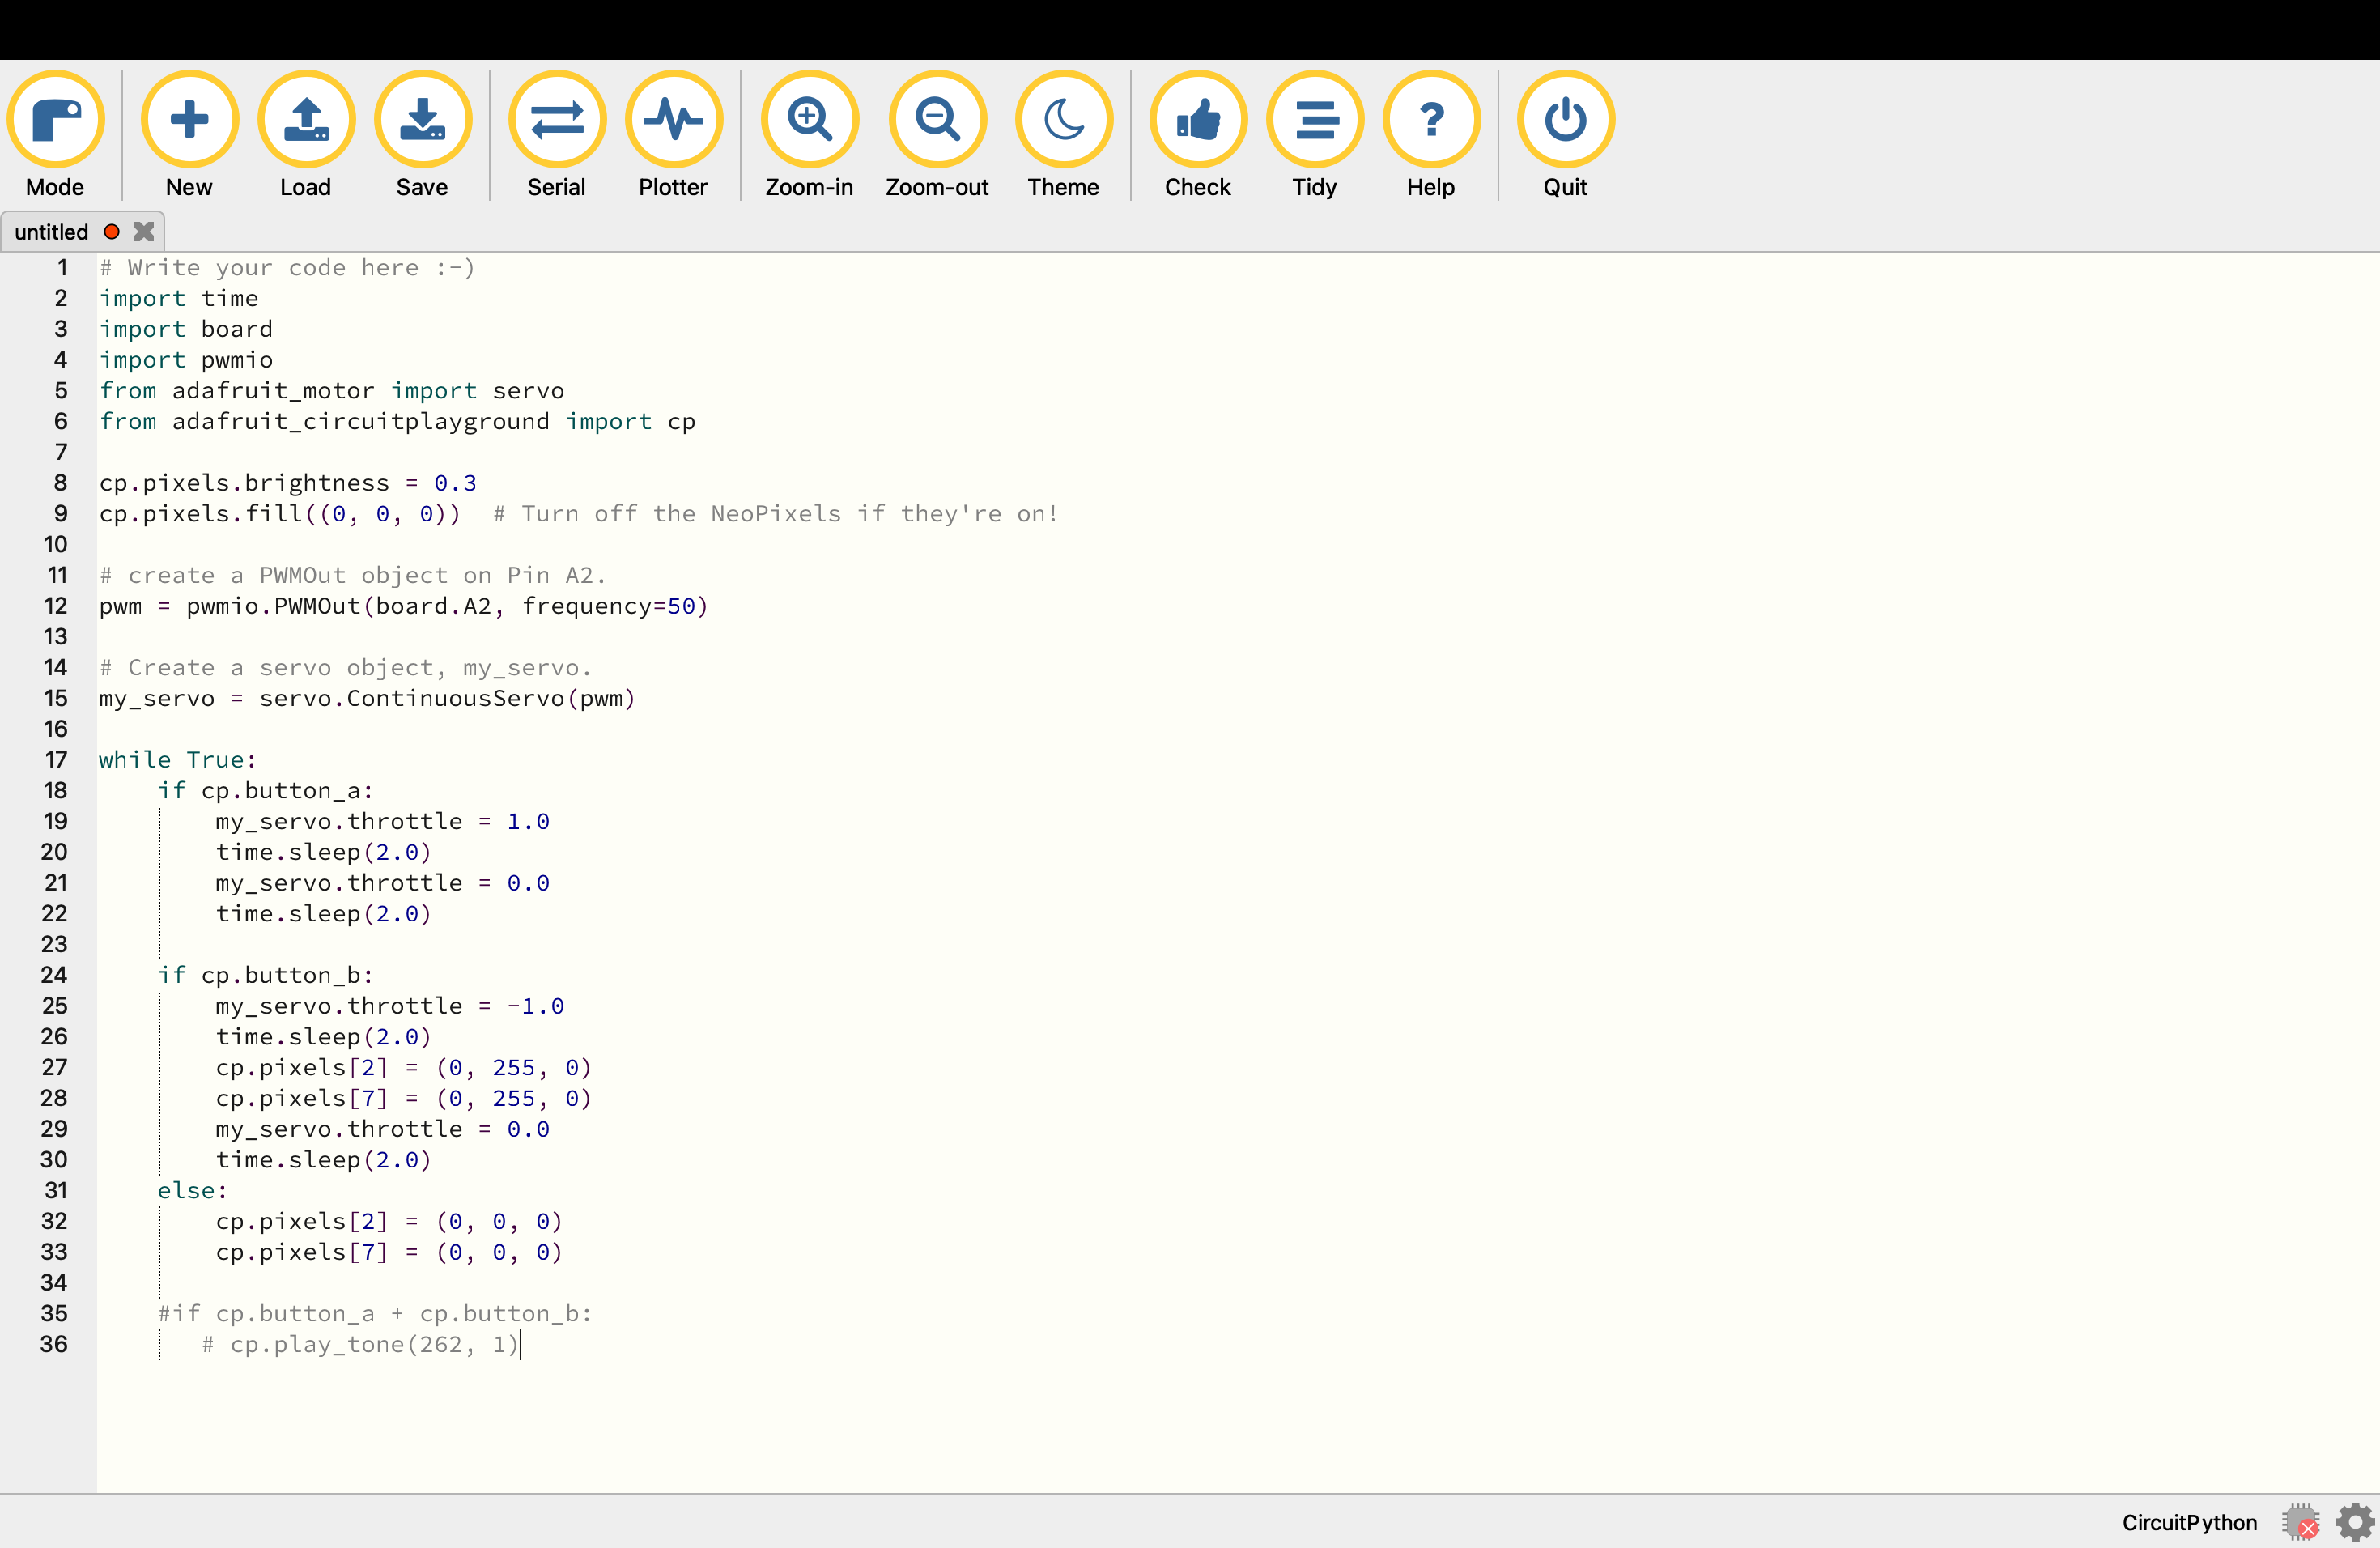
- The provided code will:
- Cause the servo to run clockwise when button A is pressed and have white lights
- Cause the servo to run counterclockwise when button B is pressed and have red lights
- When both buttons are pressed, the servo stops, a siren is heard, and the lights turn red
Servo + CPX Assembly

- From: https://learn.adafruit.com/circuitpython-essentials/circuitpython-servo
- use jumper wire alligator clips to connect the ground wire to GND, the power wire to VOUT, and the signal wire to A2
Final Assembly


- First, use hot glue on all of the wheels so they have more traction
- Glue the servo motor to the side of the inside of the car shell and attach a wheel using hot glue
- Attach the axles to the inside of the car shell using hot glue
- Attach the wheels to the axles so they are still able to spin
- Attach the CPX holder to the roof of the car
- Thread the wires through the back window of the car so they reach the CPX