3D Printer Task List

I made this to help keep track of the settings that need to be changed for my 3D printer on a project to project basis (I.E. color, filament type, etc.). It makes use of an esp32 to program projects and an LCD 16x2 to show information
Supplies
Supplies:
- x1 - esp32 (amazon.com)
- x1 - LCD 16x2 (amazon.com)
- x1 - Solder perf board (amazon.com)
- x1 - 220Ω resistor (amazon.com)
- x1 - potentiometer (amazon.com)
- x1 - 4x4 matrix Keypad (amazon.com)
- x2 - spare pieces of wire
Tools:
- Soldering Iron
- Solder
- Flux
Create the Circuit: LCD and ESP32


Pin Connections
LCD Data Pins:
Pin on LCD 16x2 => GPIO pin on esp32RW → GND
RS → 15
E → 16 (rx 2)
D4 → 17 (tx 2)
D5 → 18
D6 → 19
D7 → 23
Power and other:
A → 220Ω resistor → VIN
K → GND
VSS → GND
VDD → VIN
VO → Wiper → in1 → VIN
→ in2 → GND
(see image above)
Supplying power:
Connect 1 spare wire from the GND of the LCD to the GND of esp32
Connect the other spare wire from the VDD of the LCD to the VIN of the esp32 (make use of the 5 volts that the usb supplies)
Create the Circuit: Keypad Matrix and ESP32


Pins:
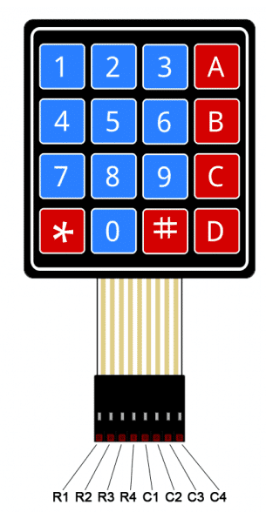
Keypad Data Pins:
Pin on Keypad Matrix → GPIO pin on esp32
Row 1 → 13
Row 2 → 12
Row 3 → 14
Row 4 → 27
Col 5 → 26
Col 6 → 25
Col 7 → 33
Col 8 → 32
(see image above)
With the order of the above pins, you are able to connect it directly like this:


Code
Download Files From GitHub
Not all the project files could be added here (size reasons) son please download all the files from GitHub:
https://jaguarclaws2007.github.io/3d_printer_tasklist/download.html
How to Use


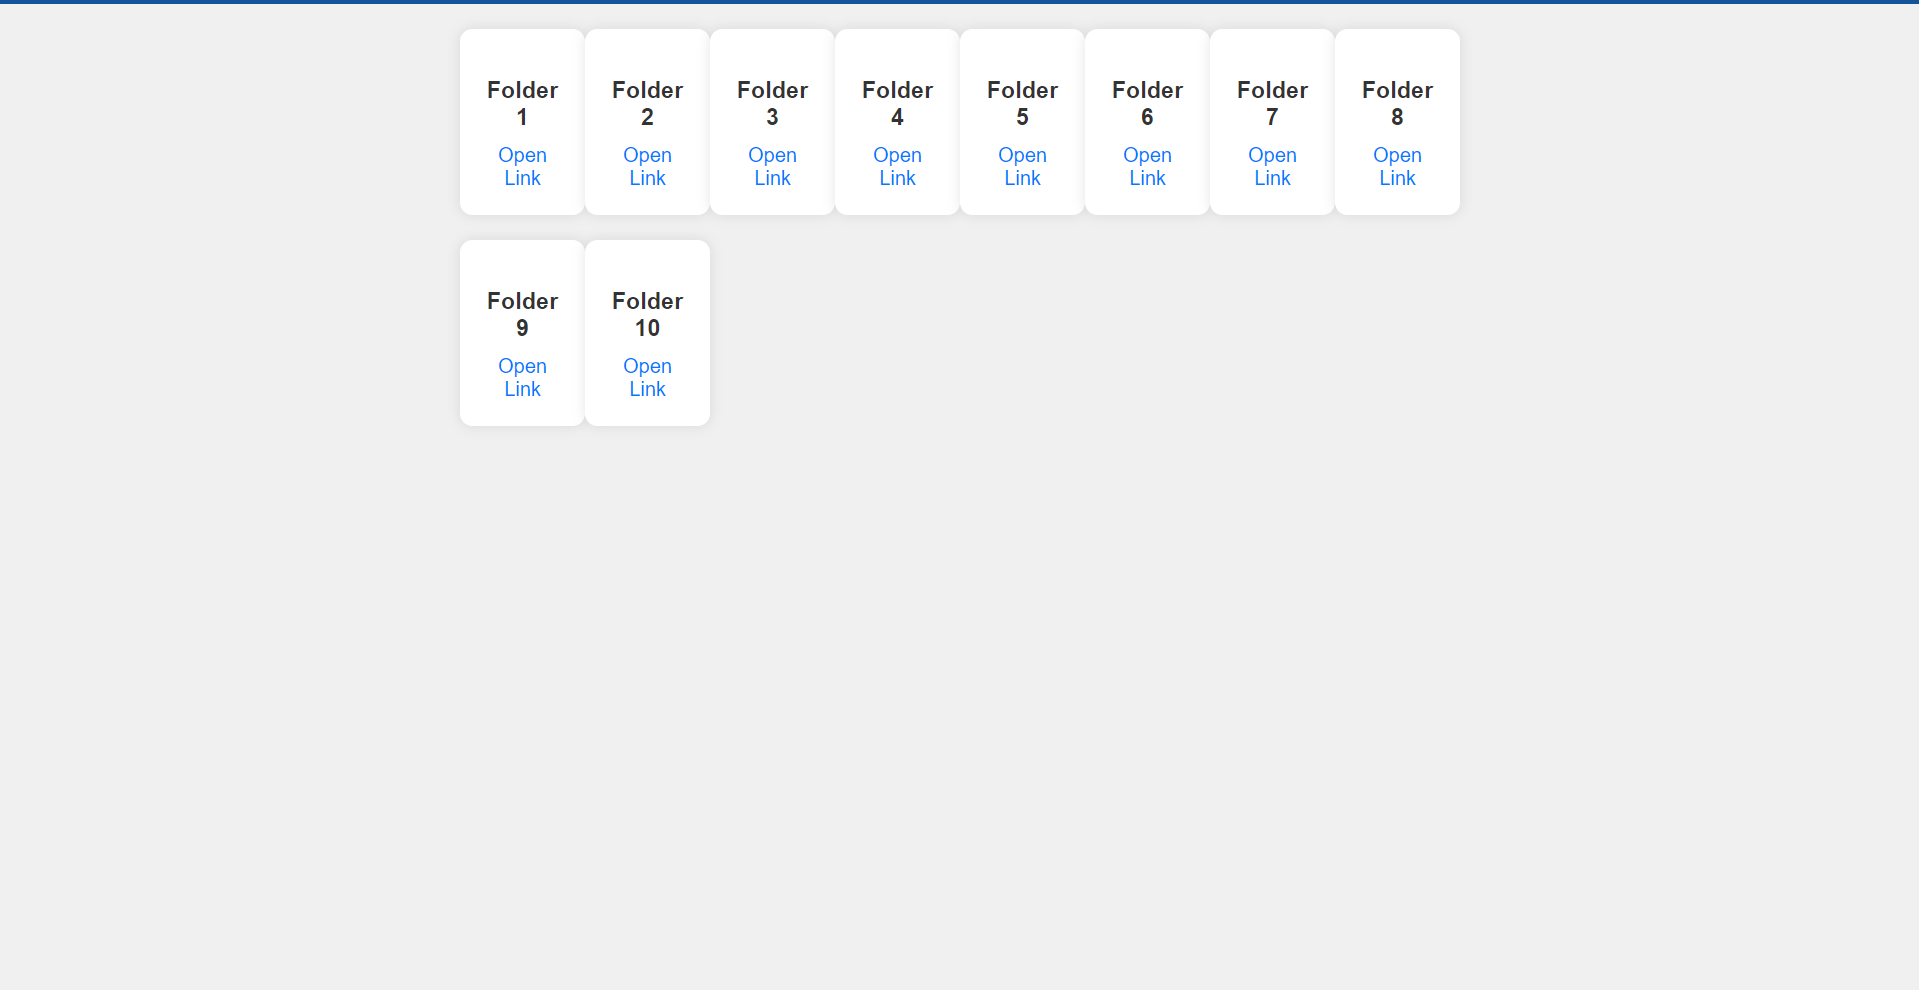
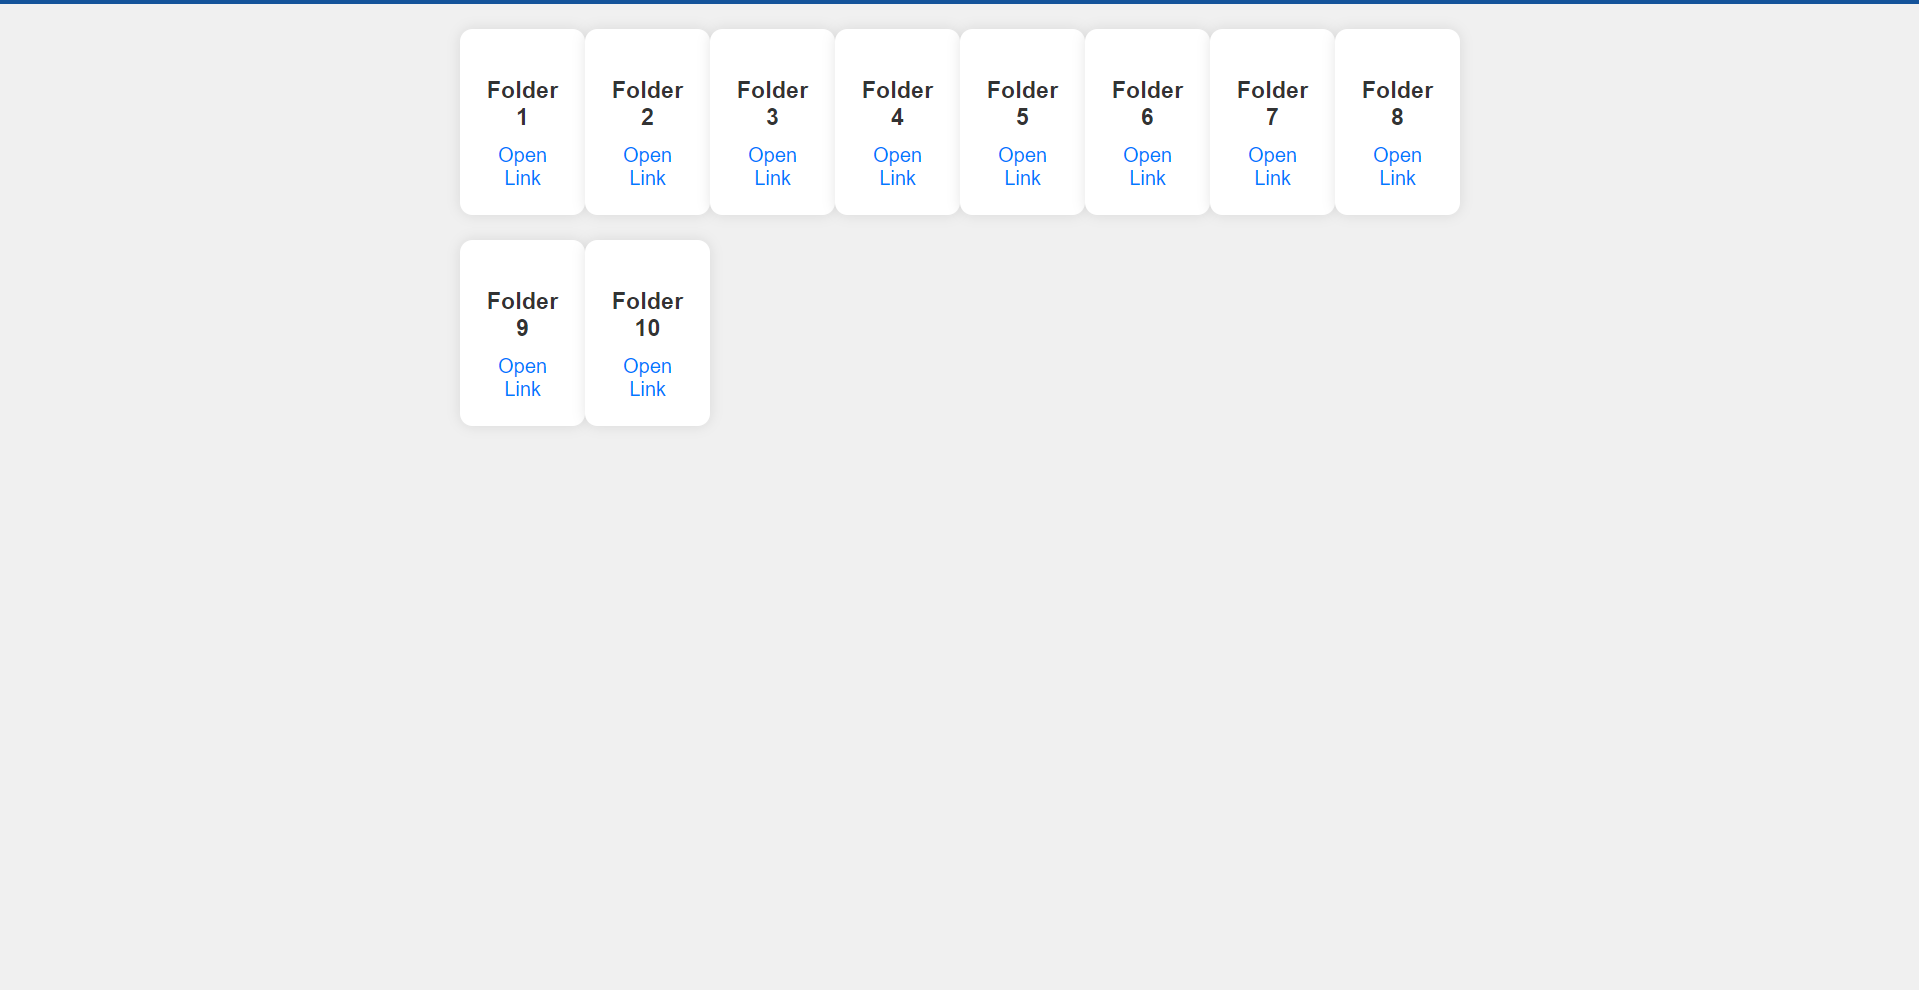
To access the home page, connect to the same Wi-Fi network as the ESP32 and got to the IP address of the ESP32. The LCD will show it for 3 seconds on connection, but if you can't remember, just hit the "A" key on the keypad matrix. The IP address may look something like this, "192.168.xx.xxx". The home page "/" will show something like this:
The home page:

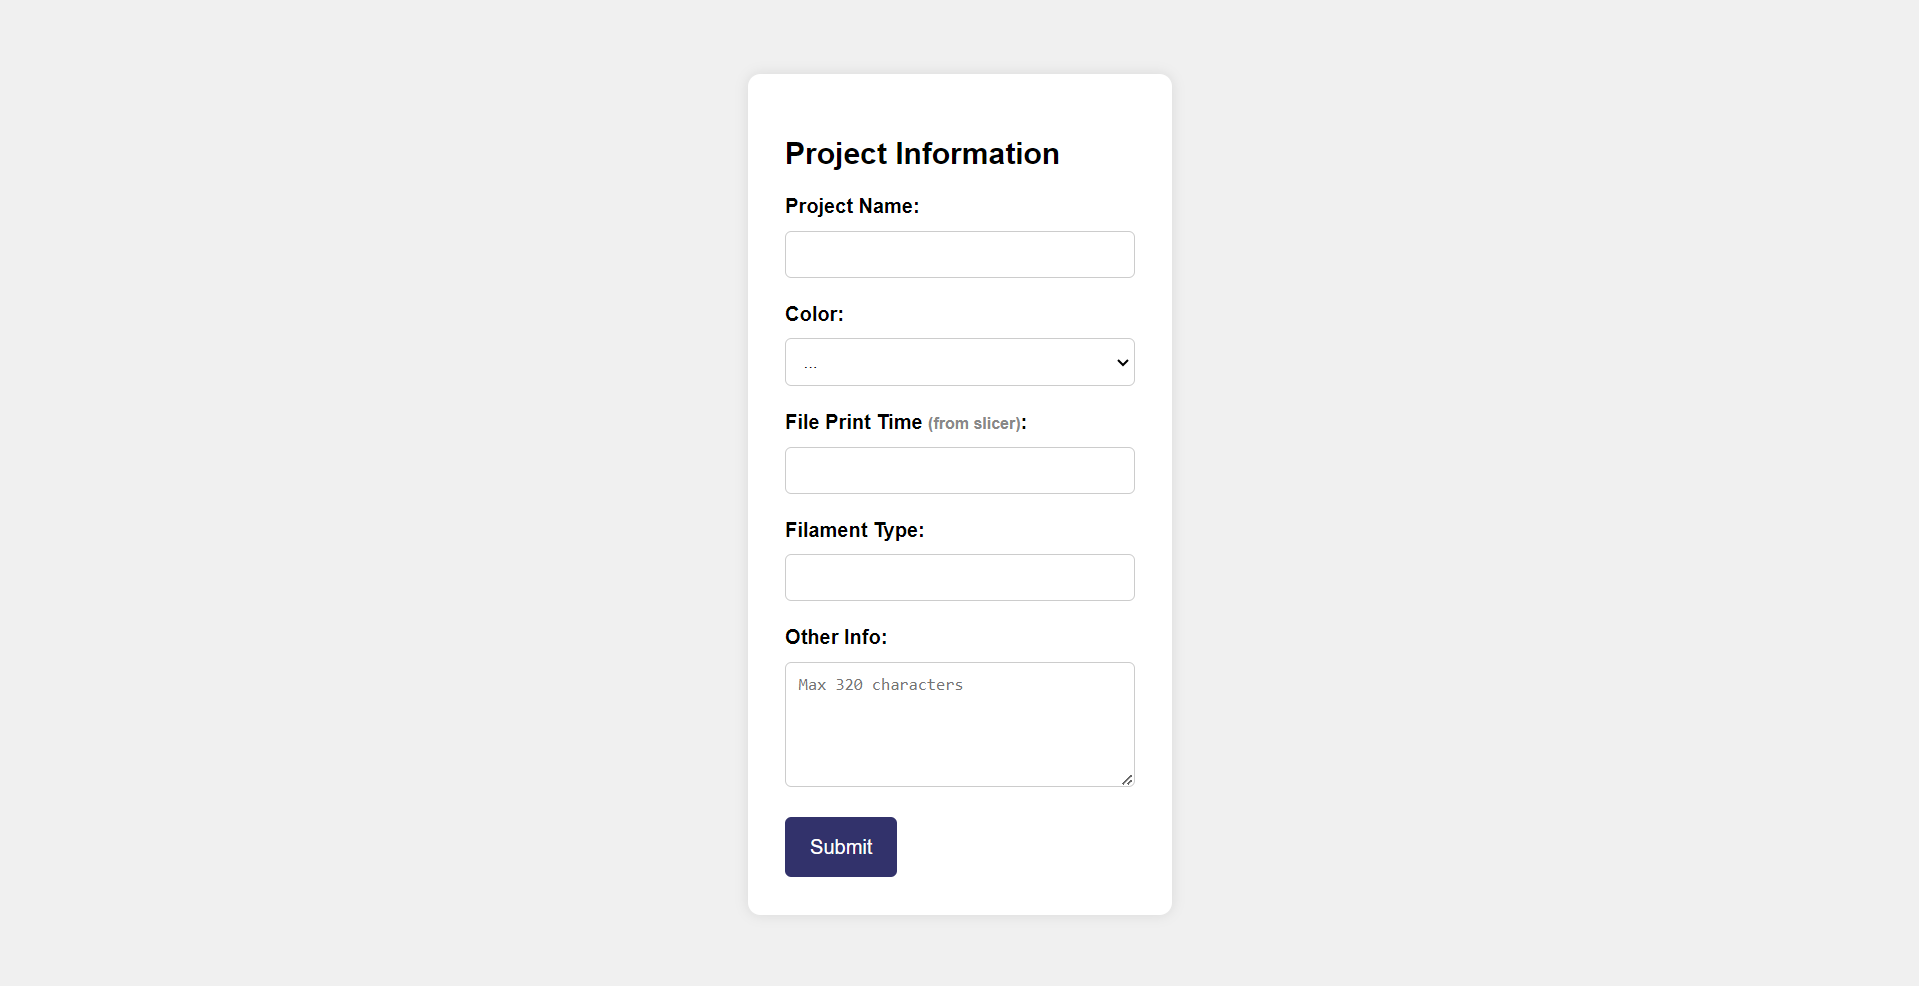
Just click on one of the project you would like to program in or replace, and it will take you to a screen like this:
Project Information:

Just fill in the project info and click submit. You will see a confirmation page if successful.
How to select Project:
On the keypad, just press a button, 0-9 to select a project. Press "C" to go home. To adjust the delay between "Pages" click "D" and enter the new delay (in milliseconds). Press "#" to enter and "C" to clear.''
Qr Code:
You will notice that in the project pages, there is a page that says scan QR code for more information. The Qr code can only be scanned through this hosted (http://192.168.xx.xxx) website. Just click the icon in the top-right corner.
Here is the Qr Code:

Download QR code from GitHub: https://github.com/jaguarclaws2007/3d_printer_tasklist/blob/main/3d_printer_task_Qrcode.png
You can also go to http://192.168.xx.xxx/qrCode
Note:
You will notice that when you click the Scan QR code button, it will open a popup from GitHub. This is because to scan a qr code you need to use the navigator API, which does not work over HTTP (which is what the ESP32 server uses) so I just have the QR code scanner open up via GitHub which uses HTTPS, and then I just send the data back to the hosted (http://192.168.xx.xxx) webpage.
Good Bye
Have fun with this.
This is my first Inscrutable, so feel free to let me know about anything you would like me to change.
P.S. Here is the full GitHub https://github.com/jaguarclaws2007/3d_printer_tasklist