3D Sun Lamp
I 3D printed a sun lamp, which I fully designed on Fusion. I took inspiration from a picture online and decided to recreate it!
Supplies
- Fusion
- 3D Printer
- PLA
- Gold Spray Paint
- Gloss Spray Paint
- Plug In Pendant Light Cord
Sketches

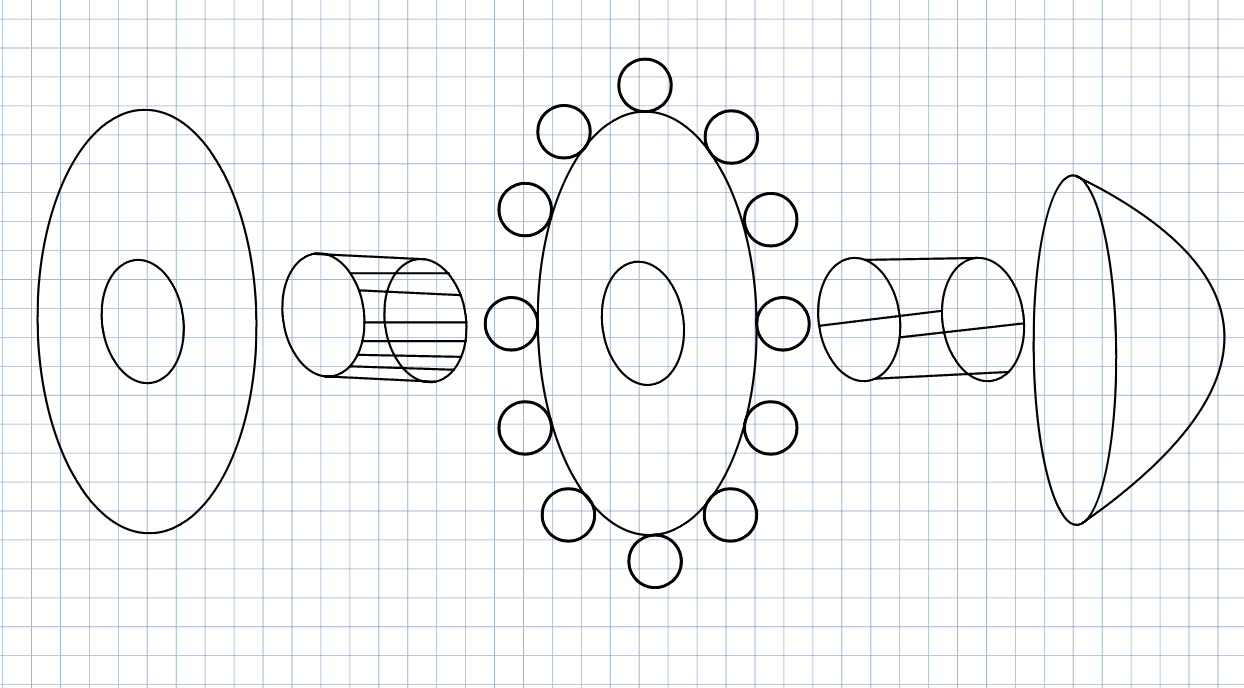


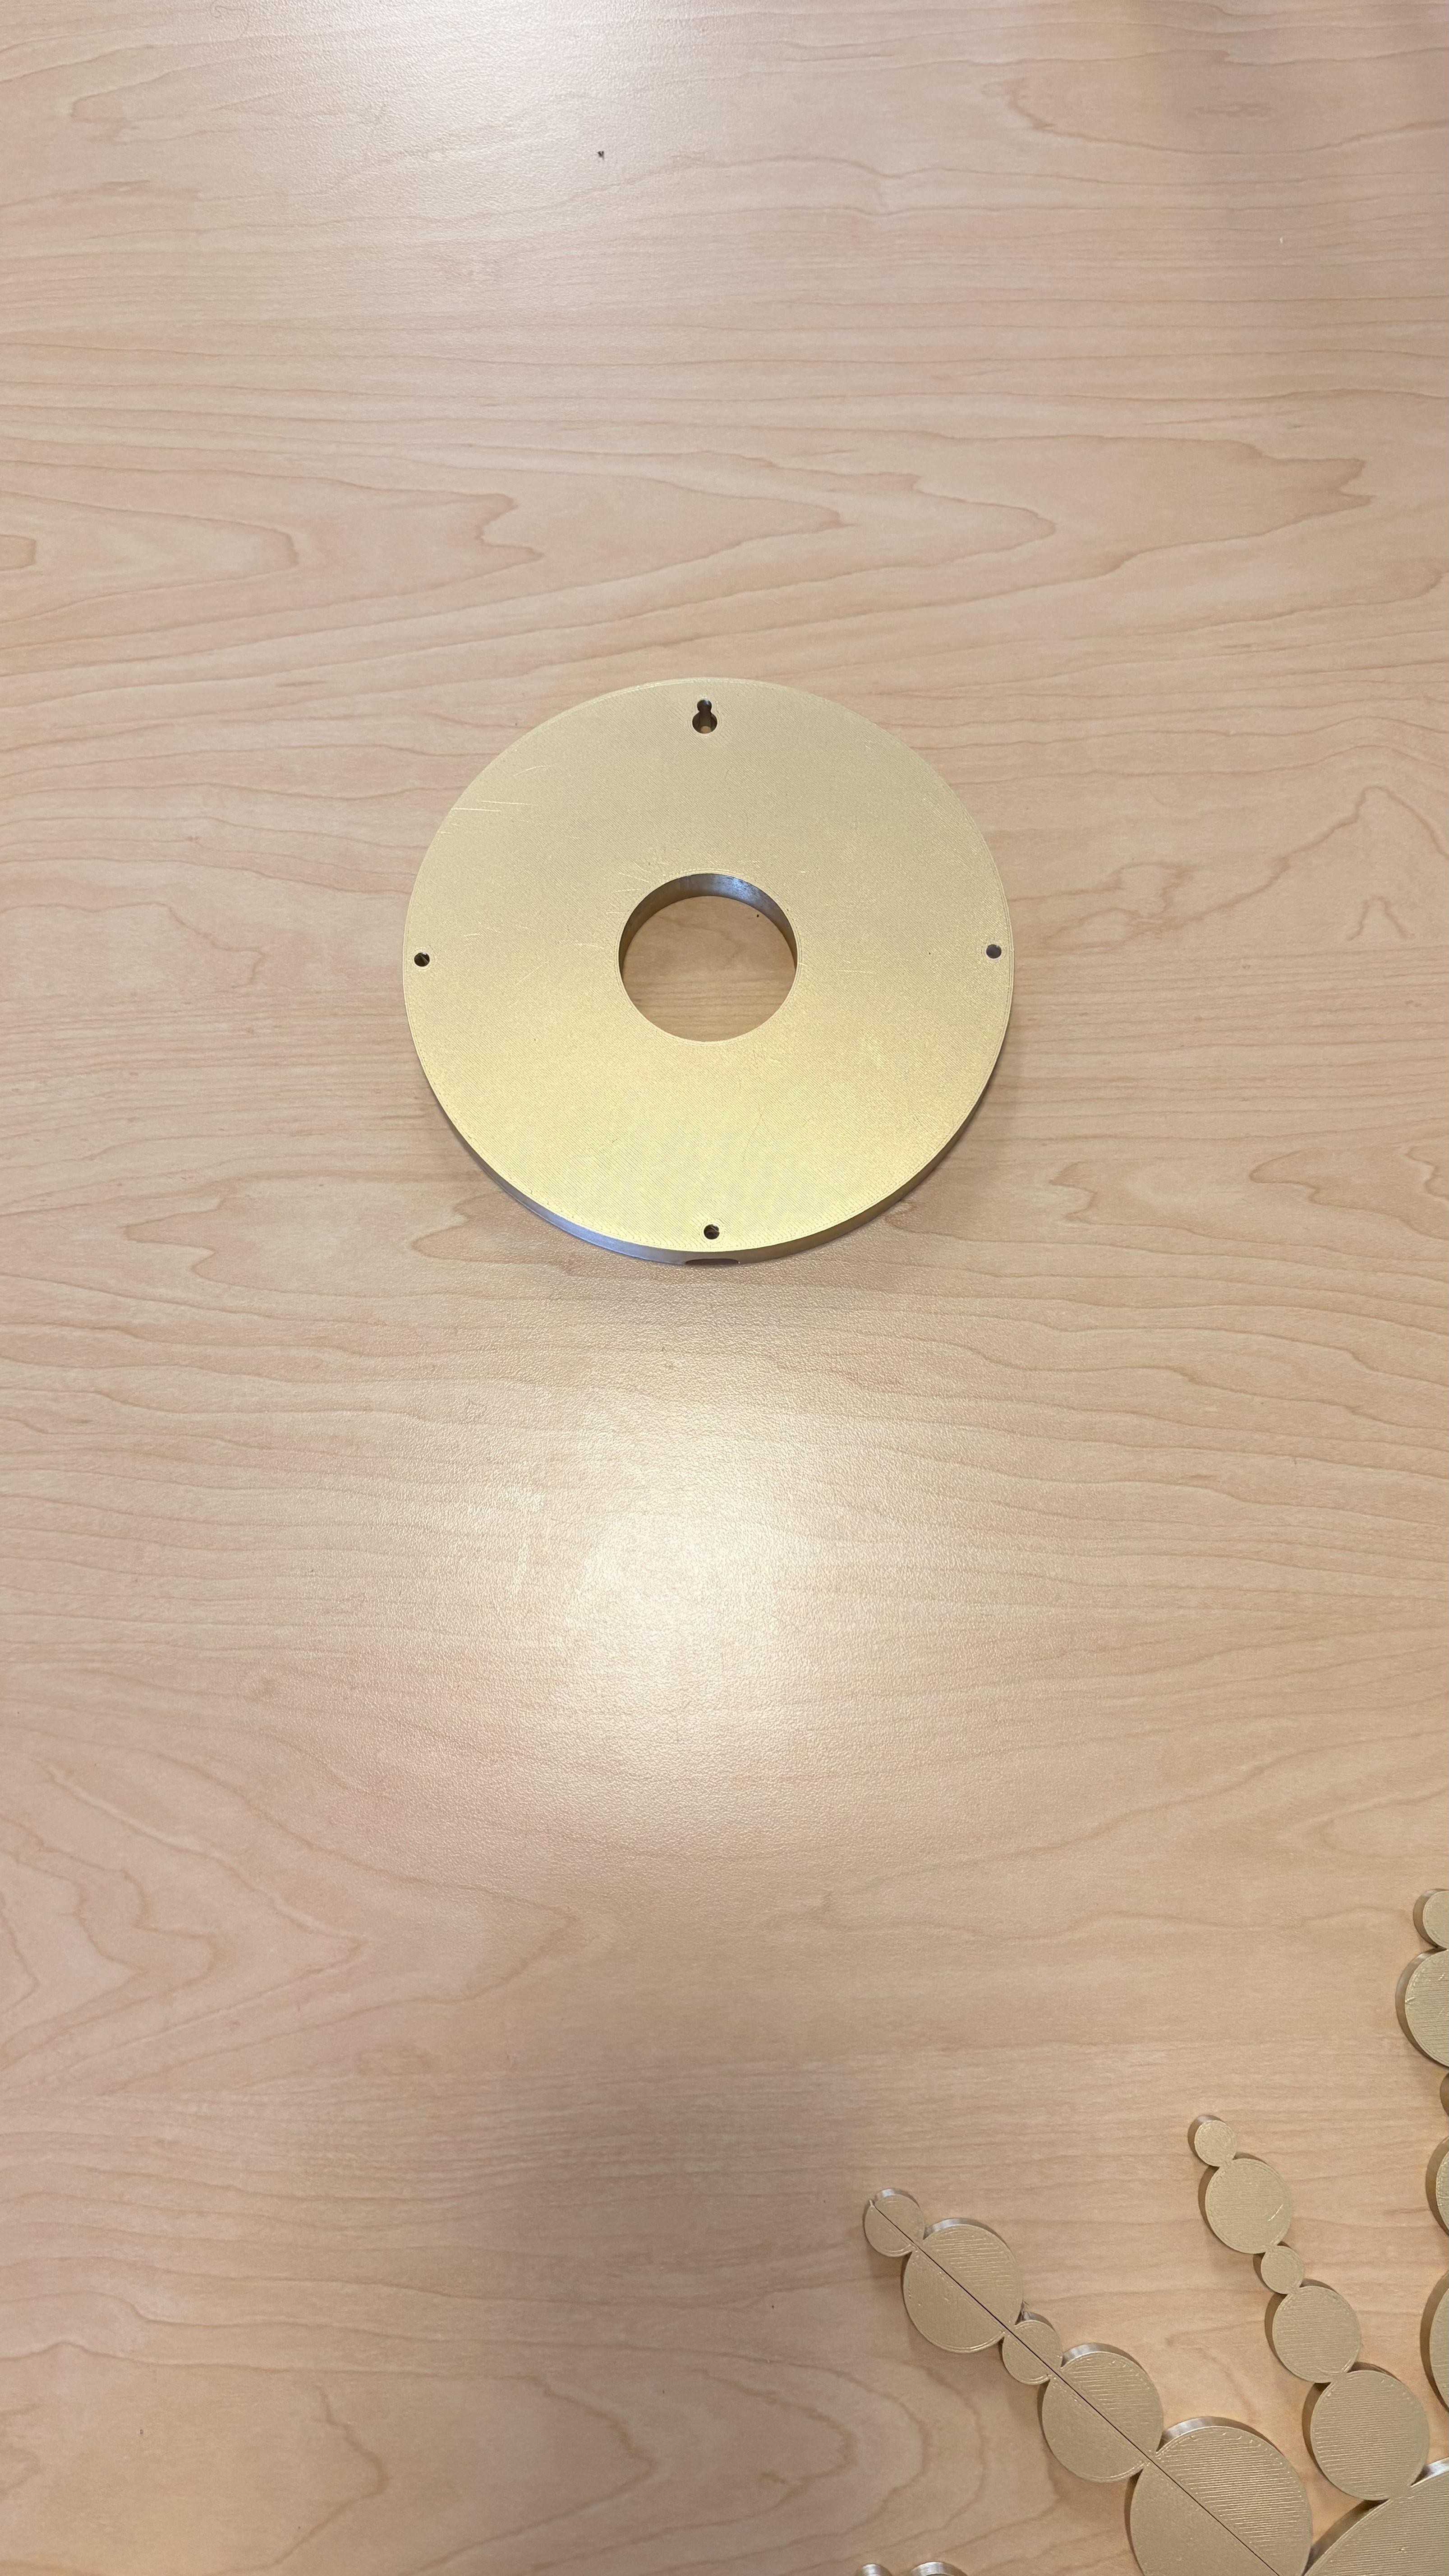
My inspiration stemmed from a similar design I wanted to recreate and put my own twist on. I knew I wanted to recreate the sun rays to resemble those in my previous designs. I believed it truly differentiated it from the inspiration. Coming up with the separate components was definitely the most challenging part, as it revolved around the Plug-In Pendant Light Cord. I definitely knew I needed a support backing with a hole to hang from and an indent for the light cord so it could lie flat against the wall when hung. An important detail was to ensure the light would shine through, making the base of the dome with an opening very important. Thankfully, I had the retaining ring for the lightbulb socket to secure the components in place, but I also had to make sure the dimensions of the pieces fit it.
Fusion Design


When executing my sketches on Fusion, I made sure the dimensions would accommodate the lightbulb socket screw, as well as the height of the lightbulb and cord components. Everything else thankfully fell into place.
Prints & Paint
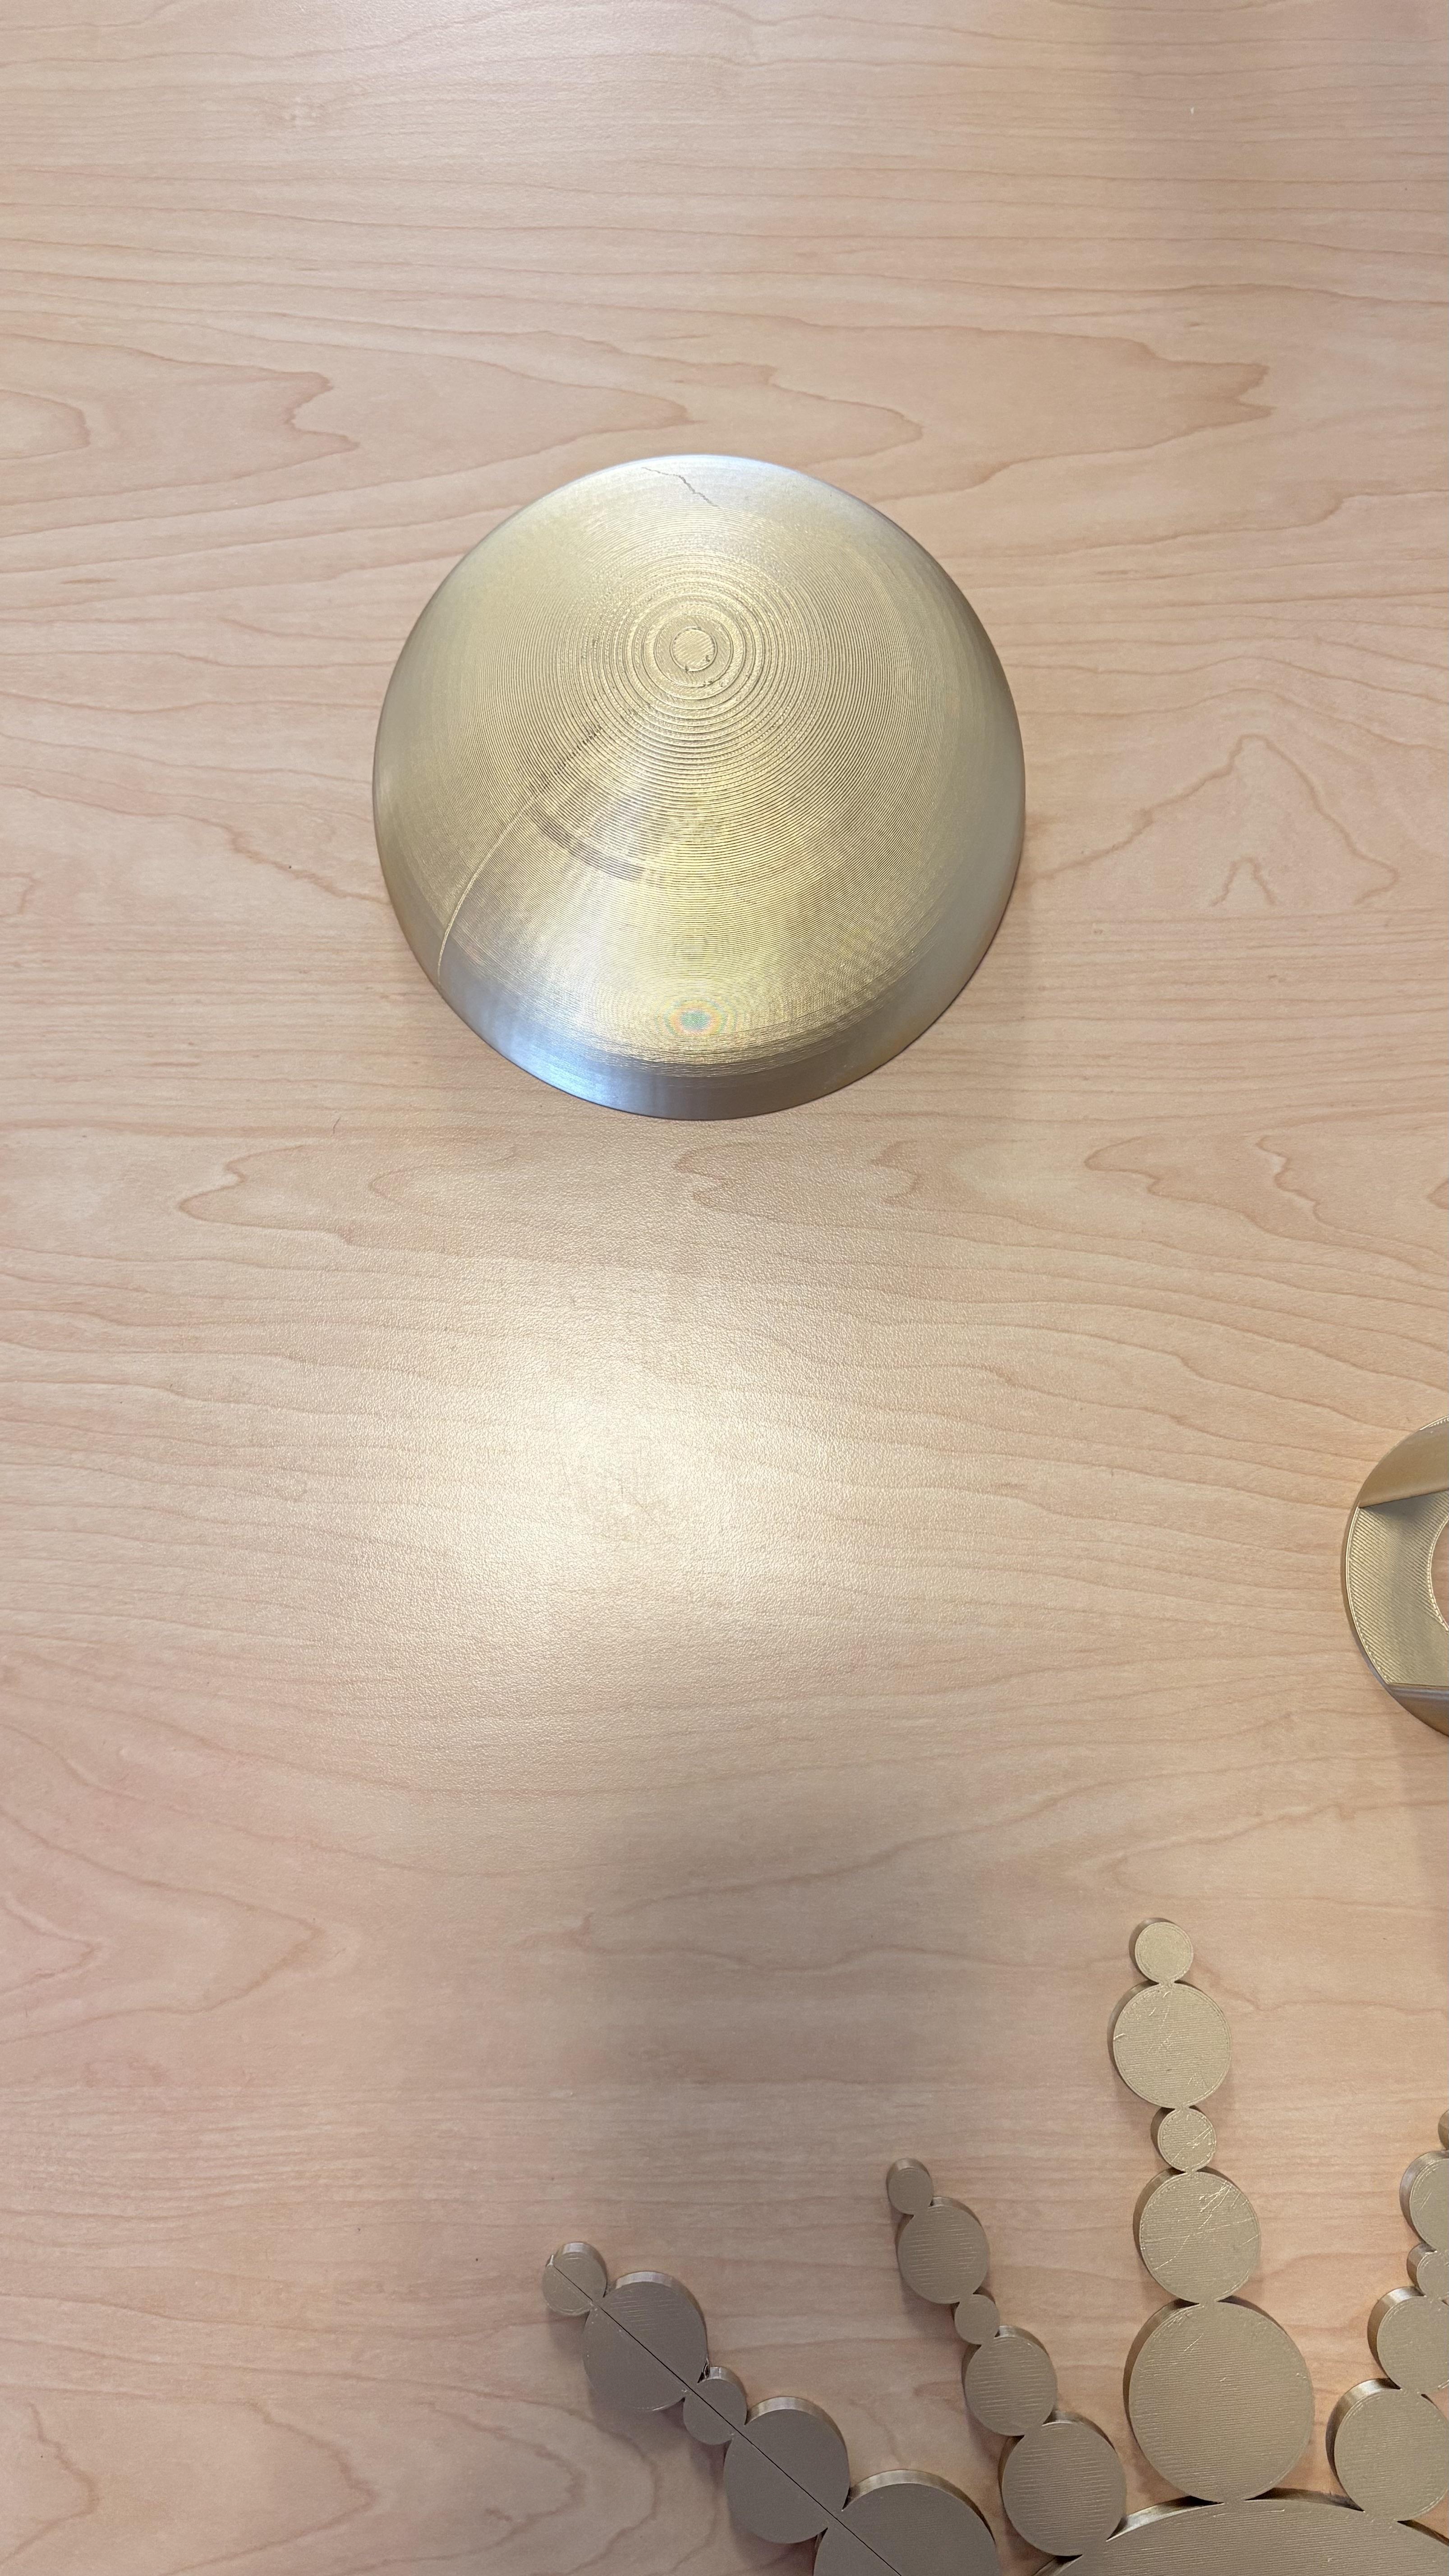


After printing, I did have to glue the sun rays components together as I had to cut it into quarters to accommodate the 3D printer's max dimensions. After, I decided to spray paint the components a gold metallic color and use spray paint gloss to ensure durability.
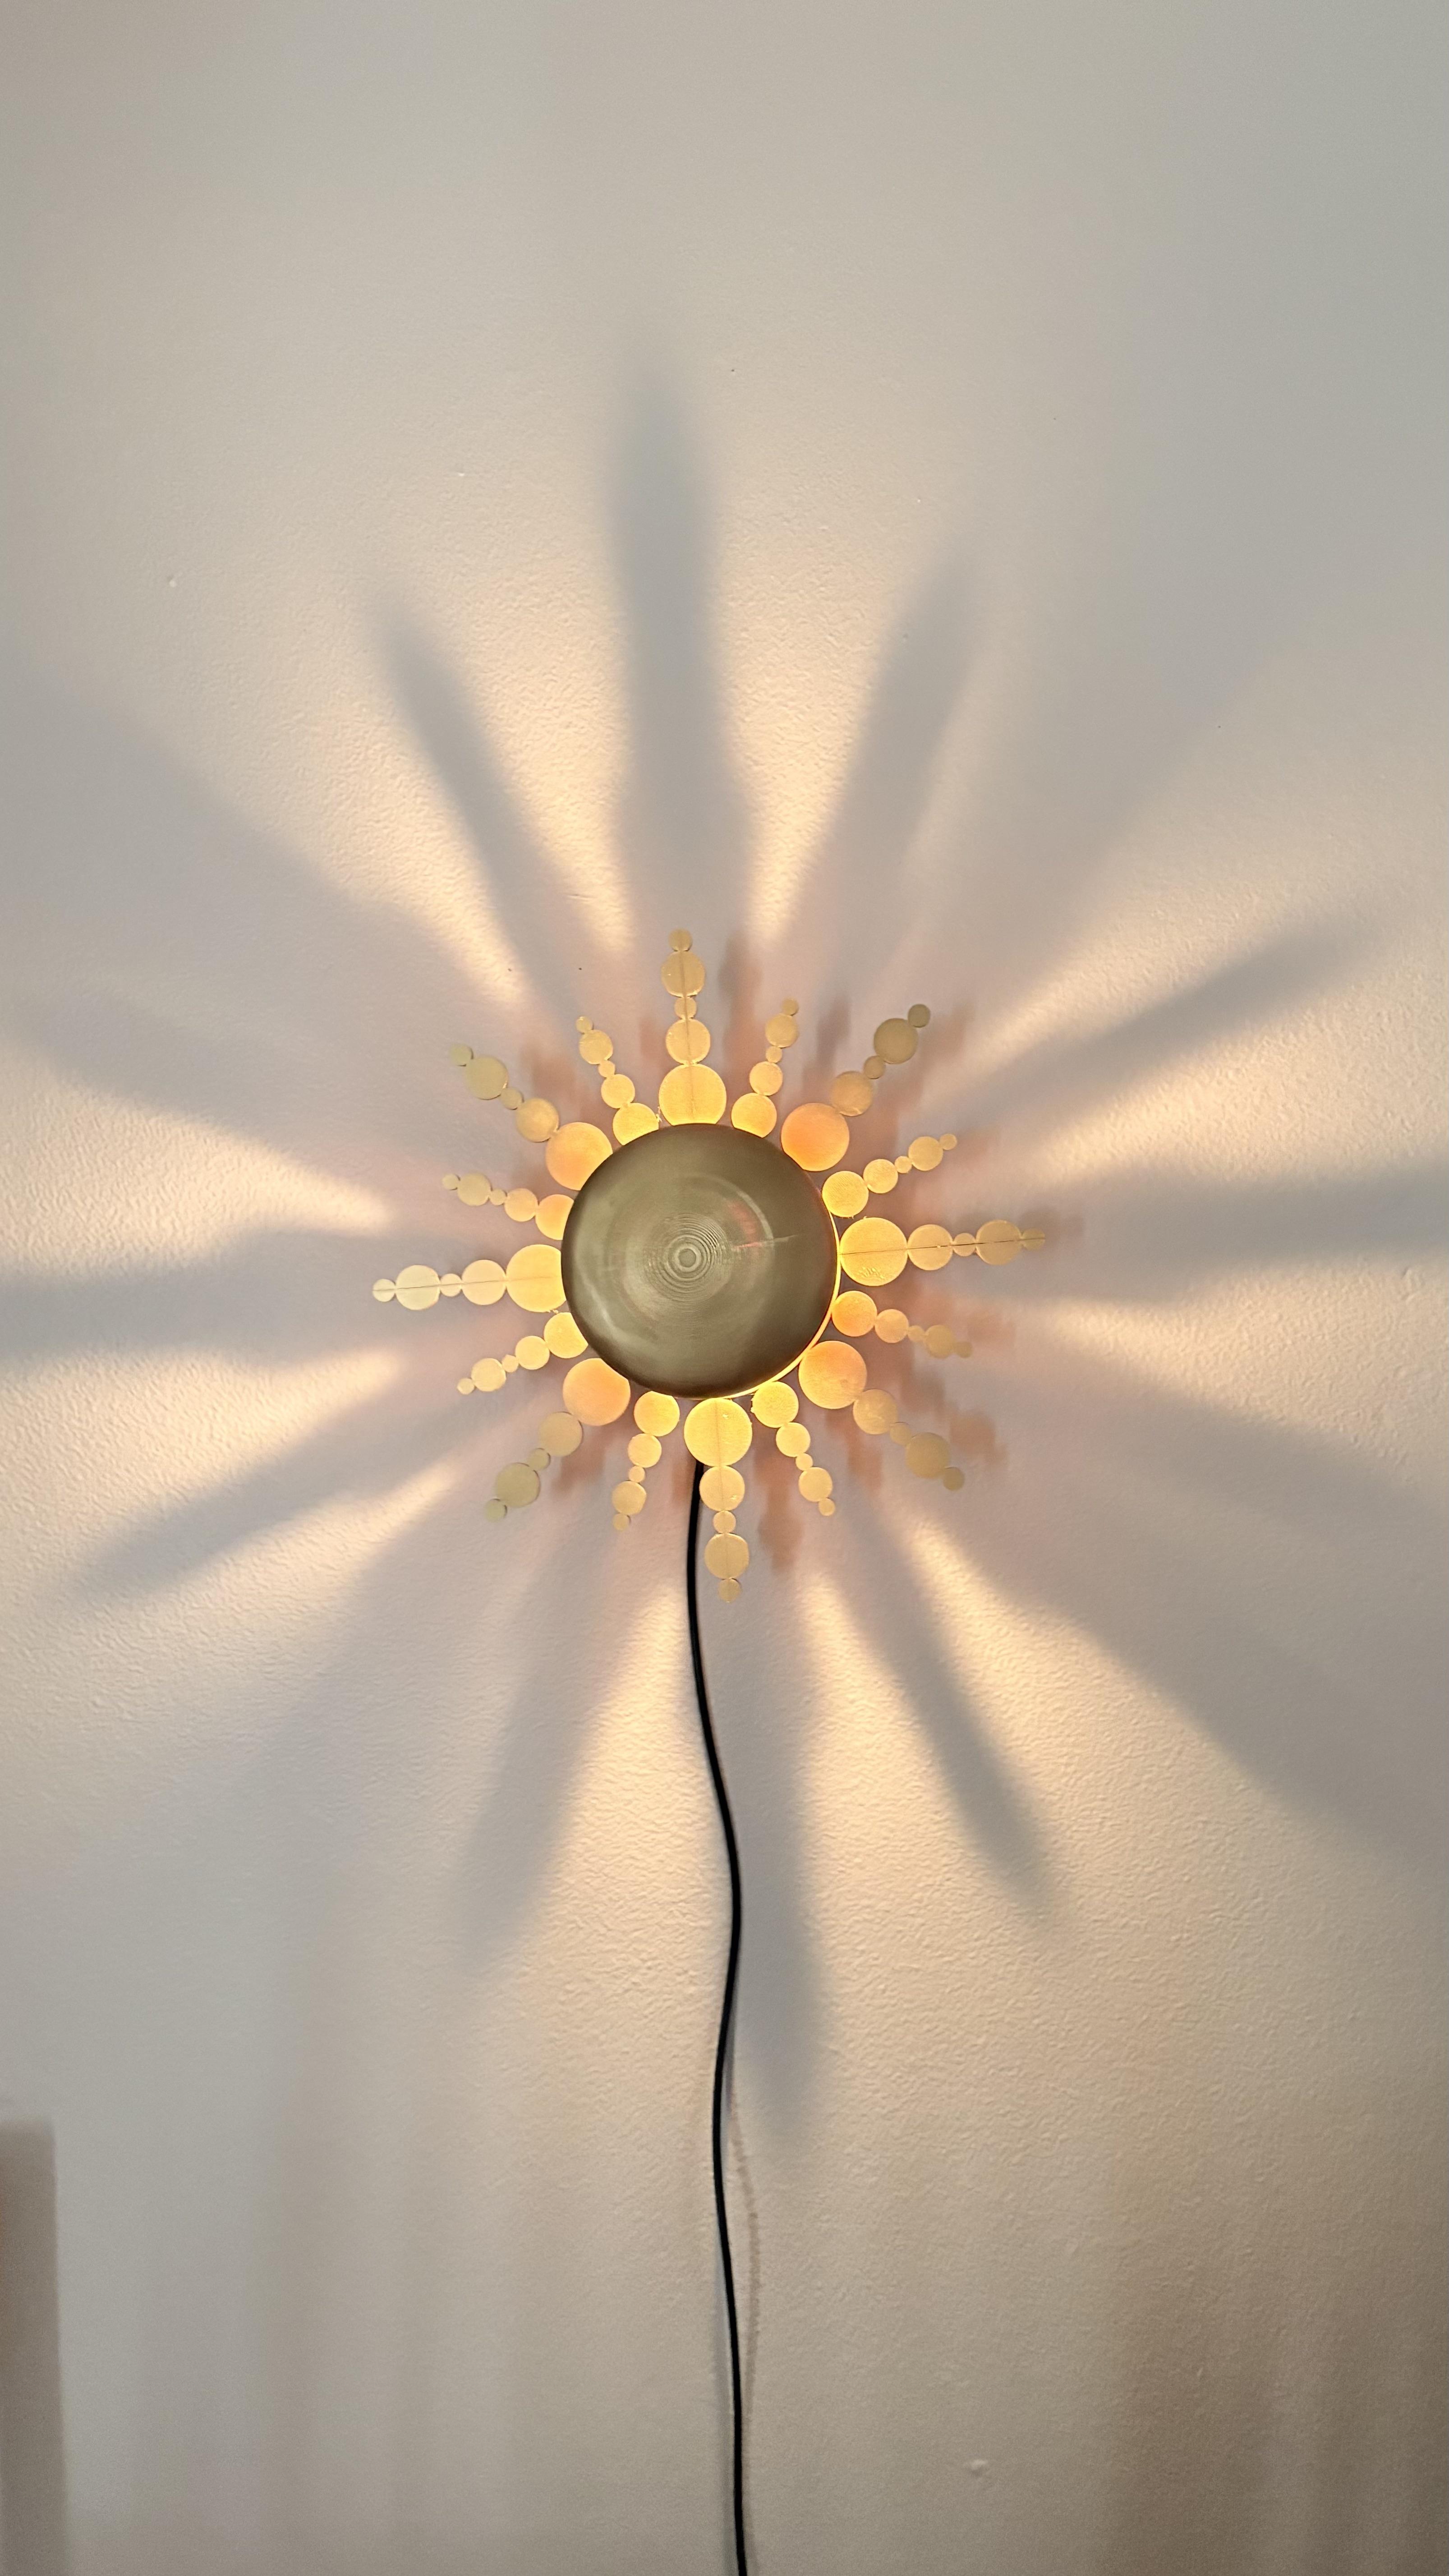
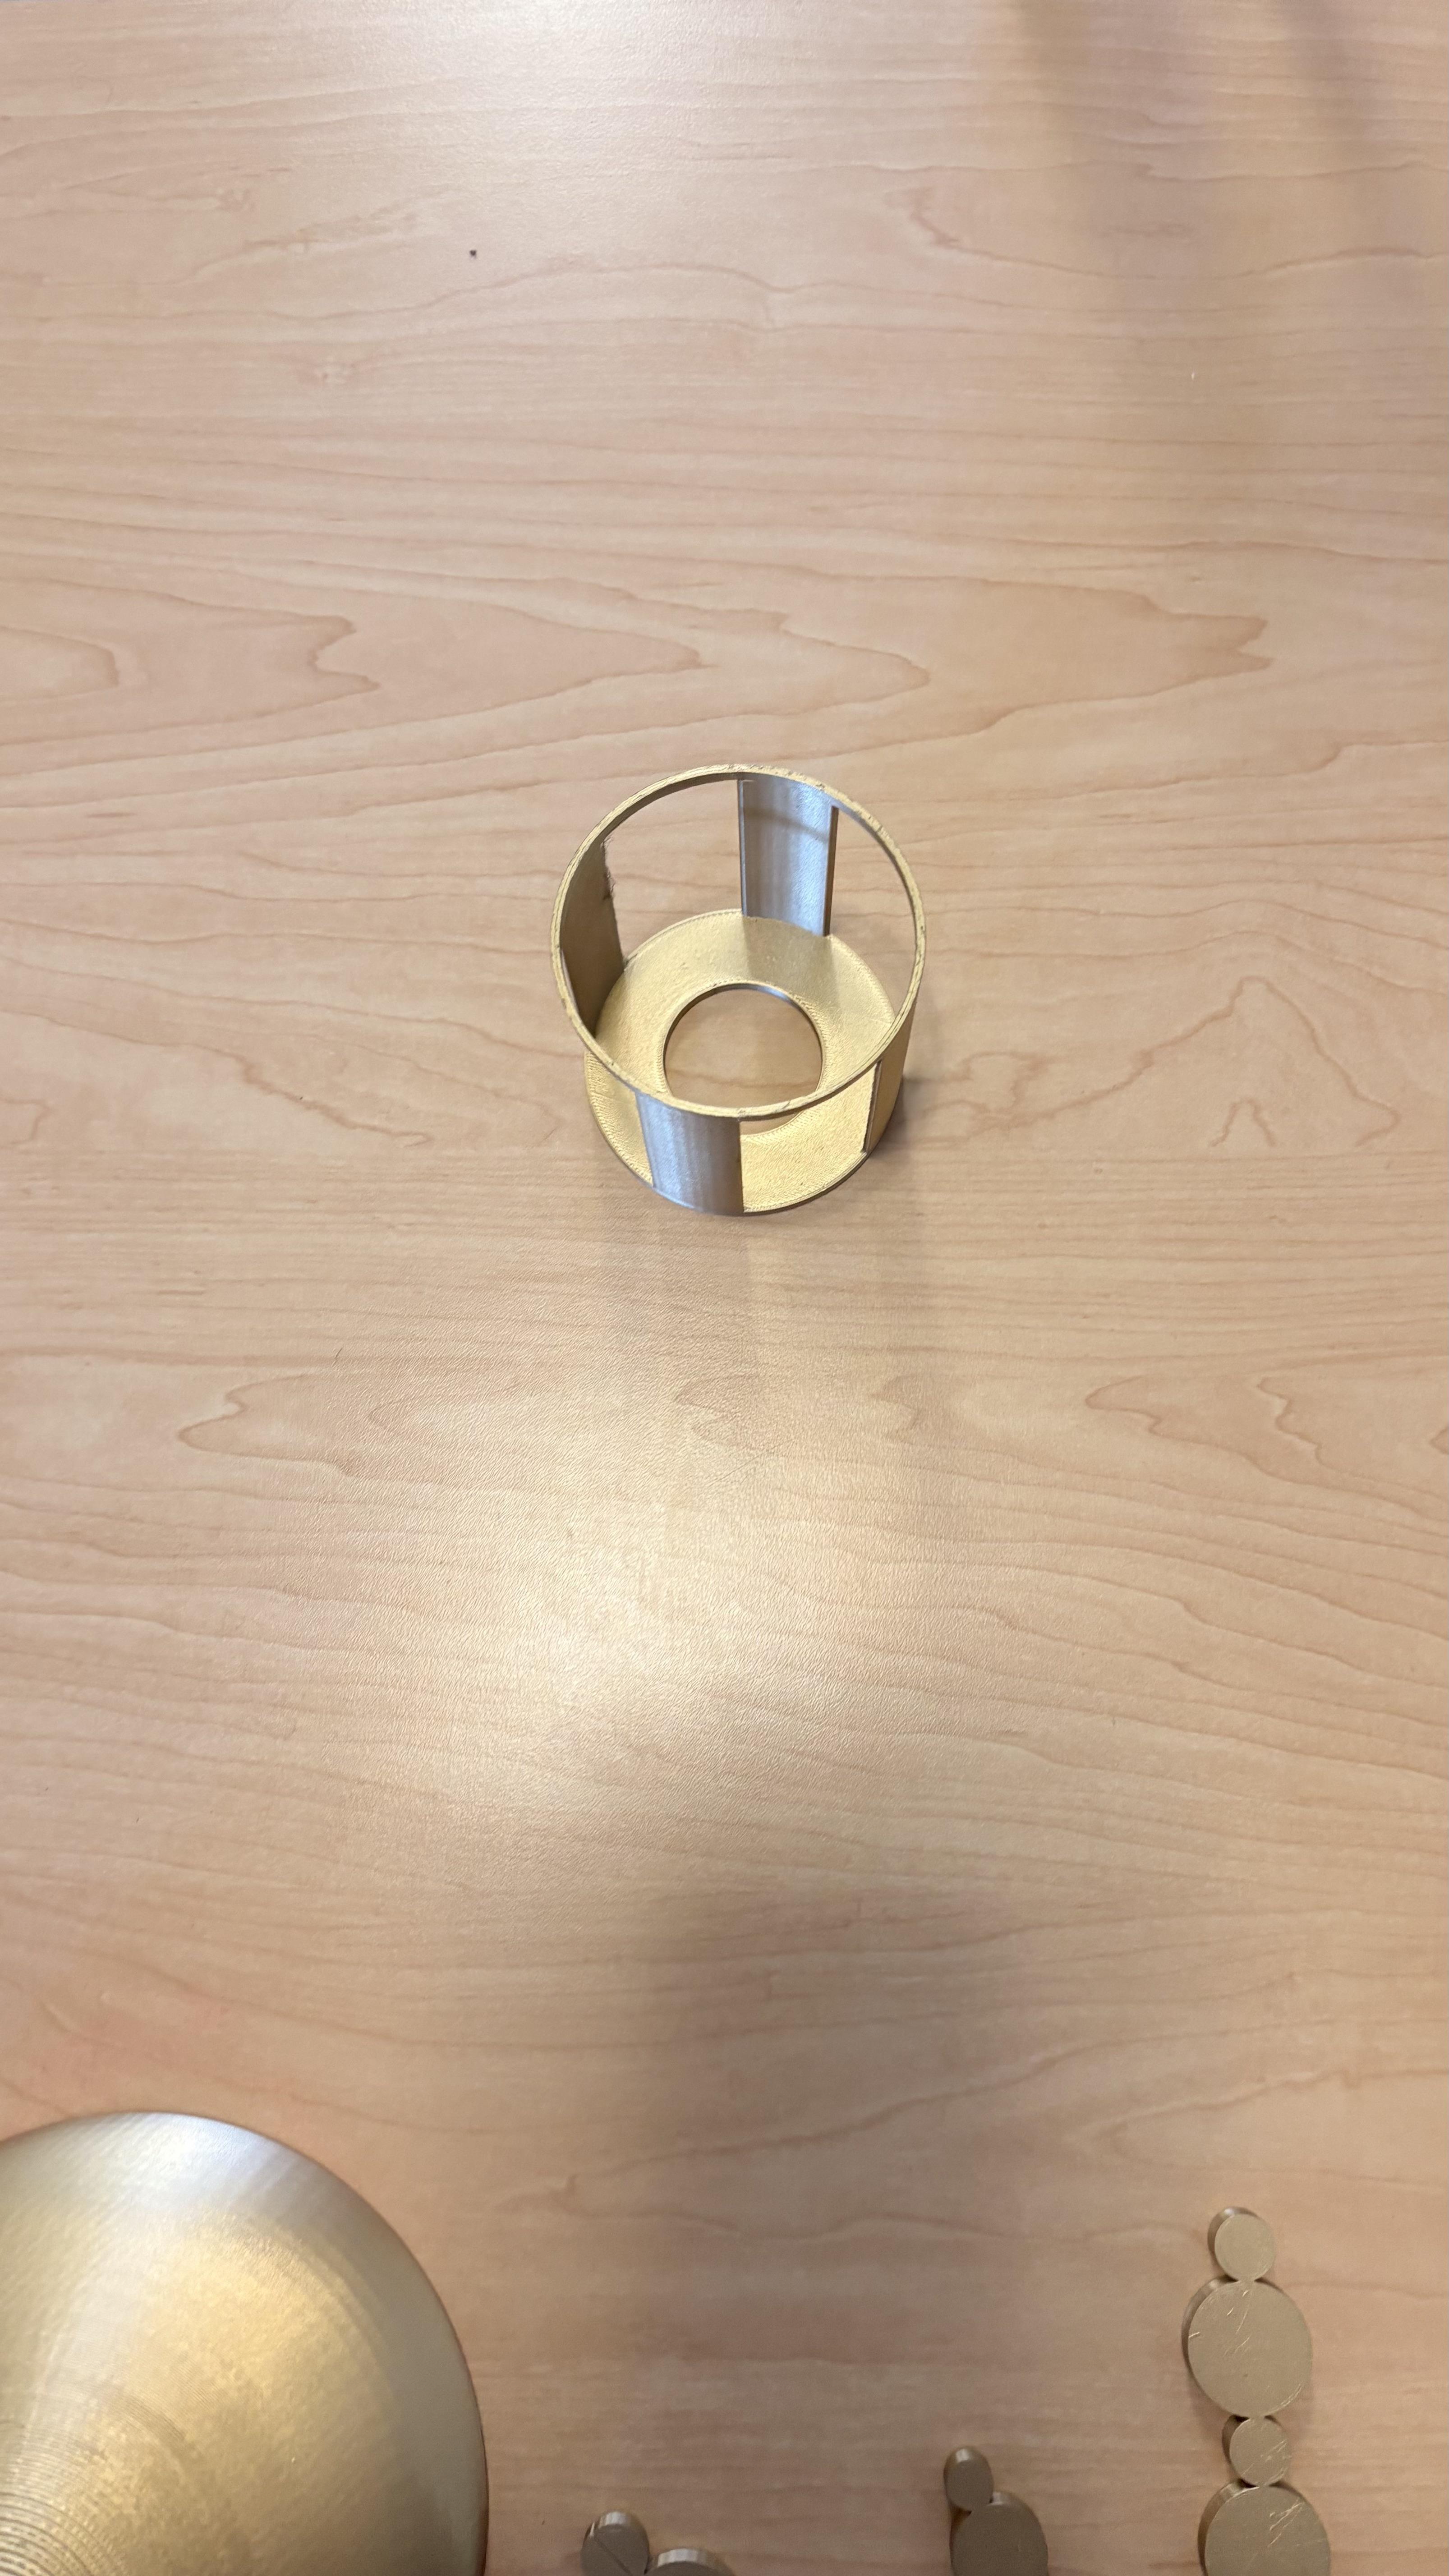
Assembly & Final Product


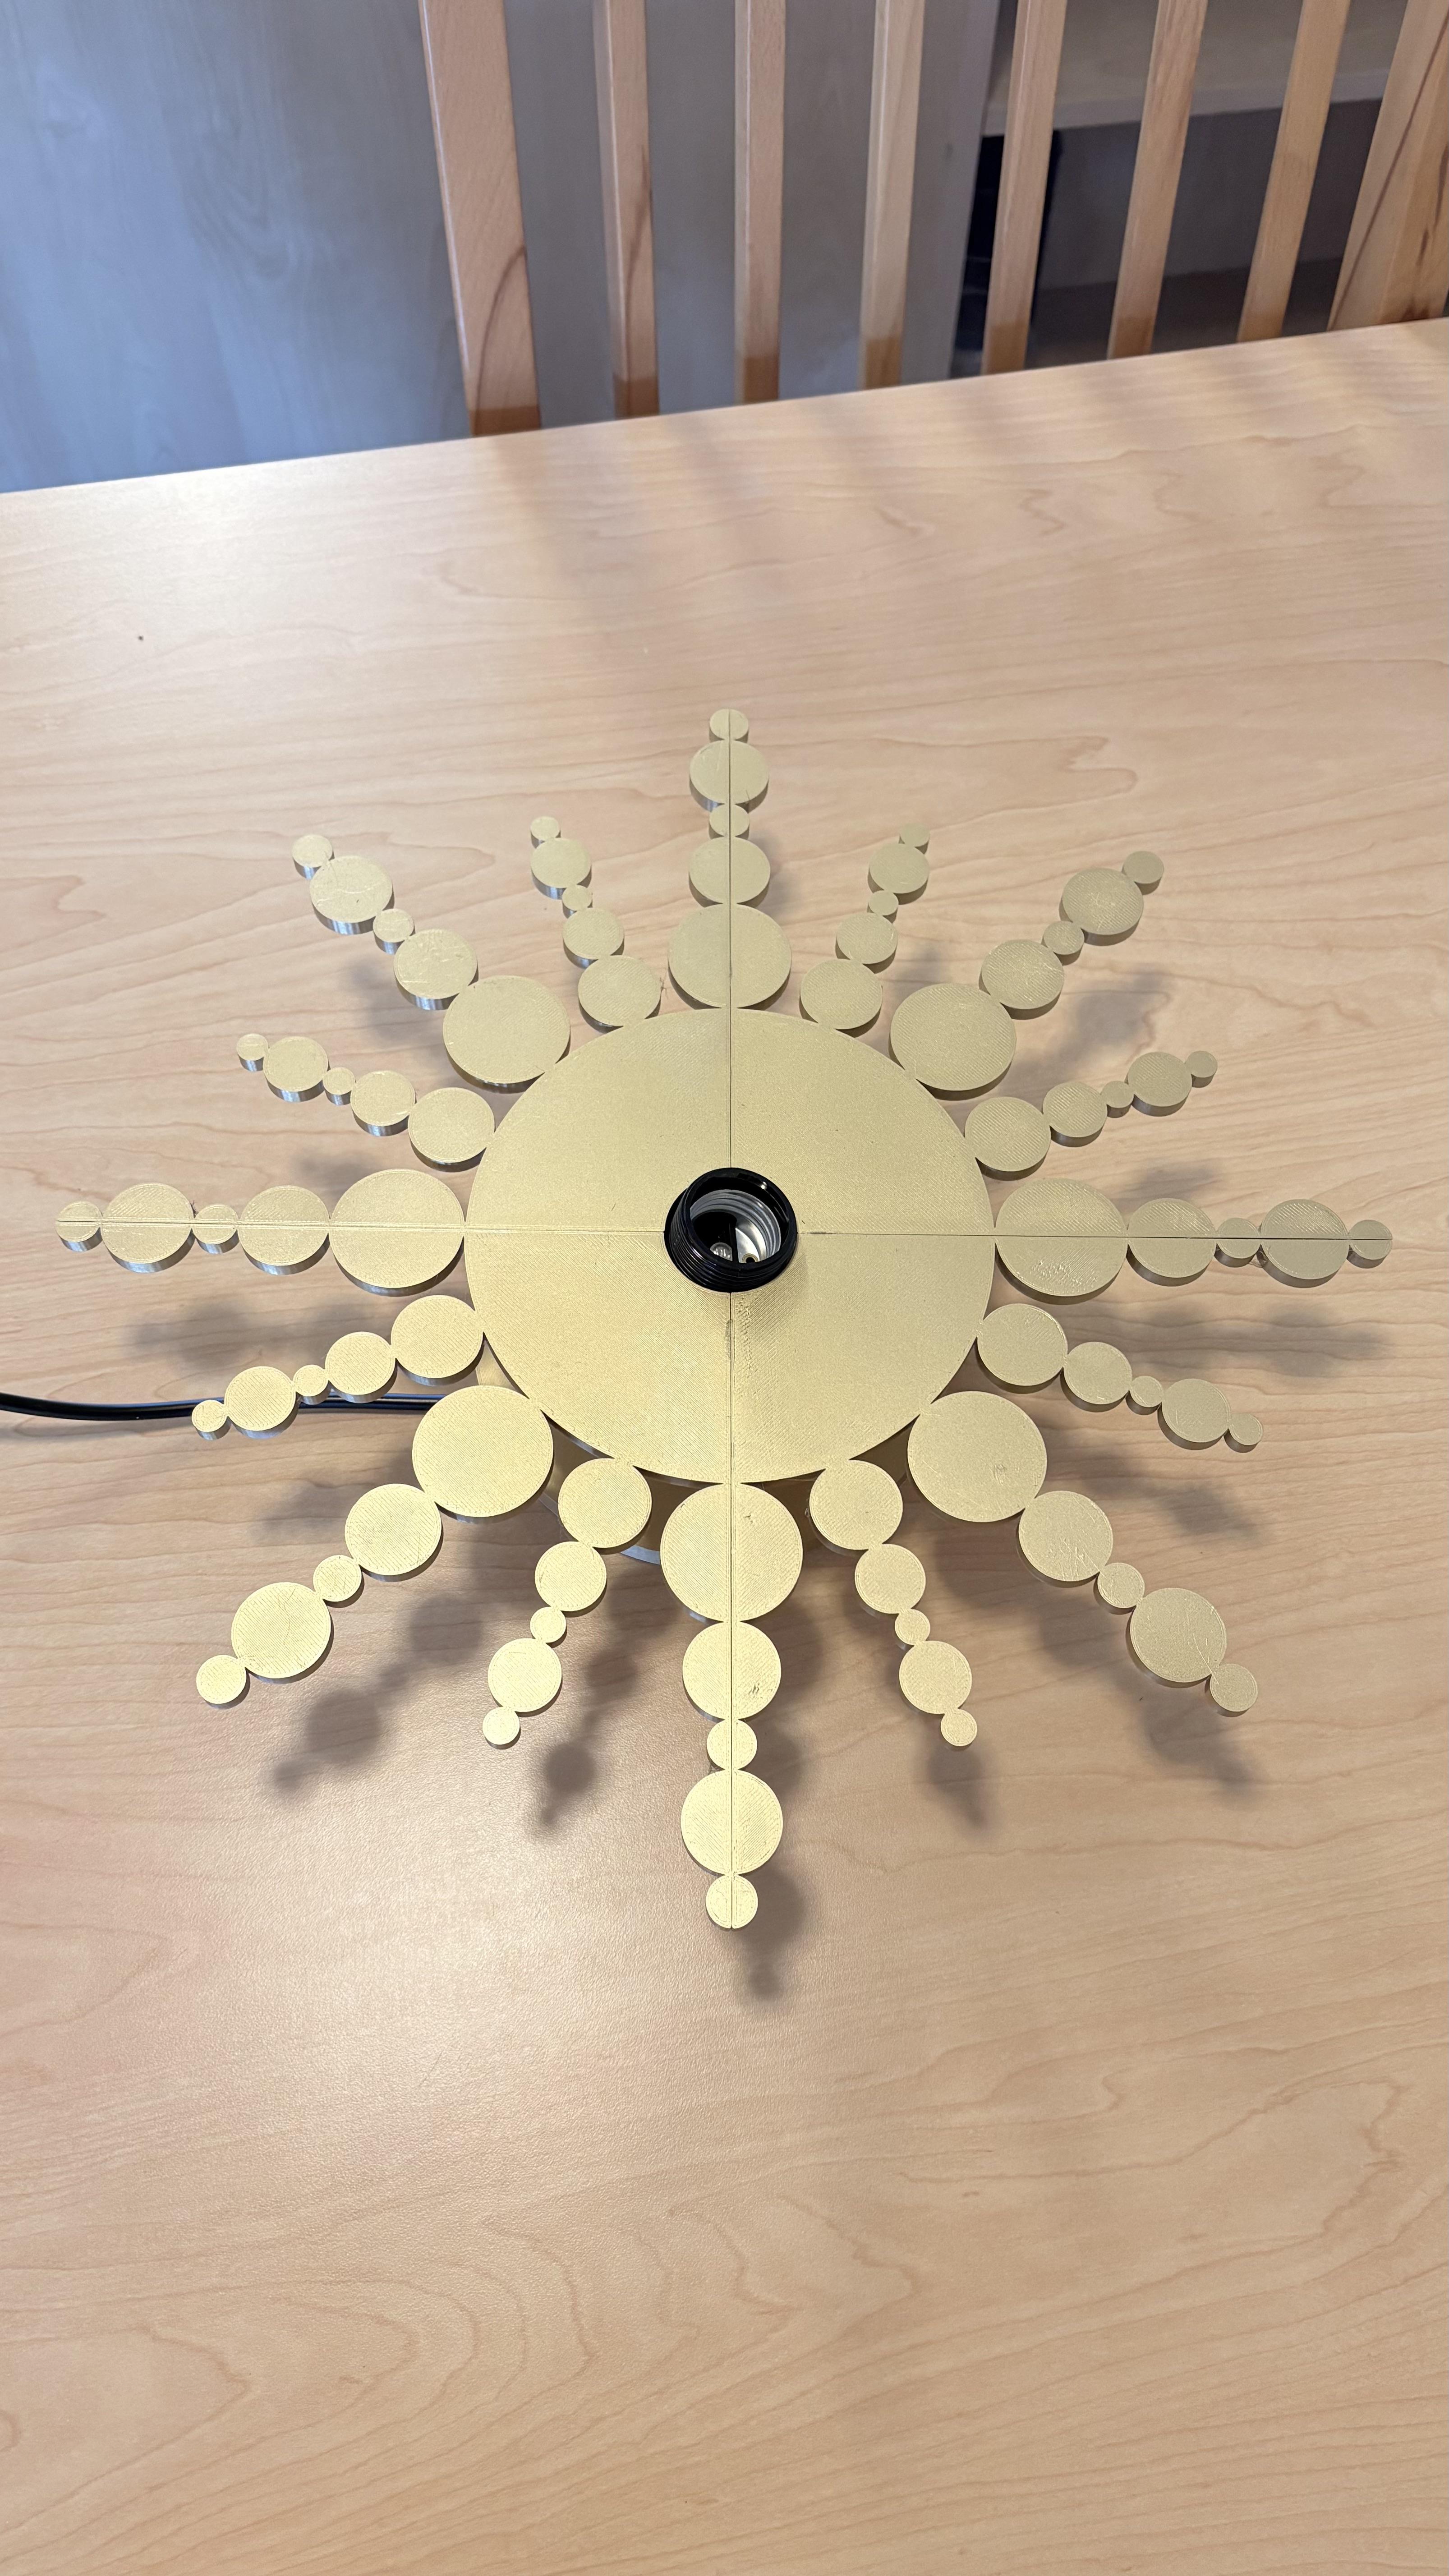
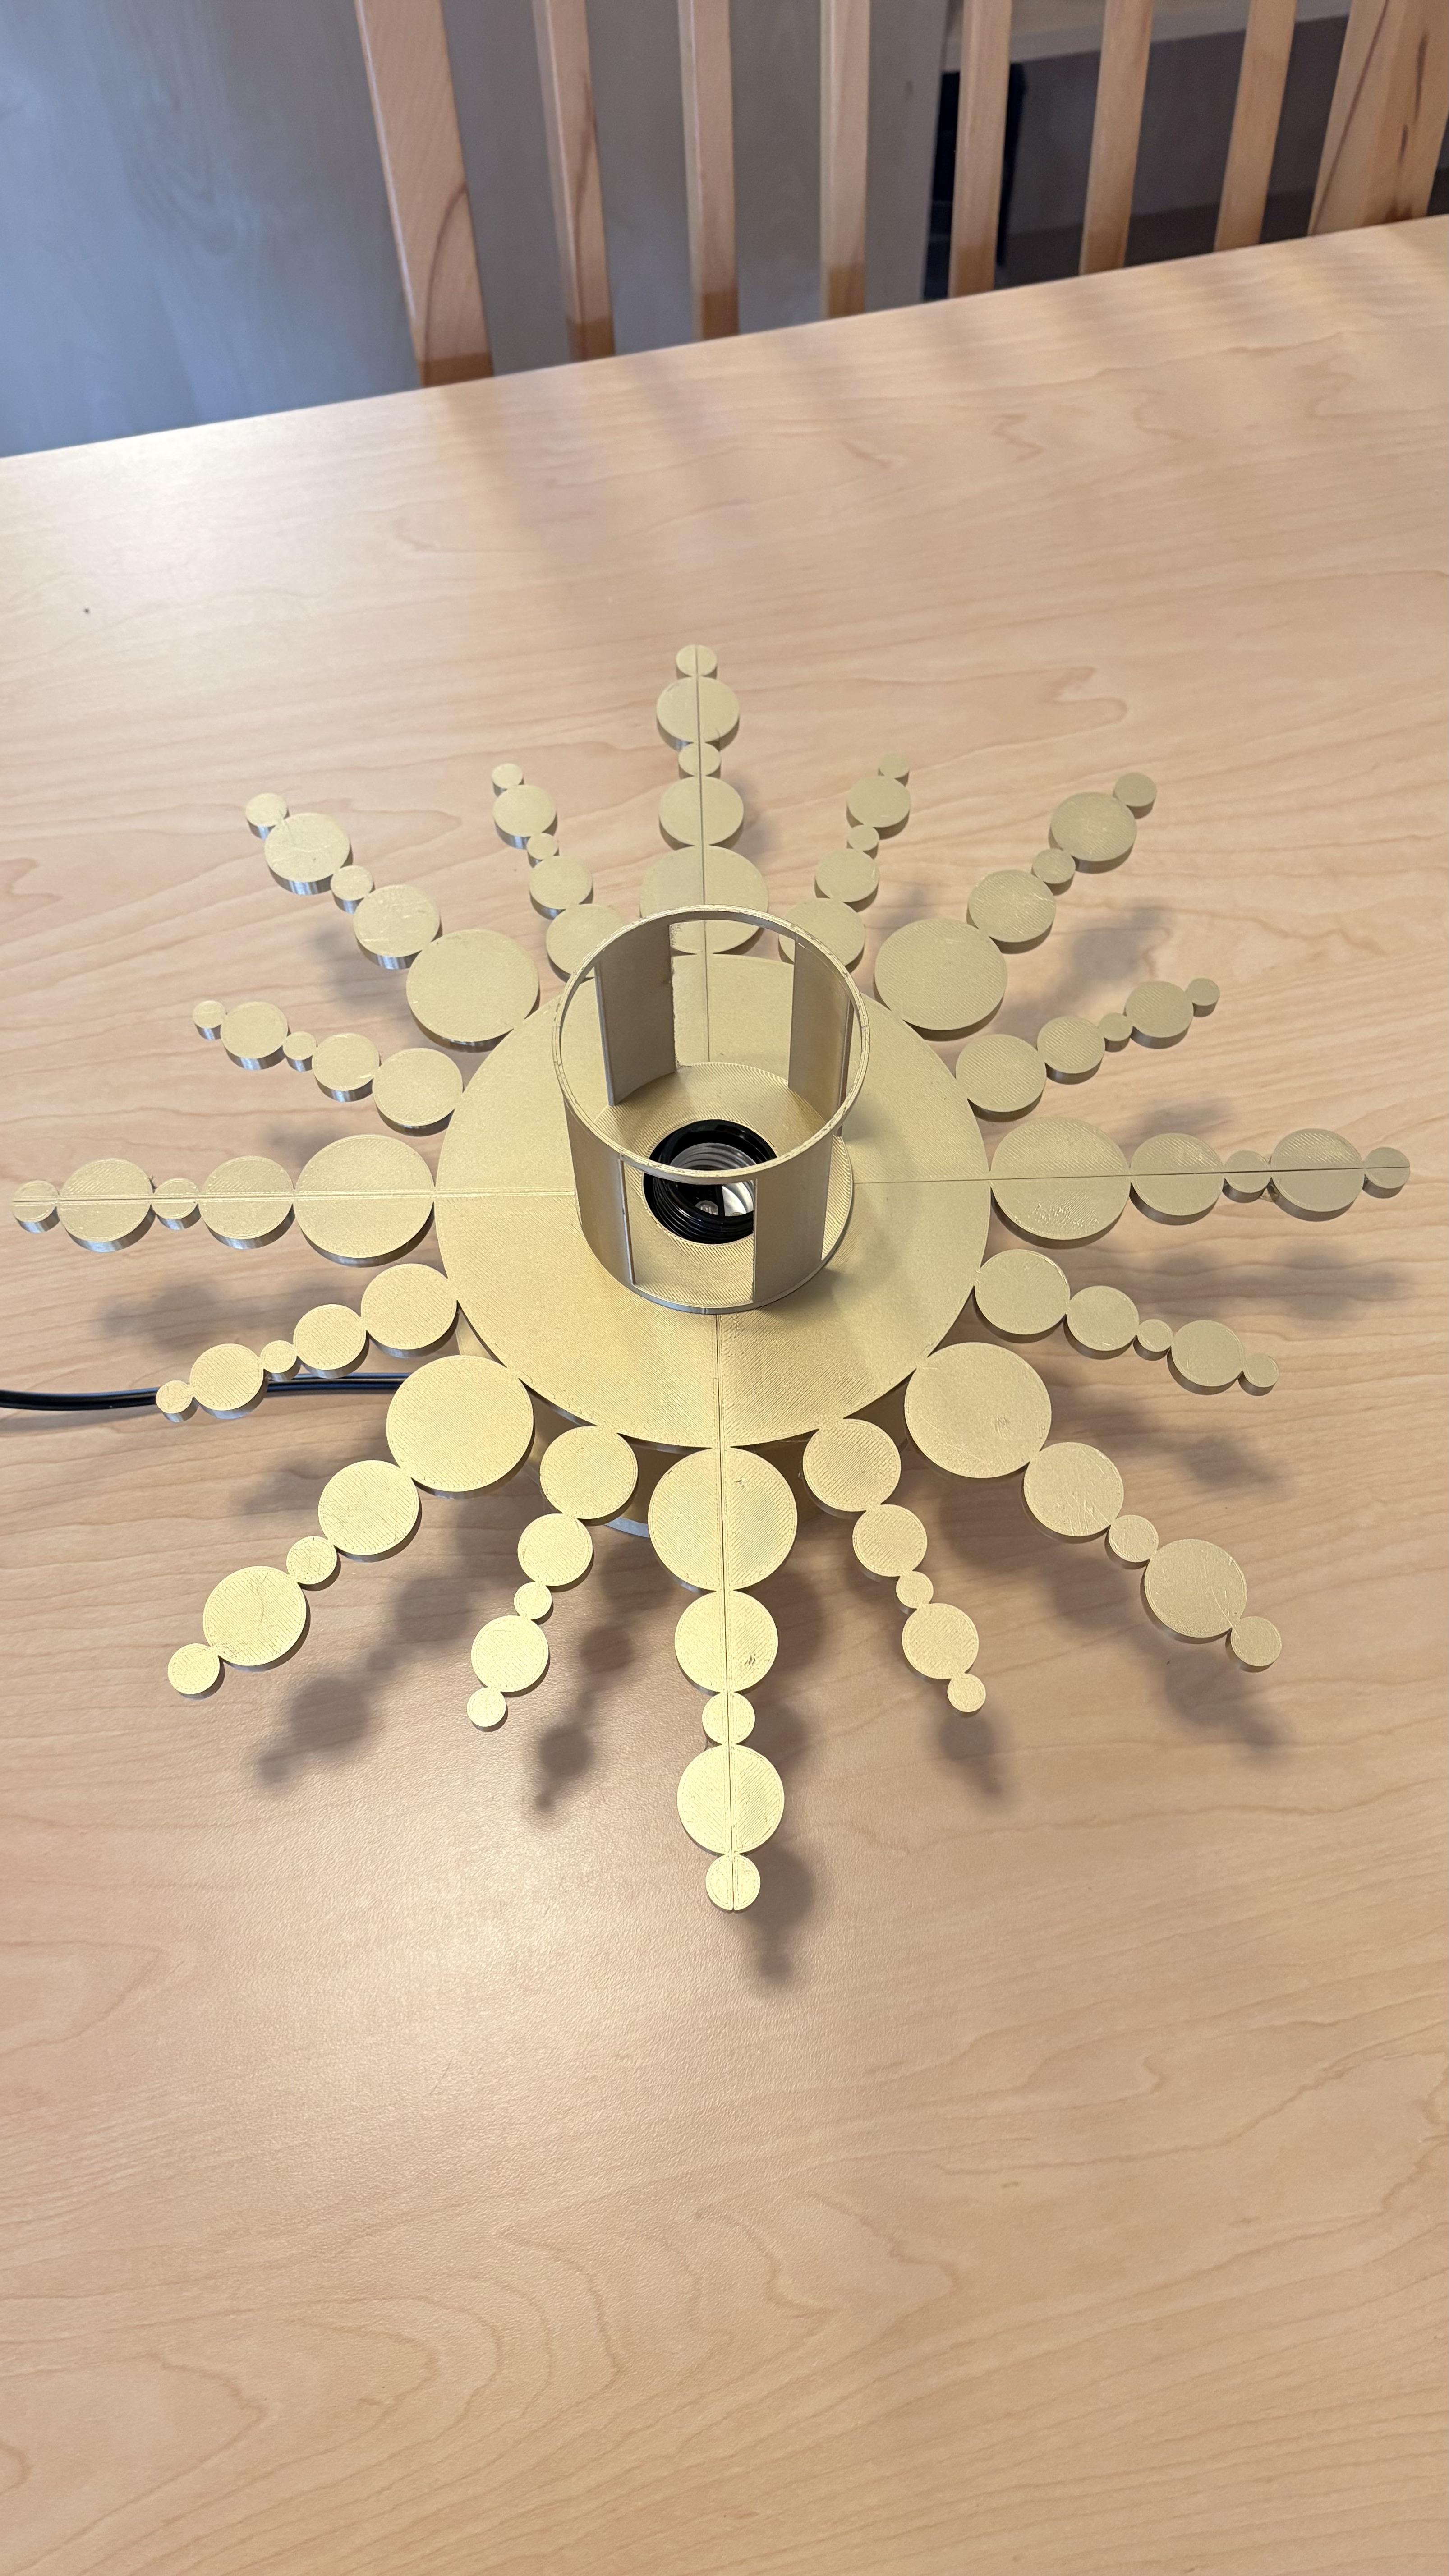
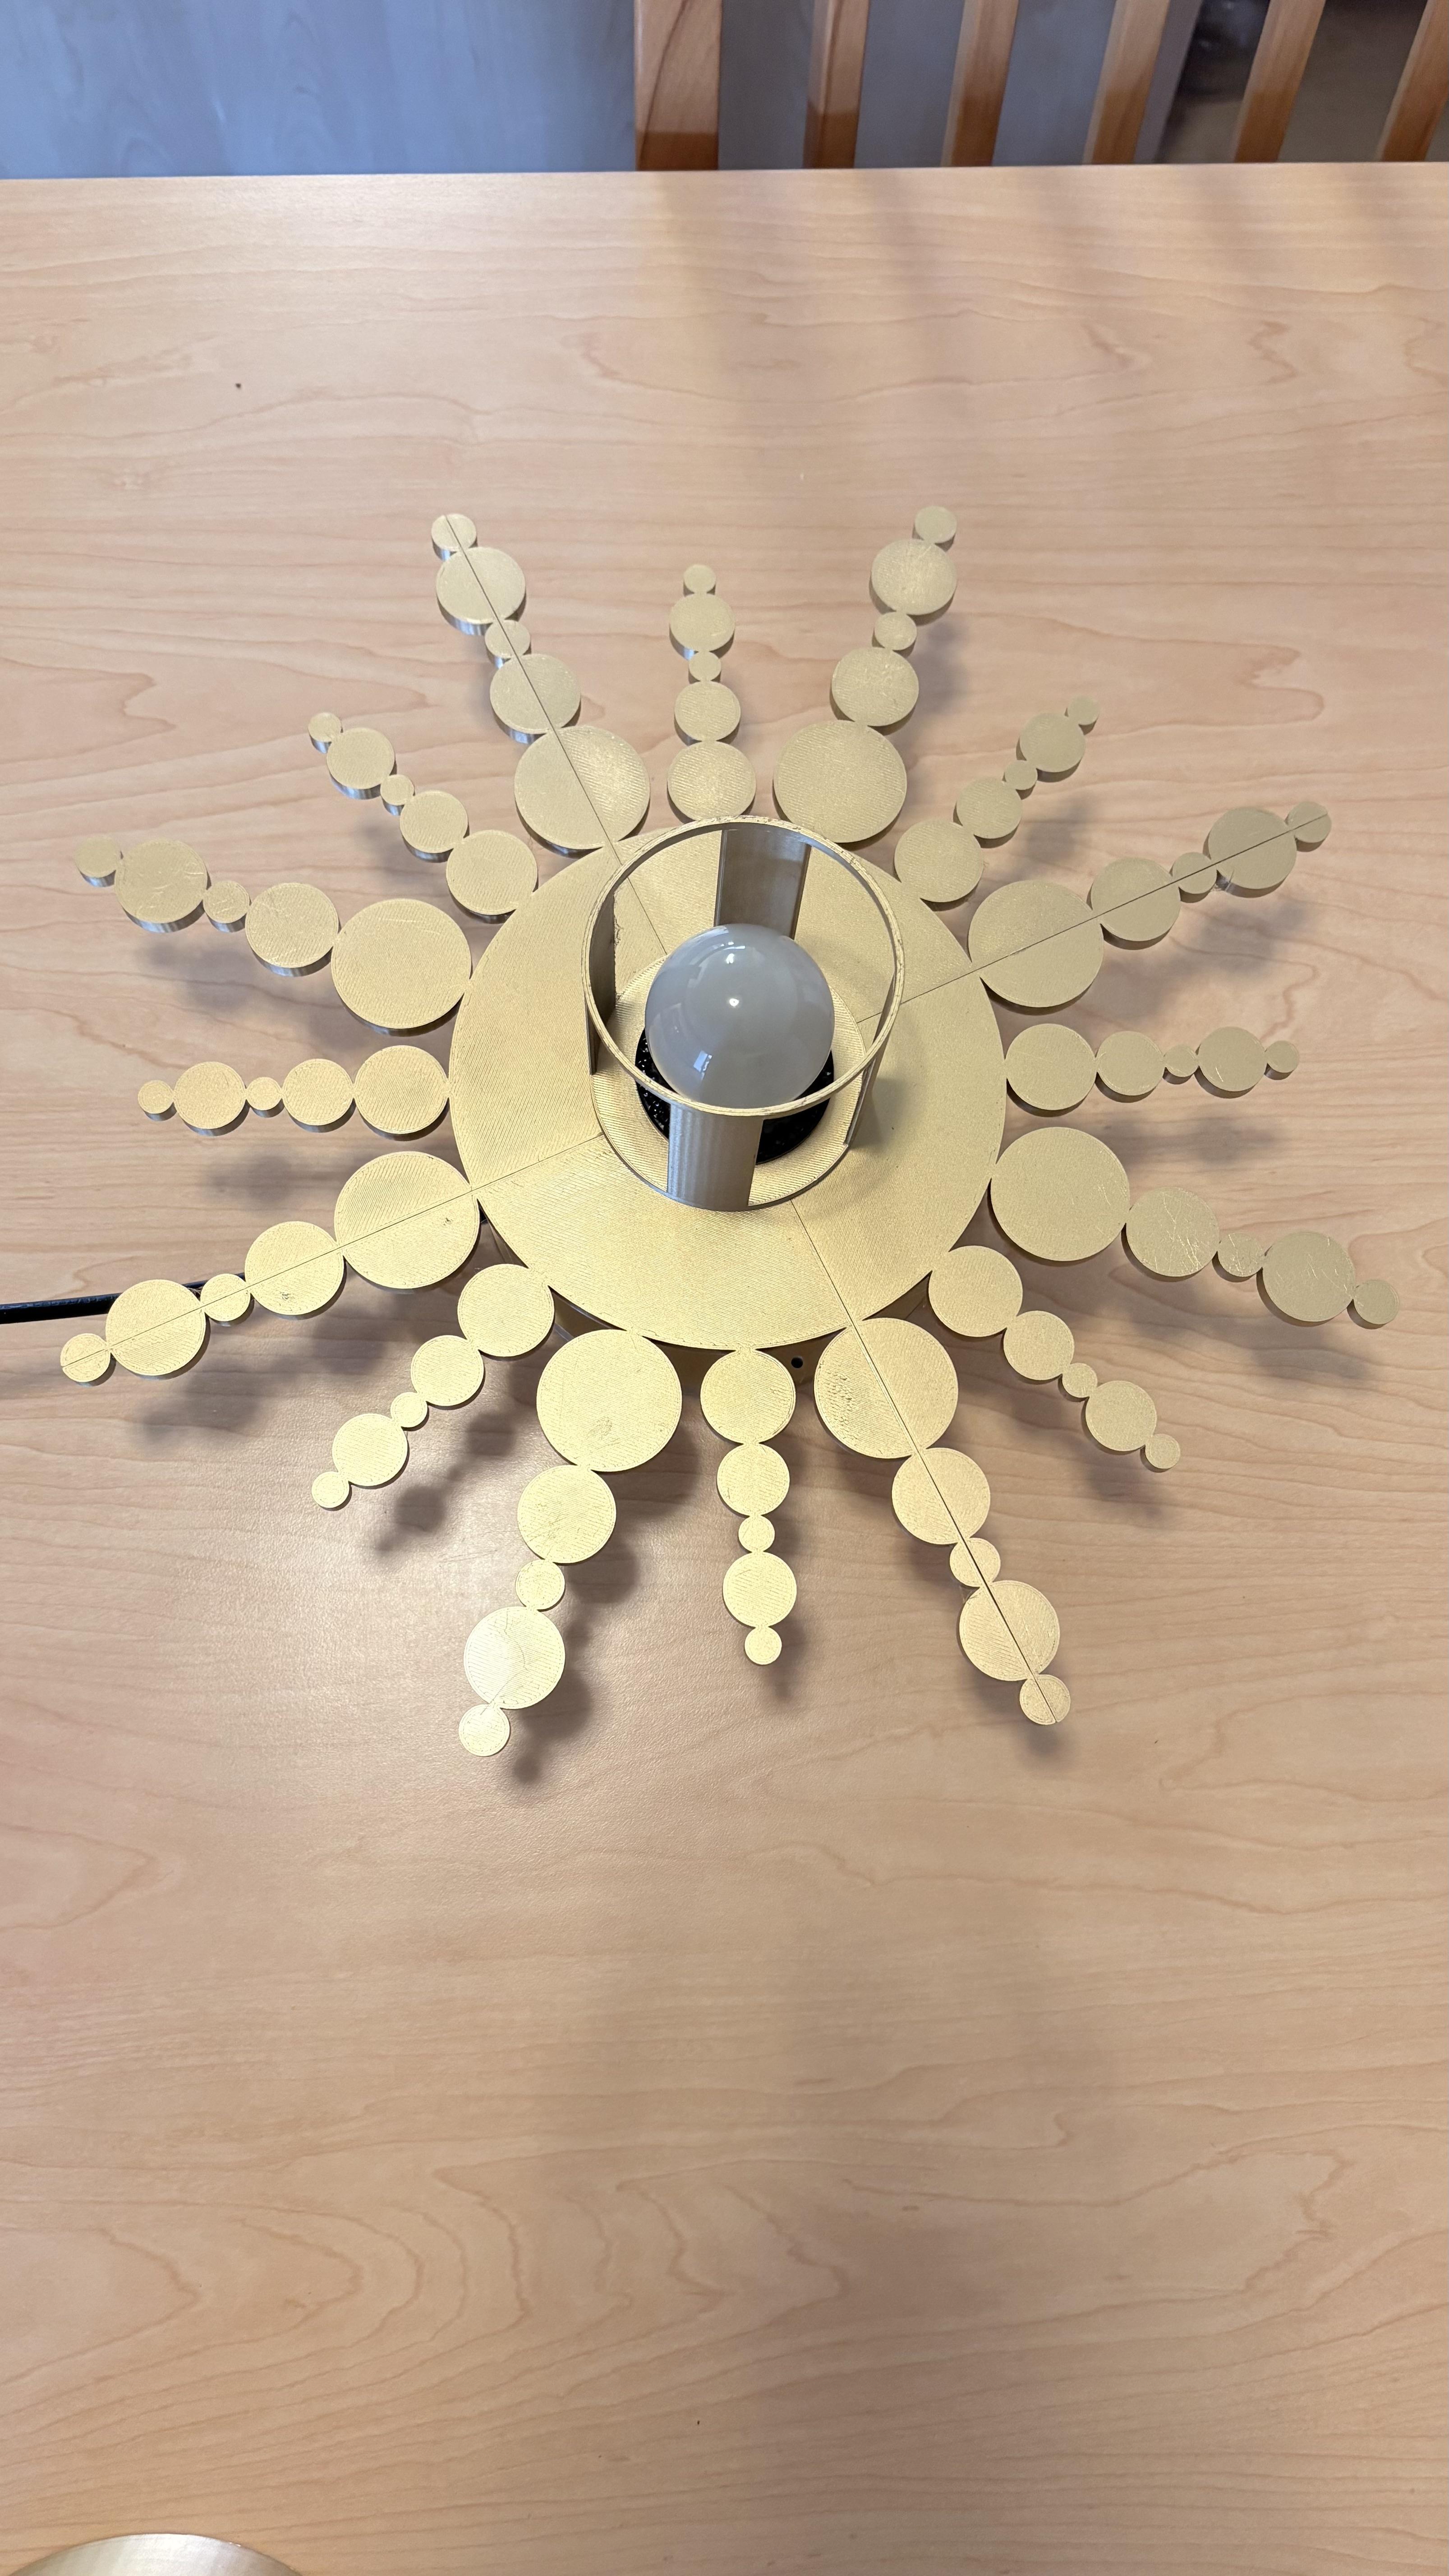


As mentioned before, this item was press fit as the hole sizes and cylinder diameters aligned. First, I connected the disc Base with the cylinder, where one side had a smaller hole for the lightbulb socket to get caught. Once the lamp cord component was in, I placed the sun rays above it. Next, I placed the cage-like cylinder on top of the rays and screwed on the lightbulb socket retaining ring to secure the three components attached to it, being the two cylinders and the sun rays. The final step was to secure the dome Component. When fully assembled, I hung the Sun Lamp on the wall with a nail and plugged it in to turn it on.