A BATTERY-POWERED Model Cardboard Elevator (Functional)
by EricBoakyeJ3 in Craft > Cardboard
758 Views, 2 Favorites, 0 Comments
A BATTERY-POWERED Model Cardboard Elevator (Functional)
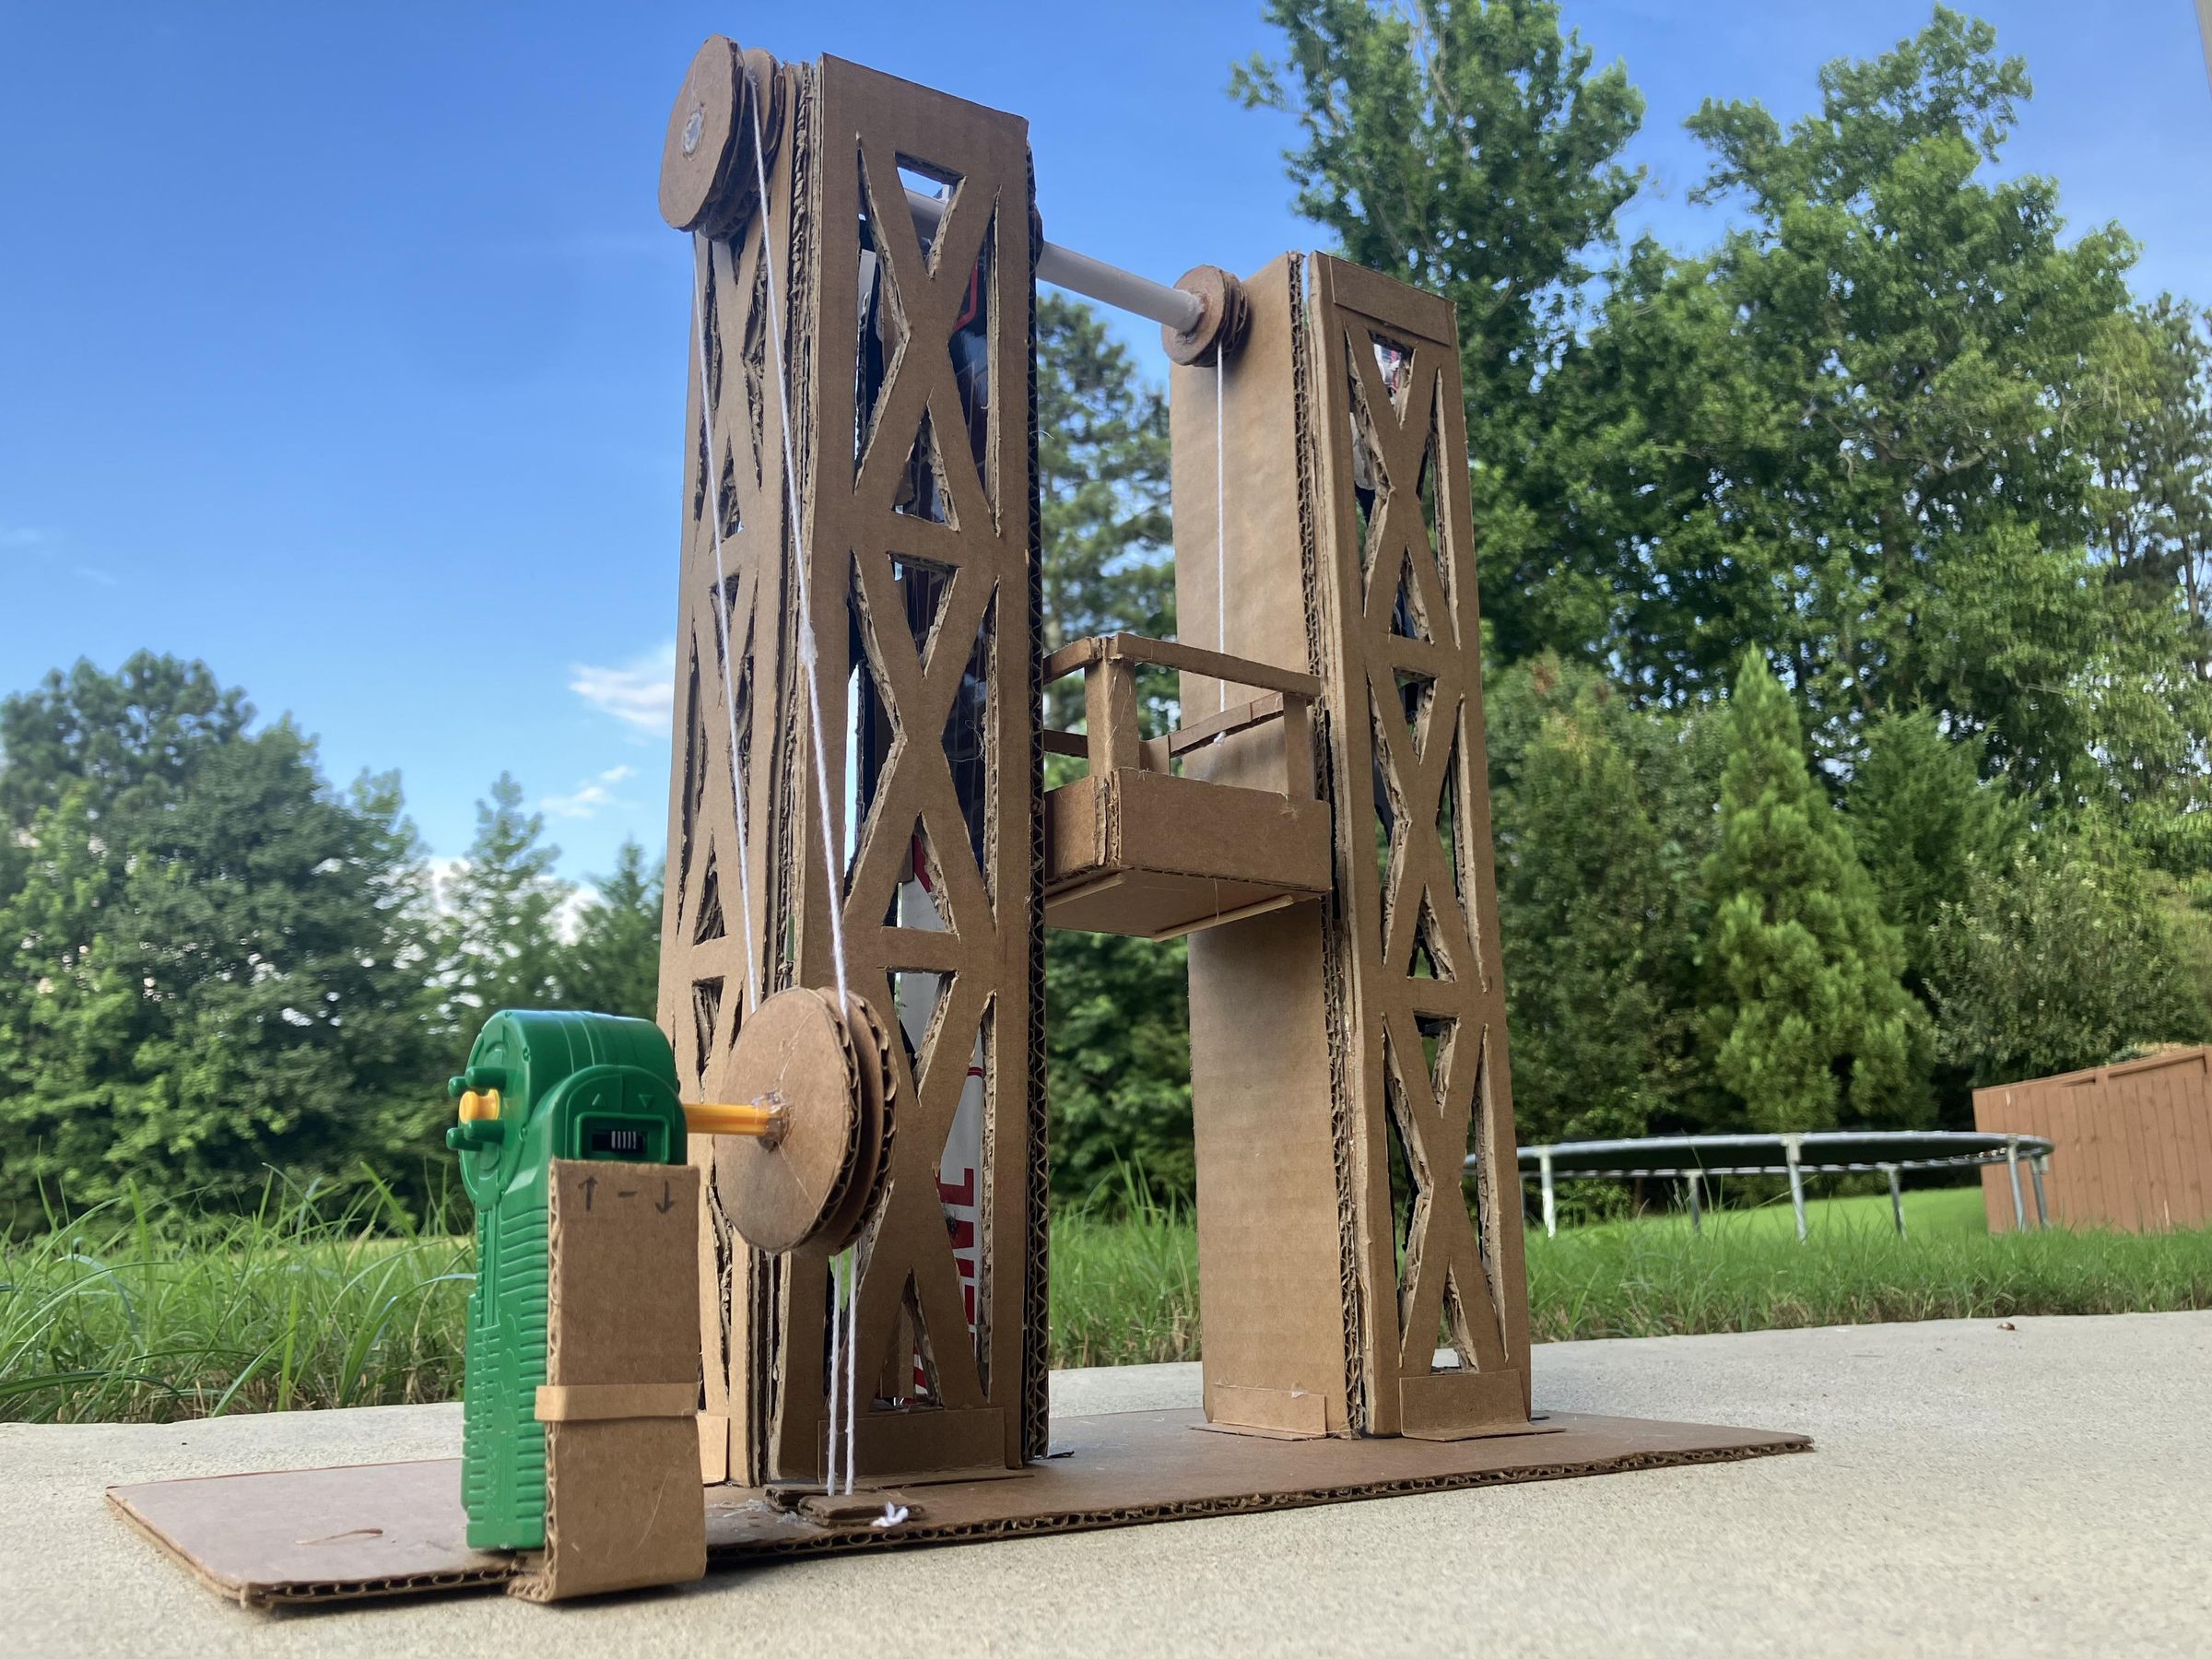
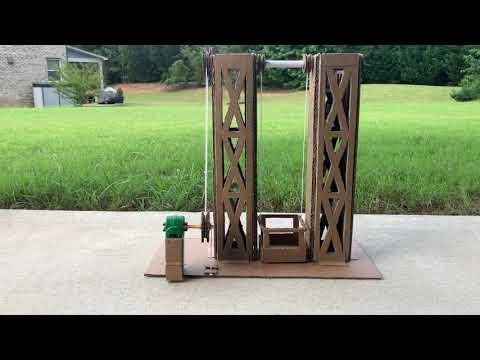
Elevators are one of the engineering wonders that people use frequently but barely think about. You get inside, you press a button, you wait a second, and just like that you're two stories higher than you were before. However, behind that simple ride is a mixture of motors, pulleys, and cables that have been engineered to work together and solve a problem.
For this project, I decided I would build my own model elevator, my main material being cardboard, which I always enjoy working with. I was initially going to have it be powered by a manual hand-crank system, but I thought it would be interesting to use a battery-powered K'Nex rotary motor that I had lying around to make the model more elevator-like and automated.
Some Notes
- Thinking of this model as a prototype, I imagined that it would be used as a multi-purpose elevator that would allow transport of supplies in areas of construction. In addition, elevators would be used to transport people om and out of danger (ex: burning buildings).
- One reason I enjoyed making this project was because it let me test out real engineering ideas like friction, torque, and real-life trouble shooting (which is something all successful engineers need to learn).
So if you're into cardboard builds, plan to make something similar, or just want to see how I rose to the occasion of making this battery-powered elevator, stick around.
Supplies
![IMG_0158[1].JPG](/proxy/?url=https://content.instructables.com/F93/E85S/MR0YAWBP/F93E85SMR0YAWBP.jpg&filename=IMG_0158[1].JPG)
Cardboard: This will be the main material of the build.
Non-corrugated cardboard: For many of the L-bracket Components of the build.
String: This will act as the cable attached to the elevator car as well as the belt and loop system.
Paper: Used to make the rotating beam that the elevator cables are attached to. Also used to sketch.
K'Nex Motor w/ a rotating rod (or any rotating battery-powered device): Any small small motor that generates a spinning movement should work fine. (NOTE: a different variation of the motor is shown in the photo. I have the Green K'Nex Motor, which does about 45 RPM).
Tape: To temporarily keep things like templates in place during the build. and also to secure paper tubes.
Hot Glue: Used to permanently bind parts of the build and to add traction to the pulleys.
Cutting and Drawing Utensils: Pencil, scissors, X-Acto Knife, ruler, etc.
Sketching the Initial Design
![IMG_9942[1].JPG](/proxy/?url=https://content.instructables.com/FXR/WQUP/MR0YAWKT/FXRWQUPMR0YAWKT.jpg&filename=IMG_9942[1].JPG)
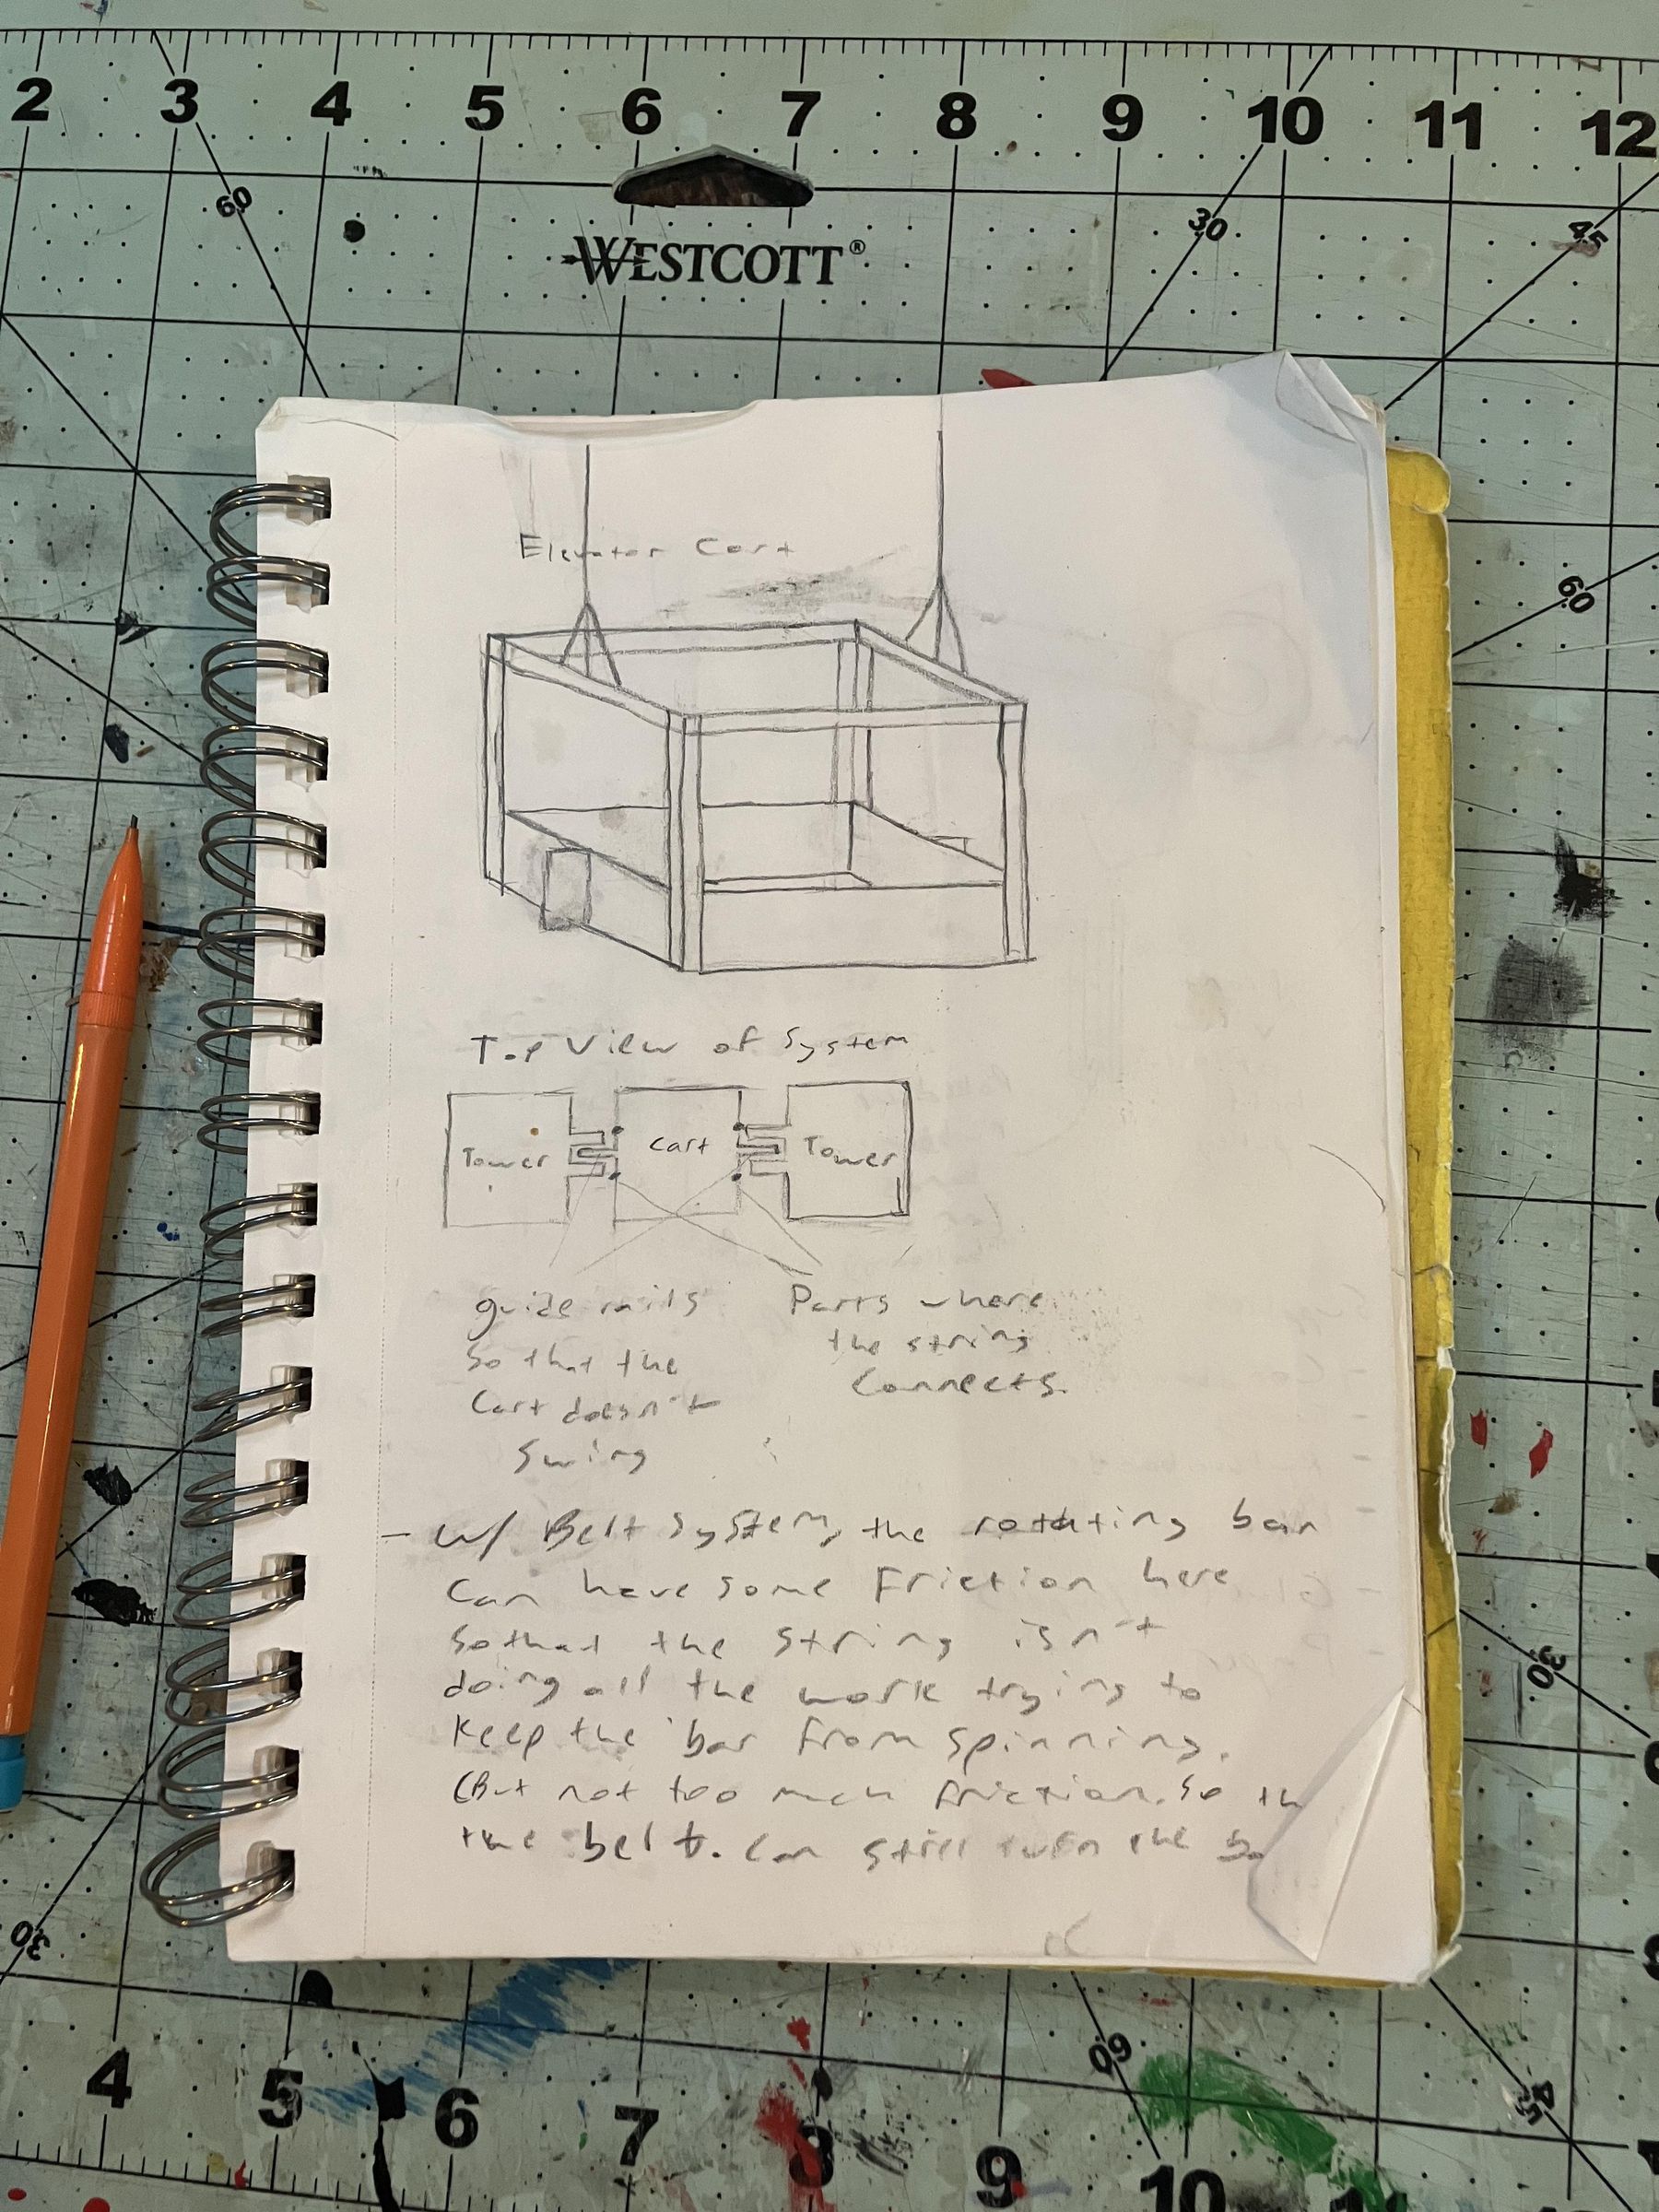
I always like to start my builds by sketching out how I want all my mechanisms to function. Doing this not only helps me develop a vision of how I want the idea to look, but it is also how I can see any design flaws that I need to rethink.
As you can see, I started out by drawing simple sketches of what the design could look like, and then just started refining the ideas with close-up sketches and commentary. This is my usual way of doing things.
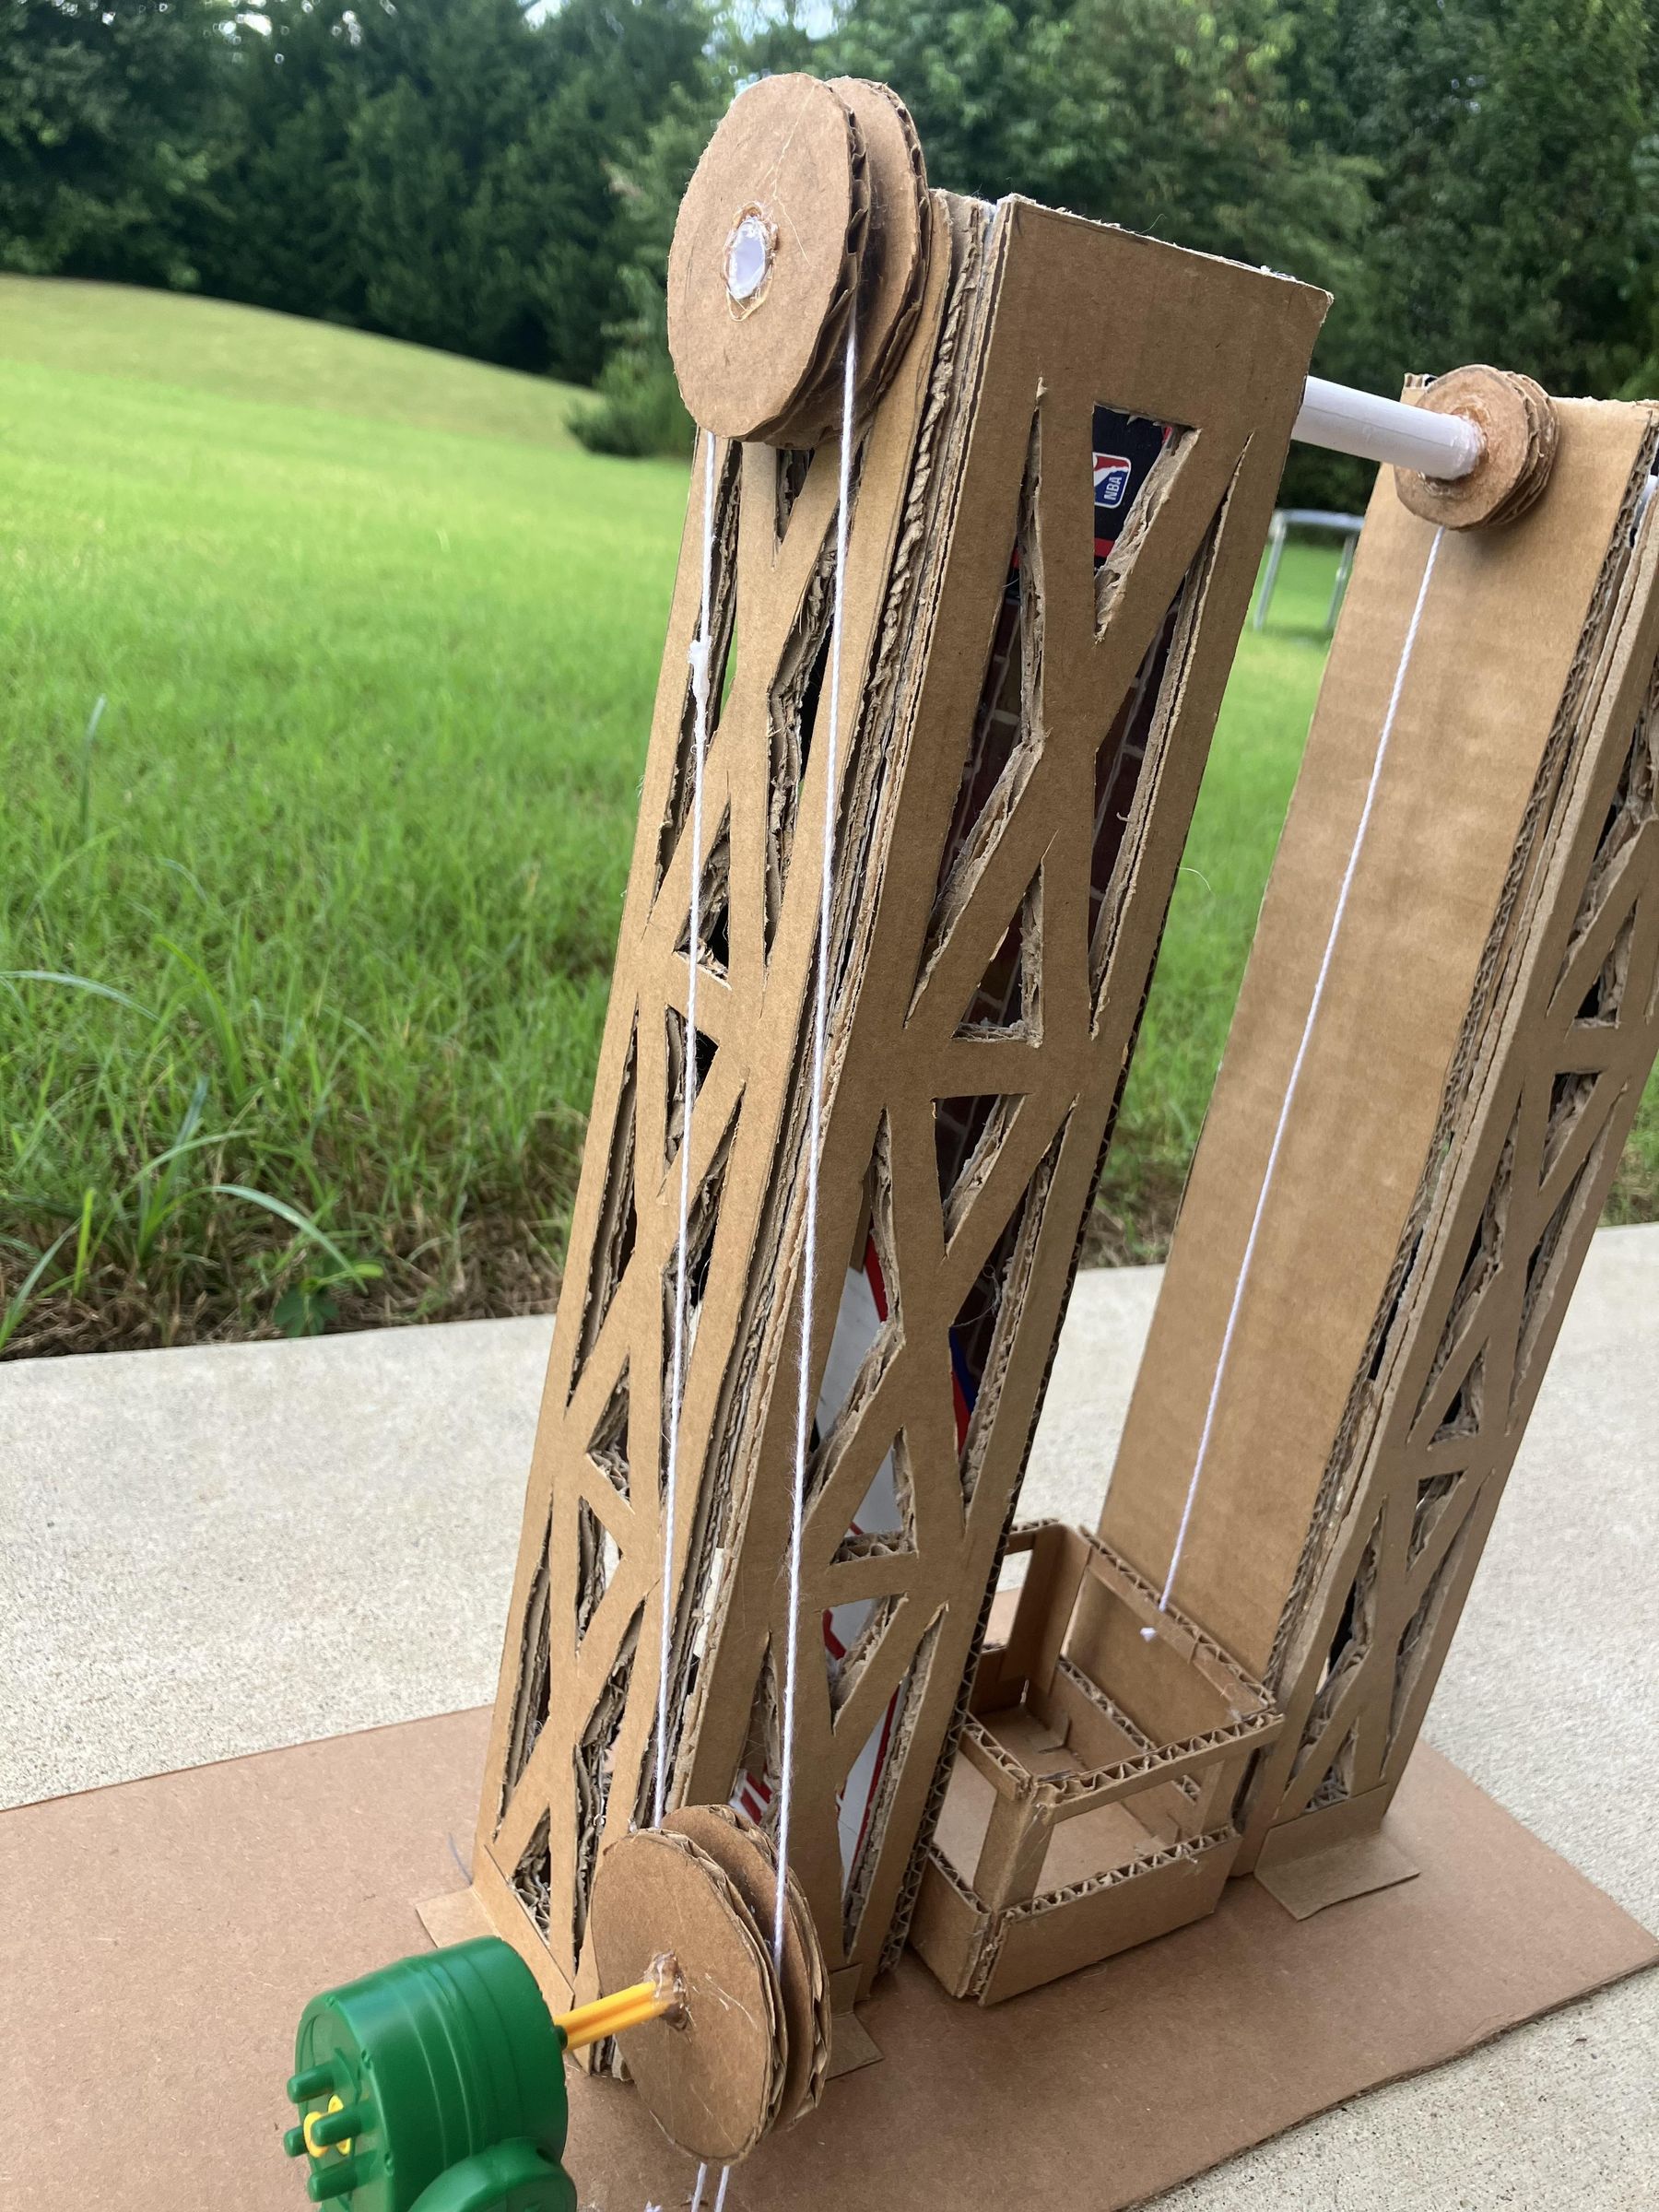
I decided the final look would be an open-walled elevator cart between two towers, each tower having an X-BRACING Design. The system will have a motor rotating a belt loop drive mechanism, which allows a string to to rotate a disk near the top of one of the towers. That disk will also rotate a bar that will wind the elevator cables, which will cause the elevator to rise.
Now that we've drawn the basic design, we can start actually building this thing.
Beginning With the Elevator Cart
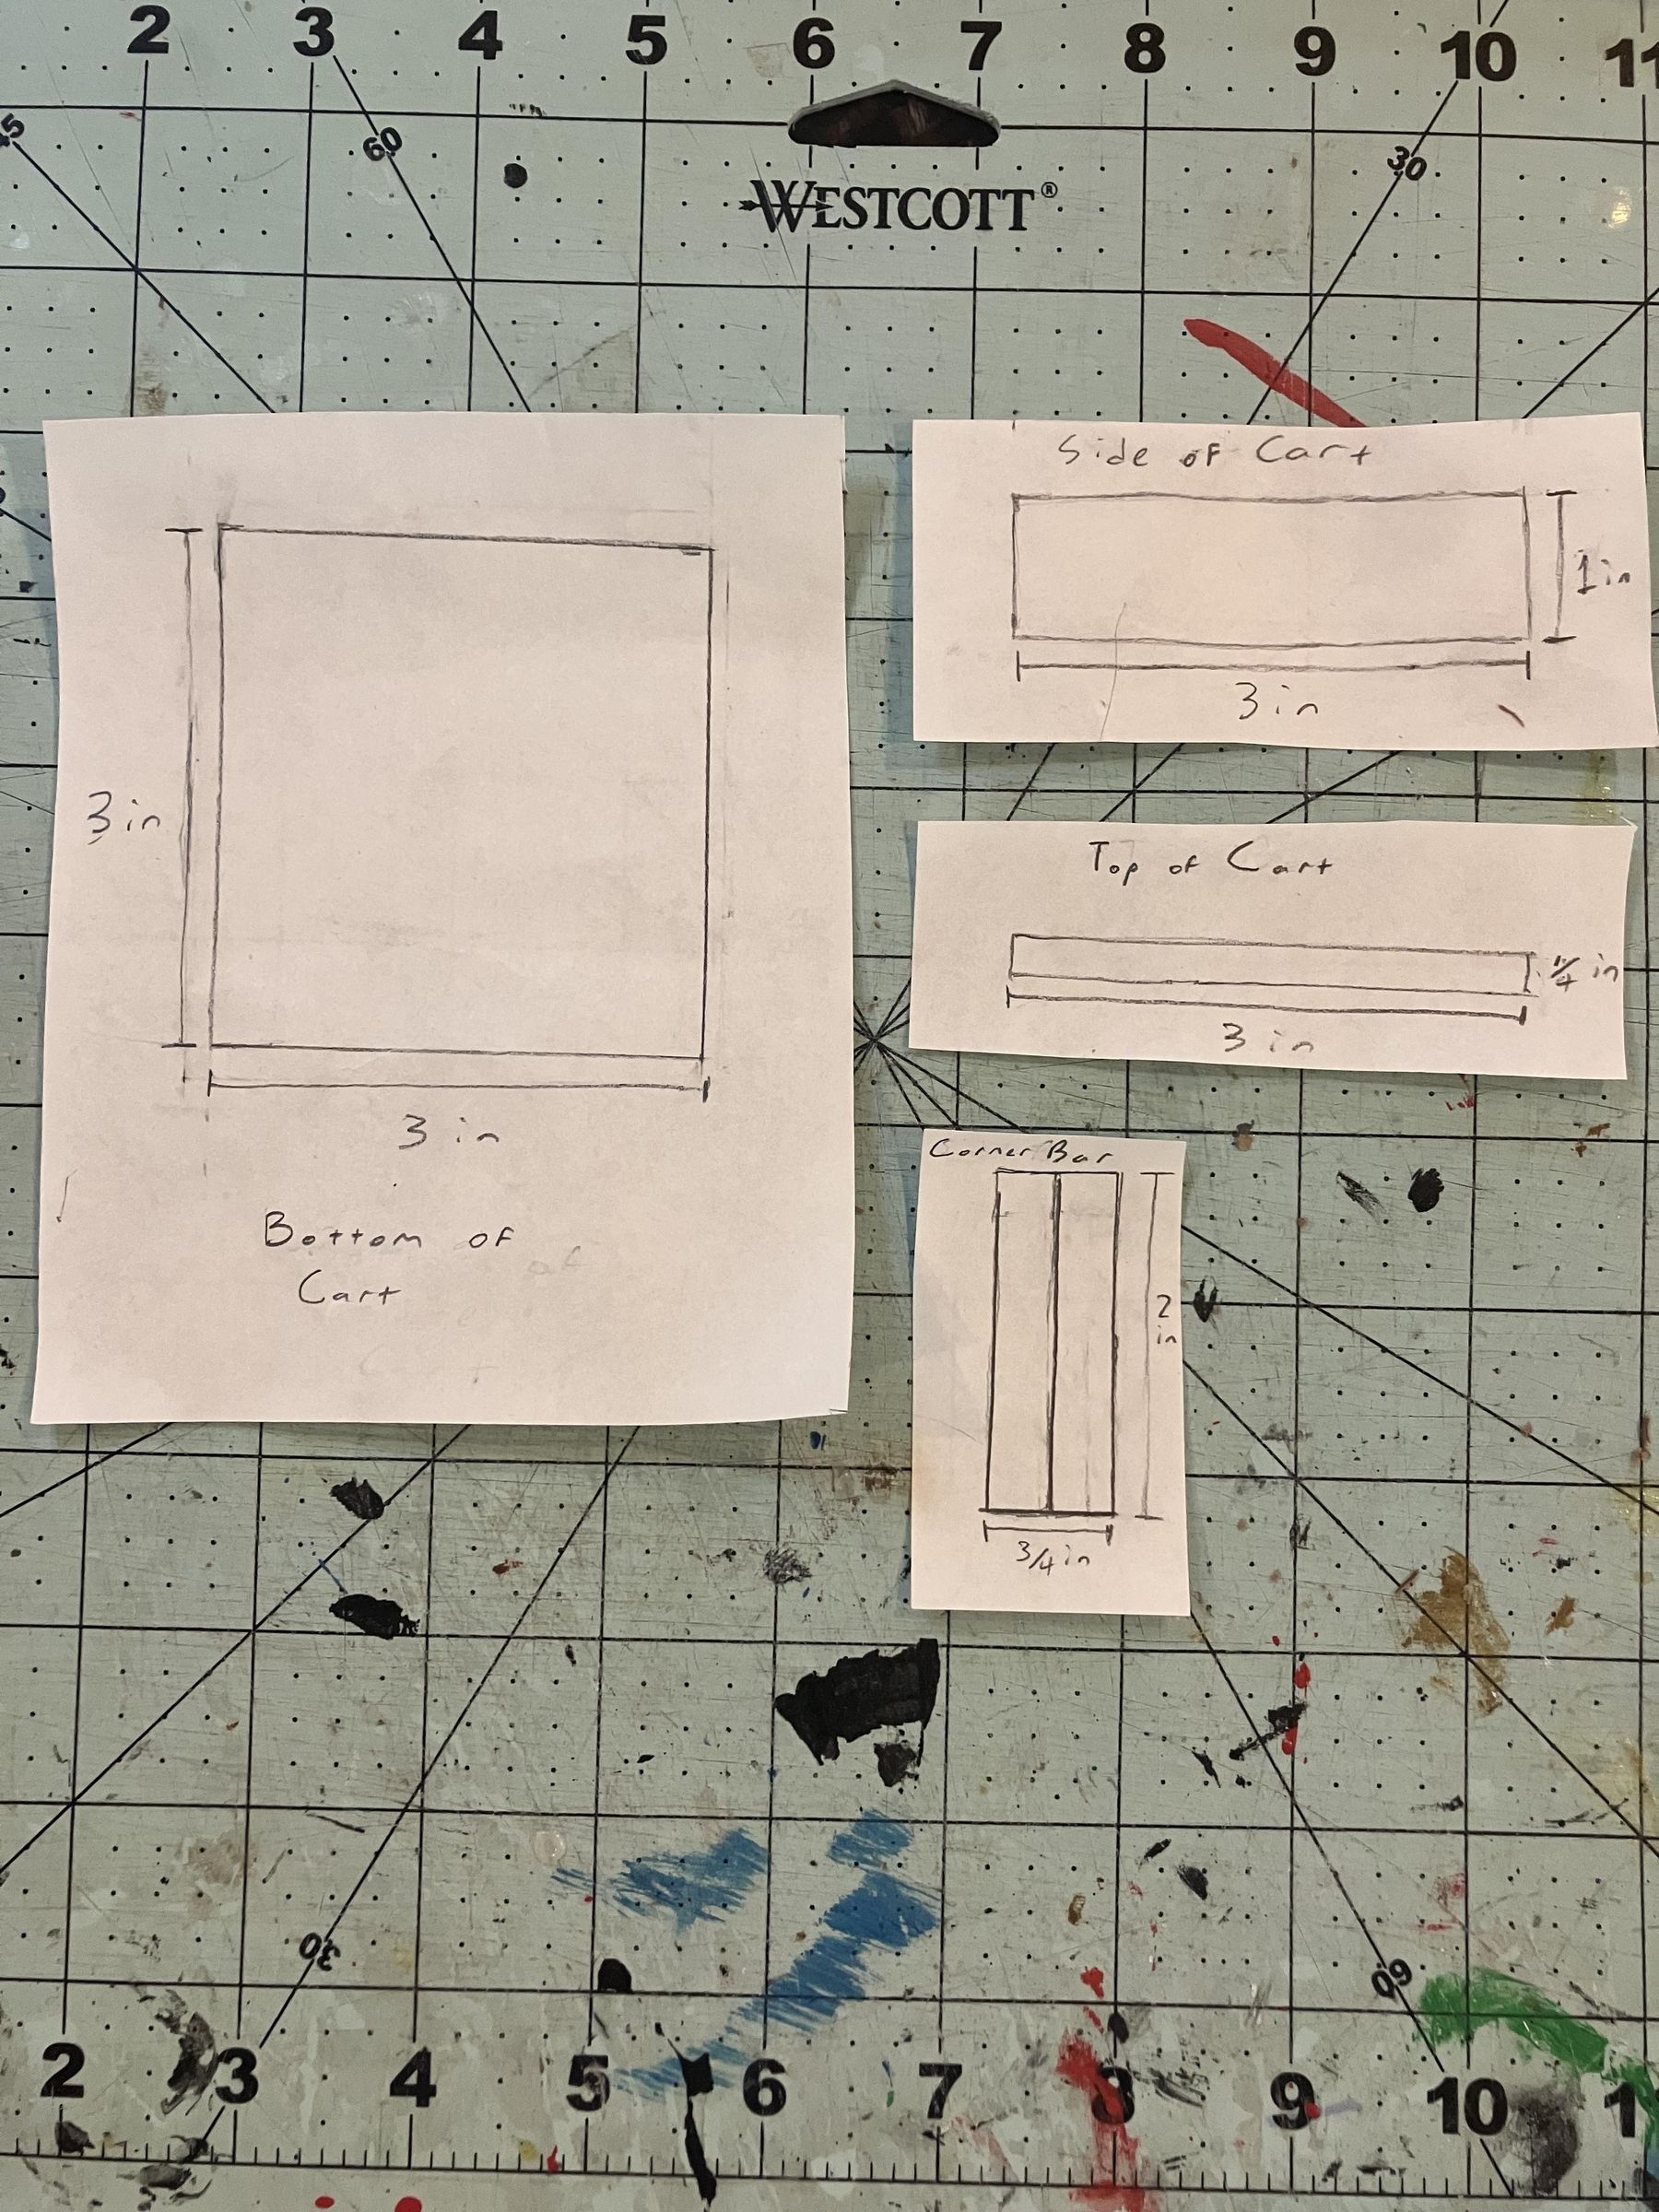
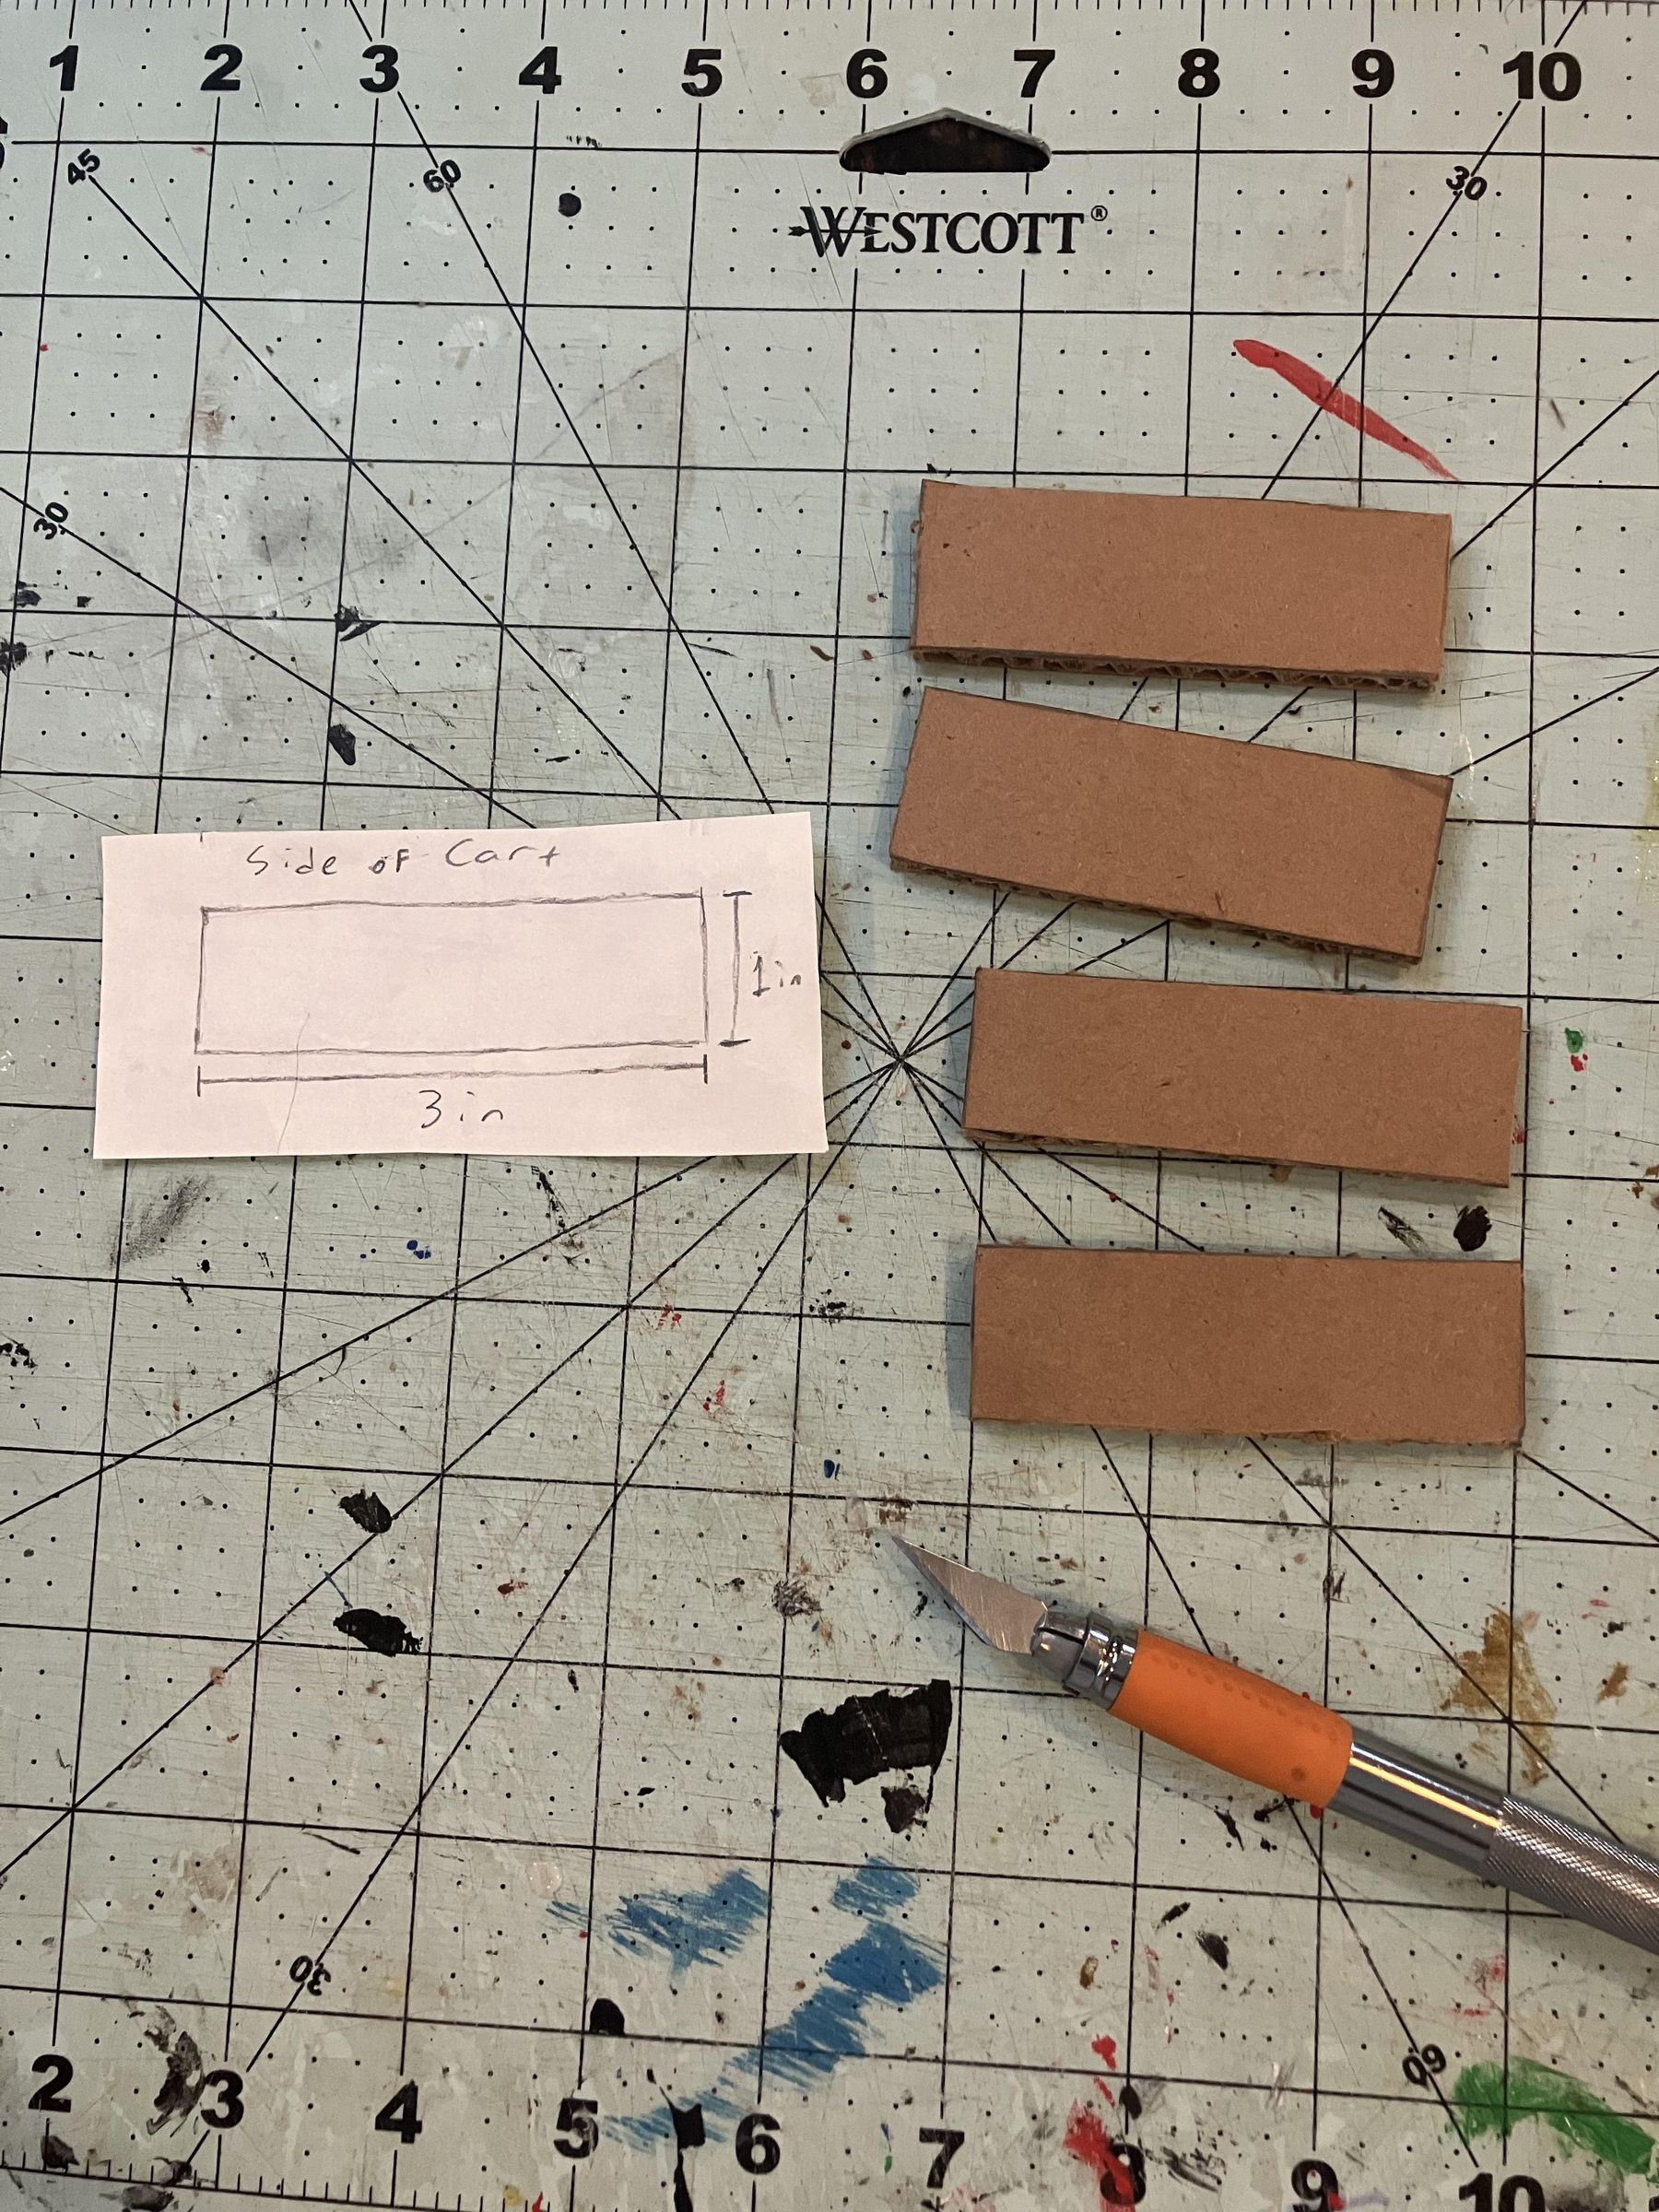
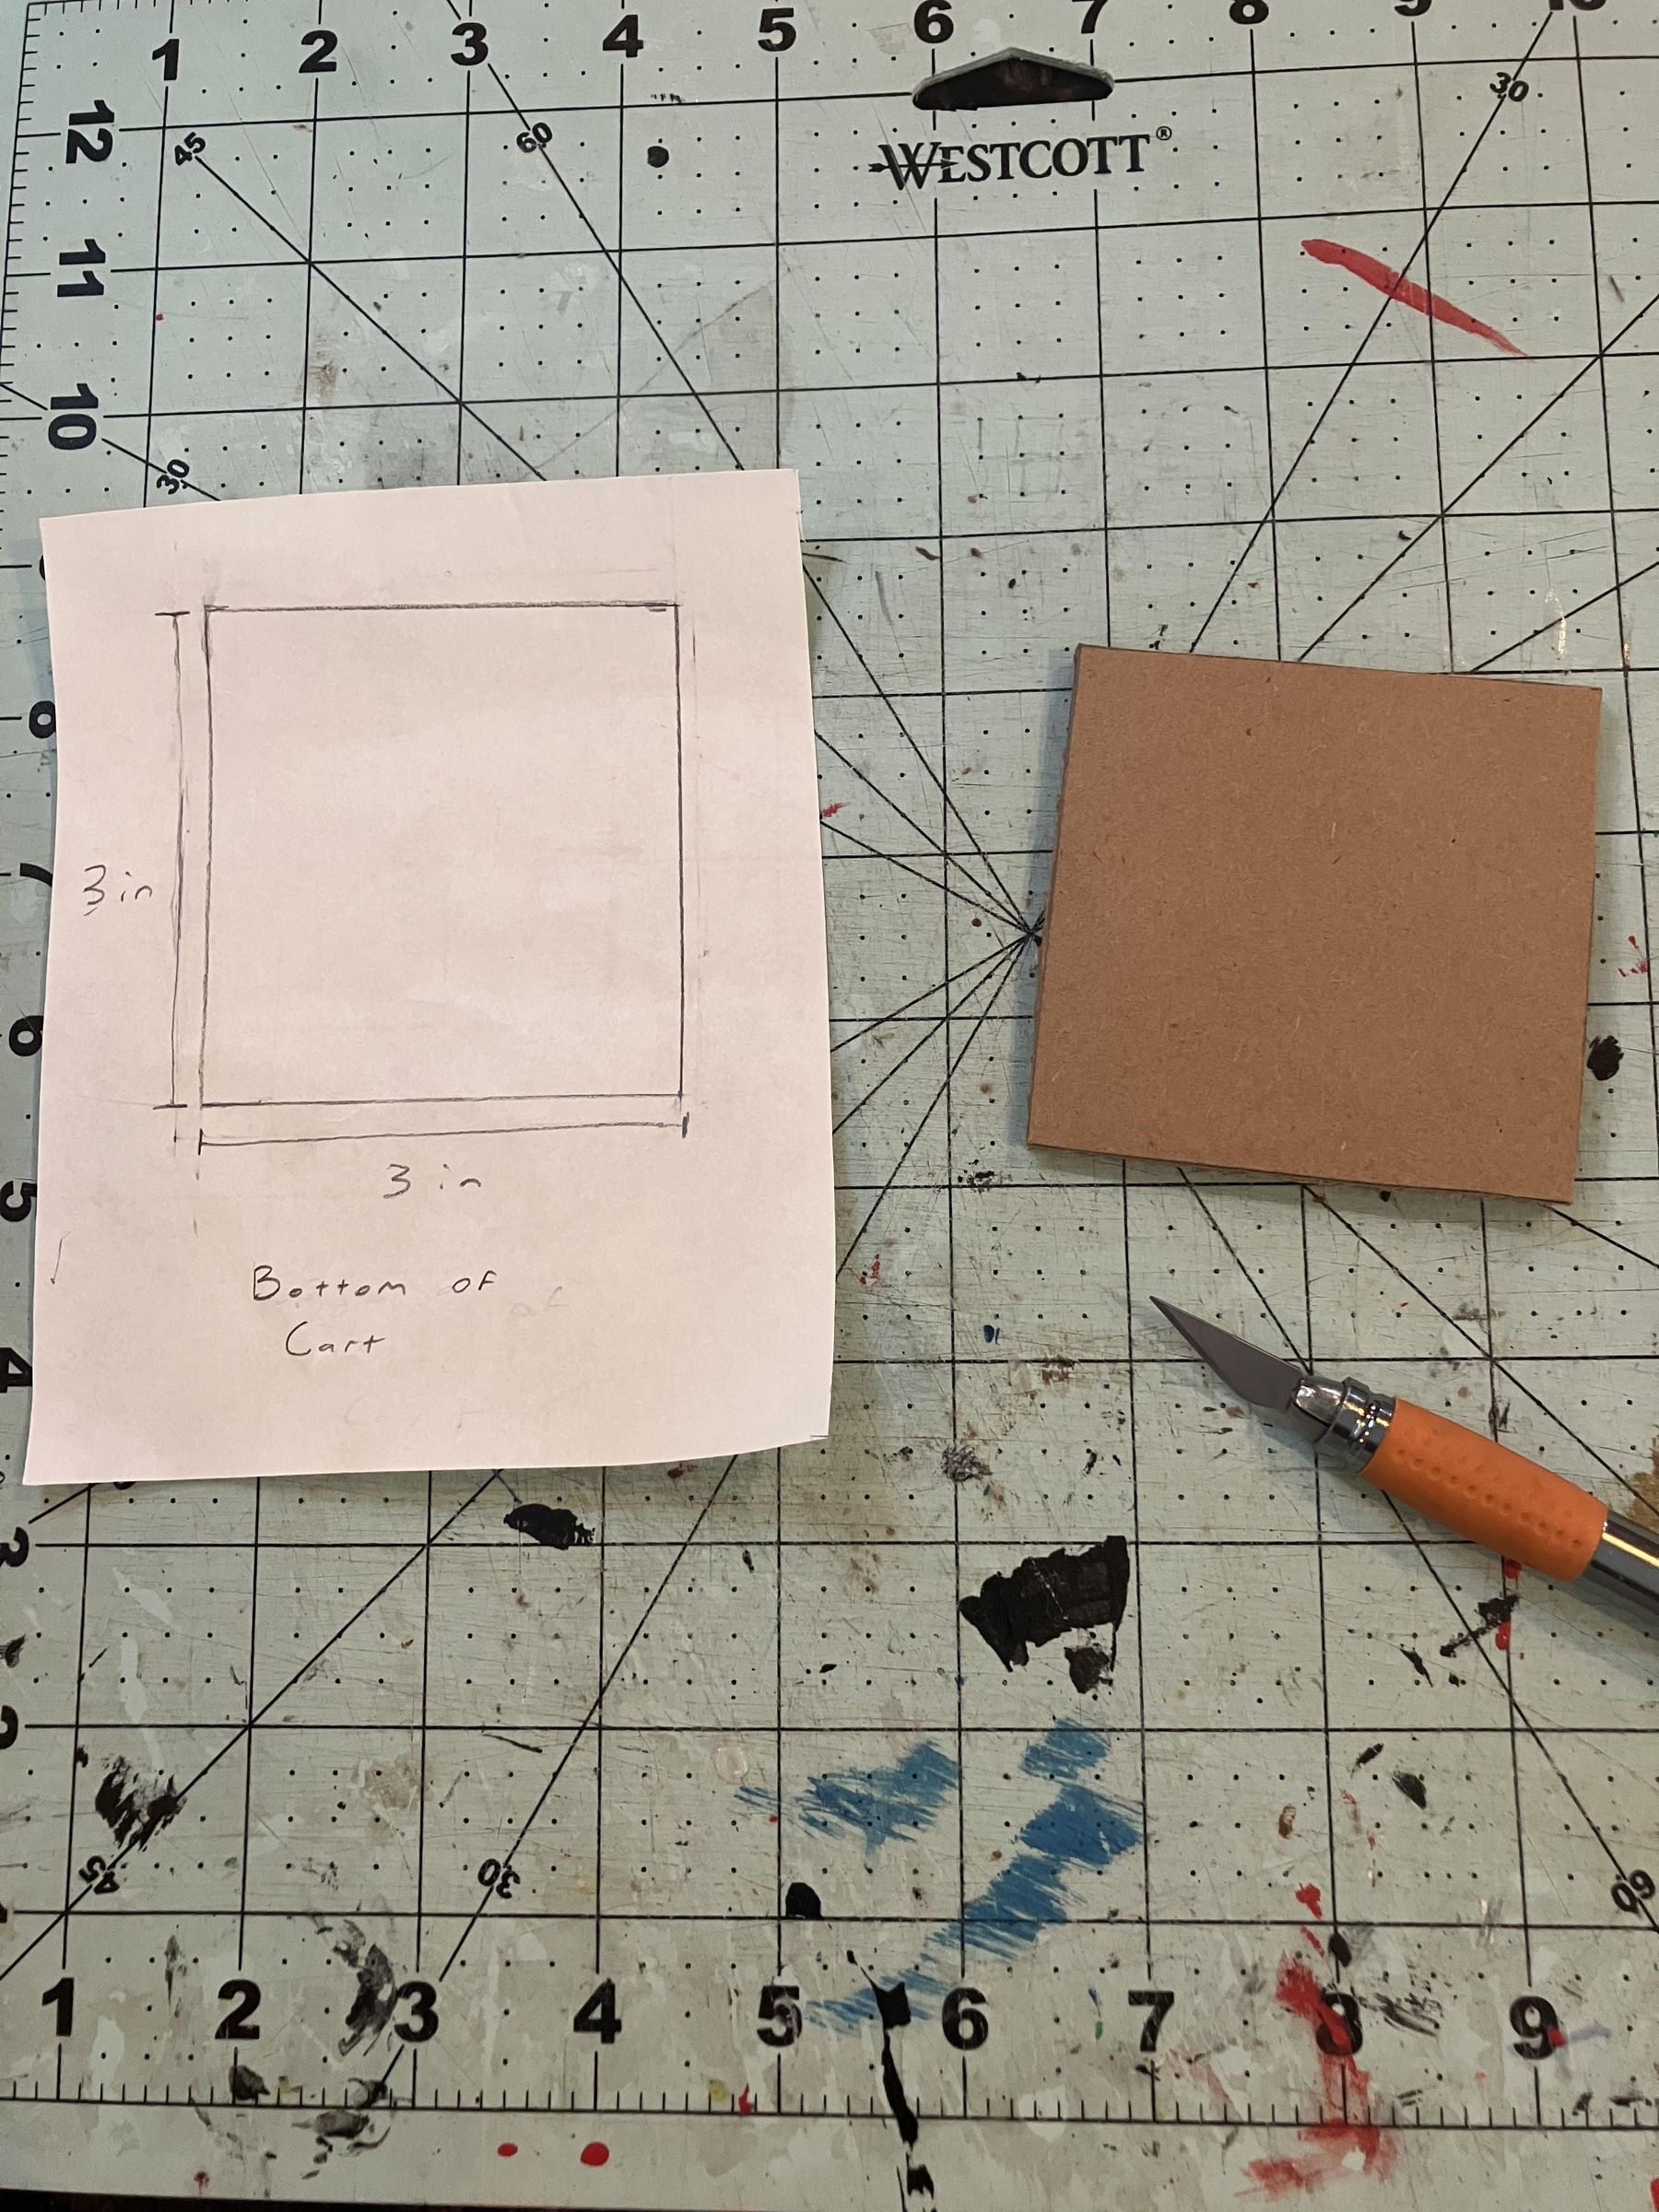
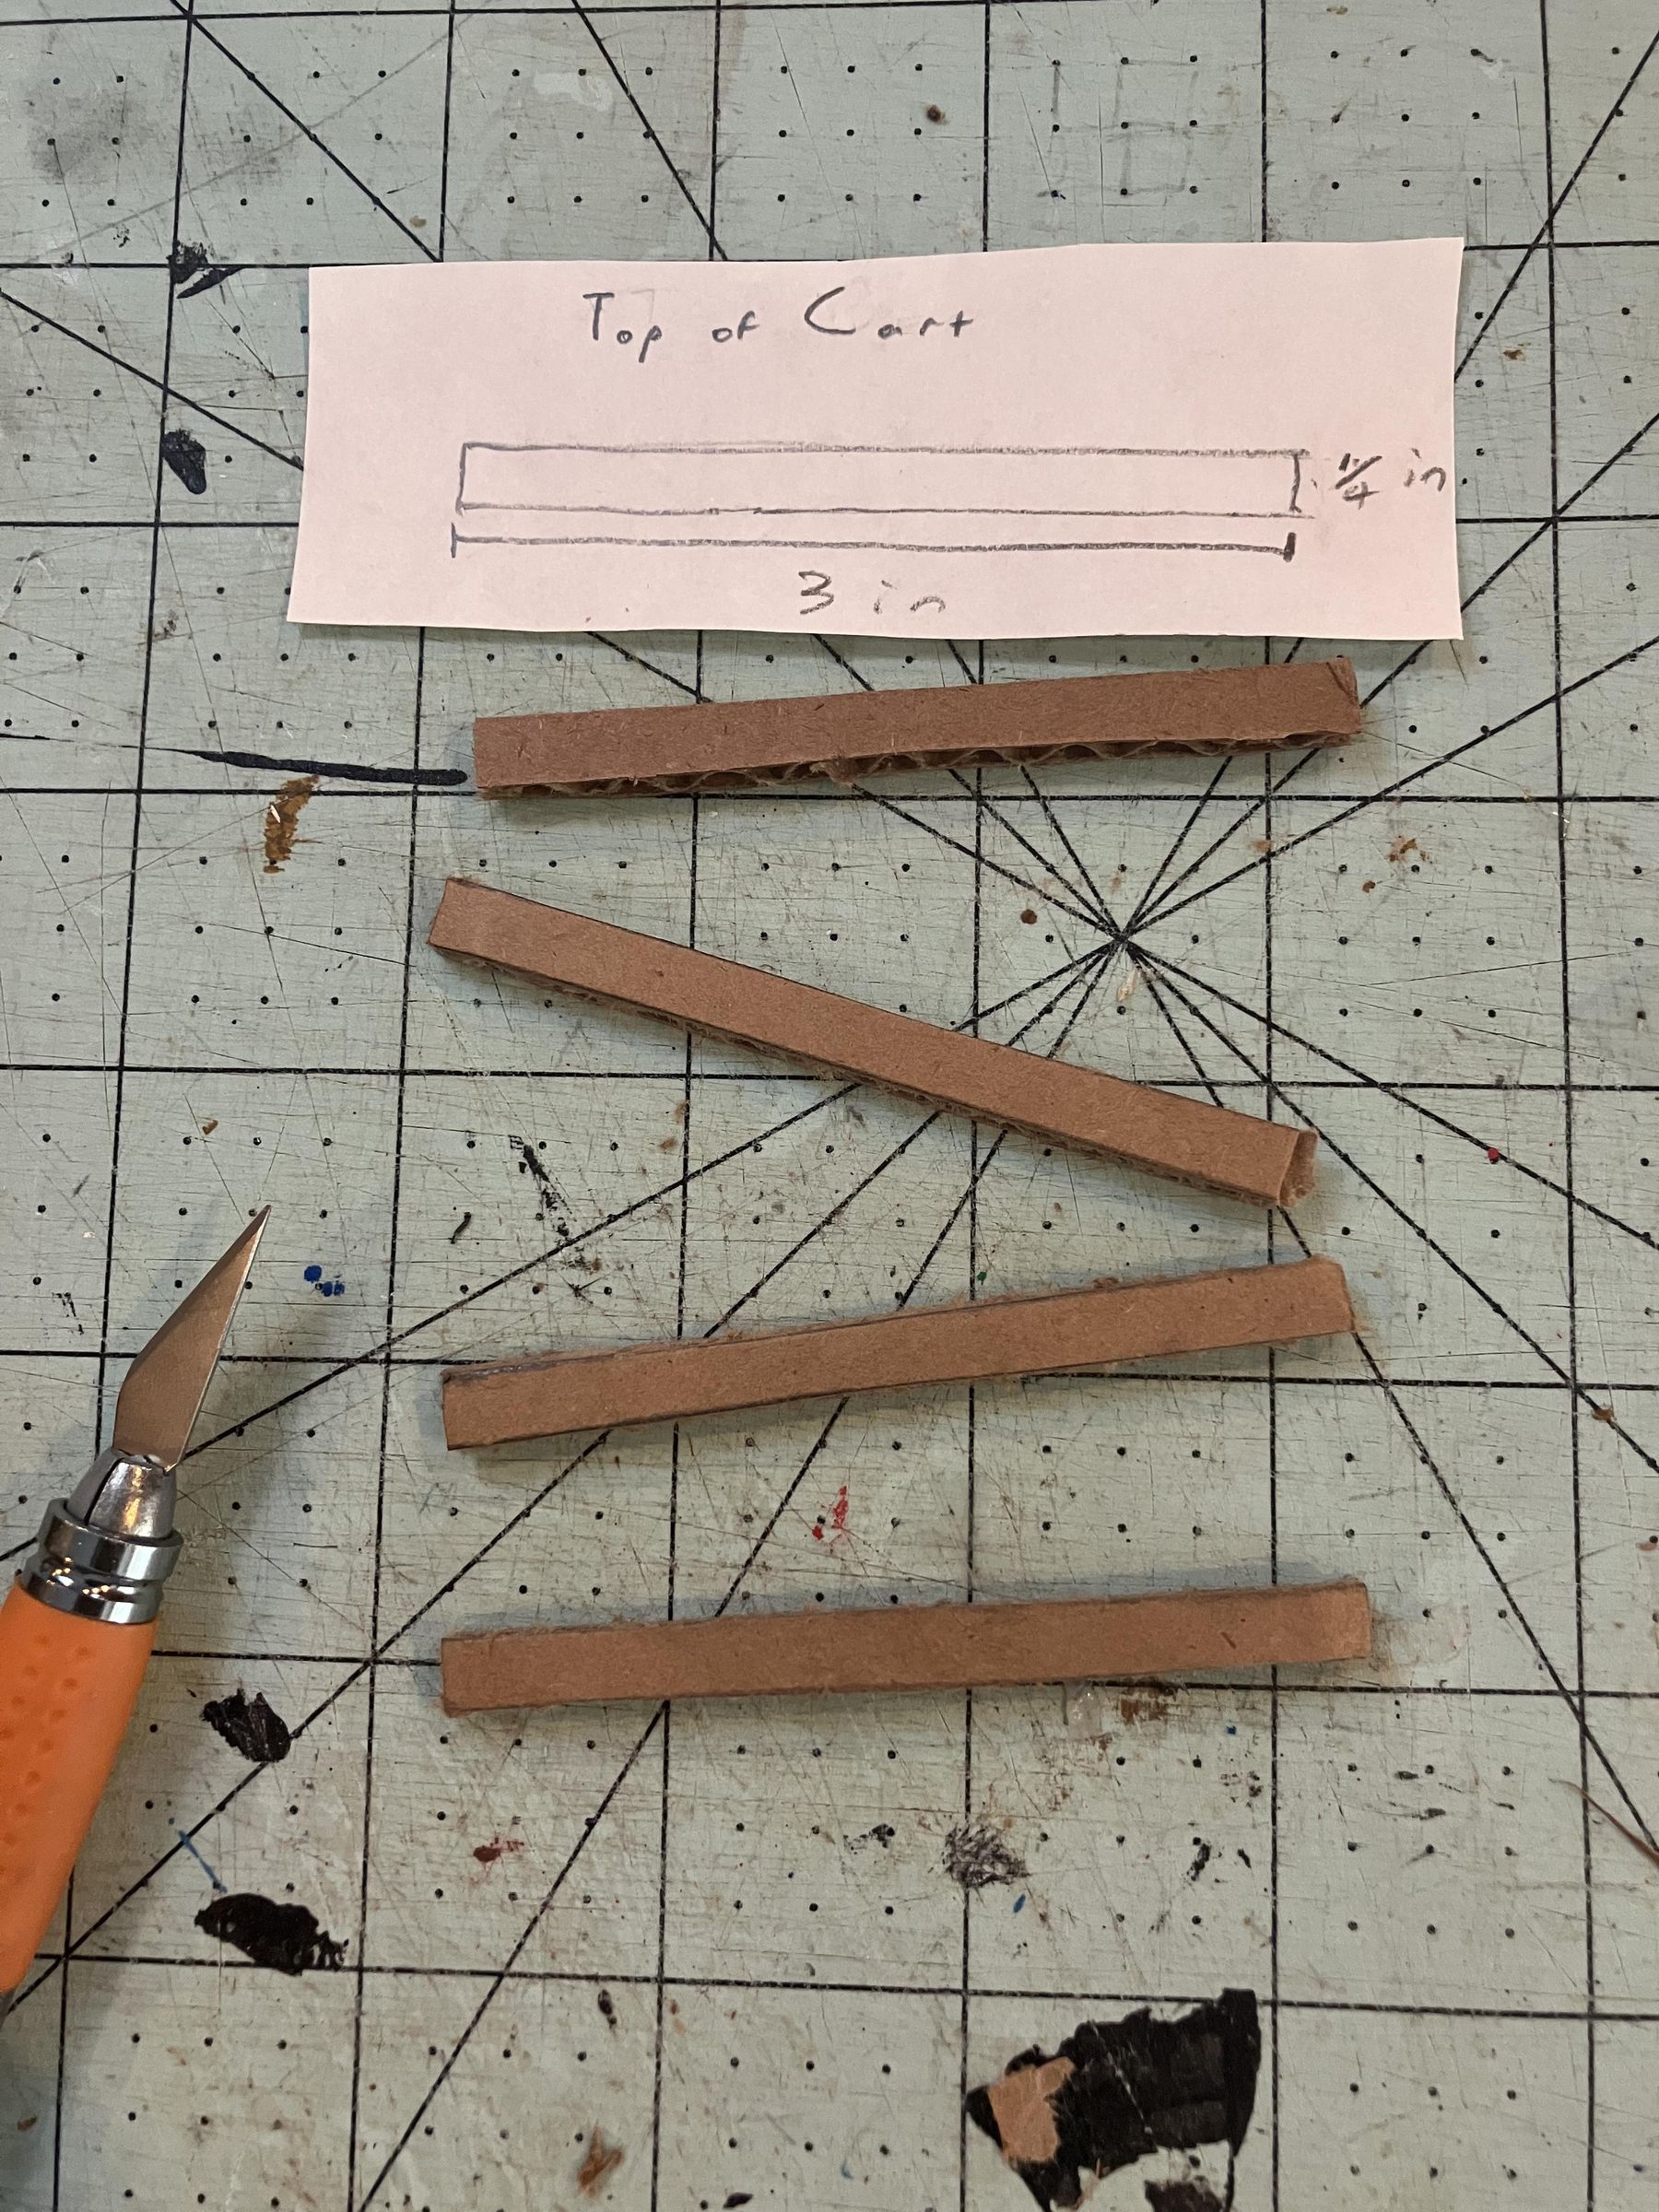
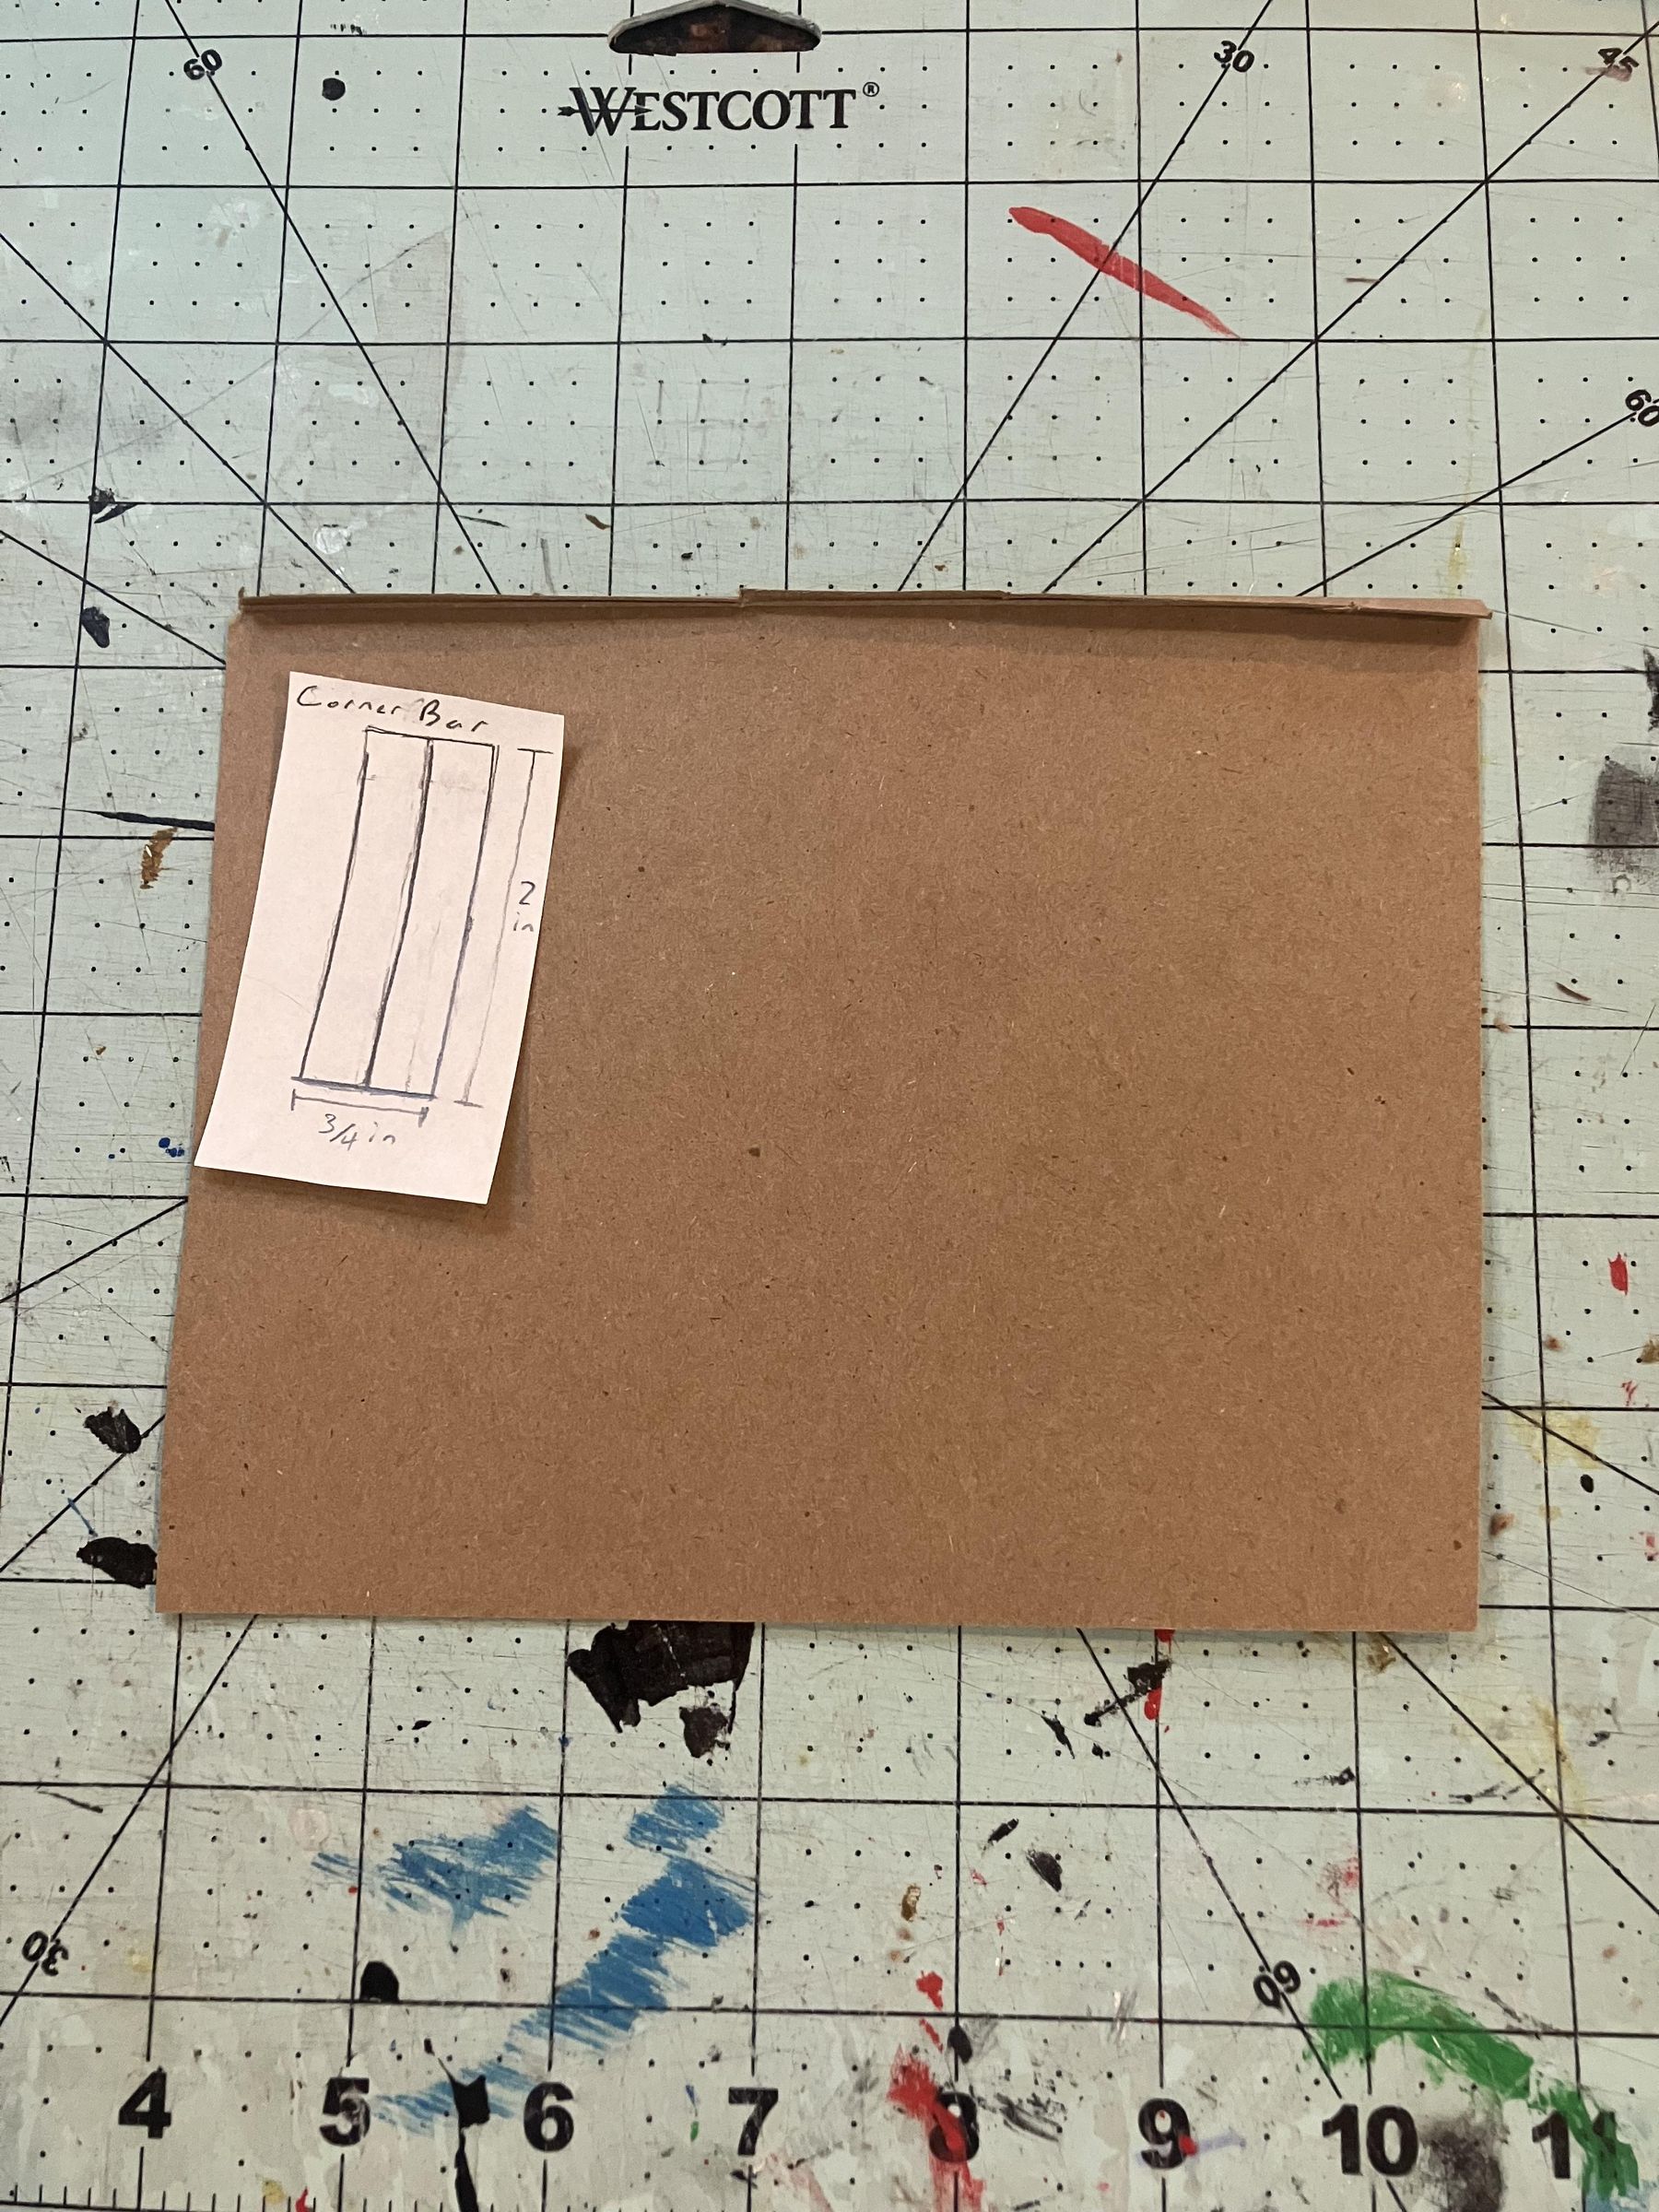
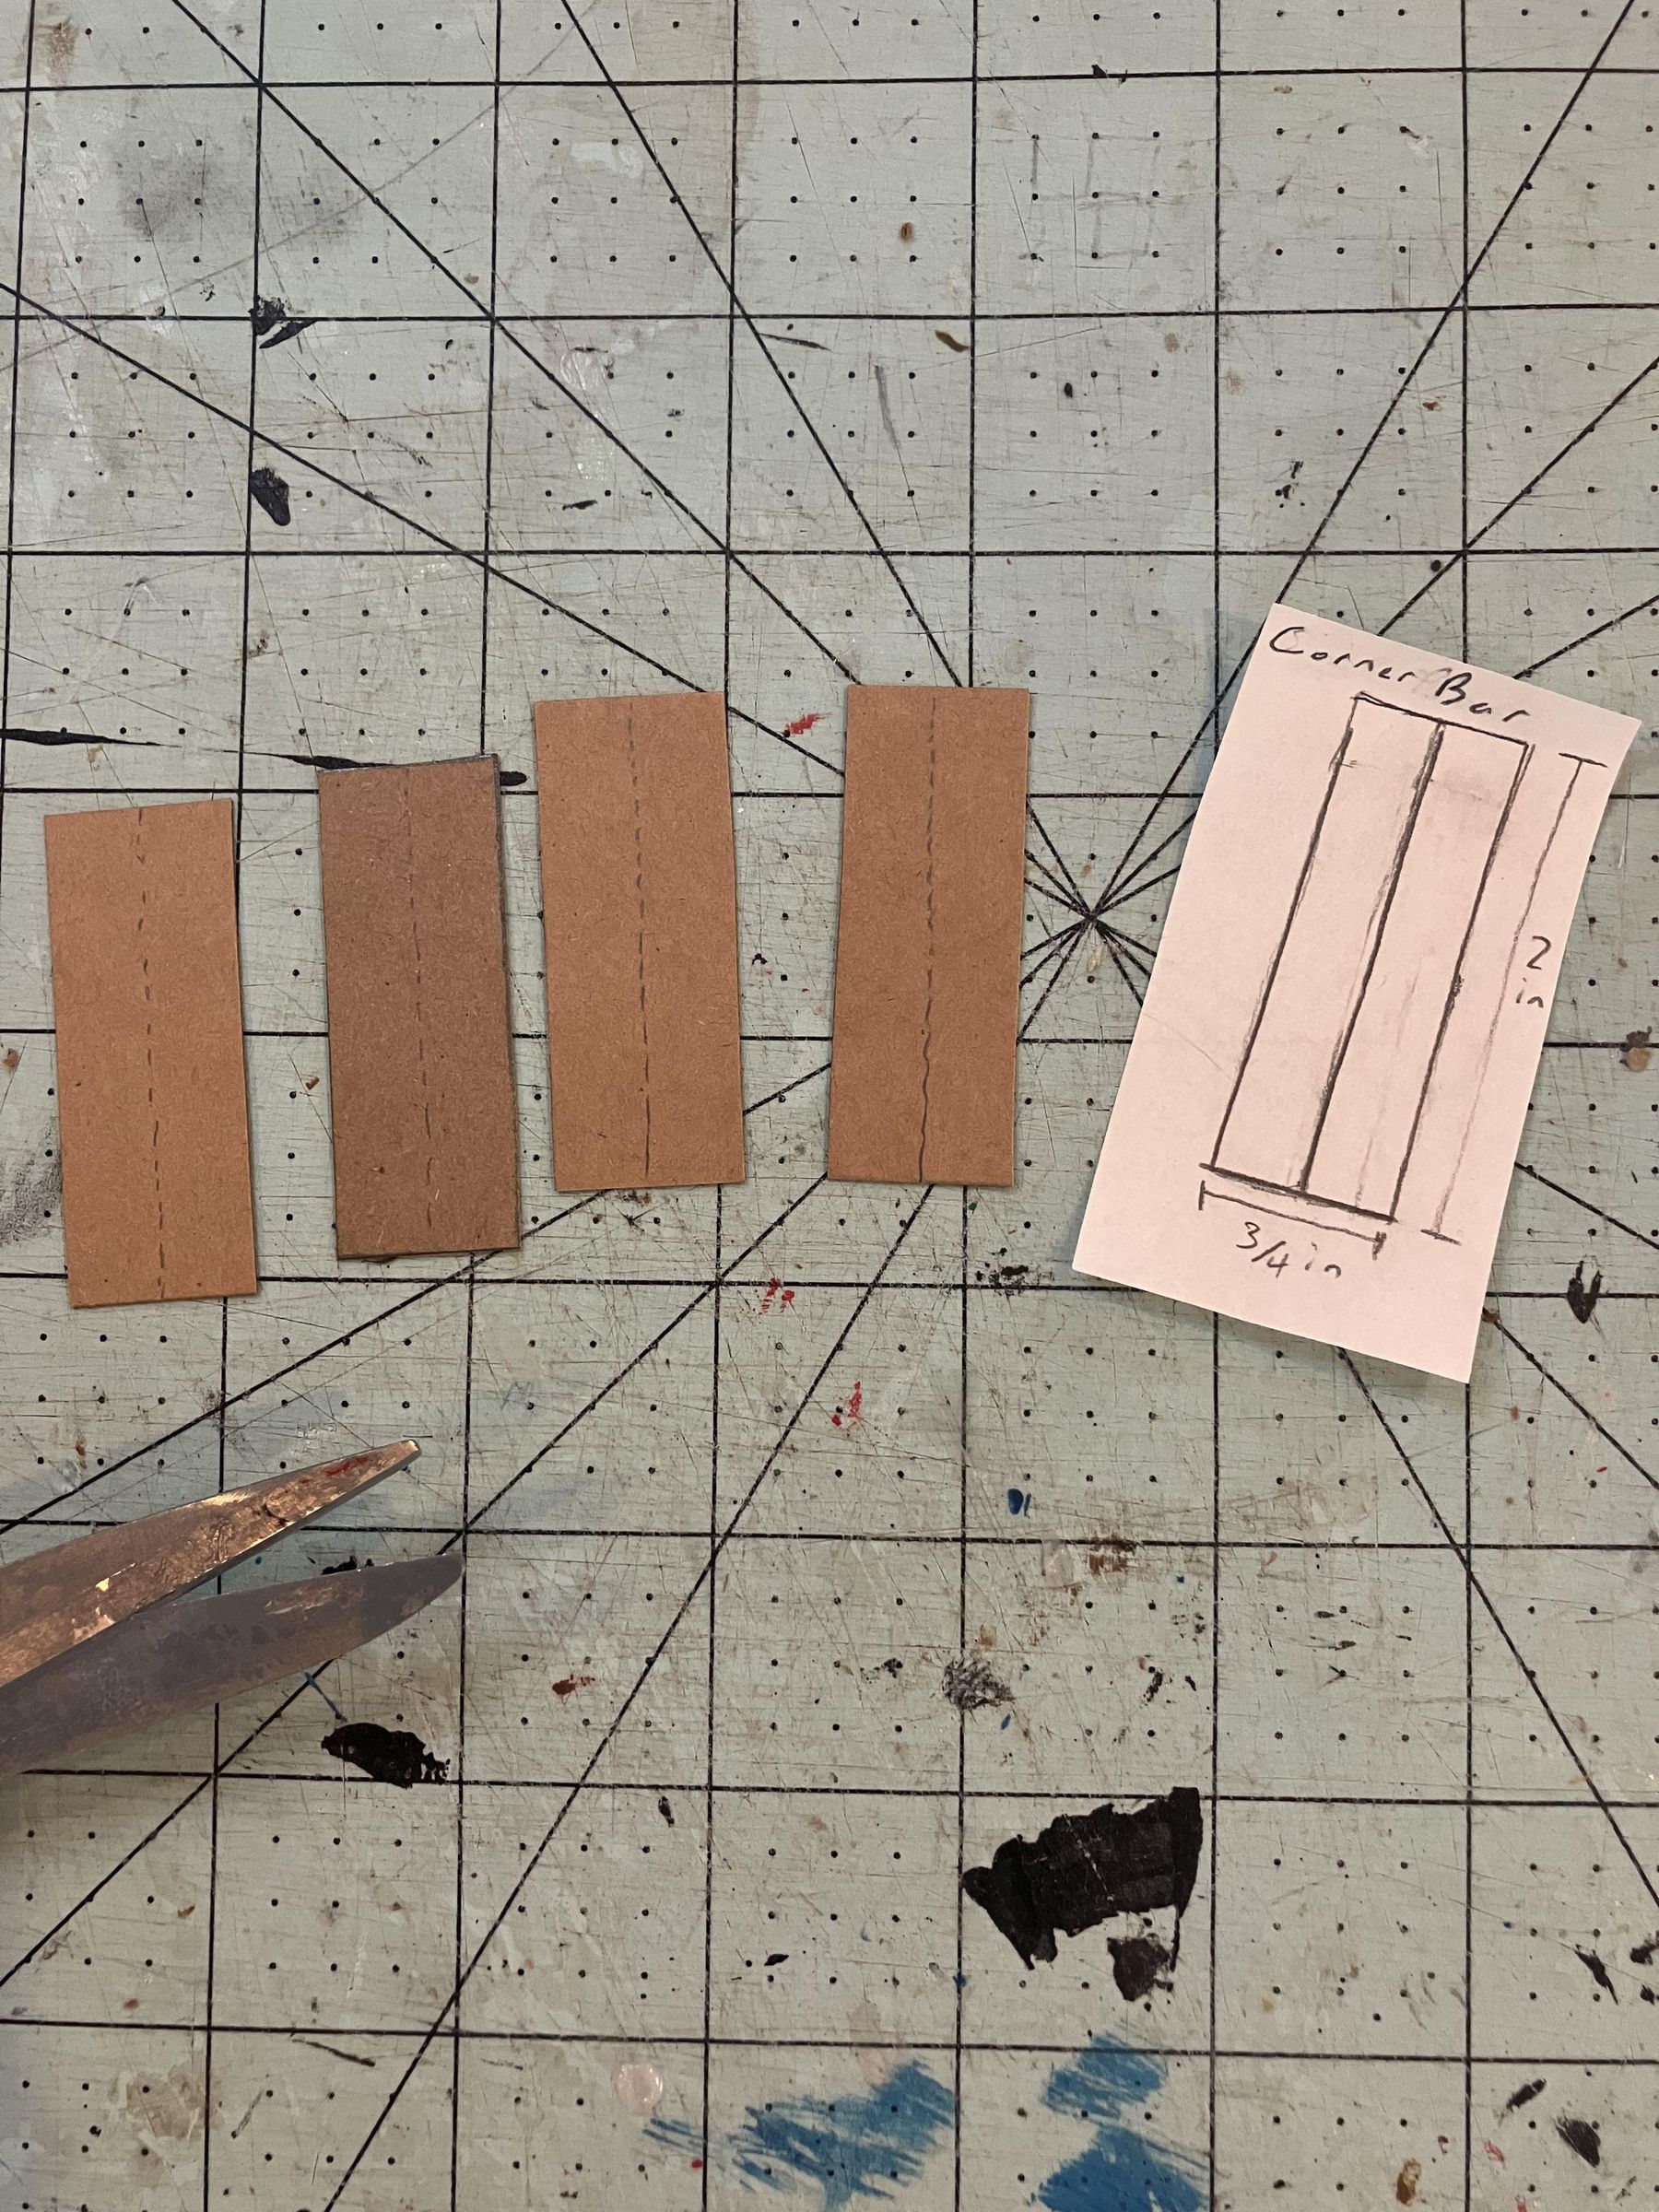
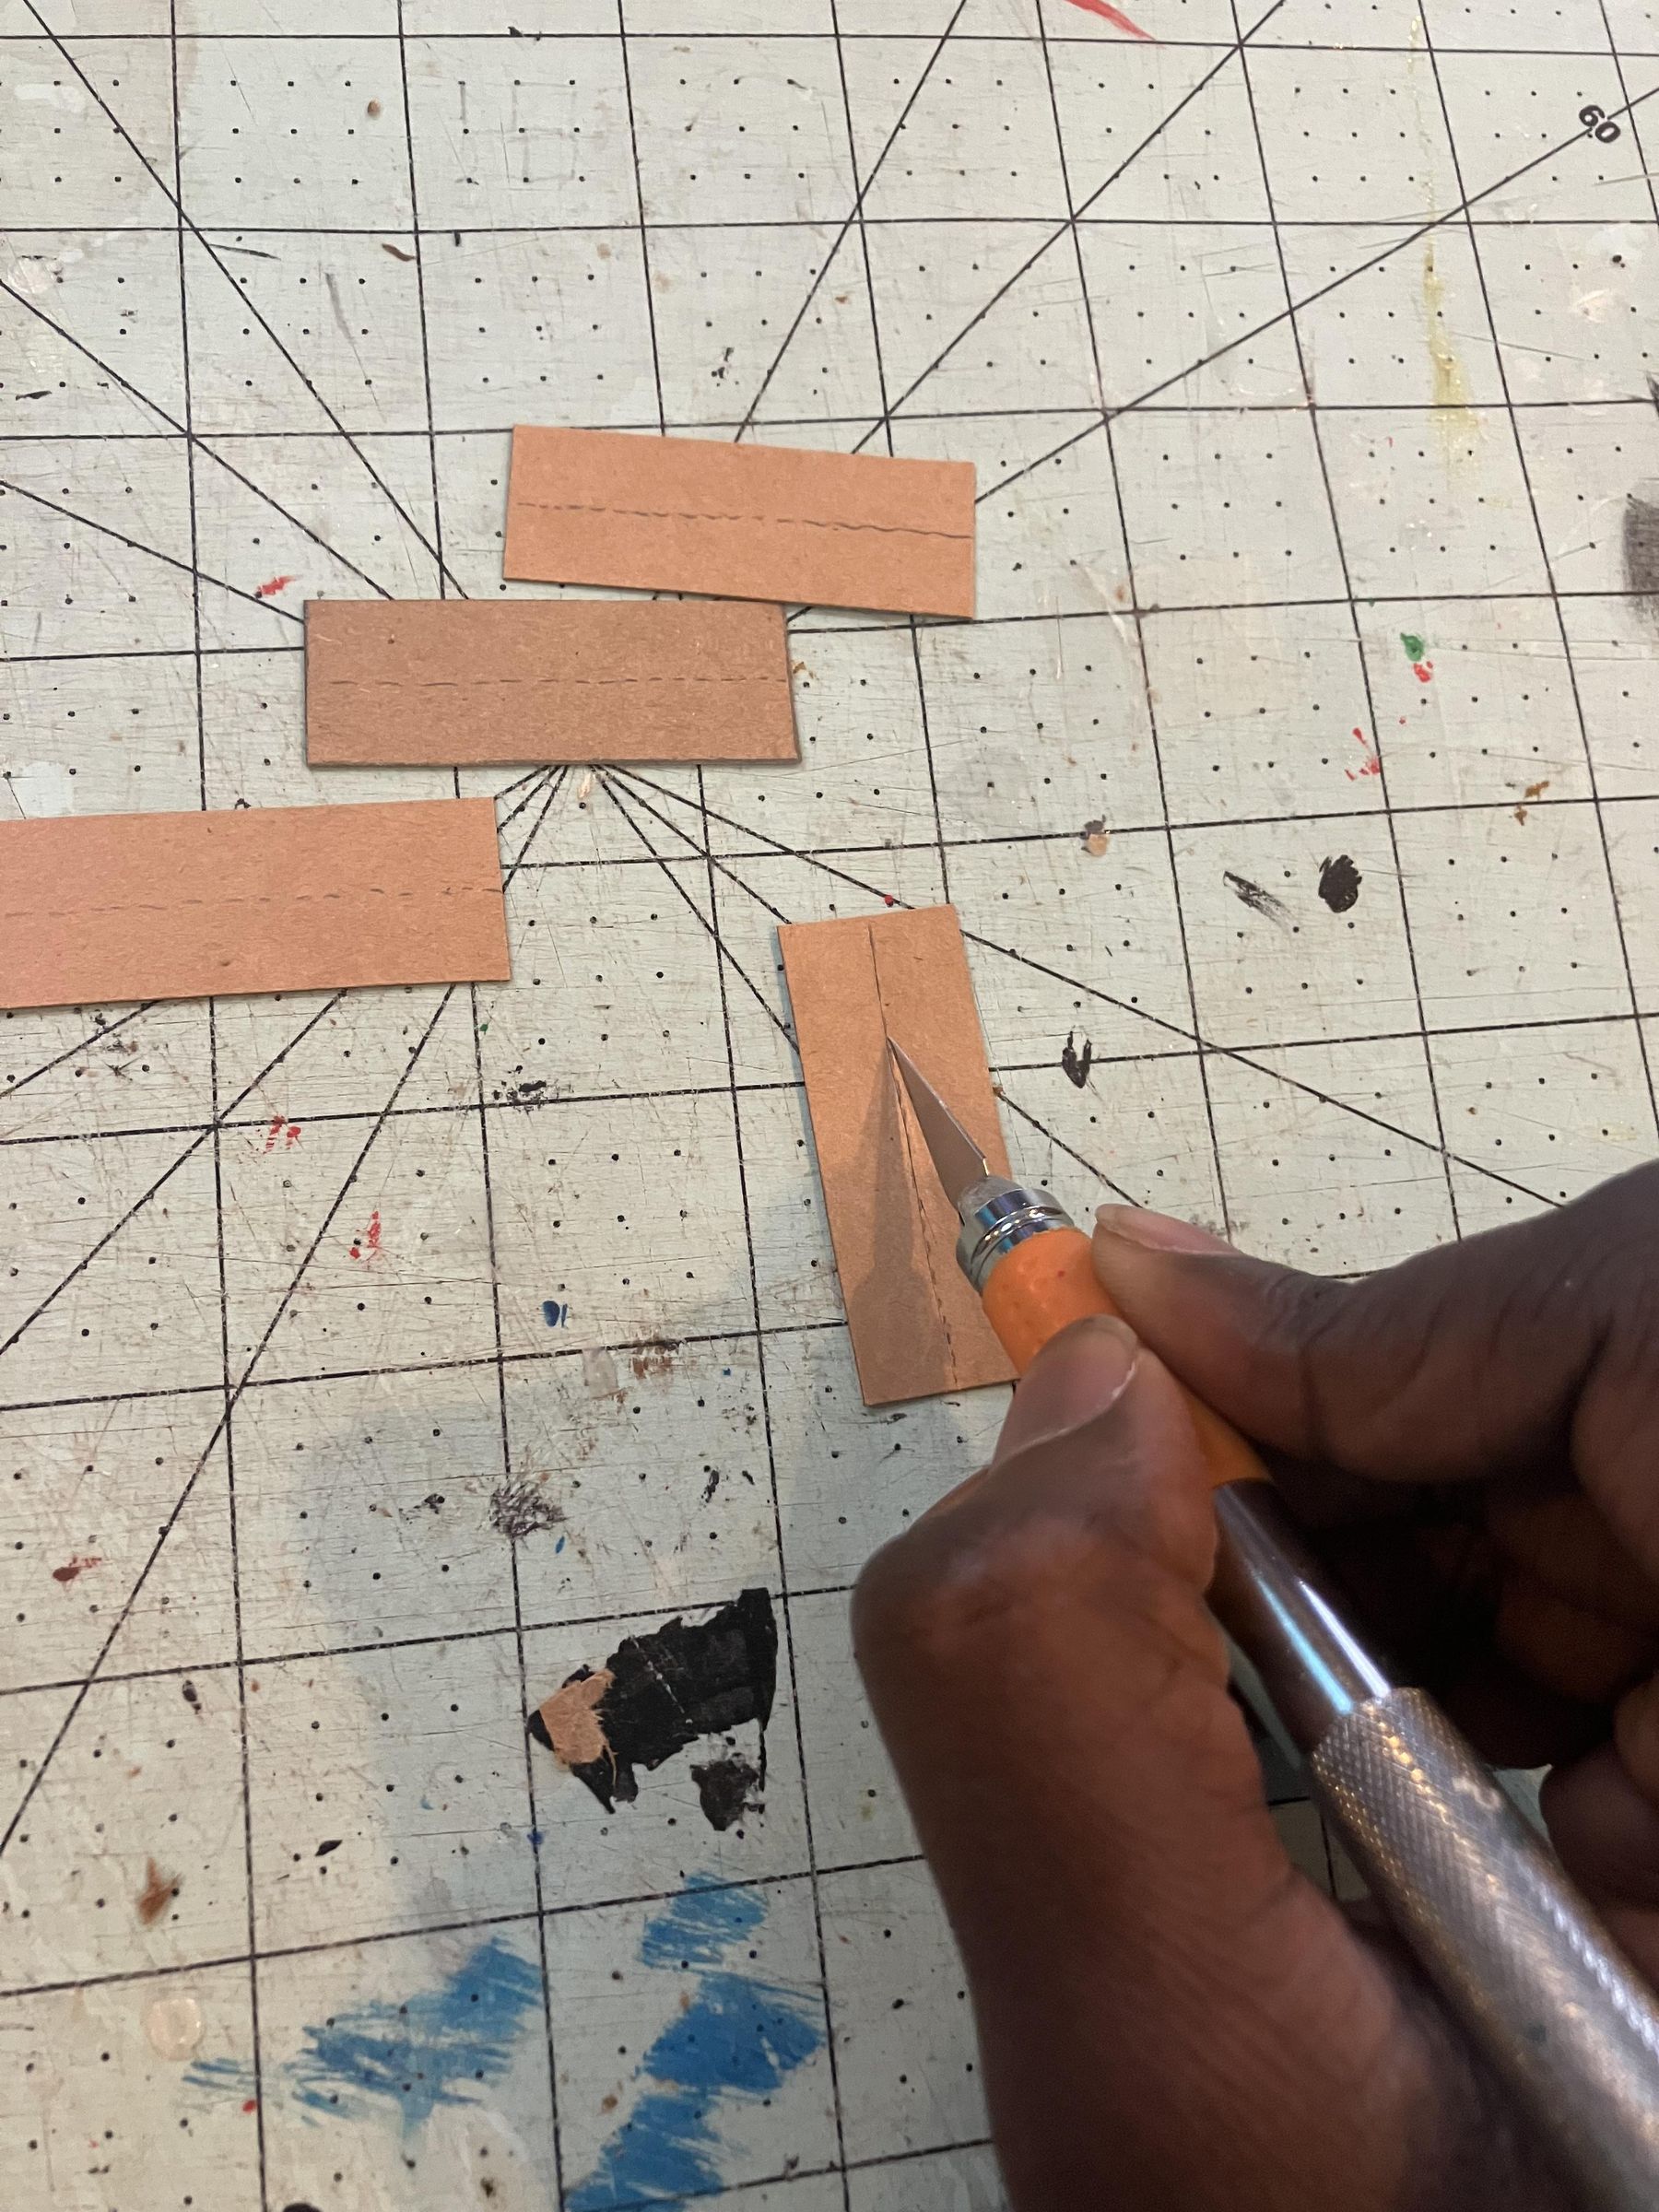
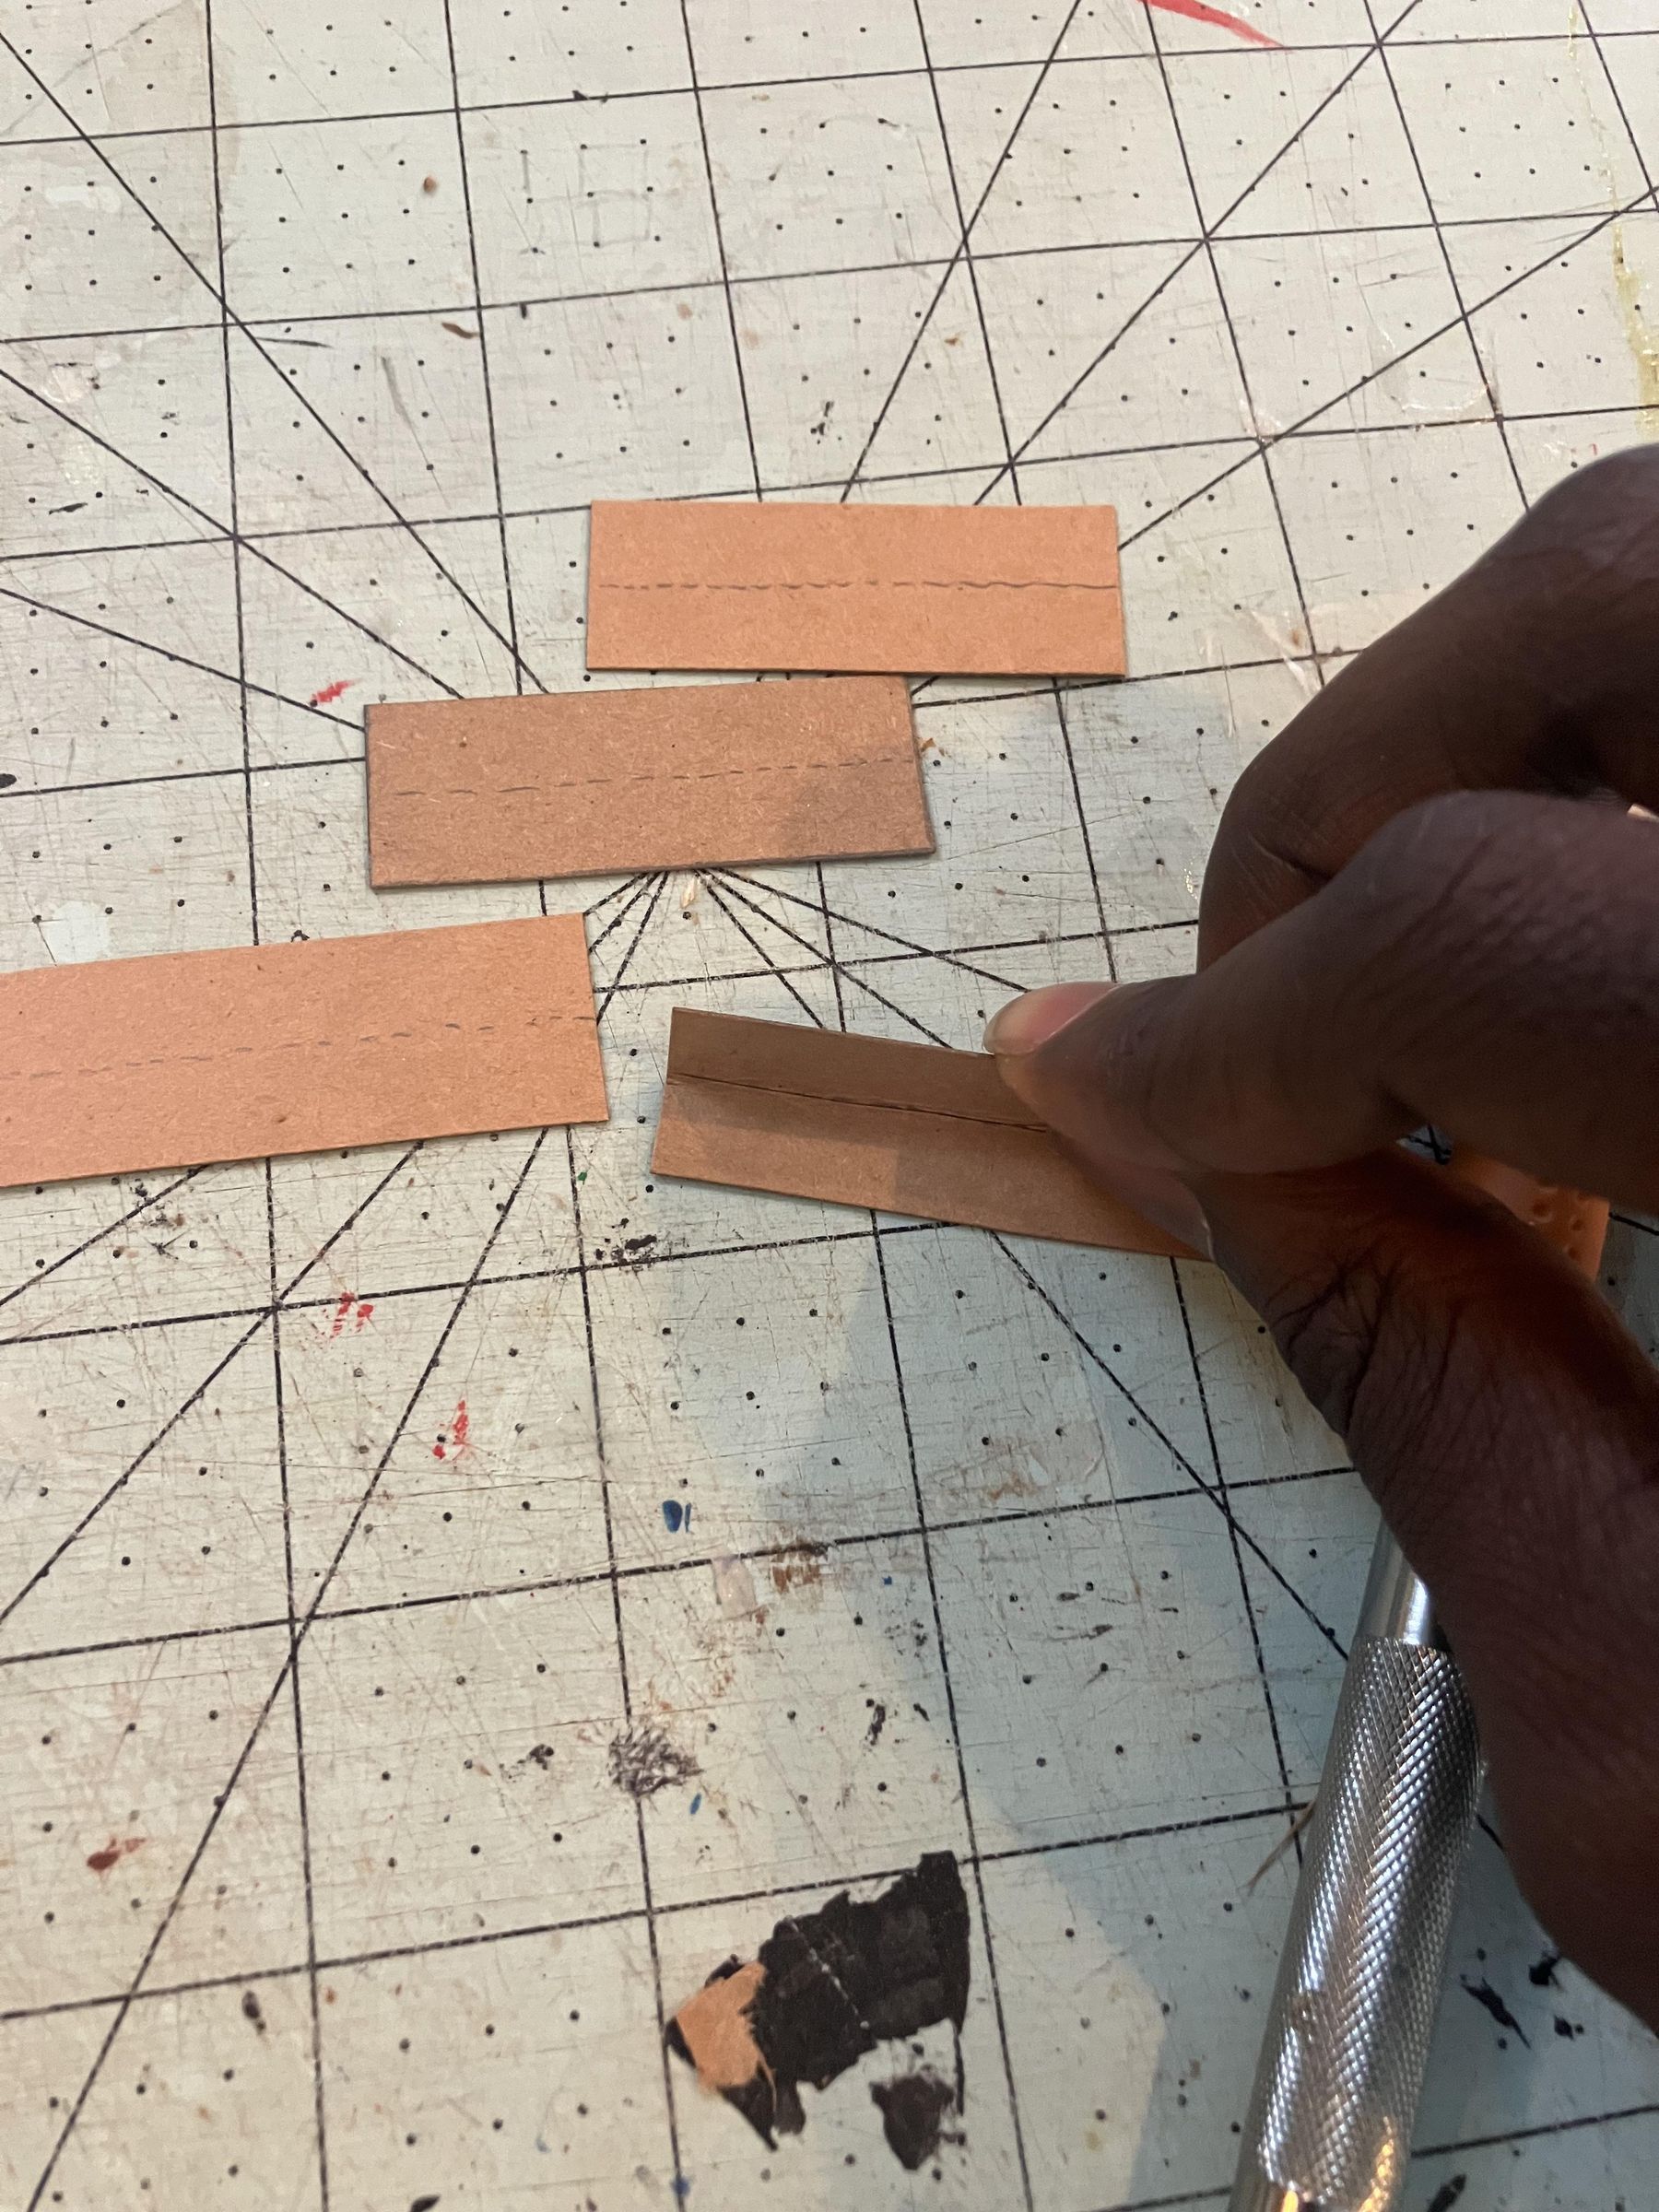
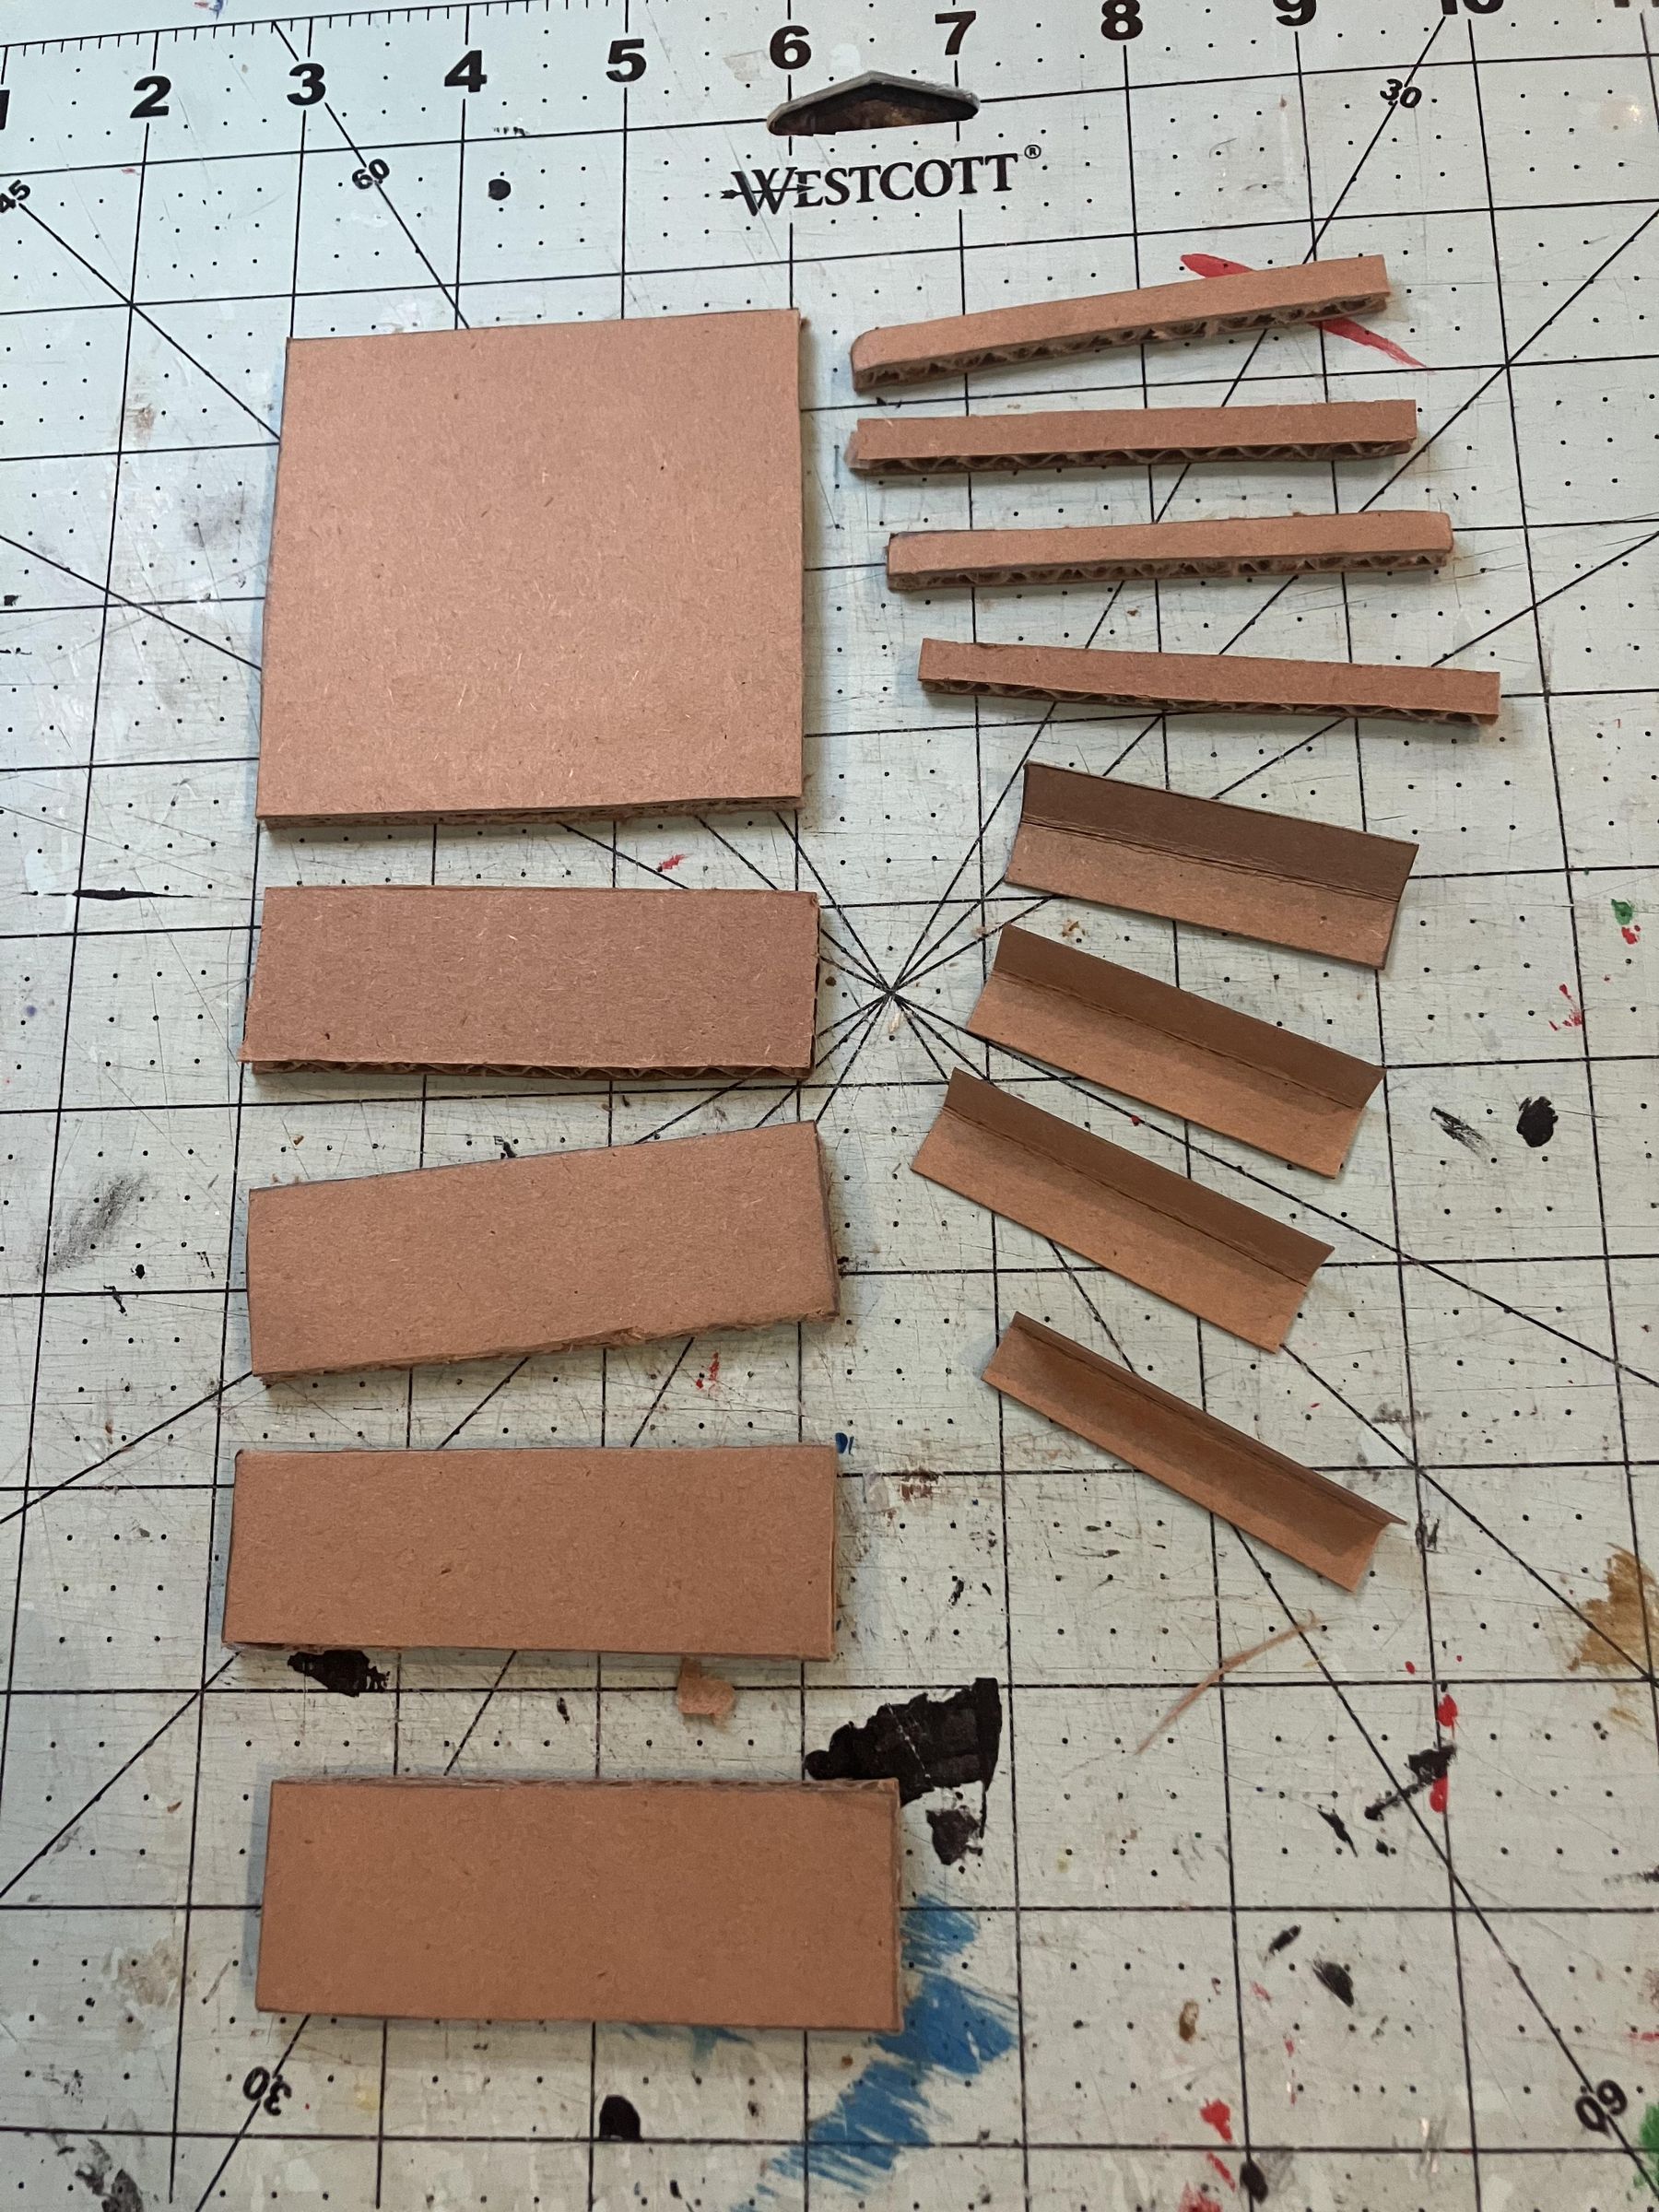
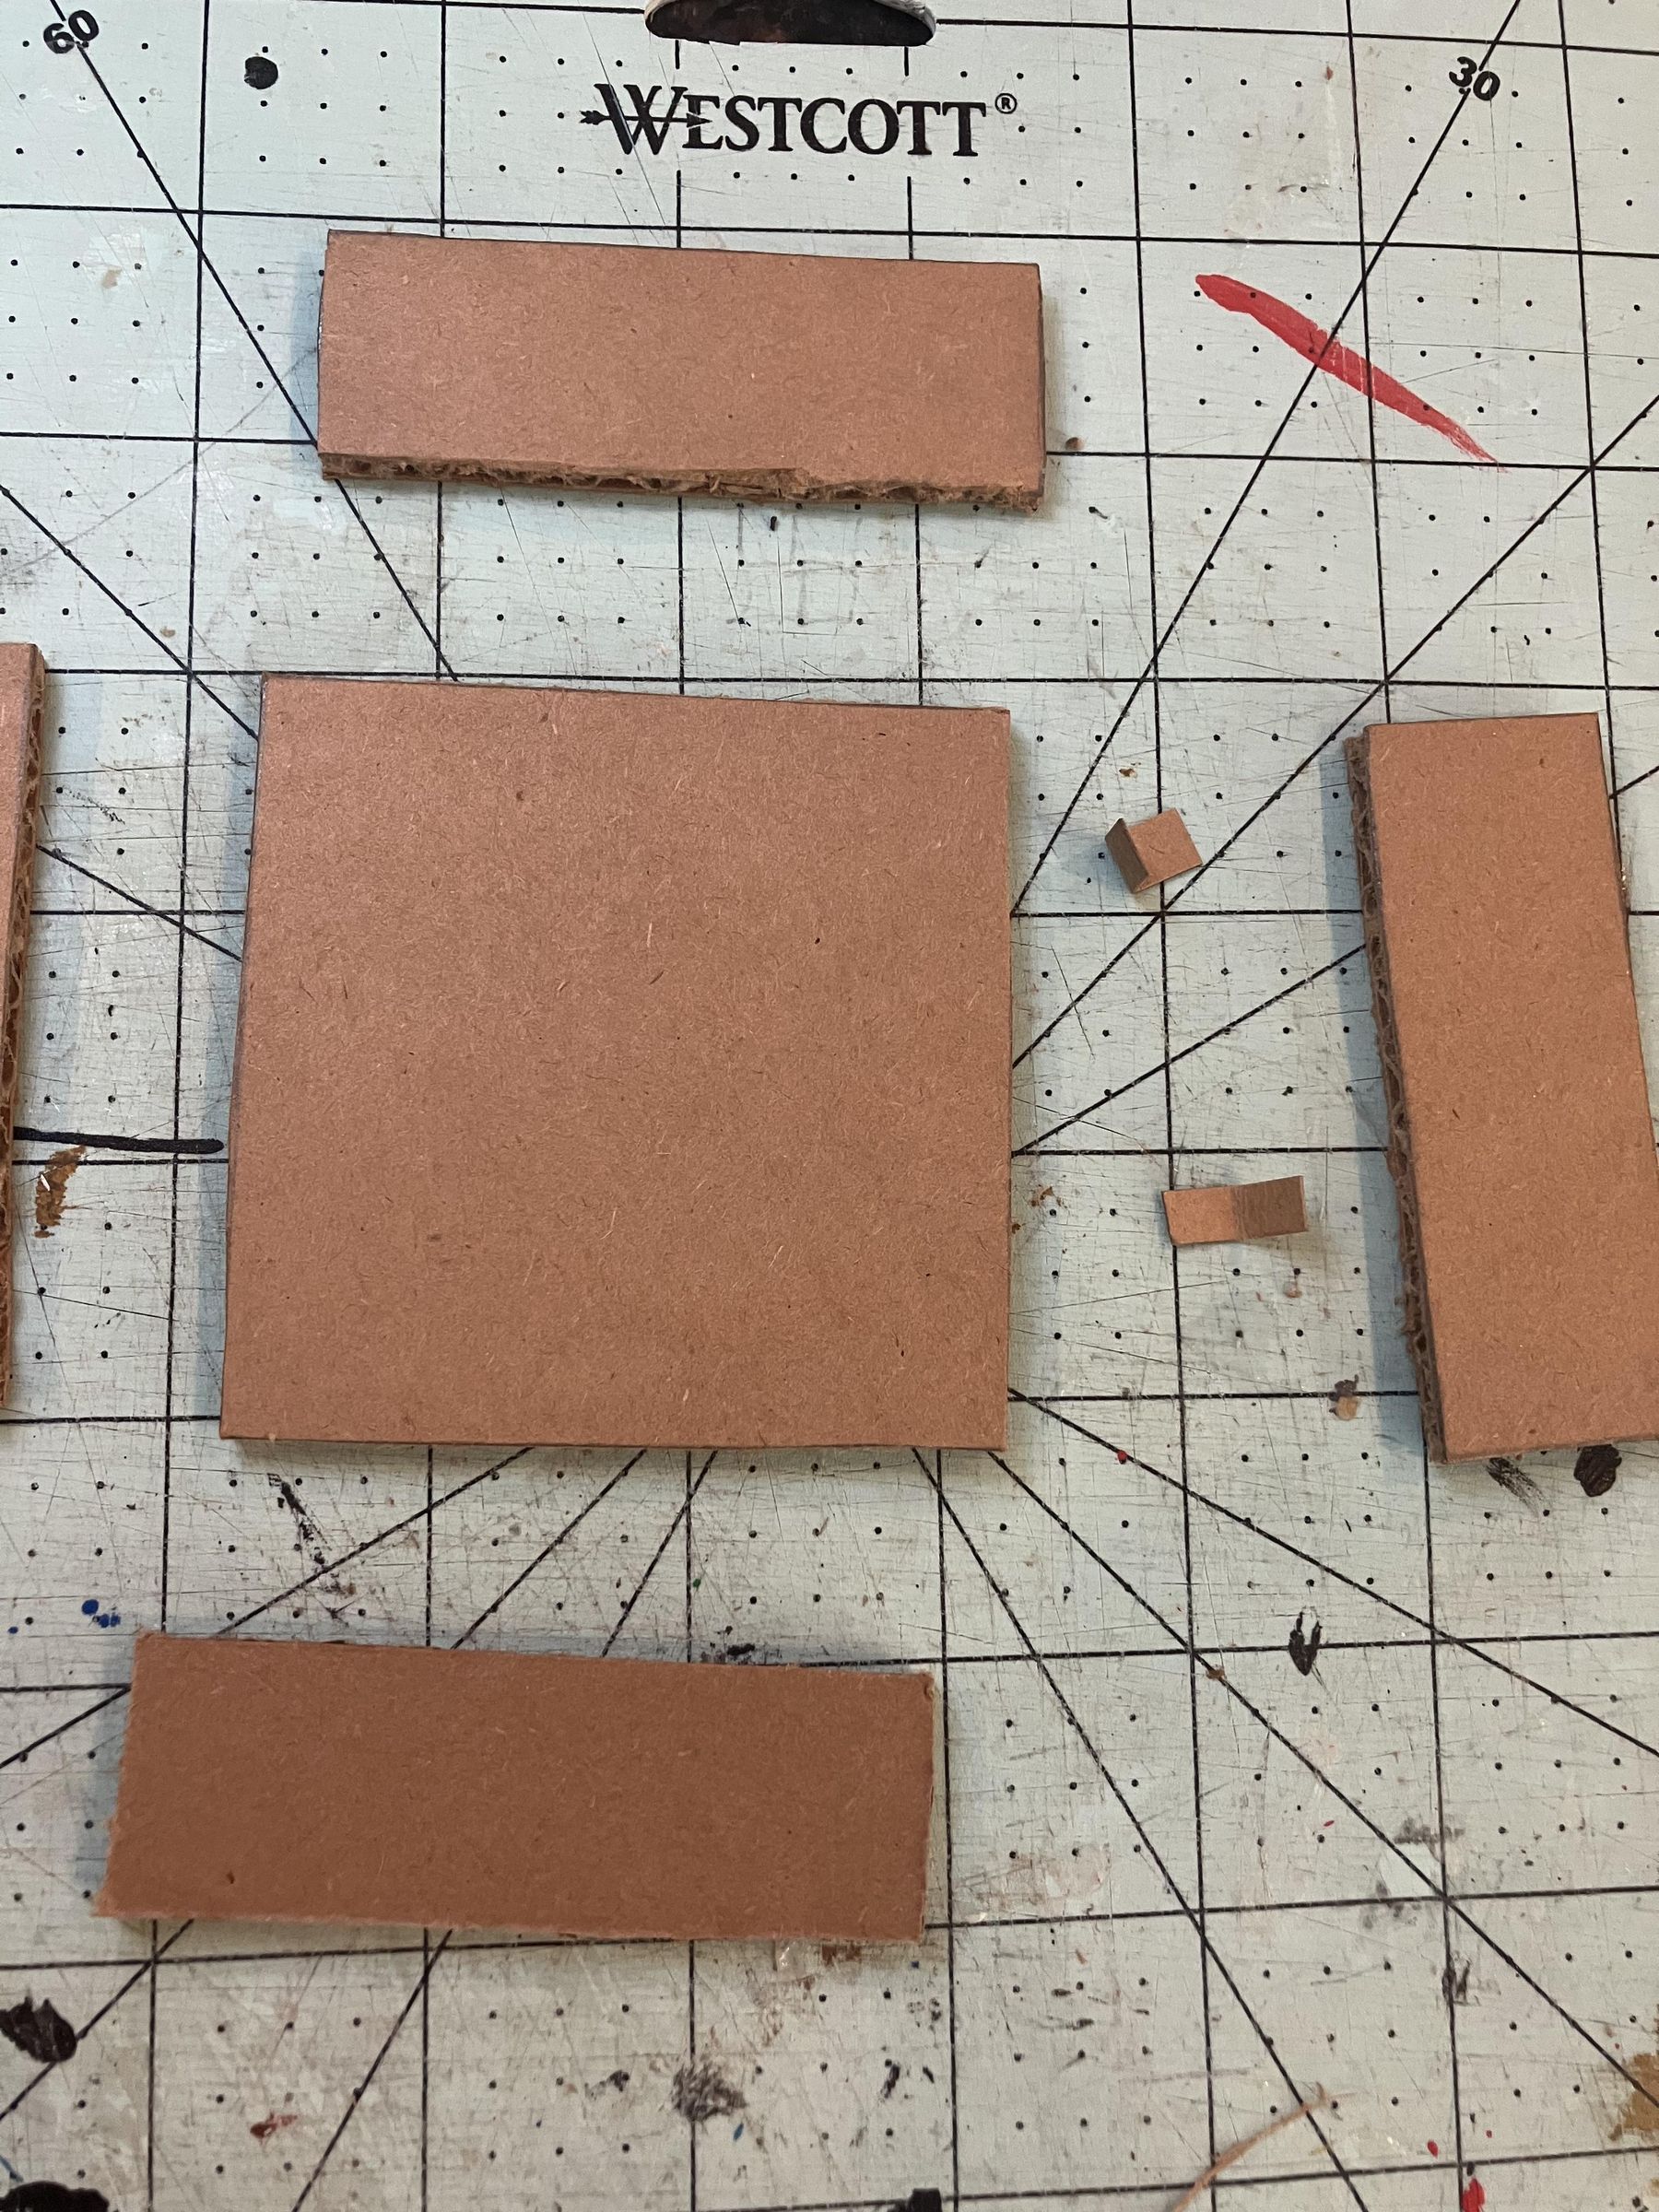
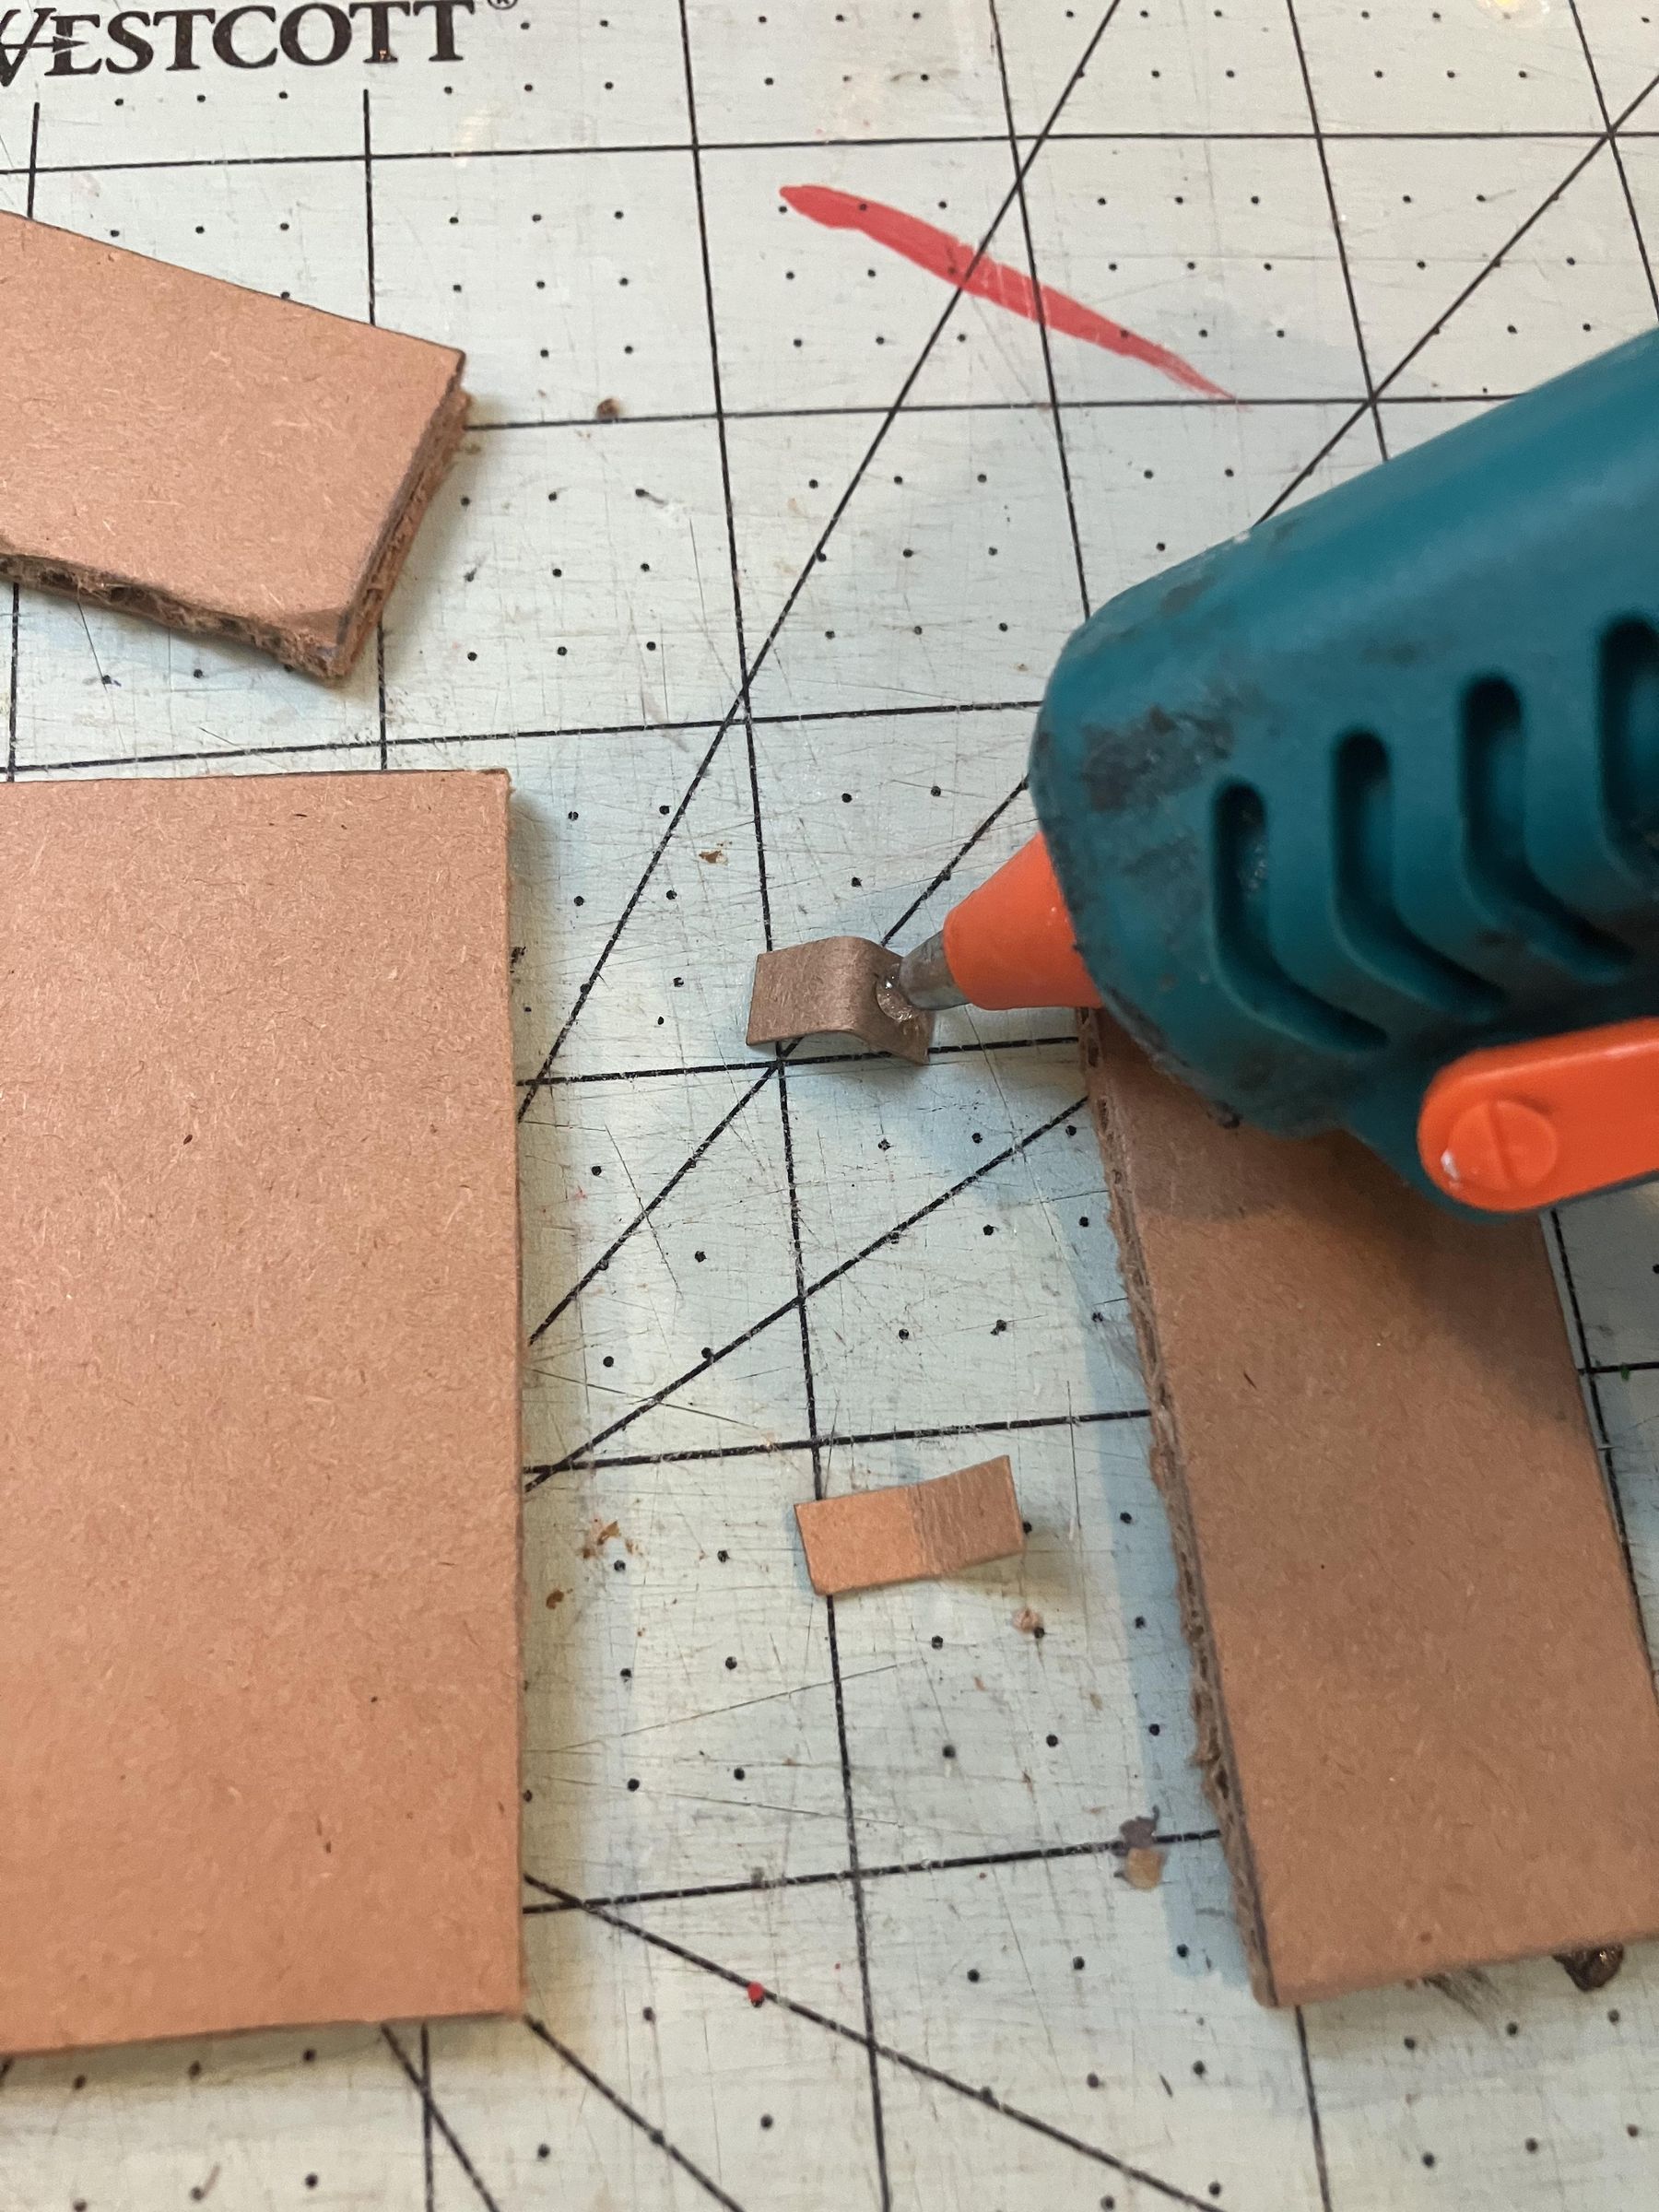
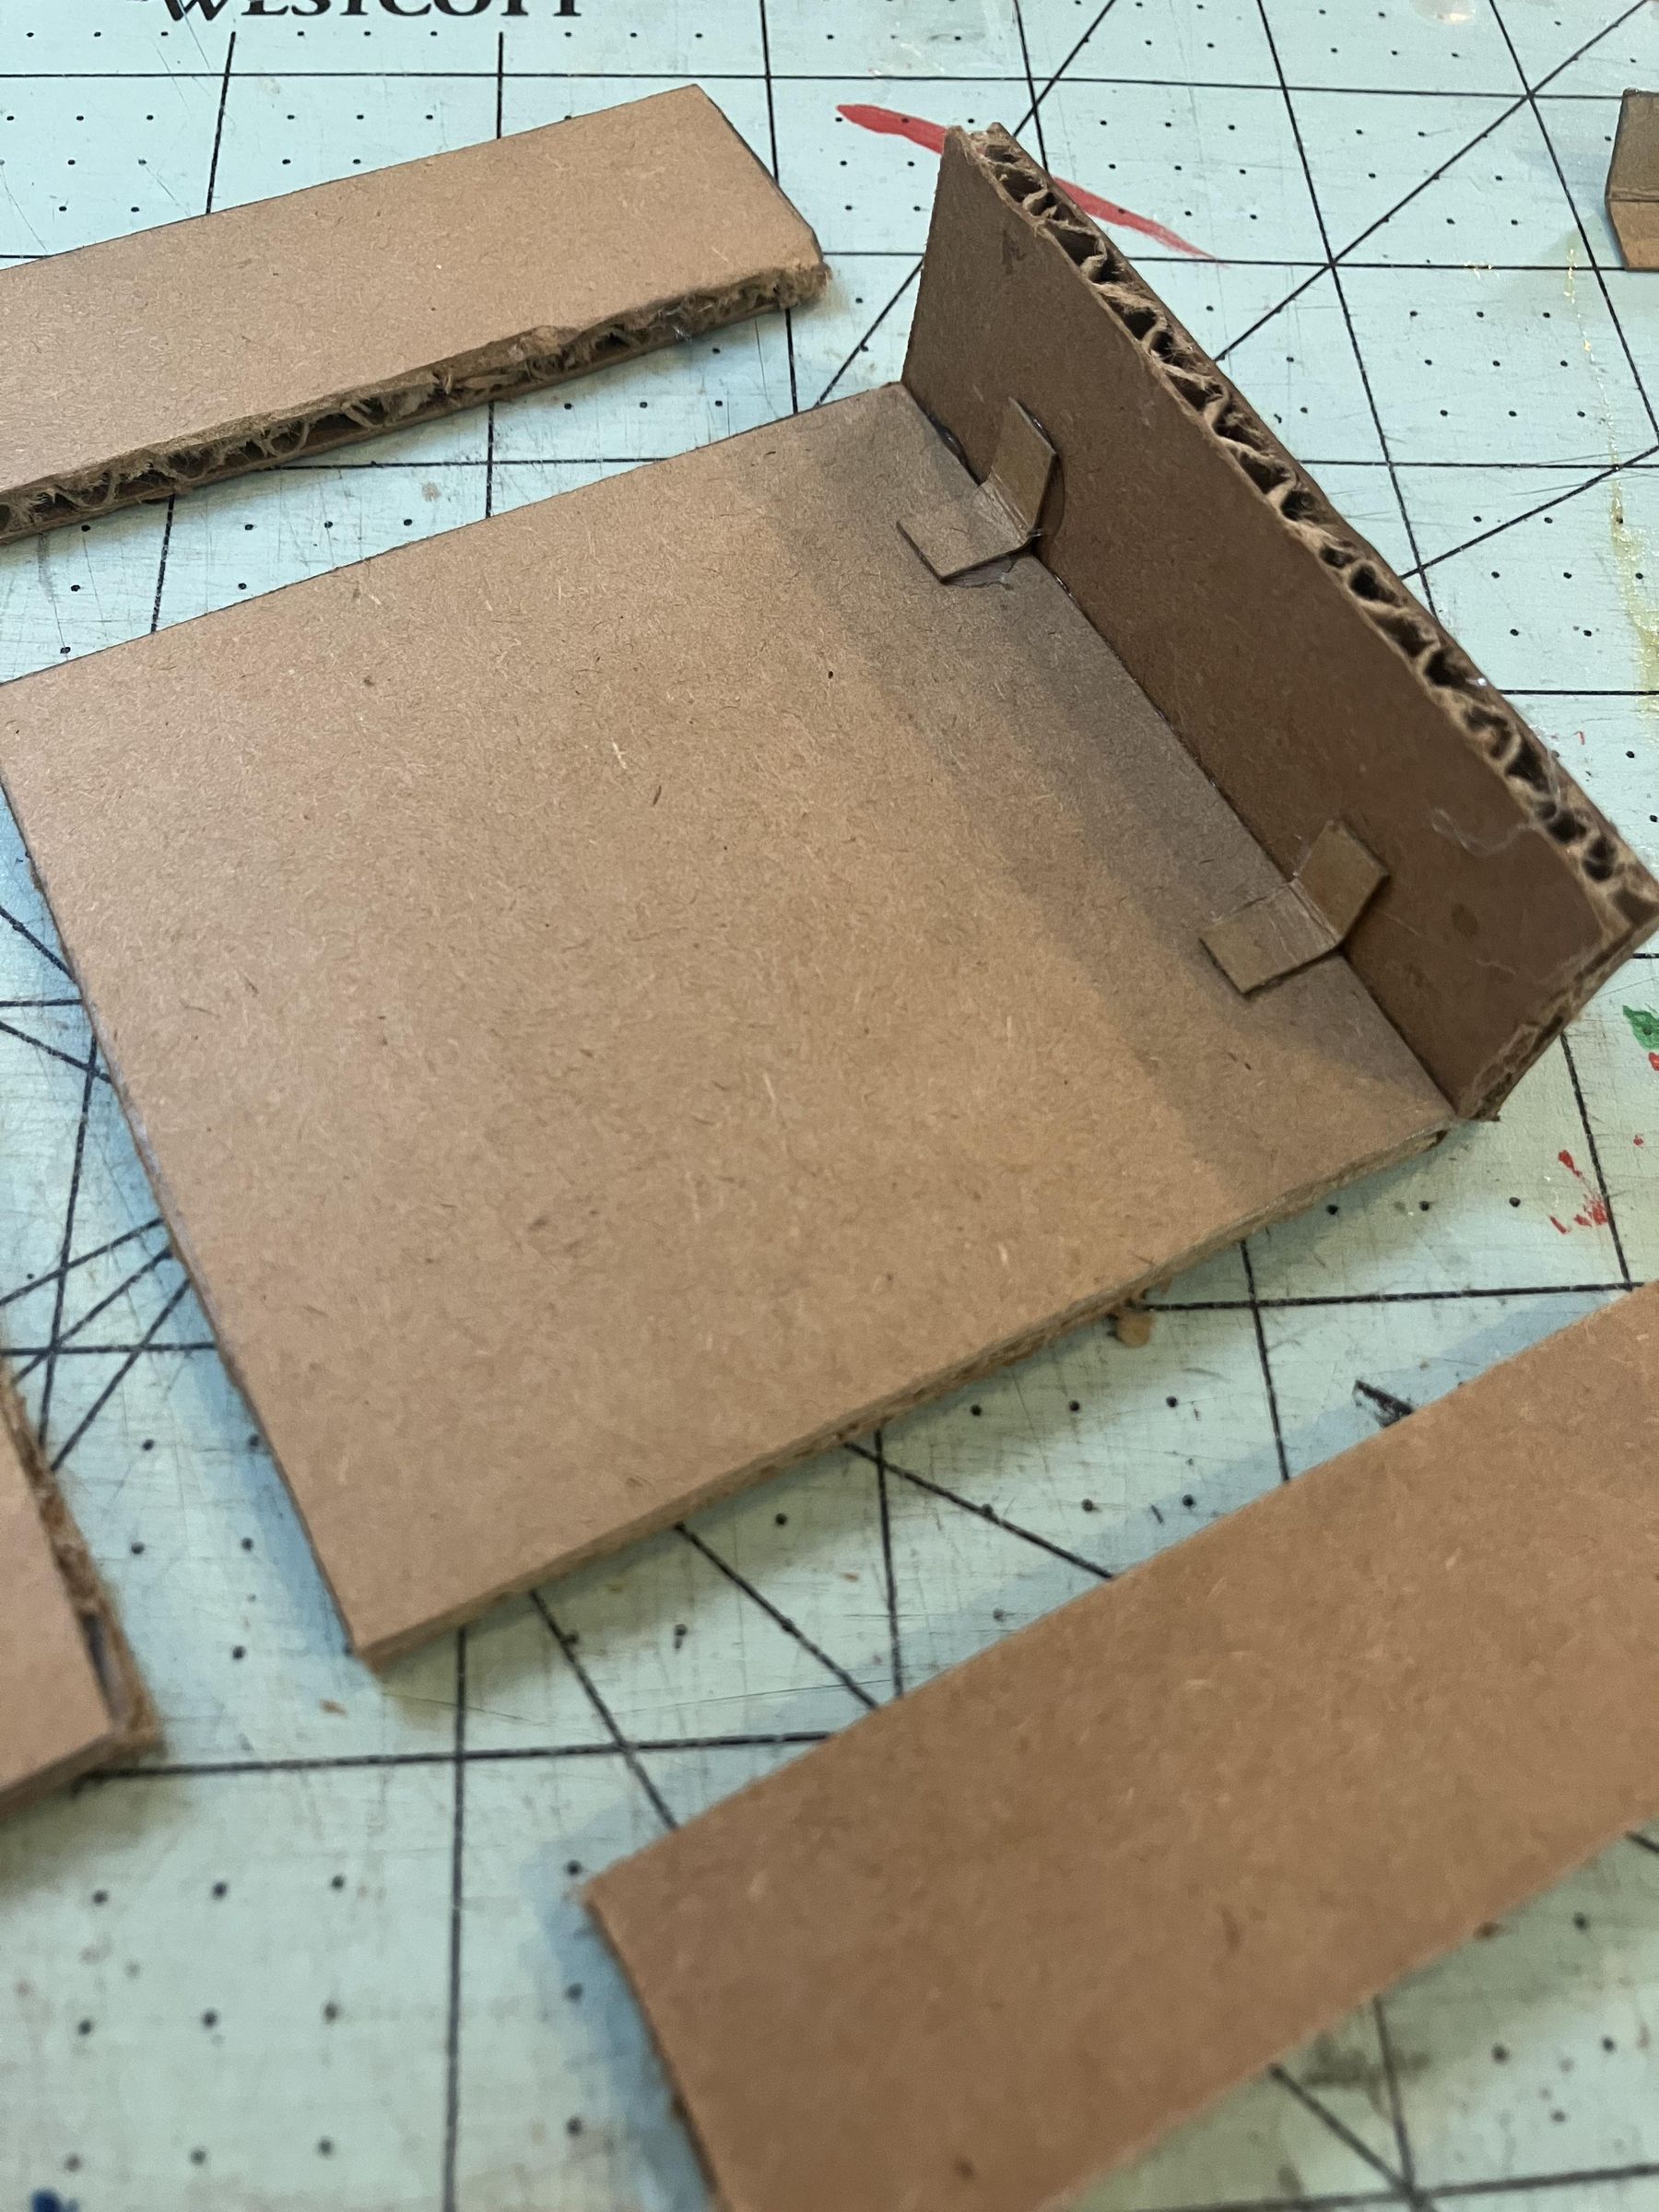
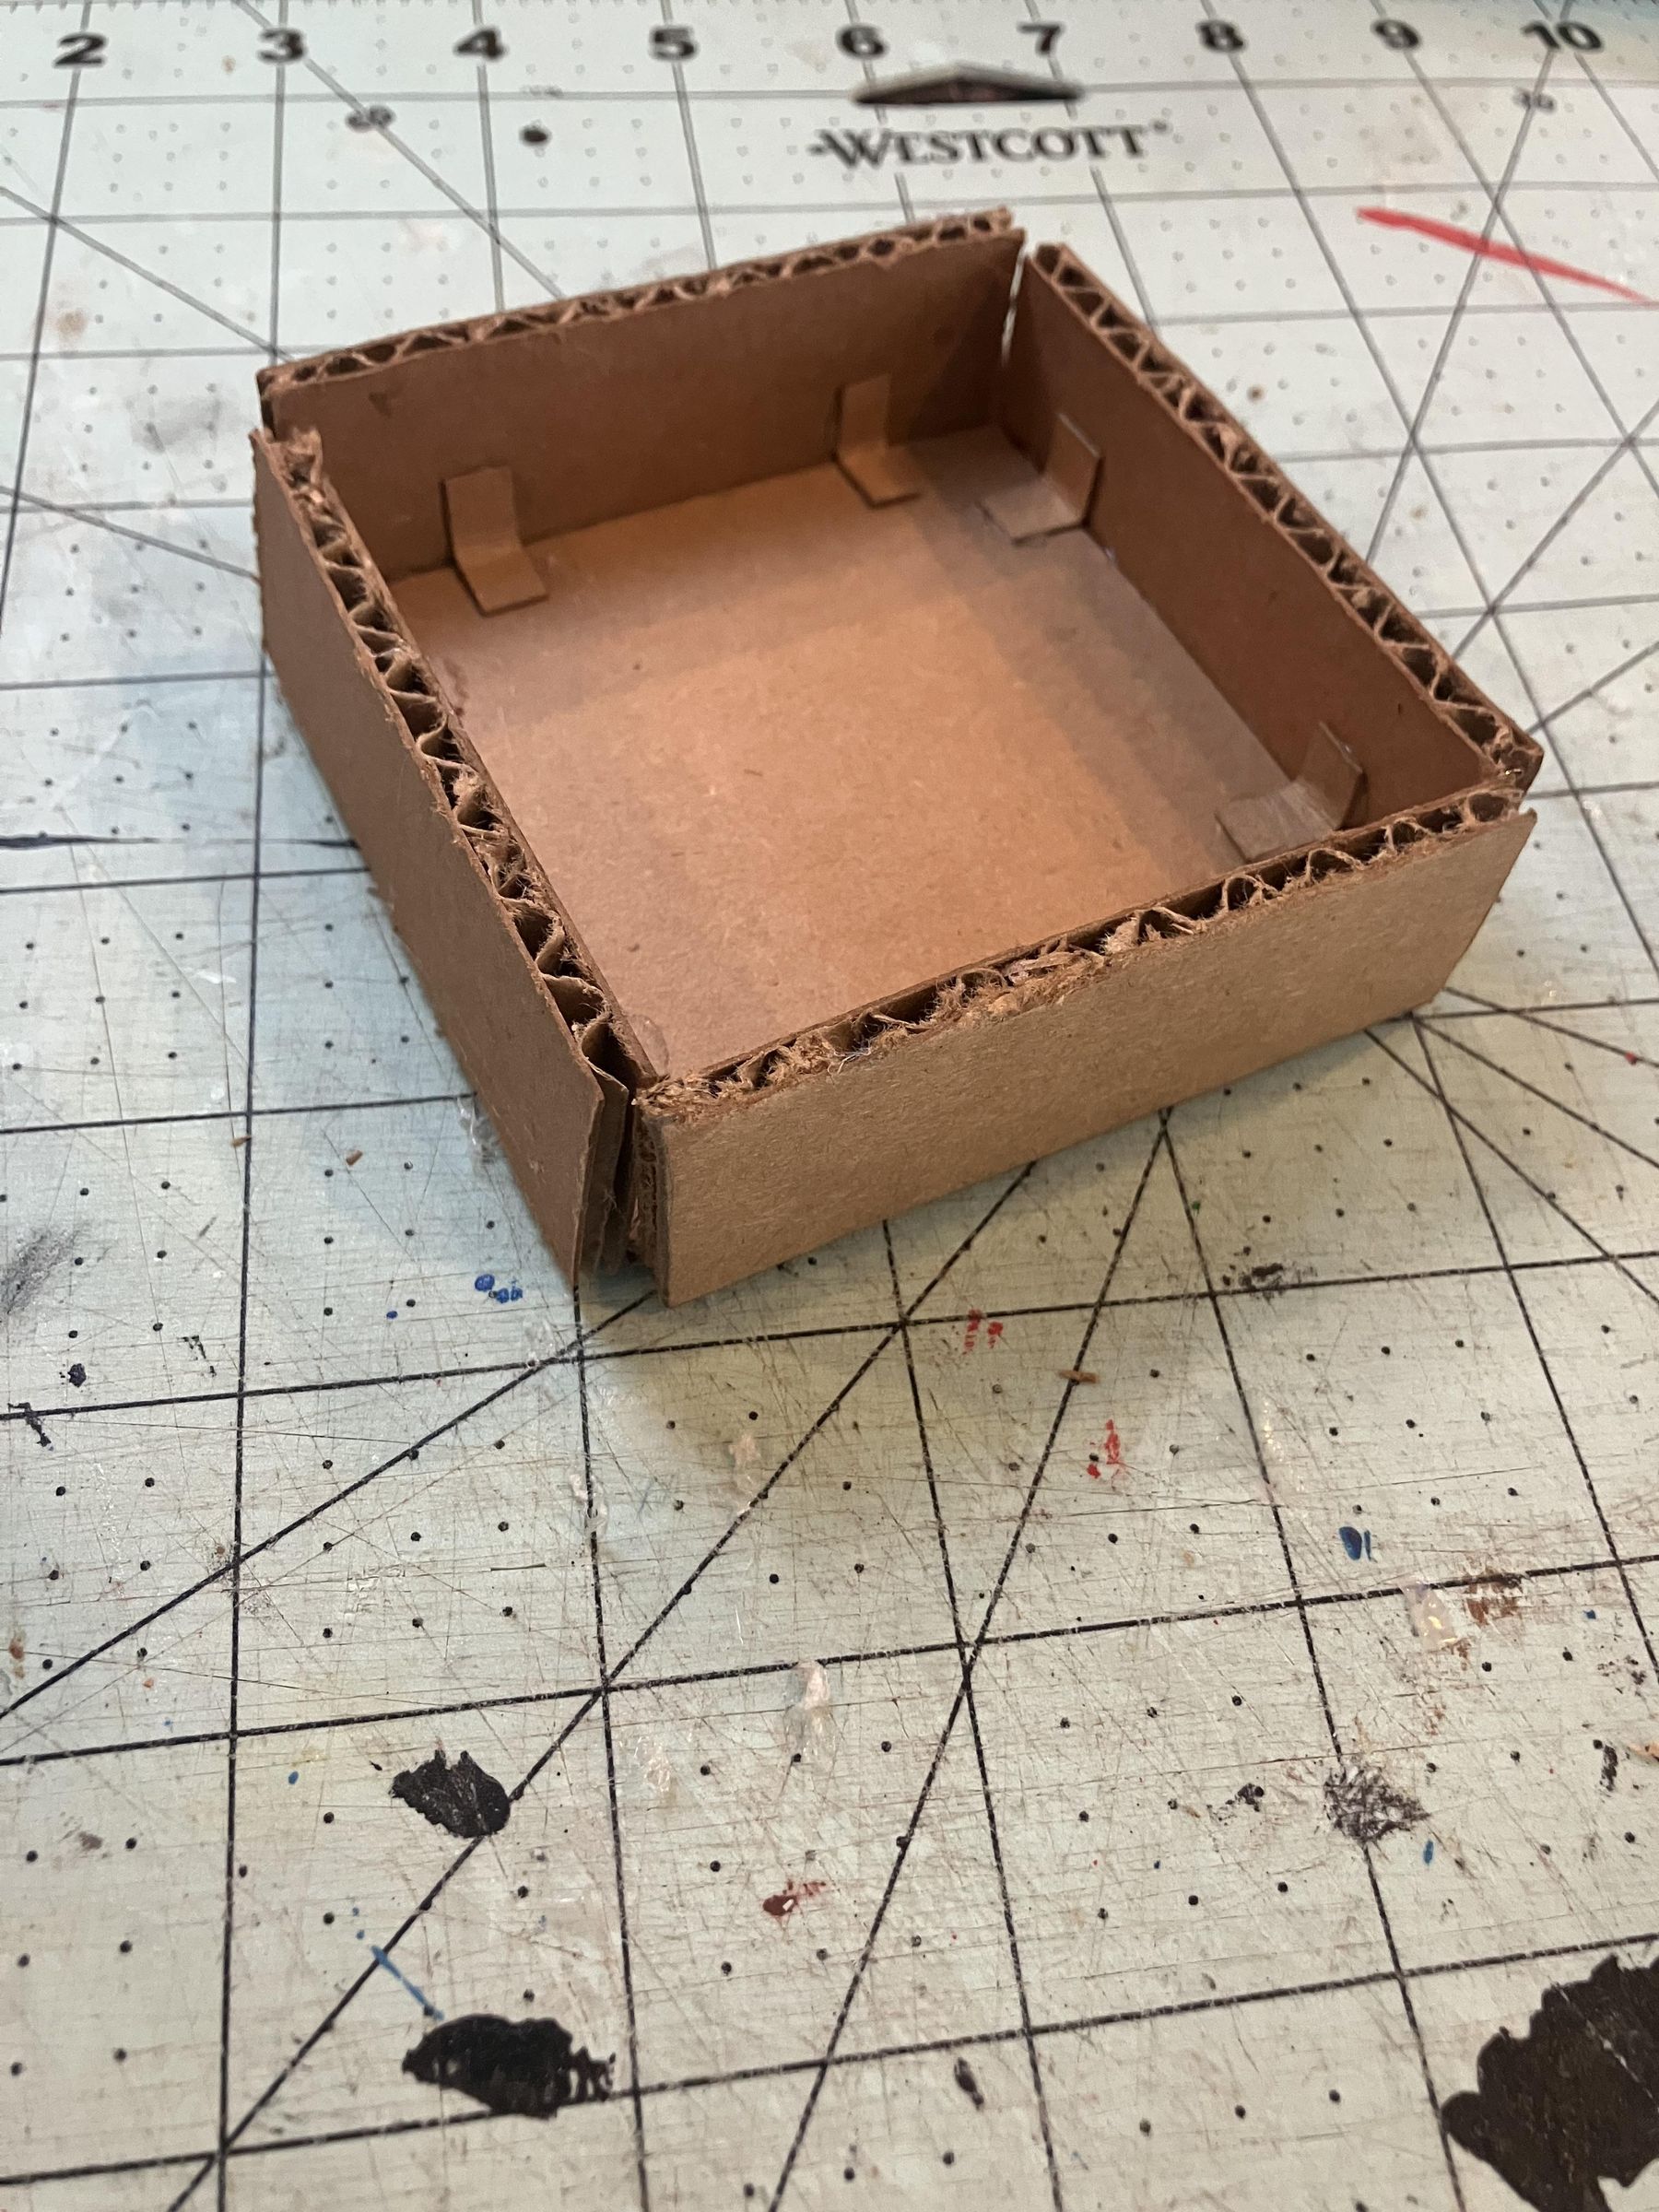
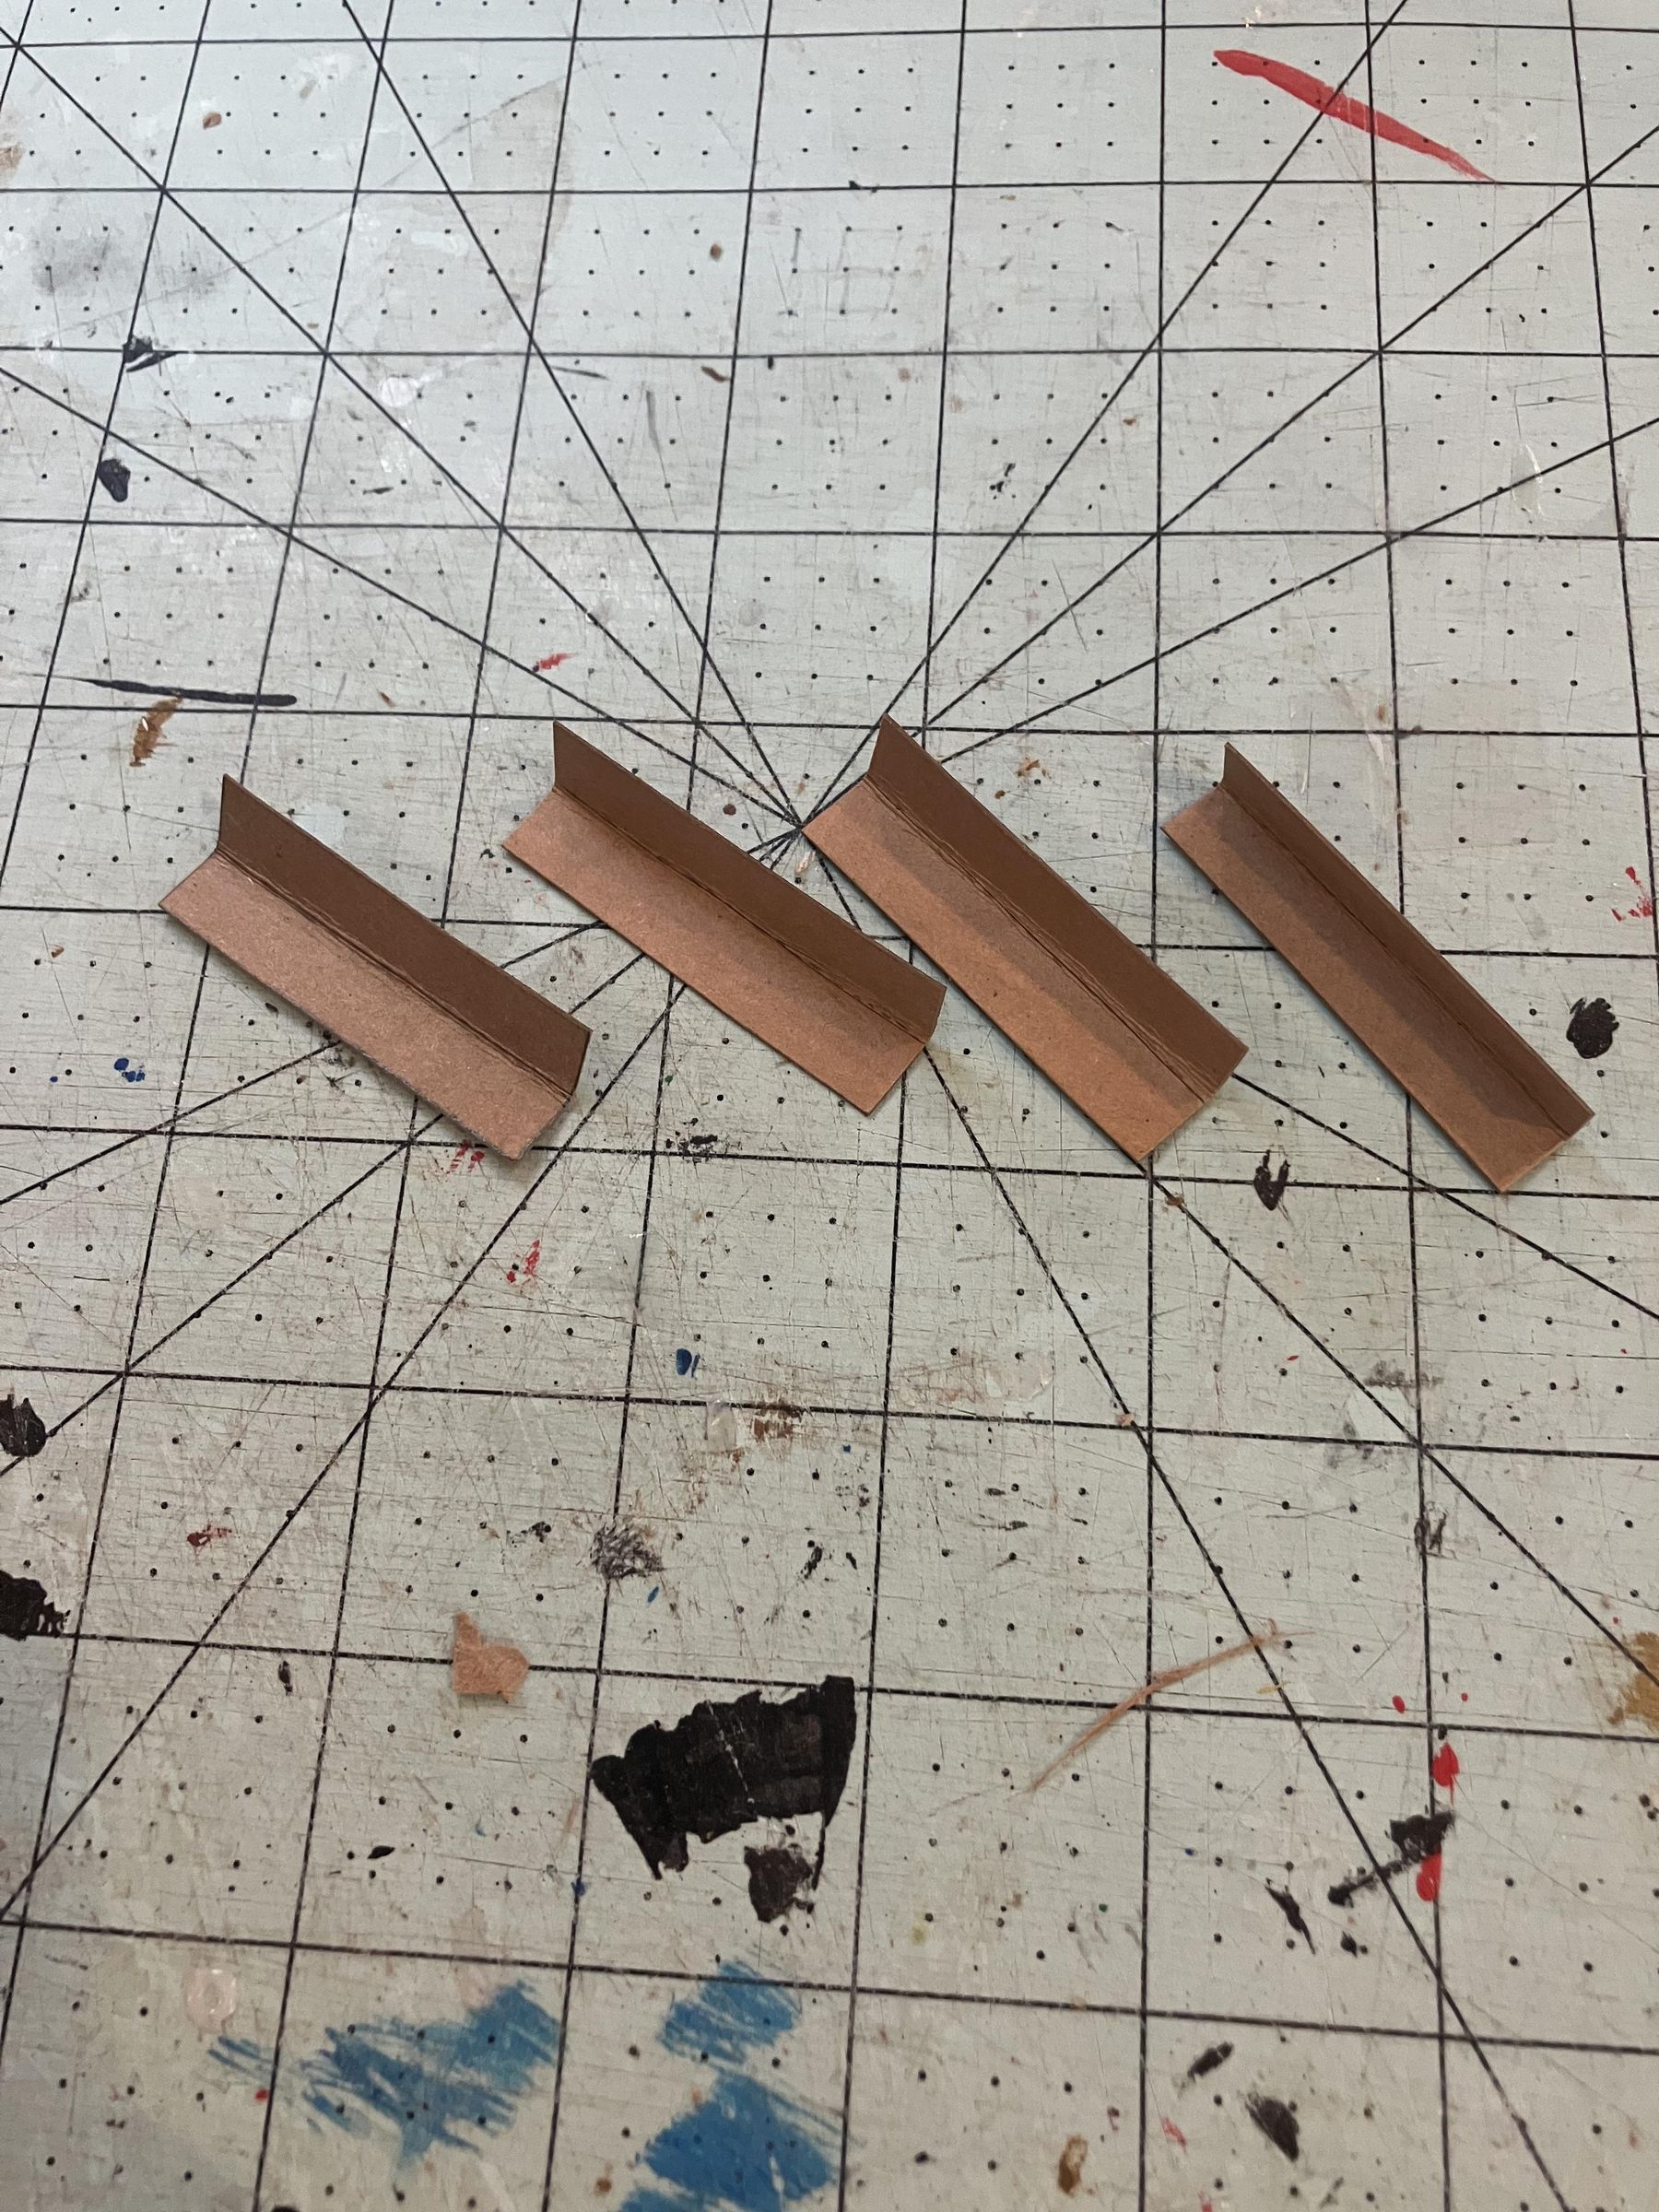
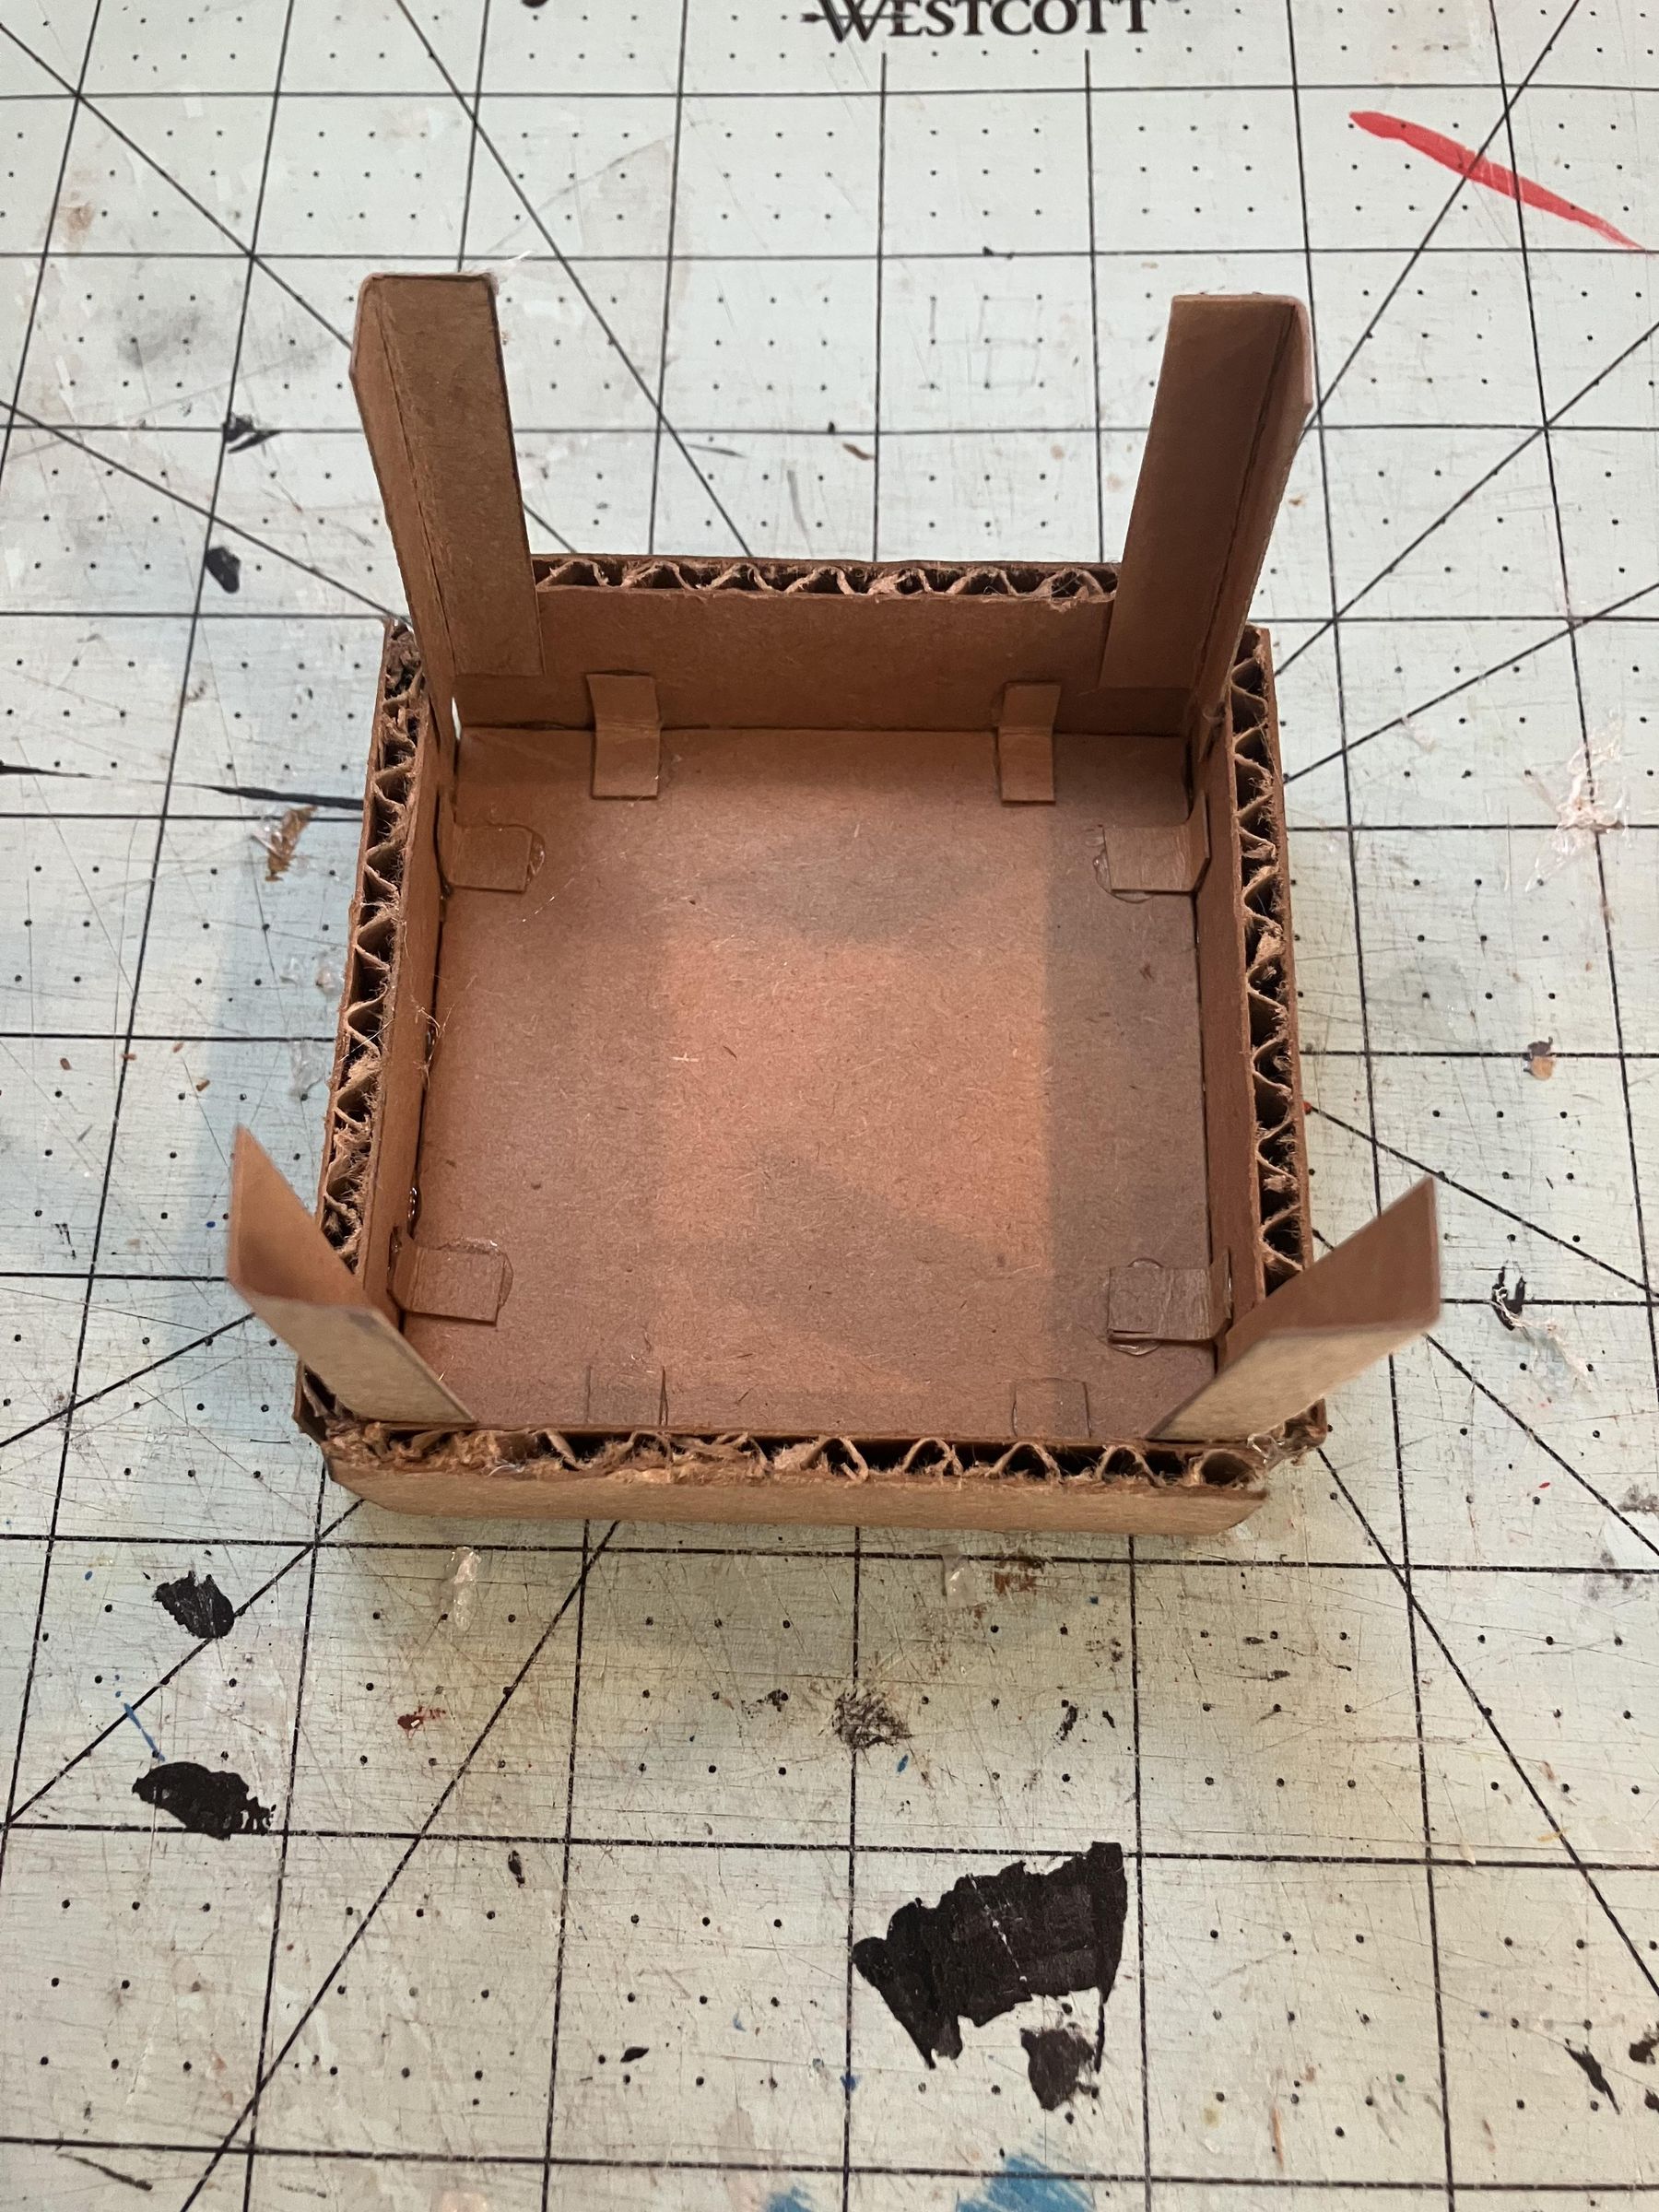
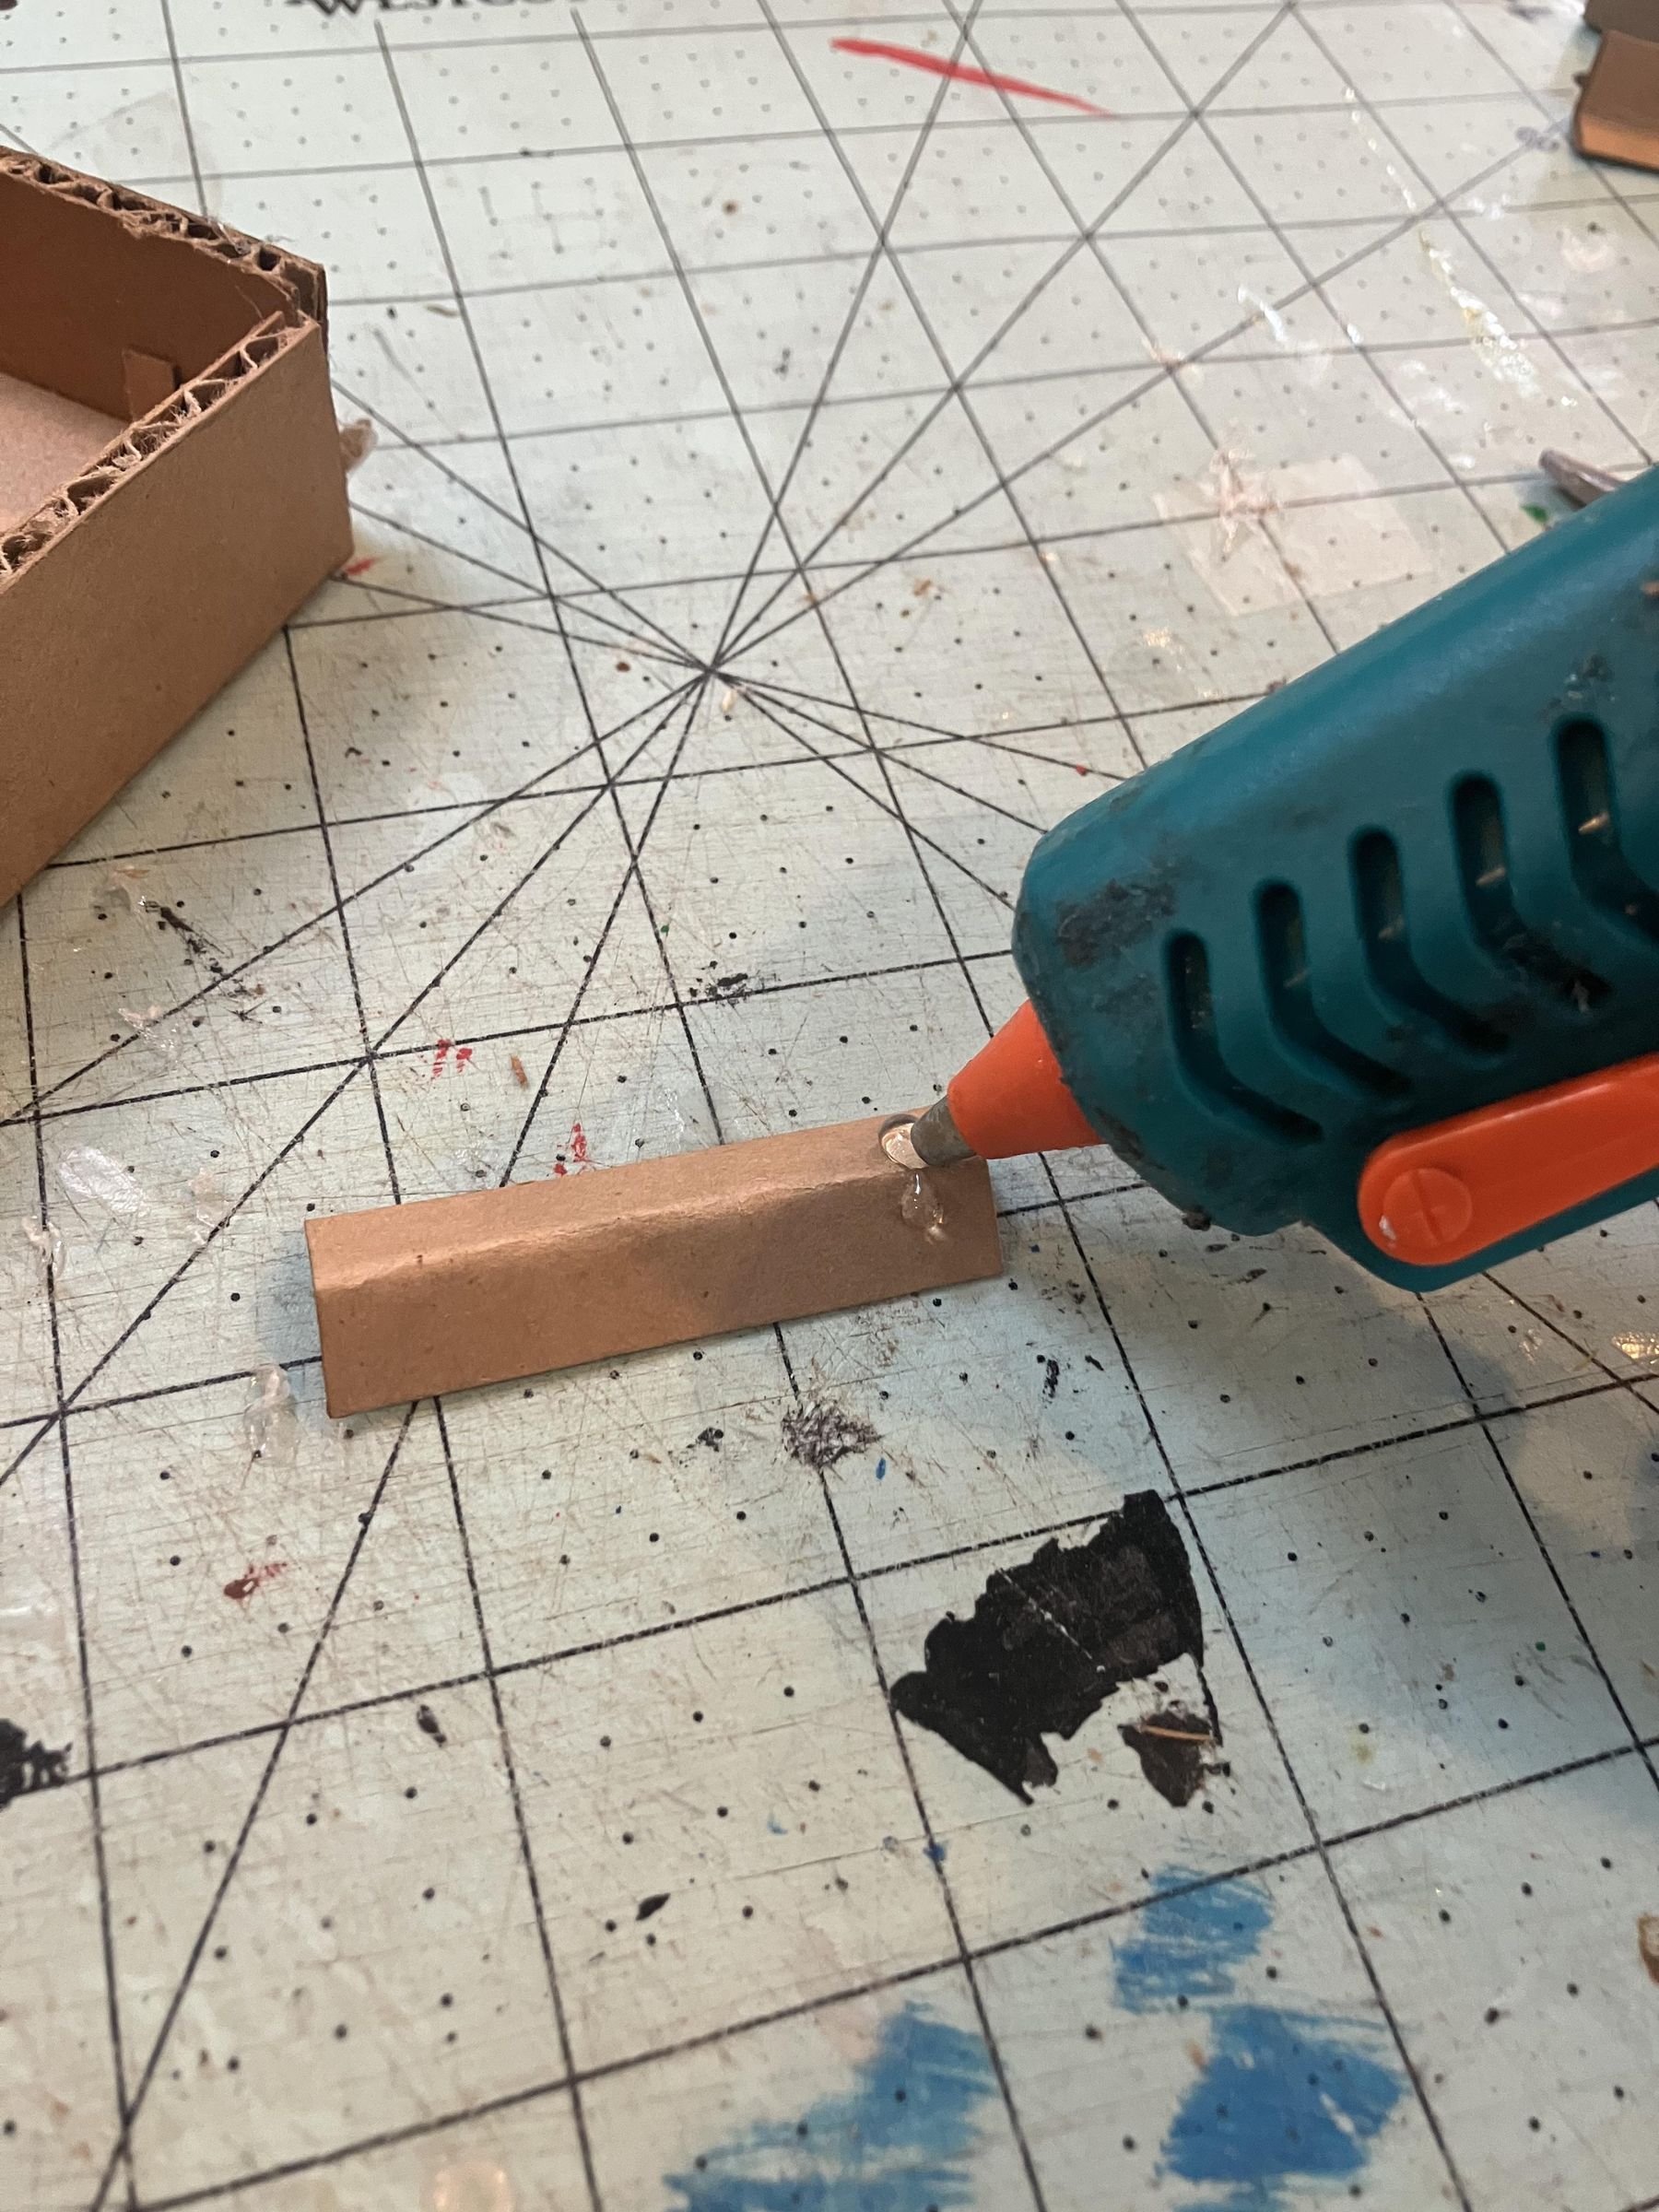
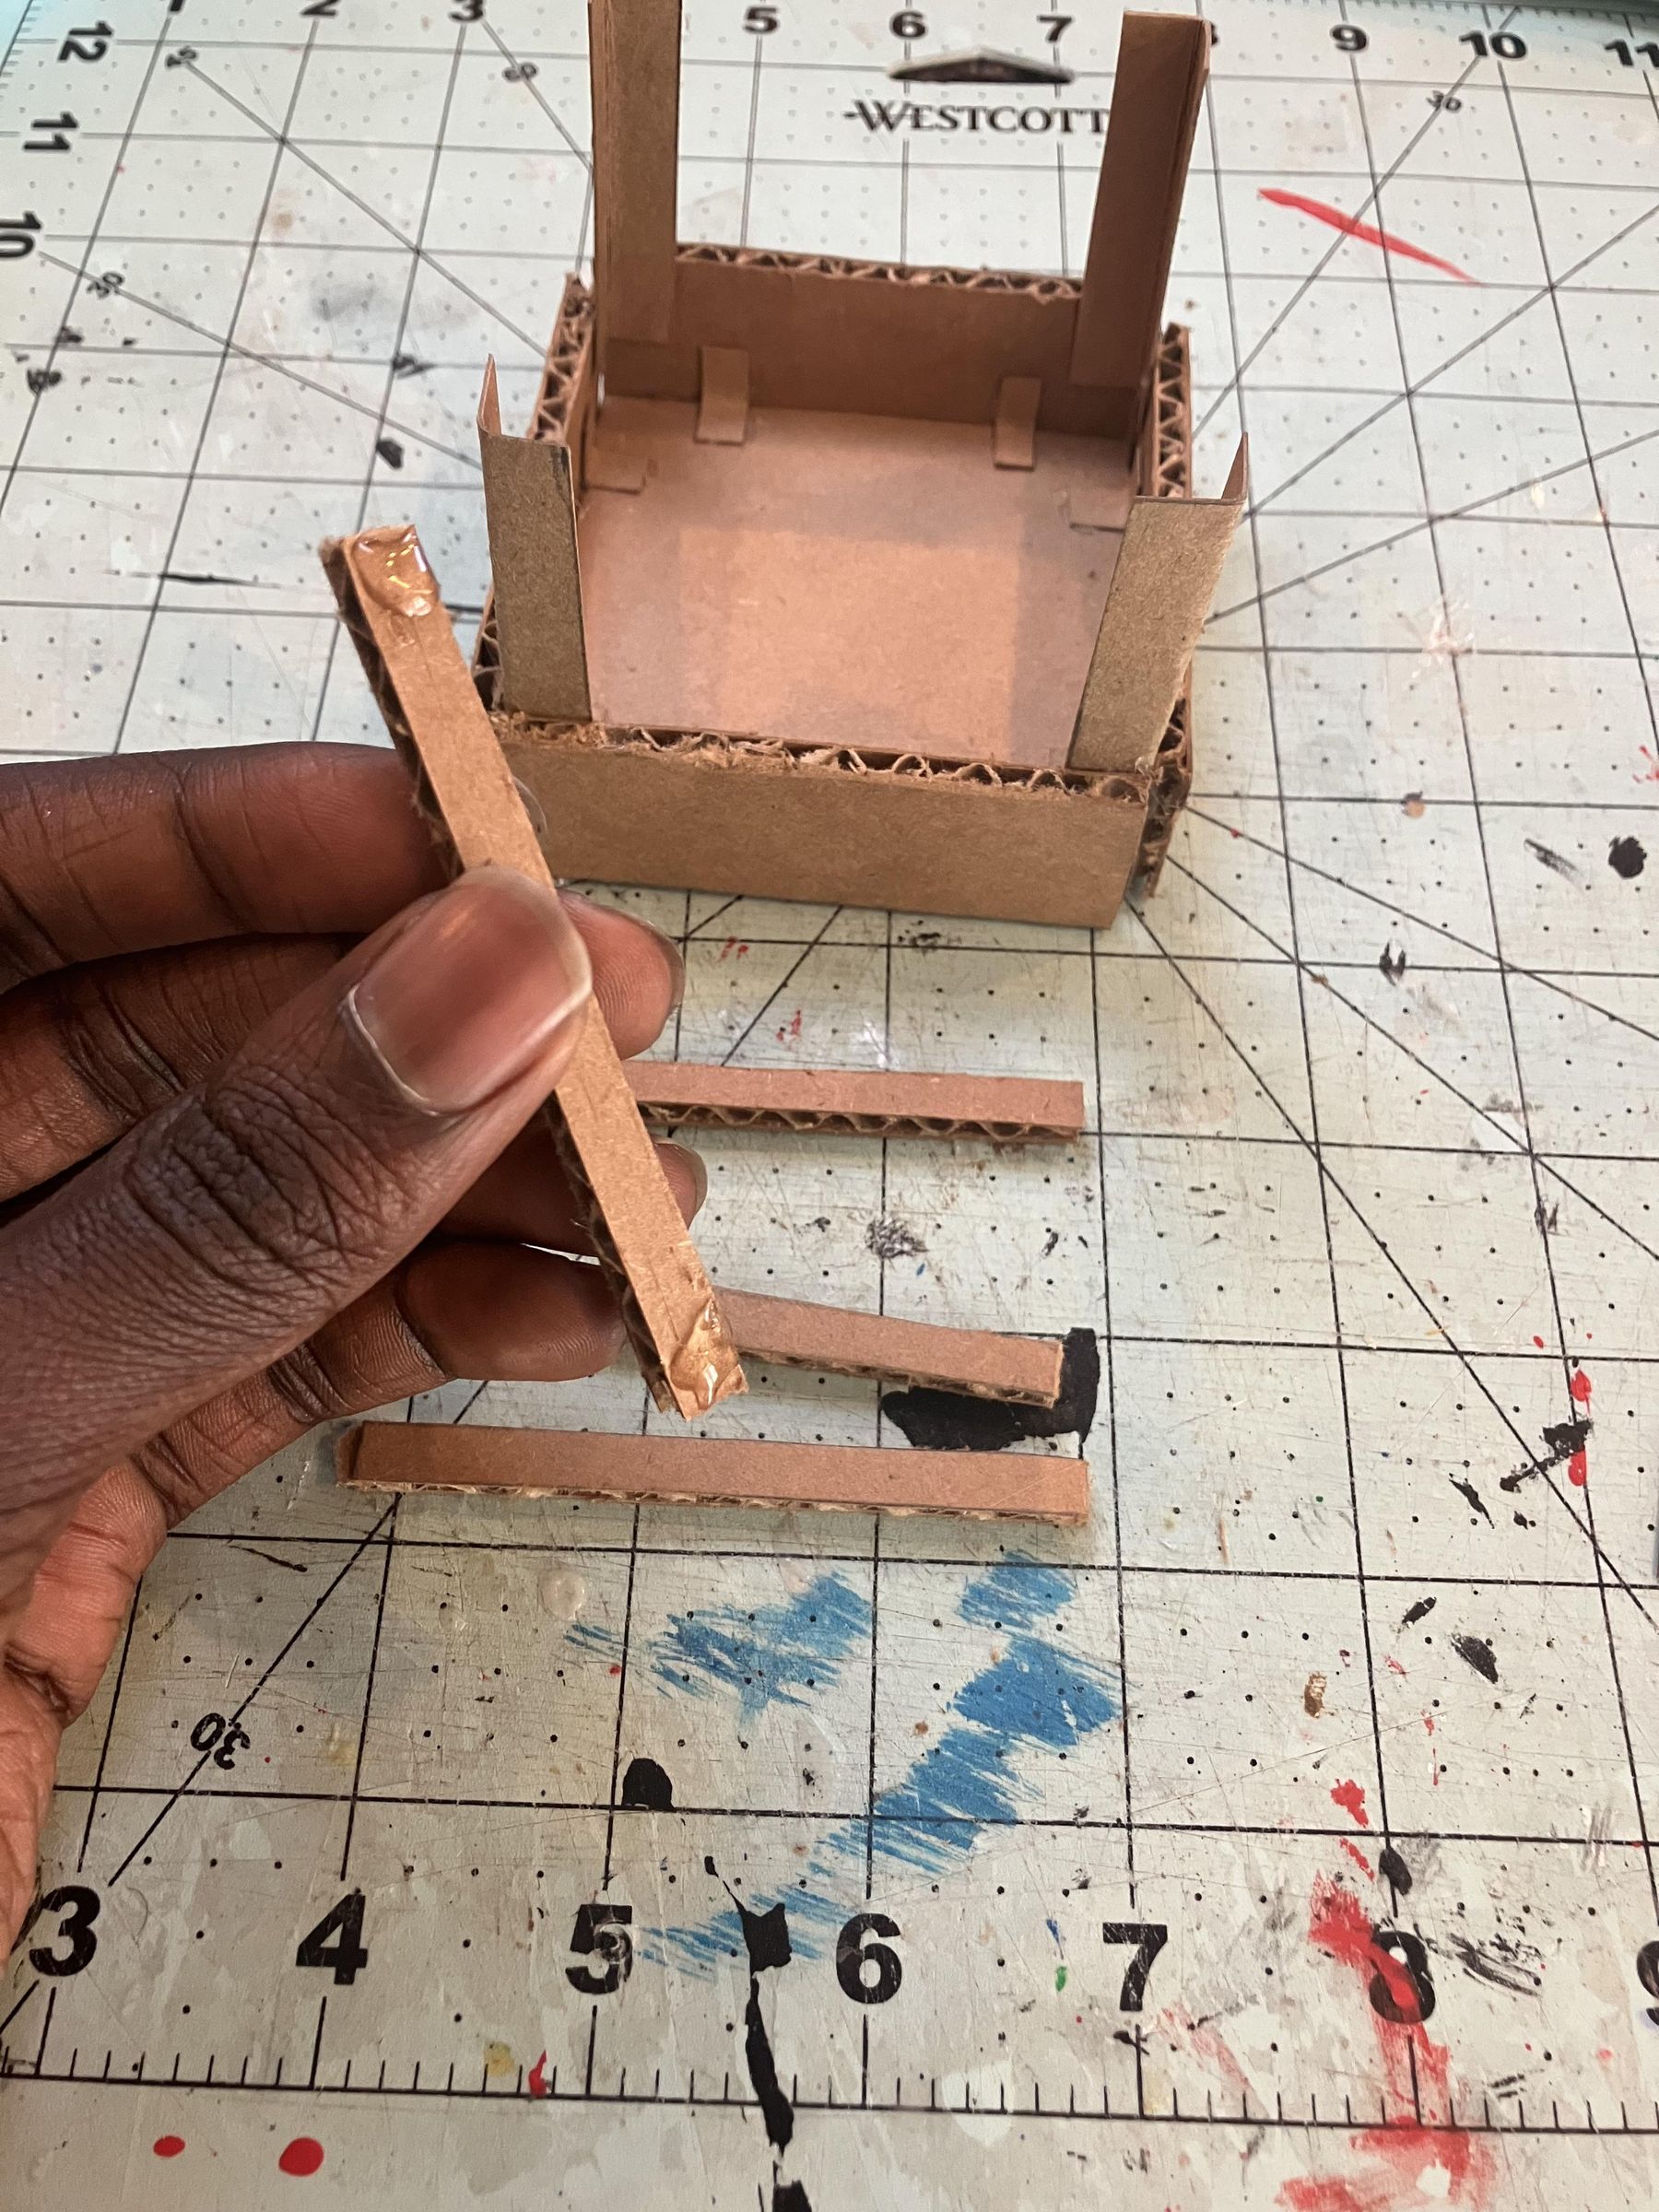
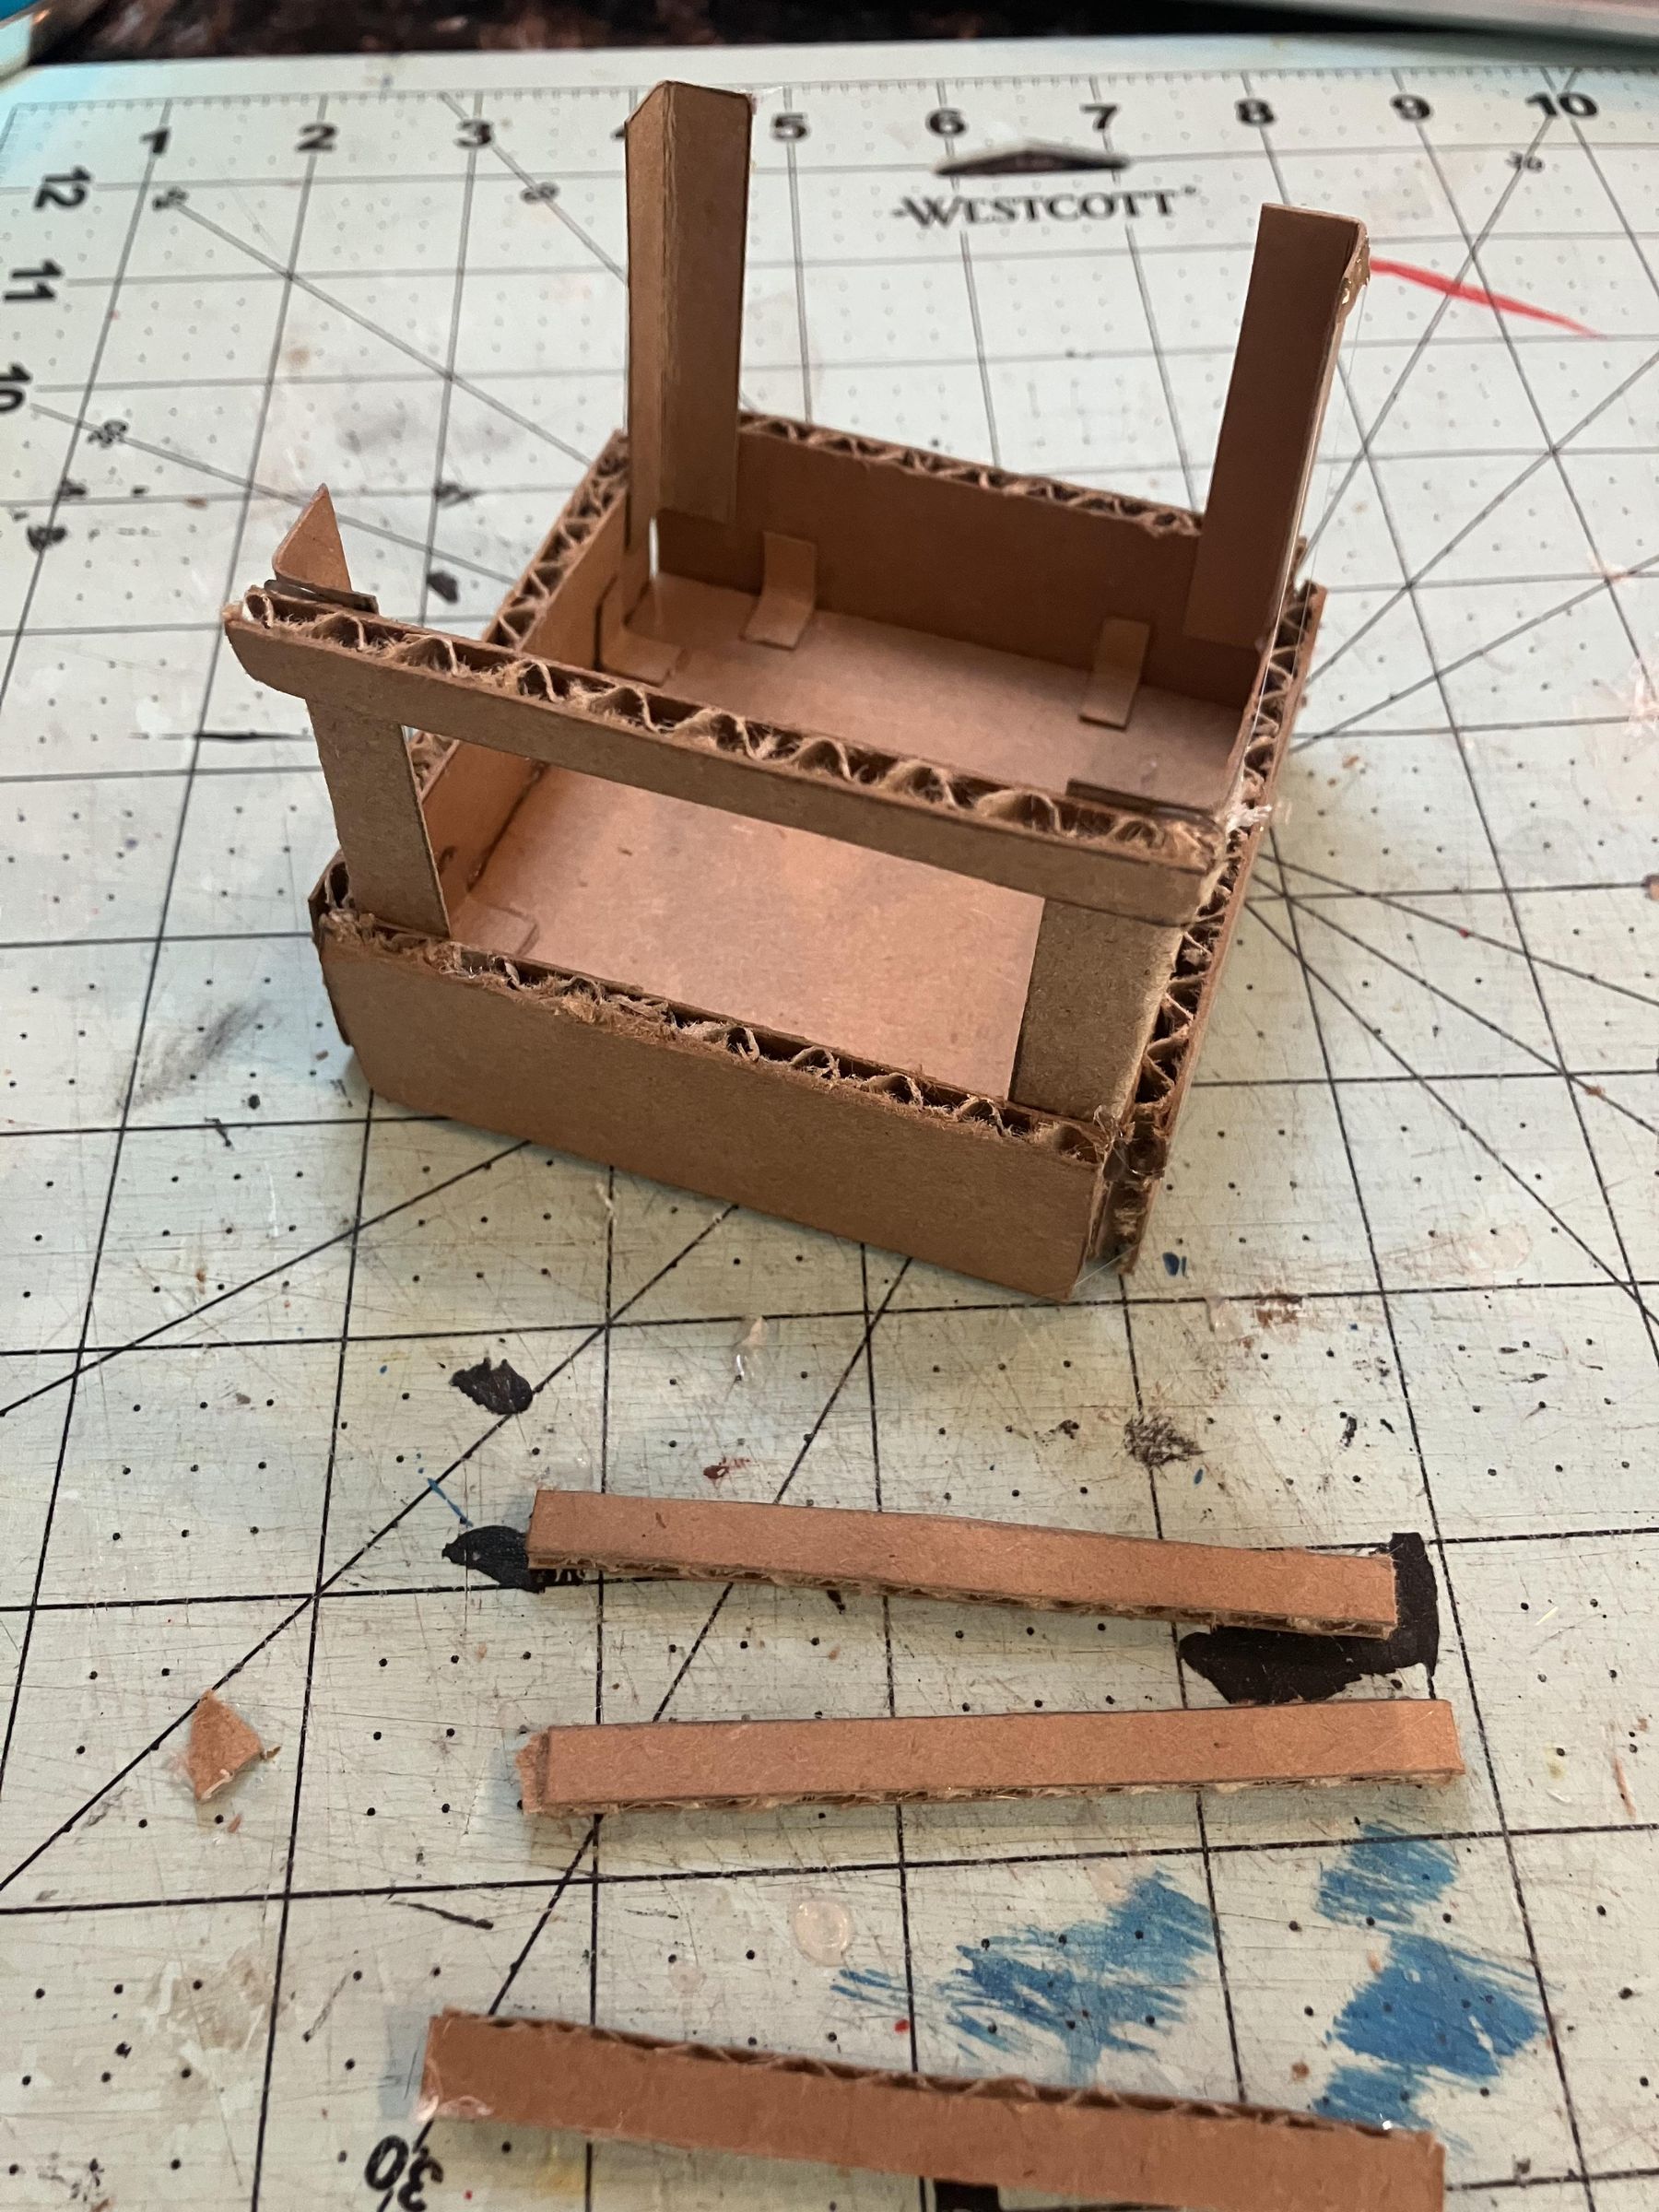
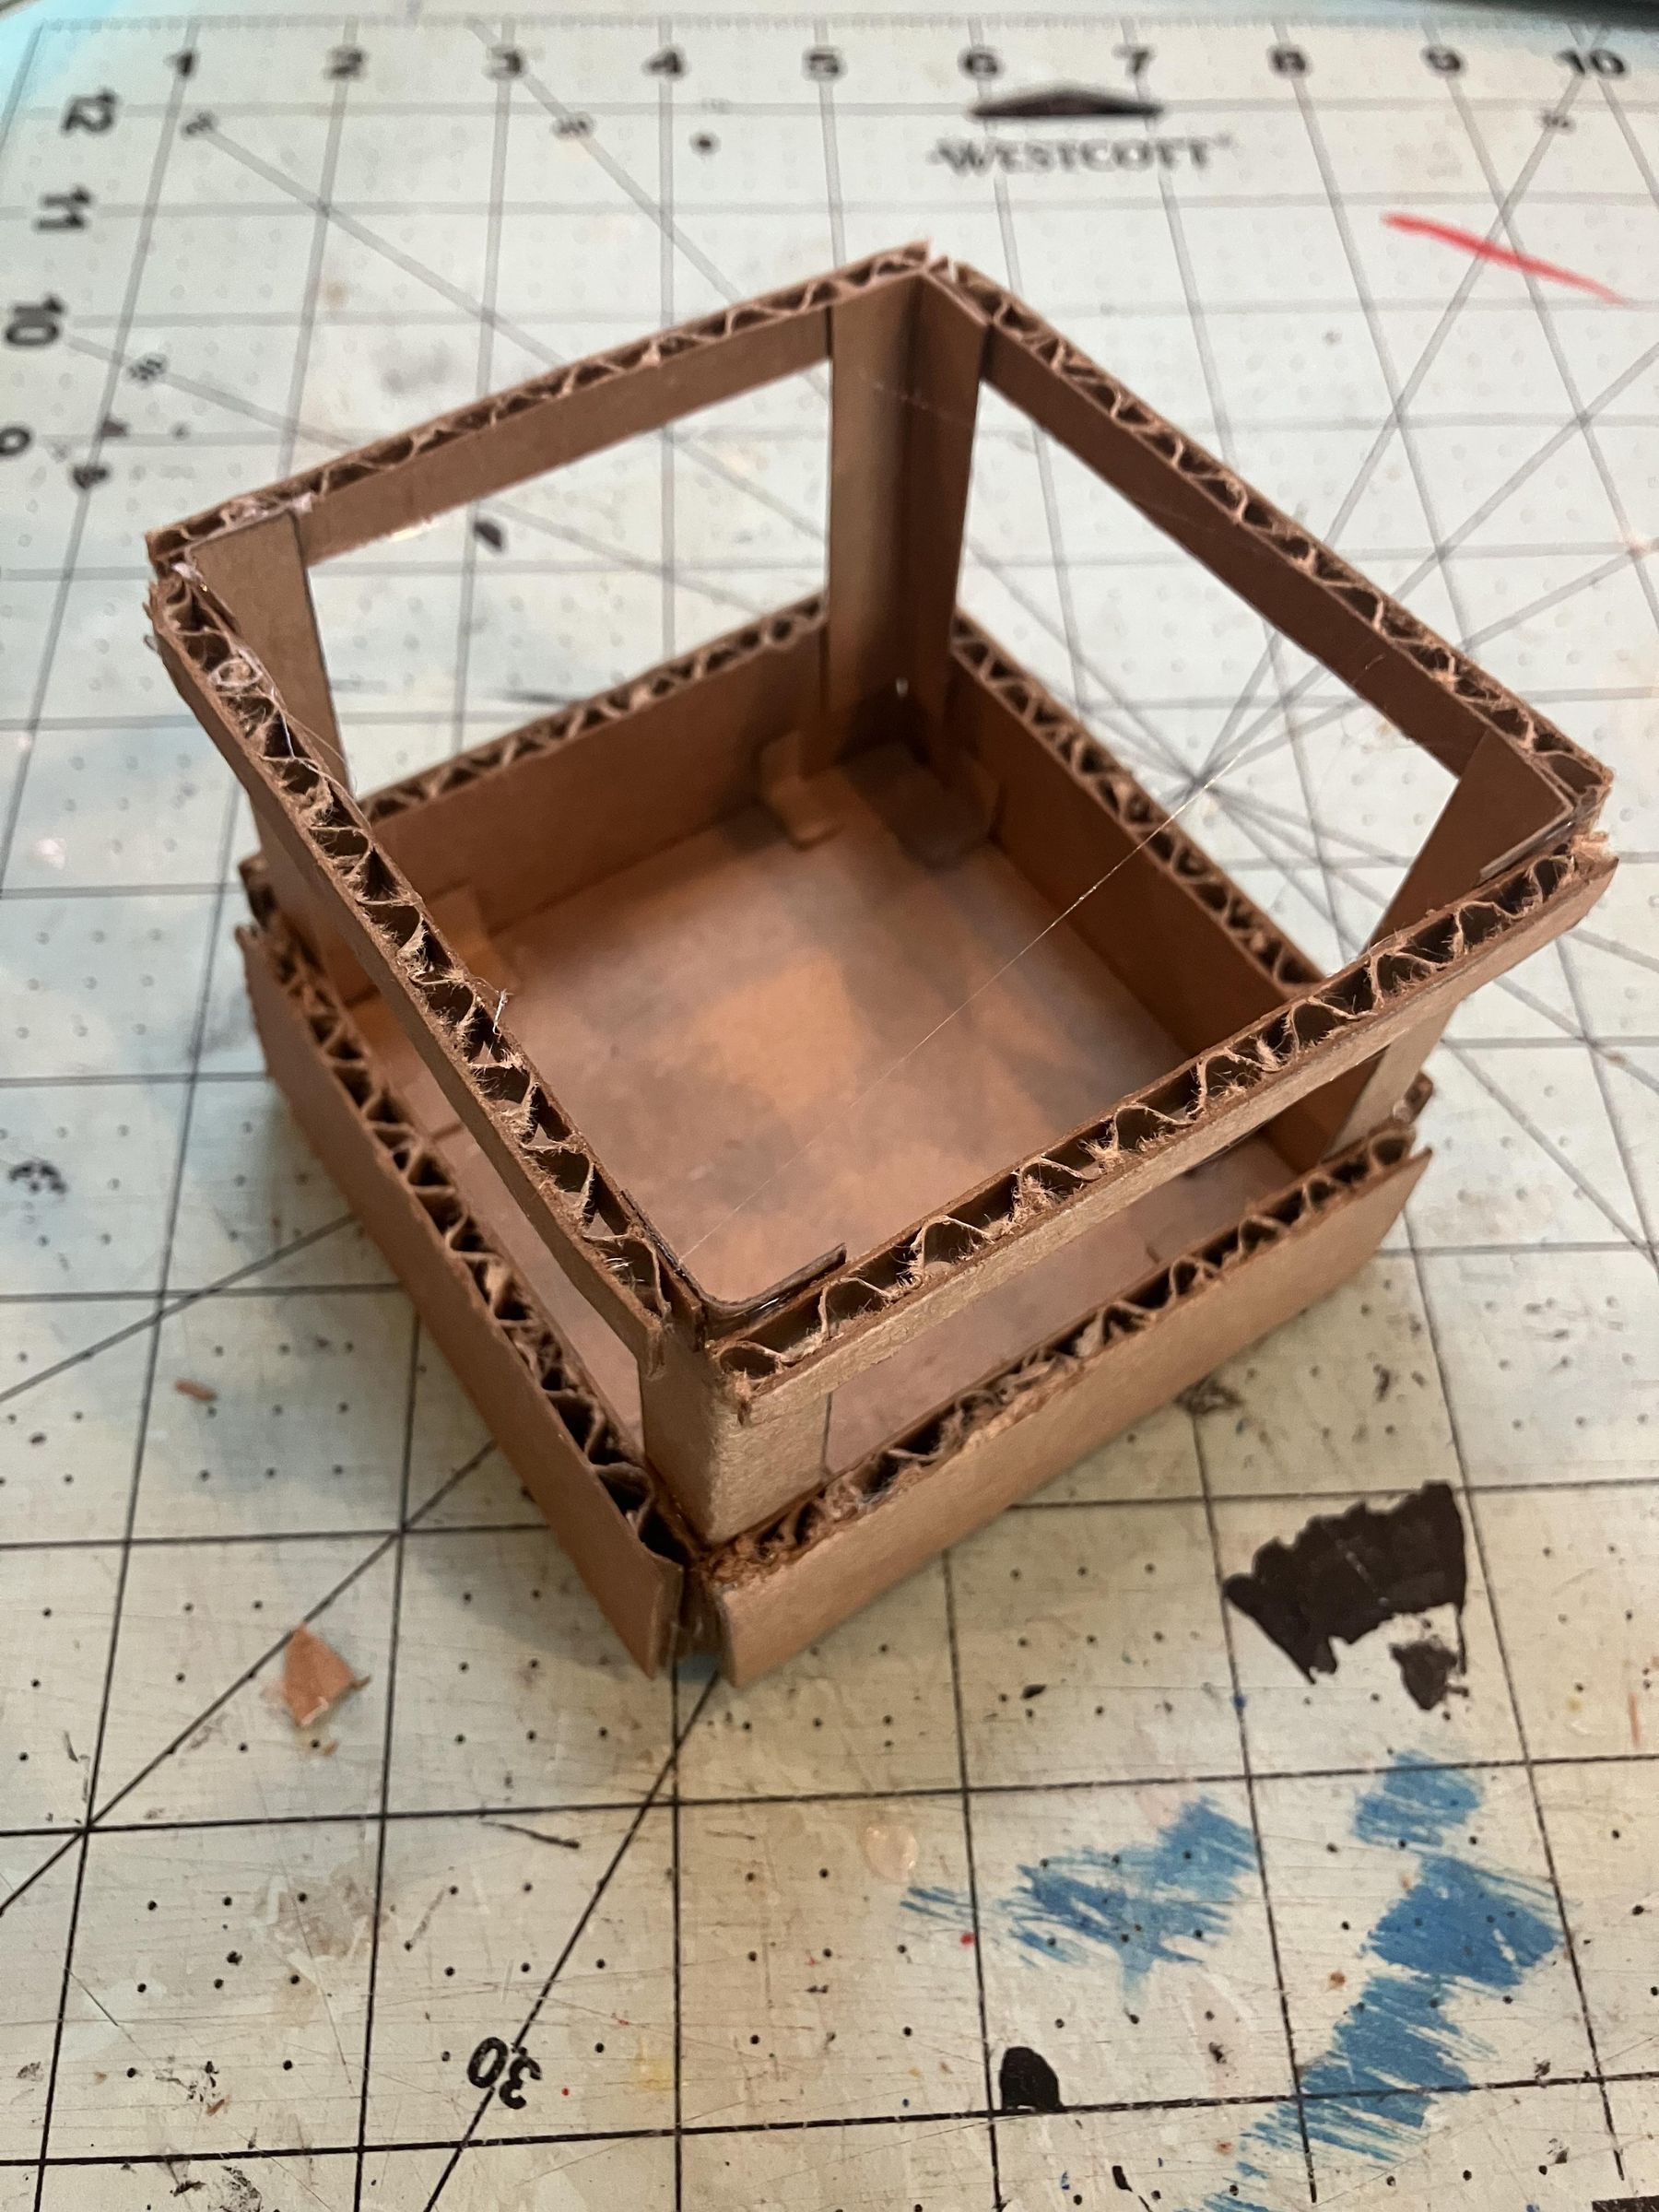
Now we begin with the actual build, starting with the elevator cart.
In the first photo above, you can see four sketches (with dimensions) for all the parts that will be needed to make the cart. Each sketch is labeled with what the part is.
Start by sketching and cutting out the following:
- 1 x Bottom of Cart (using corrugated cardboard)
- 4 x Side of Cart (using corrugated cardboard)
- 4 x Top of Cart (using corrugated cardboard)
- 4 x Corner of Cart (using N0N-corrugated cardboard)
Once you have those pieces cut out, it's time to start piecing them together.
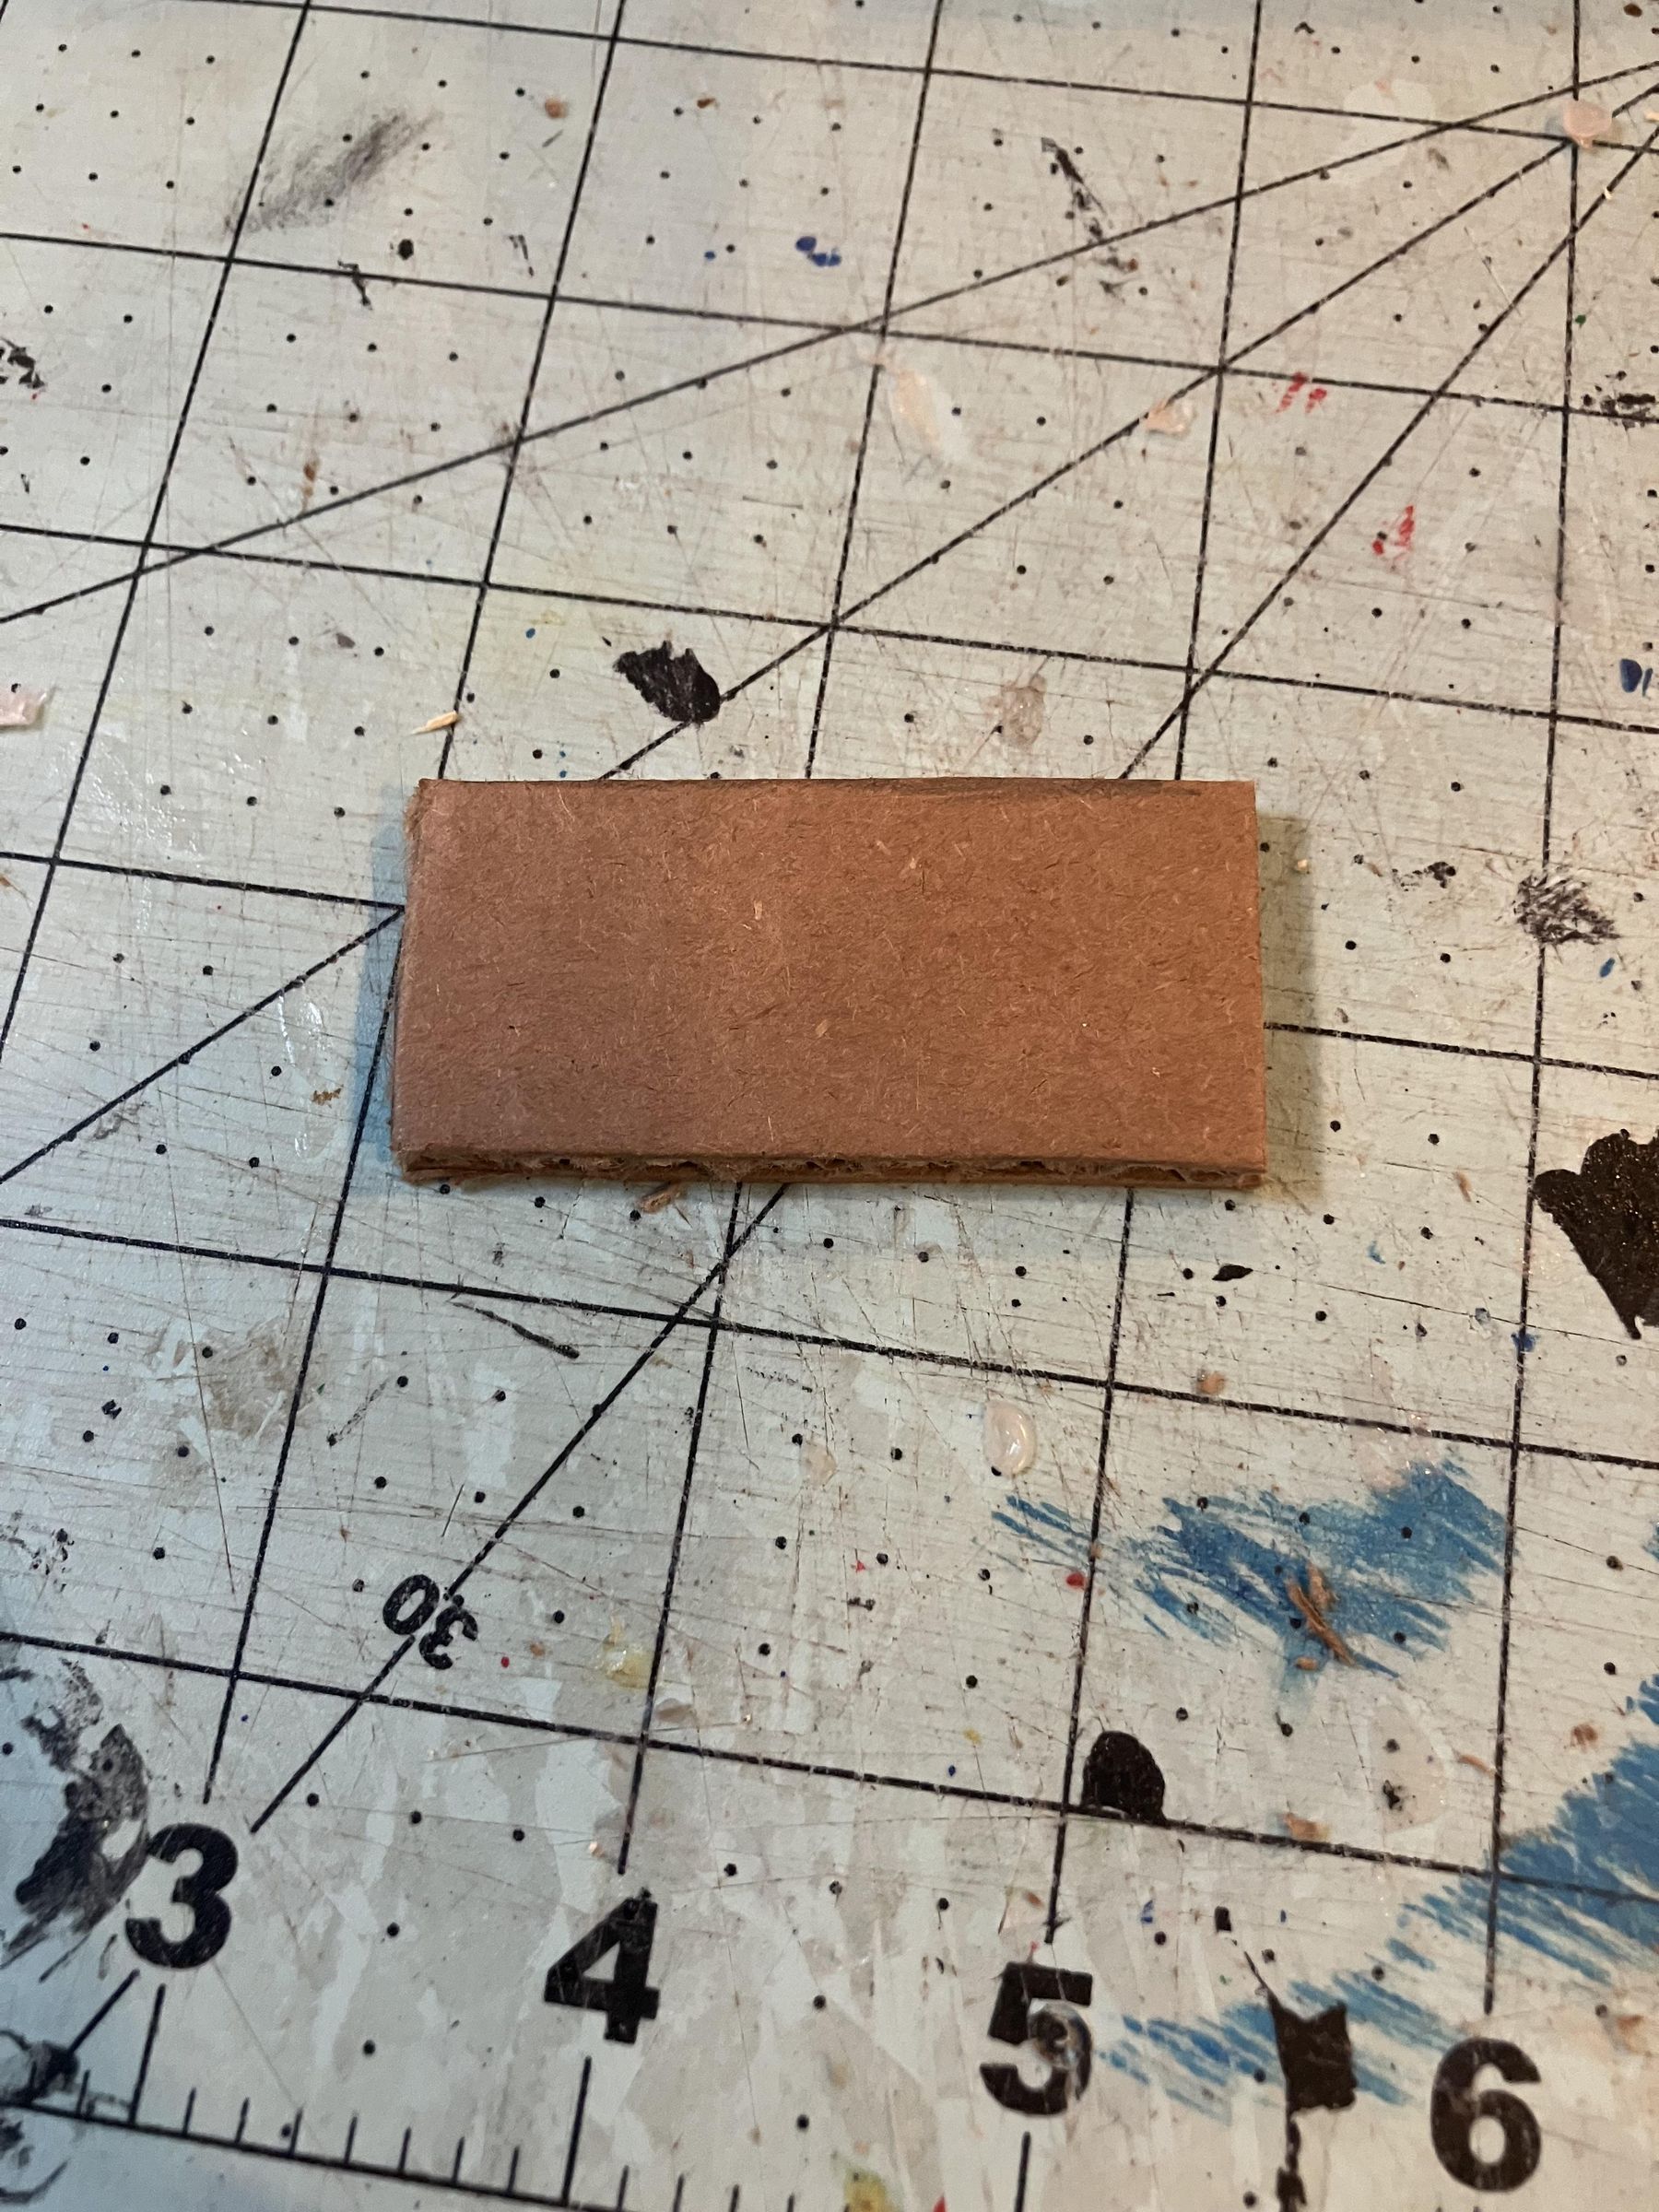
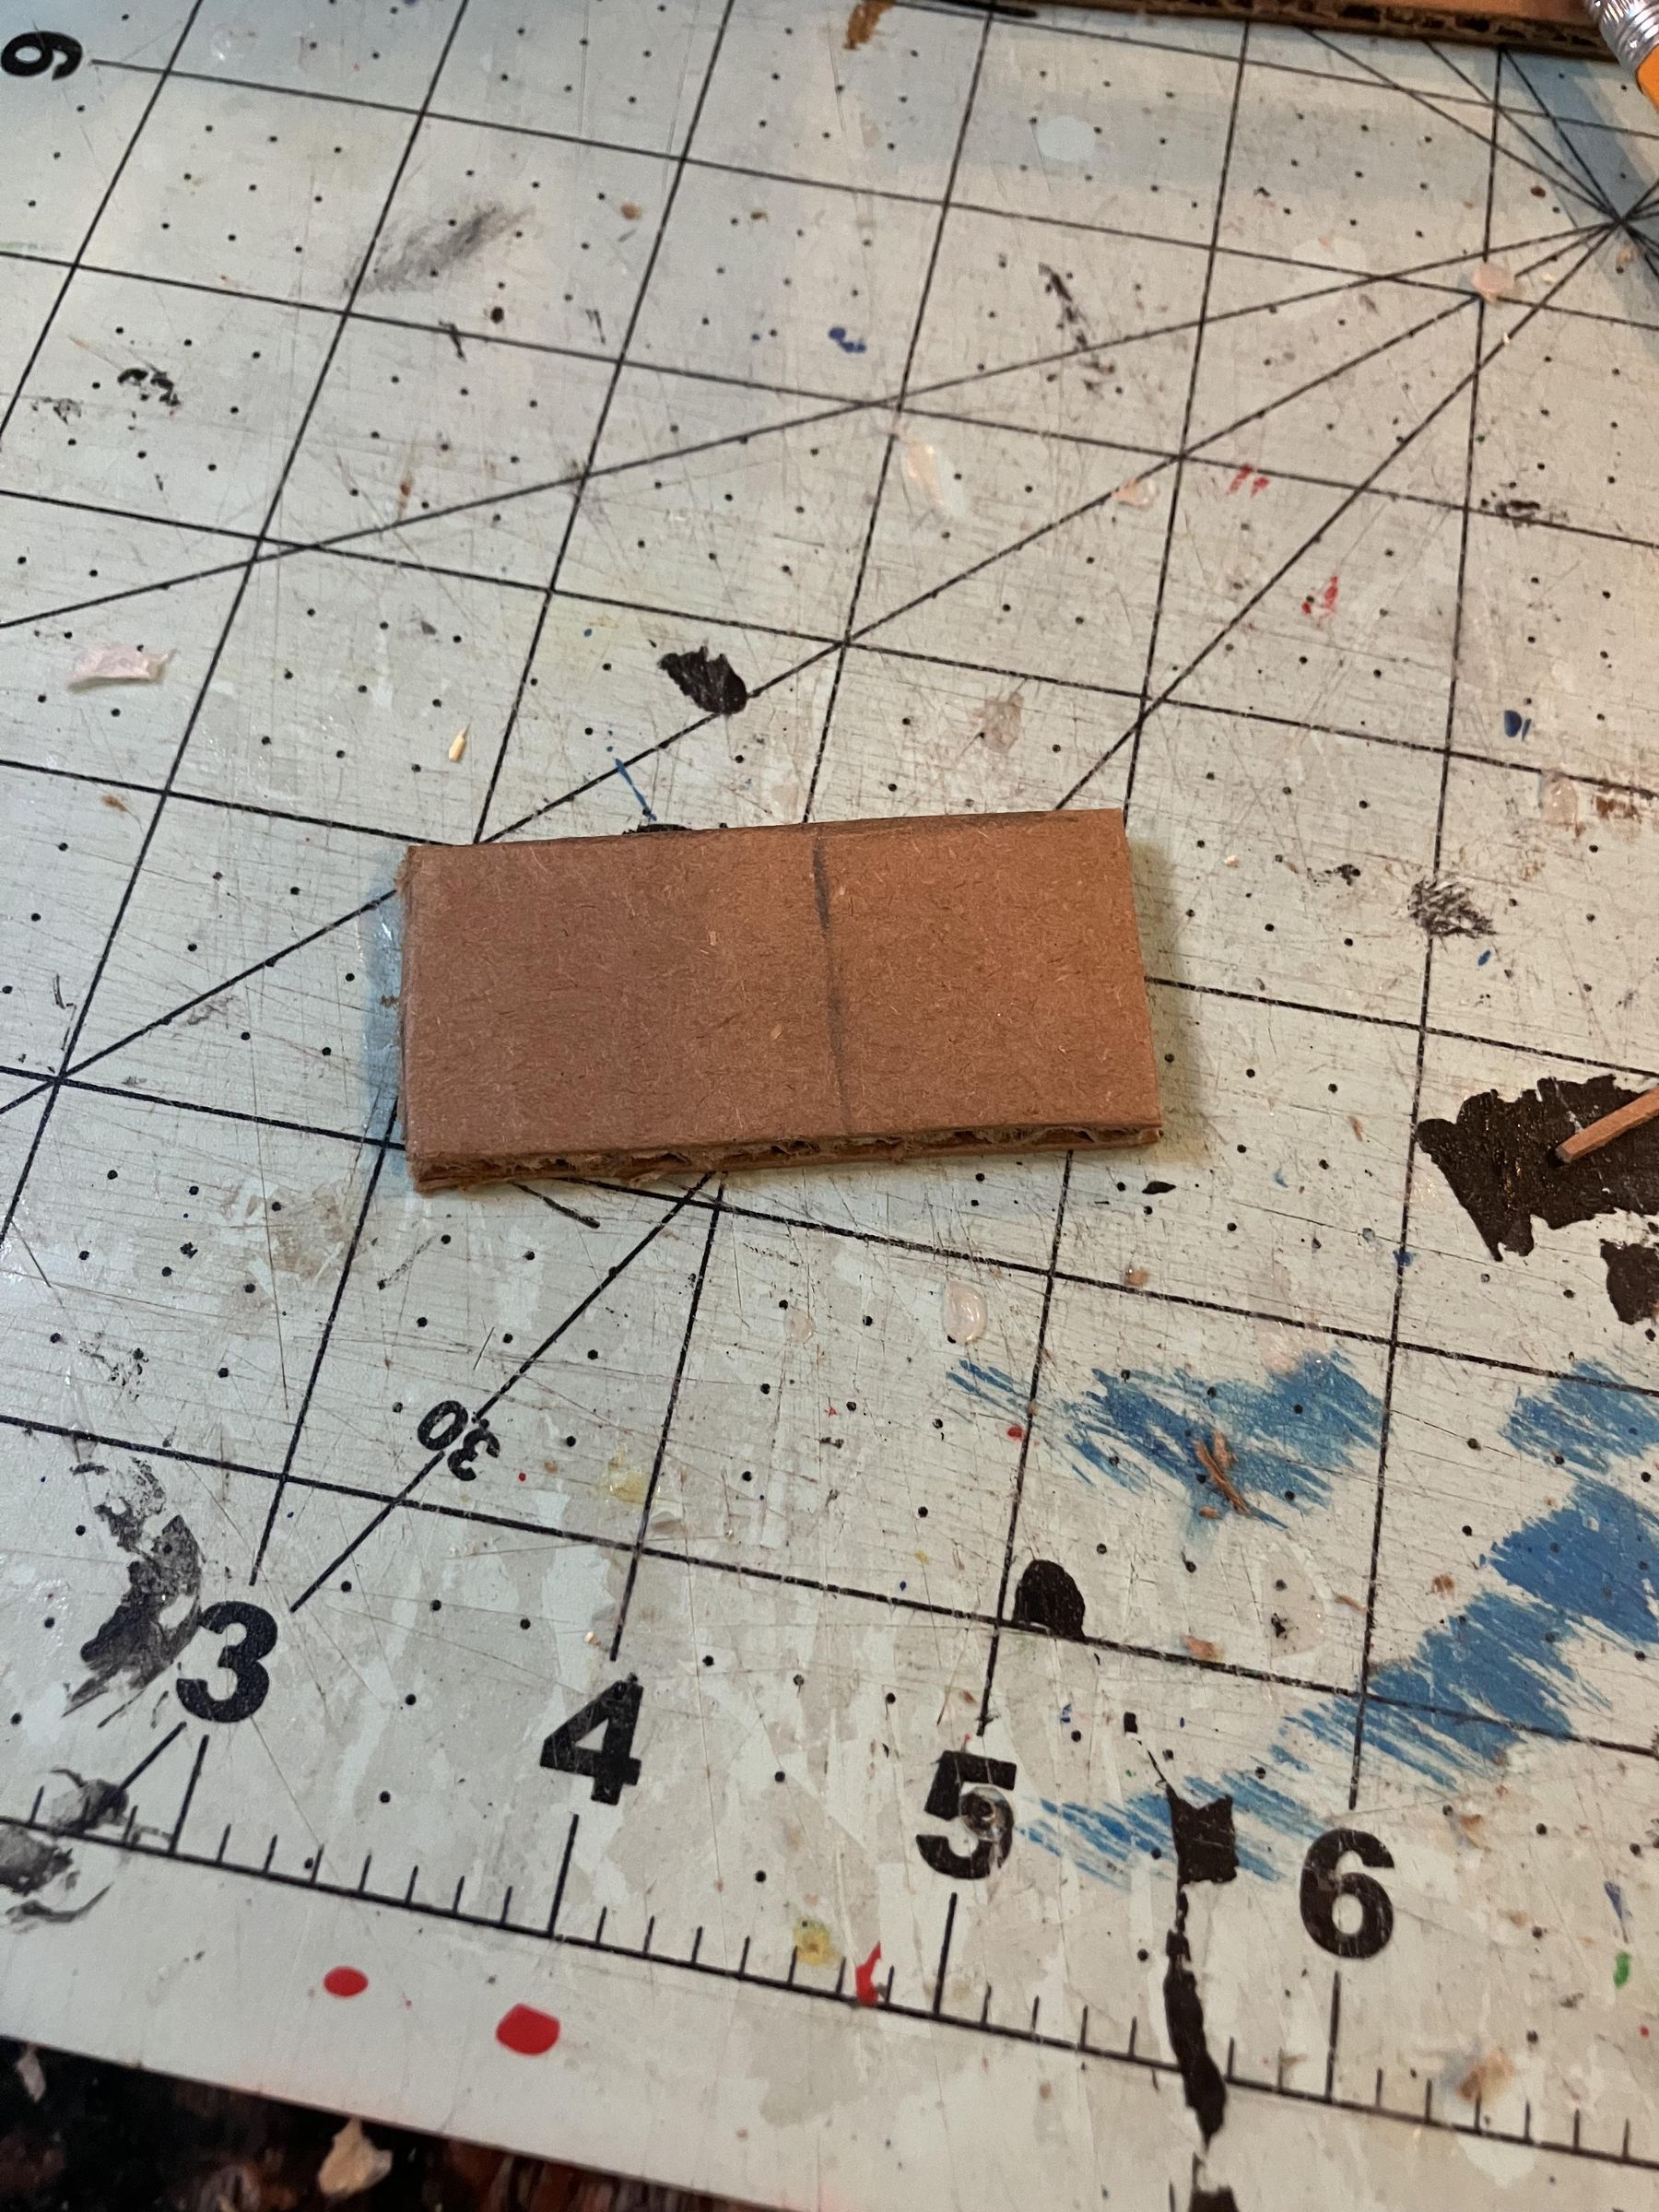
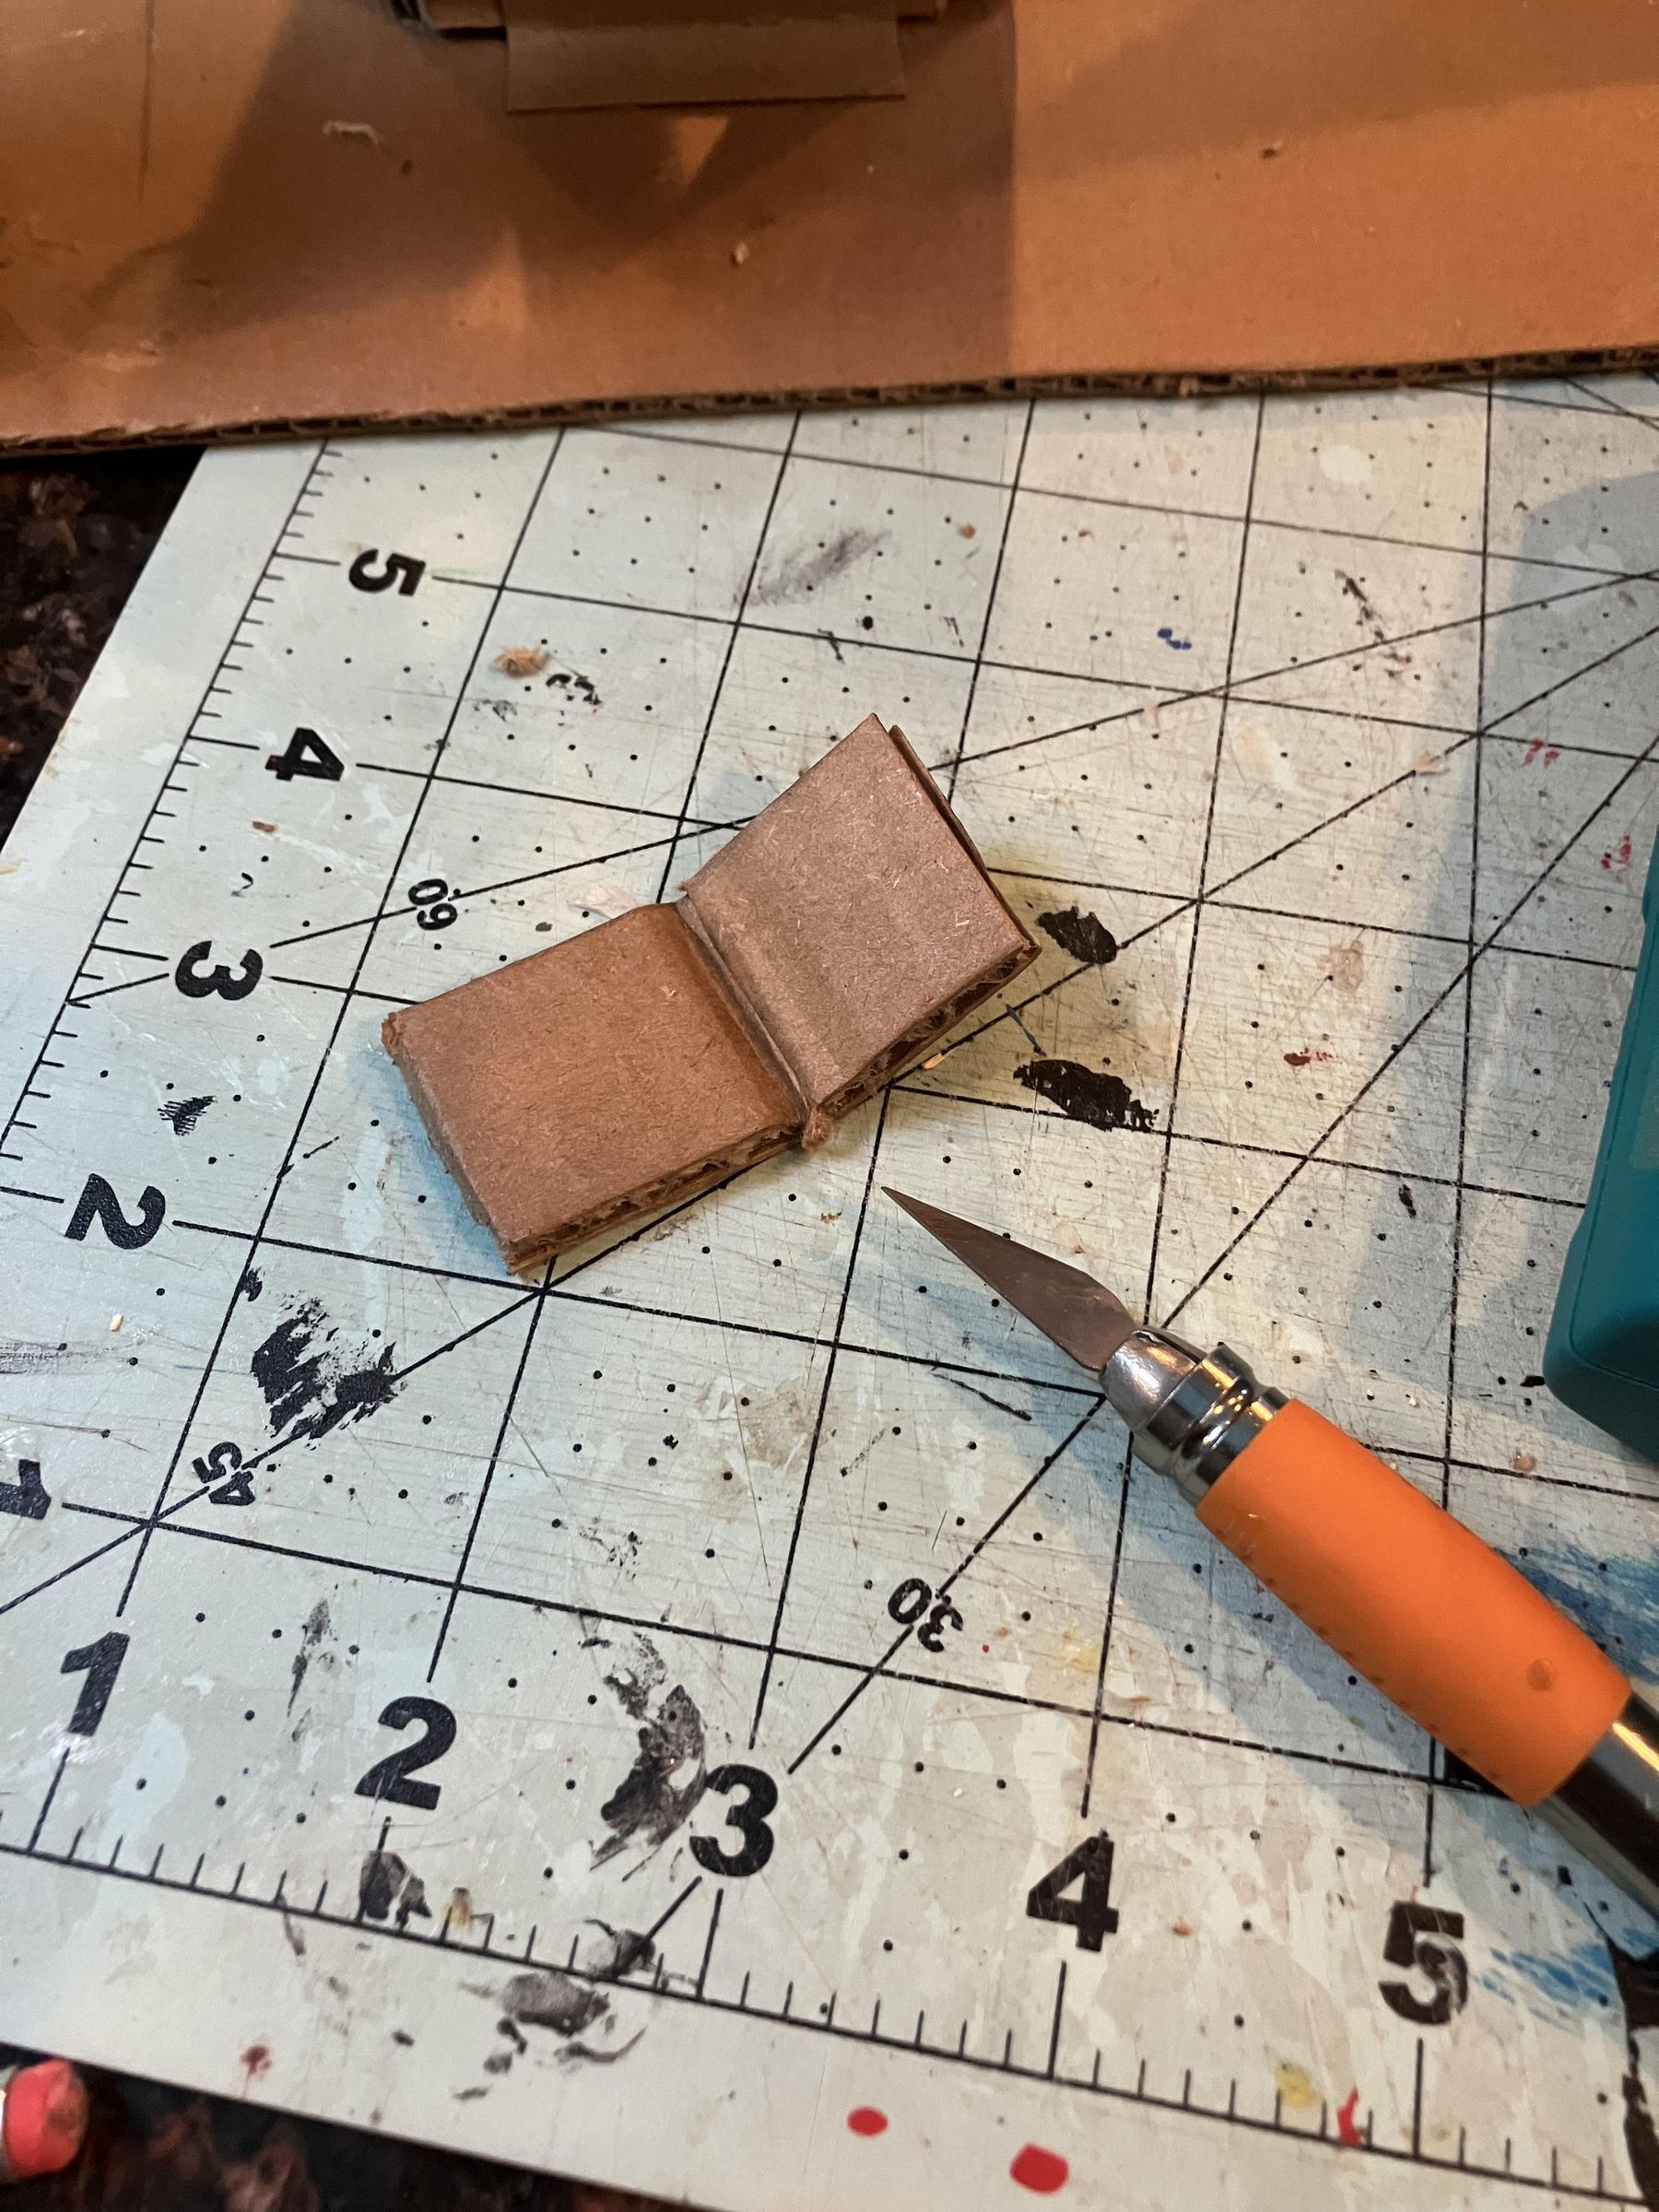
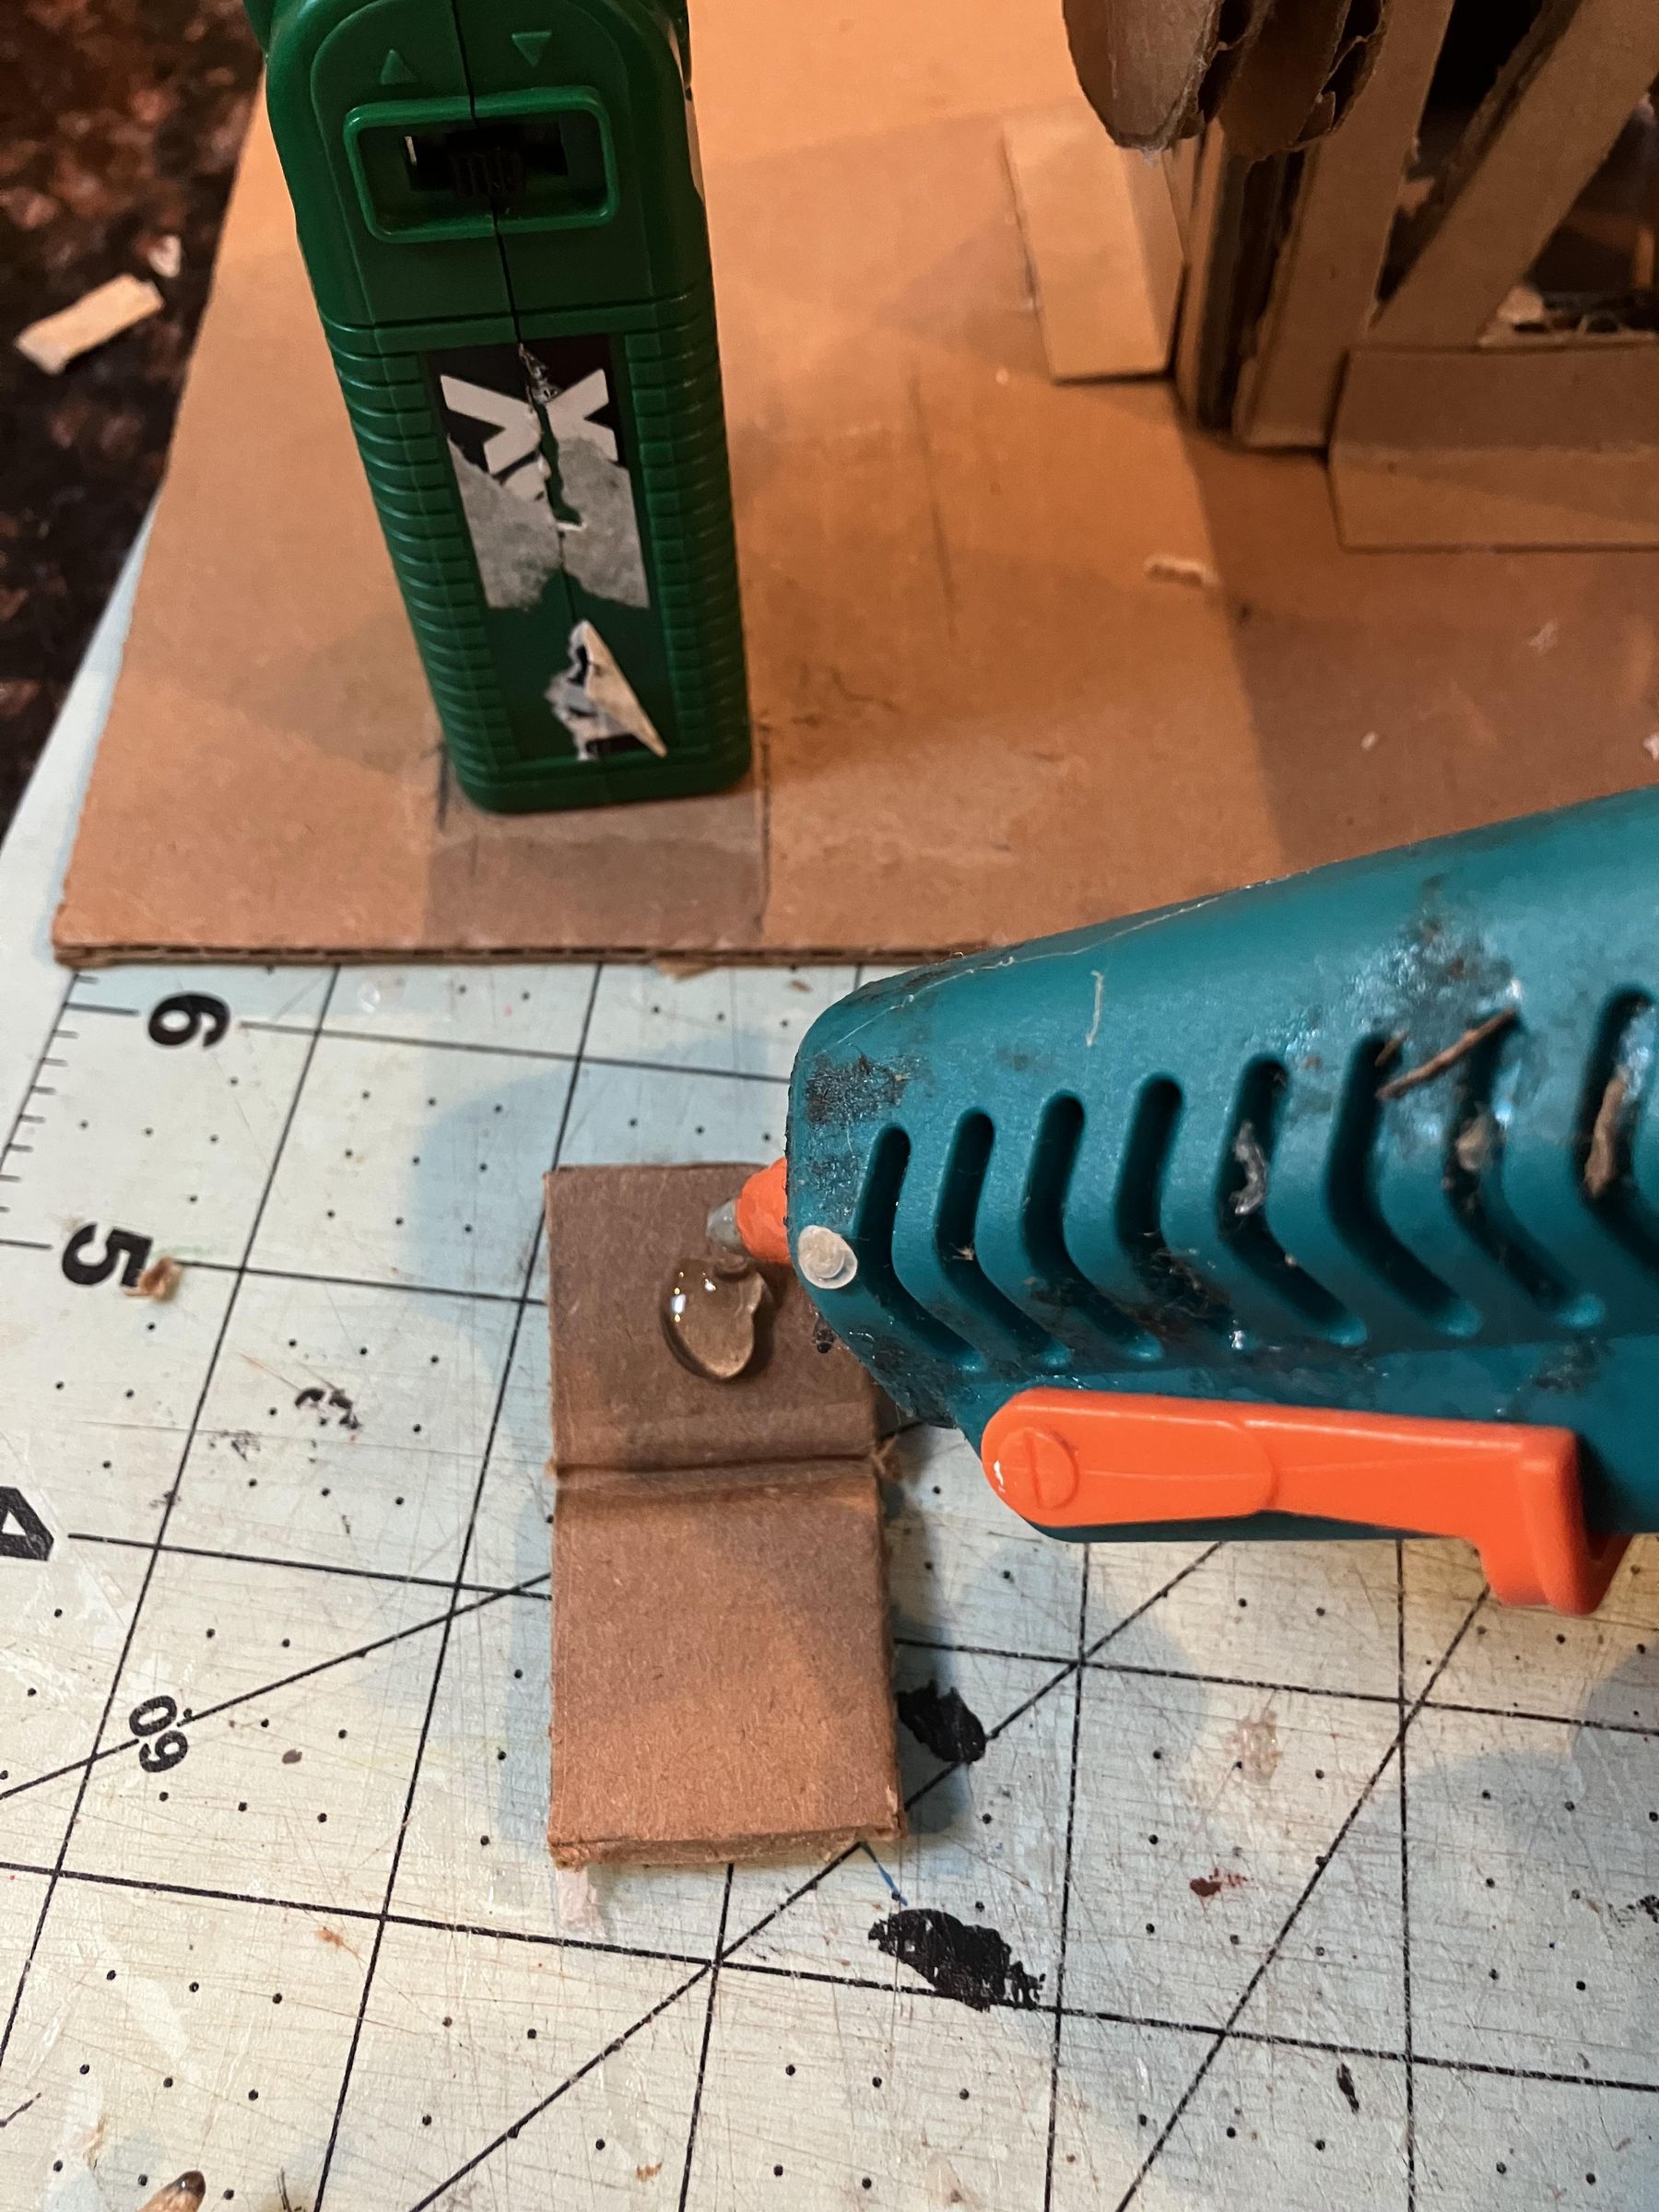
I found that gluing cardboard sheets at 90-degree angles to each other can easily become messy and can give the build a sloppy look, especially when excess glue is visible. To combat this, I decided to make small /L-bracket pieces that can act as connecters for the elevator cart parts. Because the elbows allow me to glue "surface to surface" instead of edge to edge, the connection process became a lot cleaner. Reference the photos above for more clarification on the process. I will be using these L-Bracket shapes through out the build.
To make the elbows, cut out small rectangles of cereal box cardboard and bend them in half. Put hot glue on the "elbow", and then connect the two pieces (the bottom of the cart and the side of the cart) using the elbow.
Glue all the sides of the cart to the cart base using this method.
Next, glue the "corner of the cart" pieces to the cart as you see in the photo.
Then, glue the "top of cart" pieces onto the cart.
The cart is now complete.
Making the Sides of the Tower and Starting the Rotating Bar
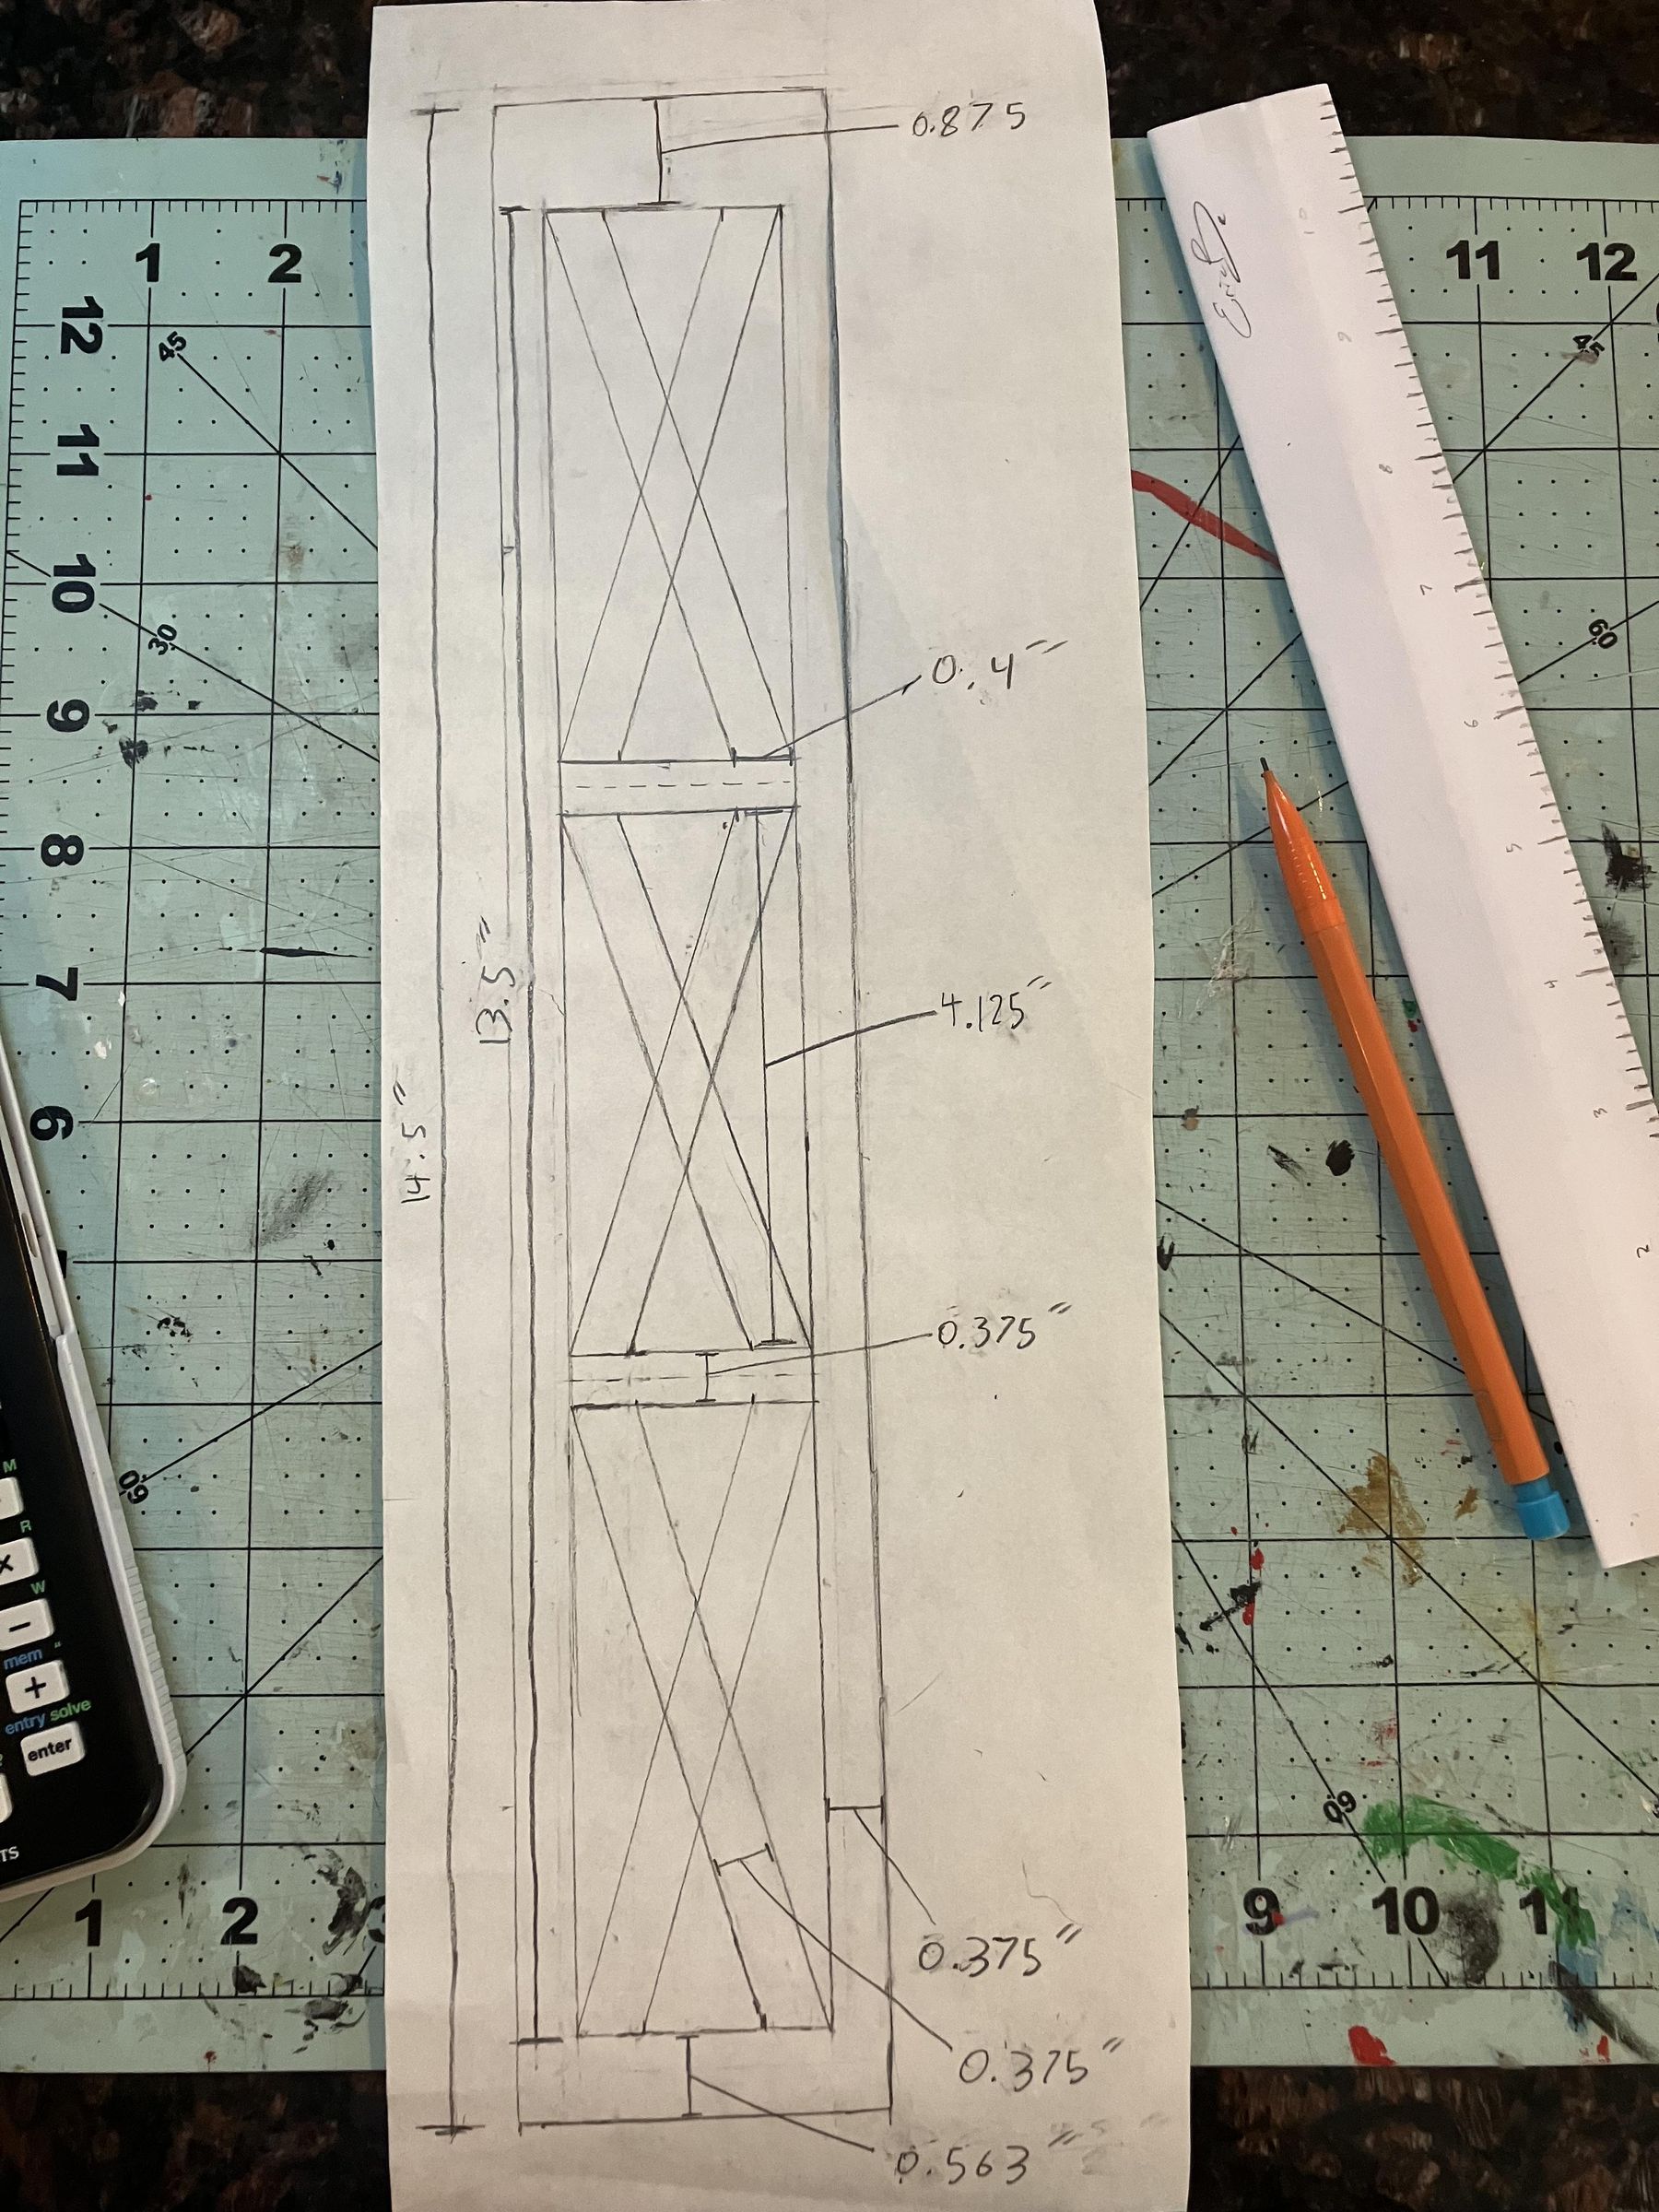
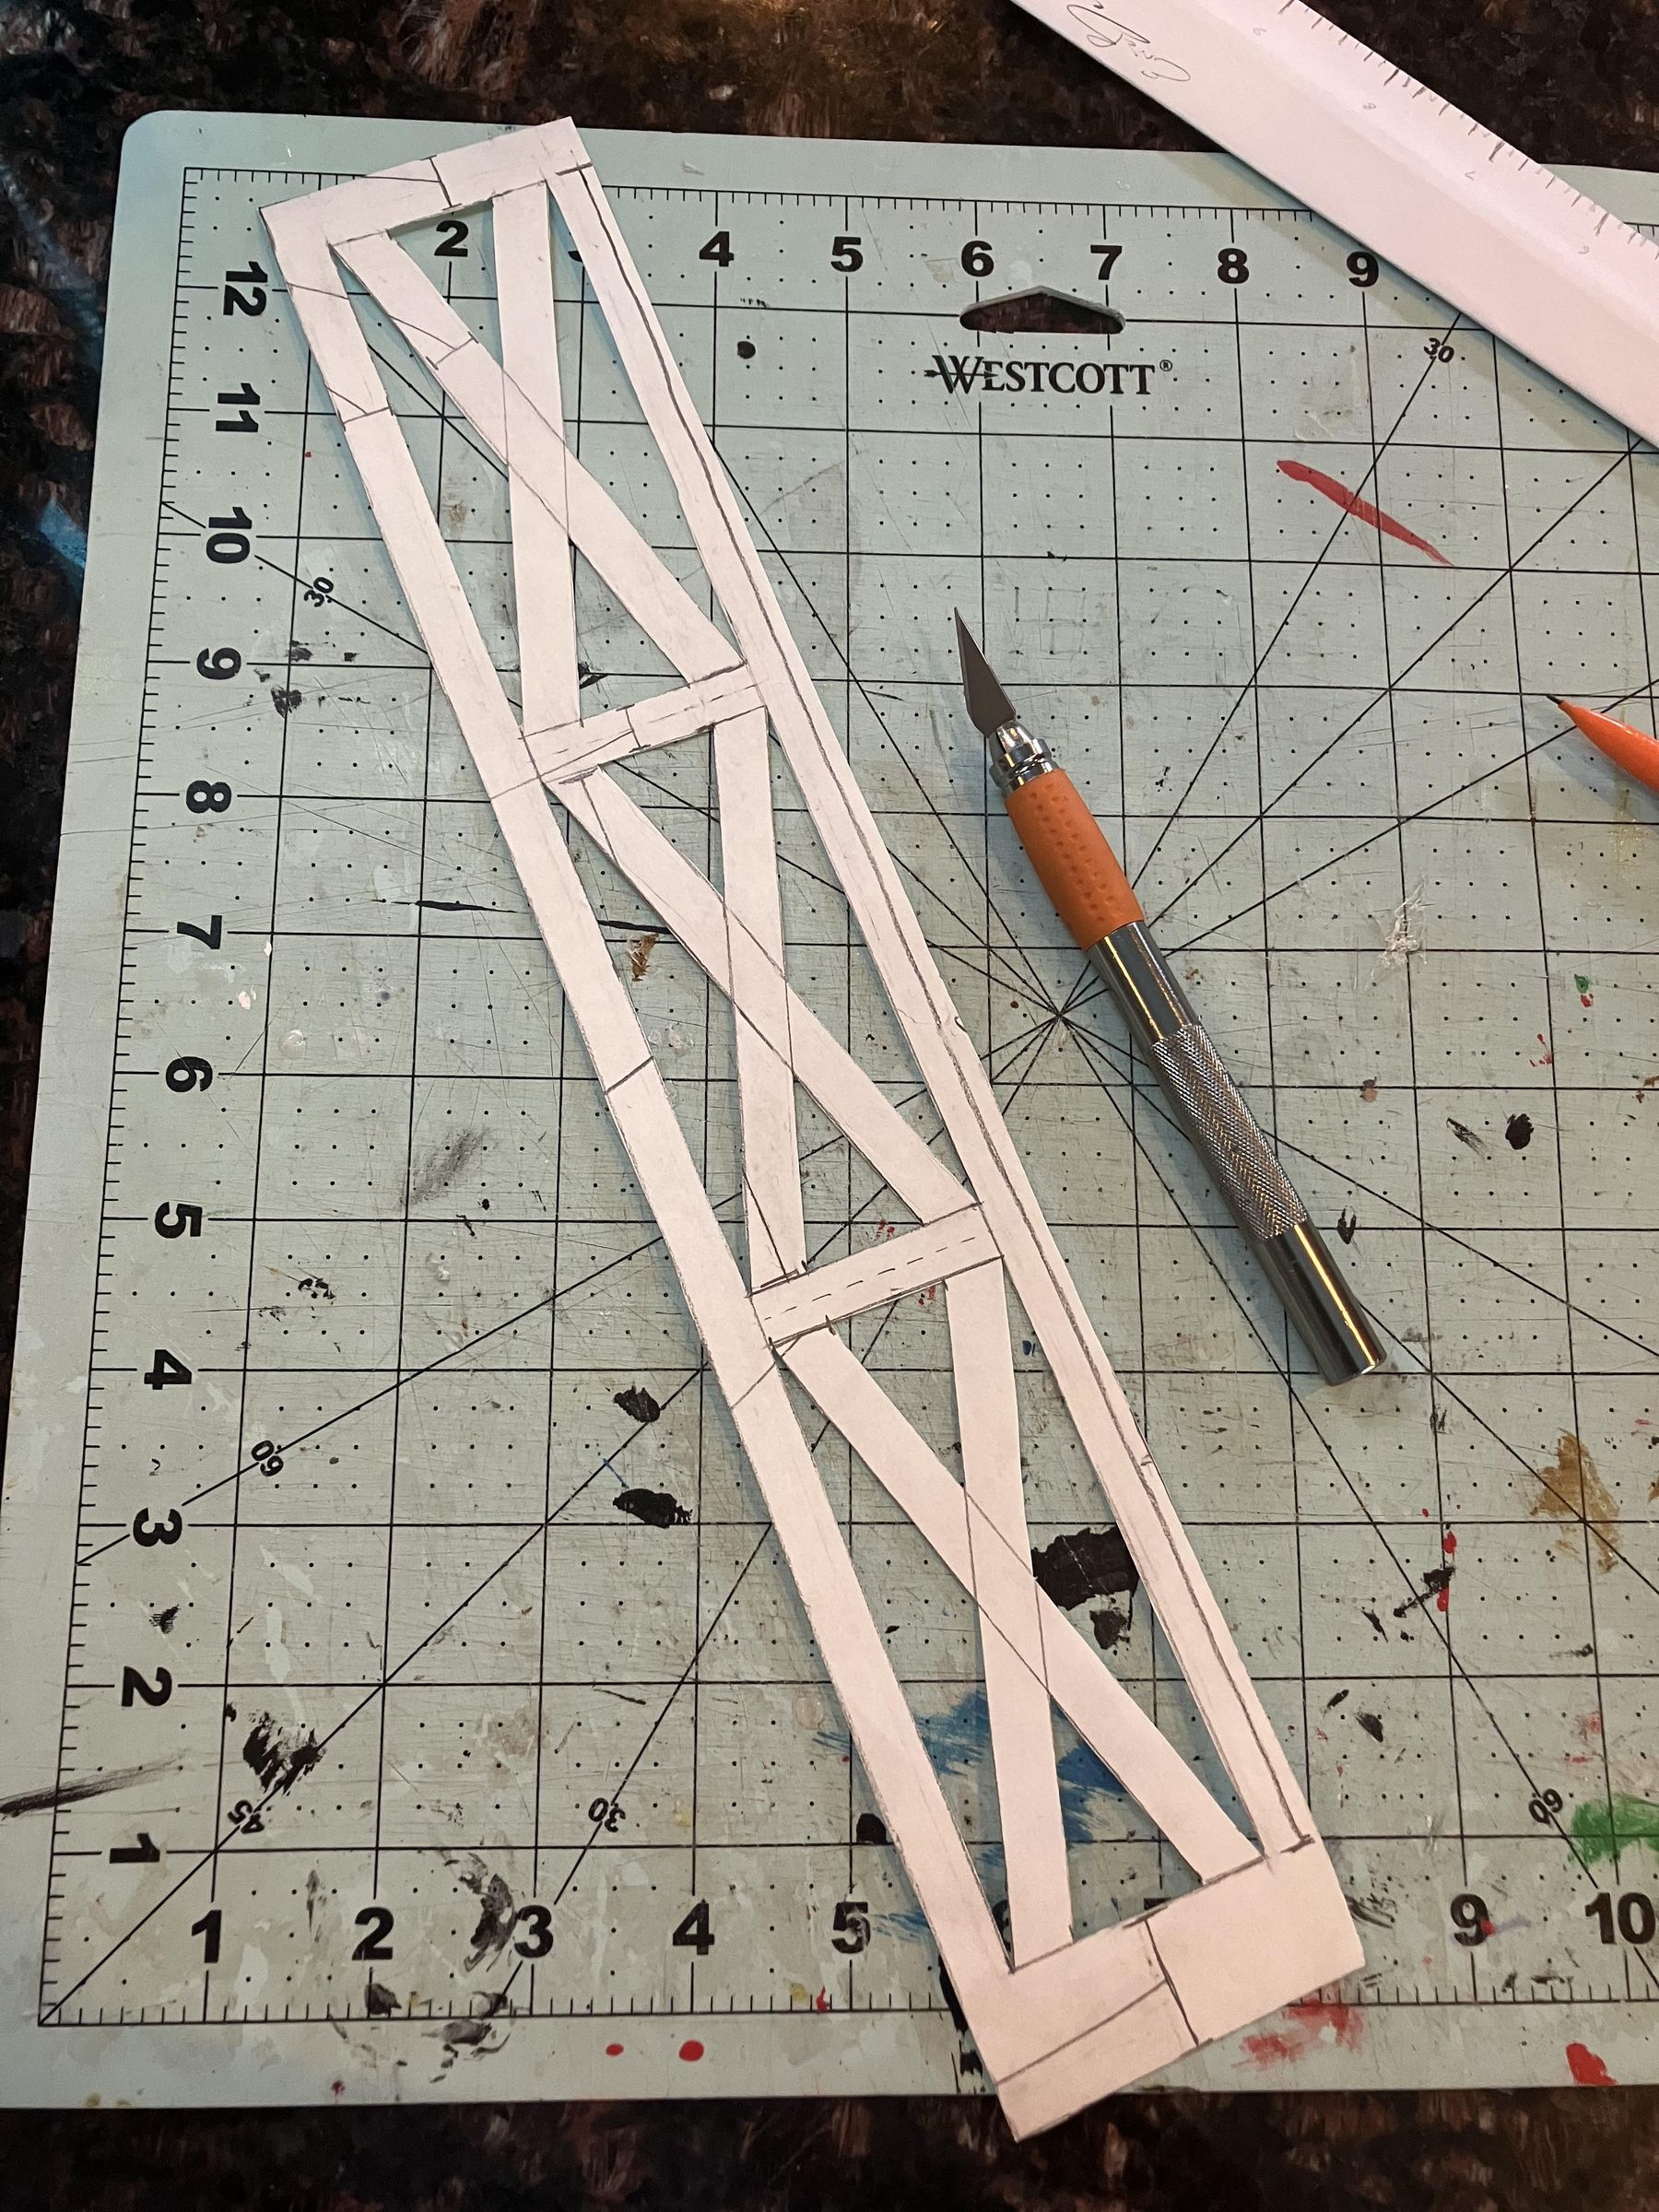
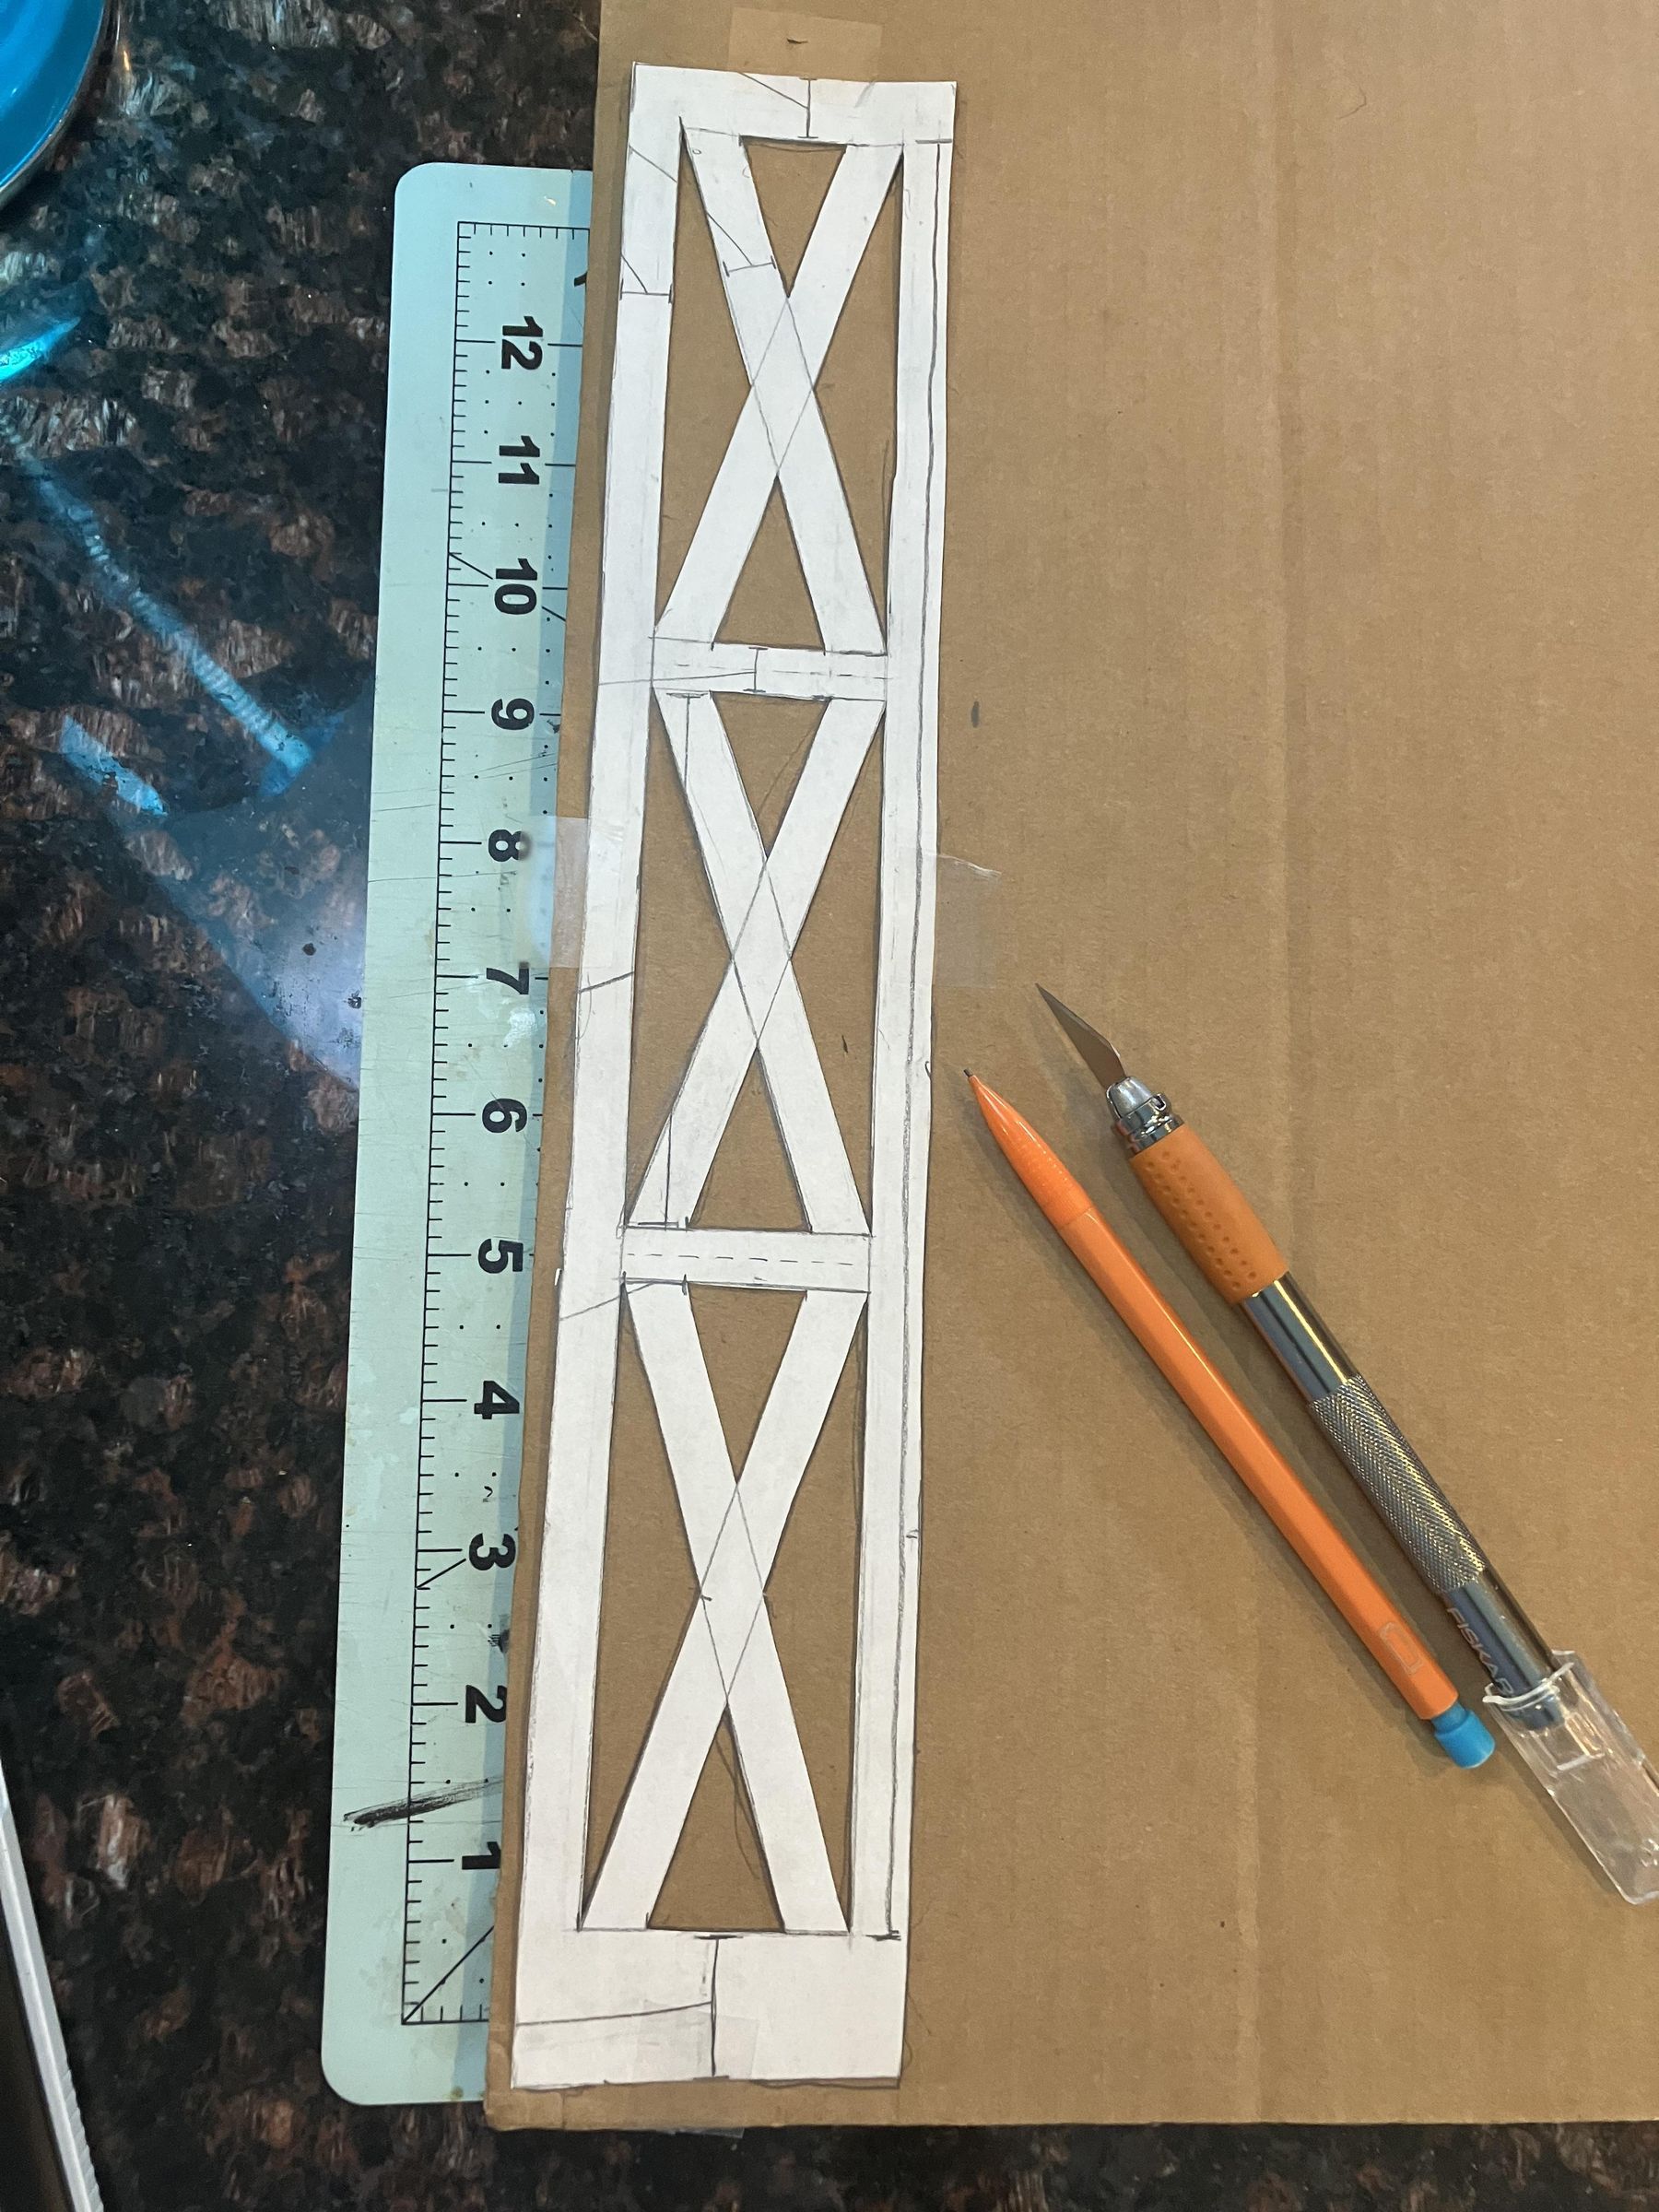
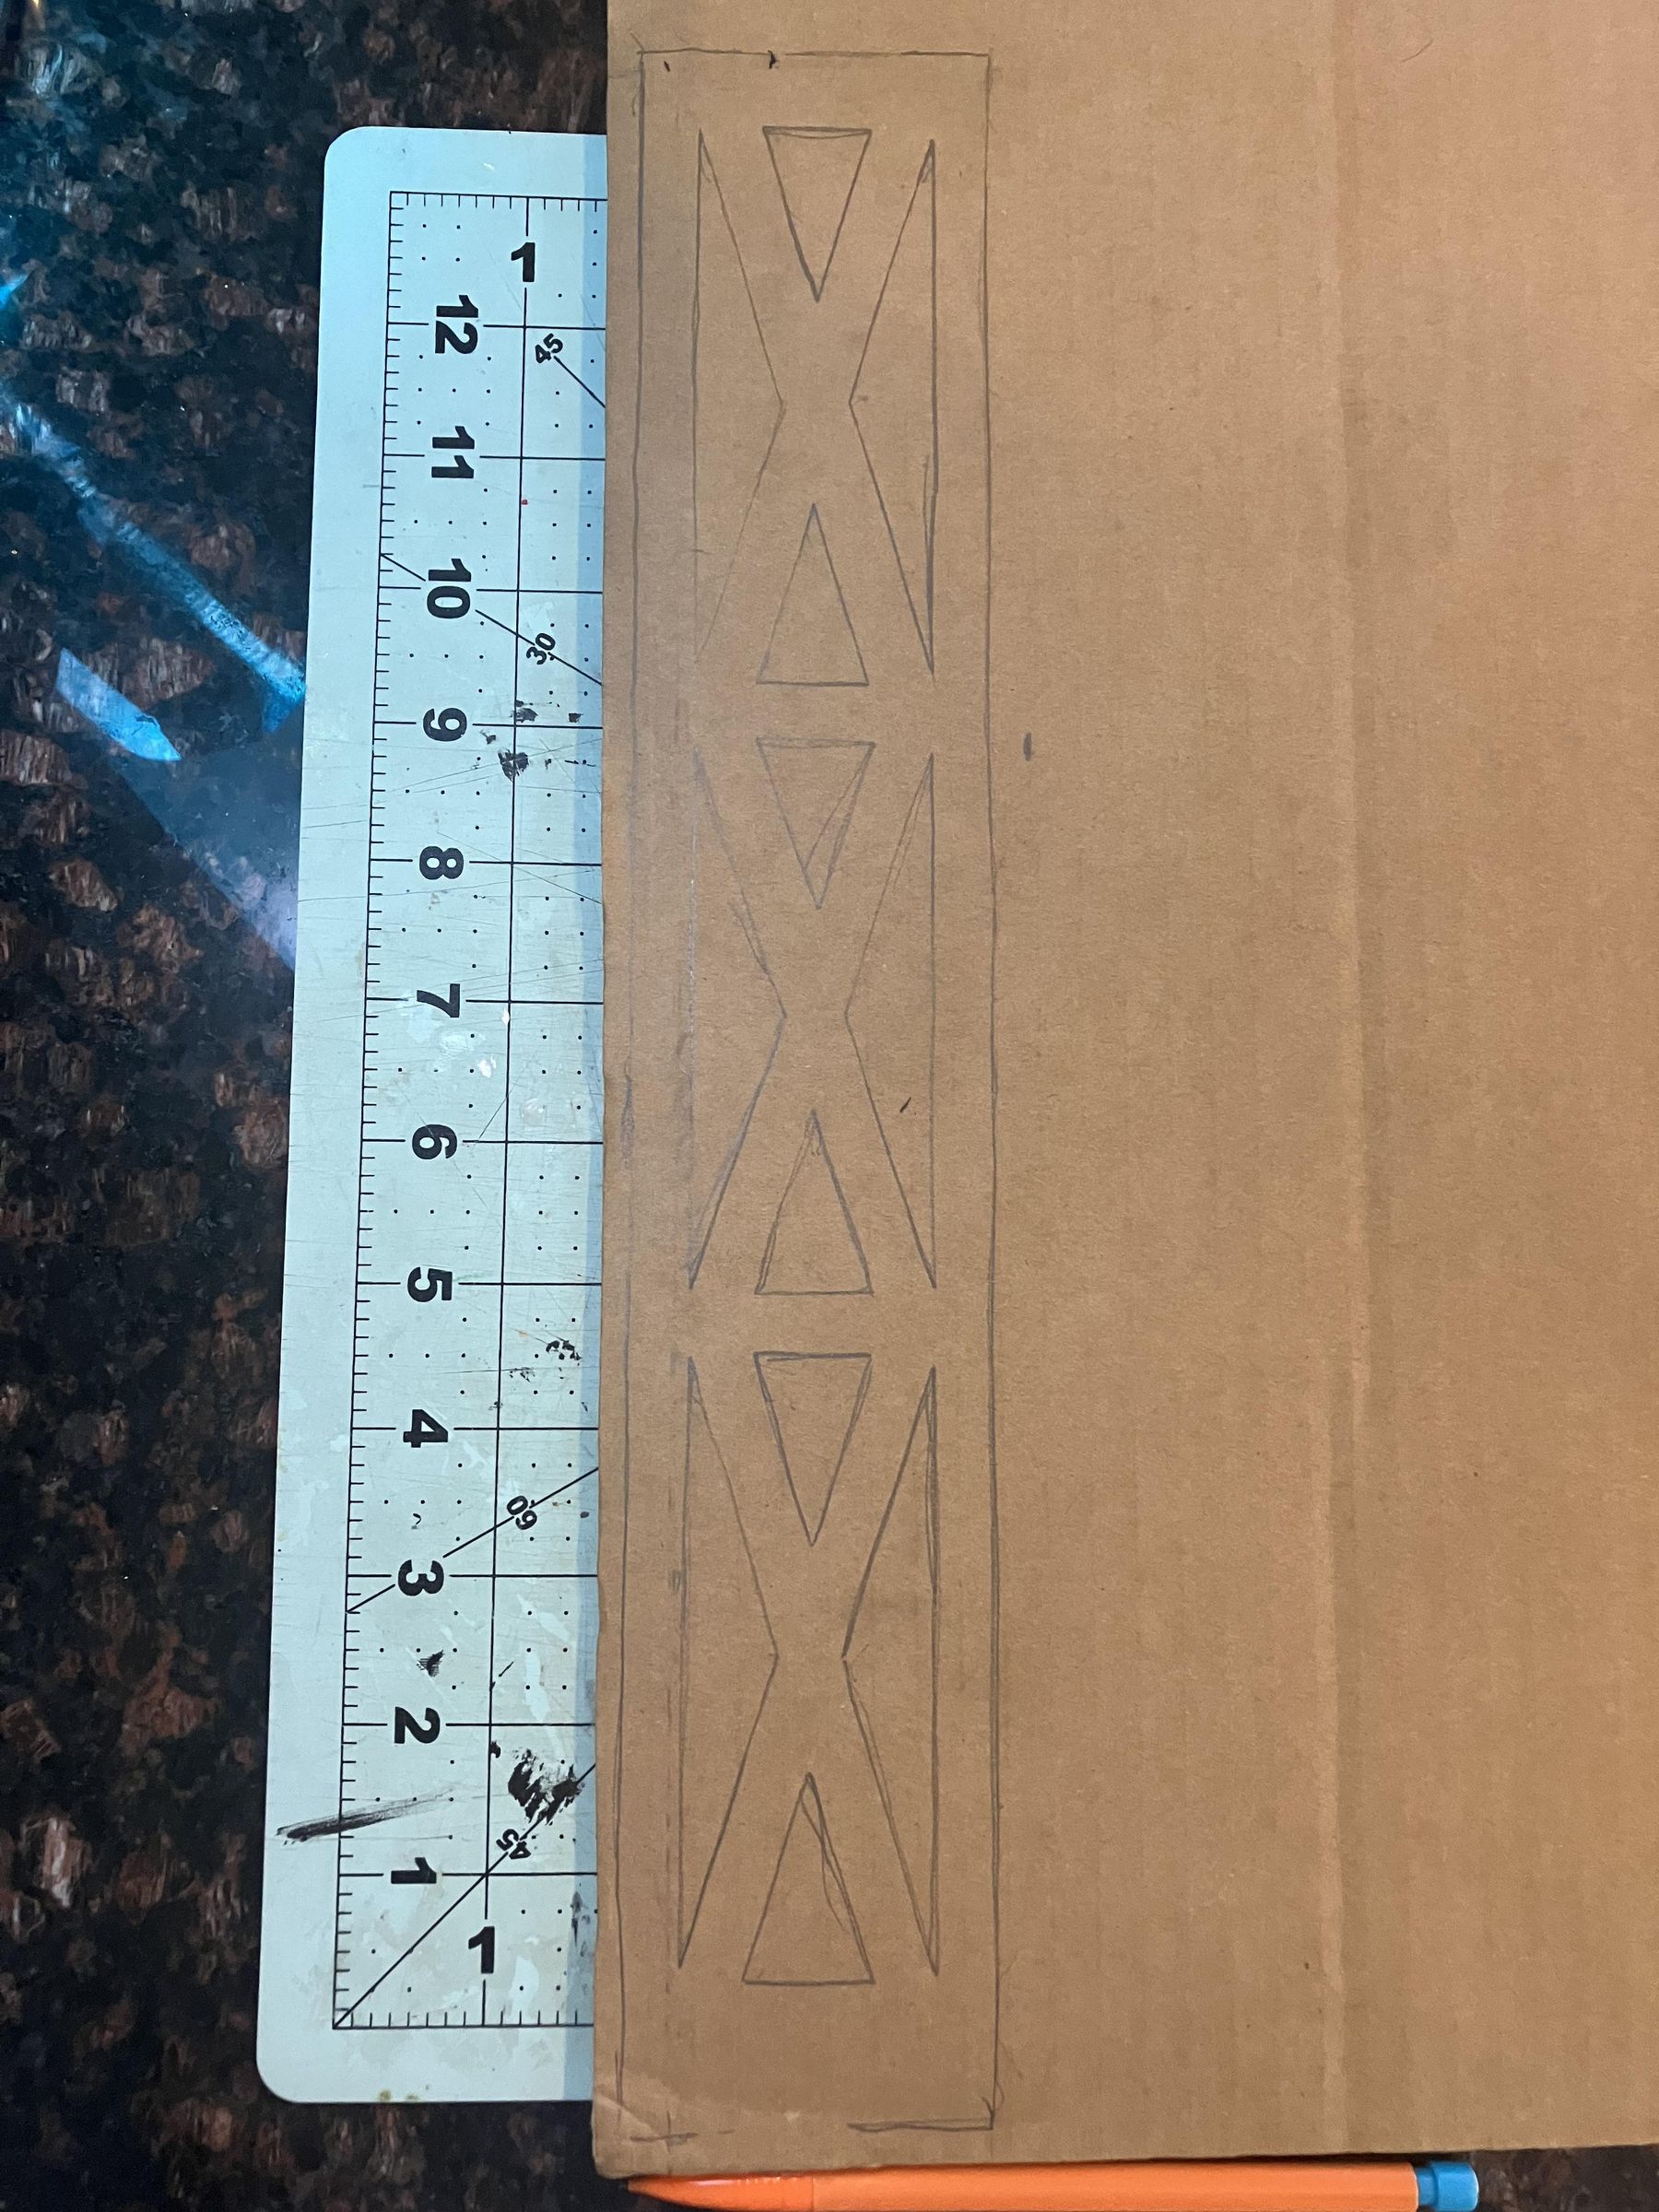
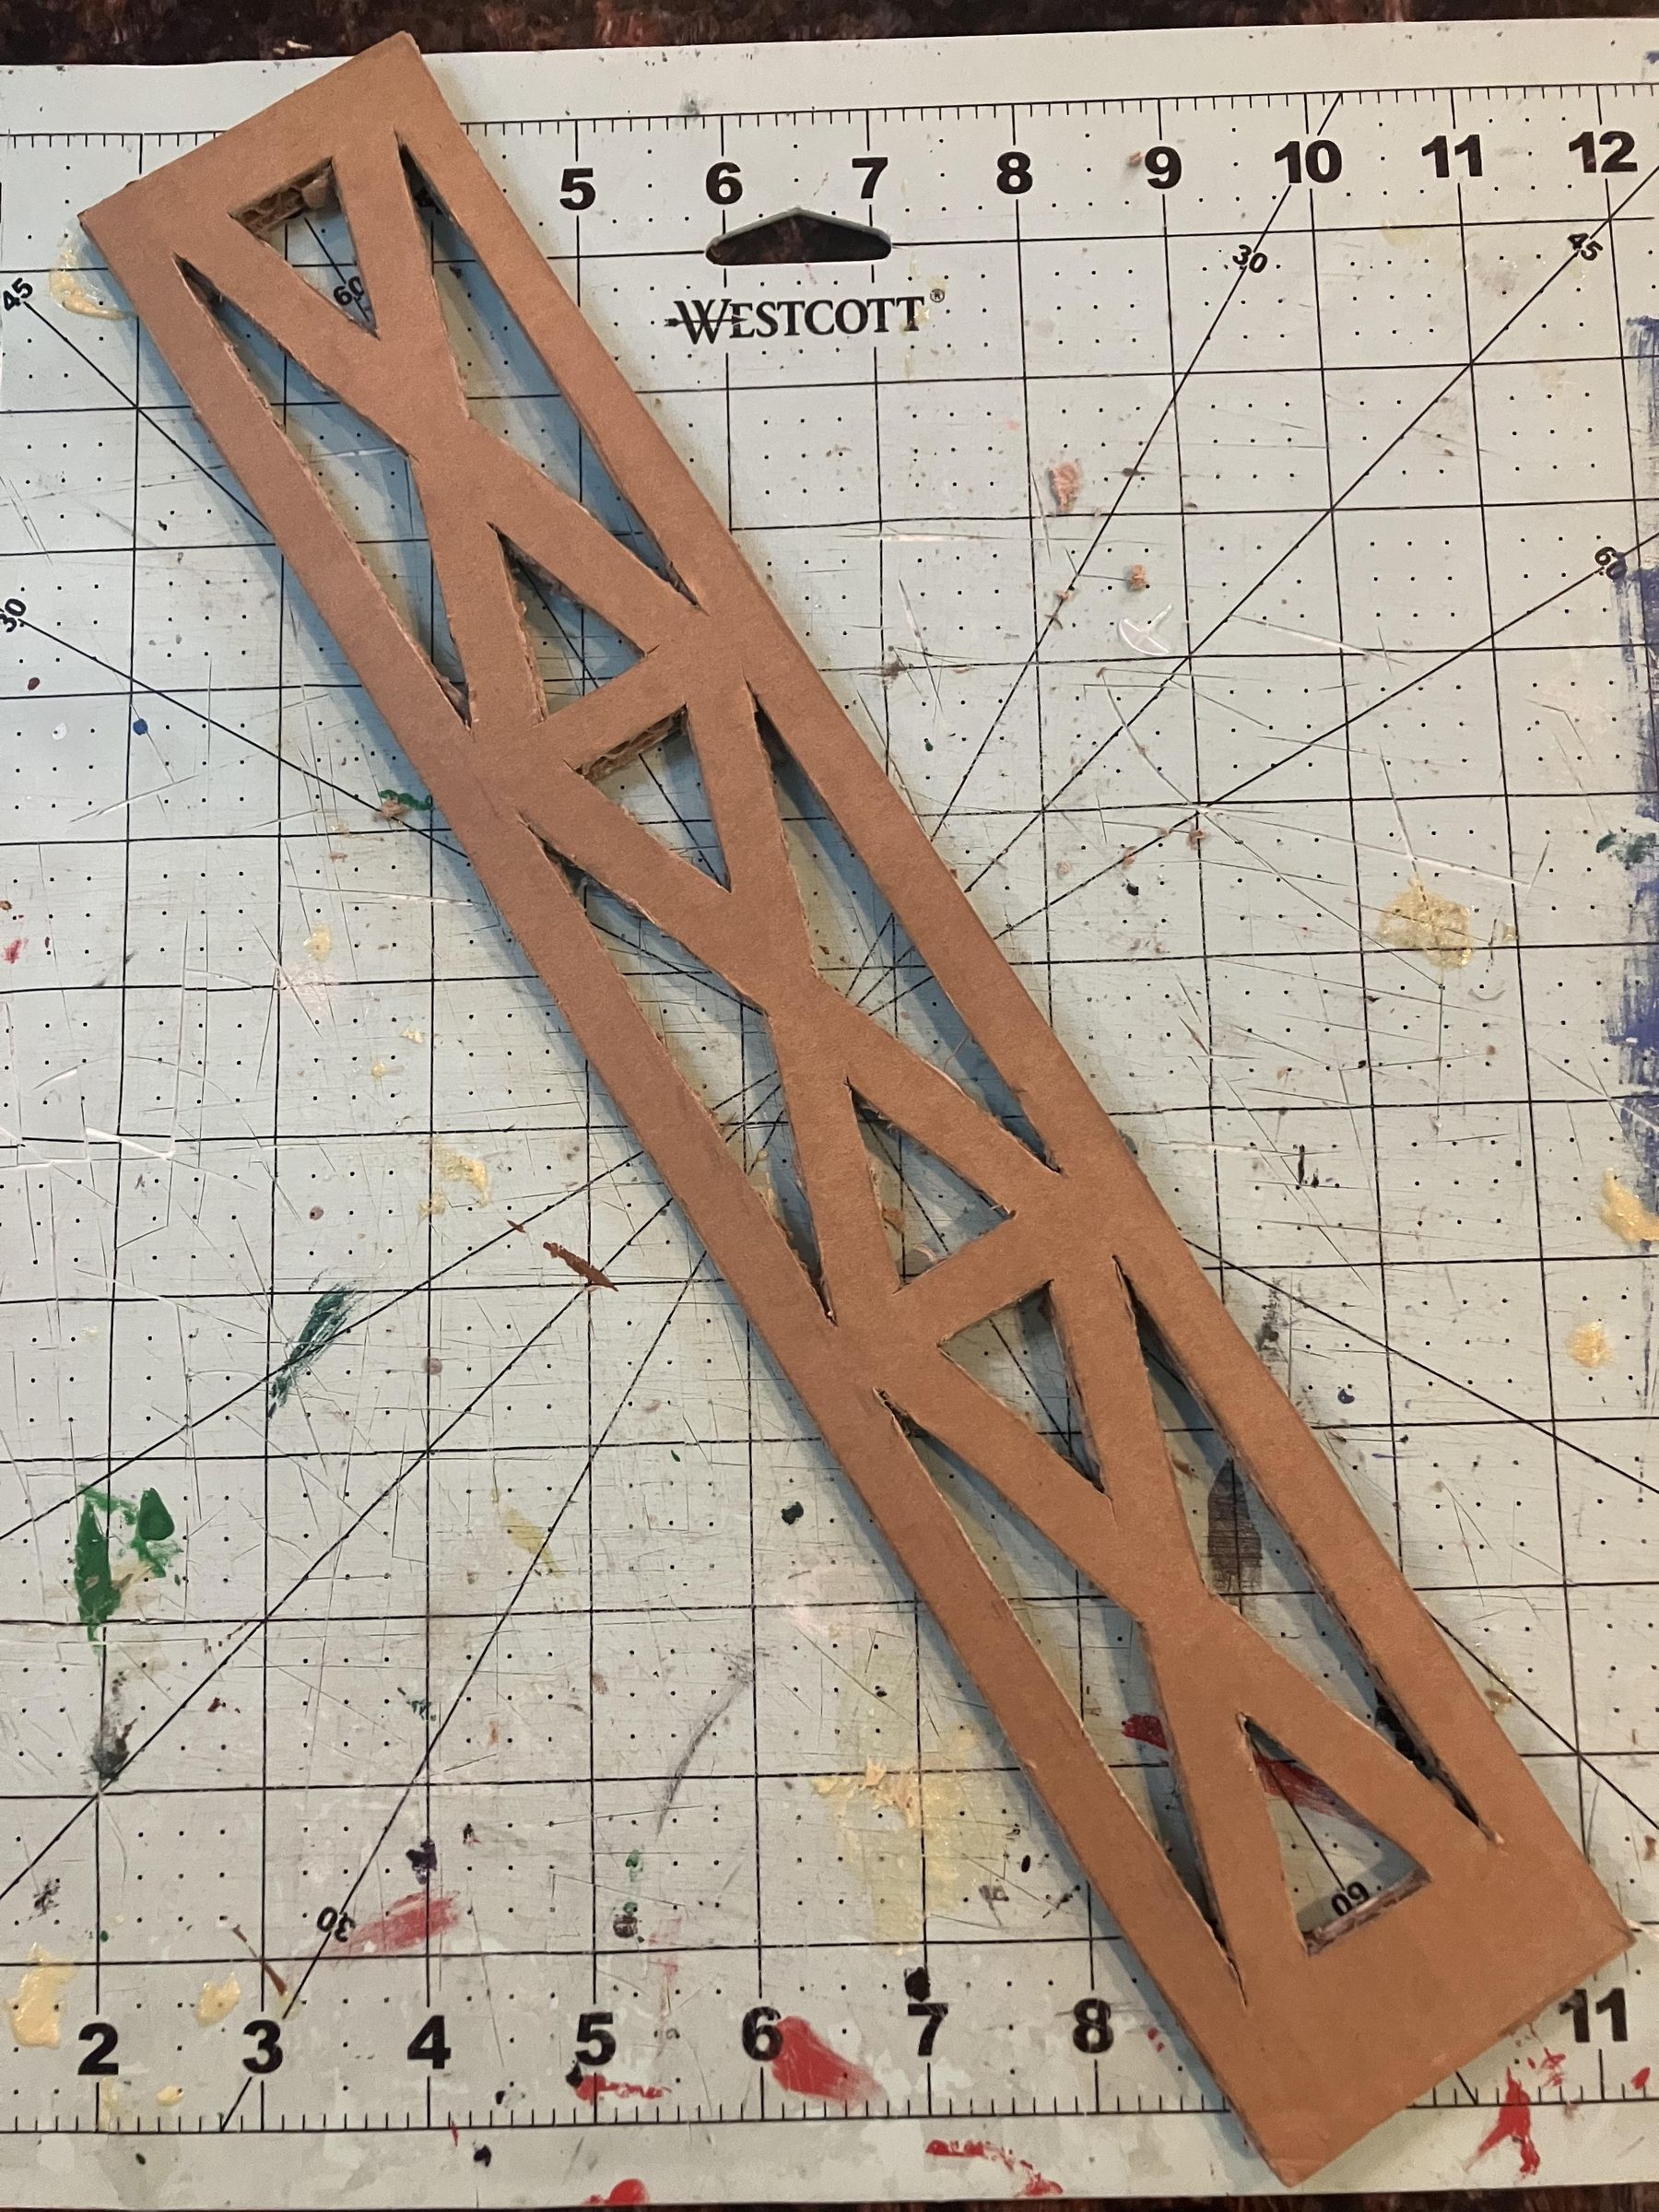
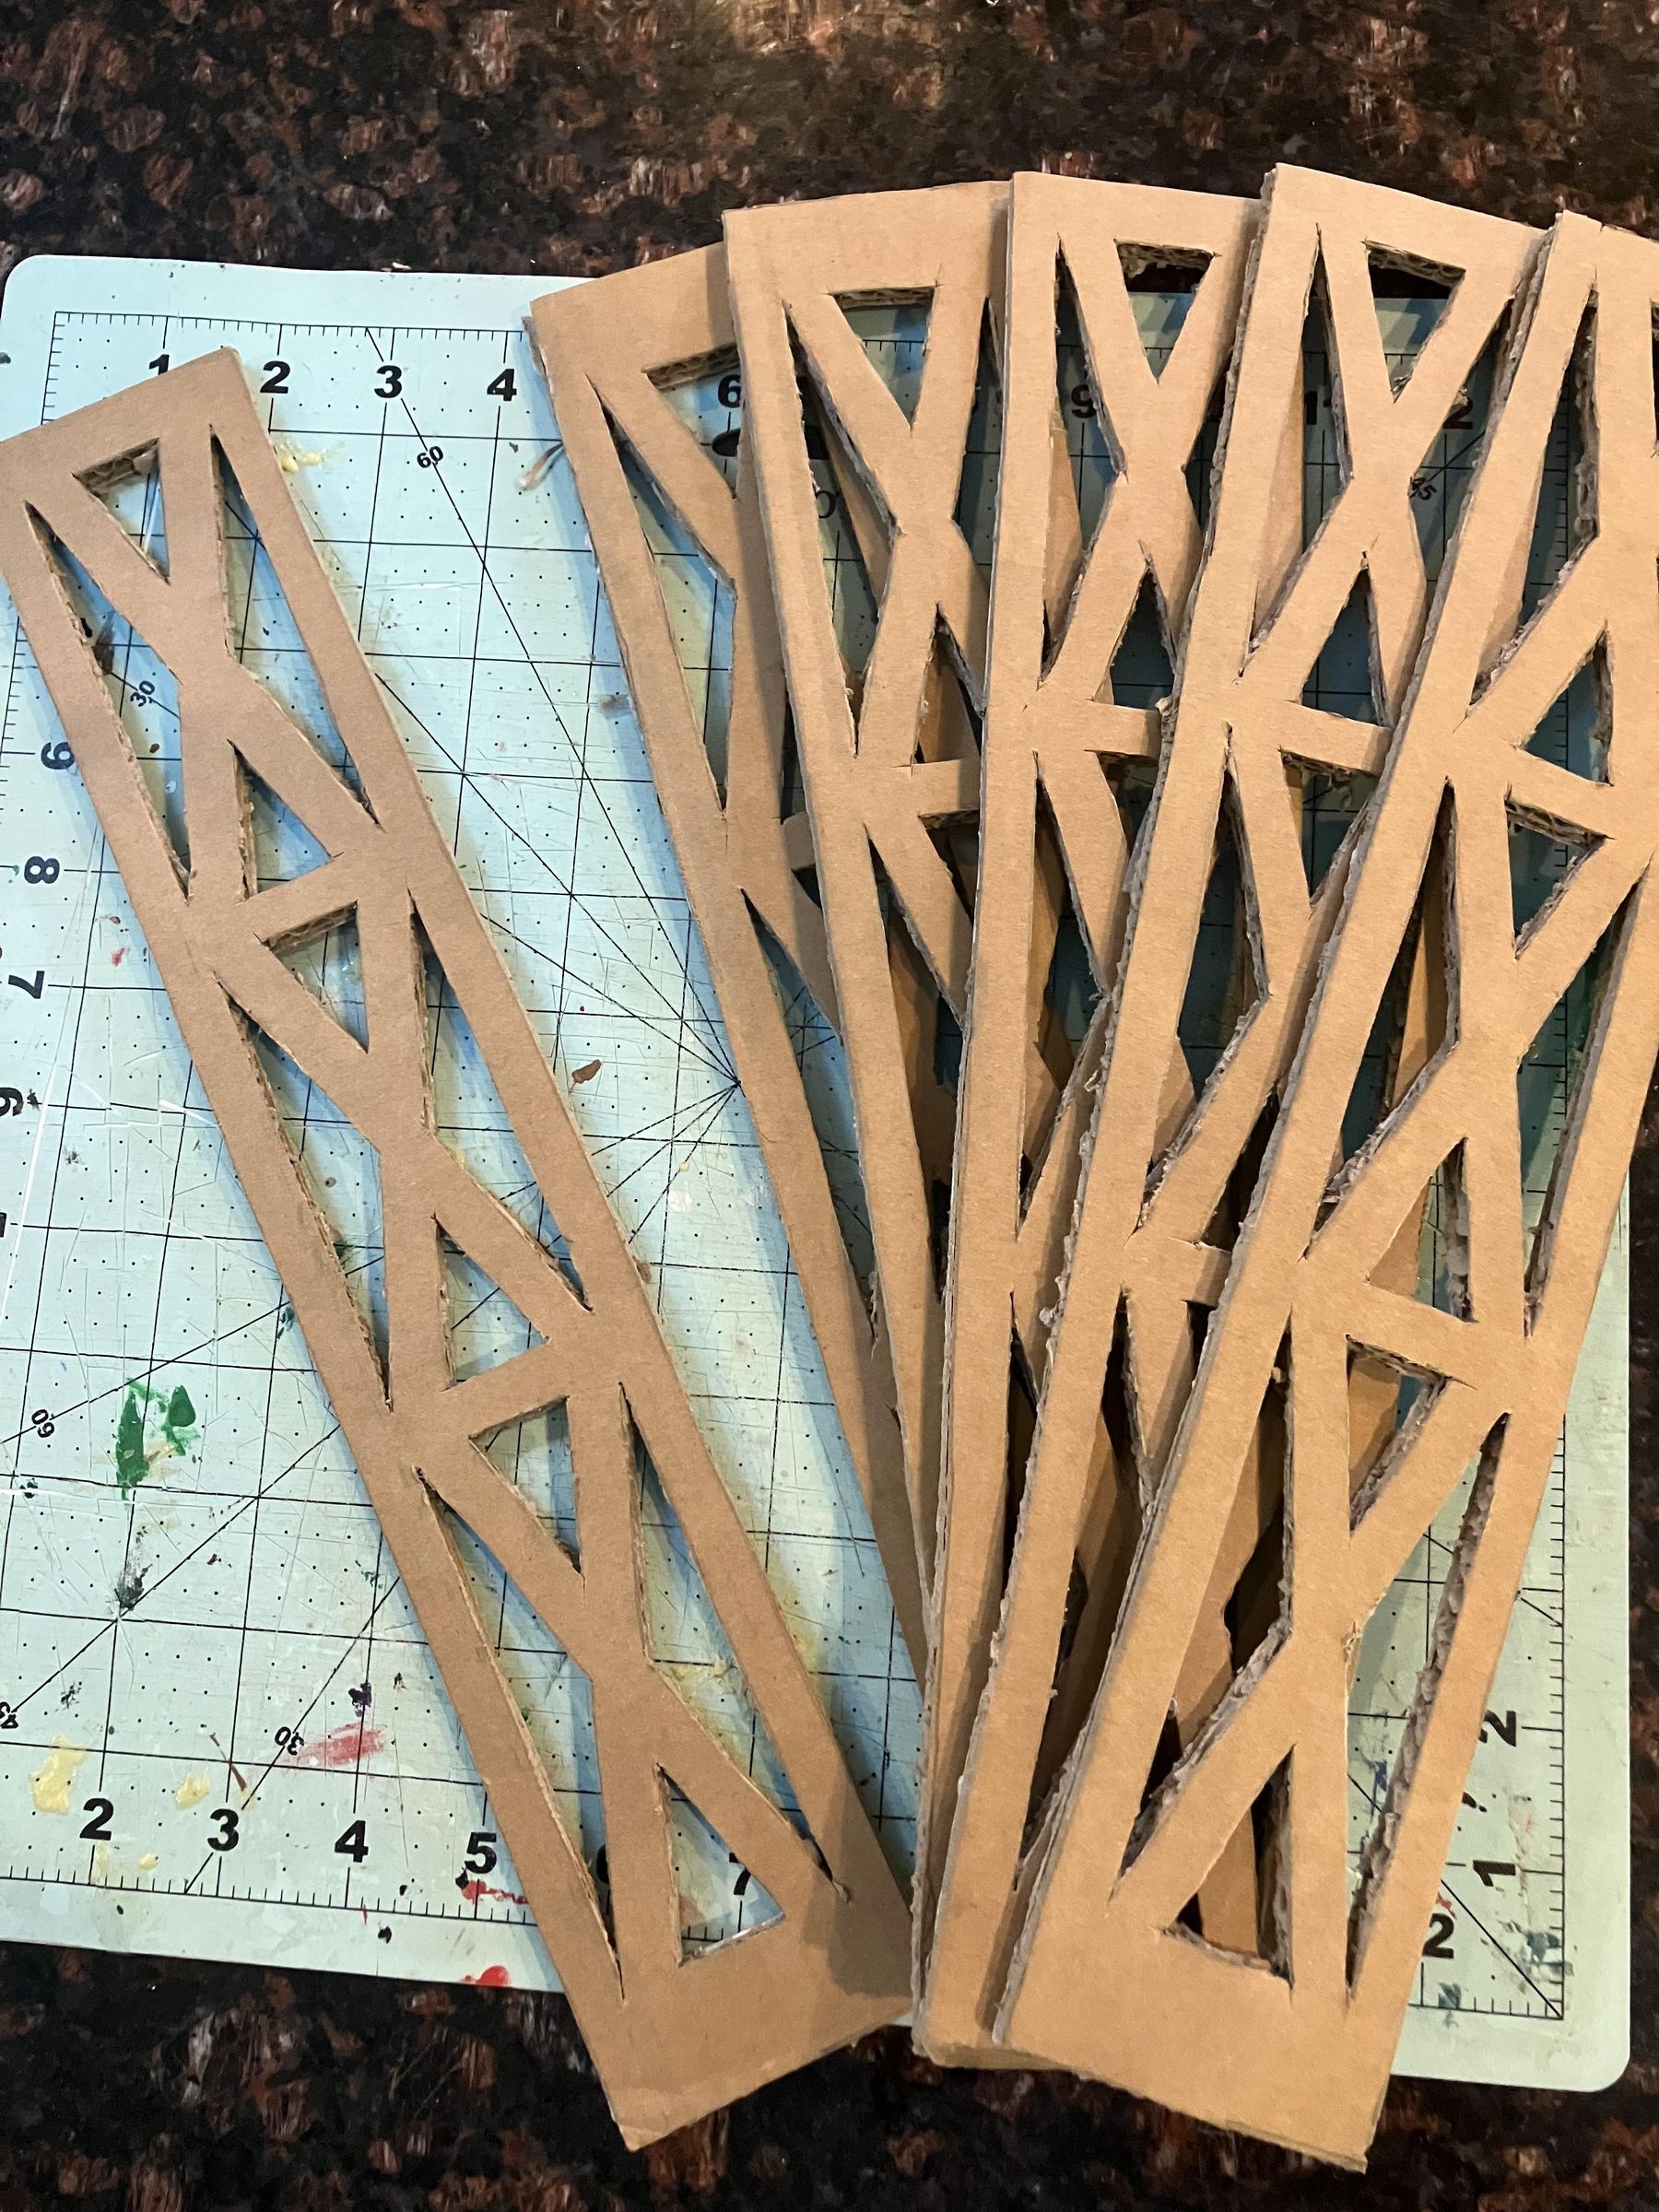
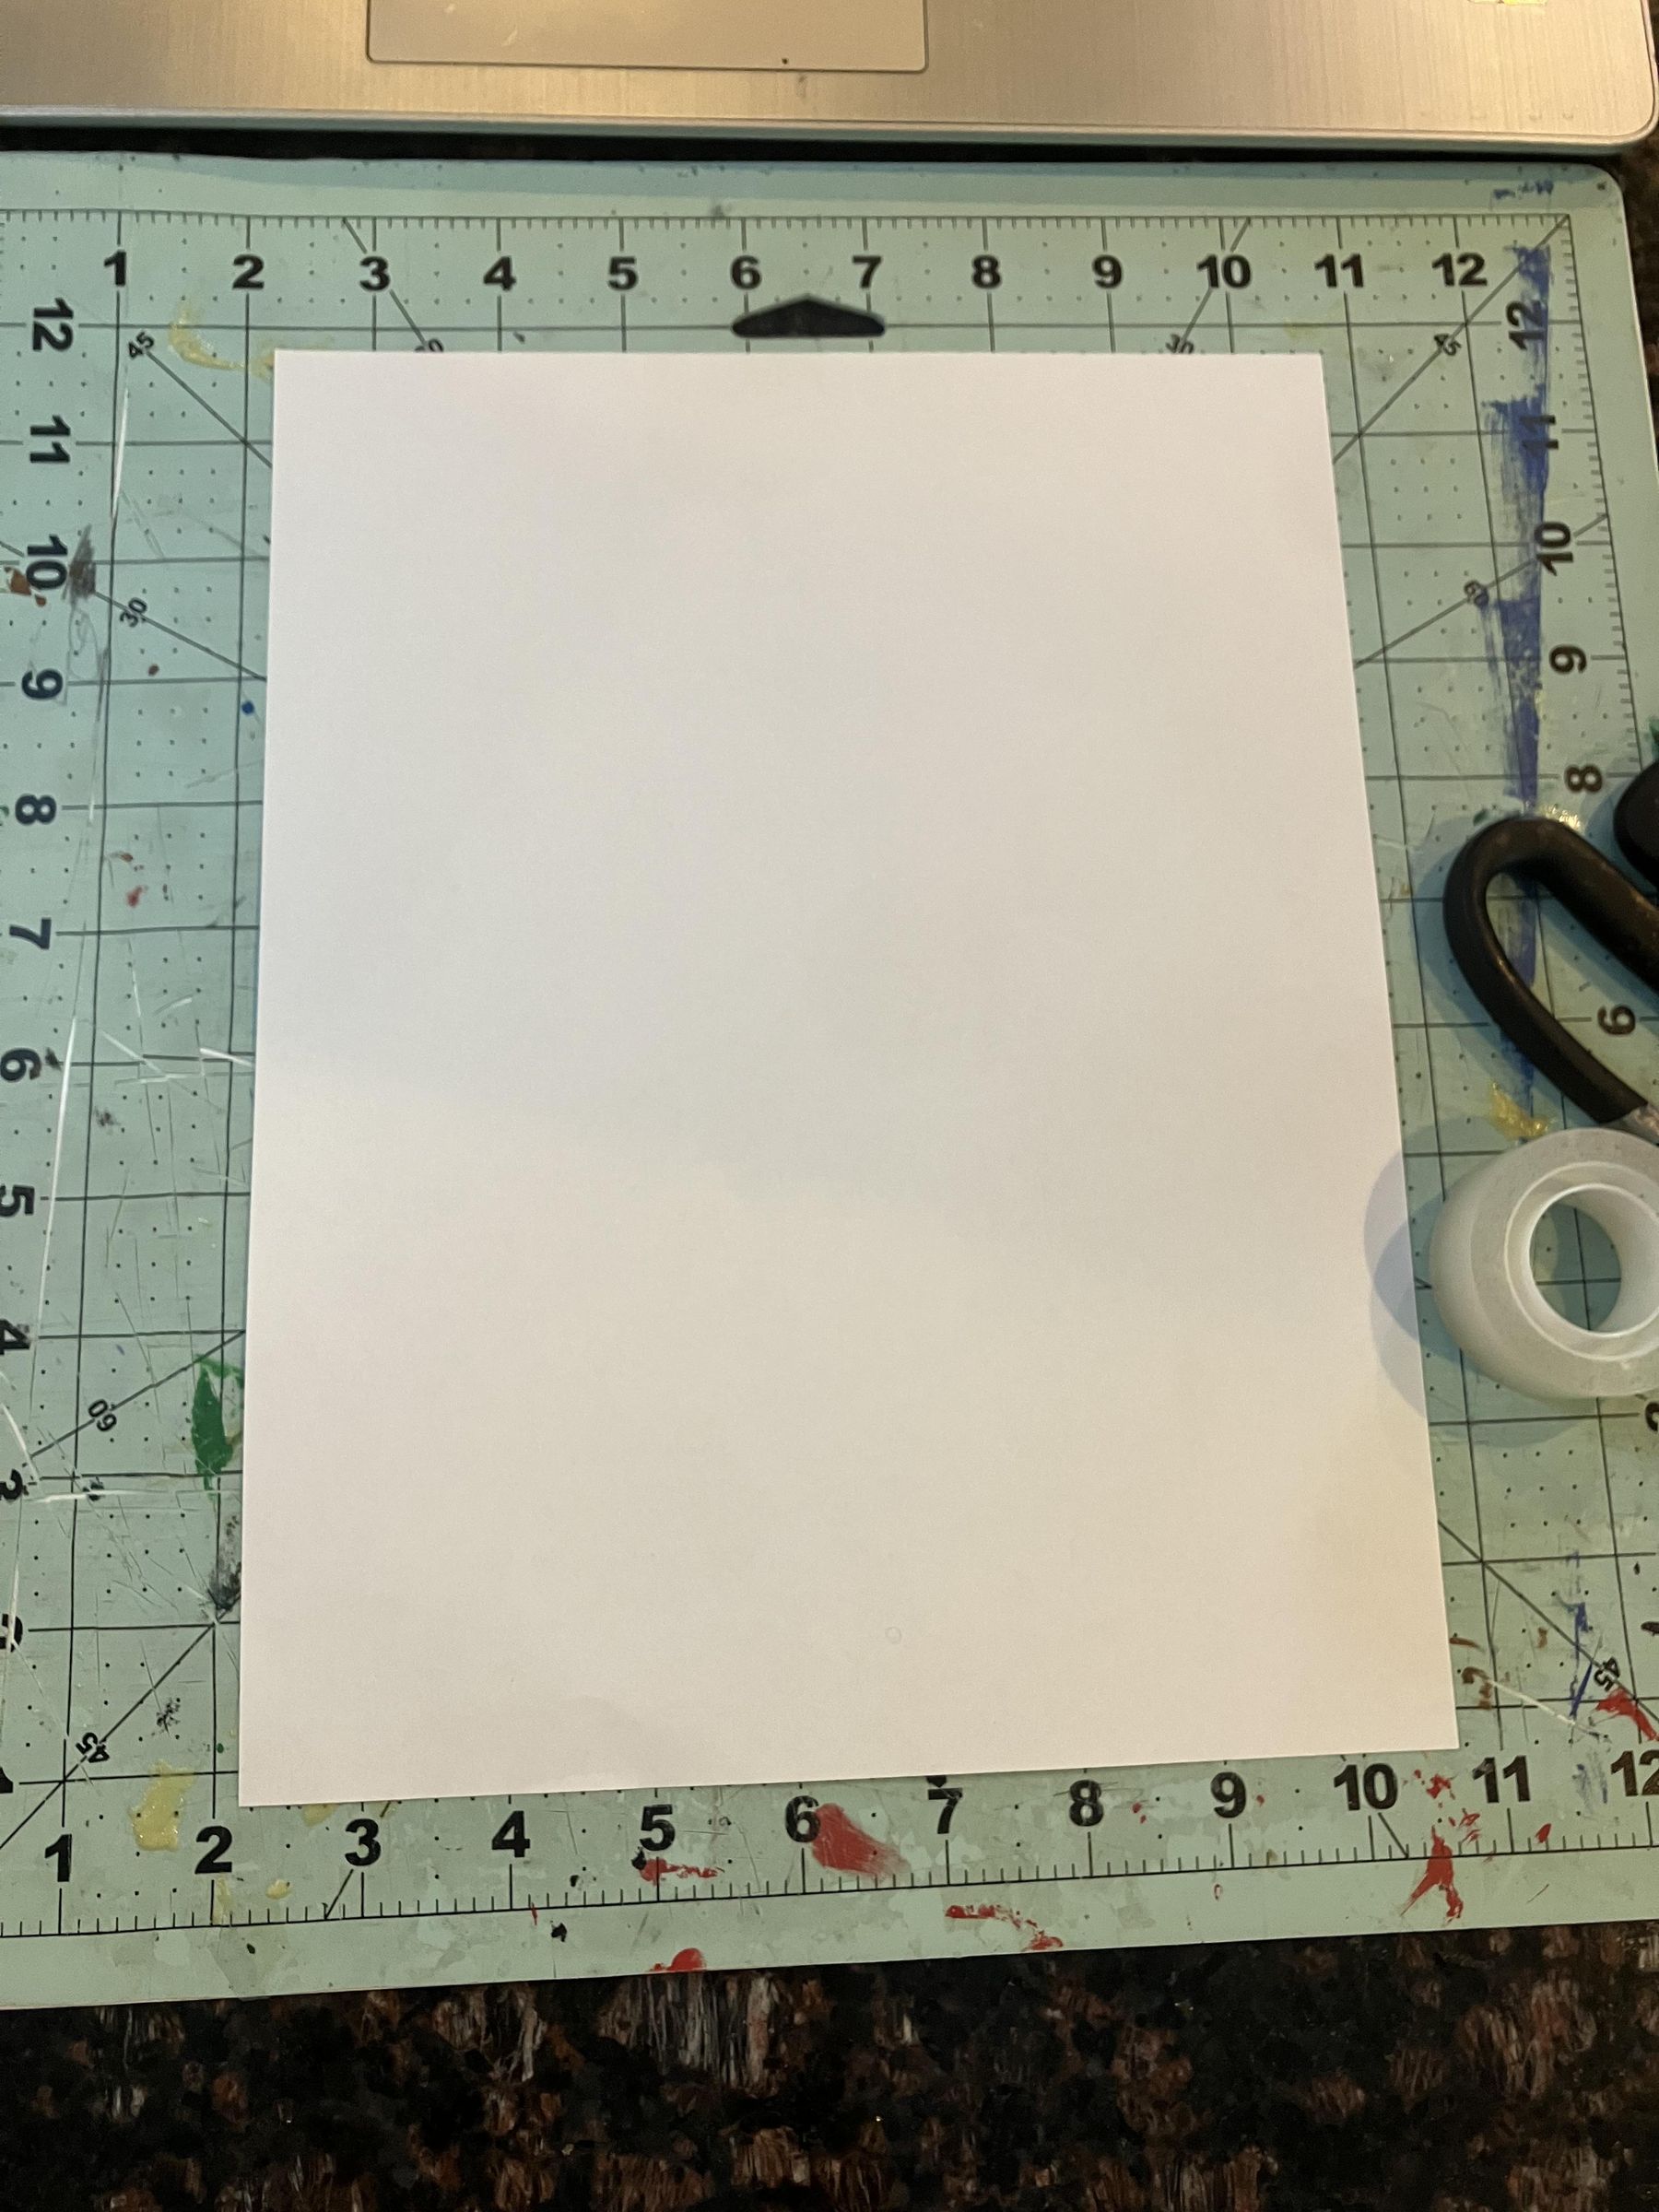
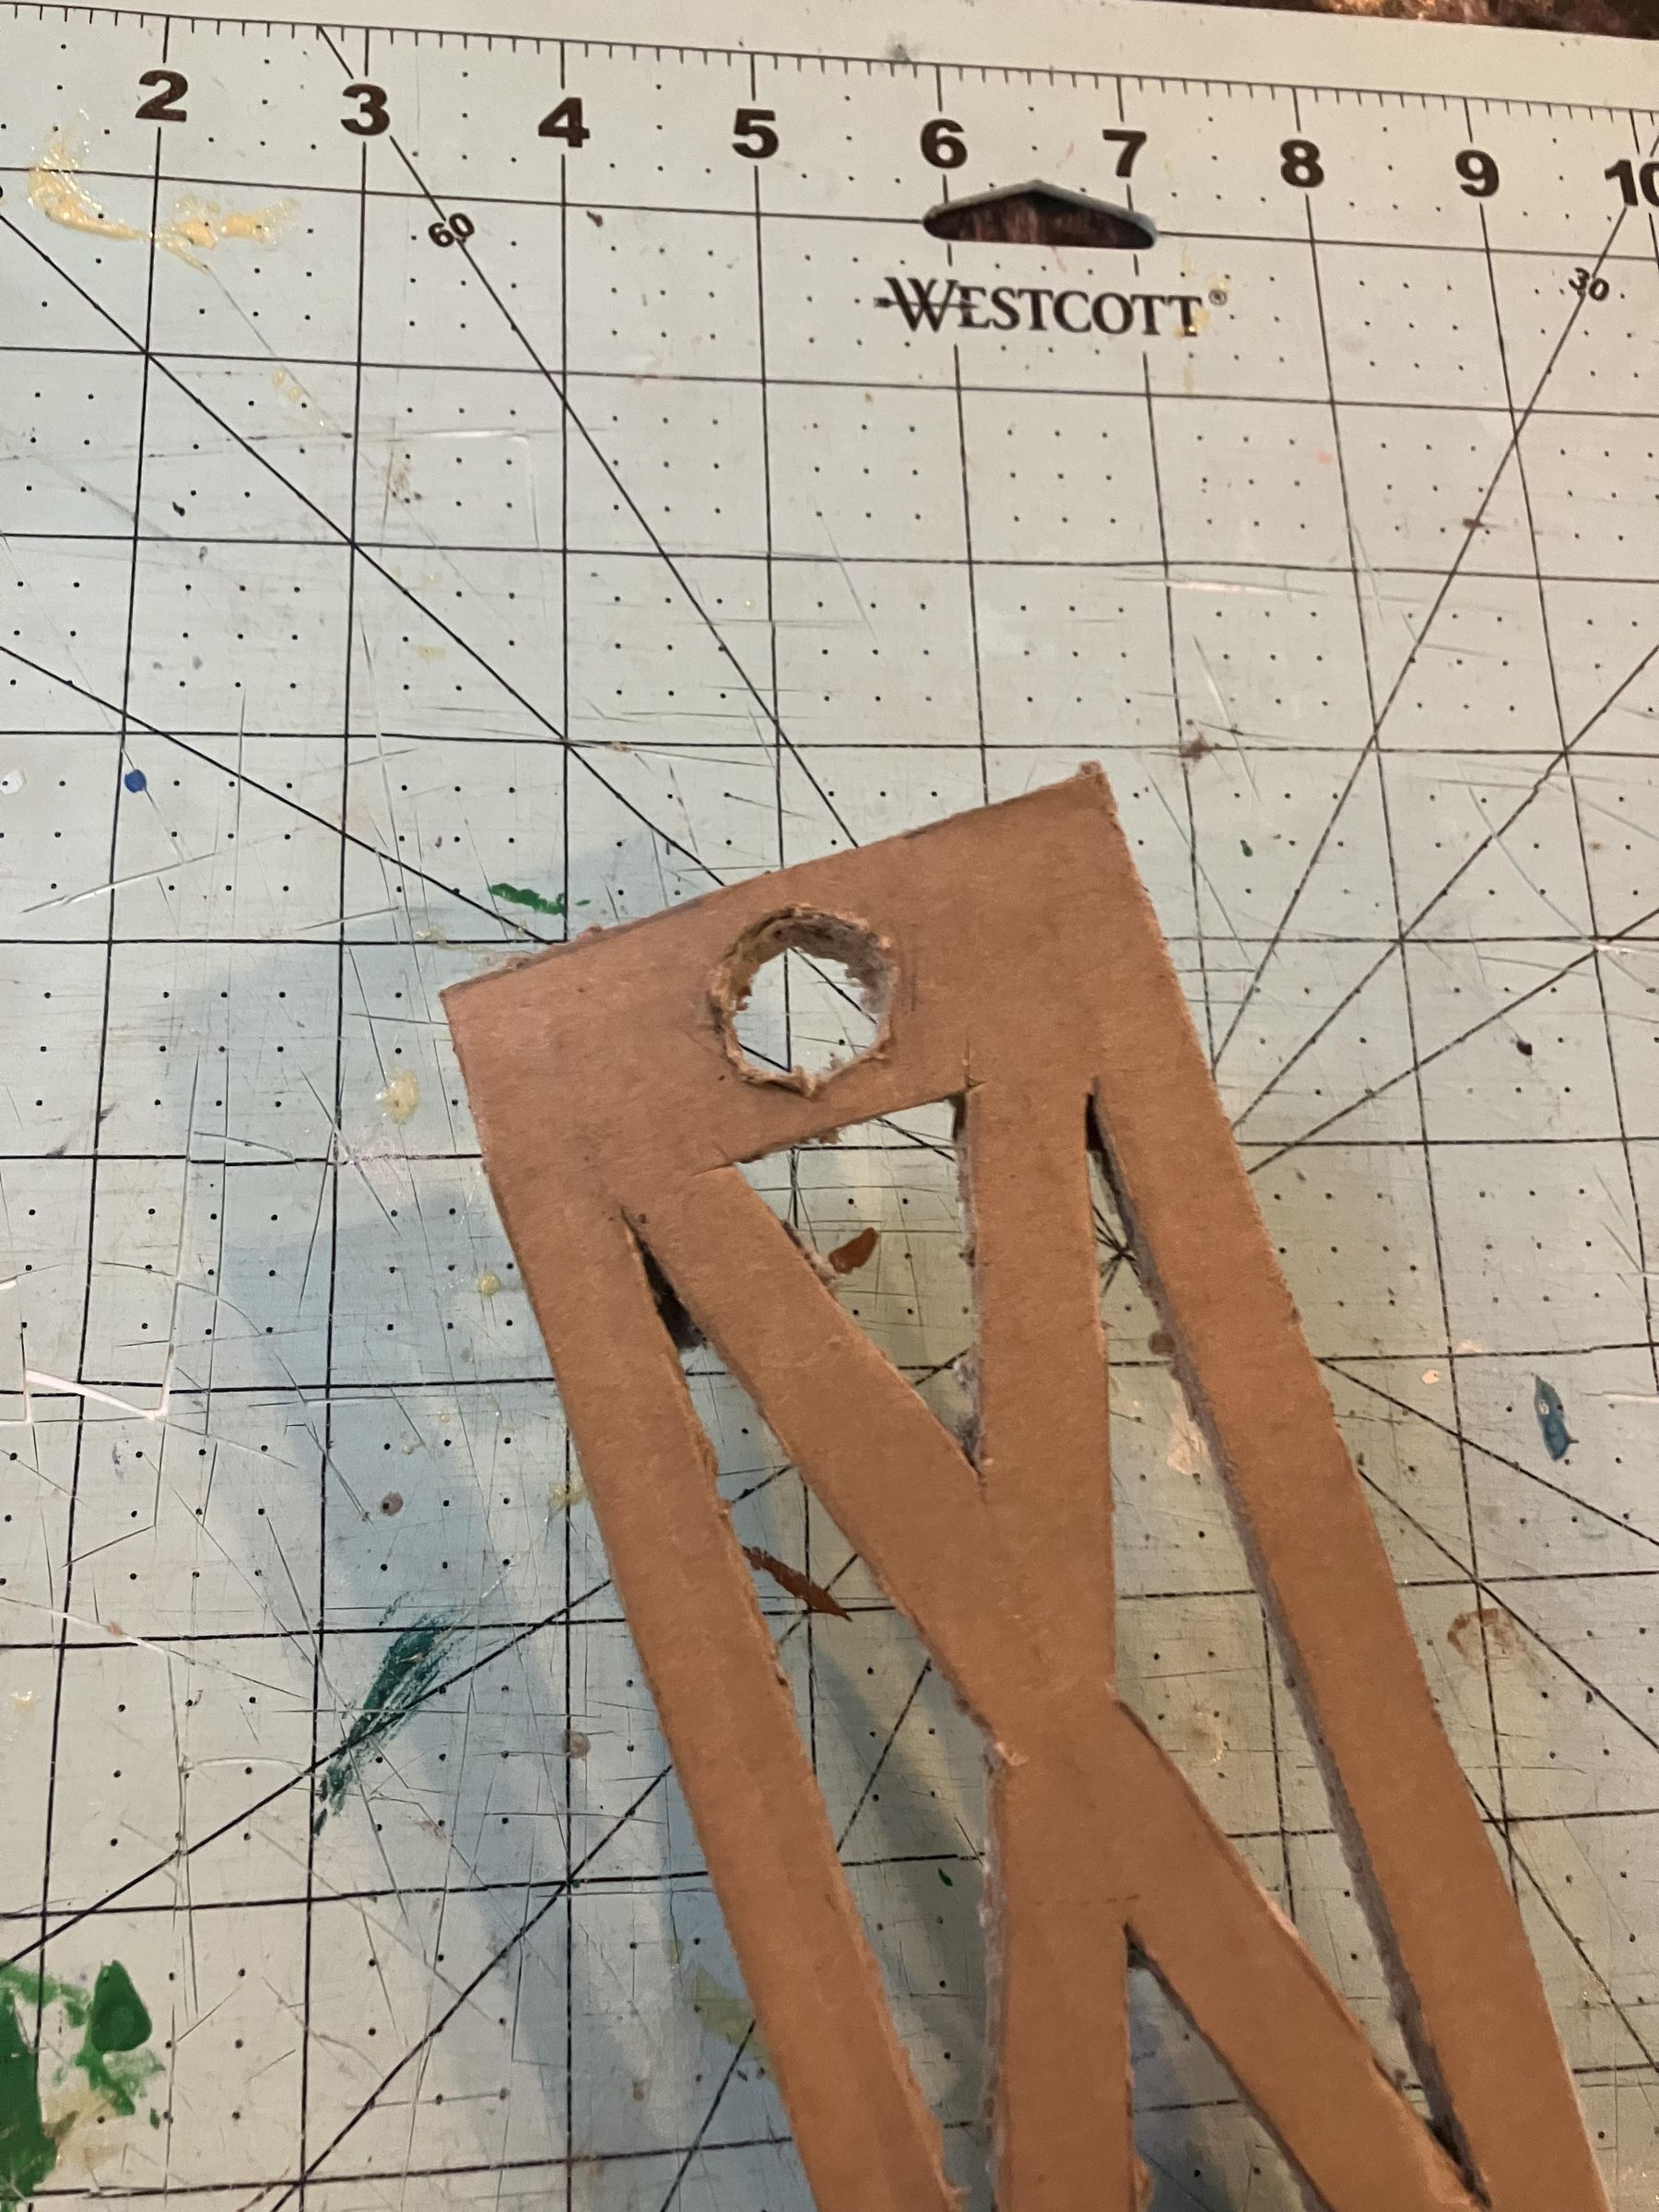
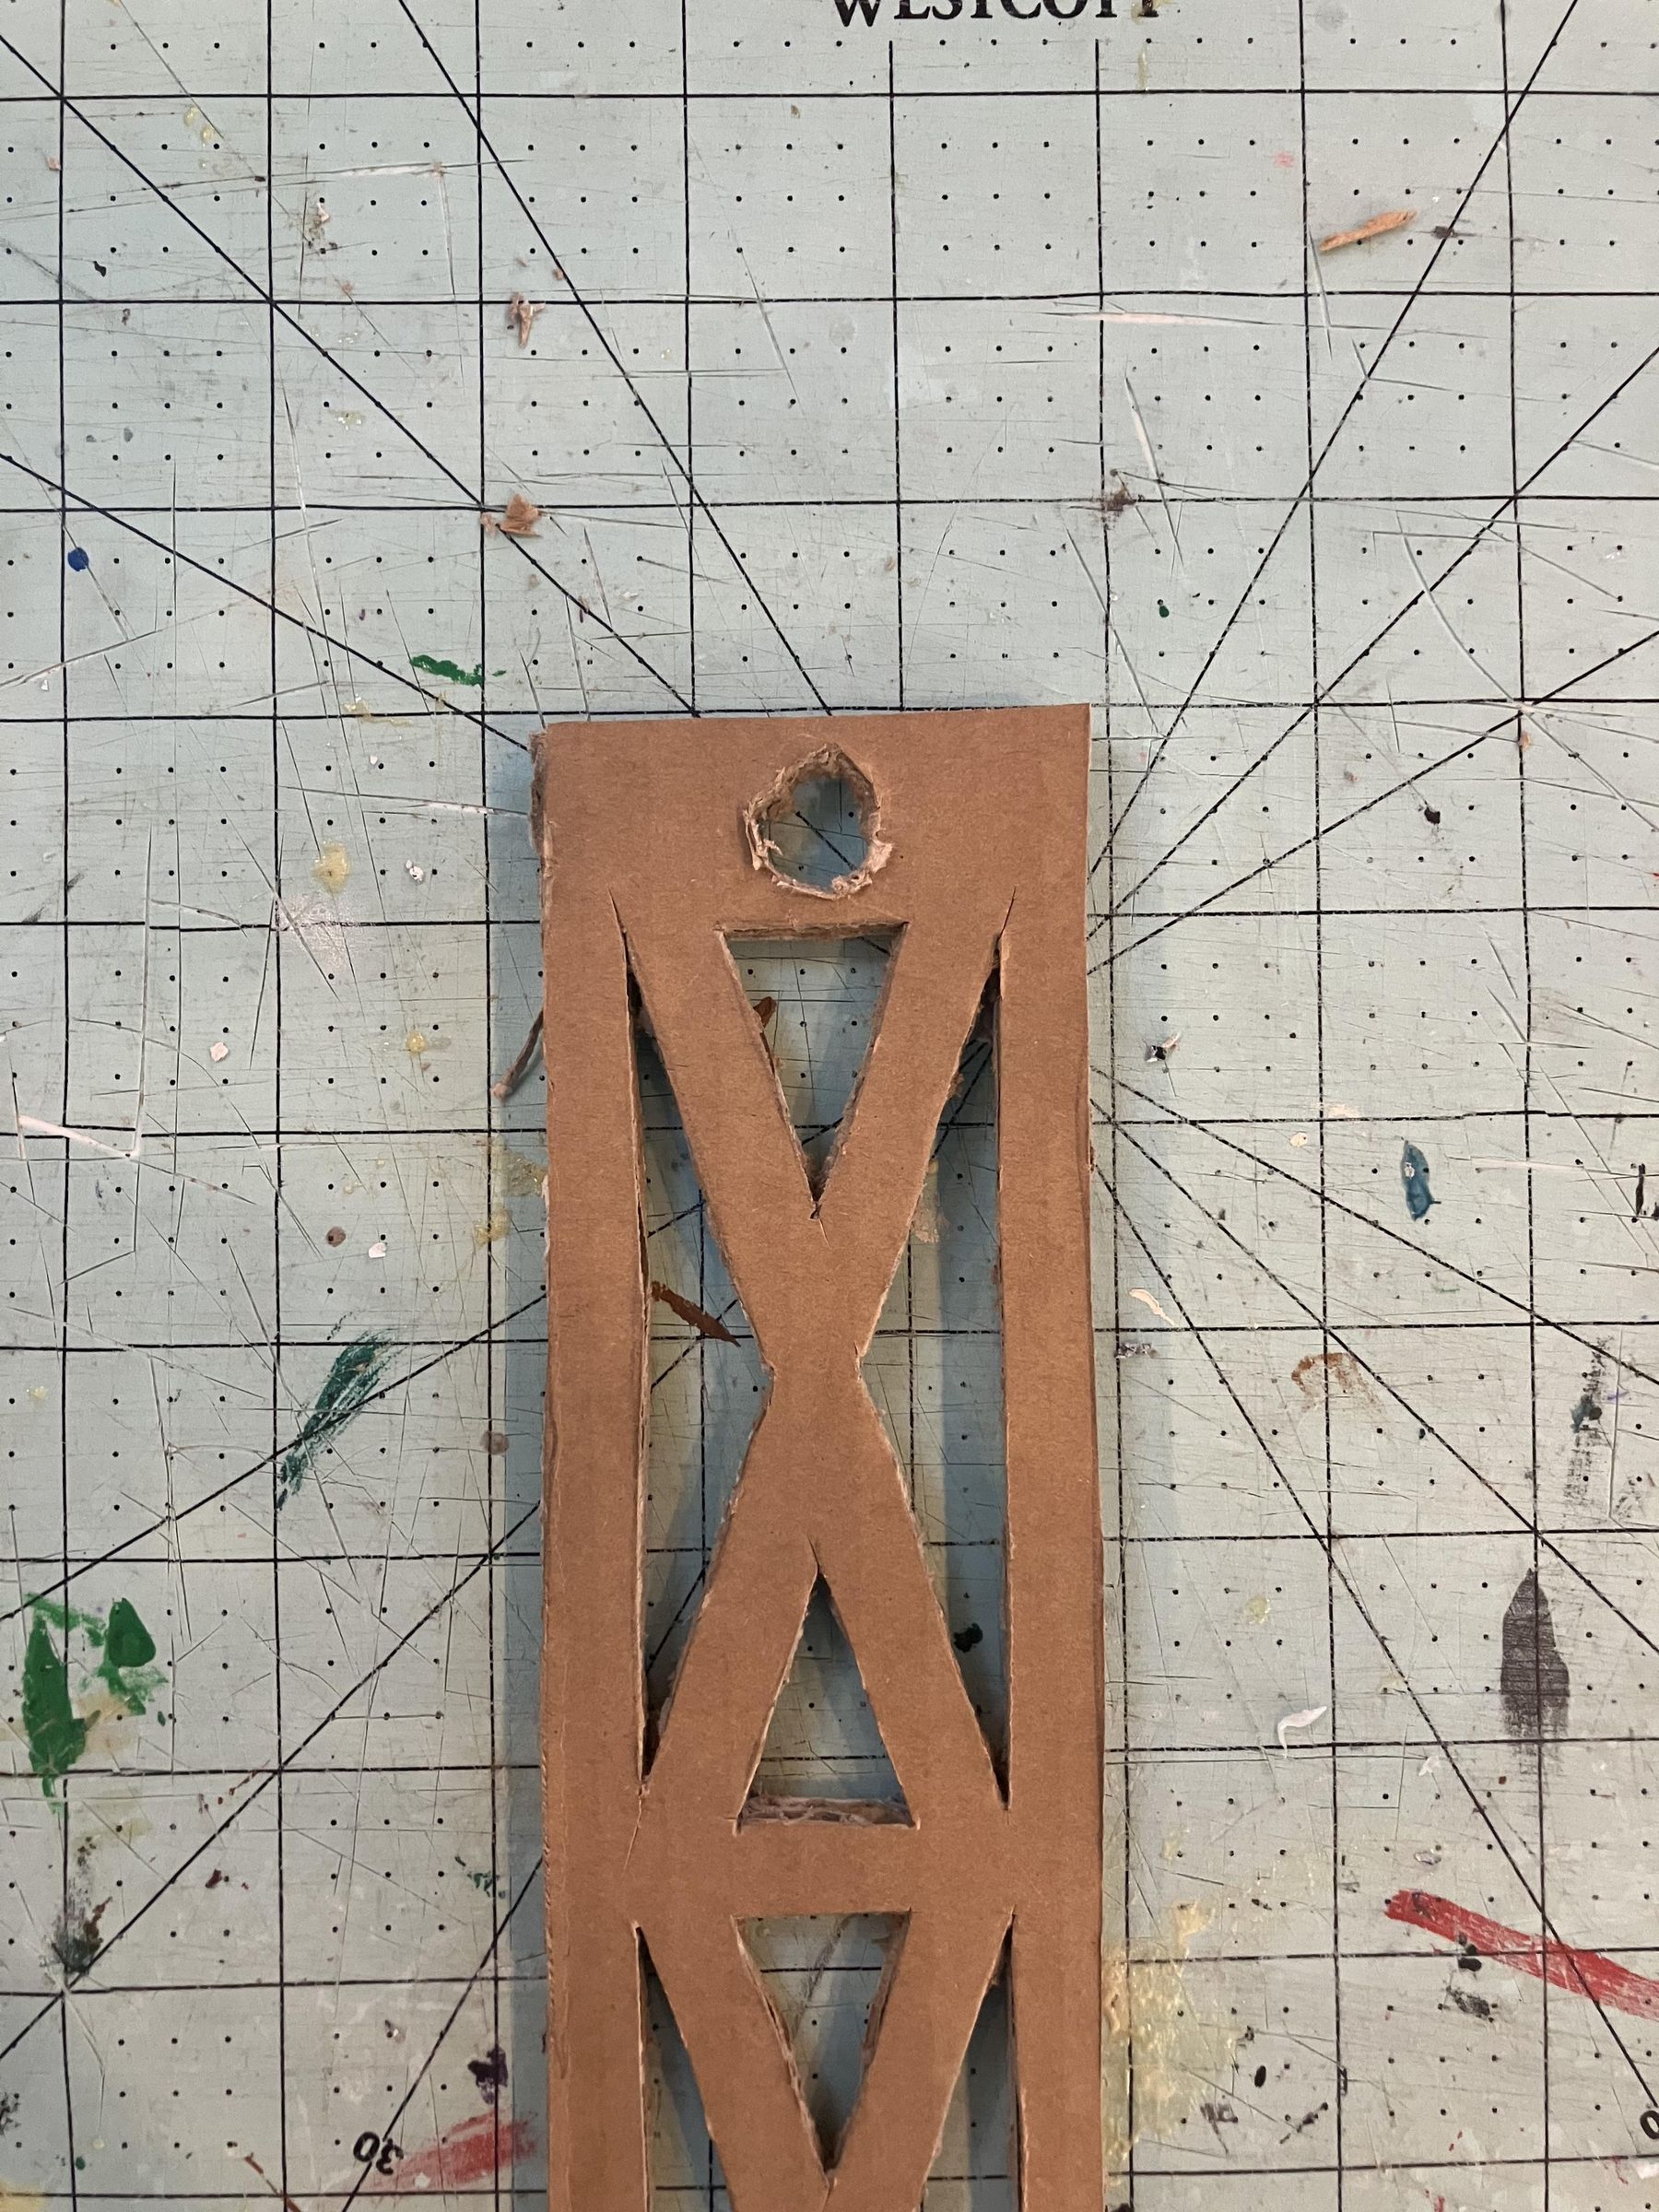
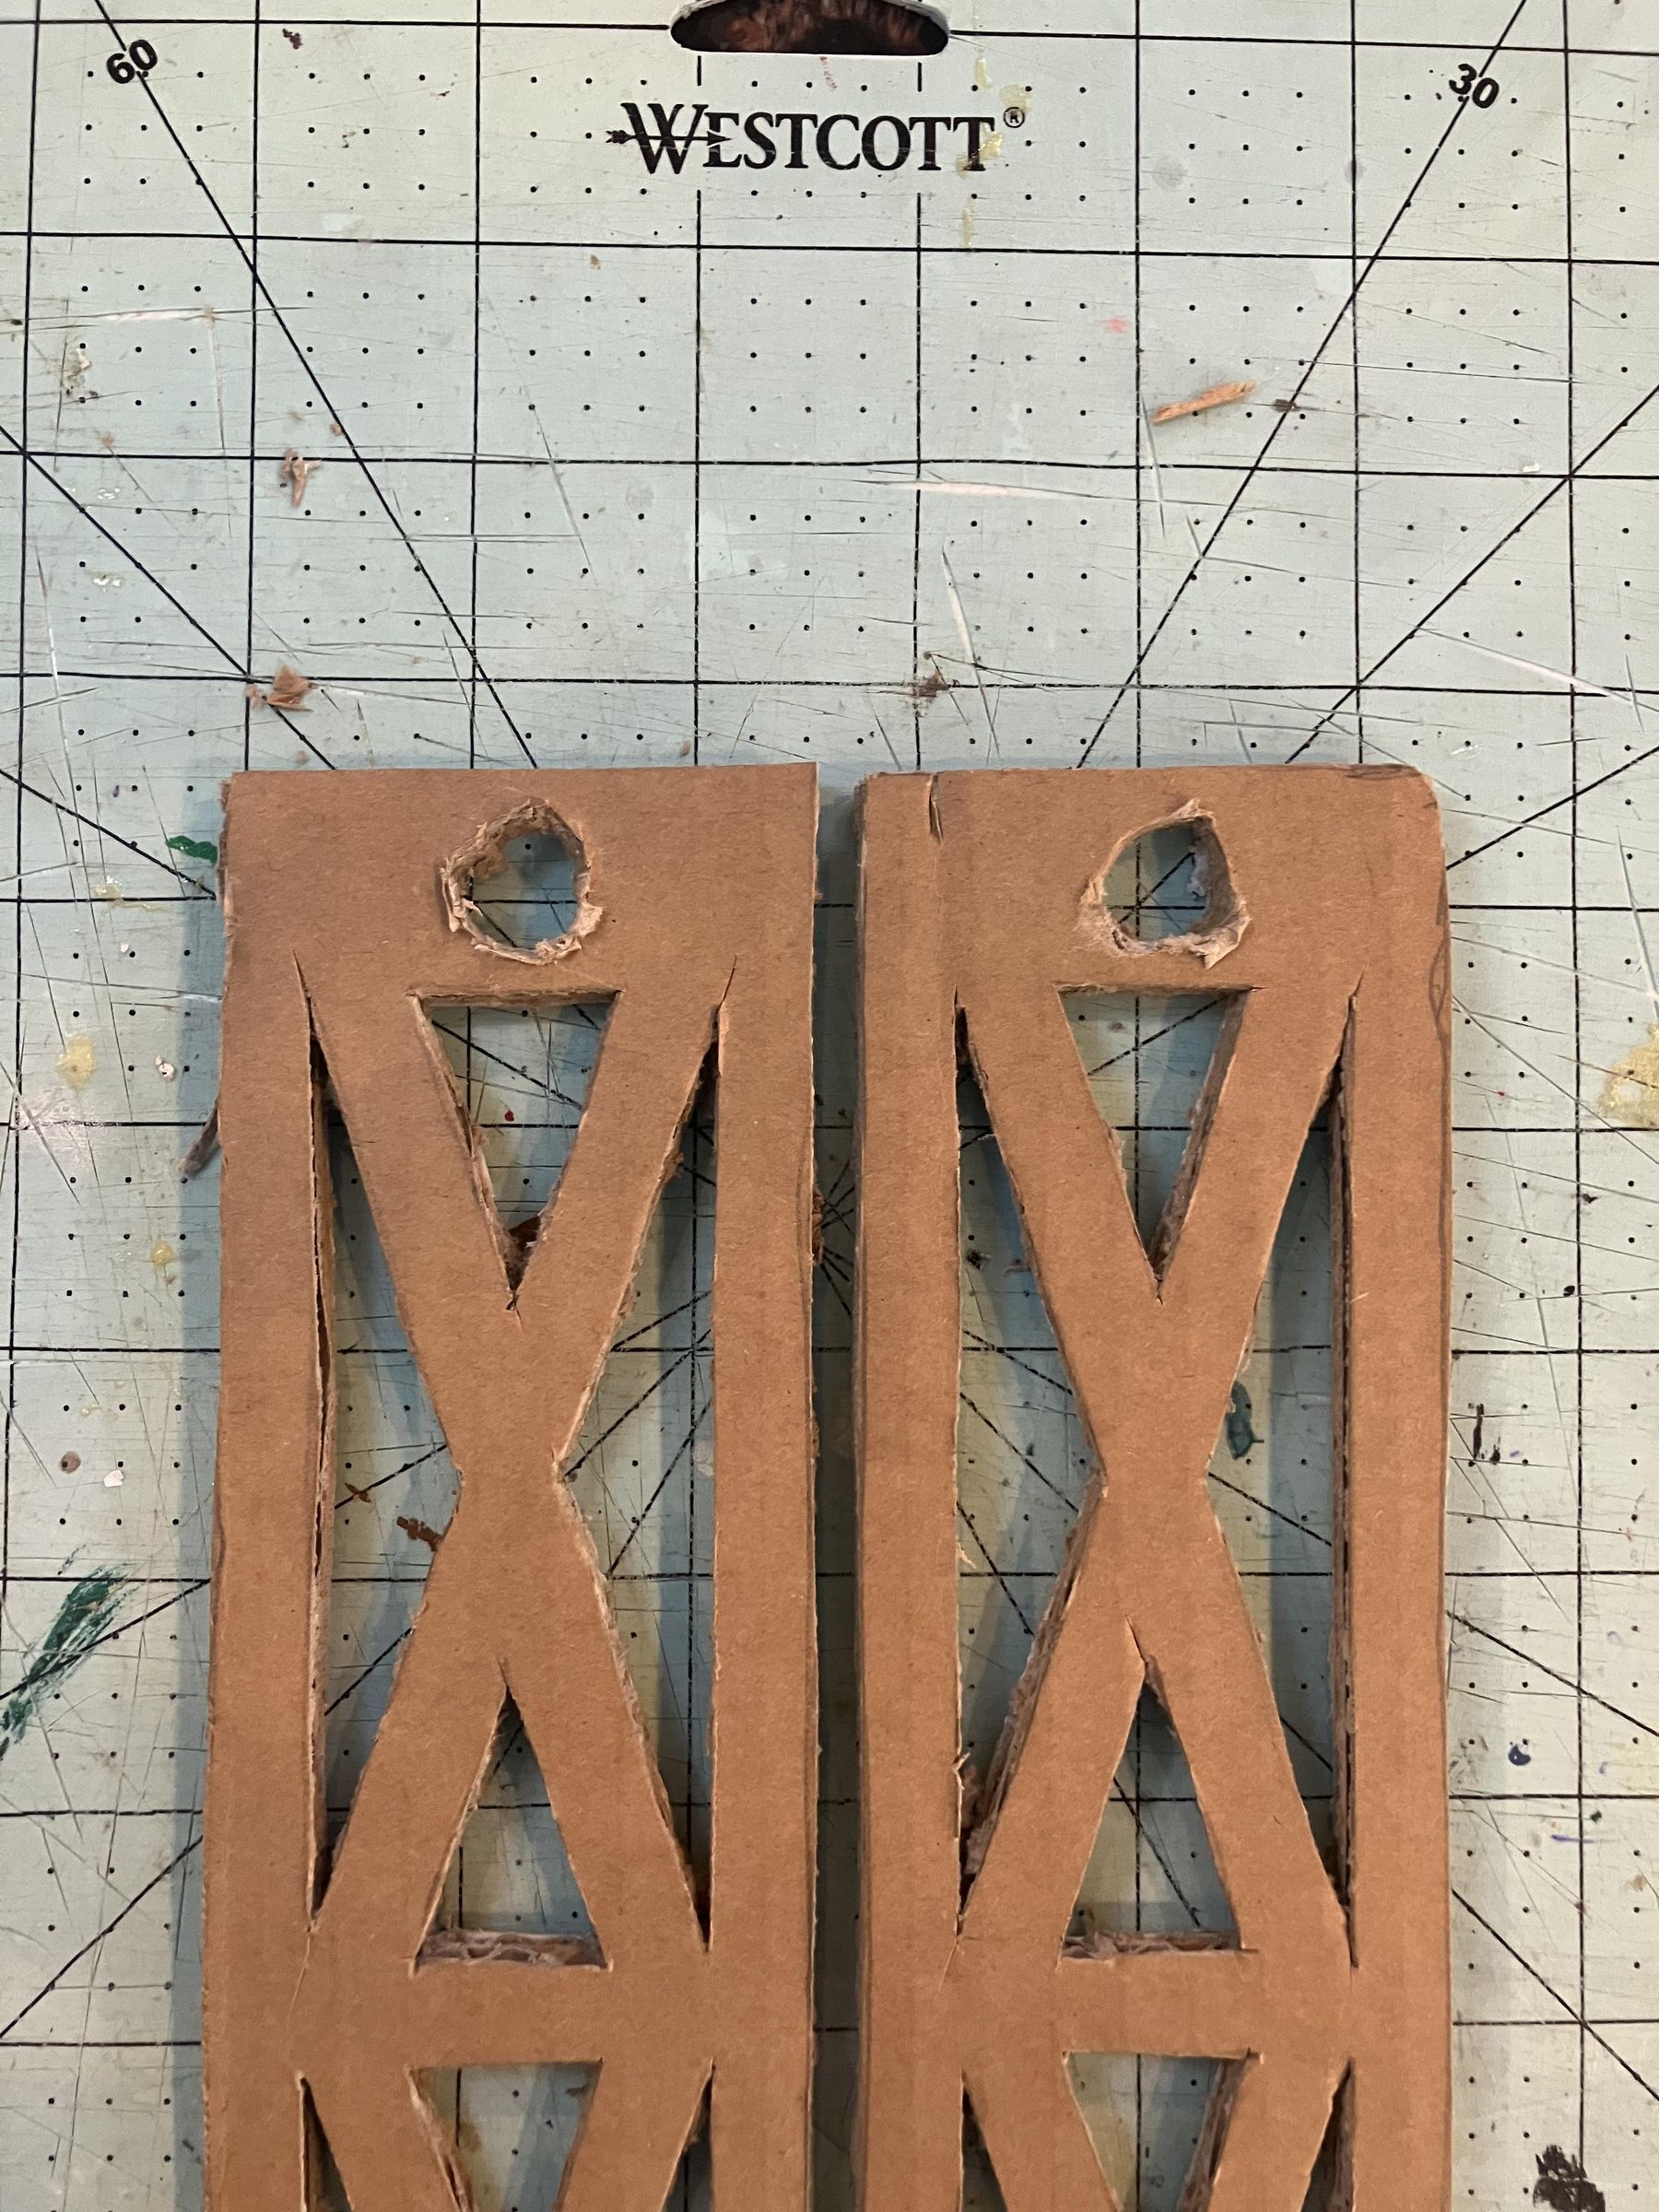
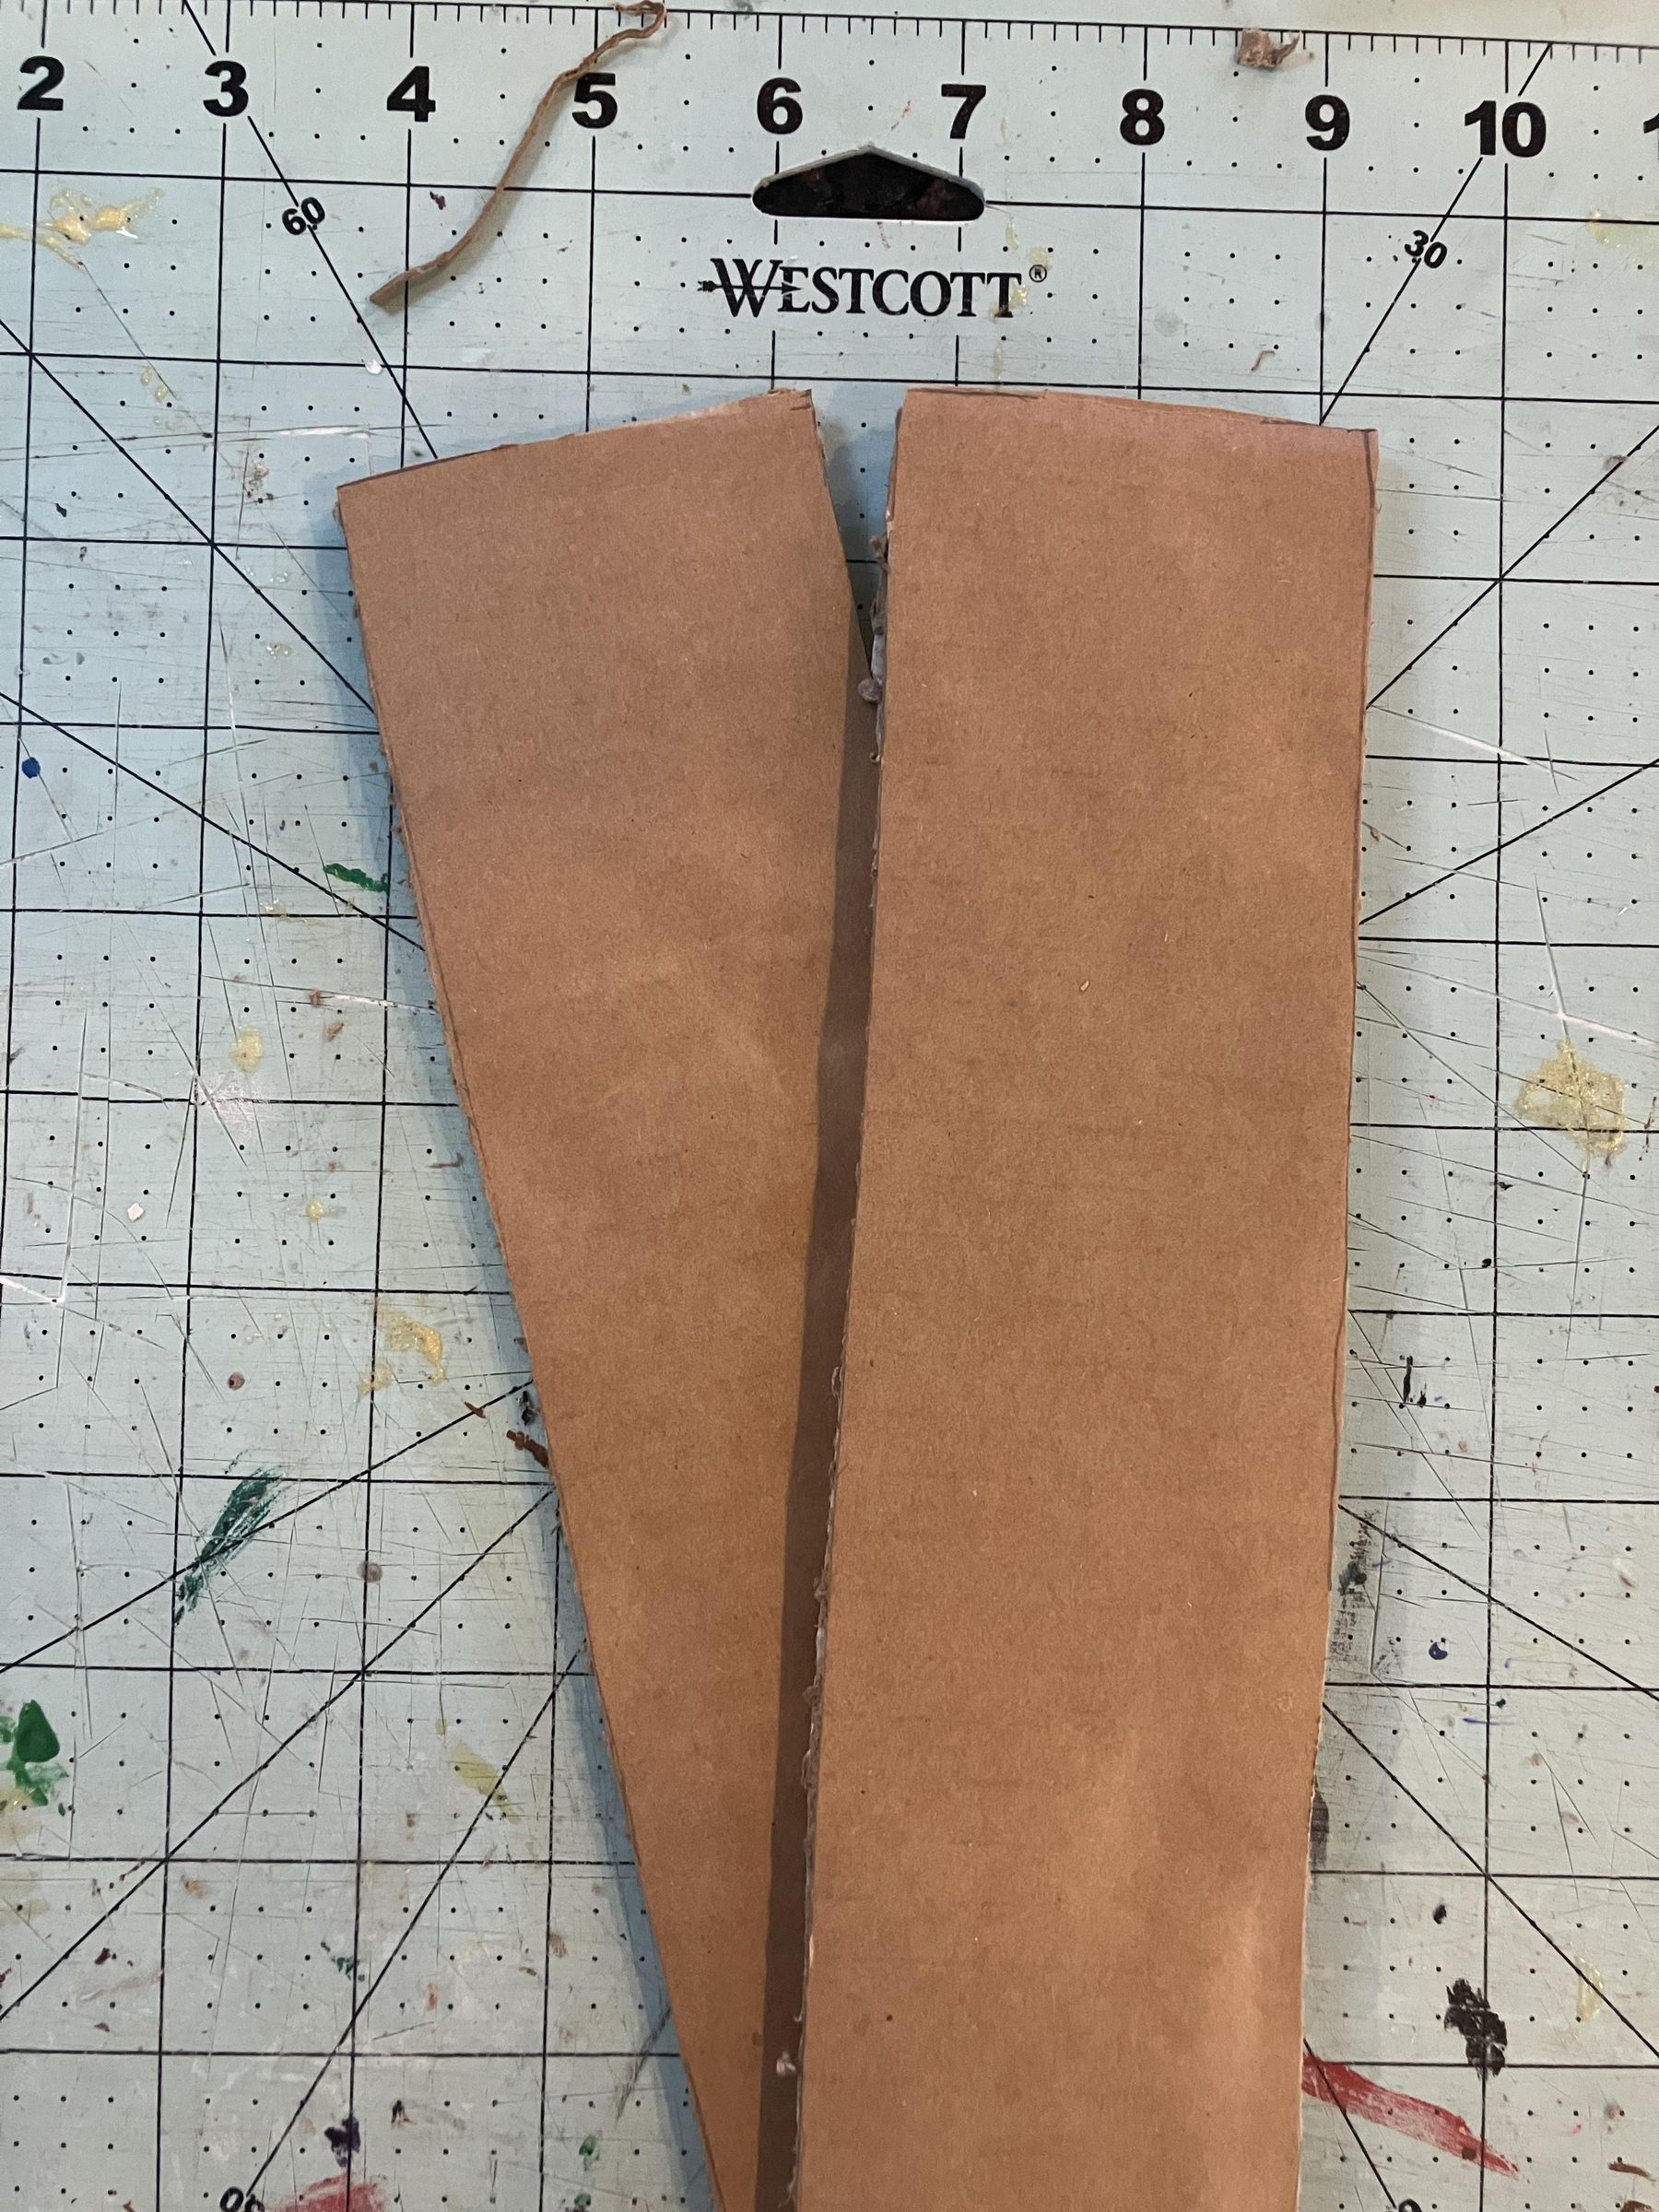
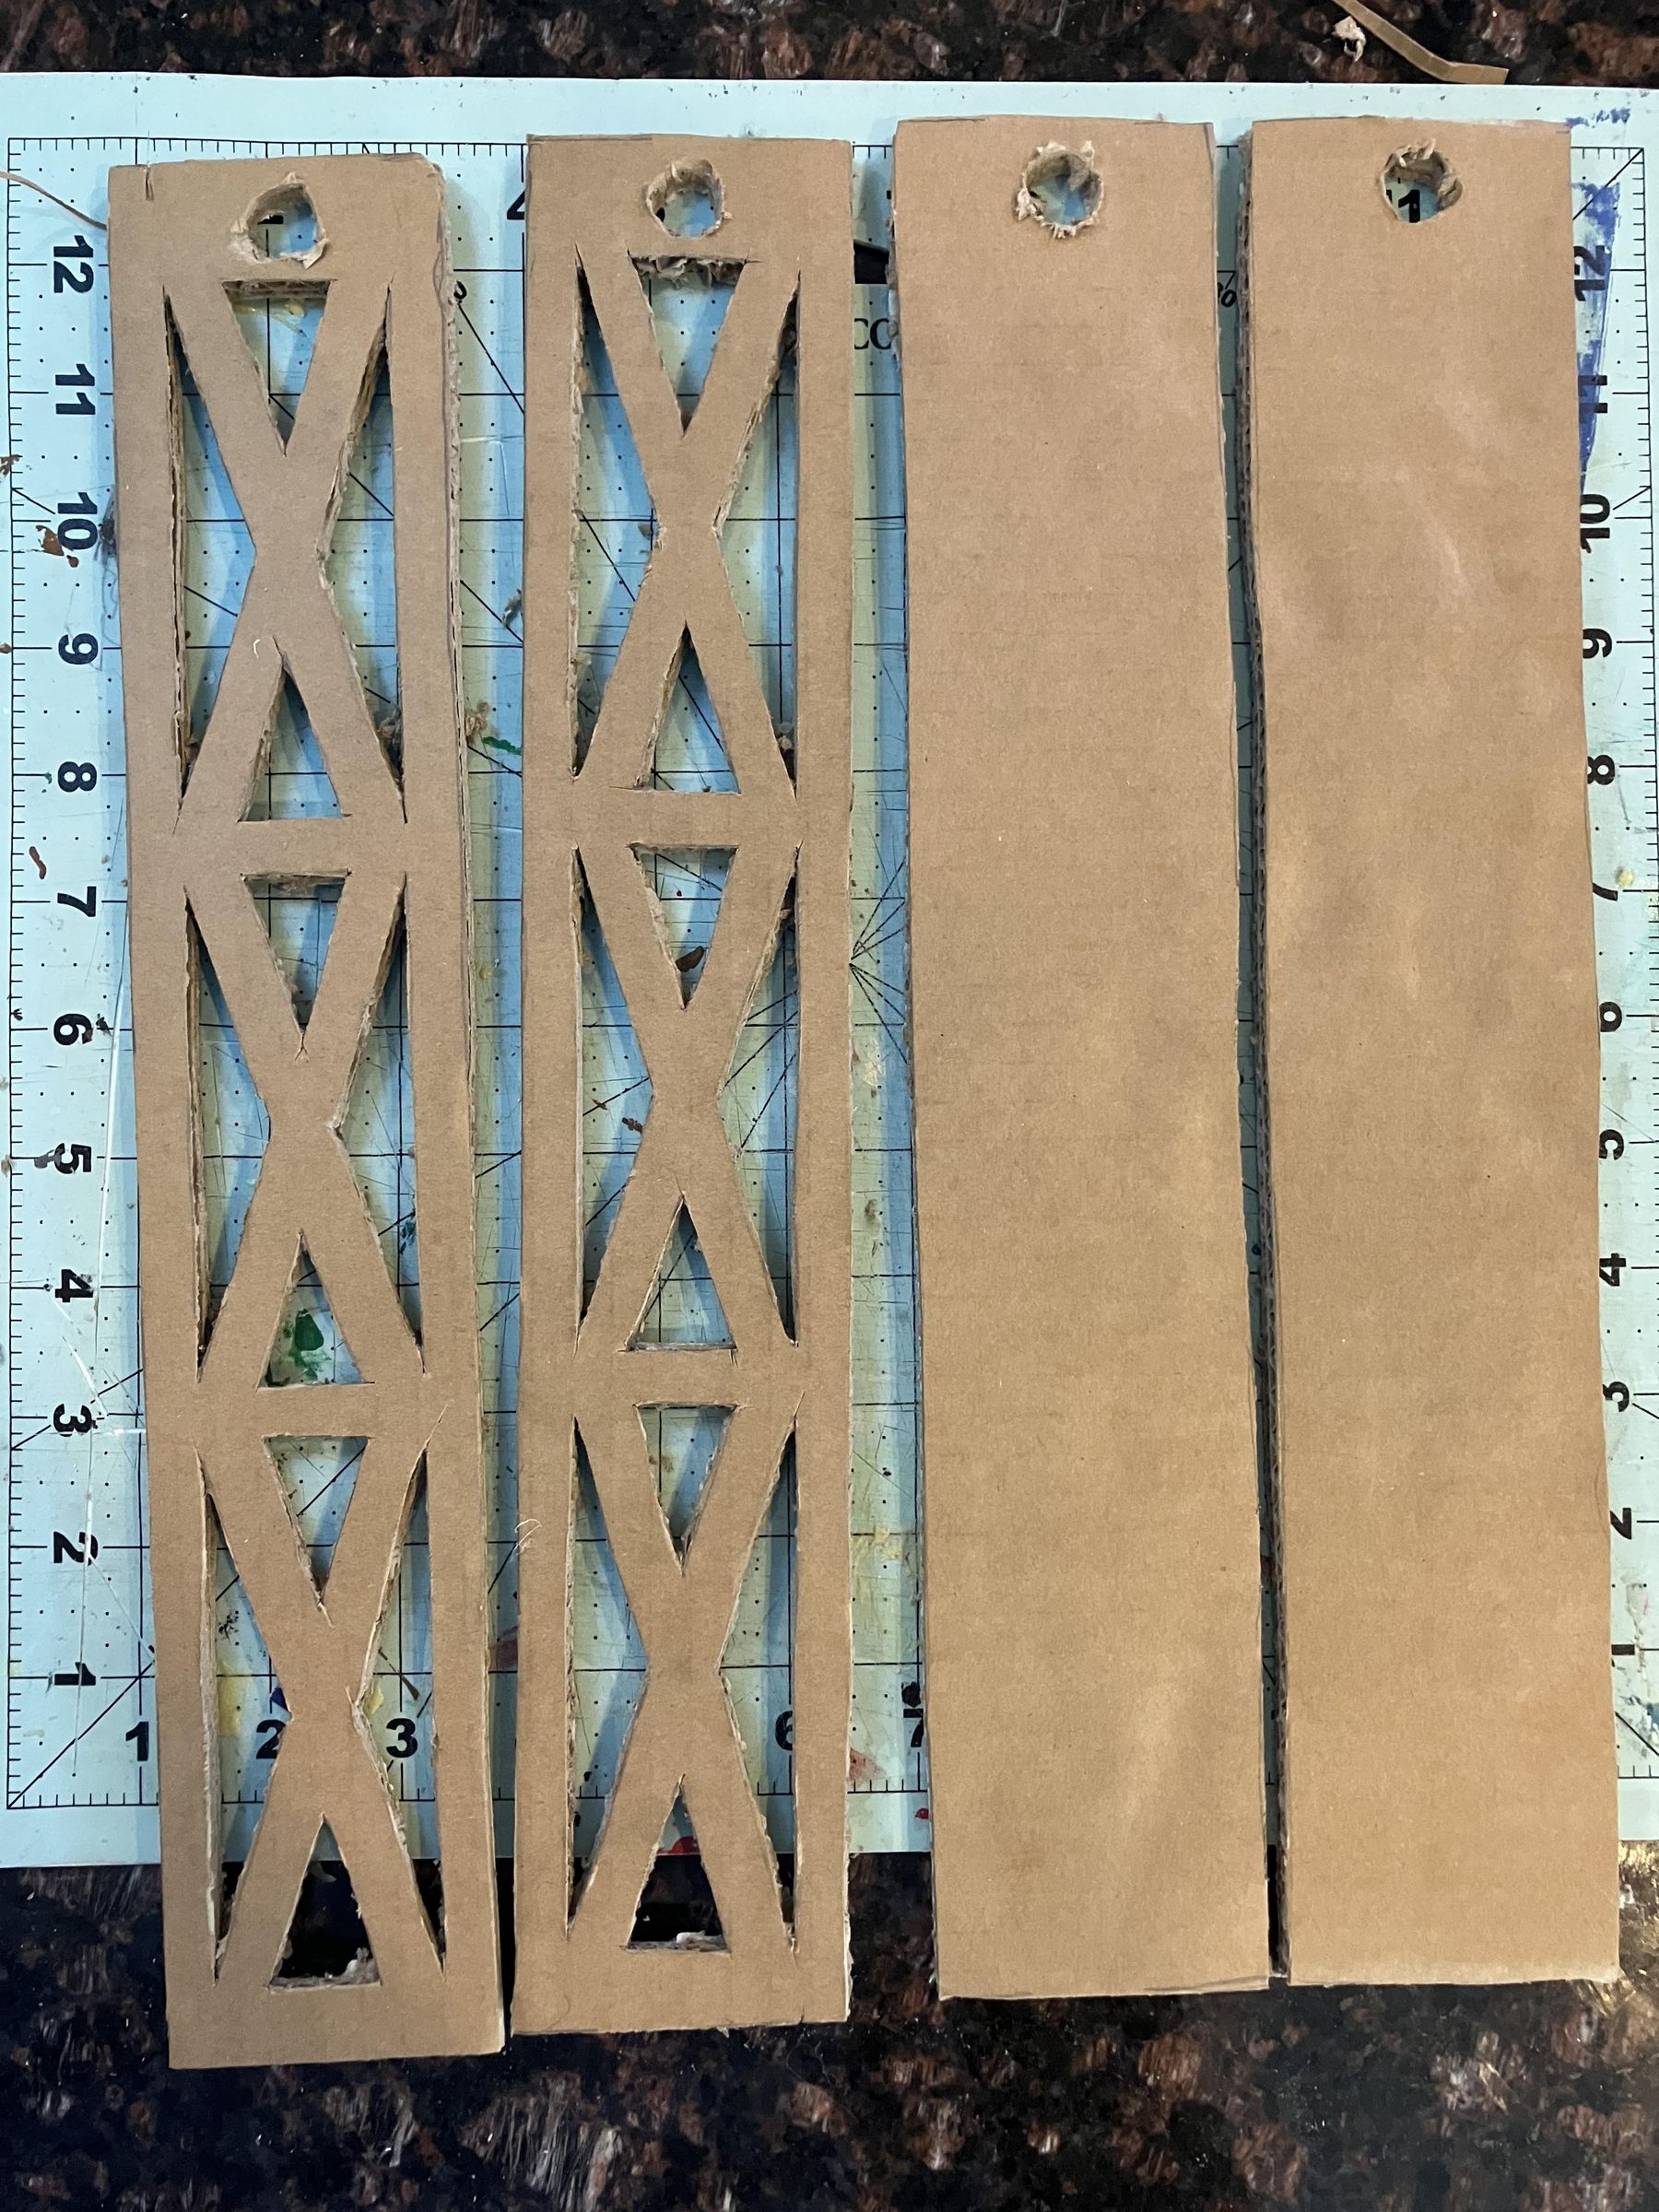
Now, we construct the two towers that elevator cart will be between.
Making the Template
Start by sketching a dimensioned drawing (similar to the way my template is dimensioned above) showing what you want one tower side to look like. I gave mine X-bracing to model an actual load-bearing tower.
One important feature to add to the sketch is an intentional space at one end of the tower side, as this is the area where the rotating bar will go through.
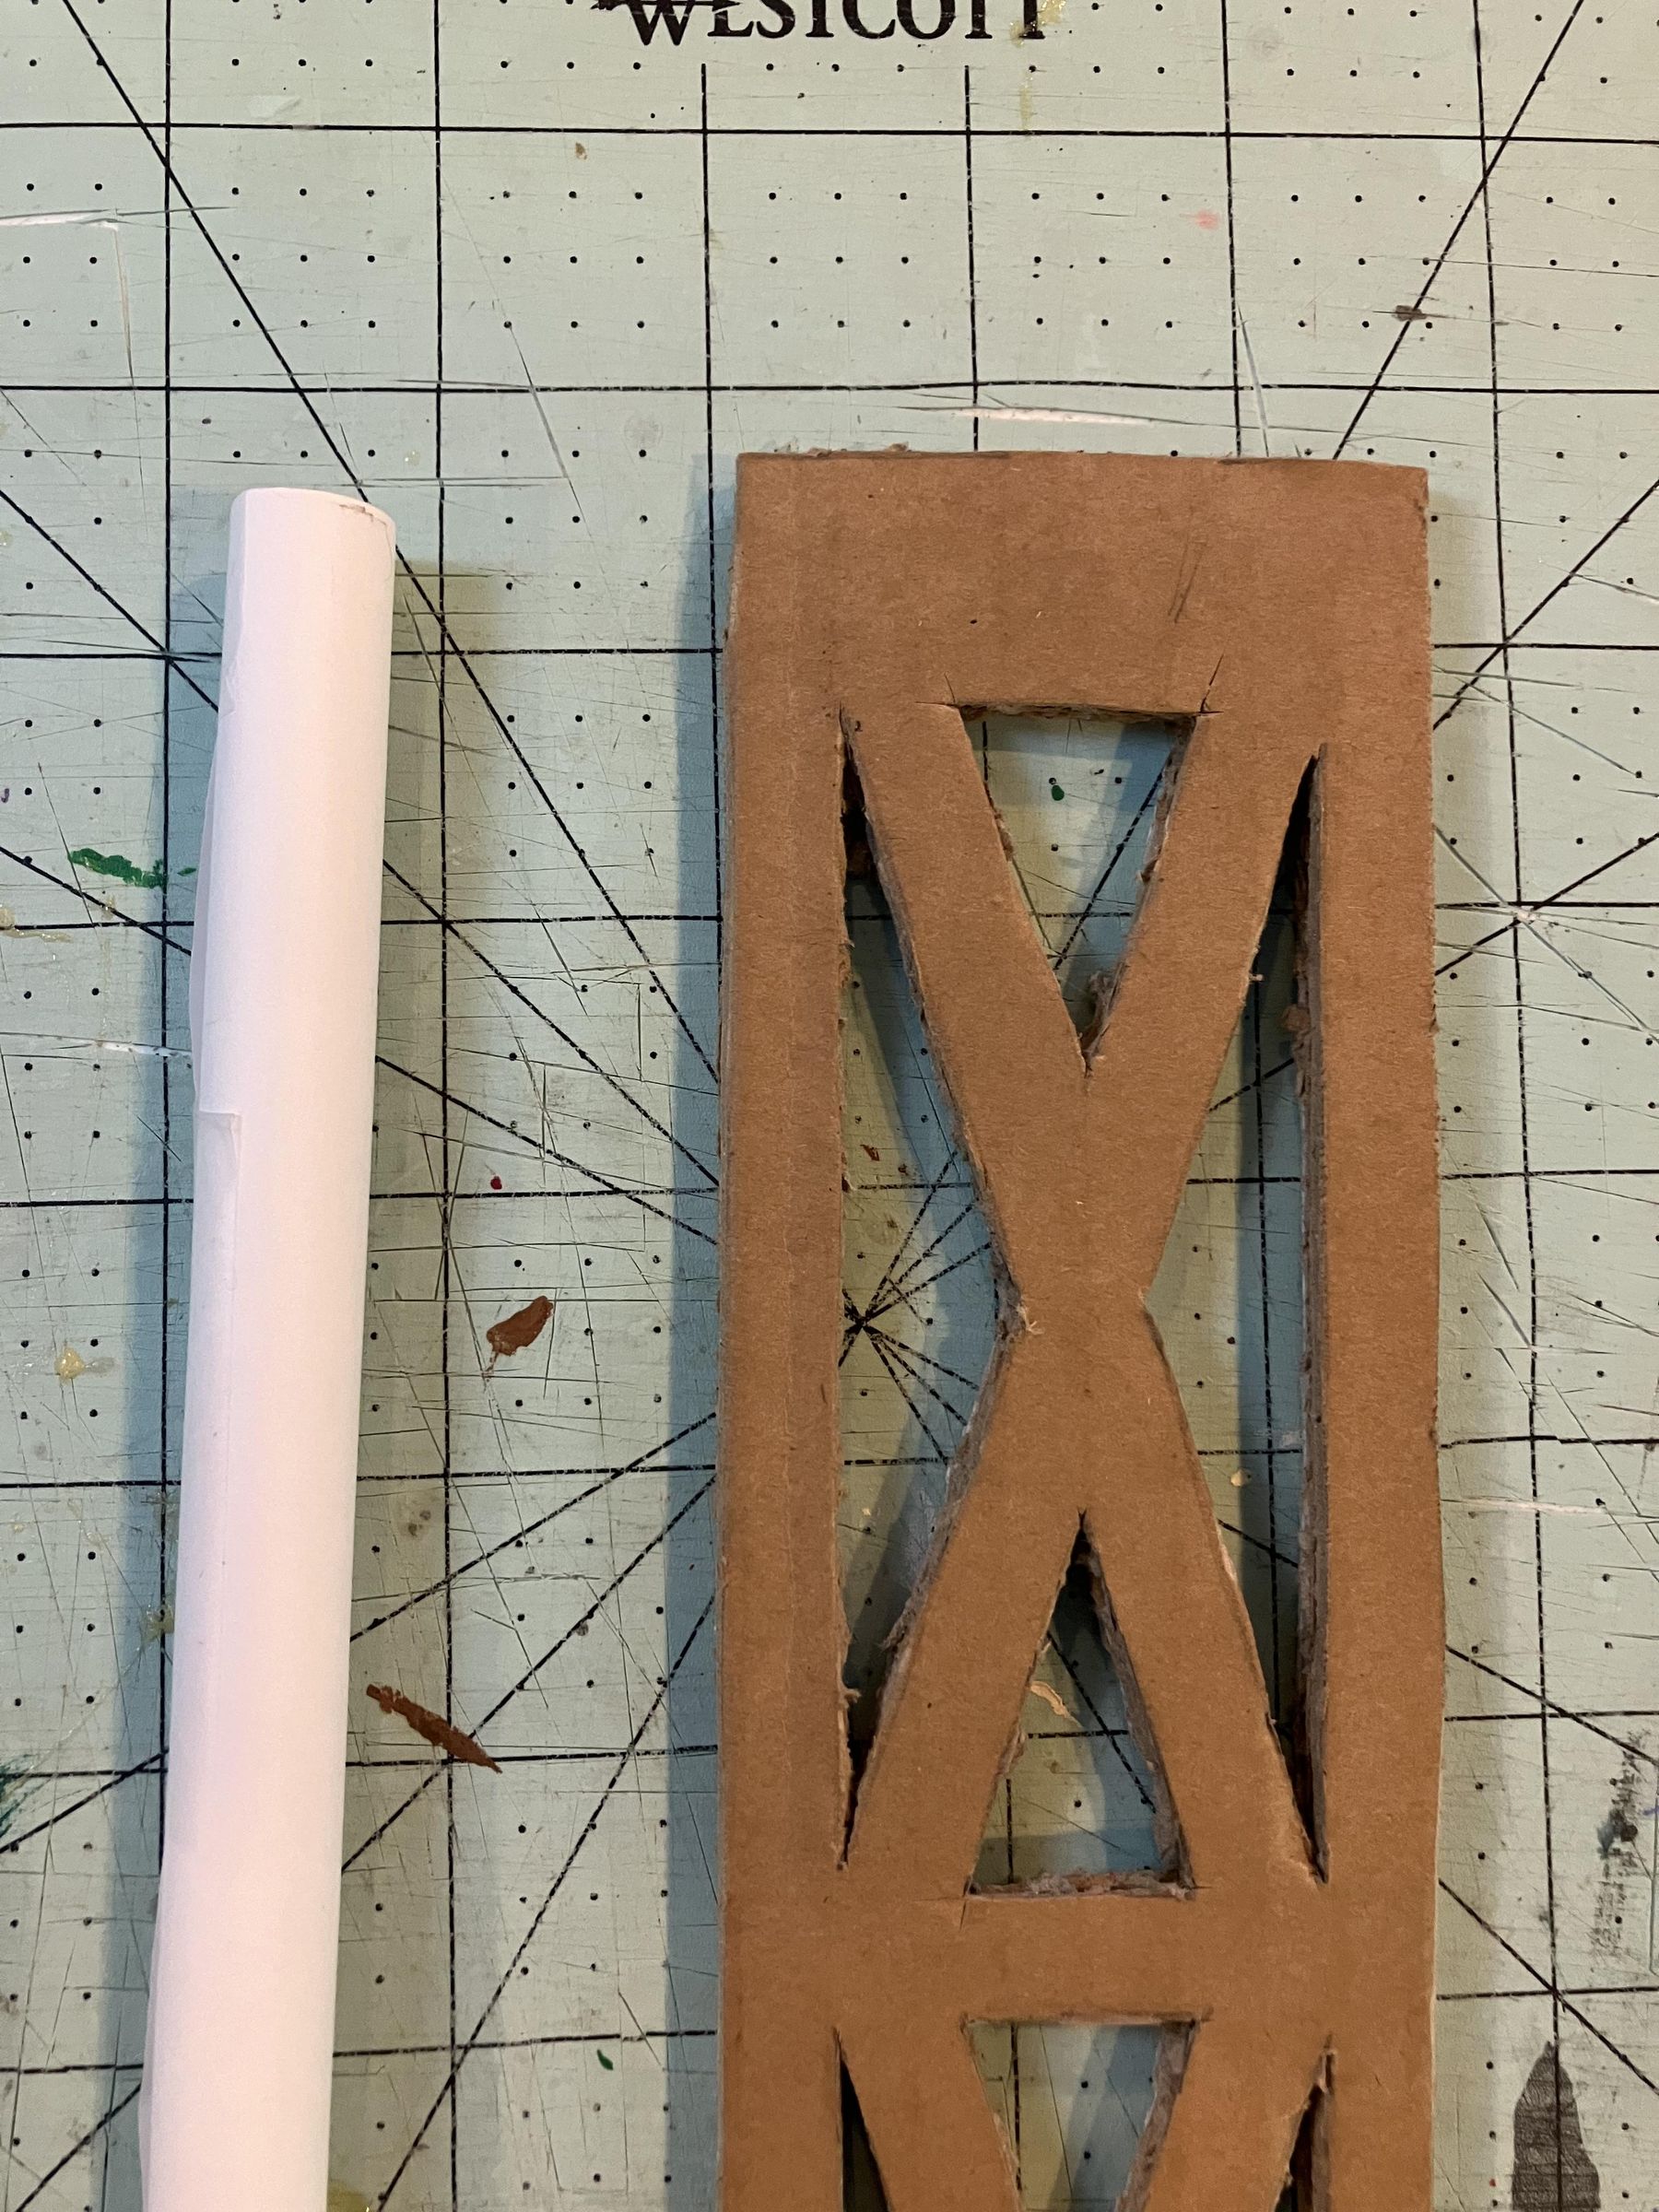
Next, cut out the drawing. You now have your template.
Cutting Out the Sides
Tape the template onto a piece of cardboard, and the trace it with a pencil. Then, take off the template, and use an X-acto knife to cut out the cardboard drawing.
Repeat this process 6 times, as each tower will have three sides with this pattern (the fourth side will be a blank piece of cardboard).
Next, trace the template onto cardboard again, this time only tracing the outline (not the X-bracing). Cut out the cardboard rectangle.
Repeat this process one more time so that you have one blank side for each tower.
Starting the Rotating Bar
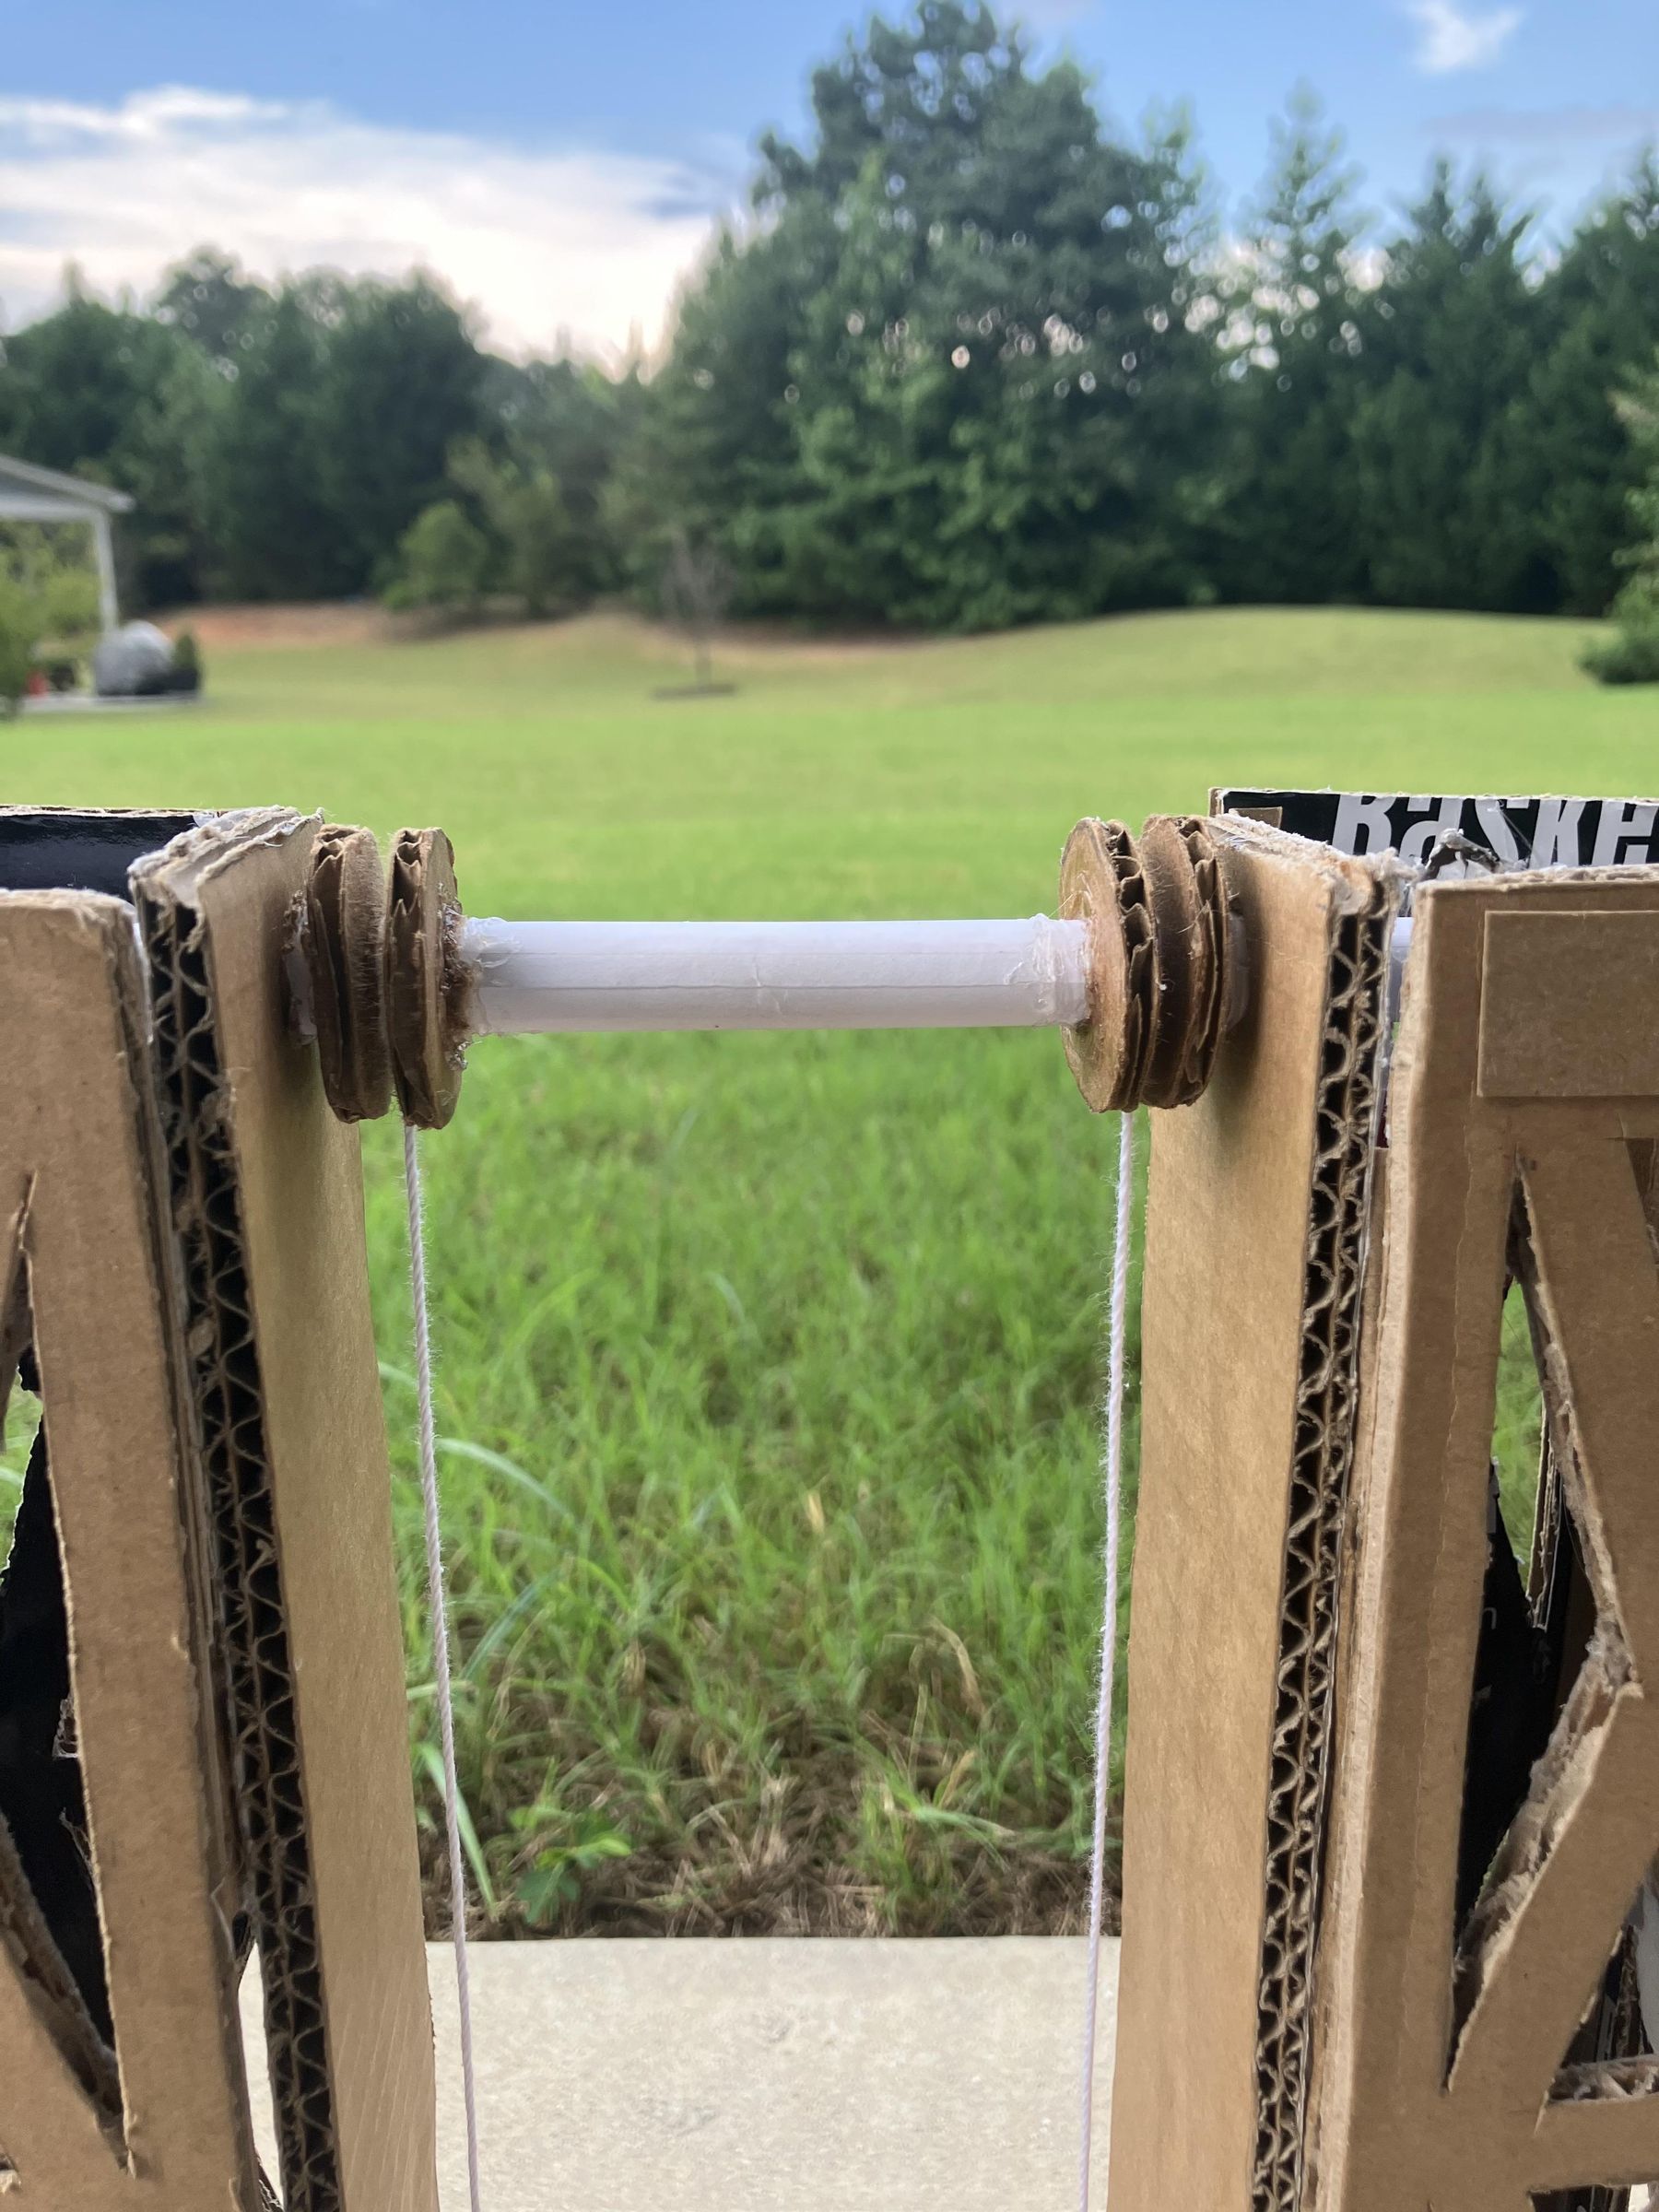
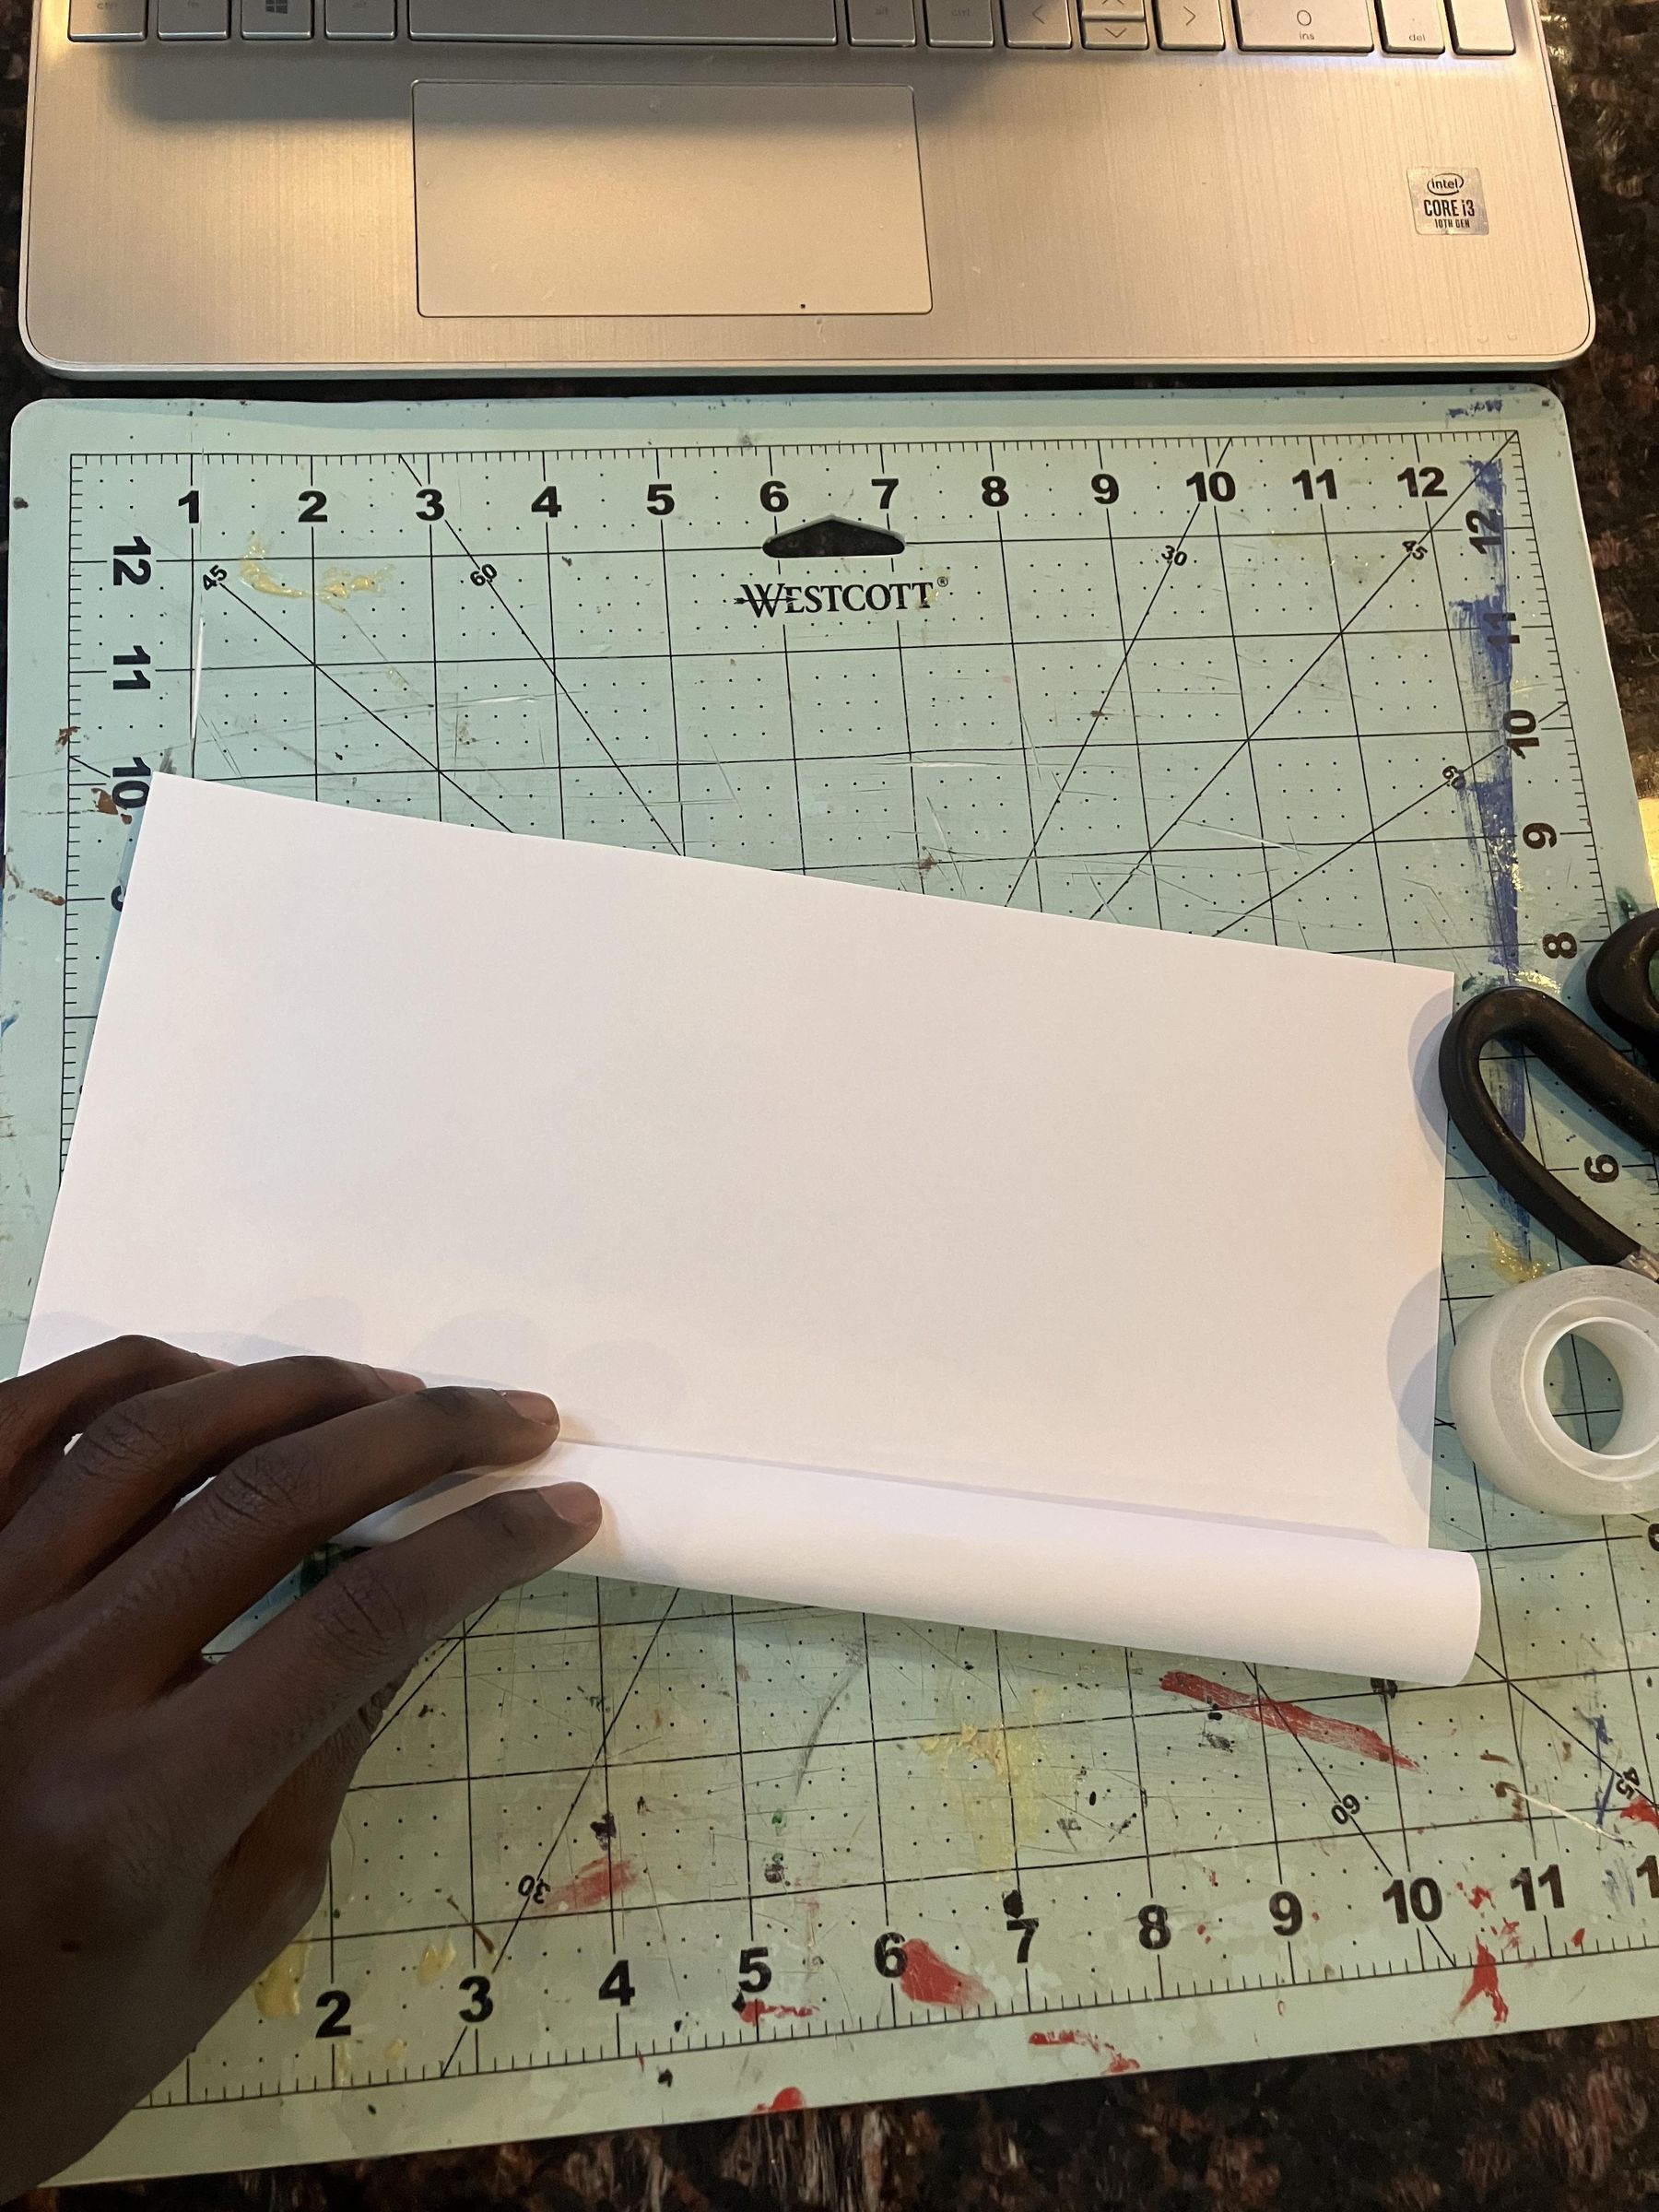
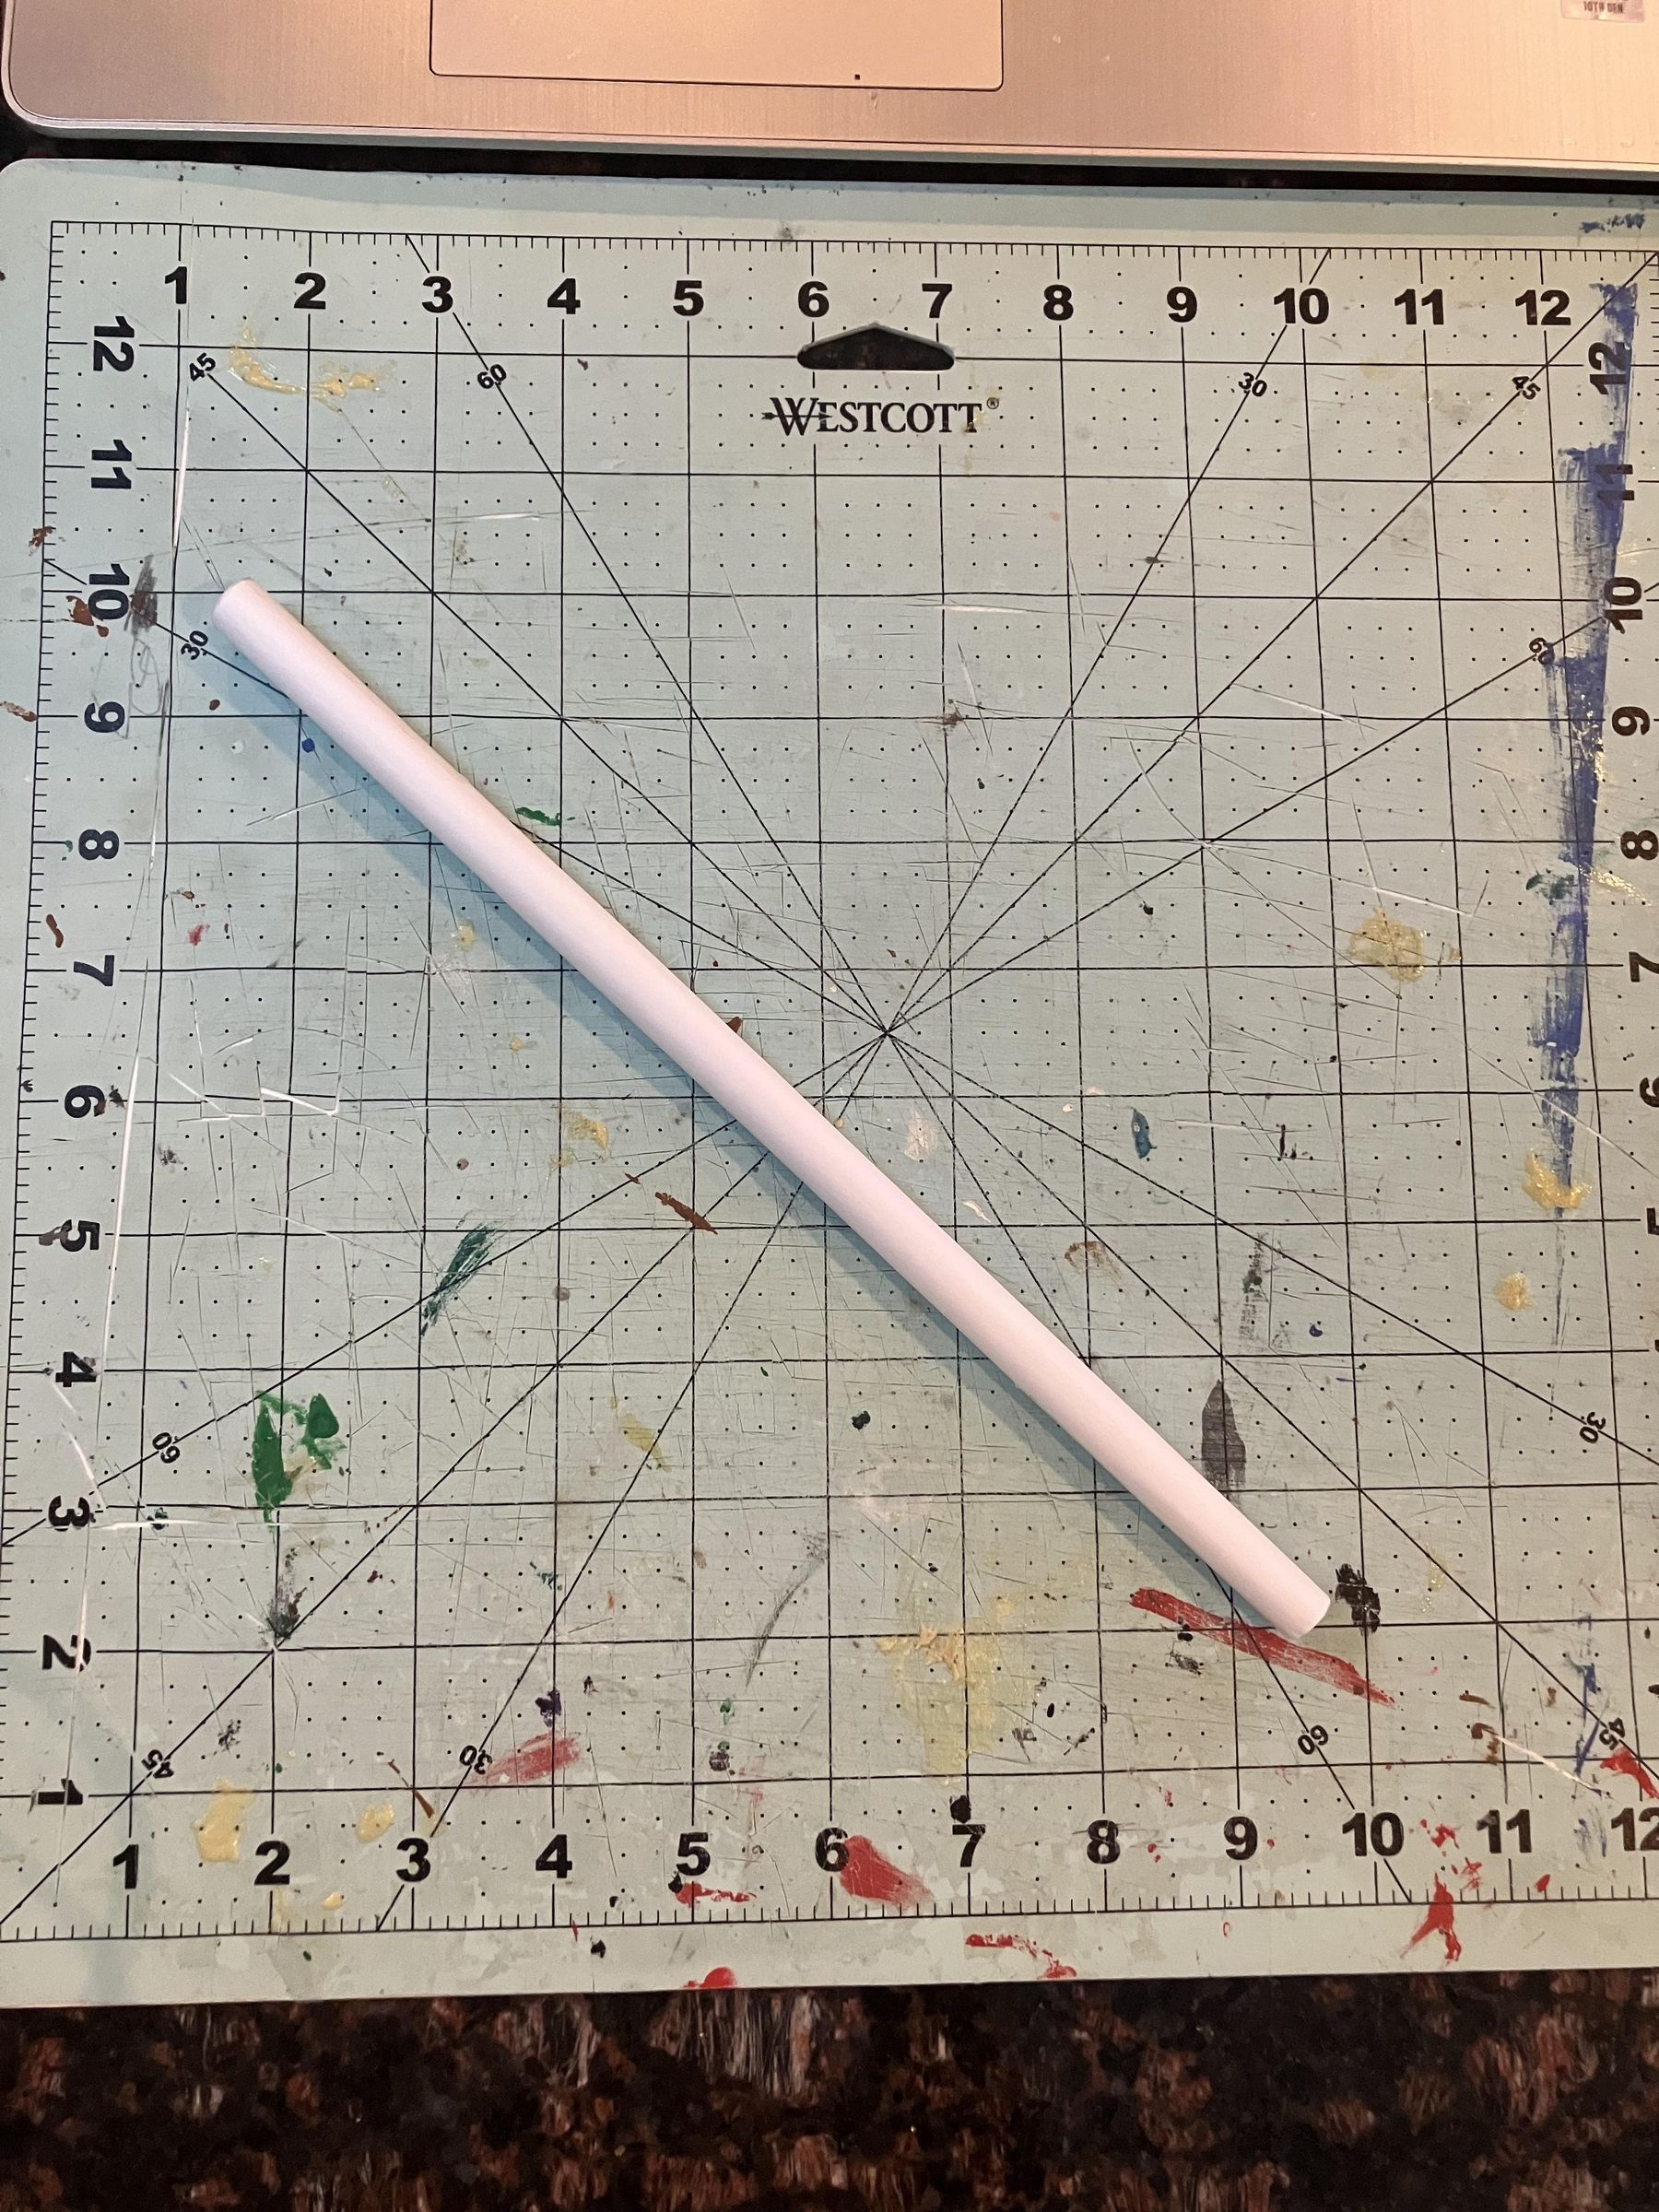
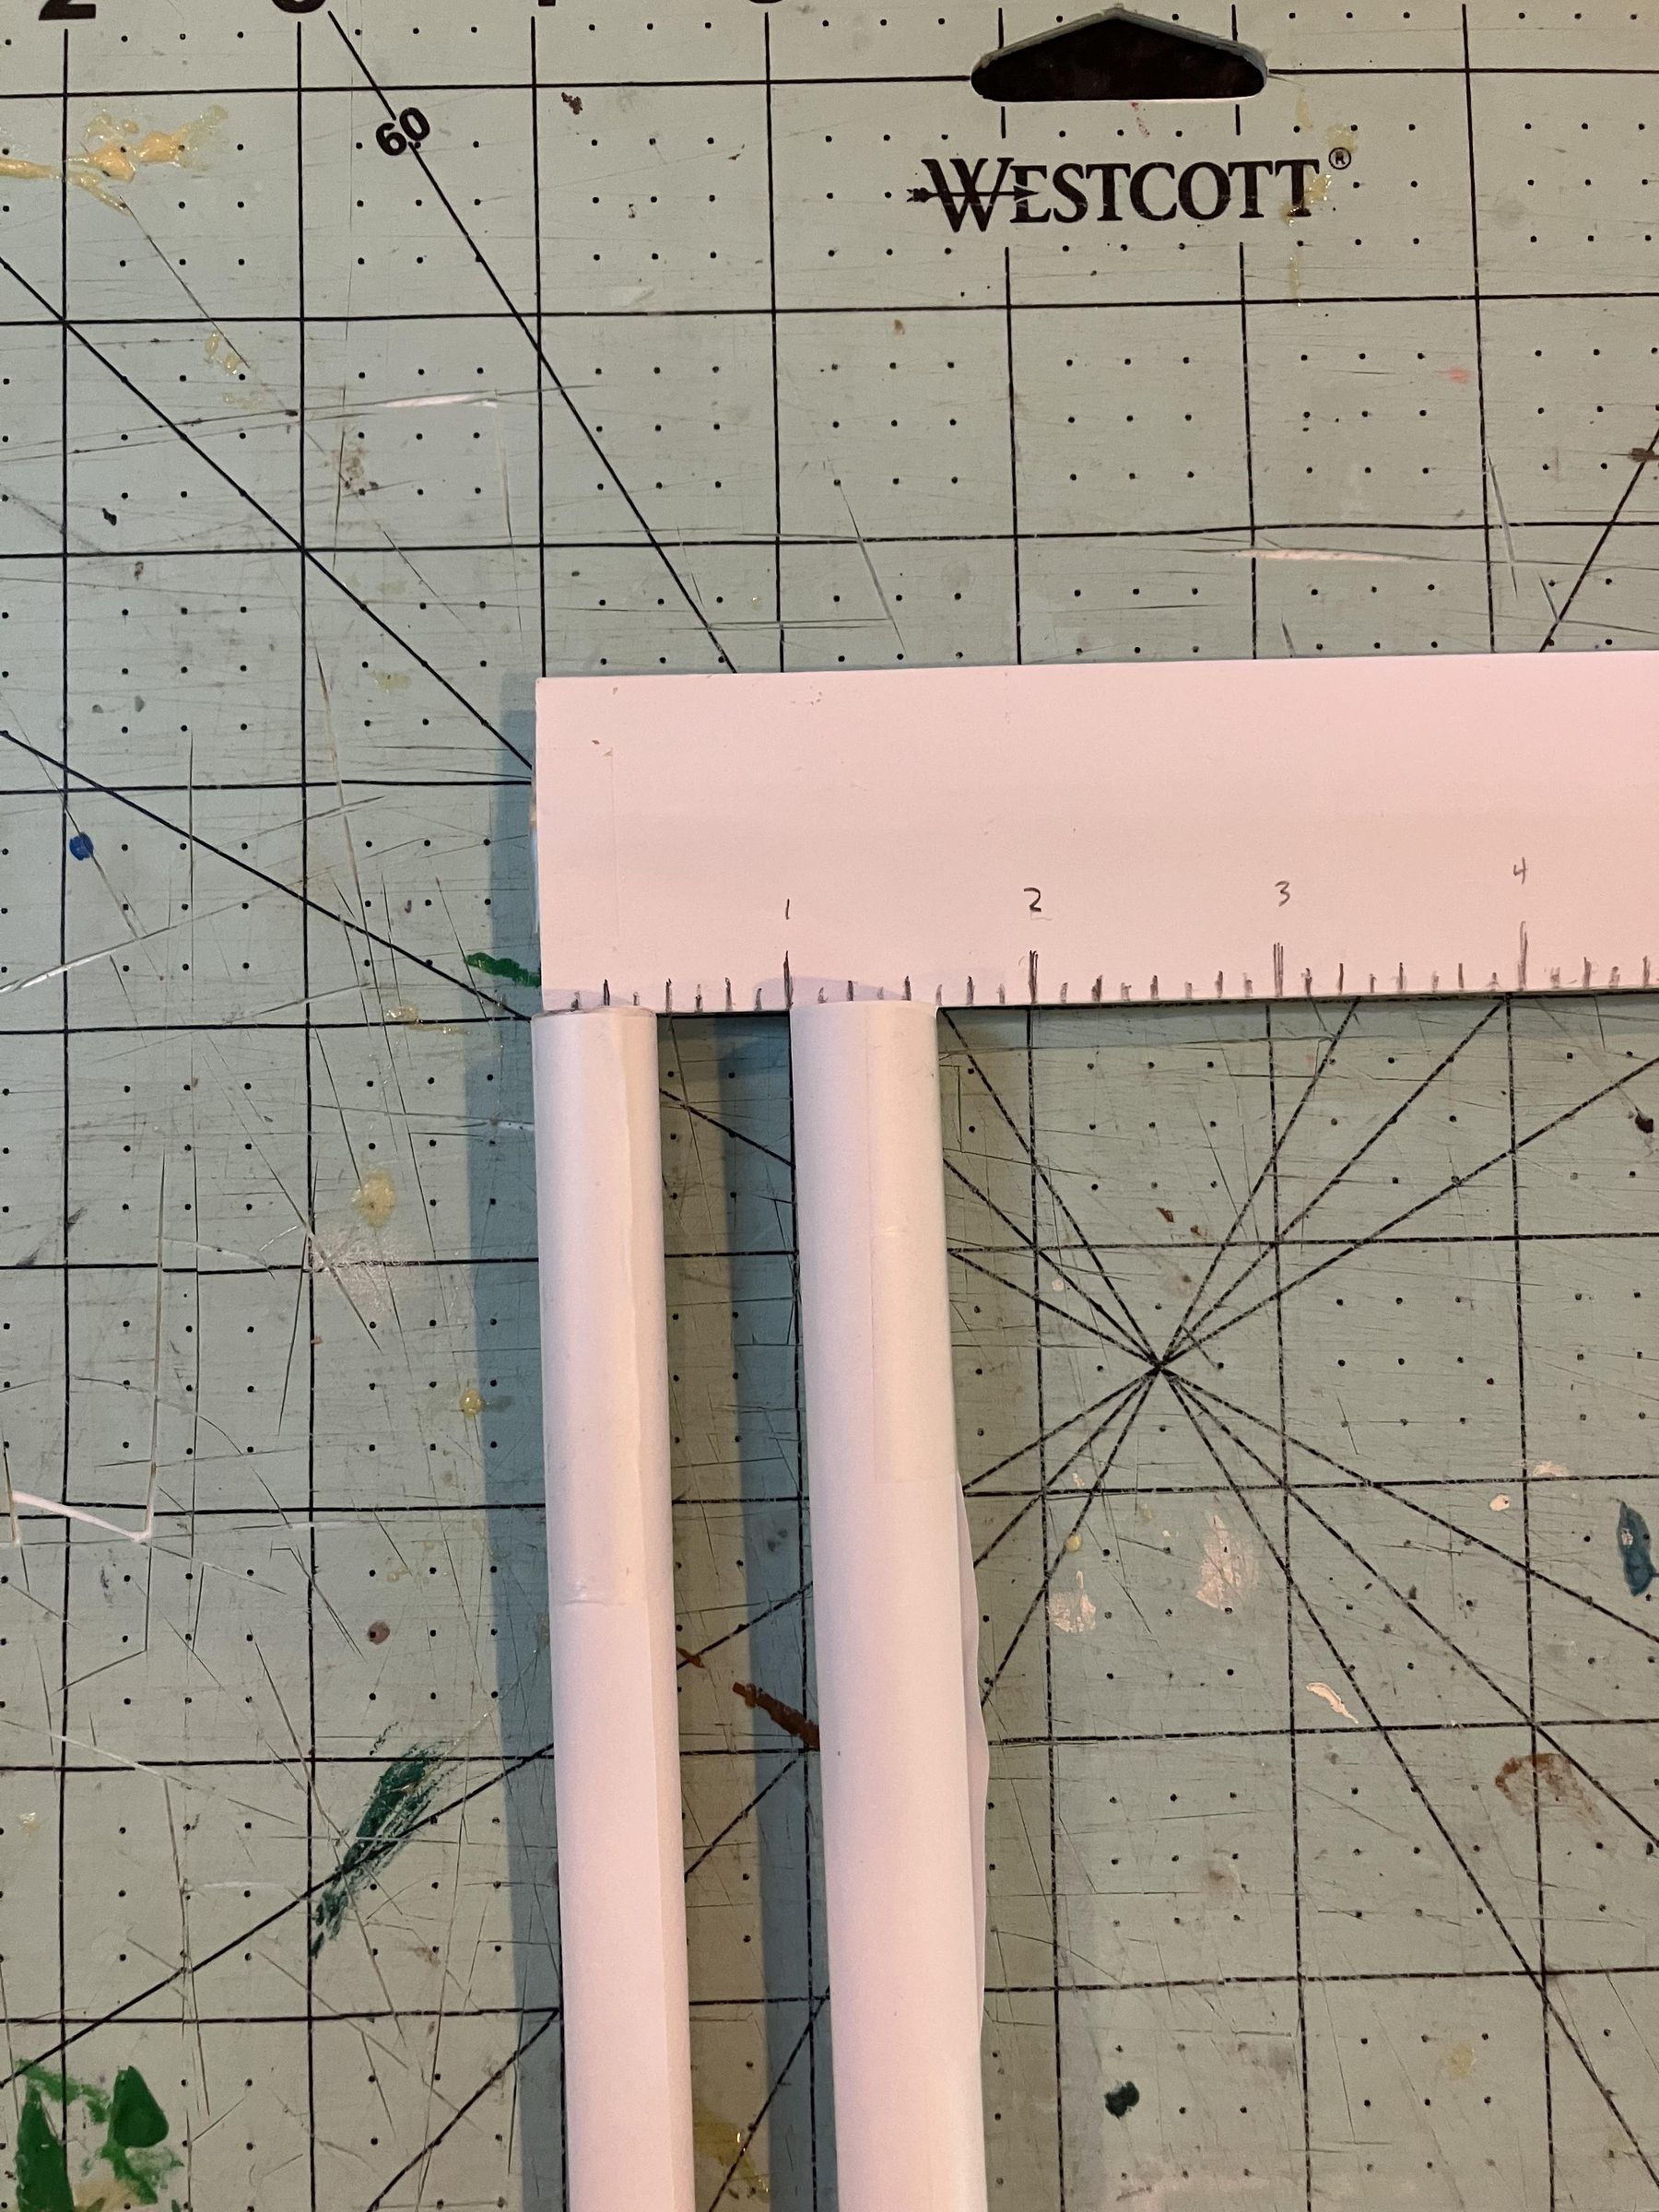
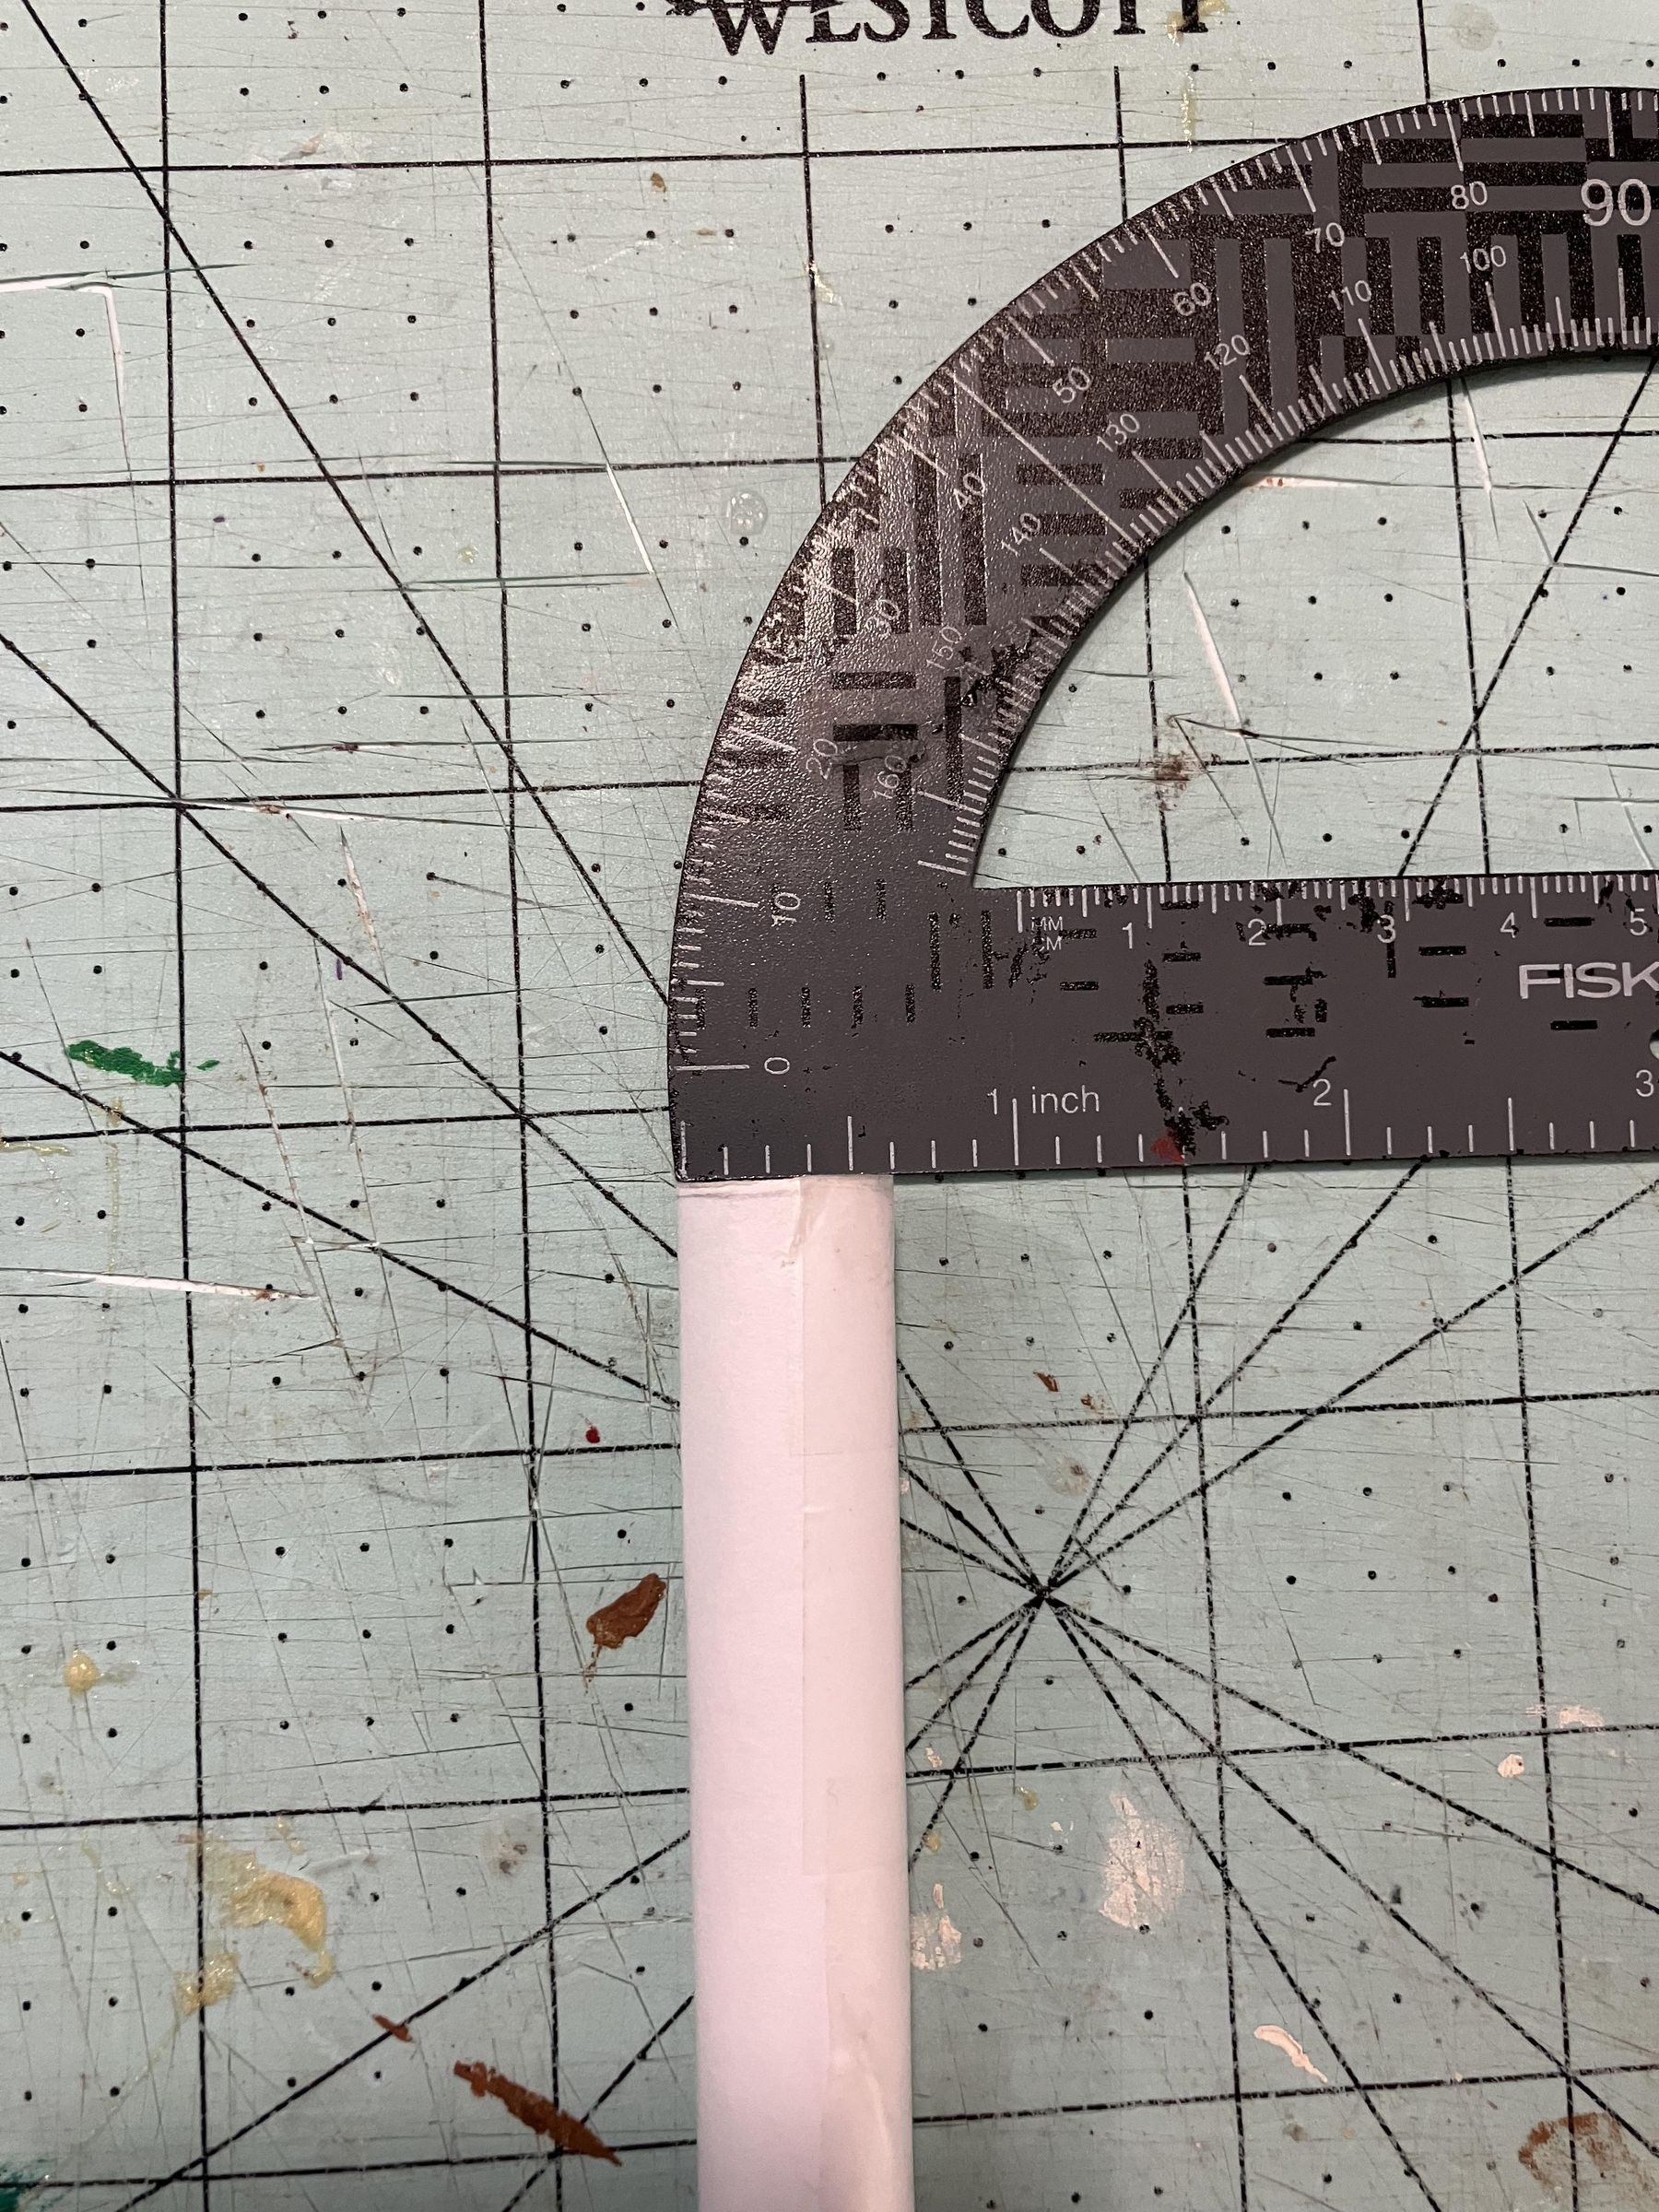
Take a piece of paper and roll it up lengthwise to create a tube with a 0.5-inch diameter. This will be the rotating bar.
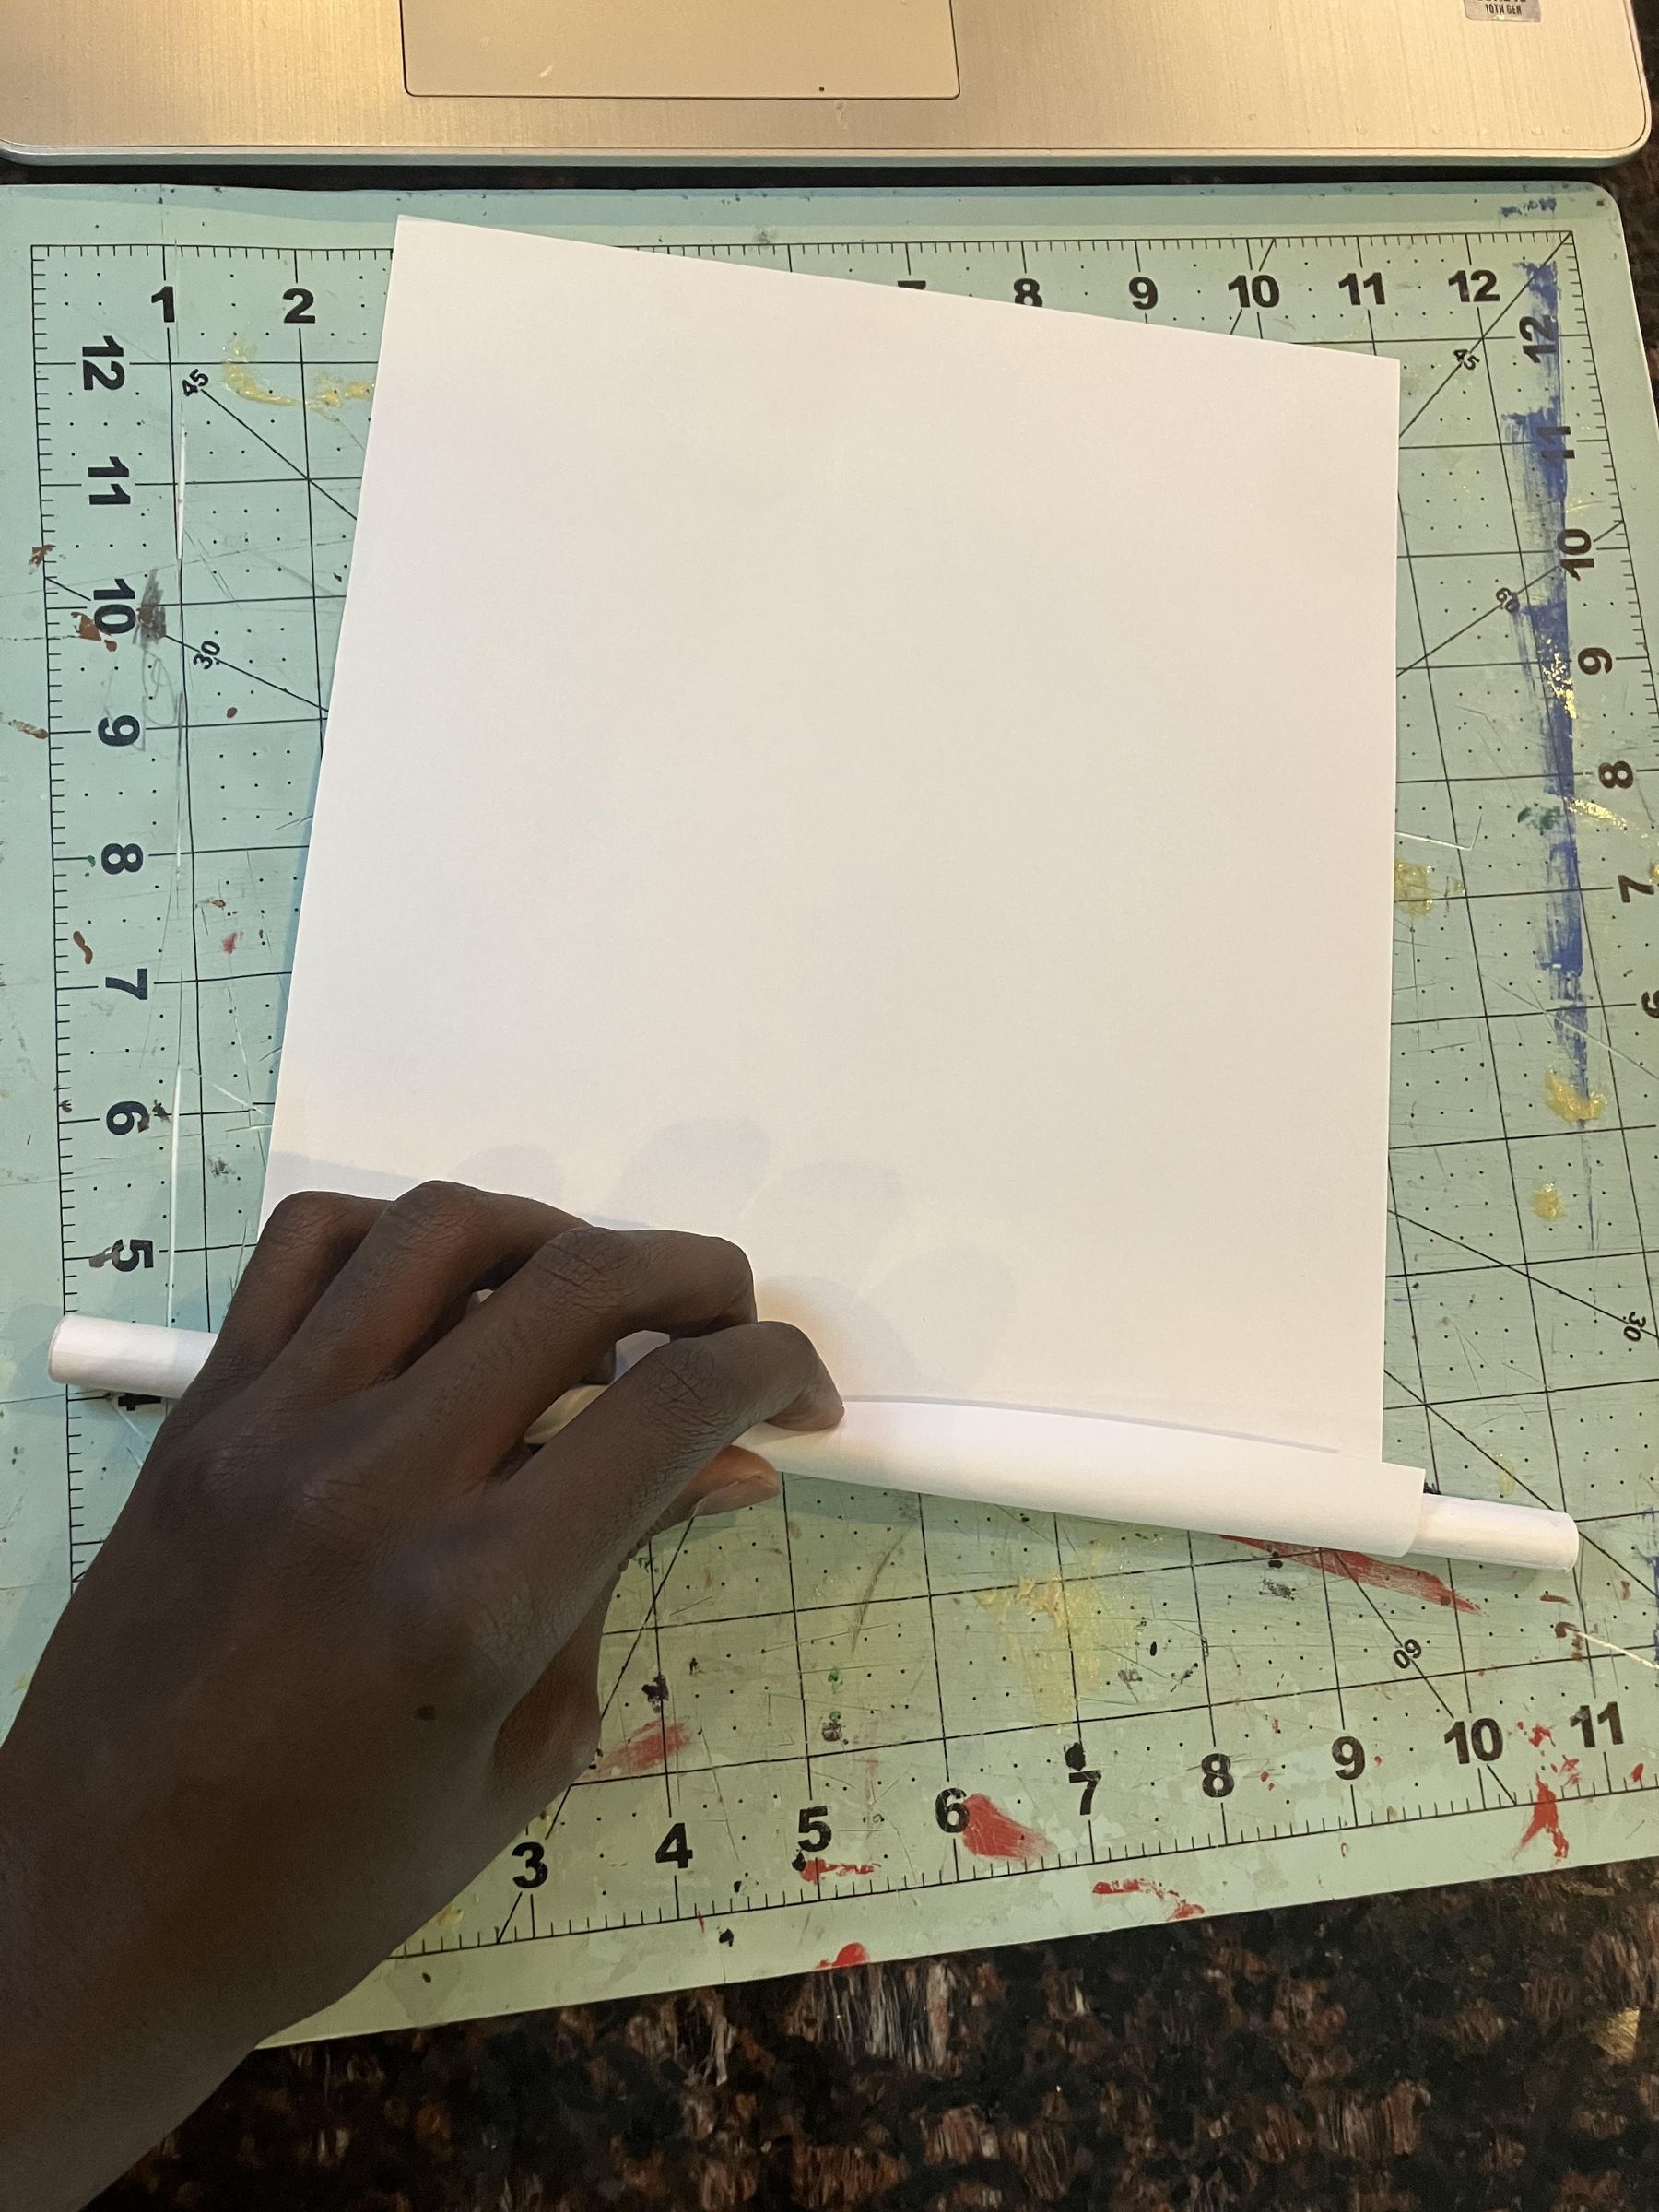
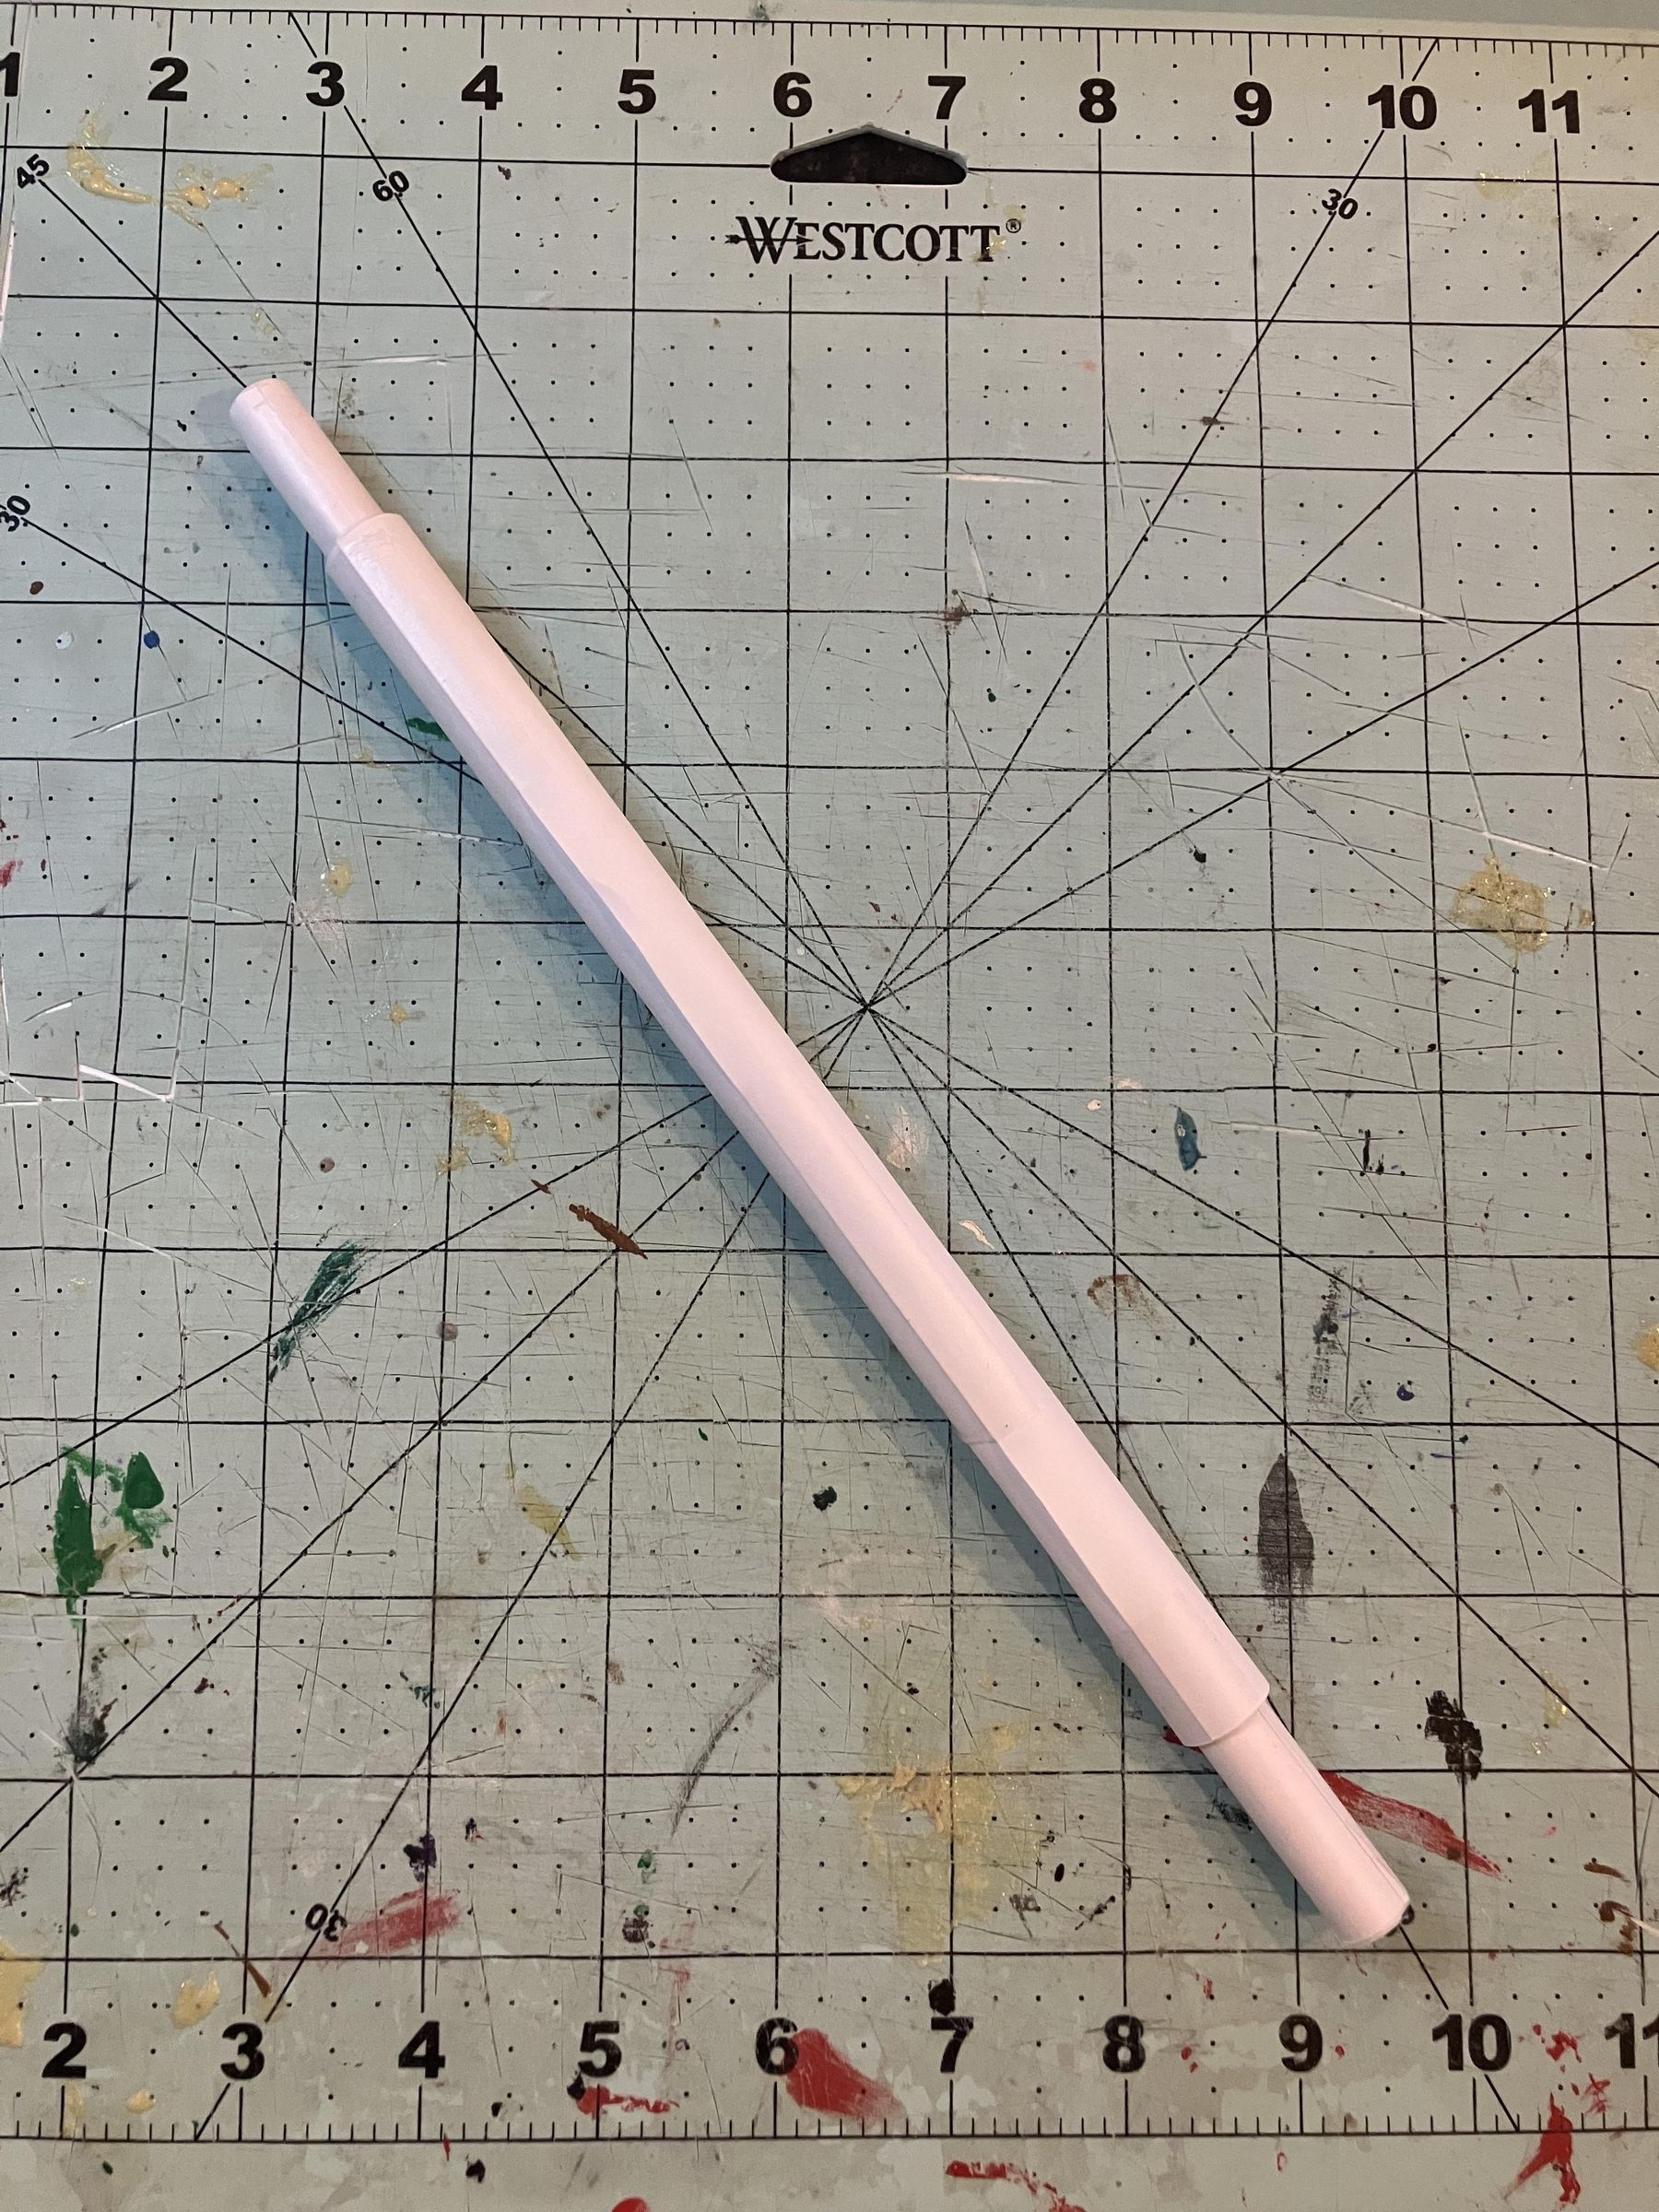
Next, take another sheet of paper and roll it around the first tube in the portrait orientation So that the first tube is longer than the second tube. This second tube will be used to make the sleeves for the rotating bar (what the bar will be spinning inside of).
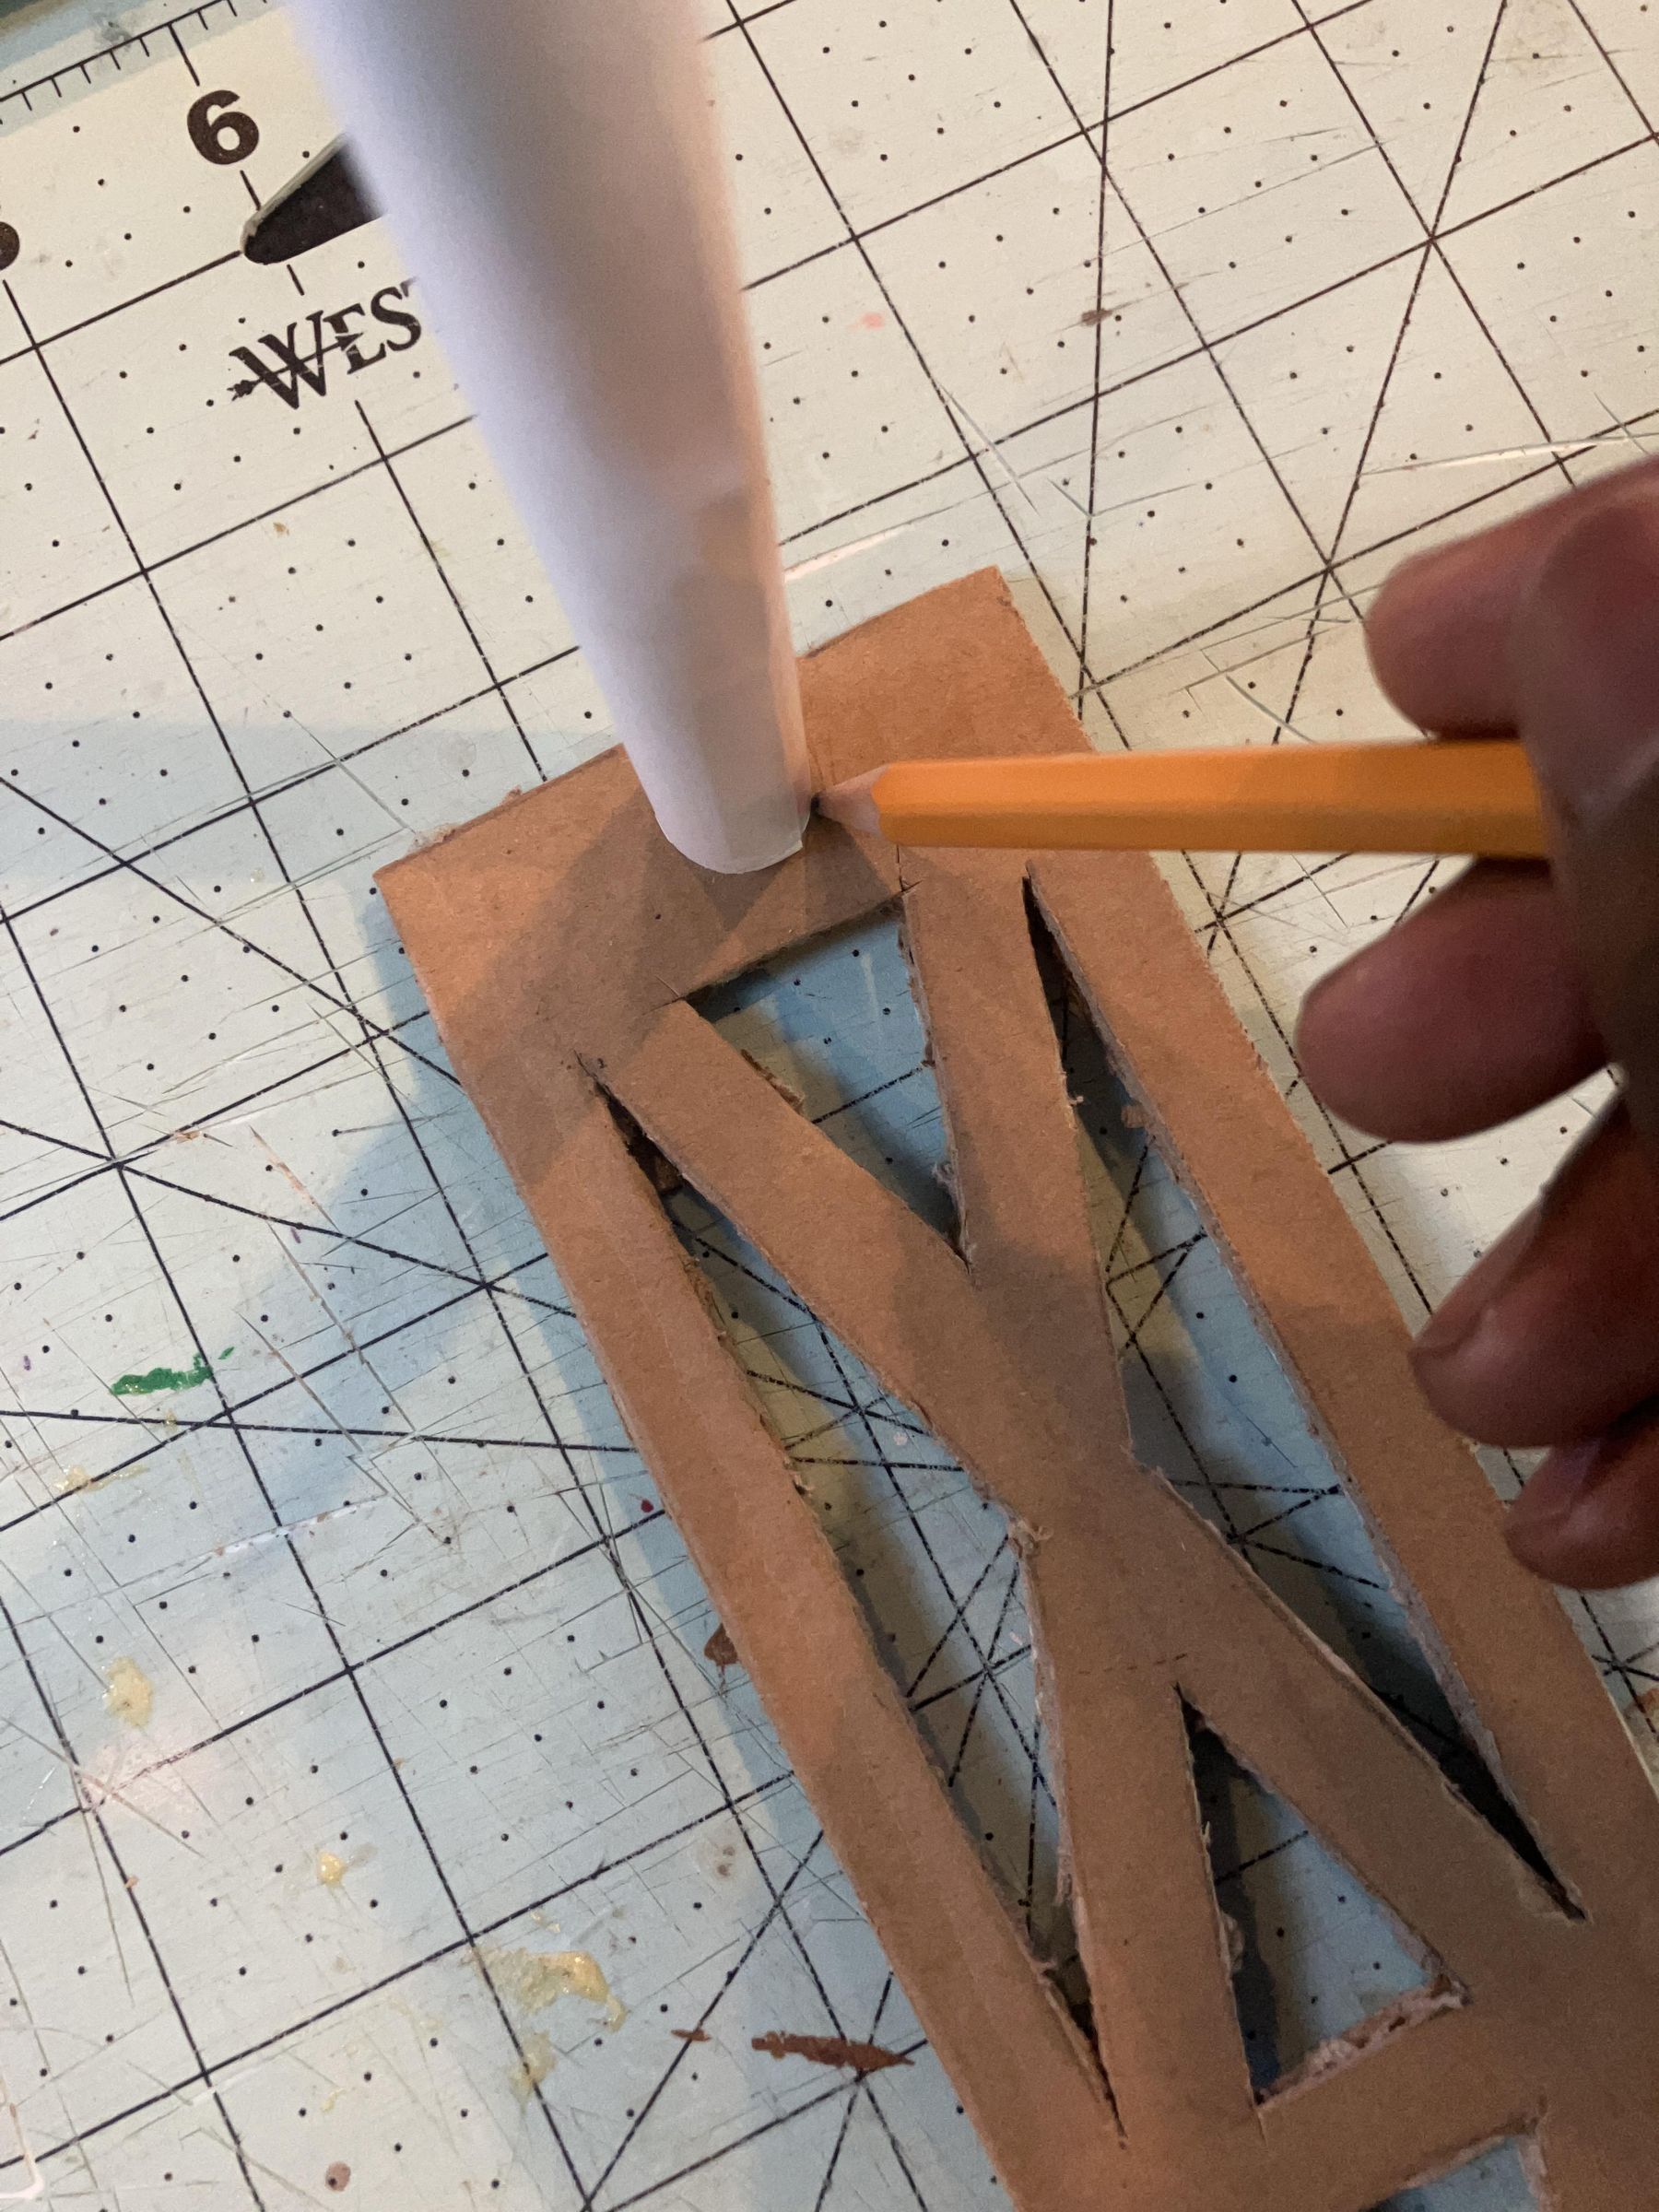
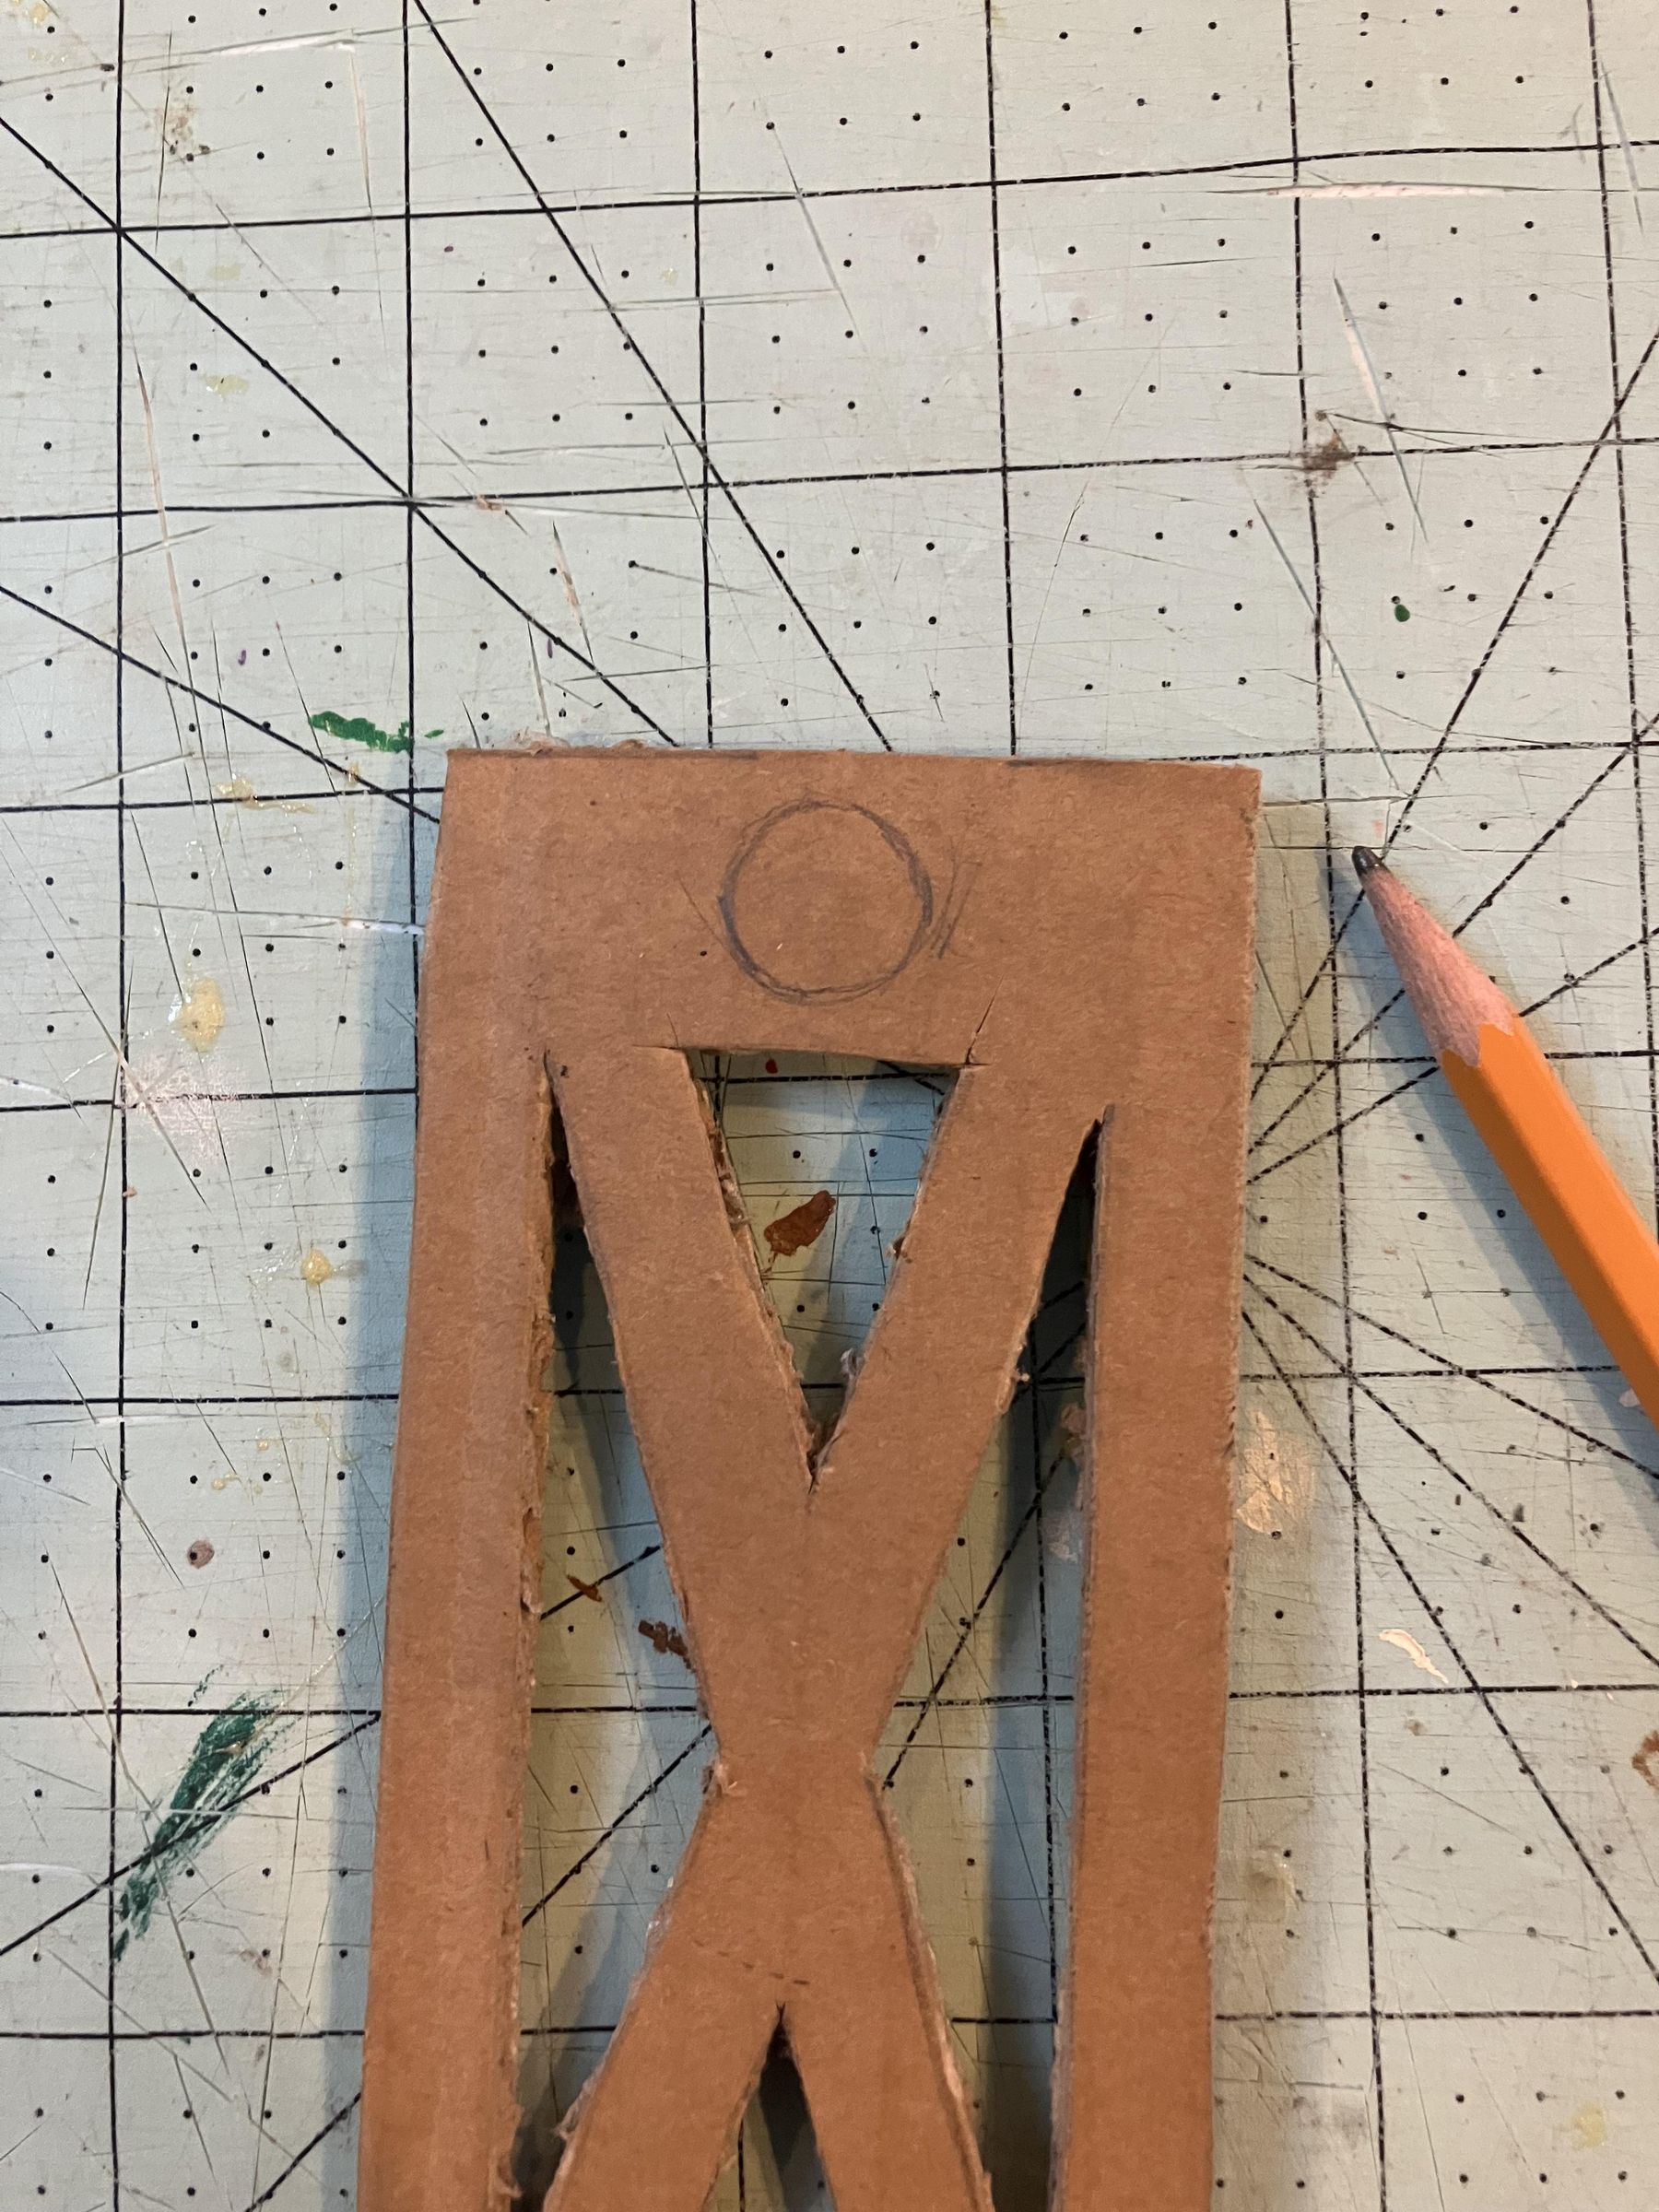
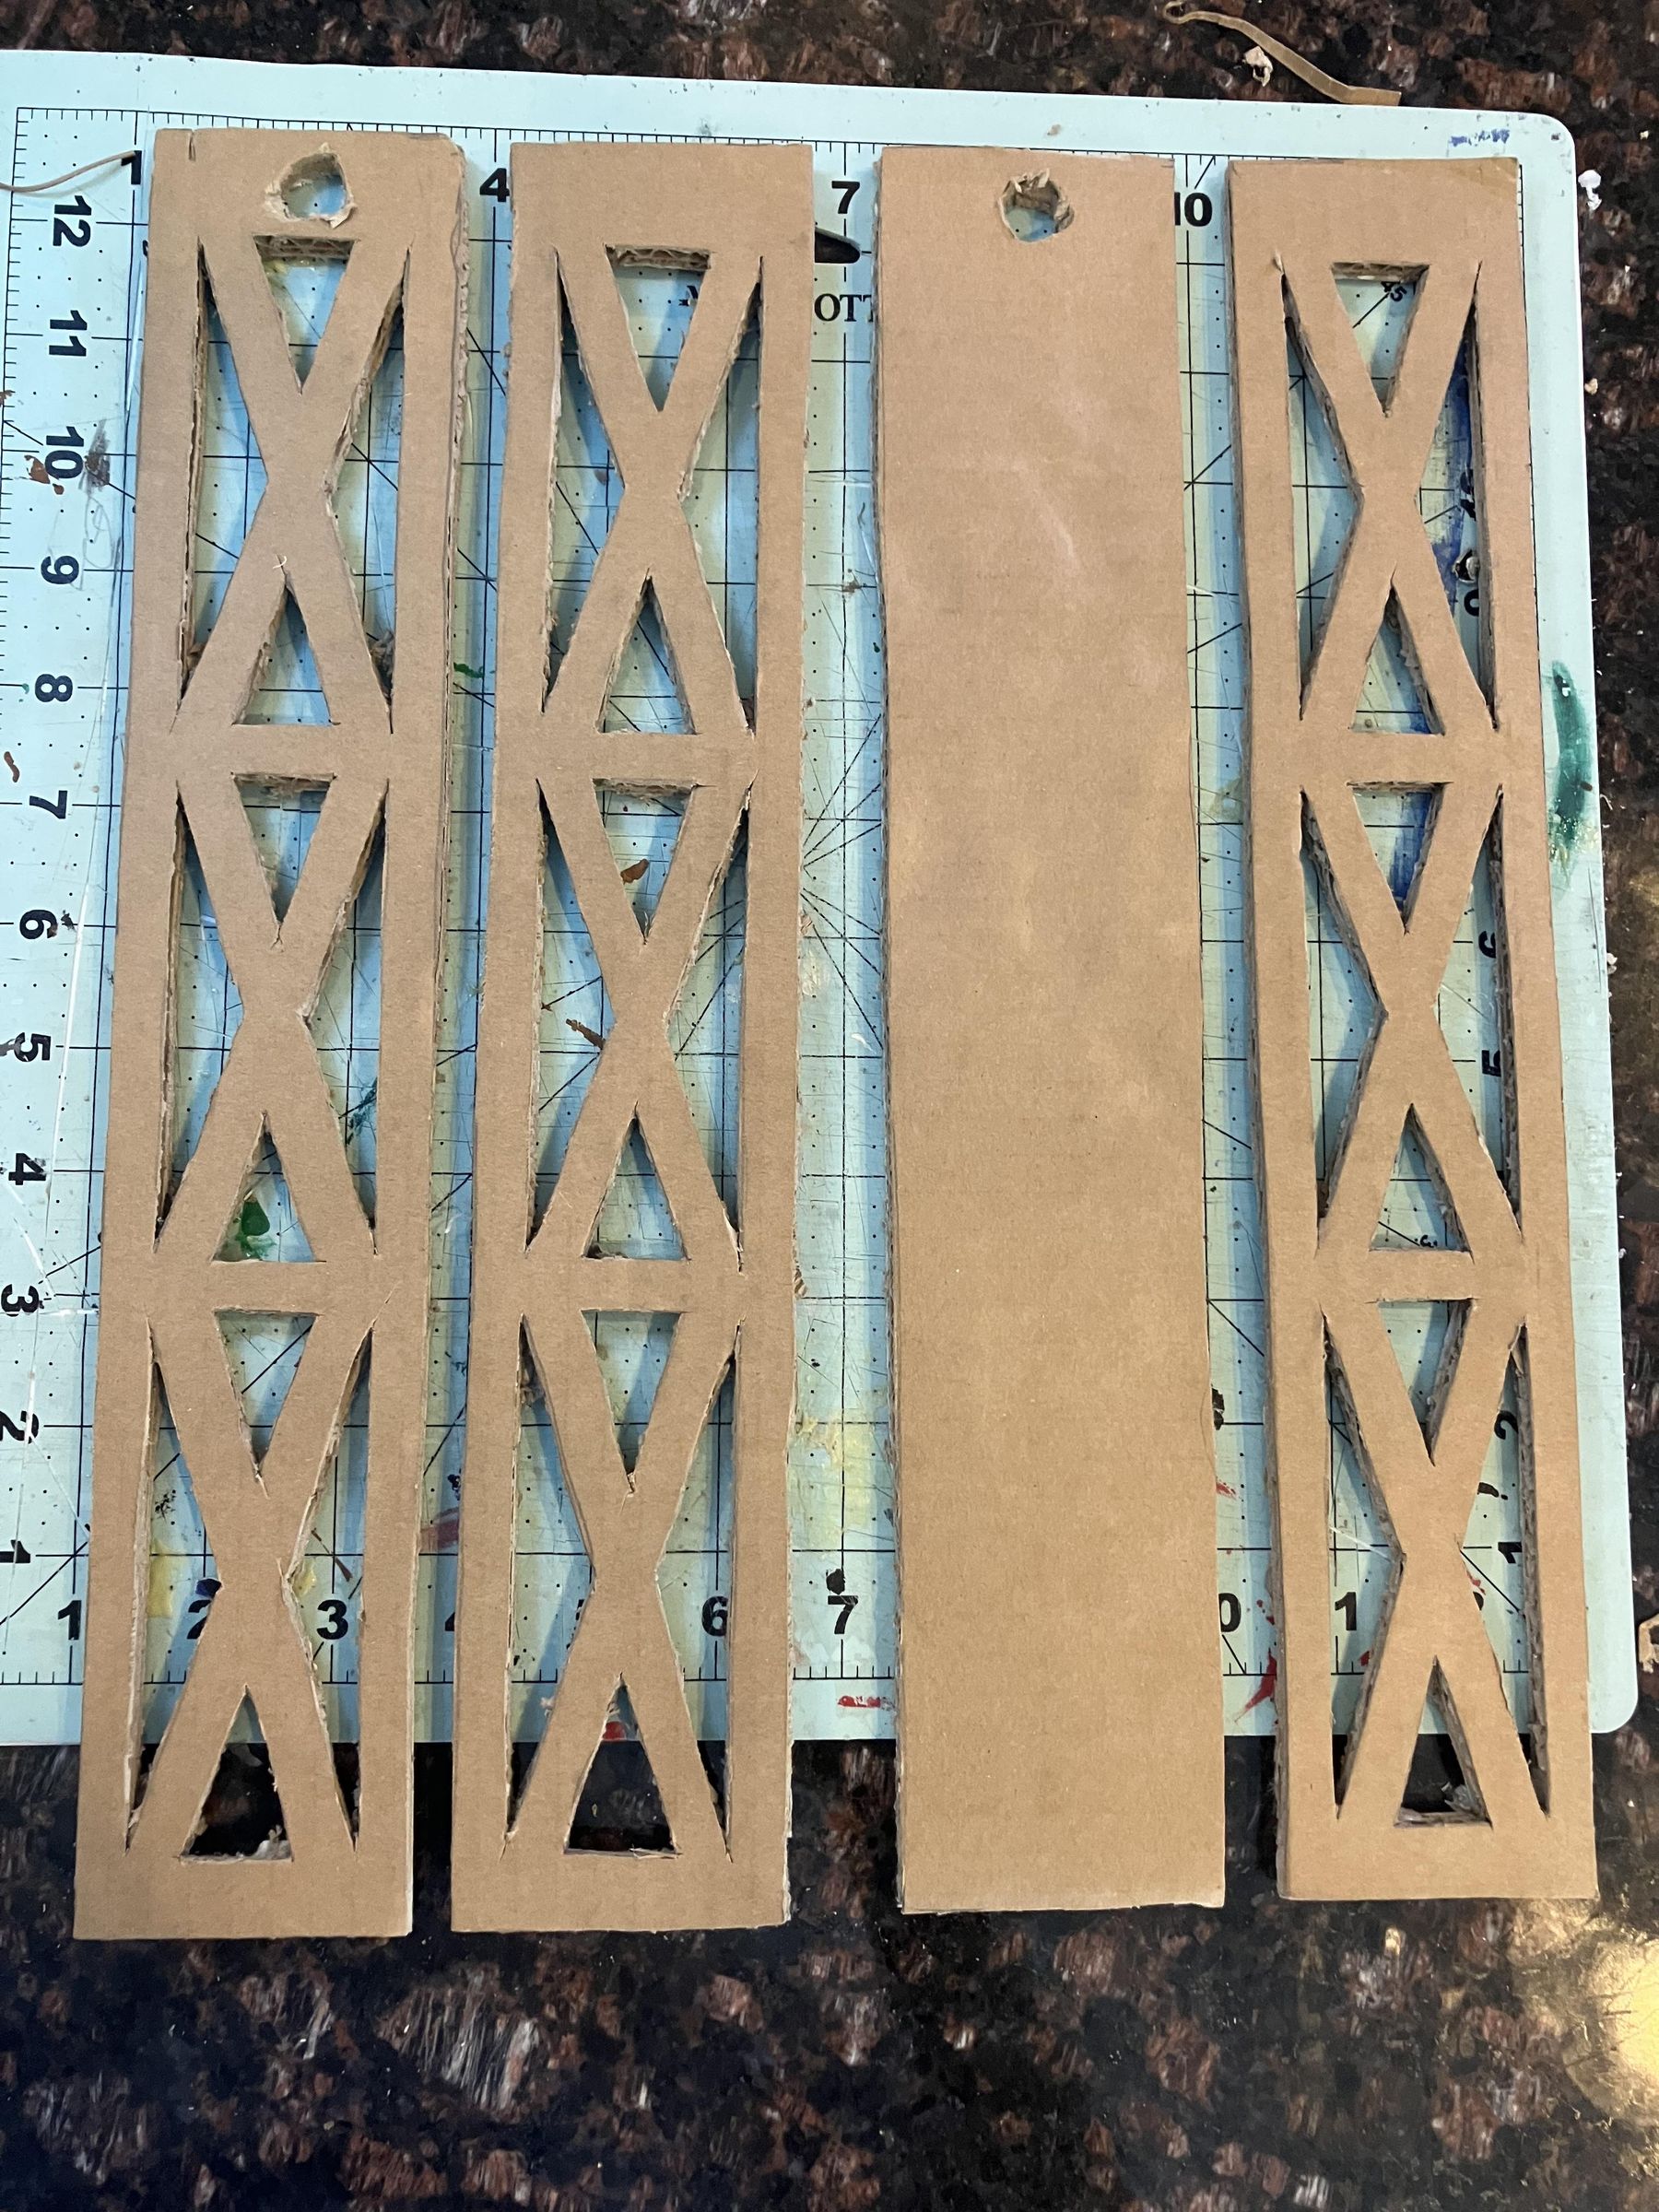
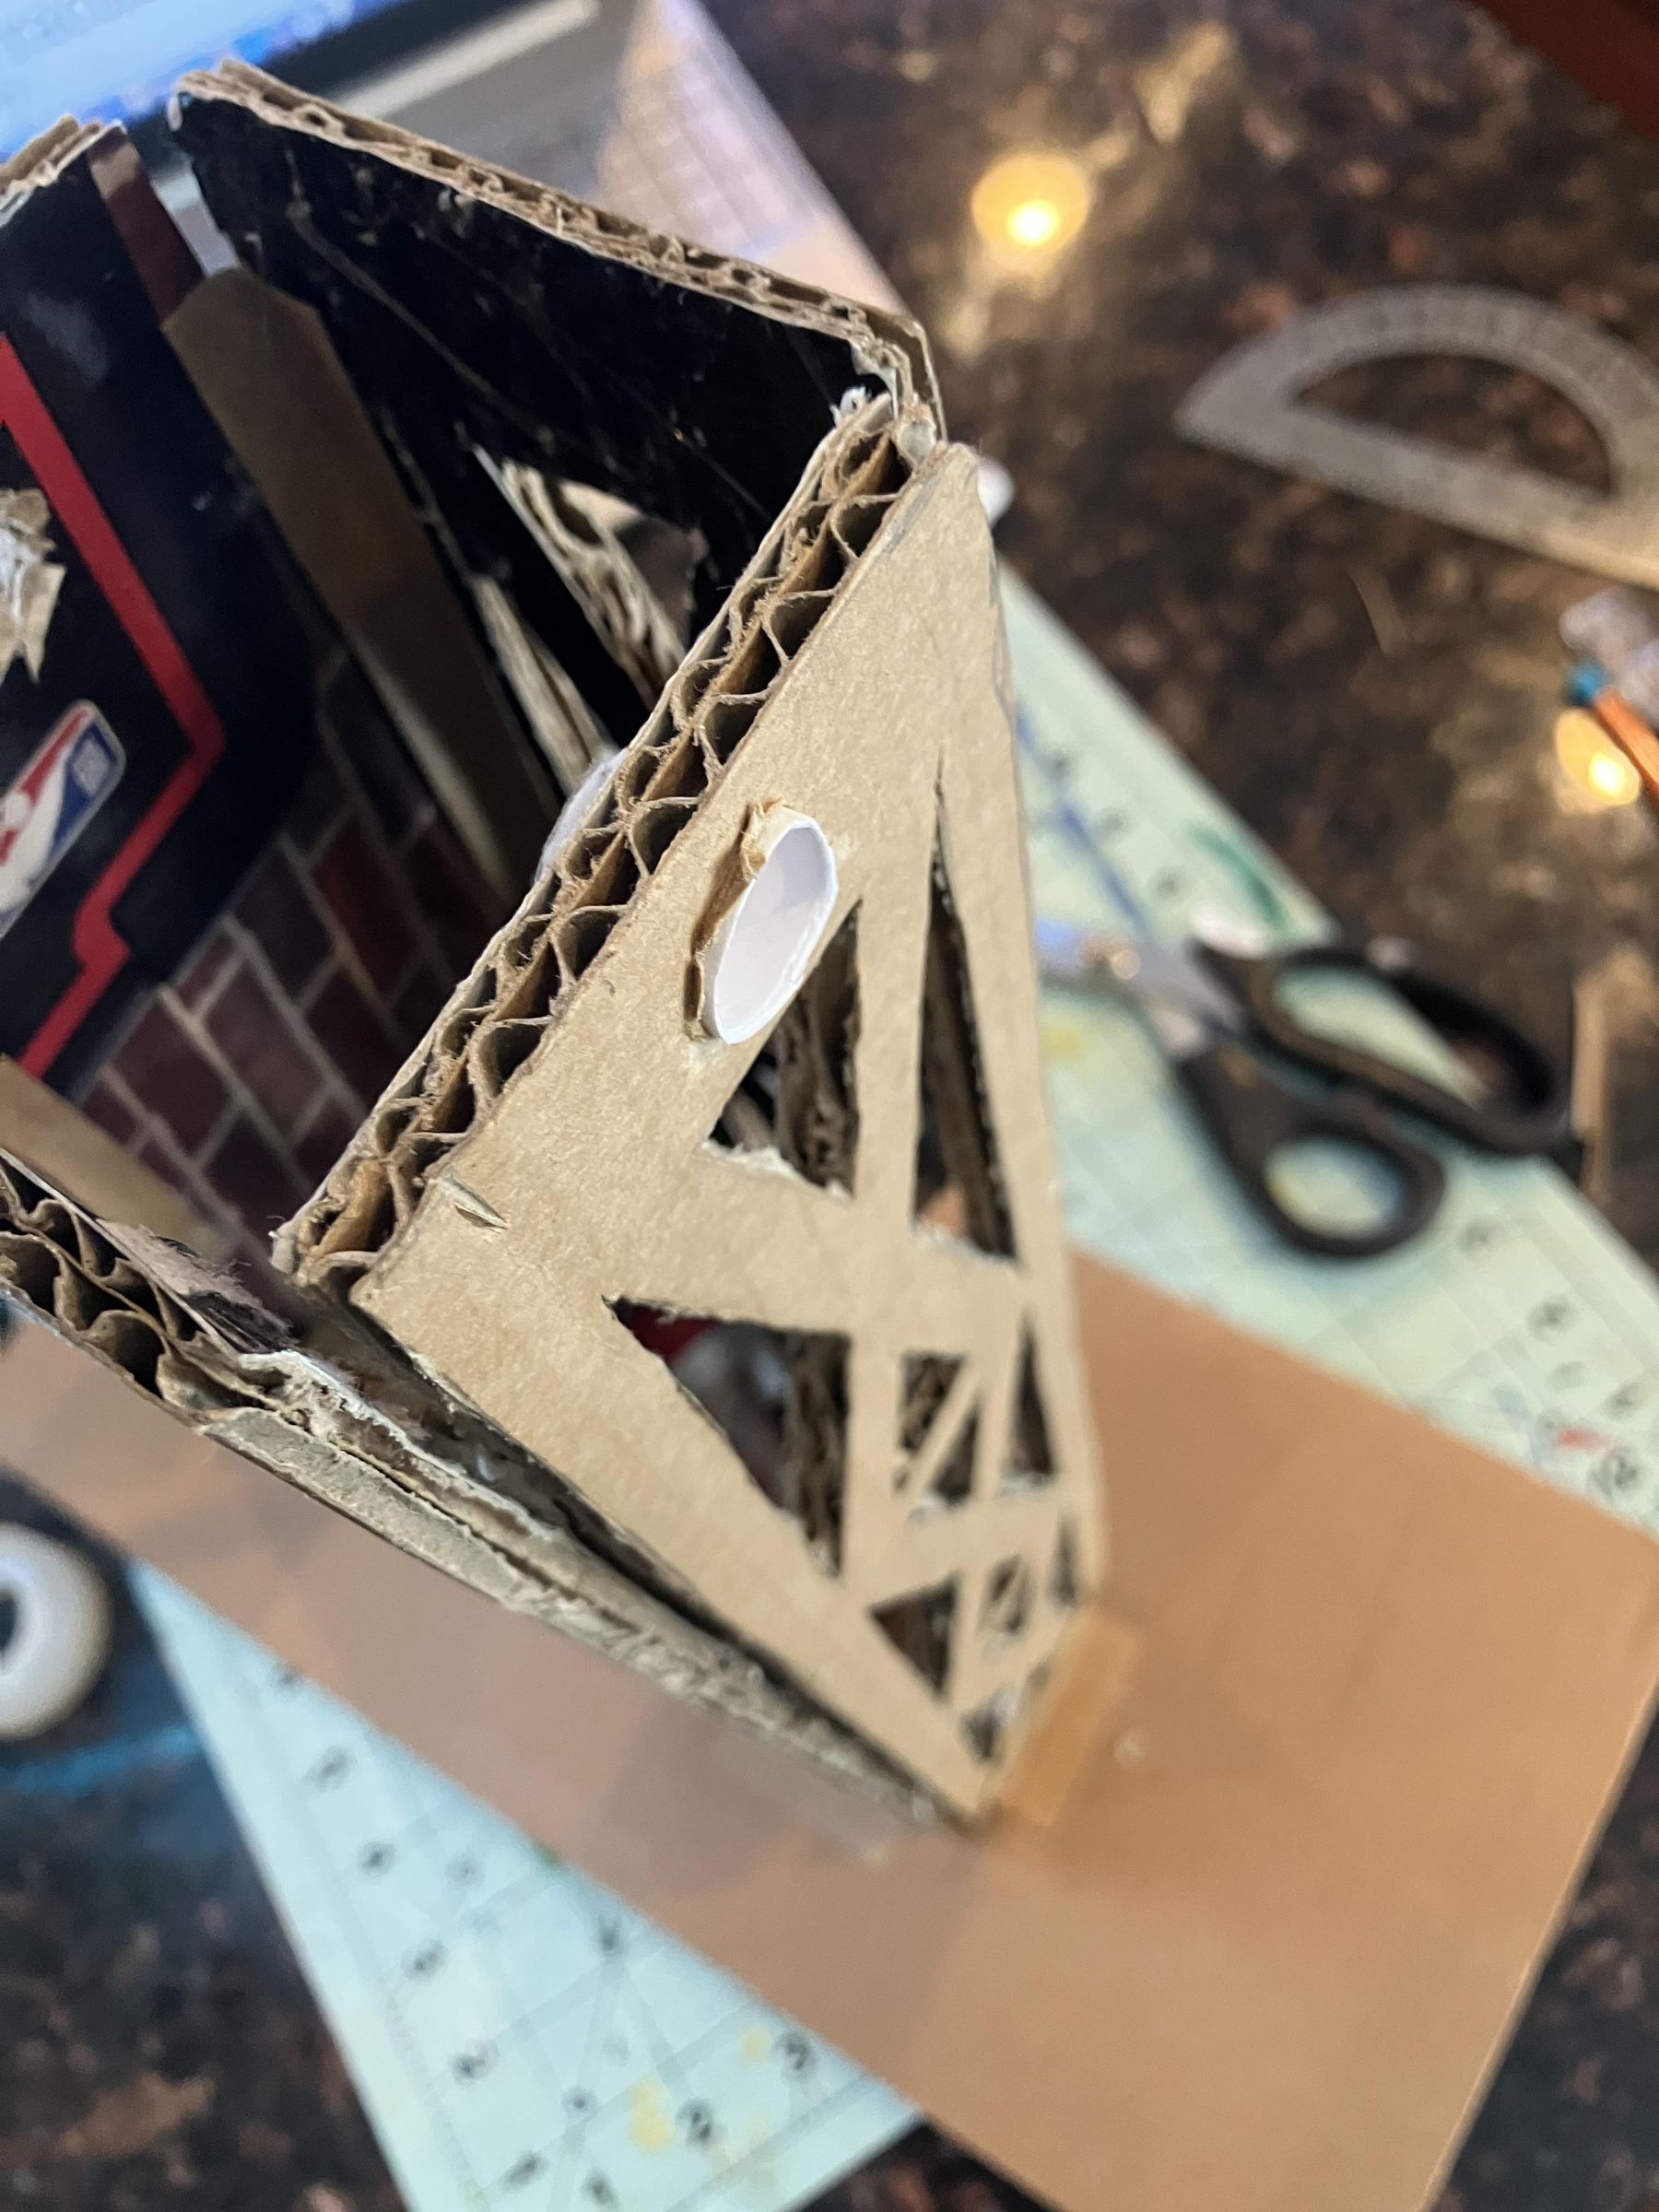
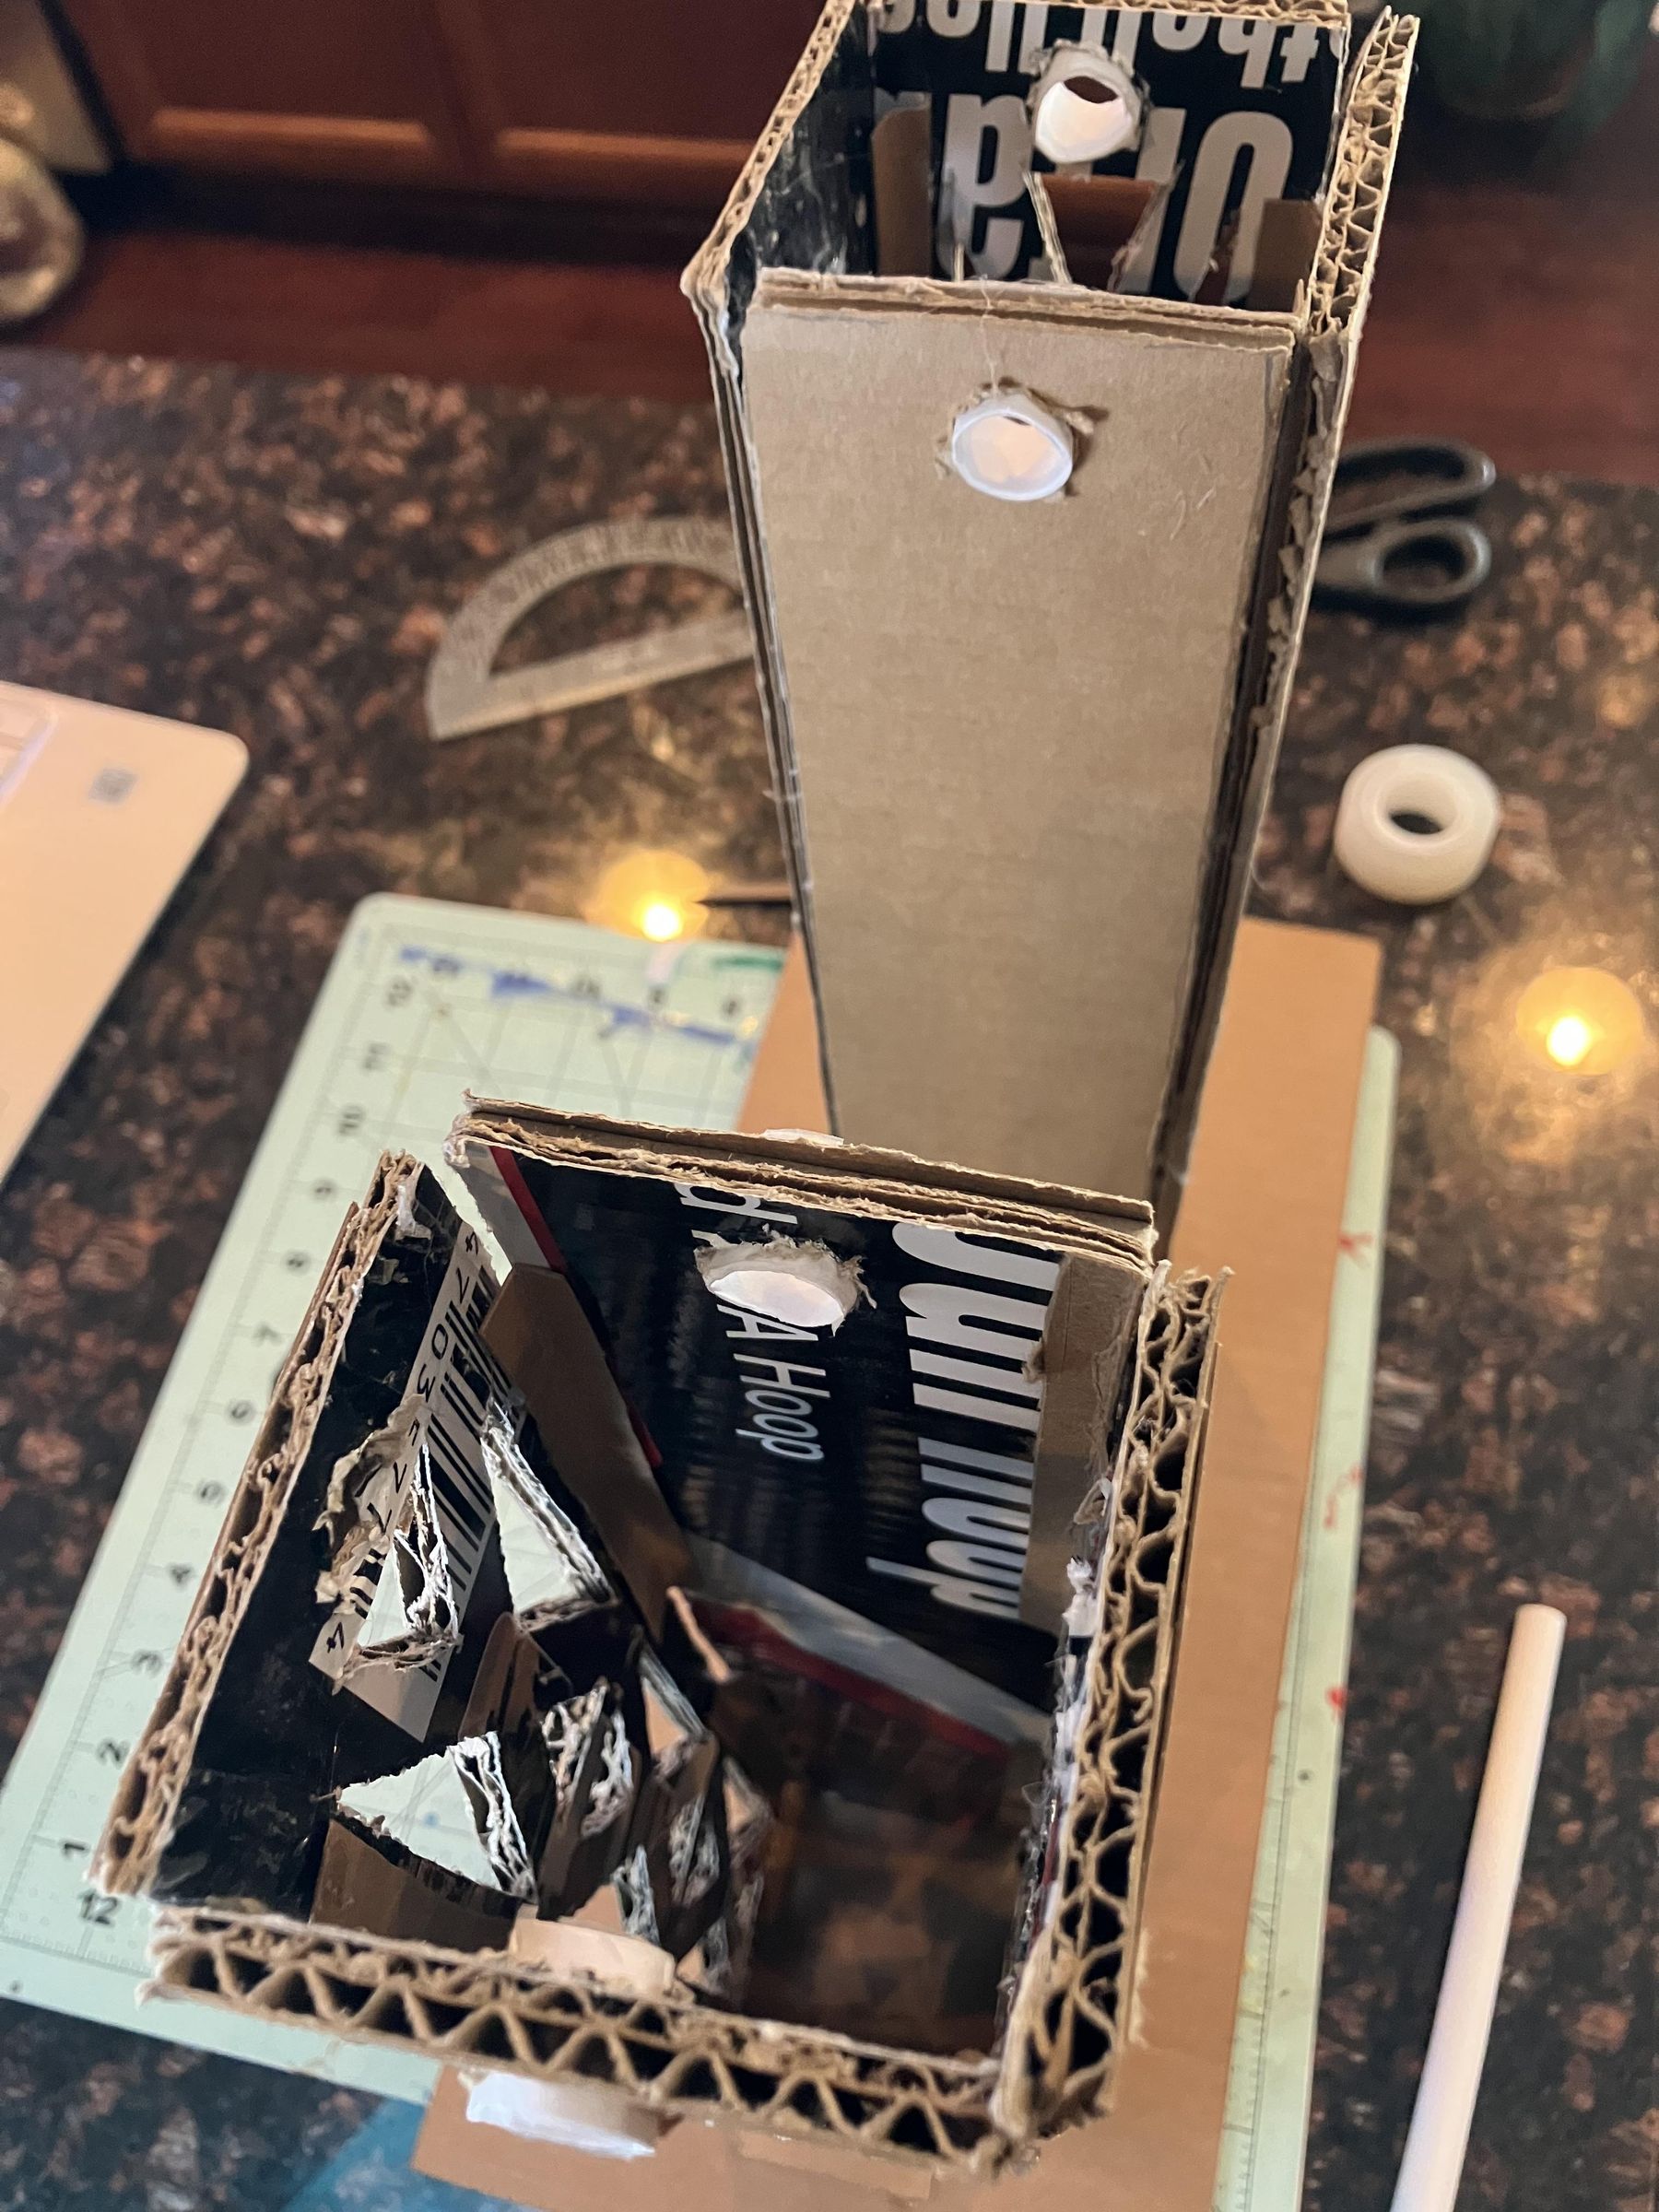
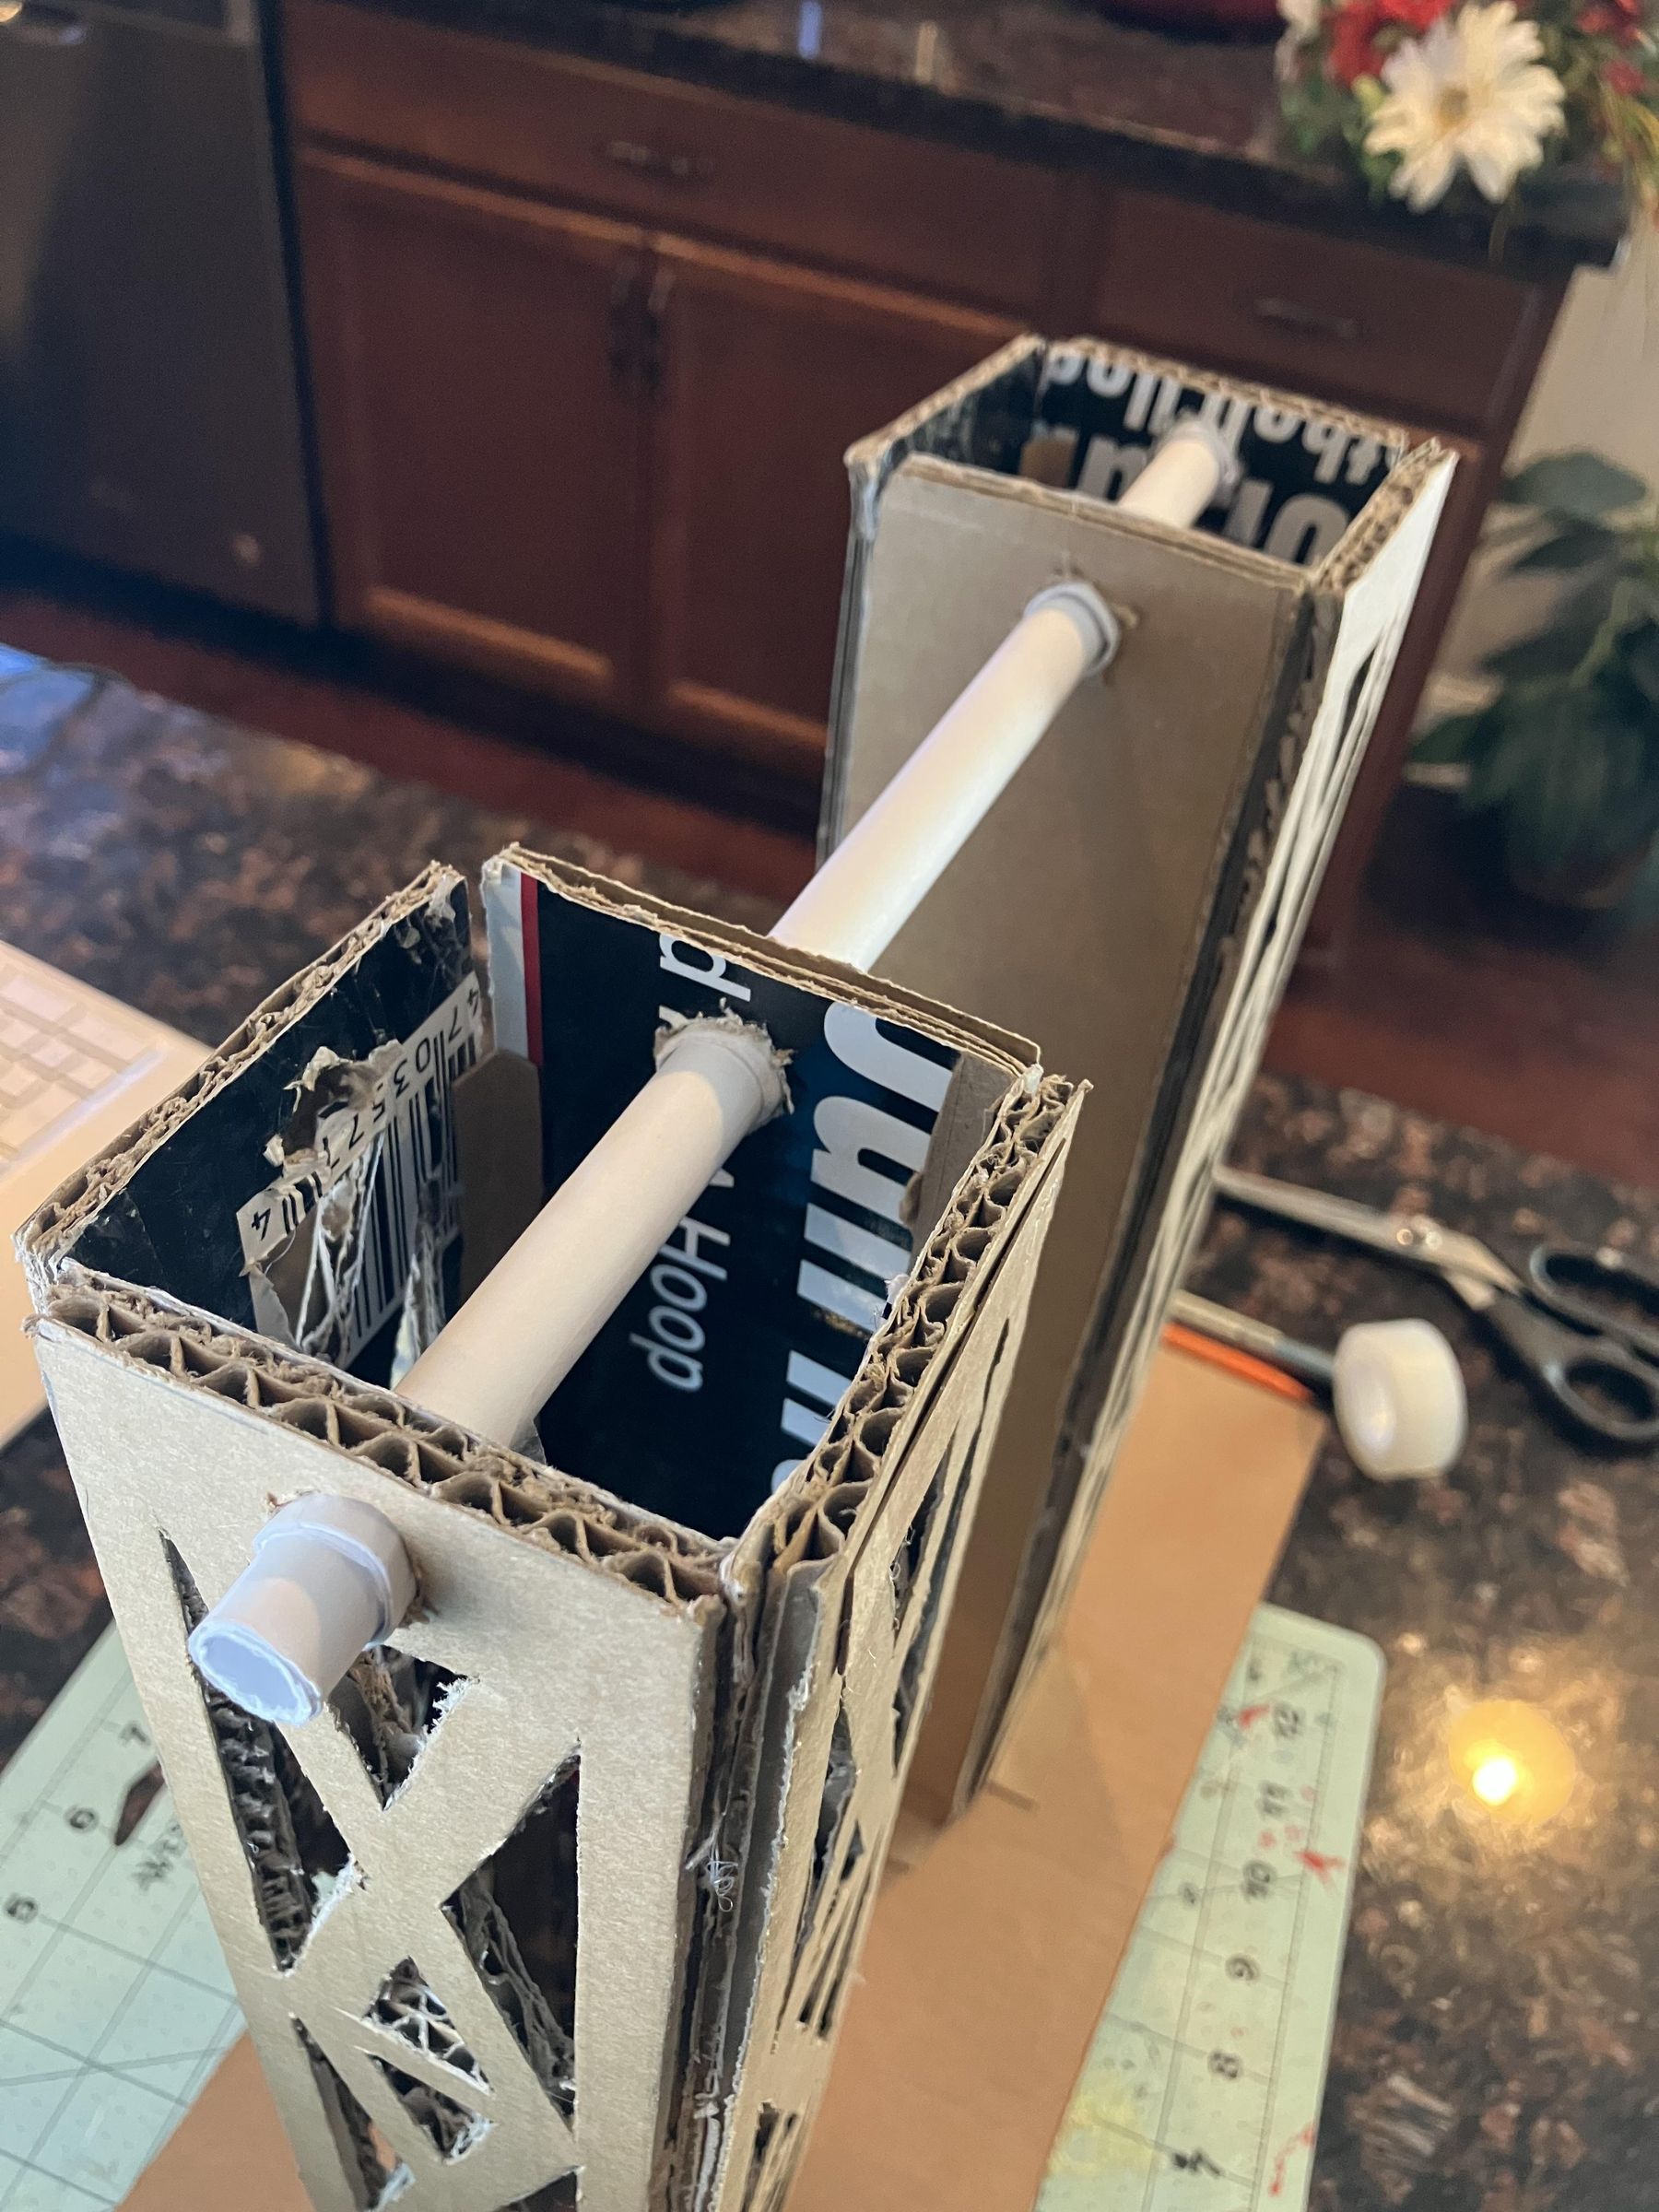
For now, we need use the sleeve to create holes in exactly four of the tower sides. Start by taking a tower side and tracing the circumference of one end of the sleeve onto the open space at the top of the tower side. Then, take scissors and cut out the hole sketch. The hole should be big enough for the sleeve to fit through, as you see in one of the photos above. Do this process to 2 of the patterned tower sides and to both of the blank tower sides. The rotating bar will go through these.
You should now have:
- 4 patterned tower sides without holes.
- 2 patterned tower sides with holes.
- 2 non-patterned tower sides with holes.
Now we can move on to actually constructing the tower.
Connecting the Tower Sides
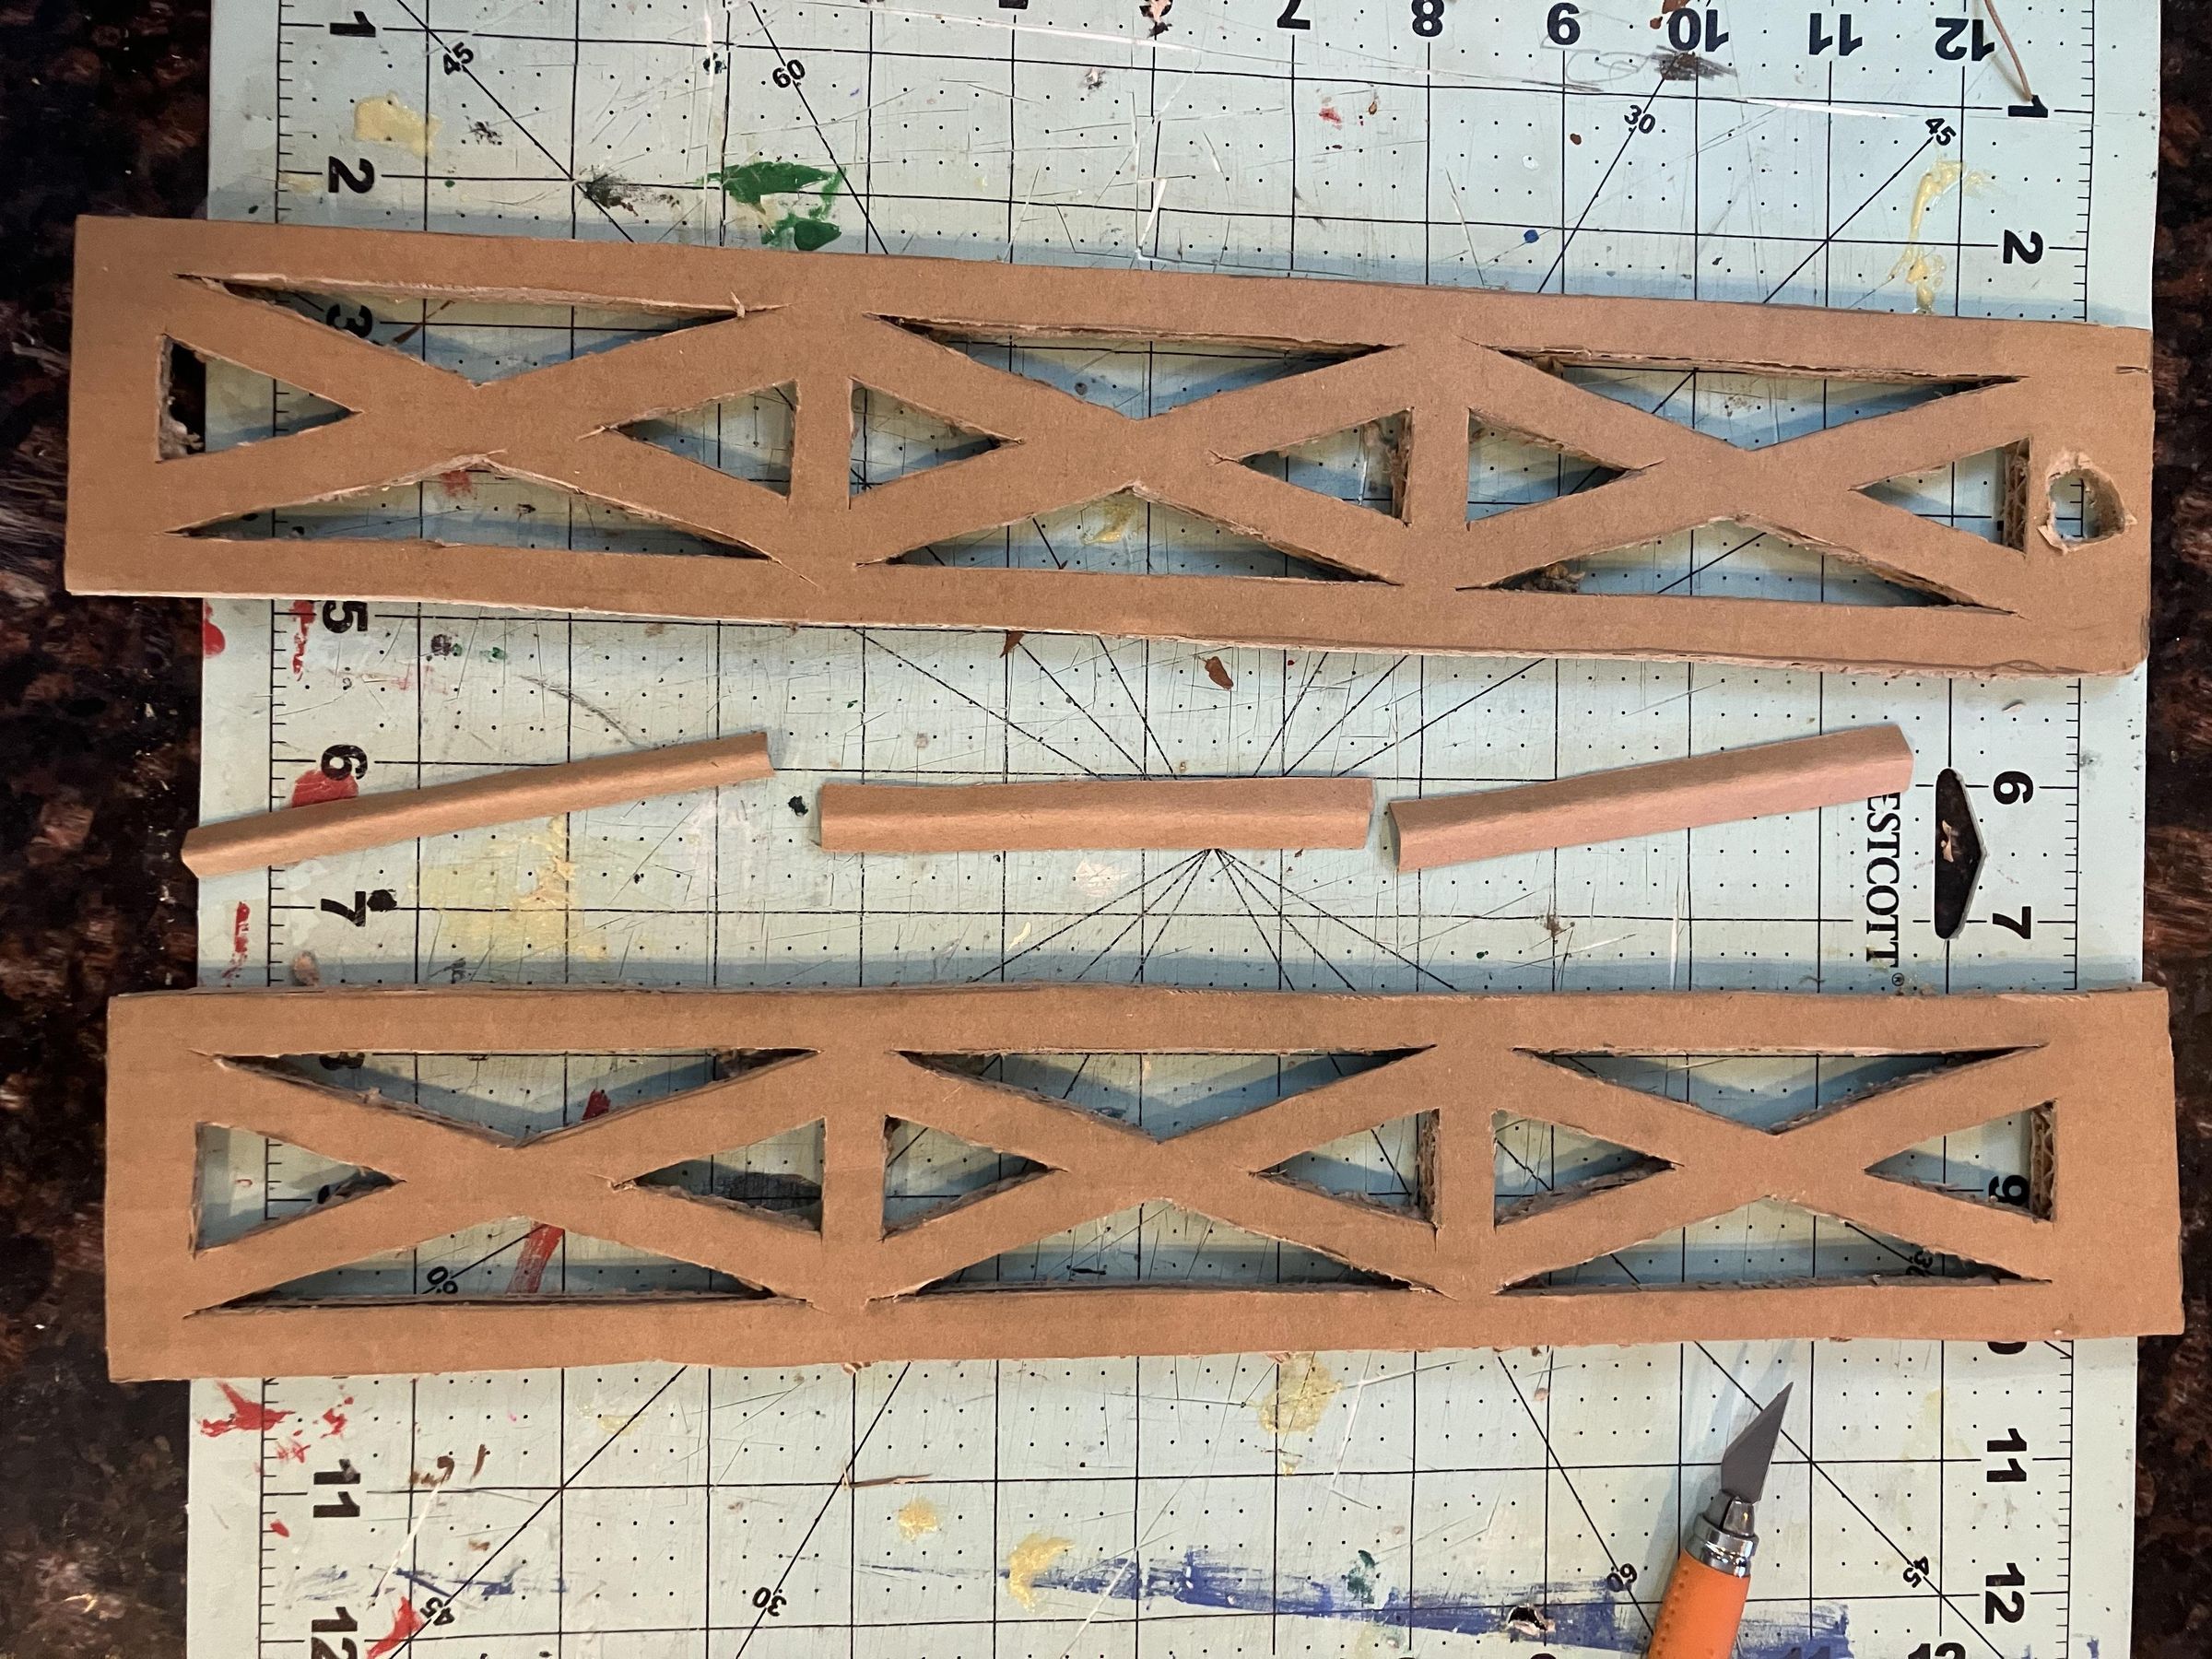
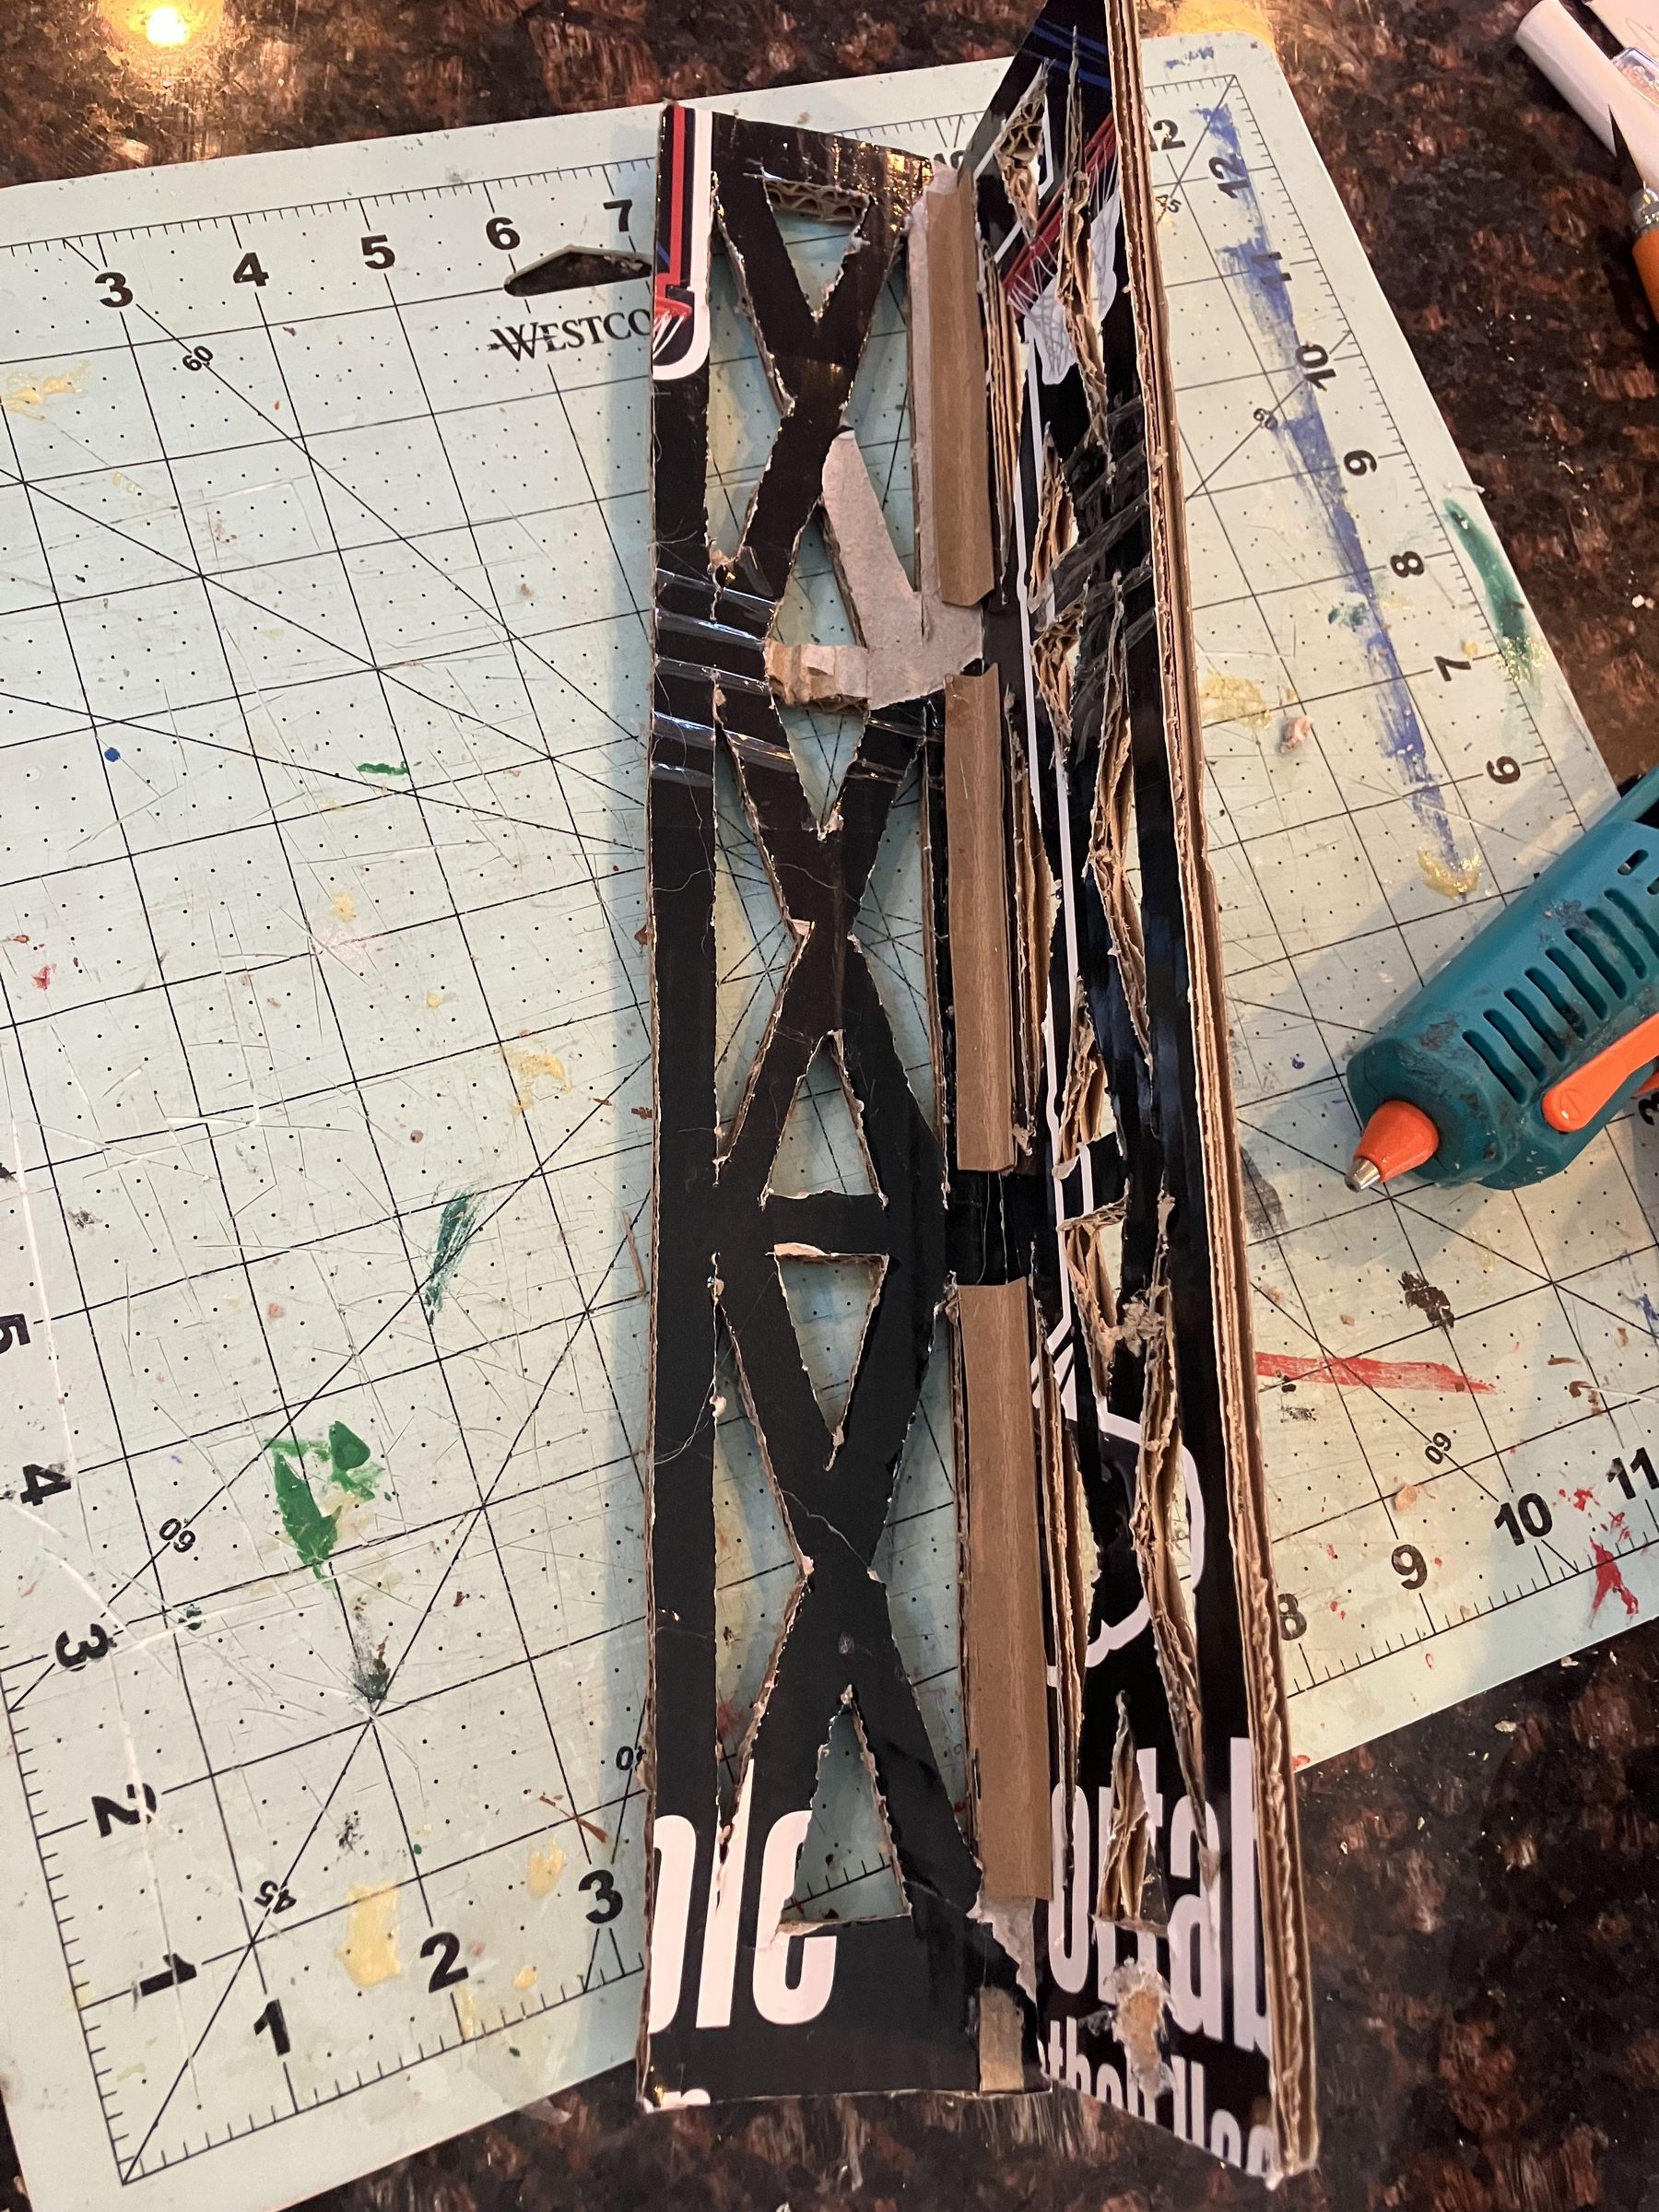
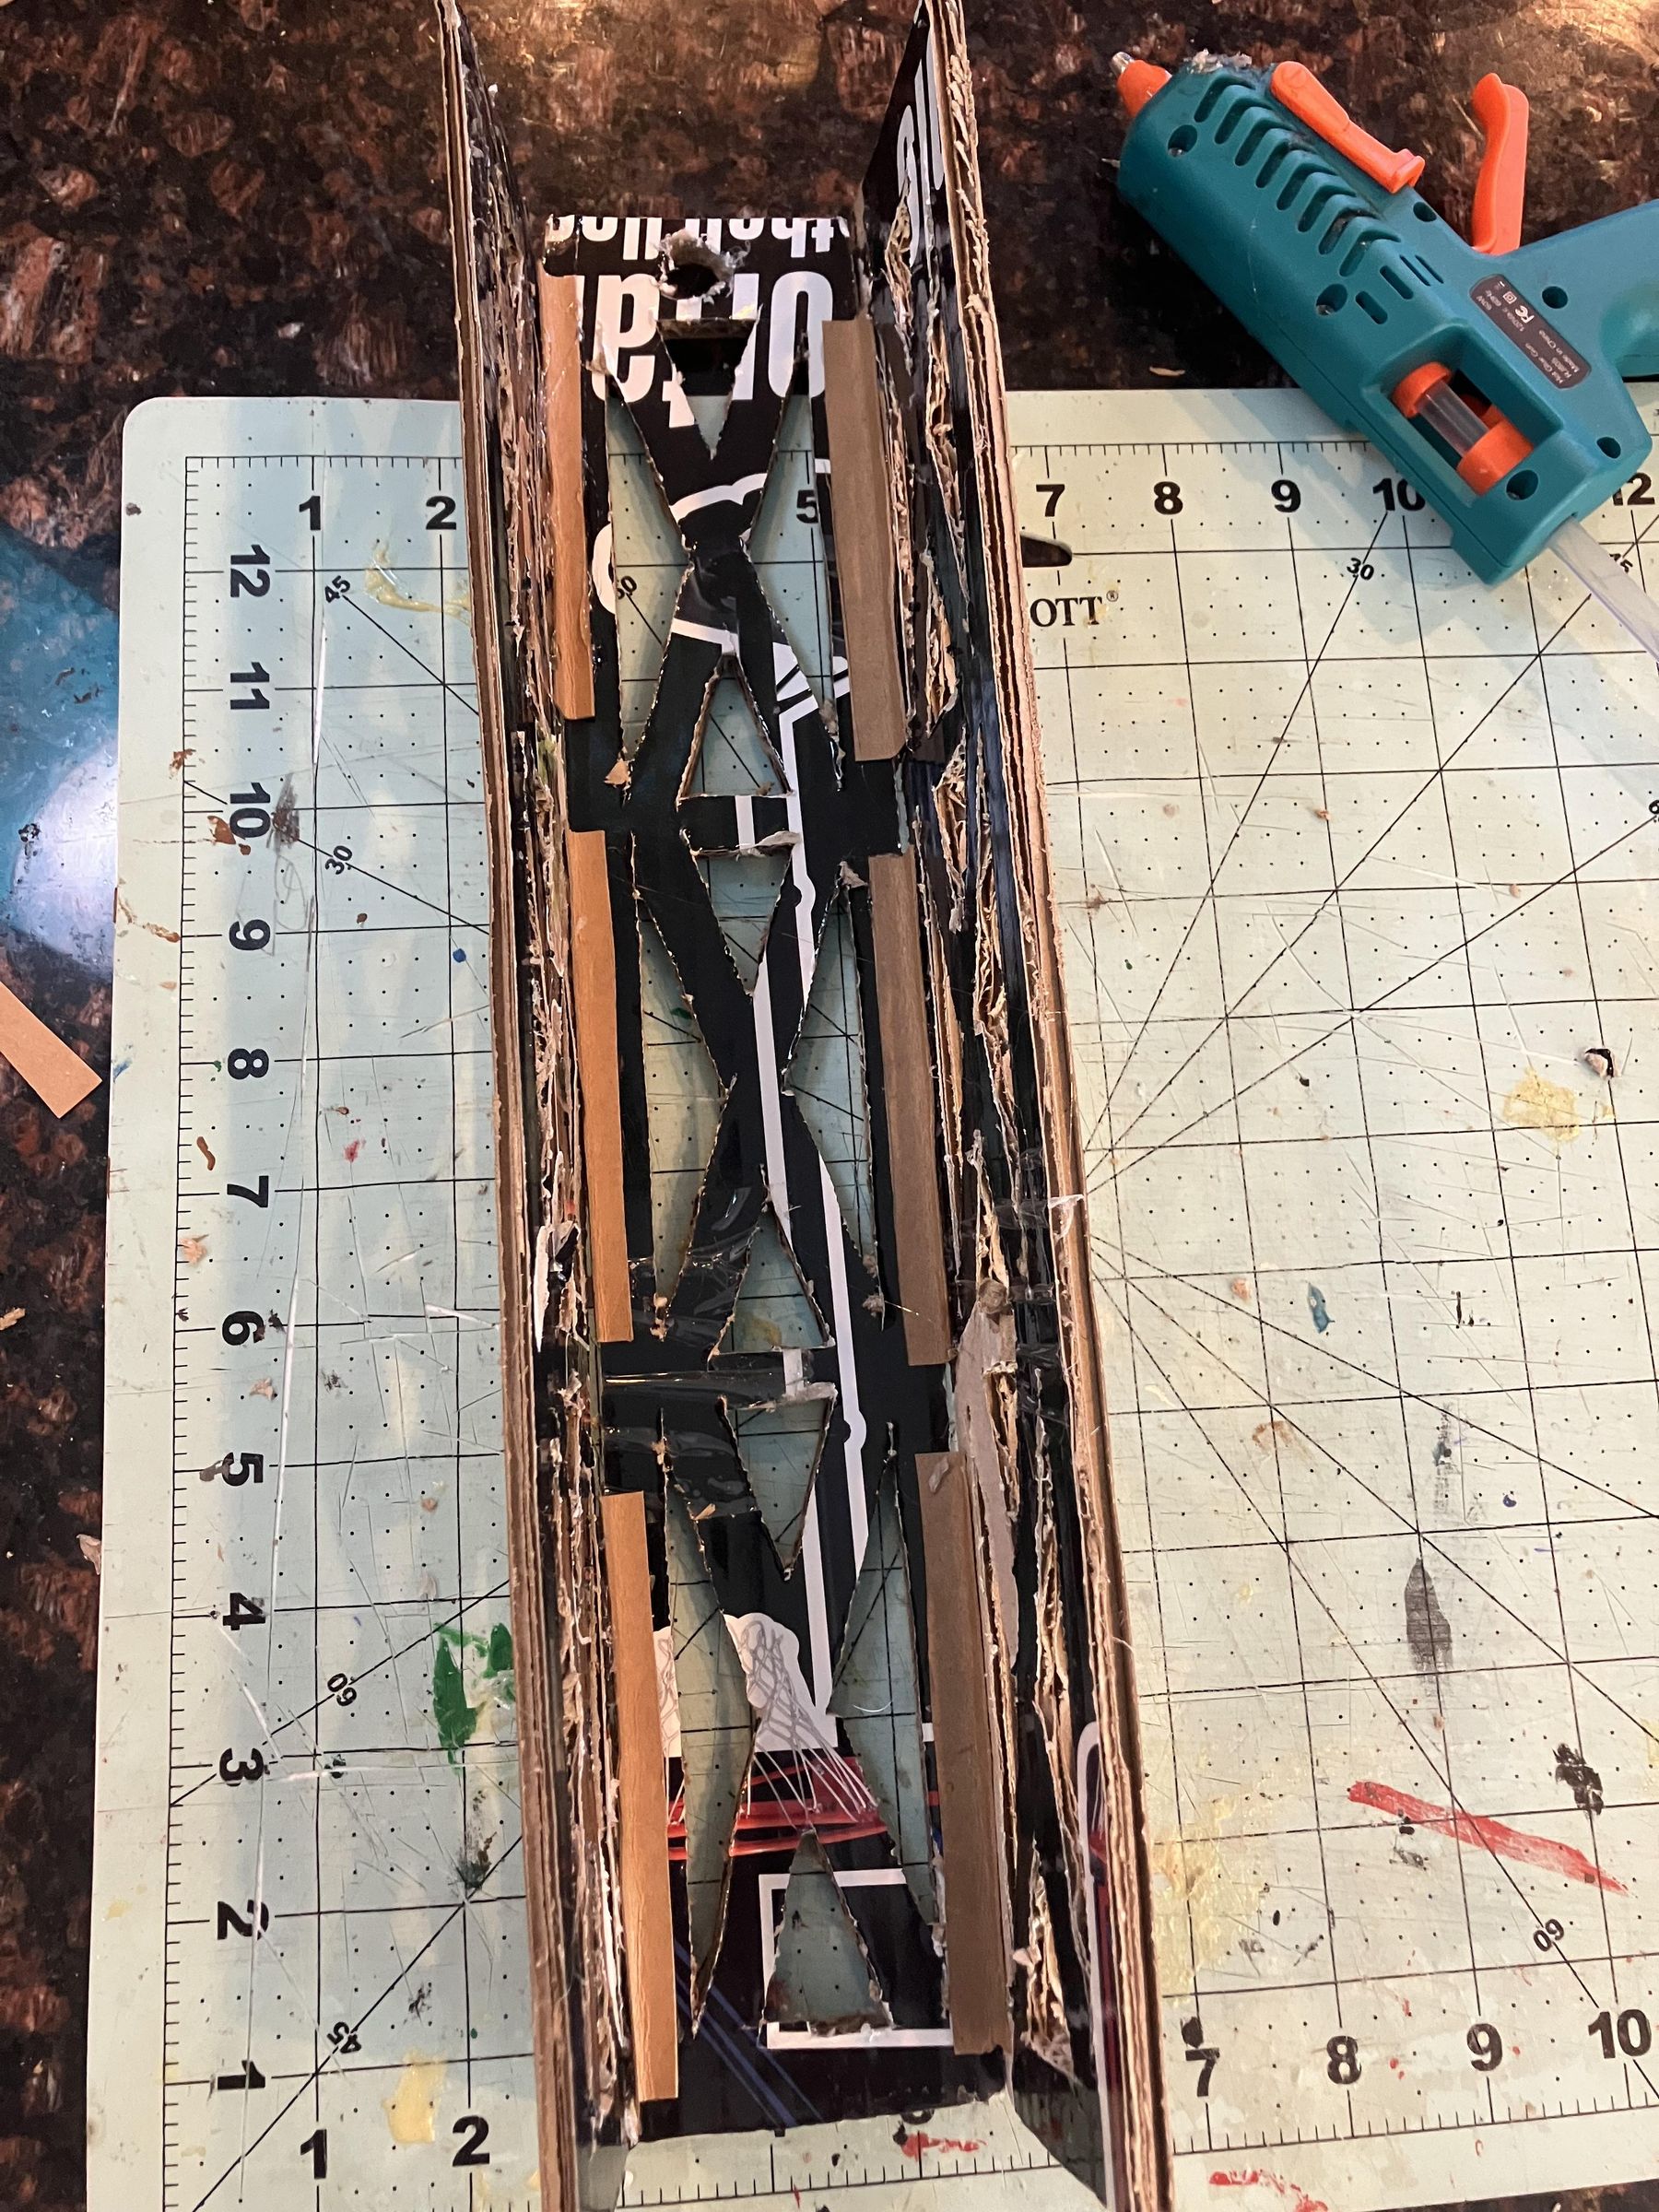
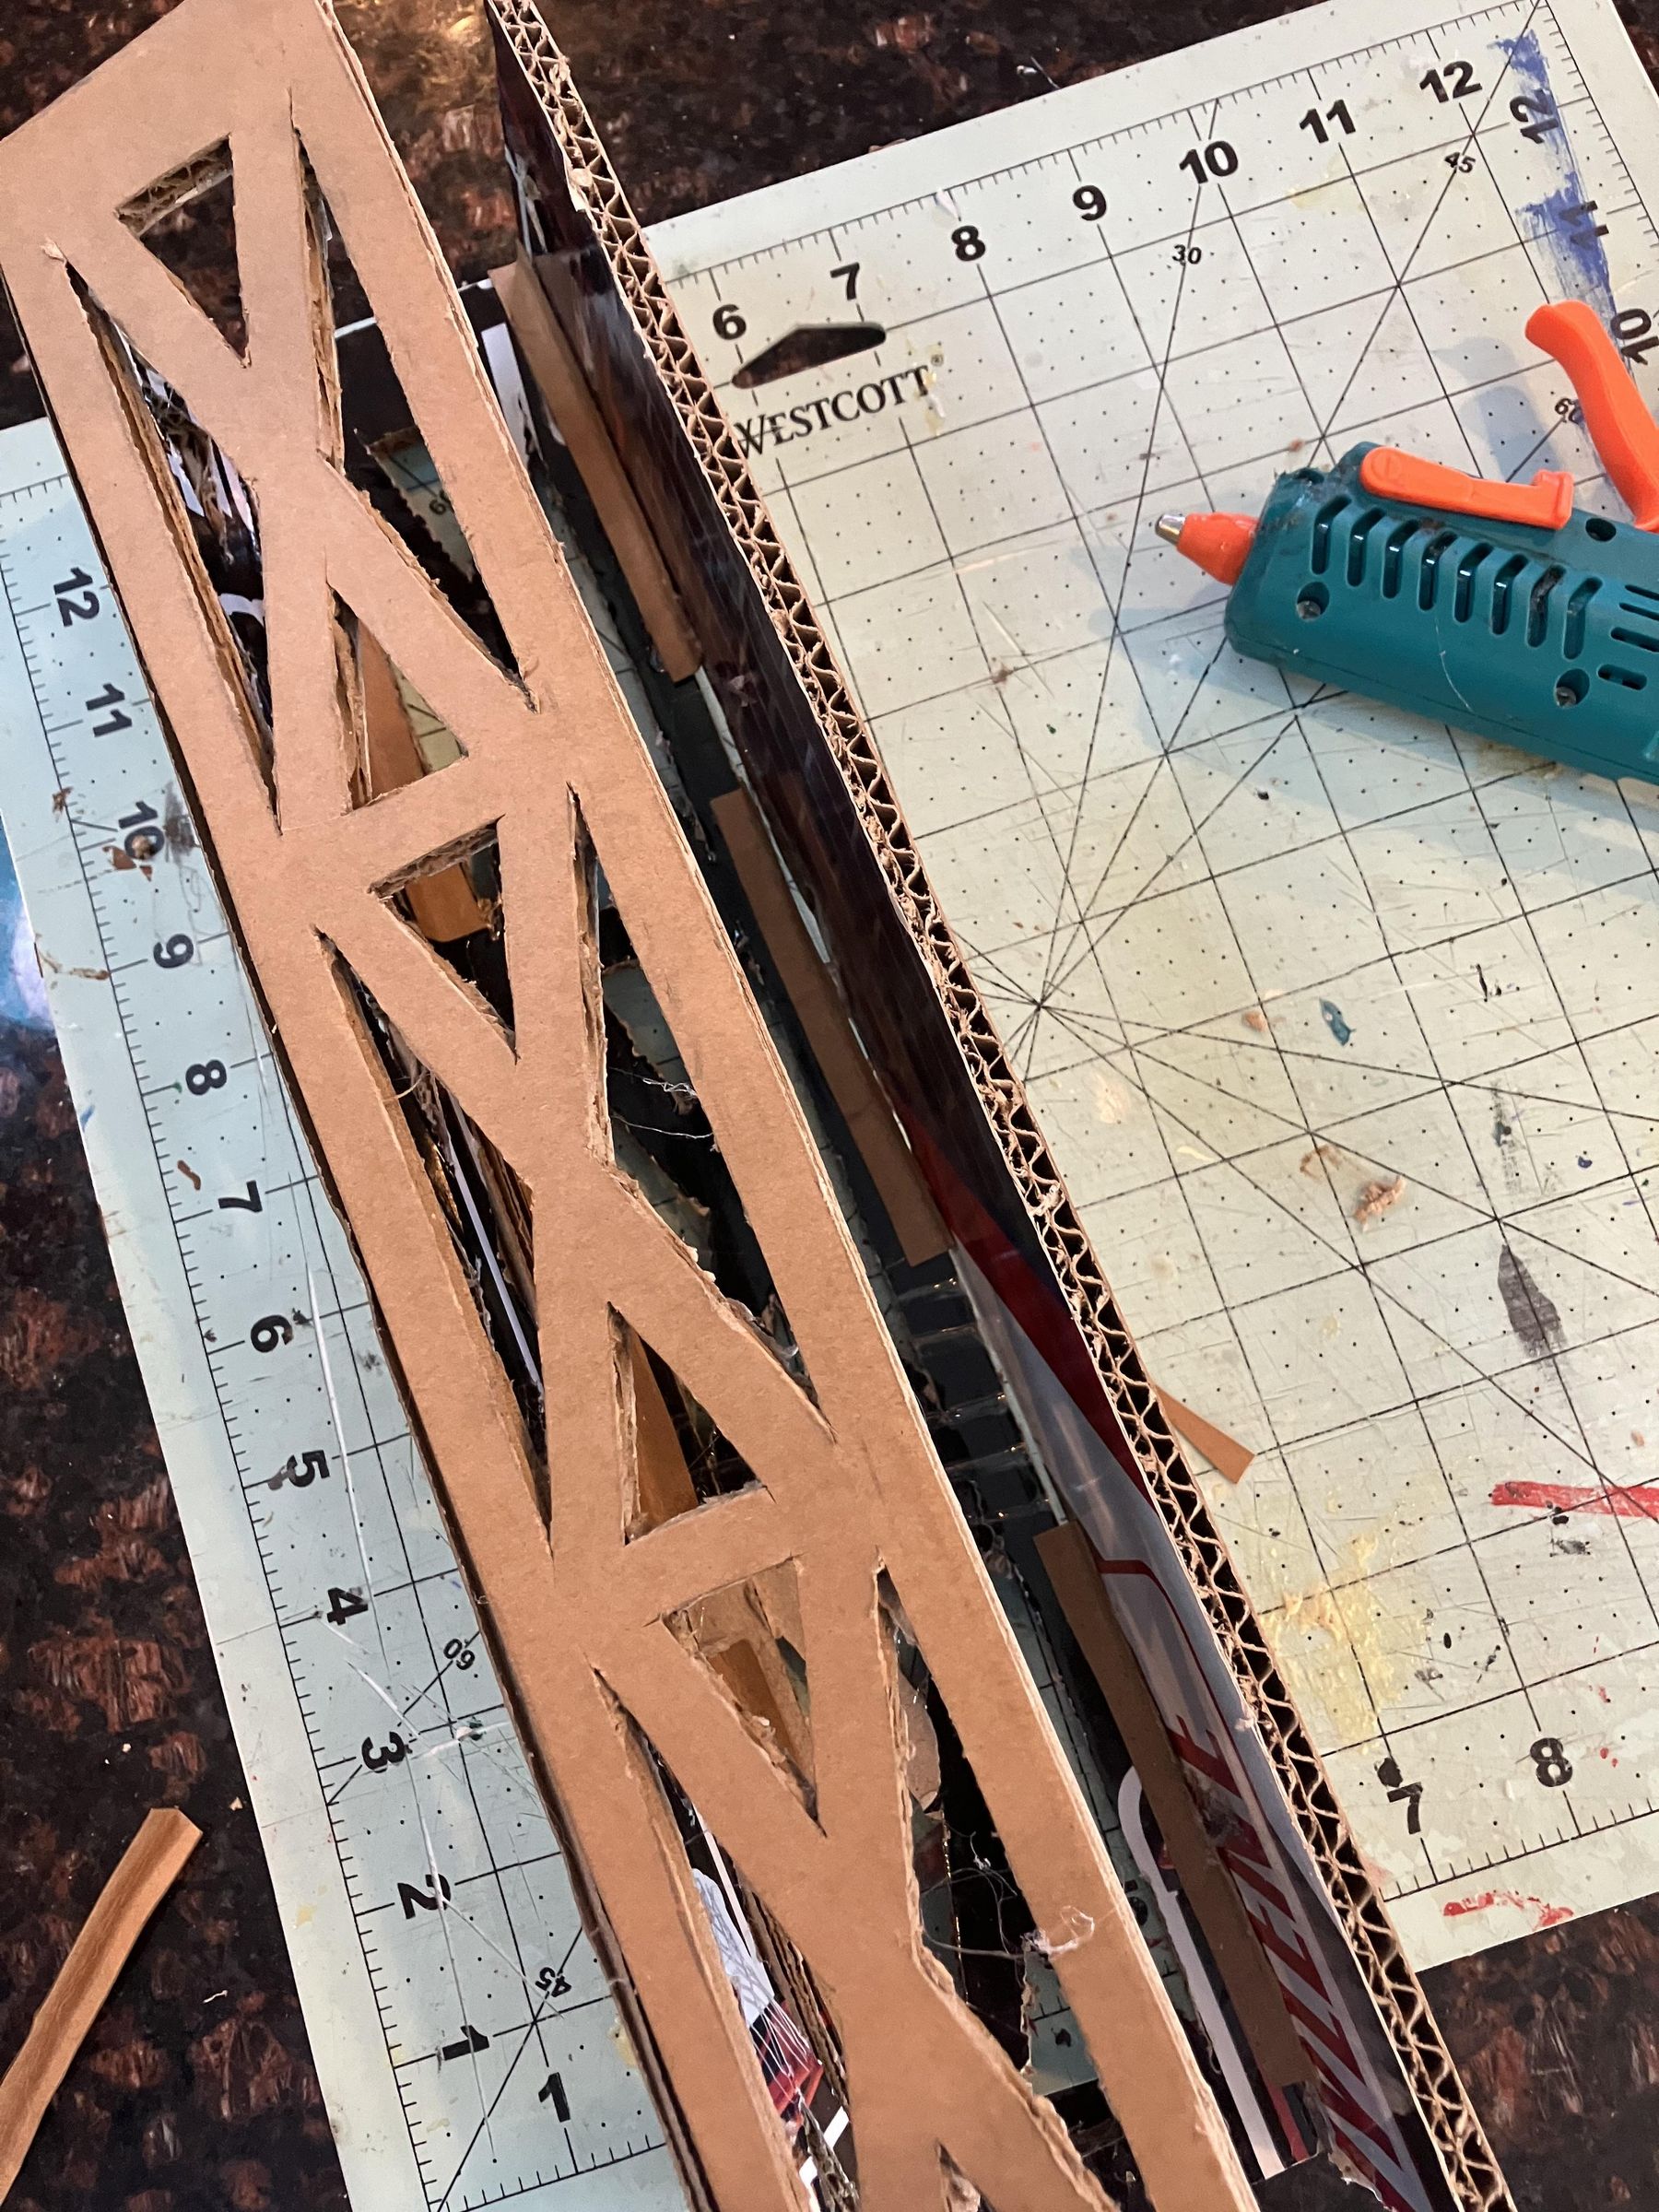
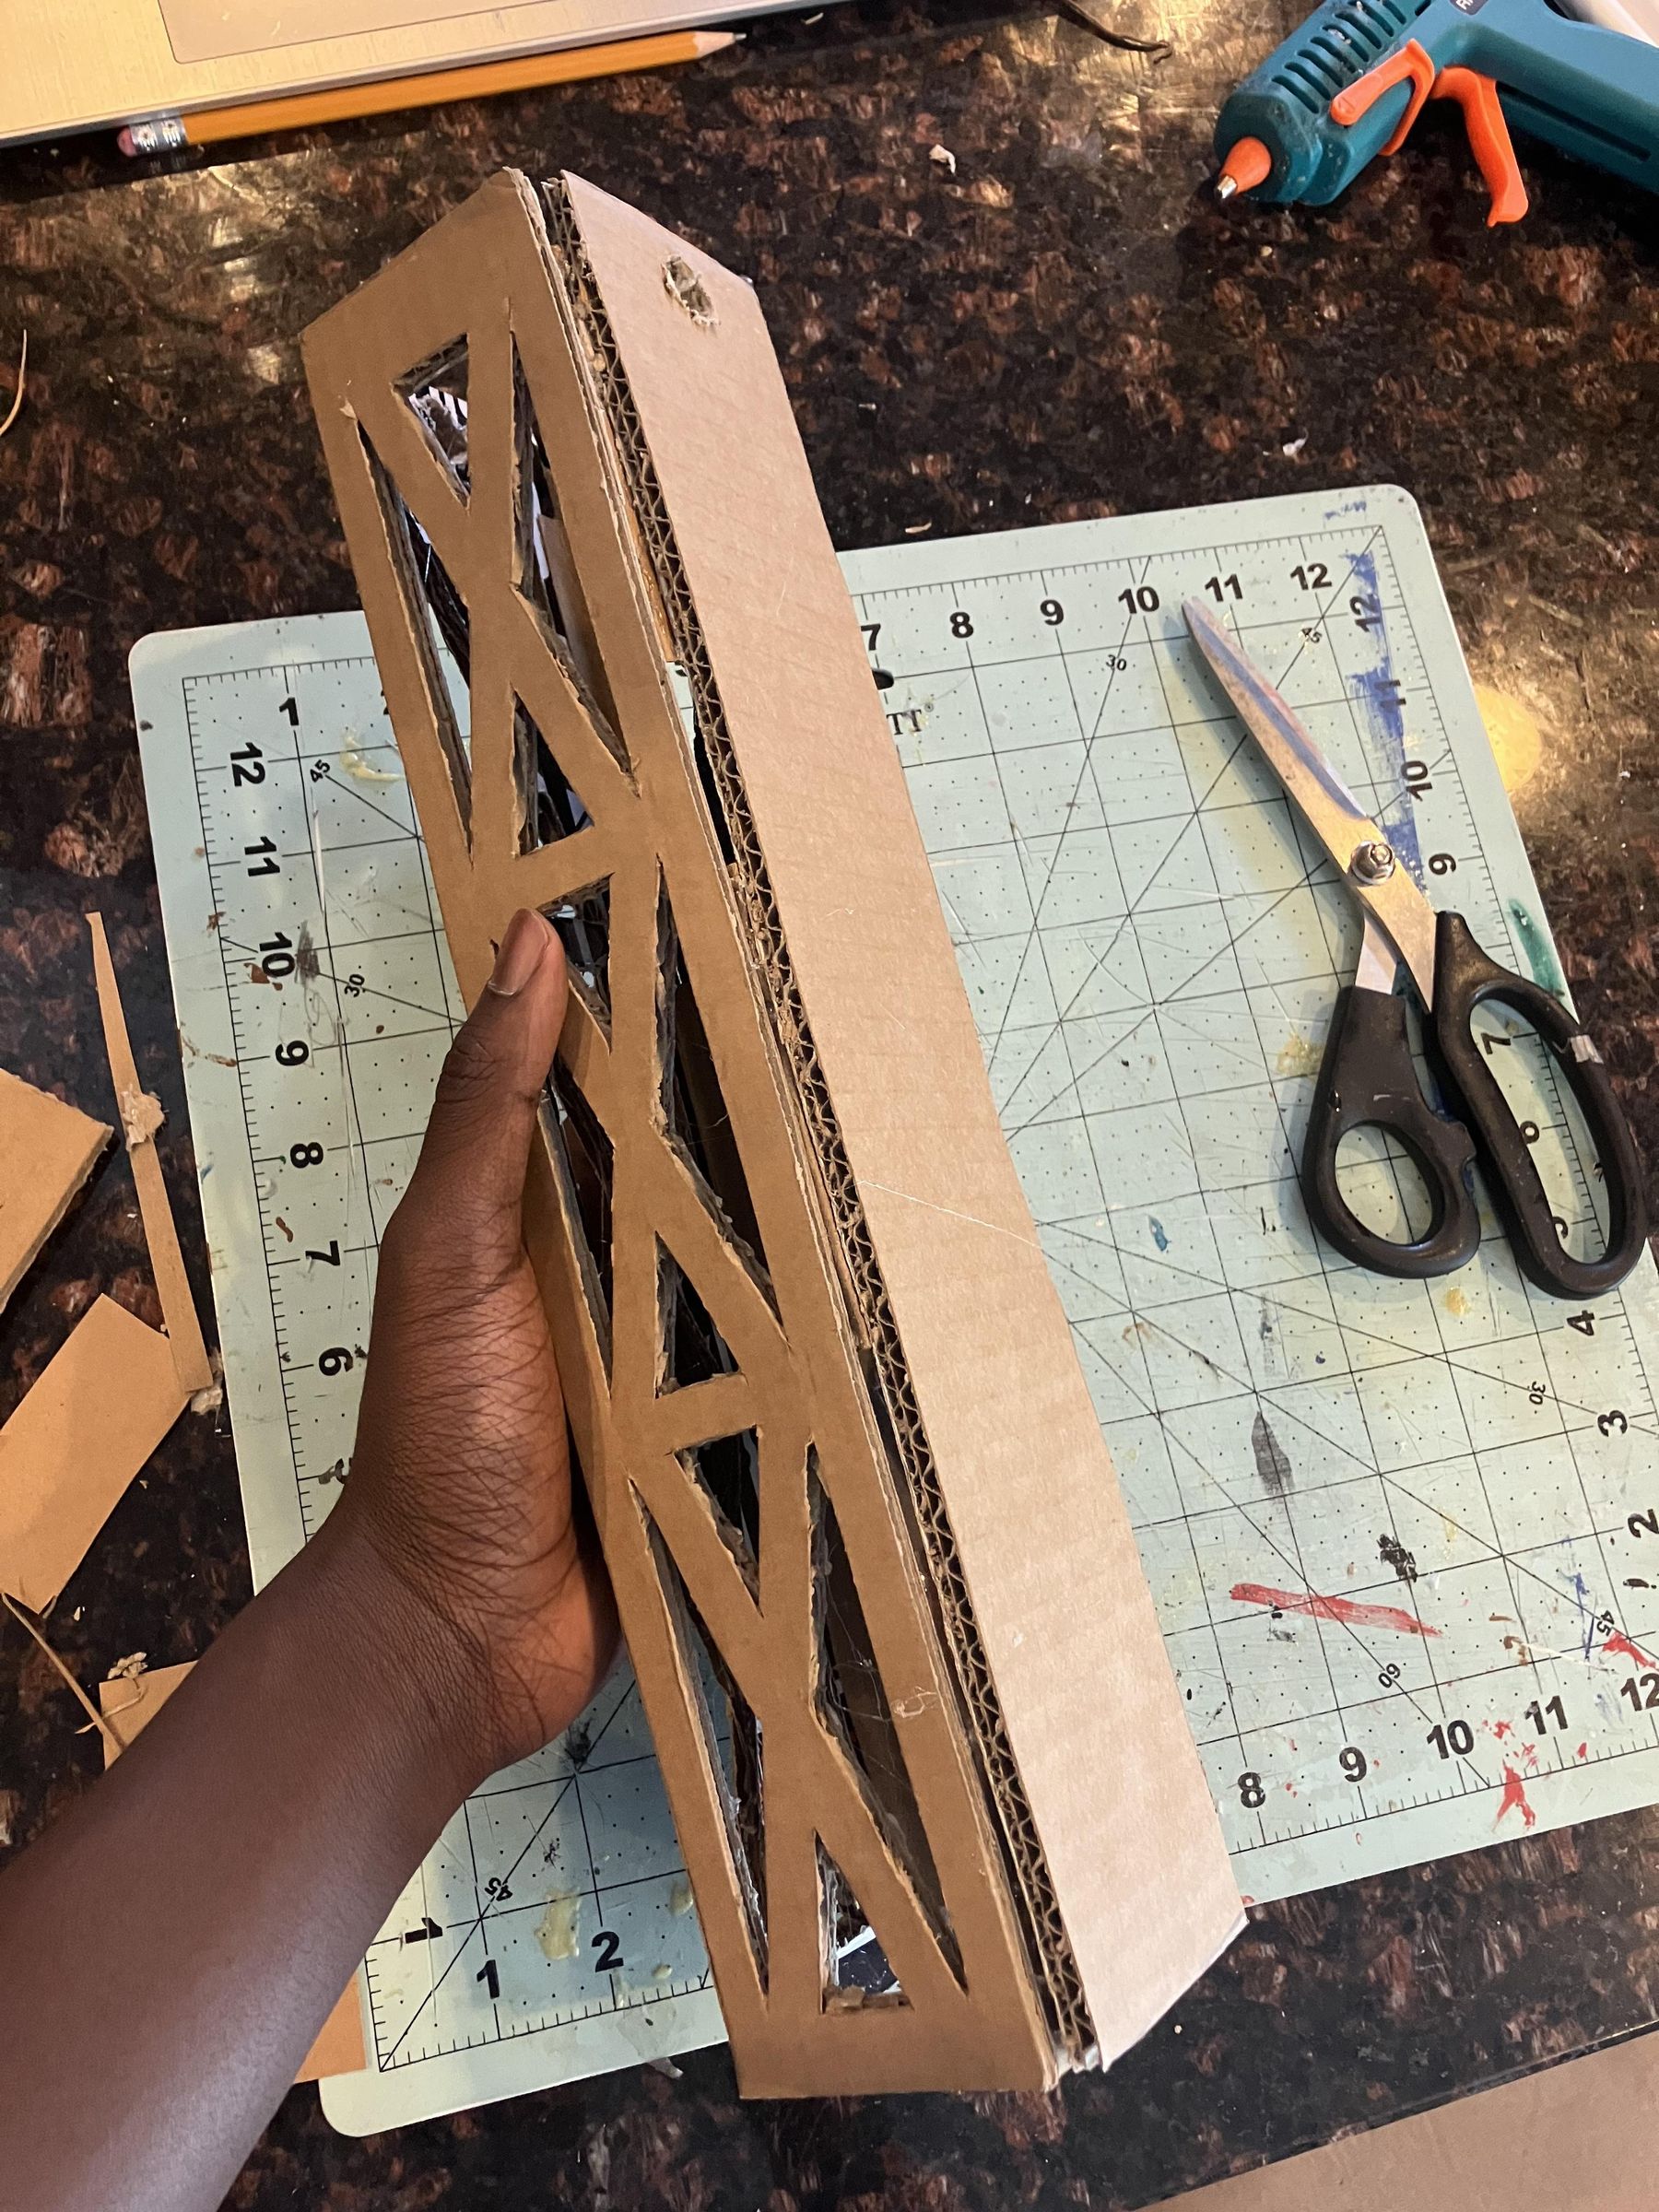
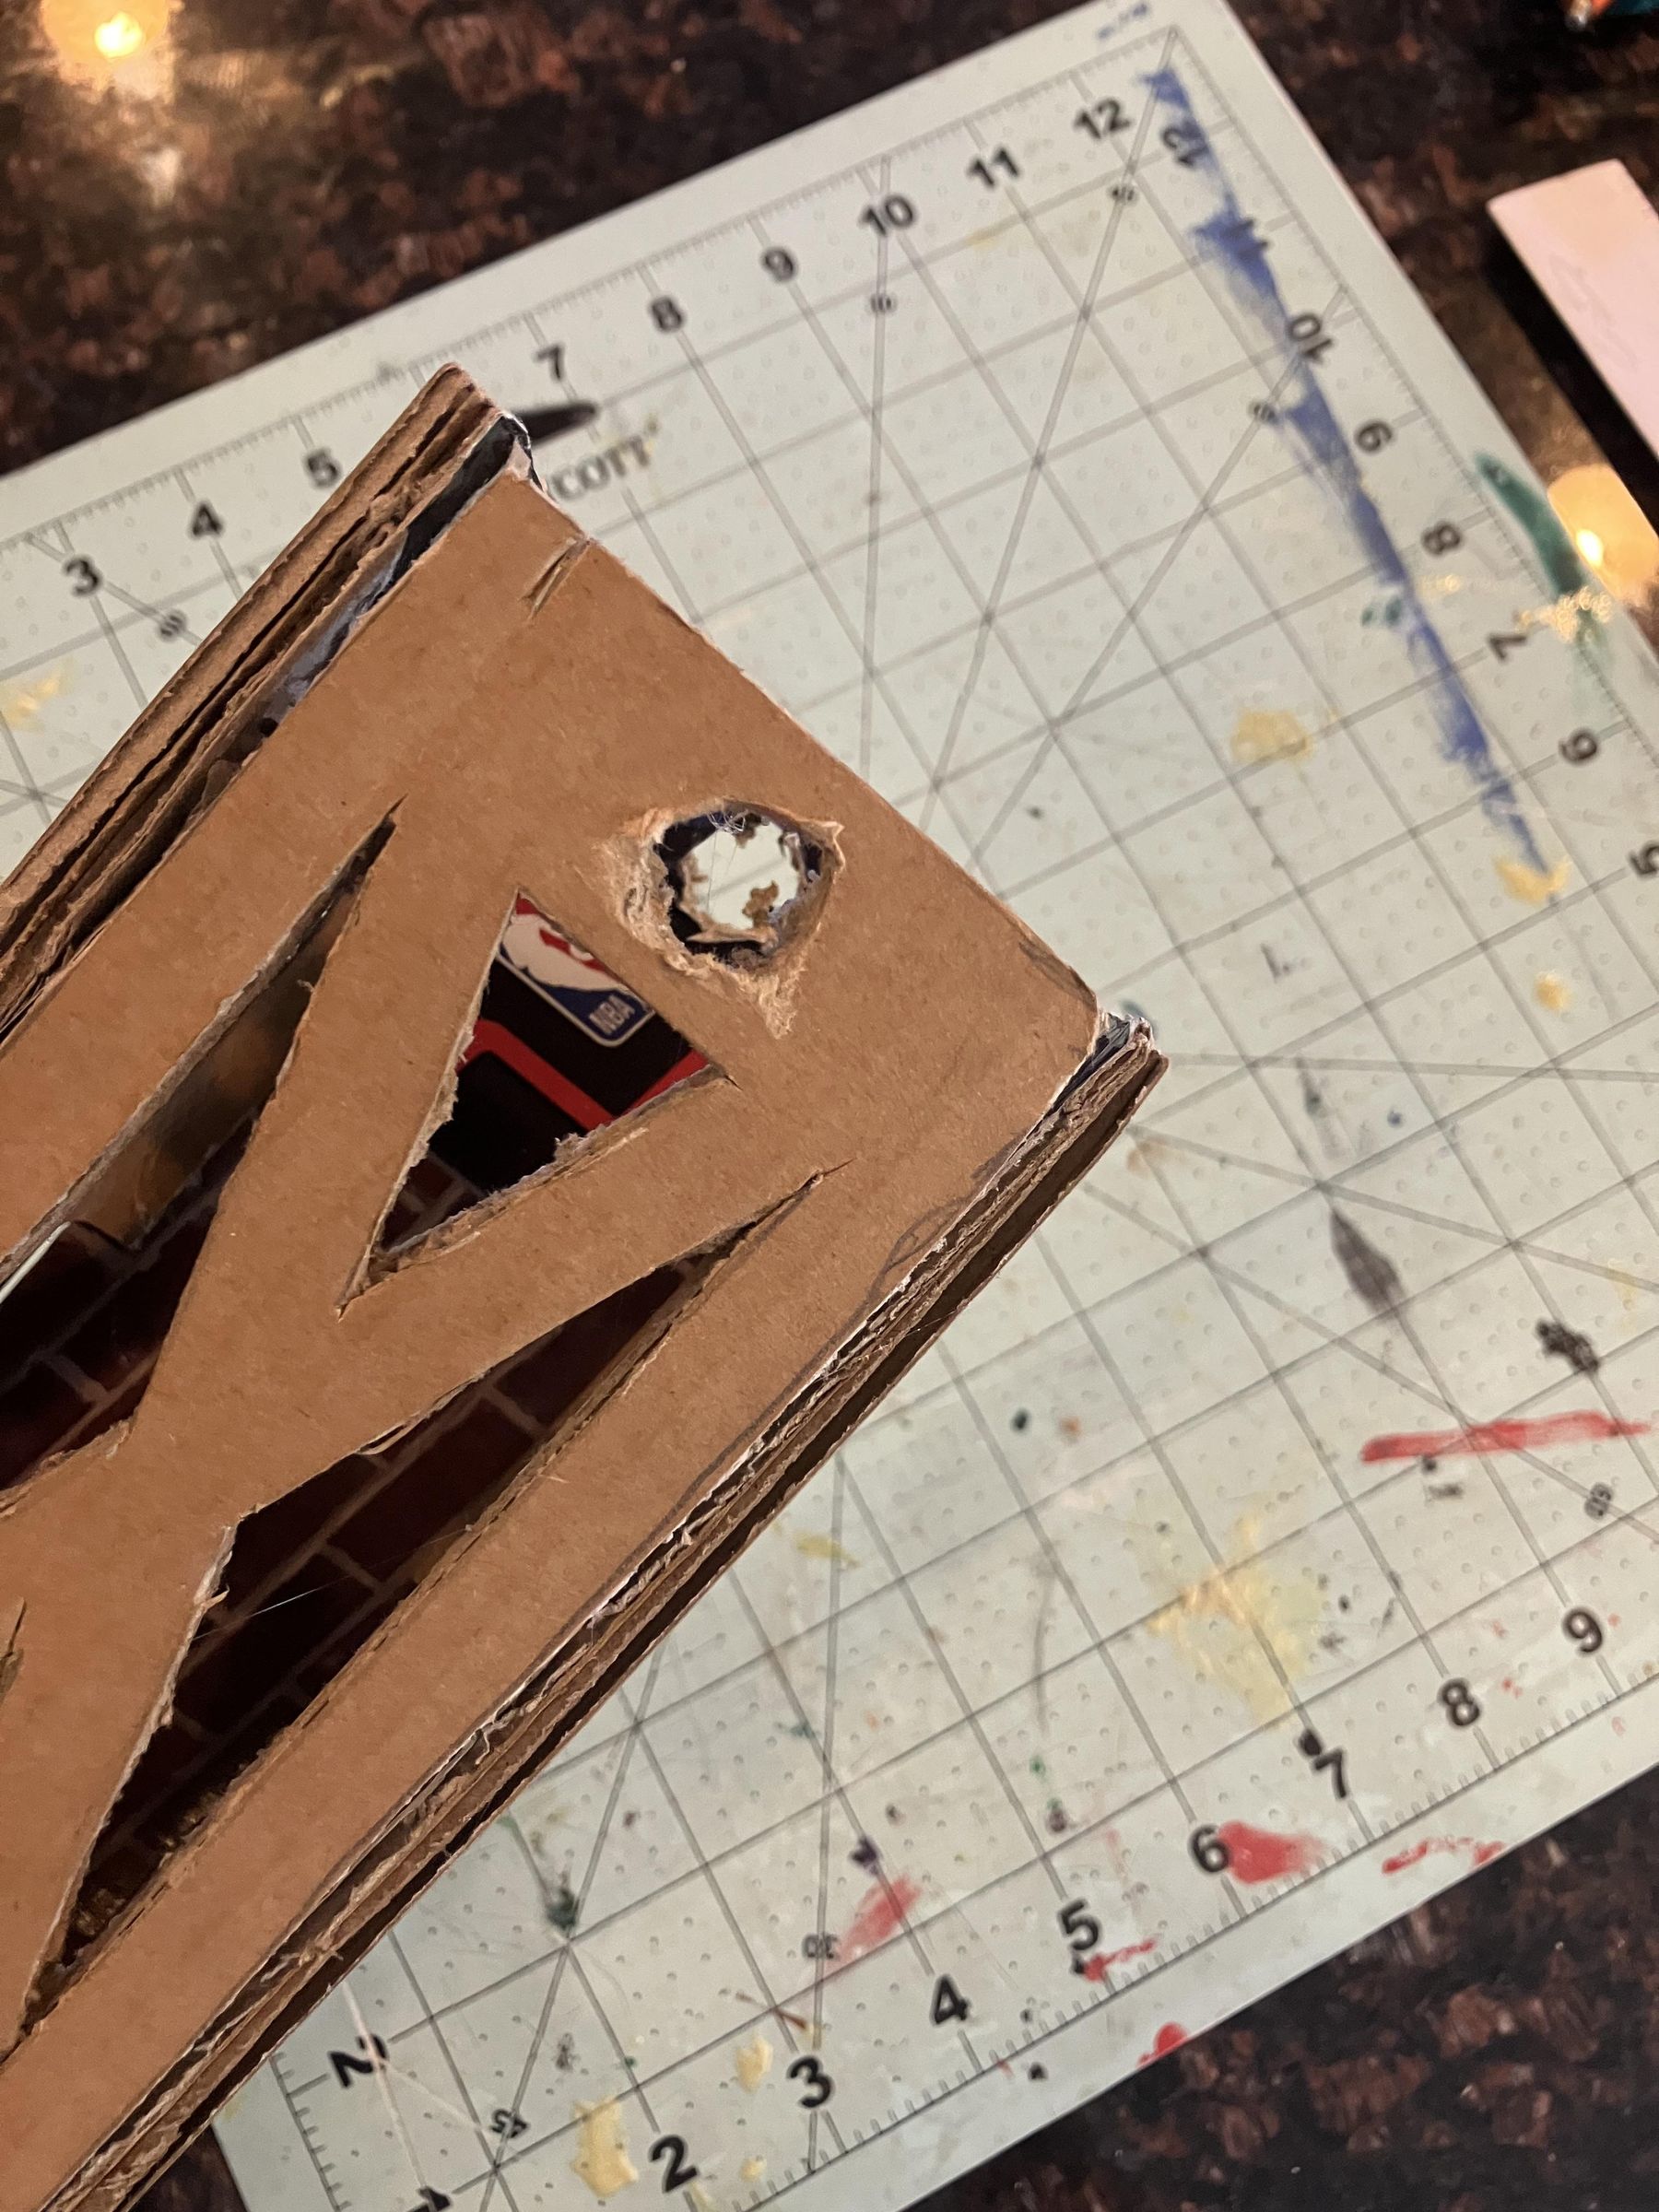
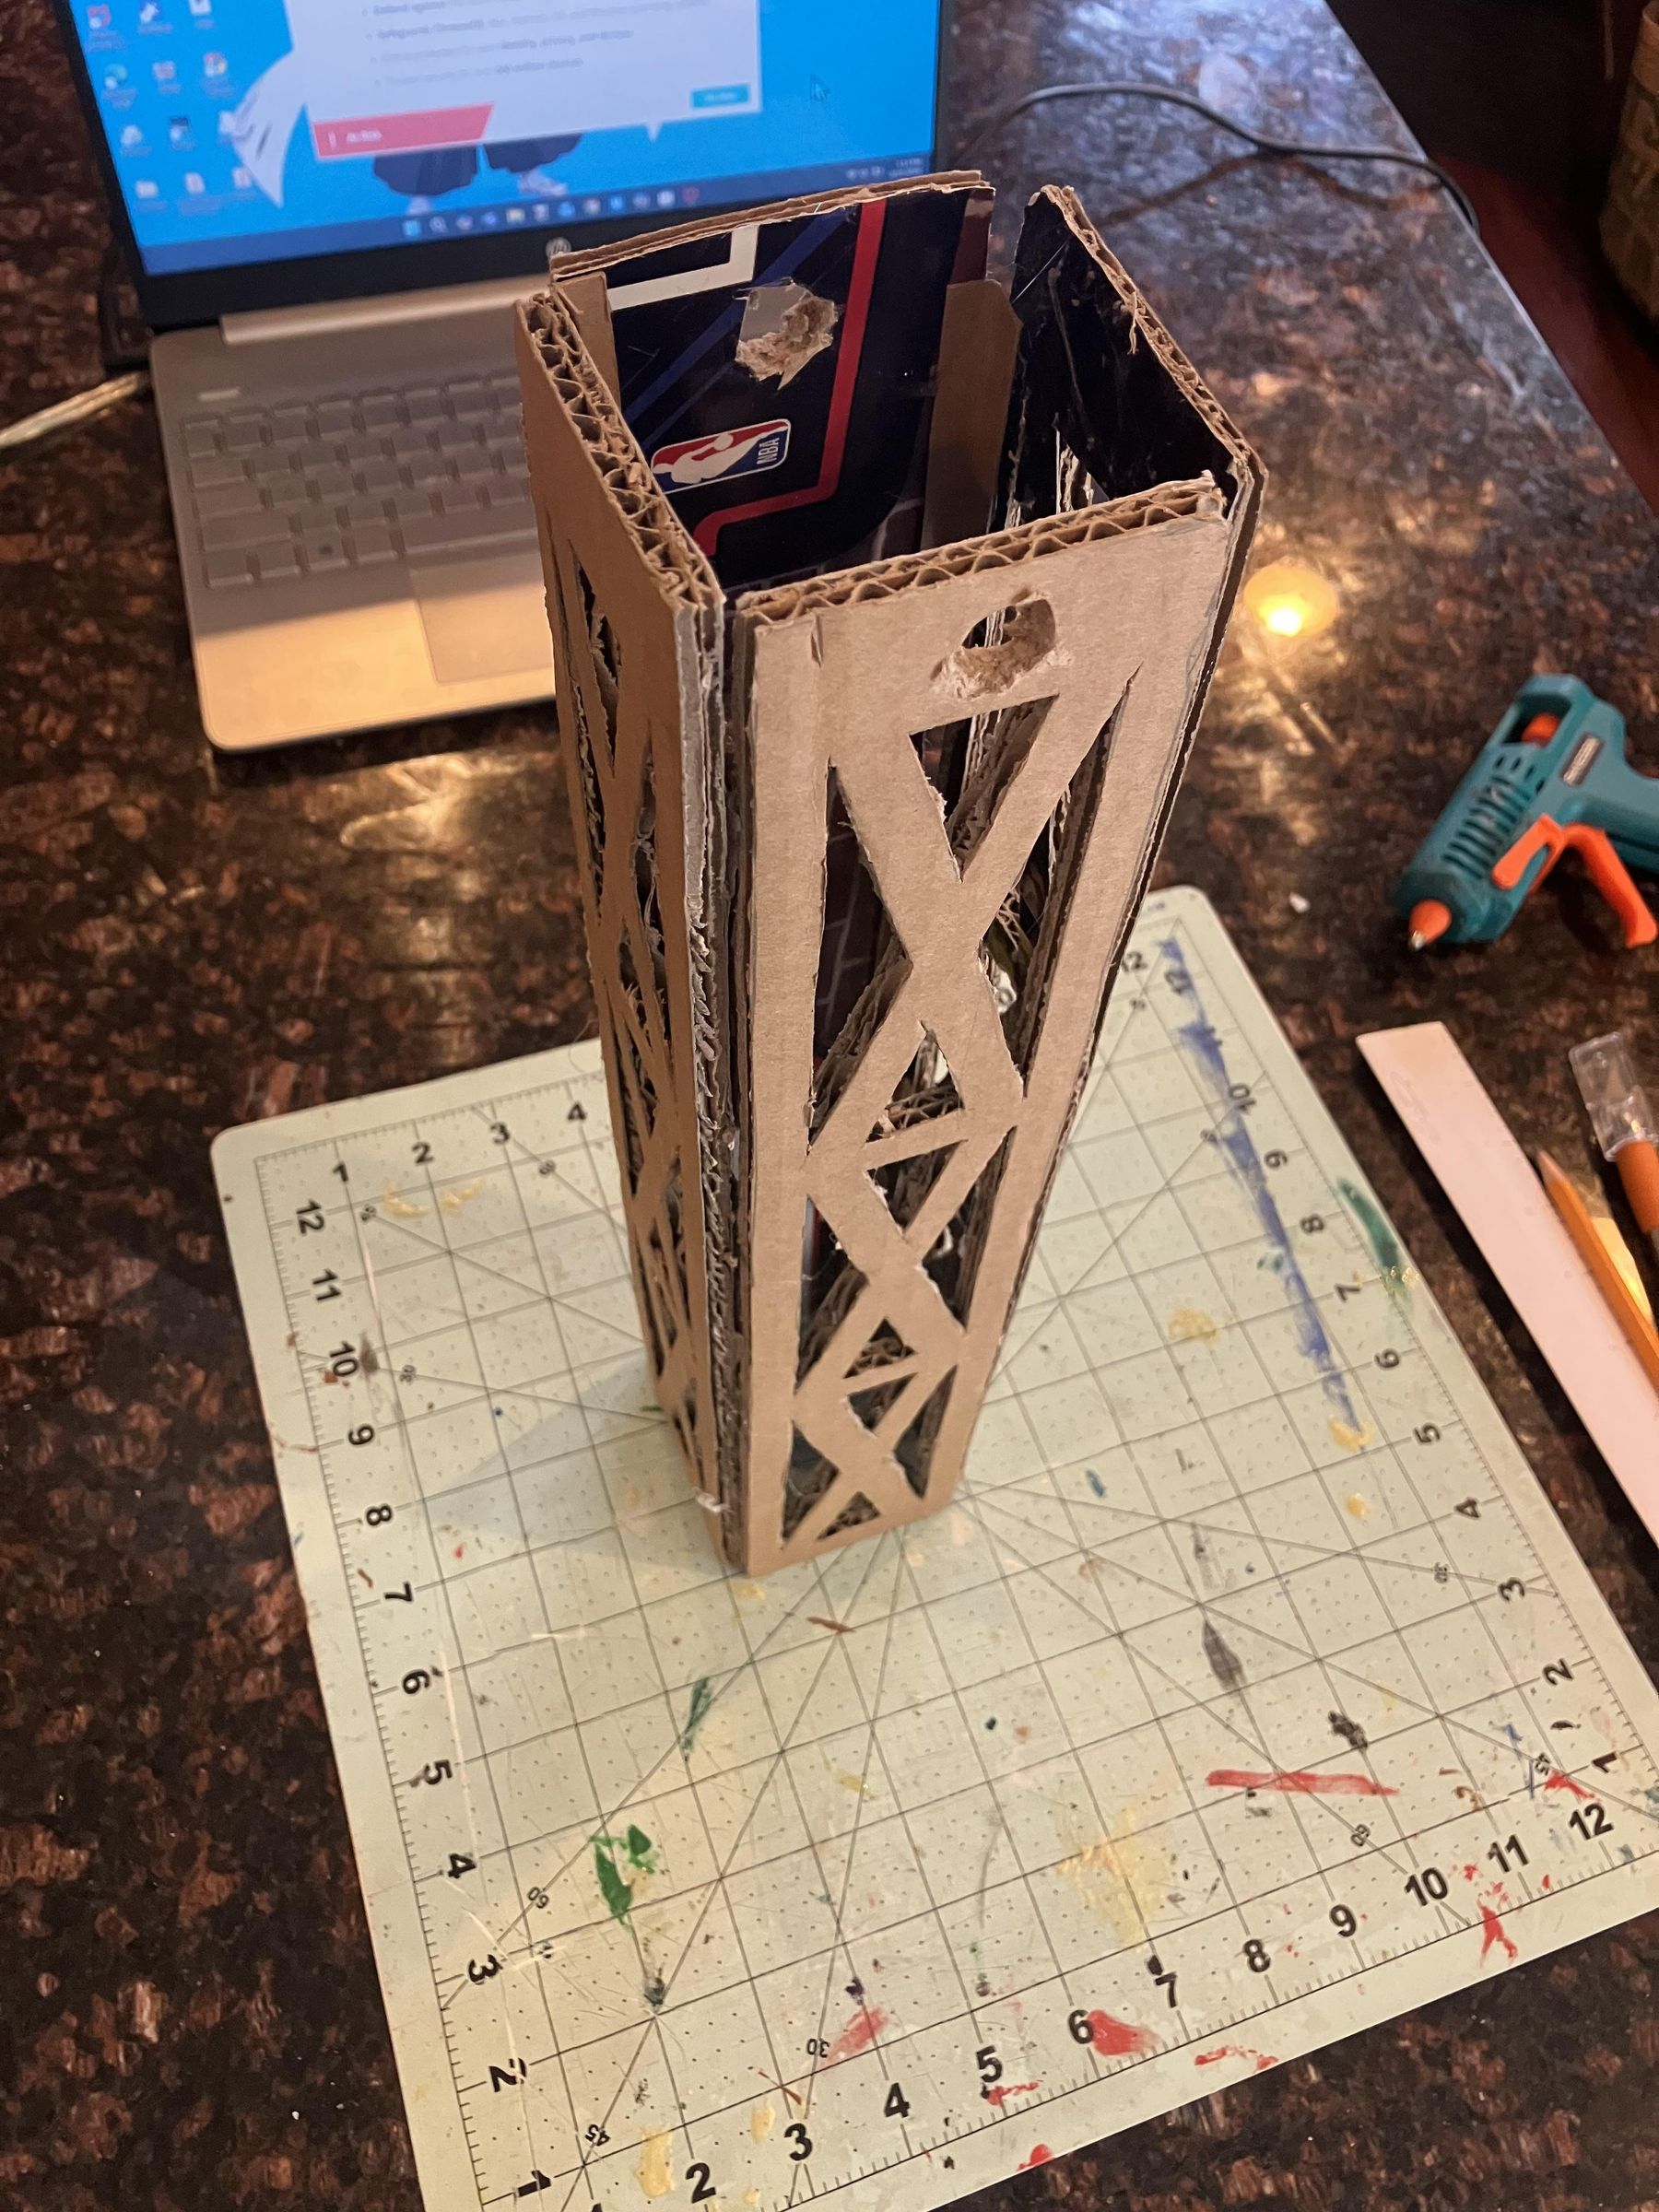
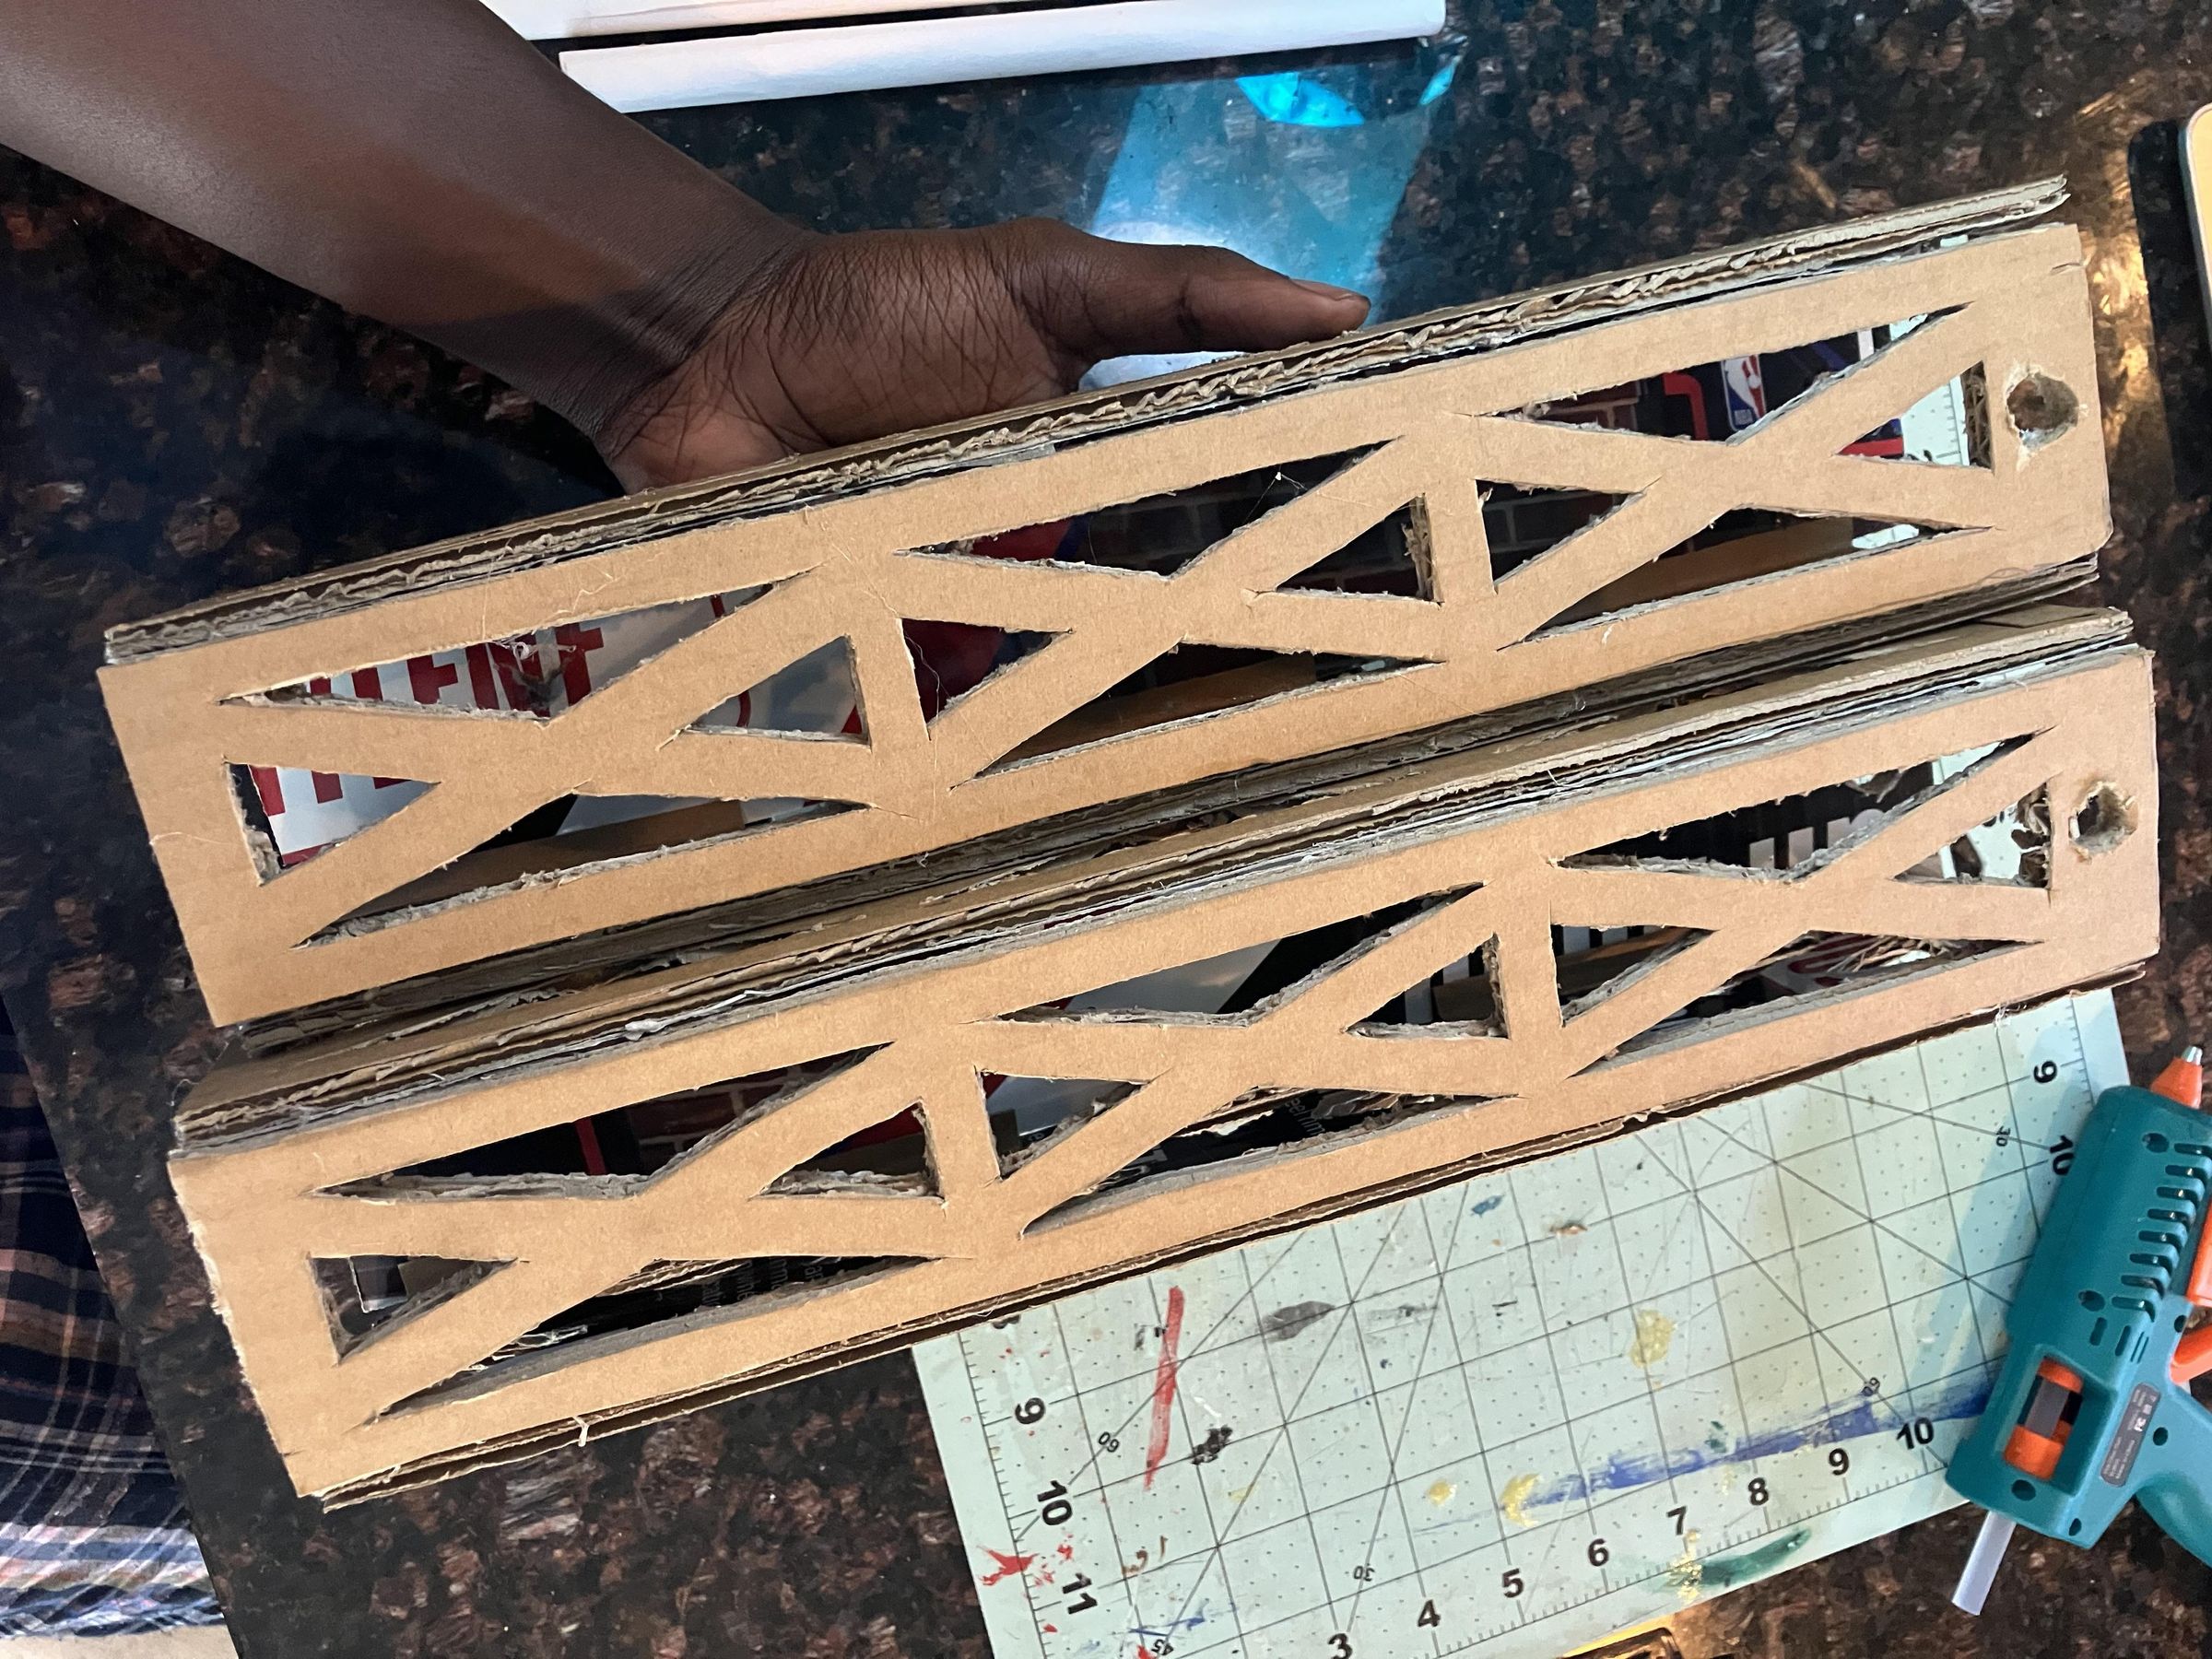
To make one tower, you need
- 2 patterned tower sides without holes.
- 1 patterned tower side with a hole.
- 1 non-patterned tower side with a hole.
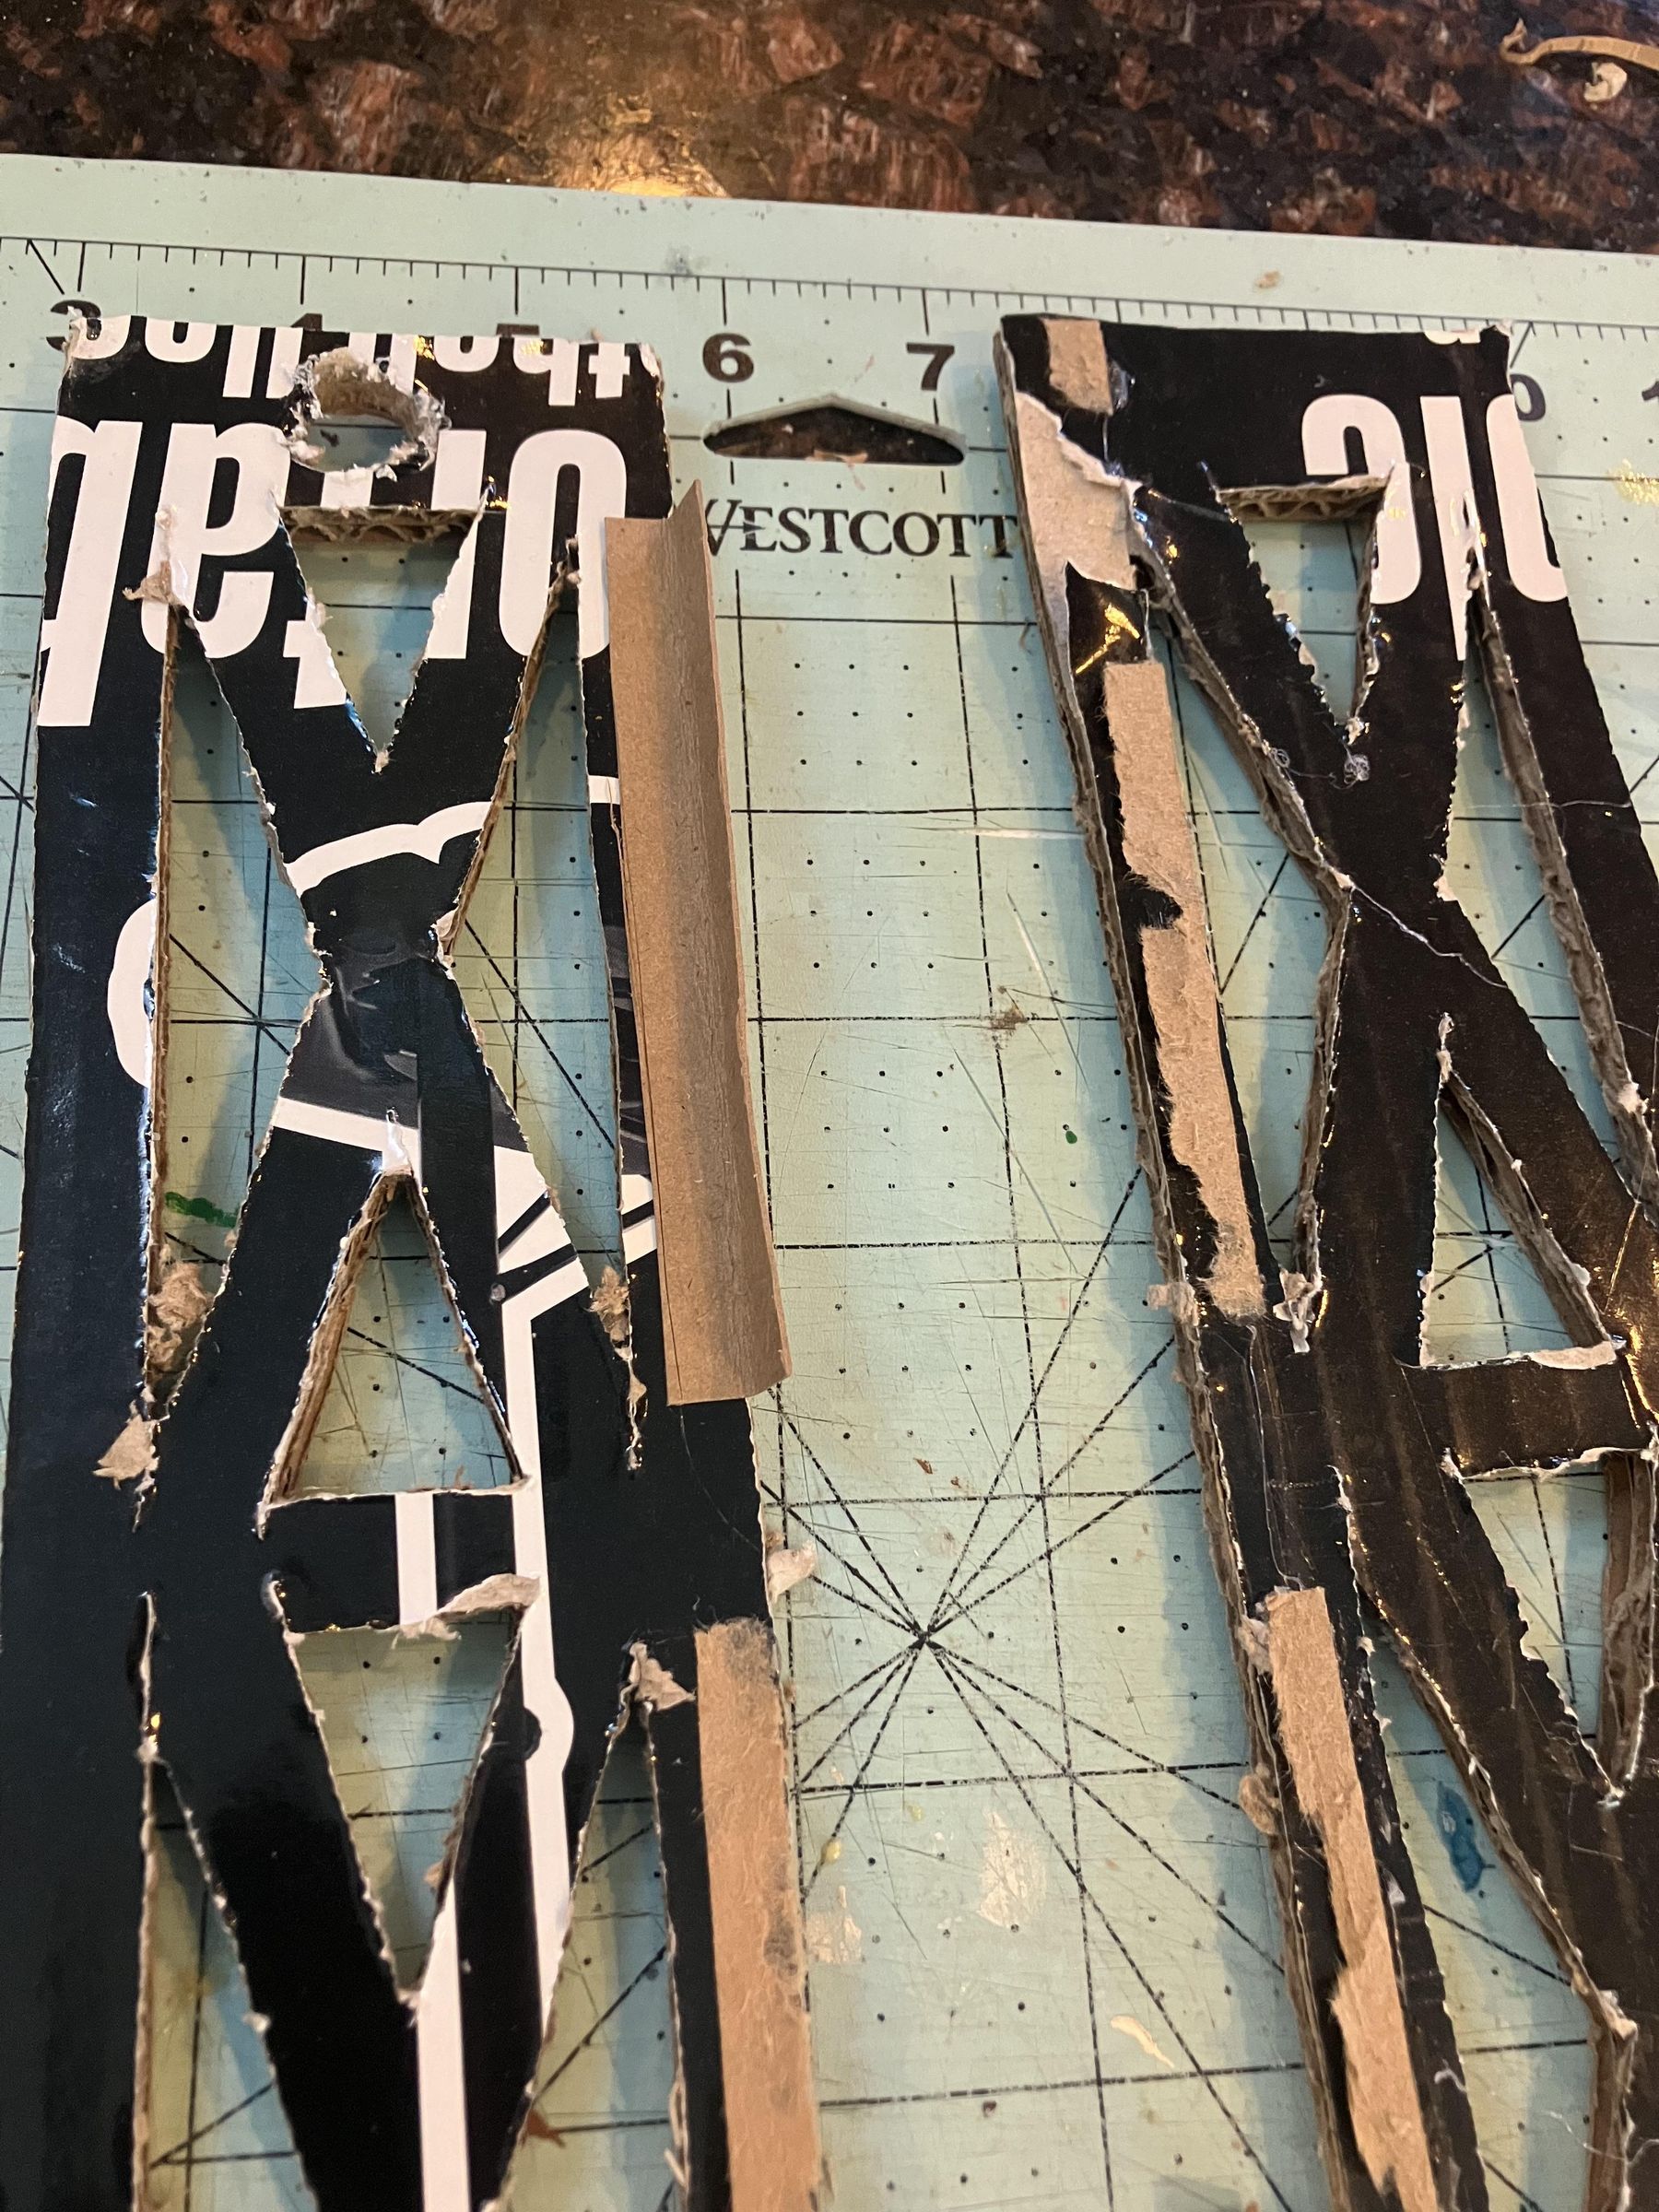
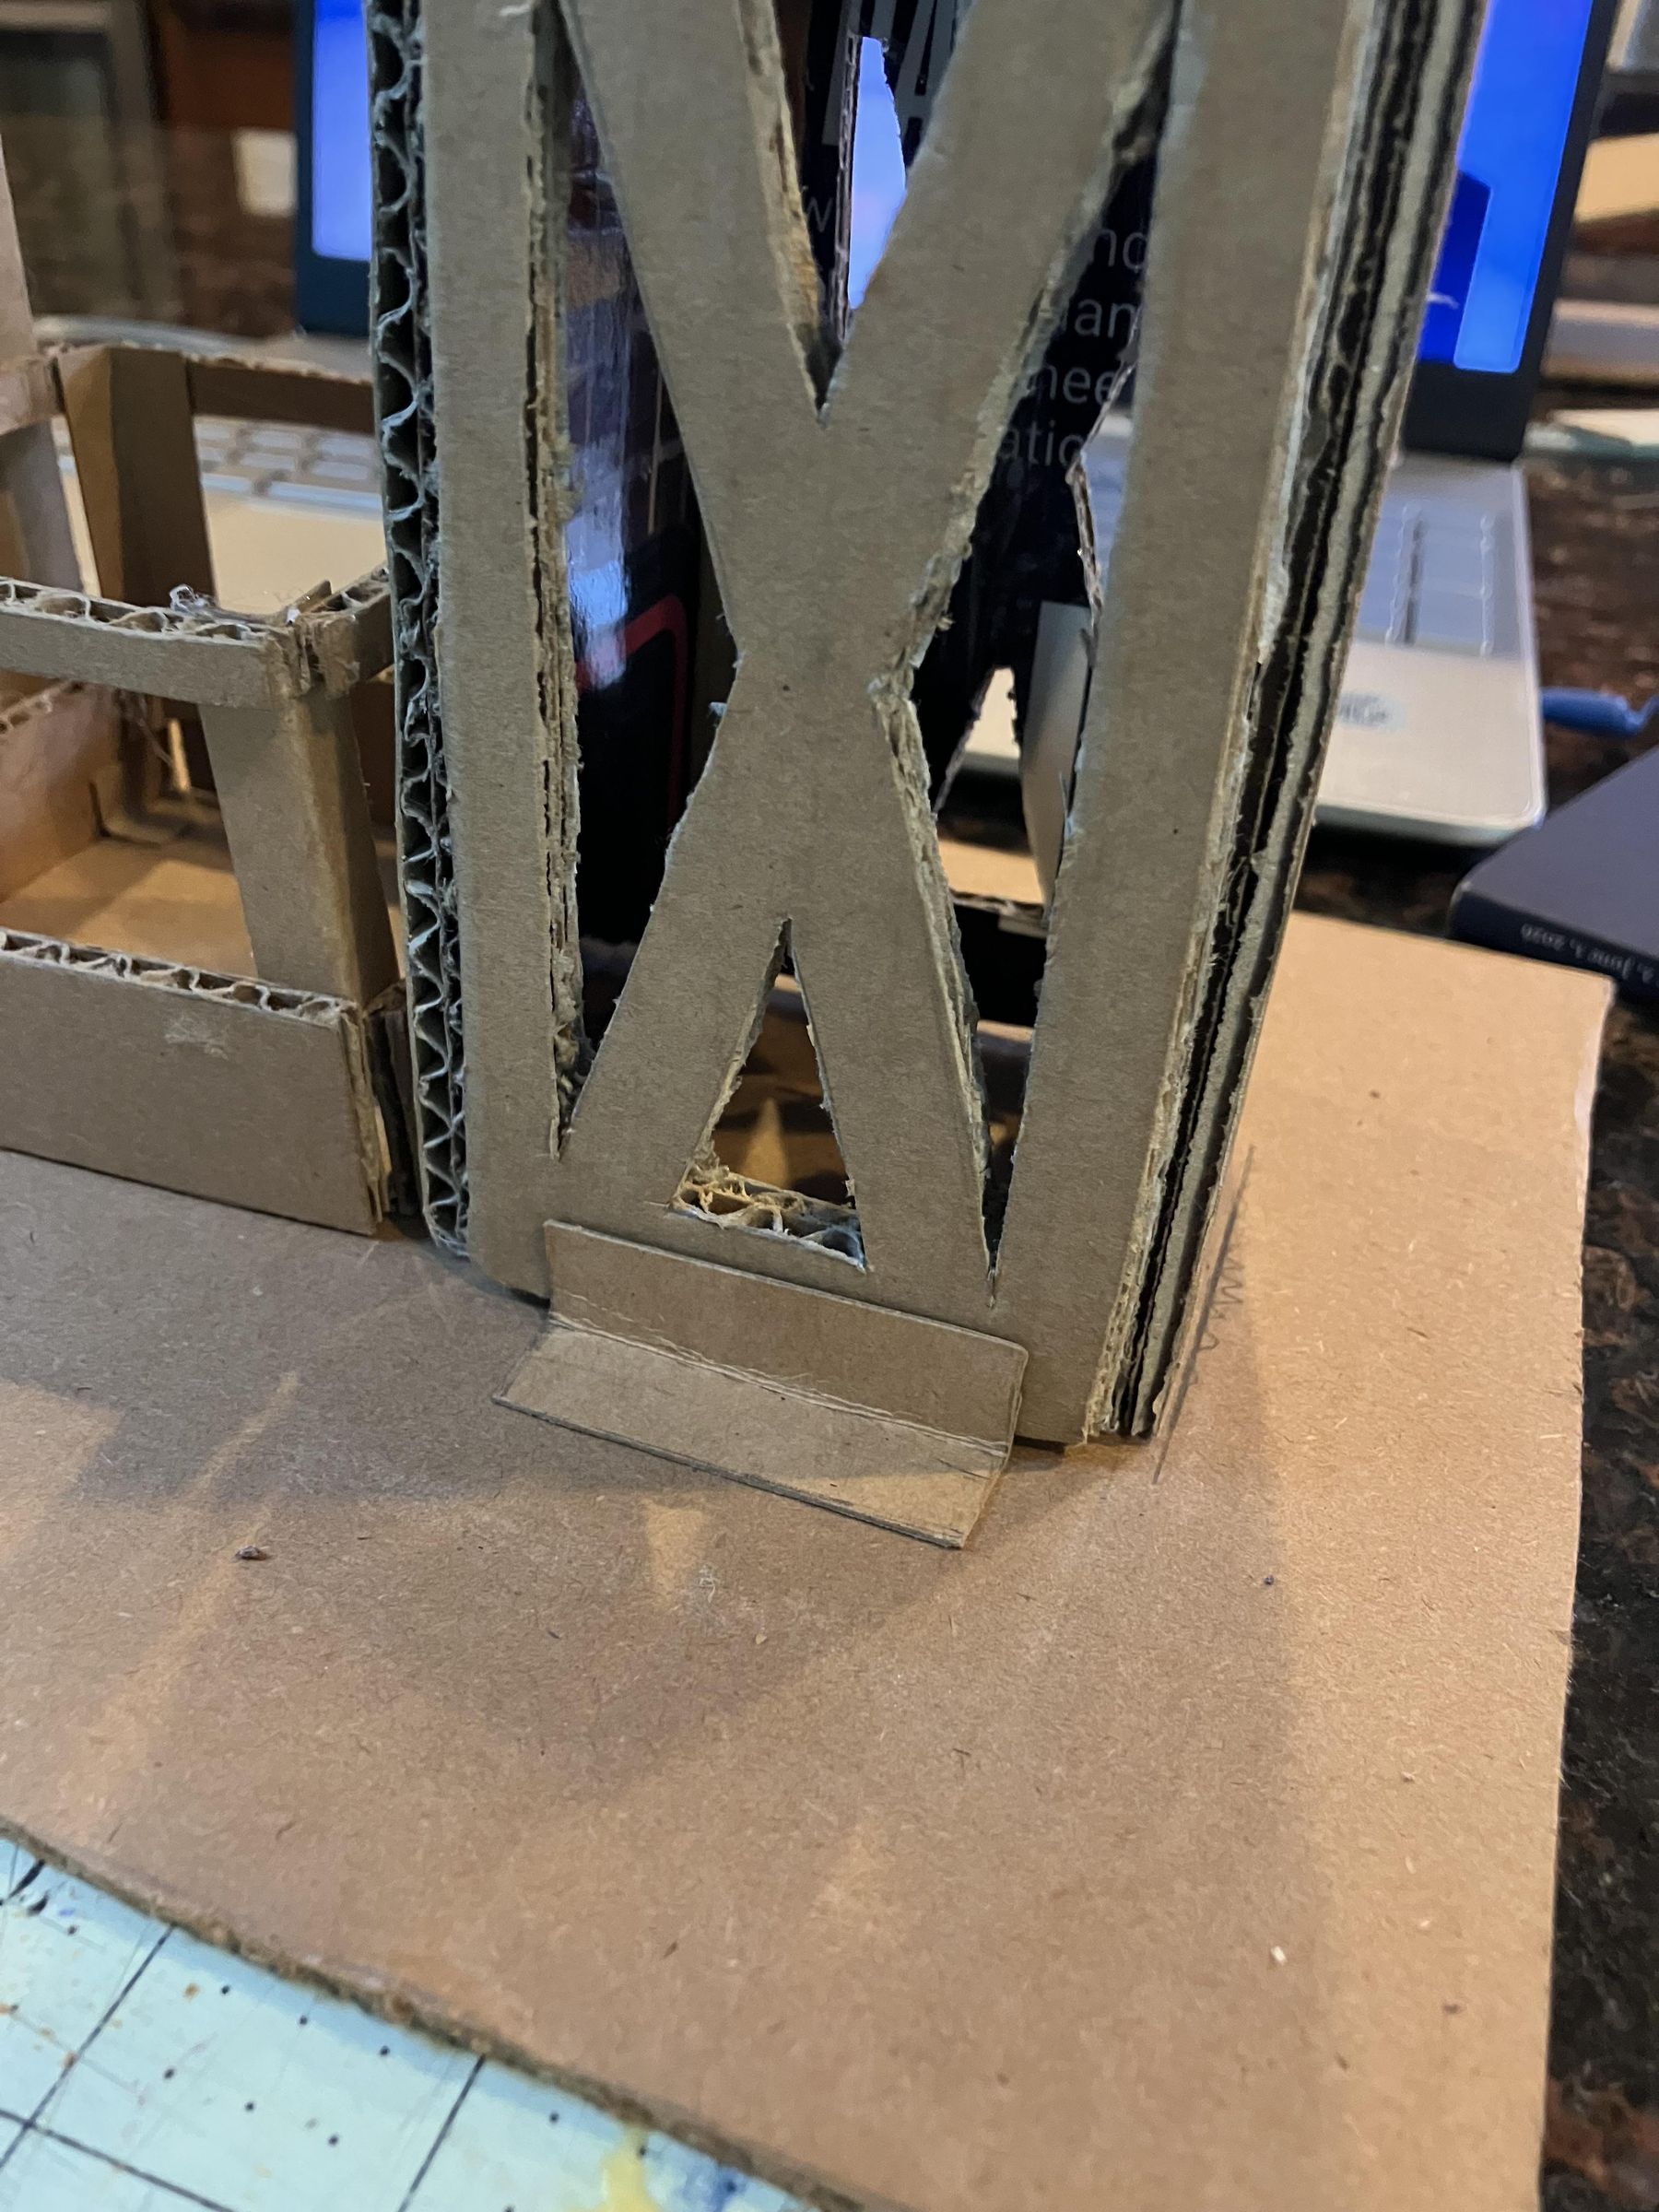
Let's make some cardboard angle brackets to connect the sides cleanly. We can start by taking some non-corrugated cardboard and making long rectangles out of cardboard. Fold the rectangles in half. Repeat this until you have three of the angles brackets.
Use the brackets to attach the towers together by putting glue on each face of bracket and then connect the two sides at a 90-degree angle. Keep in mind when gluing that the two non-patterned sides with out holes should be opposite each other in the tower and that the non-patterned side and the patterned side with a hole should be opposite each other. This so the wholes are across from each other, as the bar will go through here.
Glue the tower sides together until you have two towers made.
Making the Platform and Attaching the Components
![IMG_0027[2].JPG](/proxy/?url=https://content.instructables.com/FNJ/J801/MR0YB85M/FNJJ801MR0YB85M.jpg&filename=IMG_0027[2].JPG)
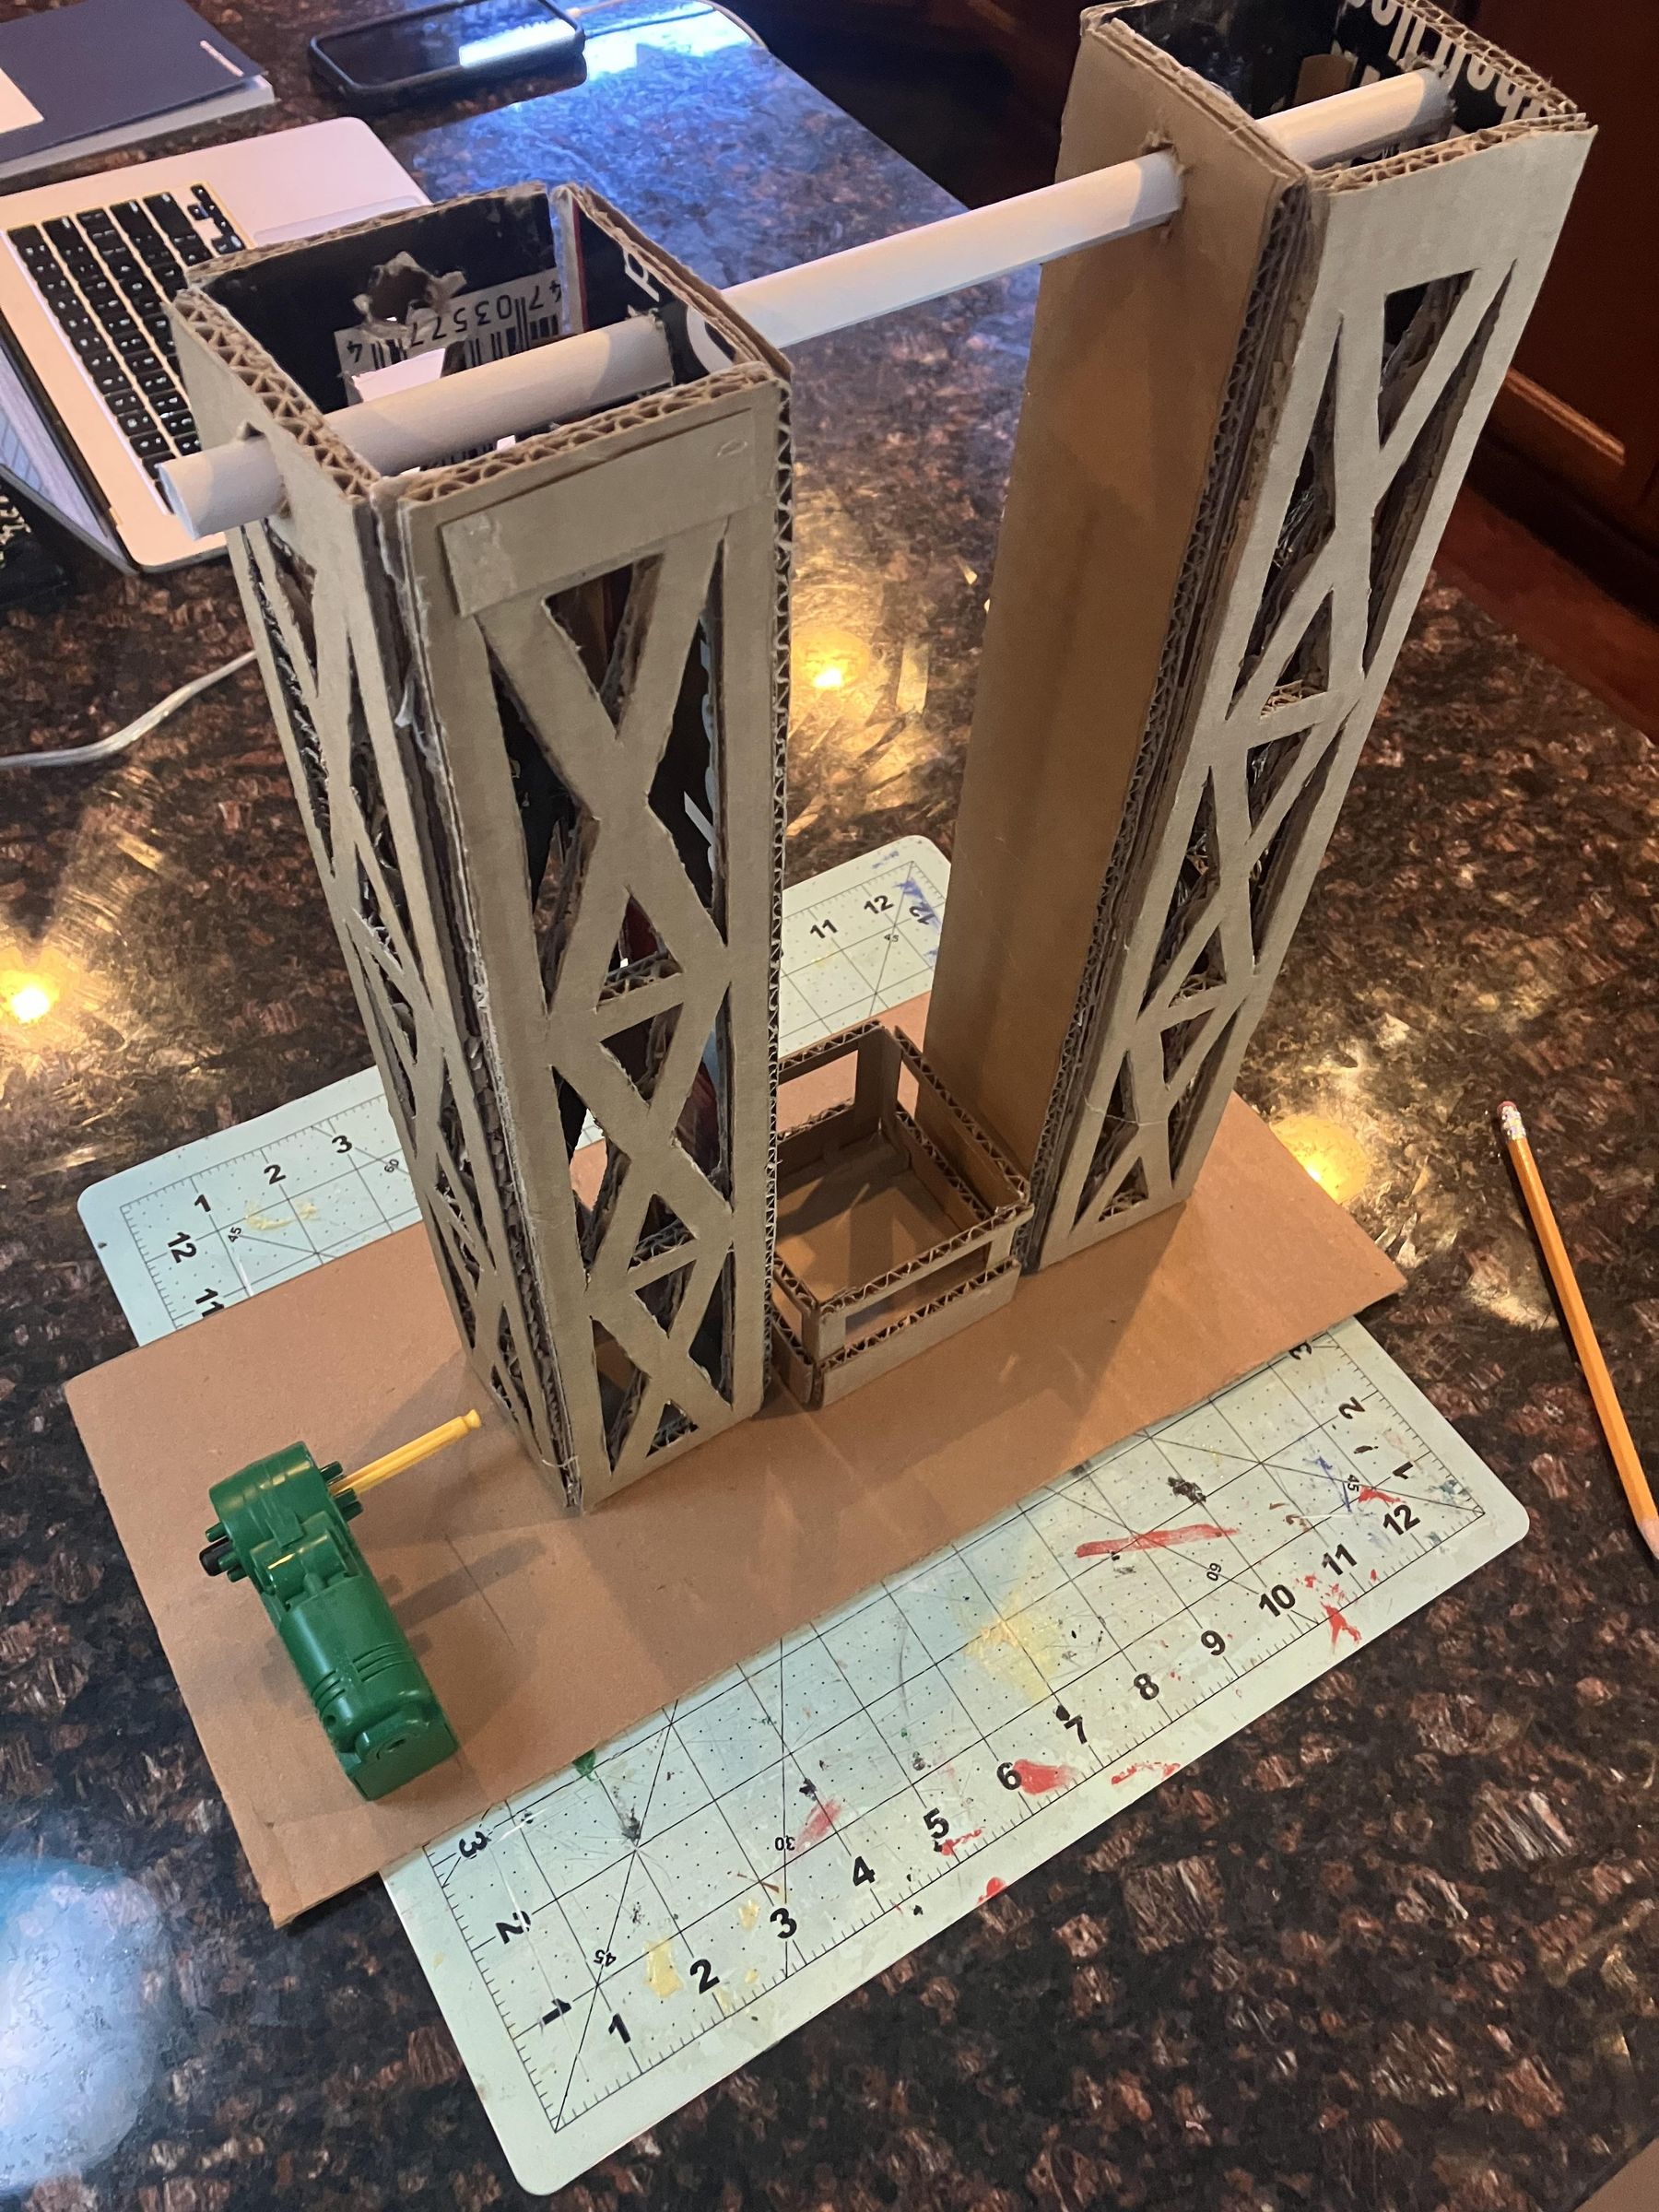
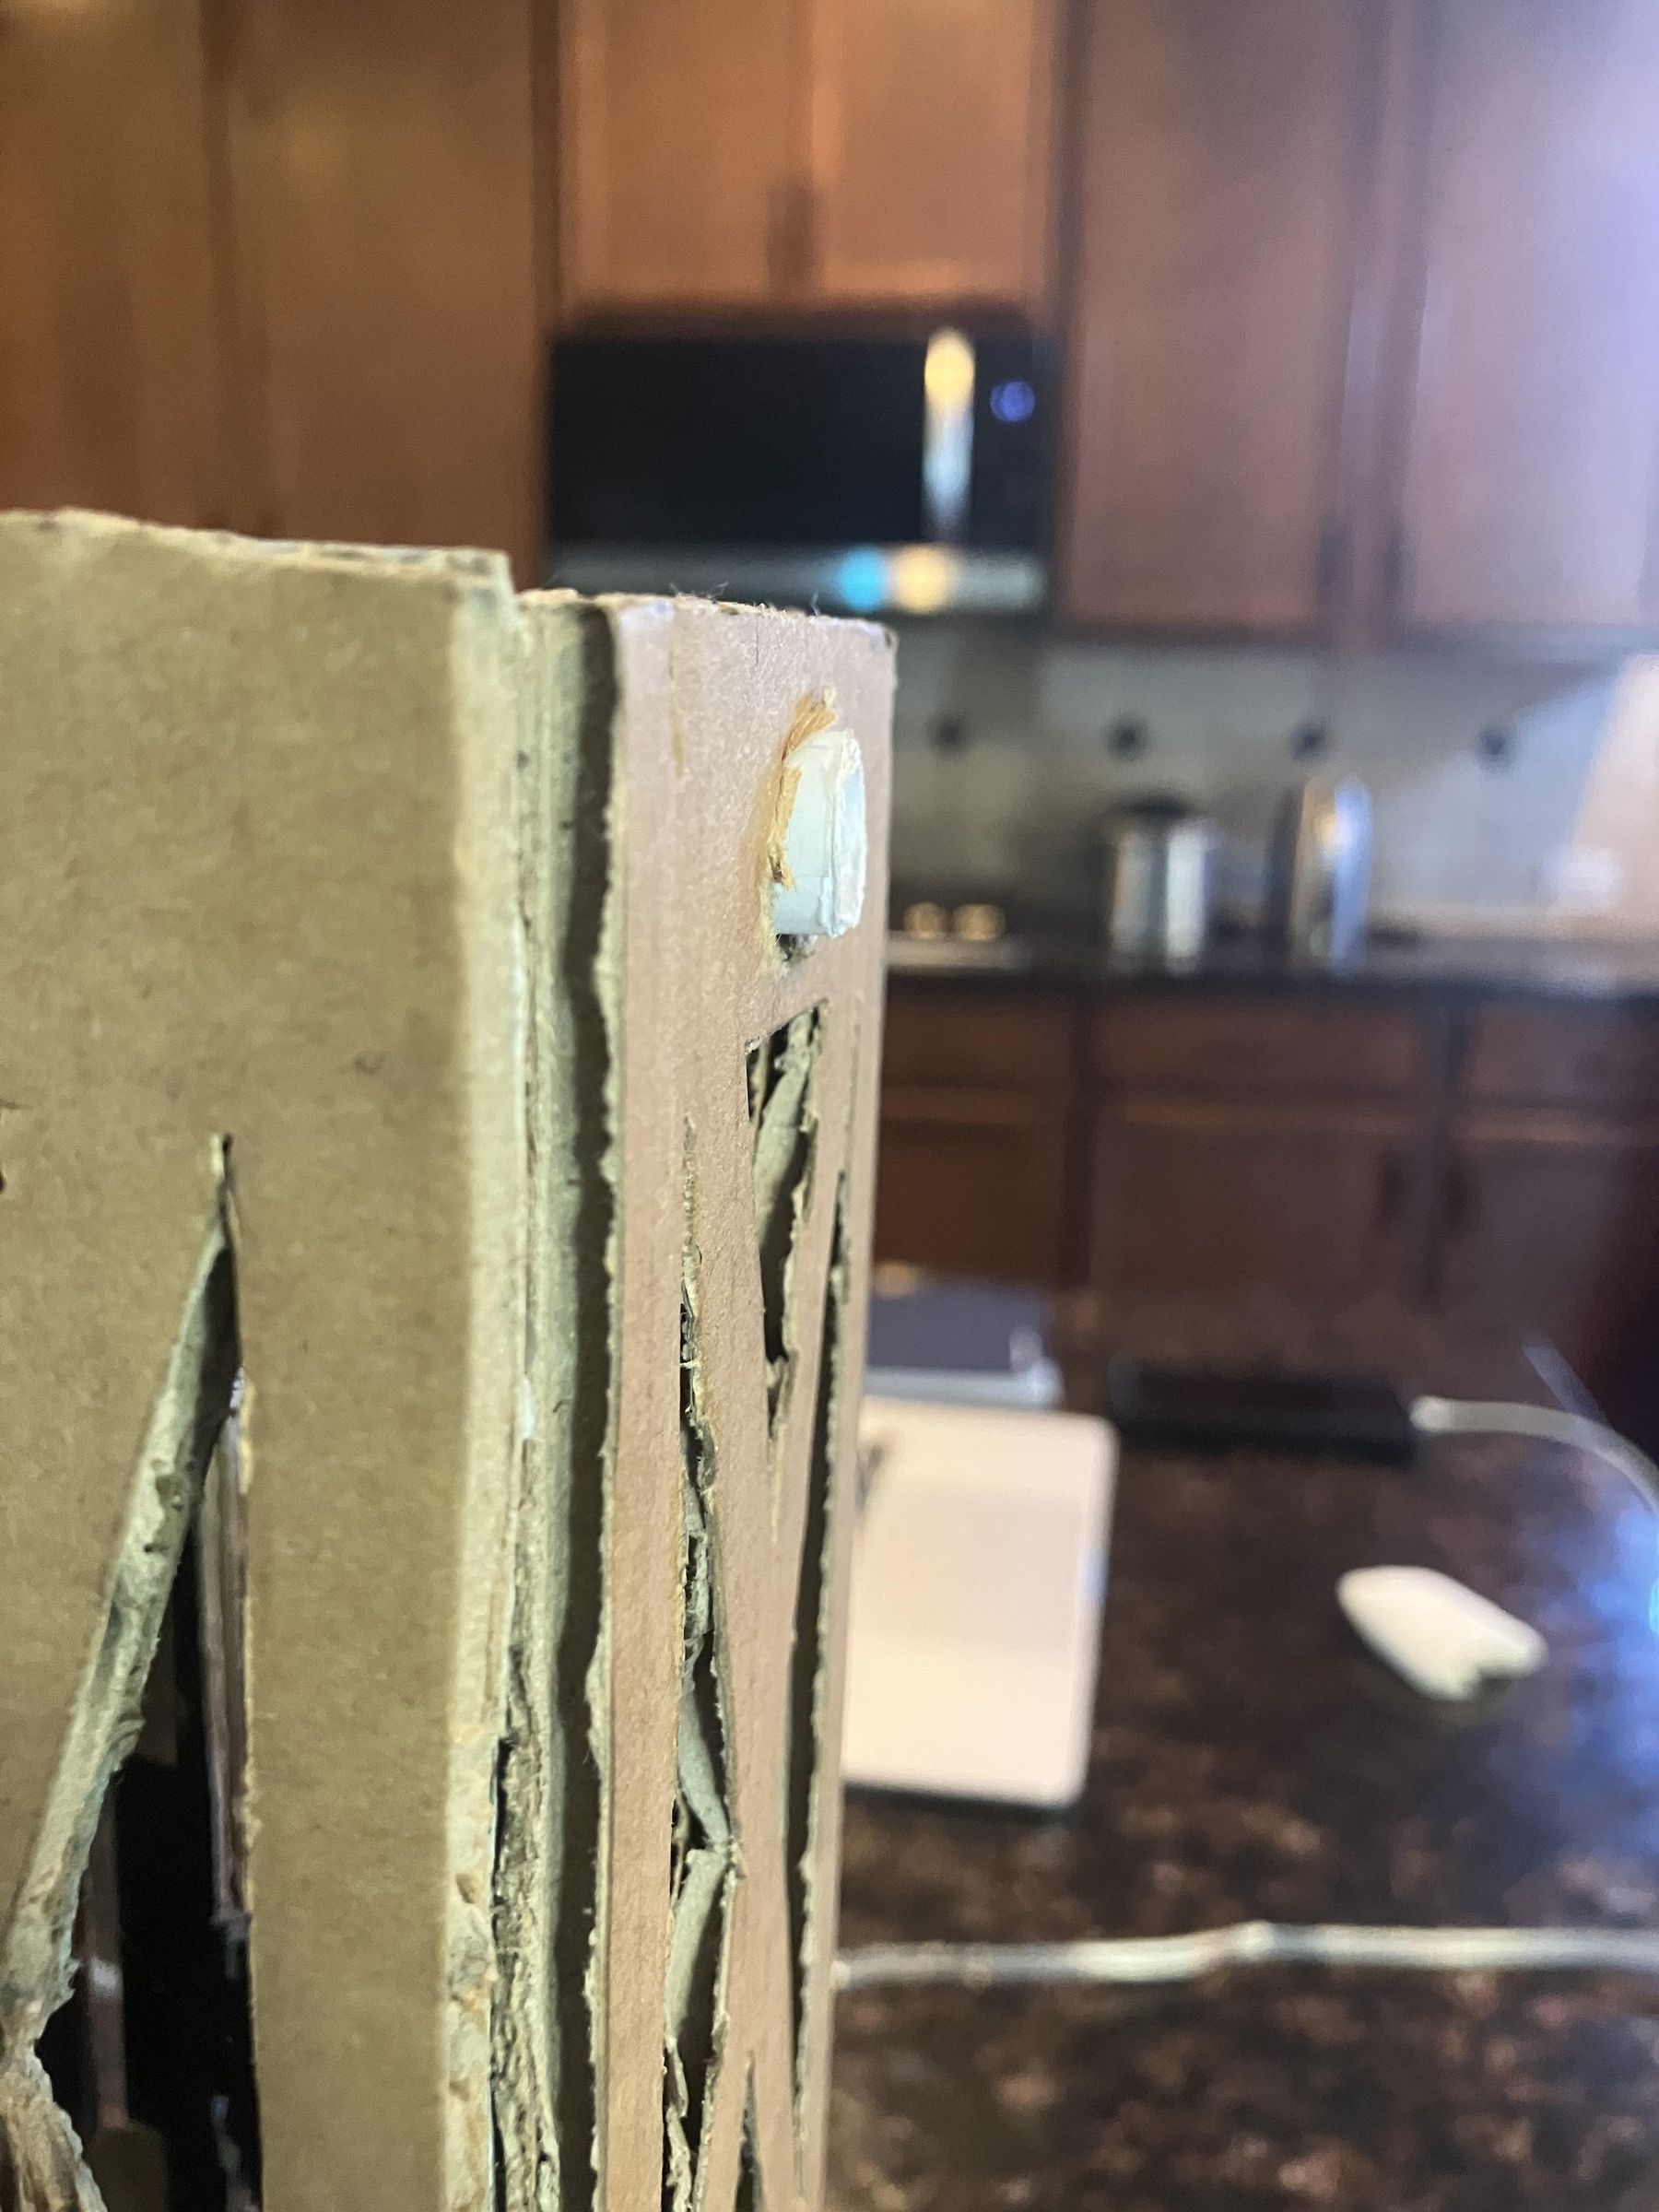
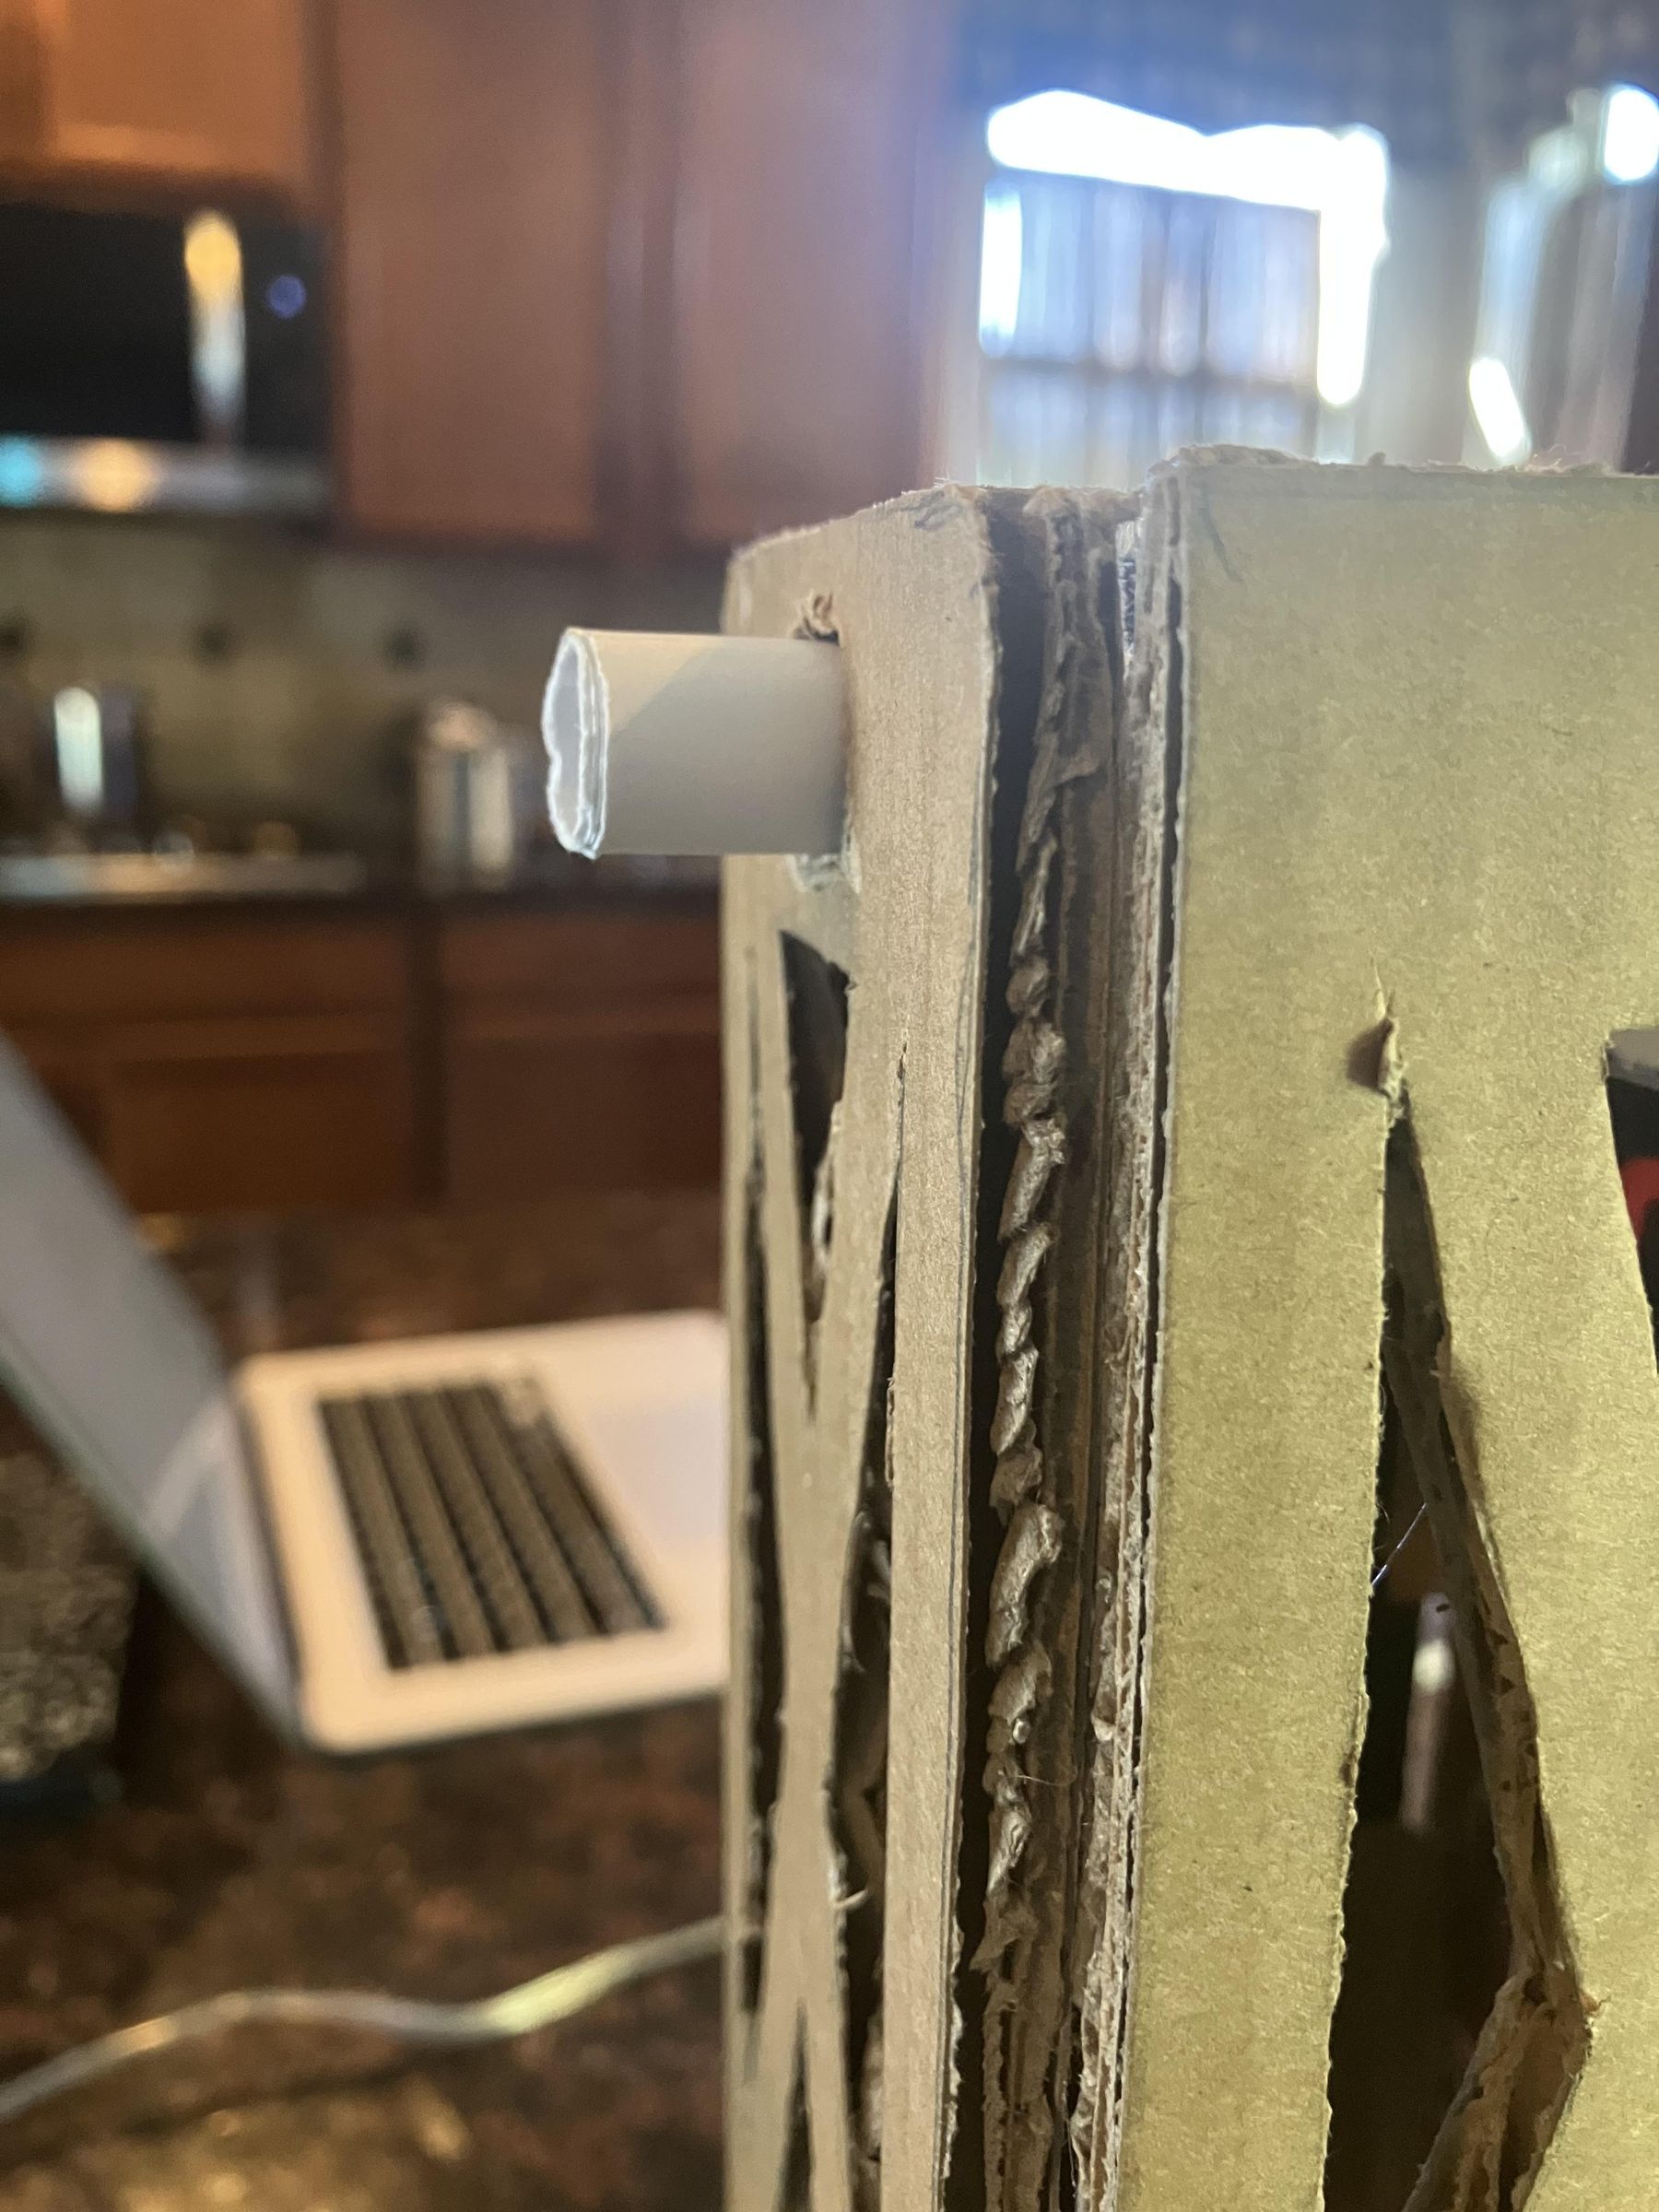
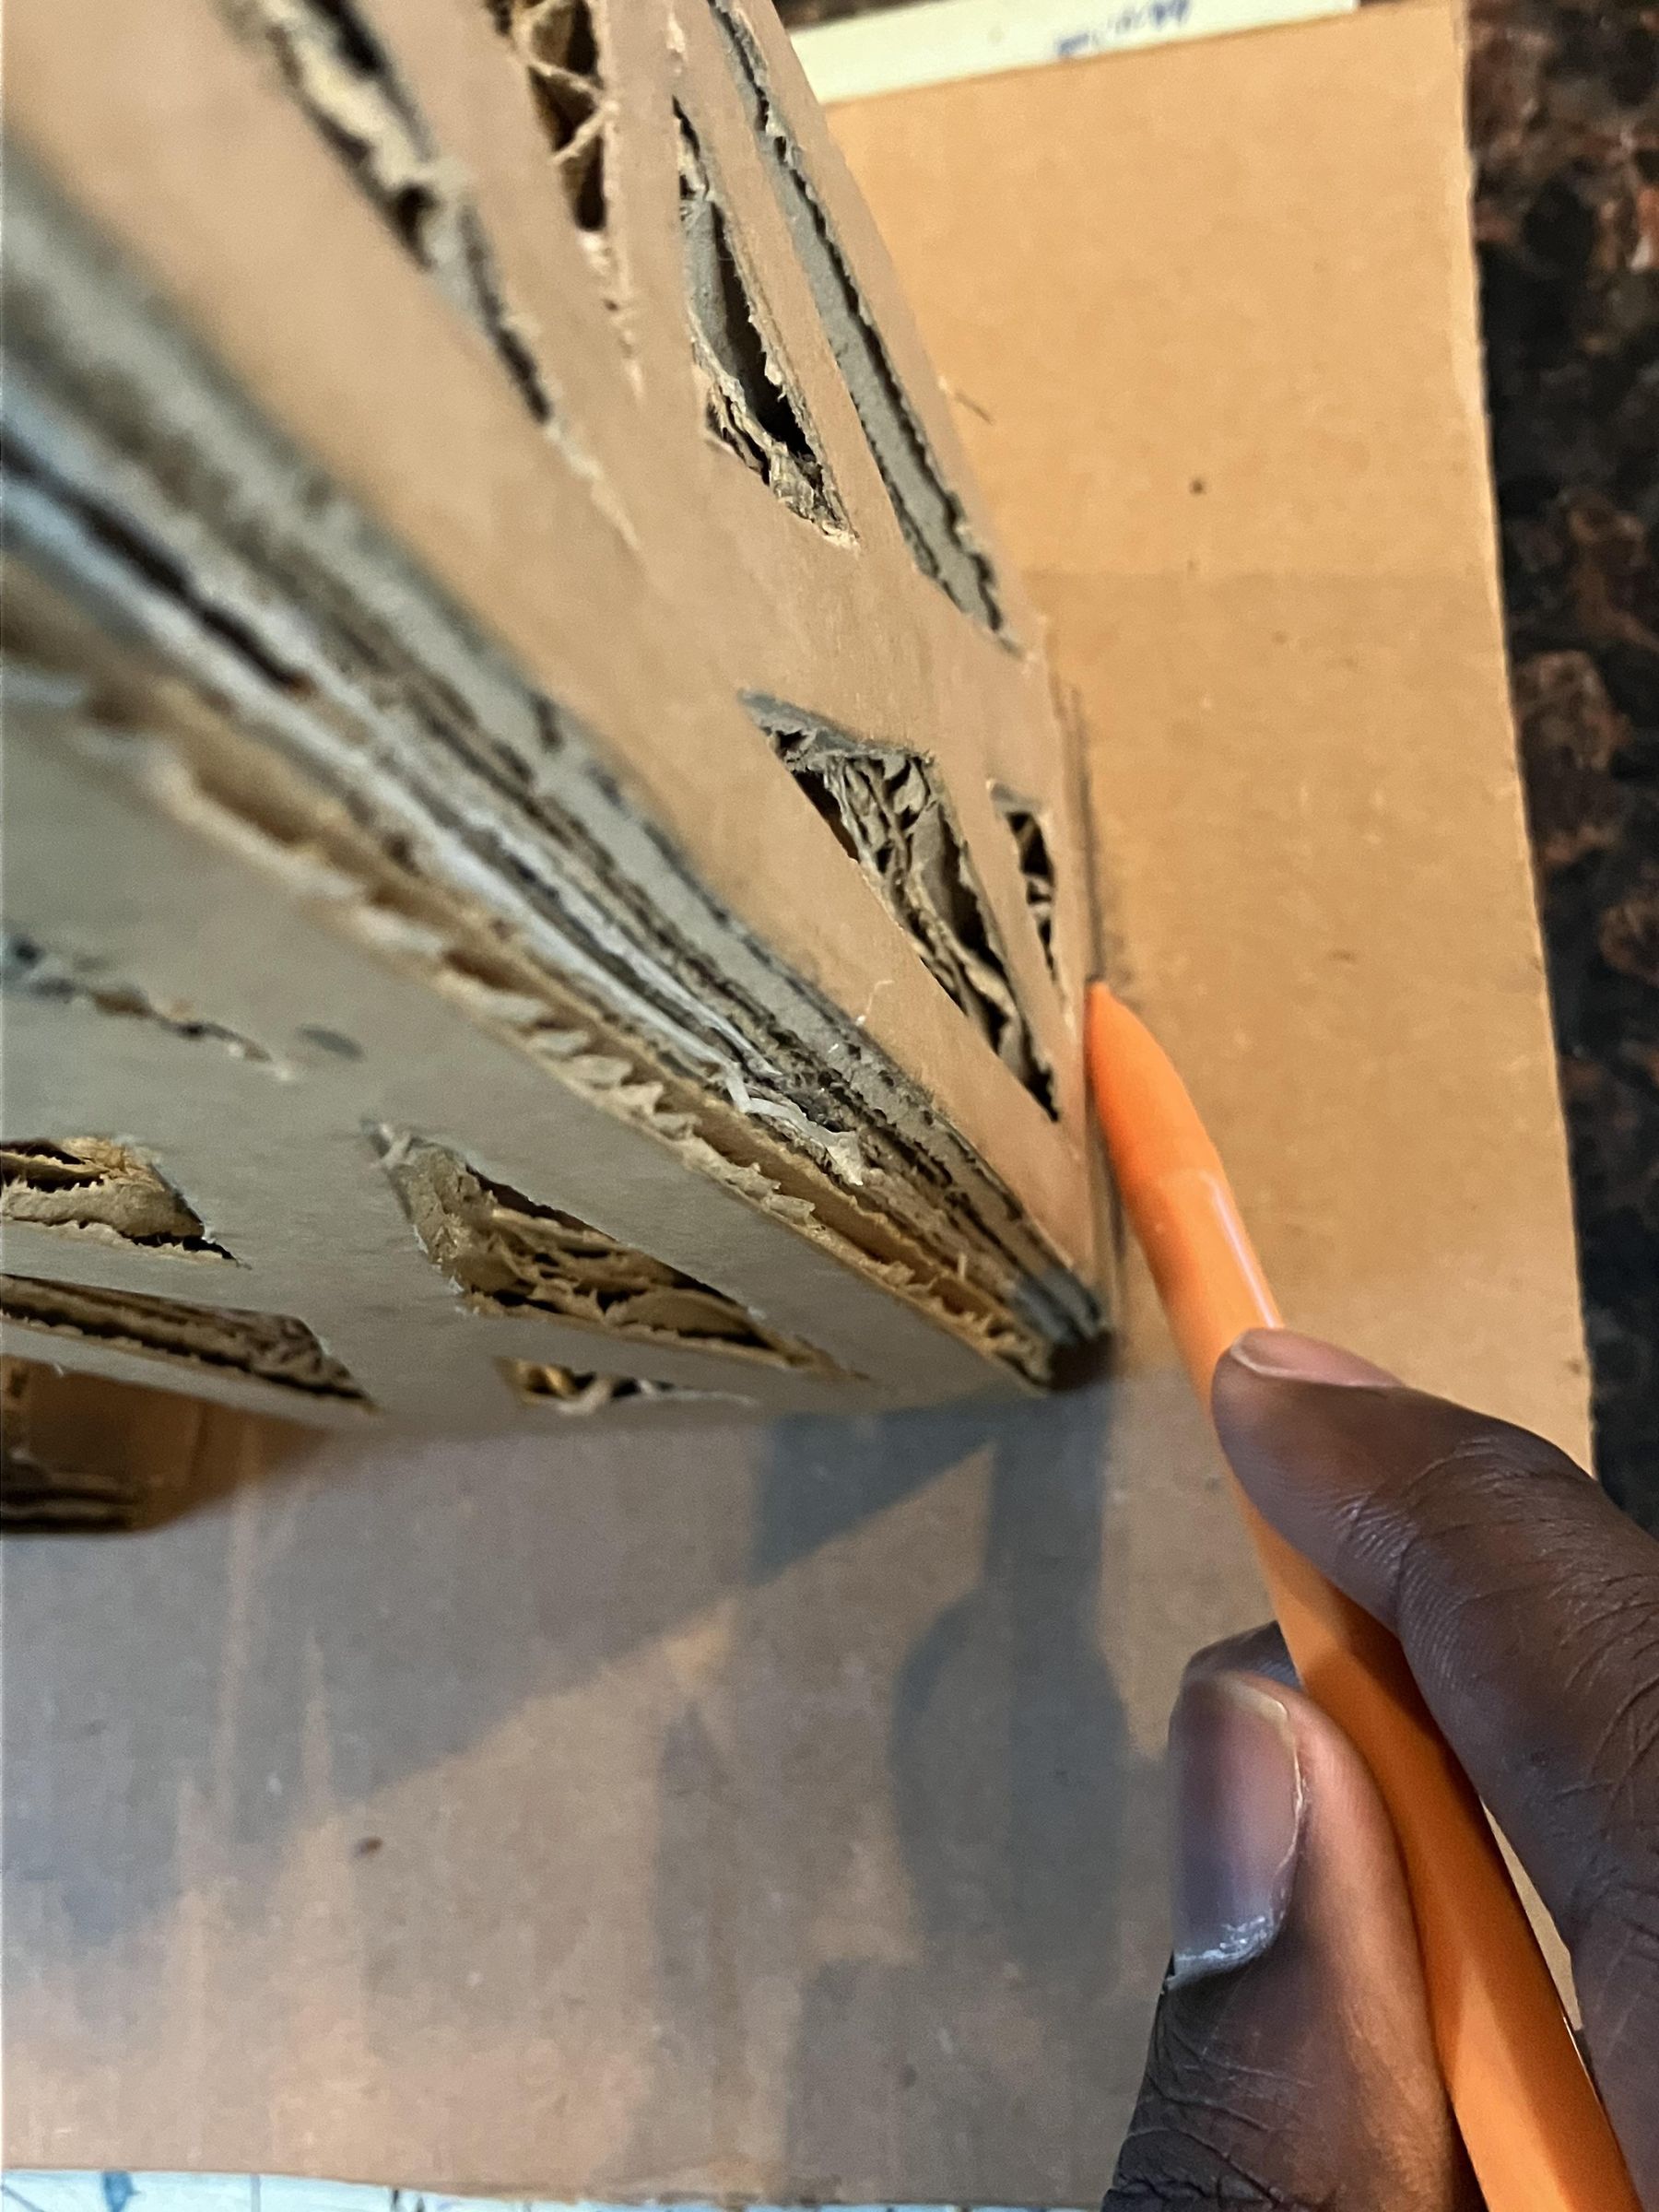
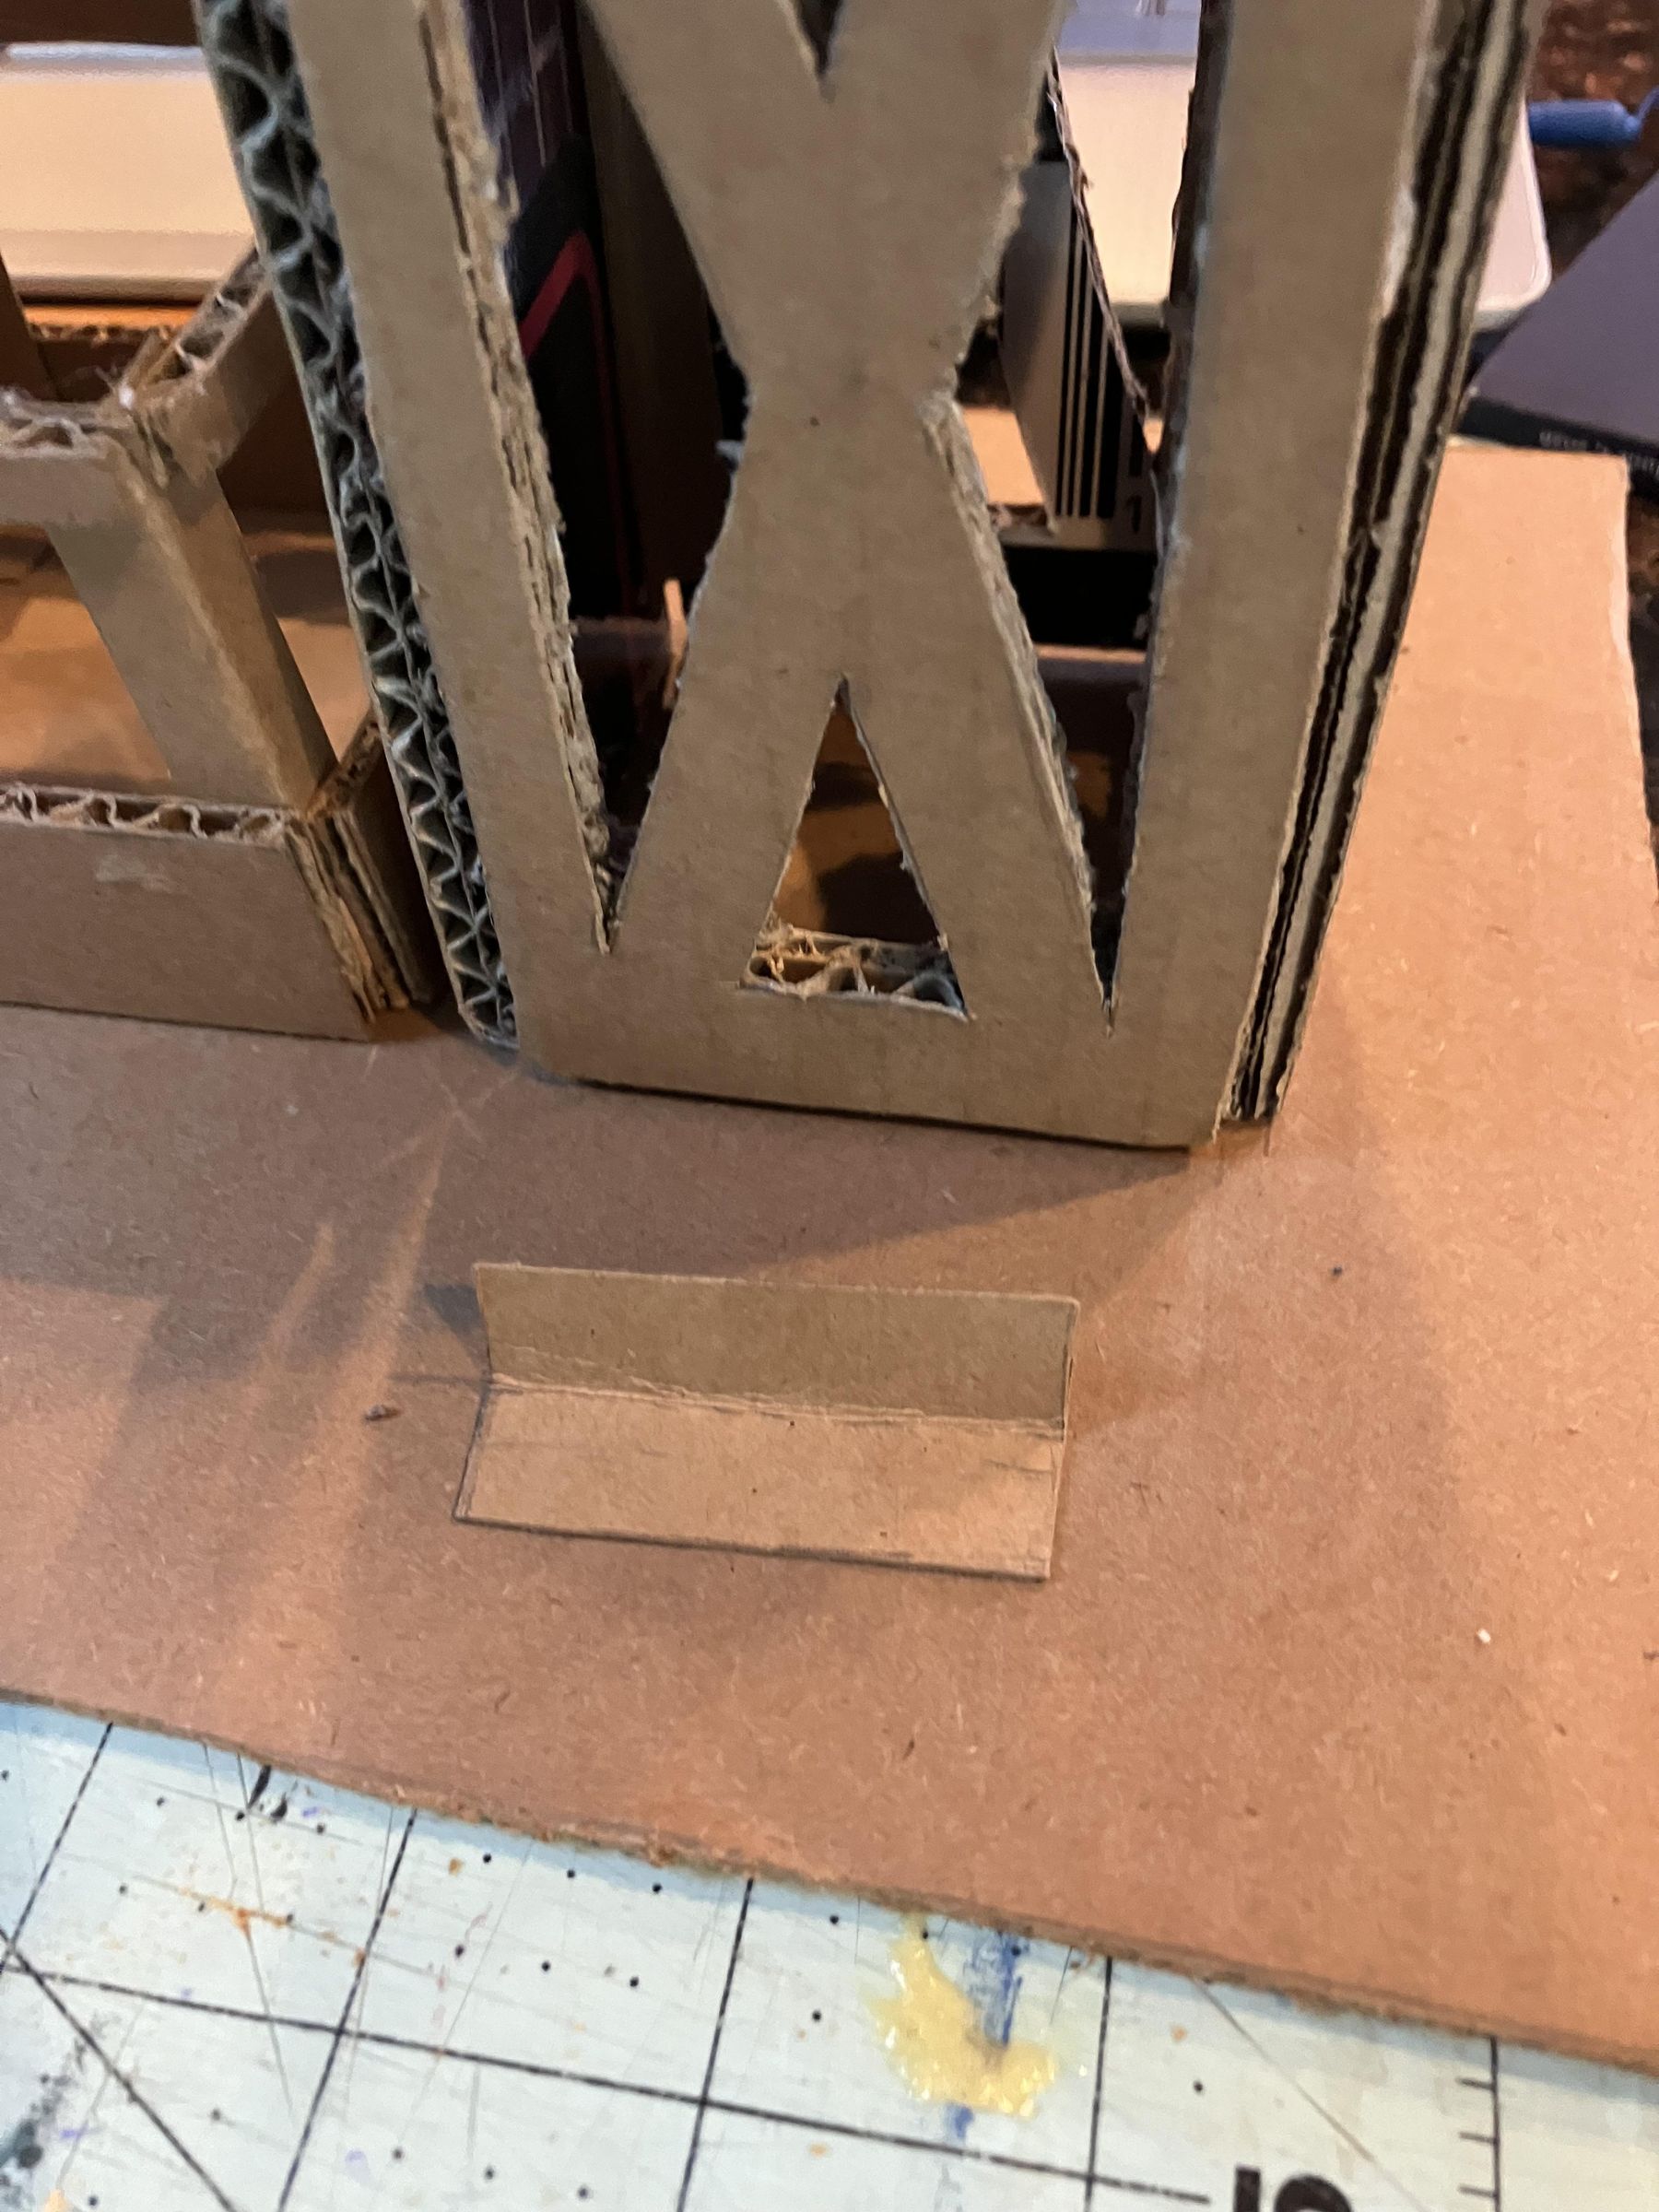
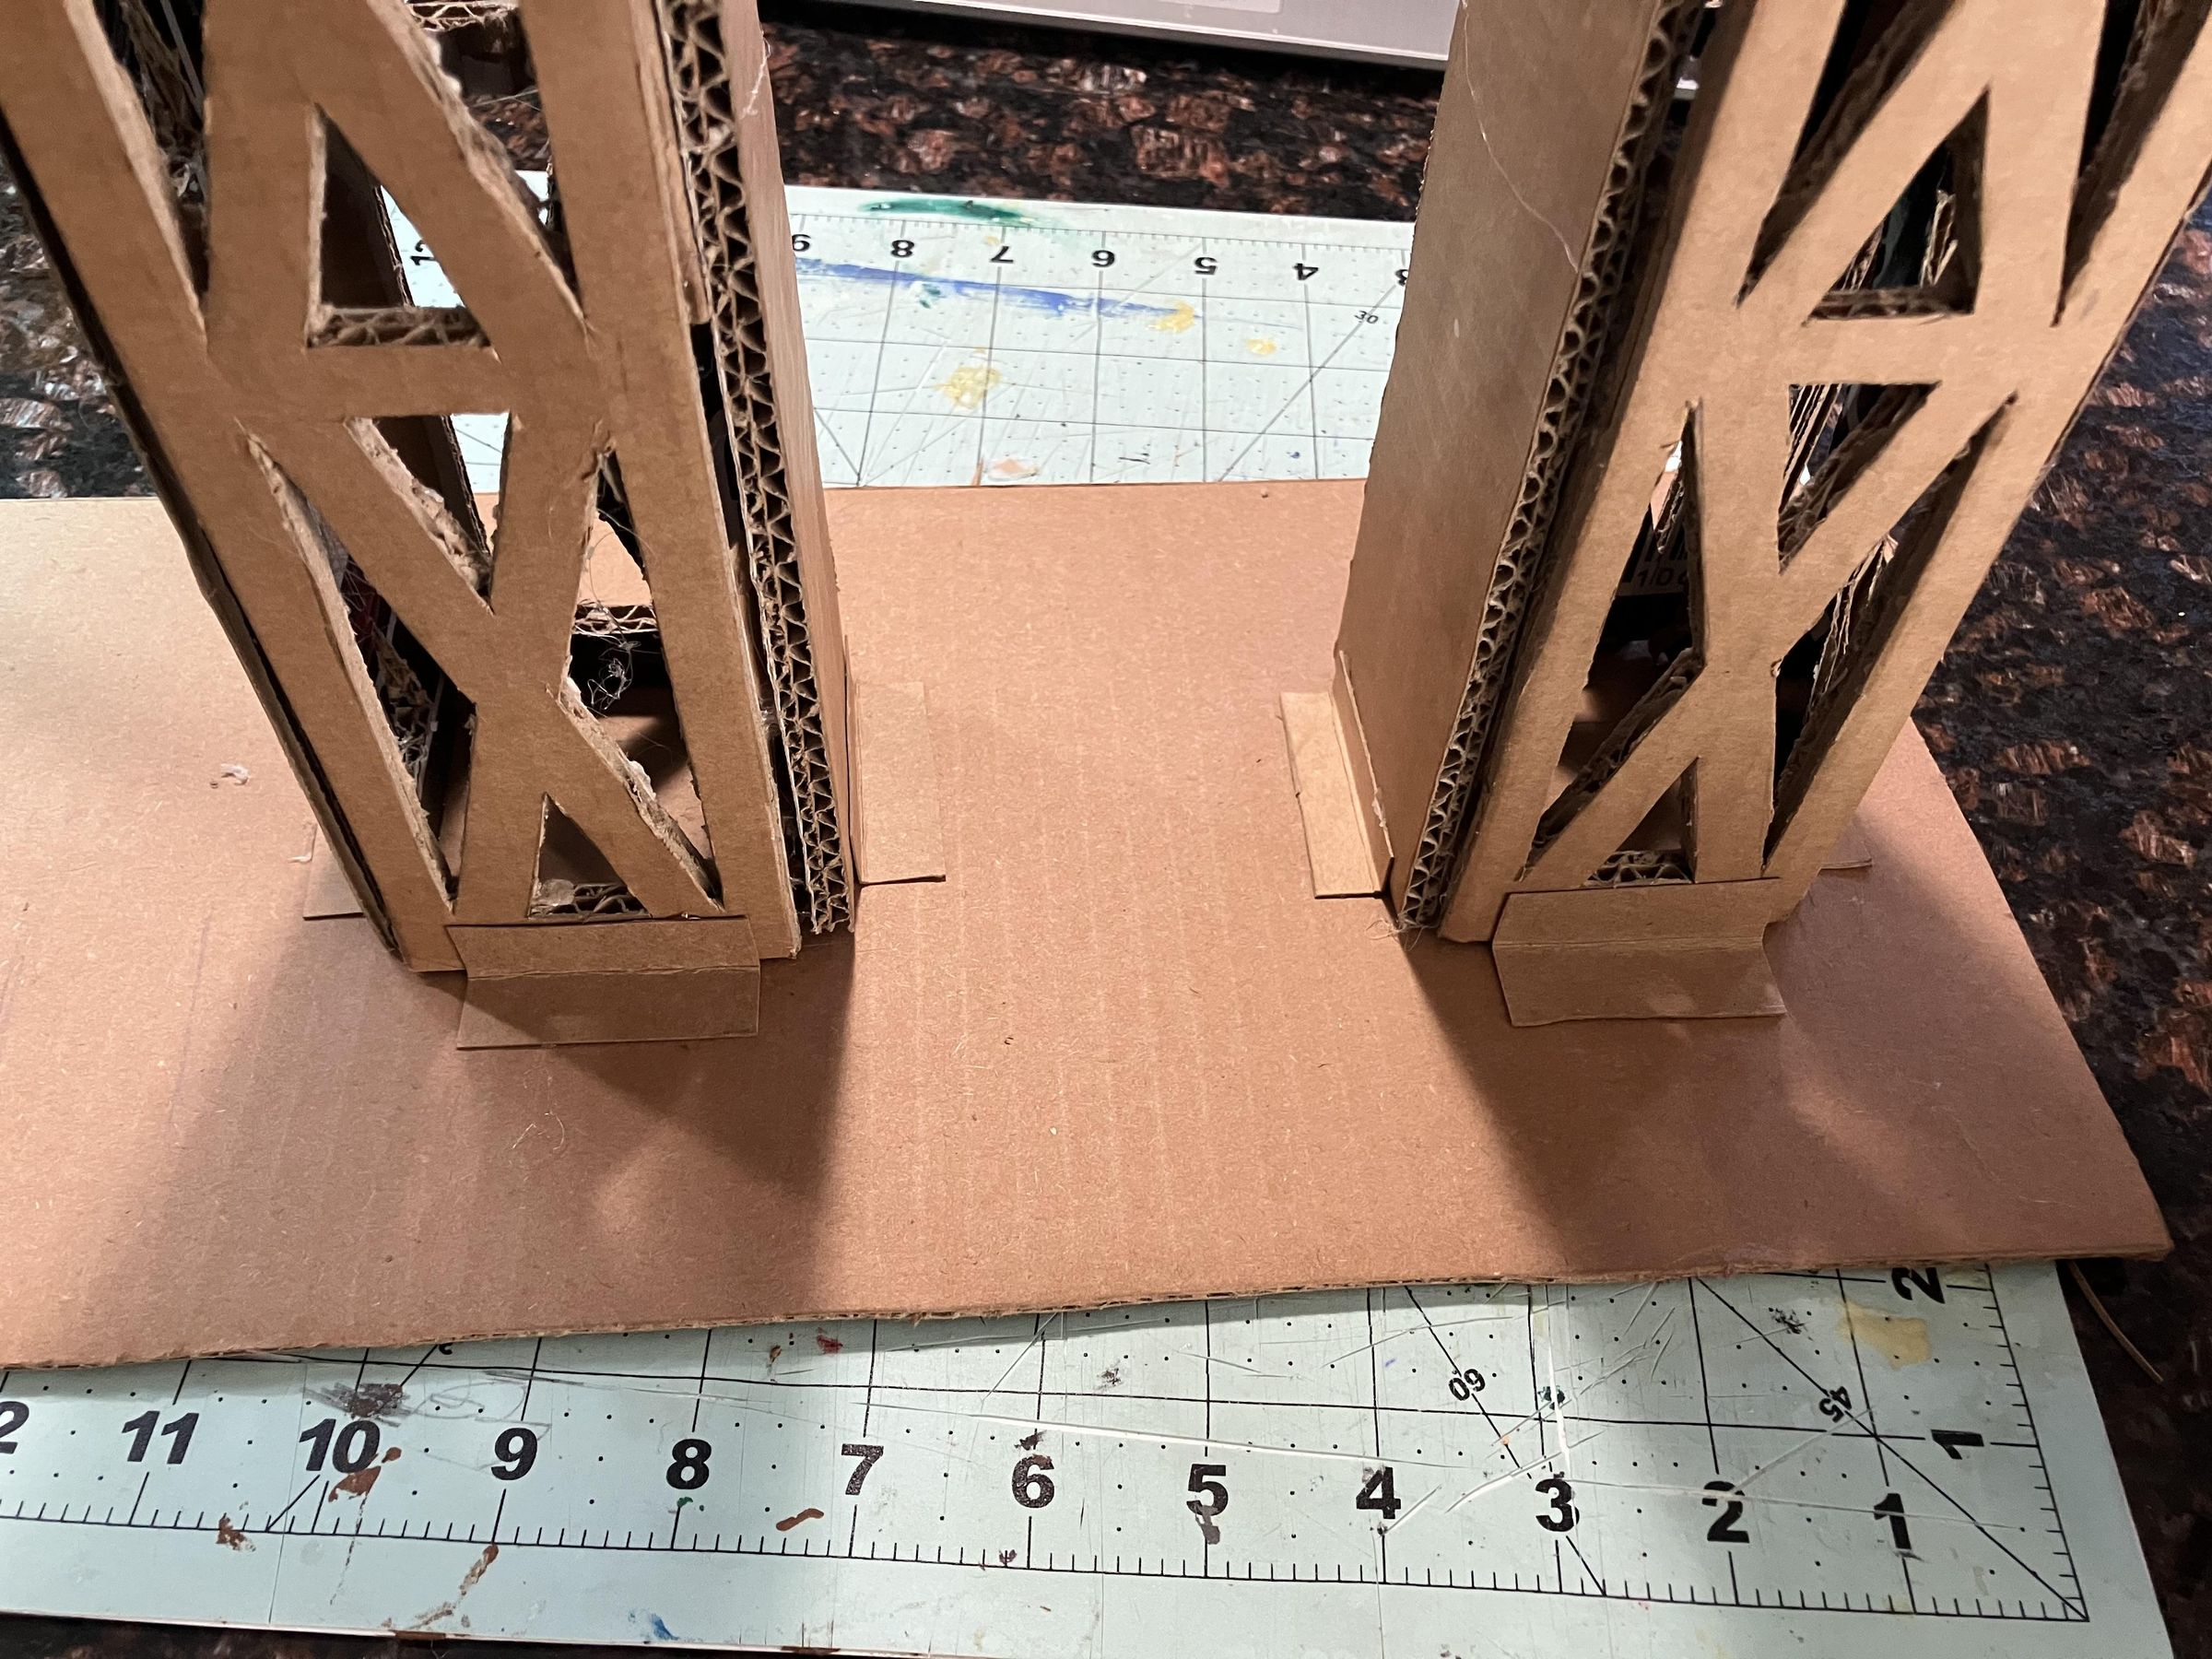
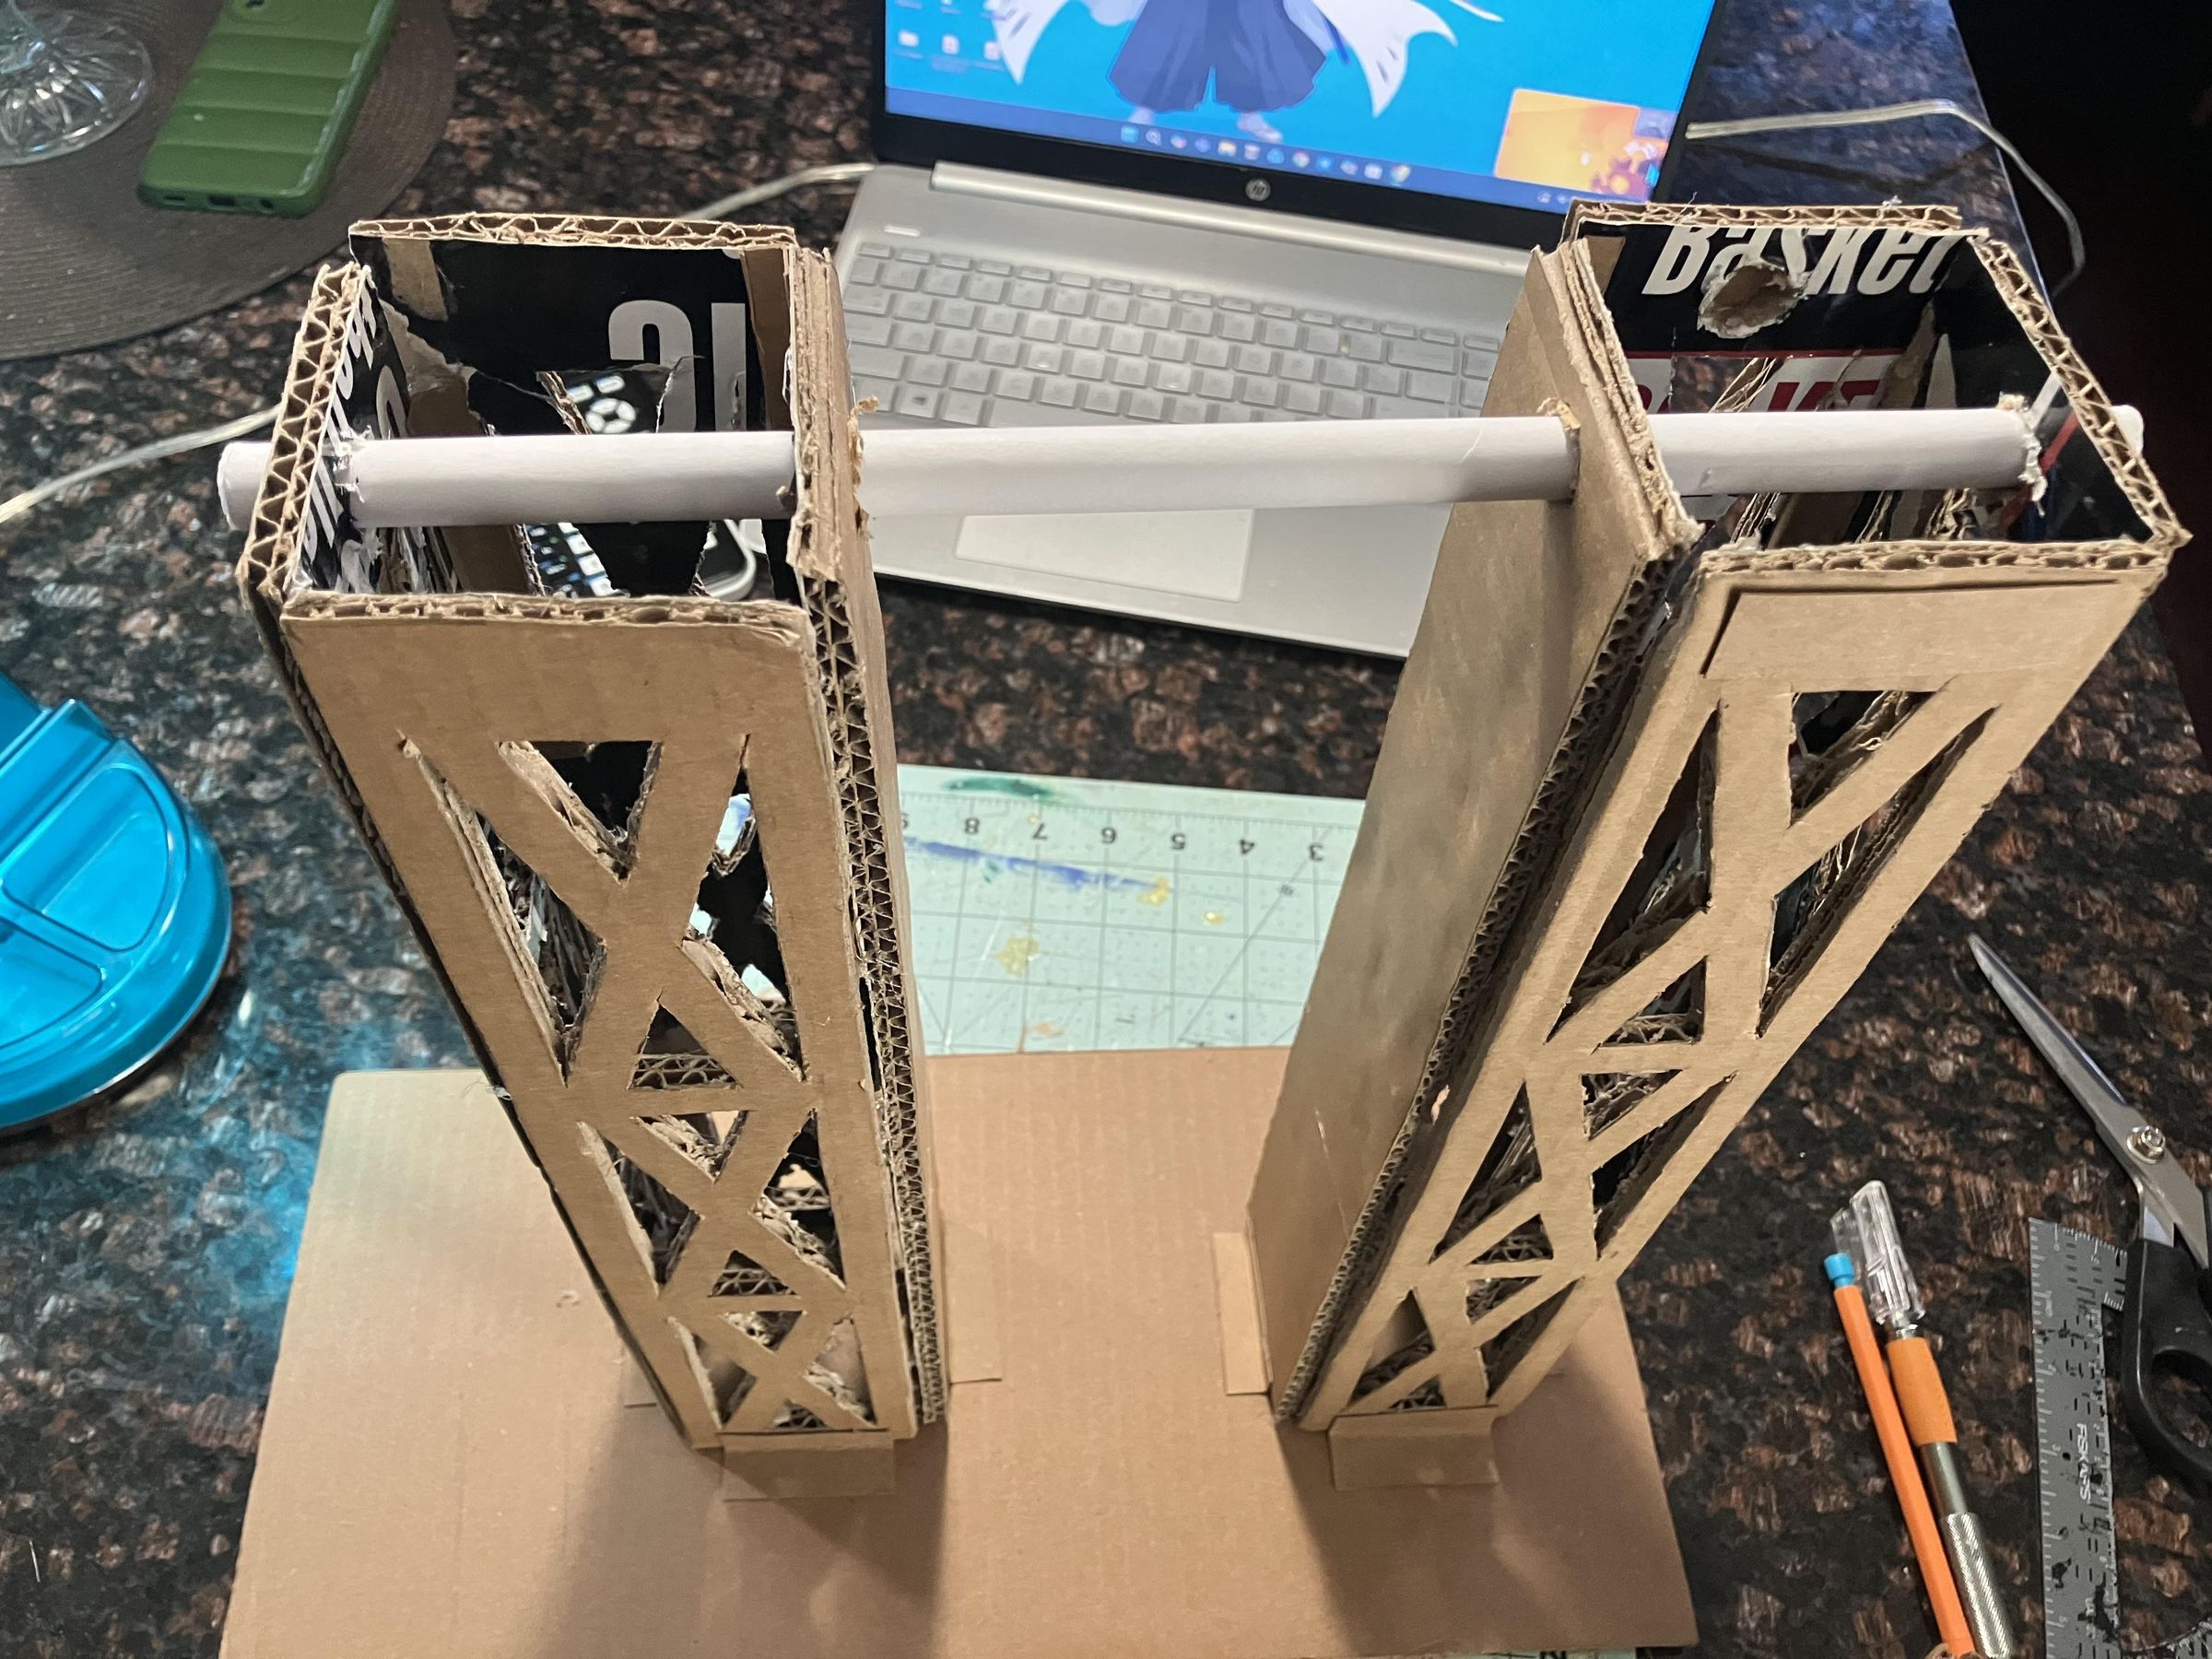
Making the platform
I made my platform by cutting out a 16 by 6.5 inch rectangle. I decided that theses dimensions were enough to fit my two towers along with the motor setup. Keep in mind that if you are using a different motor than I am you may need to use different sizing.
Attaching the towers.
Before gluing the towers onto the platform, you first need use the rotating bar to decide how far apart the towers should be. The towers need to be a correct distance a part so that, when you put the rotating bar through the two towers, one side has a piece of the rotating bar visible (this is where the pulley connected to the rotating bar will go), and then the other side has a shorter piece of the rotating bar is visible.
Another thing to make sure of is that there is a space on the platform on the side of the tower with the longer rotating bar piece, because the motor set up will be on this side. Also, there must be space between the towers so that the elevator cart can rise and fall with out friction.
Once you've used a pencil to mark where the towers will be, make 8 L-brackets (4 for each tower) and use them to connect the tower to the platform, in the same way you see above.
Adding Axle Sleeves and Making the Cable Spools
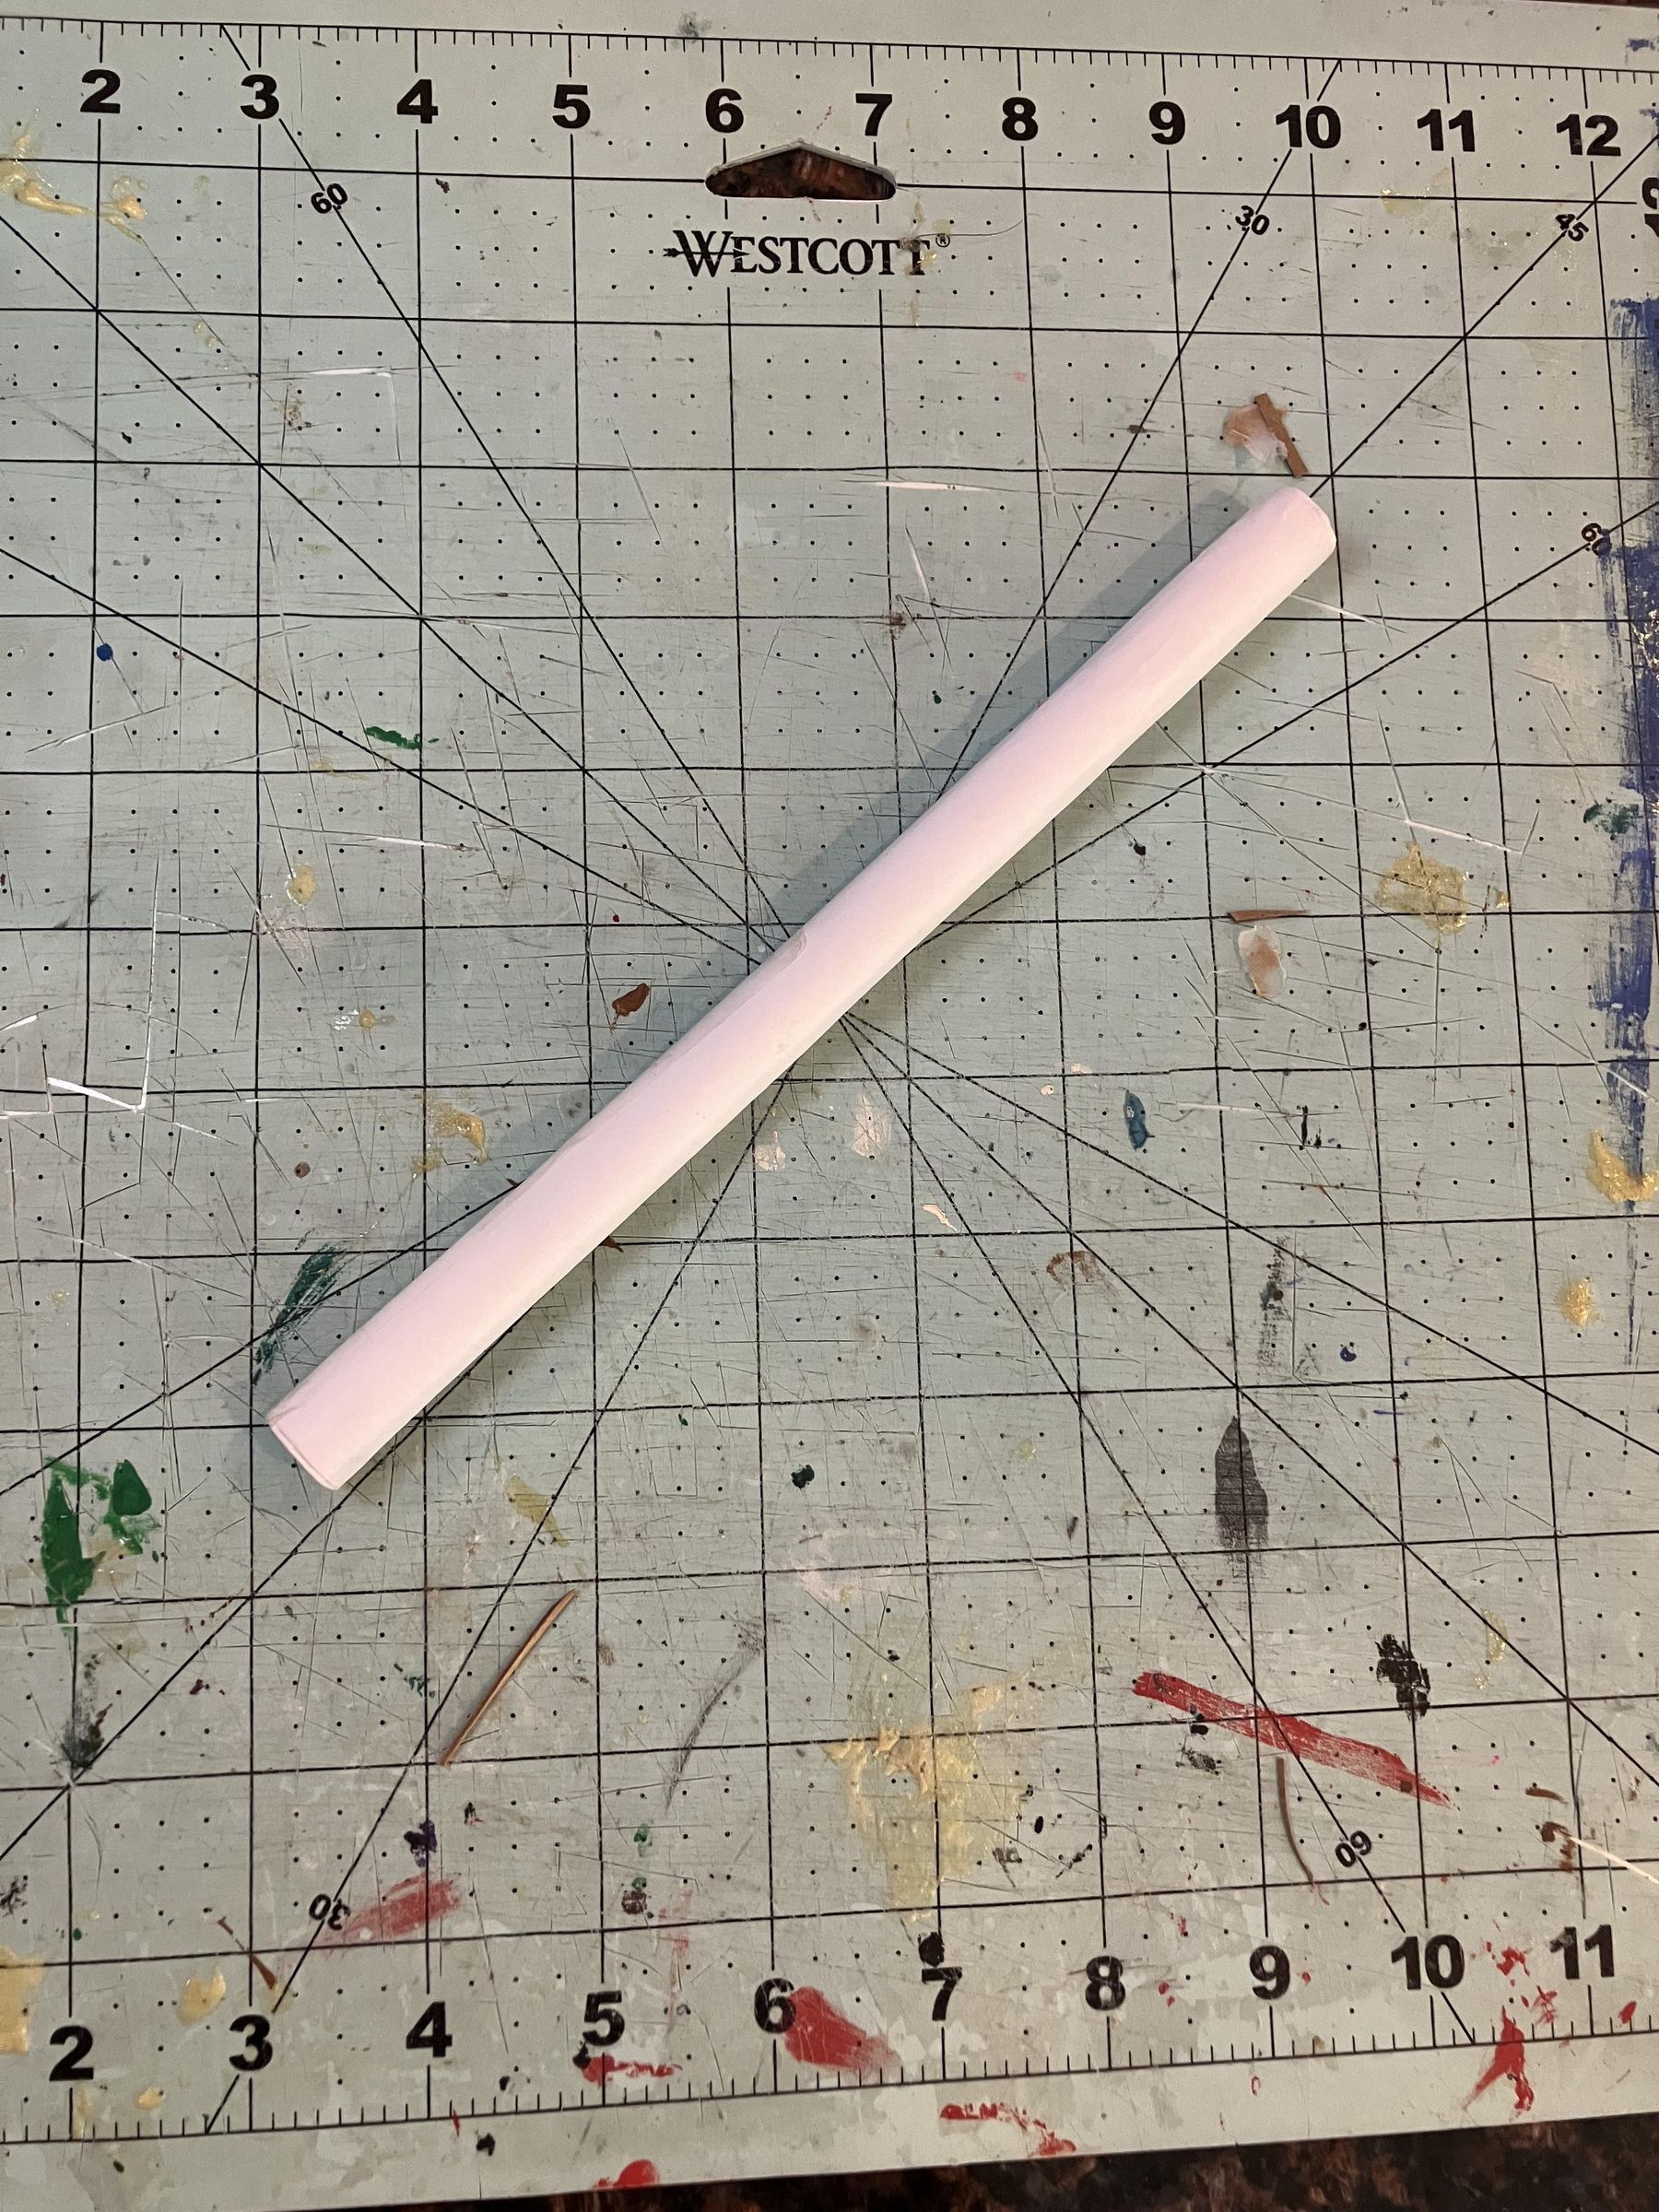
The Axle Sleeves
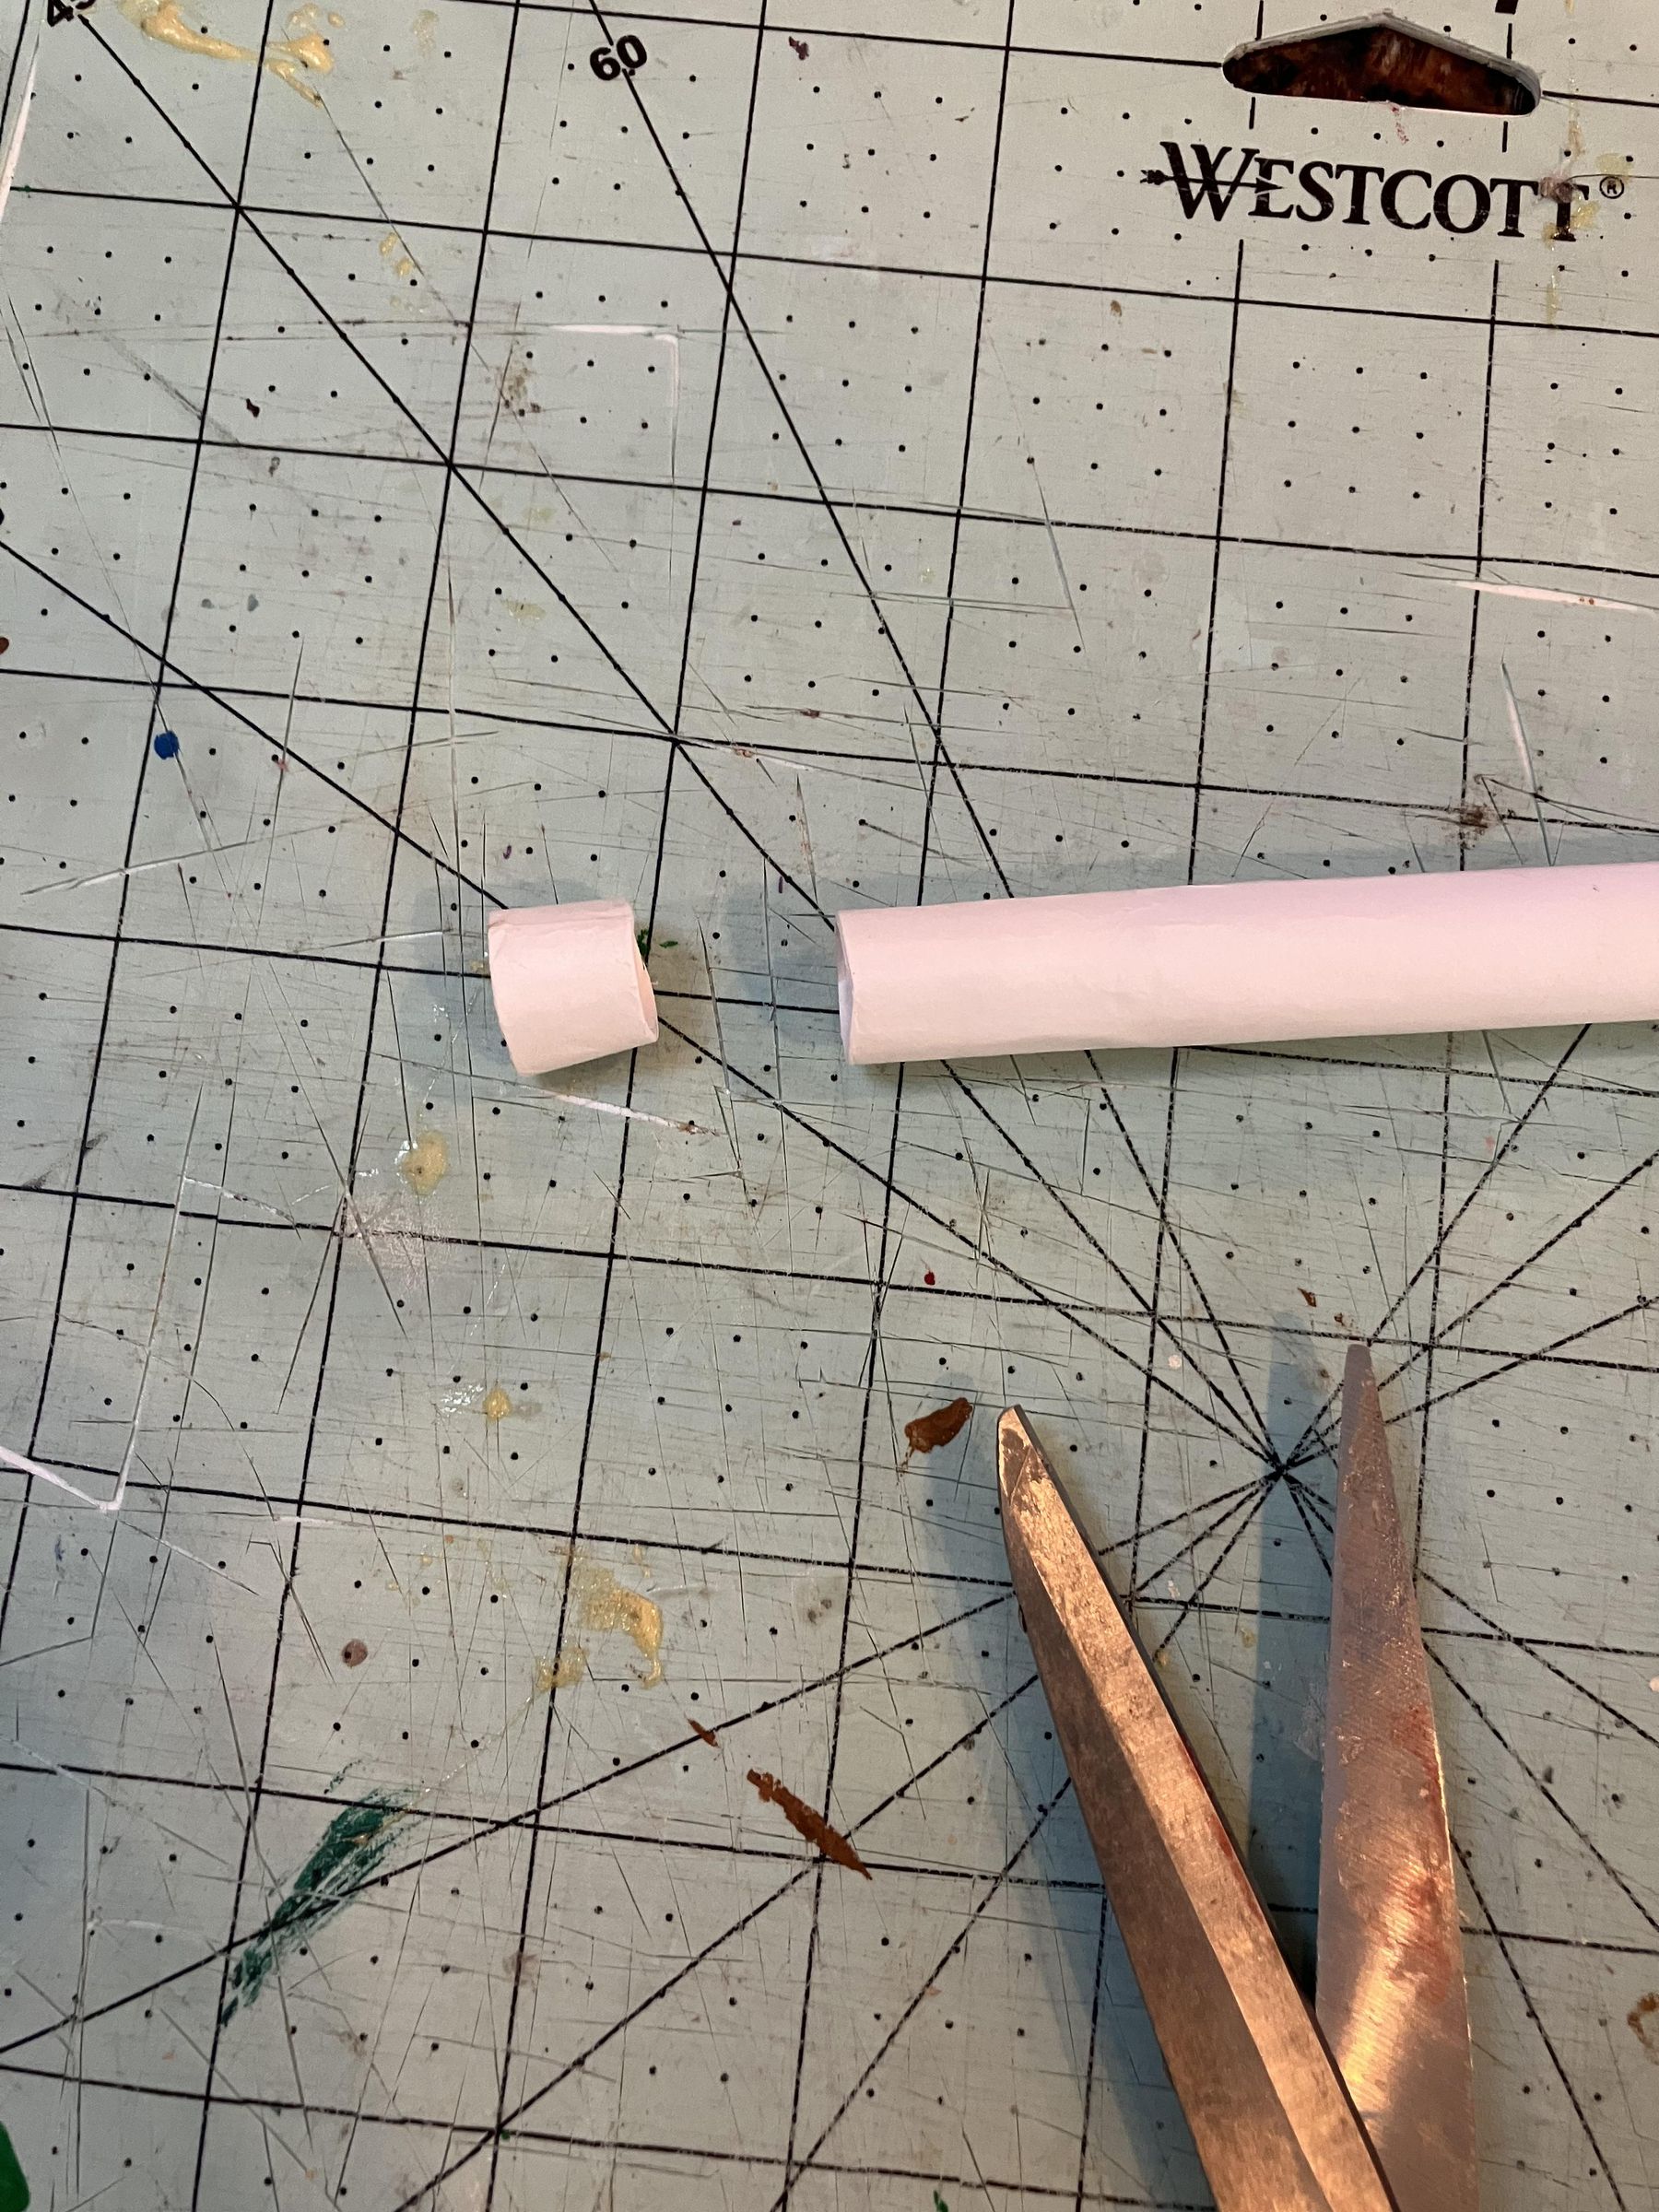
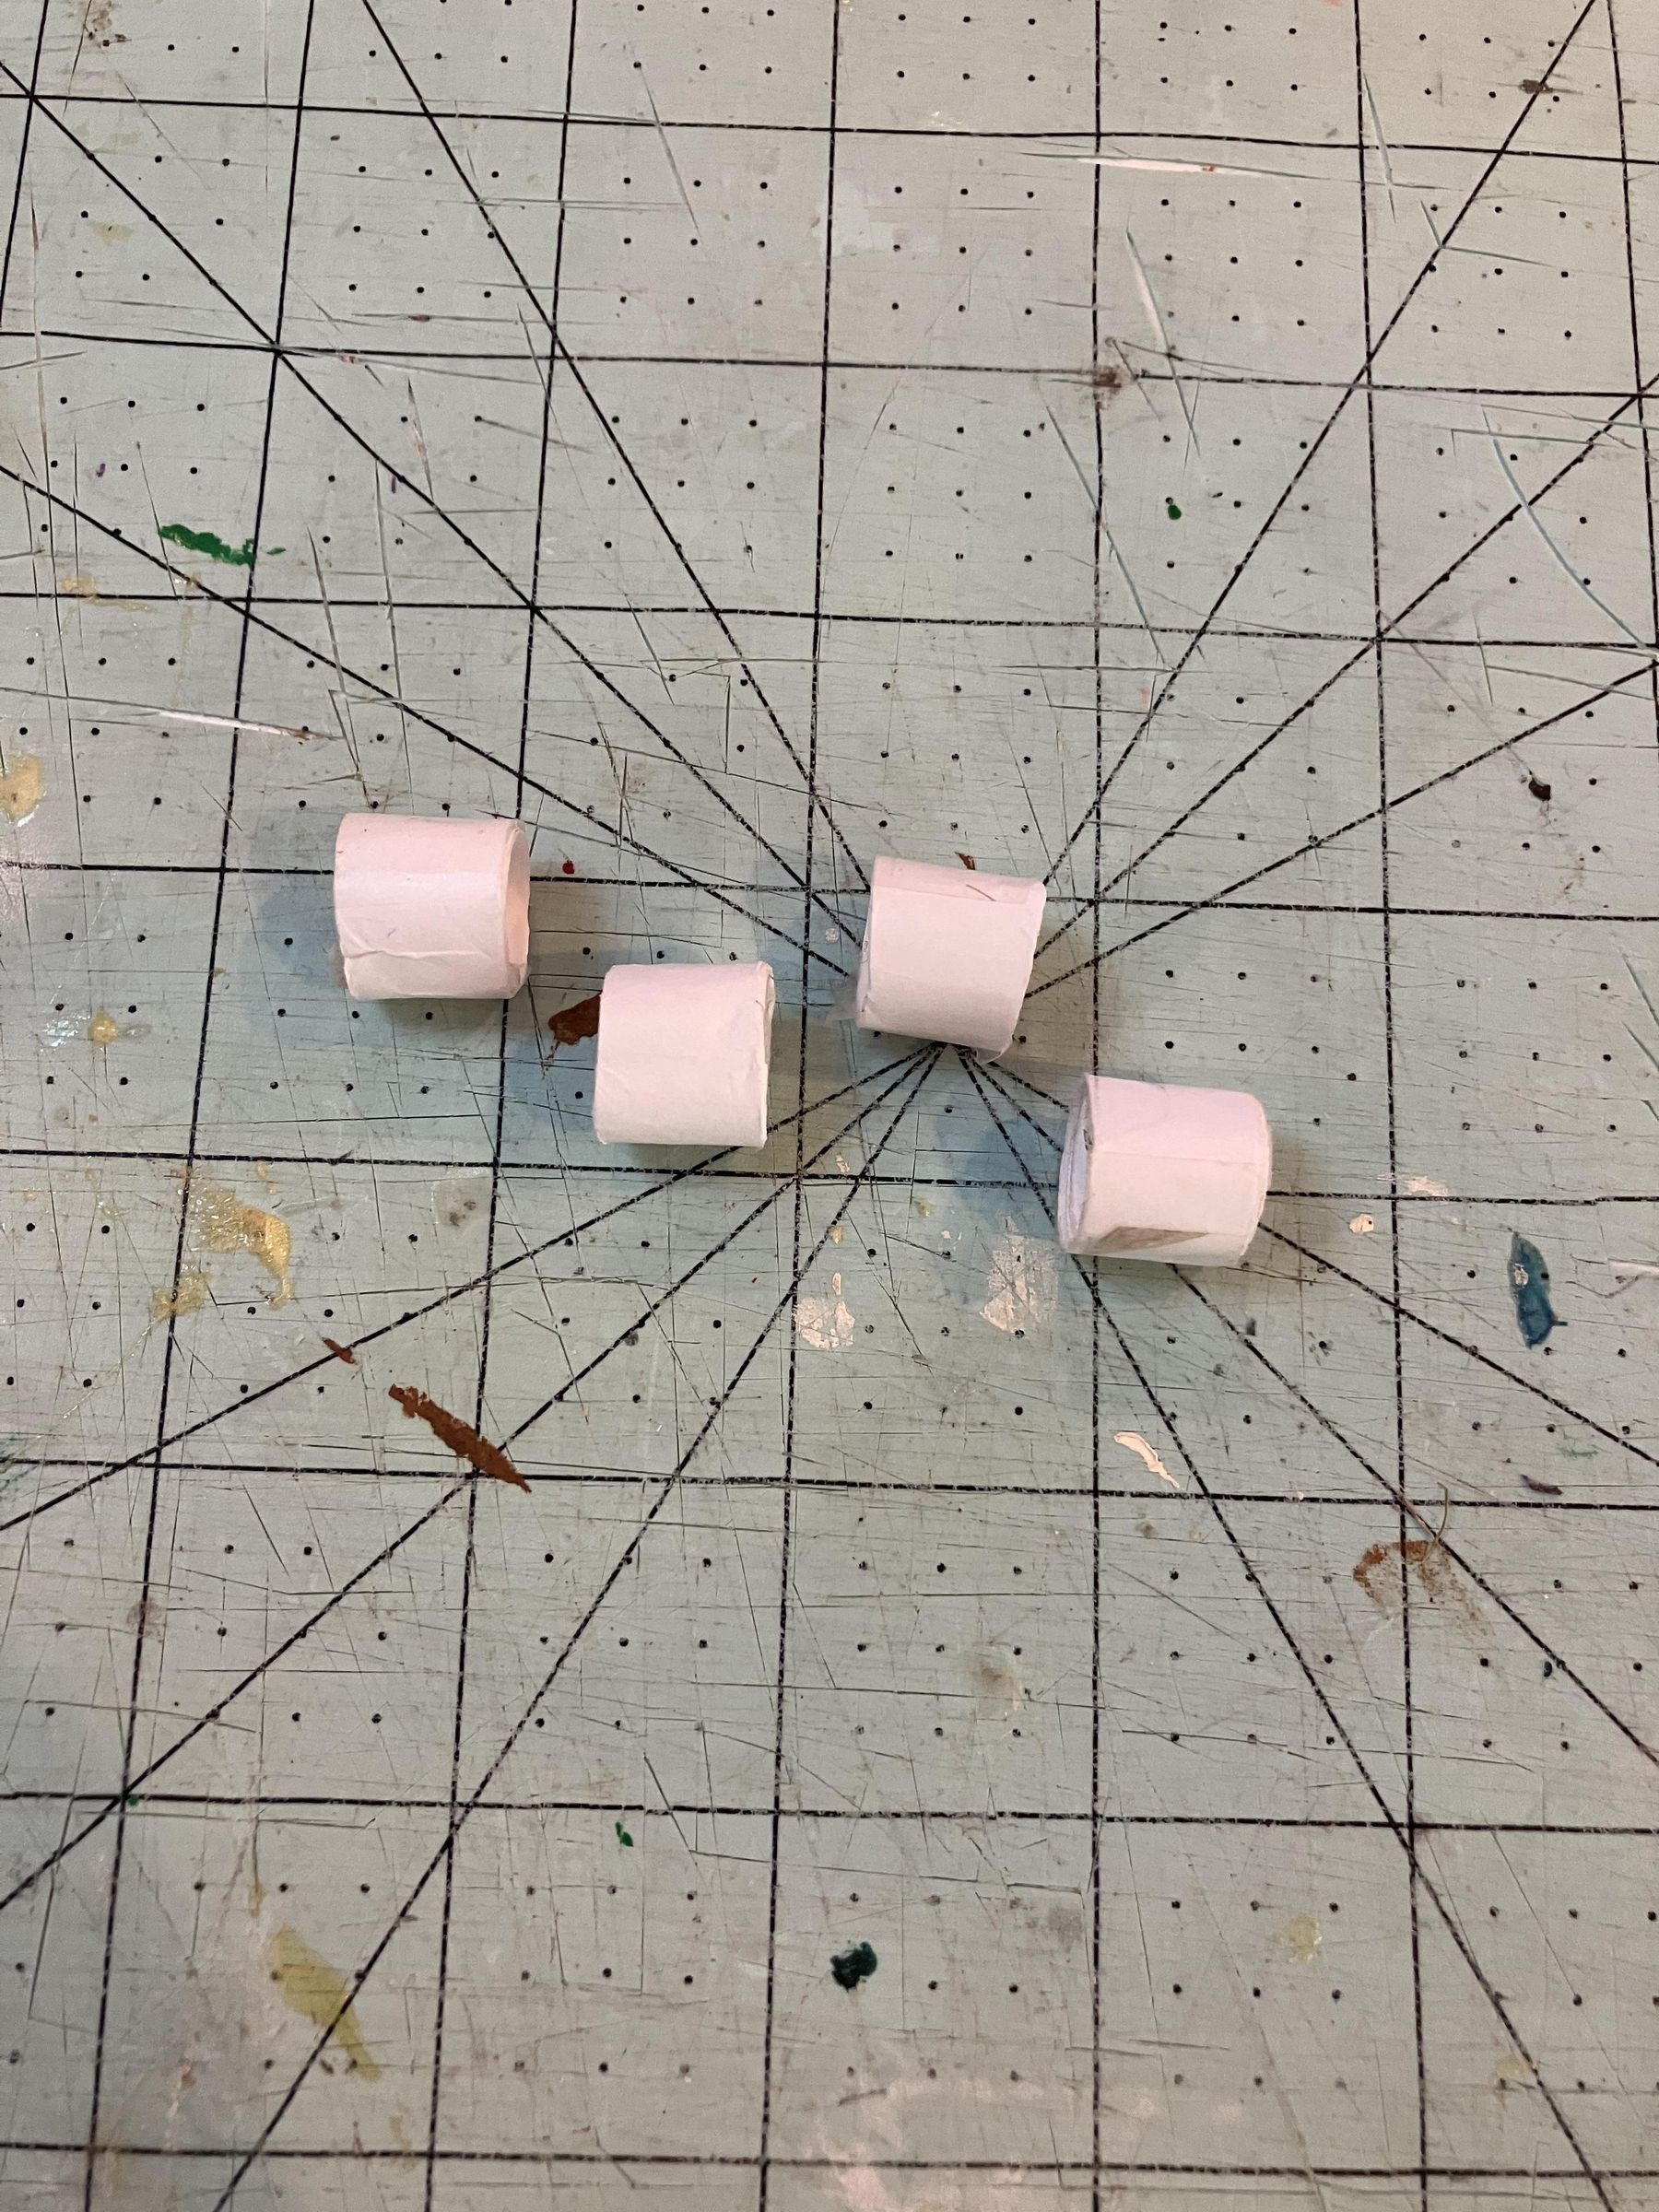
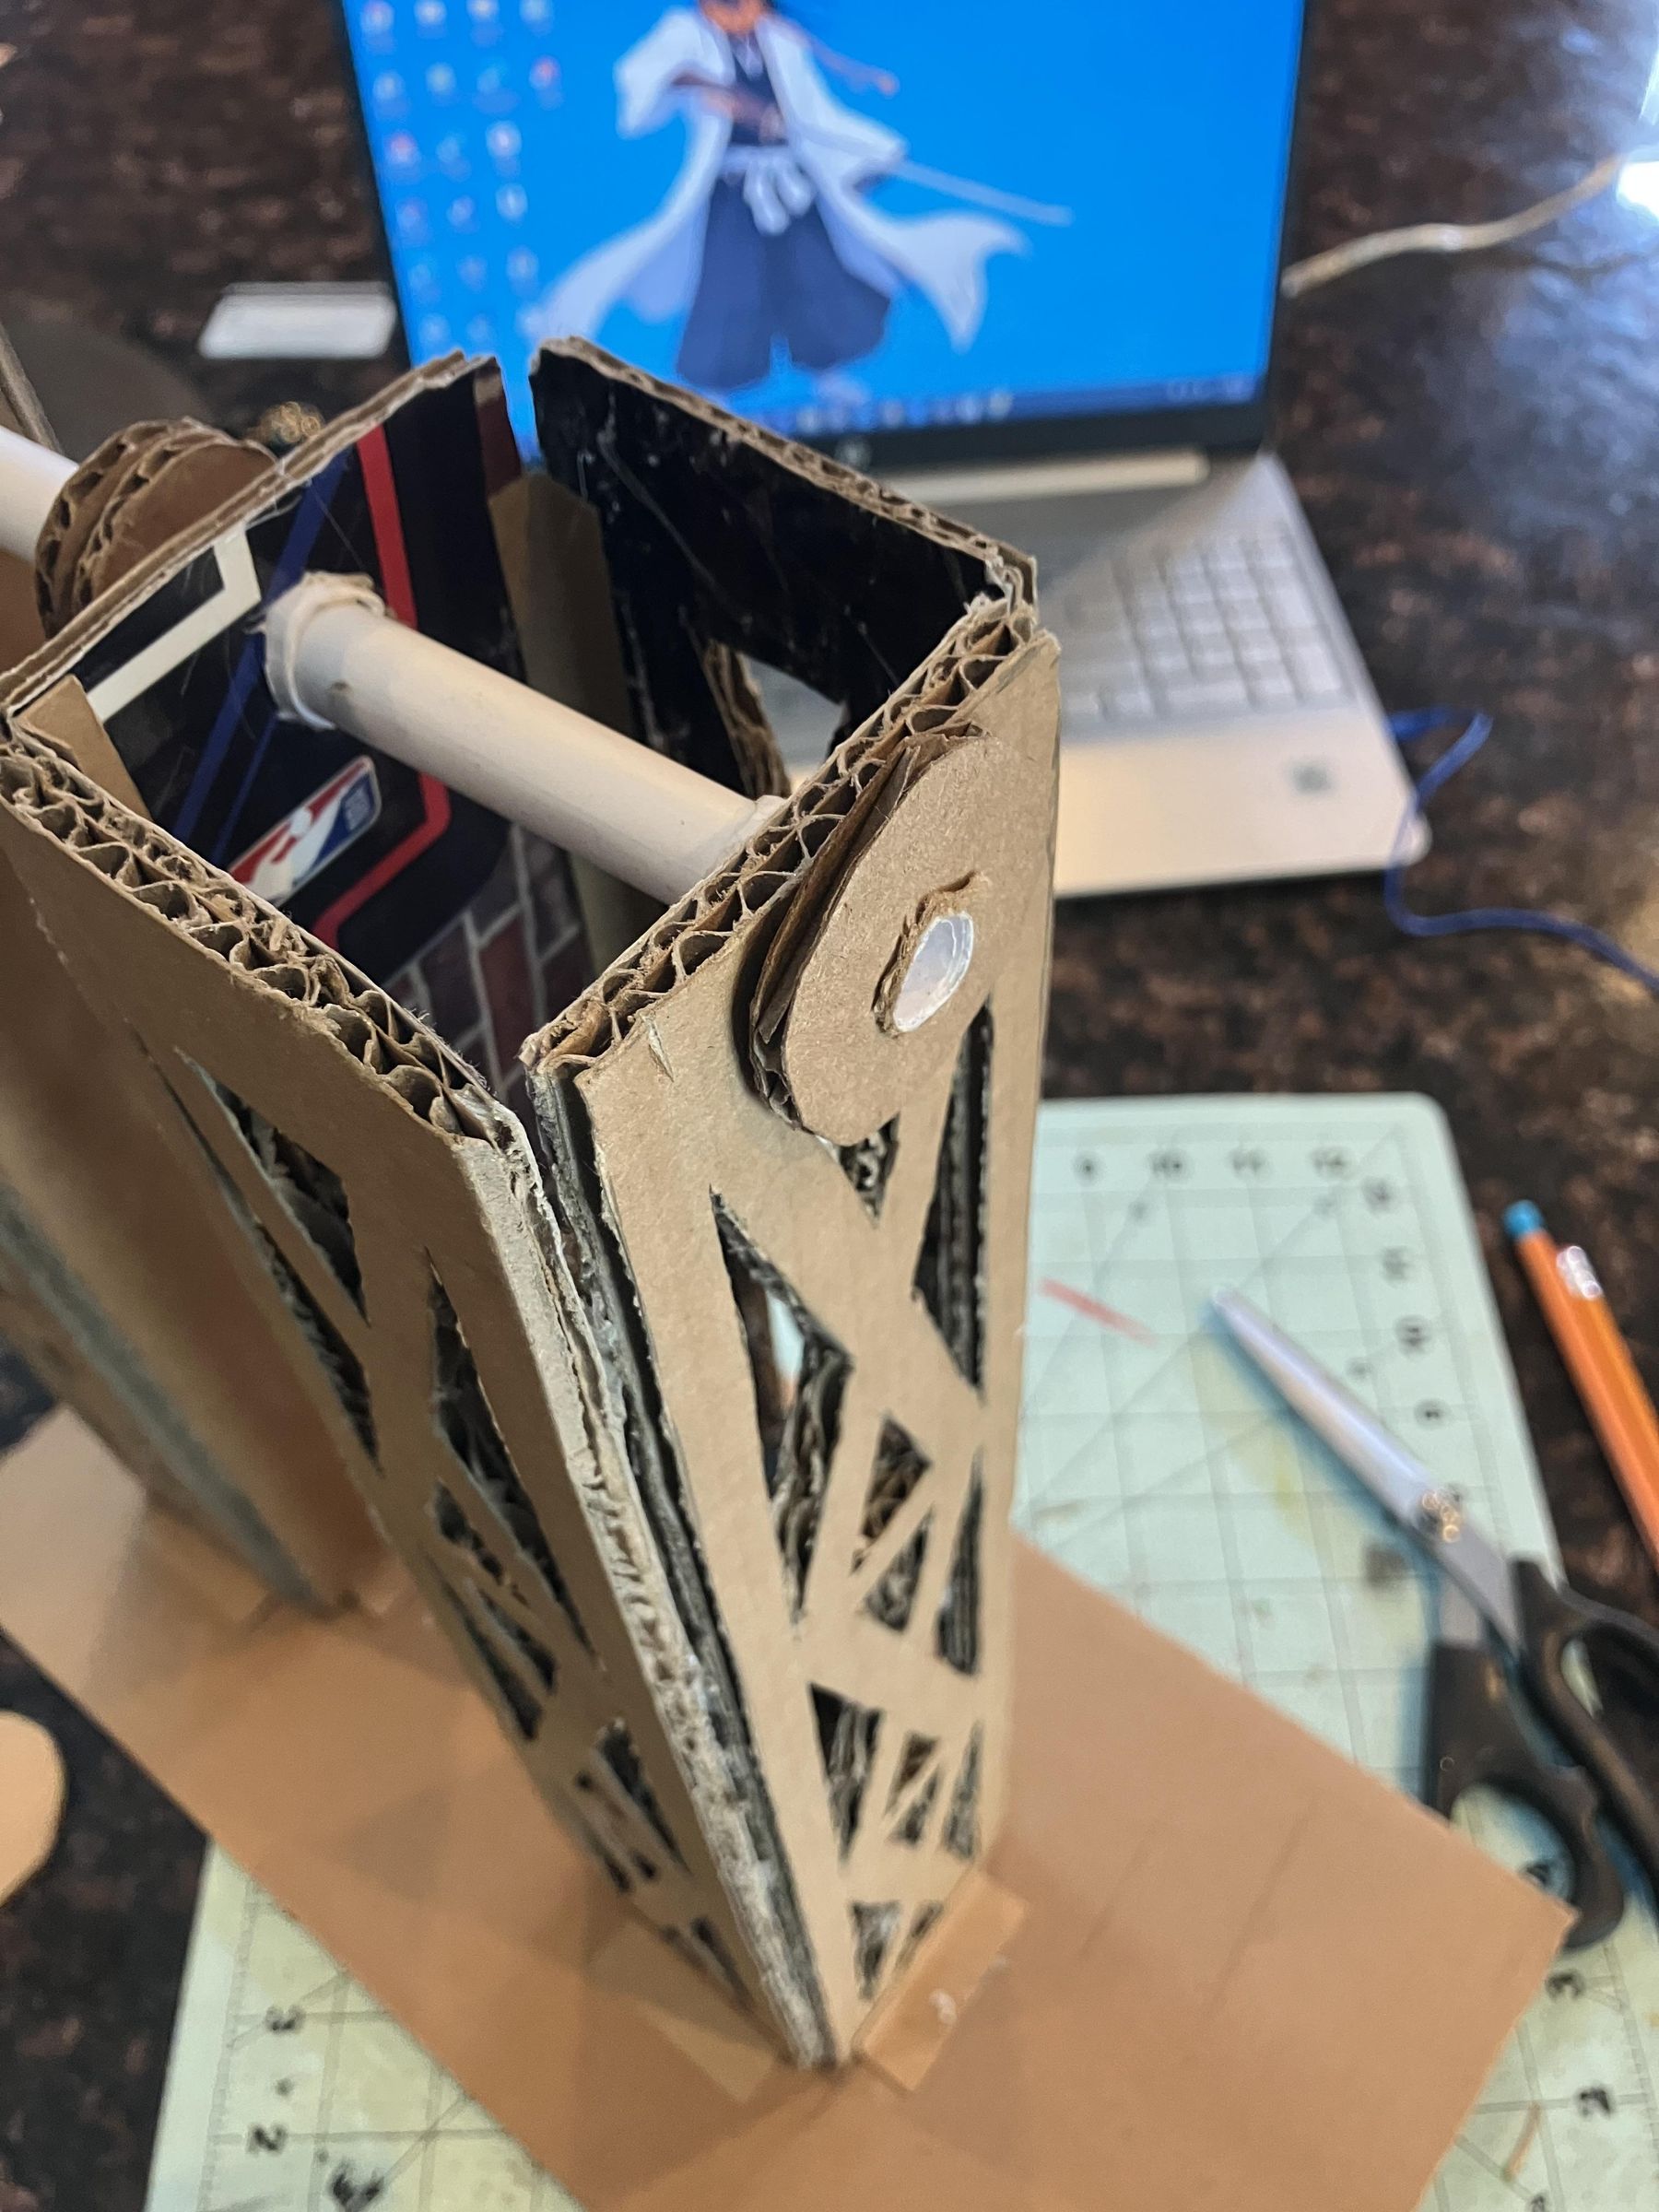
Now we can take the paper tube from before (that we used to make the holes in the tower sides) and cut it to make paper axle sleeves
Simply cut four 5/8 inch long pieces from the tube. Make sure that all of them are able to fit through the holes in the tower easily. Also make sure that, when the sleeves are in the holes, the rotating bar is able to pass through the sleeves and rotate freely.
You do NOT need to glue the sleeves in yet.
The Cable Spools
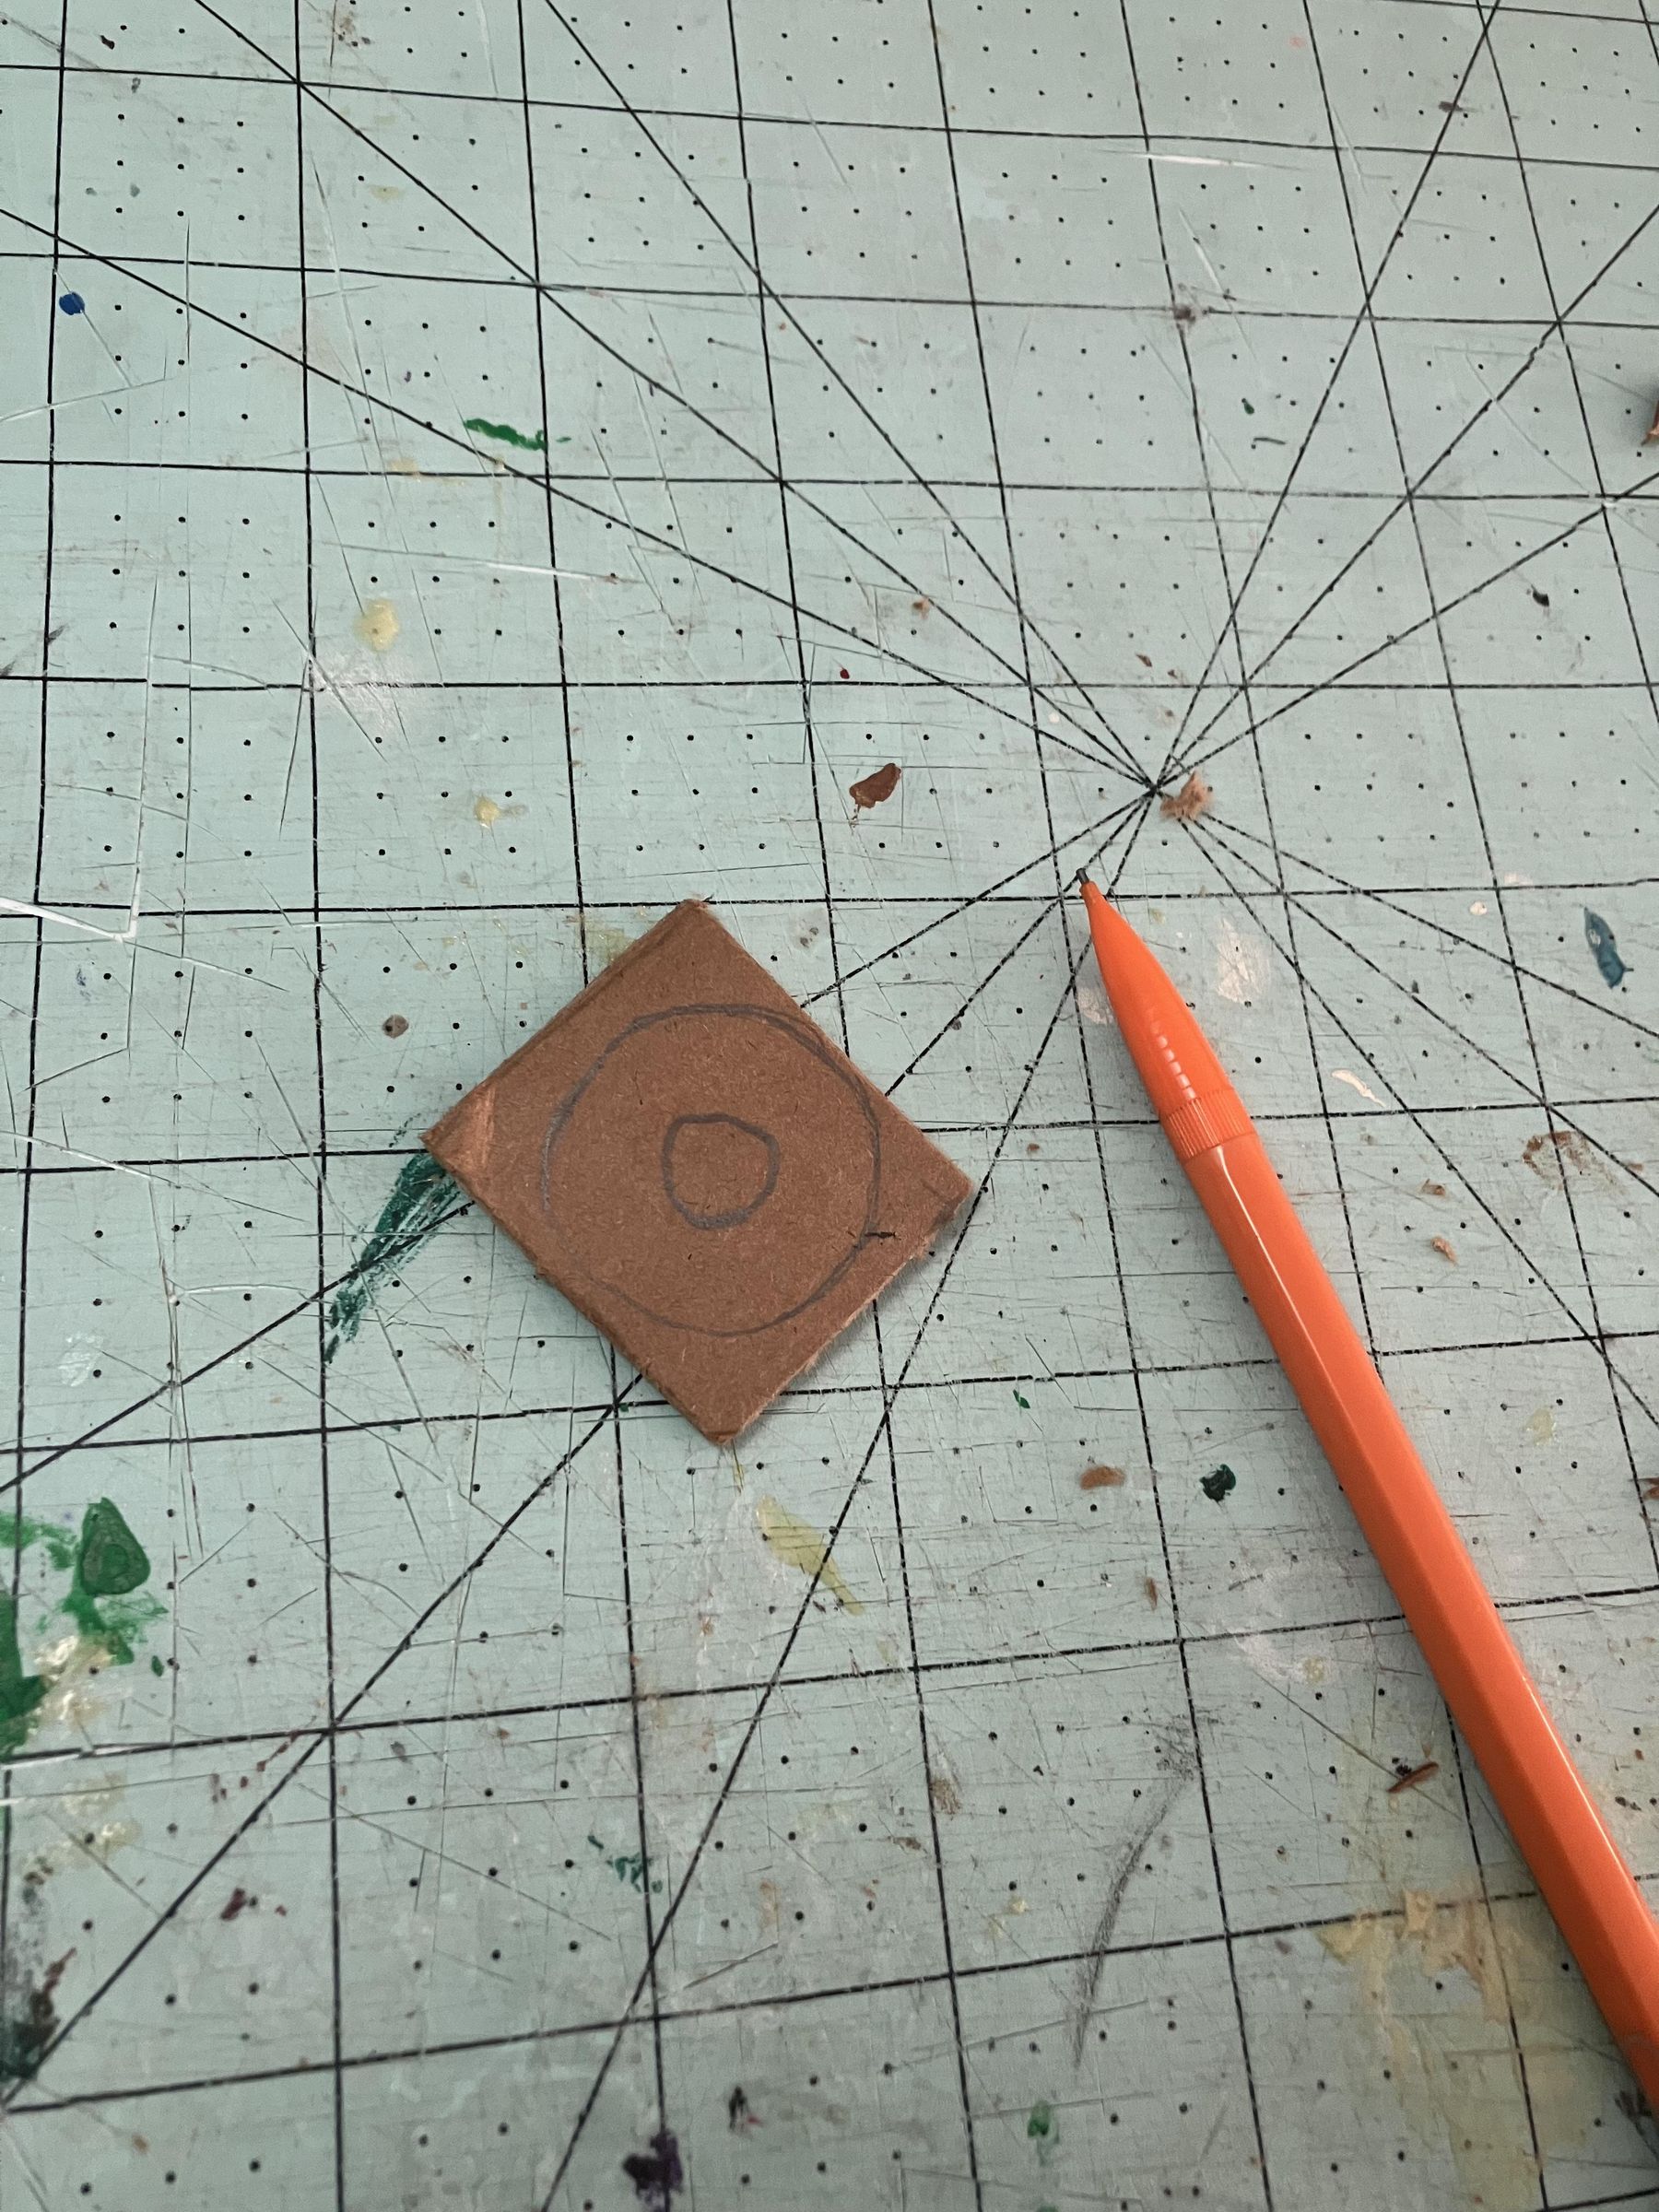
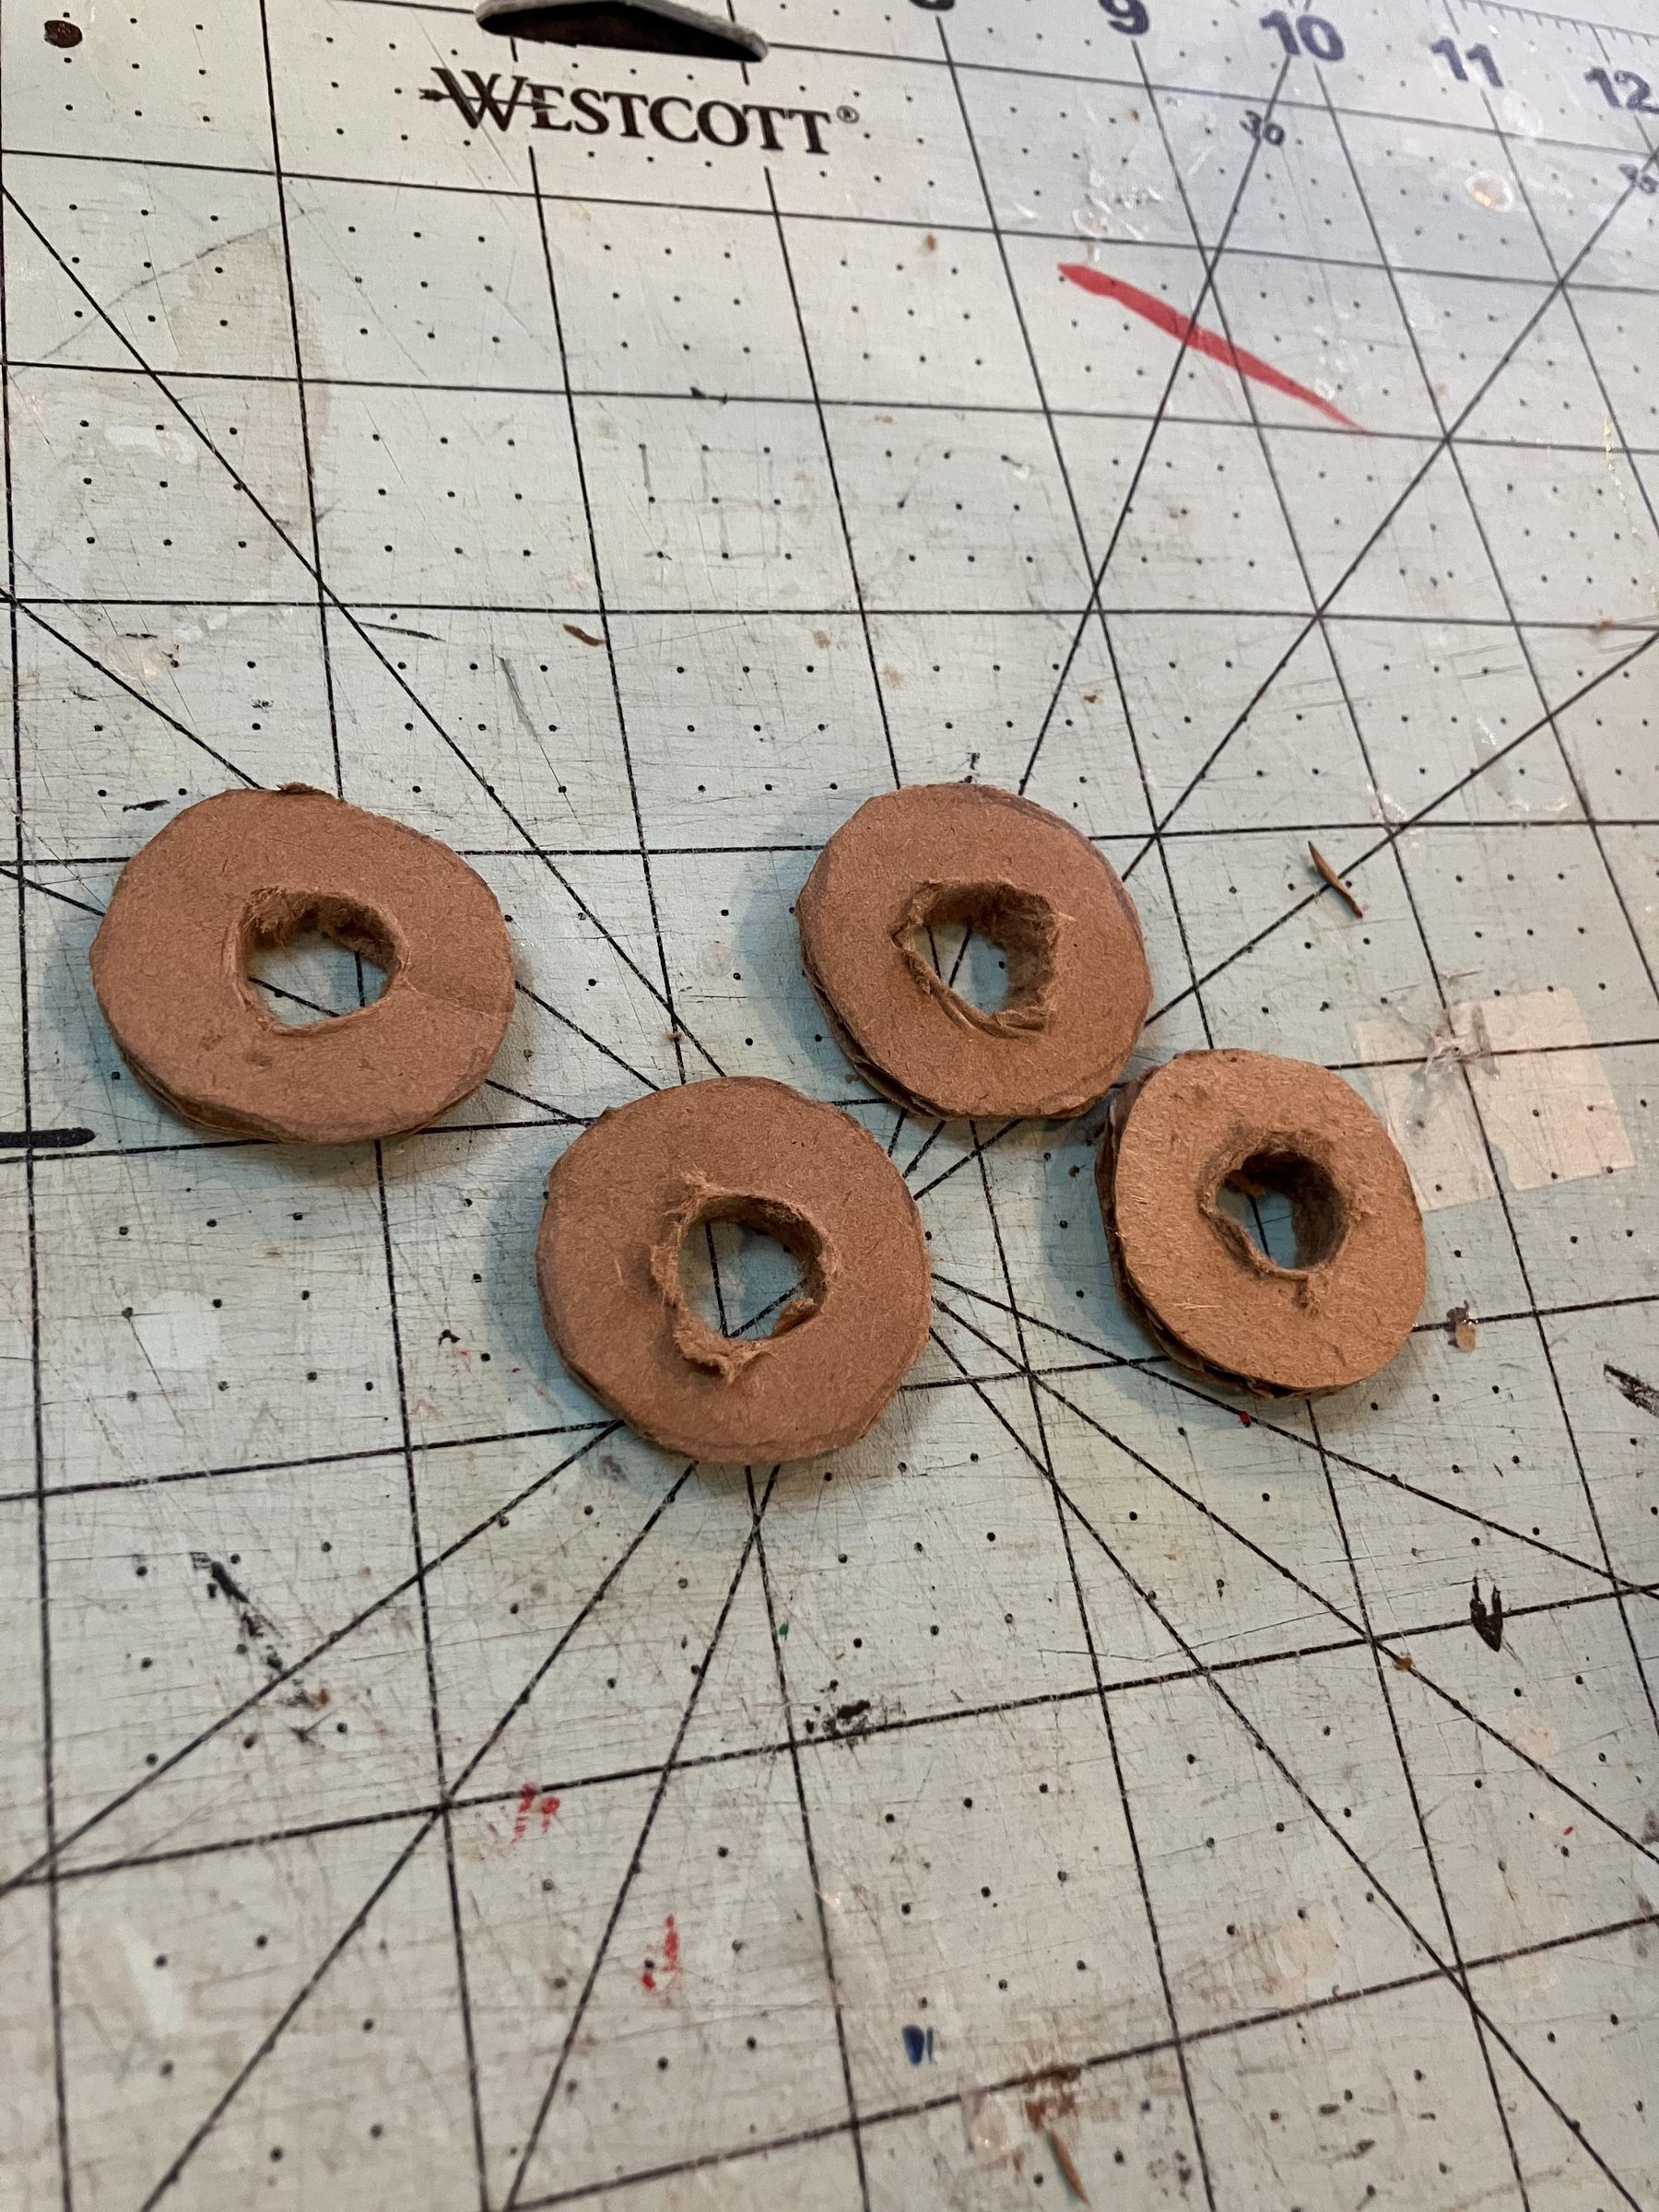
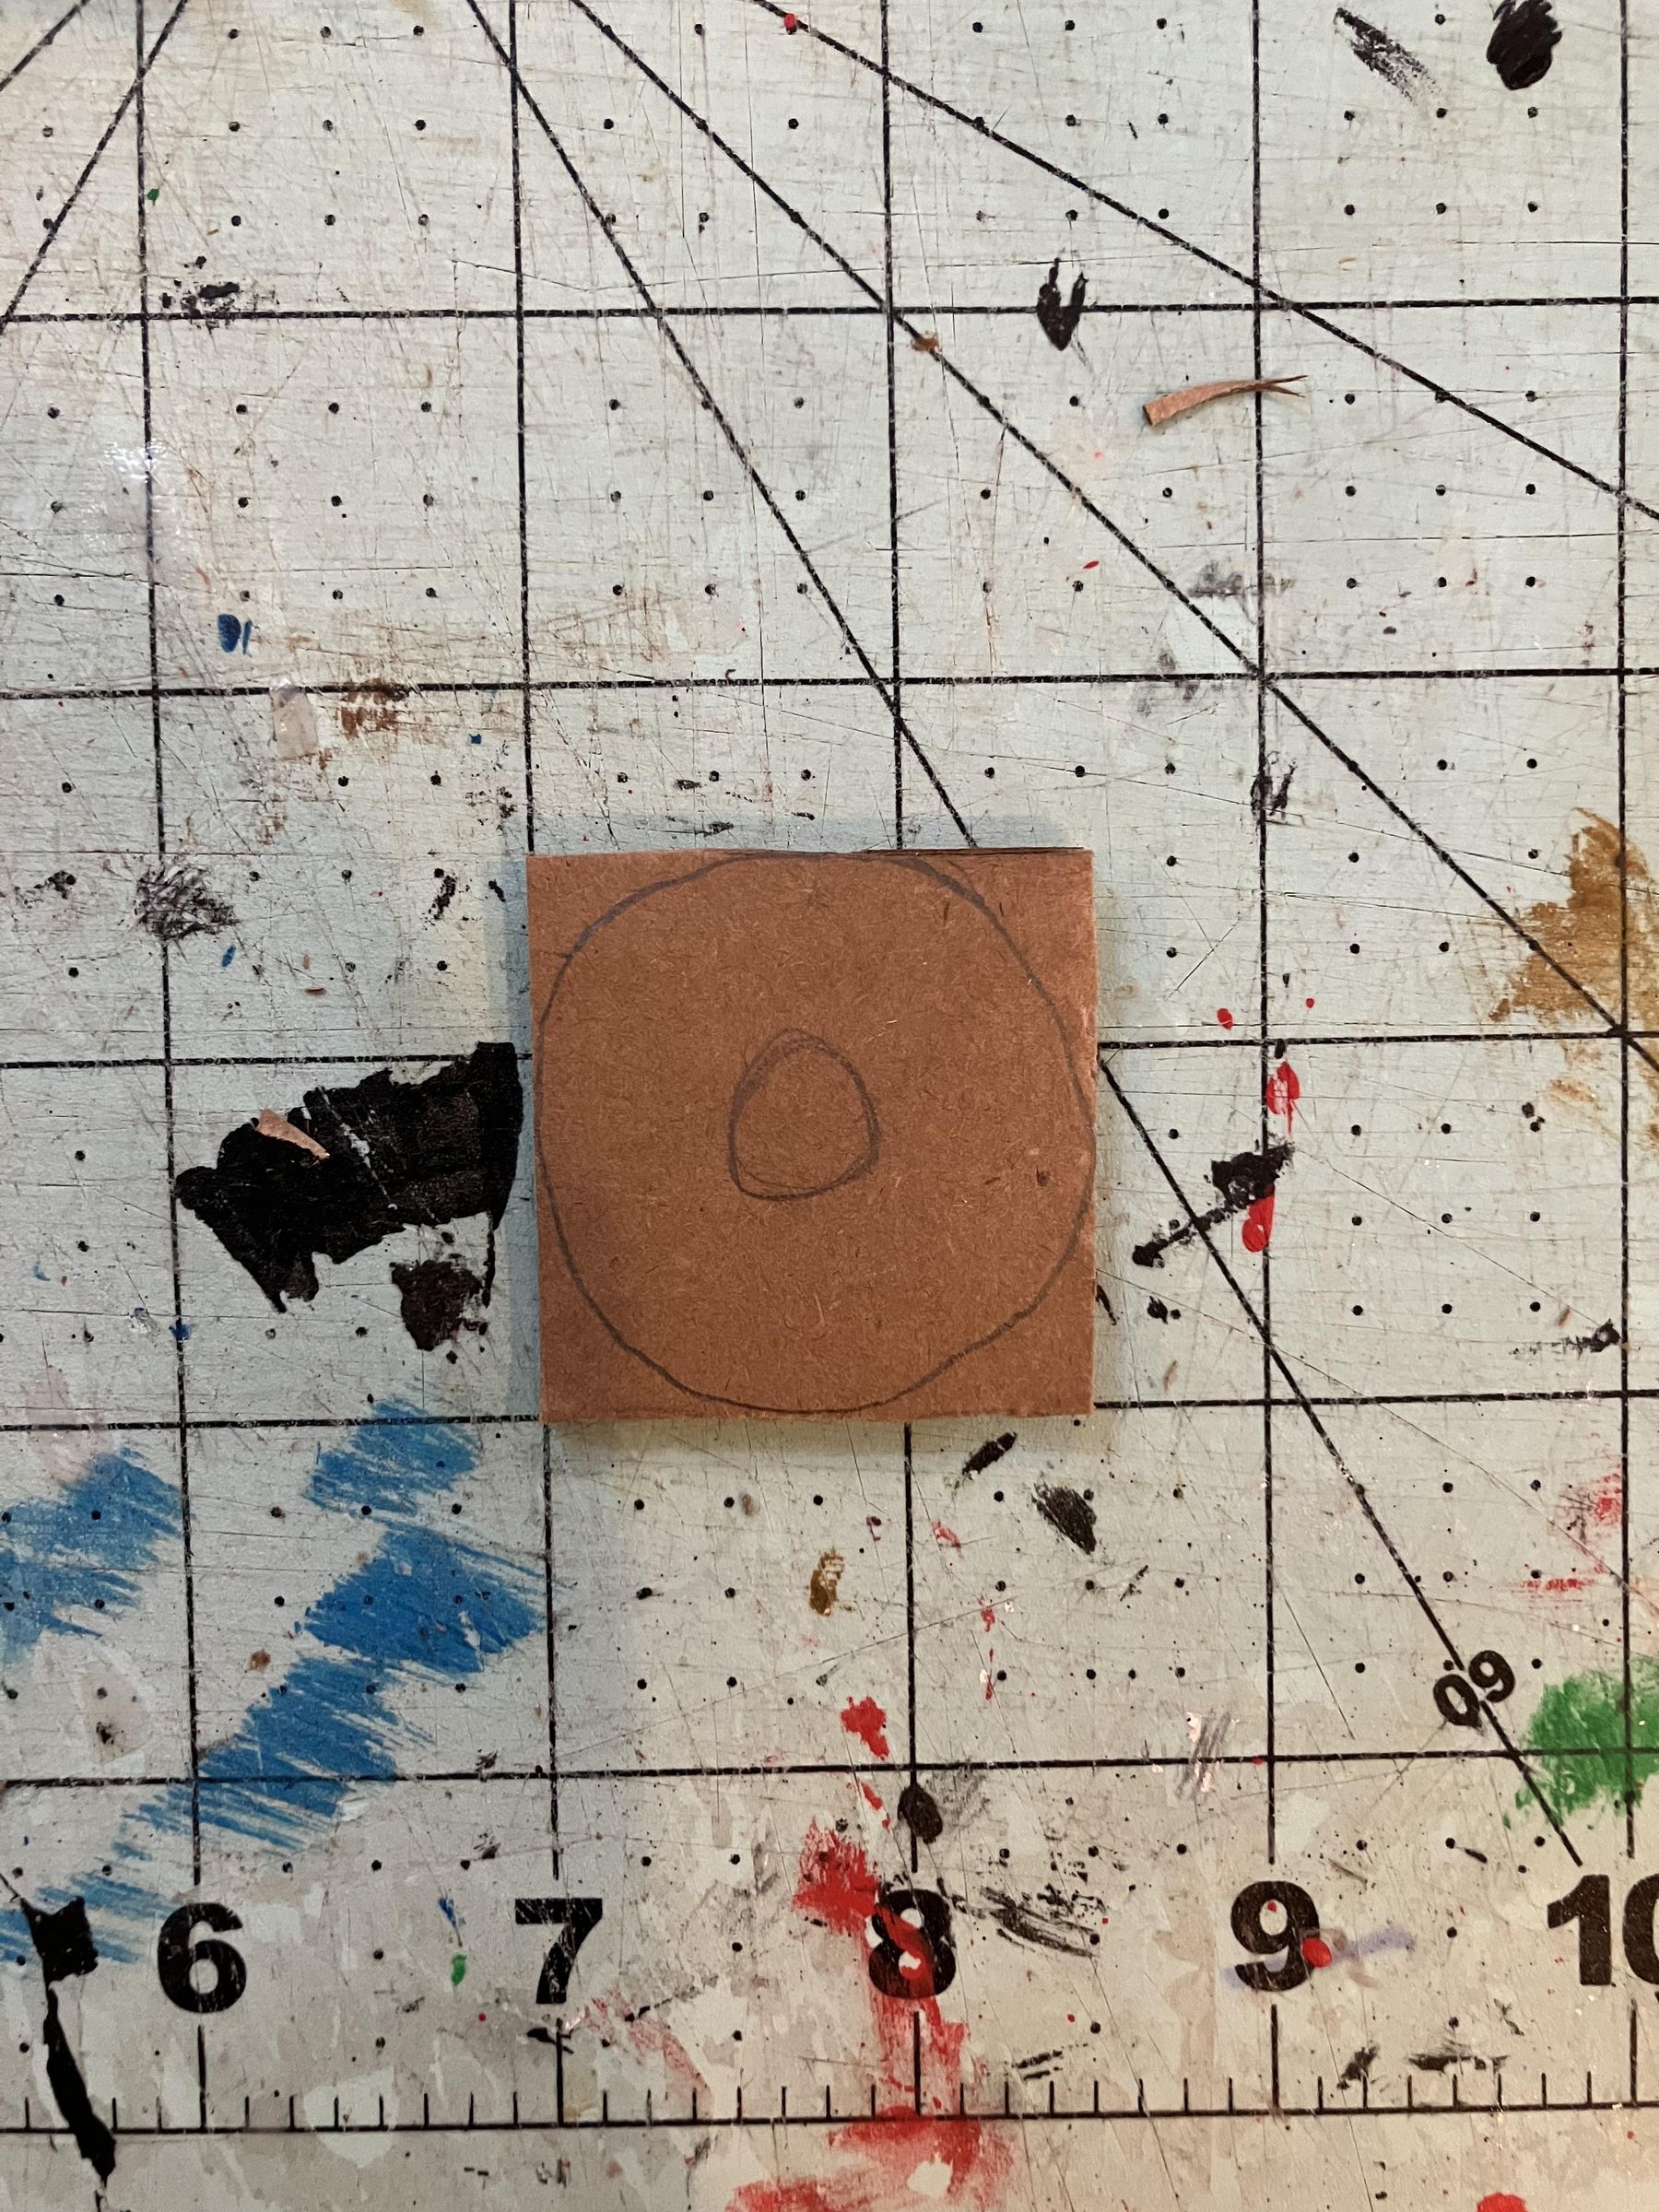
Draw a disk onto a piece of cardboard that is 1.25 inches in diameter, with the smaller inner circle being the same diameter as the rotating bar.
Cut it out and make sure the rotating bar can fit through it. Then, make four more.
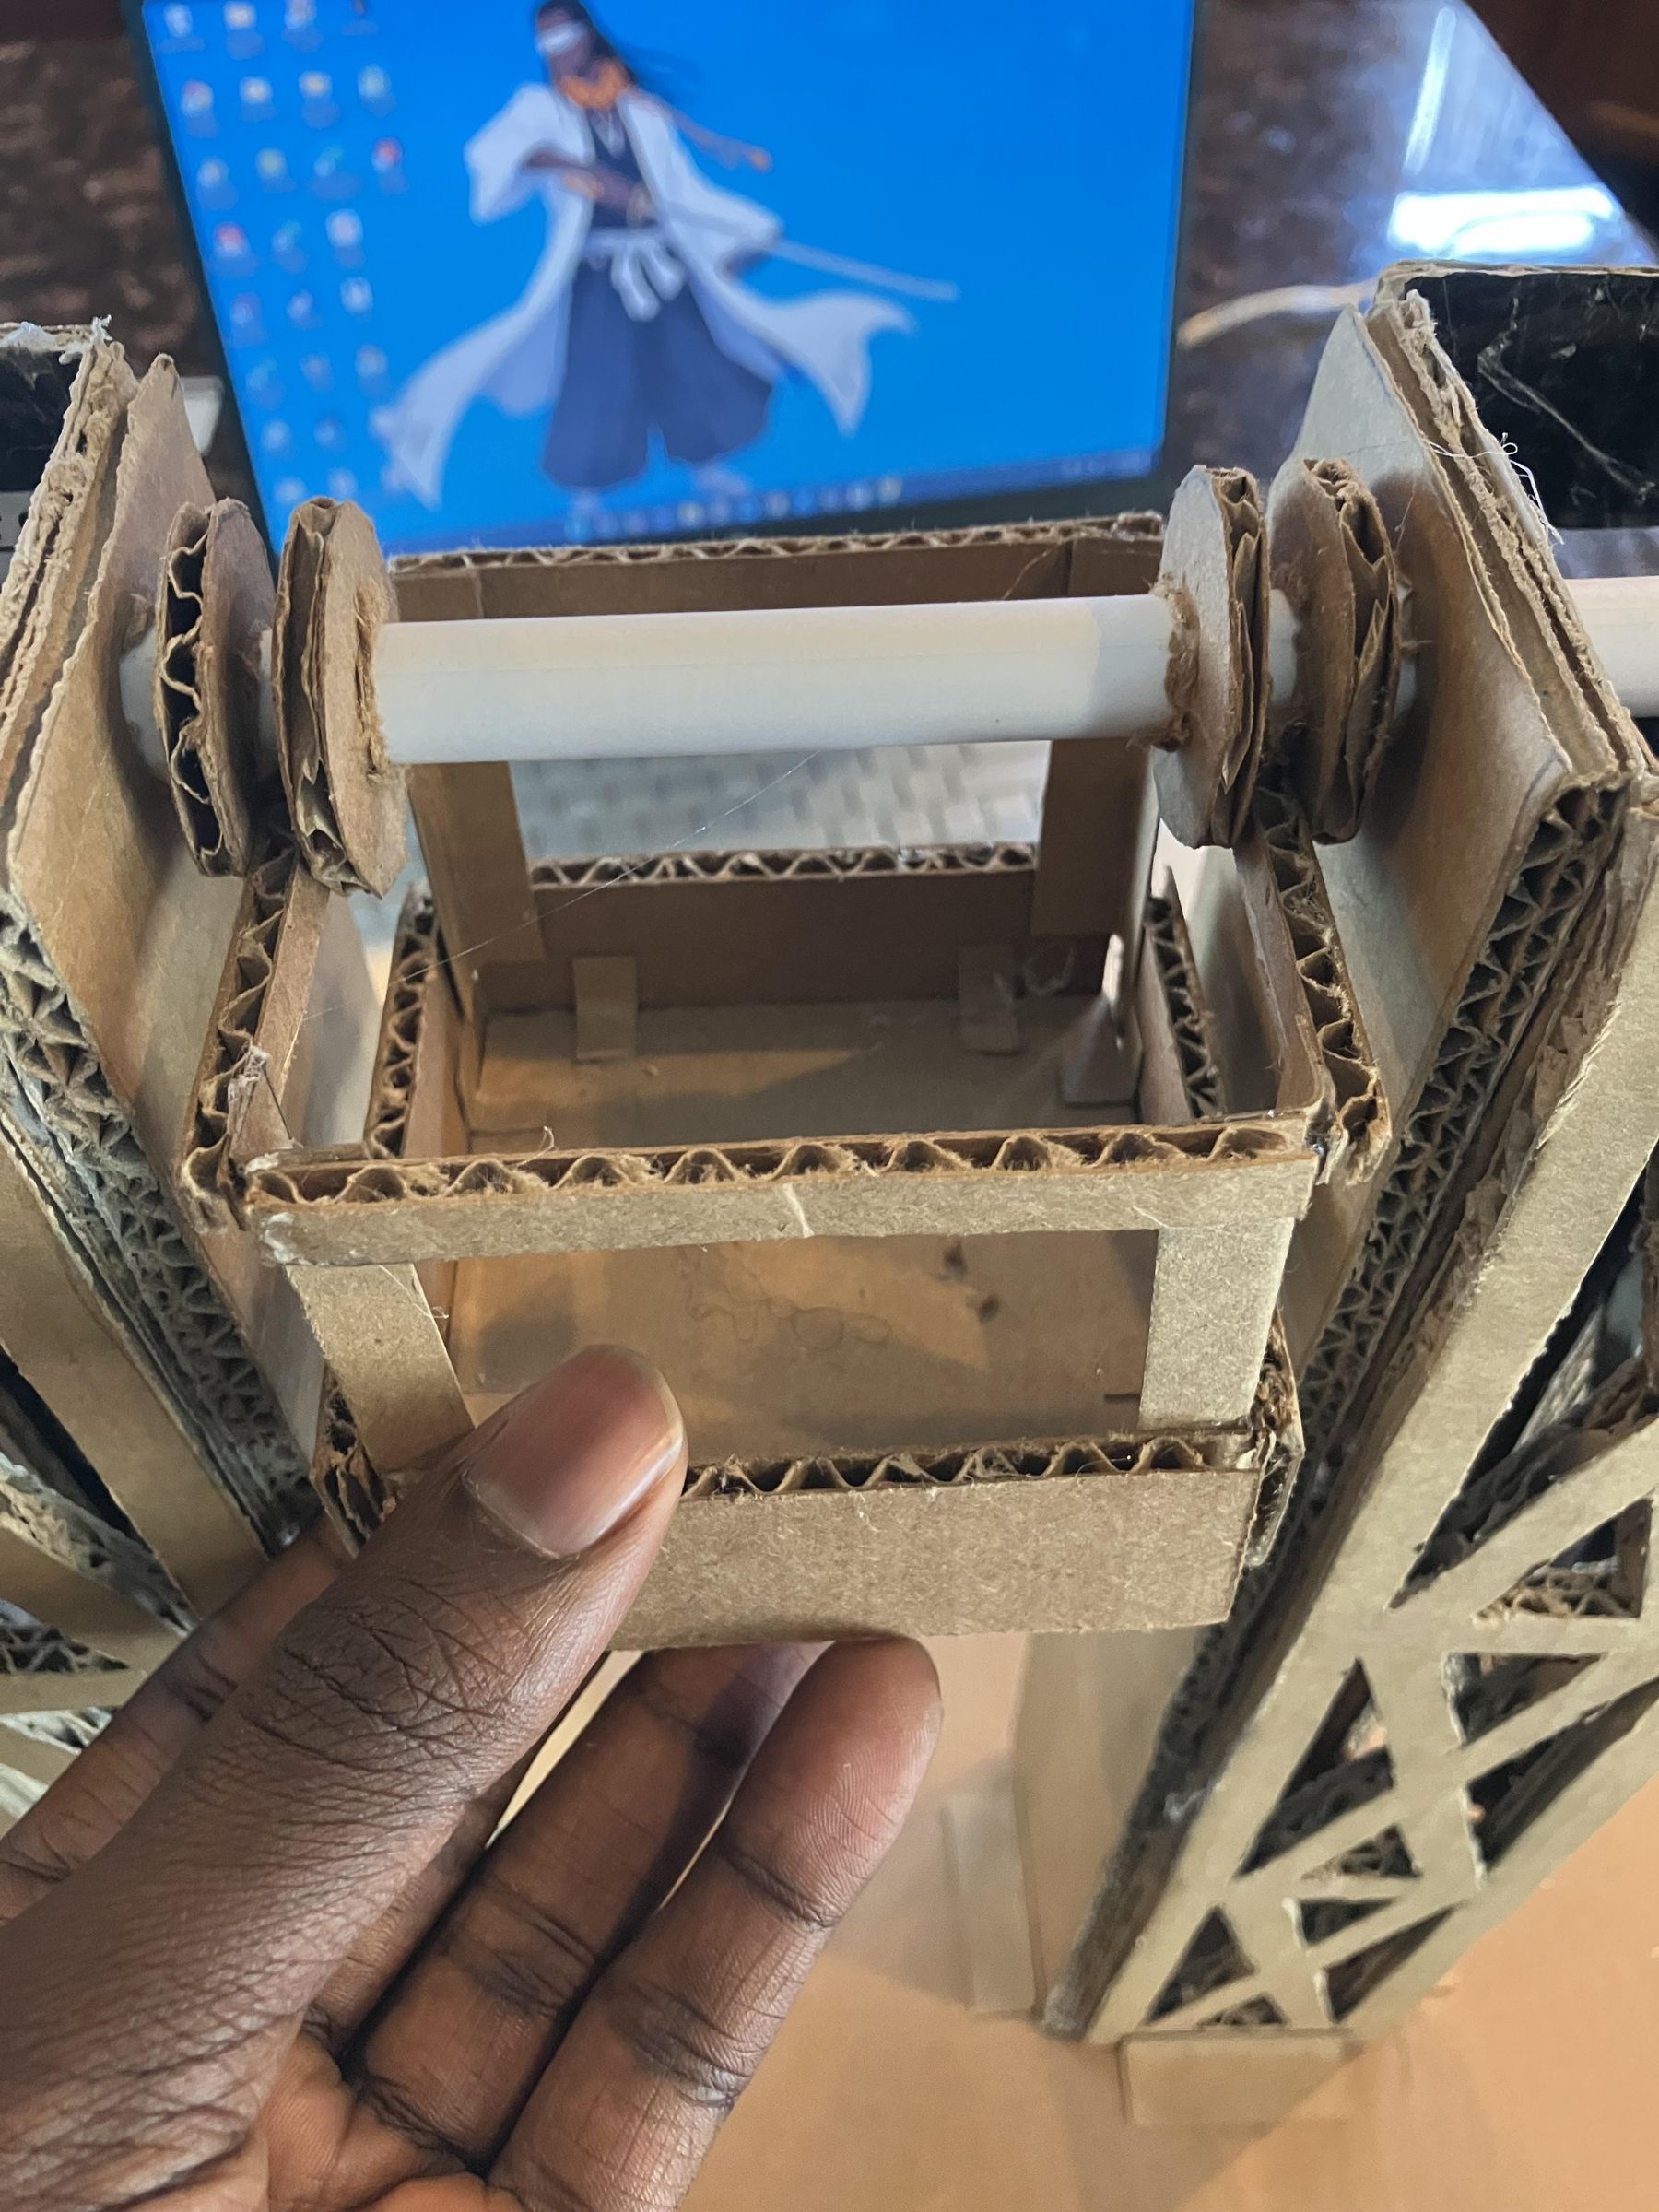
Put the disks onto the rotating bar as you see in the photo, pairing them so that 2 "cable drums" are formed. Make sure to keep them far apart enough so that the bars at the top of the elevator can fit between the cable drum grooves.
You do NOT need to glue the spool disks in place yet.
-------------------------------------
Now, make a disk from cardboard with a 1.5 diameter and make sure that it can fit on the side of the rotating bar where the bar is peaking out LESS than it is on the other side (the side where there is more space on the platform).
This piece will act as a sort of "cap" to keep the bar from moving side.
The Belt-loop Drive Initiation
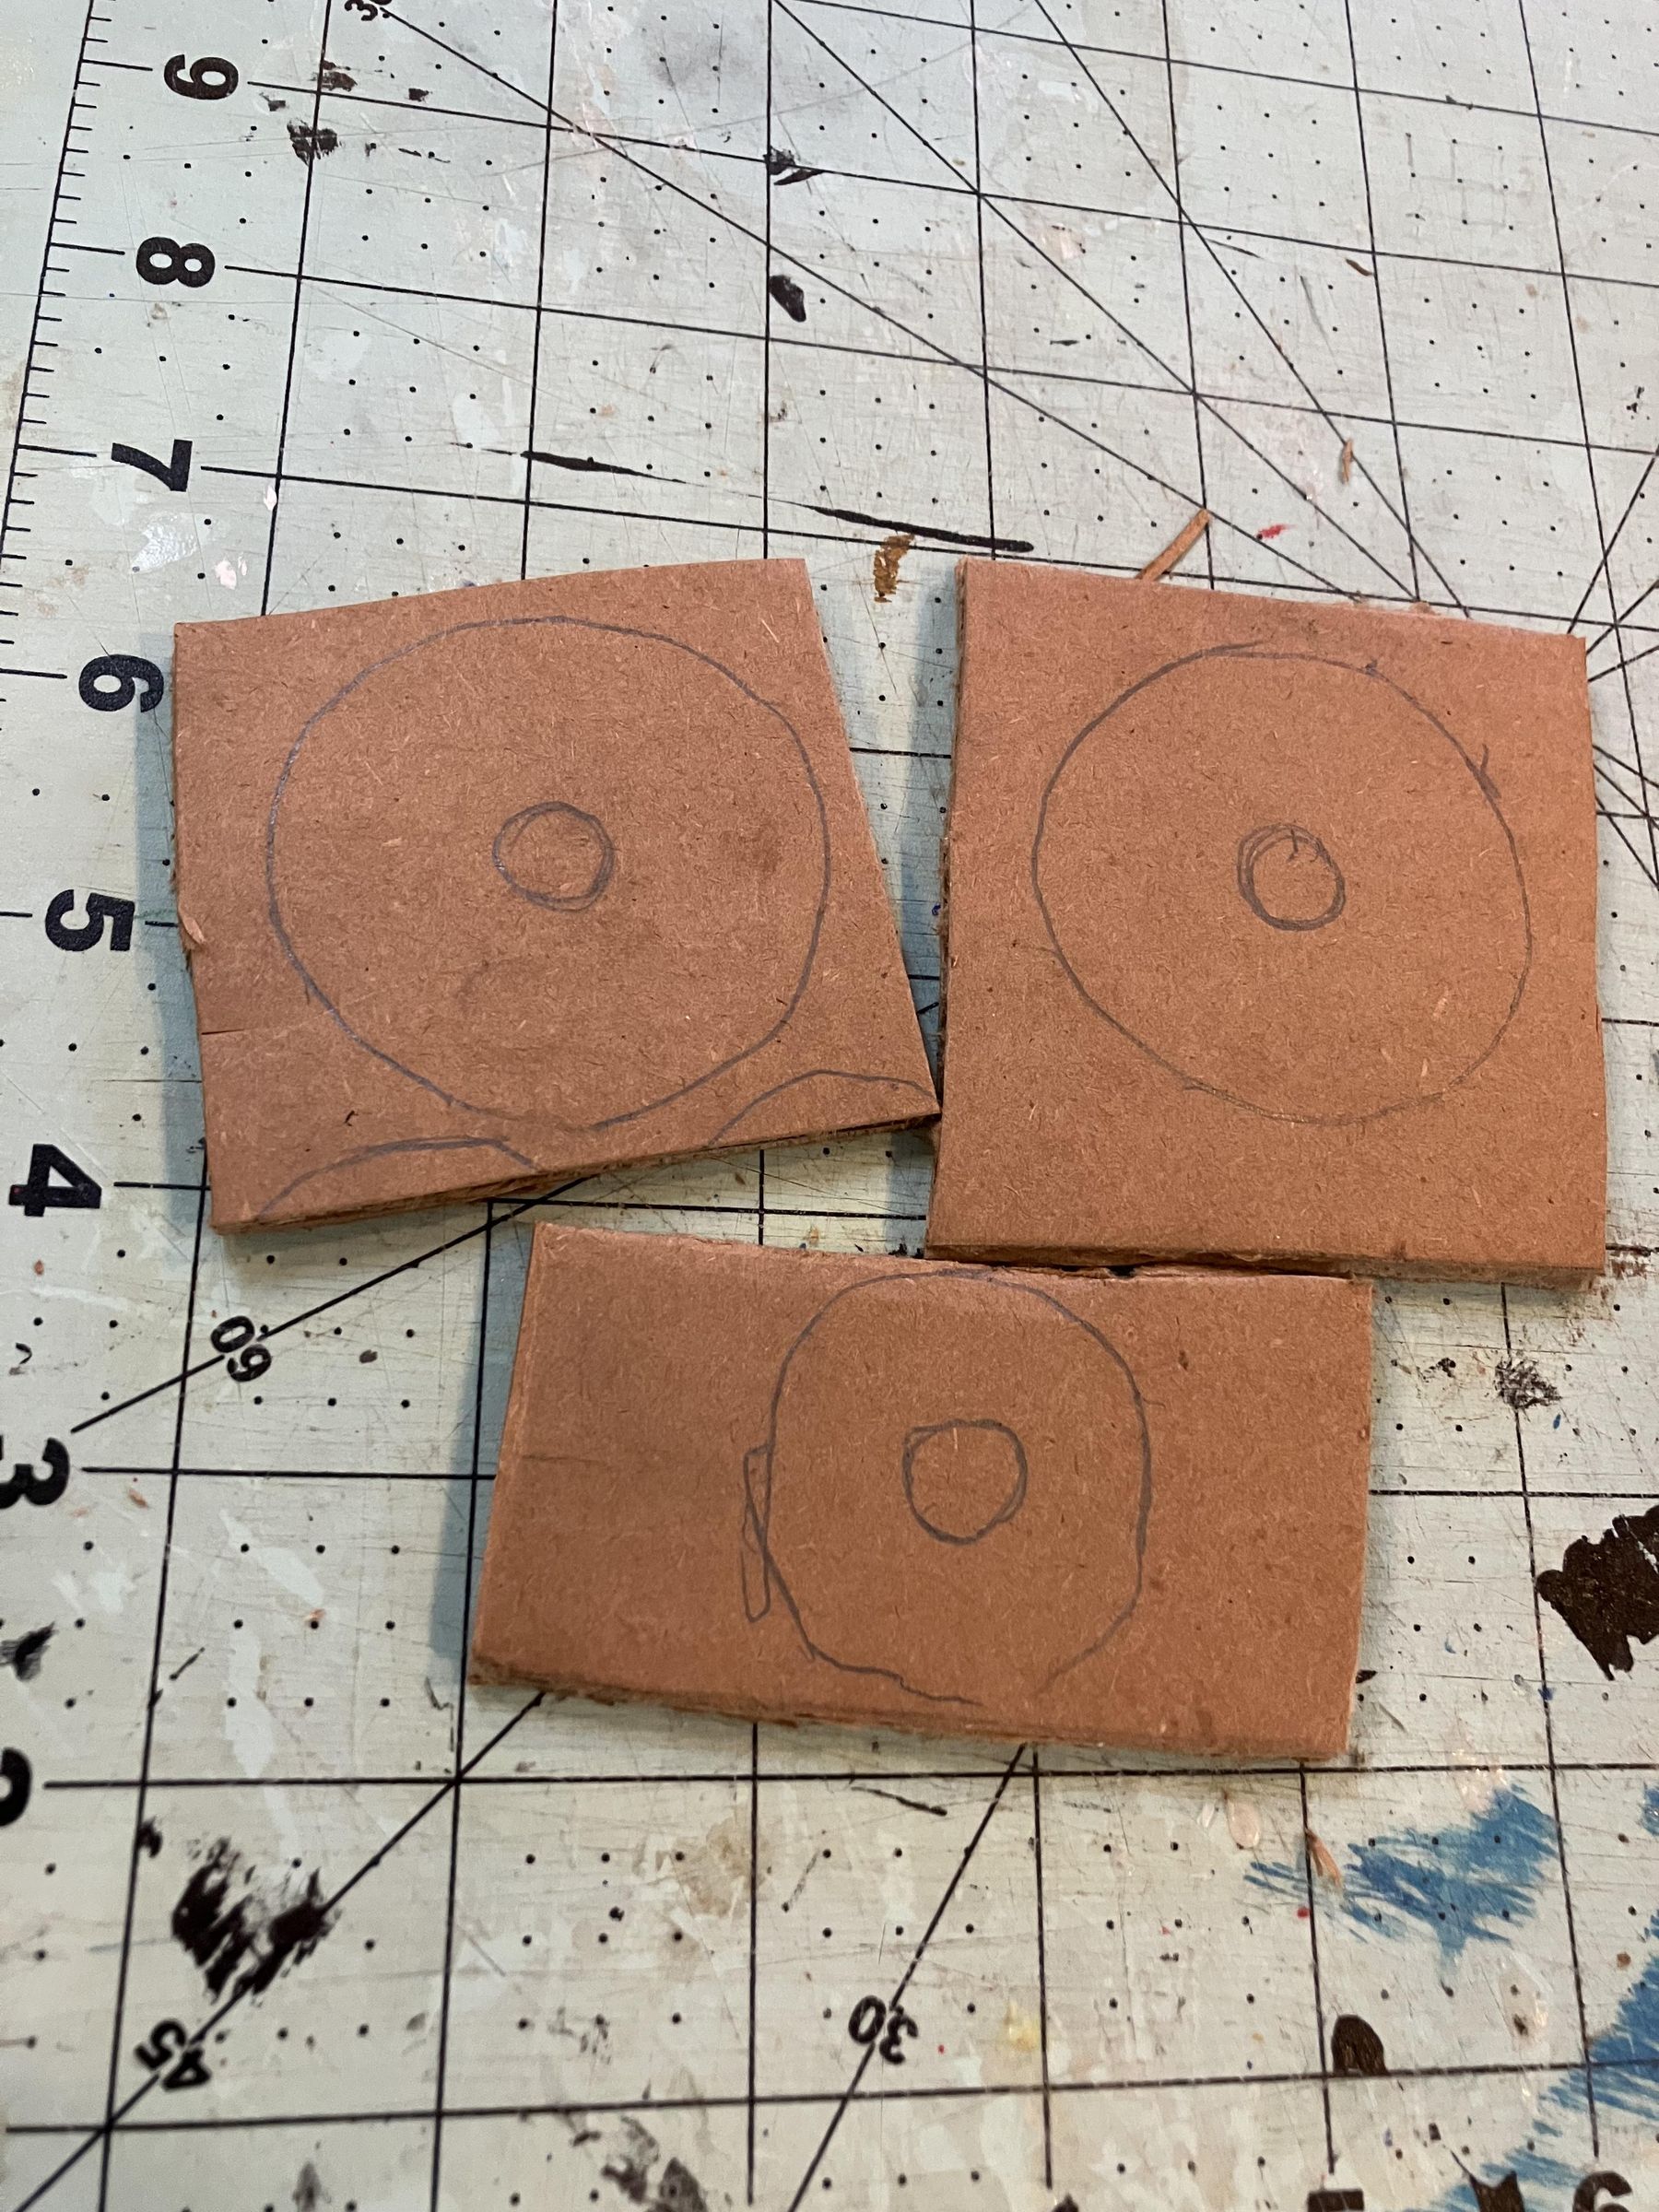
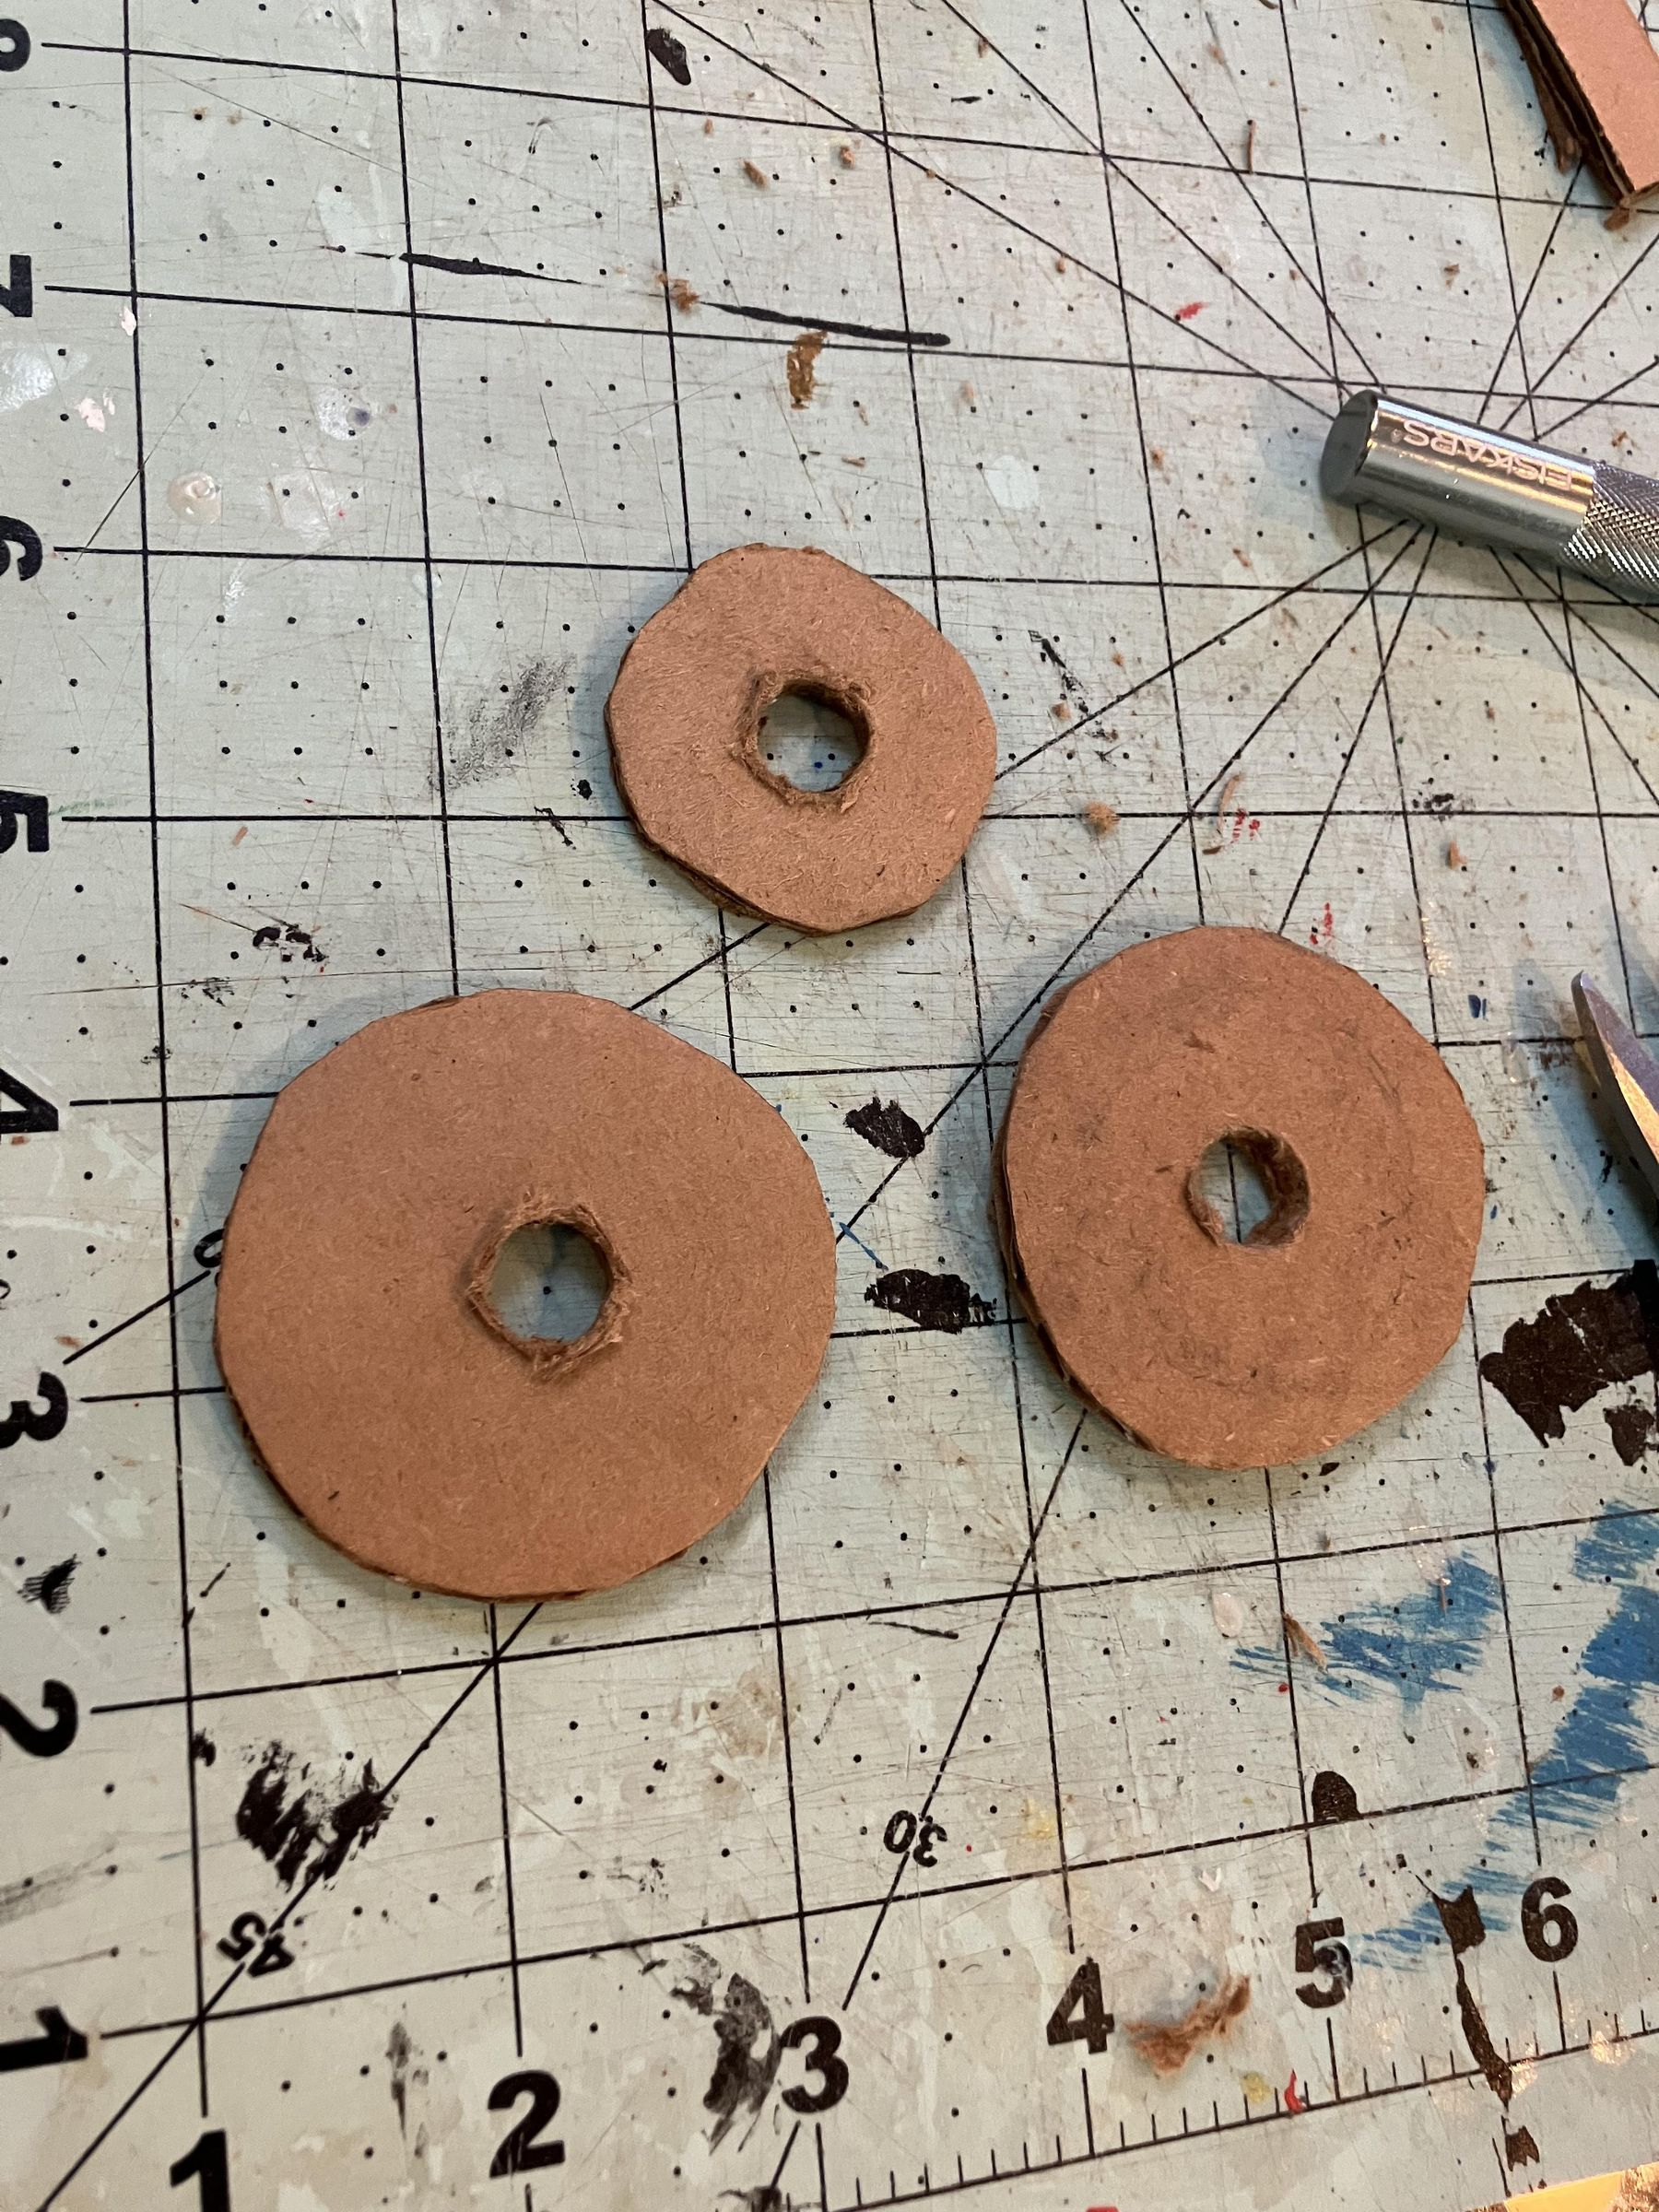
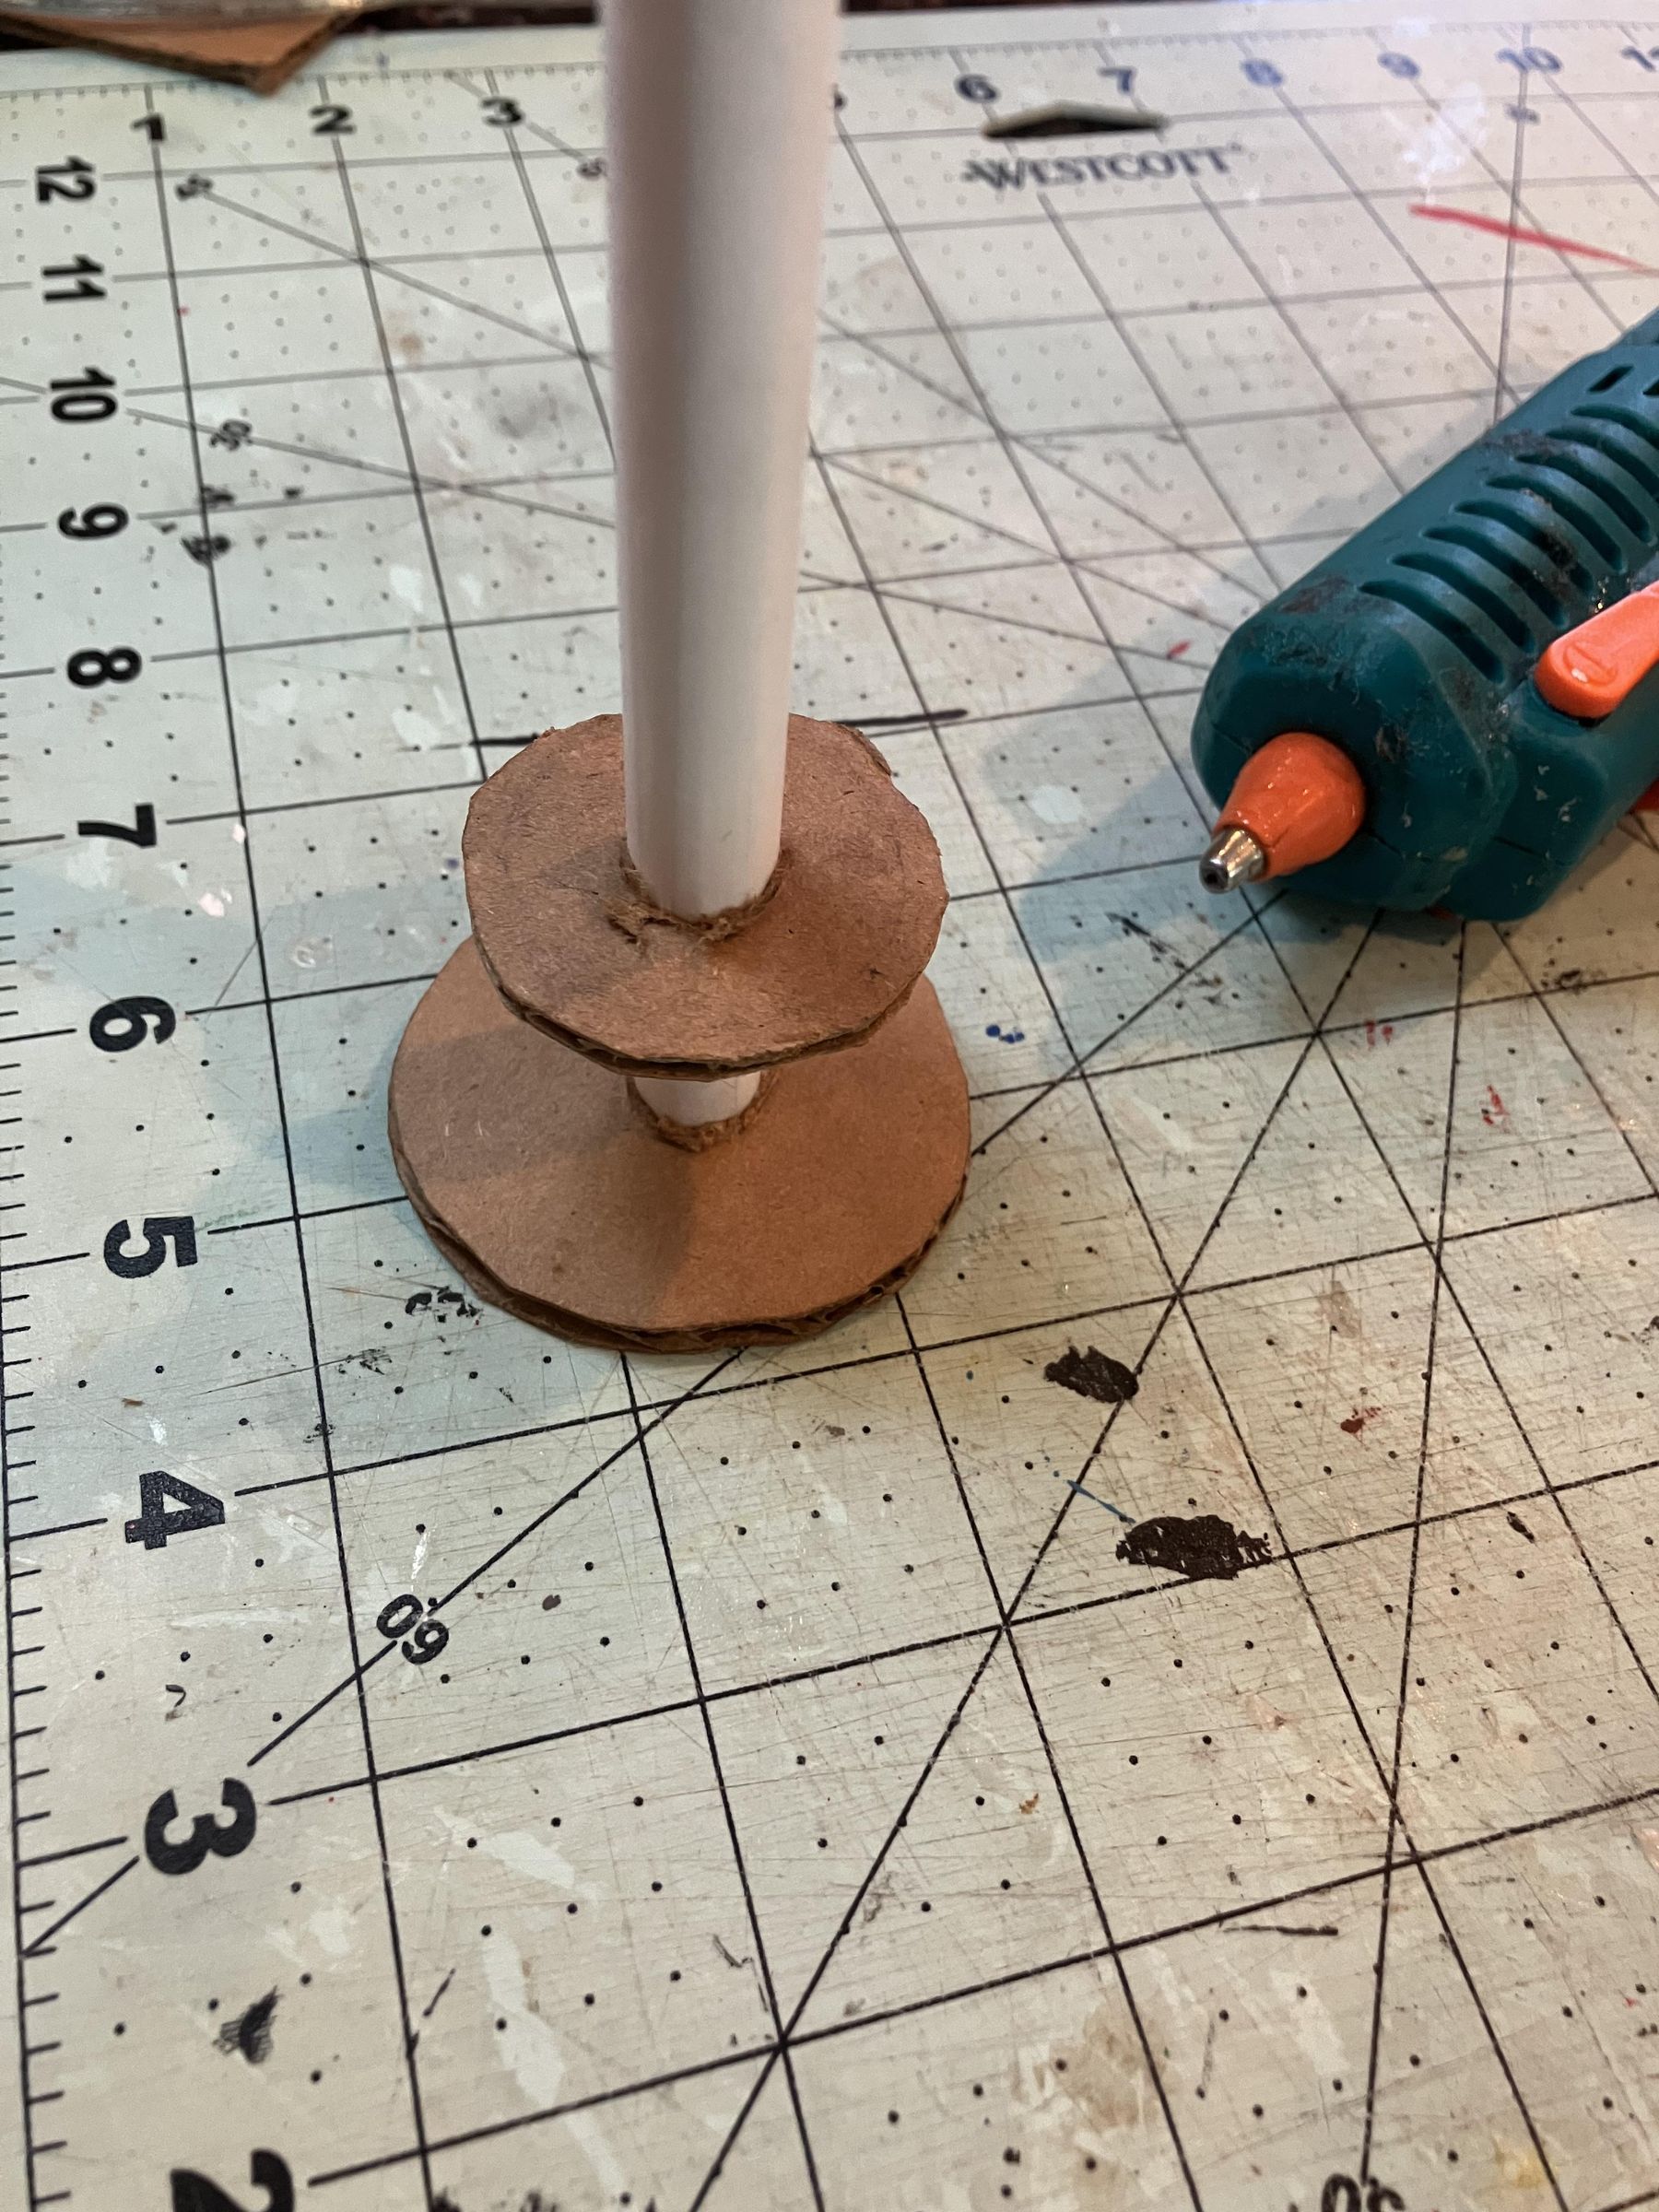
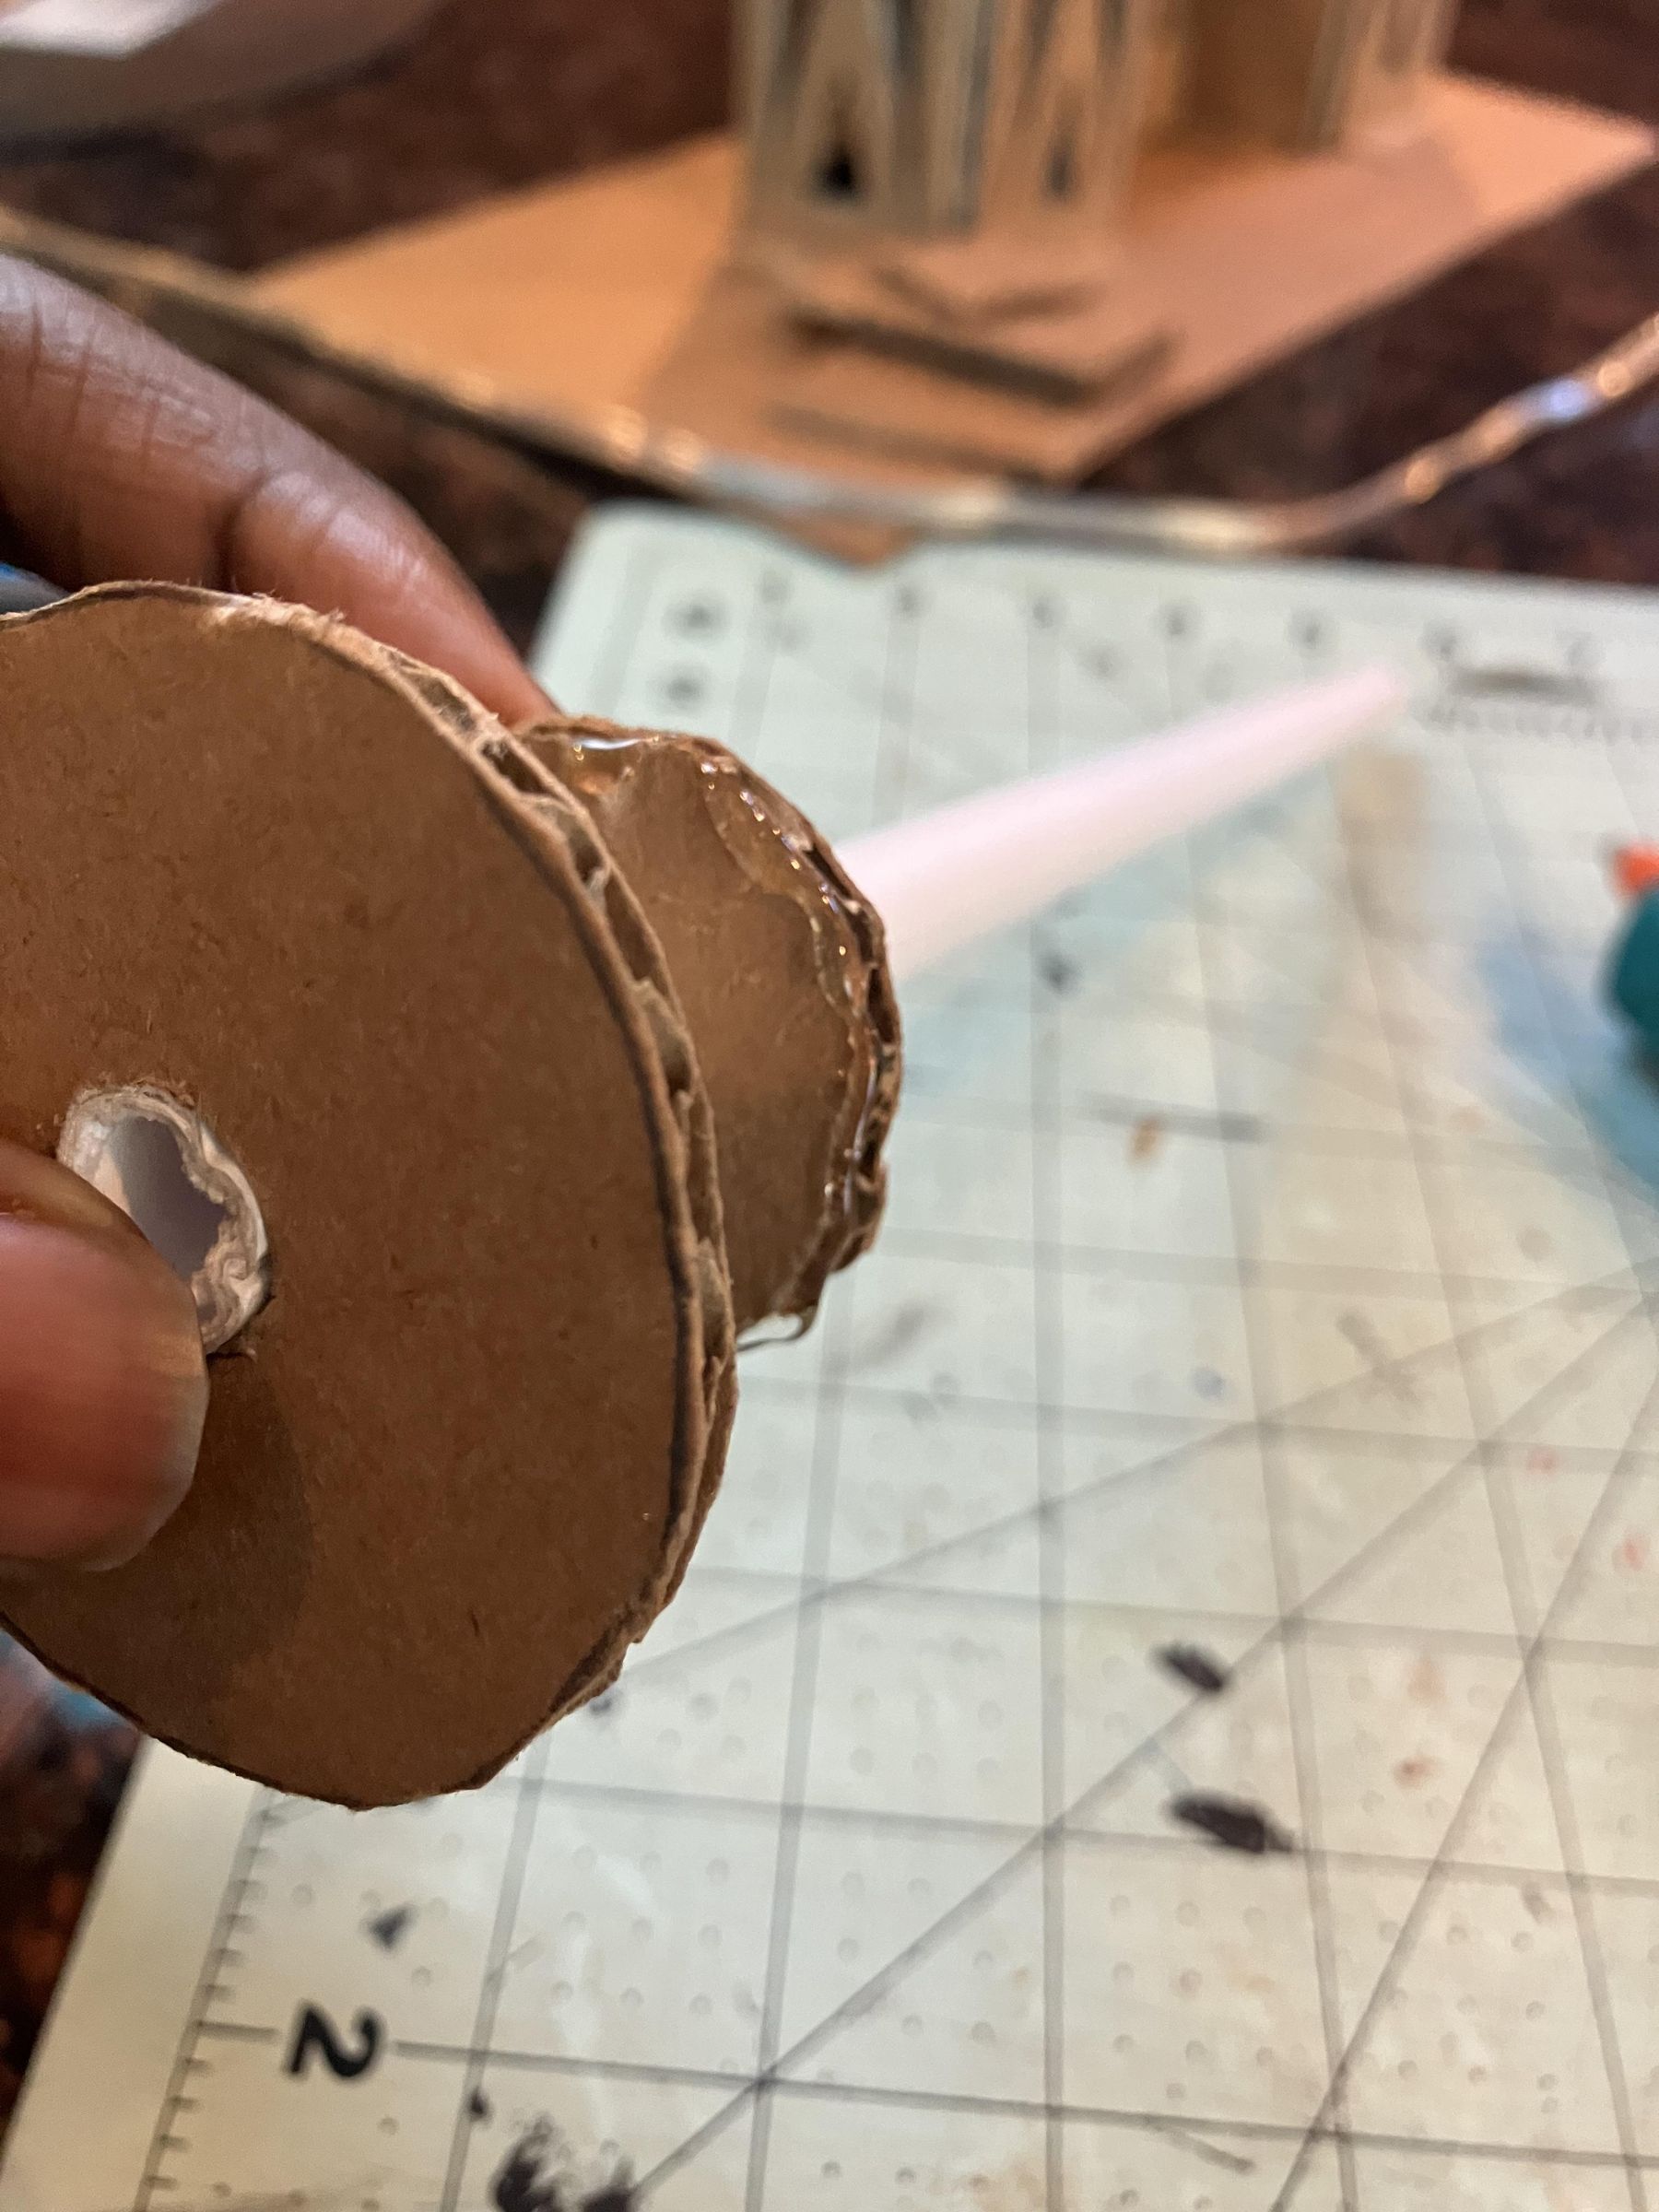
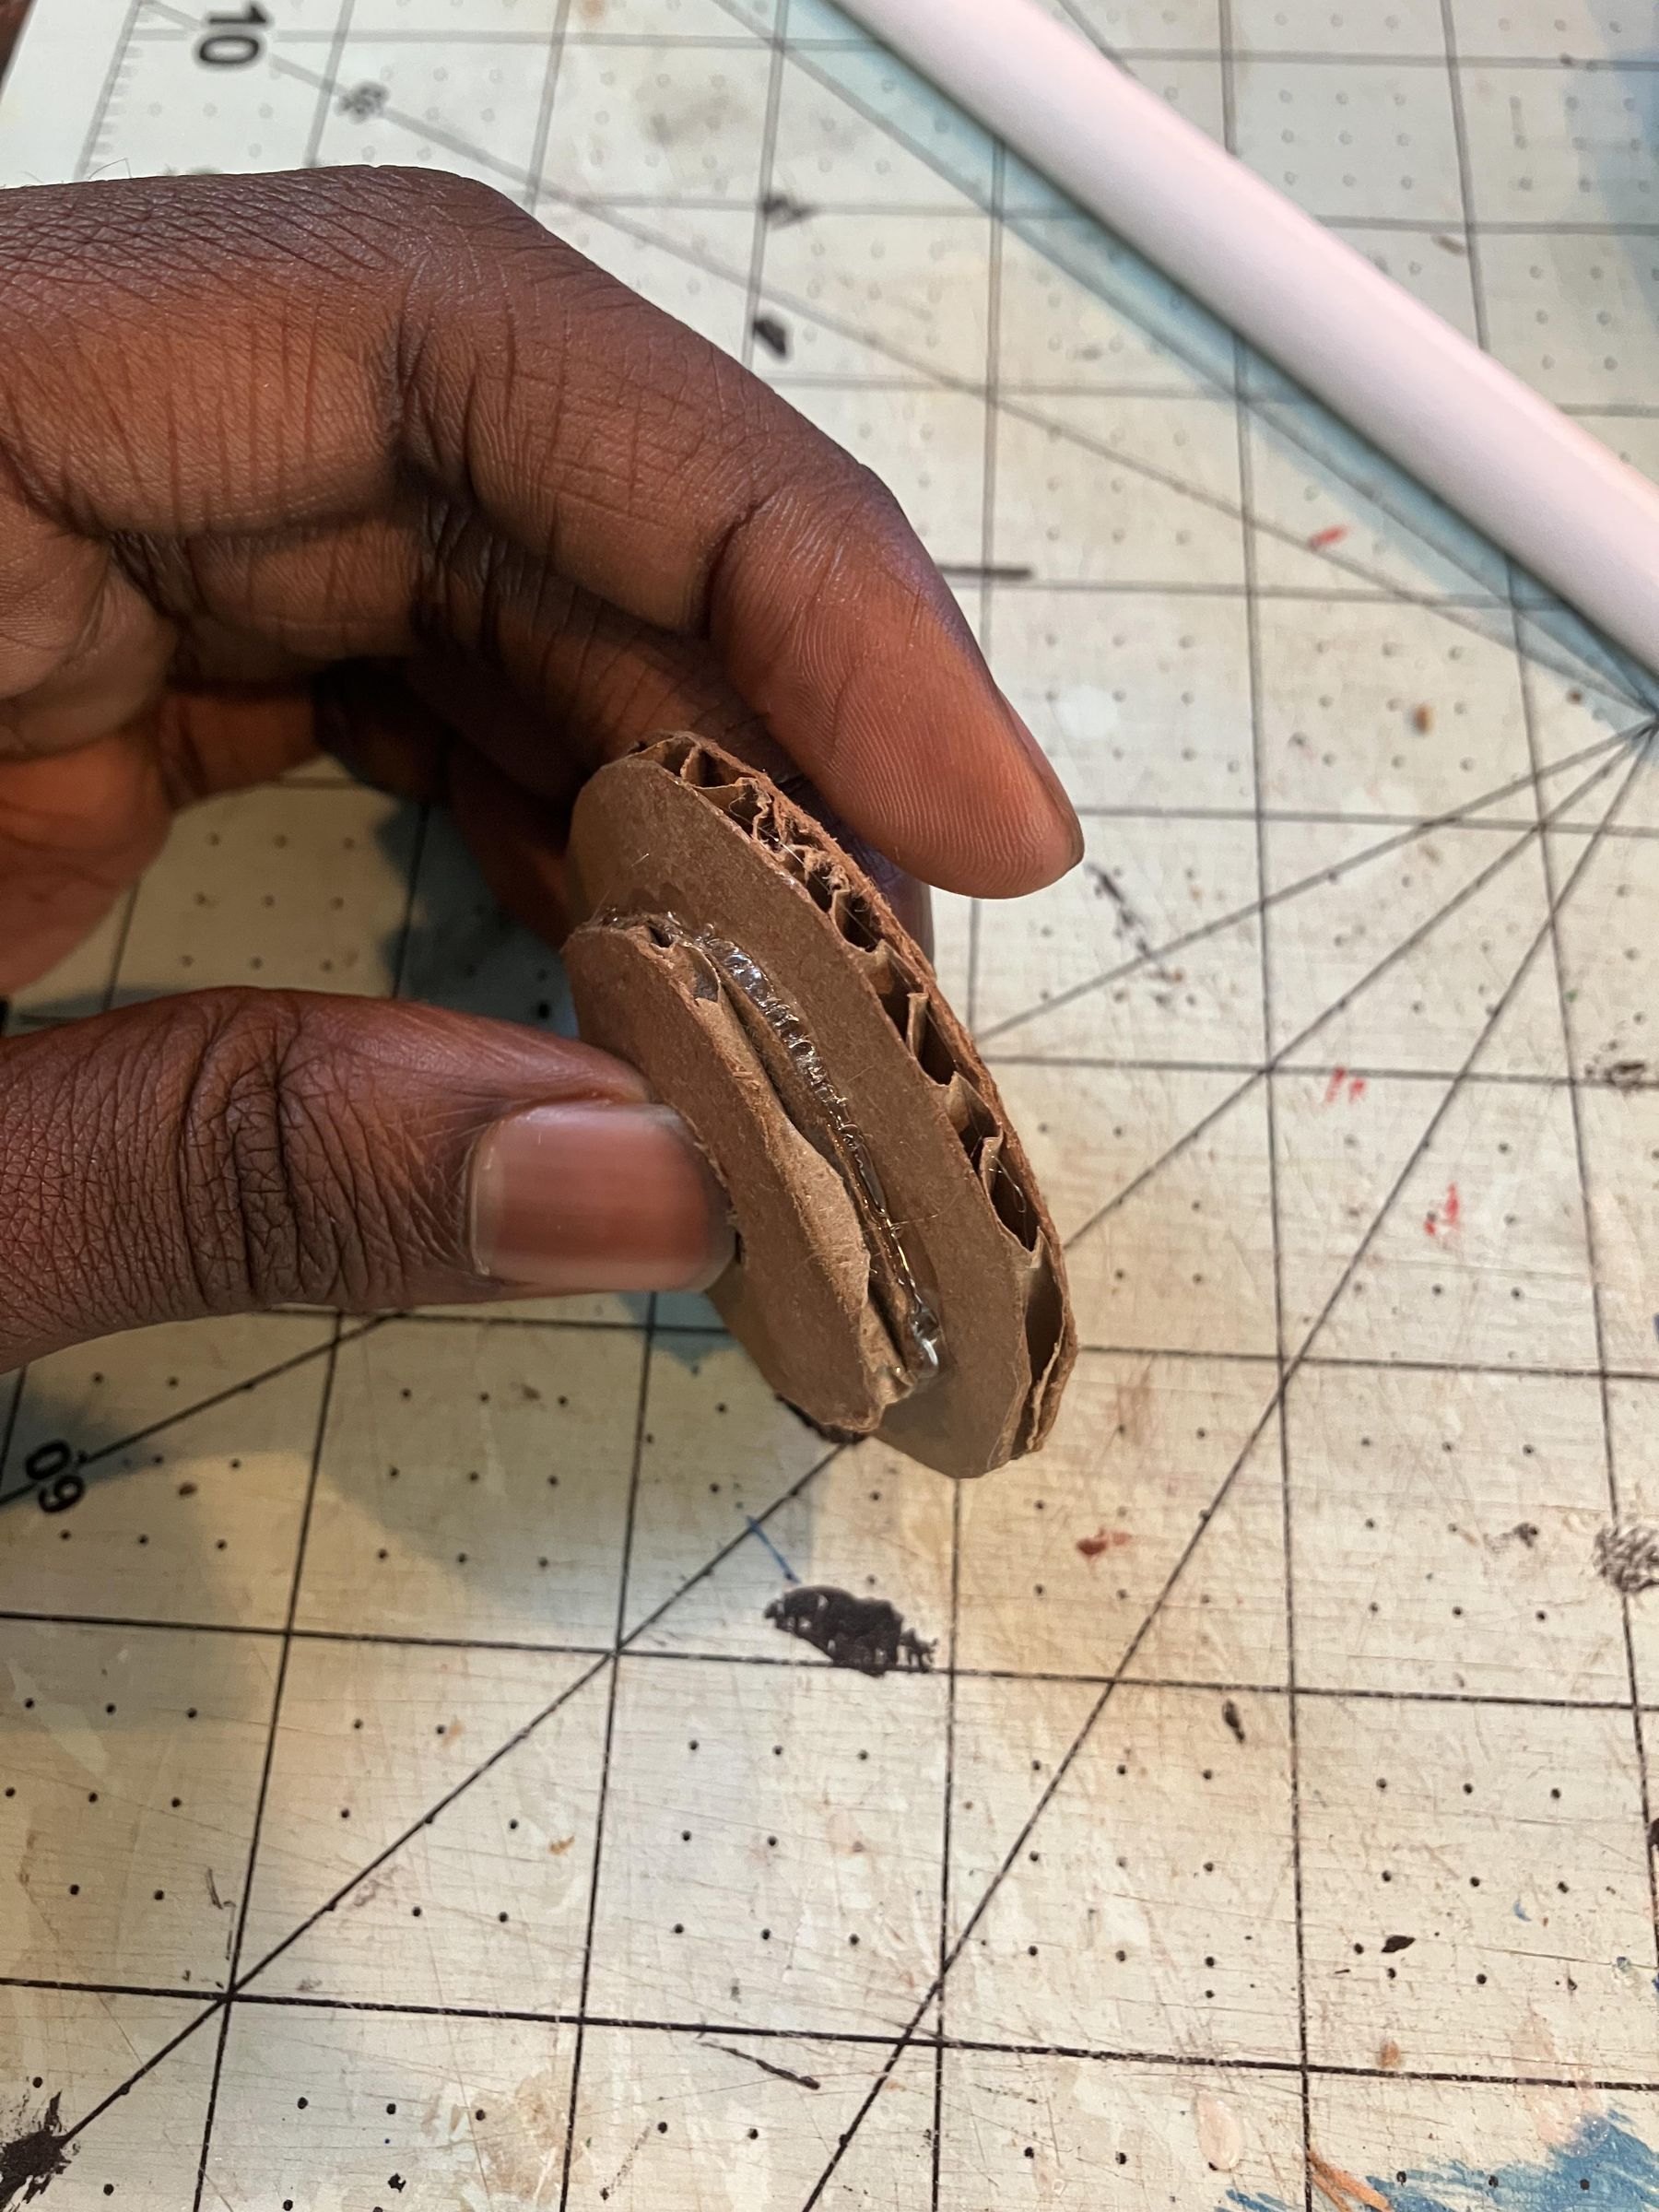
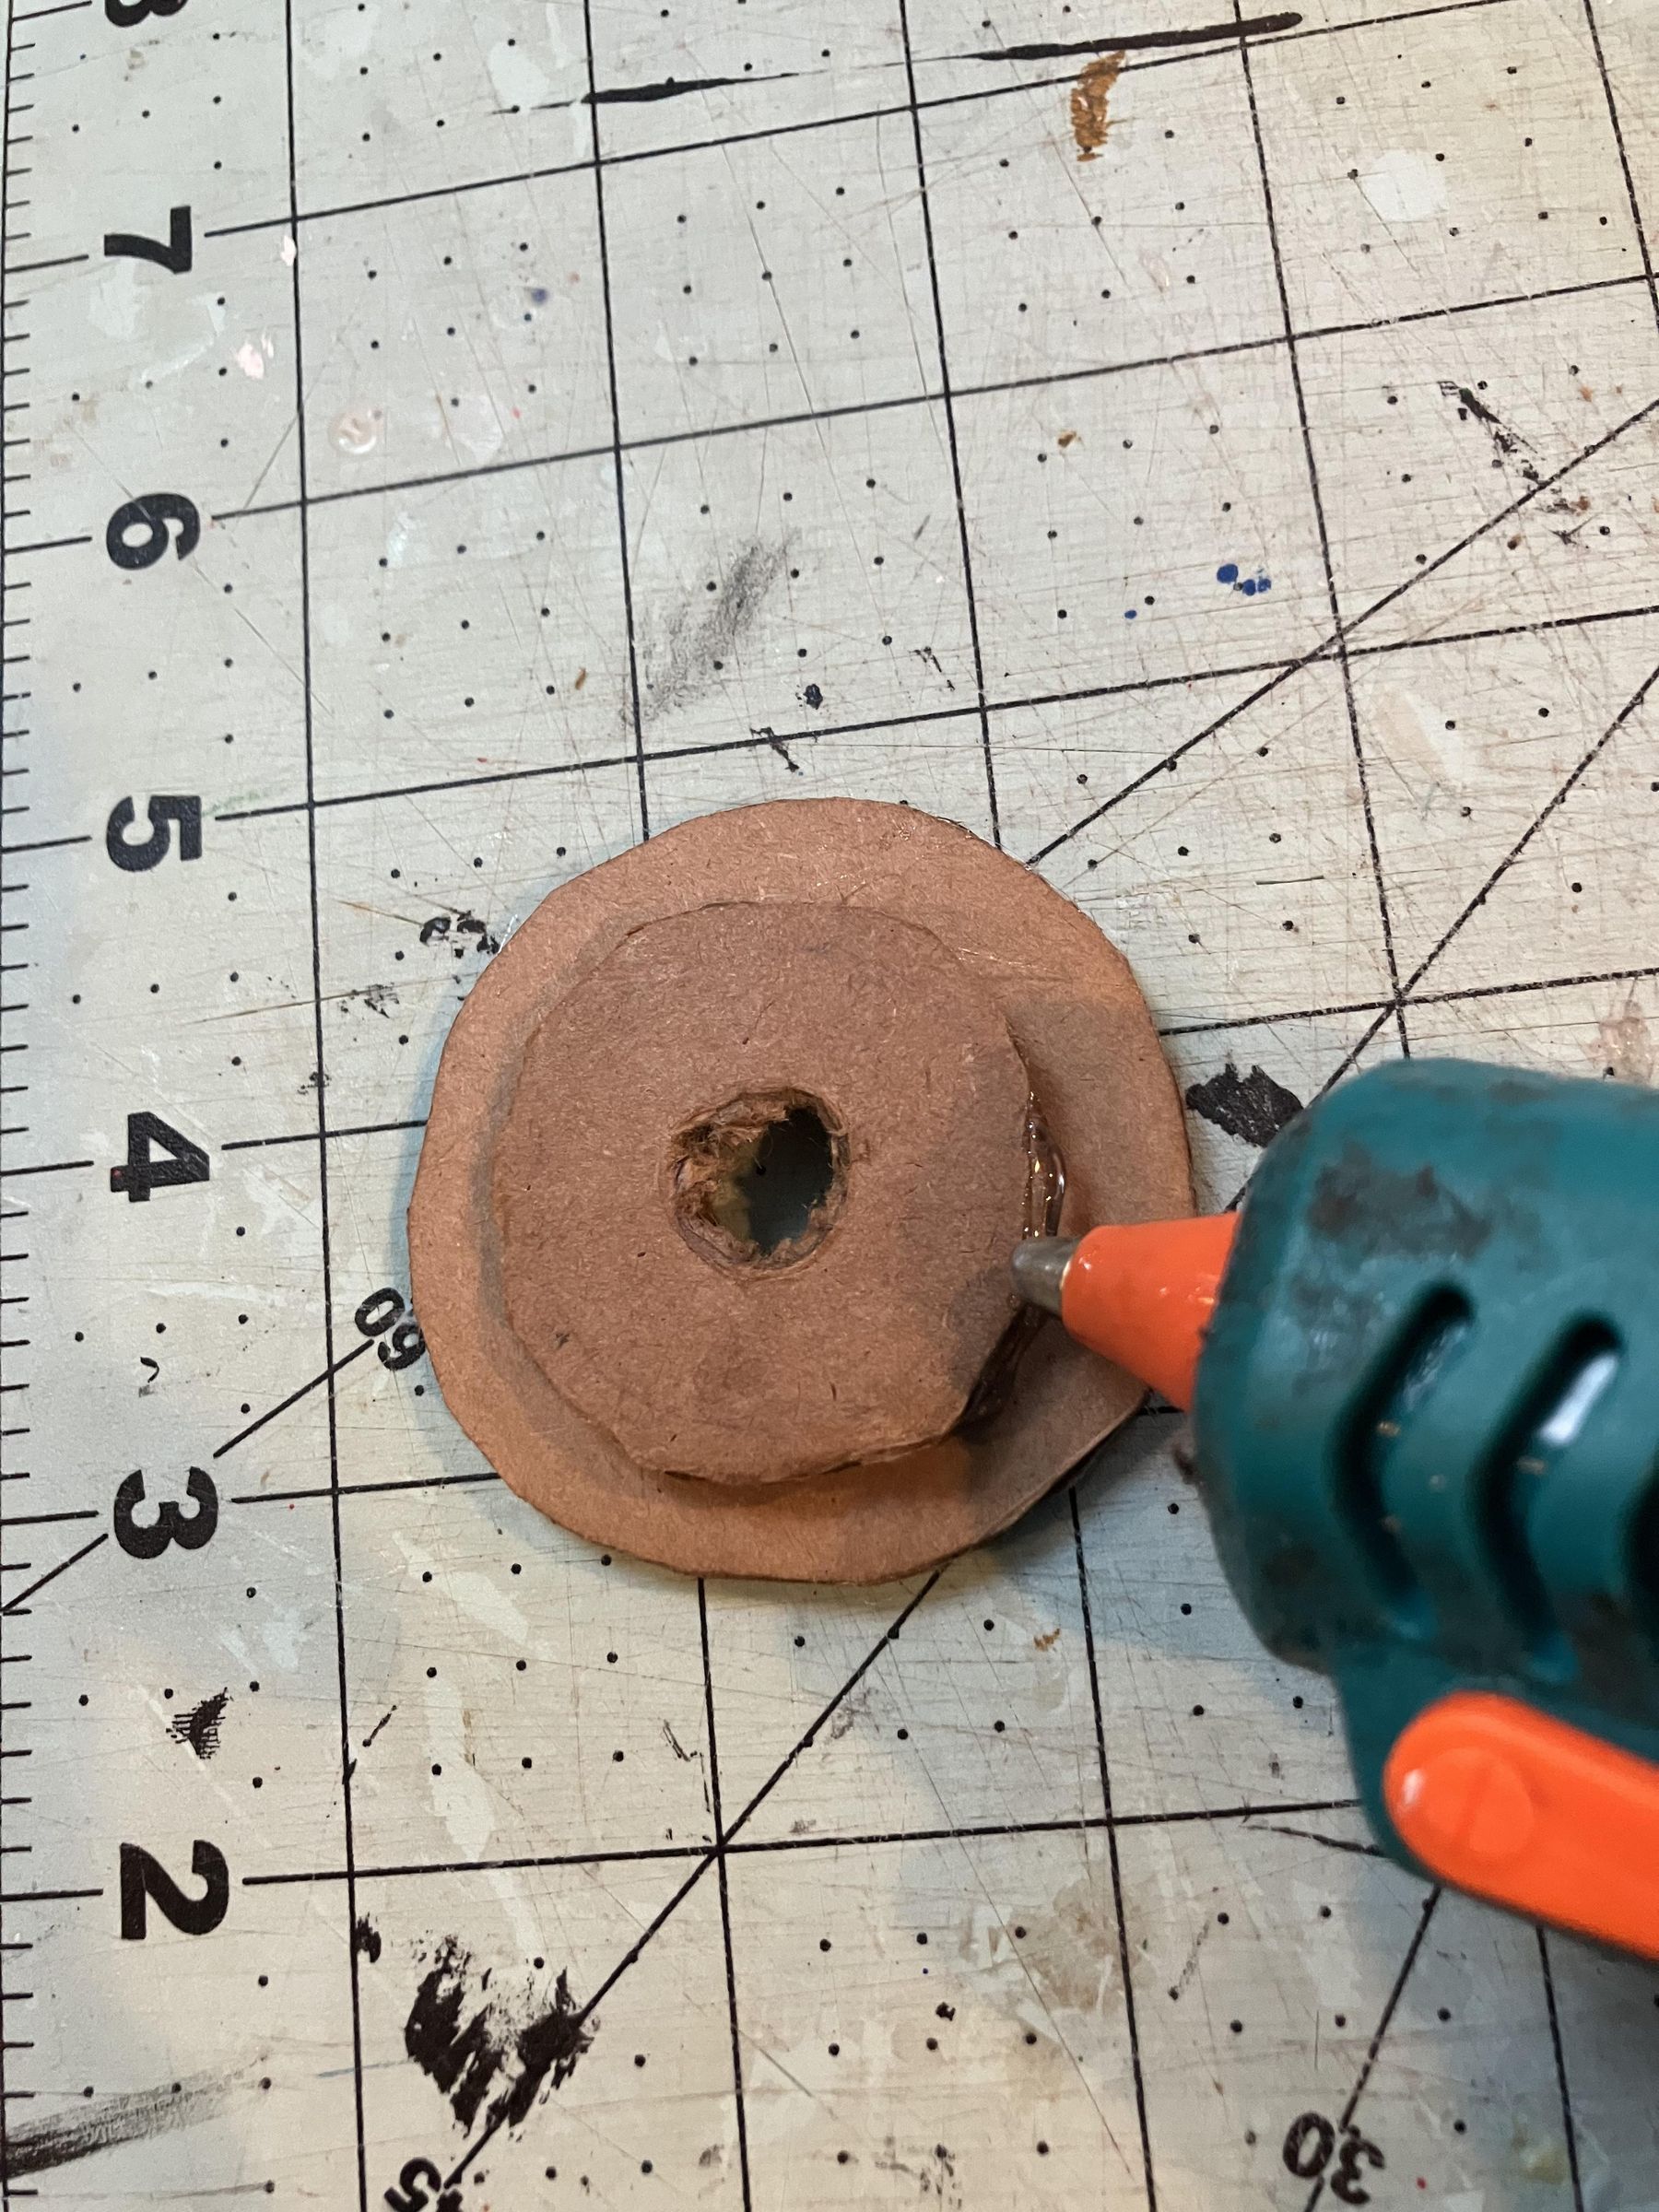
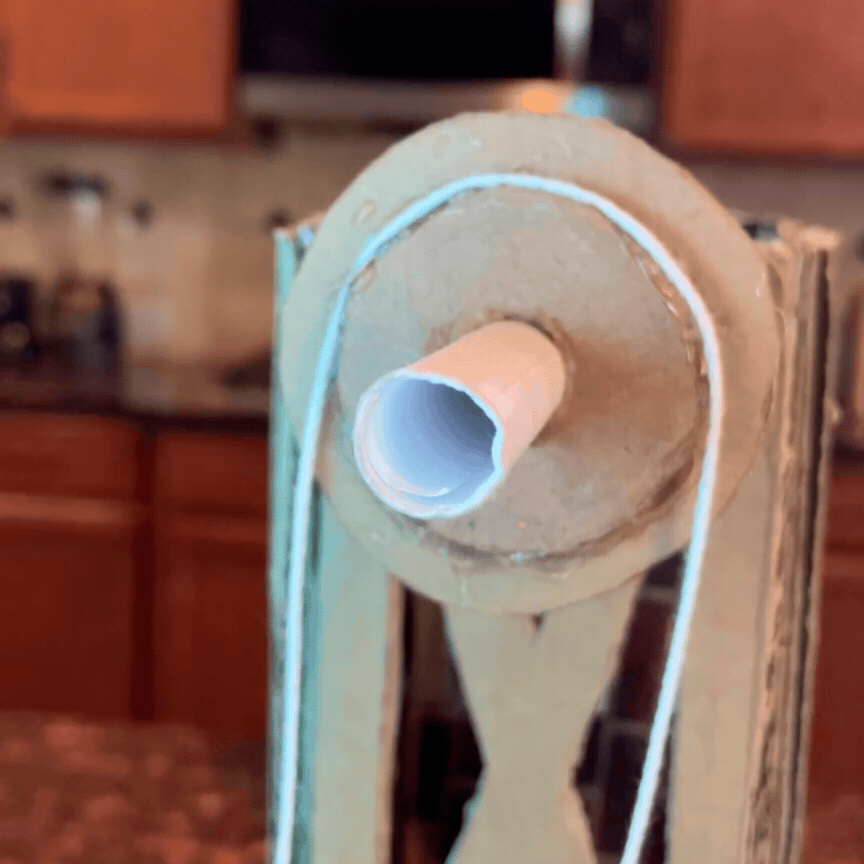
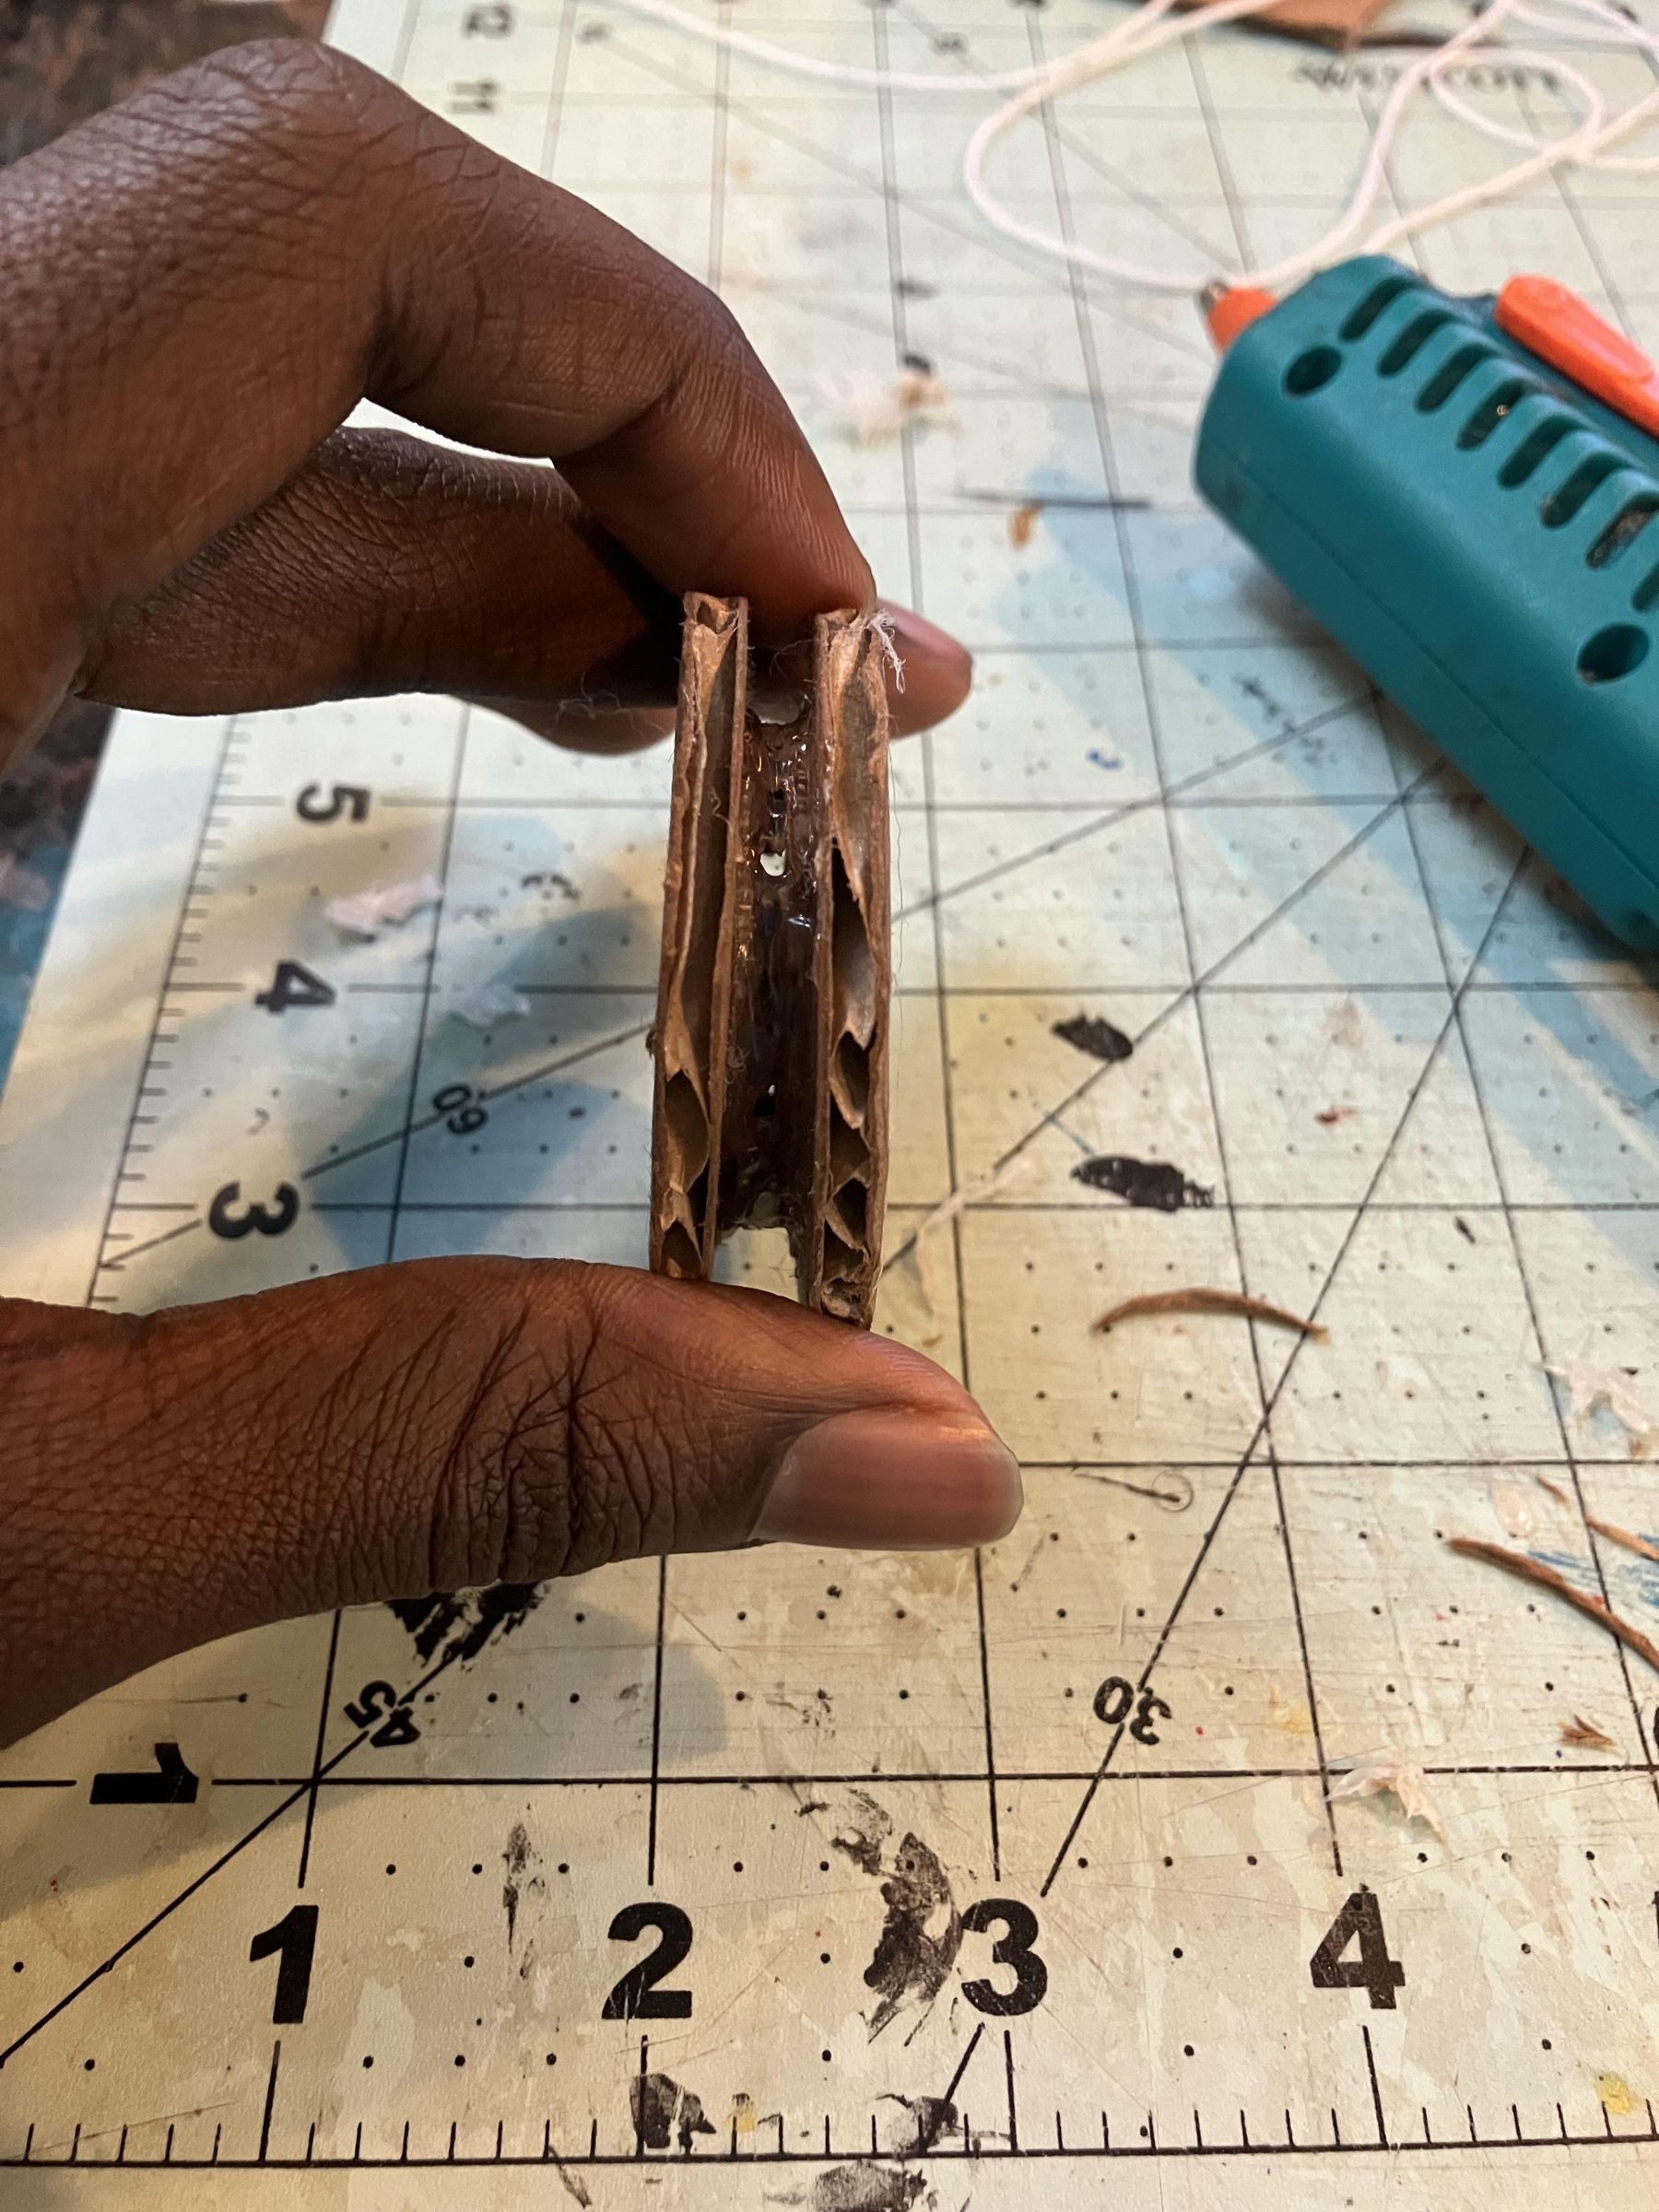
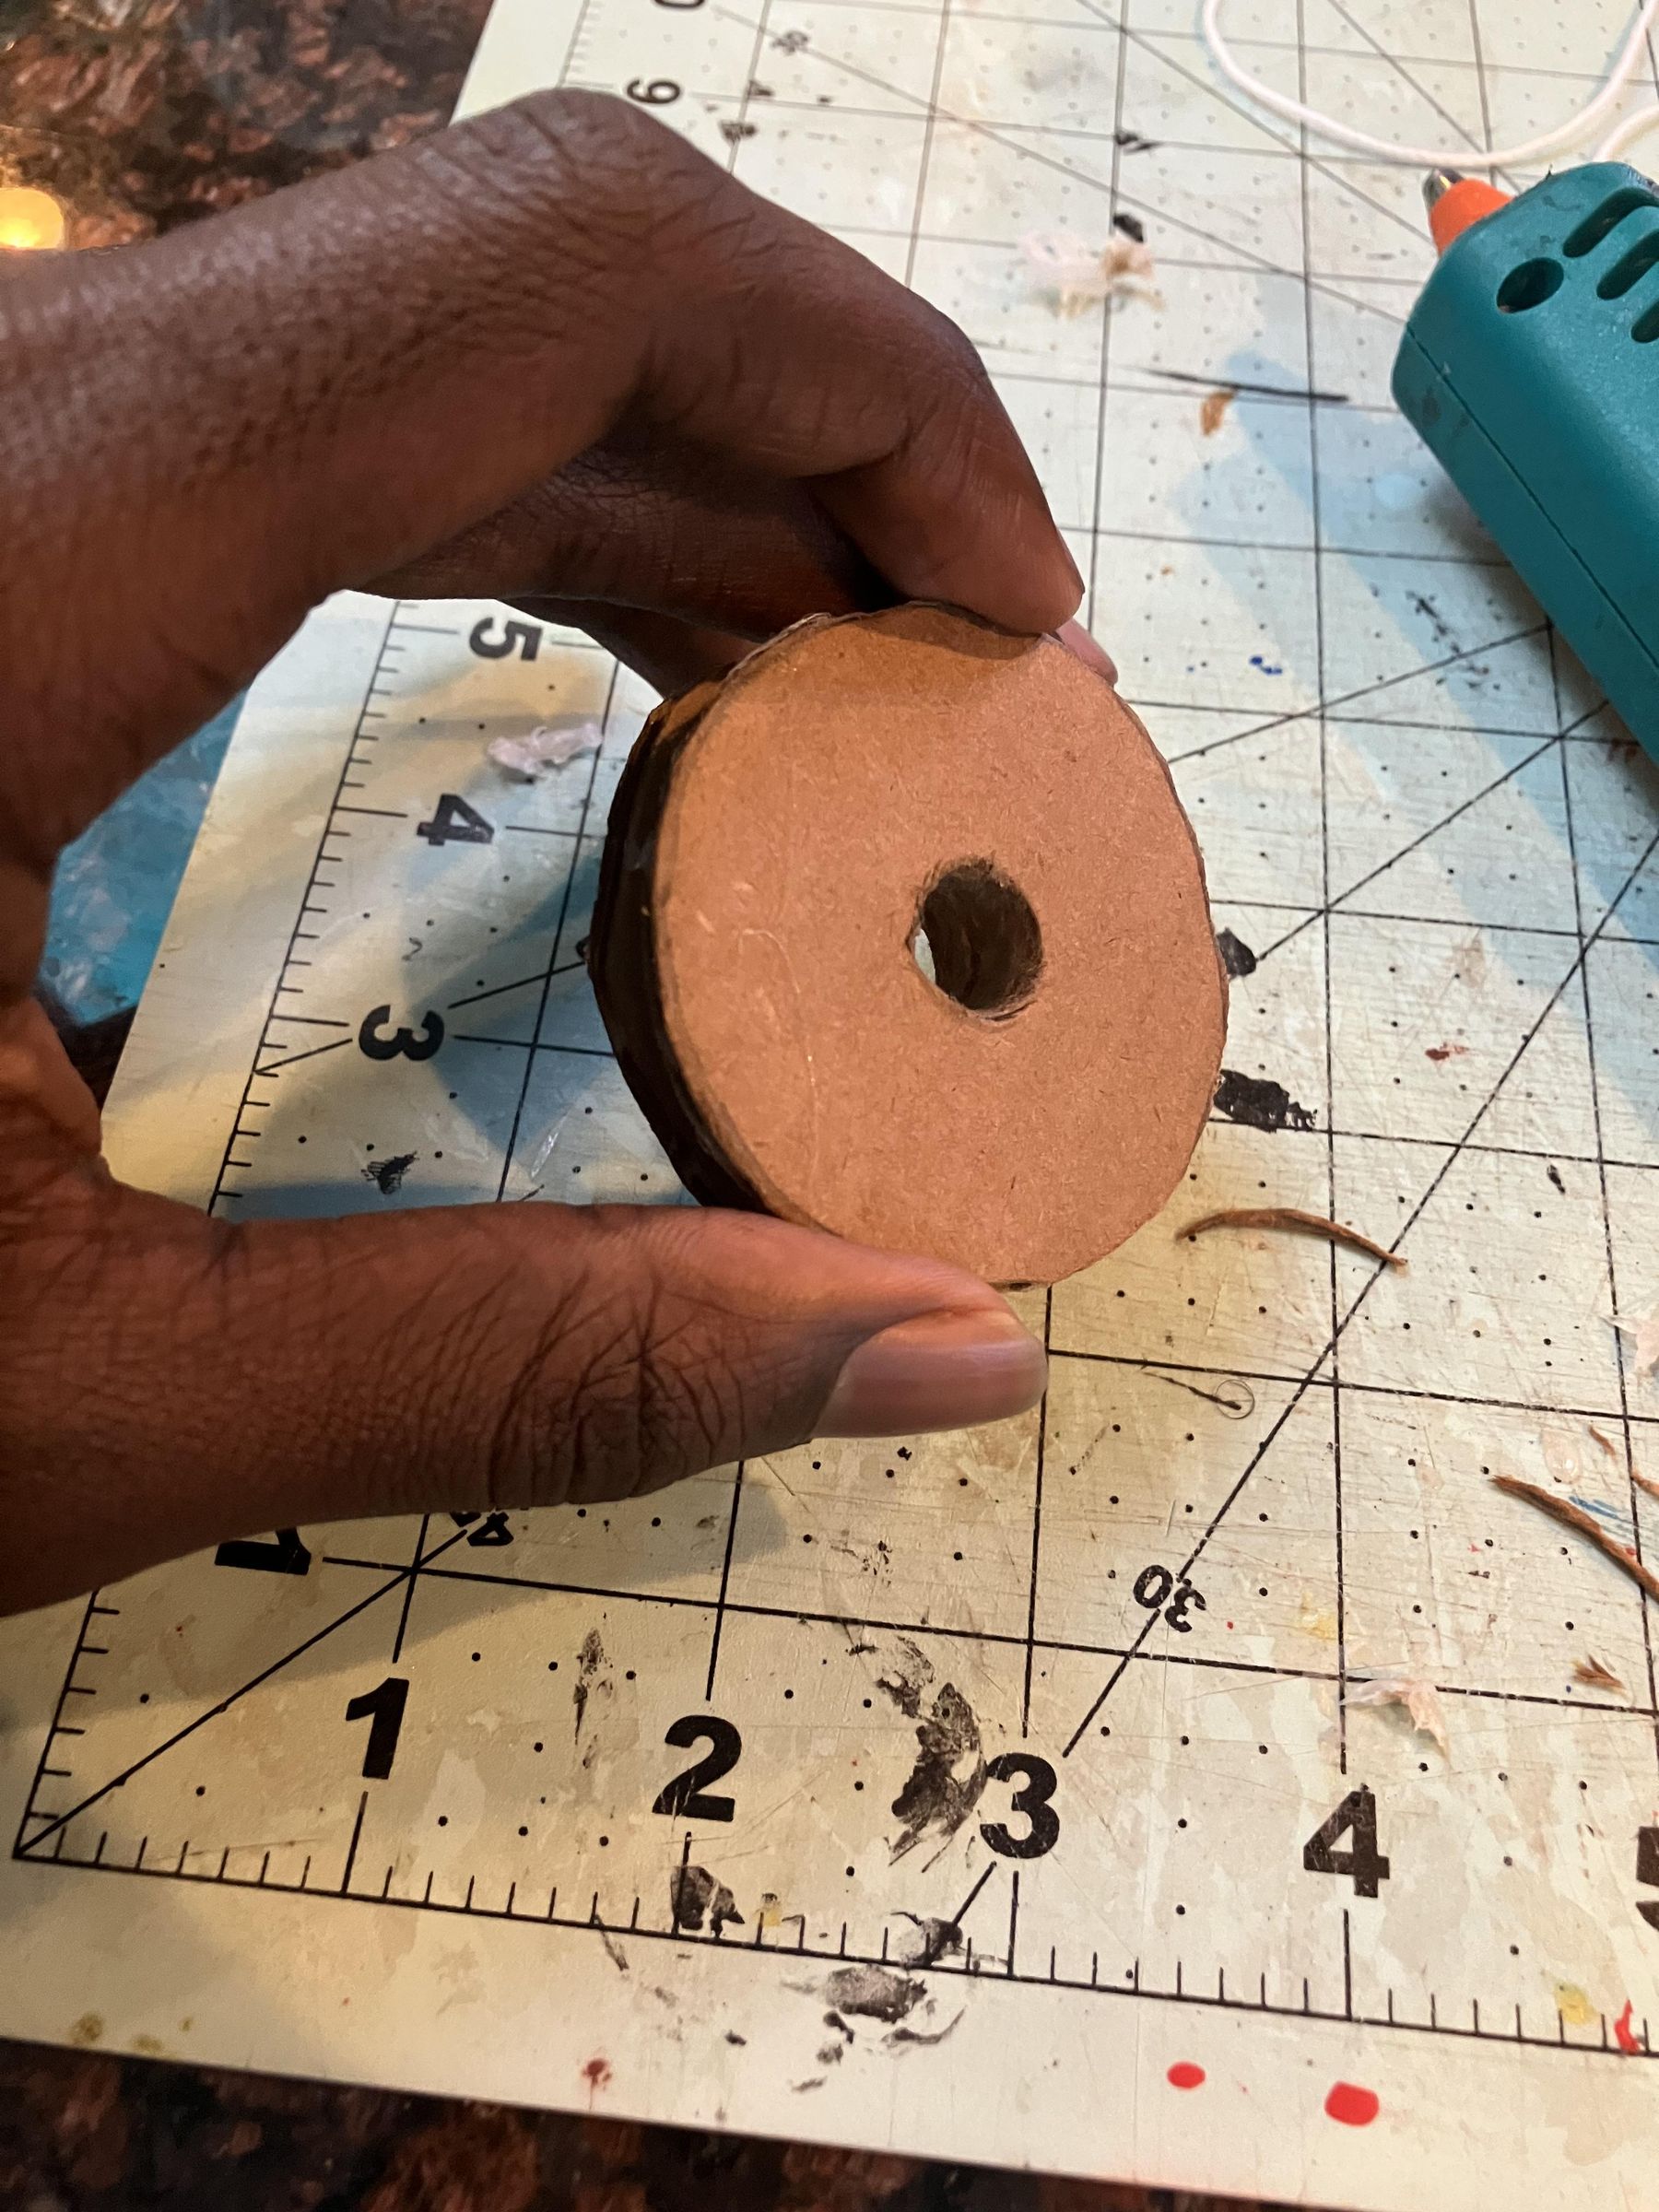
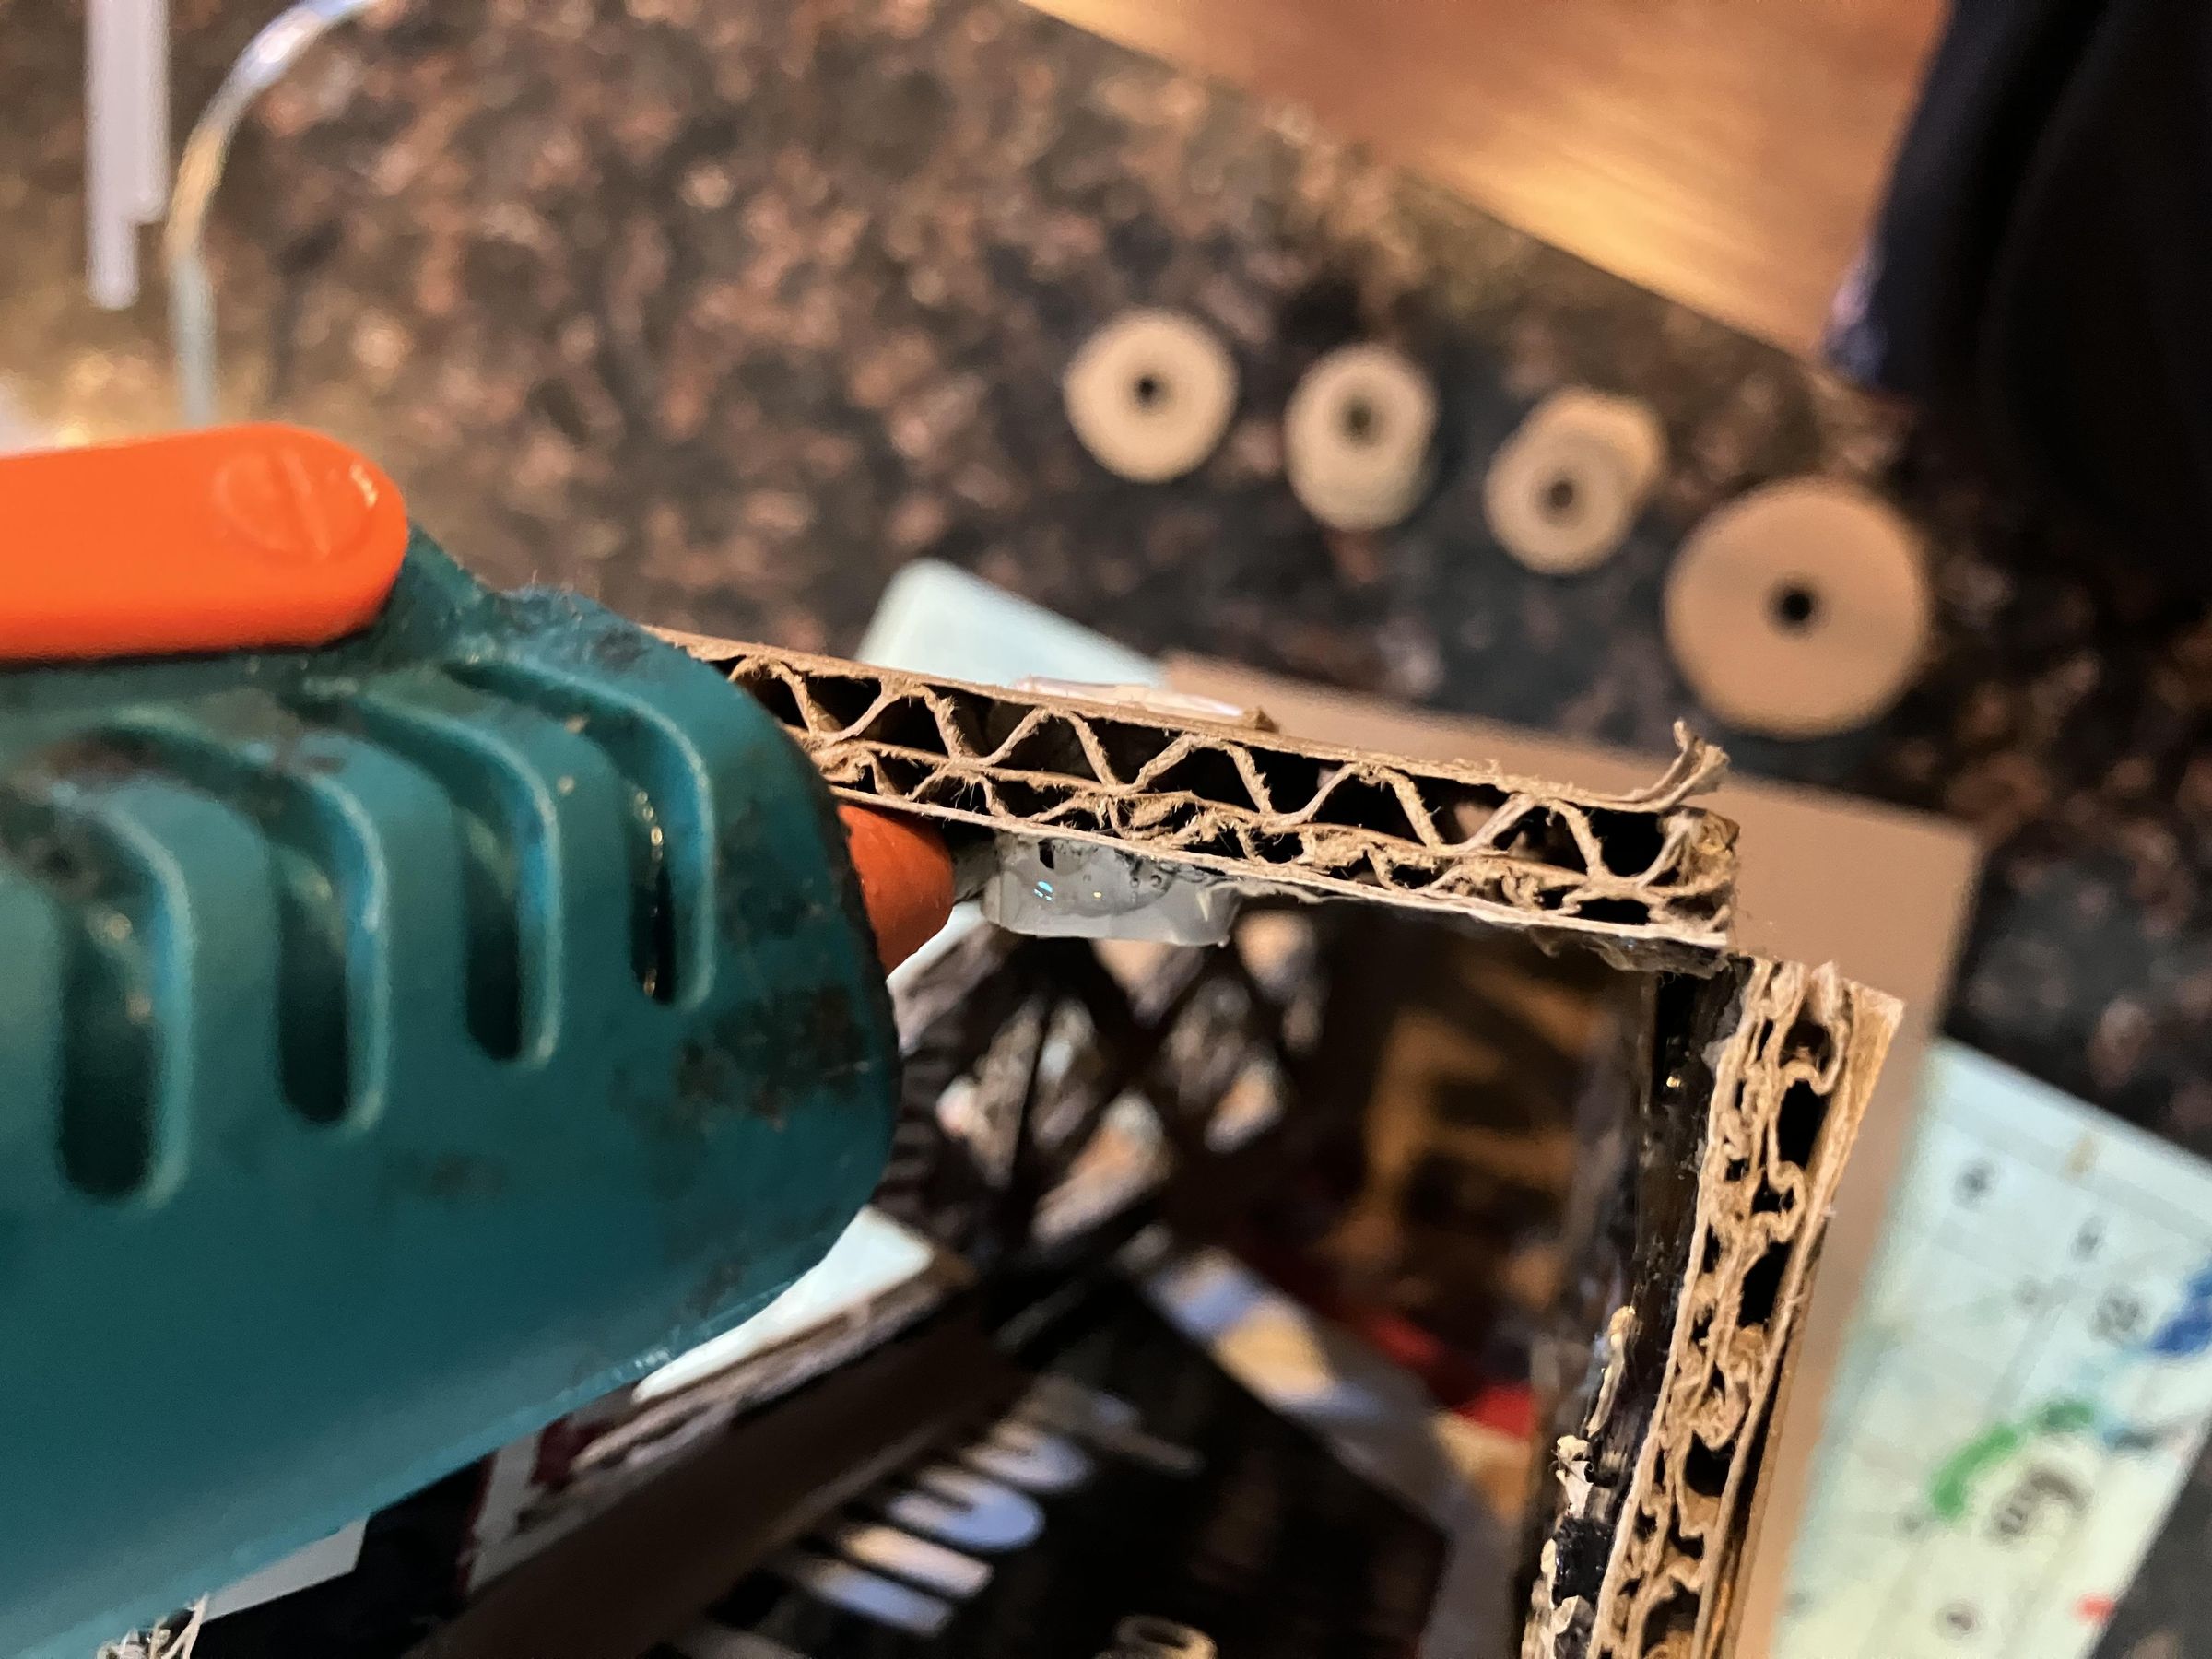
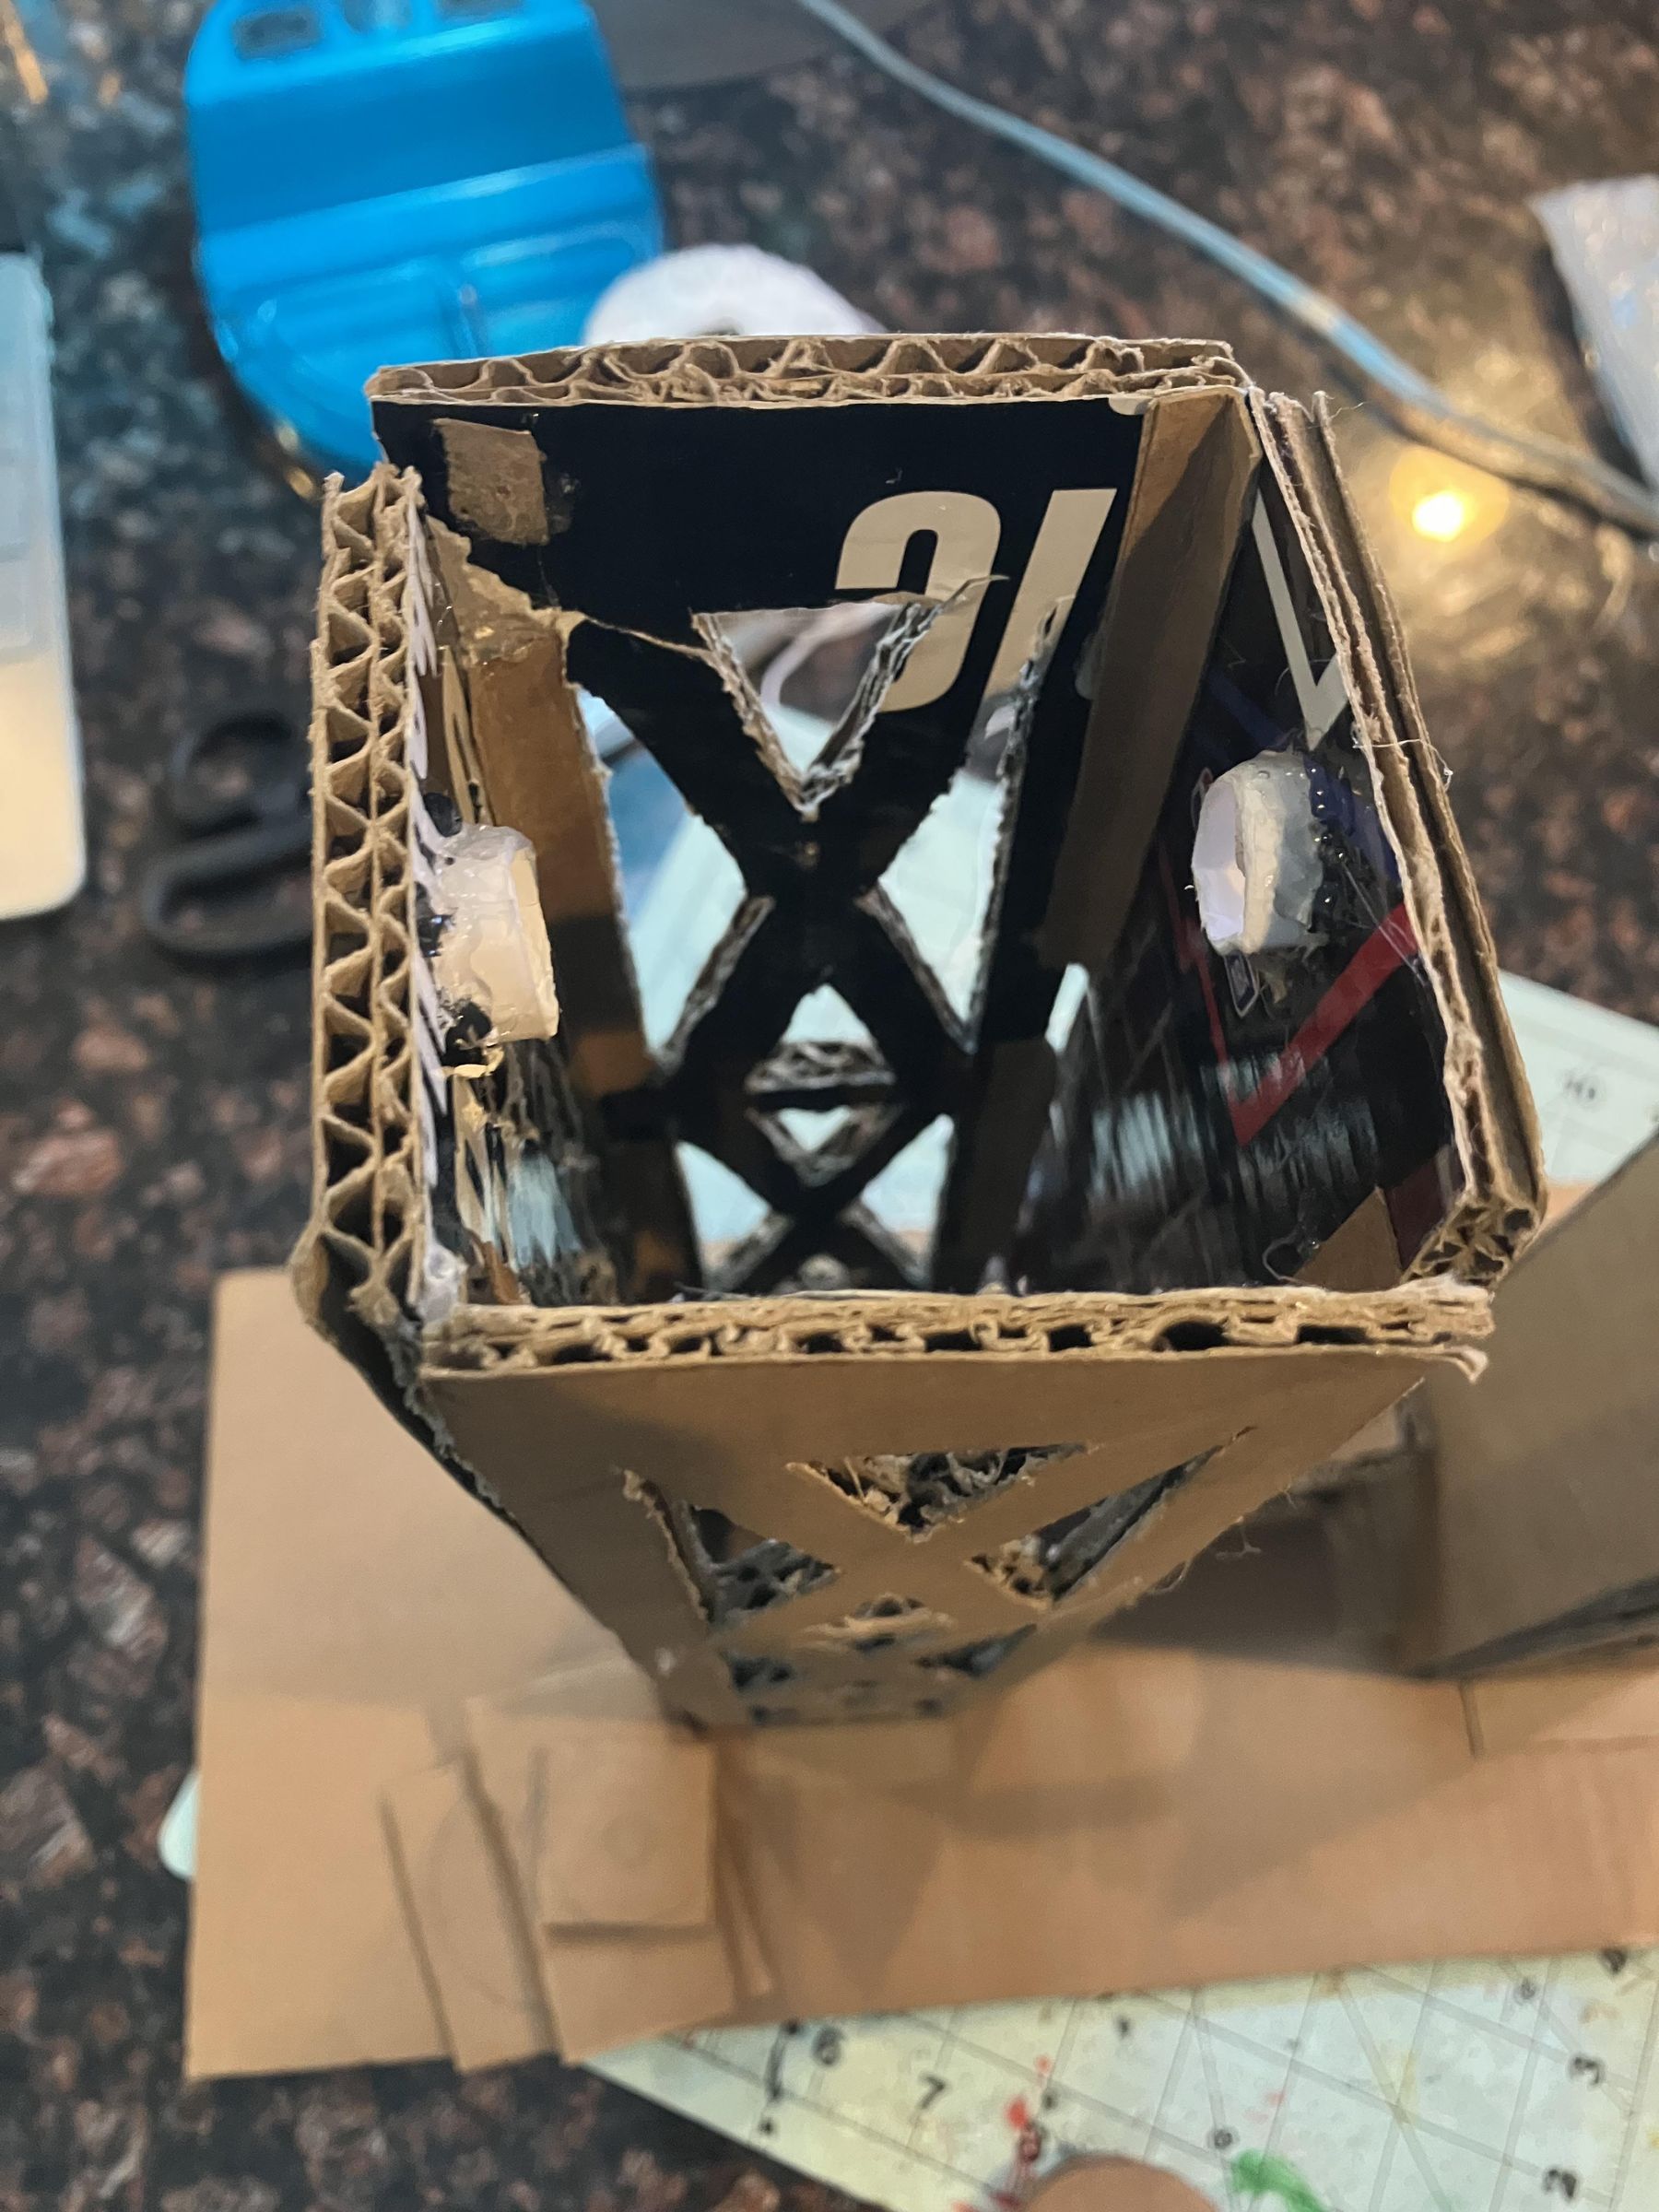
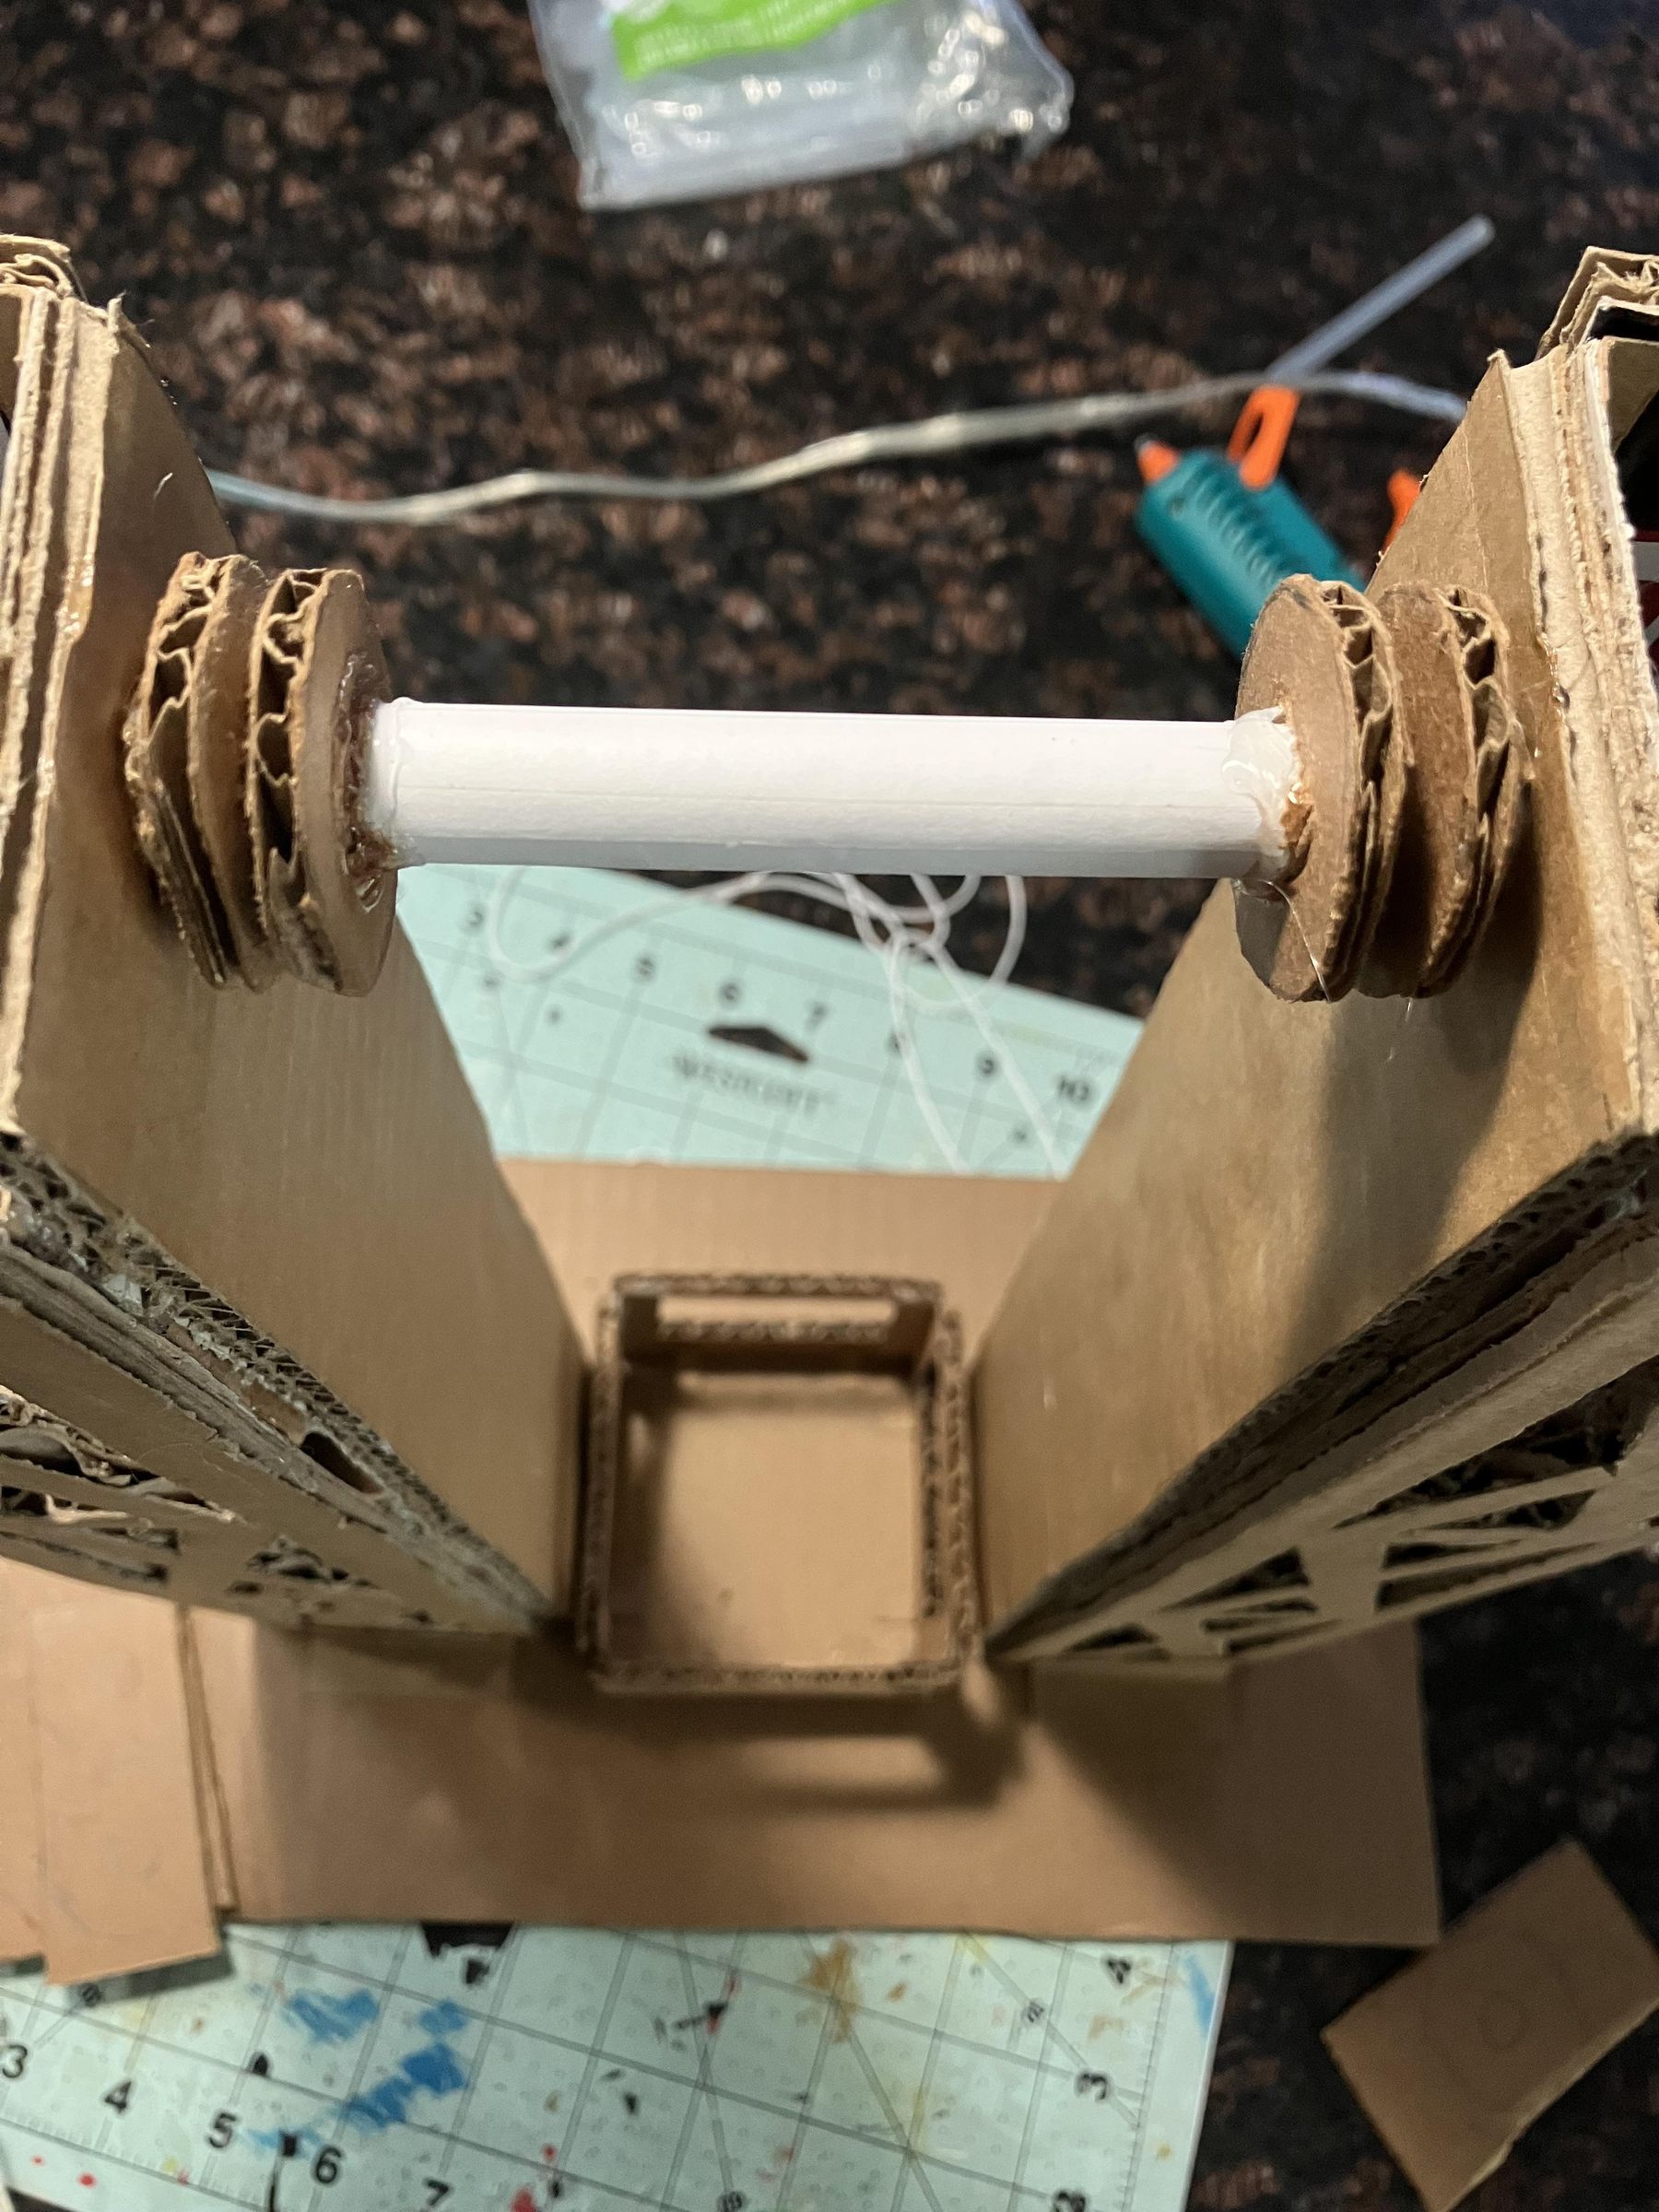
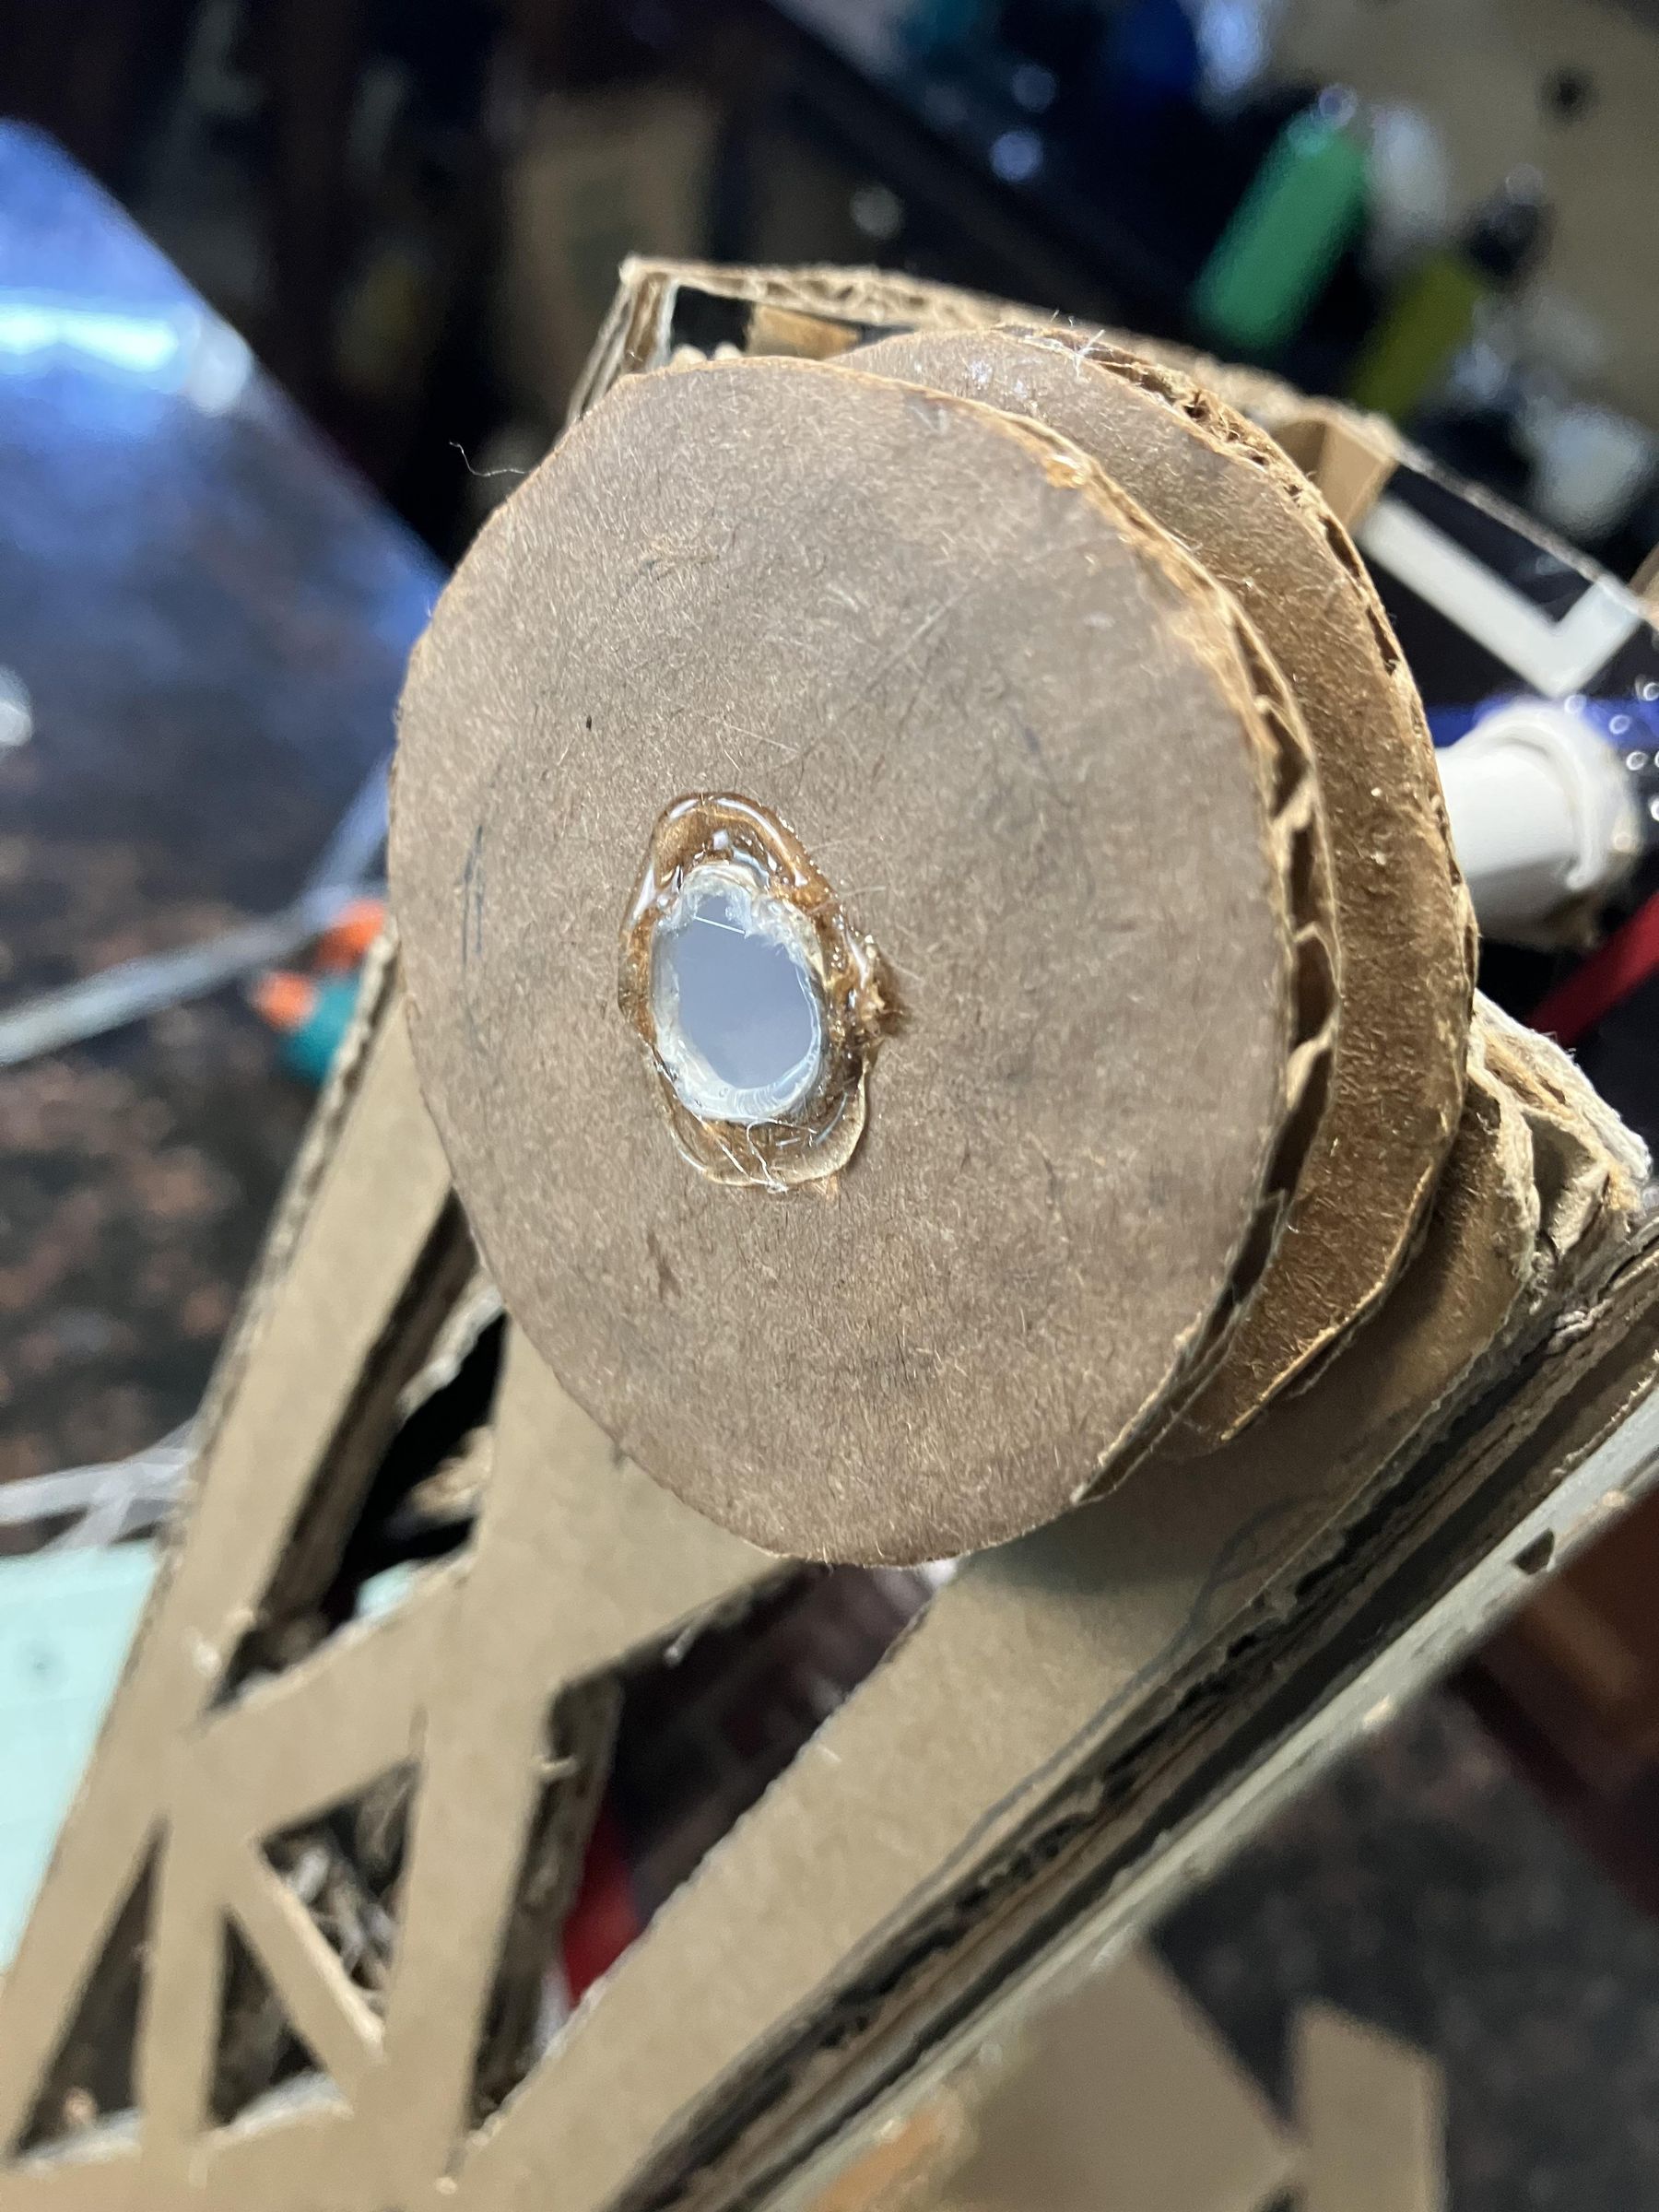
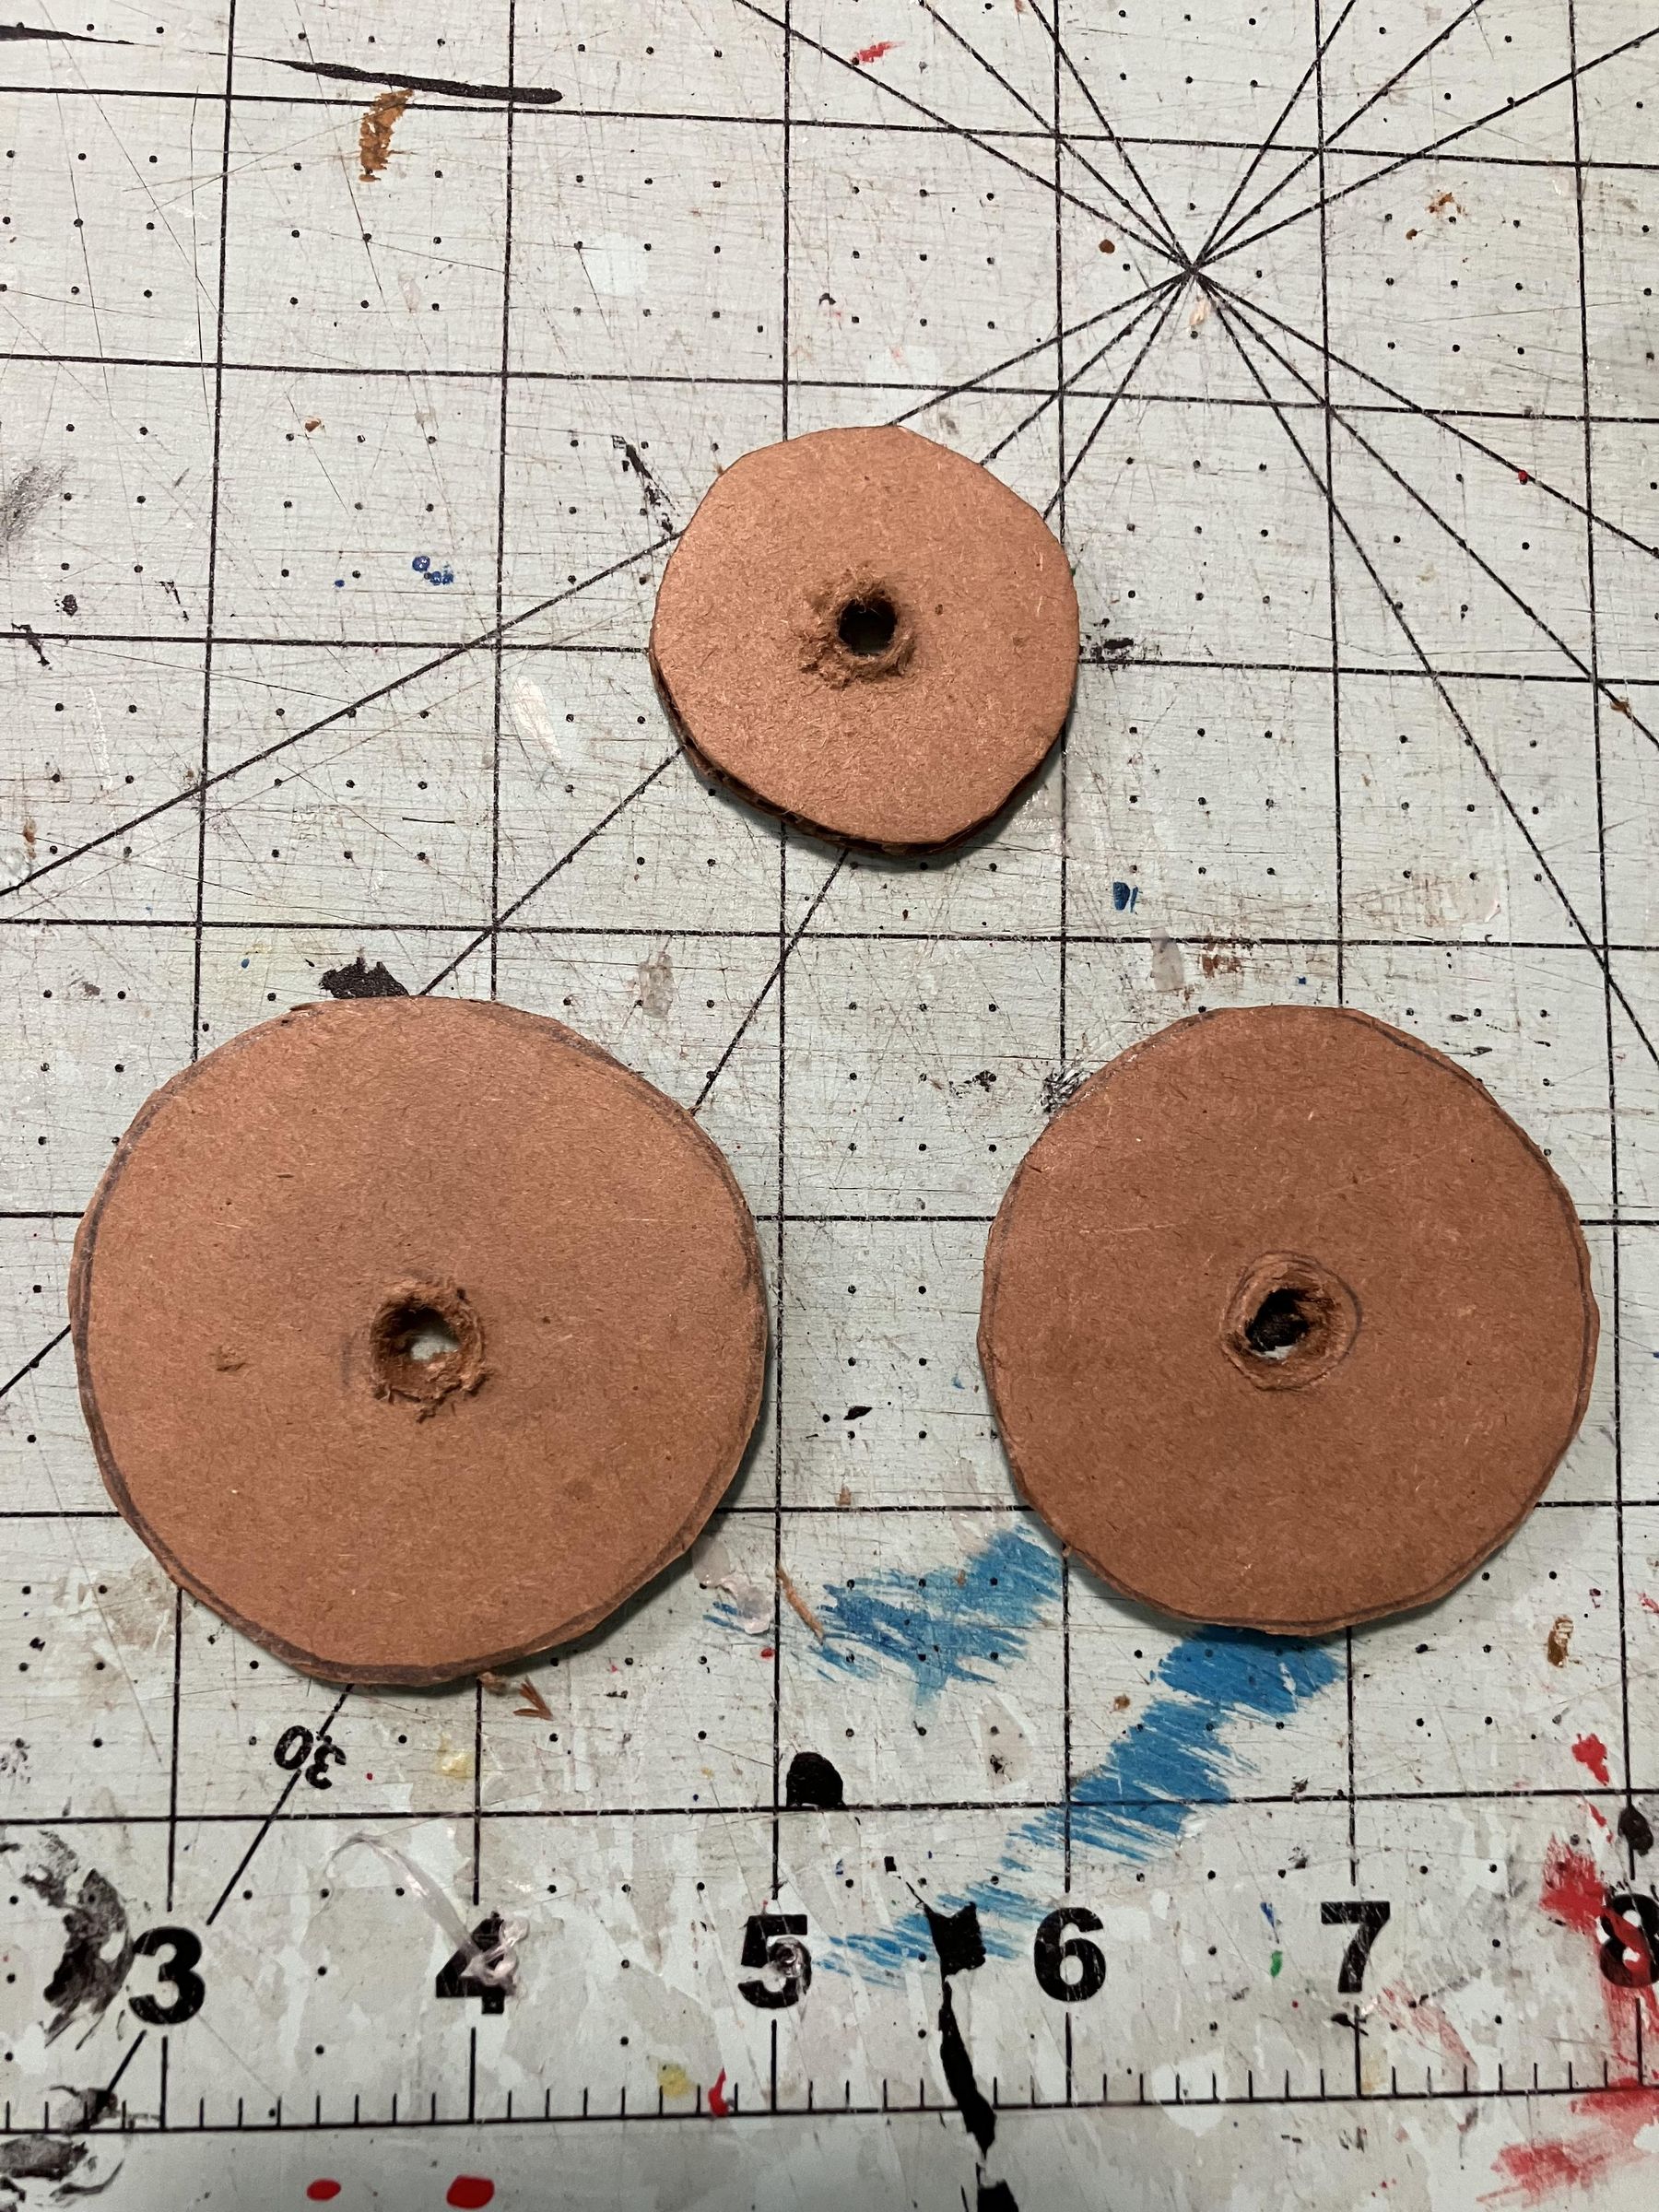
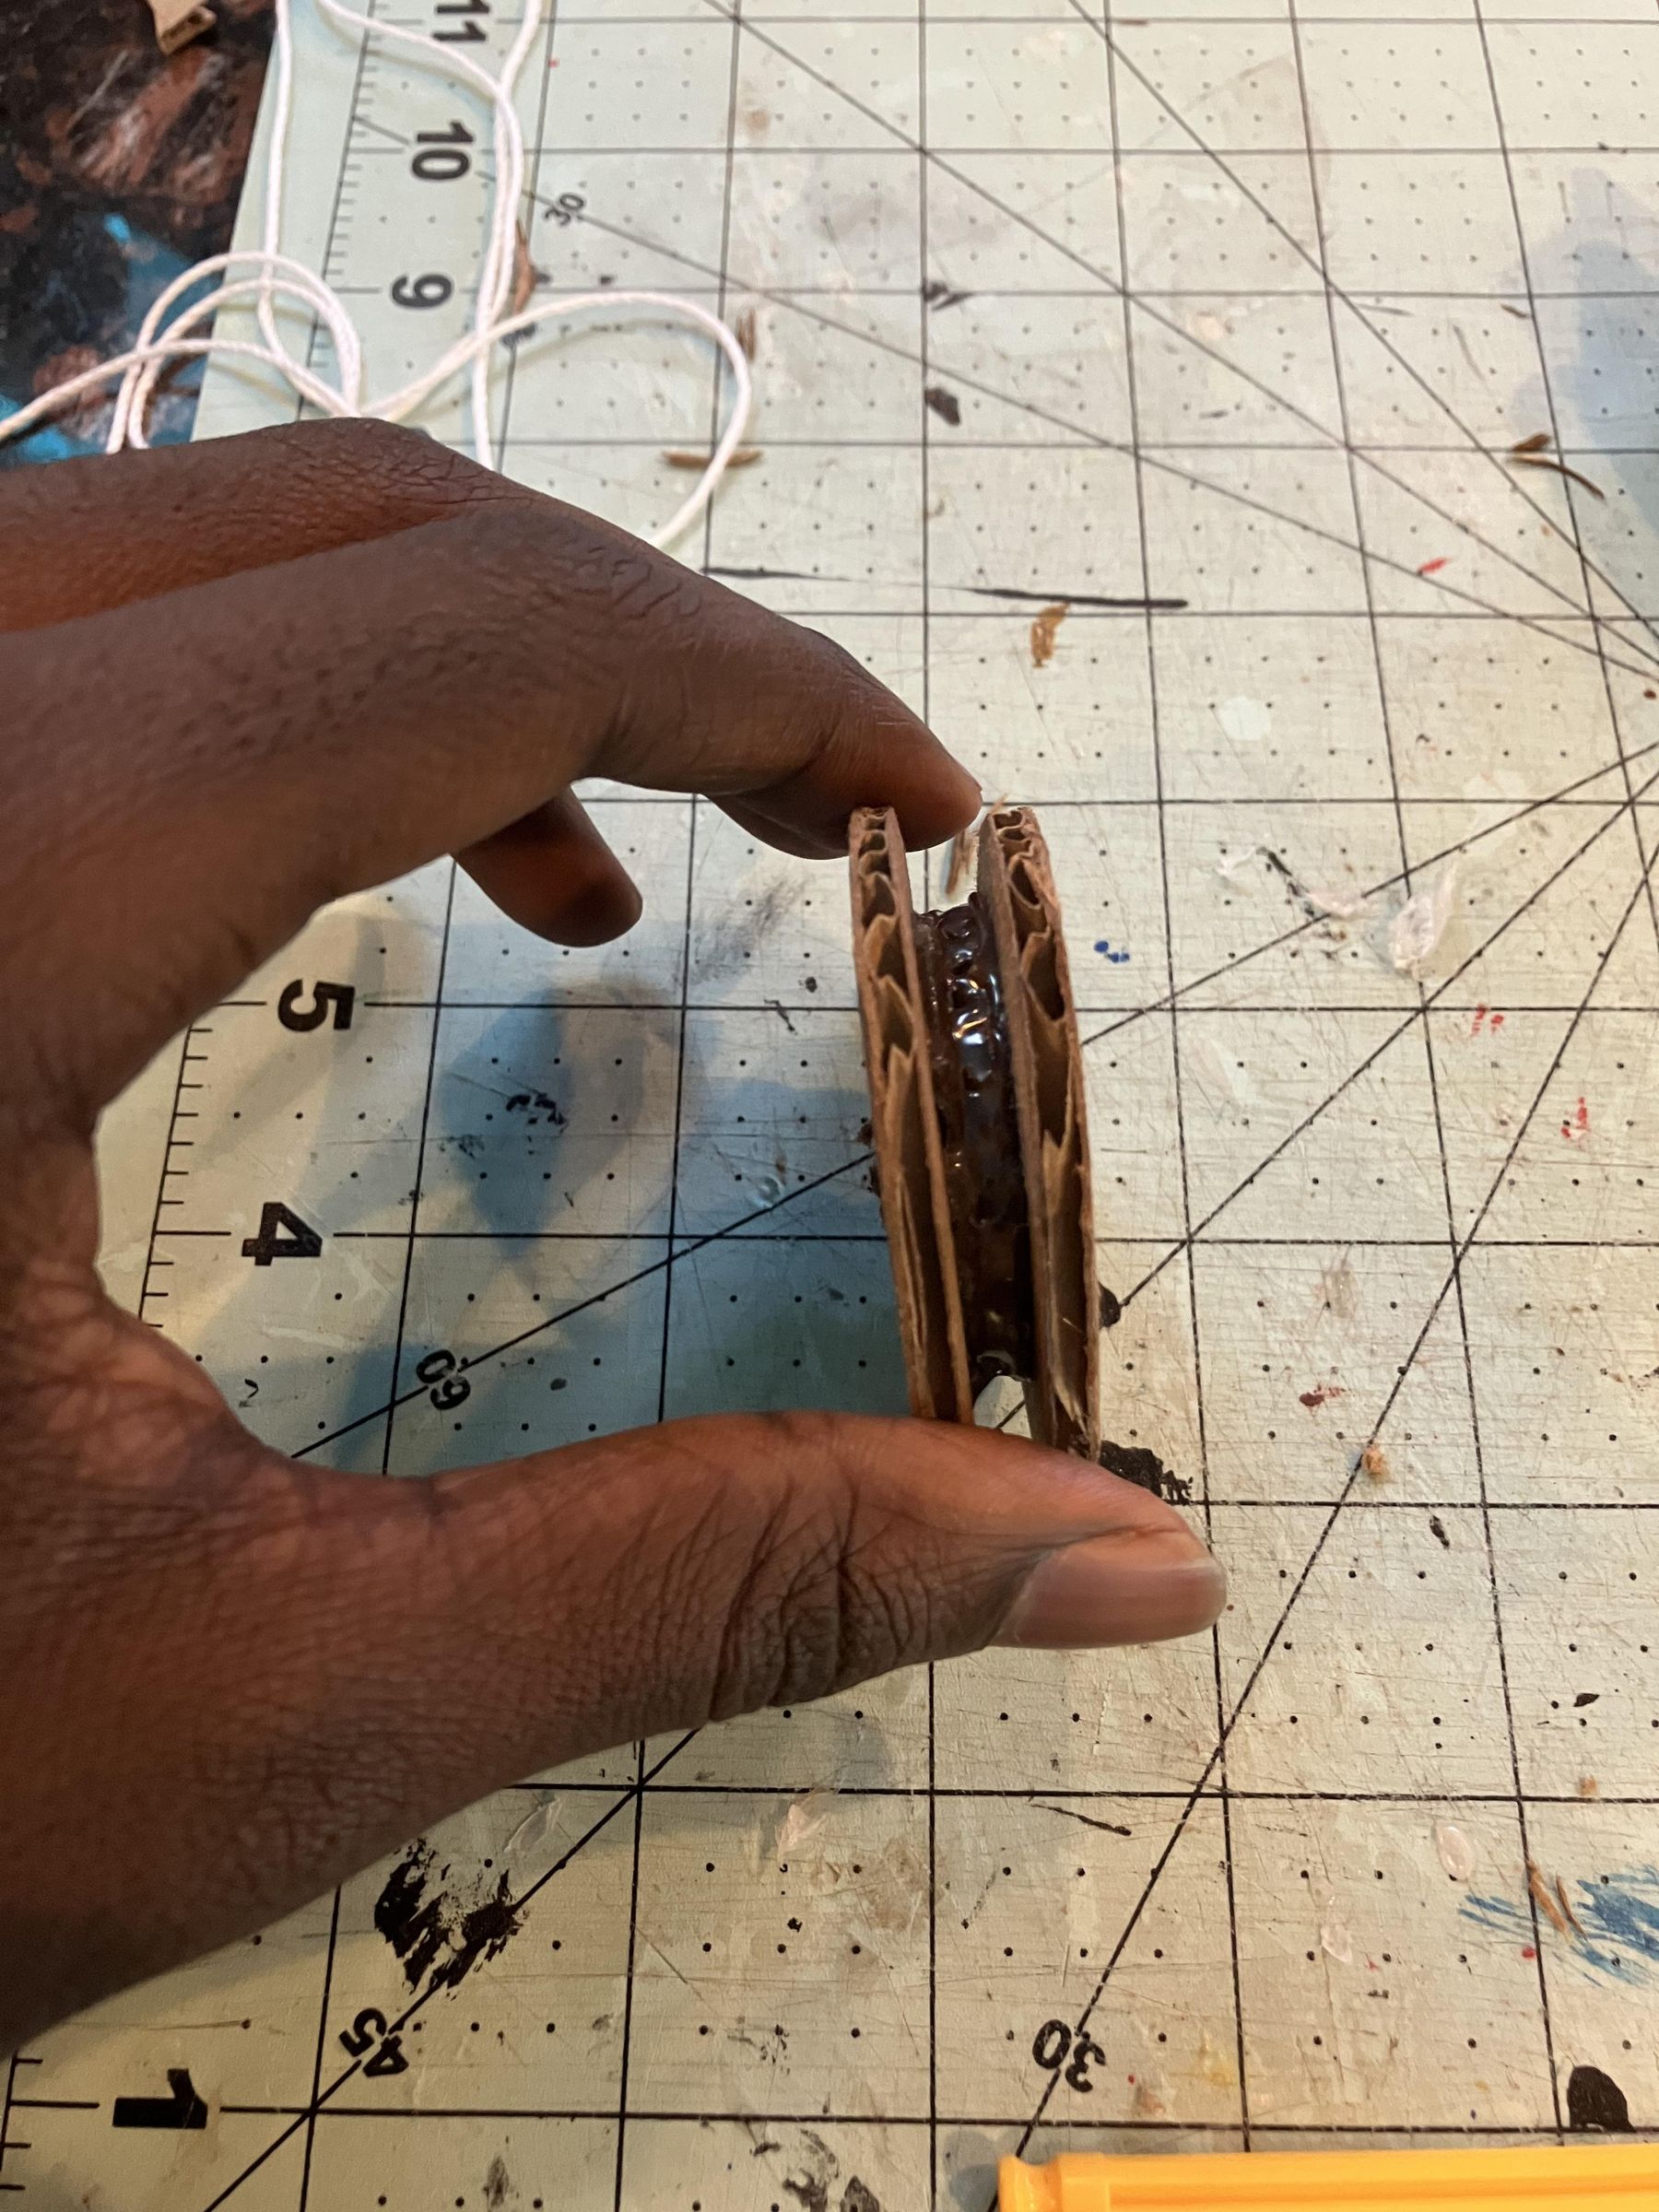
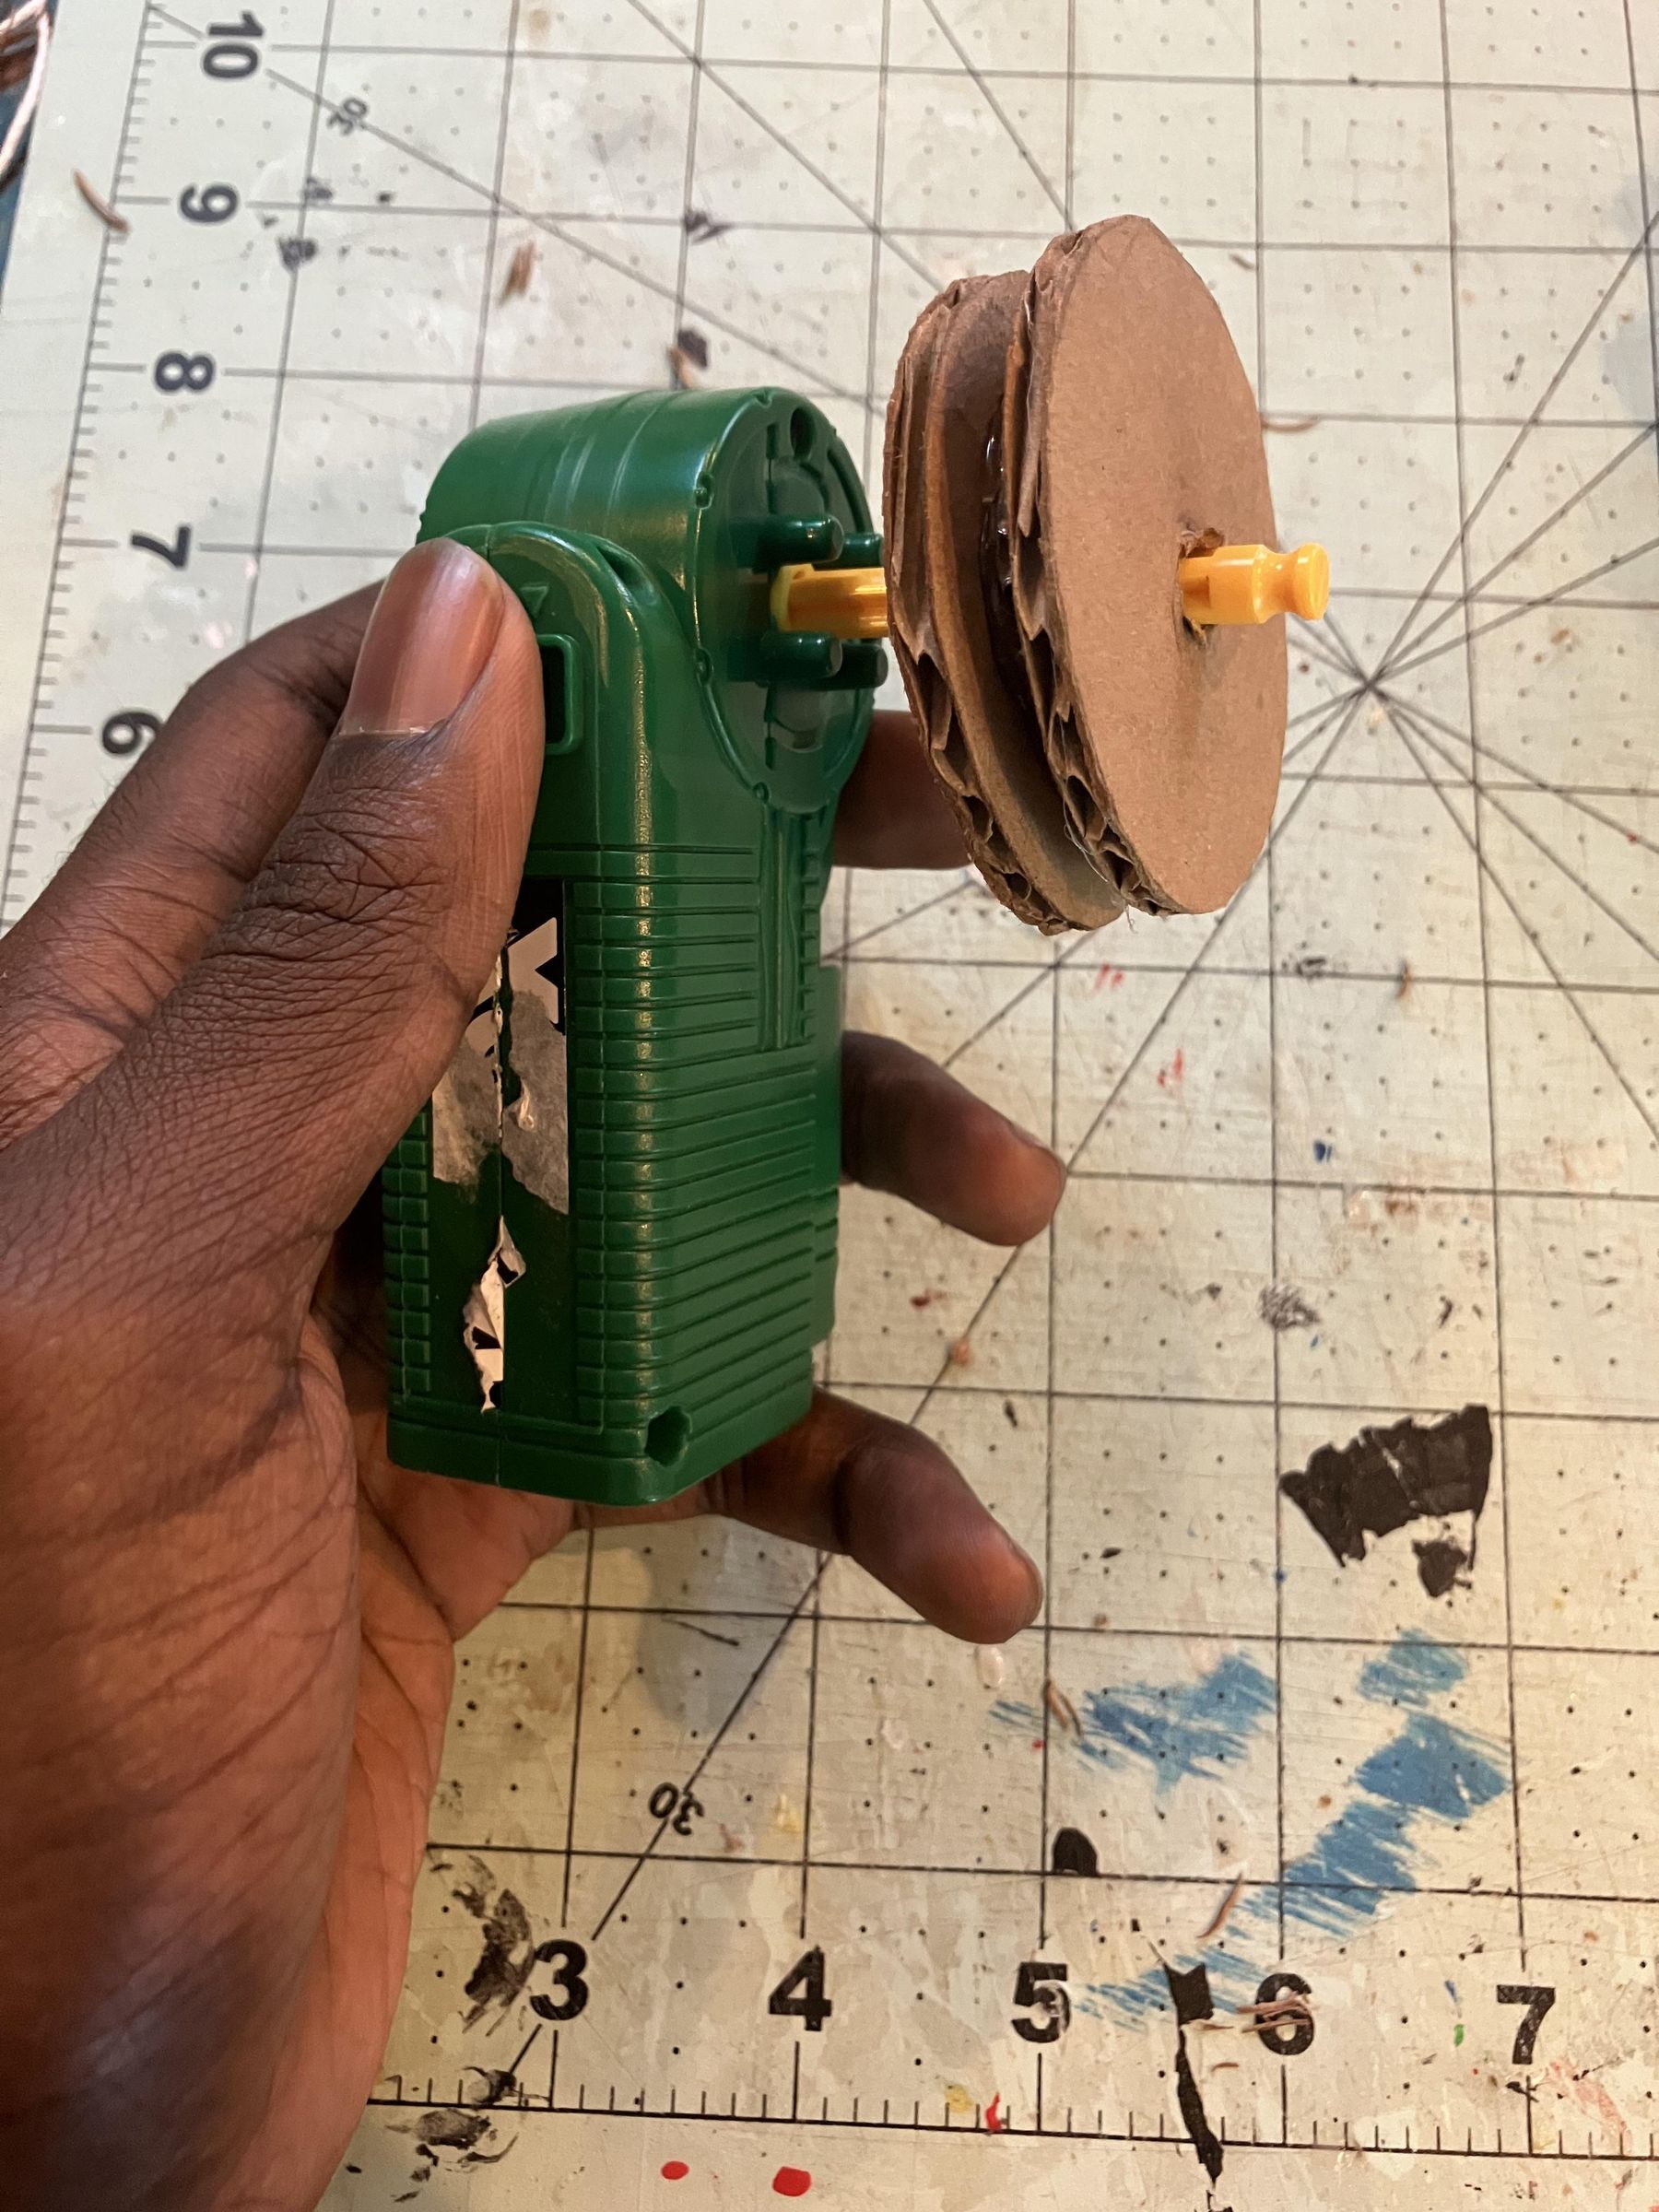
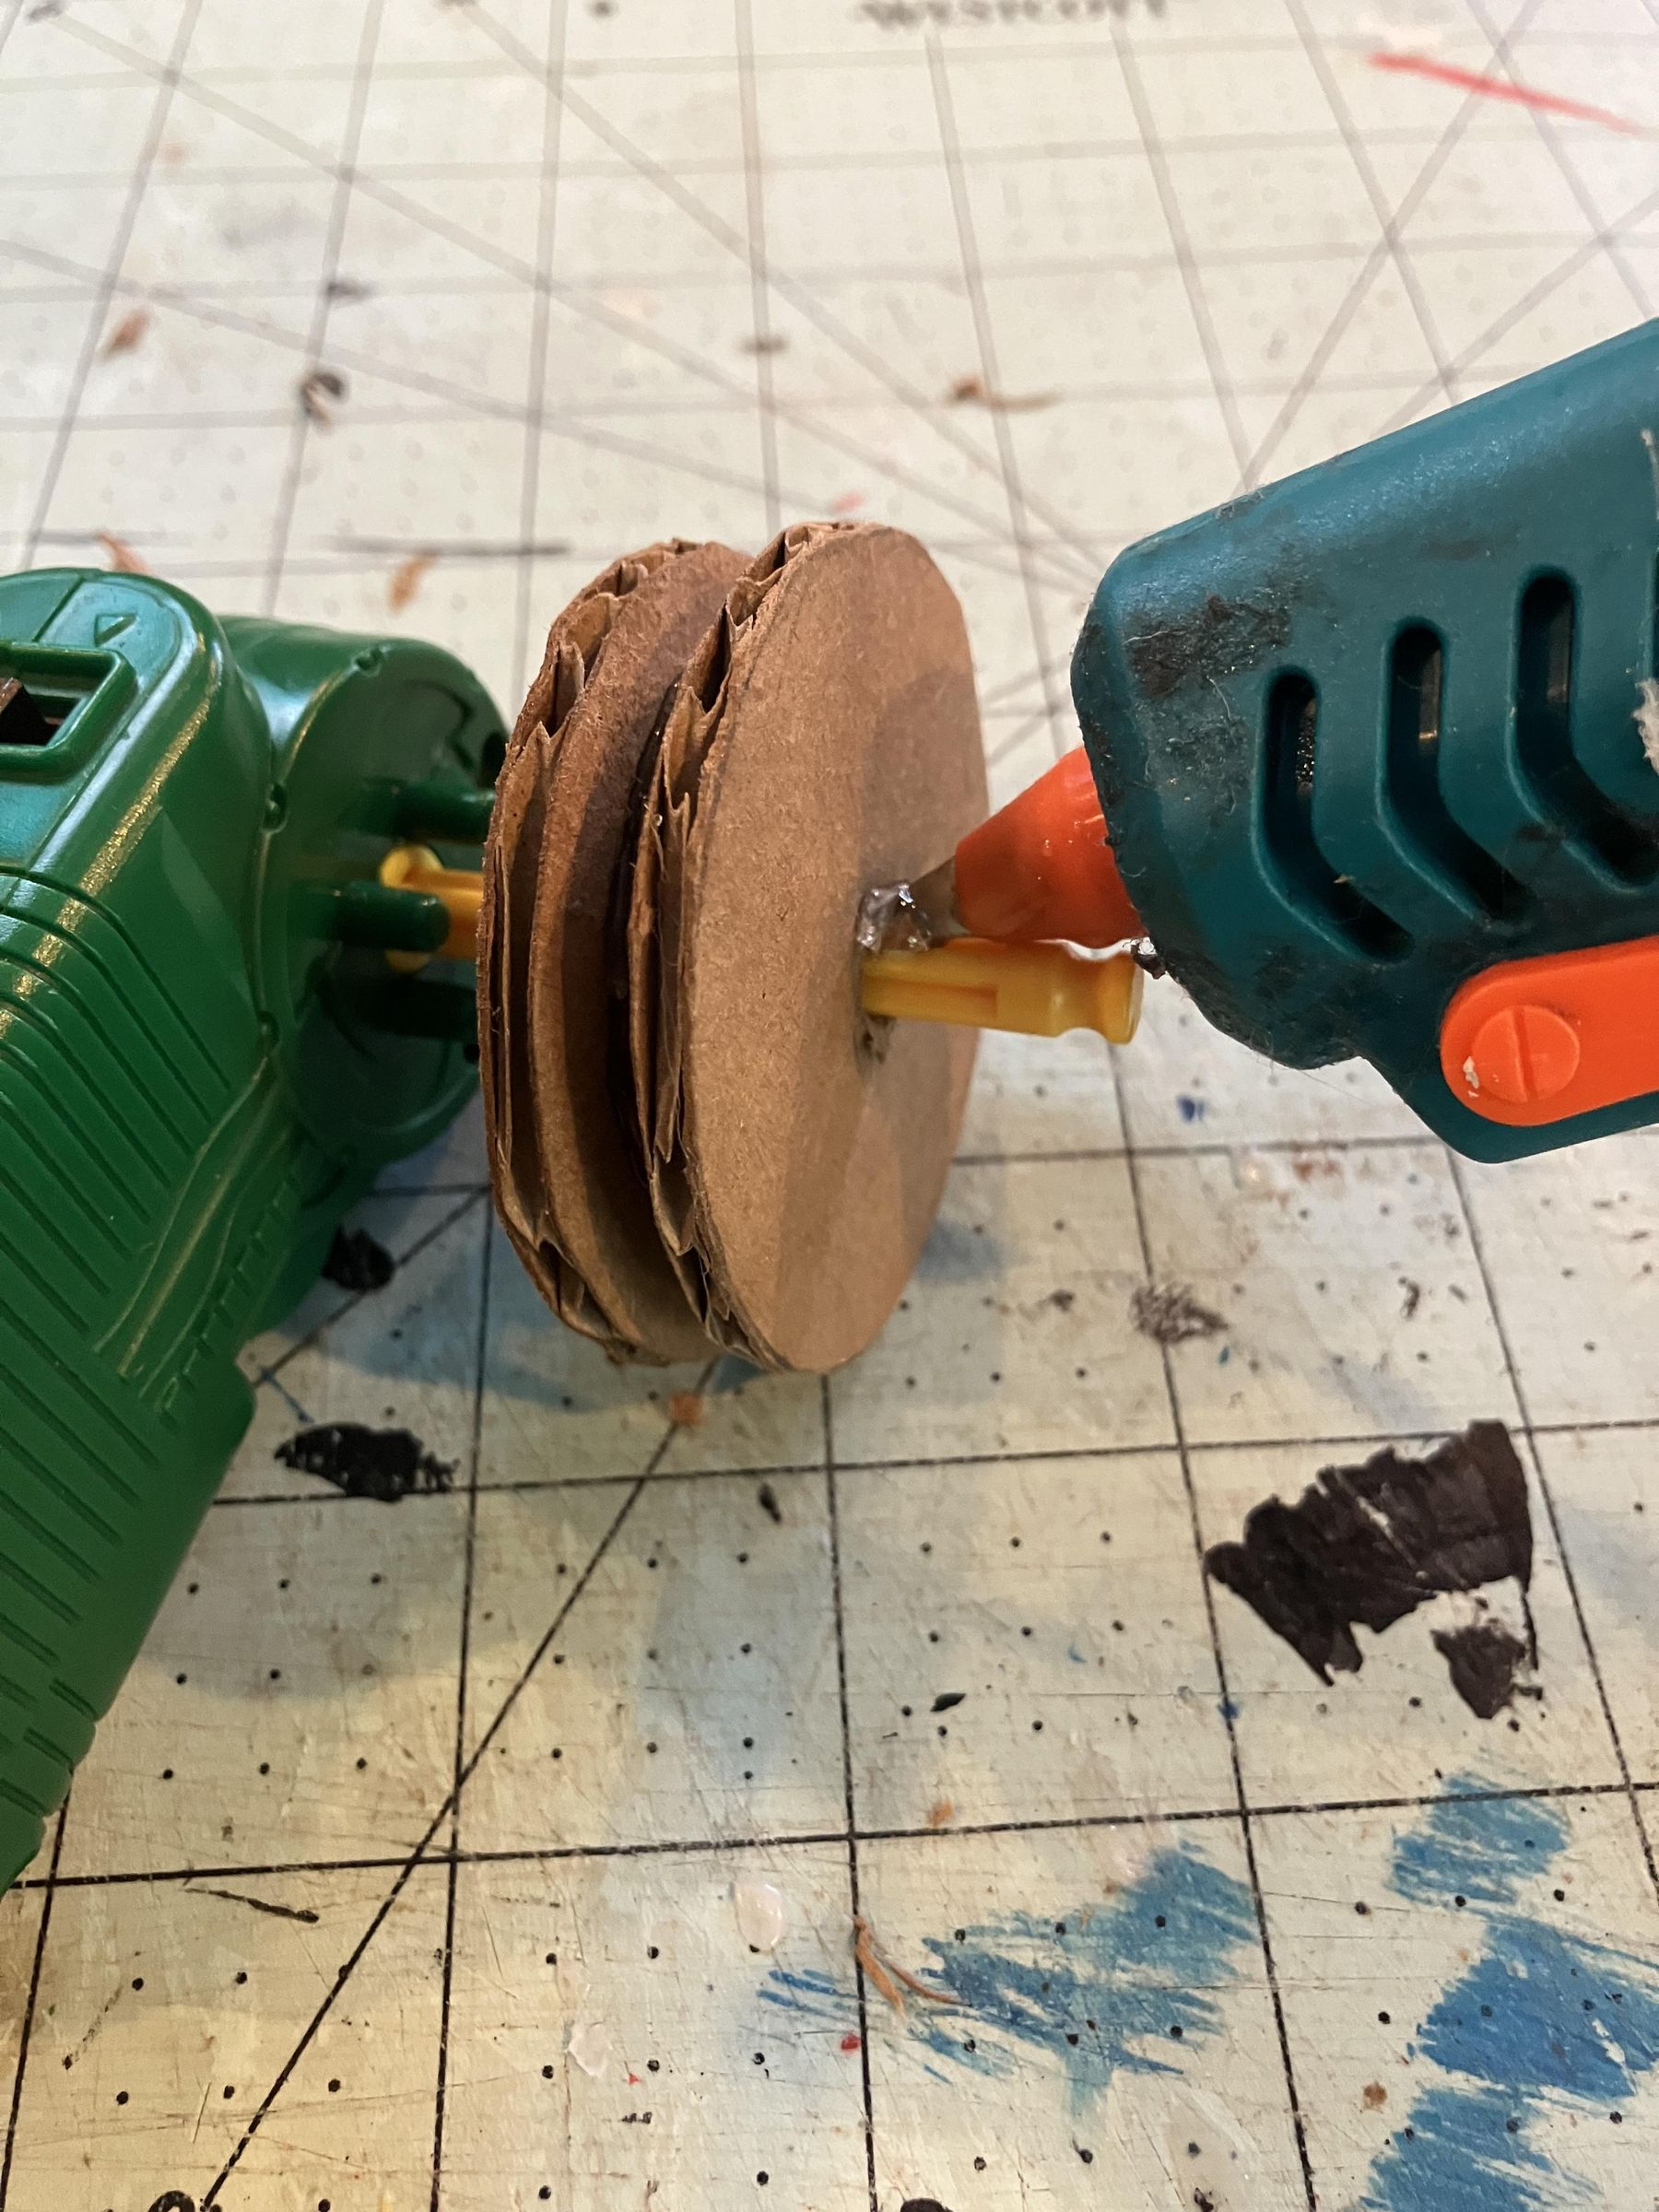
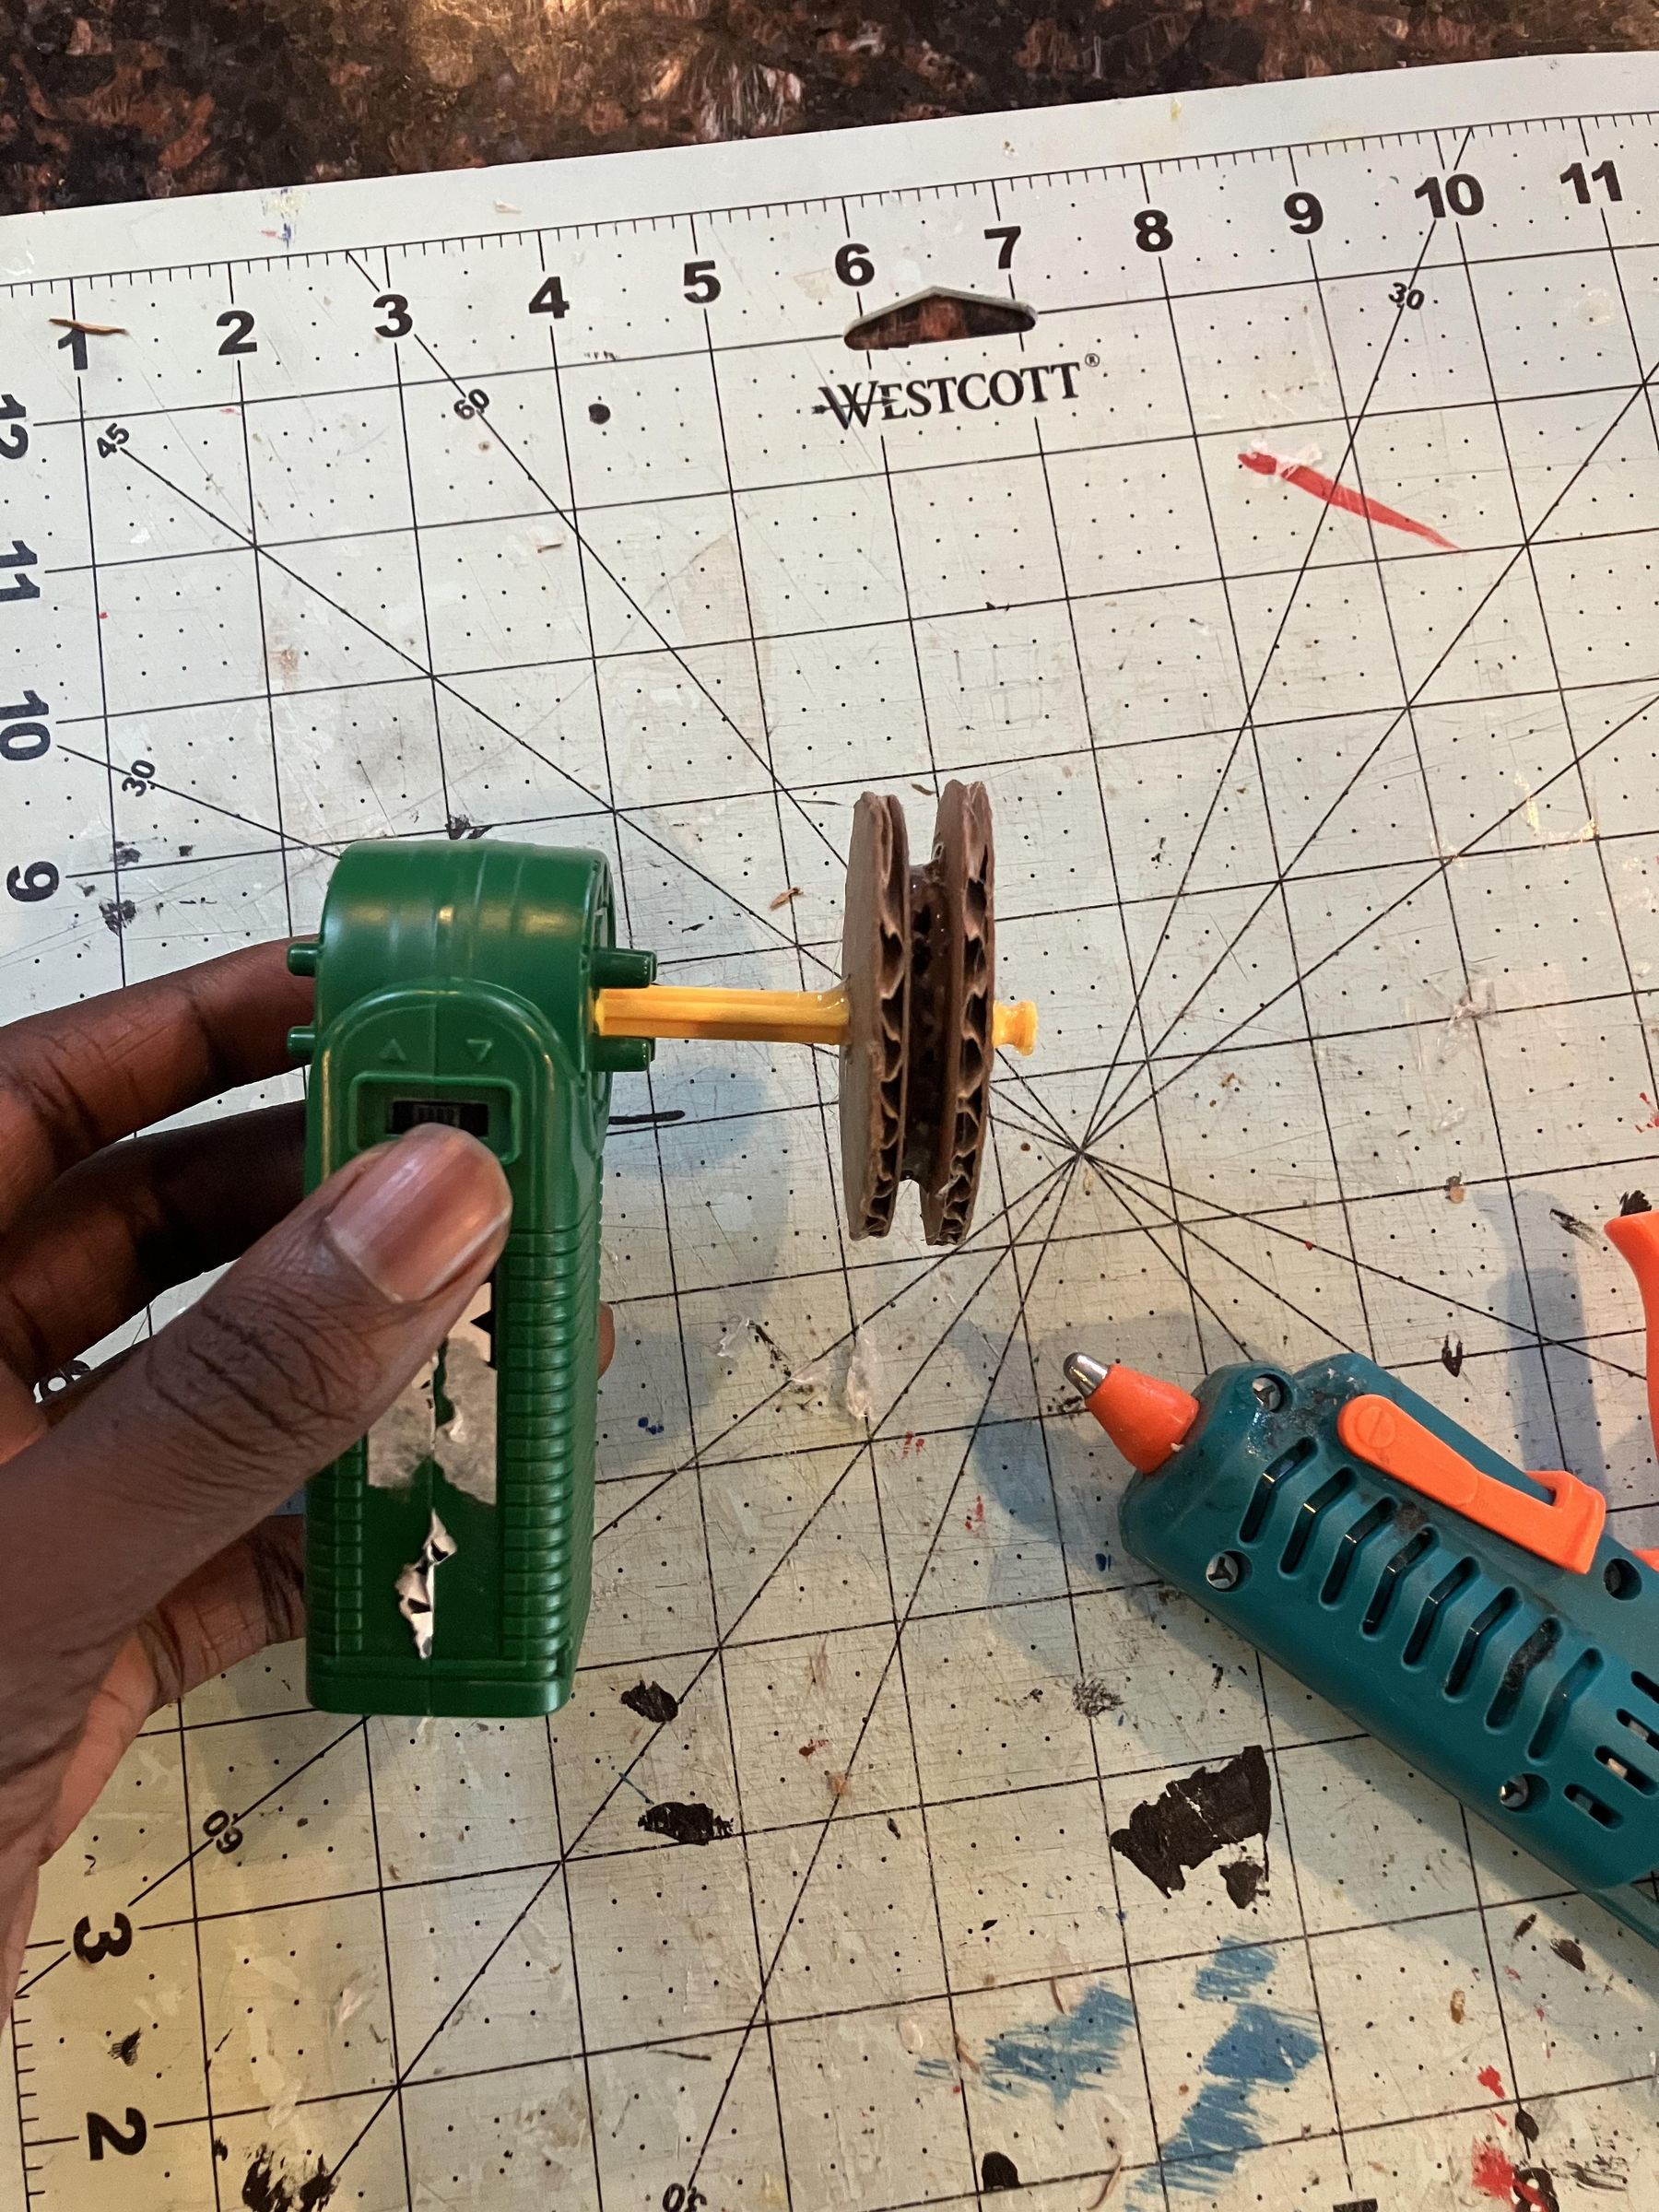
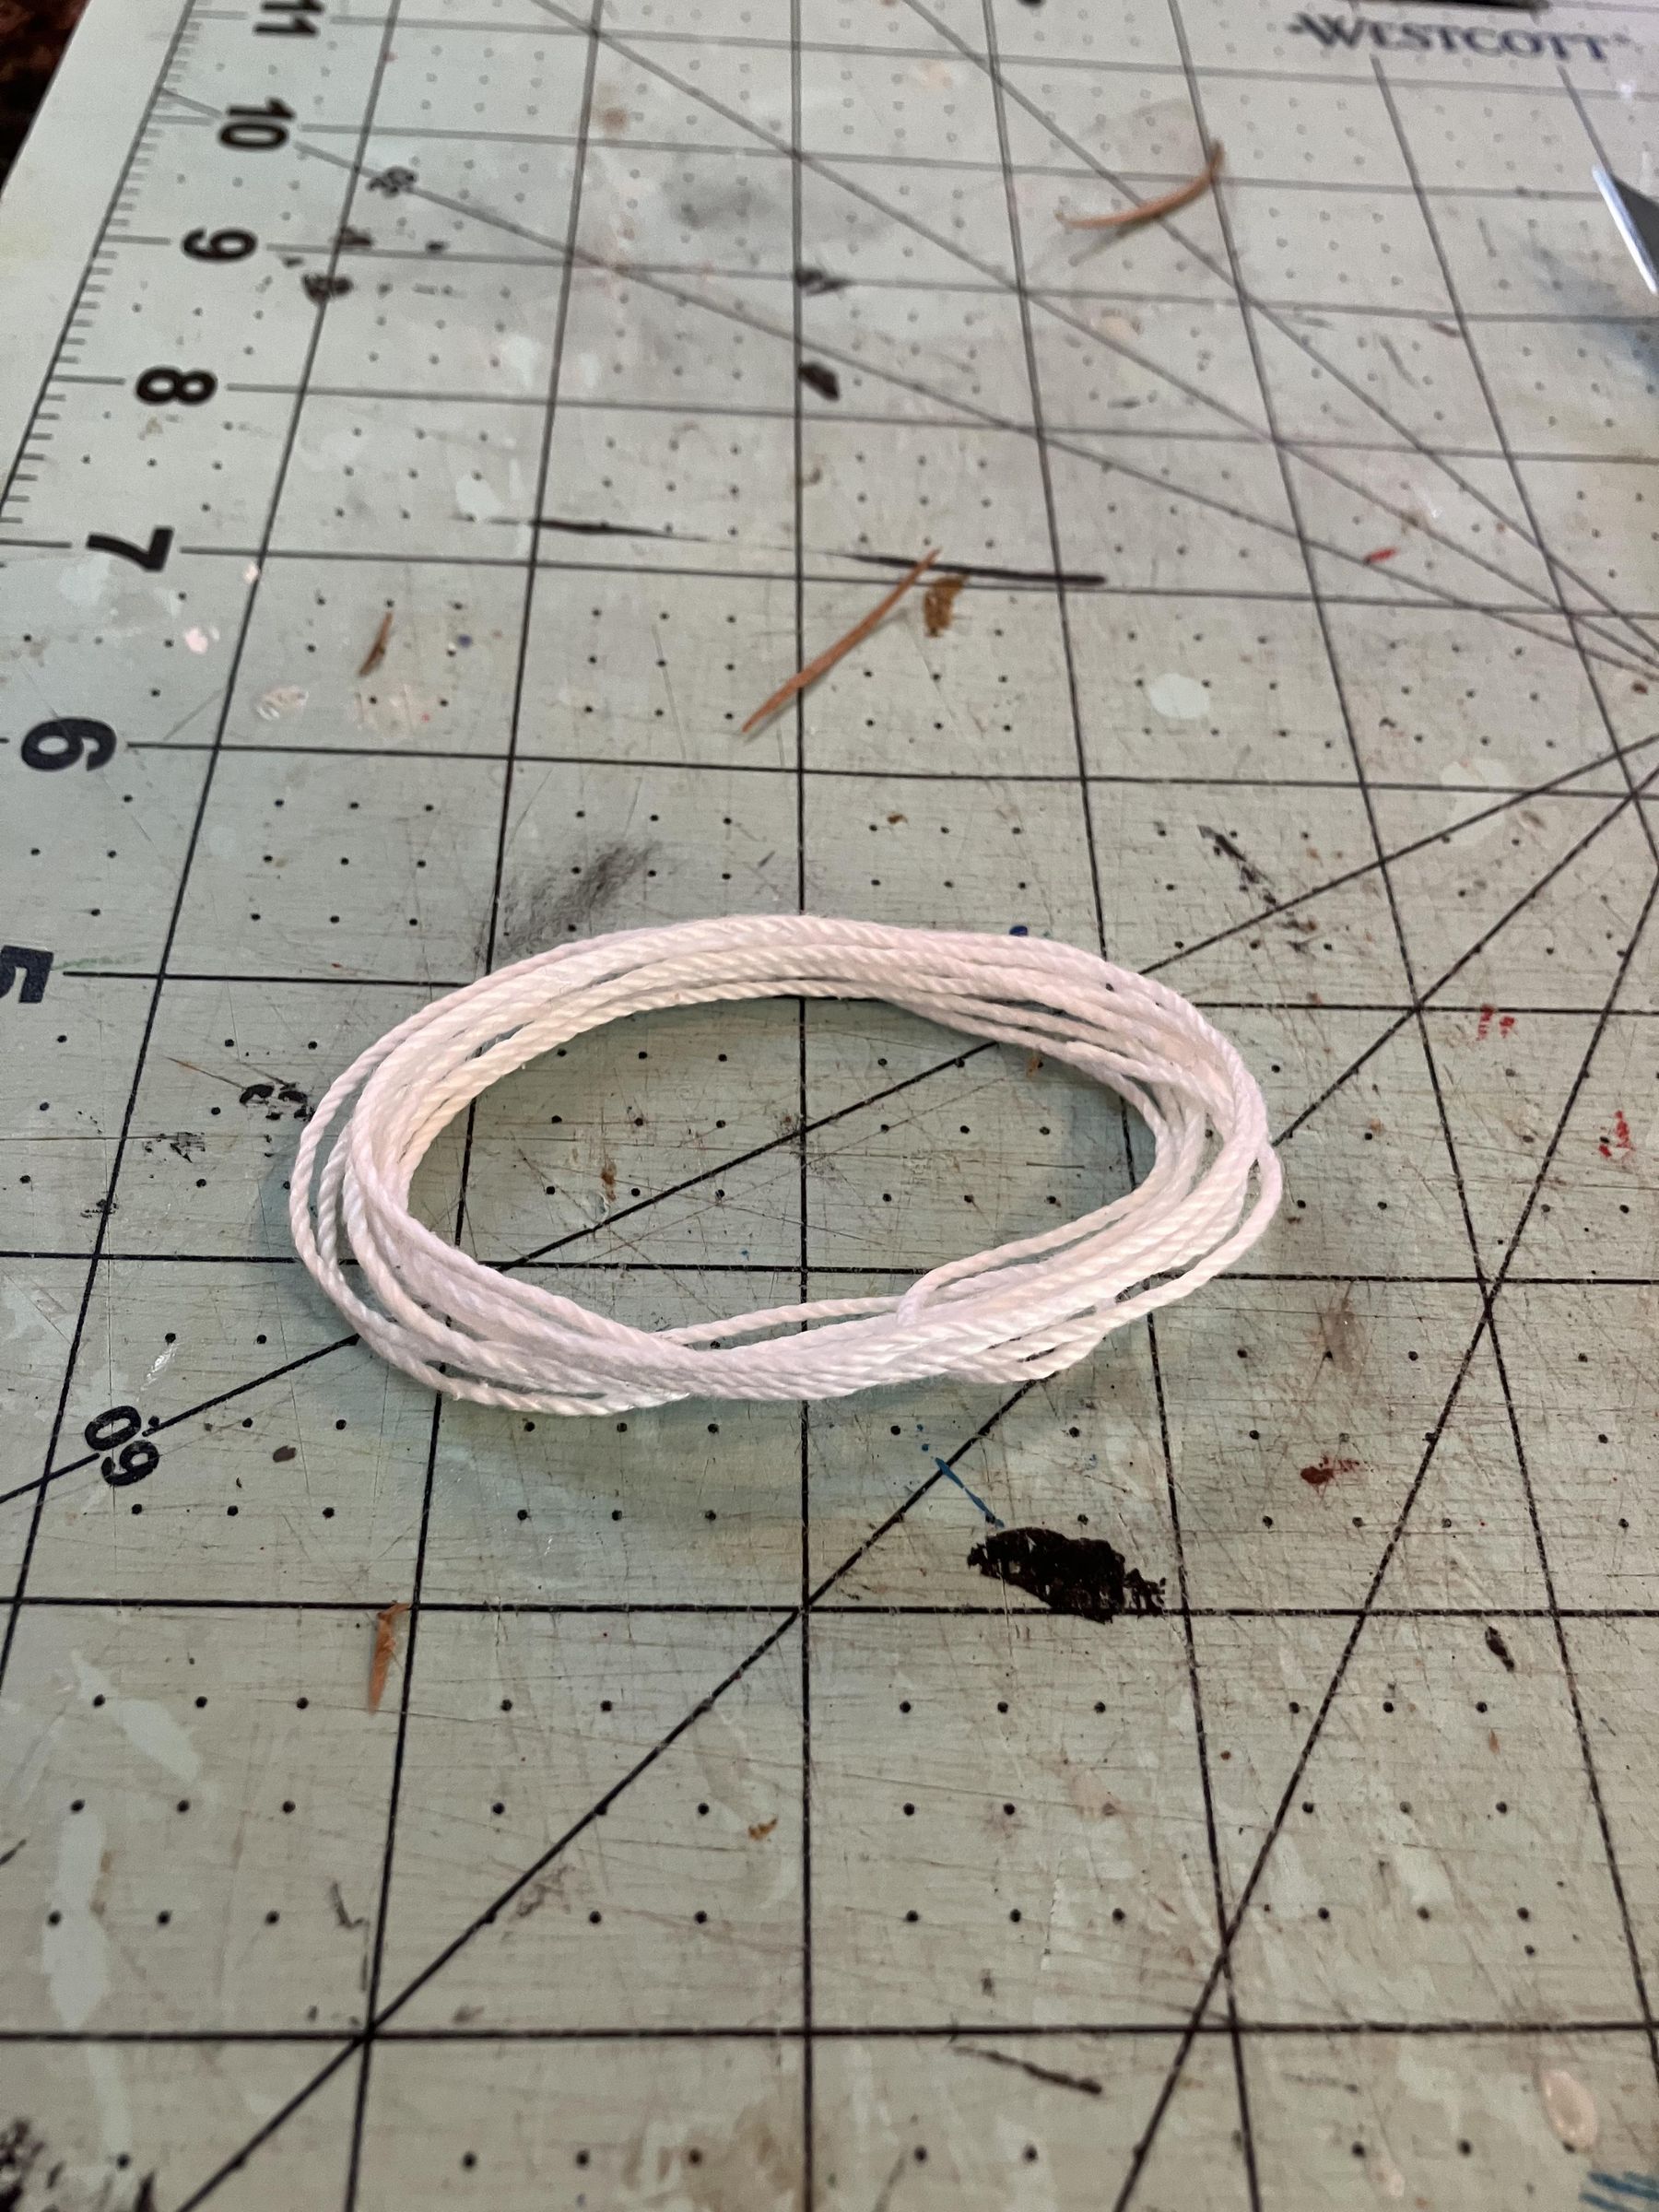
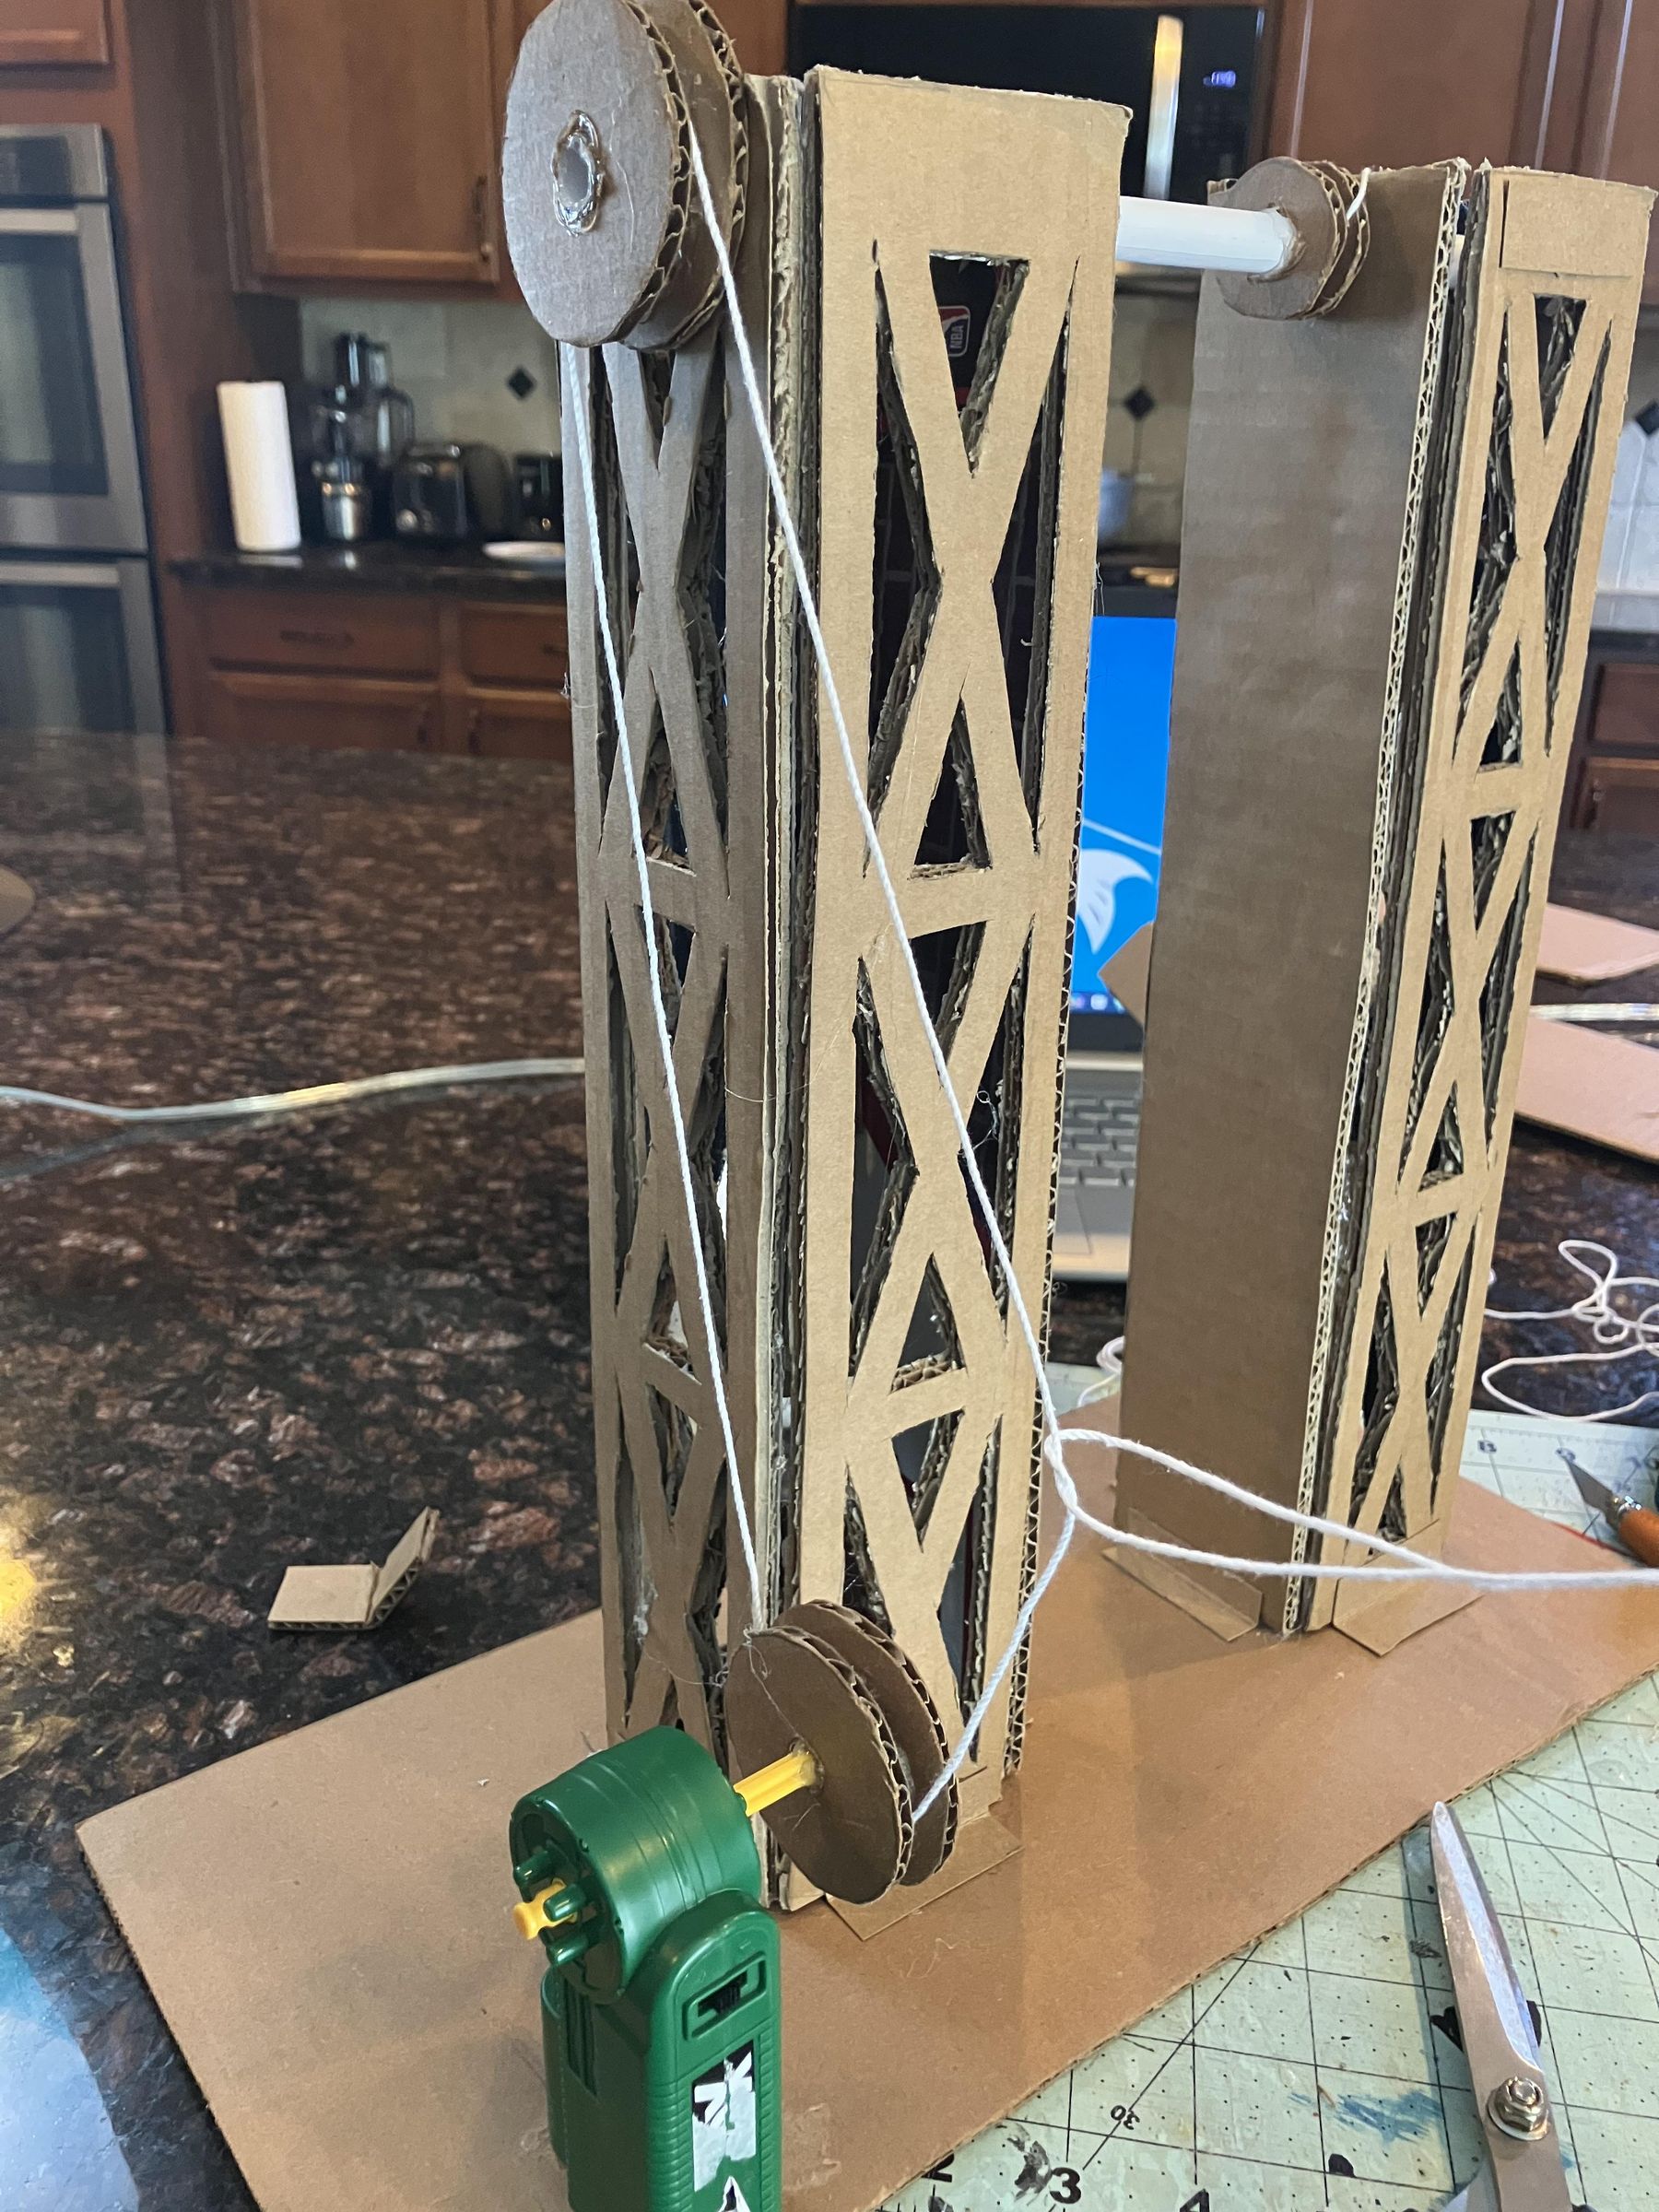
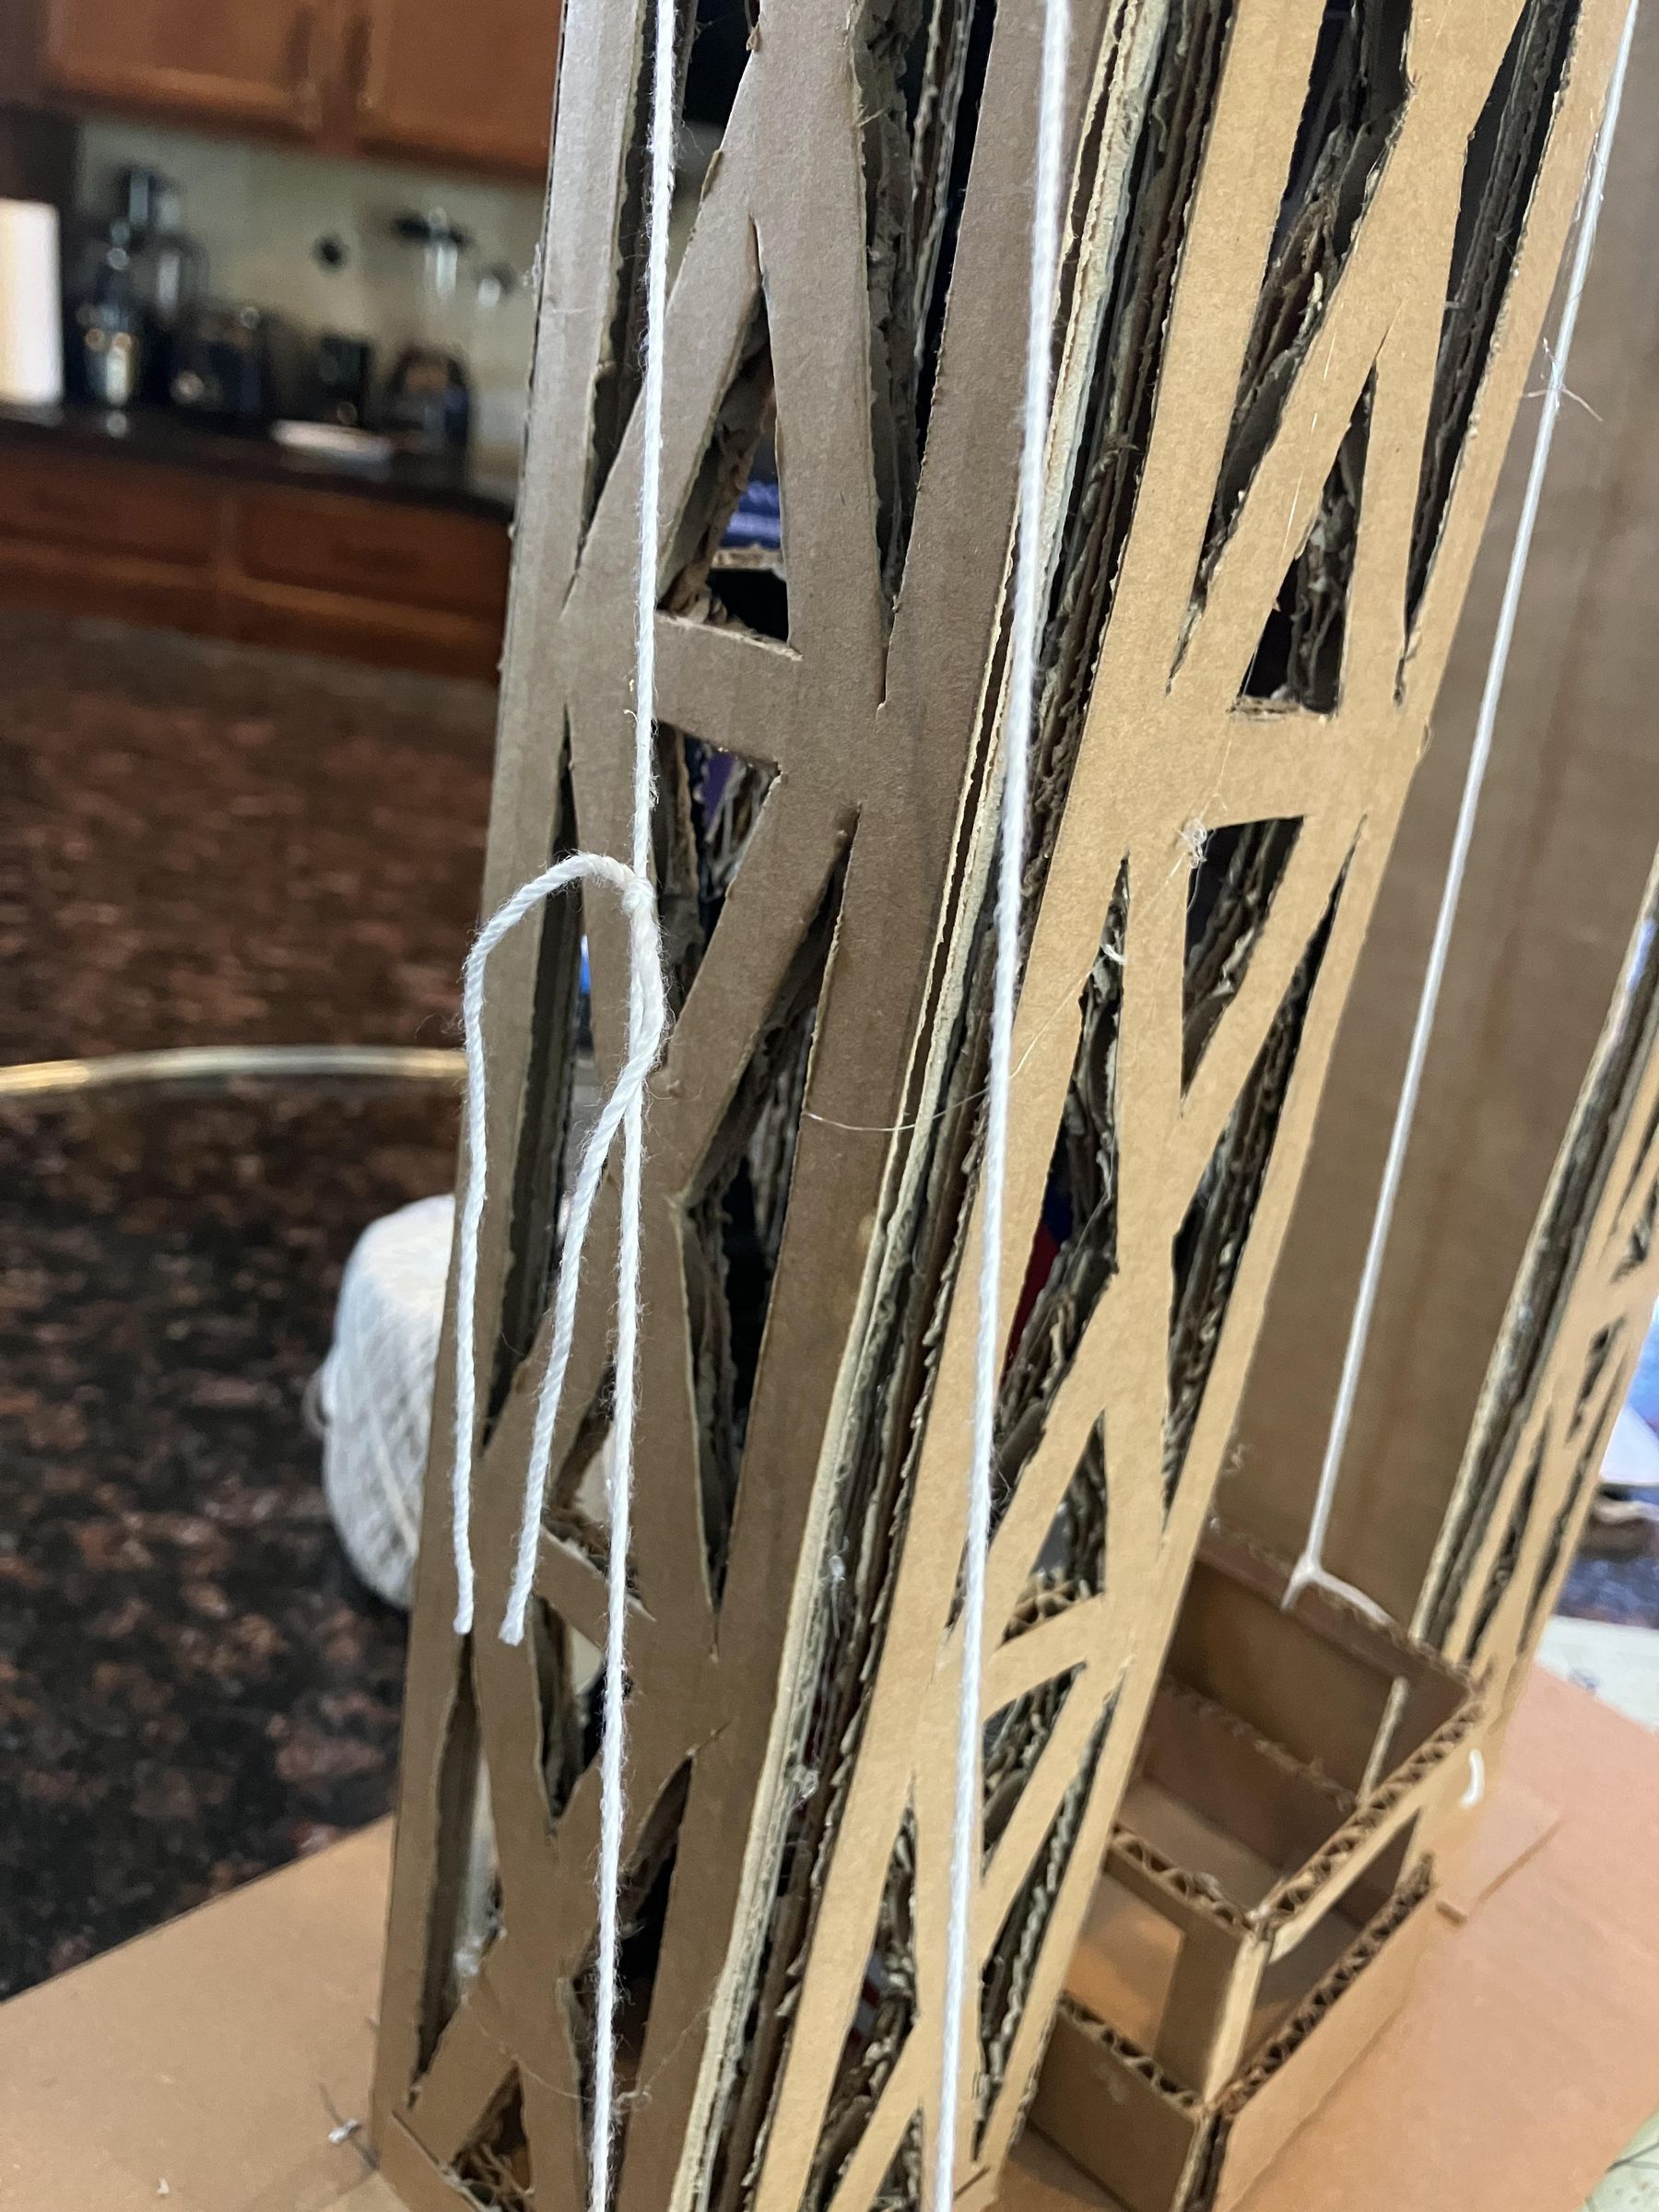
Initially, I was going to design this part more of a spool mechanism where the motor would wind a string which would cause the tower pully to unwind, allowing the bar to rotate. The cart would then go down because of the force of gravity. However, as I was making the cart, I realized that it would not be heavy enough to cause enough torque for the bar to rotate. I then though about increasing the radius of the bar, which would also technically cause enough torque for the bar to rotate, but I figured having a large rotating bar would make the build look awkward. With no way of moving the elevator down with out gravity, I had to scrap the idea.
I went with the belt loop method instead, which uses friction between a string and a pully to to rotate the bar instead.
Lets move onto making the belt-loop system that will power the whole build.
Starting with the Pulleys
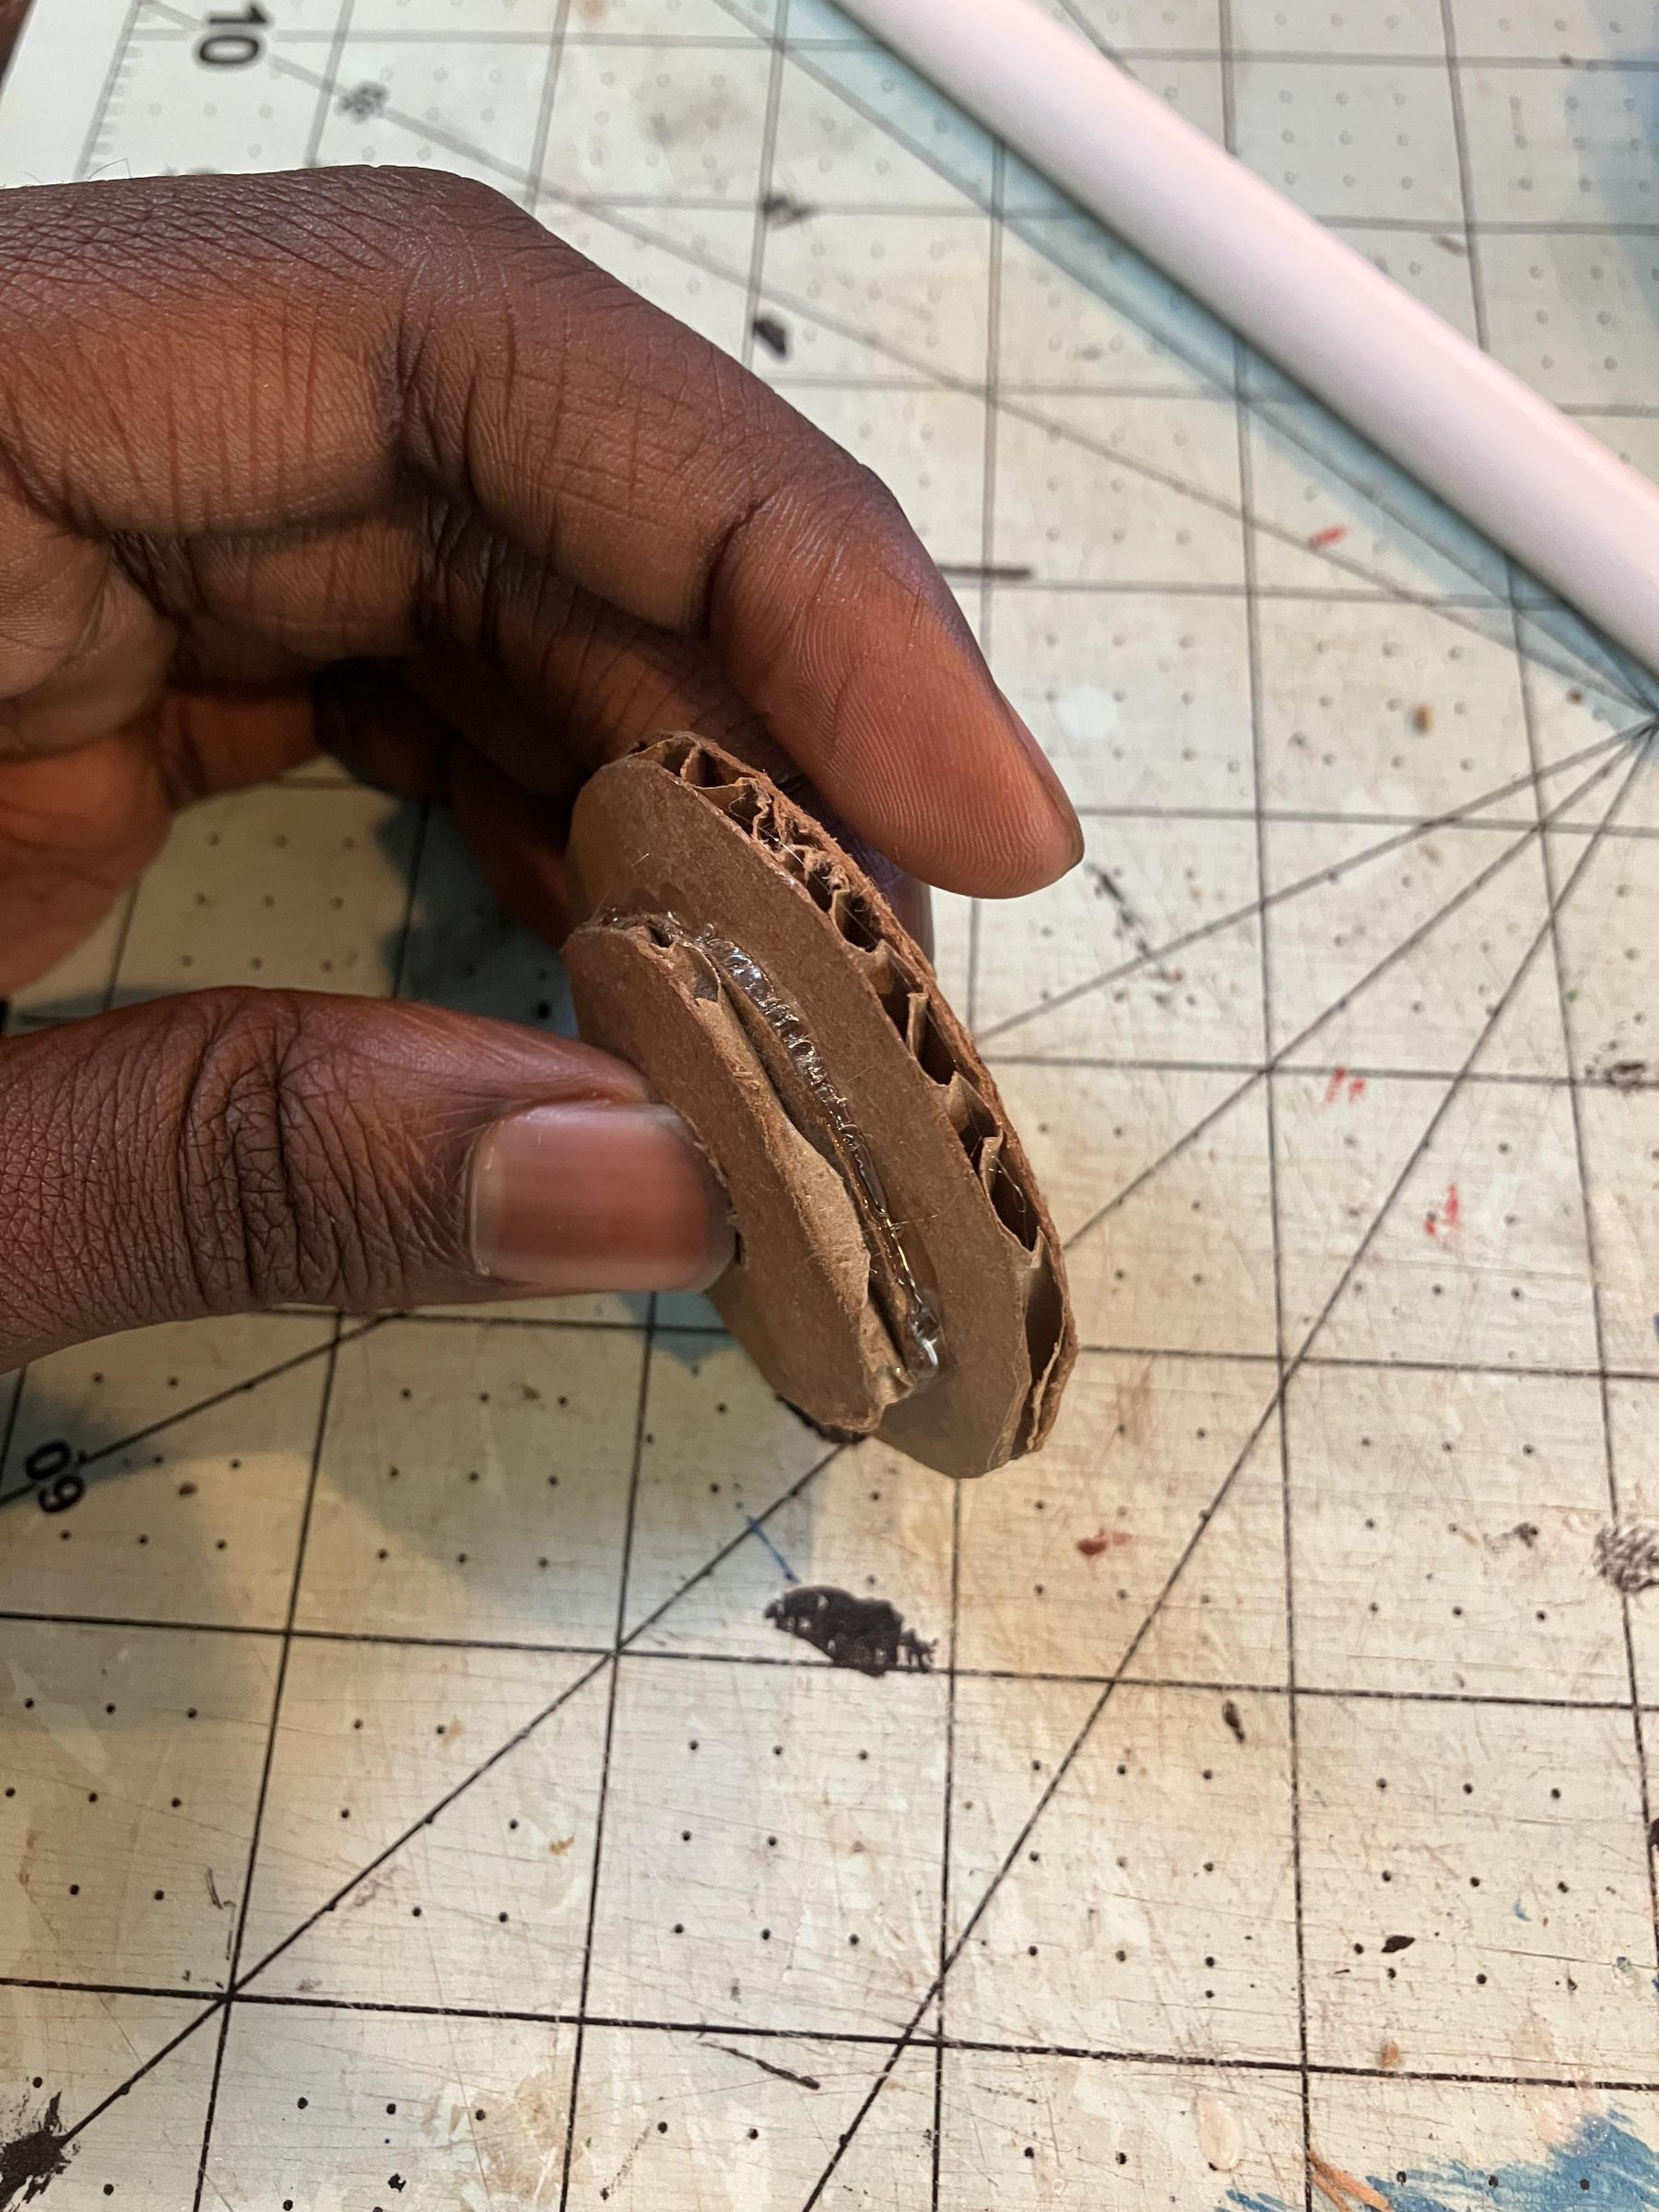
Draw two two 2 inch in diameter disks and one 1.5 inch in diameter disk onto cardboard pieces. The holes in the center of the dish should be able to allow the rotating bar to pass through them. Cut them out. These pieces will make up the tower pulley.
Glue the smaller disk to one of the larger discs. Make sure to especially apply hot glue to the rim of the smaller disk. This part is very important because the drive system could malfunction if the string gets caught in the crevice between the disks.
Also, when I was doing this, I put the rotating bar through both pieces to make sure their holes were aligned with each other.
Next, glue the other disk on to complete the pulley.
Gluing the Sleeves, the Tower Pully, and the Spool Disks, etc.
Hot glue the sleeves to the tower FROM THE INSIDE of the tower (to avoid excess friction of glue against the spool disks). Make sure that most of the length of the sleeves are stationed to be inside the tower rather than outside.'
Glue the tower pulley on to the rotating bar so that no piece of the the bar can be seen past the pulley.
Then glue the spool disks to the bar so that there is enough space between the pairs of discs for a string.
Finally, glue the cap onto the other side of the bar
The Motor Pulley
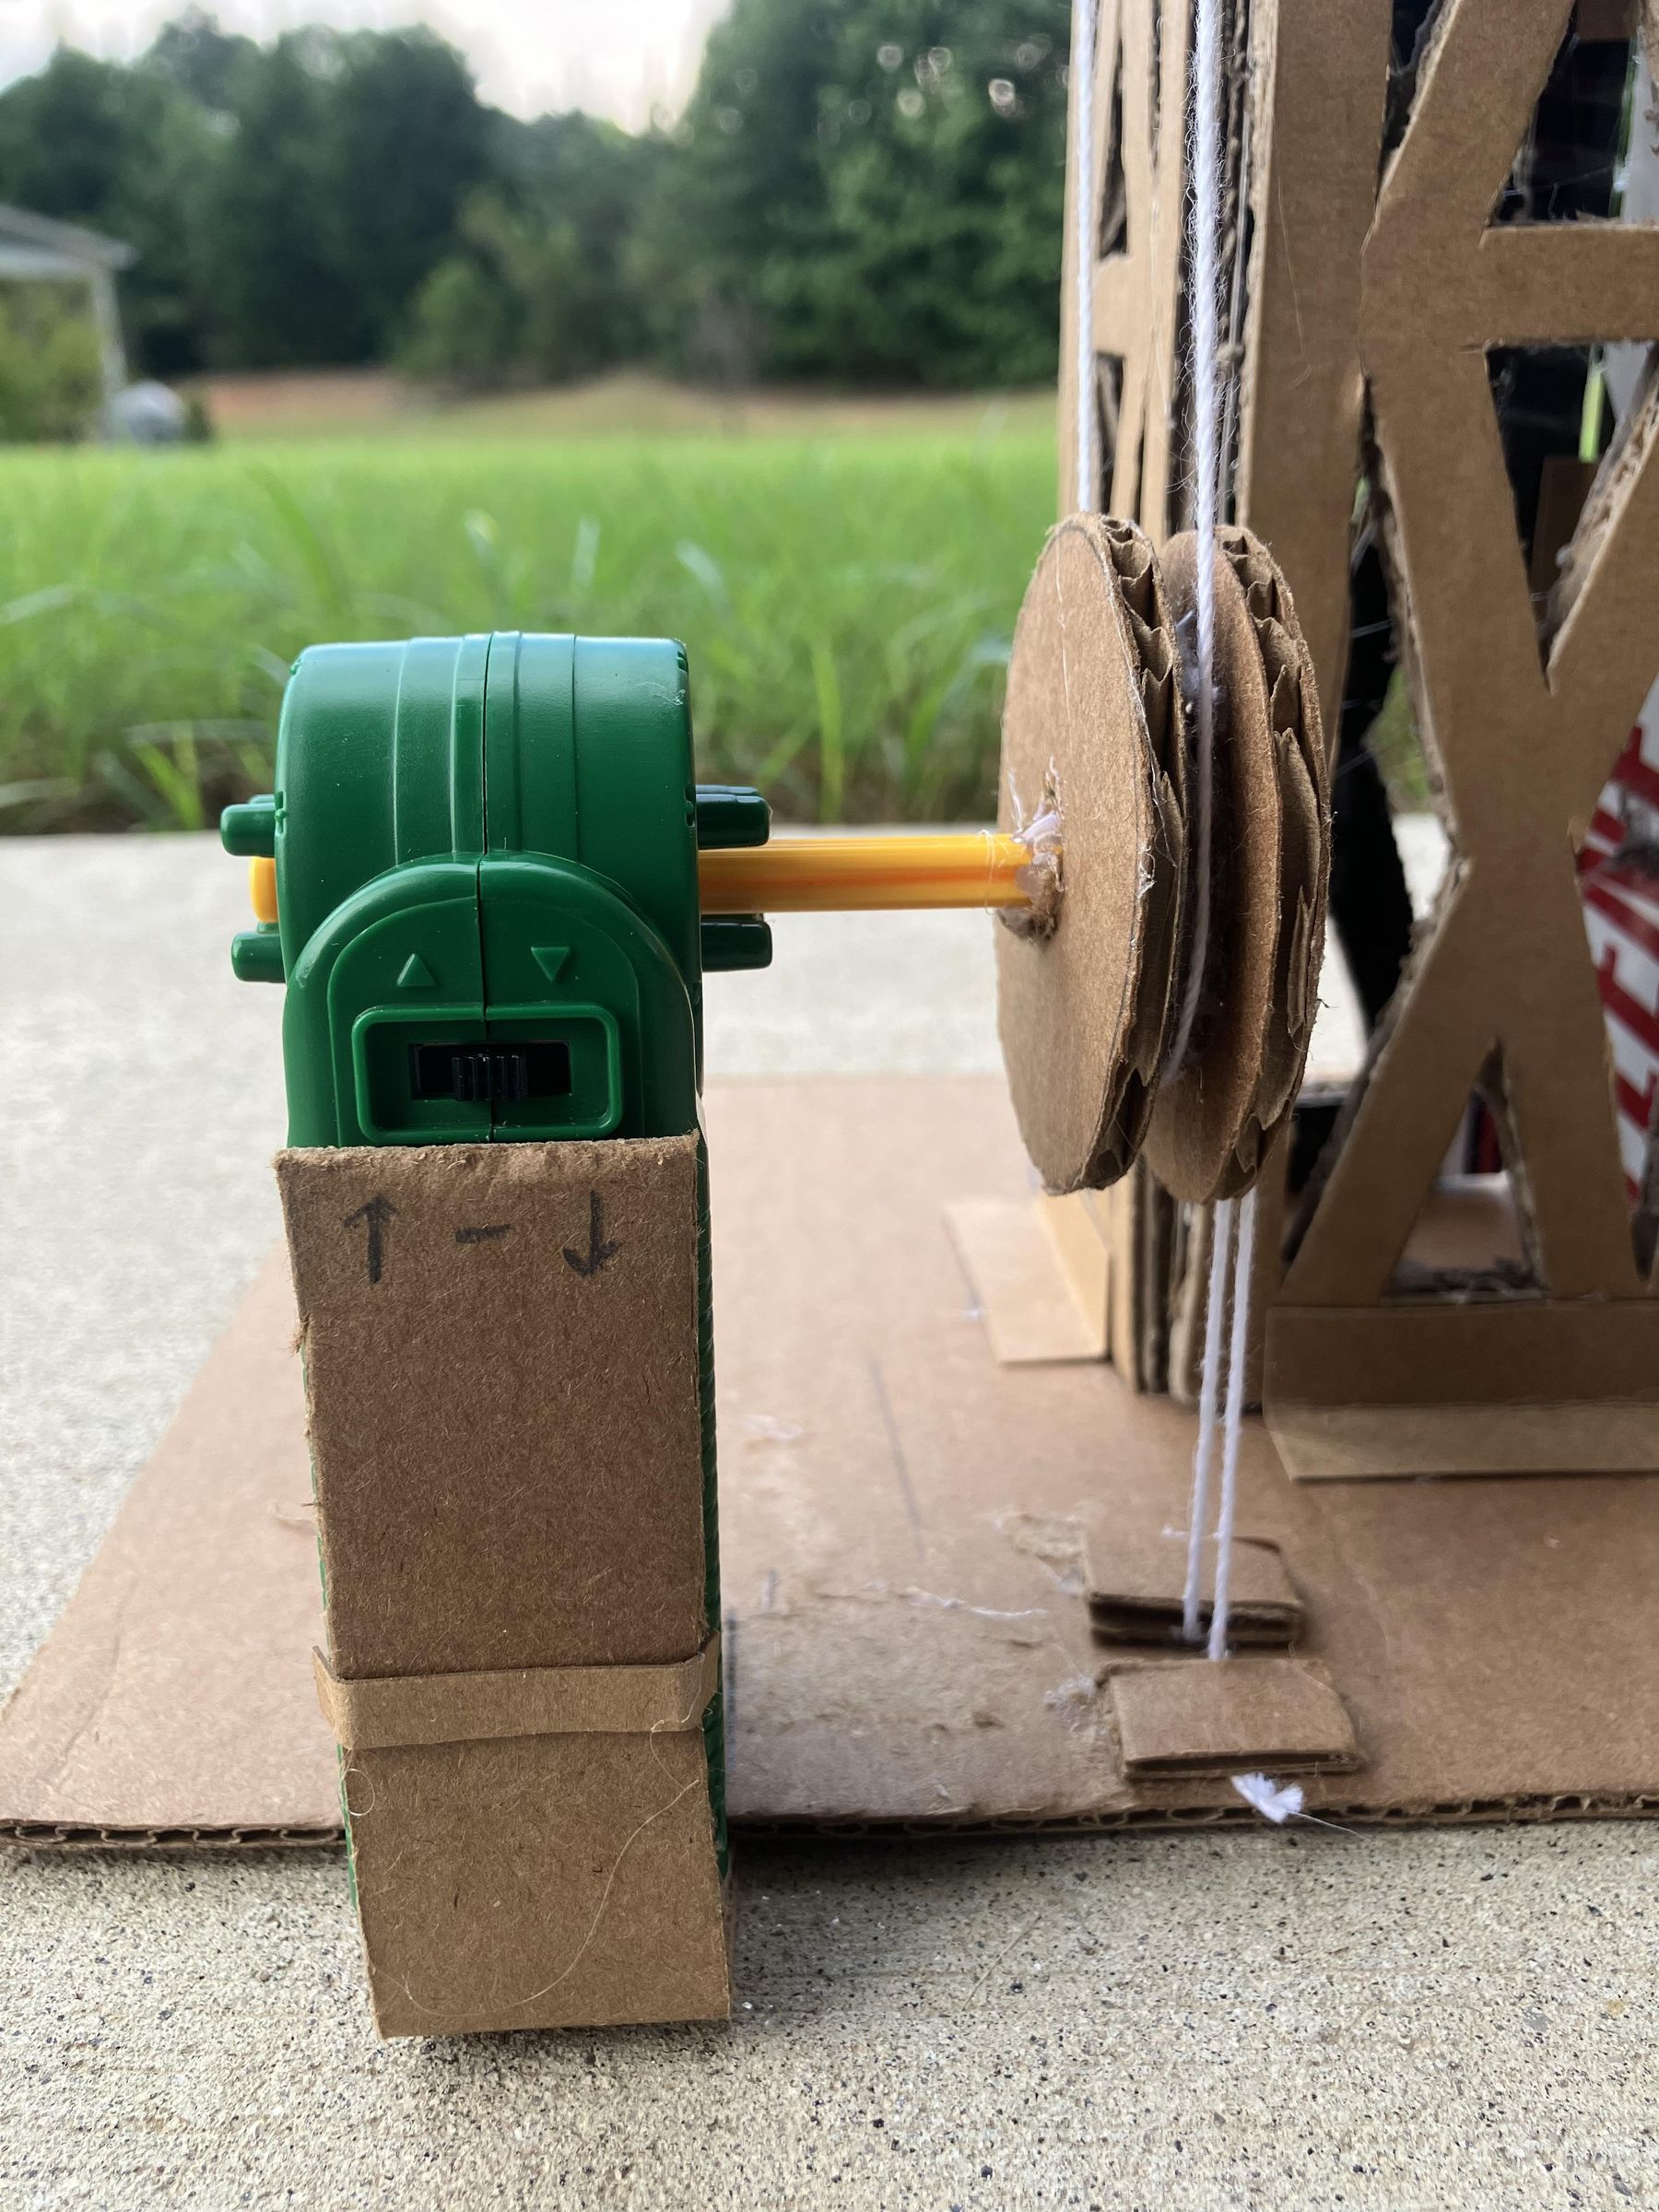
Make a 3 disks with the same dimensions as the tower pulley disks. The motor pully actually has the same dimensions as the tower pully, except the hole in the center should be the same size as the motor rod that the motor turns, rather than being the same size as the rottating bar.
Glue the cardboard disks for the motor pulley the same way you do the tower pulley, making sure there's no way a string could get caught in the pulley crevices.
Now, hot glue the motor pully onto the motor rod.
Making the Belt Loop String
Hold the motor in the position you would want to glue it in (though we are NOT gluing the motor right now) and then take some string. Pass the string around both pullies, and, still making sure the motor is held in place, tie a knot so that the string has A LOT of tension. This is very important because this tension is what is going to cause friction between the string and tower pulley, which is what causes the tower pulley to actually rotate.
One this belt is tied, you can move onto making the elevator cables.
Attaching Elevator Cables and Securing the Motor
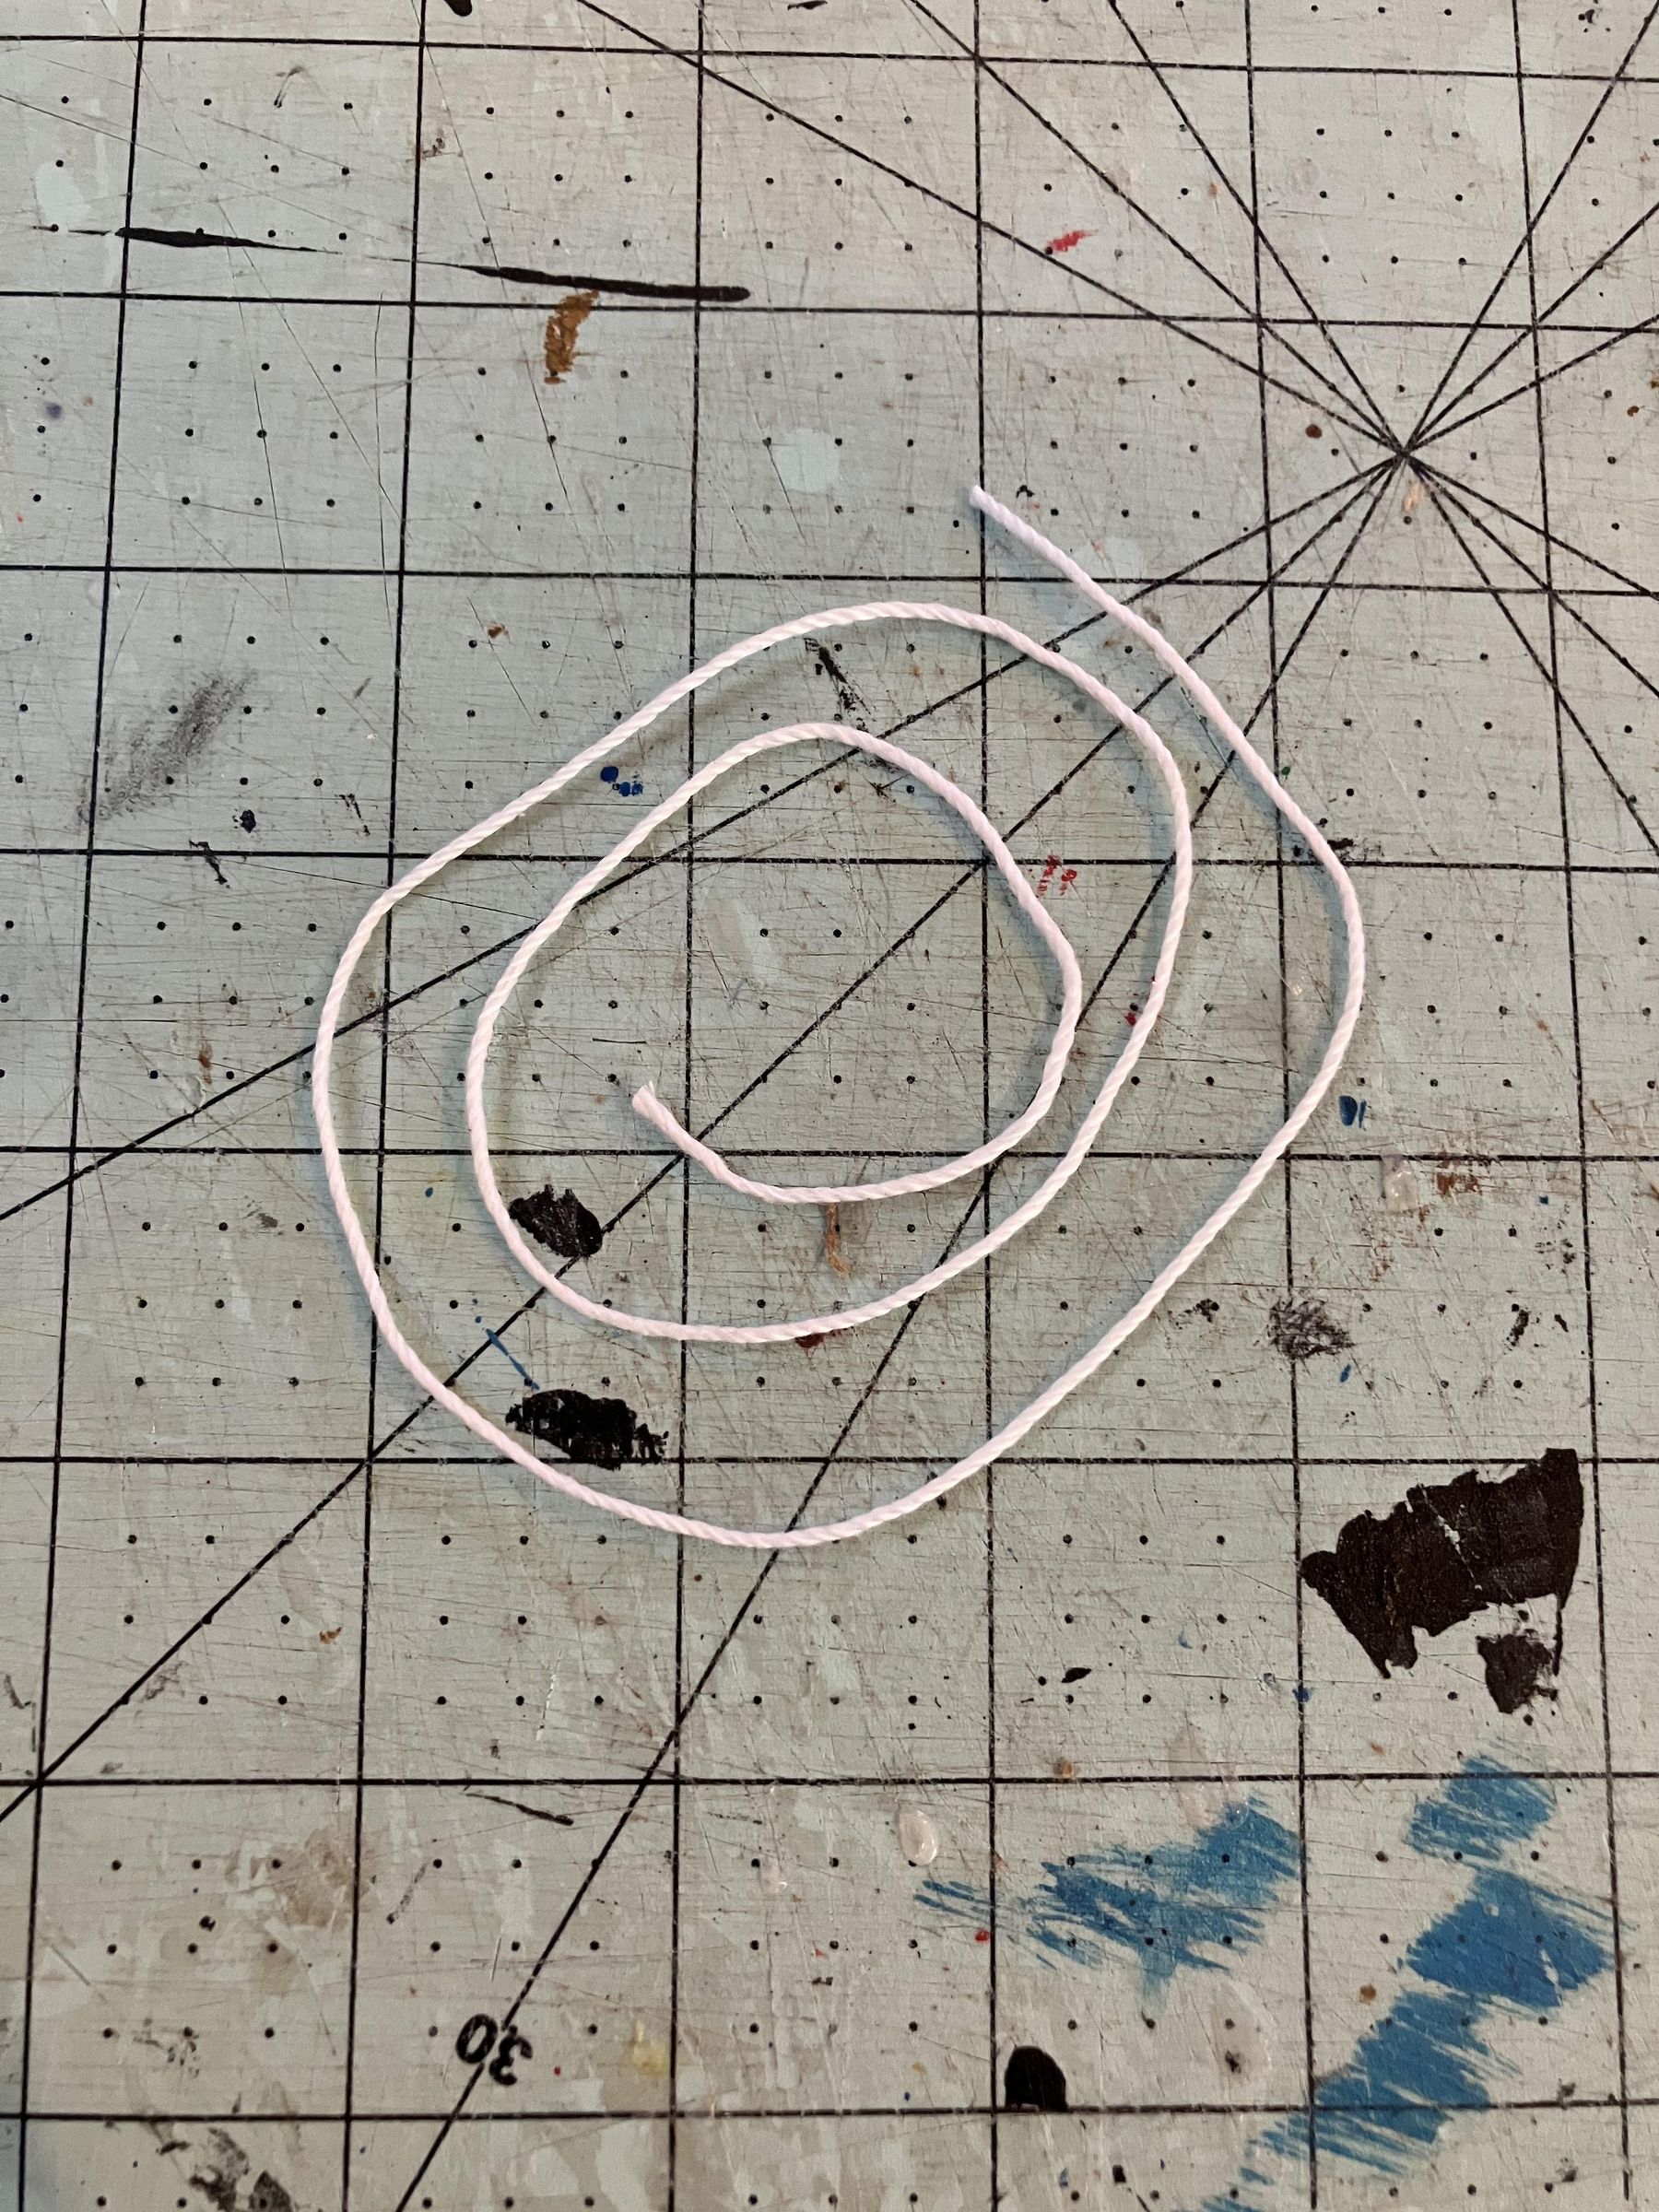
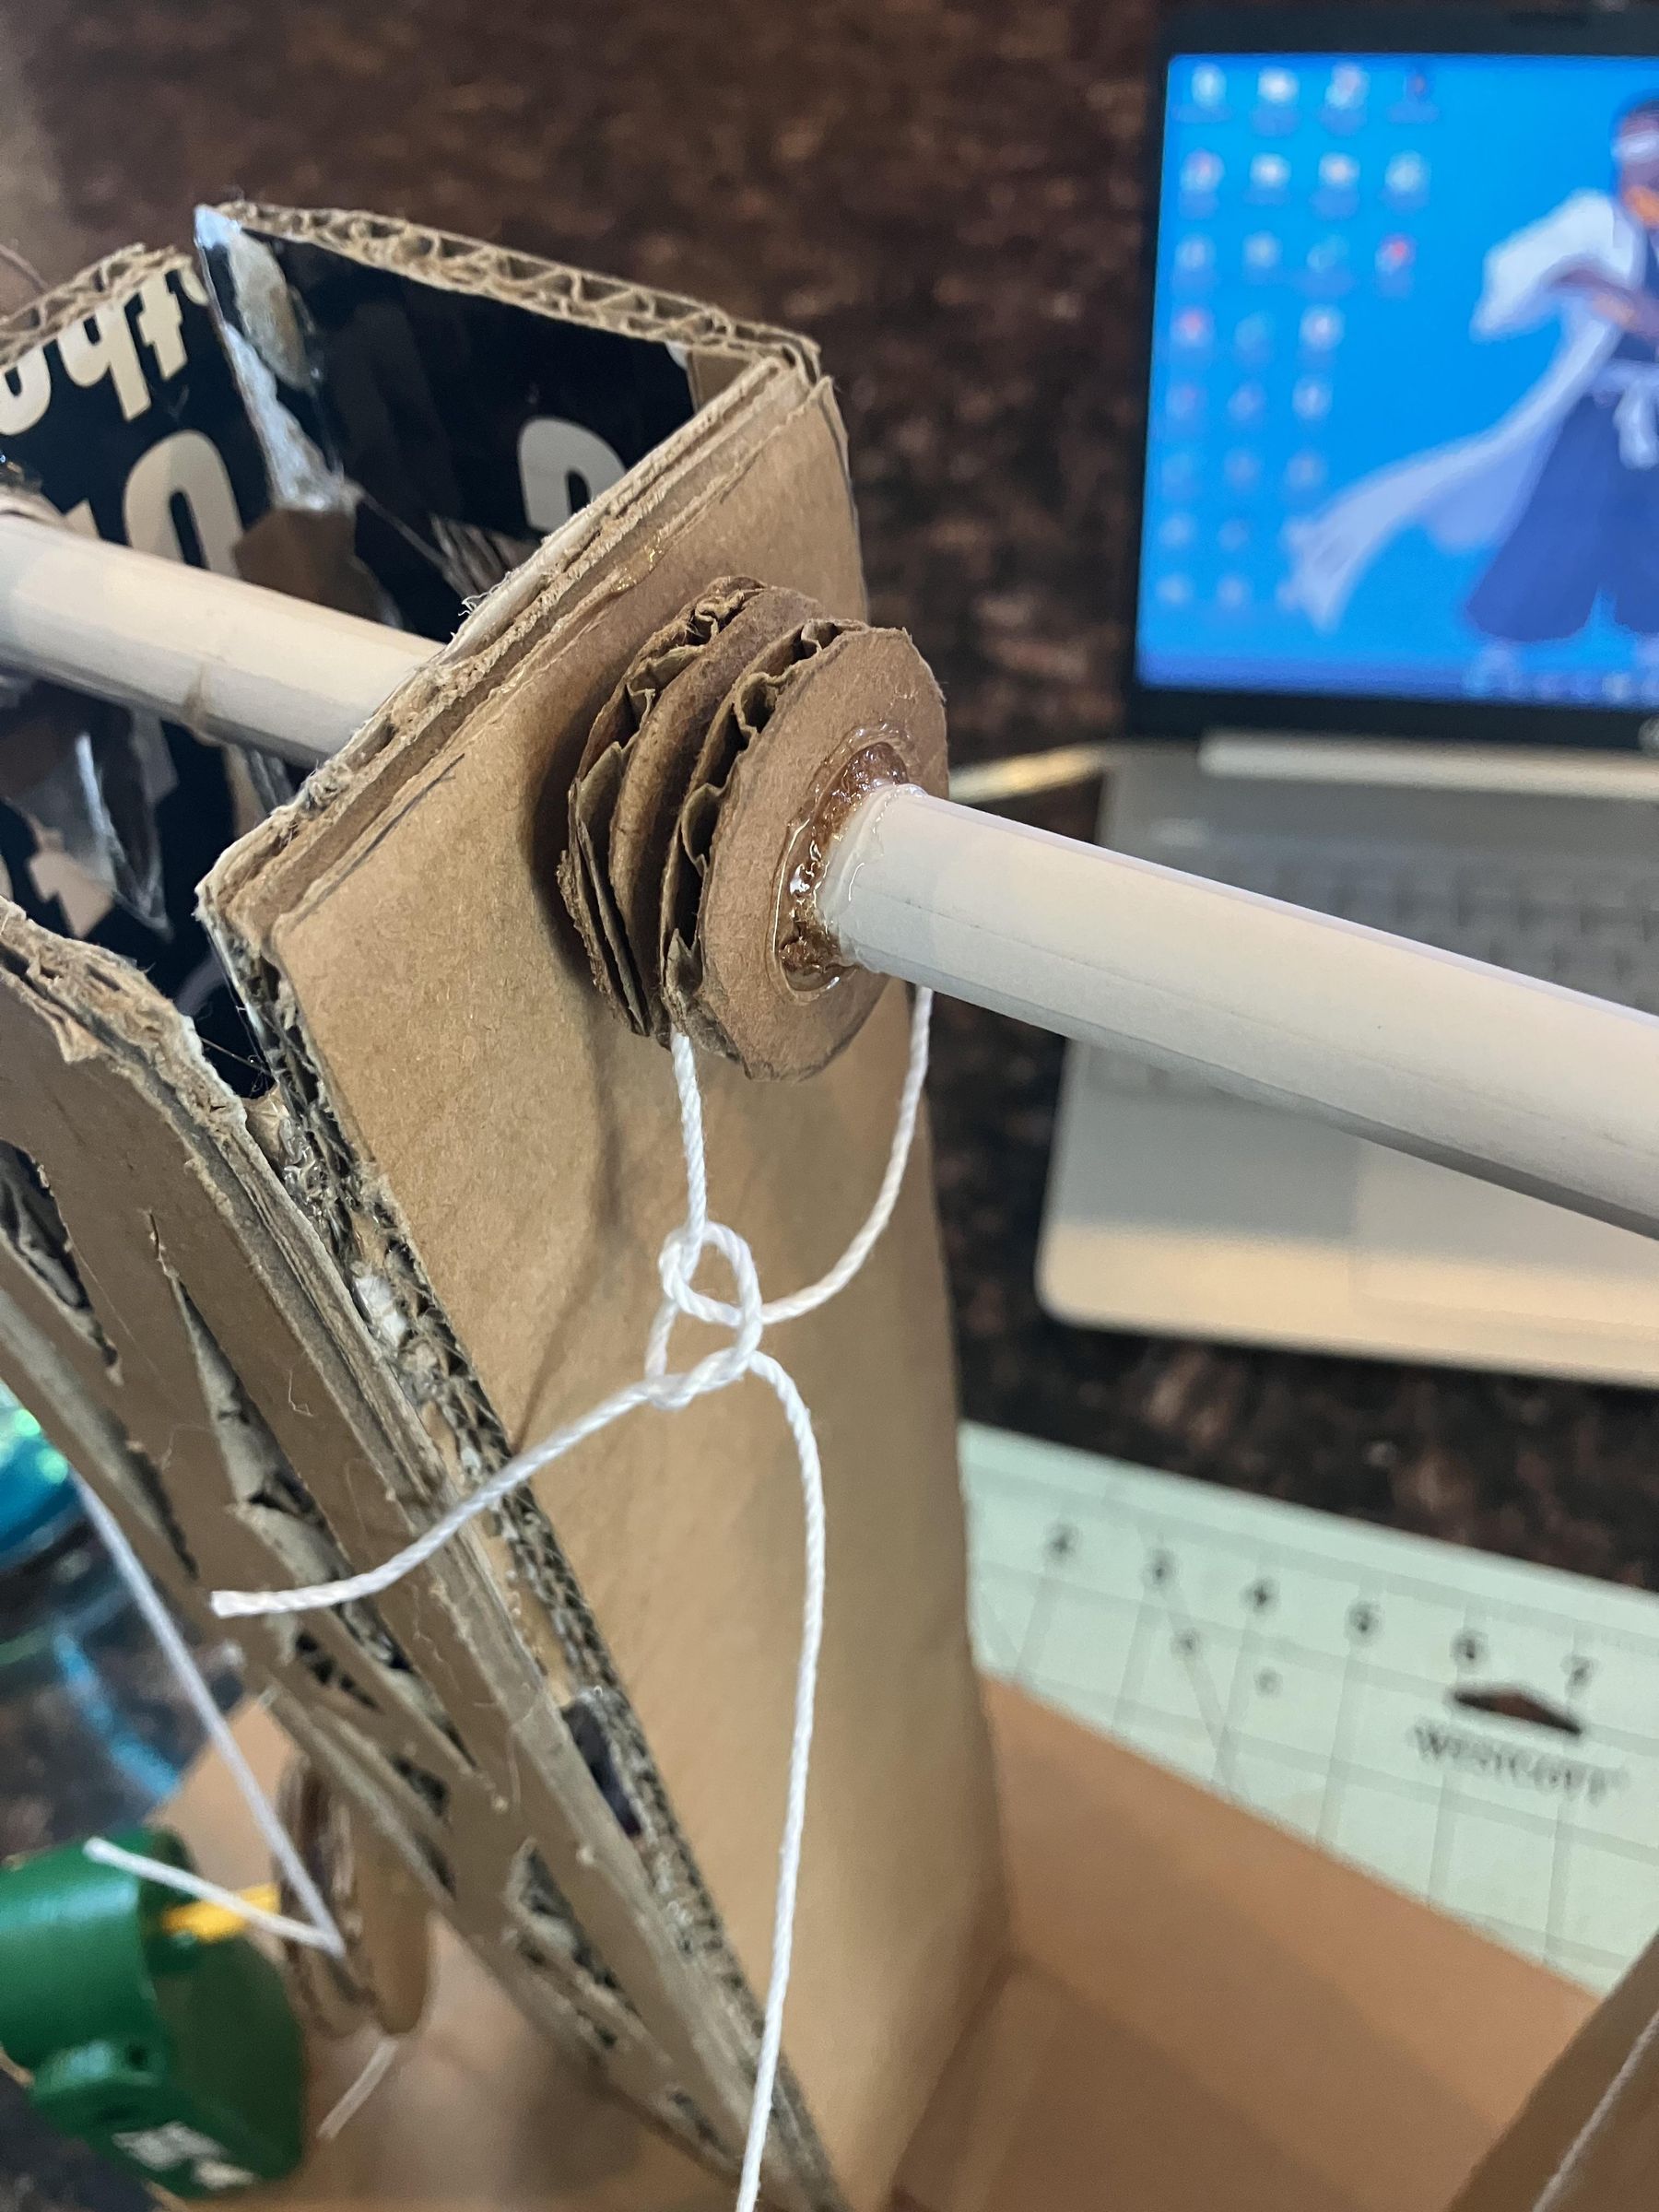
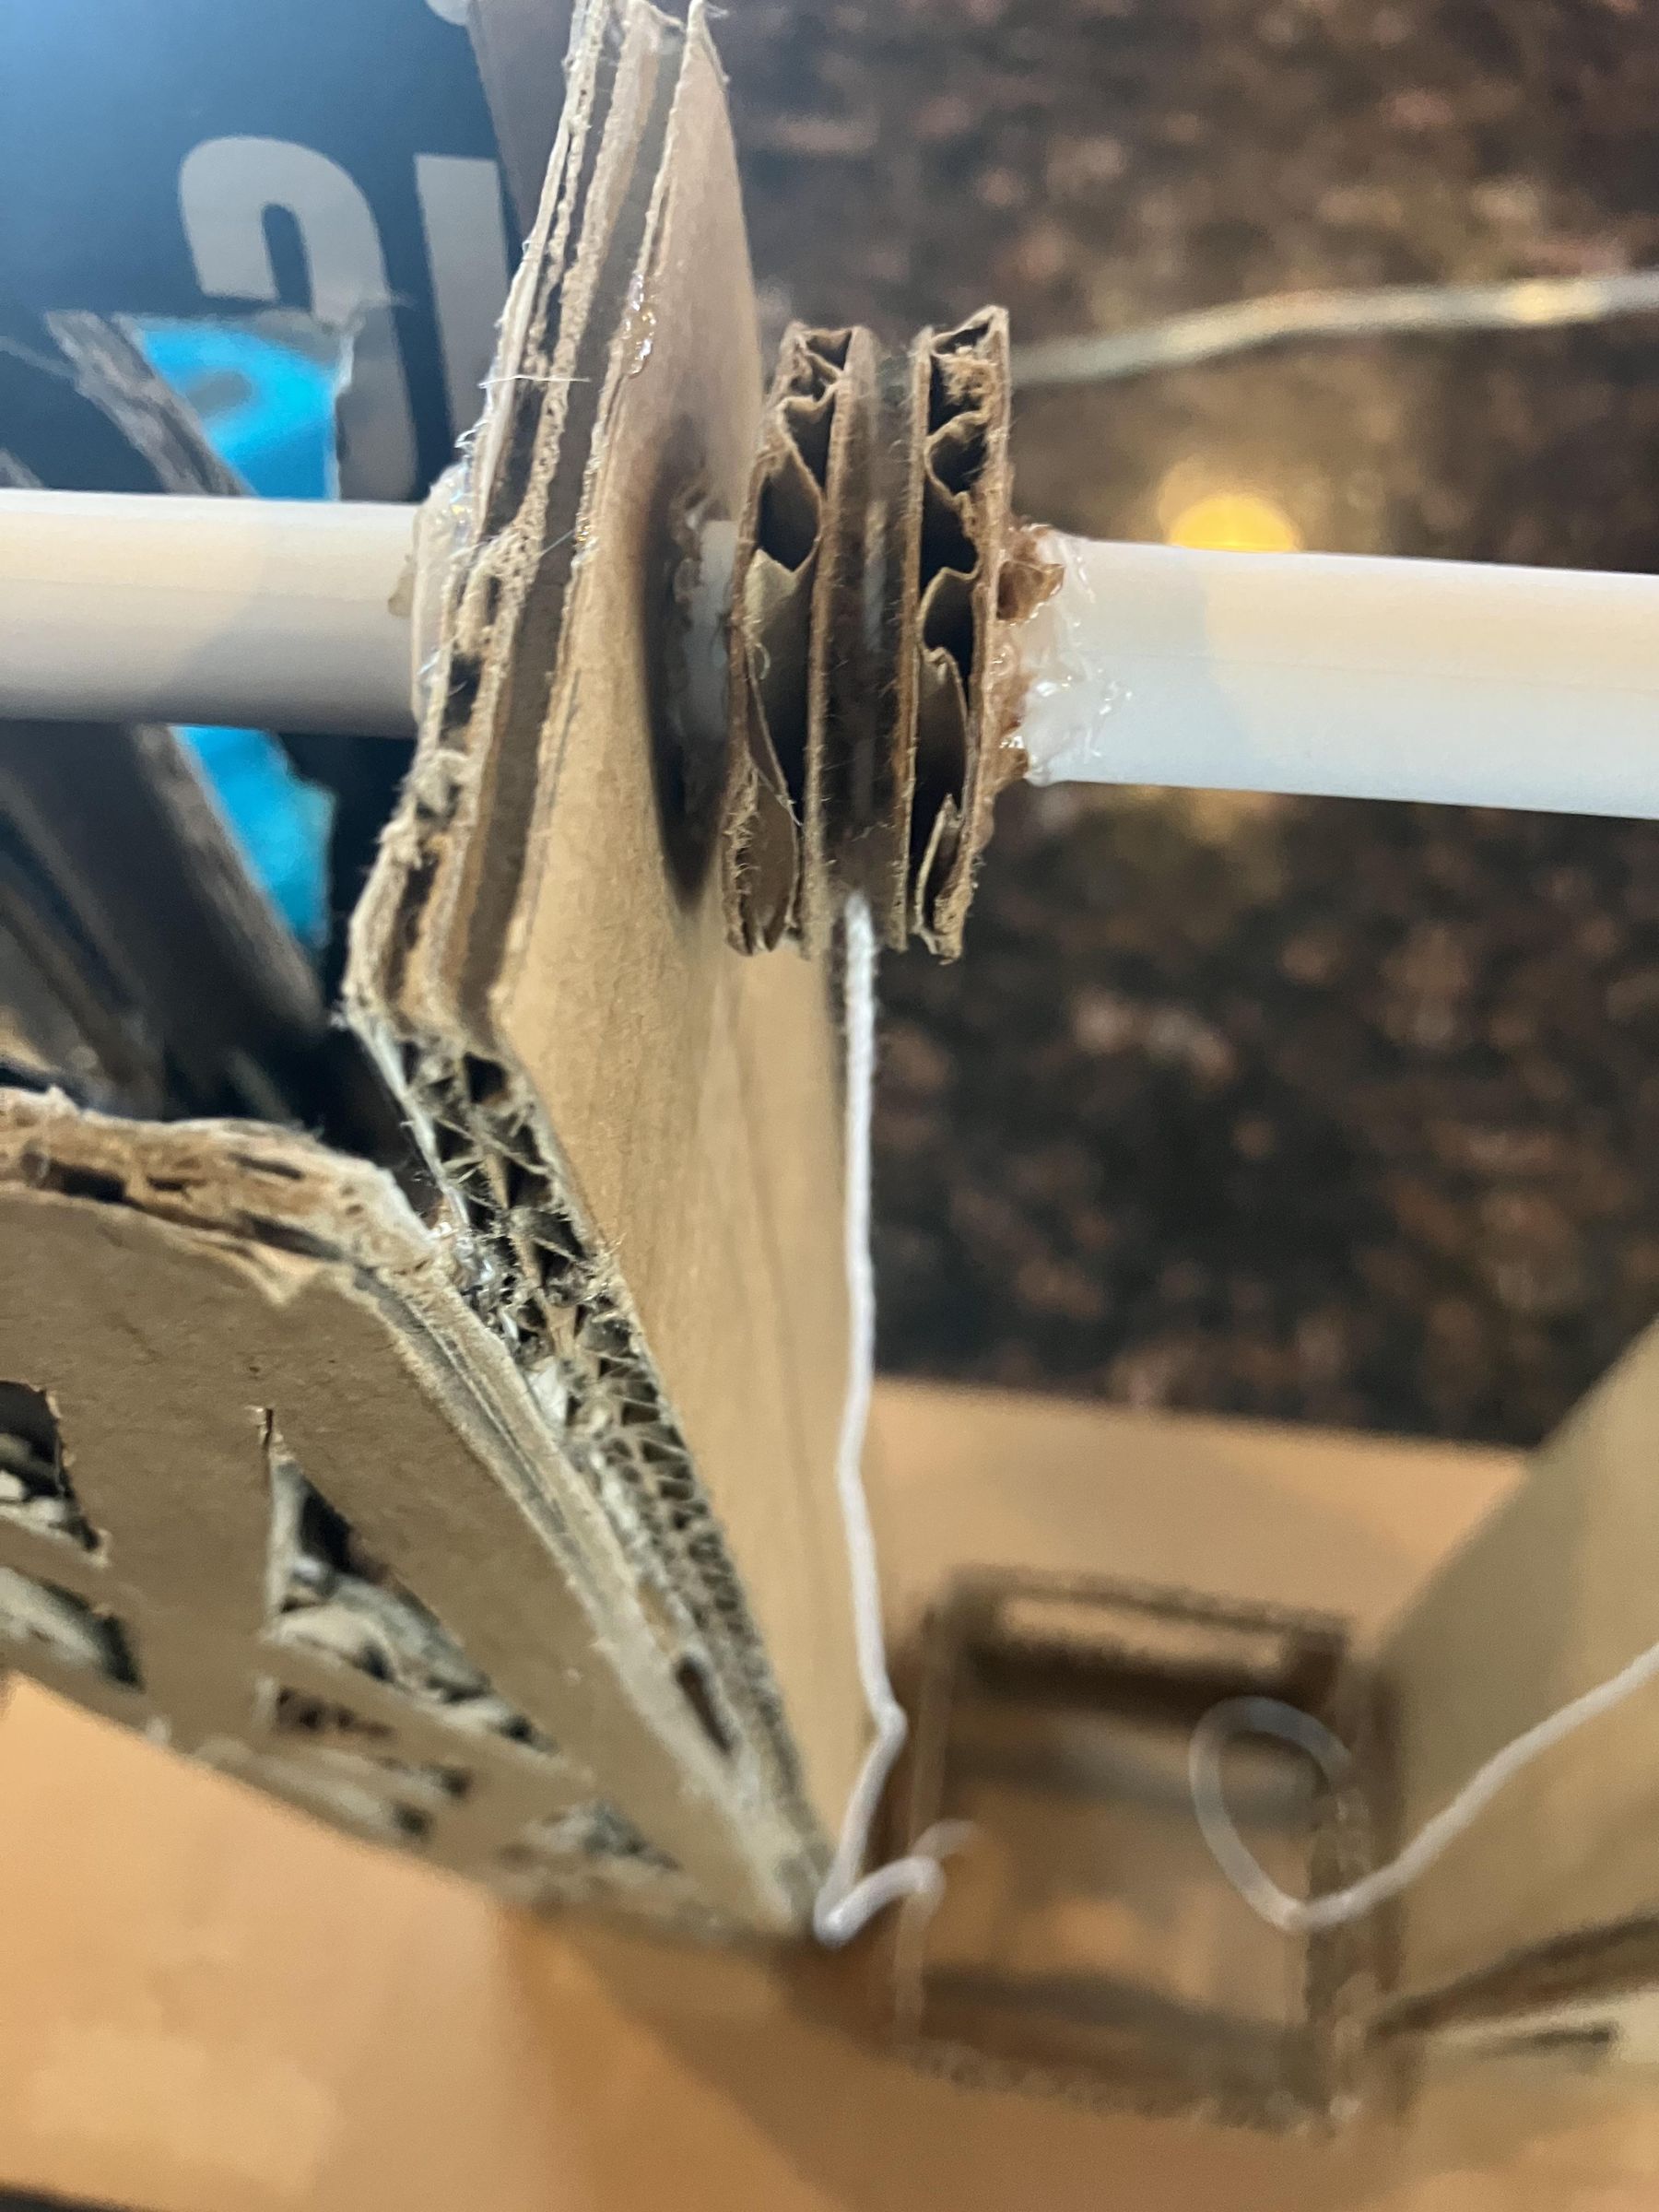
Tying the Elevator Cables
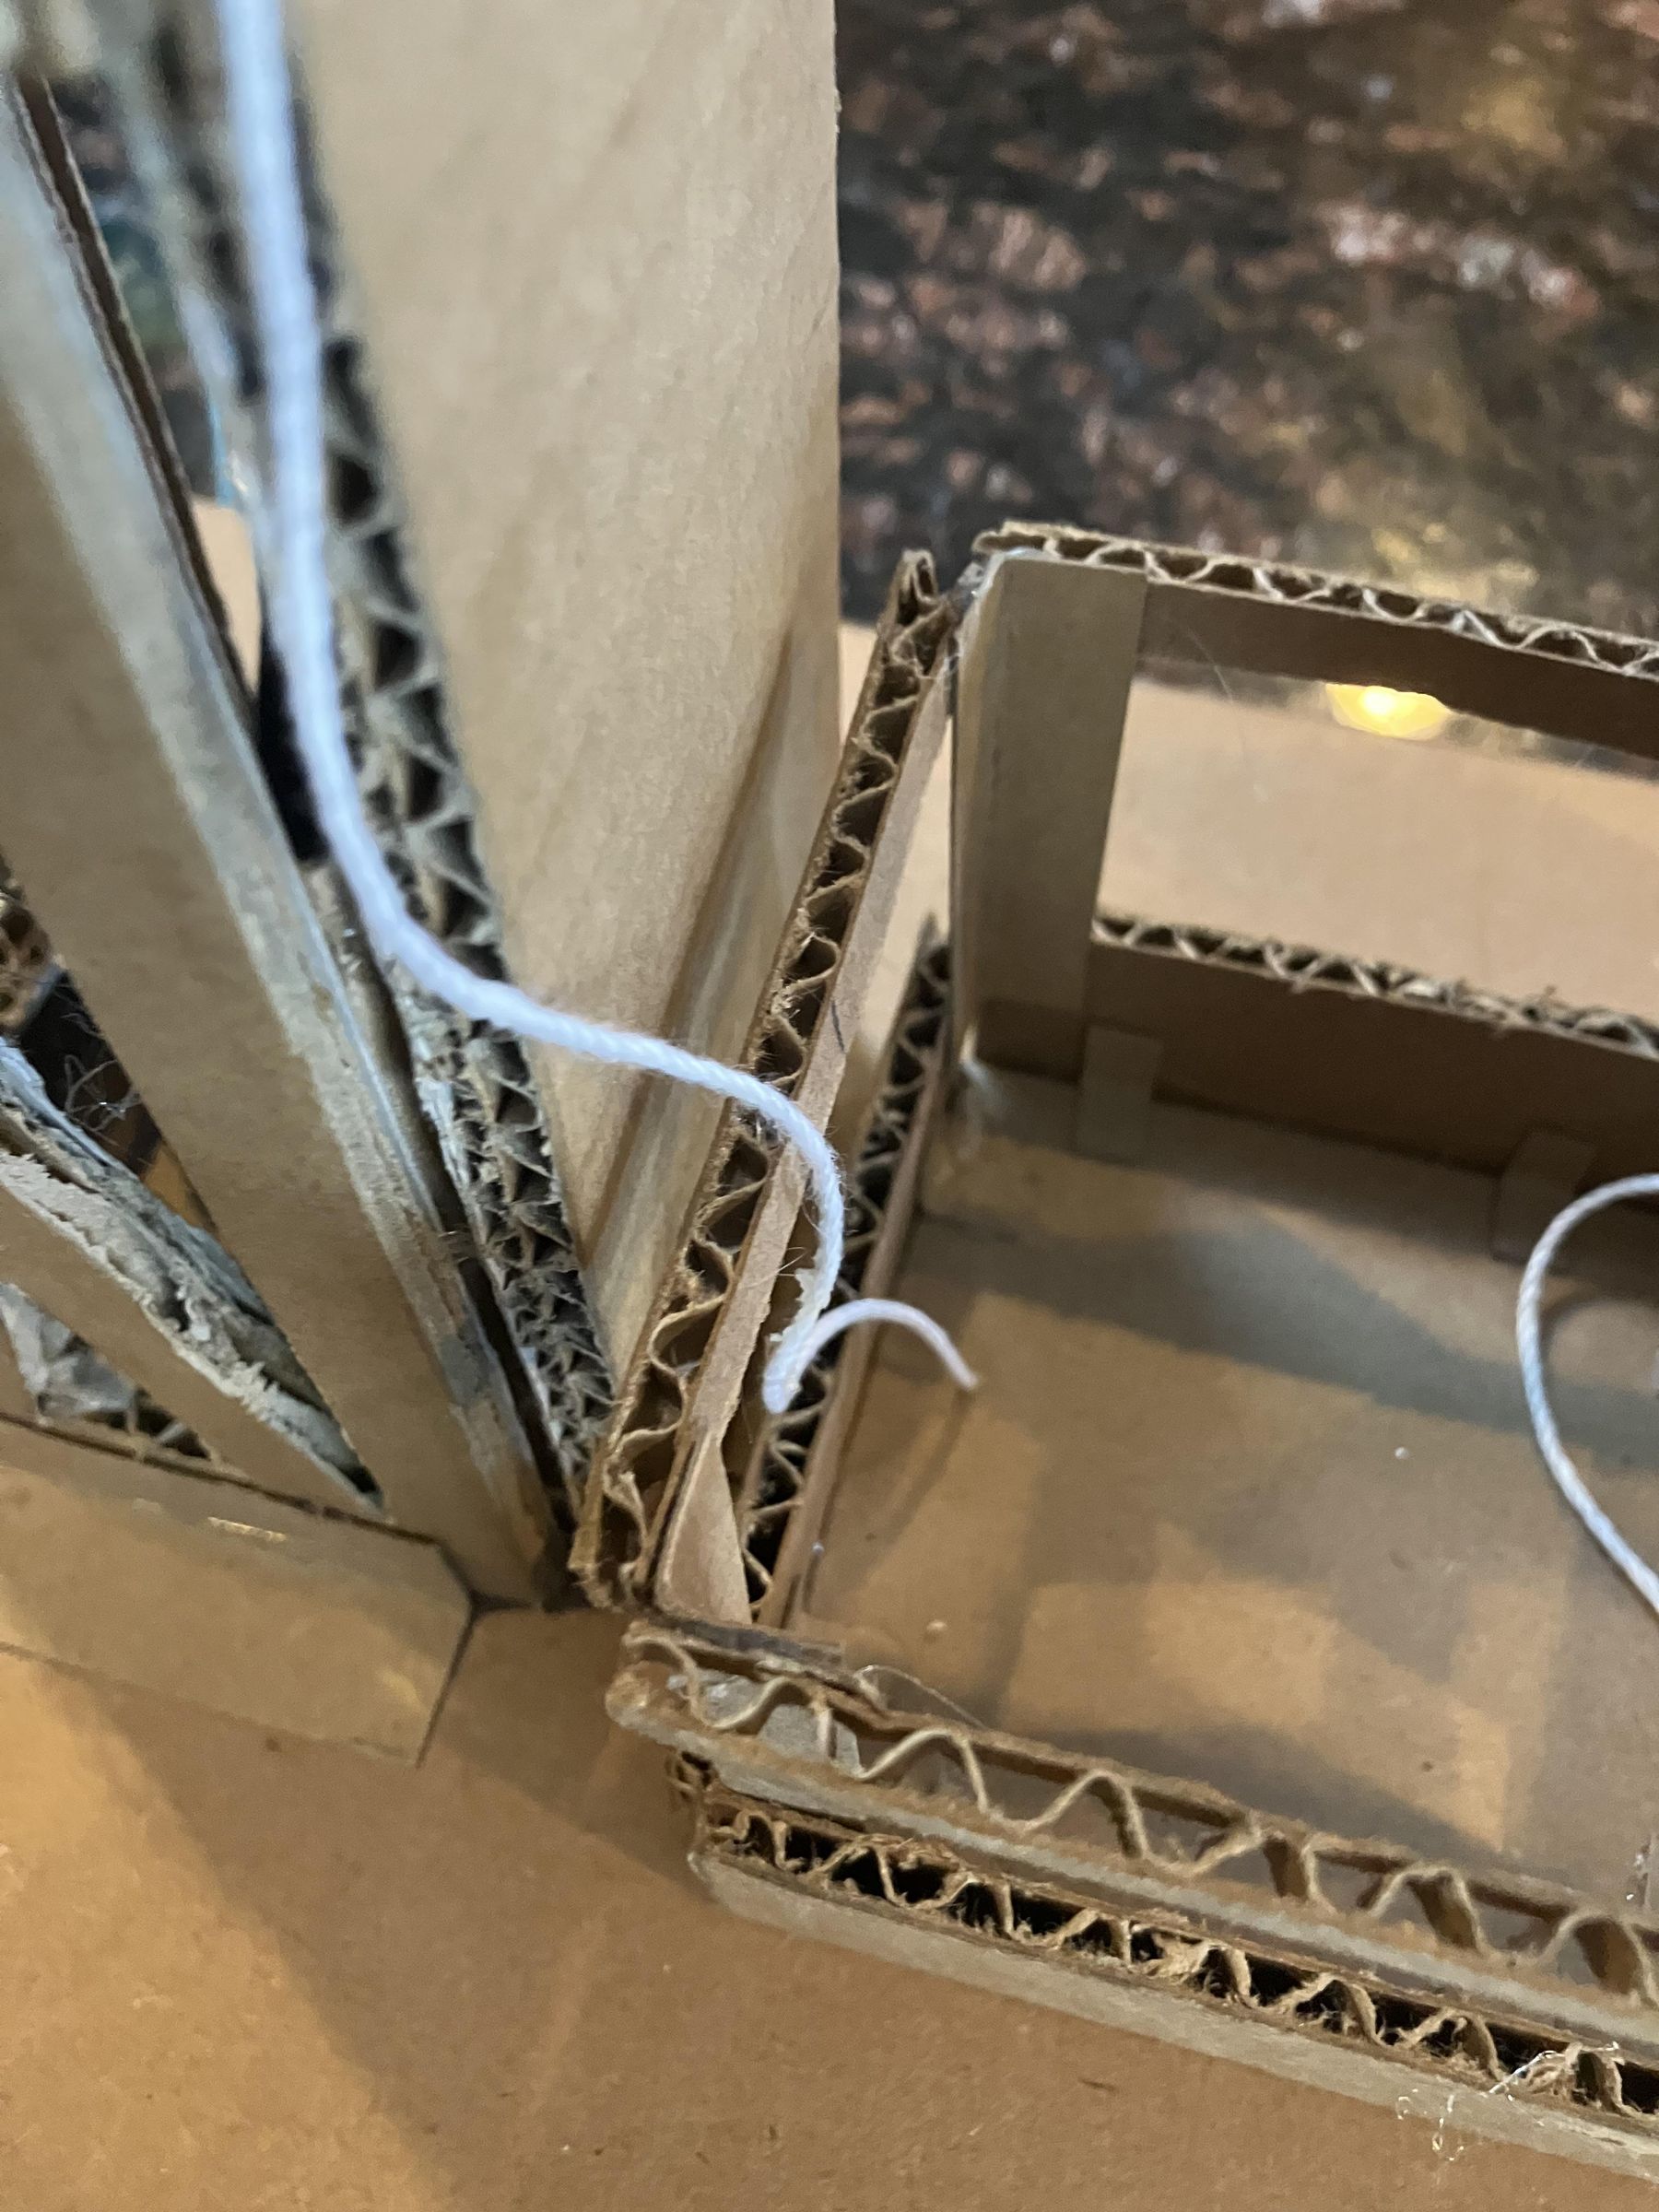
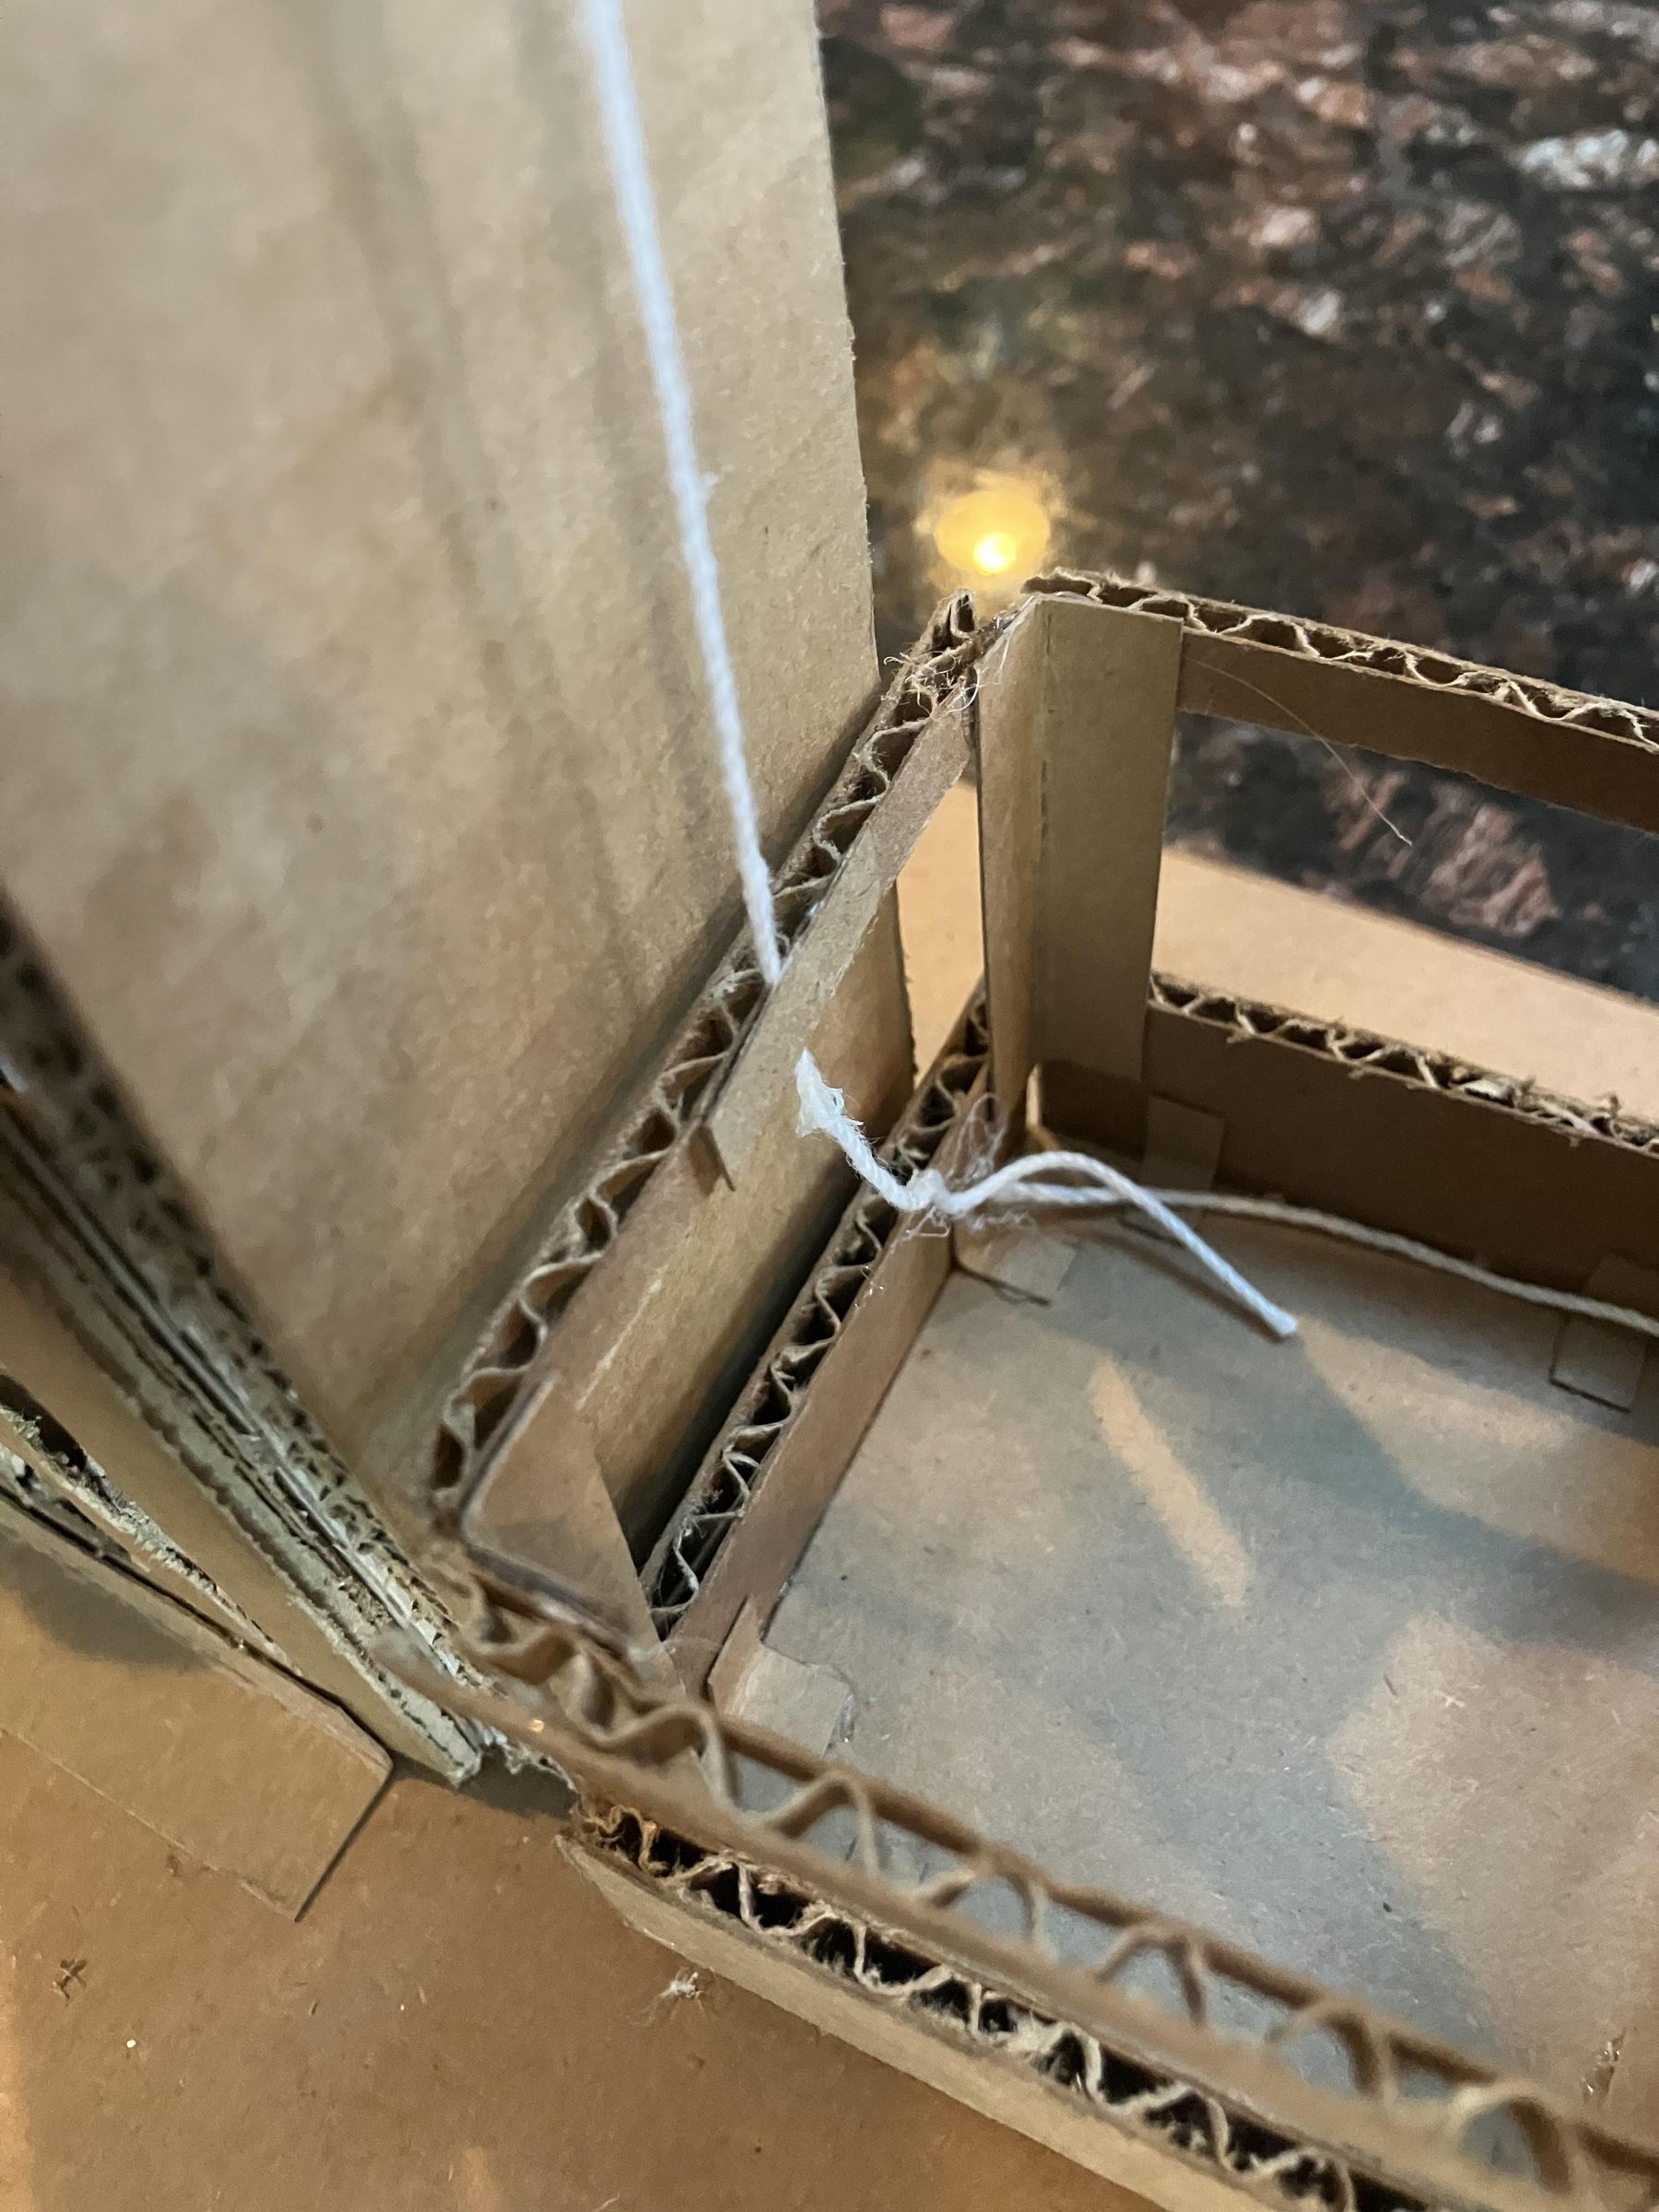
Take a string about the height of your towers and tie it around the space between one of your cable drums (or the pairs of disks on the rotating bar). Make sure it ties tightly around bar. No need to glue.
Now we need to connect the other of the string to the elevator cart.
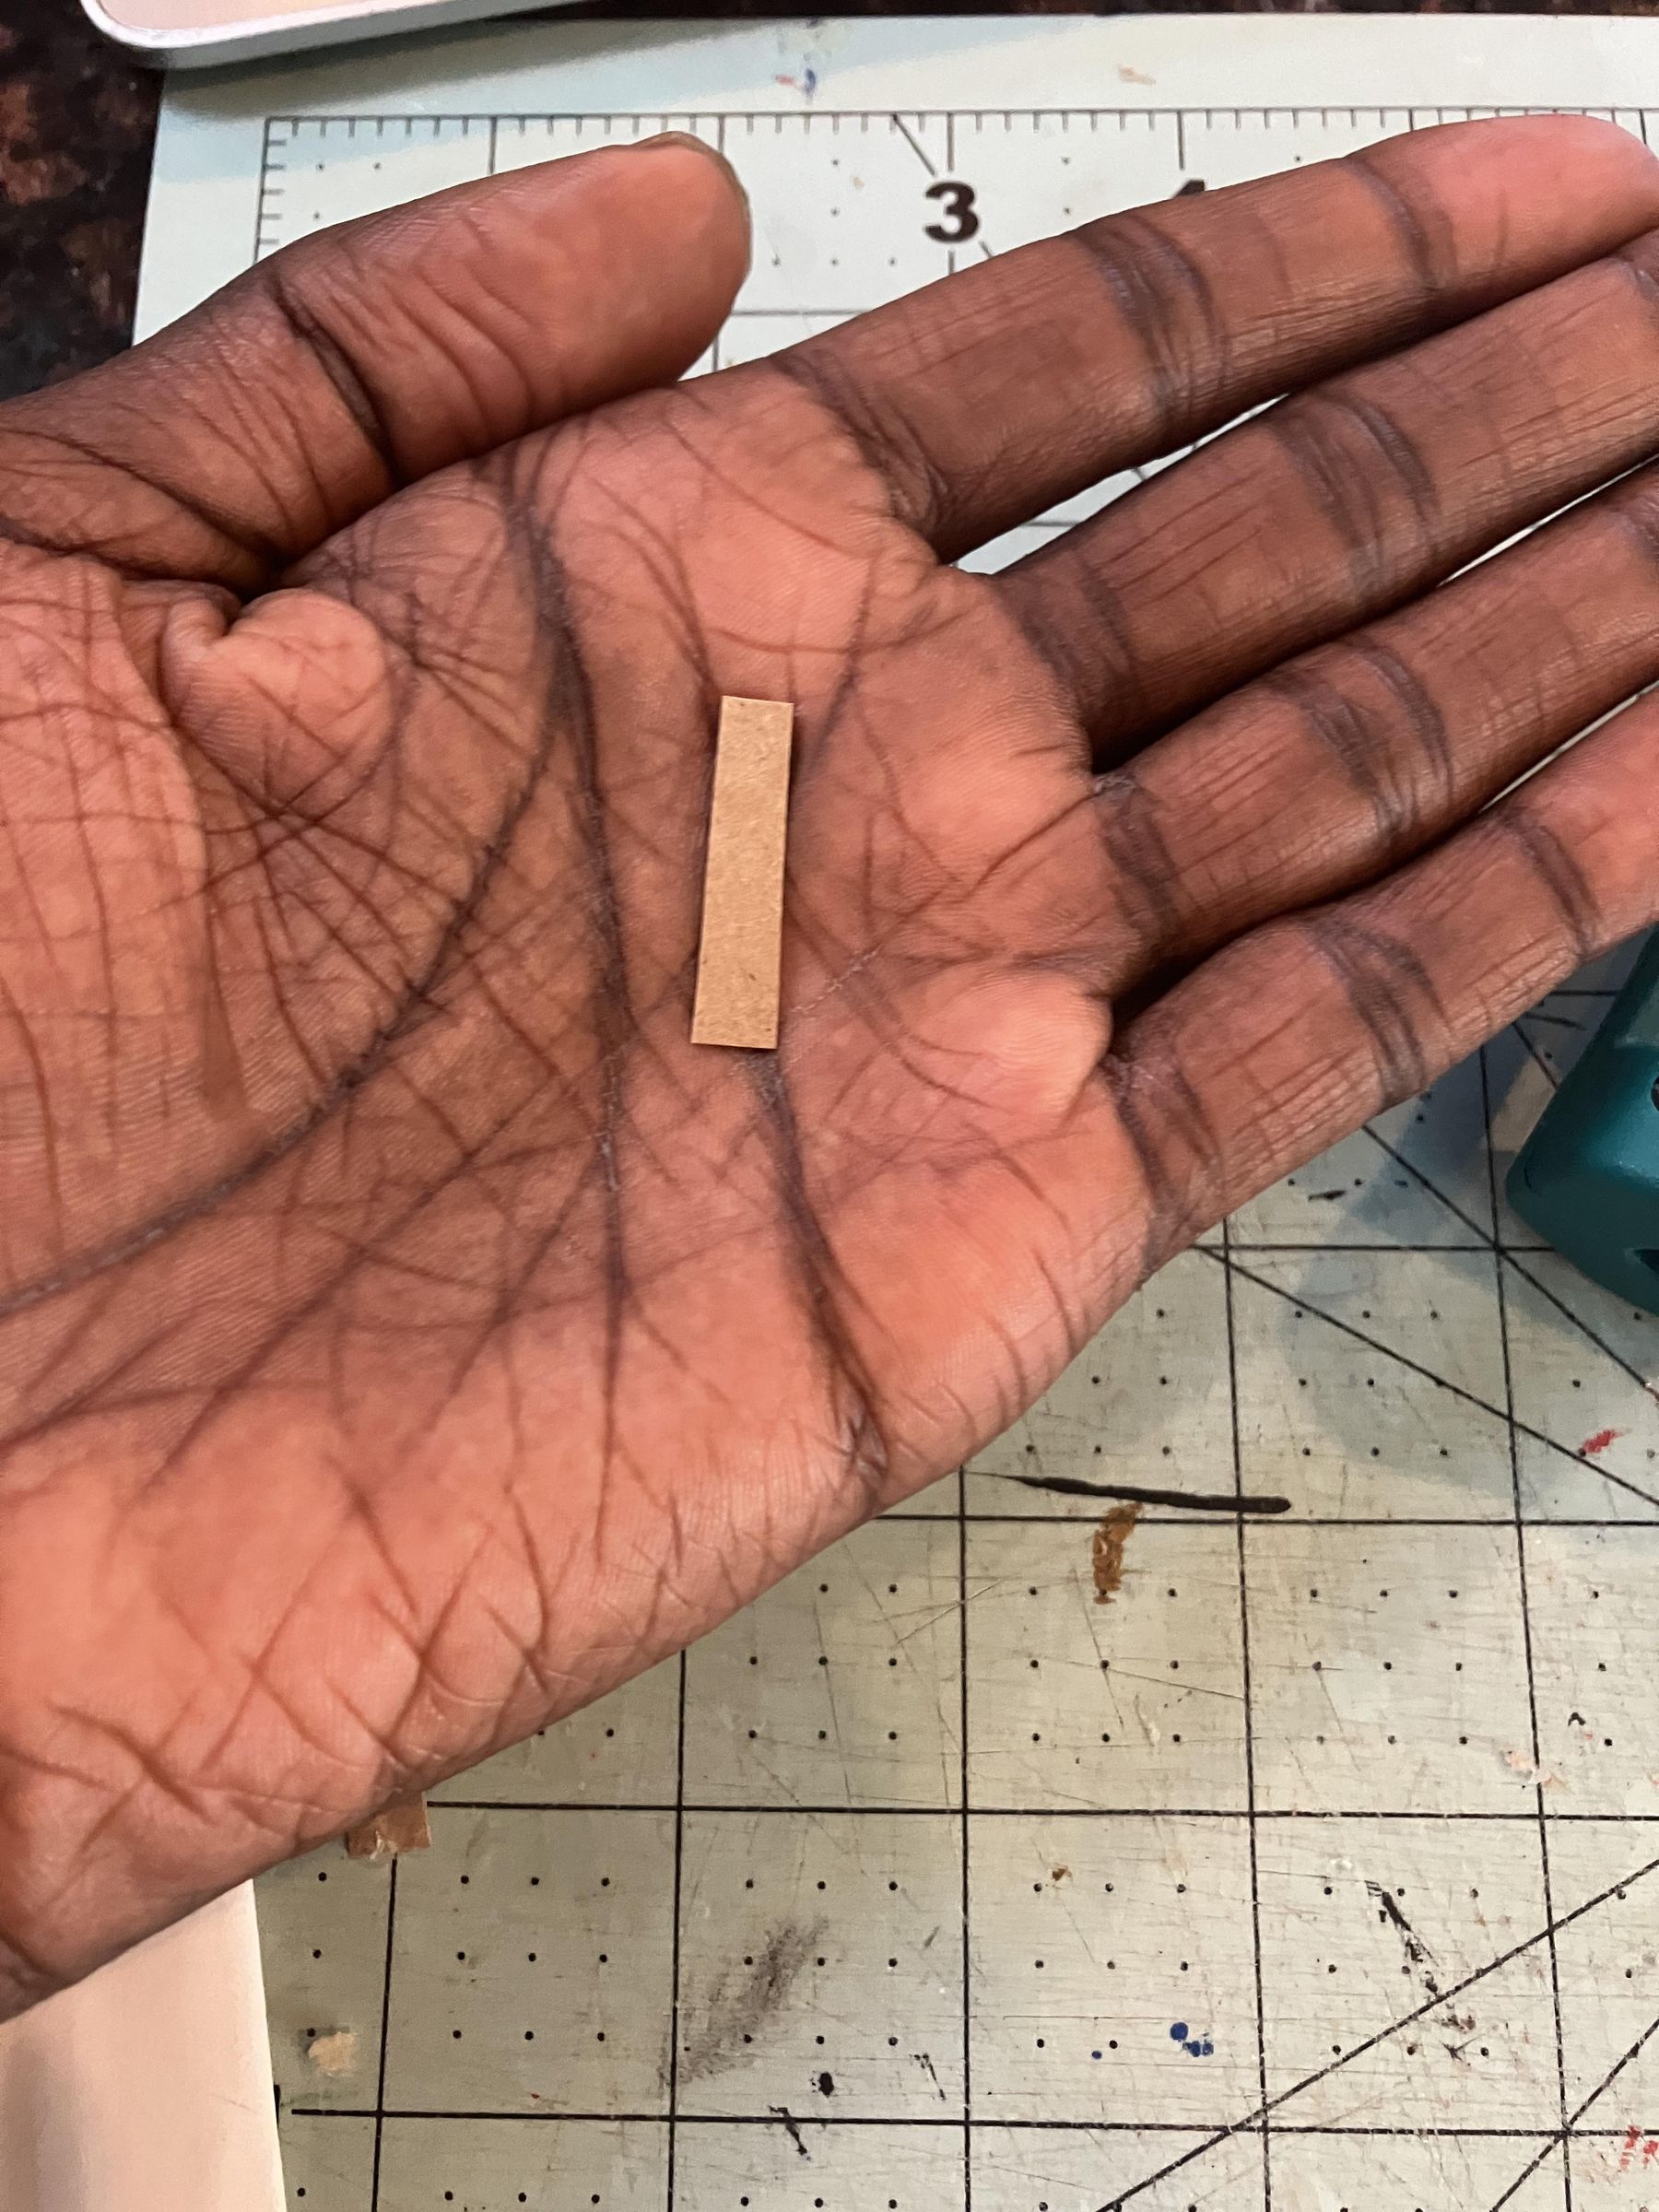
Take some non-corrugated cardboard and make a small rectangle no bigger than the top bars on the cart. Apply glue to the rectangle, and then sandwich the string between the rectangle and the top bar, so that the string is connected to the cart, like you see in the photo.
Make sure that the string is stationed in the middle of top bar, and also that the string isn't too loose or tight; it must be short enough so that the cart is just touching the ground, but not so short that there is no tension in the string.
Repeat this process once more for the other side of the cart. One thing to make sure of is that the two cables are the same length in the end, or else the cart will tip toward one side.
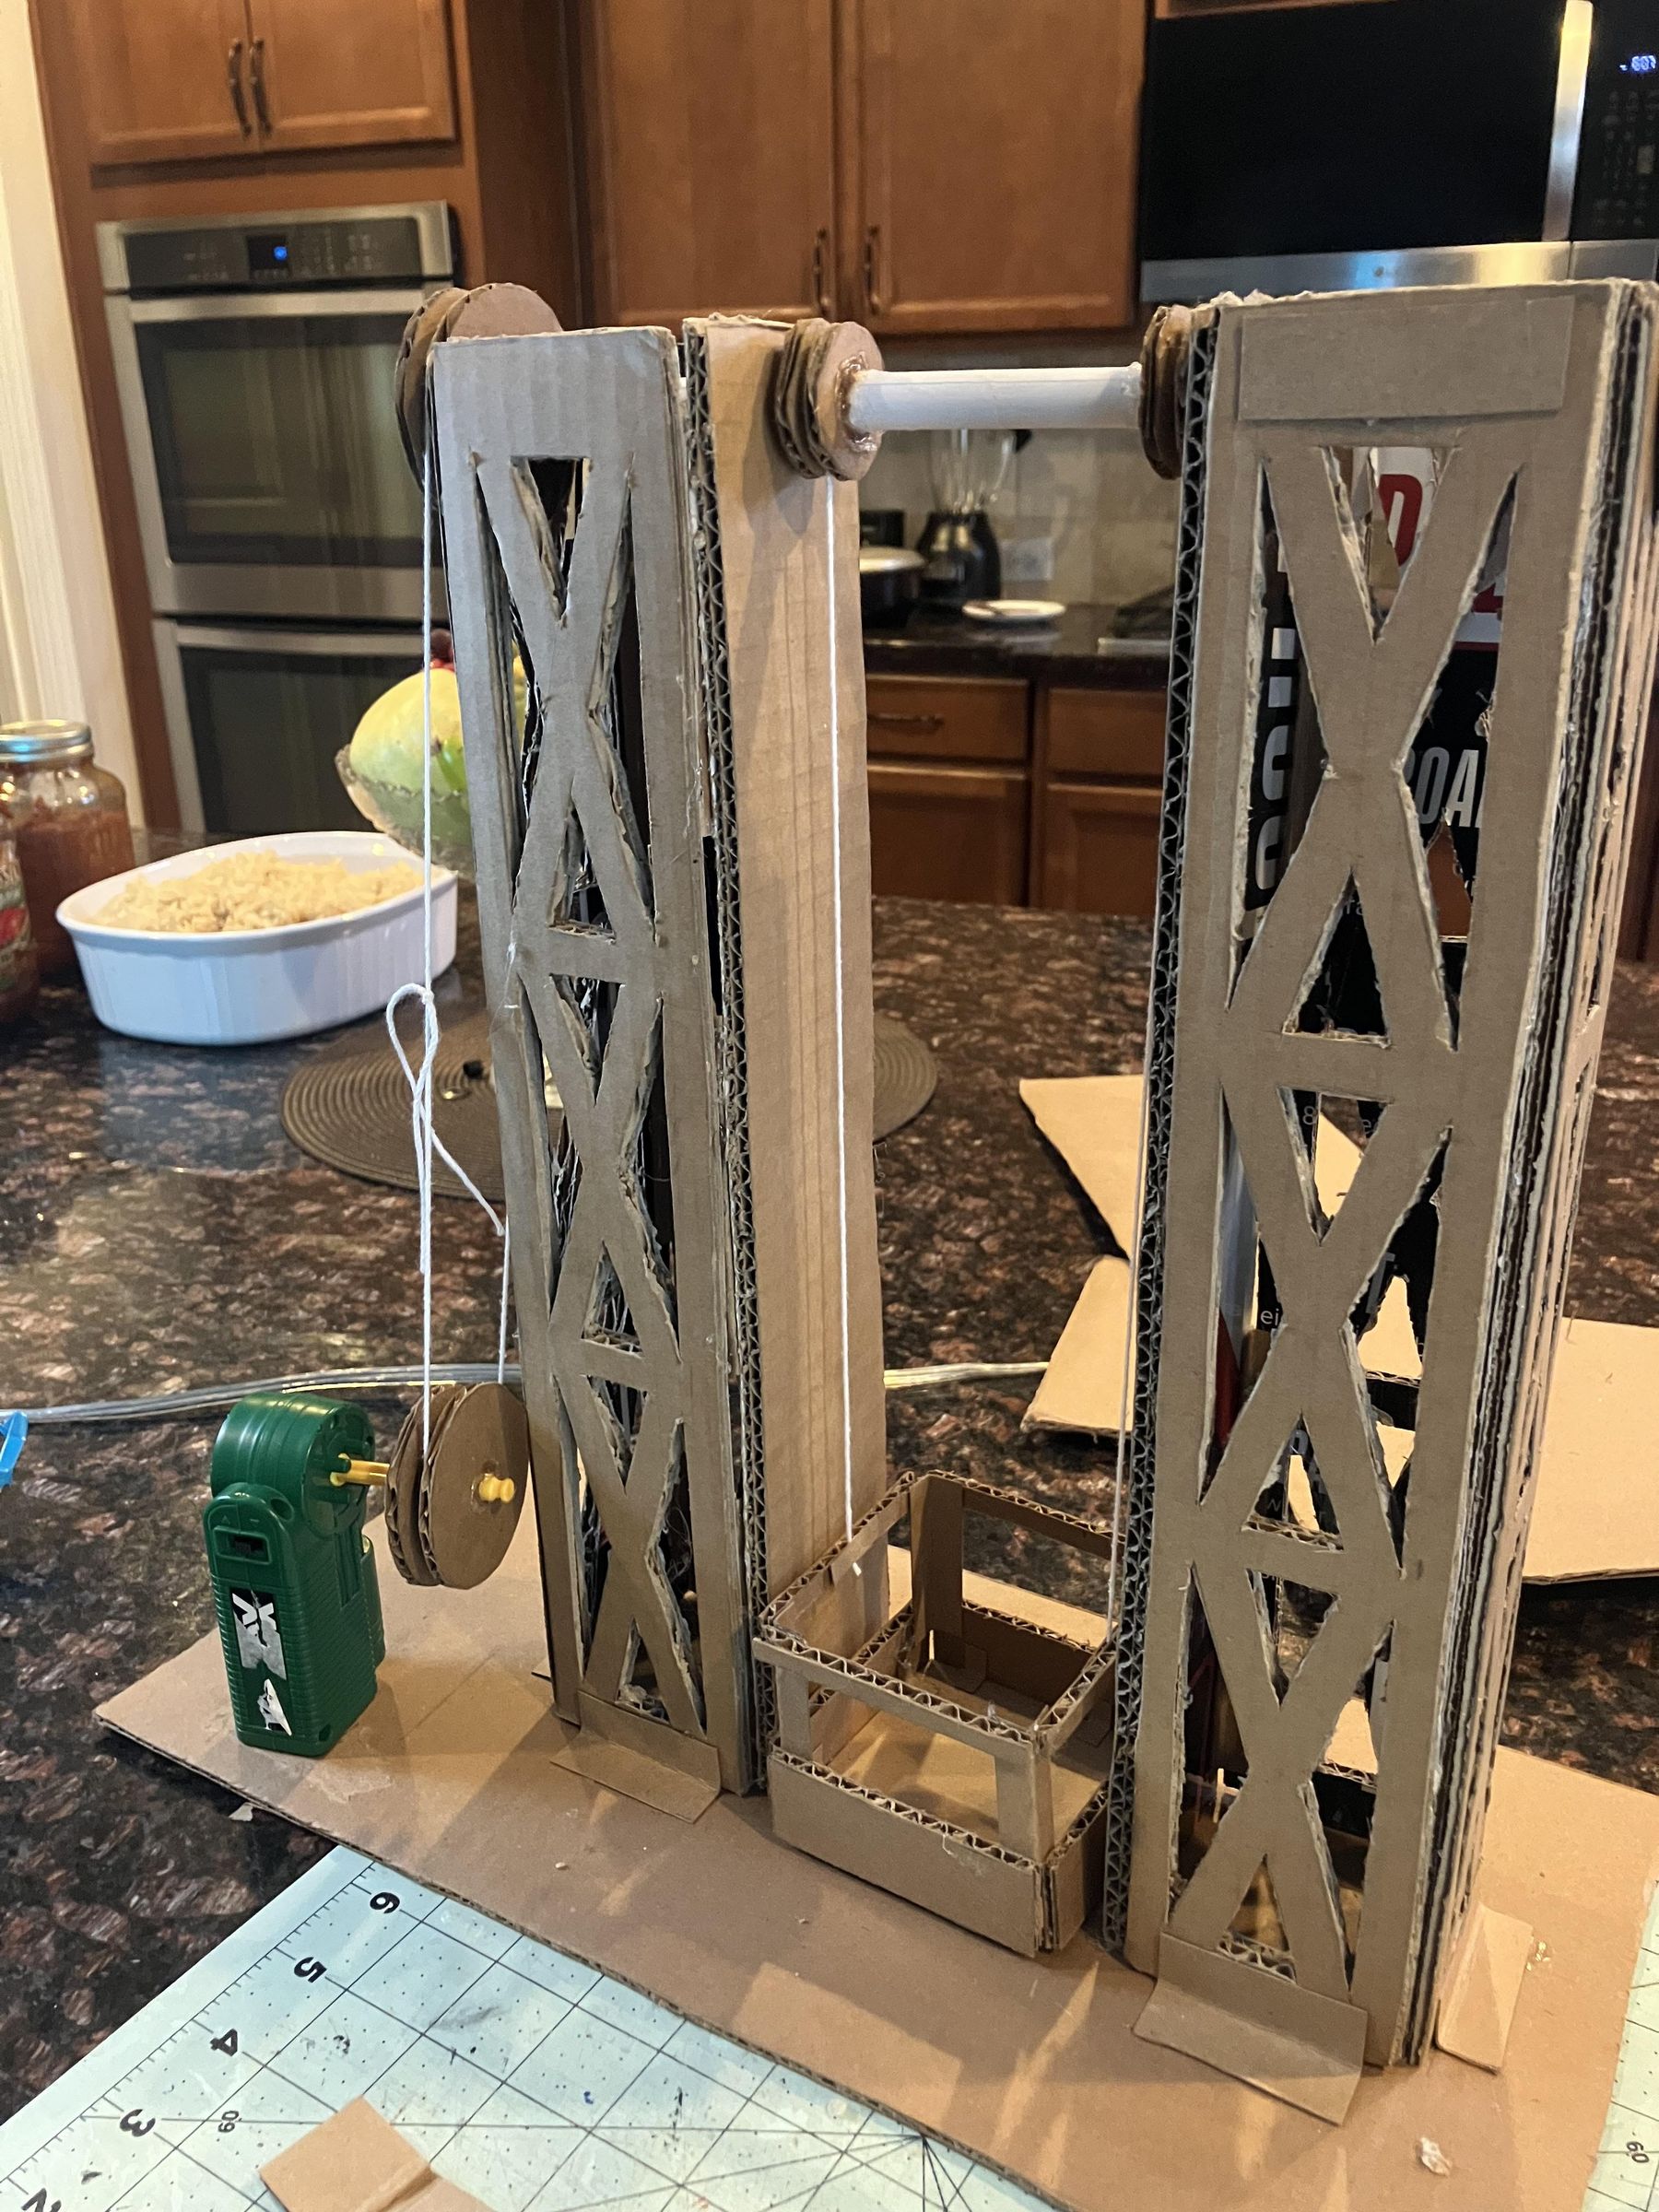
Once you are finished: congrats, you've got yourself a pair of elevator cables.
Securing the Motor
This step may be different for you if you are using this as a tutorial but aren't using my same motor, but the premise is simply to get the motor to stay in place..
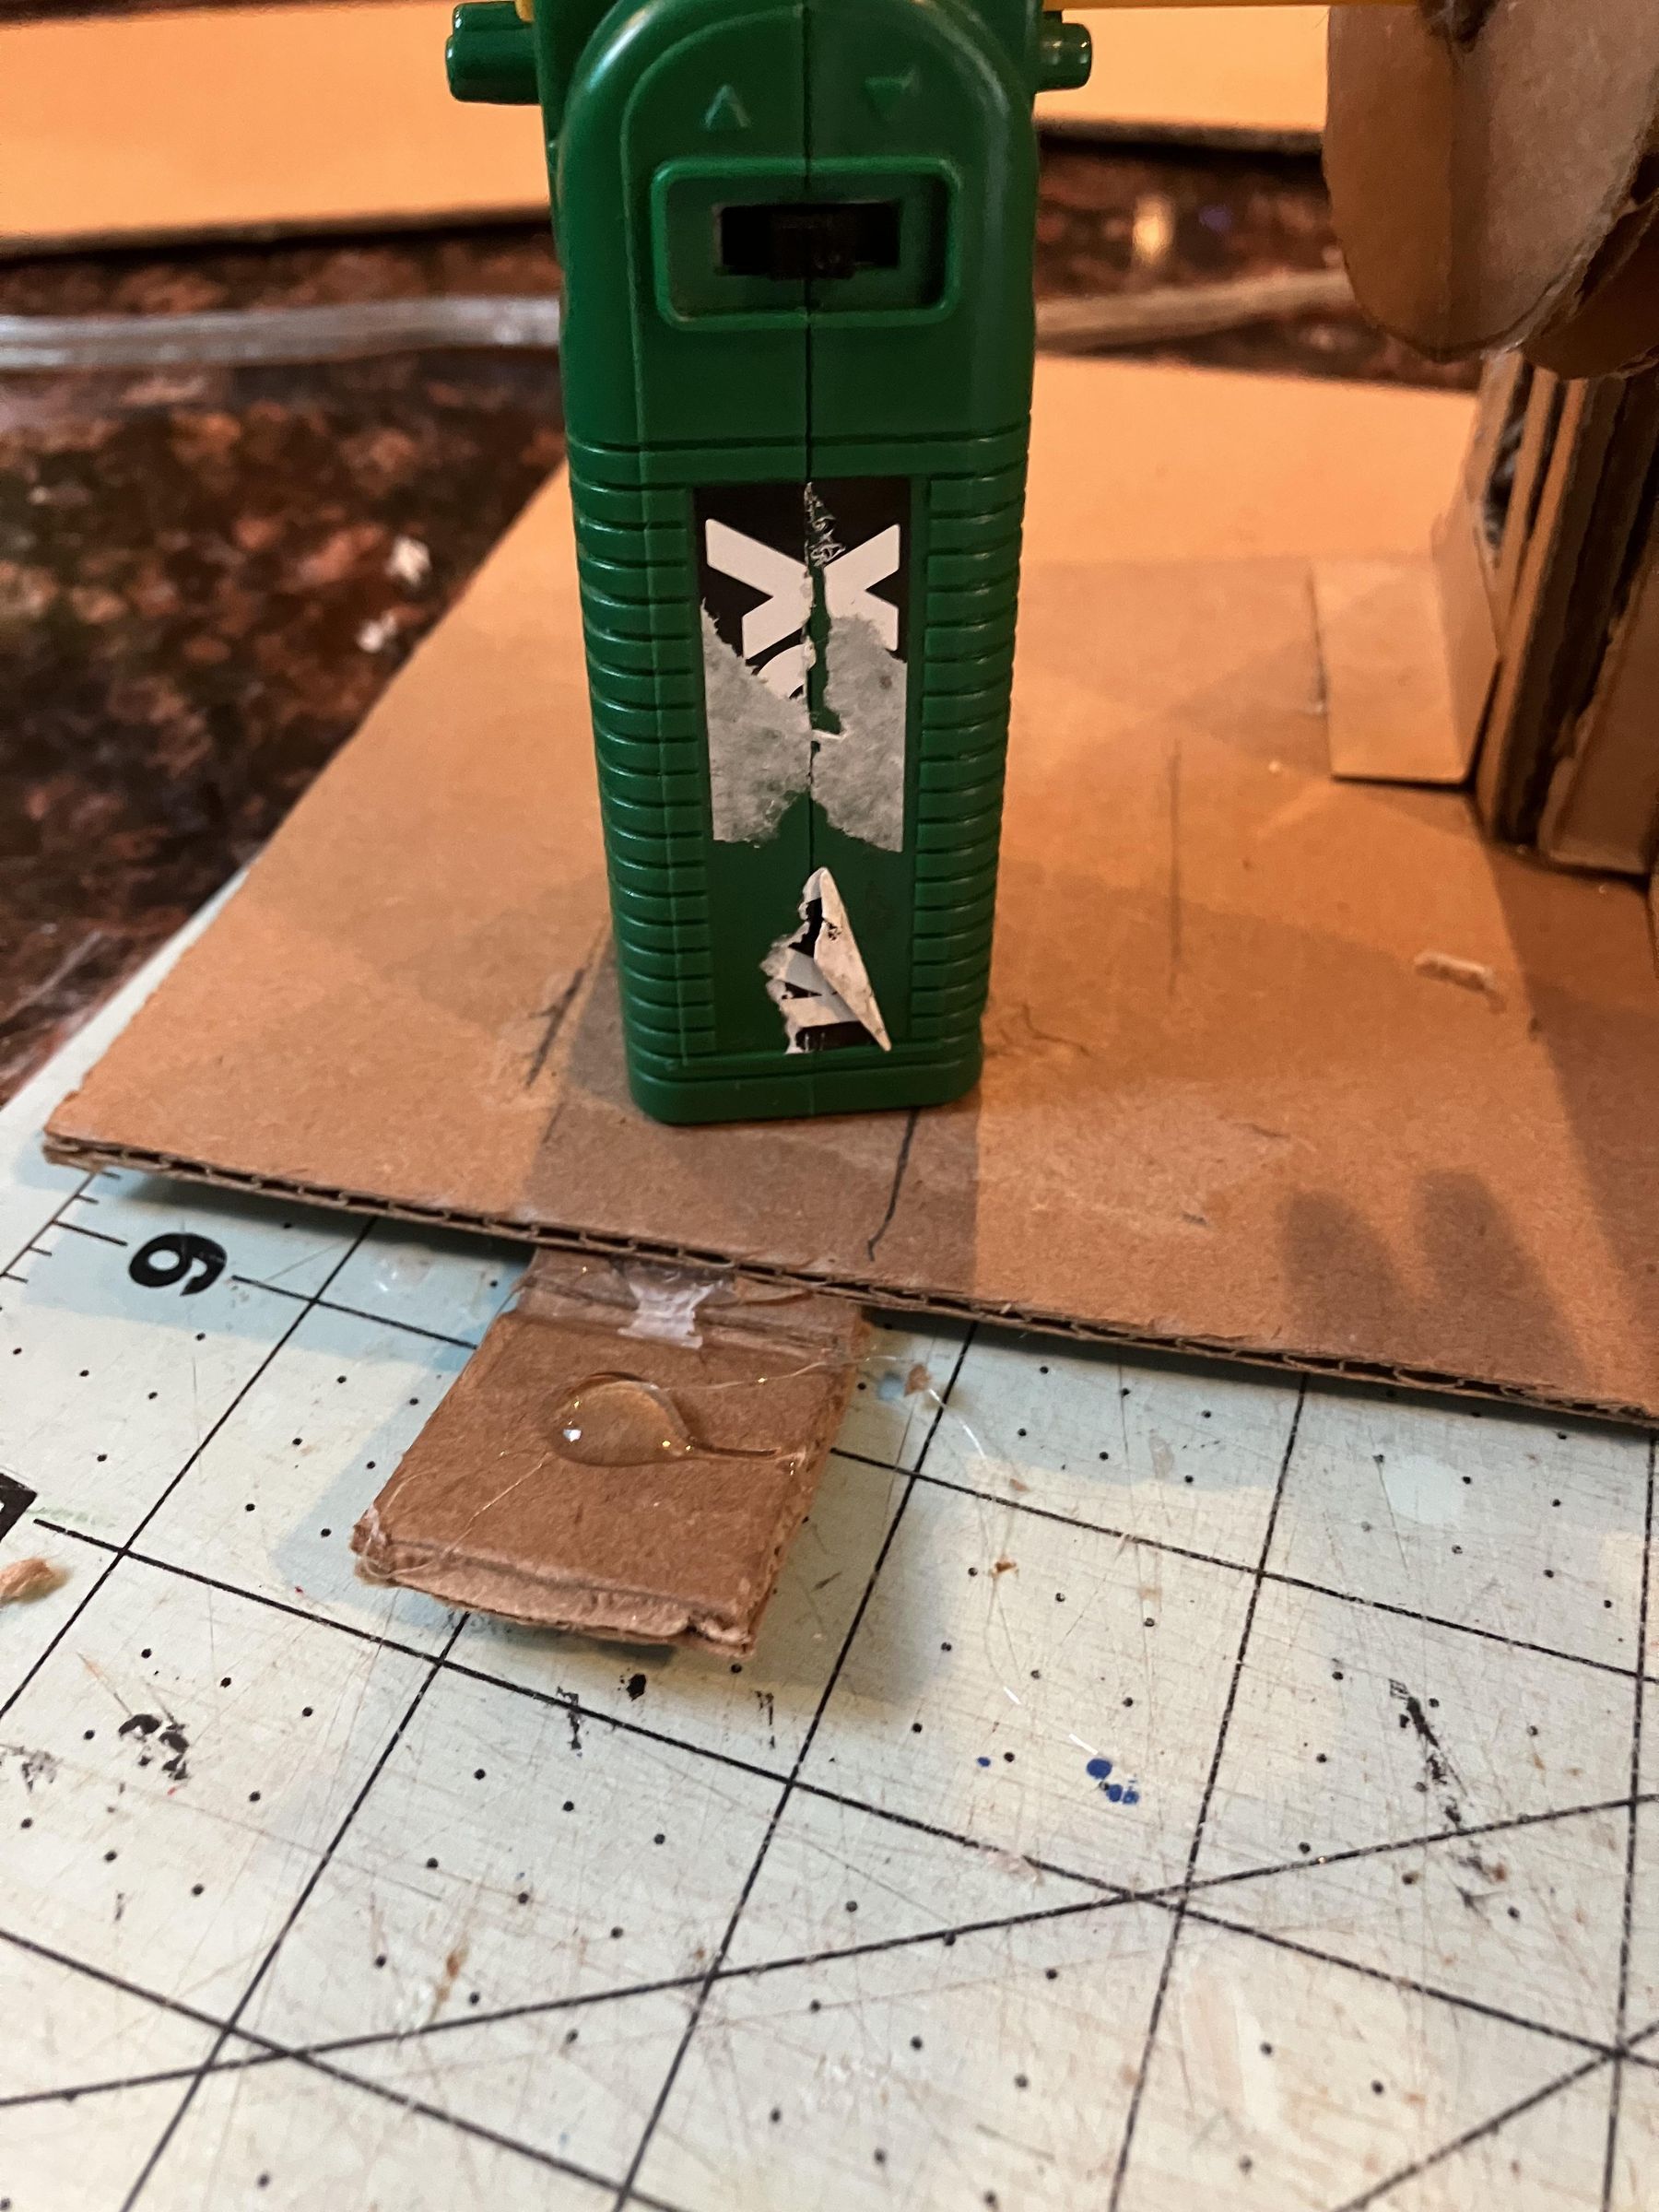
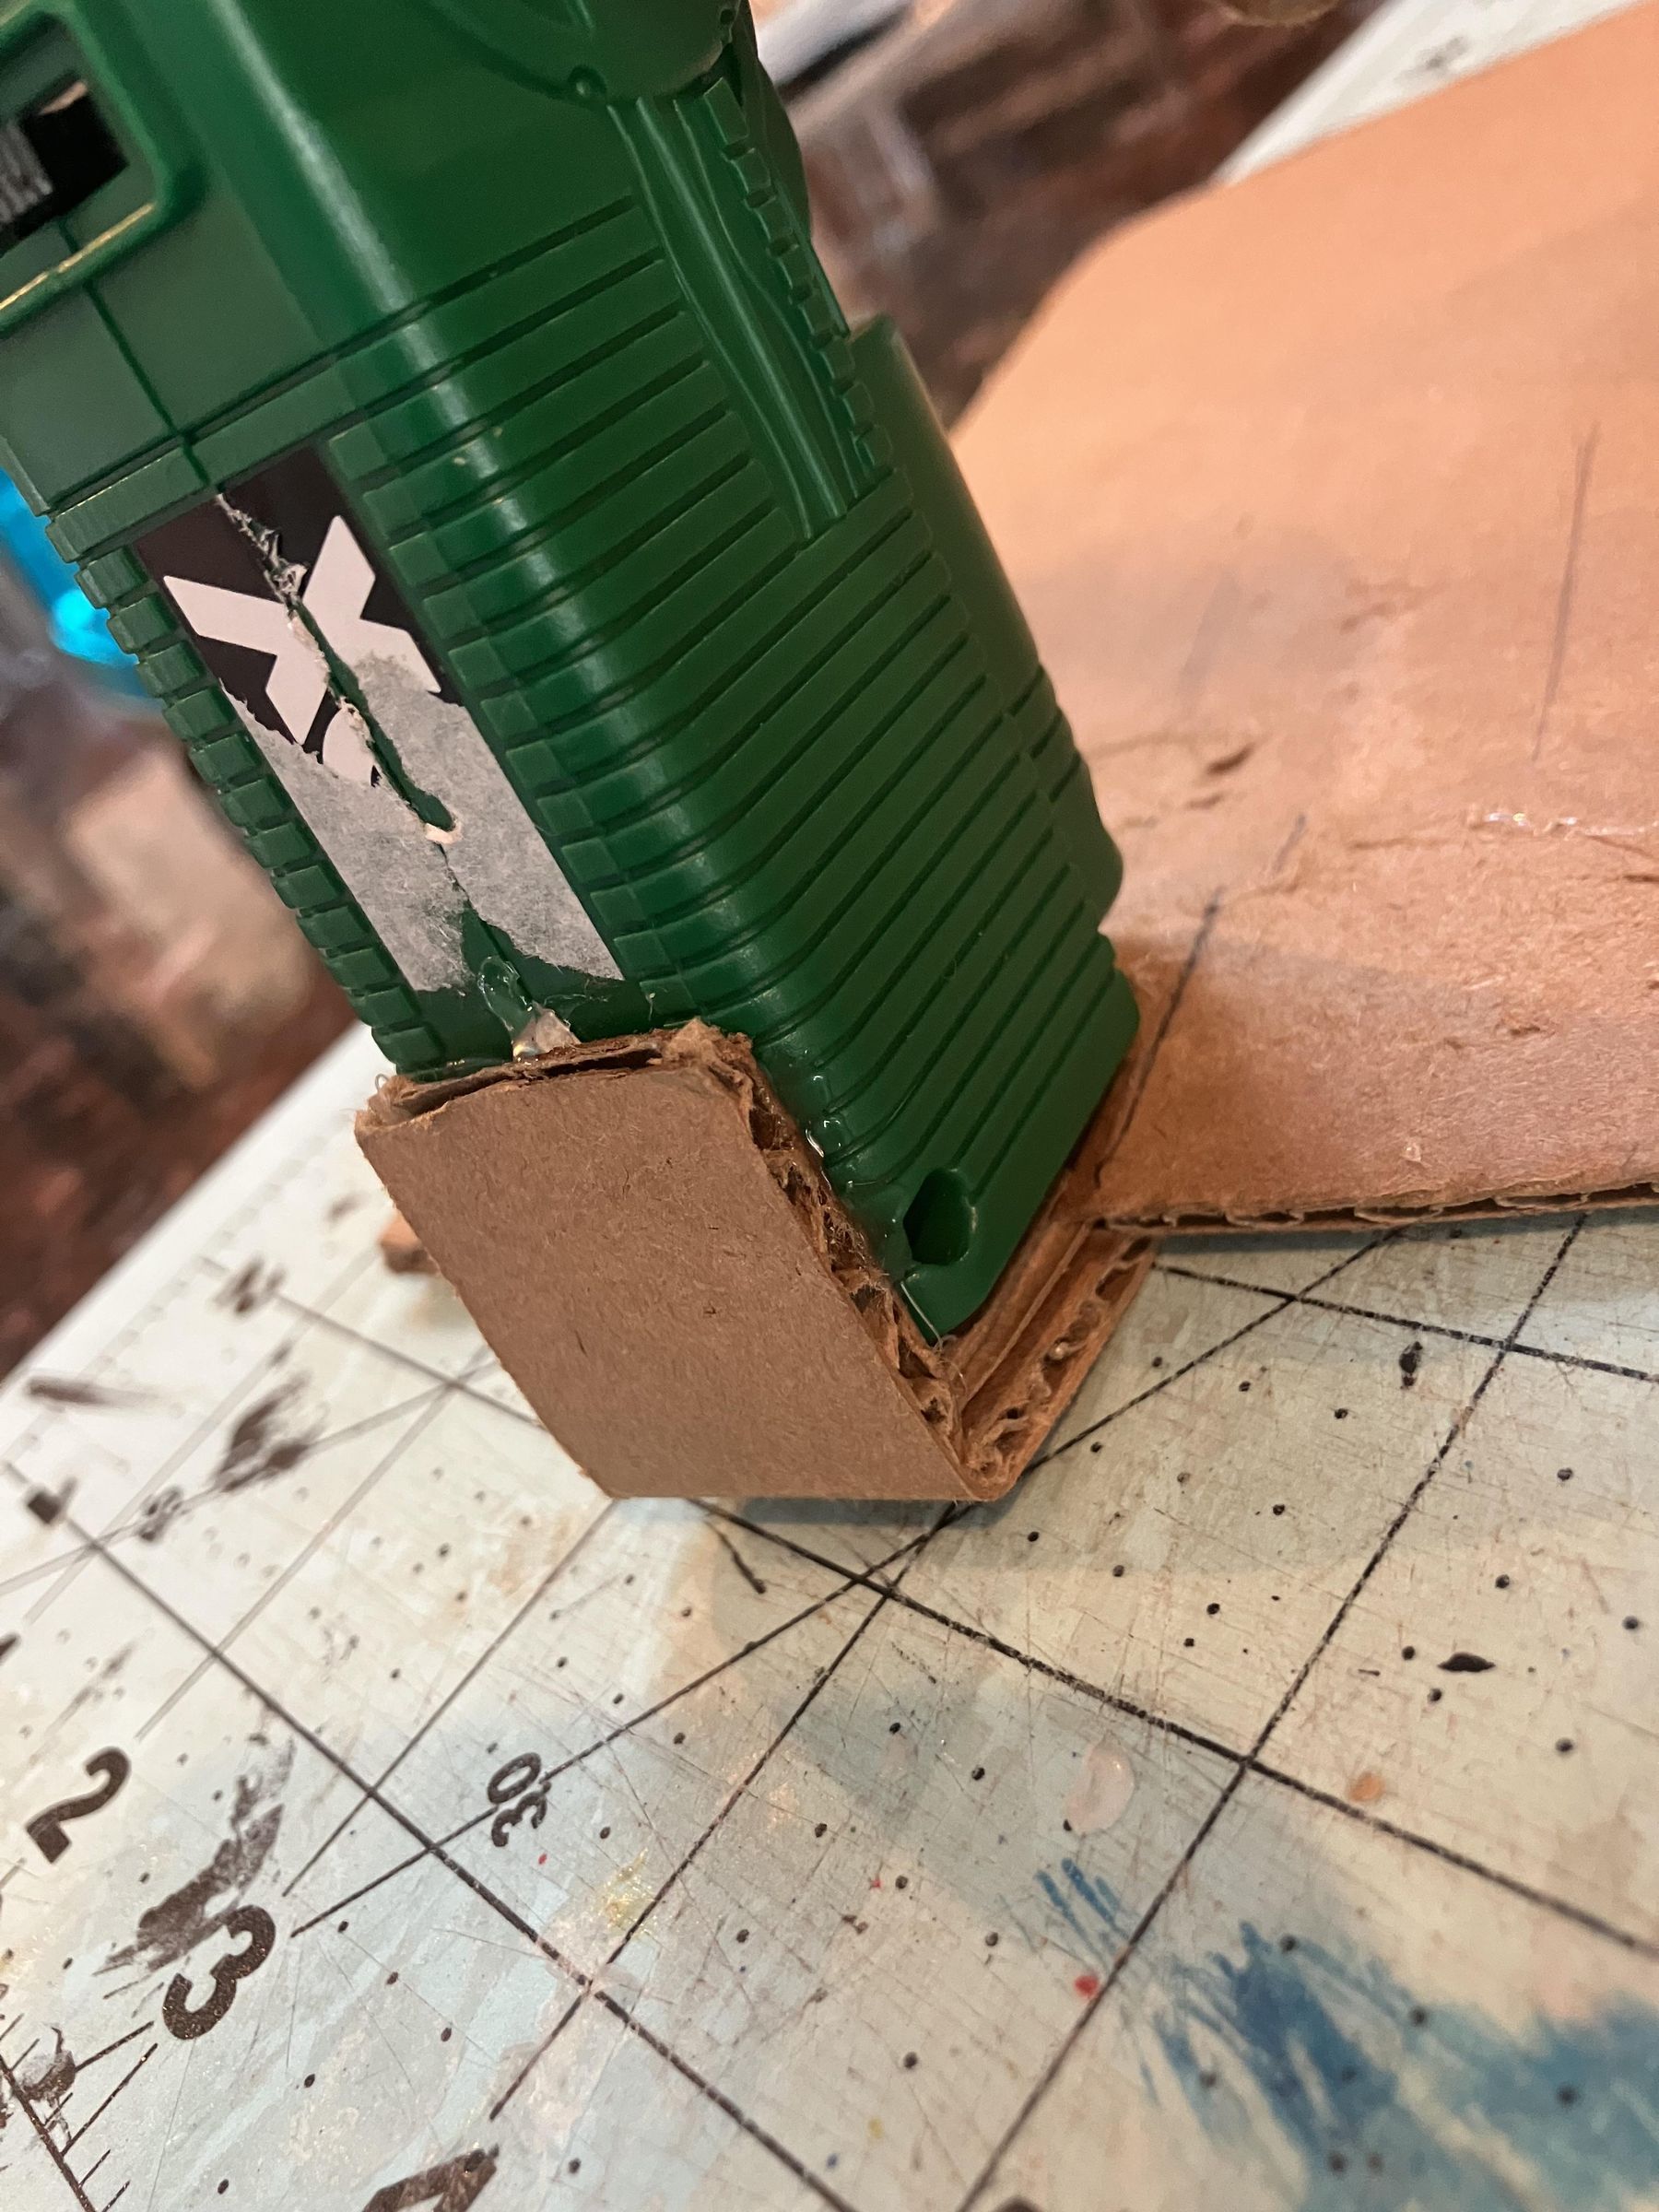
I made a cardboard piece that was about as wide as my motor. I scored the cardboard piece to allow for bending, and then I glued it to my platform in the place where I wanted my motor to be. I then took my motor and glued it to that piece.
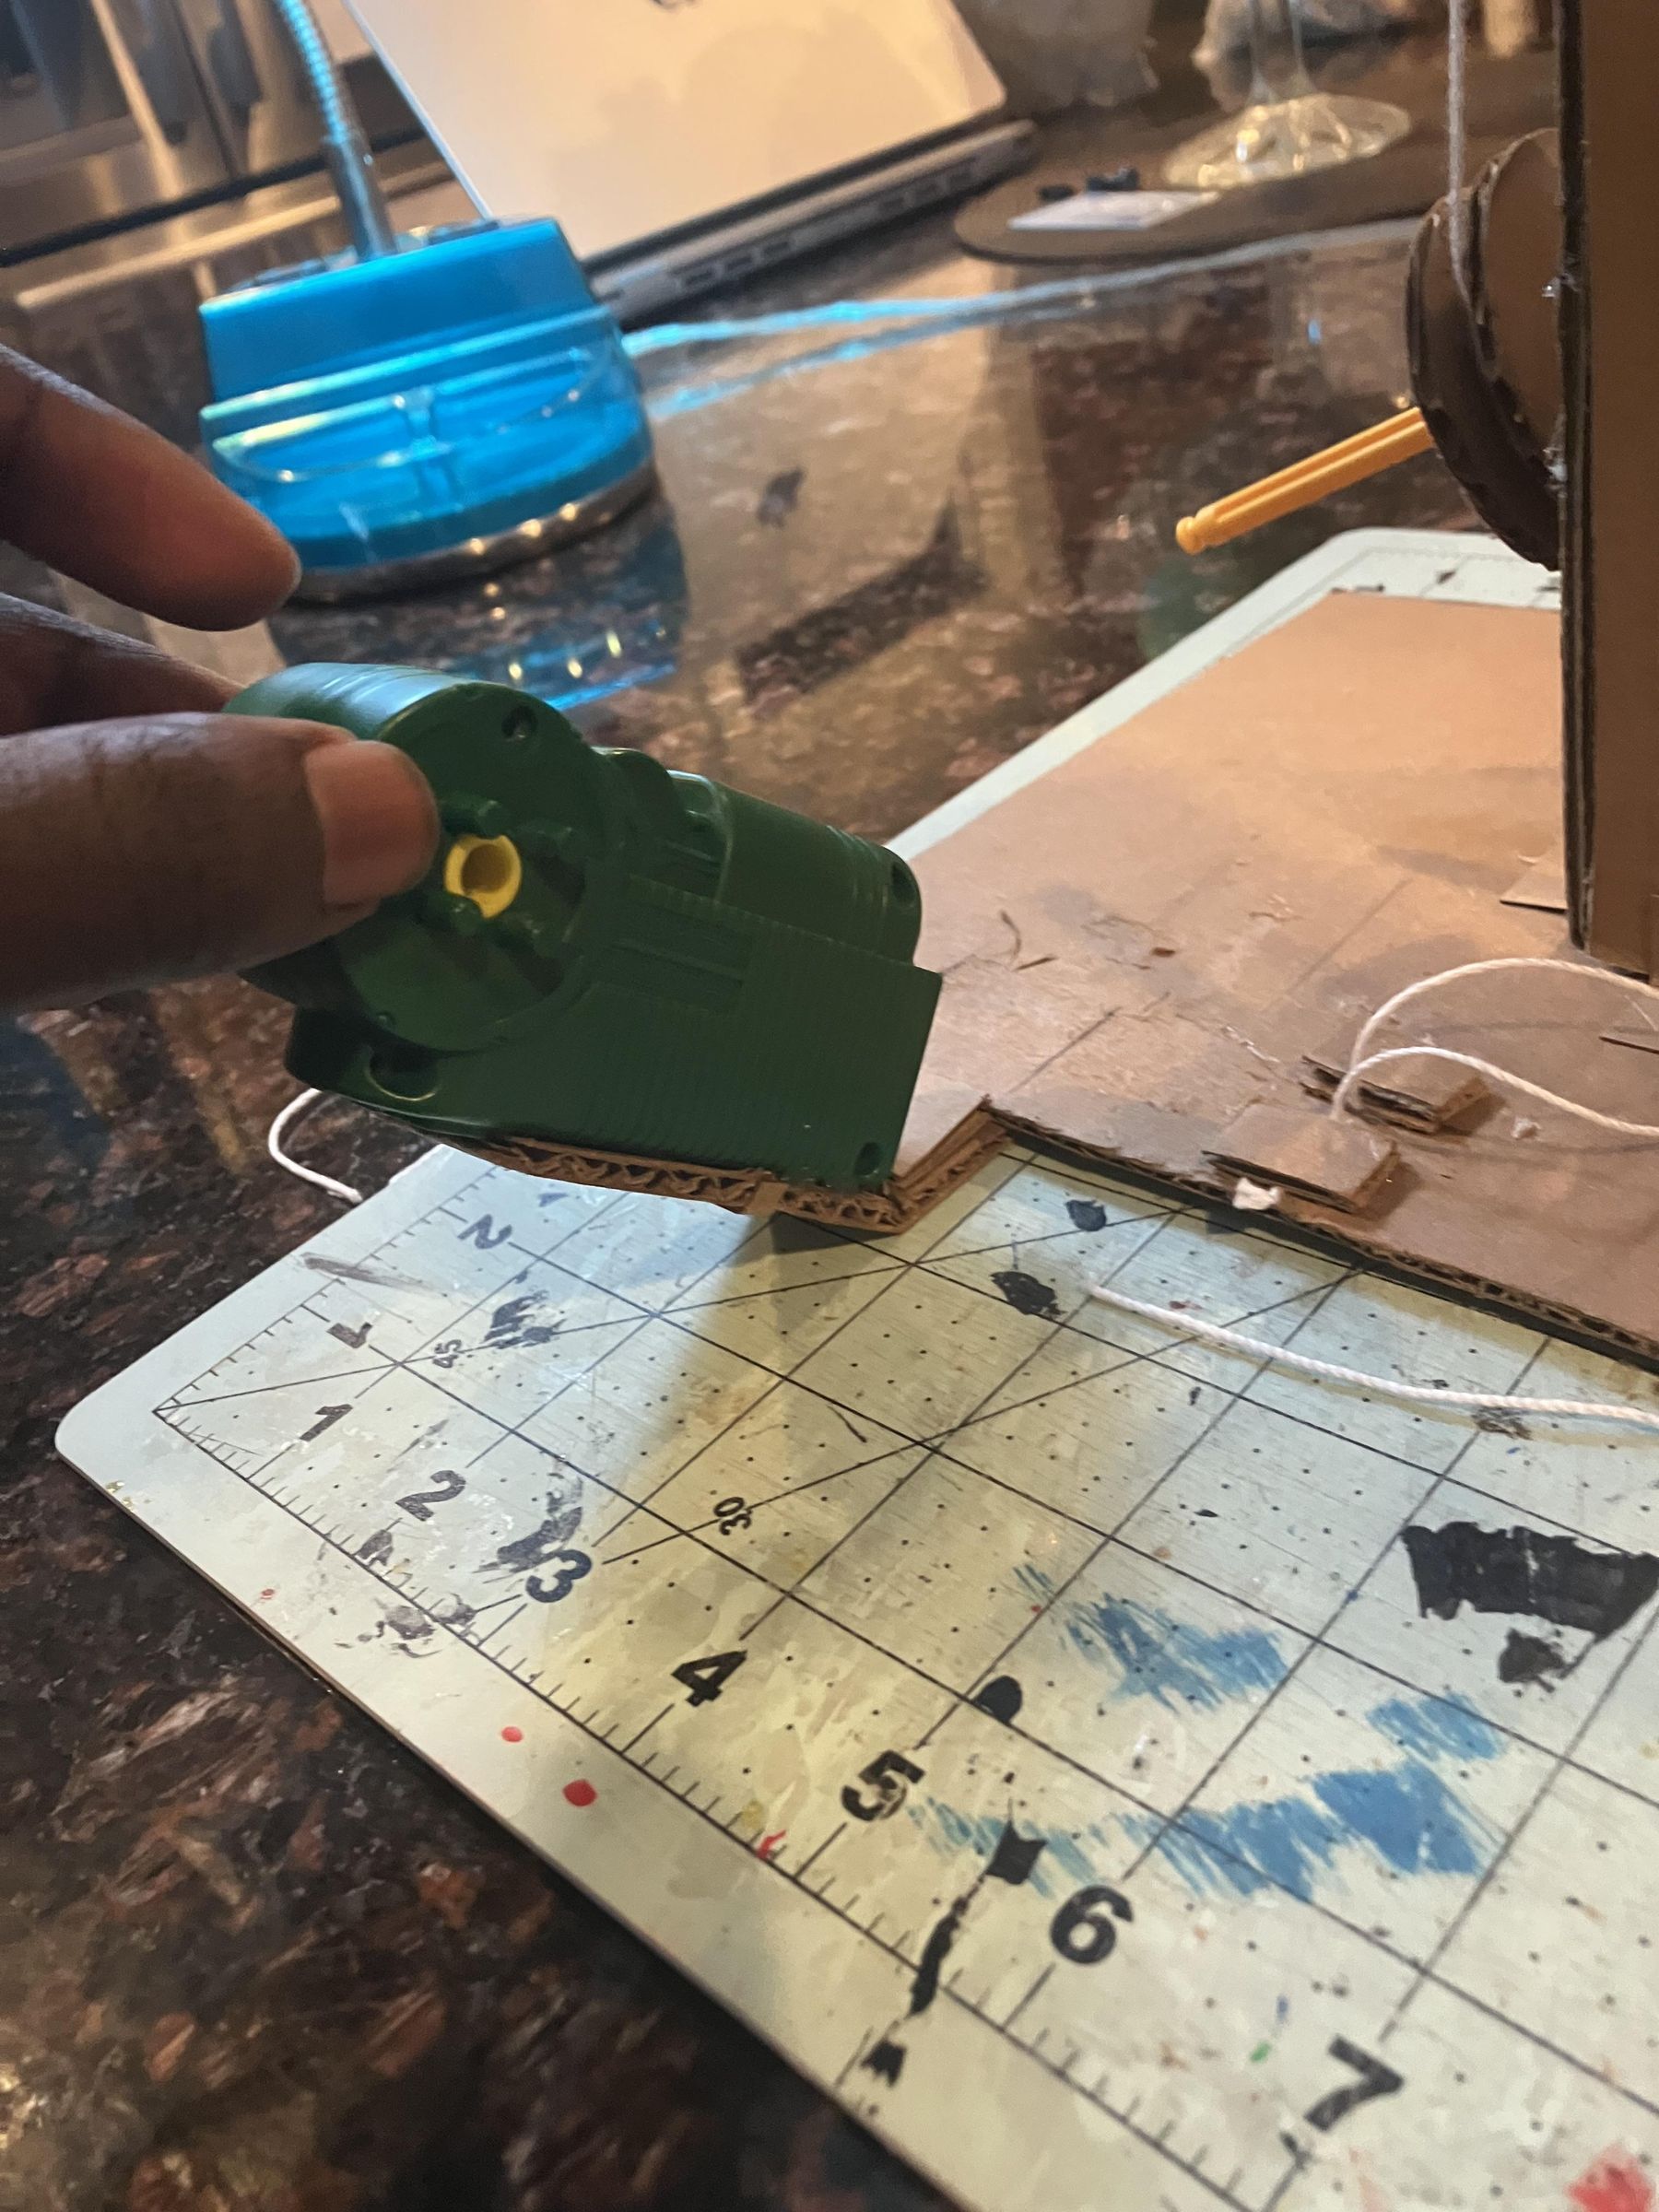
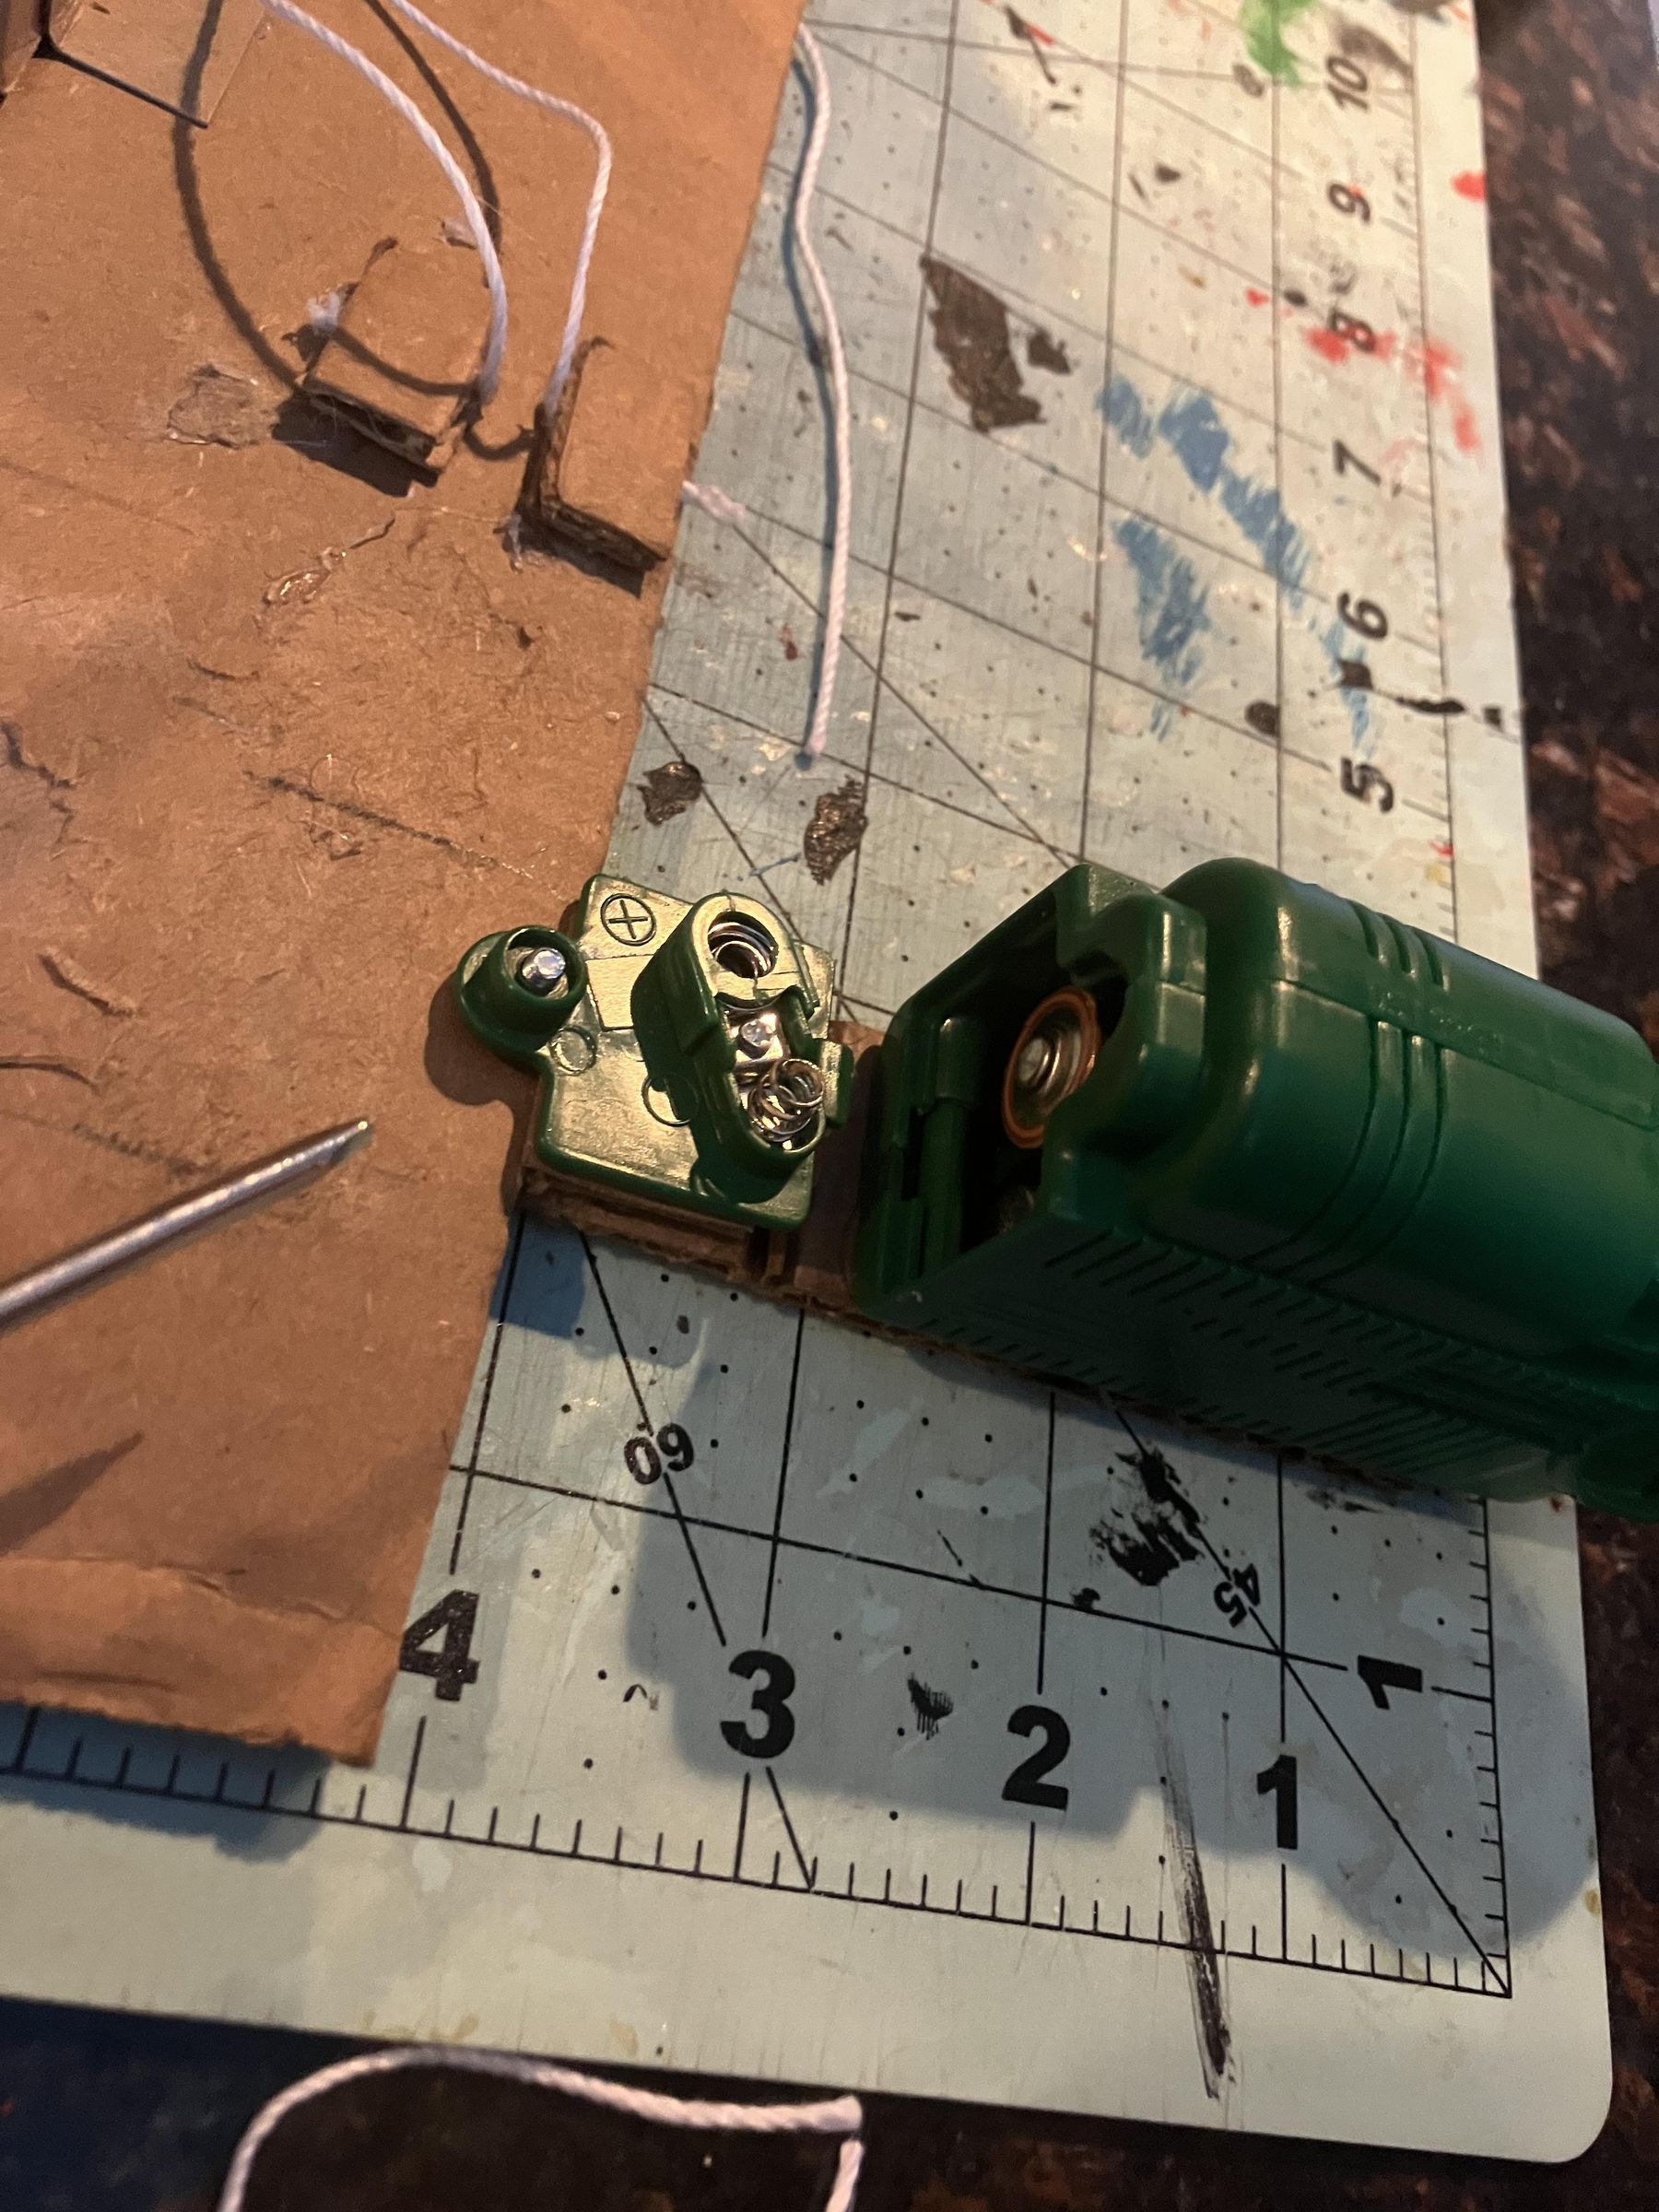
Because my motor had it's battery enclosure on it's underside, I knew that If I glues it in place, I wouldn't be able to change the batteries efficiently. This a mechanism I came up with was to attach the motor to a bendable piece of cardboard that would be able to flip back and expose the battery enclosure if I ever needed to change the batteries.
With that completed, the build is pretty much finished, right? Wrong... There is one more step I need to add.
An Issue With Tension: Fixing the Floppy Belt
![IMG_0121[1].JPG](/proxy/?url=https://content.instructables.com/FHP/7CQB/MR0YB4MC/FHP7CQBMR0YB4MC.jpg&filename=IMG_0121[1].JPG)
![IMG_0122[1].JPG](/proxy/?url=https://content.instructables.com/FTA/D47R/MR0YB4PO/FTAD47RMR0YB4PO.jpg&filename=IMG_0122[1].JPG)
The Problem
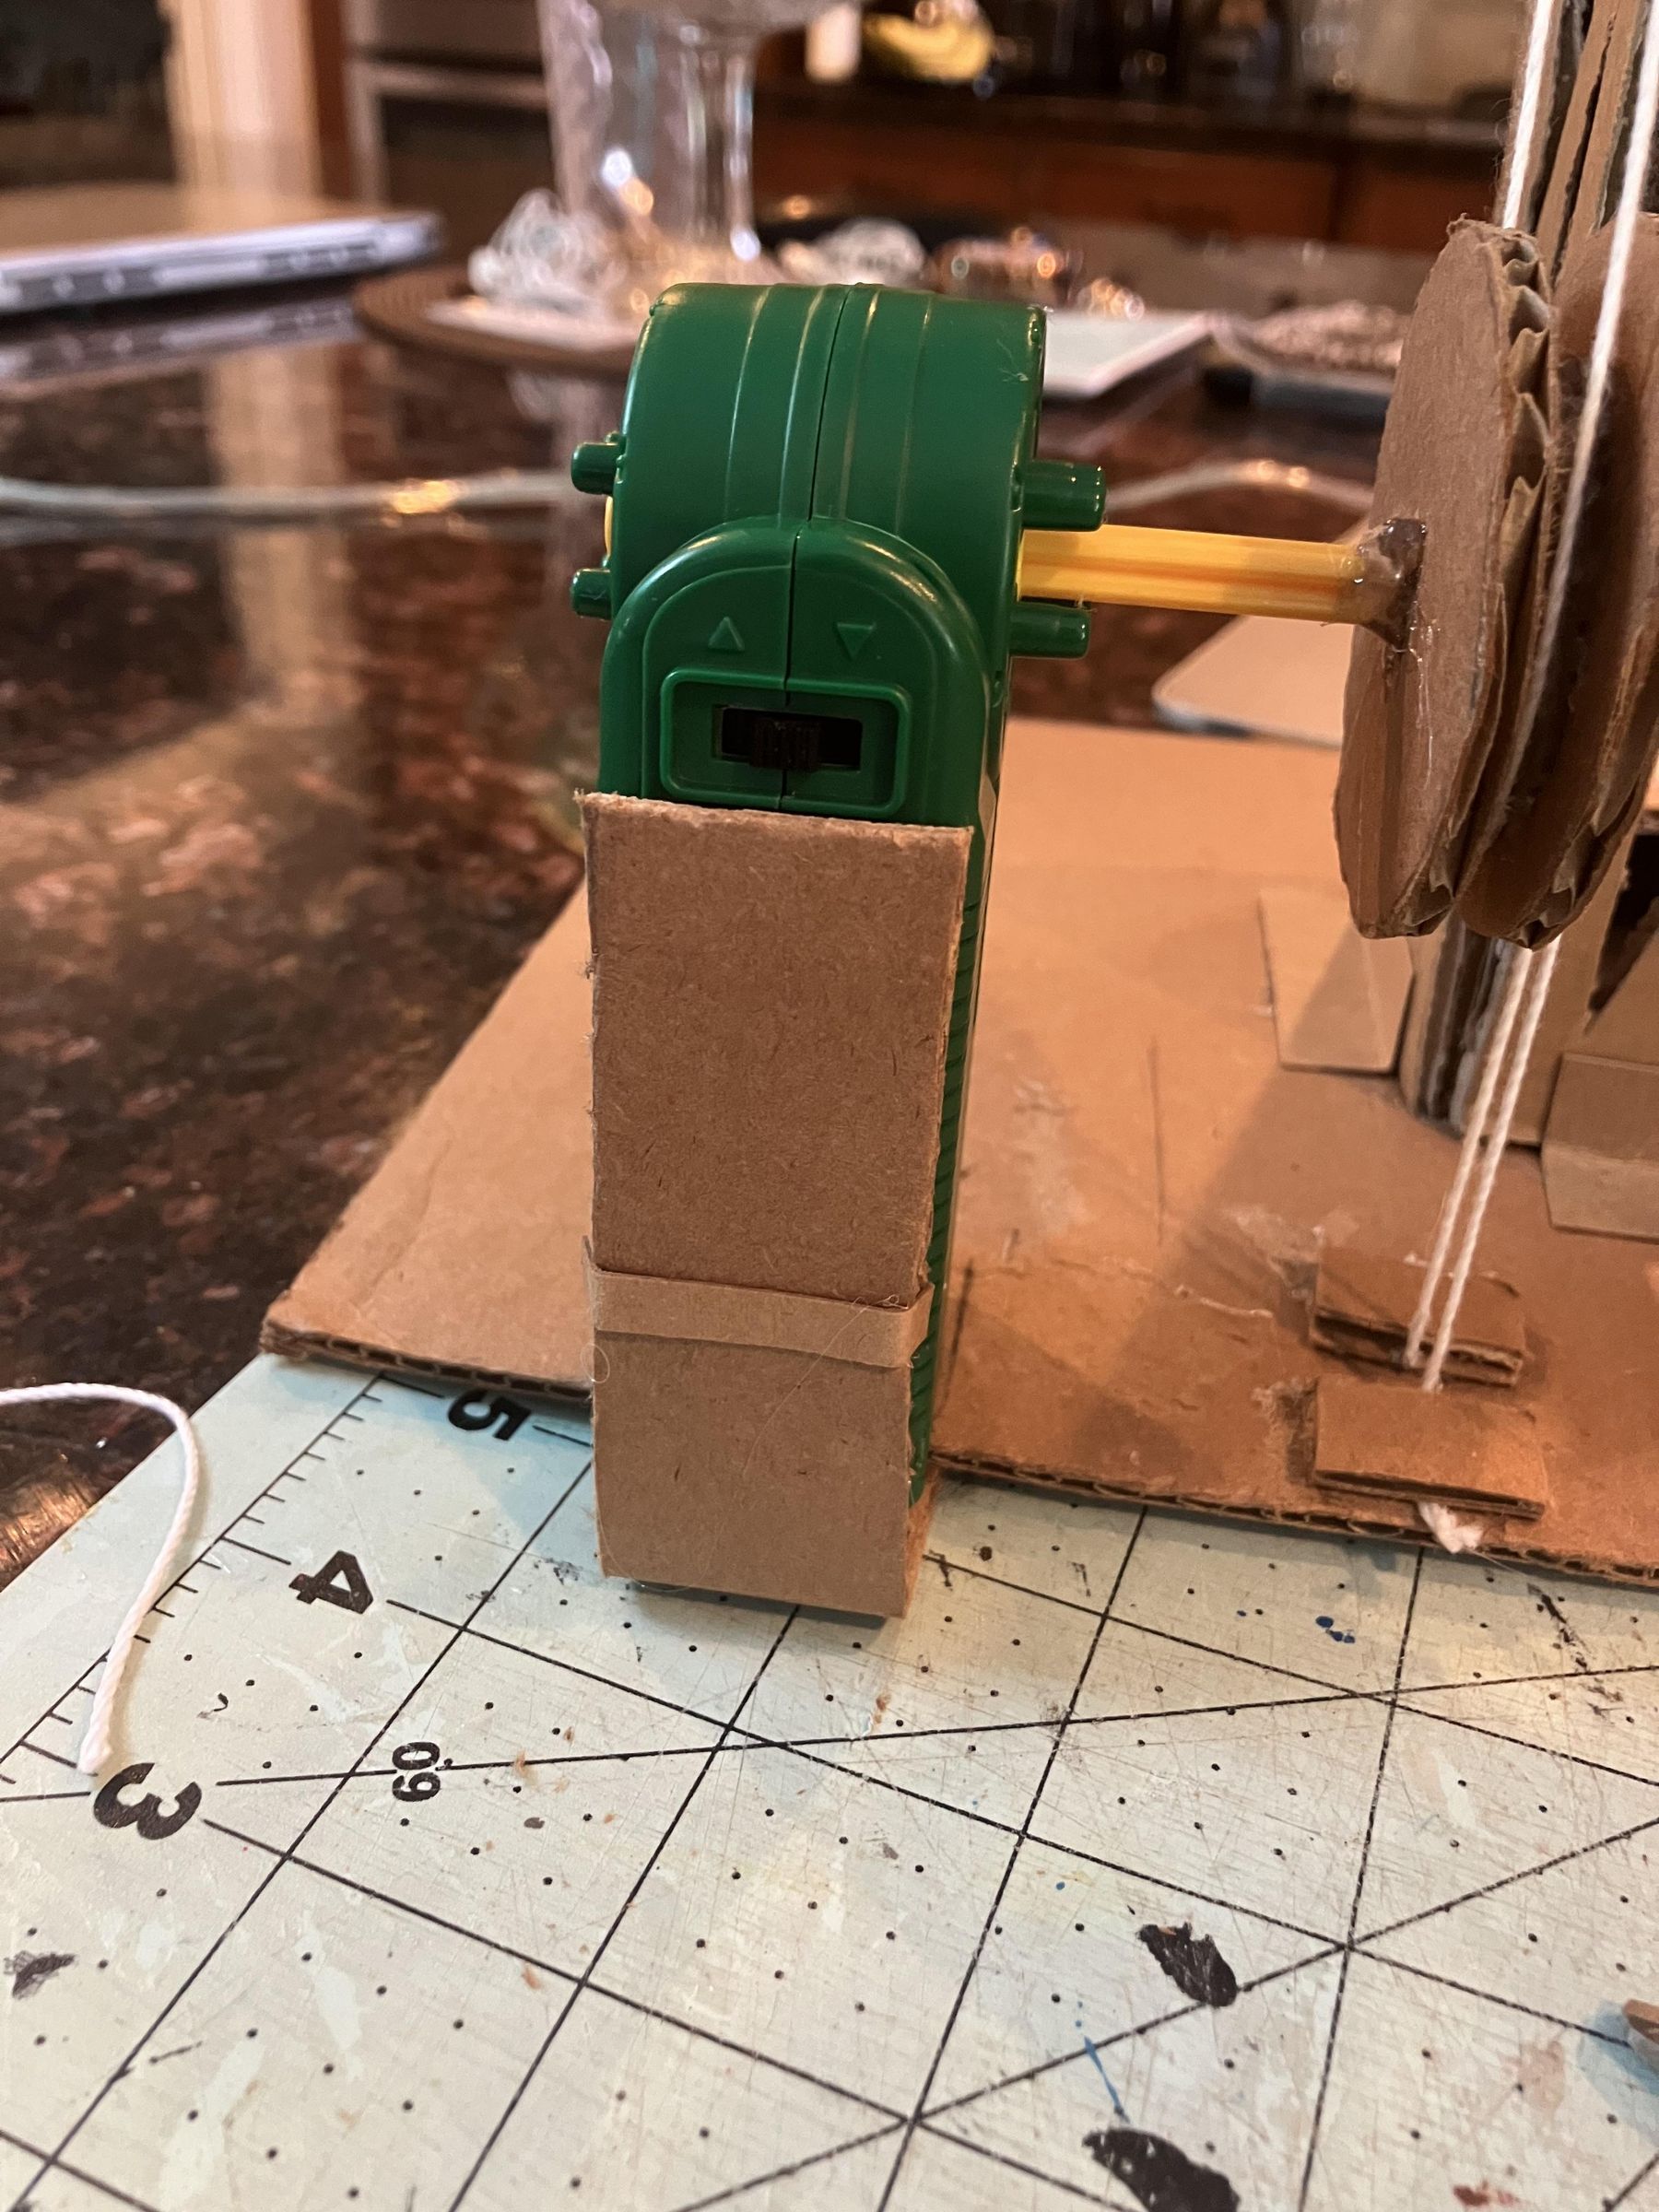
One issue that I came cross that I completely underestimated was the amount of tension needed for the belt to cause the pulley to rotate.
I had just glued my motor in place and had turned it on to test it out, when I saw that while the motor pulley was rotating, the string belt wasn't rubbing against the tower pulley enough for it to rotate the bar which meant no elevator movement.
Upon closer inspection, I found out that the bending piece that was holding the motor was flexing, which allowing the string to pull the motor pully slightly forward, which relieve the tension in the string.
The Fix
I took a piece of string and two small cardboard pieces, and I applied them to the motor set-up as you can see in the photo above. The string loop around the end of the motor rod acts as a counter force to the belt string tension, which keeps the pulley in place, therefore preserving the tension needed to rotate the tower pulley.
Finishing Touches and PRESENTATION
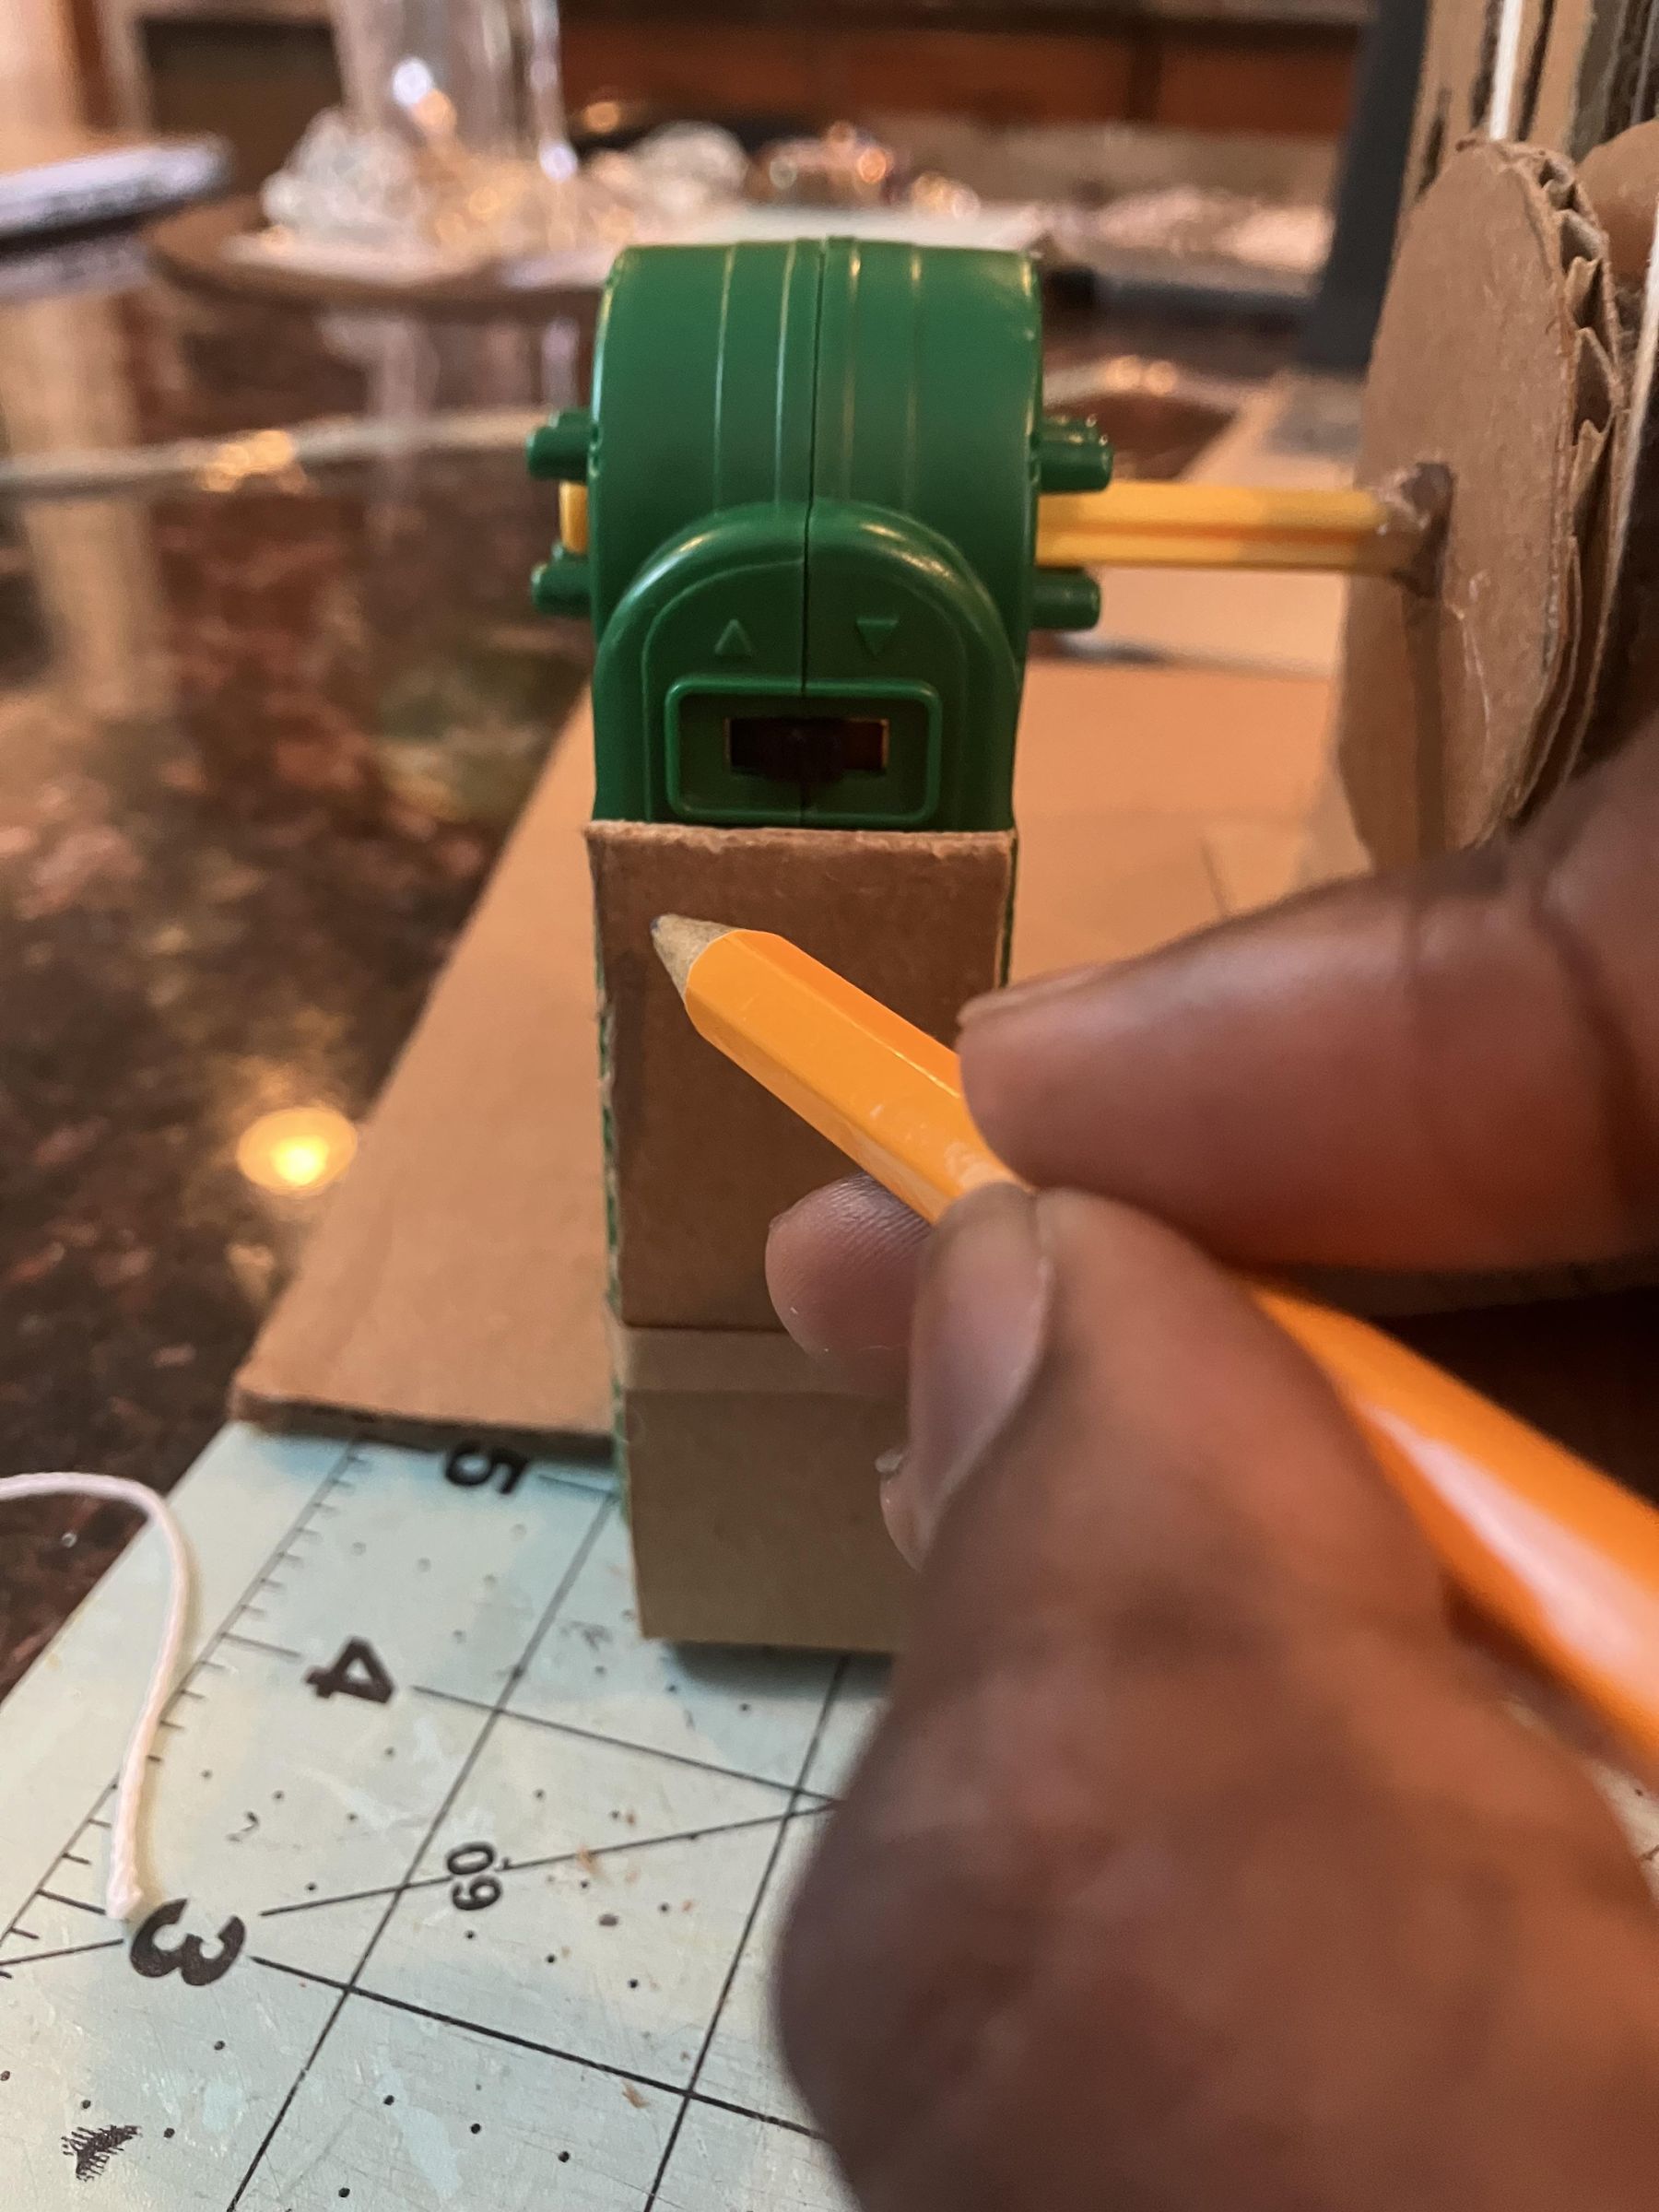
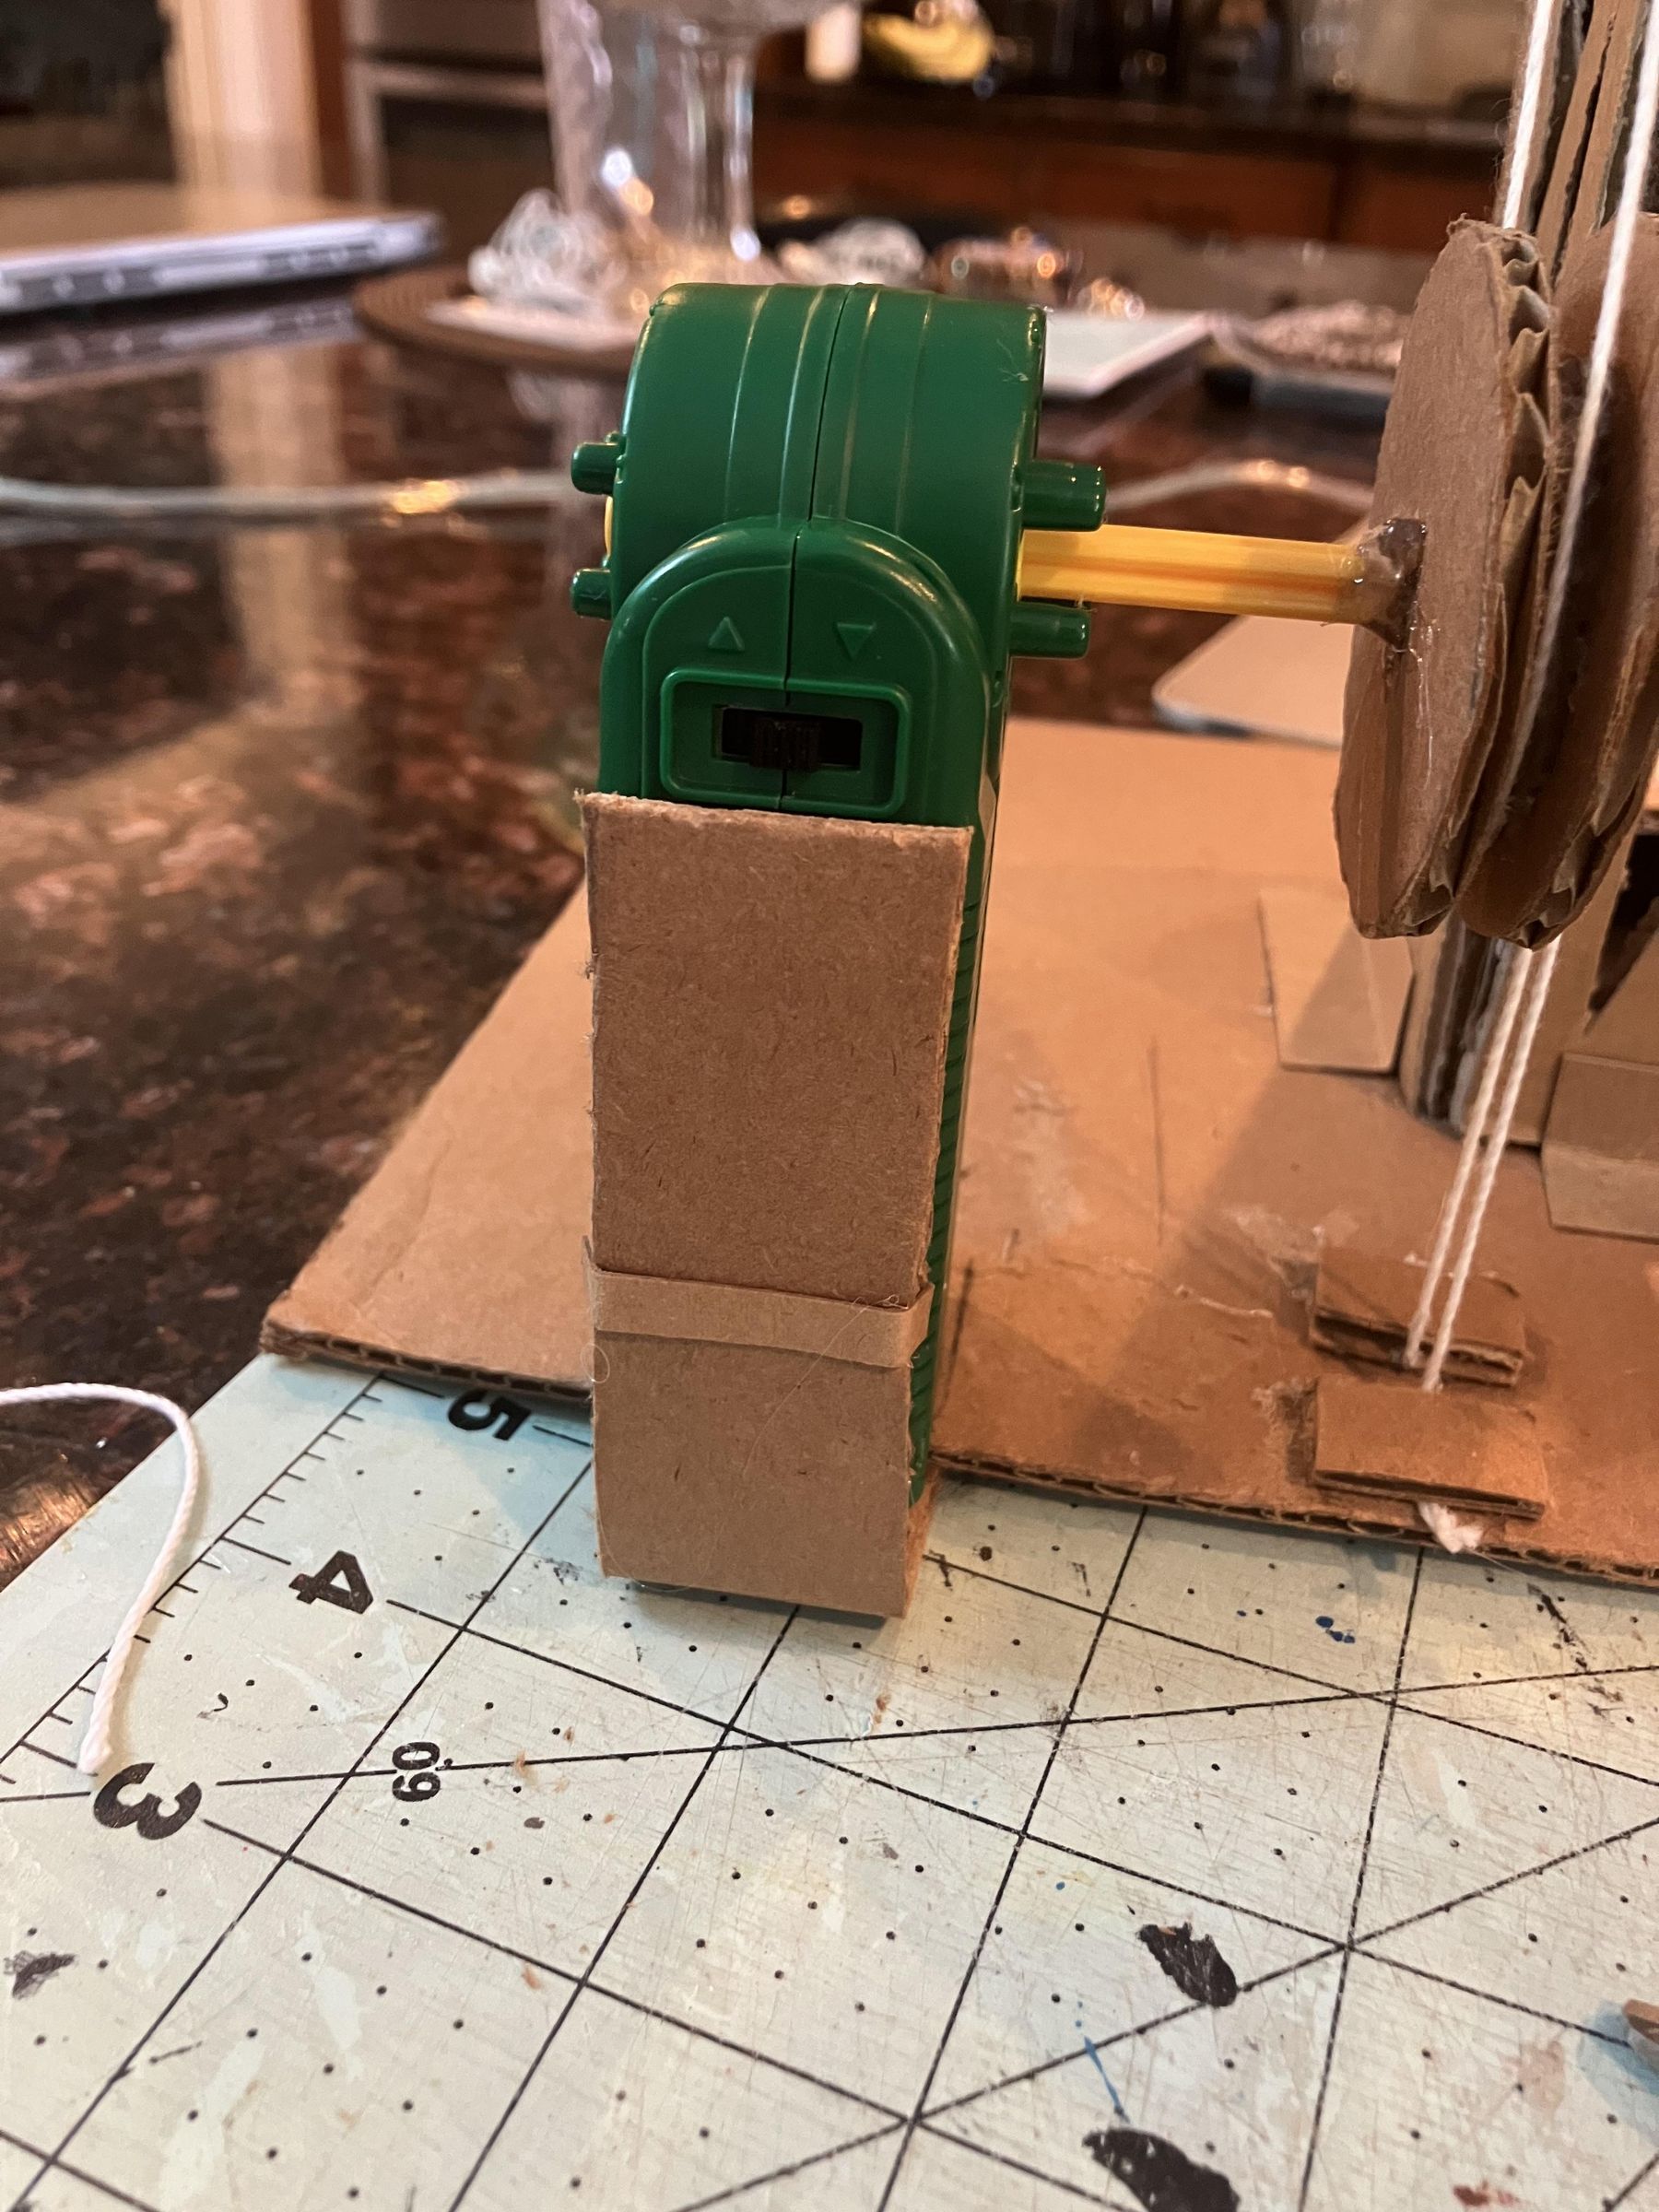
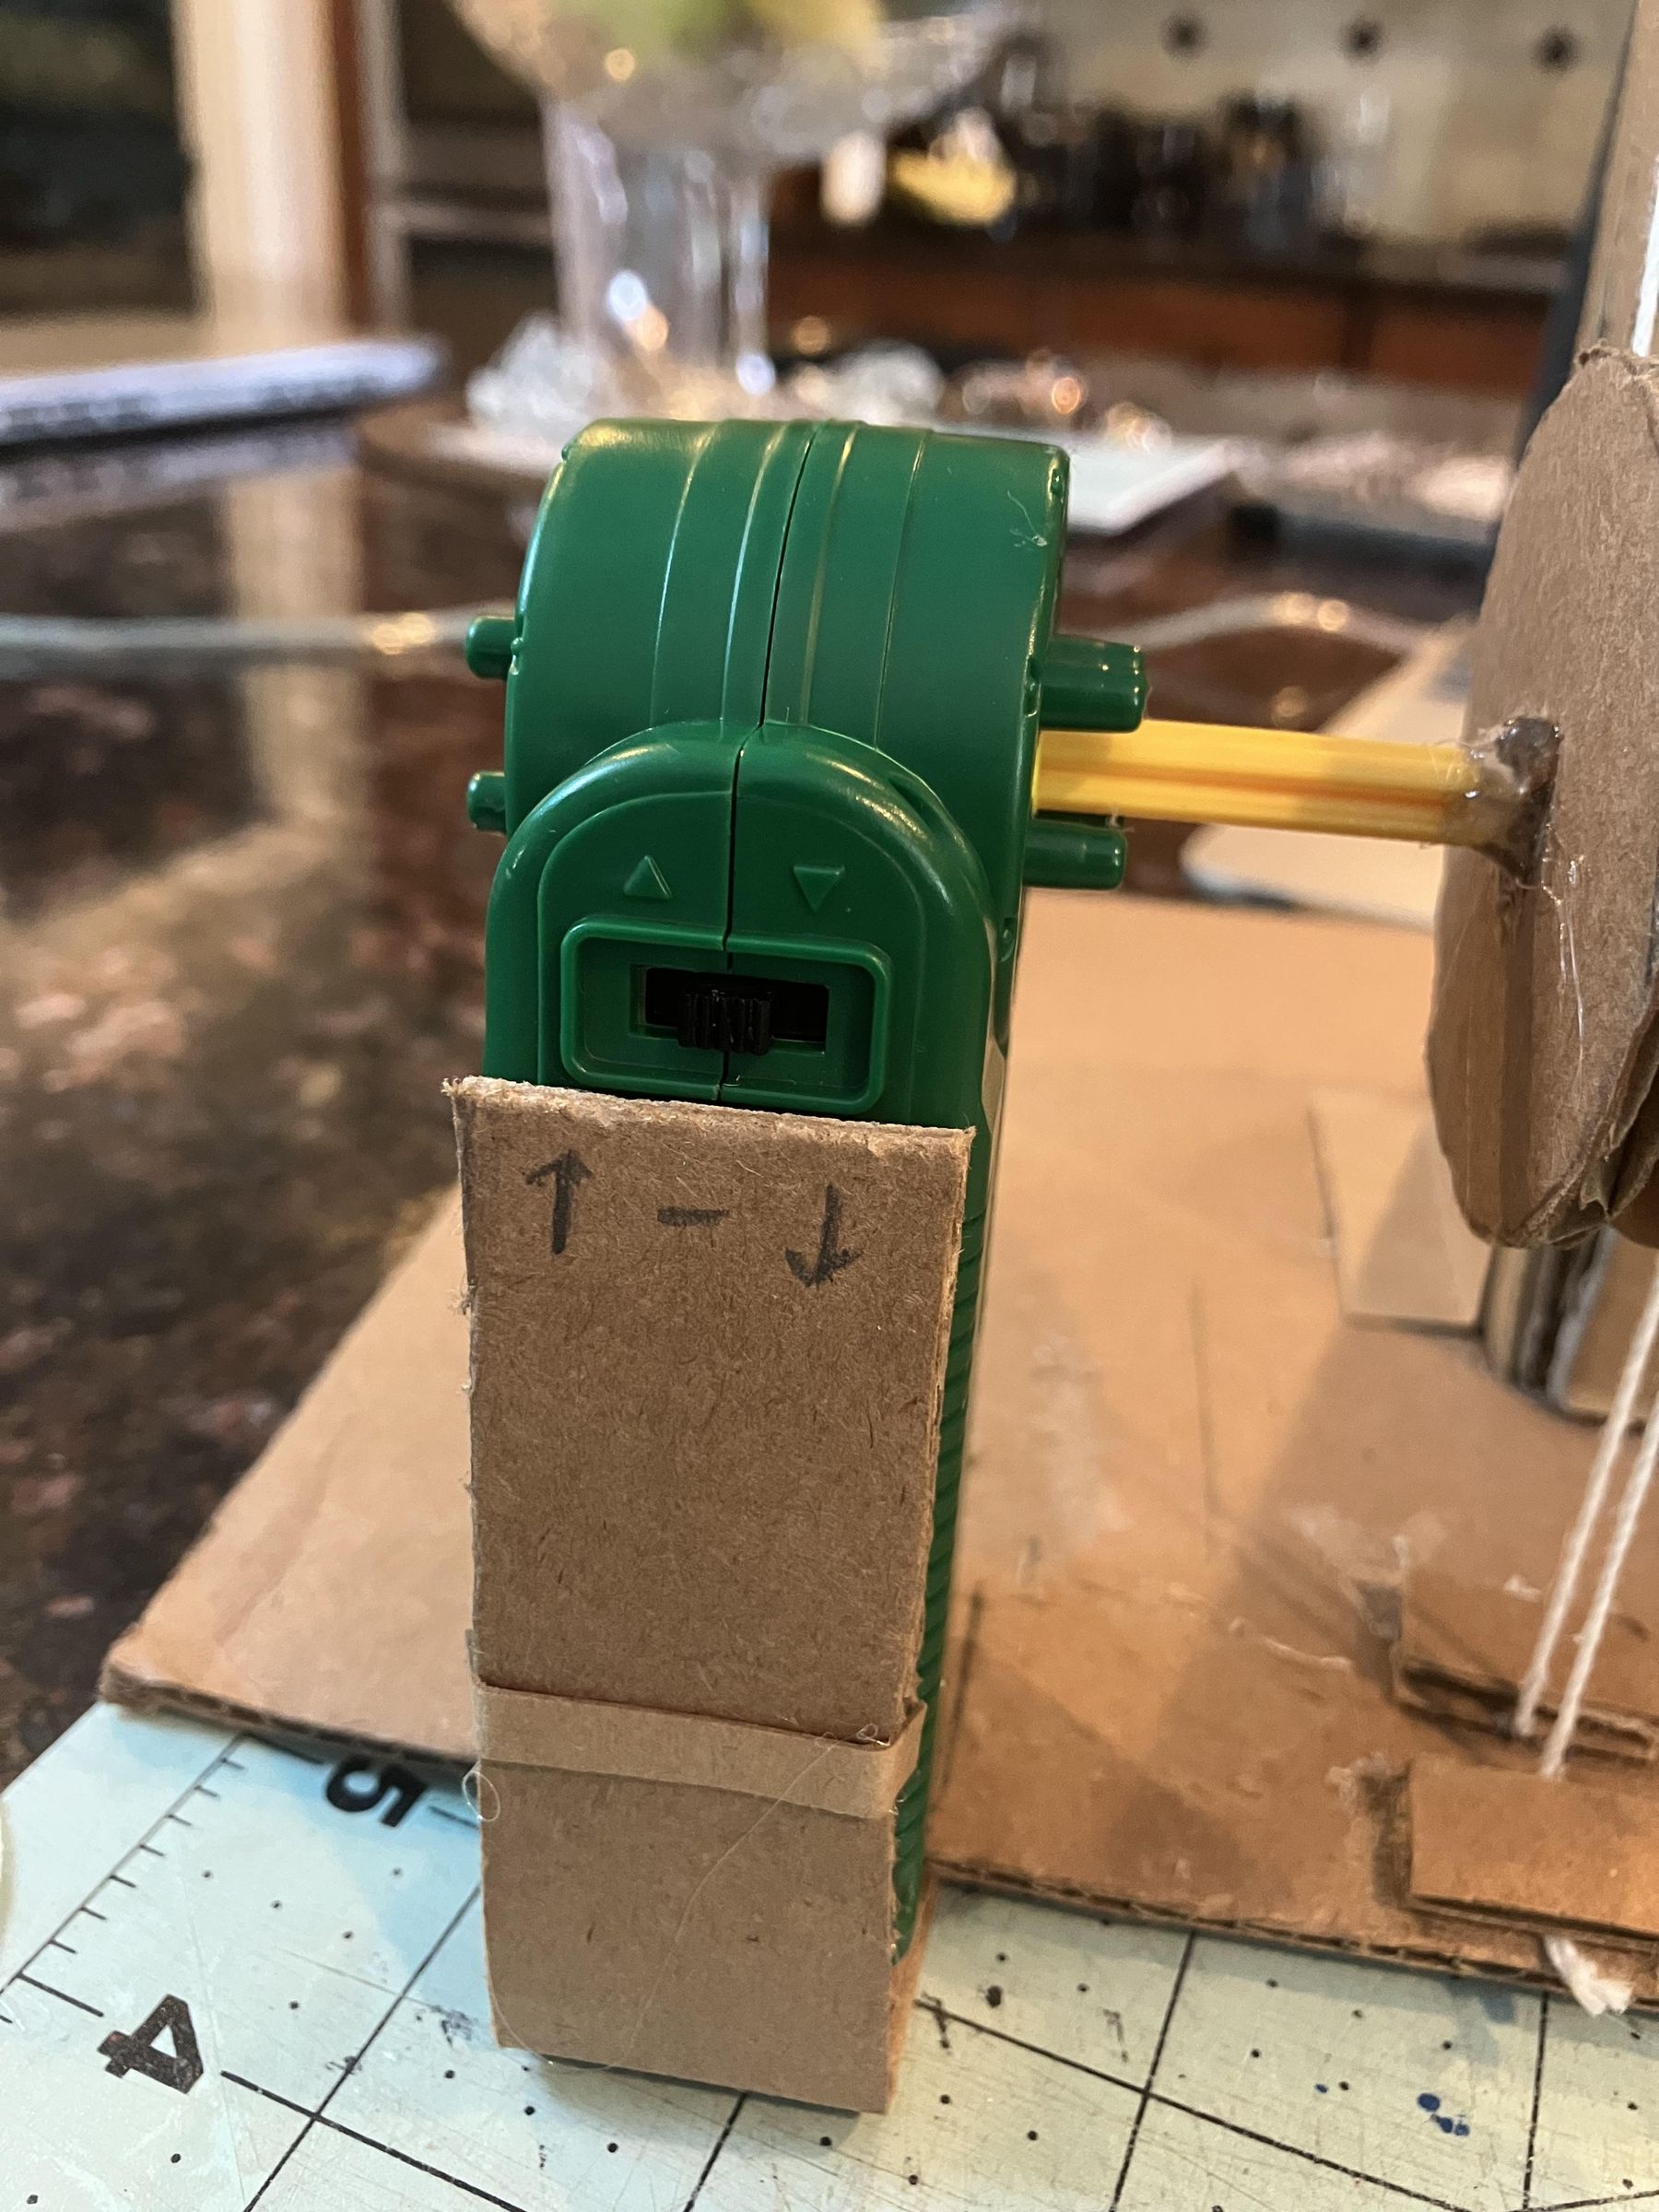
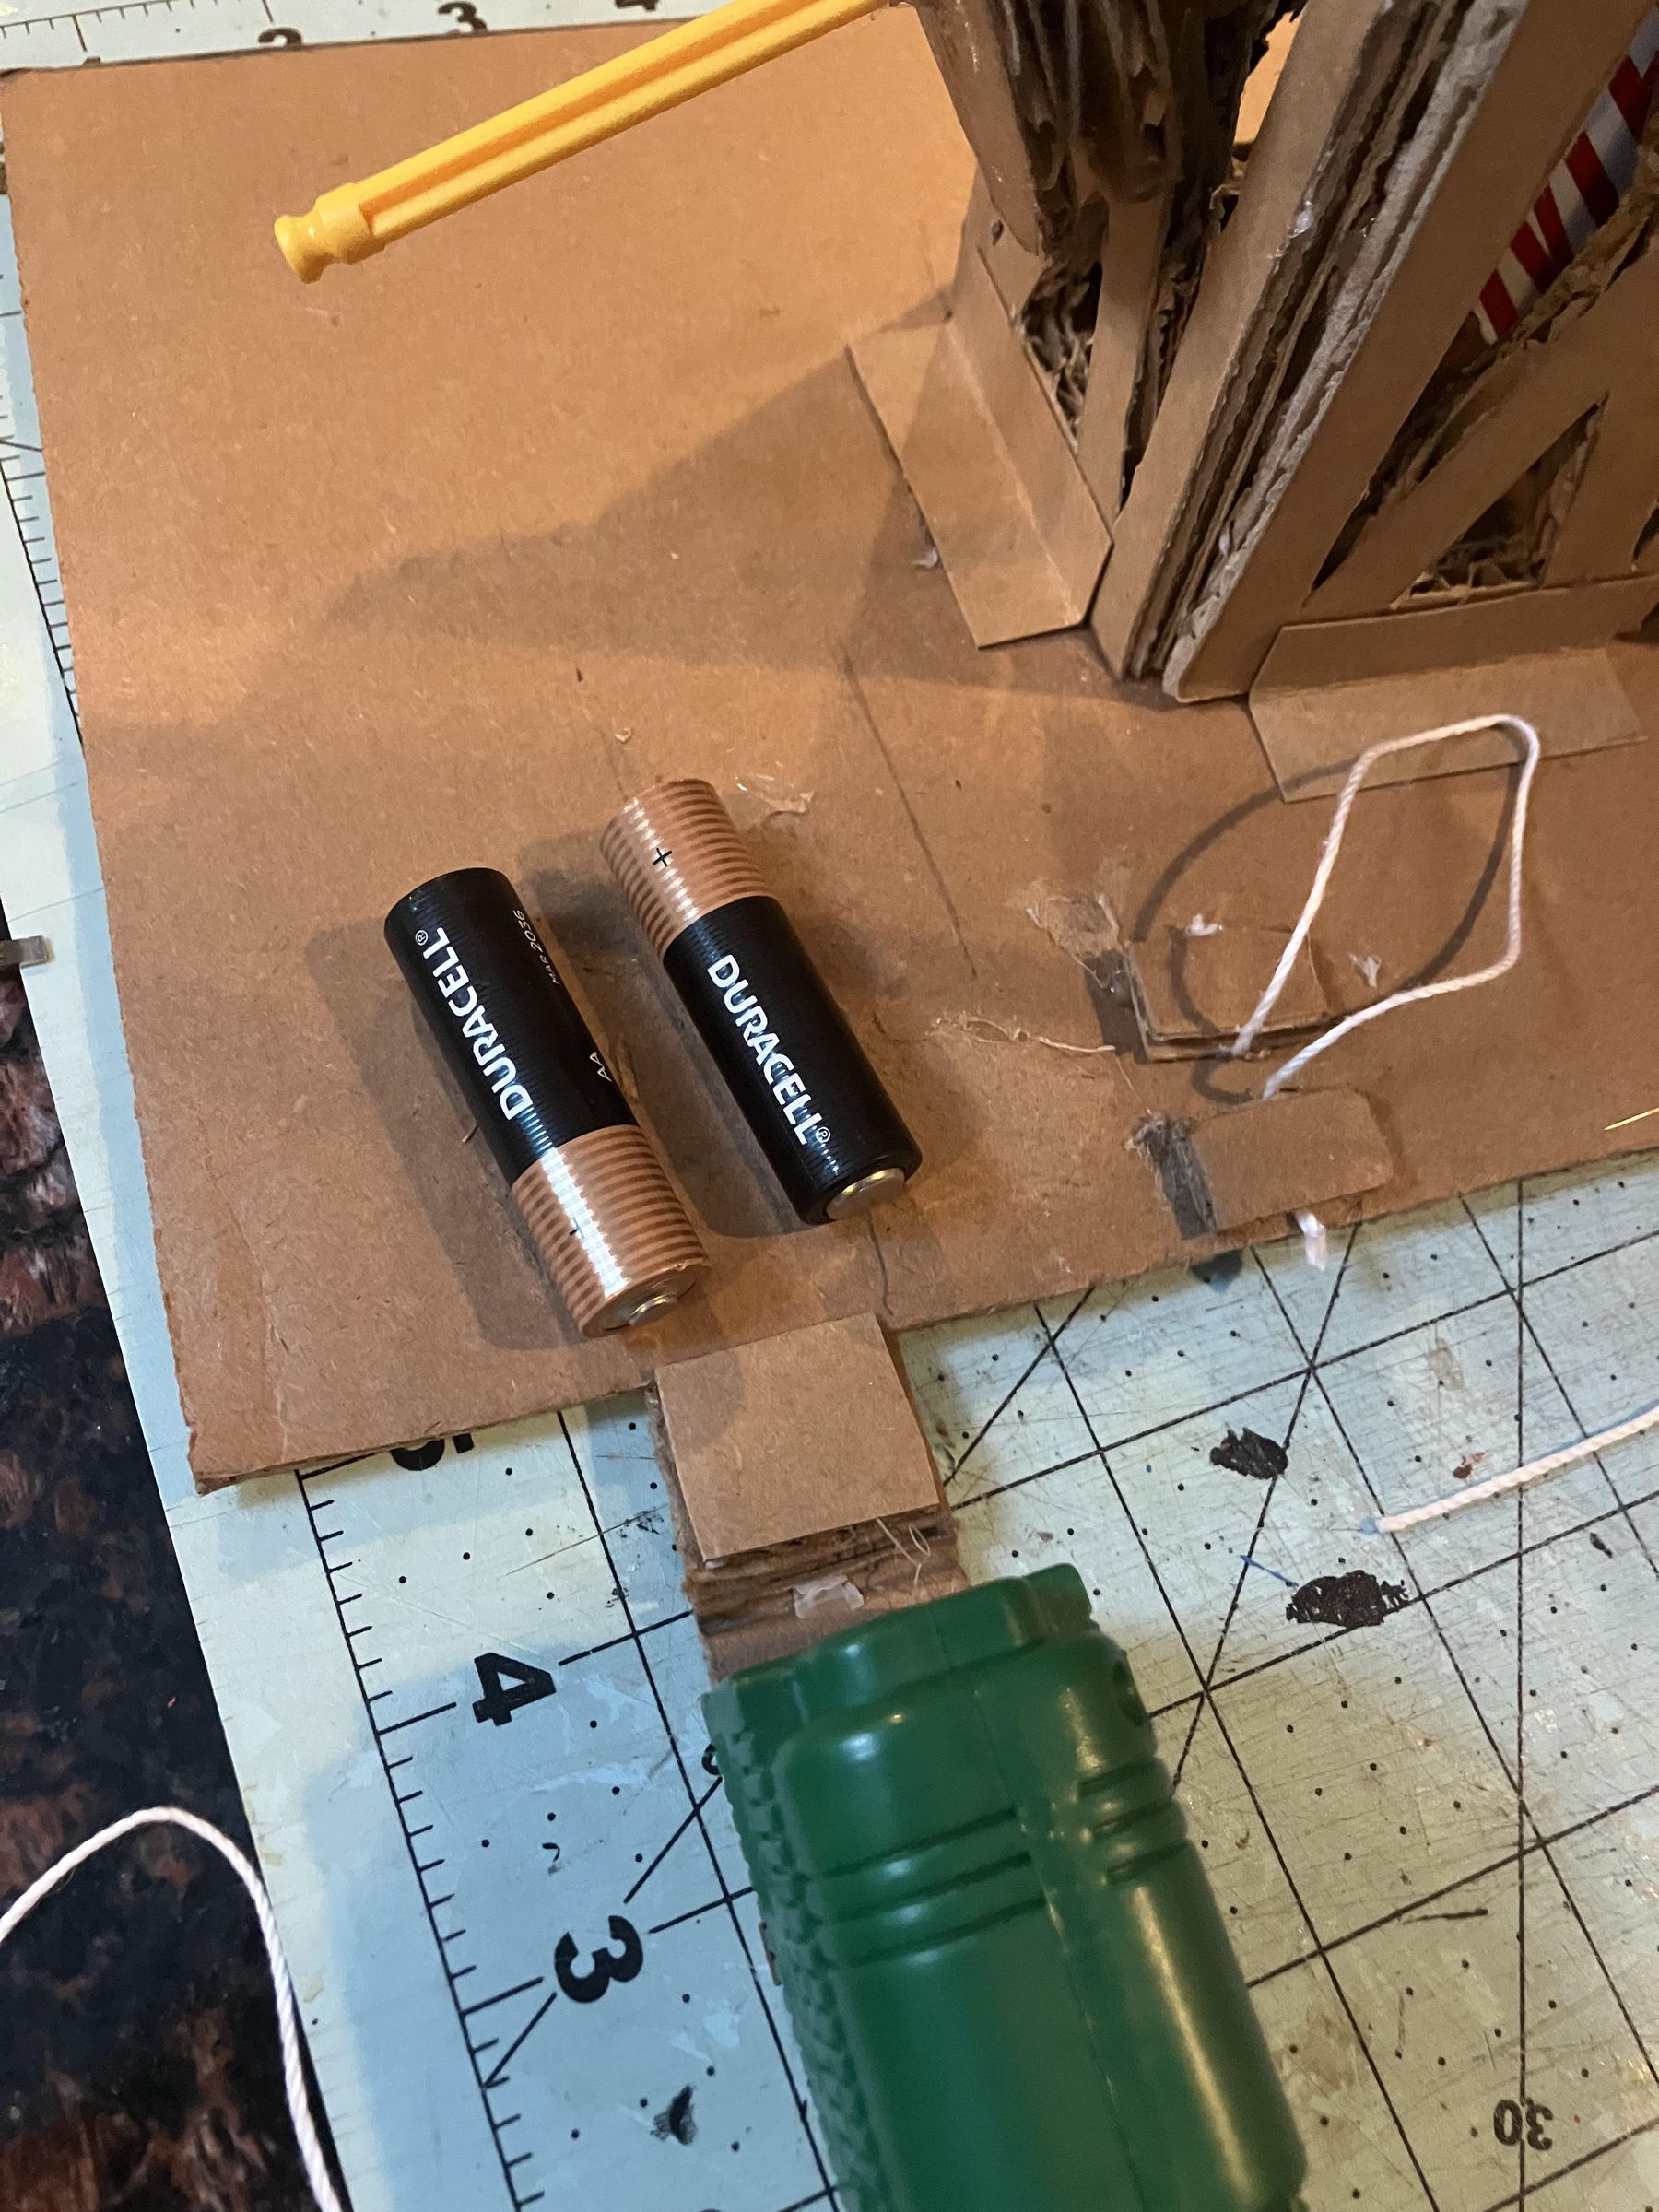
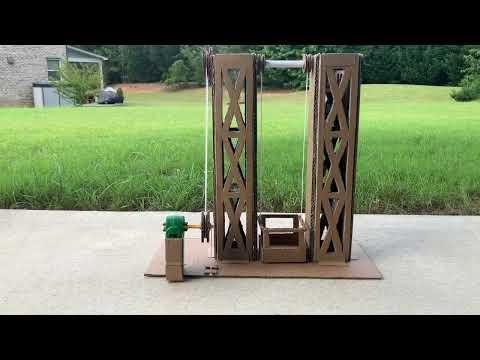
One last thing I decided to do was cover up the "K'Nex" logo on the motor because I didn't like the way it made the build look. I simply took yet another cardboard piece and glued it over, the logo. I also added some up down signs on the piece.
I also included photos of how the battery replacement would work.
------------------
Like I said in the intro, I would like to think of this as a prototype, and with that mindset, here are some things I would add or change:
- I would add wheels to the platform or design the model as a mobile vehicle so that it can be moved to further help the transport of supplies for workers.
- I would add a mechanism that would let the motor stop by itself automatically instead of me having to turn it off and switch from going up to down manually.
-------------------
Overall, this build is complete.
Projects like this with many moving parts can be frustrating at times, especially when things flex under pressure or when new variables appear that can affect the motion of objects, but it is very rewarding to see your efforts pay off in the function final product.
Thanks for reading, and I'll catch you in the next one.