A California Style Fence
by Coolwhlp in Workshop > Home Improvement
230 Views, 3 Favorites, 0 Comments
A California Style Fence
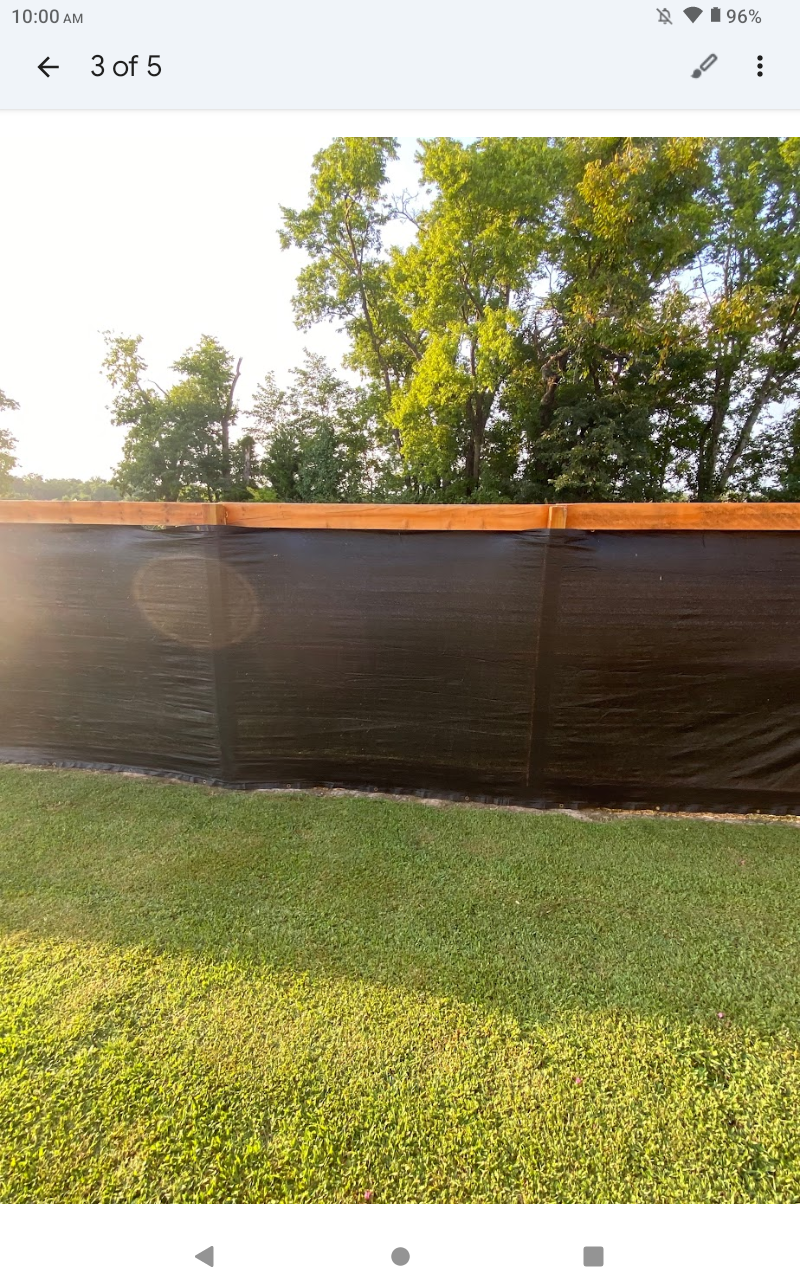
We built a California style fence a few months back and I want to share how you build one with you because fences do bring people outside and you are building something outside and it's a home improvement.
Supplies
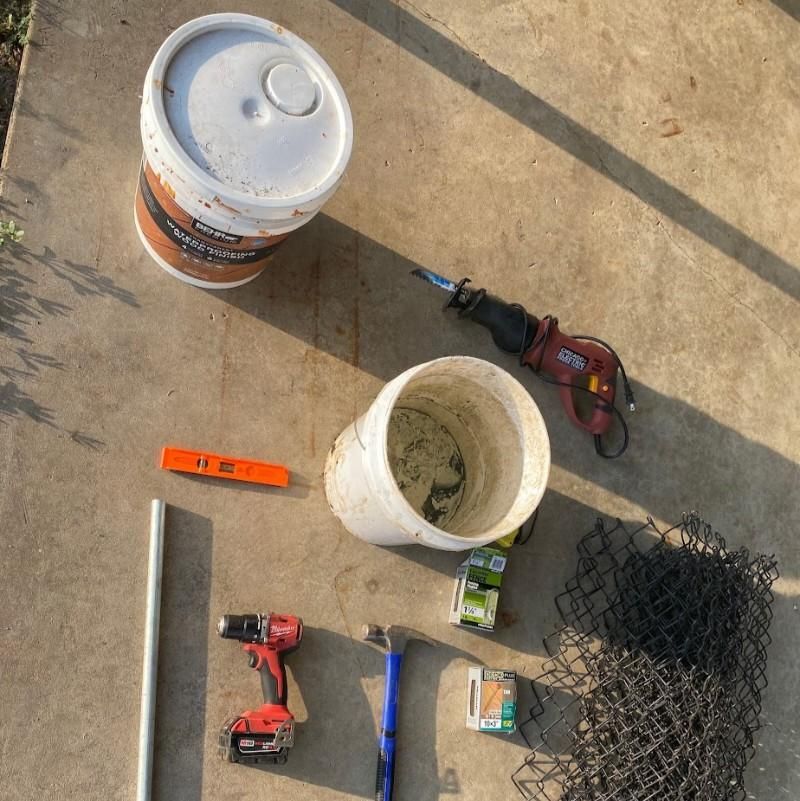
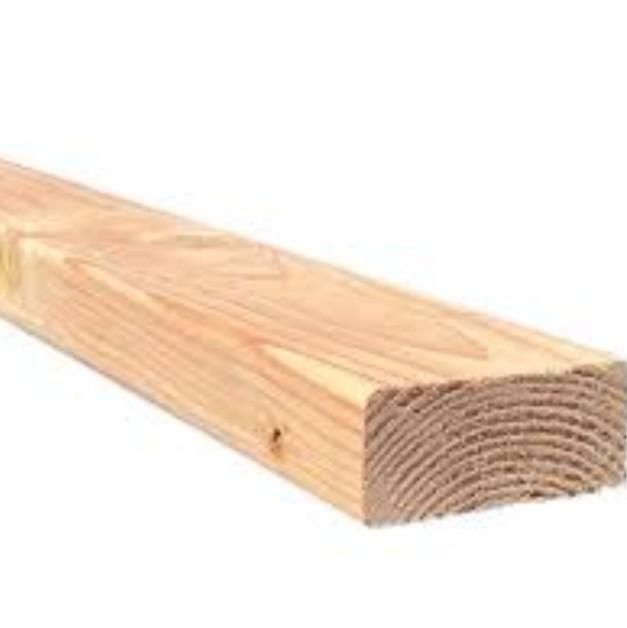
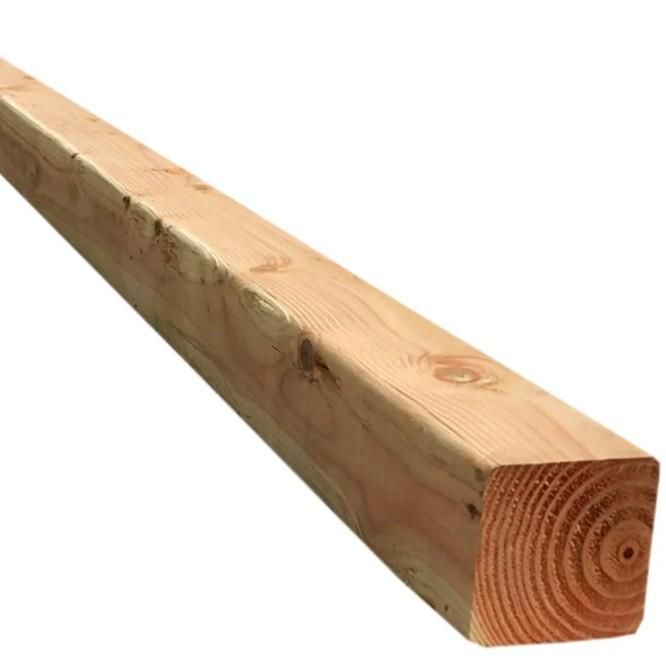


4x8s ( it will be 2ft in the ground so it will actually be 6 ft tall so if you want it to be 4ft tall you will have to get 4x6's)
6x8 (this will go a cross the 4x8s we did three 1 at the top 1 in the middle and 1 on the bottom )
Fencing Staples
Towable auger
Chain link whatever size and shape and color you want (we used black 8 gauge and diamond shape)
Chain link stretcher
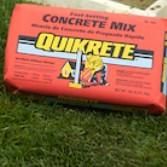
Cement
Water
Level
Drill
Screws
A saw (you only need it if the wood is too tall like if you did not dig it enough but you don't want to keep on digging)
stain ( if you want it makes it look a lot better)
Hammer
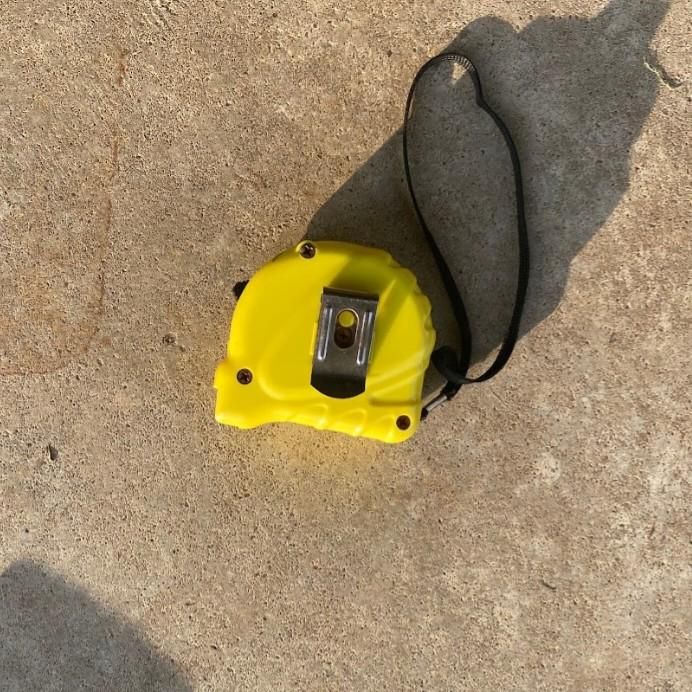
Measuring tape
Metal pole
Optional: privacy screen
Note:the picture of the concrete and wood and the holes and towable auger and the fence stretcher is Google images because since we already built the fence the concrete and wood is gone and the holes already filled up and the towable auger is already returned and we don't have the fence stretcher but all of the rest of the pictures including the fence pictures are not from Google
Digging the Holes
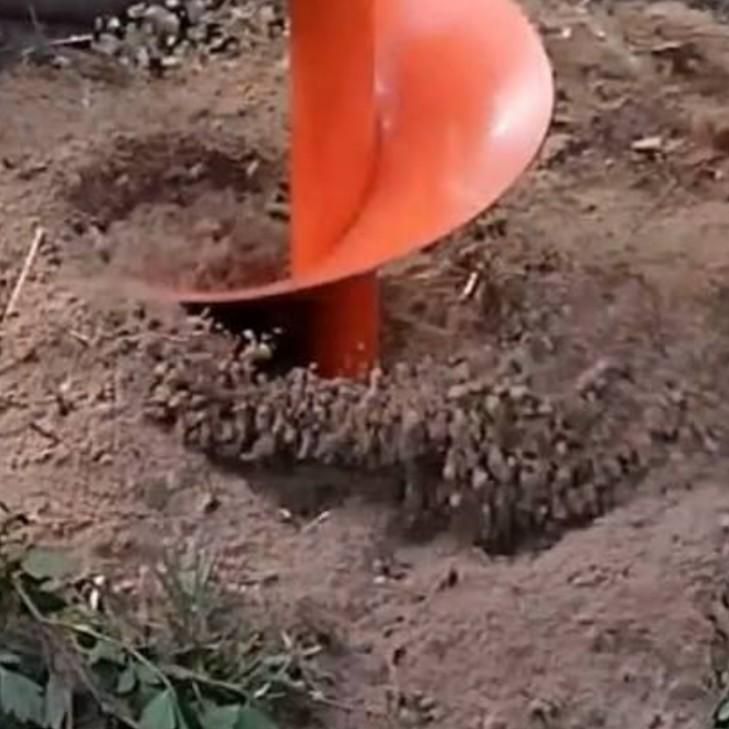
Using the towable auger dig all of the holes about 8 ft from each other make them 2ft deep ( if it does not dig it all out or there's still dirt clumps use your hands to grab it out)
Filling the Holes
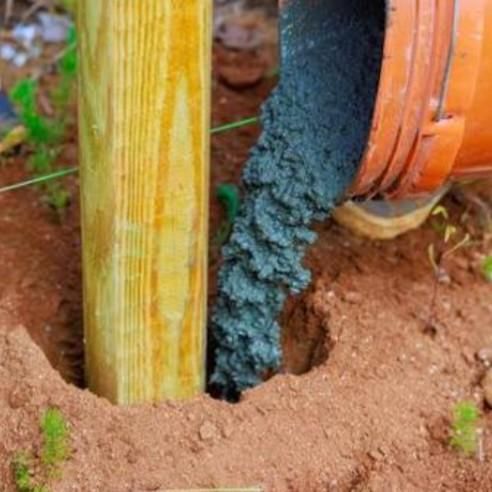
Using the concrete fill the holes with about one to one and a half bags fill it up with water until it looks like it's enough mix it with the metal pole
Putting the 4x8s in the Hole
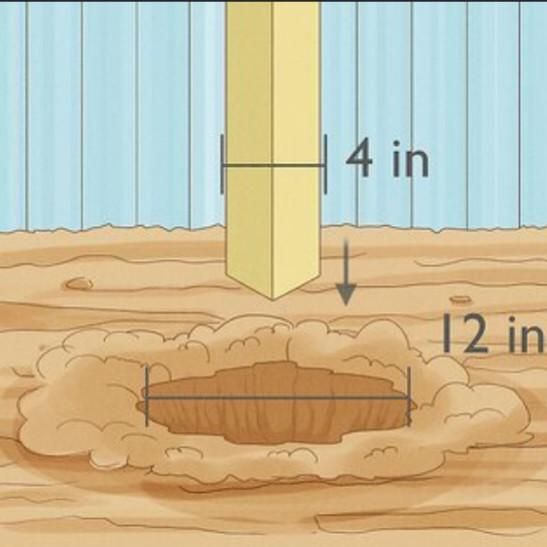
Put the 4x8s in the hole
Connecting the 6x8s
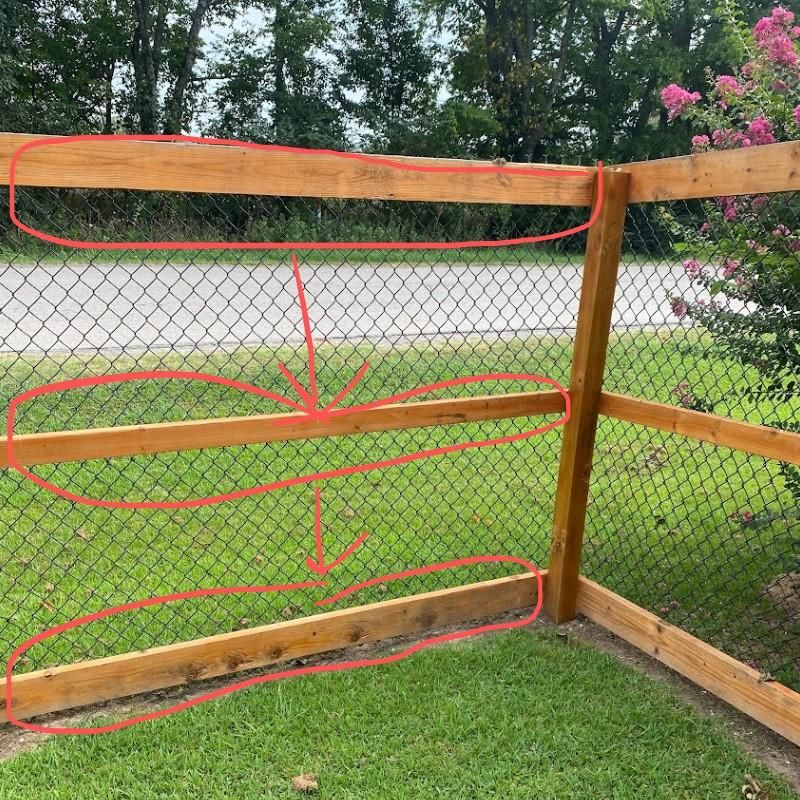
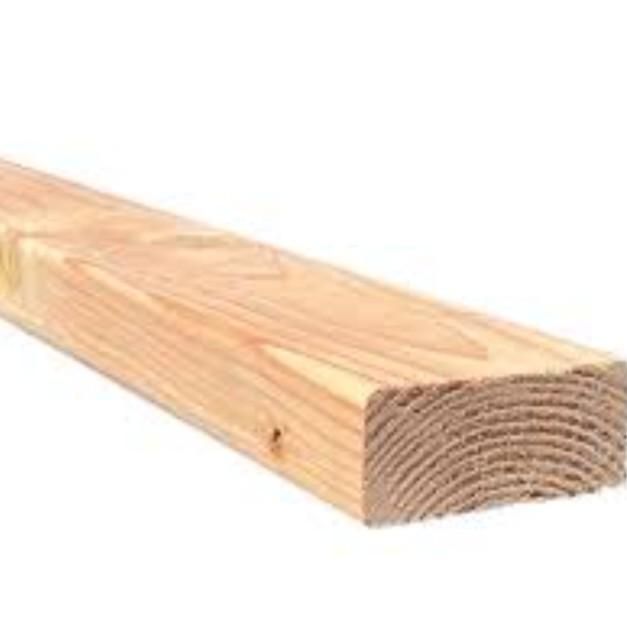
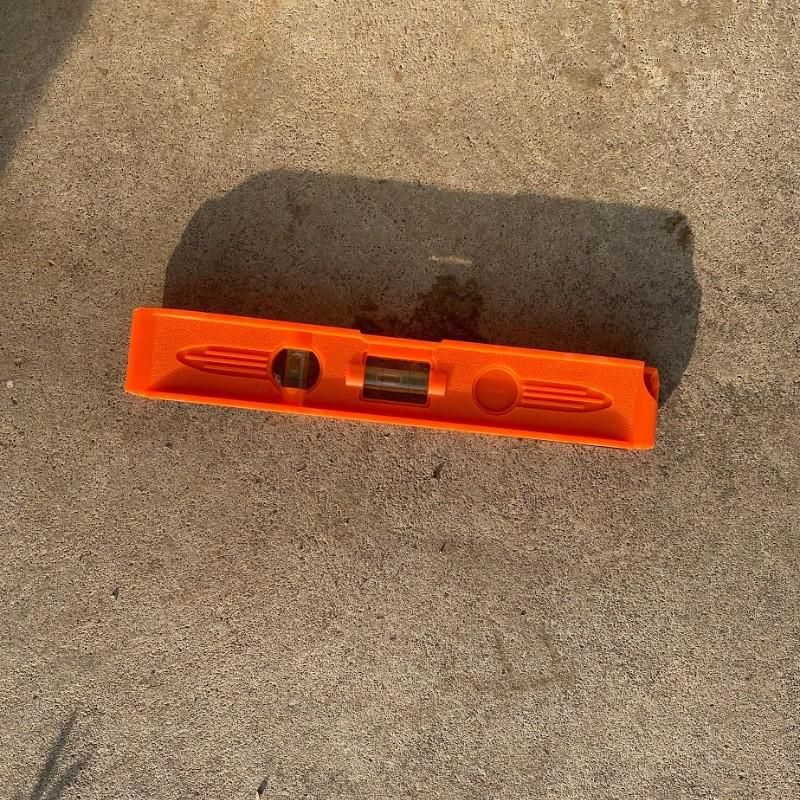
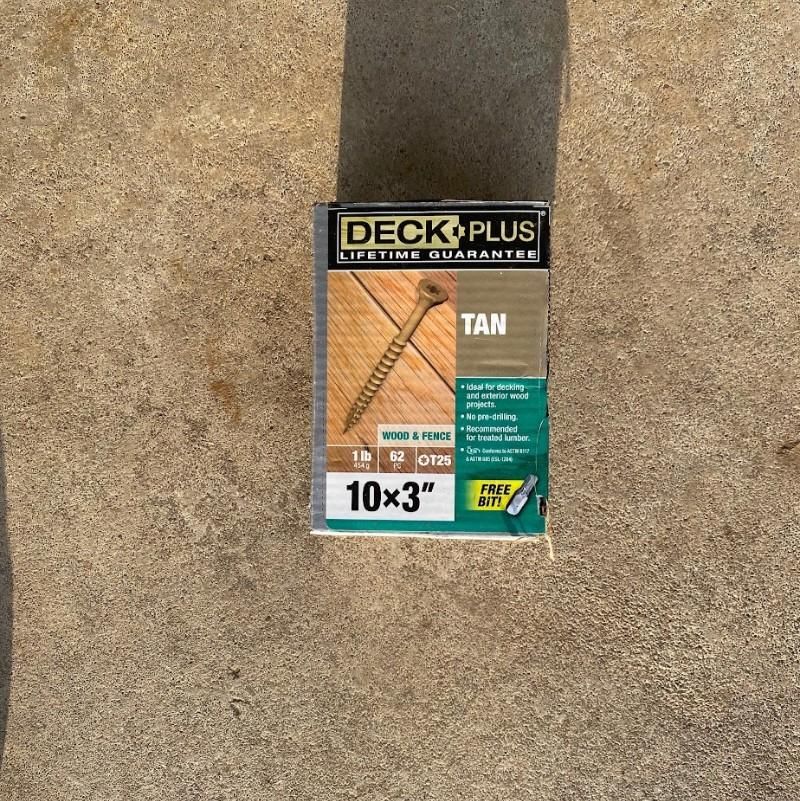
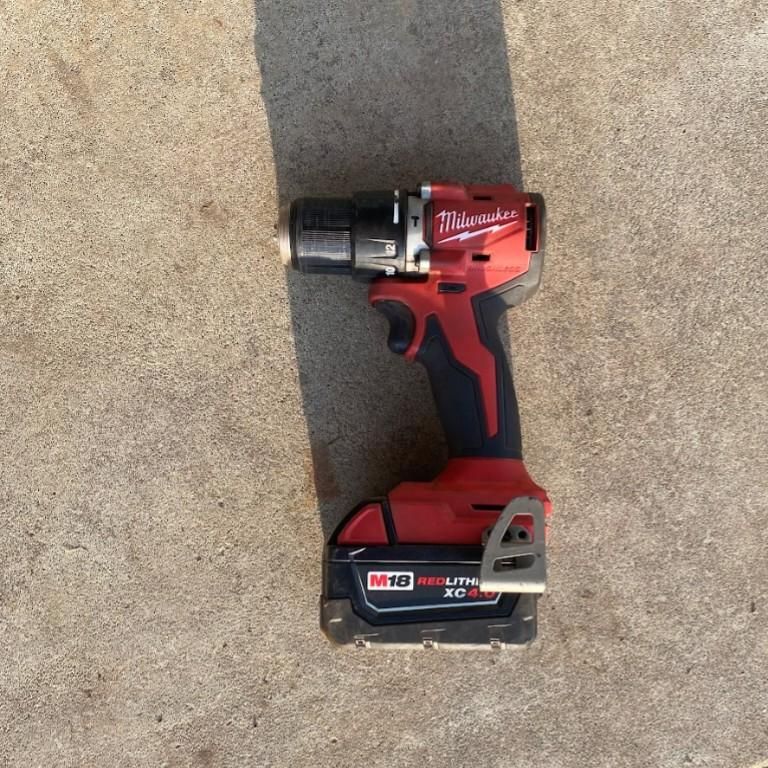
After the concrete is dried, using the drill, screw the one end of the 6x8 to the top of the 4x8 and the other end of the 6x8 onto the 4x8 so it's connected to both posts. And then use the level to make sure the 6x8 is even do the same thing for the middle and bottom then repeat this step and tell the whole fence is done
Putting the Chain Link On
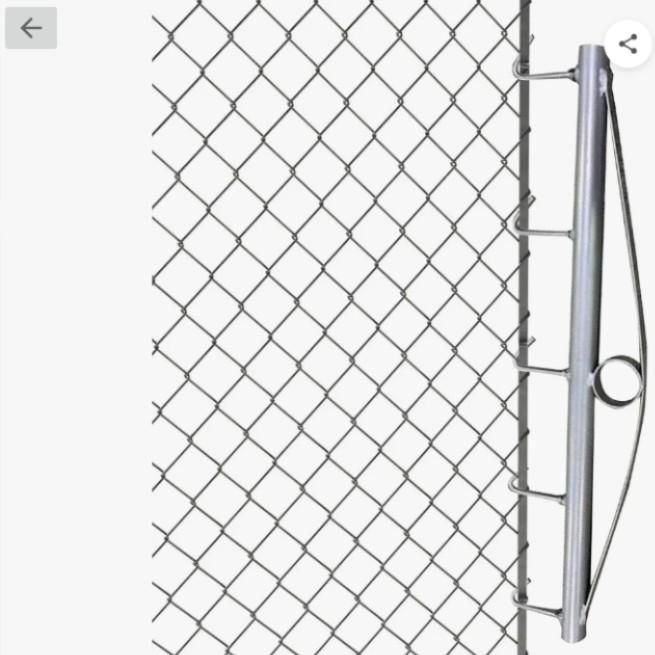
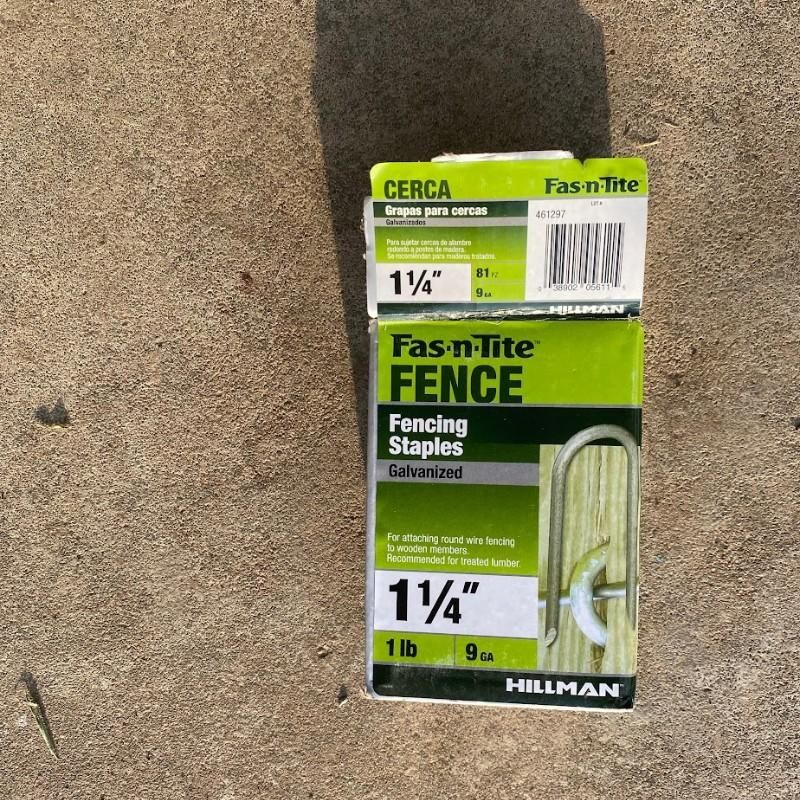
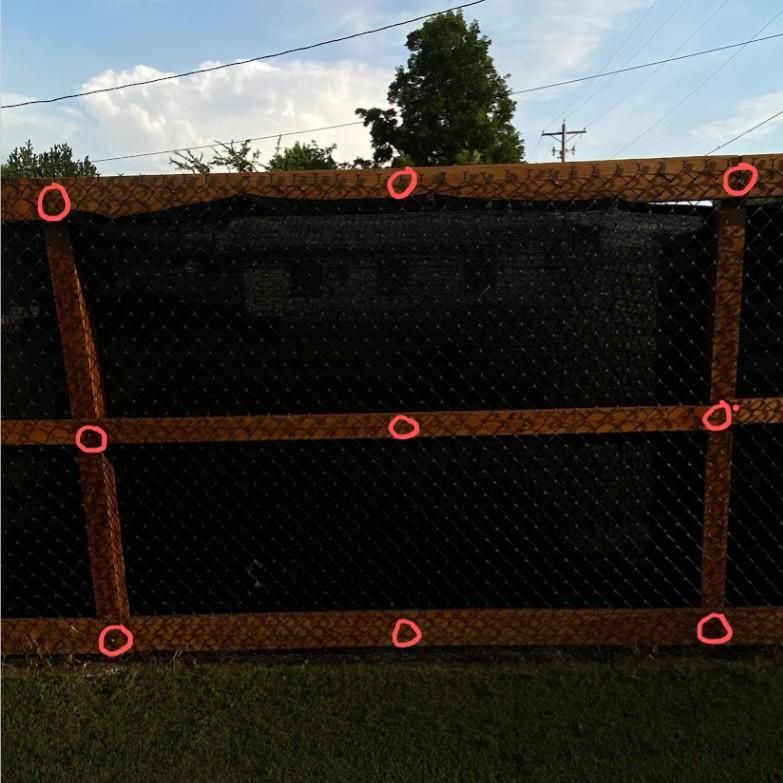
Now when all those steps are done grab your chain link and unroll all of it then attach the come along to the end of the chain link then after attaching the come along lift the chain link on the fence then the chain link and then after you stretch the chain link using the hammer, hammer the
fence staples,staple the chain link onto the fence. It should be tight and repeat this step for each section until you are done.
Note: click on fence picture above the circles are what needs to be stapled in.
The Stain
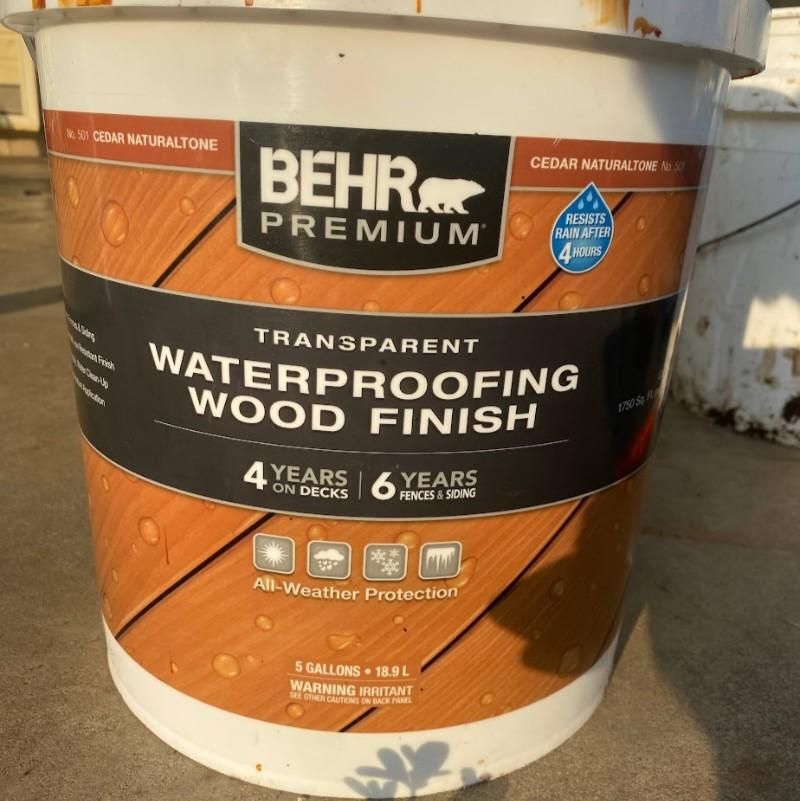
Stain what ever color you want it let it dry for at least 6 hours or whatever the stain says
The Privacy Screen
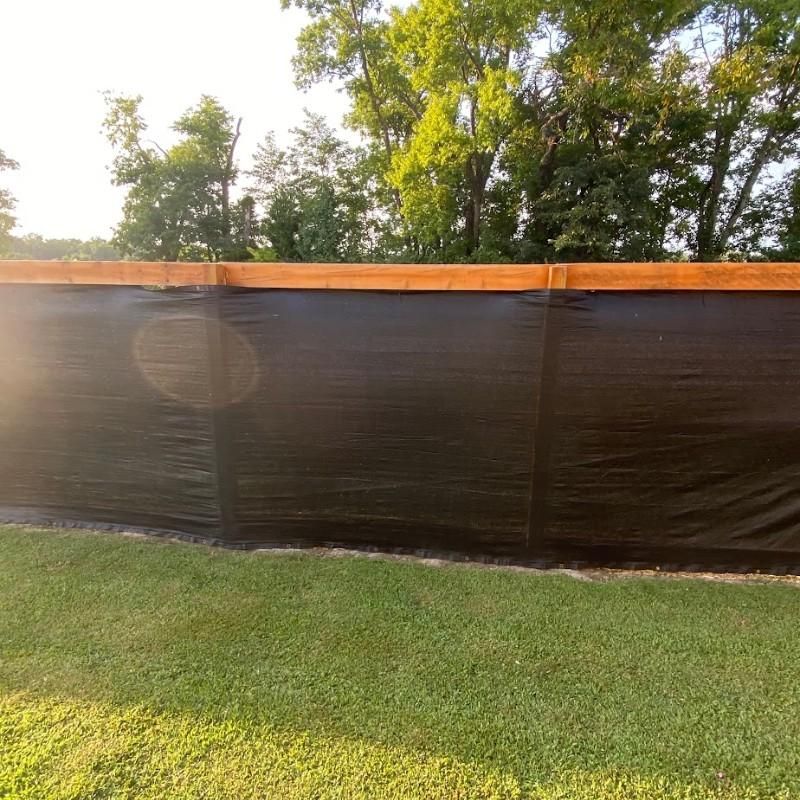
Optional: zip tie the privacy screen onto the Chain link
Congratulations
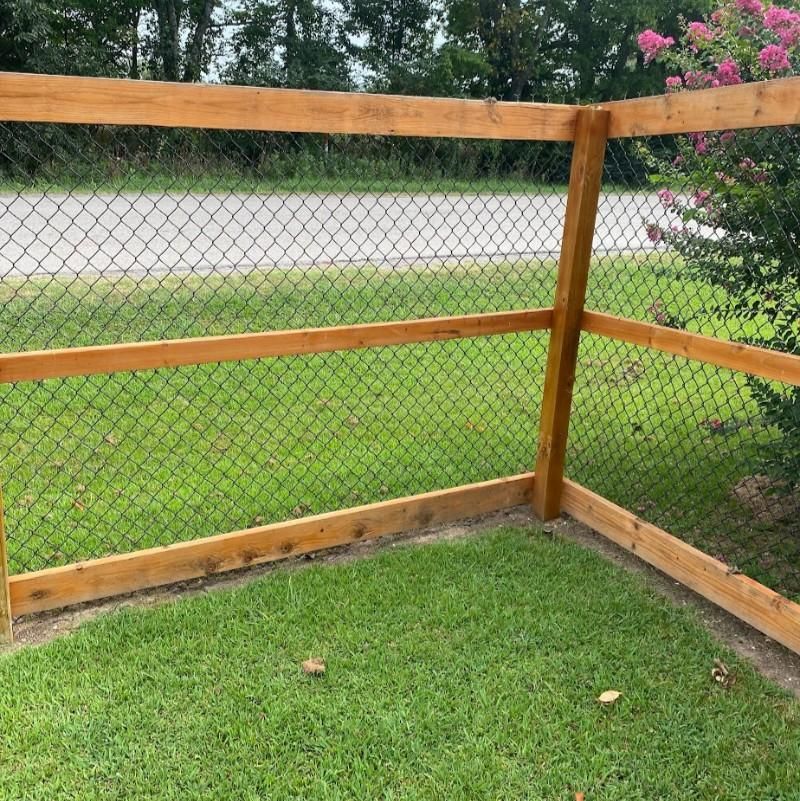
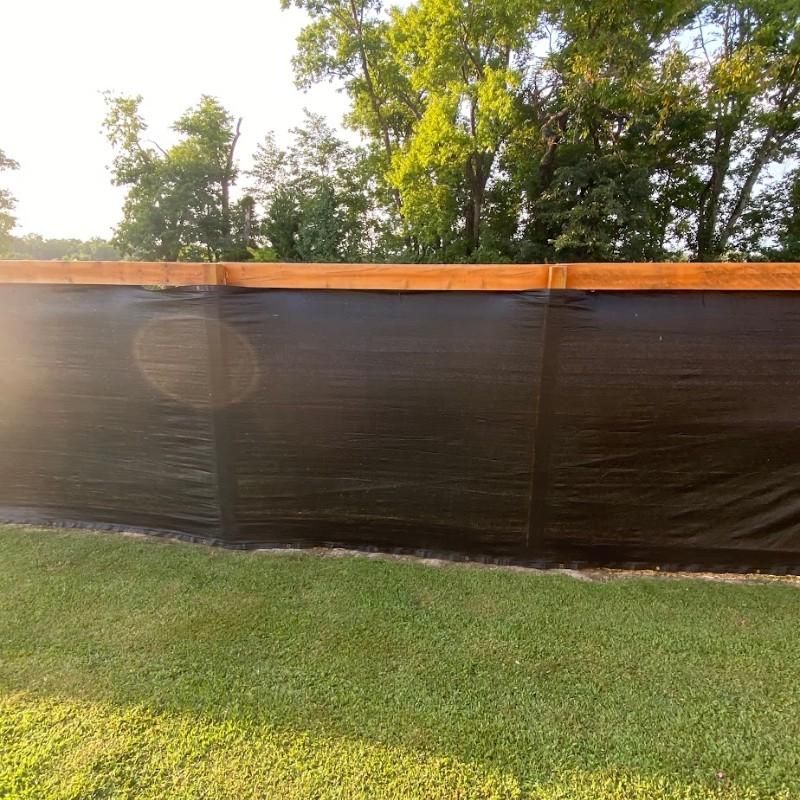
Now you have a California style chain link wood fence