A Lazy Mans Pentomino Calendar Puzzle
by megardi in Circuits > Raspberry Pi
1939 Views, 23 Favorites, 0 Comments
A Lazy Mans Pentomino Calendar Puzzle
.gif)


I love puzzles. I'm always on the lookout for new and interesting puzzles. So you can imagine how excited I was to find out about Pentomino Calendar Puzzles. They are billed as being a "Puzzle a Day". There are a number of different kinds as you can see from the this image.

Pentominos are shapes composed of five connected squares, and there are 12 distinct shapes, often referred to by the letters L, T, V, Z, N, F, X, W, P, I, Y, and U. The calendar that I implemented only uses 10 of these shapes (X and W are omitted).

The Calendar part is laid out in a grid showing all of the months, days of the week, and days. If it's not already obvious the daily goal is to place the 10 Pentominos onto the calendar so that only today's month, day of the week, and day are showing.

Based on one of the many designs online I 3D printed the one you see pictured above. Now I have a confession to make. While I still think this is a pretty cool puzzle, I find that I just don't have the patience to solve it every day, even though I'm retired now and have the time.
So the software developer in me kicked in and I wrote a Python script to solve the puzzle given a particular date. I was a little surprised to find that for a given day there were many different solutions. I could pick one of the solutions and apply it to my physical calendar, but why stop there! I extended the script to include some nice looking graphics (IMHO) and put together a Raspberry Pi based frame with a built-in display to show them off. The frame shows todays date and loops through all of the solutions found showing the "virtual" Pentomino arrangements for each solution.
If you follow this Instructable you will be able to make your own Lazy Mans Pentomino Puzzle Calendar. Note that the Calendar needs to have a Wi-Fi connection in order operate.
Supplies


The parts you will need to purchase are:
- Raspberry Pi 3 - Model B - ARMv8 with 1G RAM
- 7 inch Capacitive Touch Display, DSI Interface, IPS Screen, 800×480, 5-Point Touch
- Official Raspberry Pi microSD Card with Raspberry Pi OS 32-bit - 32GB
- Wall Adapter Power Supply - 5.1V DC 2.5A (USB Micro-B)
Print the Parts
All of the printed parts were designed with Autodesk Fusion 360. I'm a big fan. I printed the parts with no supports and the following settings:
Print Resolution: .2 mm
Infill: 20%
Filament: AMZ3D PLA
Colors: Dark Purple, Magenta, and Lavender (or whatever you want)
Notes: Print the parts in their default orientation.
You will need to print the following parts:
- 1 - Case Top
- 1 - Case Bottom
- 4 - Display Lock Tab
- 2 - Stand Side
- 1 - Stand Bottom
Install Raspberry Pi OS Onto the SD Card
Getting the Pentomino Calendar running on a Raspberry Pi is pretty straight forward. The first step is to get Raspberry Pi OS installed on the Pi. For a couple of extra bucks I purchased a microSD card with the OS already installed. Perform the following steps only if you purchased a blank SD.
The OS image requires a microSD card of at least 8G capacity. There is a Windows program called Raspberry Pi Imager that does this (also available for Ubuntu and macOS). If you run the application you will see:

You simply specify the target Raspberry Pi device, the version of the OS you want to install, and the SD card location. When you press NEXT you will have the option of defining some initial settings on the target Pi. It's a good idea to do this as it simplifies the install.

Select EDIT SETTINGS.

I left the default user name as Pi and the default password of raspberry. Set the wireless LAN and locale as appropriate and press SAVE.

Press YES to apply the custom settings.
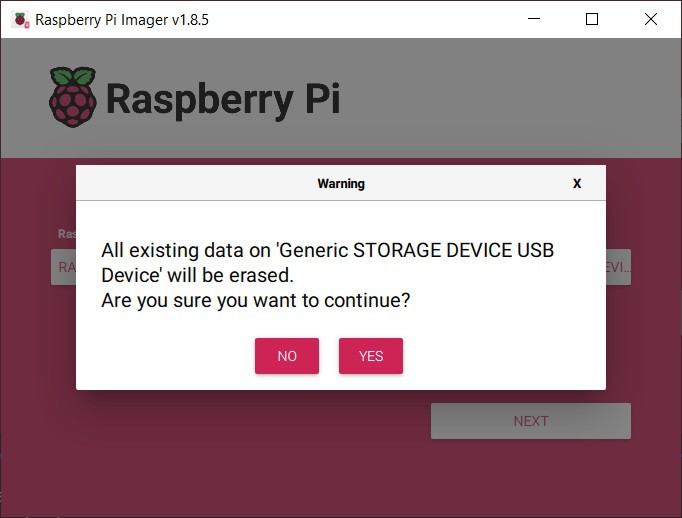
Press YES to continue.
When done, install the imaged microSD card into the Raspberry Pi (Red Circle).

Attach the Pi 3 to the Display

- (Red Circle) Carefully attach the ribbon cable between the Raspberry Pi 3 display connector and the Display. Note that the microSD slot for the Raspberry Pi OS is underneath this cable.
- (Yellow Circles) Mount the Raspberry Pi onto the back of the Display using the supplied screws. Mine arrived with the standoffs already in place.
- (White Squares) Connect the power between the Raspberry Pi 40-pin connector and the Display board using the provided jumper. The board connector is keyed but be careful when attaching the jumper to the Raspberry Pi pins. Red (power) goes to pin 4 and Black (ground) goes to pin 6.
Install the Pentomino Calendar Program
For this next part I temporarily attached a USB keyboard and mouse to the Raspberry Pi and applied power to the Pi. If your OS imaging was successful you should see the OS Desktop on the screen.

I opened the File Manager (Red Square) and in the /home/pi folder I created a new folder called Pentomino_Calendar.
I copied the attached file to a USB drive and plugged it into the Raspberry Pi, then copied the pentomino.py file into the Pentomino_Calendar folder.
Autostart
I opened a Command Window (Yellow Square) and created an autostart folder on my Pi and switched to that folder.
Into the autostart folder just created I added the following two files.
runPentCal
PentCal.desktop
In addition the runPentCal file must be made executable with the following command:
Now if you reboot the system, you should briefly see the desktop appear, and shortly after Pentomino Calendar will load.
Downloads
Put the Display Into the Case


- Place the Display into the Case Top as pictured above. Note that for orientation the (Yellow Square) shows where the time window on the Case Top bottom right should be.
- (Red Circles) Pop in the four Display Lock Tabs to hold the Display in place.
- (Green Square) Thread the microUSB connector through the Case Bottom and attach it to the Raspberry Pi. Note that for the connector I had I used a 90 degree adapter to get a better fit into the case. You may not need to.
- (Blue Circle) Join the Case Top and Bottom pieces together and secure them with two M3 x 4 mm bolts.
- Assemble the Stand and place the case on it.
Final Thought

That's it. Find a nice place on your desk or on a shelf and enjoy your effort free Pentomino Calendar Puzzle.