A Miniature Bounce House Design Based on a Stereotypical Bouce House.
by maryfranklin2027 in Design > 3D Design
257 Views, 2 Favorites, 0 Comments
A Miniature Bounce House Design Based on a Stereotypical Bouce House.
.jpg)
I made a bouncy house because i personally think they are fun!
Supplies

.png)
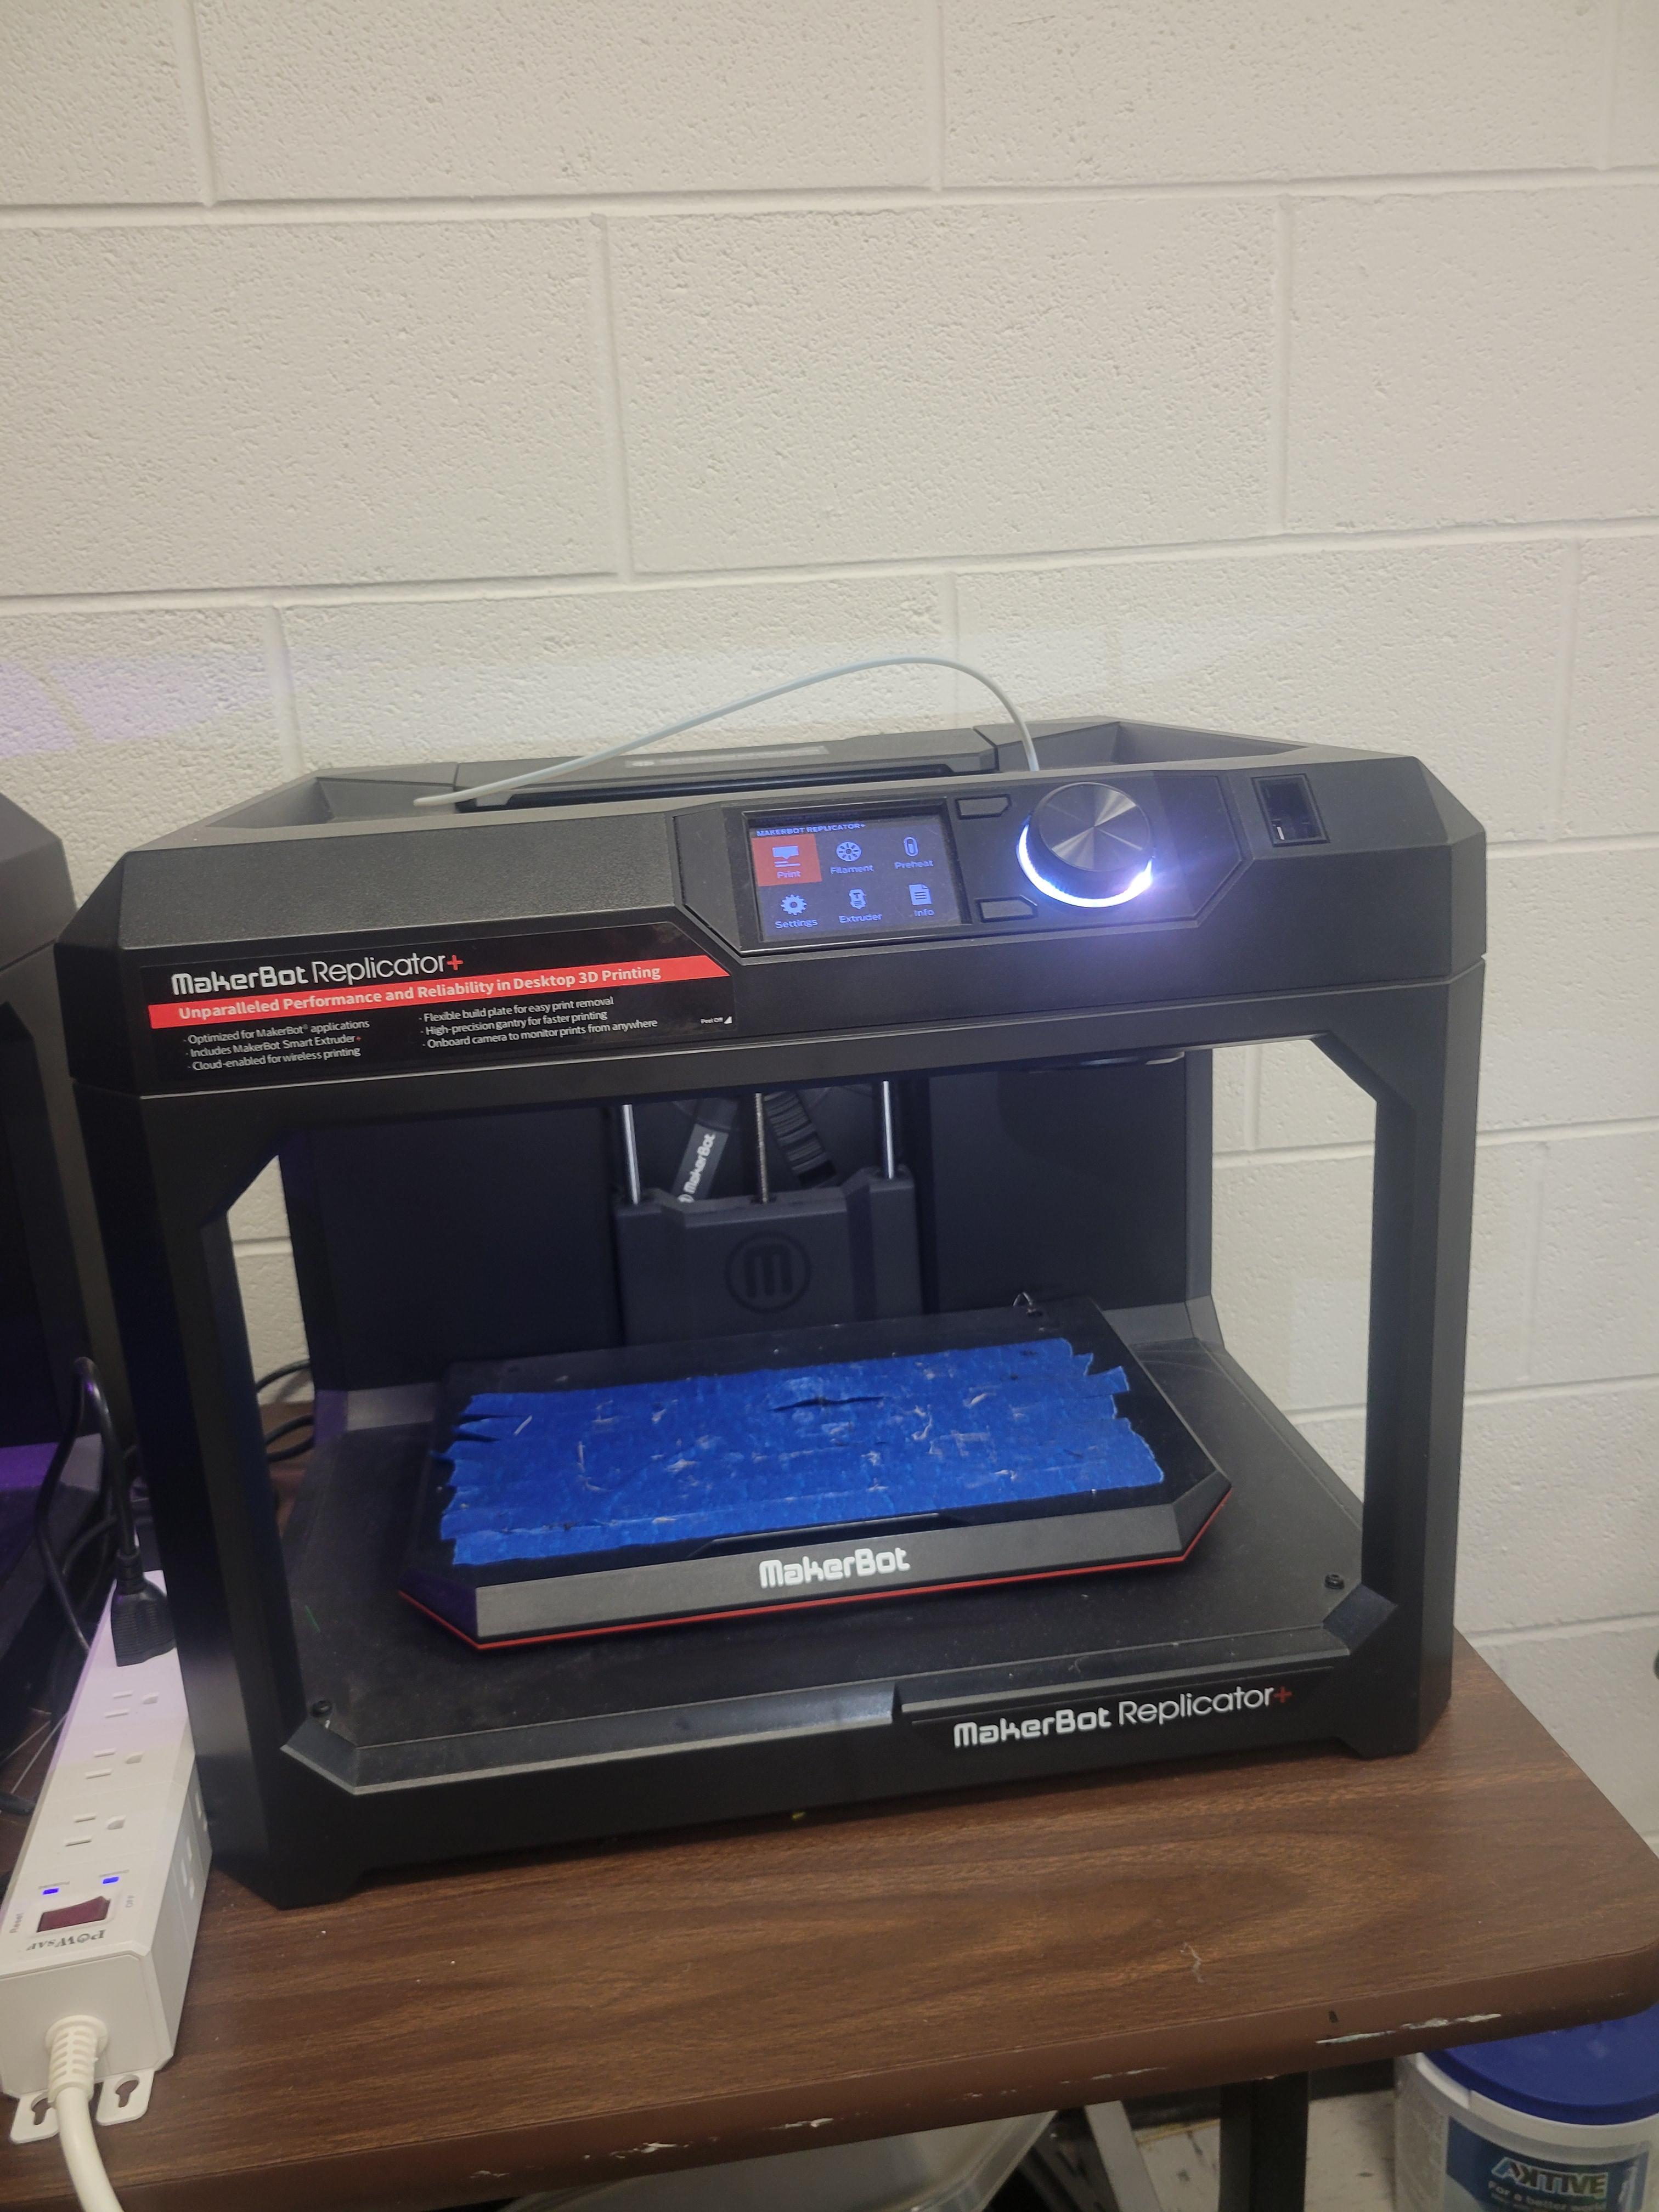
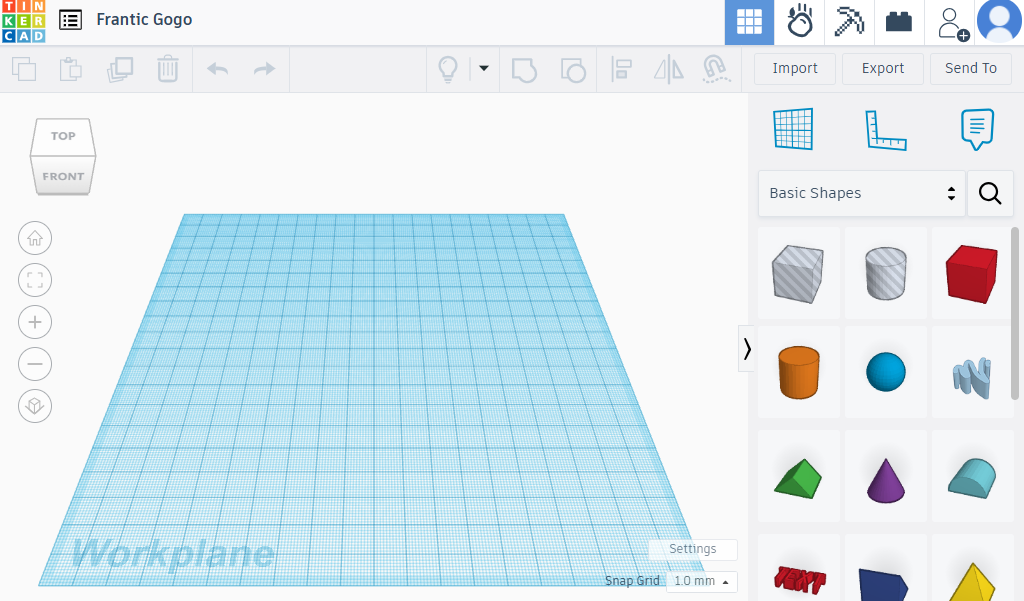
3D printer, Makerbot, Tinkercad, 3 different colors of filament of your choice, and a computer.
Start Design
.png)
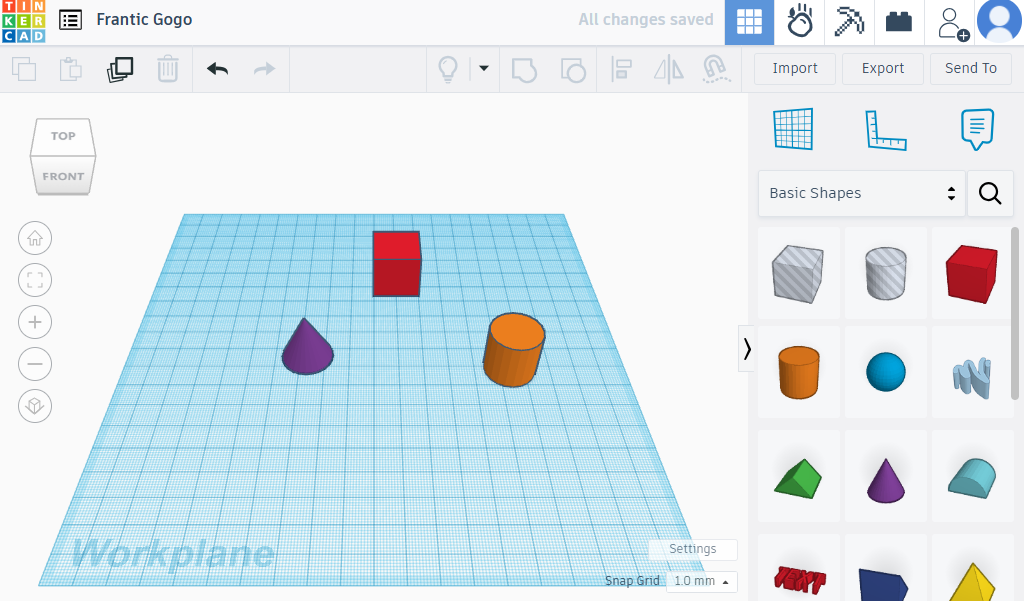
Start by loading up Tinkercad and starting by making these different shapes to start your base. ( you can add more for decor if you'd like! )
Resize Them to Match Your Size
.png)
Resize them along the size of this.
Make More Parts
.png)
Copy and Paste 10 cylinders, 3 squares, and 4 cones.
Make the Base for the Bounce House
.png)
Copy paste another cylinder, lay it down, and copy it and put together to the width of one square/rectangle.
Put It Together ( Optional )
.png)
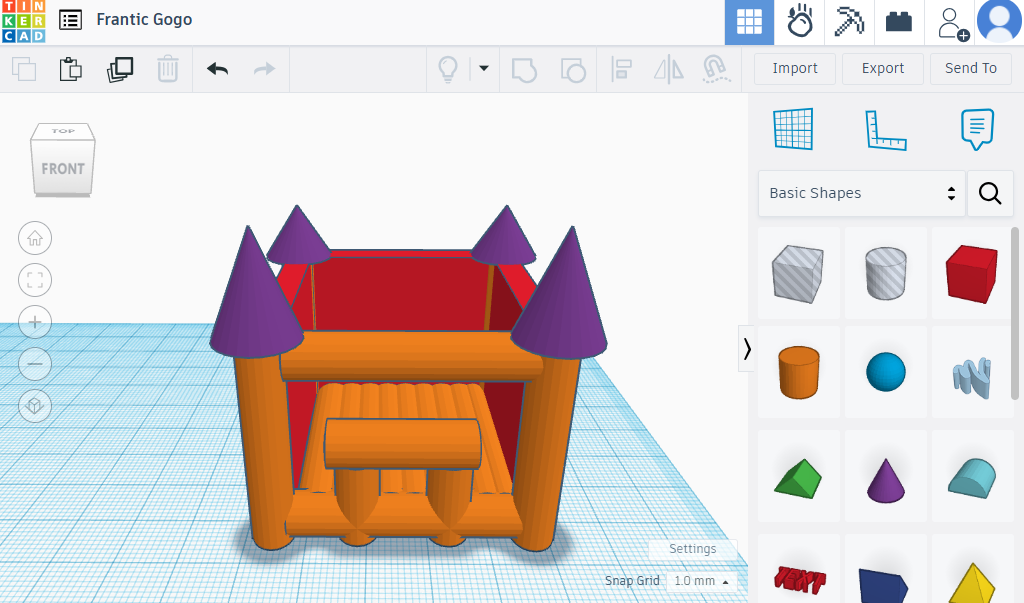
If you decide to put it together, put it together as show in the picture ( resize if needed ). If not, glue parts together after printing it out.
File for Net
.png)
Download this file to make the net design. ( can use for walls if desire, image above is what it looks like )
Downloads
Move Net to Top of Bounce House

Move and resize the net to fit across the top of the bounce house.
Add Another Net
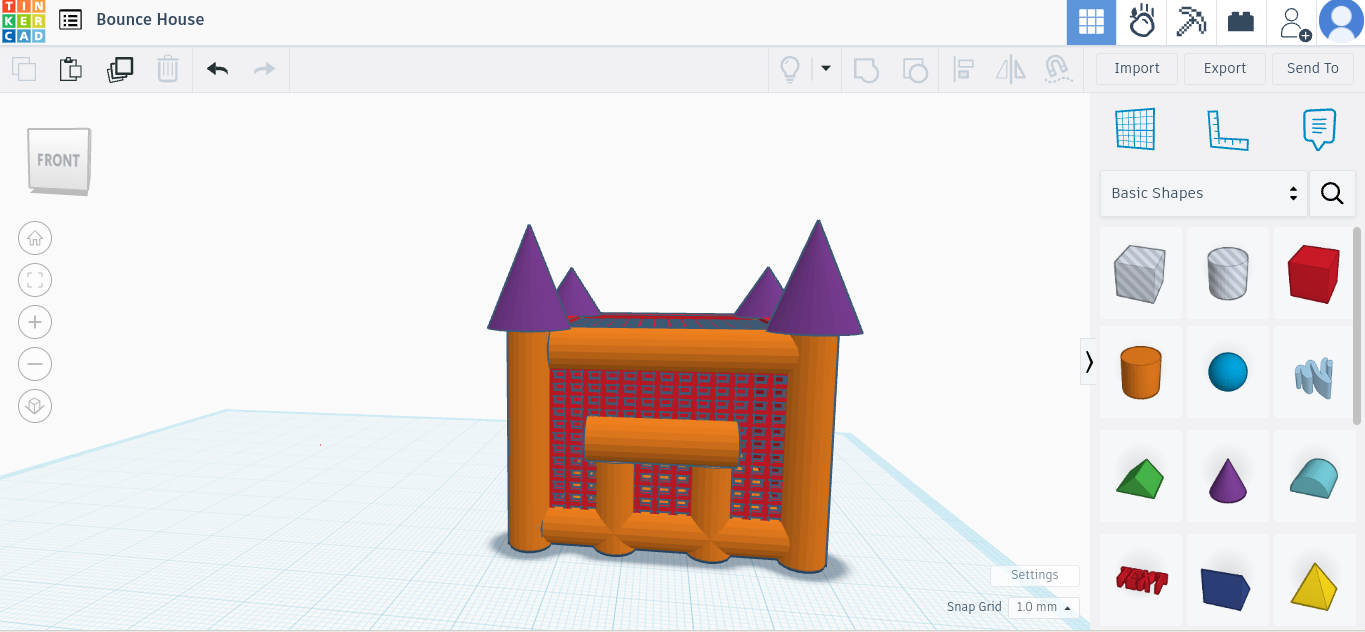
Add another net and move it to fit the front of the bounce house, covering it all. ( resize as needed )
Make a Box

Pull your resized net out and make a box that would cover the entry hole, make it a little thicker than your net.
Position It and Make It a Hole

Position the square where the entry hole would be on the net, and make the square a hole, then group it with the net.
Make Hole

Position the net back to the bounce castle to complete the design!
Extra Fun!

You can add a person/animal inside!!
Finished Result!
Load it into makerbot and print it out! To see your result!