A Mixed-Media Butterfly — Two Sides of Life
by fatimashahbaz657 in Craft > Paper
54 Views, 0 Favorites, 0 Comments
A Mixed-Media Butterfly — Two Sides of Life
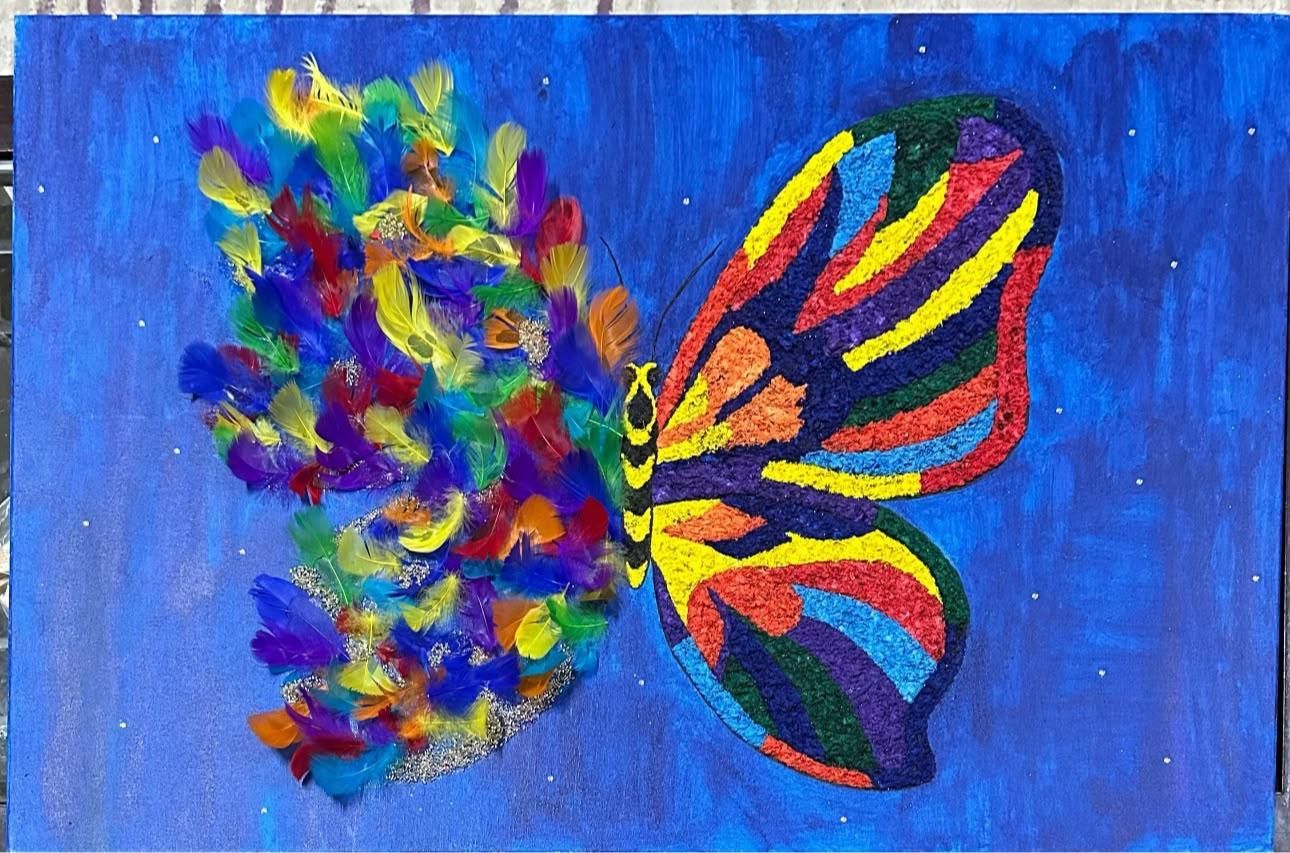
A butterfly does not simply mean beauty. Across countless cultures and centuries, it has carried a far deeper and more unsettling meaning — the butterfly is a symbol of death, transformation, and the two inseparable sides of existence. In Ancient Greece, the same word, psyche, meant both butterfly and soul. In Mexican tradition, returning monarch butterflies carry the spirits of the dead. In Celtic mythology, butterflies were the souls of humans moving between worlds.
This project explores that duality physically and visually. One wing is built from tissue paper soaked, twisted, and layered in the full spectrum of rainbow colors — vivid, chaotic, bursting with life. The other wing is constructed from actual feathers and beads — structured, ordered, deliberately arranged — representing the stillness and silence of what comes after life. Together on a single butterfly, they do not conflict. They complete each other.
The butterfly is painted on canvas with a midnight blue background, scatter-sprinkled with black glitter and star beads, as though it exists in the moment between one world and the next — suspended in a sky that is neither night nor morning. This is not a craft project about color. It is a meditation on what color means when placed next to silence.
Supplies
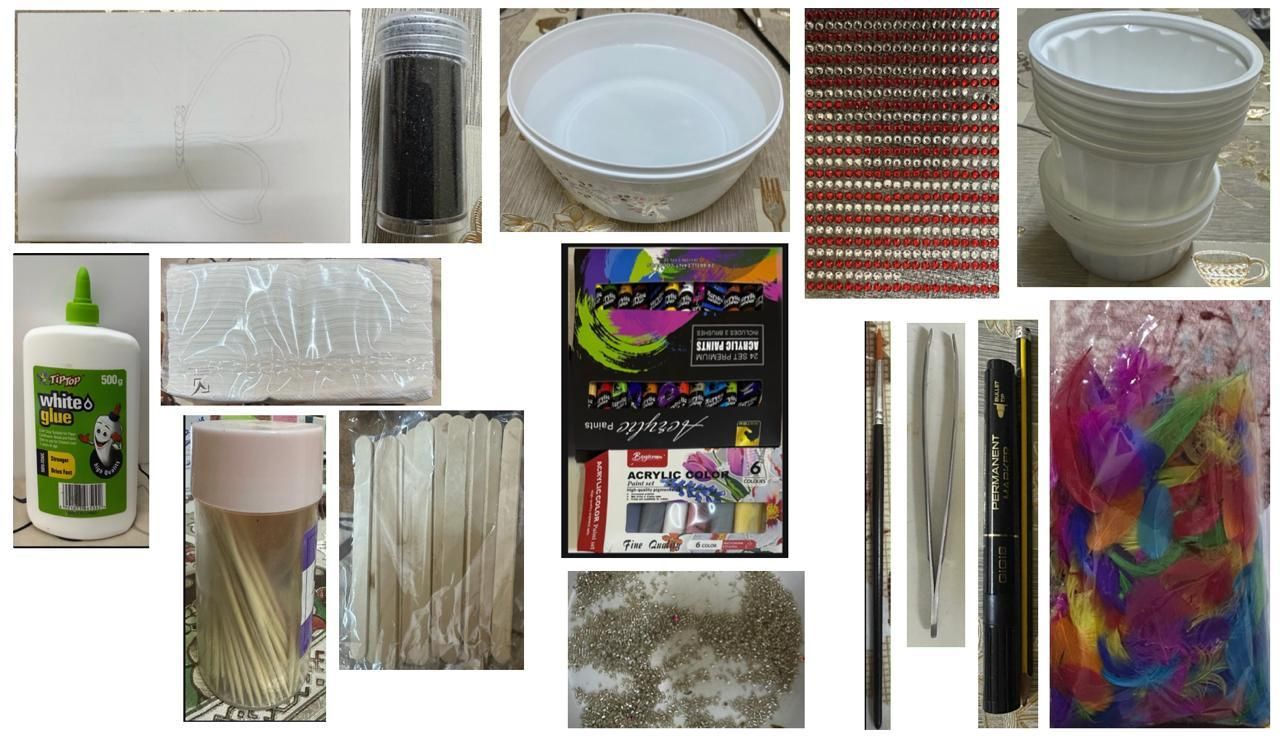
Canvas (any size), pencil, black permanent marker, white tissues (1 full box), a bowl of water, PVA white glue (1 large bottle), 8 disposable plastic cups or containers, acrylic paint in 7 rainbow colors and black color, ice cream sticks (at least 10), tweezers, toothpicks, craft feathers in rainbow colors, black glitter, star beads, small beads paintbrush.
Draw the Butterfly Outline on Canvas
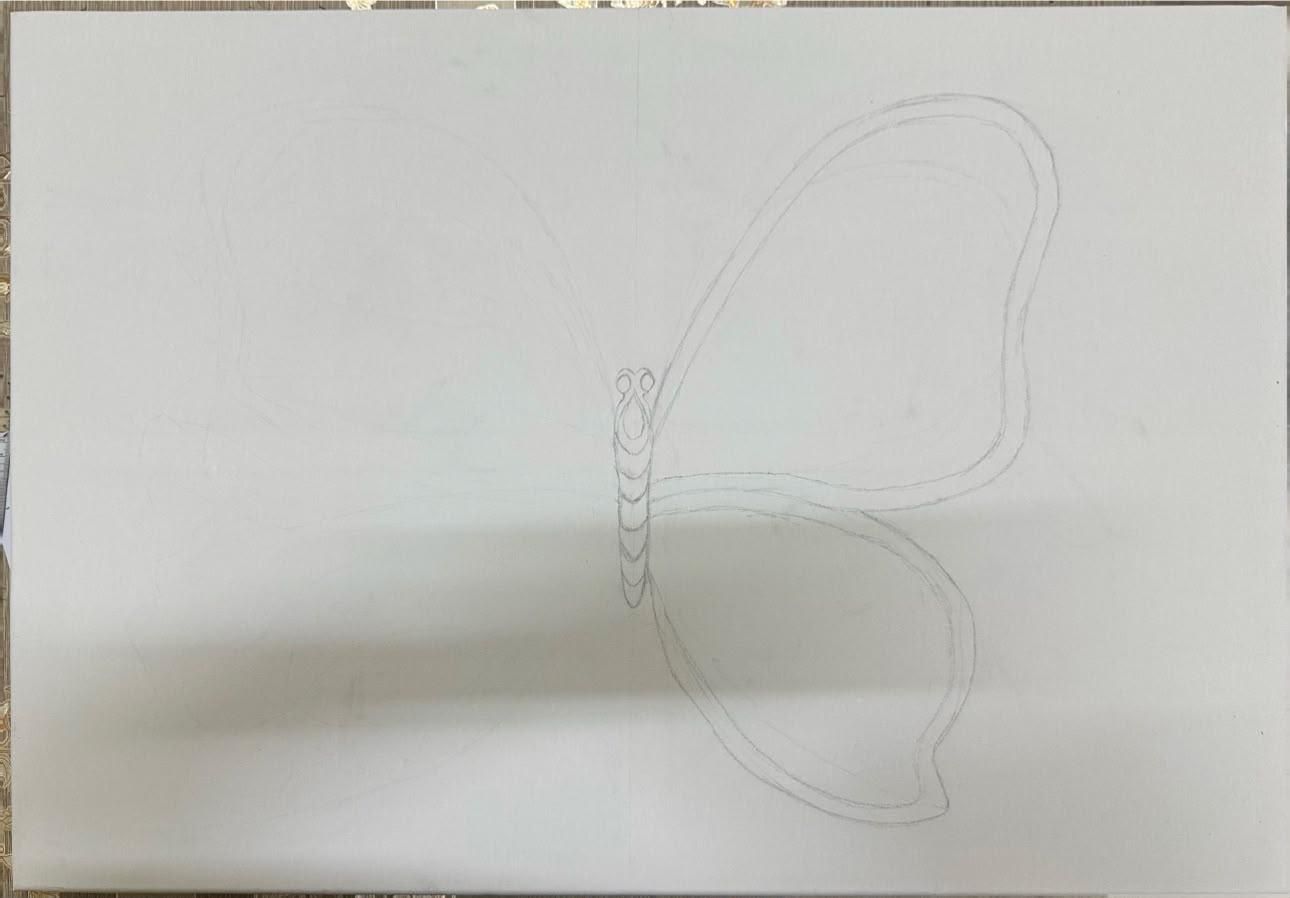
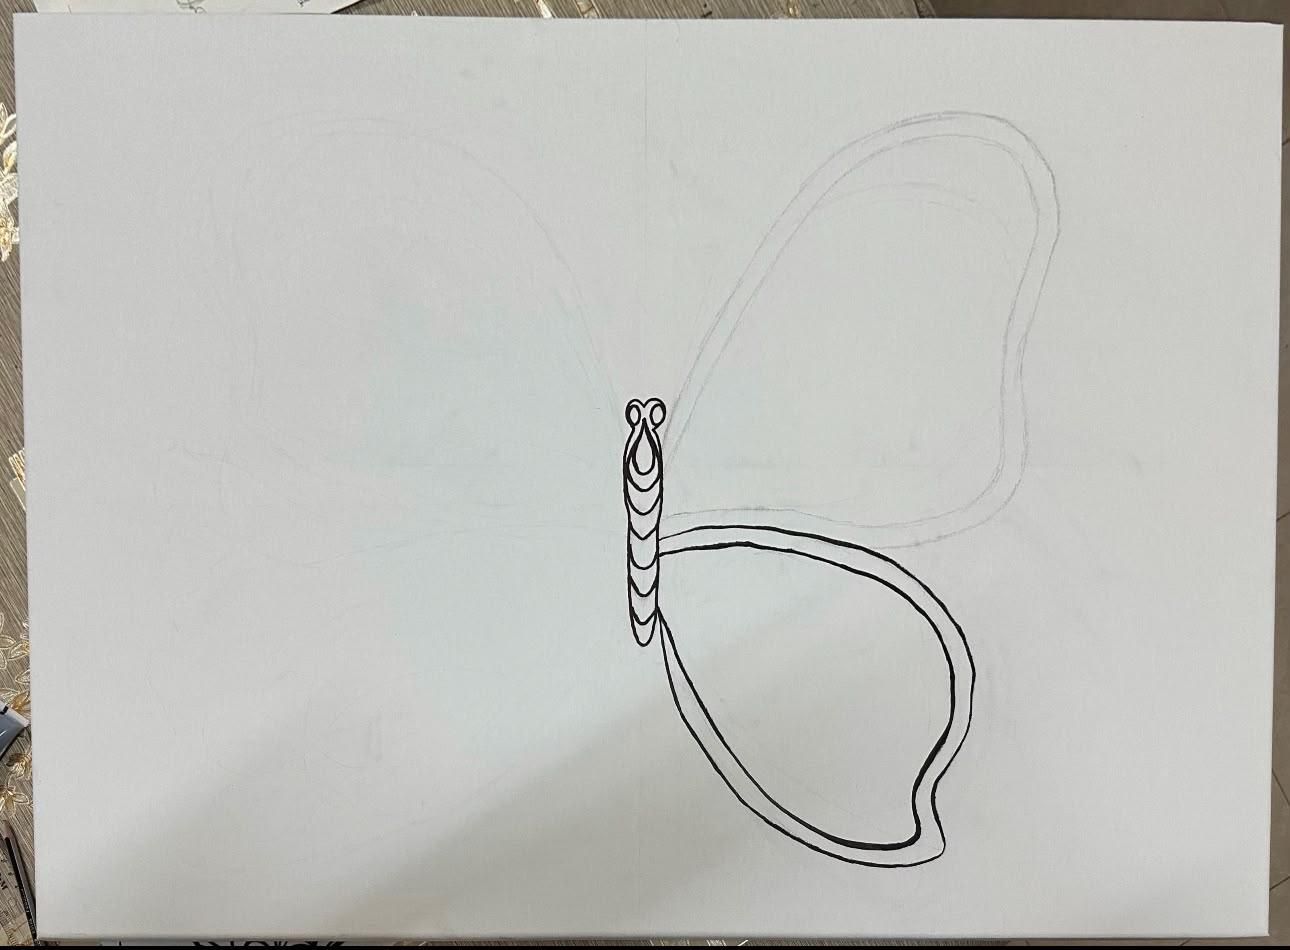
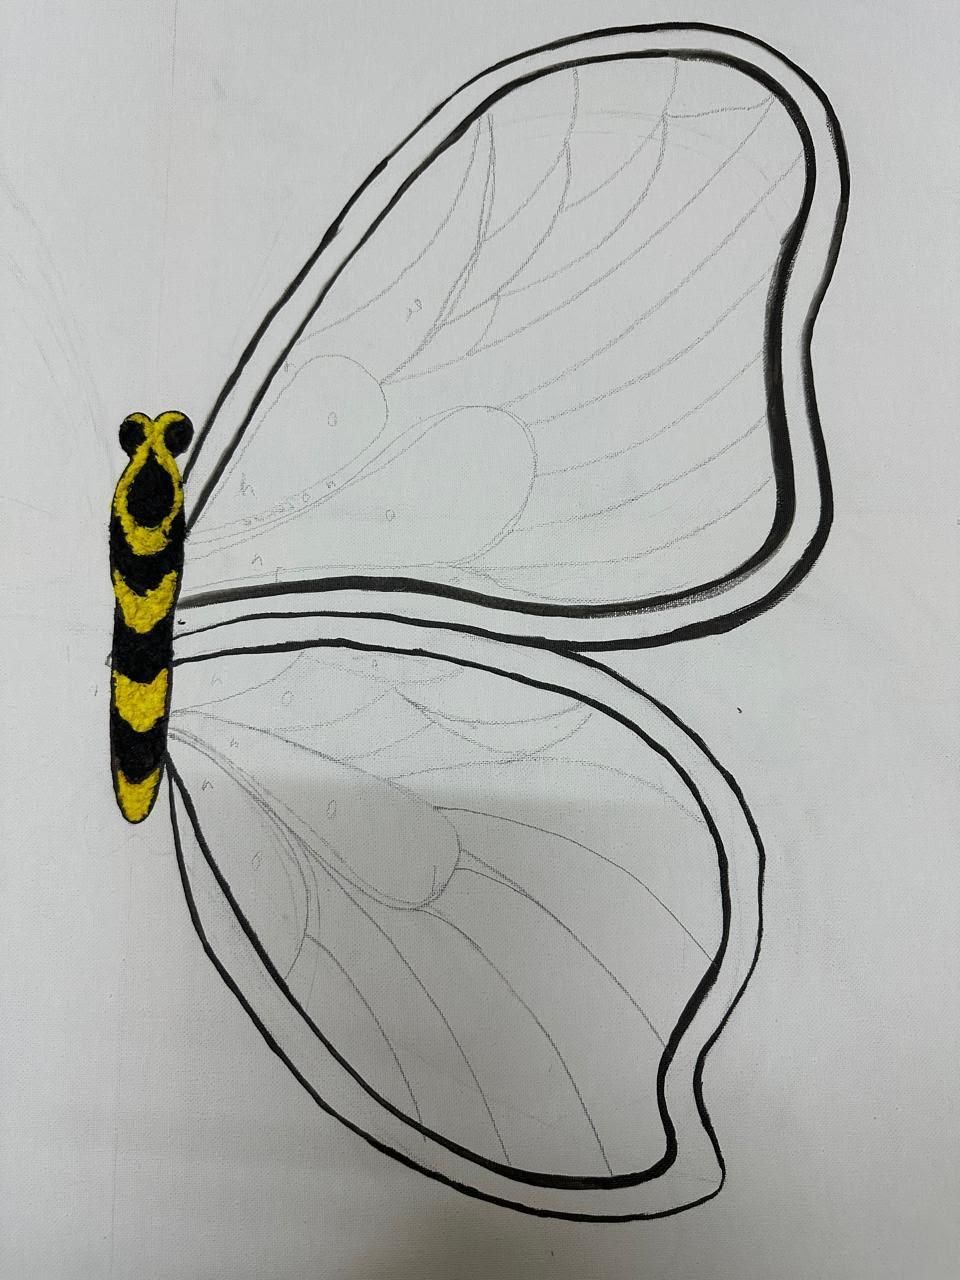
Lay your canvas flat on a table. Using a pencil, draw a large rough butterfly outline in the center of the canvas — the butterfly should fill most of the canvas, leaving a border of about 4–5cm on all sides. Do not worry about making it perfectly symmetrical at this stage. The two wings should be roughly equal in size but they do not need to be mirror images, because each wing will be completely different in material and texture. Once you are satisfied with the rough pencil shape, go over the entire outline with your black permanent marker using a confident, flowing line. Add the body — a oval in the center. Add any inner wing detail lines you want at this stage using the marker: curves, sections dividing the wing into zones, eye-spots, or vein lines. These inner lines act as your guide for filling in the colors later. Let the marker dry for 5 minutes before touching the canvas surface.
Downloads
Prepare the Colored Tissues
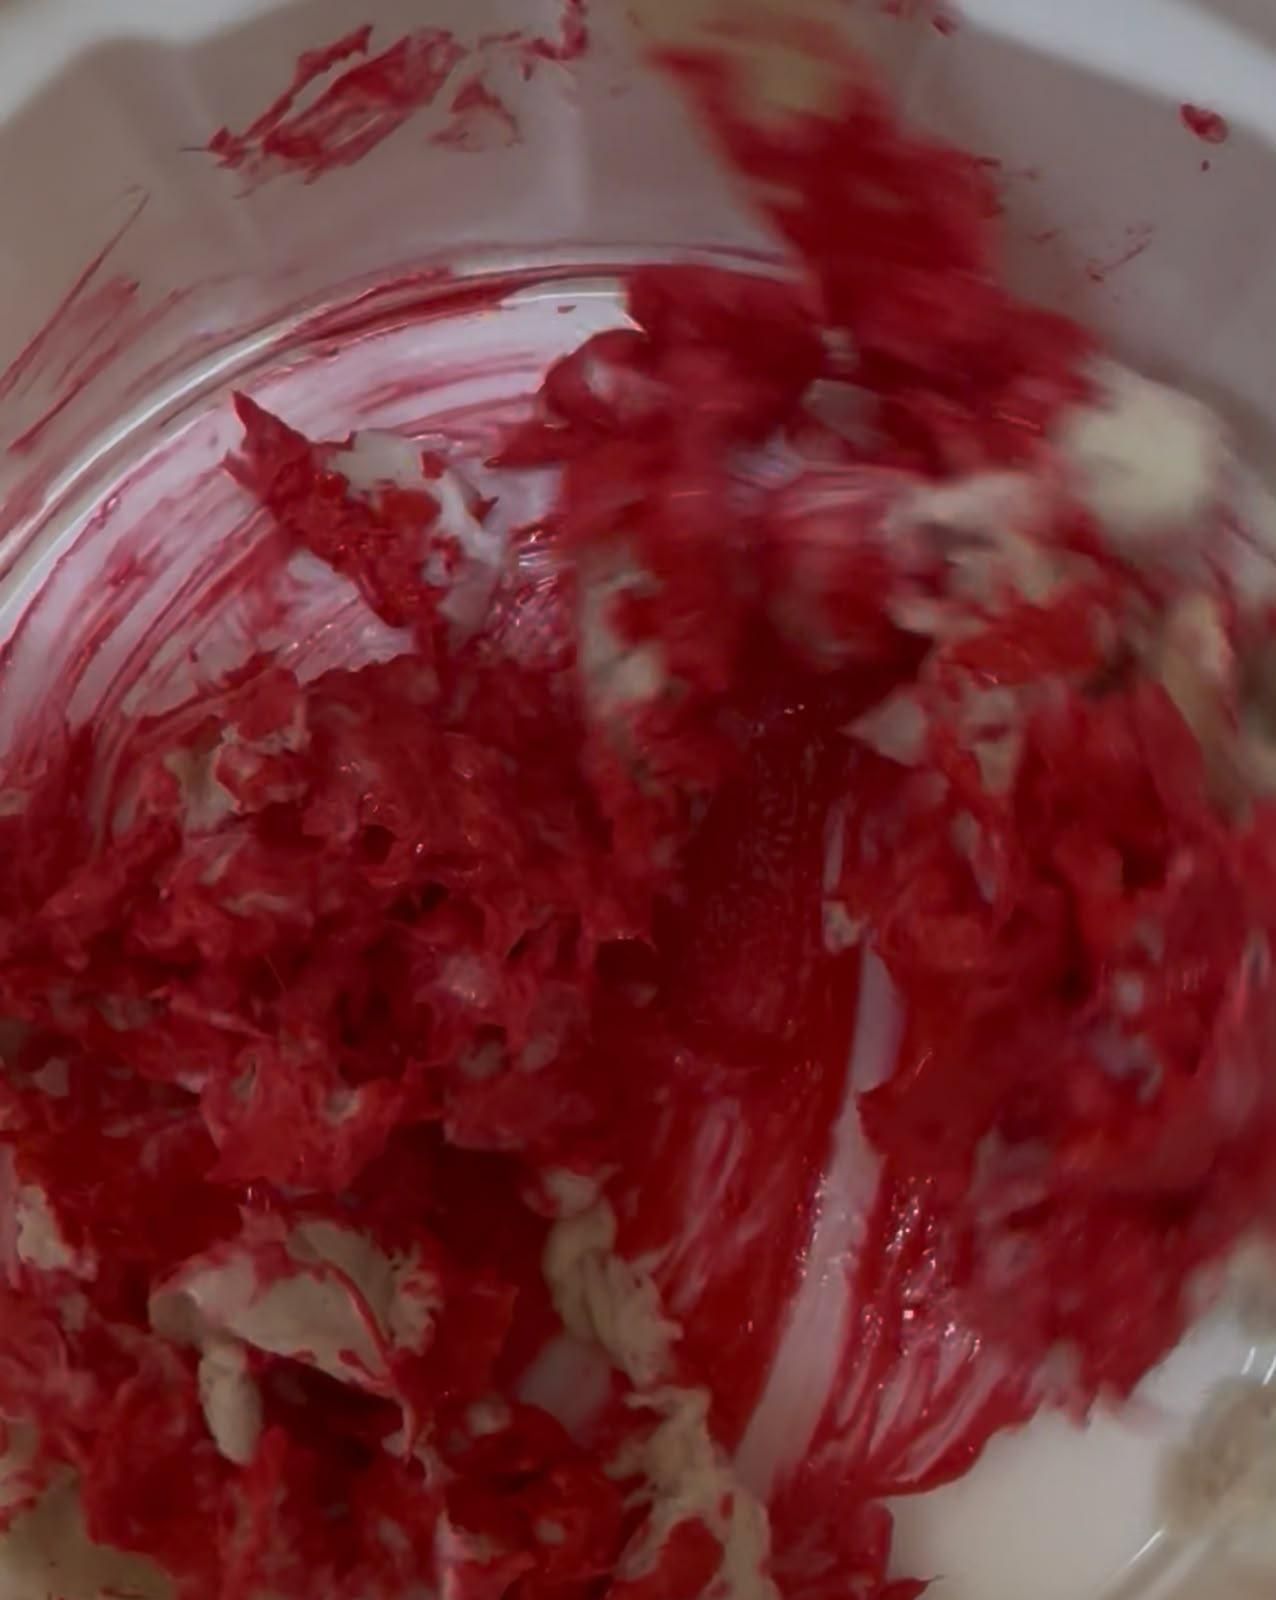
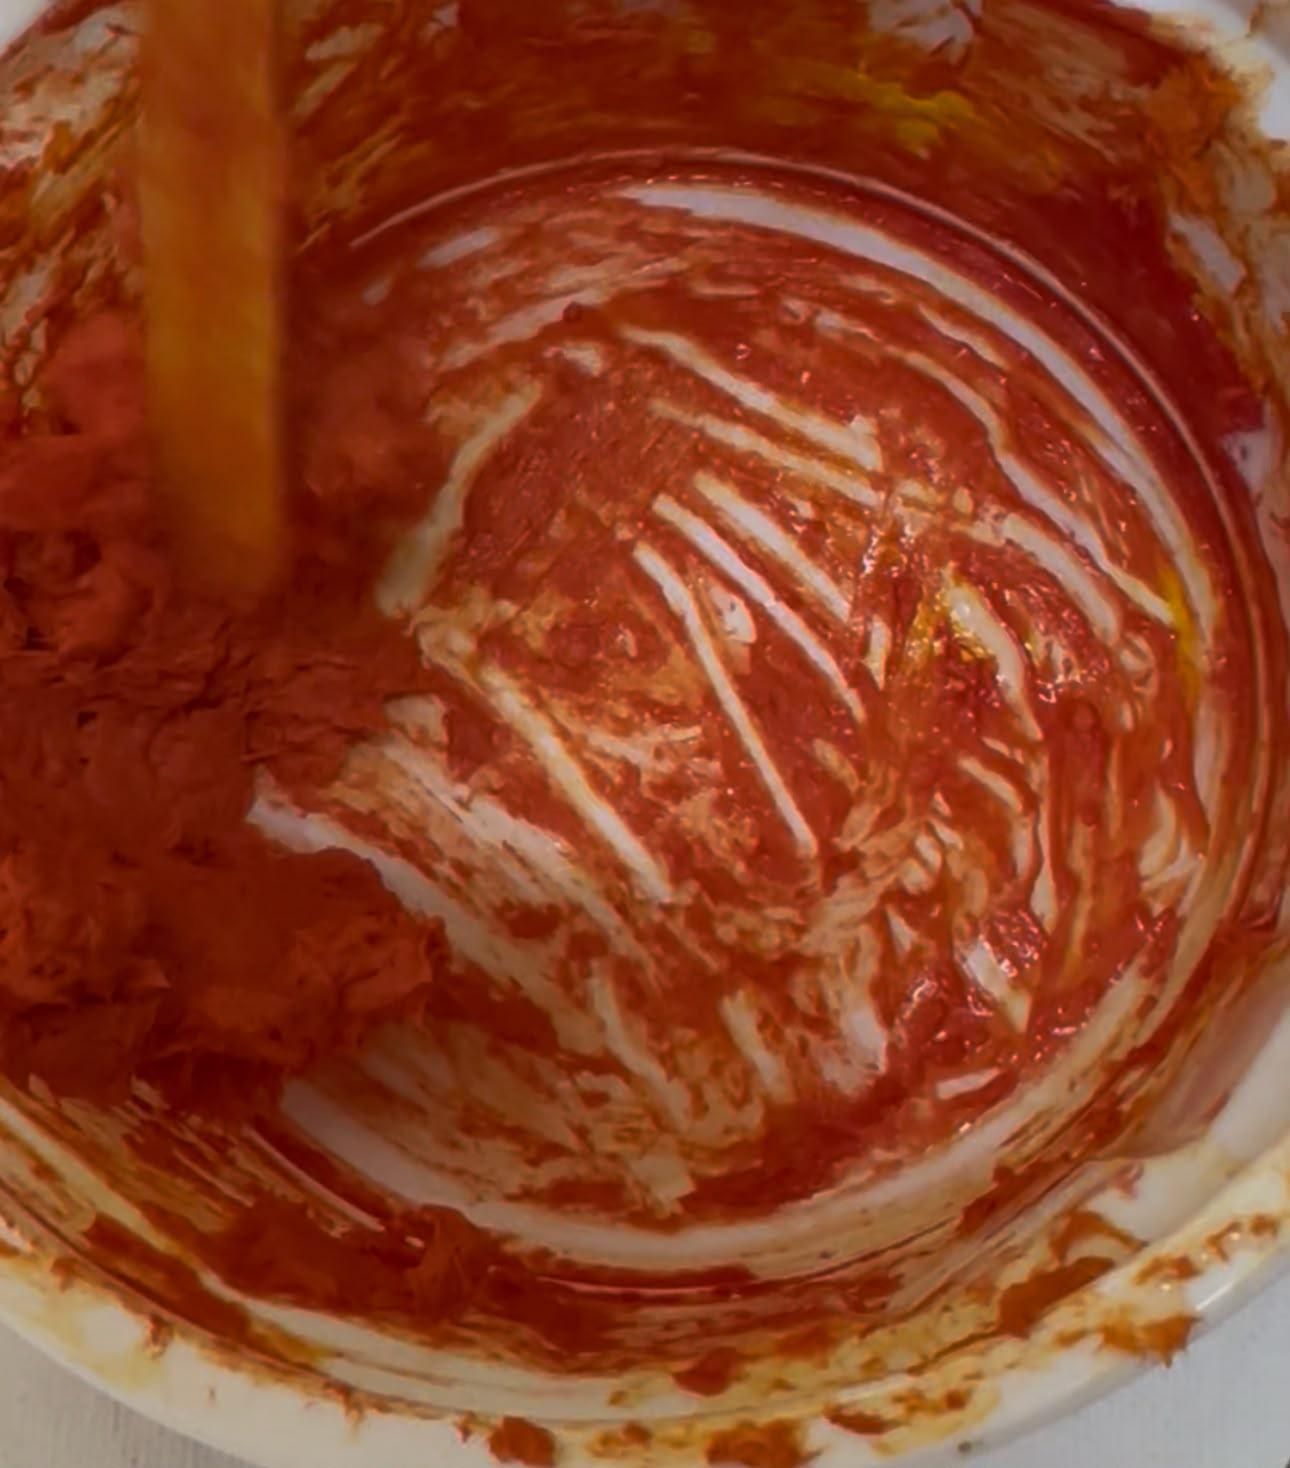
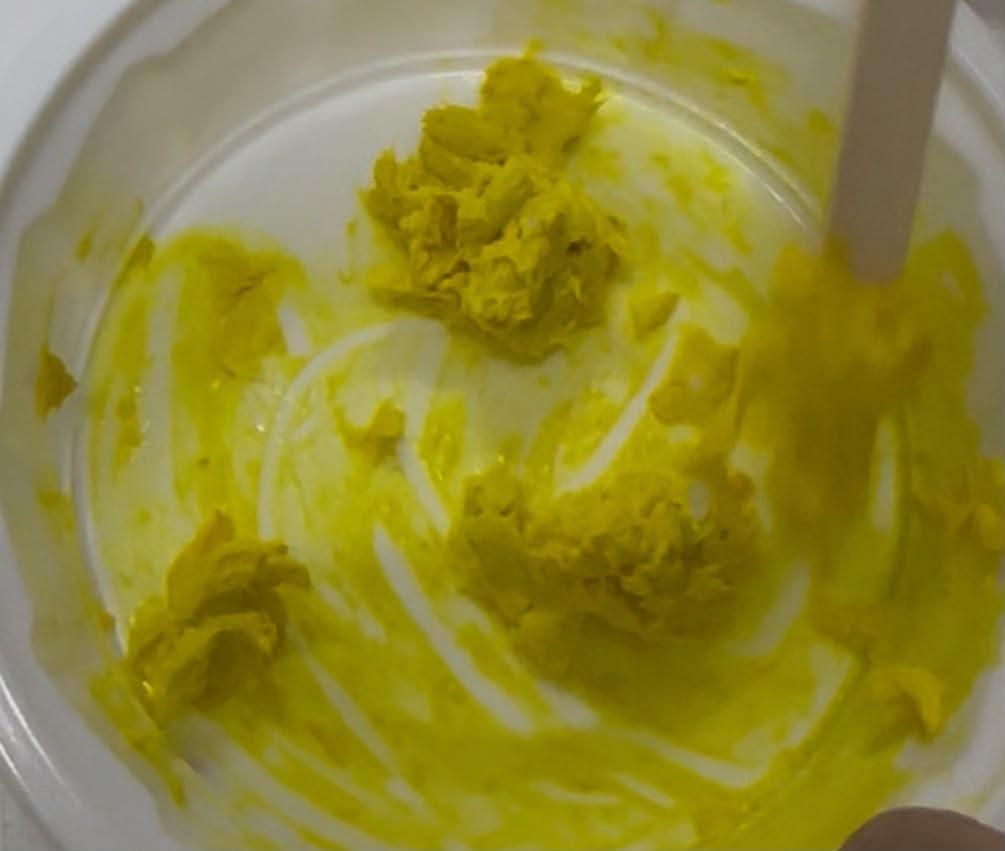
Separate the tissues into single layers and soak them in a bowl of water for about 3–5 minutes until they become soft. Take them out and squeeze out the excess water so they are damp but not dripping.
Divide the damp tissue into 7 equal portions and place each one into a separate cup. Keep one extra small portion in another cup for the black mixture.
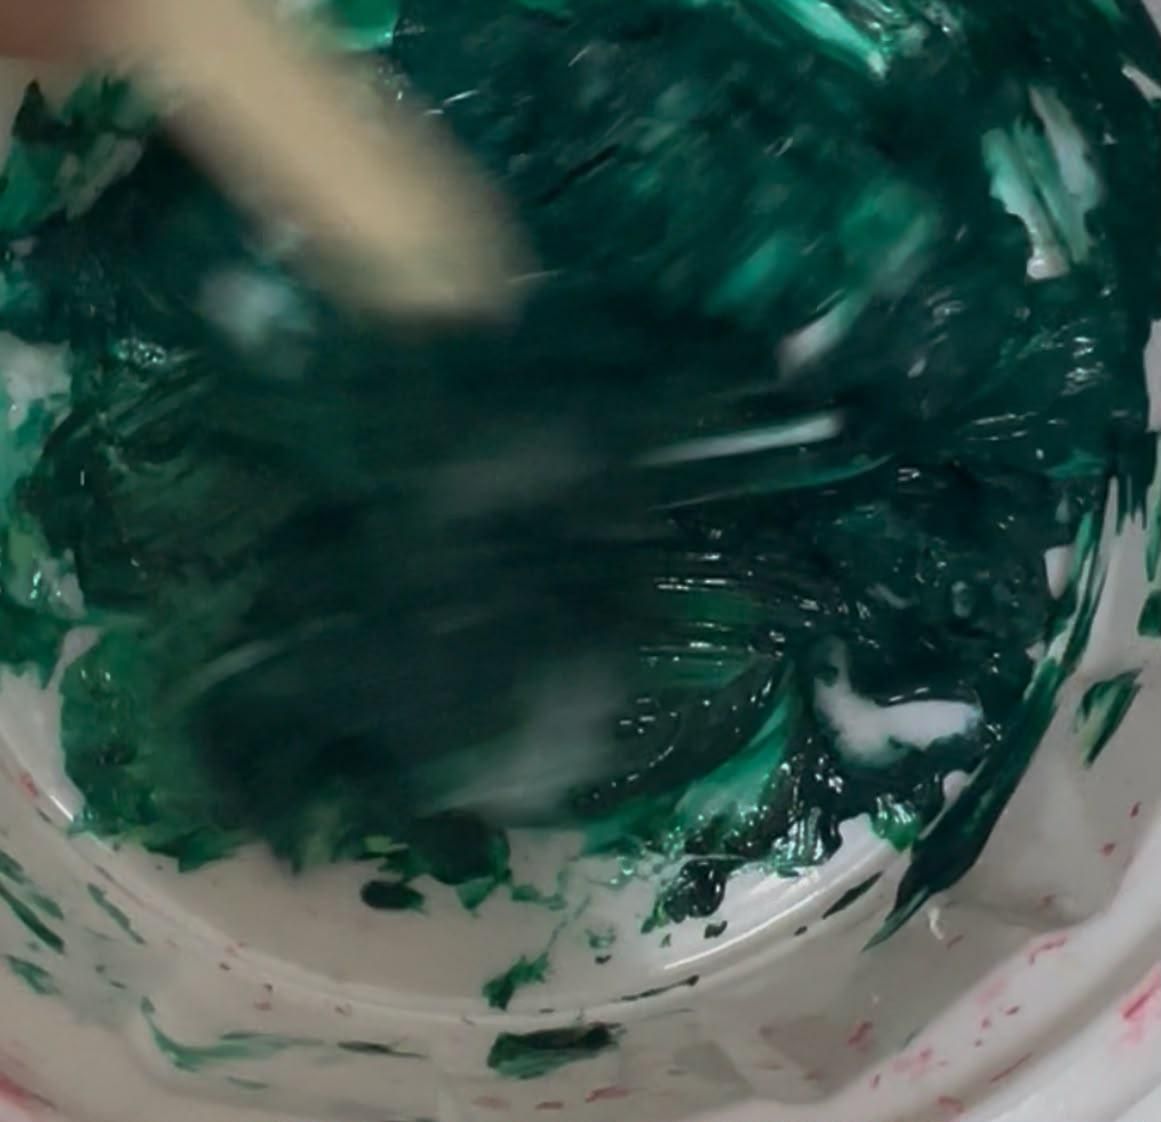
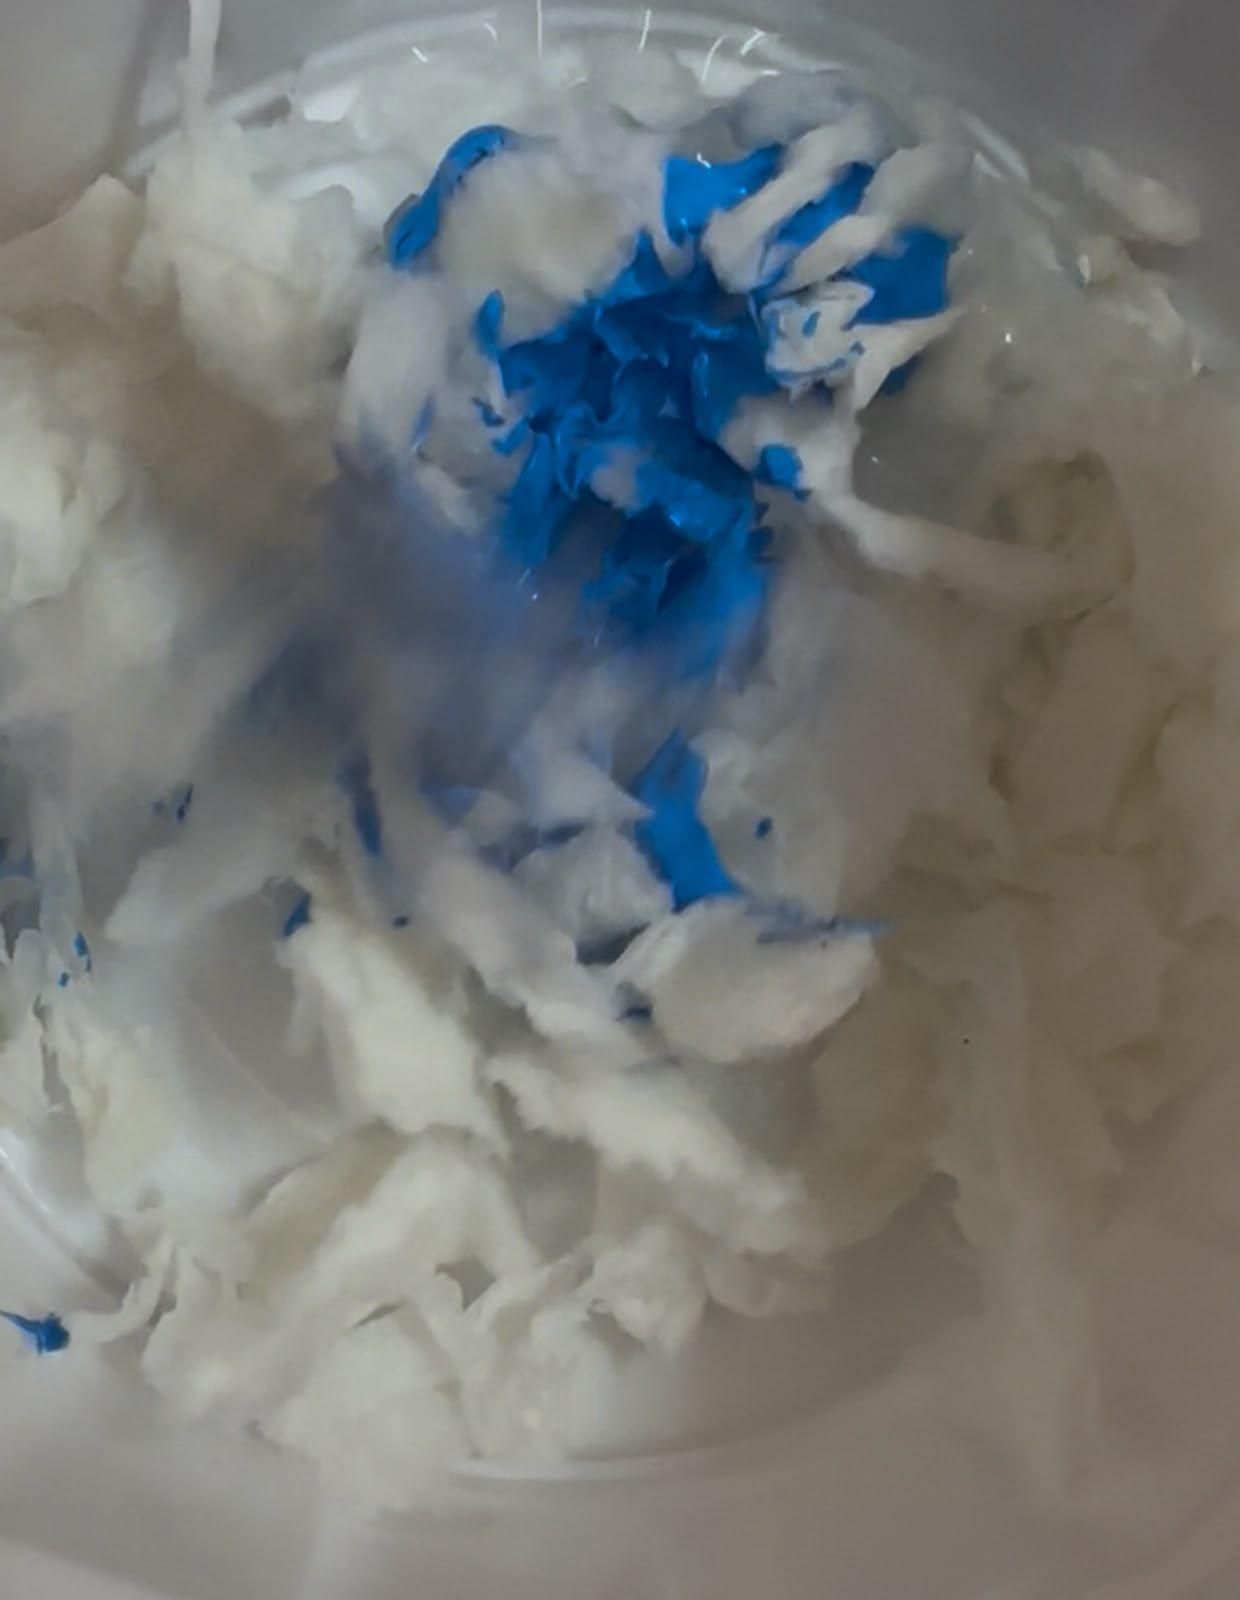
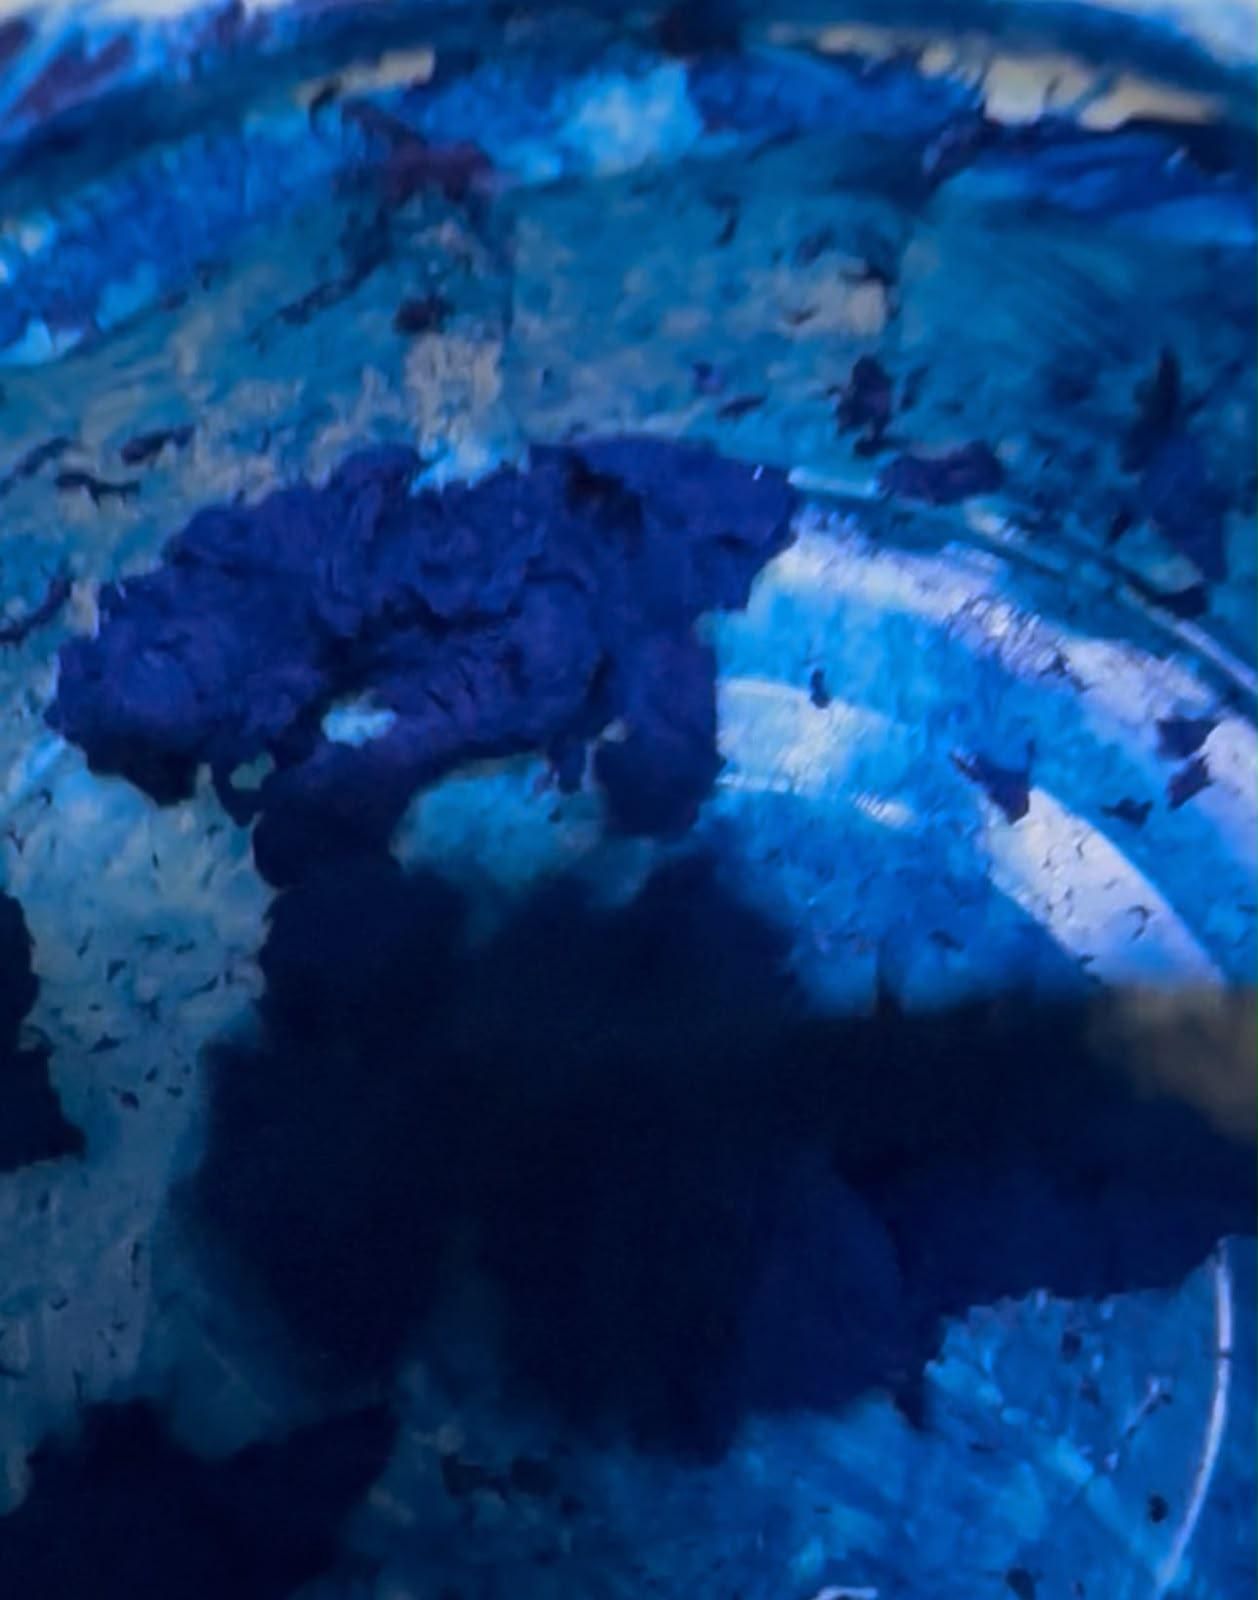
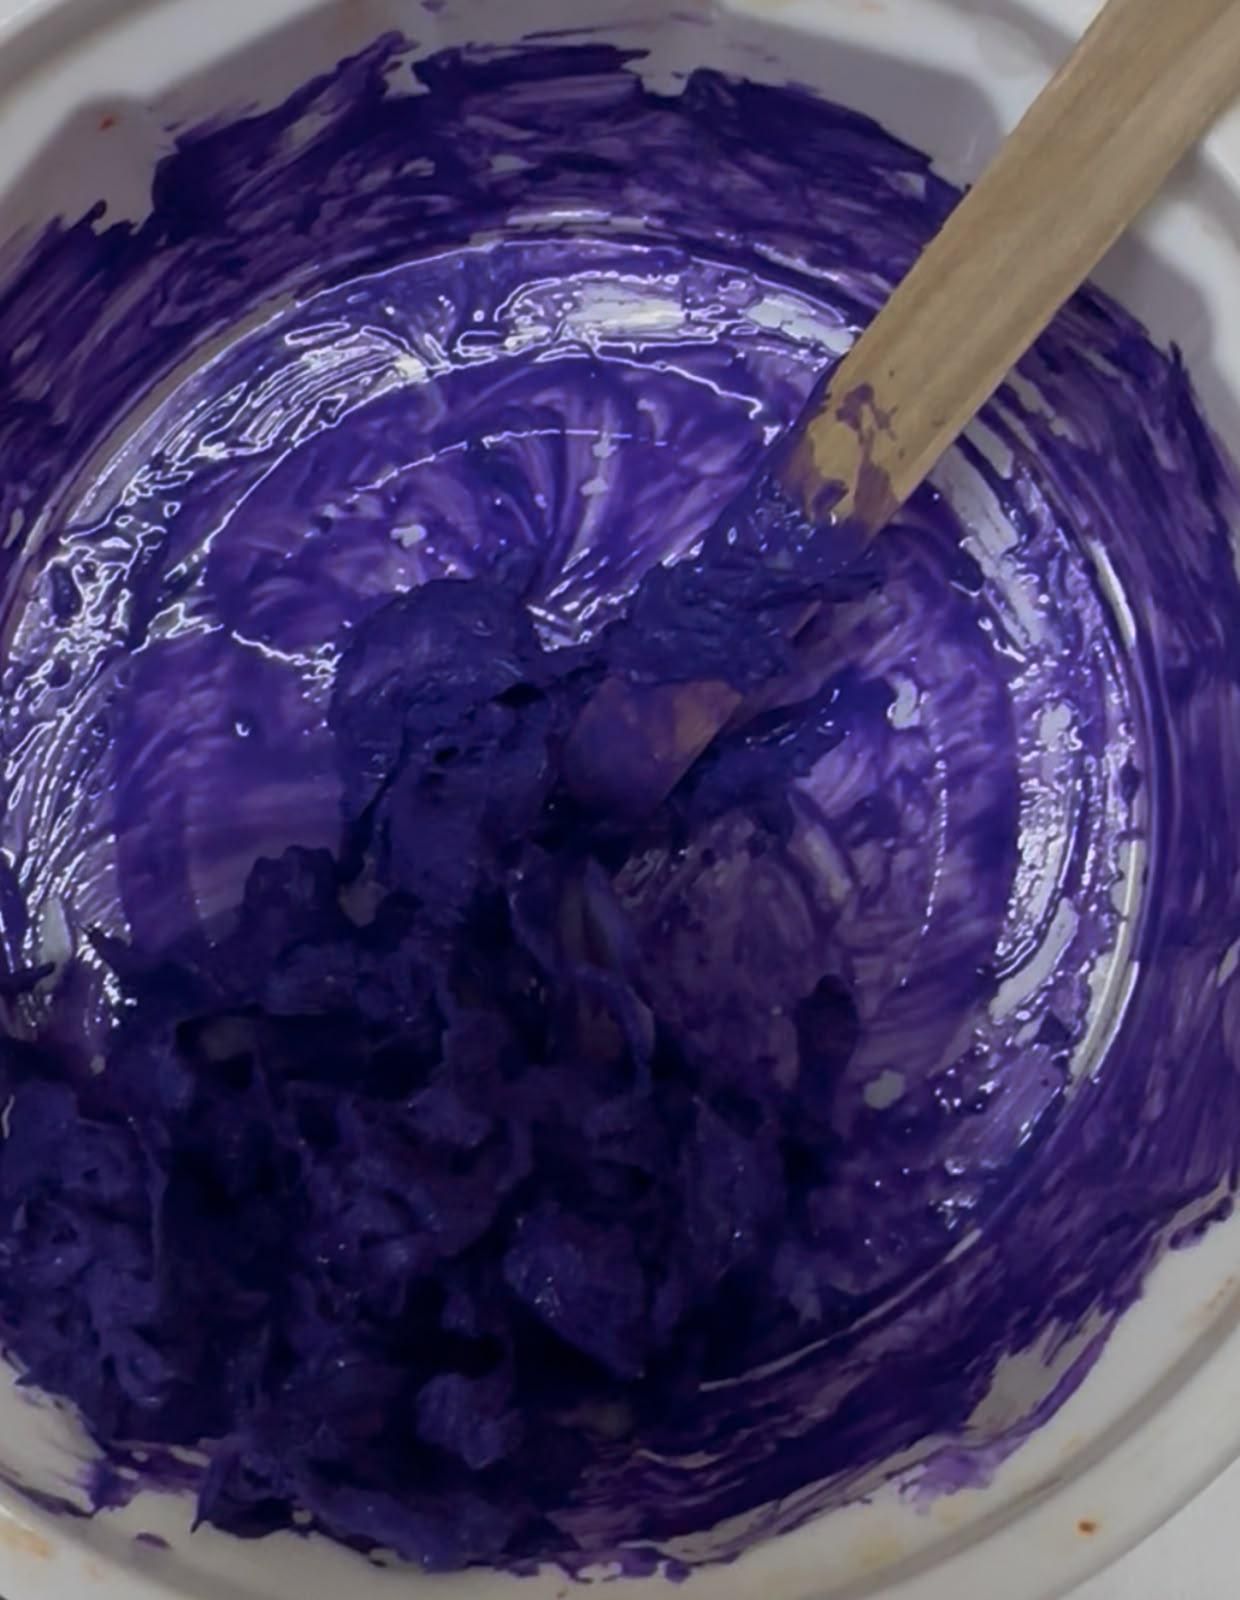
Add around 2 tablespoons of PVA glue to each cup, then add one color of acrylic paint to each: red, orange, yellow, green, blue, indigo, violet, and black. Mix each cup well with an ice cream stick until the tissue is fully coated and the color is even throughout. If any color looks too light, simply add a little more paint and mix again.
Once you're done, you'll have 8 colored tissue mixtures ready to use for the butterfly.
Downloads
Fill the Butterfly Body With Yellow and Black
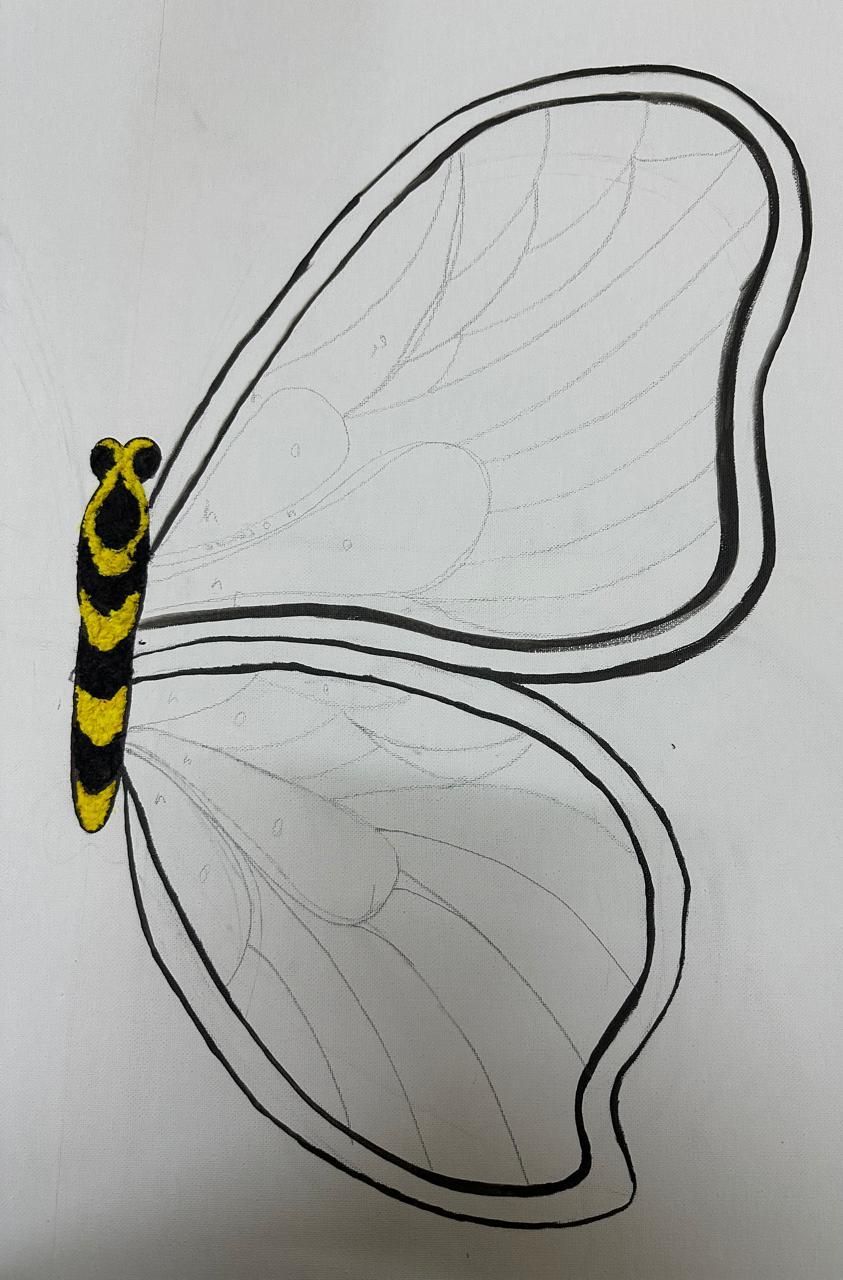
Begin in the center of the butterfly — the body. This is the easiest and most forgiving area to start with, and it warms up your technique before you work on the detailed wings. Using an ice cream stick or your fingers, take a small amount of the black tissue mixture and press it firmly along the very center line of the body to create a dark spine. Repeat same with yellow color tissu. The tissue should be pressed flat and firmly against the canvas surface — it will look textured and slightly raised, like a relief sculpture. Use a toothpick to push any stray tissue fibres back inside the marker outline and to clean up the edges. Let the body sit undisturbed while you move to the first wing.
Downloads
Fill the First Wing With Rainbow Tissue
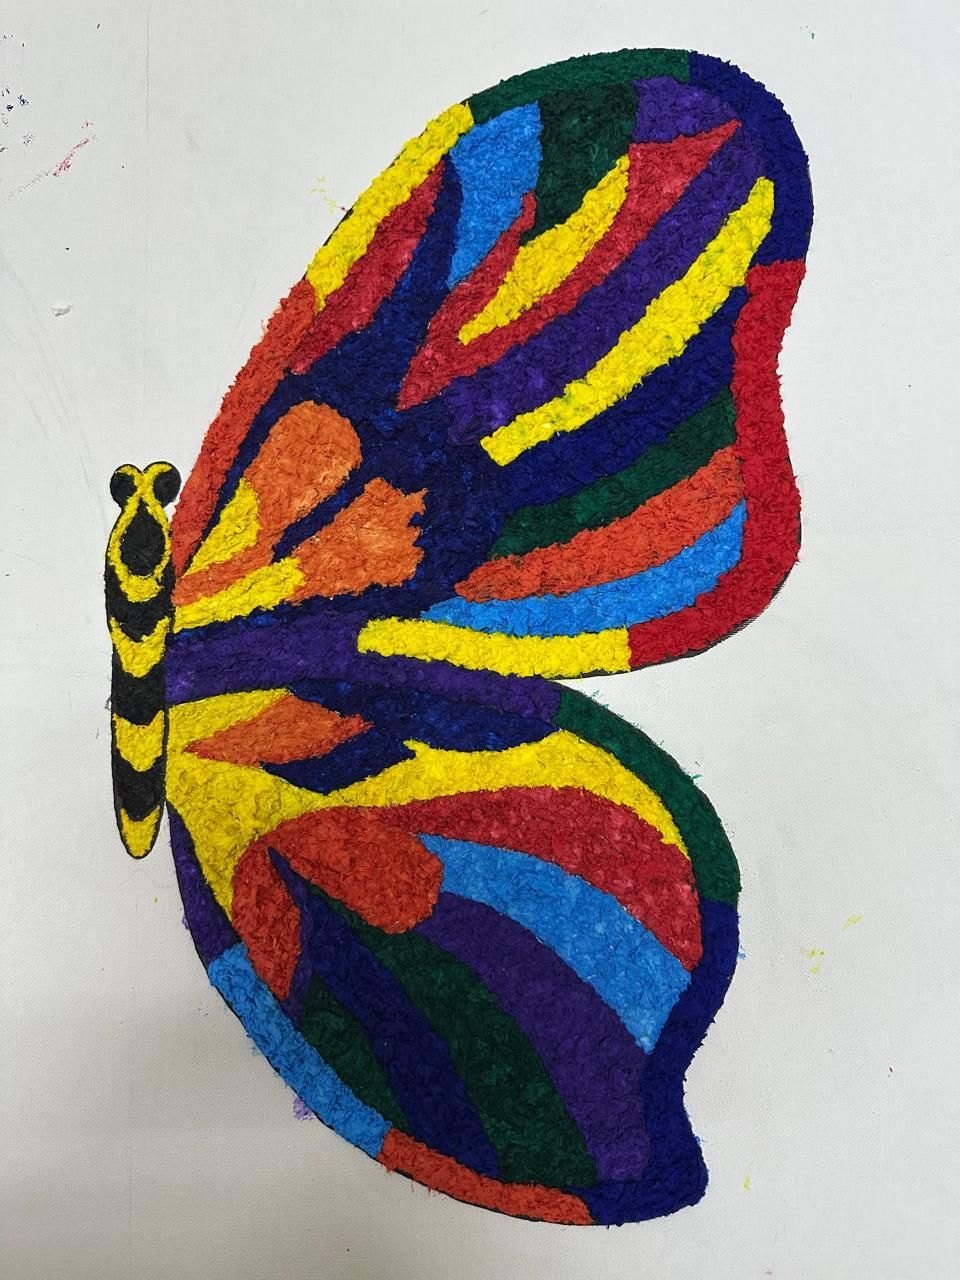
Choose one wing as your tissue wing — this is the wing of life. Look at the inner marker lines you drew earlier dividing this wing into sections. You will fill each section with a different rainbow color, working outward from the body toward the wing tip. Begin at the zone nearest the body and work color by color, section by section. Take a small pinch of your chosen tissue mixture and press it flat within the section using an ice cream stick. For areas near the marker lines and edges, switch to tweezers or a toothpick to place the tissue precisely right up to. Press each section down firmly. Vary your technique: some areas can be pressed smooth and flat, other areas can be left slightly more raised and ruffled for texture variation. Work through all sections of this wing until every part is filled with a color from the rainbow spectrum. The overall effect should look like a stained-glass window made of textile — vivid, luminous, and richly textured. Once the entire wing is filled, leave it completely undisturbed to dry. Drying time is 2–4 hours depending on humidity. Do not touch it or attempt to continue until it is fully dry and set hard.
Downloads
Paint the Background Midnight Blue
Once one wing is fully dry and all glue is set, it is time to paint the background — the sky in which this butterfly exists. Use a flat brush and your midnight blue or dark navy acrylic paint. Paint carefully around the butterfly outline, using the tip of the brush to cut in neatly against the marker line. Take your time with the areas immediately bordering the wings and body — rush here and you will accidentally paint over your tissue work. Once the border areas are clean, fill in all the remaining background with broad strokes of midnight blue. The dark background makes every color of the butterfly appear dramatically more vivid — the tissue wing glows against it.
Downloads
Build the Second Wing With Feathers and Beads
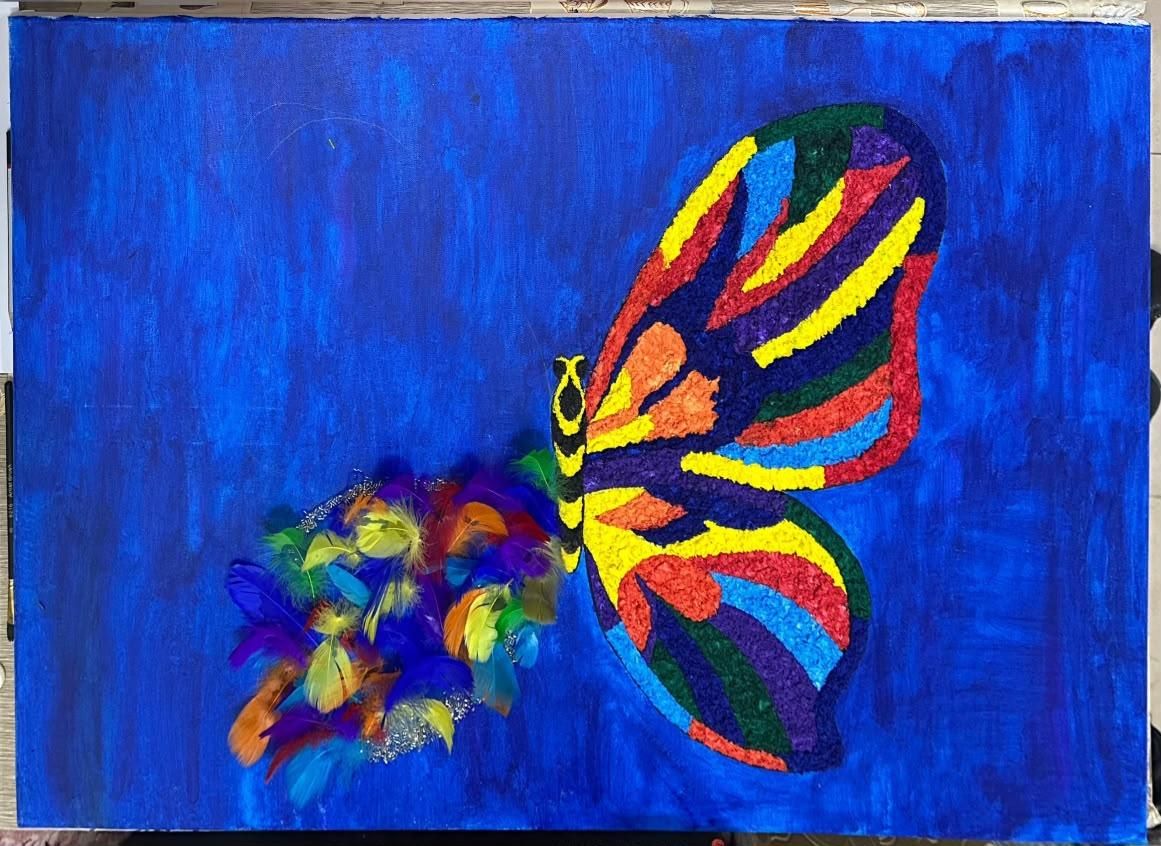
The second wing represents the other side — stillness, silence, the world after transformation. It is constructed not from tissue but from real feathers and beads, giving it a completely different physical character: structured, deliberate, and quiet where the tissue wing is chaotic and vivid. Lay your feathers out first, arranging them within the outline of the second wing before gluing anything. Build up layers of feathers. Try to follow the natural structure of a real butterfly wing — veins radiating outward from the body with feathers following those directions. Once you are satisfied with the arrangement, use craft glue to fix each feather in place, pressing it firmly onto the canvas for 30 seconds. After all feathers are secured, take your beads and place them randomly in clusters on the other wing. Glue the beads. The beads catch the light differently from the feathers, creating a shifting, dimensional surface that contrasts completely with the flat matte texture of the tissue wing.
Downloads
Add the Finishing Touches
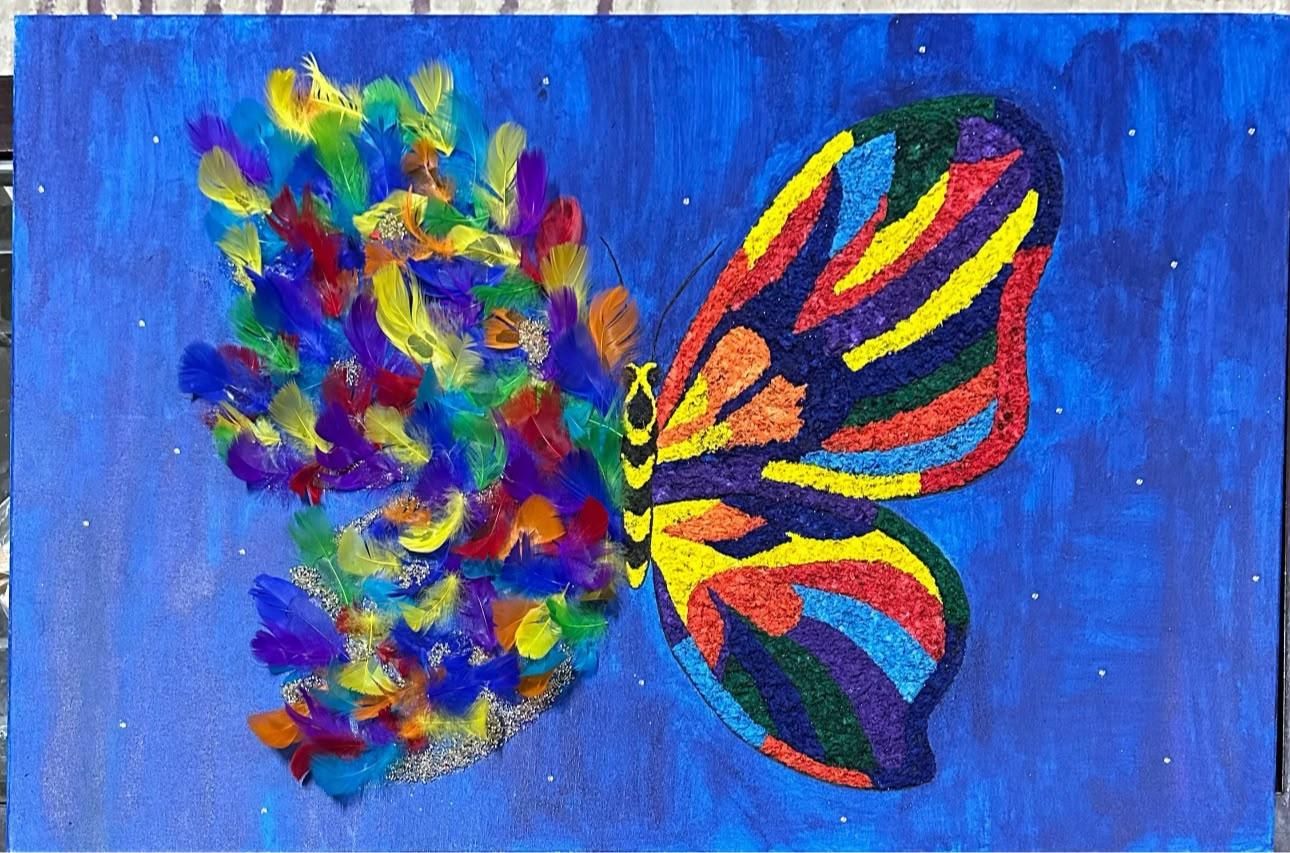
Once the midnight blue background has dried slightly, begin attaching the star-shaped beads. If the paint is still a little tacky, gently press the stars into it. Otherwise, use a small drop of clear craft glue to hold each one in place. Scatter them randomly across the background to create the look of a starry night, leaving a little more space around the butterfly so it remains the centre of attention.
Next, brush a thin layer of clear craft glue over the tissue-paper wing. While the glue is still wet, lightly sprinkle black glitter over the surface. Tilt the canvas to spread the glitter evenly, then gently tap off the excess onto a sheet of paper so it can be collected and reused. The black glitter adds a subtle shimmer and creates a striking contrast against the bright rainbow colours. Finally, draw the two antennas of the butterfly using black permanent marker. Leave the artwork to dry completely before displaying or handling it.