A Simple Rotating Stage for Photography or Display
by NotLikeALeafOnTheWind in Design > Photography
3404 Views, 10 Favorites, 0 Comments
A Simple Rotating Stage for Photography or Display
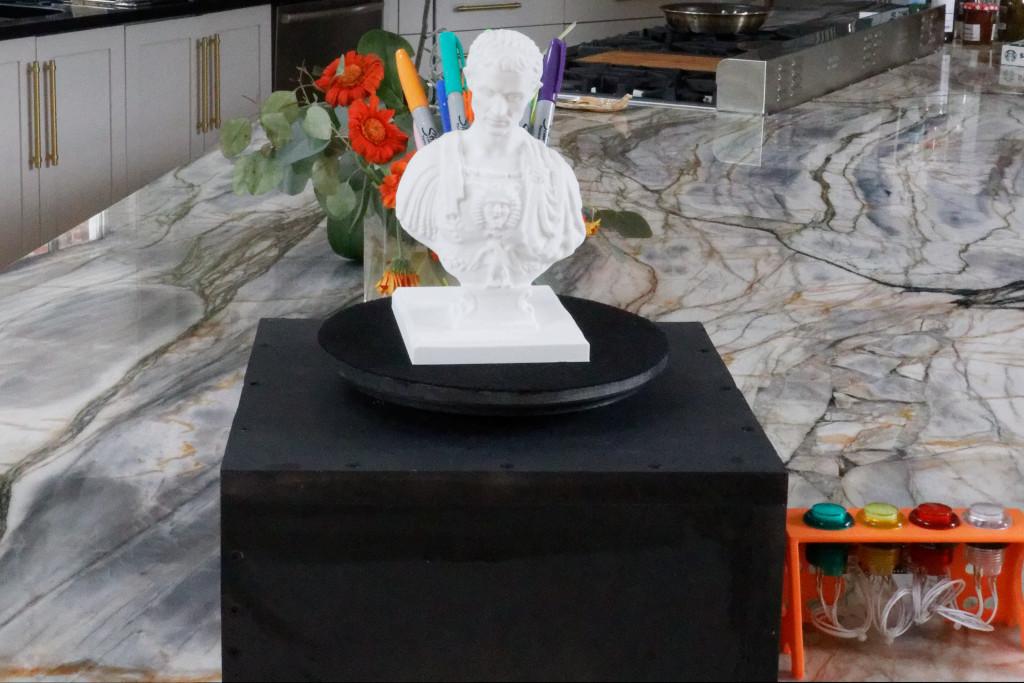


This is a rotating stage for photography or display.
The purpose of this project was twofold, first, to provide a rotating stage for photography, and second, to provide a rotating stage for a display stand. This was accomplished through software. If the software detects buttons, then it goes into photography mode. For example, the standard four buttons are set up, so there is an eighth degree of revolution in either direction from the two outside buttons and a quarter revolution from one of the inside buttons. The other inside button returns the stage to the initial starting position.
The stage goes into a continuous rotation mode if no buttons are found on the I2C bus. Each rotation takes approximately one minute.
Supplies
MDF board 12"x12" (Qty 3)
Wood screws
1-1/4" (Qty 24)
1/2" (qty 6)
Din rail ~ 150mm in length
Arduino Nano
Stepper motor driver
Stepper motor
Wire and miscellaneous connectors
Power supply
if using Adafruit 1x4 Arcade button board
Adafruit LED Arcade Button 1x4 QT I2C Breakout board
If using Adafruit NeoKey 1x4 QT I2C - Four Mechanical Key Switches
NeoKey 1x4 QT I2C - Four Mechanical Key Switches
Mechanical key switches and keycaps of your choice
3d Printed parts
Stage stem
Stepper motor controller mount
Tools
Drill
Drill bits
2 inch Hole cutter bit
corner clamps
scissors
screwdriver
wood glue
3m Super 77 Spray adhesive
I was testing with a 5lb bag of sugar. It did not make for a good picture, so I used a model my son printed instead.
He found the model here:
"This model was originally designed by Henry Qiu - DERAILED3D, original files and 3D prints can be located at https://derailed3d.com and https://www.thingiverse.com/thing:2536988/"
Cut the Base Material
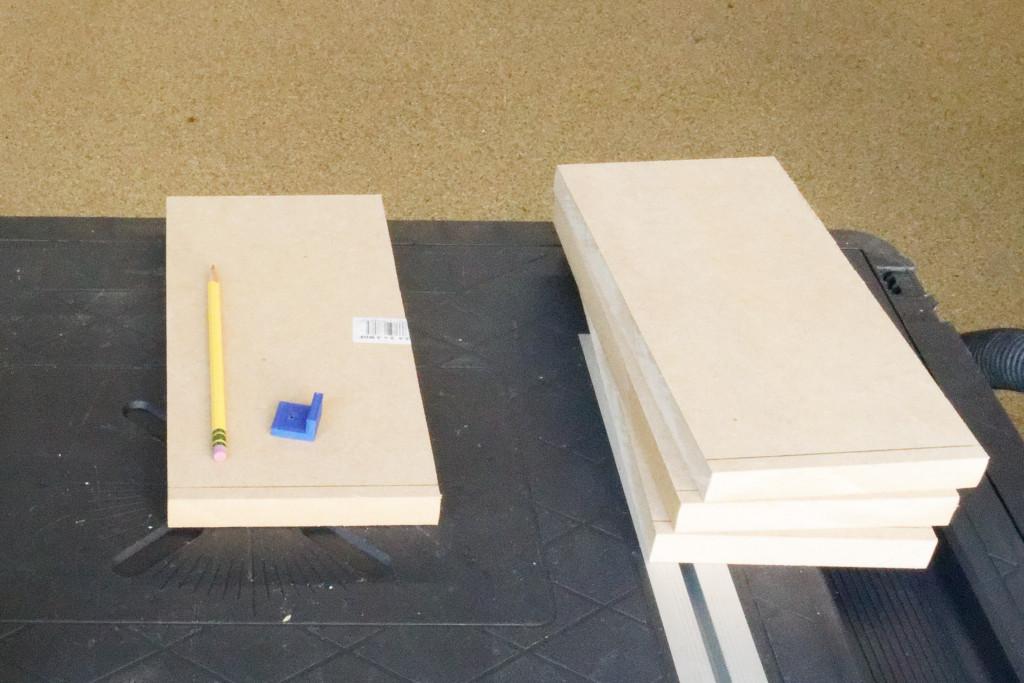

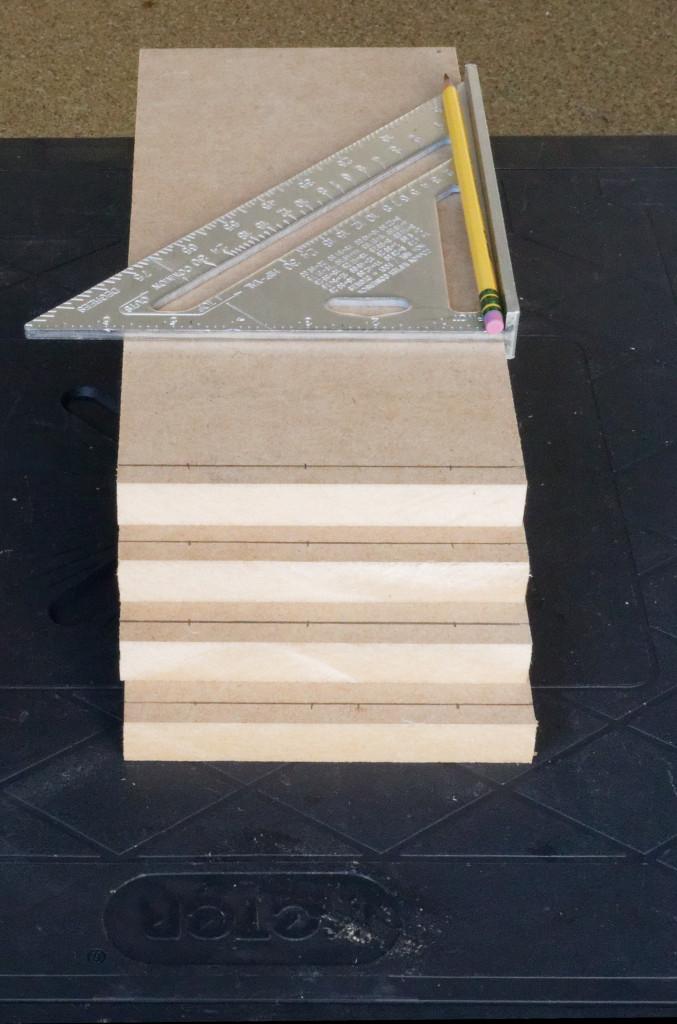

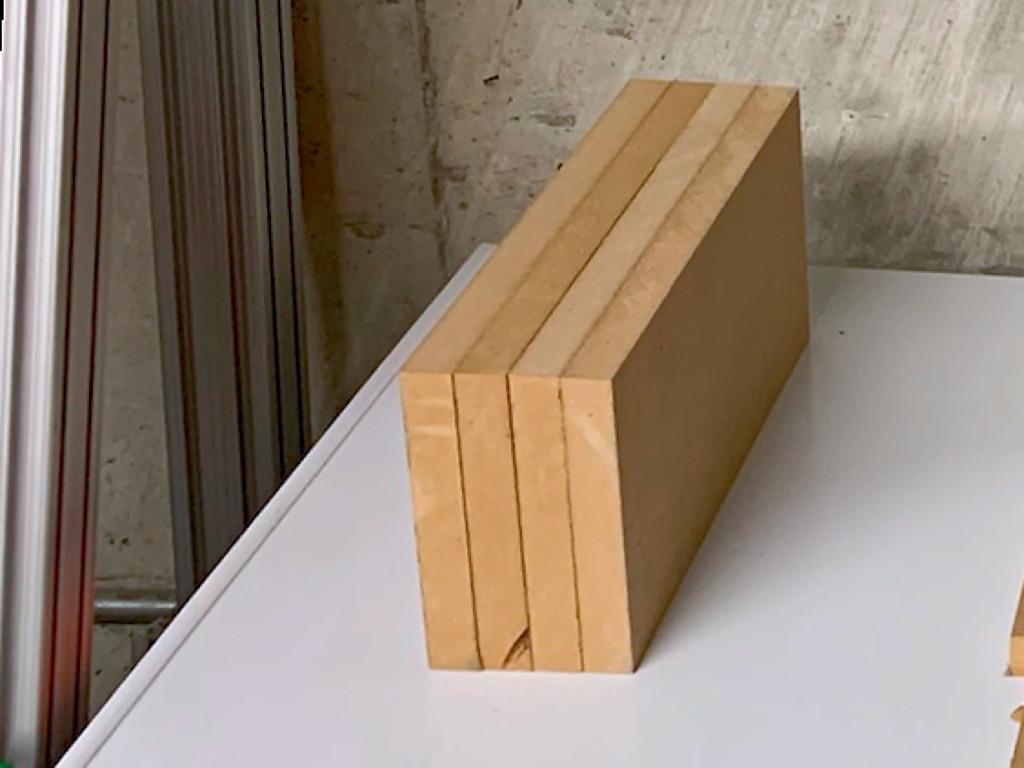
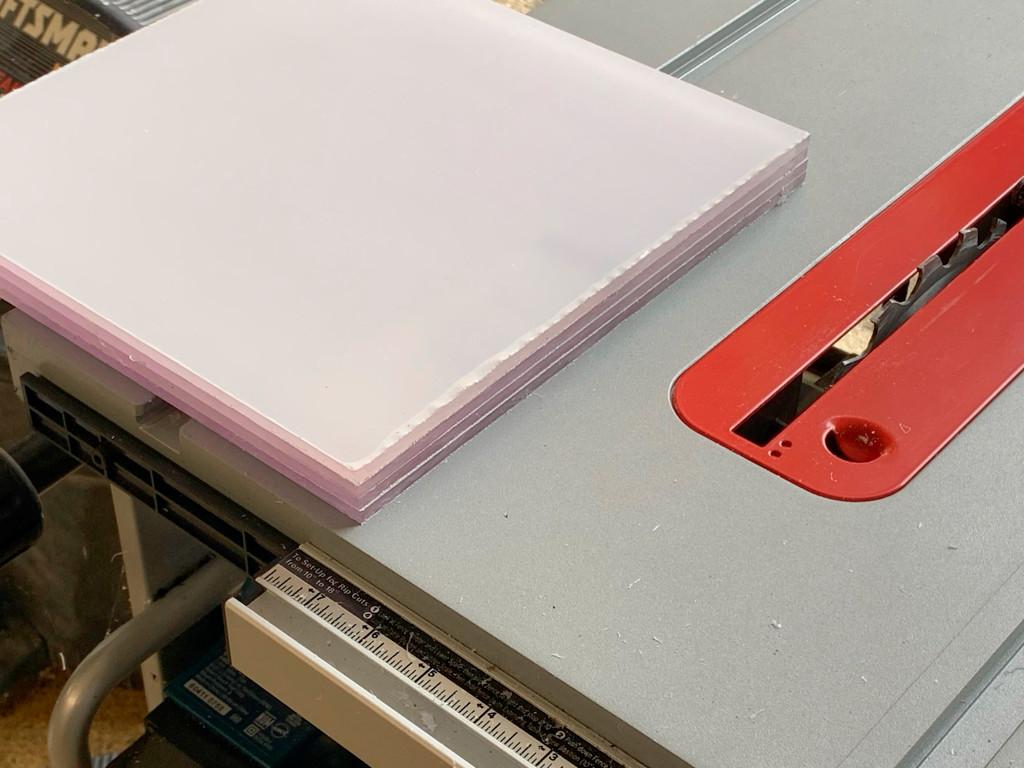
The base in this example is 1-foot square and seven inches tall. The material we are using is 5/8 inch MDF.
To make the sideboards.
- Cut four boards to 11 inches by 6 inches.
- Cut the top panel 12 inches by 12 inches.
- Mark the boards on one end, as shown in the picture. The marks are the location of holes that will be used as a drilling guide in the next step. In the example, we drew a line at 5/16 and then put marks one inch from each end, a spot at the halfway point of the line. If using 5/8 material, you can use the drill guide below to mark the line.
- Drill the screw guide holes in each board. The holes should be as straight as possible so use a drill press if available.
Downloads
Glue the Bottom Base Walls

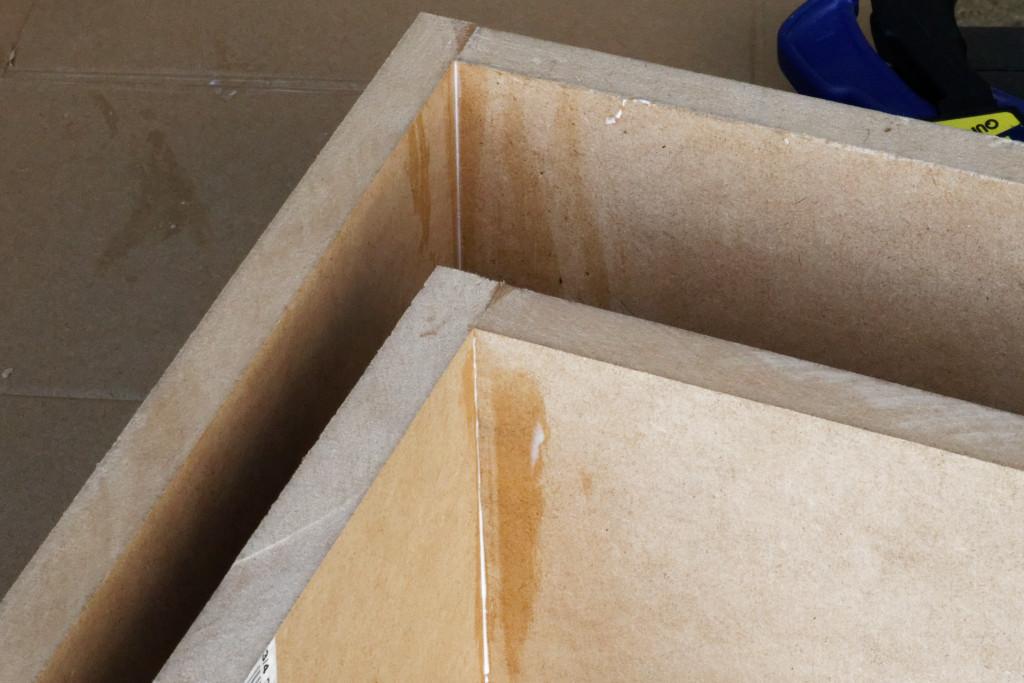
_DxO.jpg)
_DxO.jpg)
Our method for assembling the base was first to make two sets of the sides, assemble them, and let the glue dry. Then we attached the two assemblies to make the bottom of the base. Be sure to be careful to match the heights of all the boards.
To make assembling the base.
- Using corner guides, place one of the pre-drilled ends of the board against a blank end of a board. Set the boards at 90° to each other using the clamps drill from the pre-drilled holes into the undrilled end of the board to a depth of about half an inch.
- Loosen the clamps and separate the boards. Apply glue to the end of the boards where they are to be glued using a wood screw, attach the two boards and re-clamp them. Wipe away all of the excess glue.
- Repeat steps one and two for the next set of boards.
- Allow the two sets to dry overnight. The following day removes the clamps.
- Glue the two subassemblies together using the same process and wood screws. Wipe away the excess glue. Allow drying overnight.
Prepare the Top Base


Prepare the top of the box.
- Using a long ruler, draw a line from the opposite corners of the top.
- Measure the sides of the top and place marks at 1/4, 1/2, and 3/4 of the length of each side.
- Draw a line connecting the opposite sides of the top. You should now have a grid like the one shown in the picture.
- Use the drill guide or a ruler to mark a spot on each one of the horizontal lines at the center depth of the bottom side boards. These are your drill marks.
- Using a drill press or a hand drill with a guide, drill a hole at each drill mark.
Glue the Top to the Base

To glue the top of the box to the base.
- Line up the top with the base.
- In one corner, using the top as a drill guide, drill out one of the holes to a depth of 1/2 to 3/4 inch into the bottom.
- Lightly place a wood screw into the hole until it engages, but do not tighten it.
- Repeat on the opposite side.
- Now check the alignment between the box and the base on all sides. If necessary, adjust the position of the two holes.
- When you are satisfied that the top is as flush with the base as you can make it, drill the rest of the holes in the bottom using the top as a drill guide.
- Remove the top and apply a bead of glue along the entire length of the top of the base. Reattach the top using the first two screws.
- Insert and drive in the rest of the screws.
- Wipe up the excess glue. Make sure you do both the inside and the outside of the box.
- Let sit overnight.
Prepare the Top for the Motor Mount


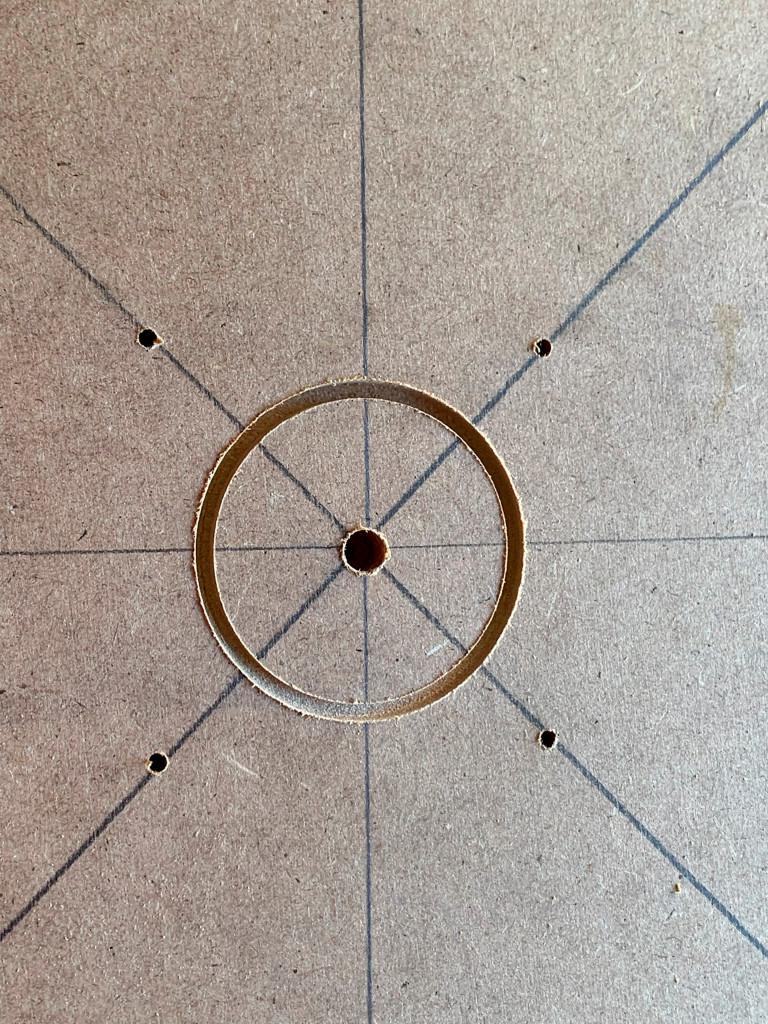


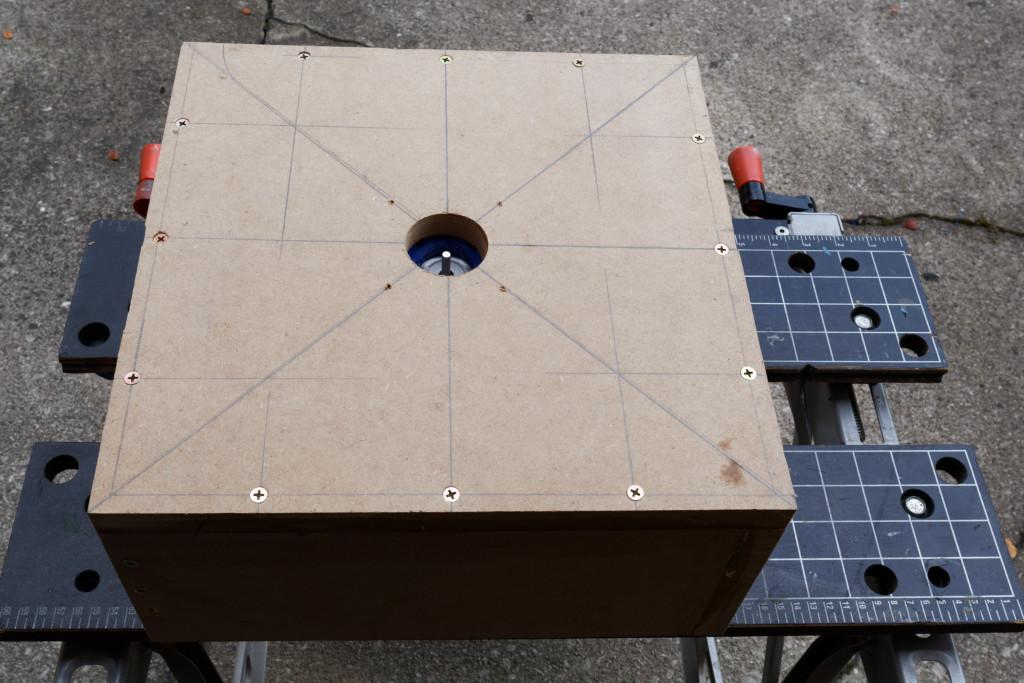

Prepare the top of the box for the motor mount.
We will use the 3-D printed motor mount as a drill guide in this step.
- The 3-D printed motor mount has a V guide at the end of each arm. Place the guides over the diagonal lines running from corner to corner on the top of the box. The cross of the two lines should be visible in the circle on the motor mount.
- Using a pencil or a punch, mark the location of each one of the holes on the drill guide. You should be able to see the diagonal line running through each one of these.
- Using a 2-inch hole drill, cut a hole at the center of the box. The two intersecting diagonal lines are the center of the box.
- Using a drill bit smaller than the wood screws, make a hole at each one of the indents or marks you have made along the diagonal line. These holes should extend through the top.
- Using the mound, check the alignment on the underside of the box. Do not attach the mount yet.
- Using four M3 Panhead bolts, attach the NEMA 17 motor to the mount. Put the motor and mount aside.
Paint


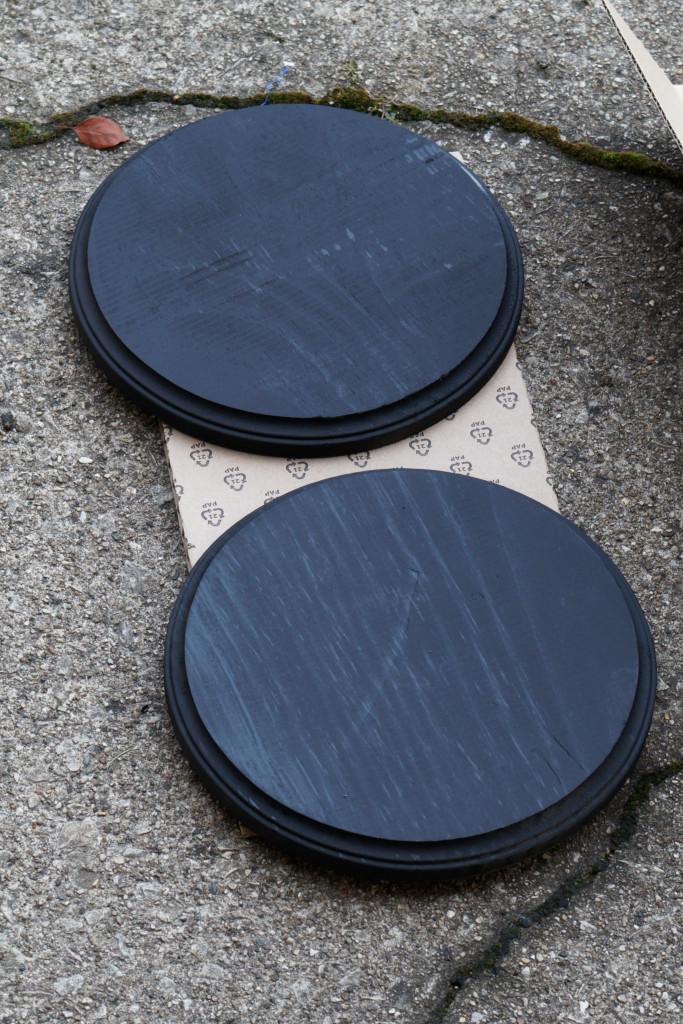
Note: for a nicer finish, sand the outside of the base and remove as much excess glue as possible.
There are two pieces to be painted, the base and the stage. Clean the pieces and spray paint the outside of the base. The bottom and sides of the stage are painted. The top of the stage was not painted because it is covered in fabric in the next step.
Add Fabric to the Top of the Stage
_DxO.jpg)

_DxO.jpg)
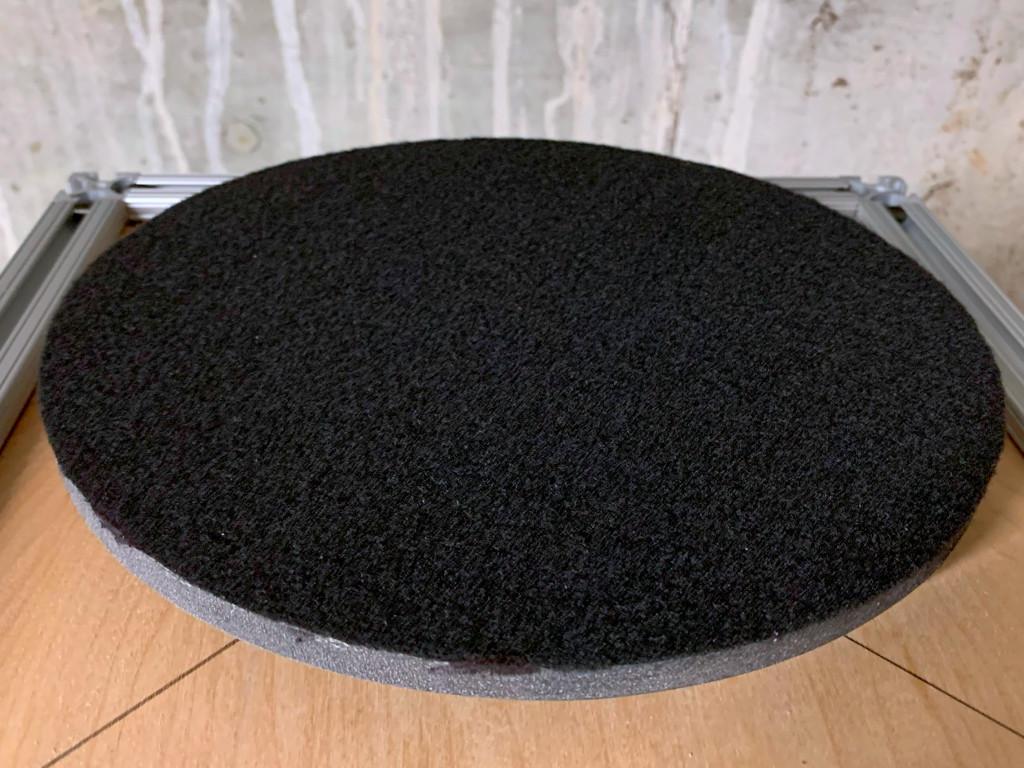

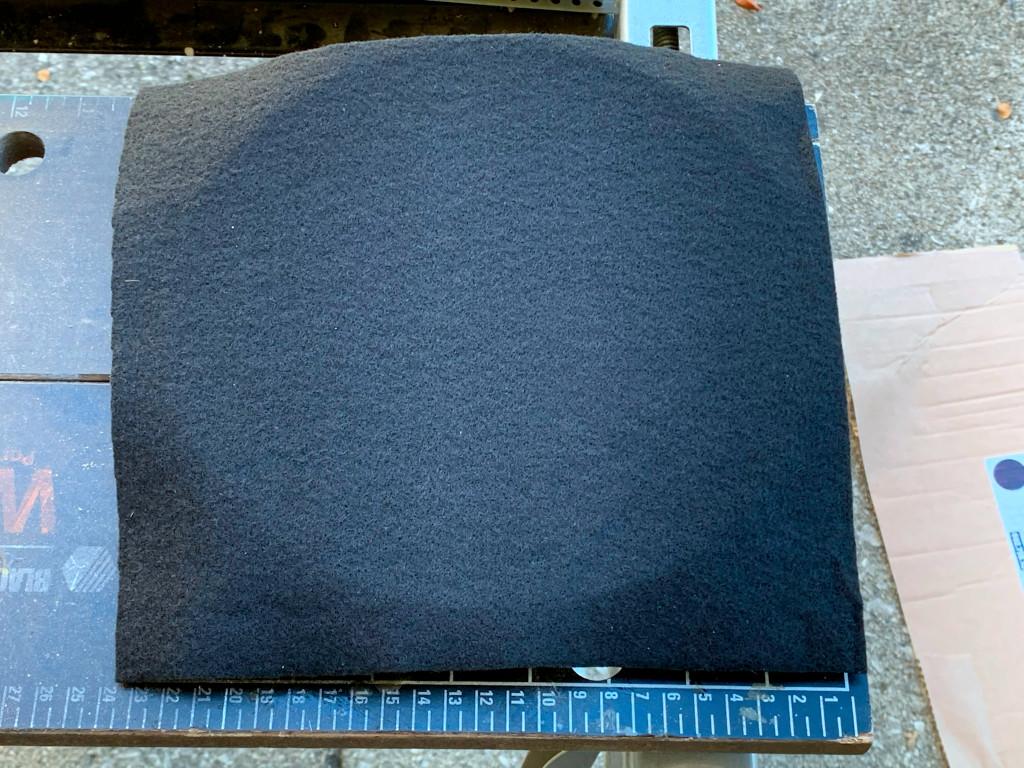
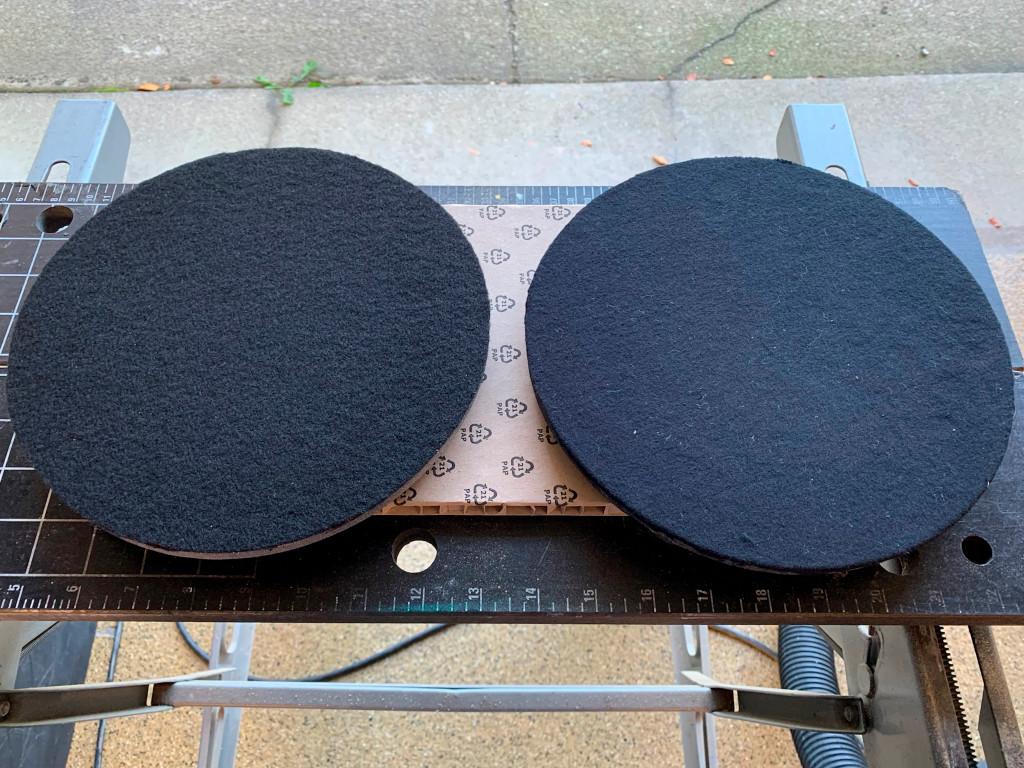
The unpainted surface was sprayed with 3M Supper77 adhesive. The fabric was then placed over the adhesive and spread flat.
We tried two different materials, black felt and black flannel. They both provide a similar look on the surface. The flannel was easier to stretch over the sides. The flannel was cut flush with the edge. Both looked fine.
- Spray adhesive on the unpainted surface.
- Place material on the adhesive.
- Spread the material out, removing all wrinkles.
- Let dry overnight.
- Using a sharp X-Acto knife, cut off the excess material.
A Word About Electronics
We kept the electronics as simple as possible. The project was built with parts recycled from other projects. For costing purposes, here are links to equivalent parts as of this writing.
Arduino Nano clone $6.25
Nano terminal board $2.40
Stepper Motor driver $9.34
Stepper Motor $9.20
Adafruit Four button Arcade controller $9.95
or
Adafruit Four button keyboard (x2) $19.90
Total cost: $47.09
You will also have to budget for wires, connectors, mounting hardware, and buttons. This should add another ~ $20 to $30 to the project.
Assemble and Test the Electronics


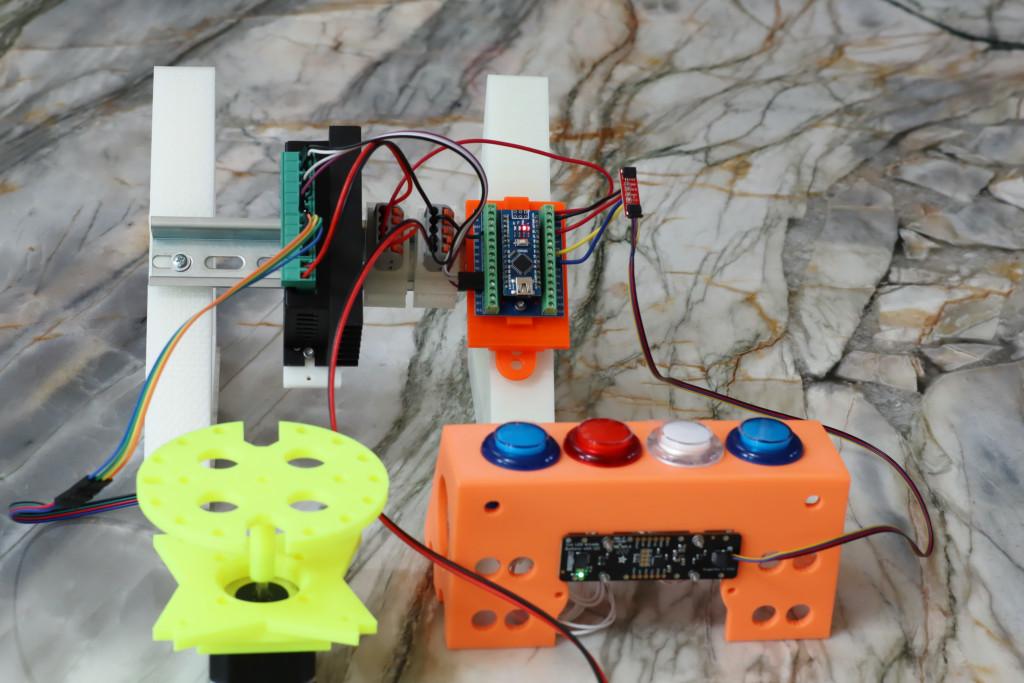
It is easier to assemble and test the stepper motor and microcontroller before you mount the electronics in the base. The pictures above show the test setup we used.
The program is uploaded to the Arduino nano.
- Load the sketch onto the Arduino Nano.
- Set the switches on the stepper motor controller. The number of steps per revelation should match the value in the sketch. Set the current switch on the stepper motor controller to the minimum value for the current supported by the motor.
- Wire the nano and the controller to the power supply.
- Wire the I2C connection to the external switch
You may want to modify the code to fit your own needs. We have provided several examples to show our implementation.
An excellent tutorial on wiring the nano to the stepper motor can be found here. Note: check the sample code to see the pin assignments we used.
The free-standing button mount for arcade buttons can be found here.
Alternate Electronics.


If you aren't comfortable with programming an Arduino, there is an option for electronics that requires no programming. This link will take you to a standalone controller that can be used to drive the stepper motor.
For example, this controller is an option if you want the stage to rotate at a given speed.
Mount the Motor
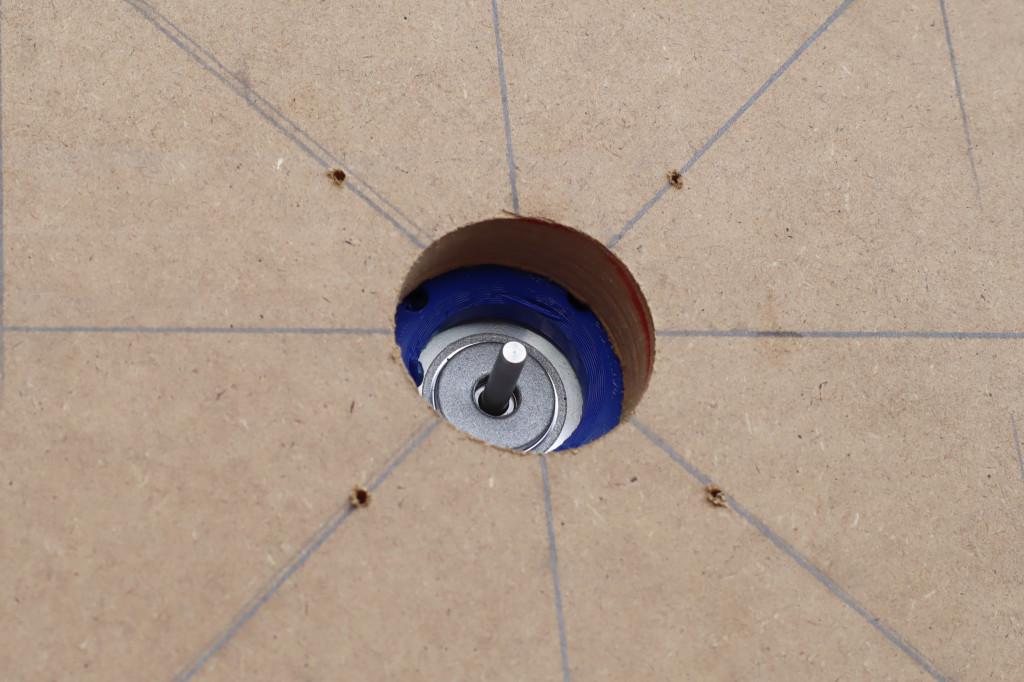


Mounting the stepper motor.
From the bottom of the box, place the stepper motor mount so that the four holes on the arms are lined with the holes in the bottom of the box. Insert wood screws and tighten down. Turn the base over and check the alignment. The shaft on the motor will be very close to the center of the box.
Mount the Electronics
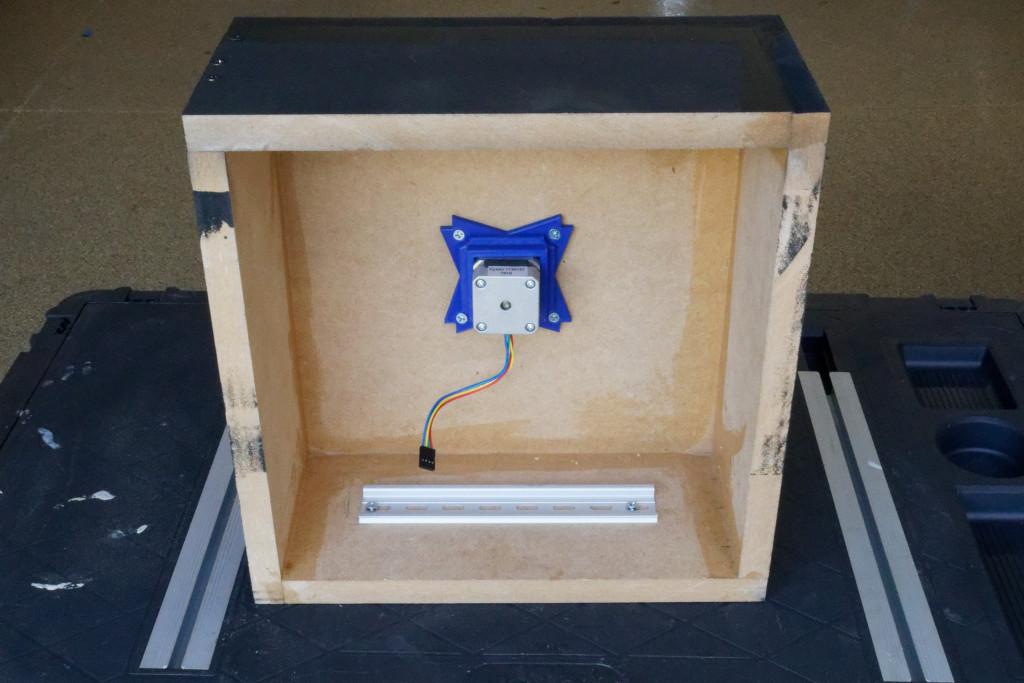
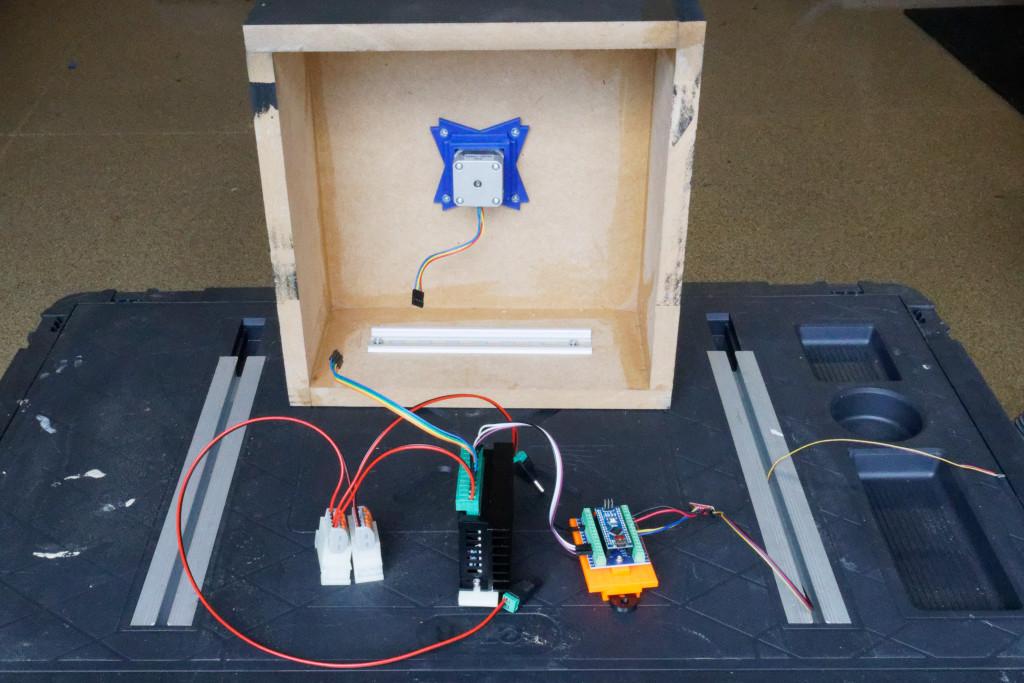

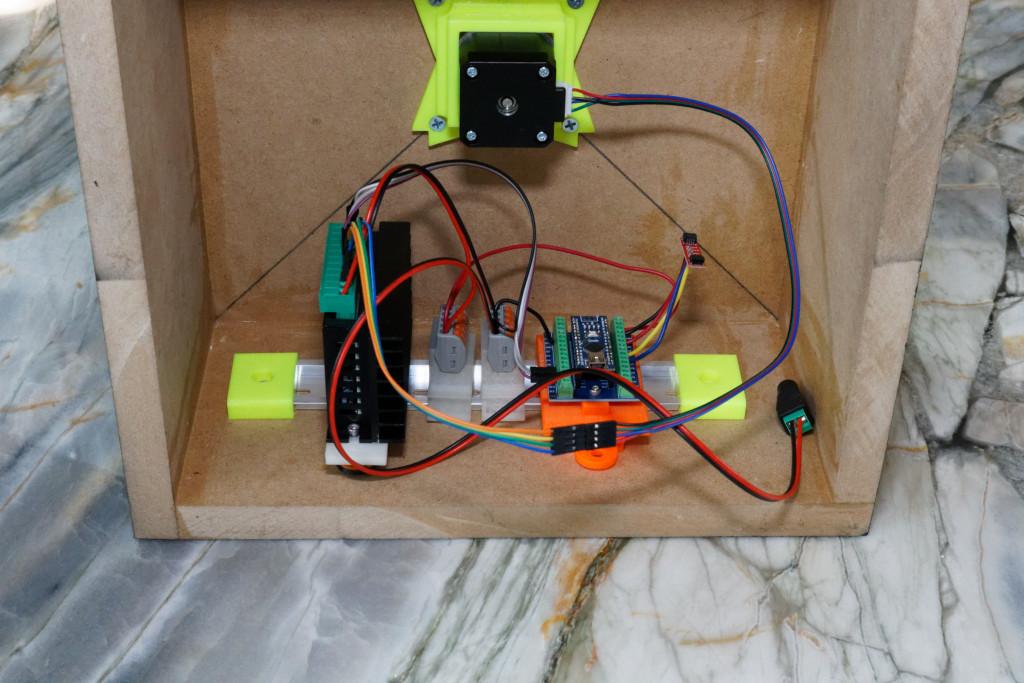
We attached a din rail to one side of the inside base to mount the electronics in the base. We measured to ensure enough clearance to attach components from the top of the box to the top of the din rail. We also drilled a small hole at the bottom center of the side where the din rail was mounted to pass through the power cord and the I2C cable.
Additionally, we also installed two wood inset mounts to the outside of the base. This temporarily allows a piece of din rail to be mounted to the outside of the base. This din rail can then support the keyboard and other devices.
Mount the Stage to the Base

The mount we used for the base can be found at: Printables Thingaverse The stepper motors we used had a d-shaft. The thick support on the base's underside indicates where part aligns with the shaft's flat face.
- Find the center of the stage.
- Position the shaft coupler bracketed to the bottom of the stage so that center of the bracket is in line with the center of the stage.
- Screw the bracket to the stage.
- Take the stage assembly and attach it to the stepper motor shaft.
- Push down and level the stage; there should be a little play in the stage.
Add the Lazy Susan (if Necessary)


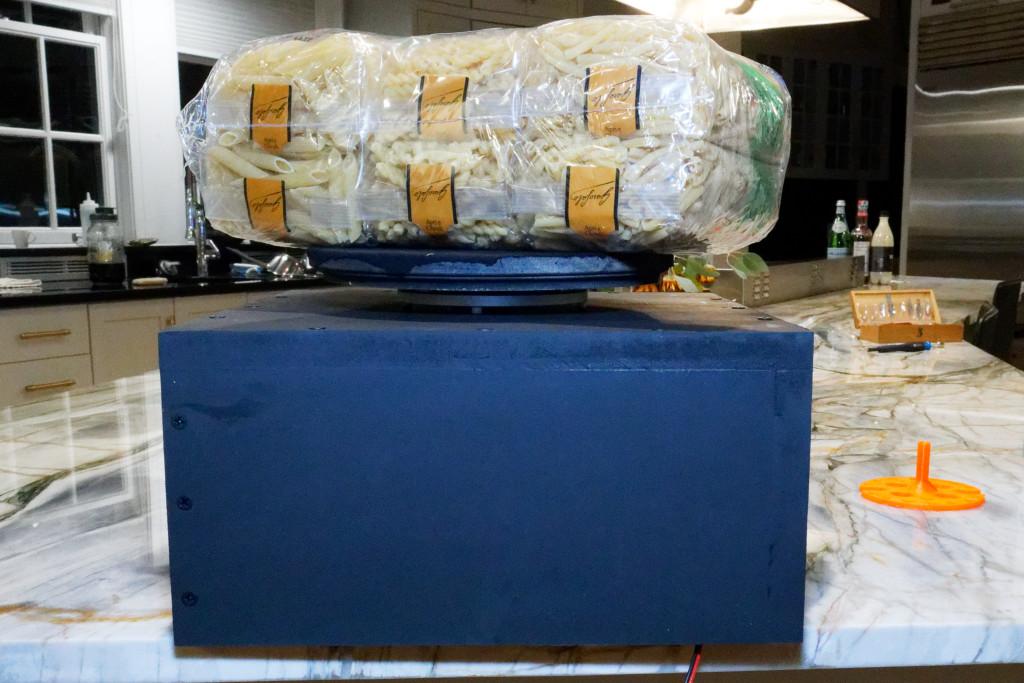
If you want to work with a heavy object, add a lazy Susan between the base and the stage. The load will be transmitted through the lazy susan instead of through the shaft on the stepper motor. There are several choices for a lazy susan, which we used is found here.
Finishing Up


You should install felt pads to the corners of the base to protect the surface that the base will be placed.
We used threaded wood inserts to temporarily attach a din rail to the outside of the base to hold a switch array.
We have used a longer I2C cable to attach the buttons to a tripod while photographing. In the next project, we will show how to make a cover for the base.