A Small Wooden Home
.png)
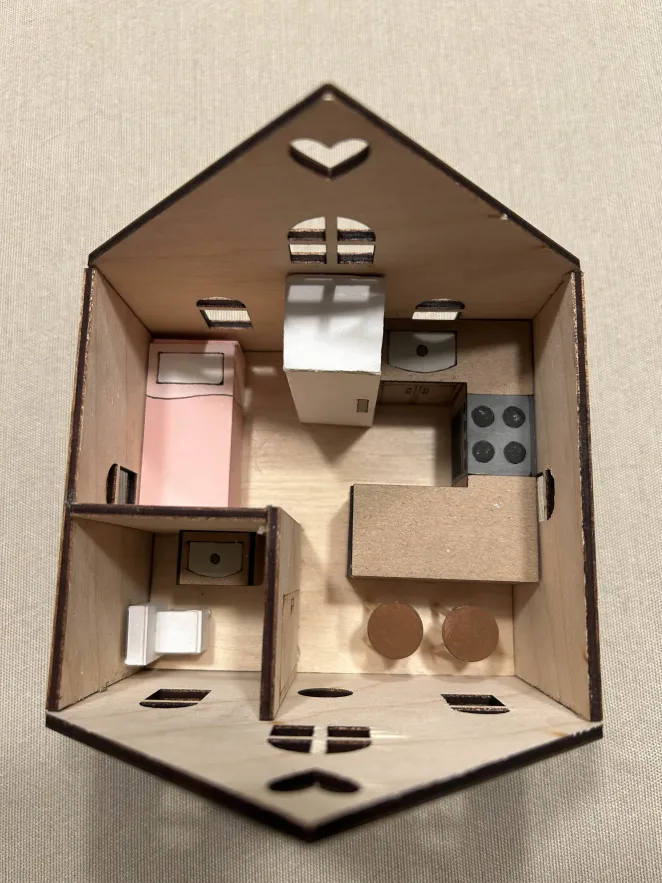
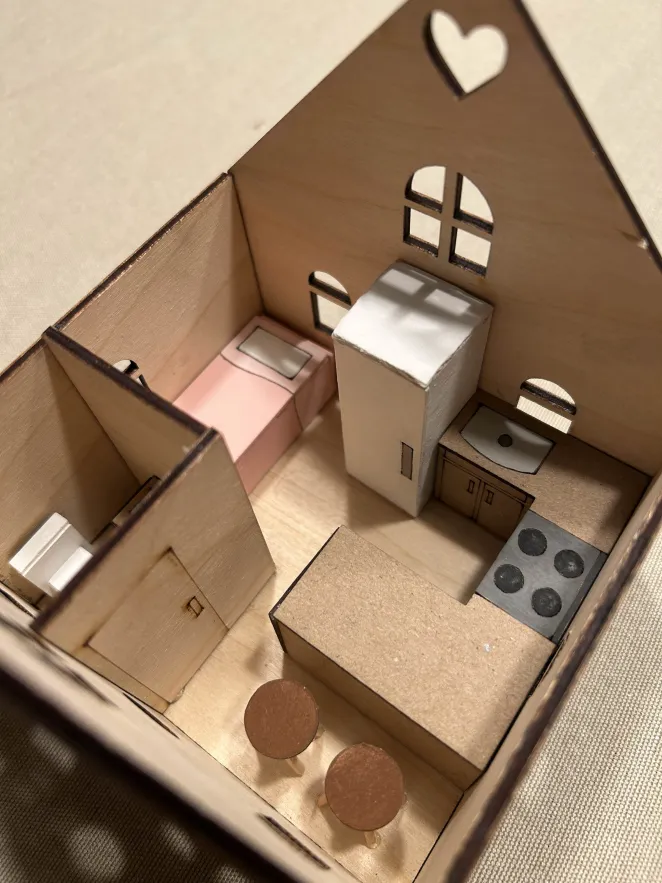
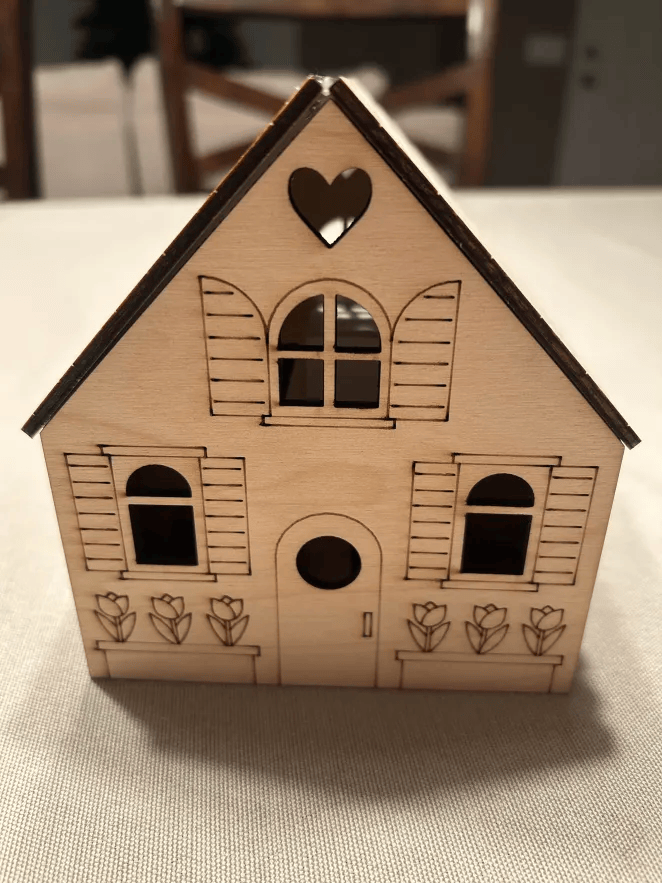
Hello, my name is Marissa Molina. I decided to create a small wooden home for my submission for the Make It Small Contest. I engraved intricate details into the wood to give the house a whimsical and fun vibe to it, then assembled all of the pieces together. Inside, the home includes all of the necessities to provide a comfortable living space. Given the small size, I utilized the interior space inside and added all of the furniture that could fit.
Supplies
- AutoCAD
- LightBurn
- Laser Engraver
- Wood pieces
- Chipboard
- Glue gun
- Acrylic paint
Designing

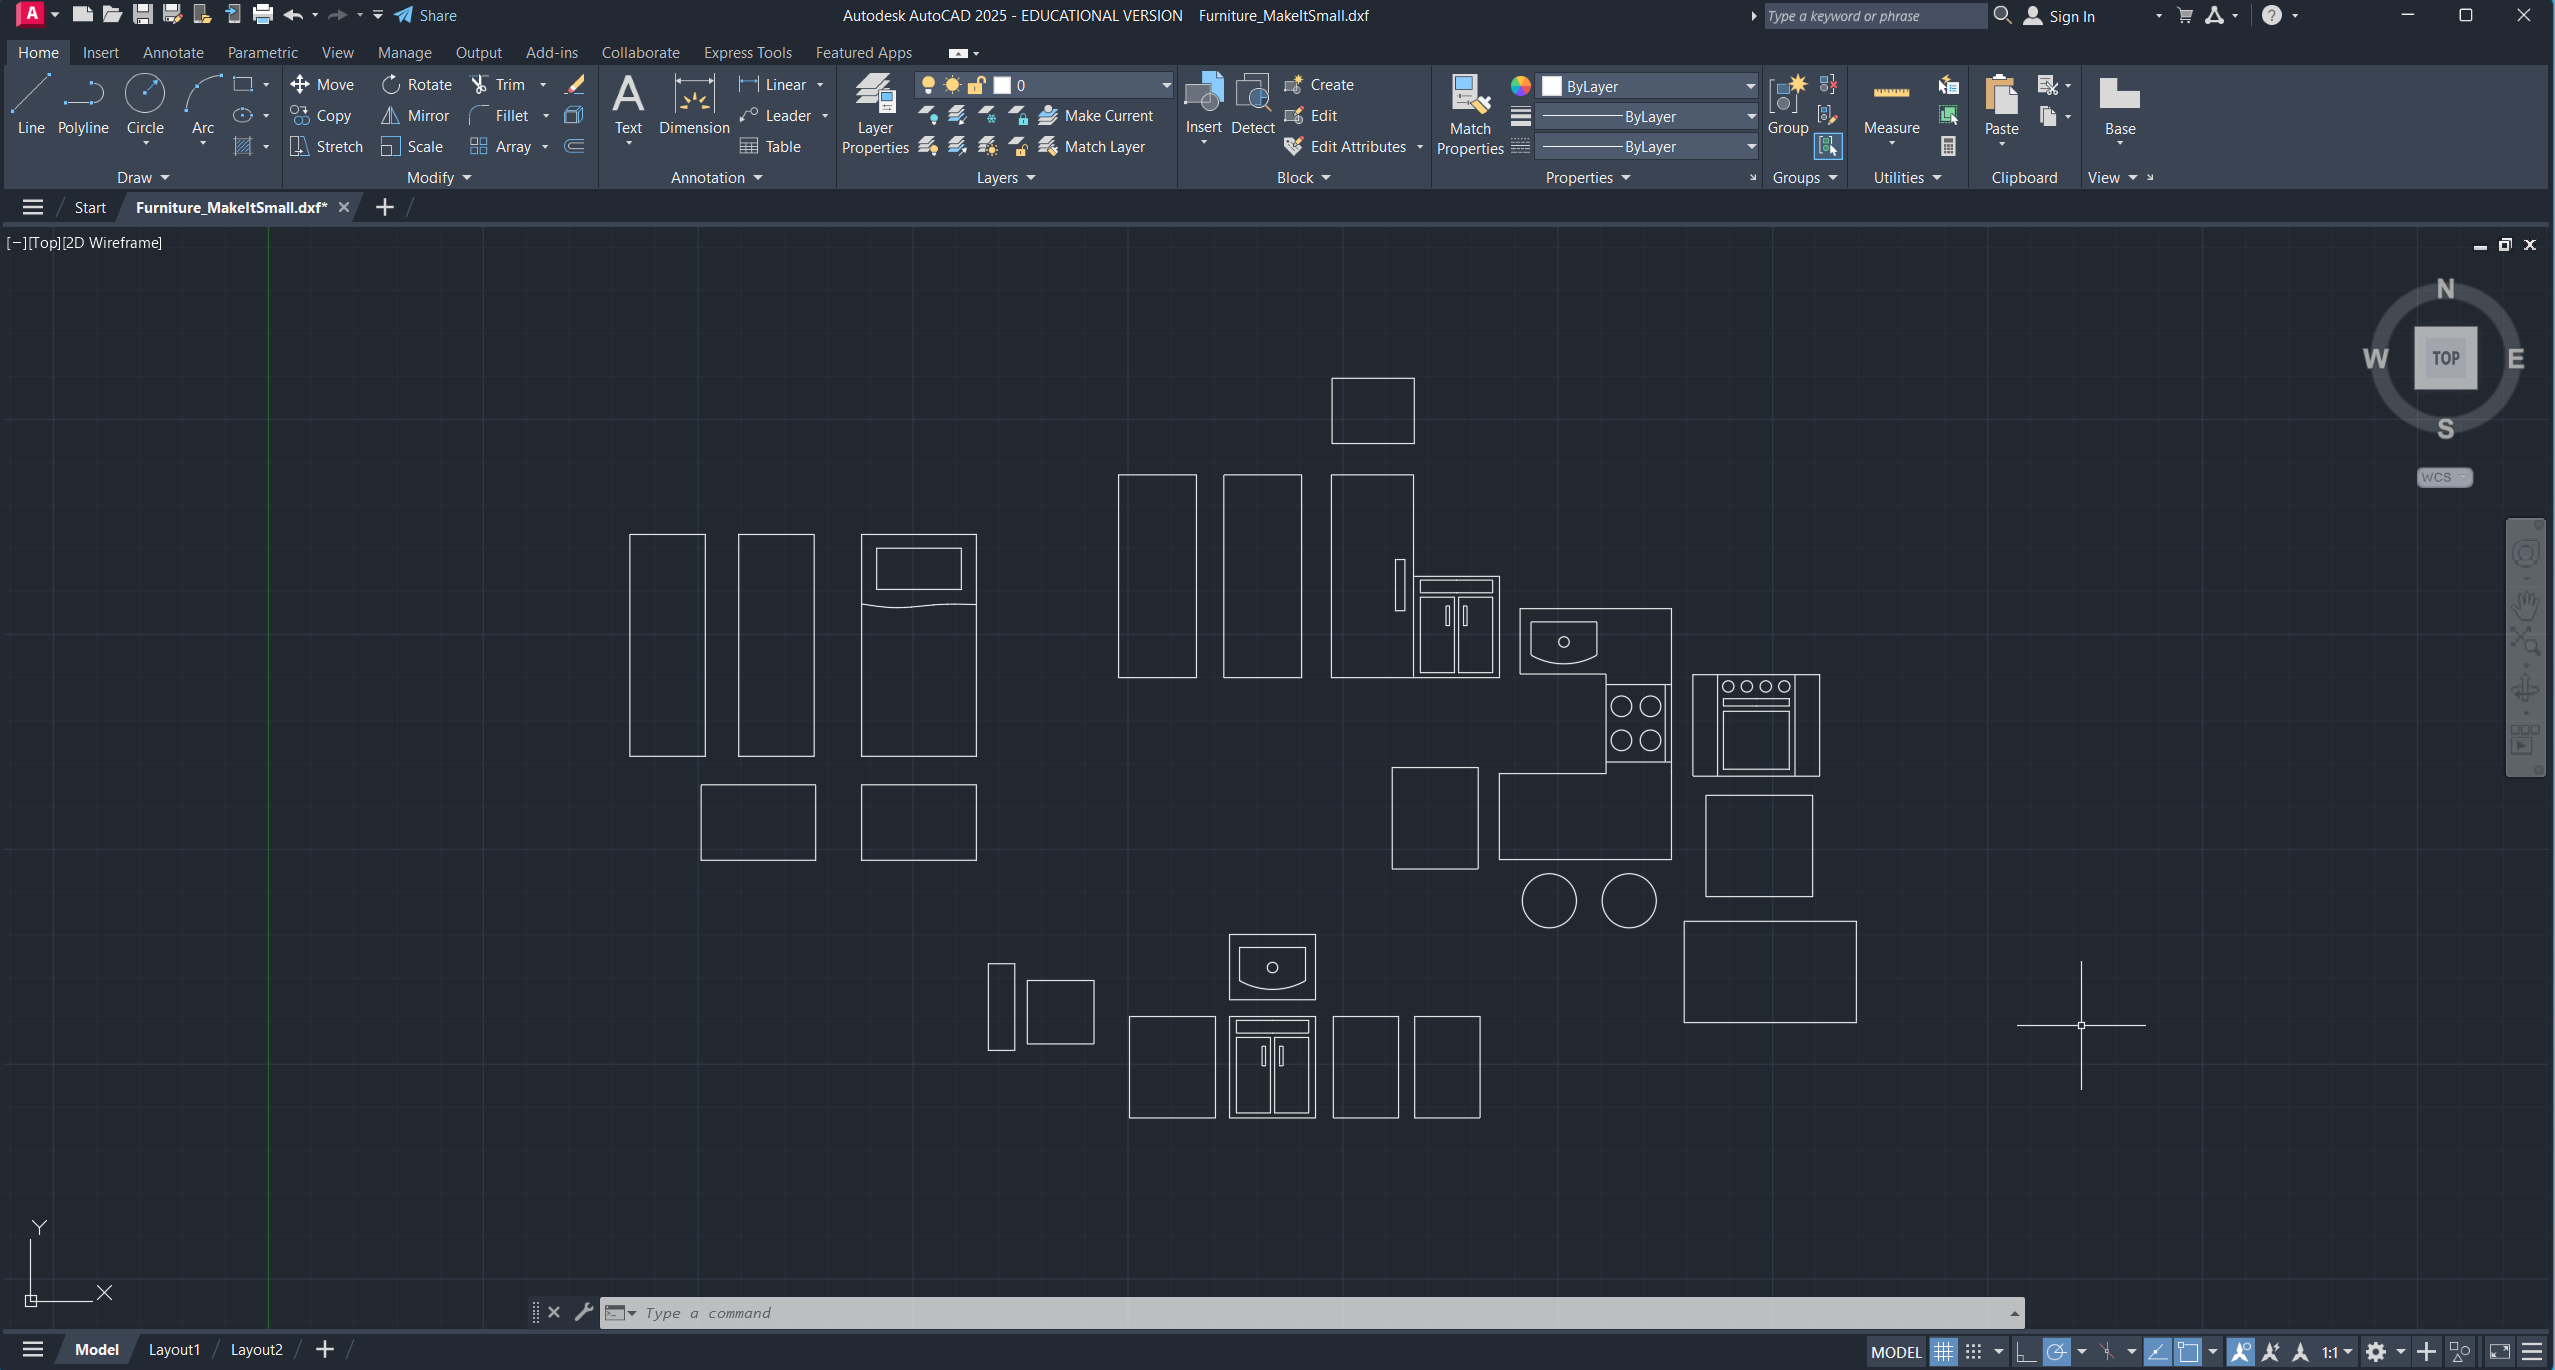
I chose to design the exterior walls and furniture for the house in AutoCAD. I decided to add little details like the flowers on the front of the house and the butterflies on the sides to make it more interesting. I had to ensure the floor and roof dimensions were perfect, so they would fit with the rest of the walls. For the furniture, I had to add all the extra pieces so I could make the interior items be 3D inside of the home.
LightBurn

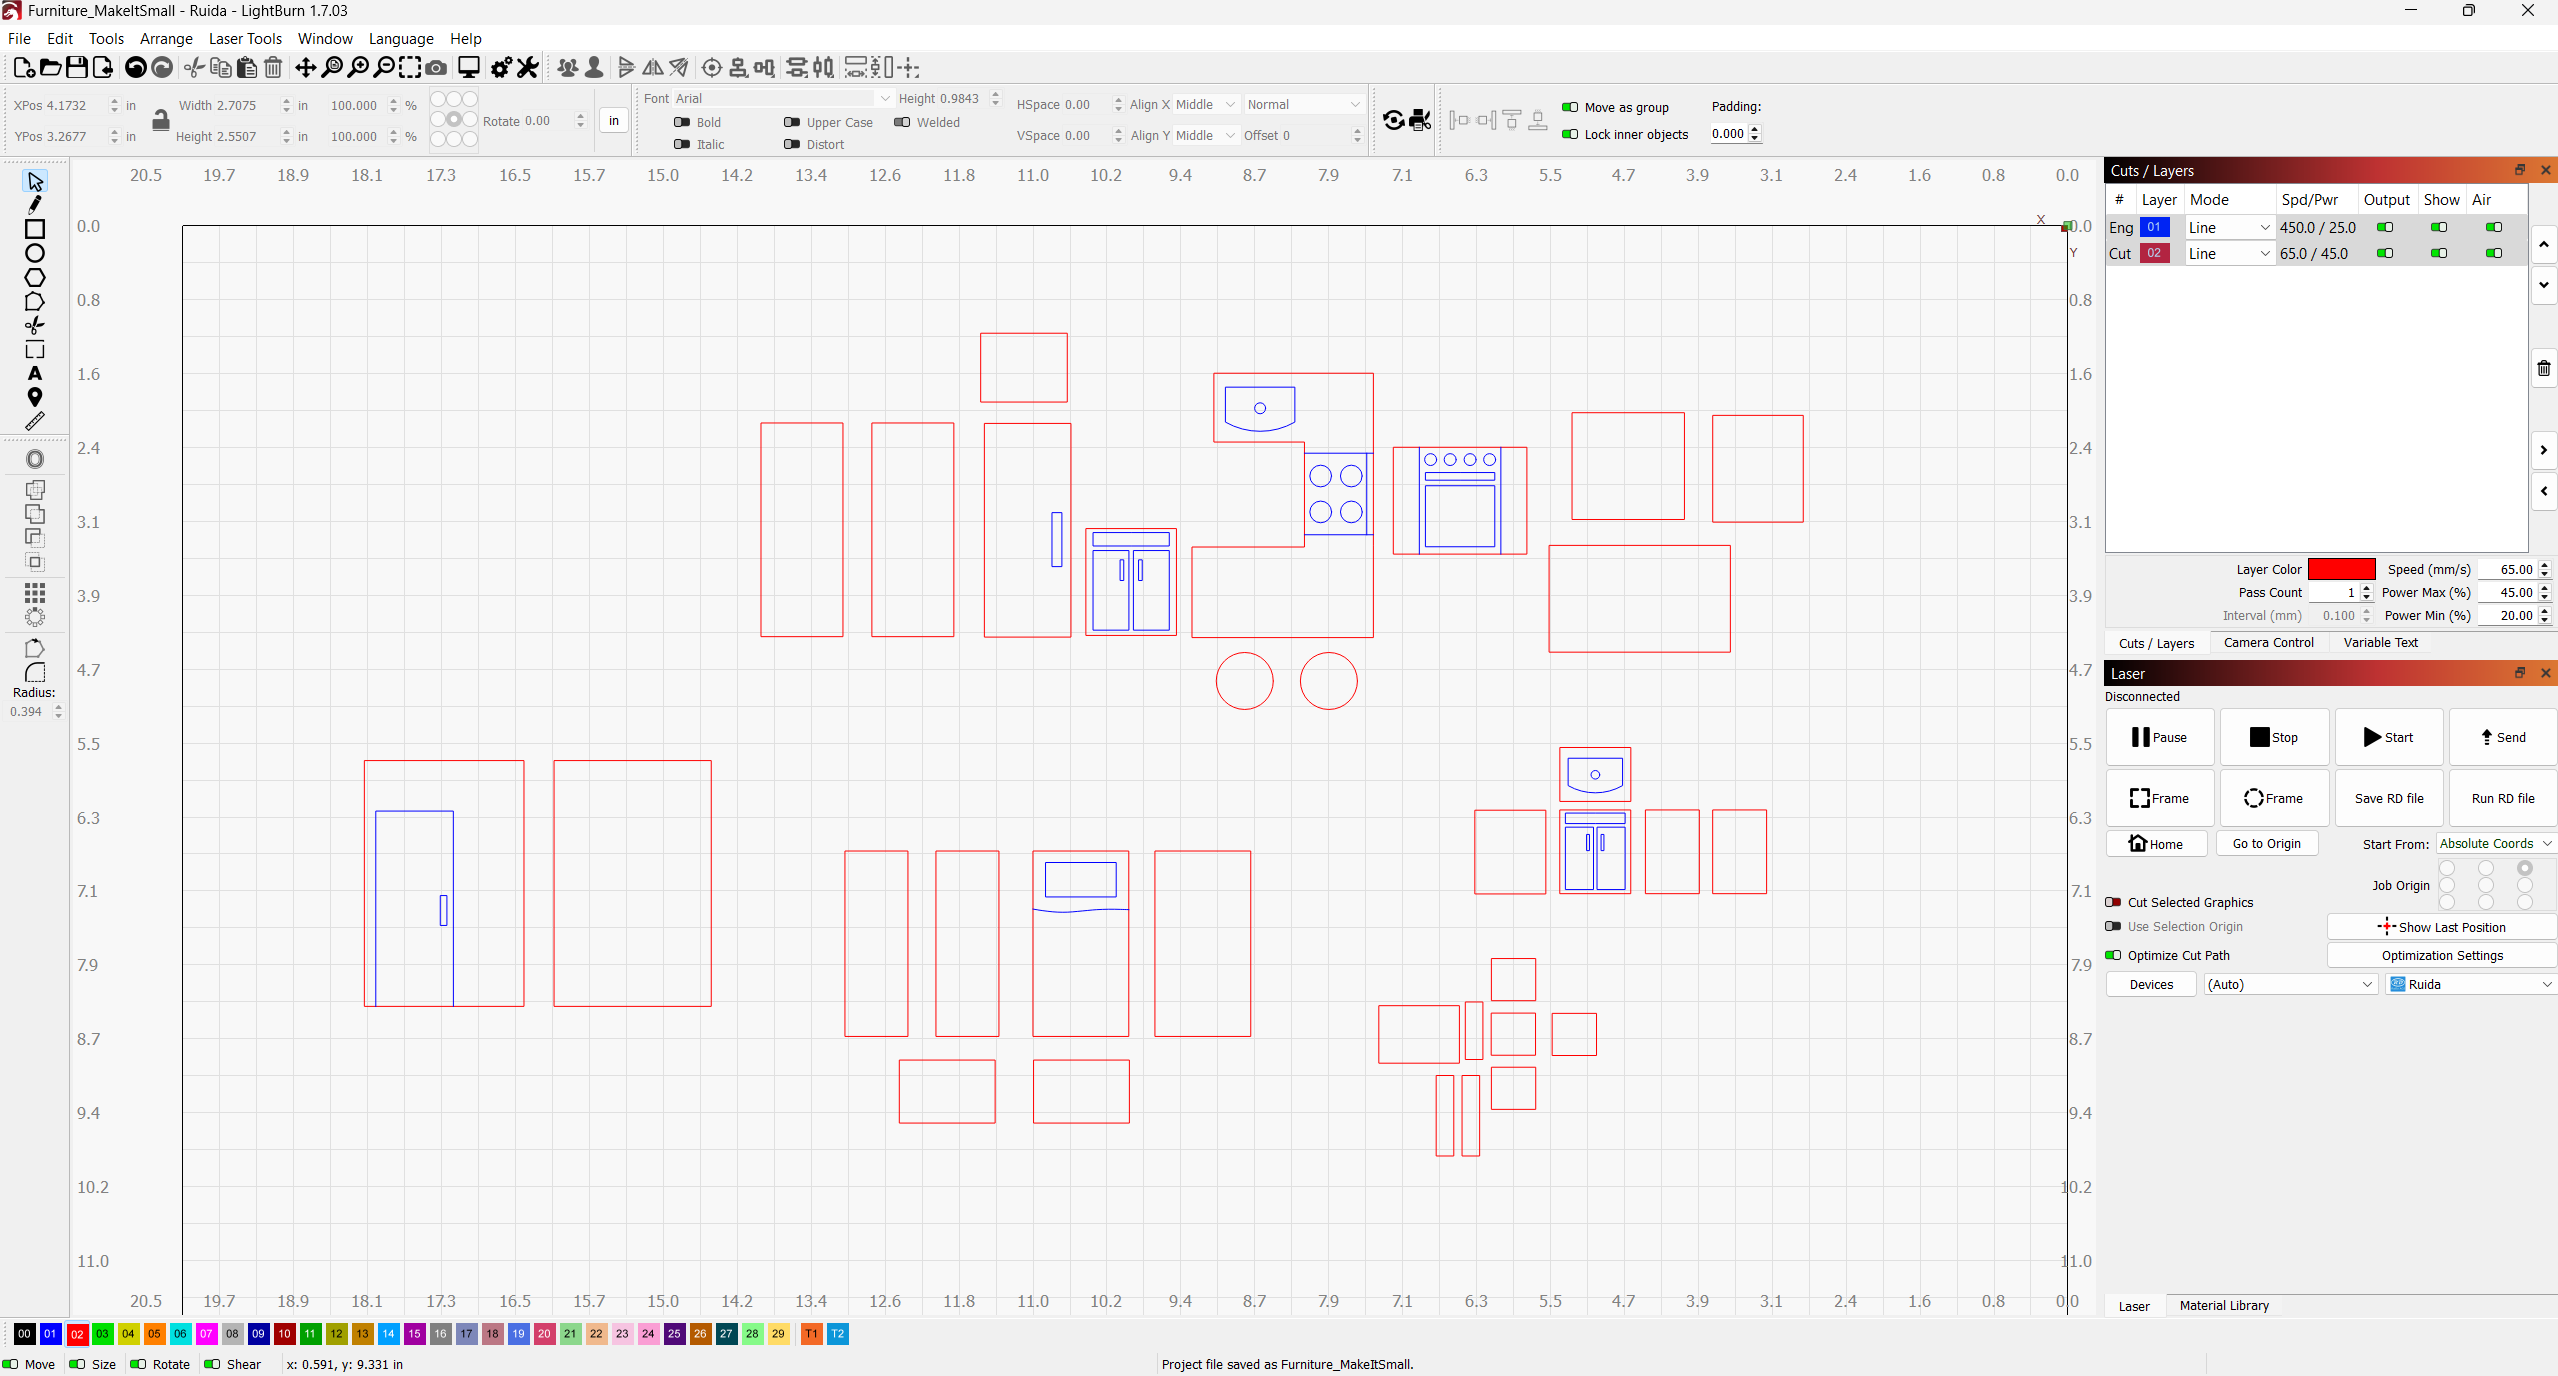
After designing the objects I wanted to turn into physical items, I imported them into a software called LightBurn. This software helps me print my design onto the wood. Before printing, I select which lines will be cut and which ones will be engraved. The red lines represent what the laser engraver will cut, while the blue lines are the sections that will be engraved.
Assemble
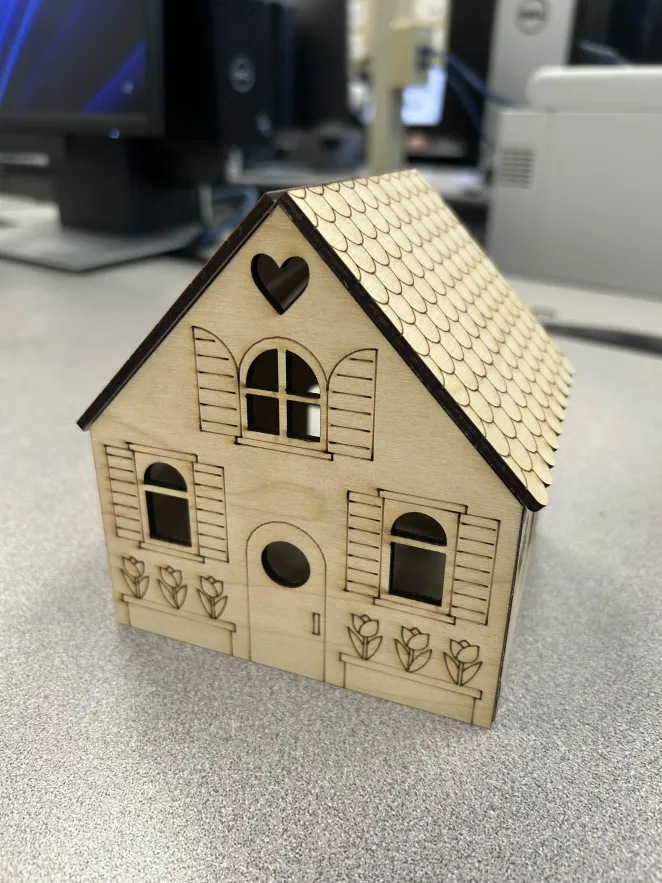
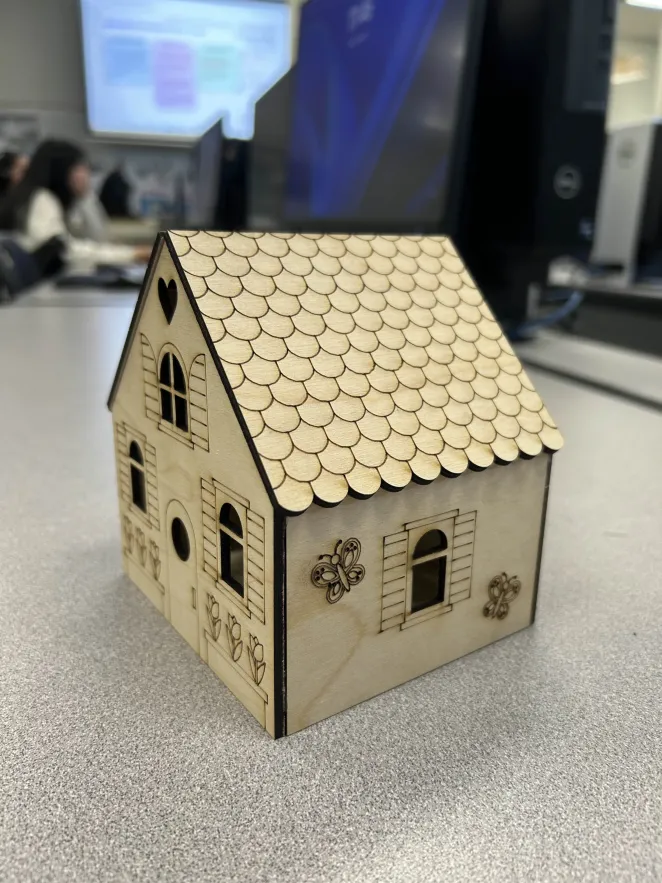

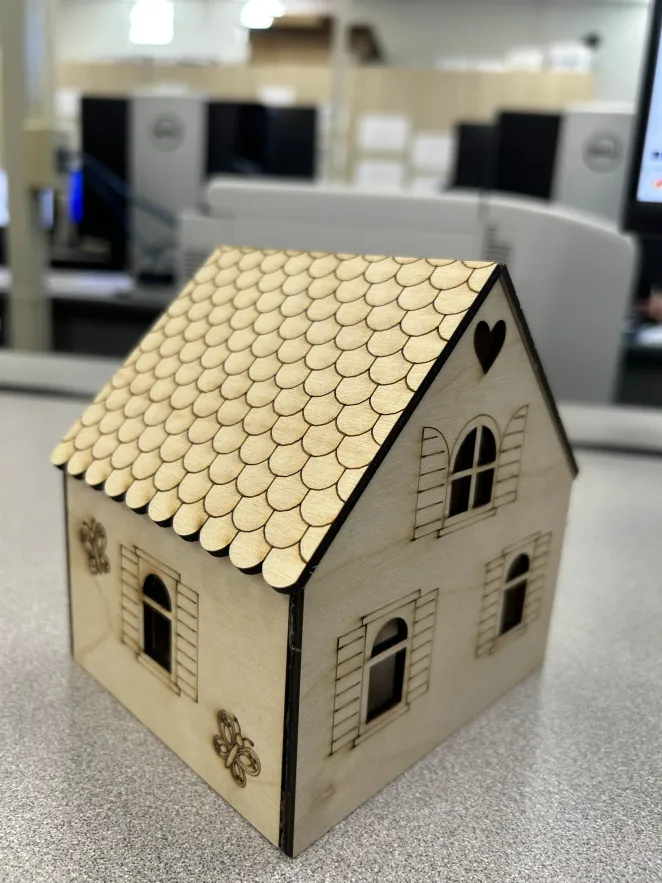
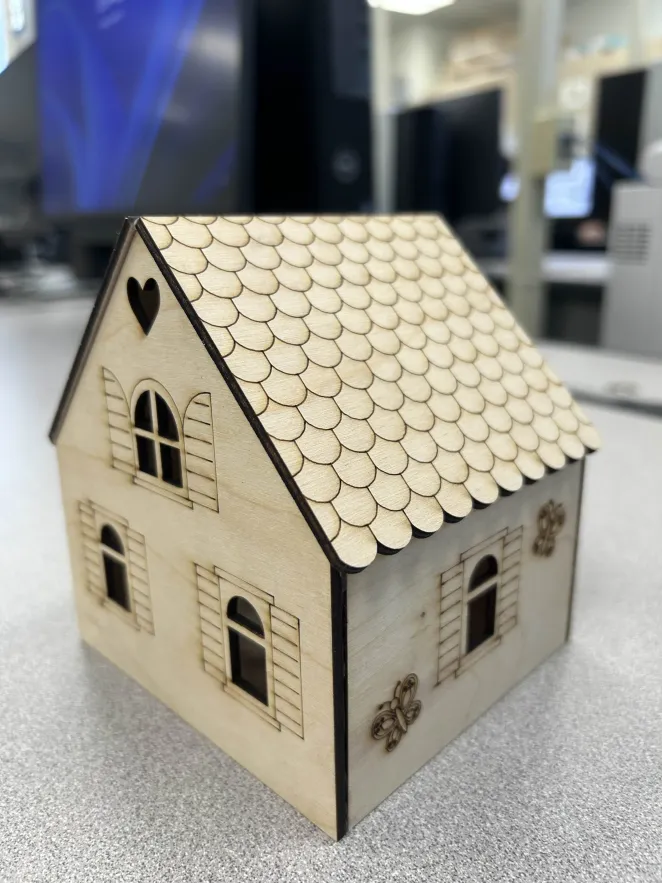
Once all the wood walls were cut, it was time to assemble them. I used a hot glue gun to attach the floor and all four walls together. I made sure to check that the roof would fit properly on the home, but instead of gluing it in place, I only glued the two roof pieces together. I designed the roof to be removable, giving you easy access to see the furniture I will add inside next.
Furniture
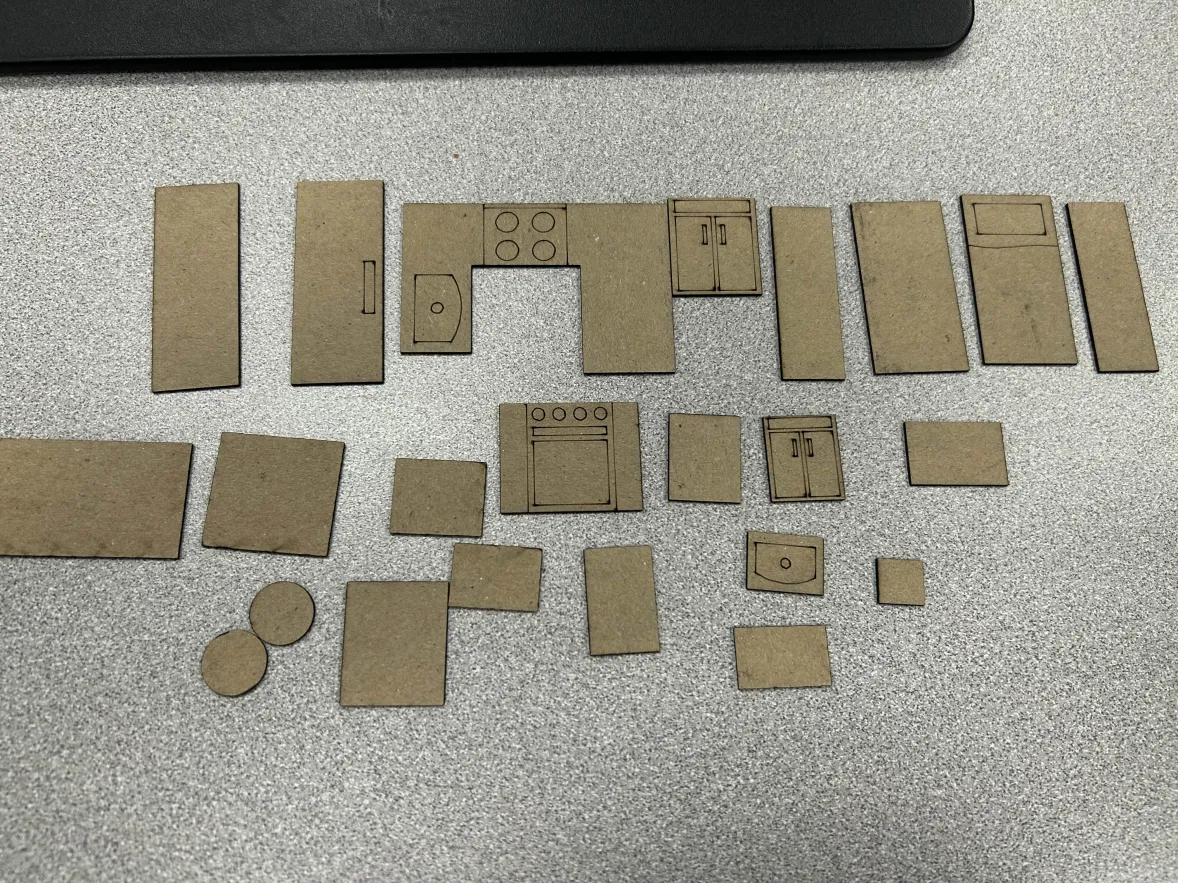
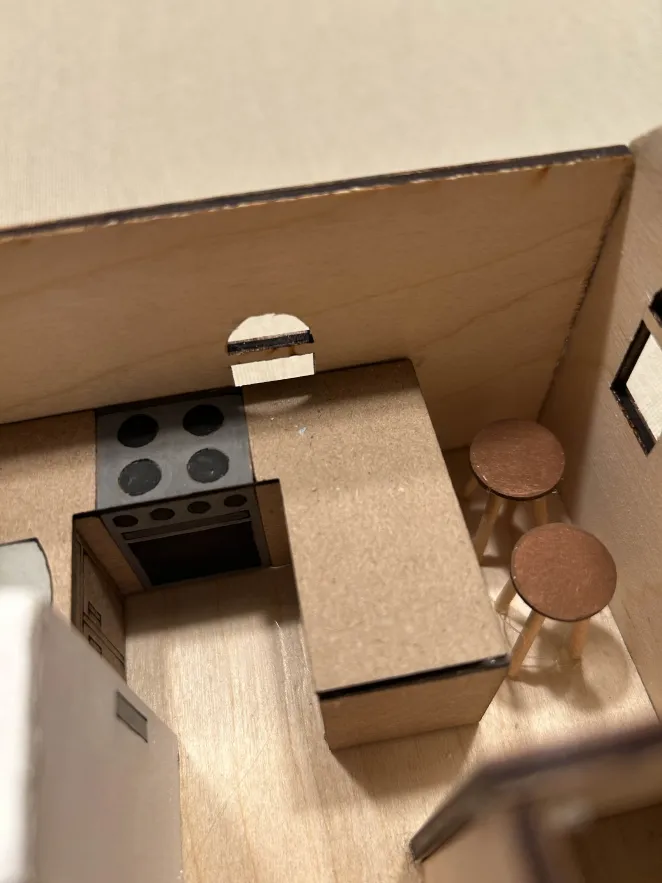
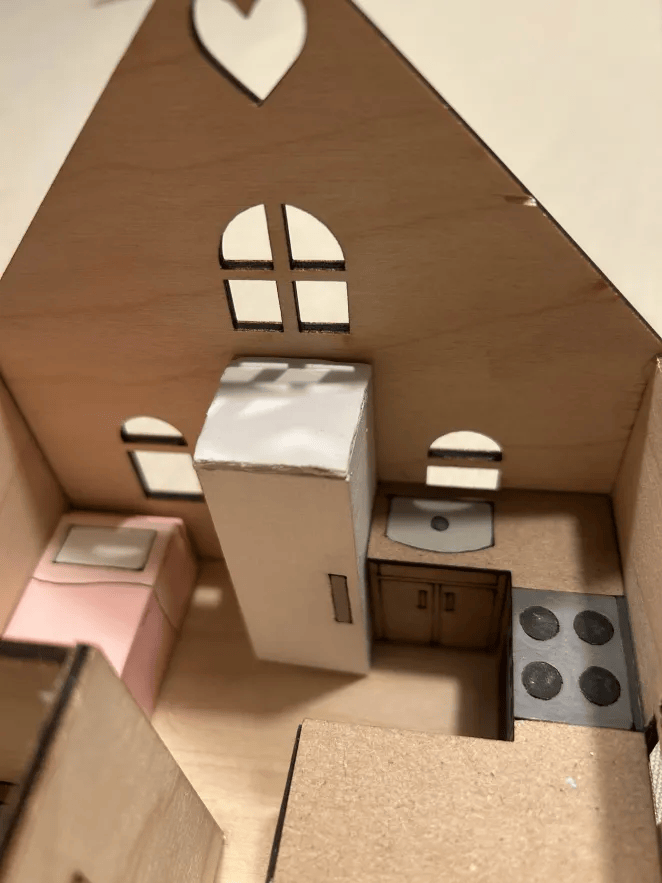
After laser-engraving the furniture designs onto the chipboard, I assembled the pieces so that they could stand on their own. I chose to paint a few of the objects inside of the house, instead of it all being the same brown cardboard color. I glued the pieces into place to secure them once I finished painting.
Final Product
