ACA Cornhole Boards
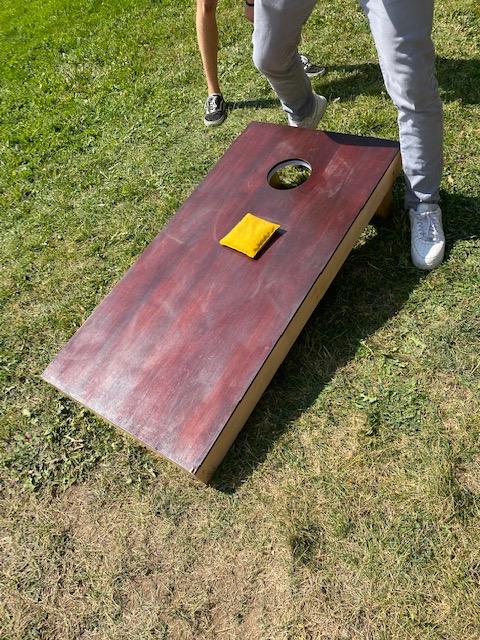
In our design and manufacturing class, our first project was to build American Cornhole Association grade cornhole boards to give us experience in pitching and instructing designs. The intro to engineering class will use our plans to make their own boards.
Supplies:
1 4'x8' sheet 1/2 inch ply
4 8 ft 2x4's
2 3.5" long 1/4 20 carriage bolts, washers, and wing nuts
water-based conditioner, stain and polyurethane finish
3.5" wood screws
1 1/4" finishing nails
wood glue
Equipment:
Table saw
Miter saw
Tack cloth
Brushes
Stir Stick's
80, 120, 220, 400, and 500 grit sandpaper
belt sander or palm sander (optional)
Drill
Tape Mesure
Cut Wood for Frame
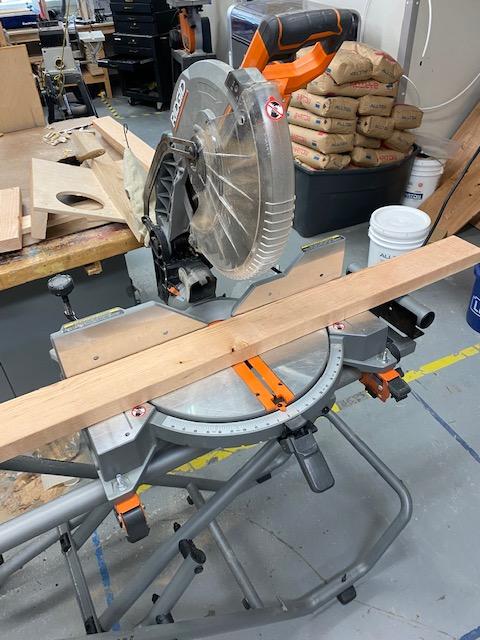
Use the miter saw to cut the 2x4's
For one board you need:
2 47 3/4 inch boards
3 20 3/4 inch boards
To make a set simply double everything.
Cut the Top
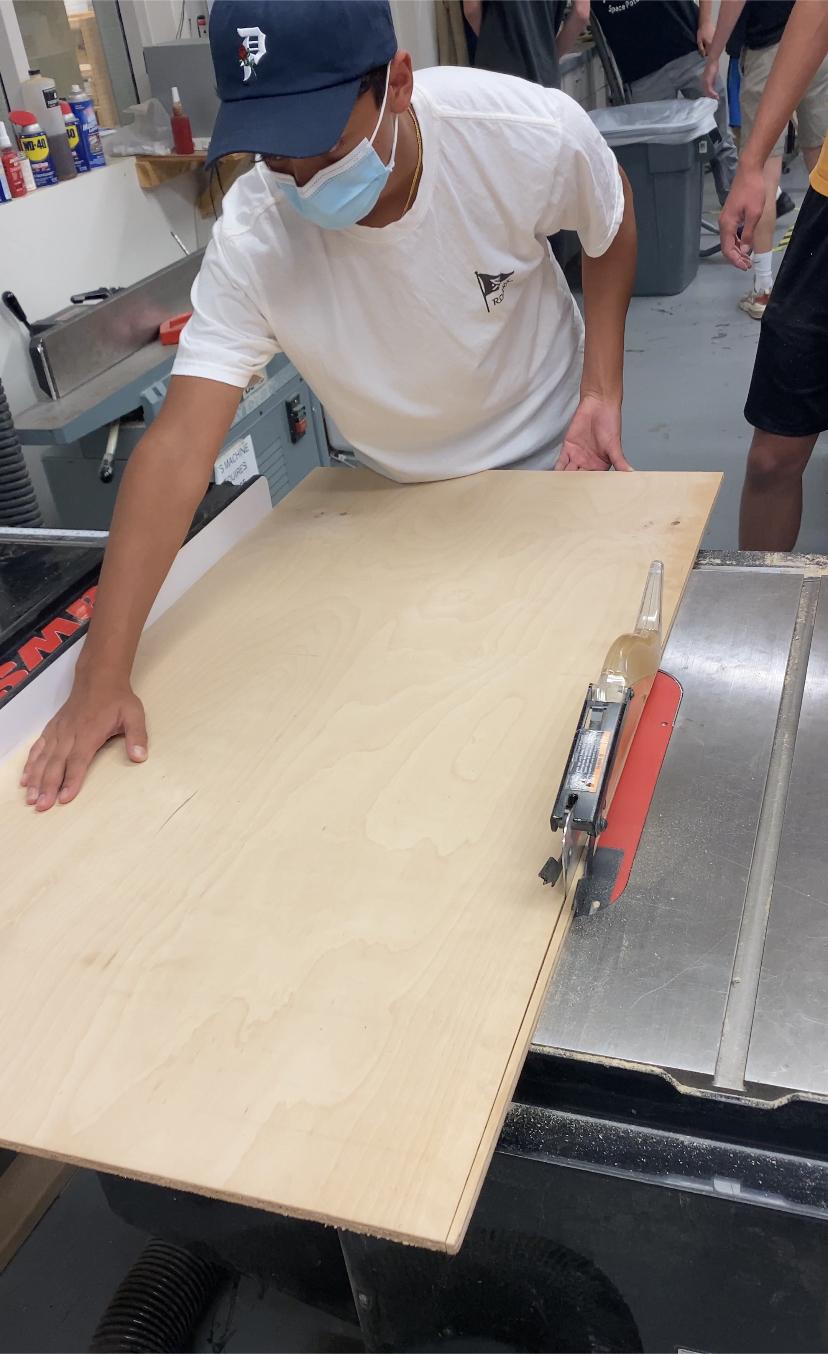
Use the table saw to cut the plywood into a rectangle that is 23 3/4 inch by 47 3/4 inch.
Cut a six-inch diameter hole in the board that is 9 inches from the top of the board and centered (approx 12 inches from the side). Trace the hole then cut it out using a CNC Router.
Making the Legs
.jpg)
Cut two 11.5 inch 2 x 4’s using the miter saw.
Rip ½ inch off of each leg using the table saw (the board should be 3 inches wide).
Cut a corner of each leg to 17.6 degrees using the miter saw.
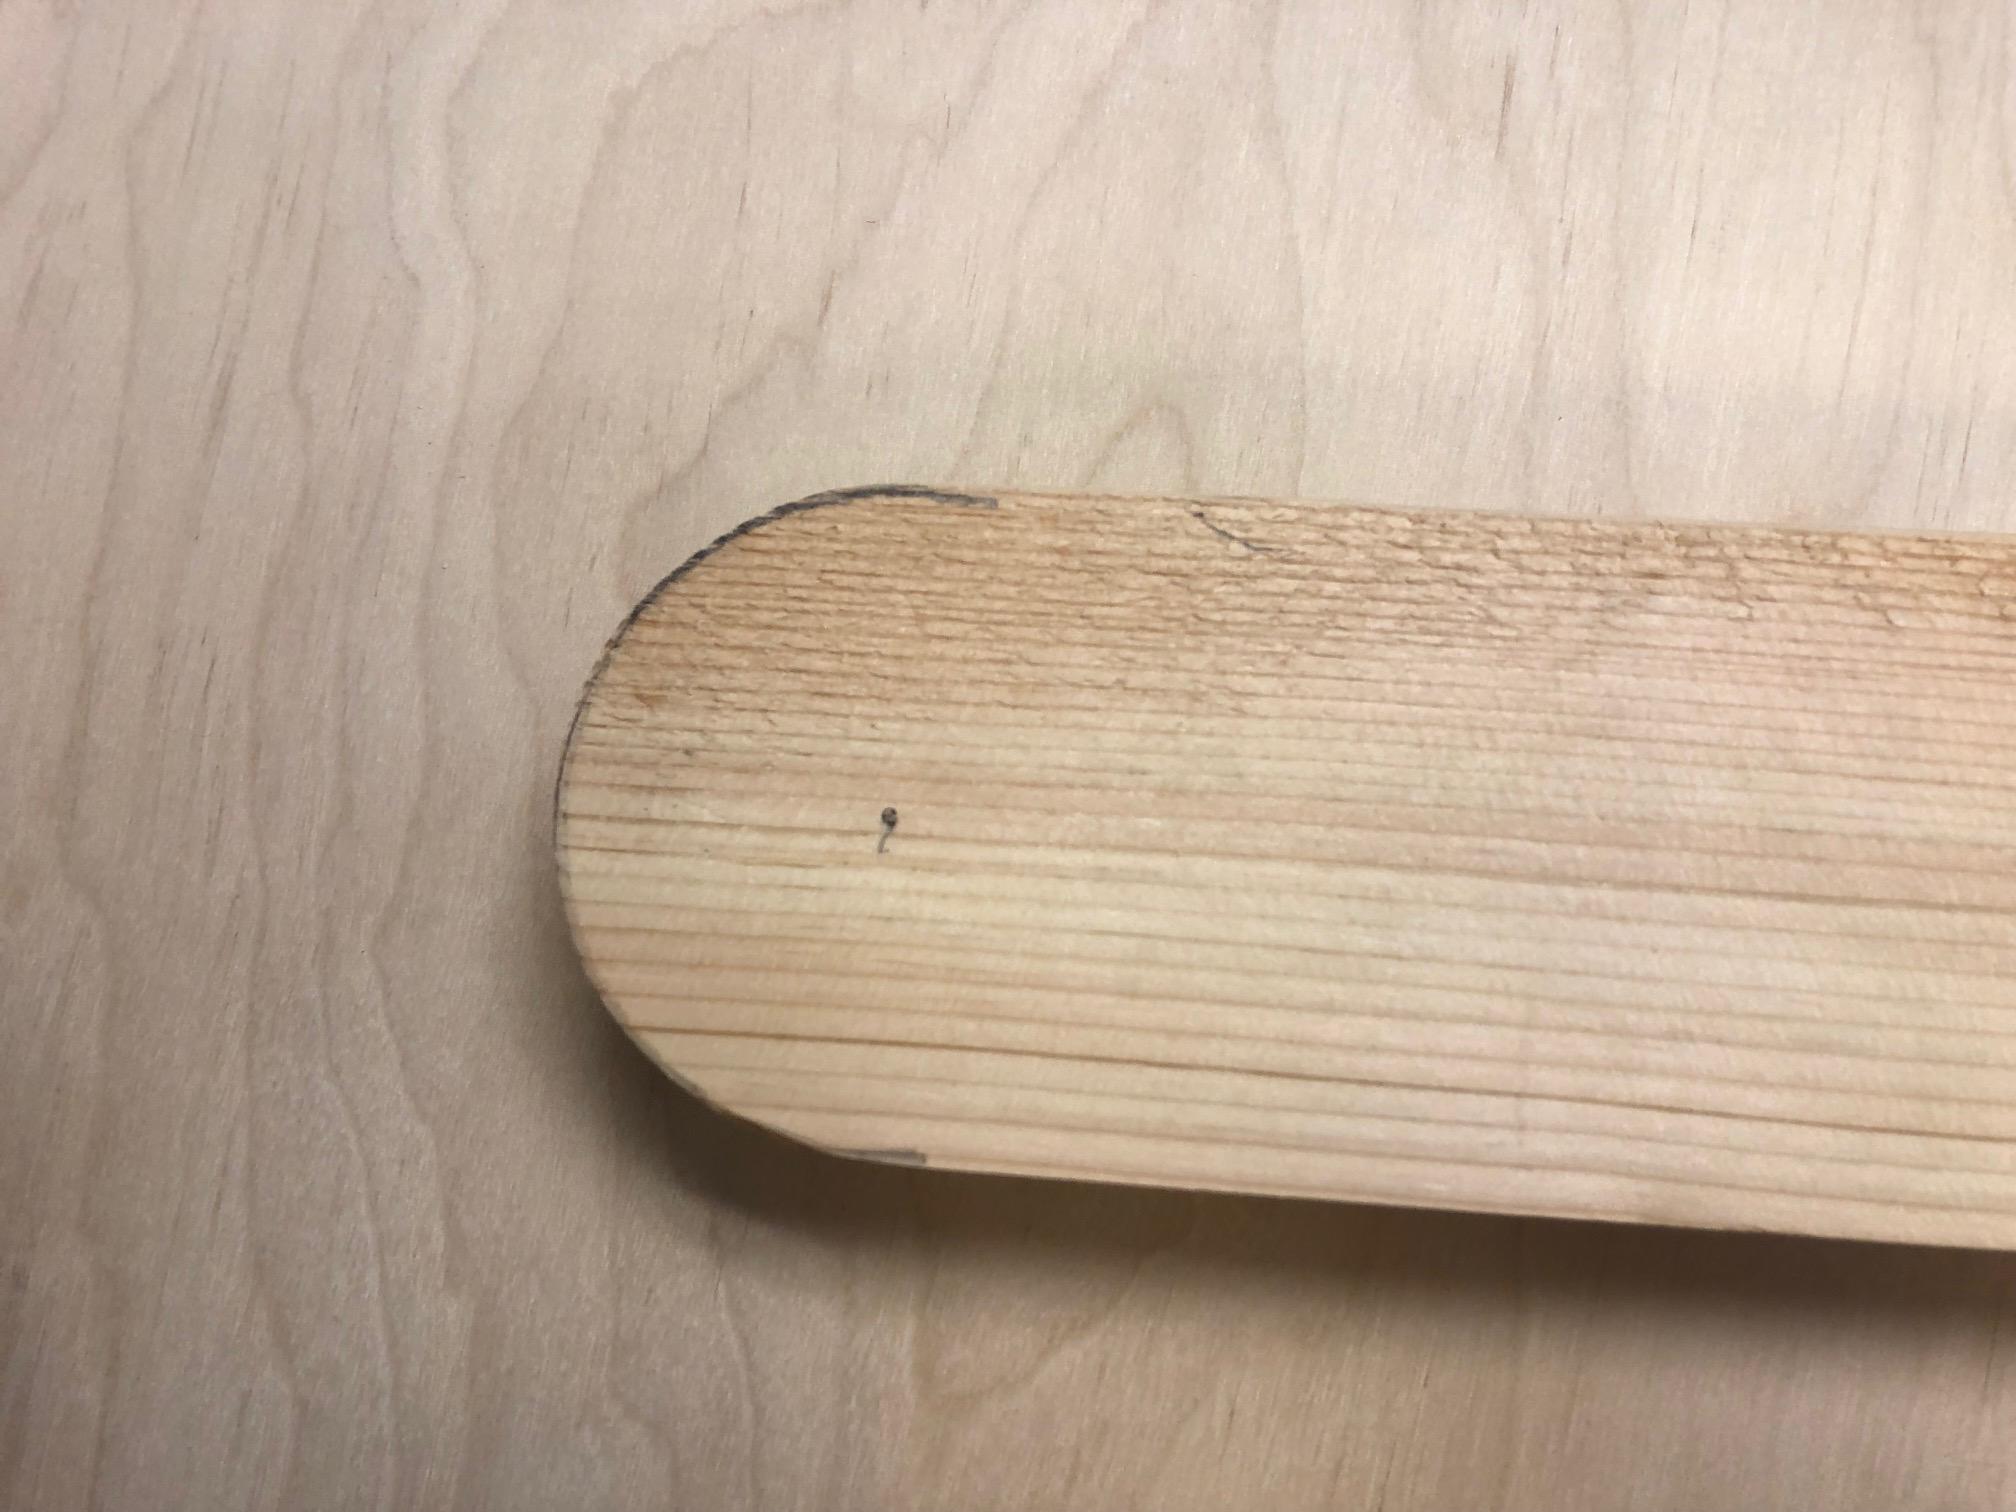
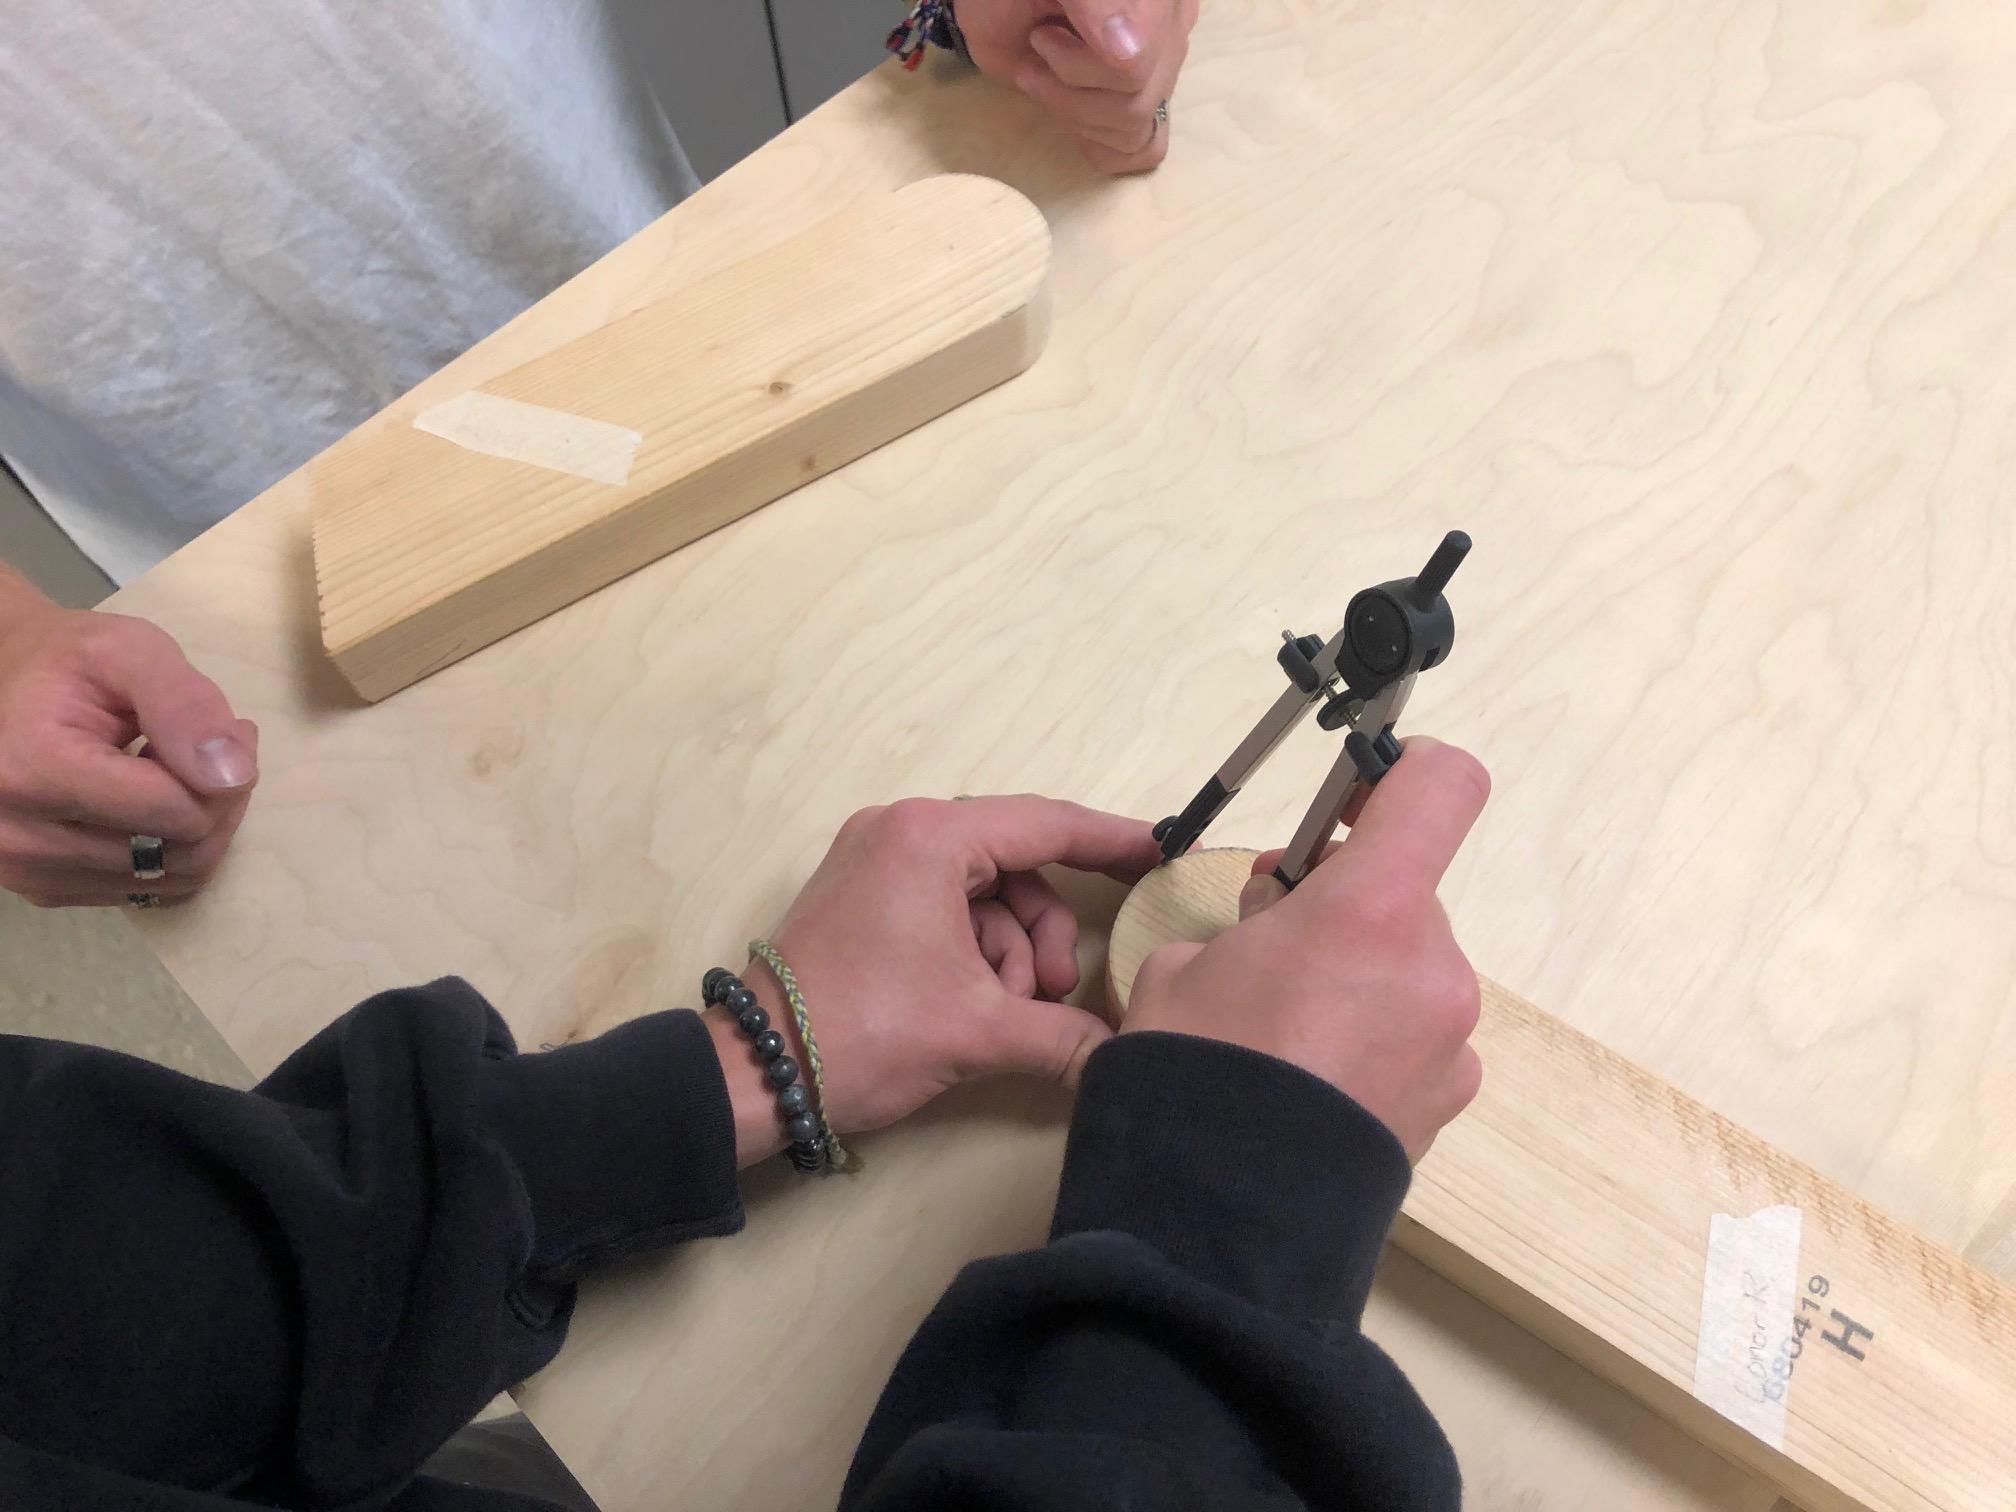
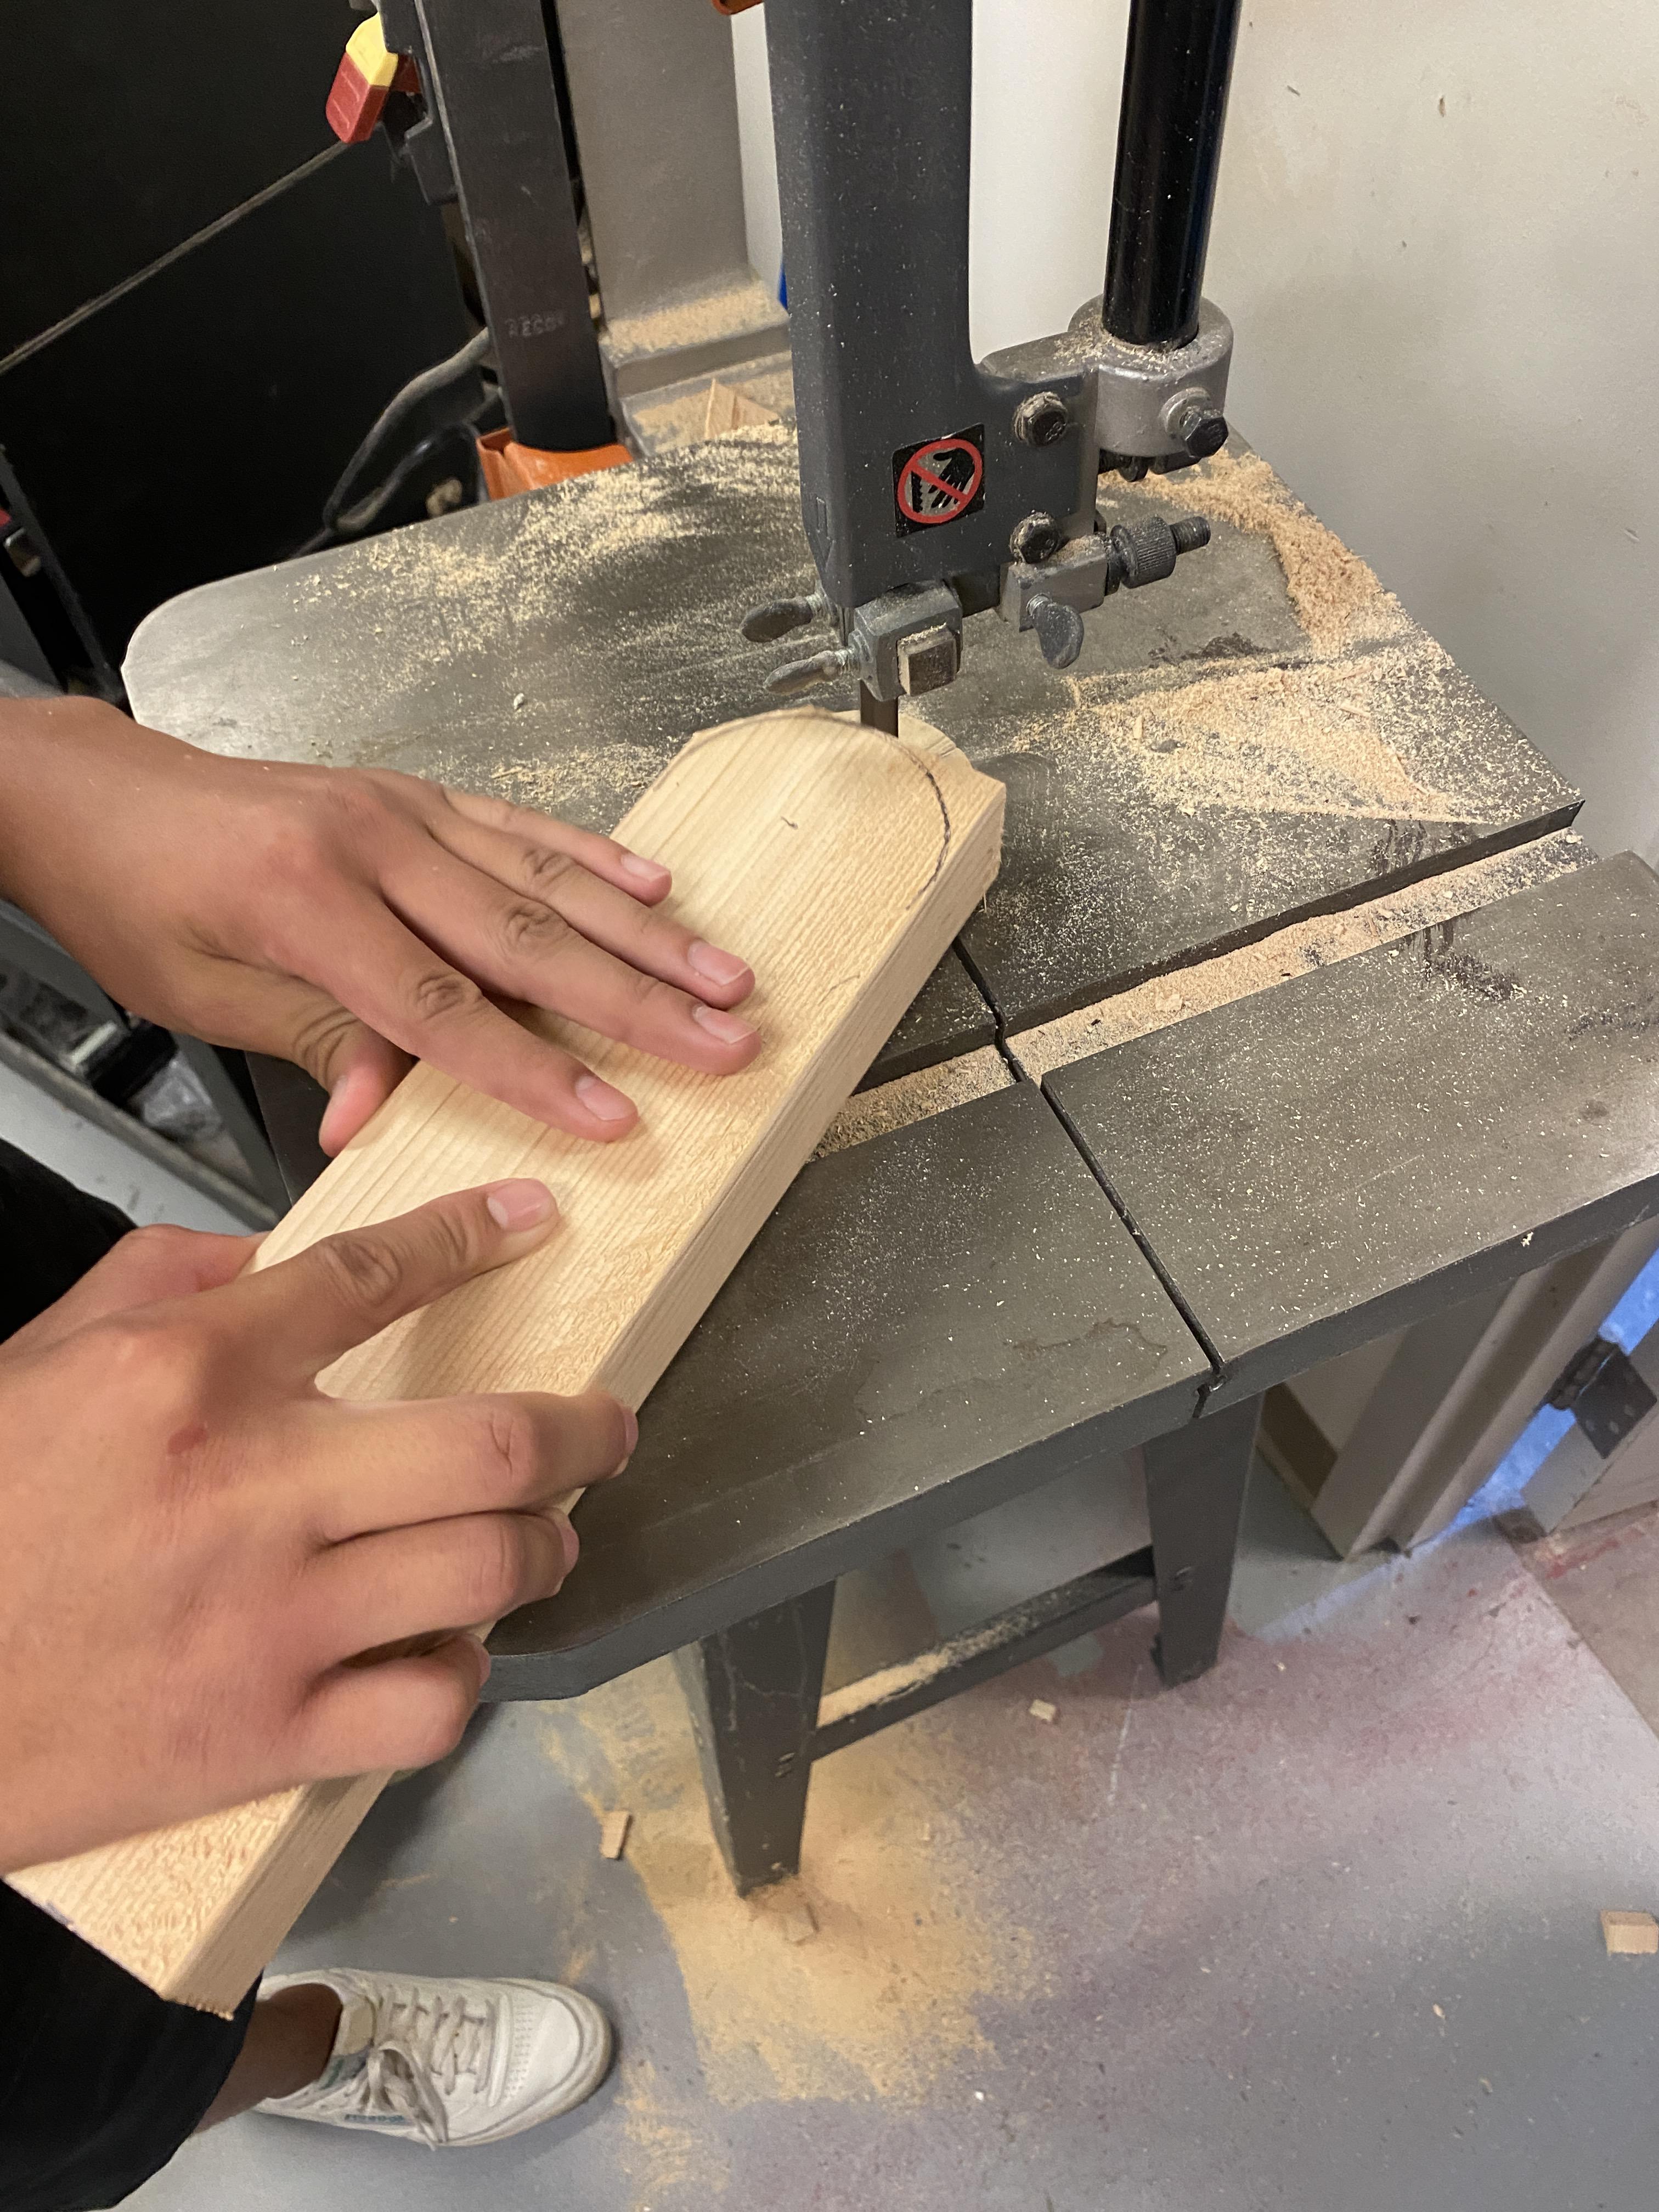
Using a 1.5 radius compass, trace a circle on the opposite end of each leg. The circle should be tangent with 3 sides of the 2 x 4. Use a bandsaw to cut out the circle and clean it up with a disc sander.
Drill a ¼ hole at the center of the circle (1.5 inches from the side and 1.5 inches from the top) on each leg where the bolts will go.
Assembling and Sanding the Frame
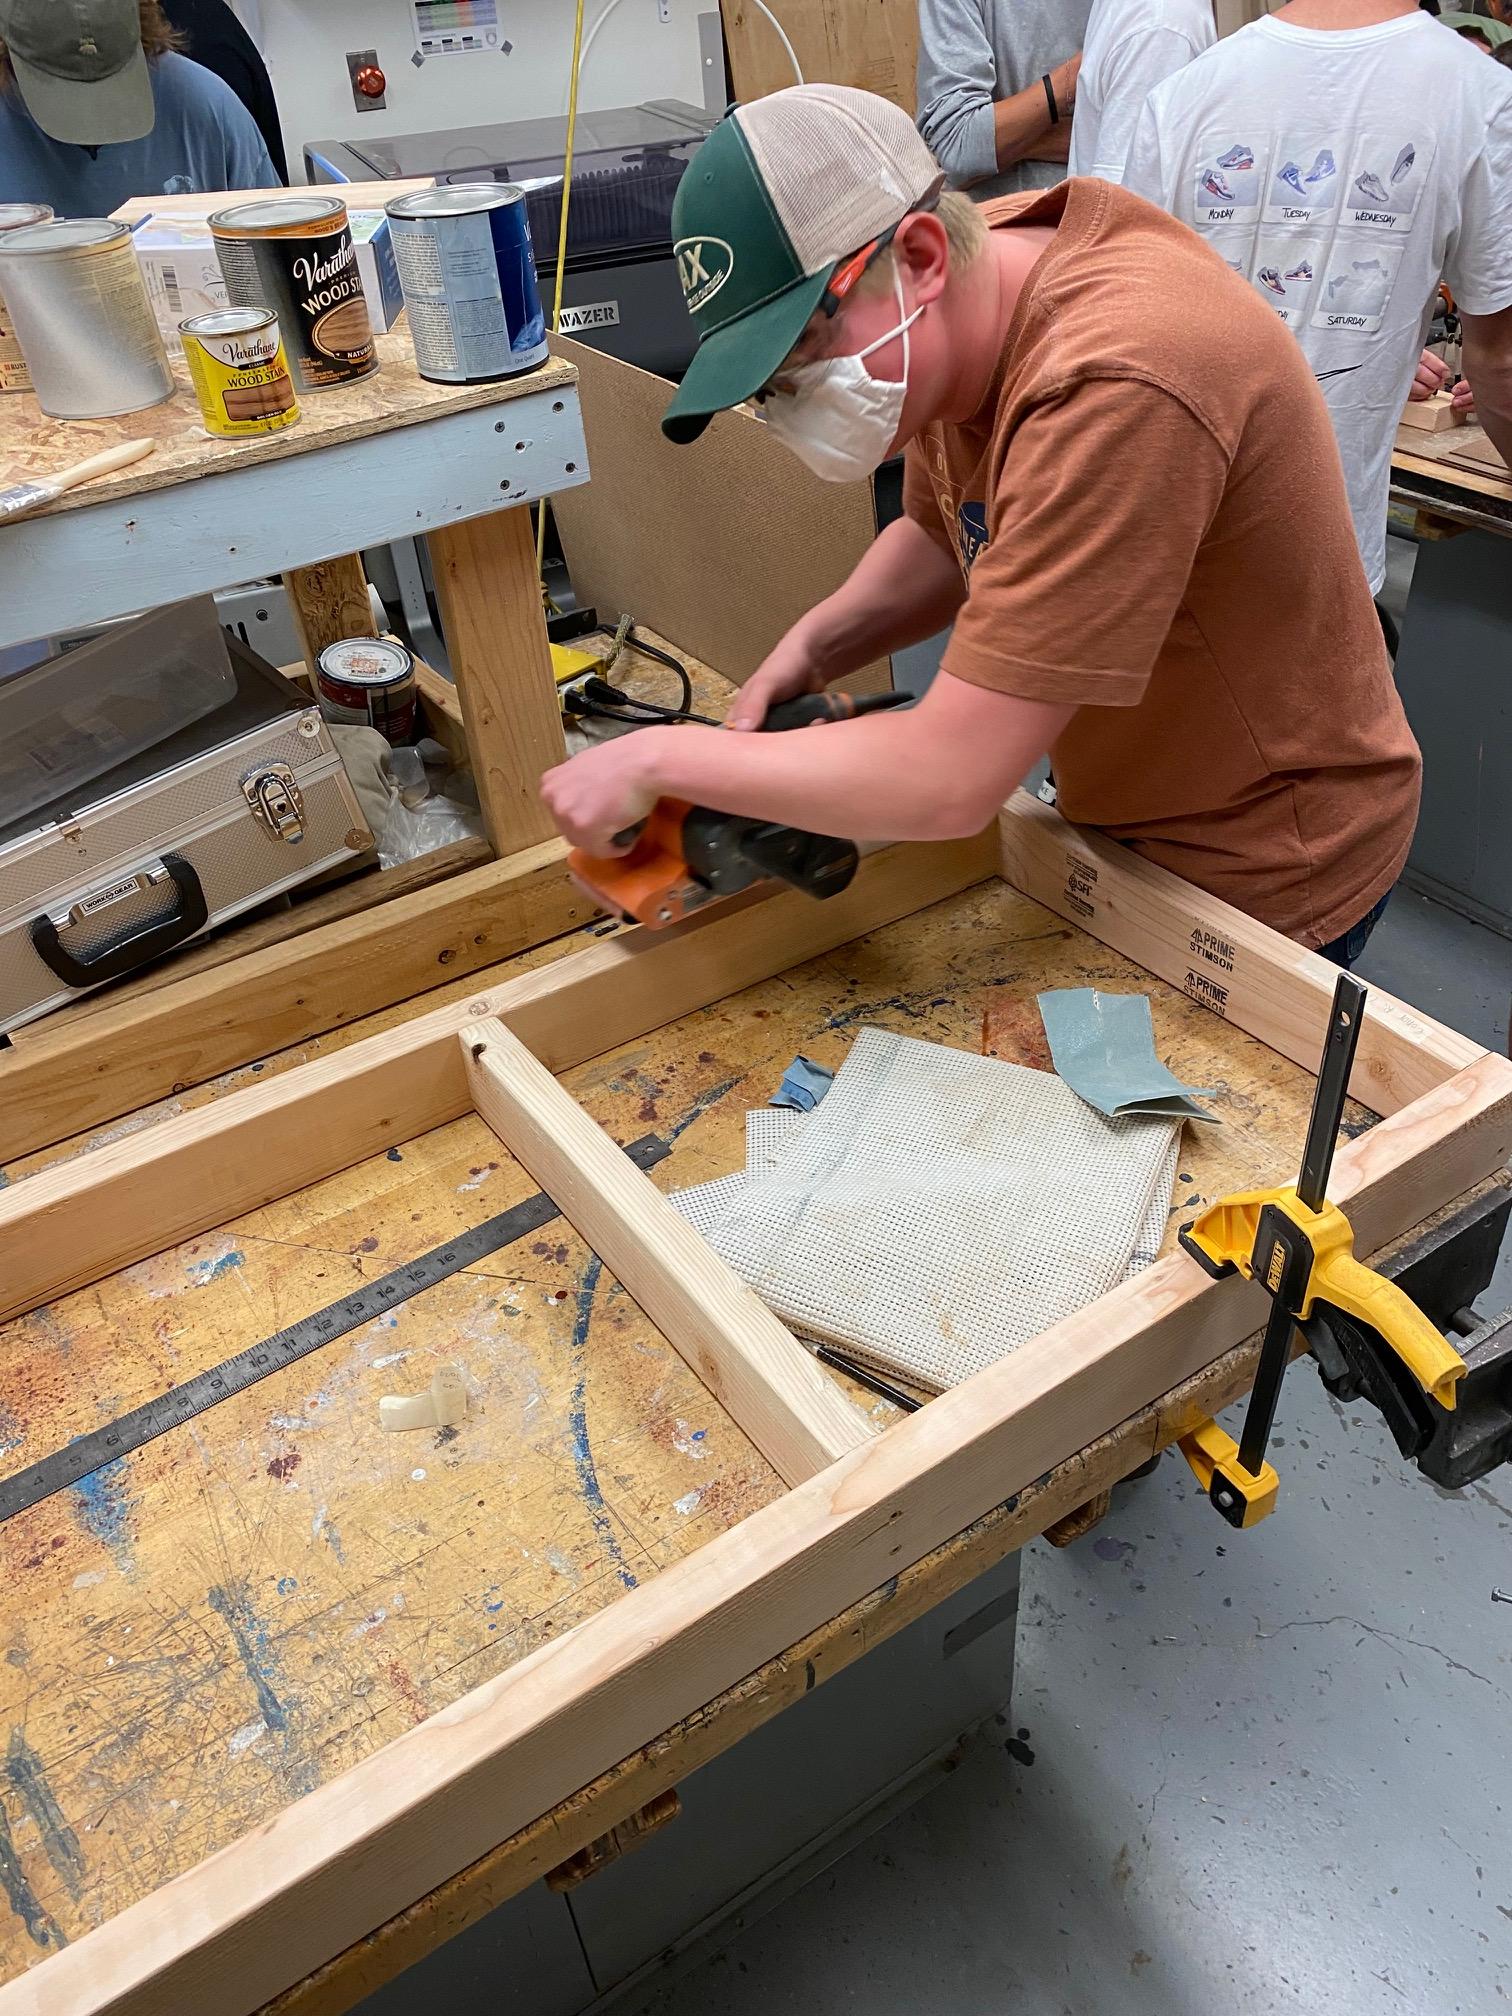
Line up the 2 long 2 x 4’s and the 3 short 2 x 4’s. One short 2x4 should be on each end with the third in the middle.
Clamp the frame together Drill 2 pilot holes in each corner, 1 inch from the top/bottom of the 2 x 4 and ¾ inch from the edge.
Screw 3.5-inch wood screws into the pilot holes you drilled.
Mark out the middles of the long 2 x 4’s and align the 3rd short 2 x 4. Drill 2 more holes.
One hole should be 1 inch from the top, and the other 1 inch from the bottom. Screw 3.5-inch wood screws into the holes to secure the middle 2 x 4.
For the legs: drill 2 x ¼ inch holes, 3 inches from the edge of the long side on both sides of the frame. Make sure the hole is centered between the top and bottom of the frame.
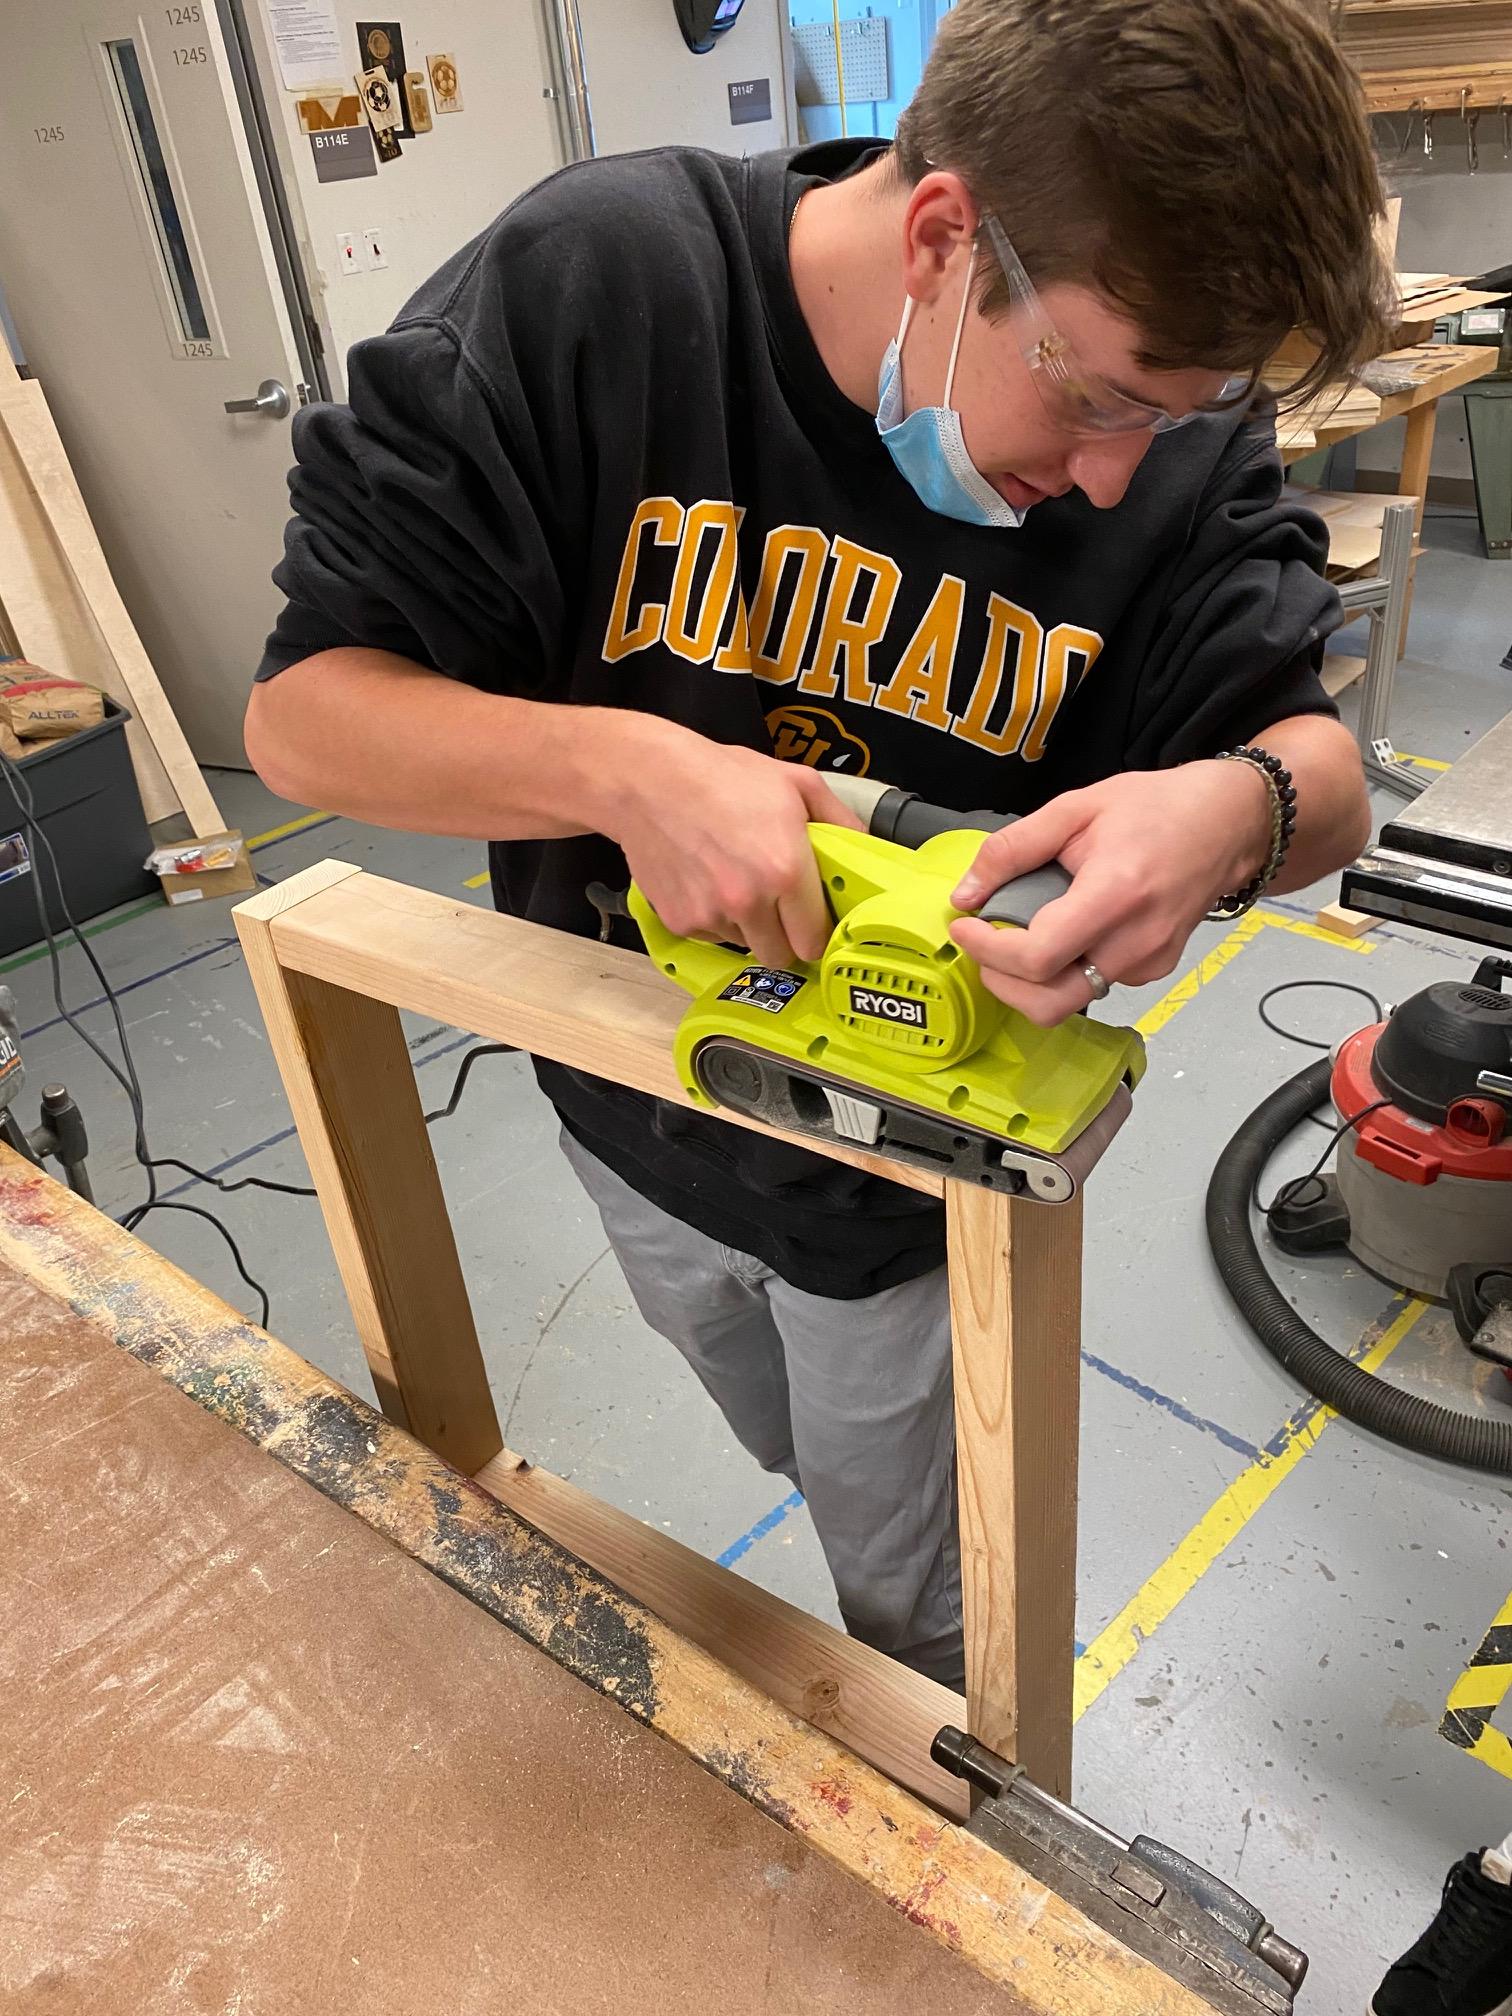
Sand every face of the boards, going through the grits until you get to 220 grit. Use belt sanders or palm sanders.
Staining and Finishing the Top
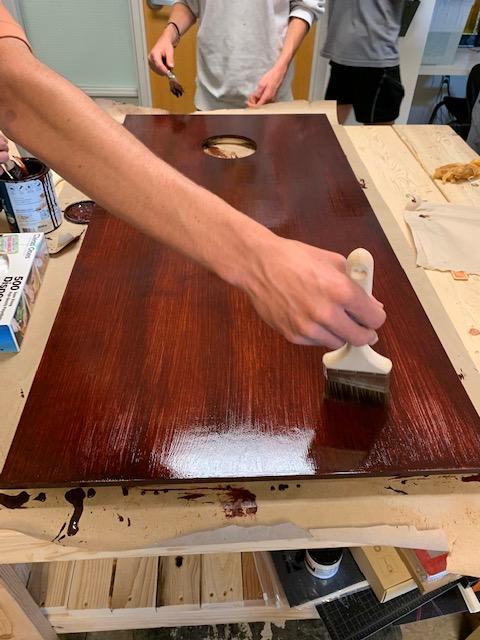
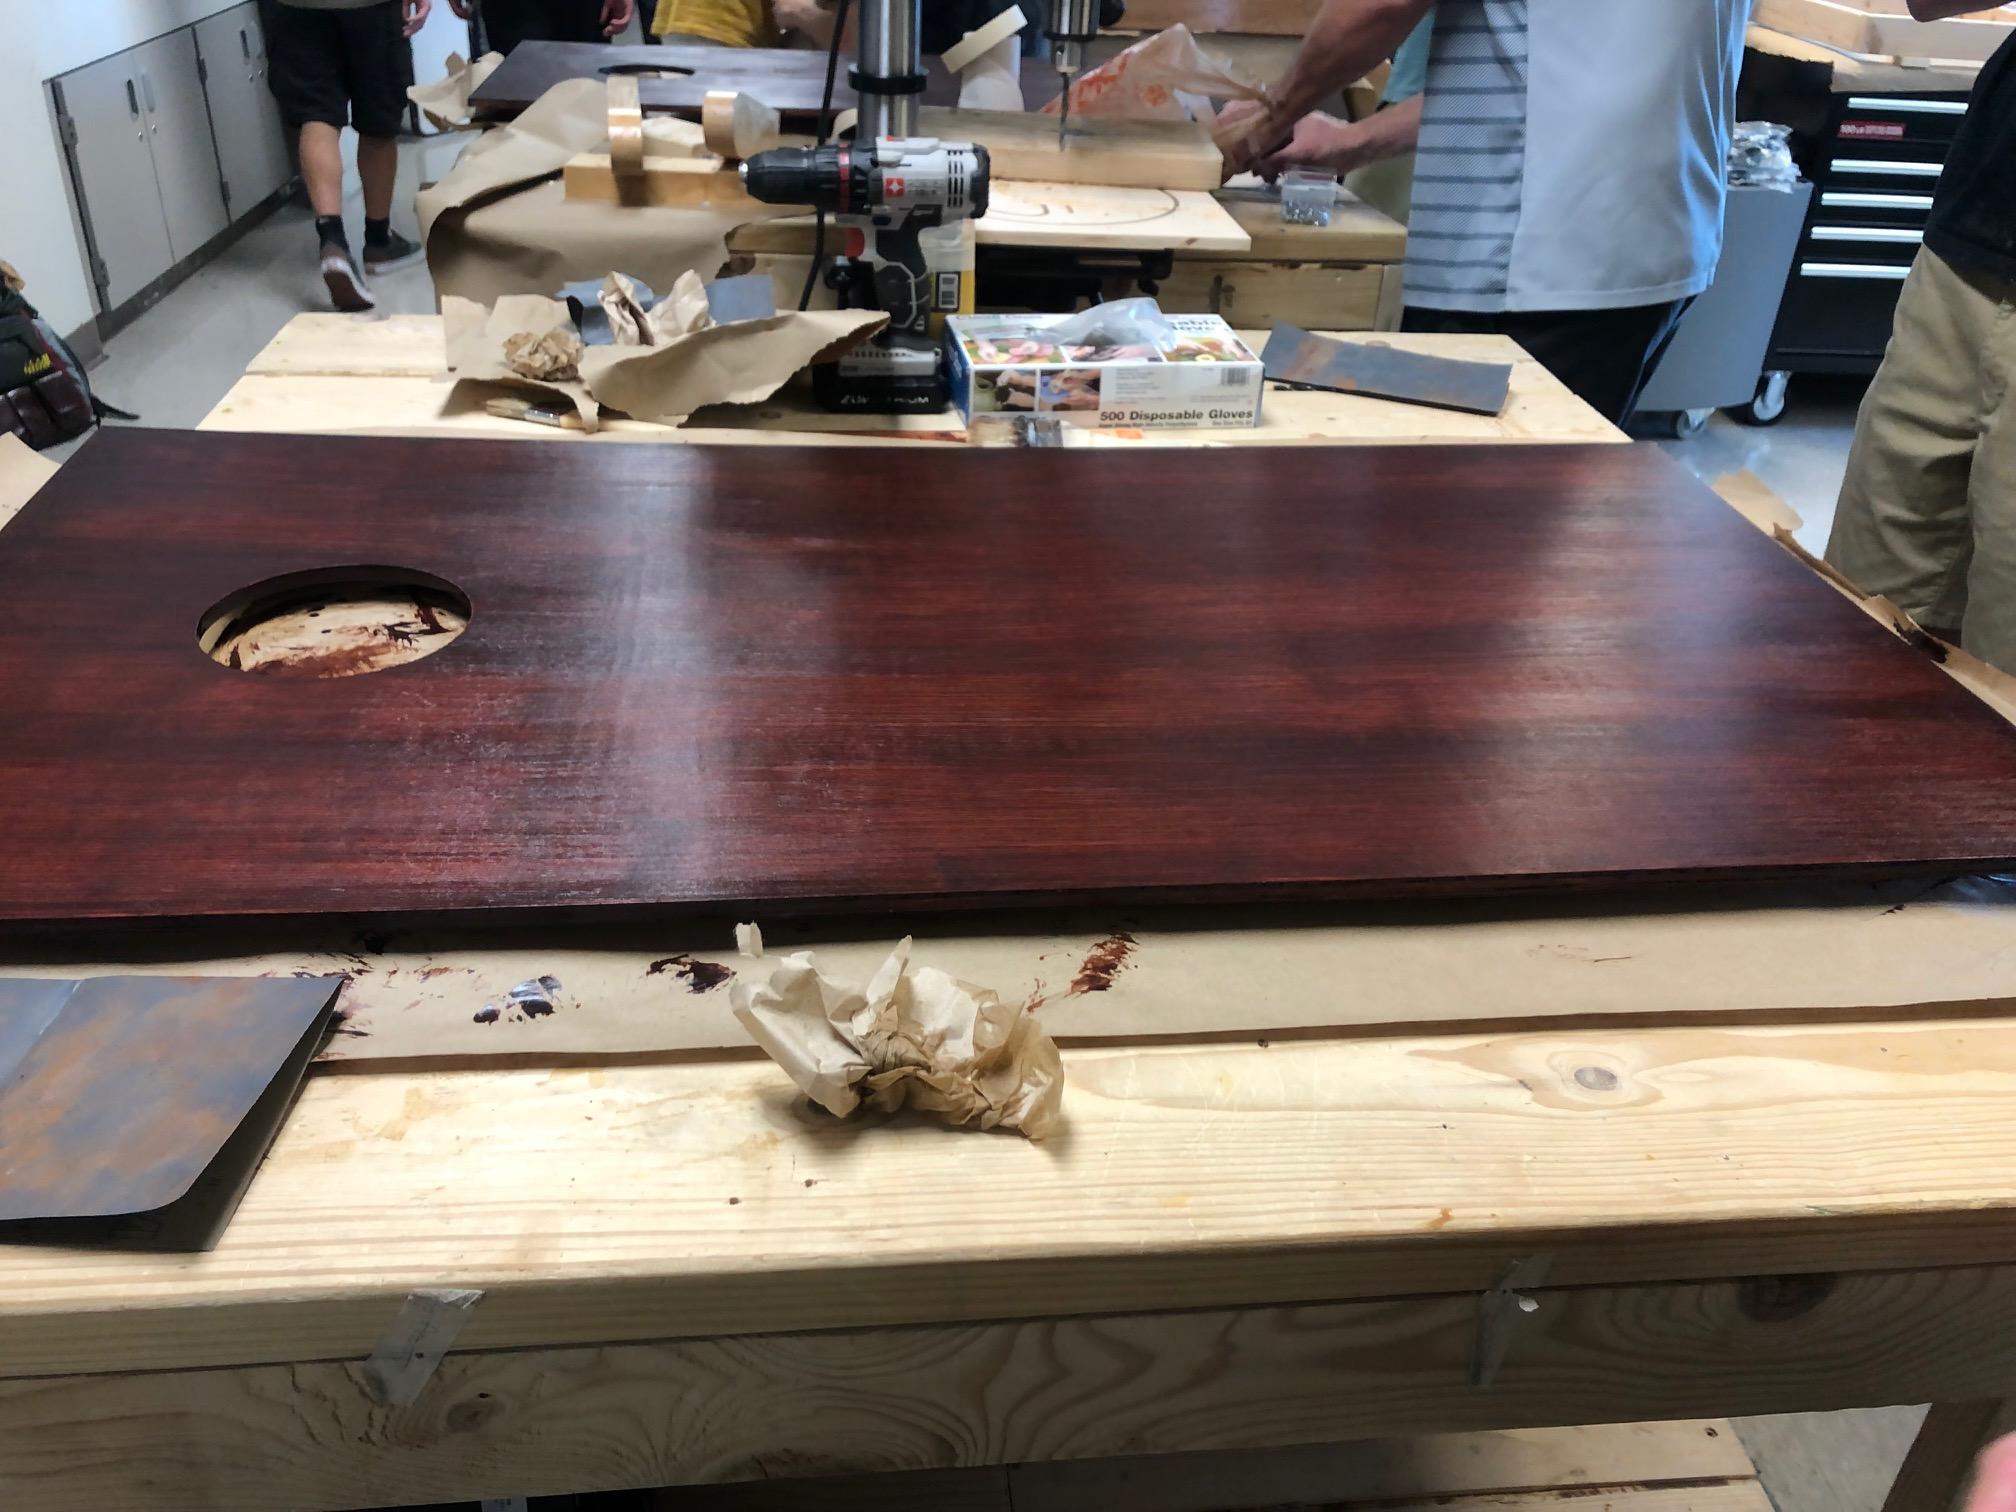
Before staining, sand the top of the board with 220 grit sandpaper to ensure a smooth finish. Also, make sure to use a tack cloth to gather all the sawdust ontop of the board prior to sanding.
Stain one side of the maple wood with a water-based stain. Use long brushstrokes from end to end to ensure a smooth finish.
Apply 2-3 coats of stain, allowing adequate time to dry between layers as well as lightly sanding the finish with 400 grit sandpaper in between coats. After sanding between coats, use a tack cloth to take up the sawdust prior to the next coat of stain.
After staining, apply 2-3 layers of polyurethane using the same technique as the stain.
Finishing and Attaching the Frame and Legs
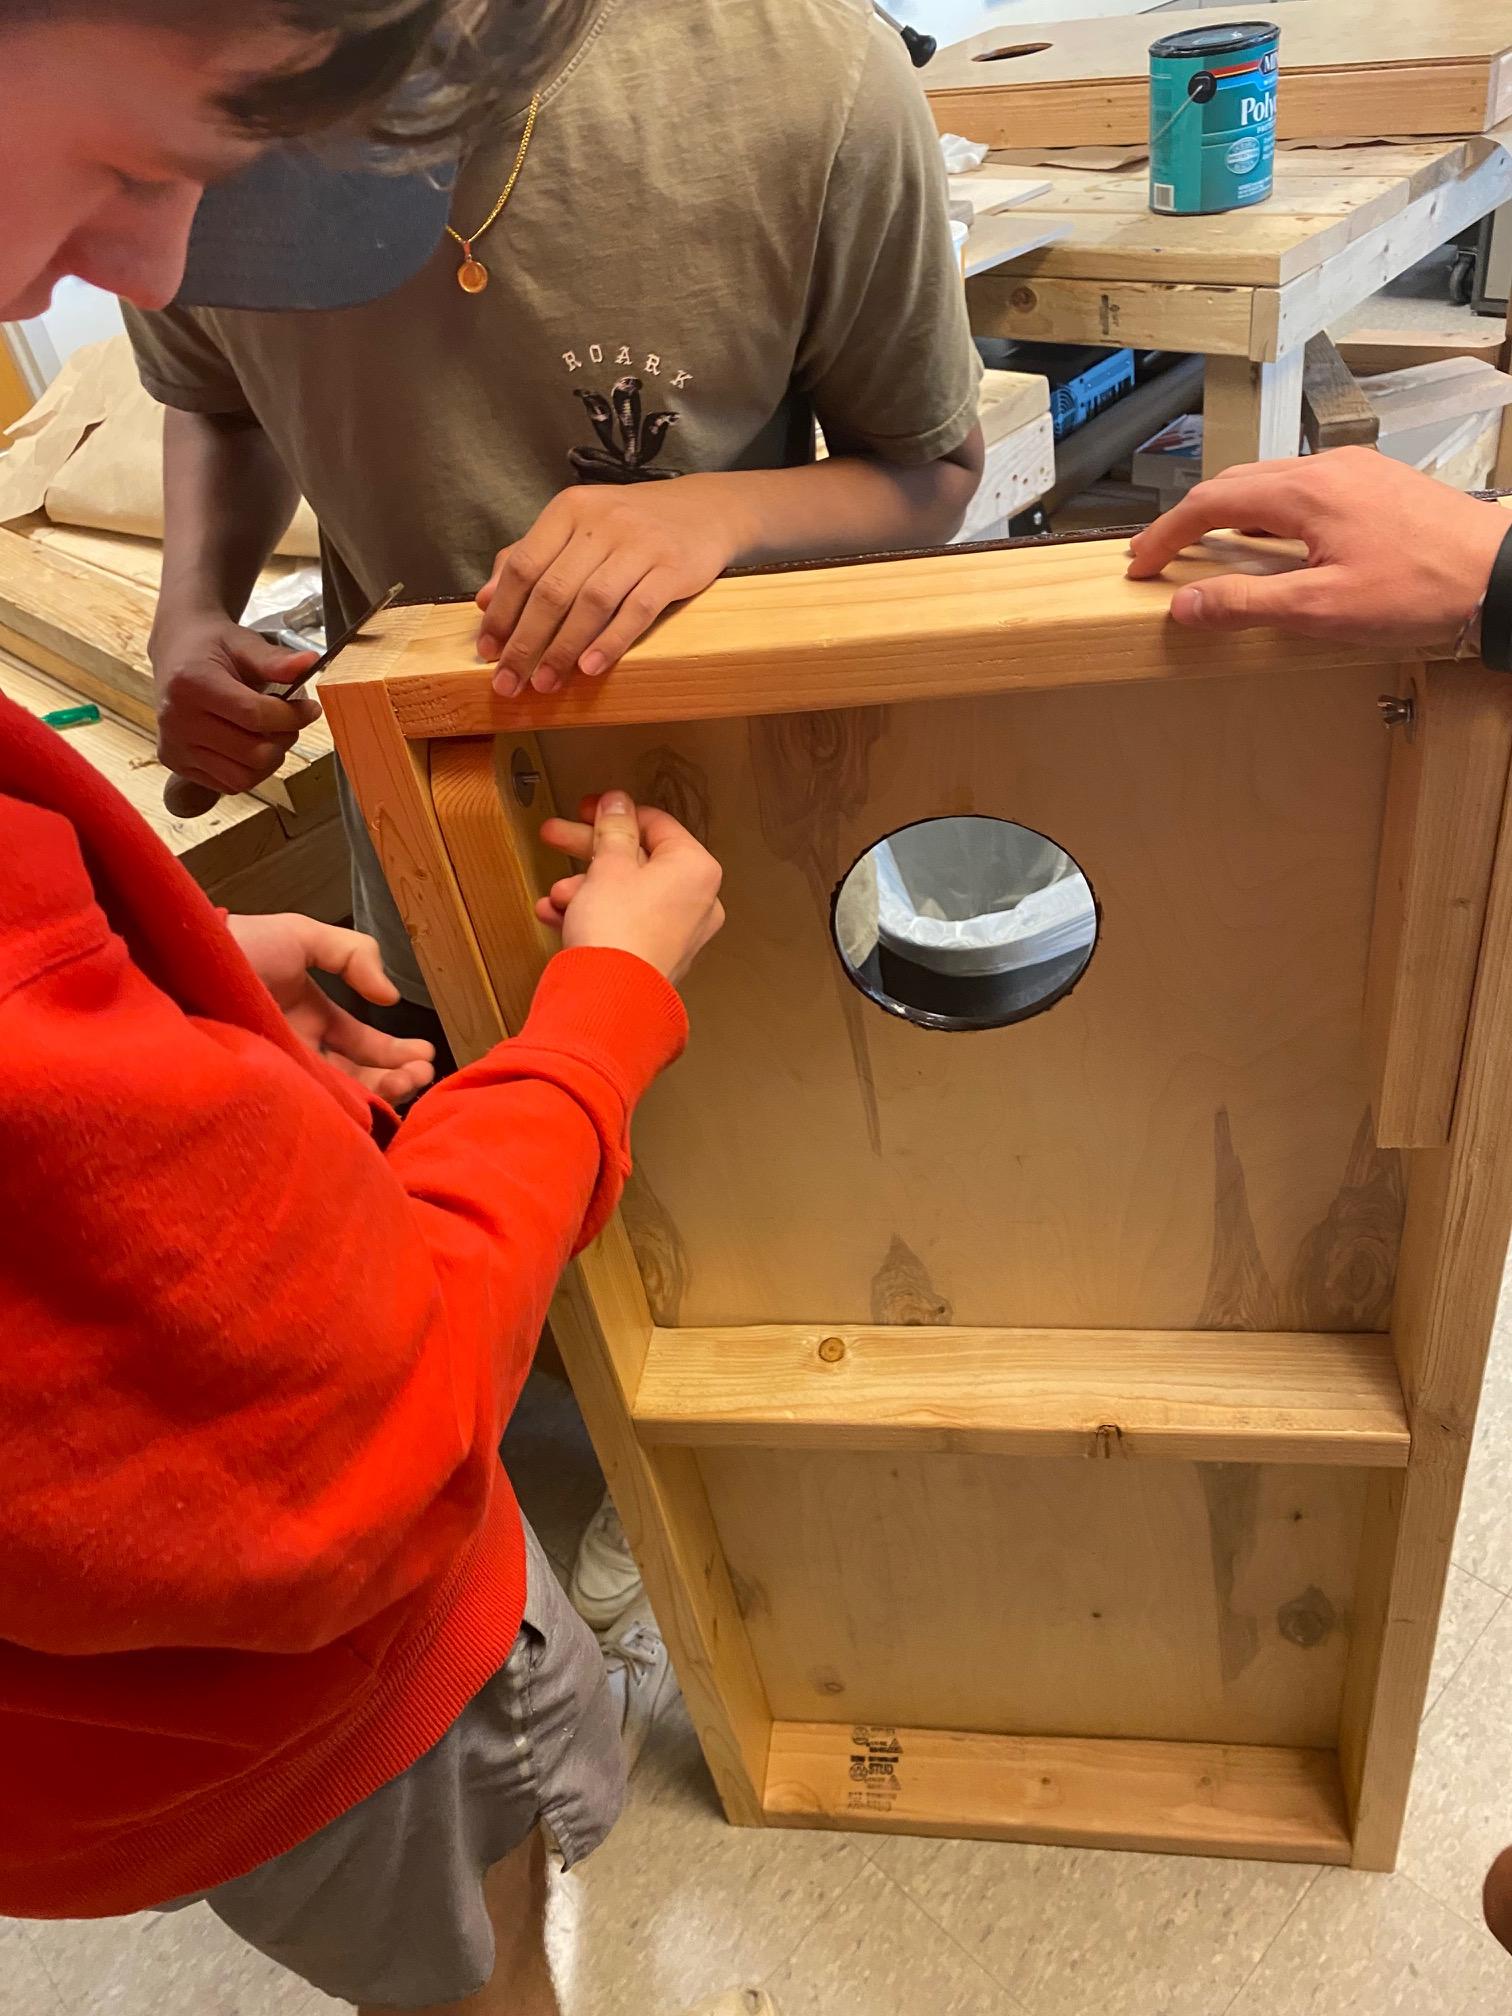
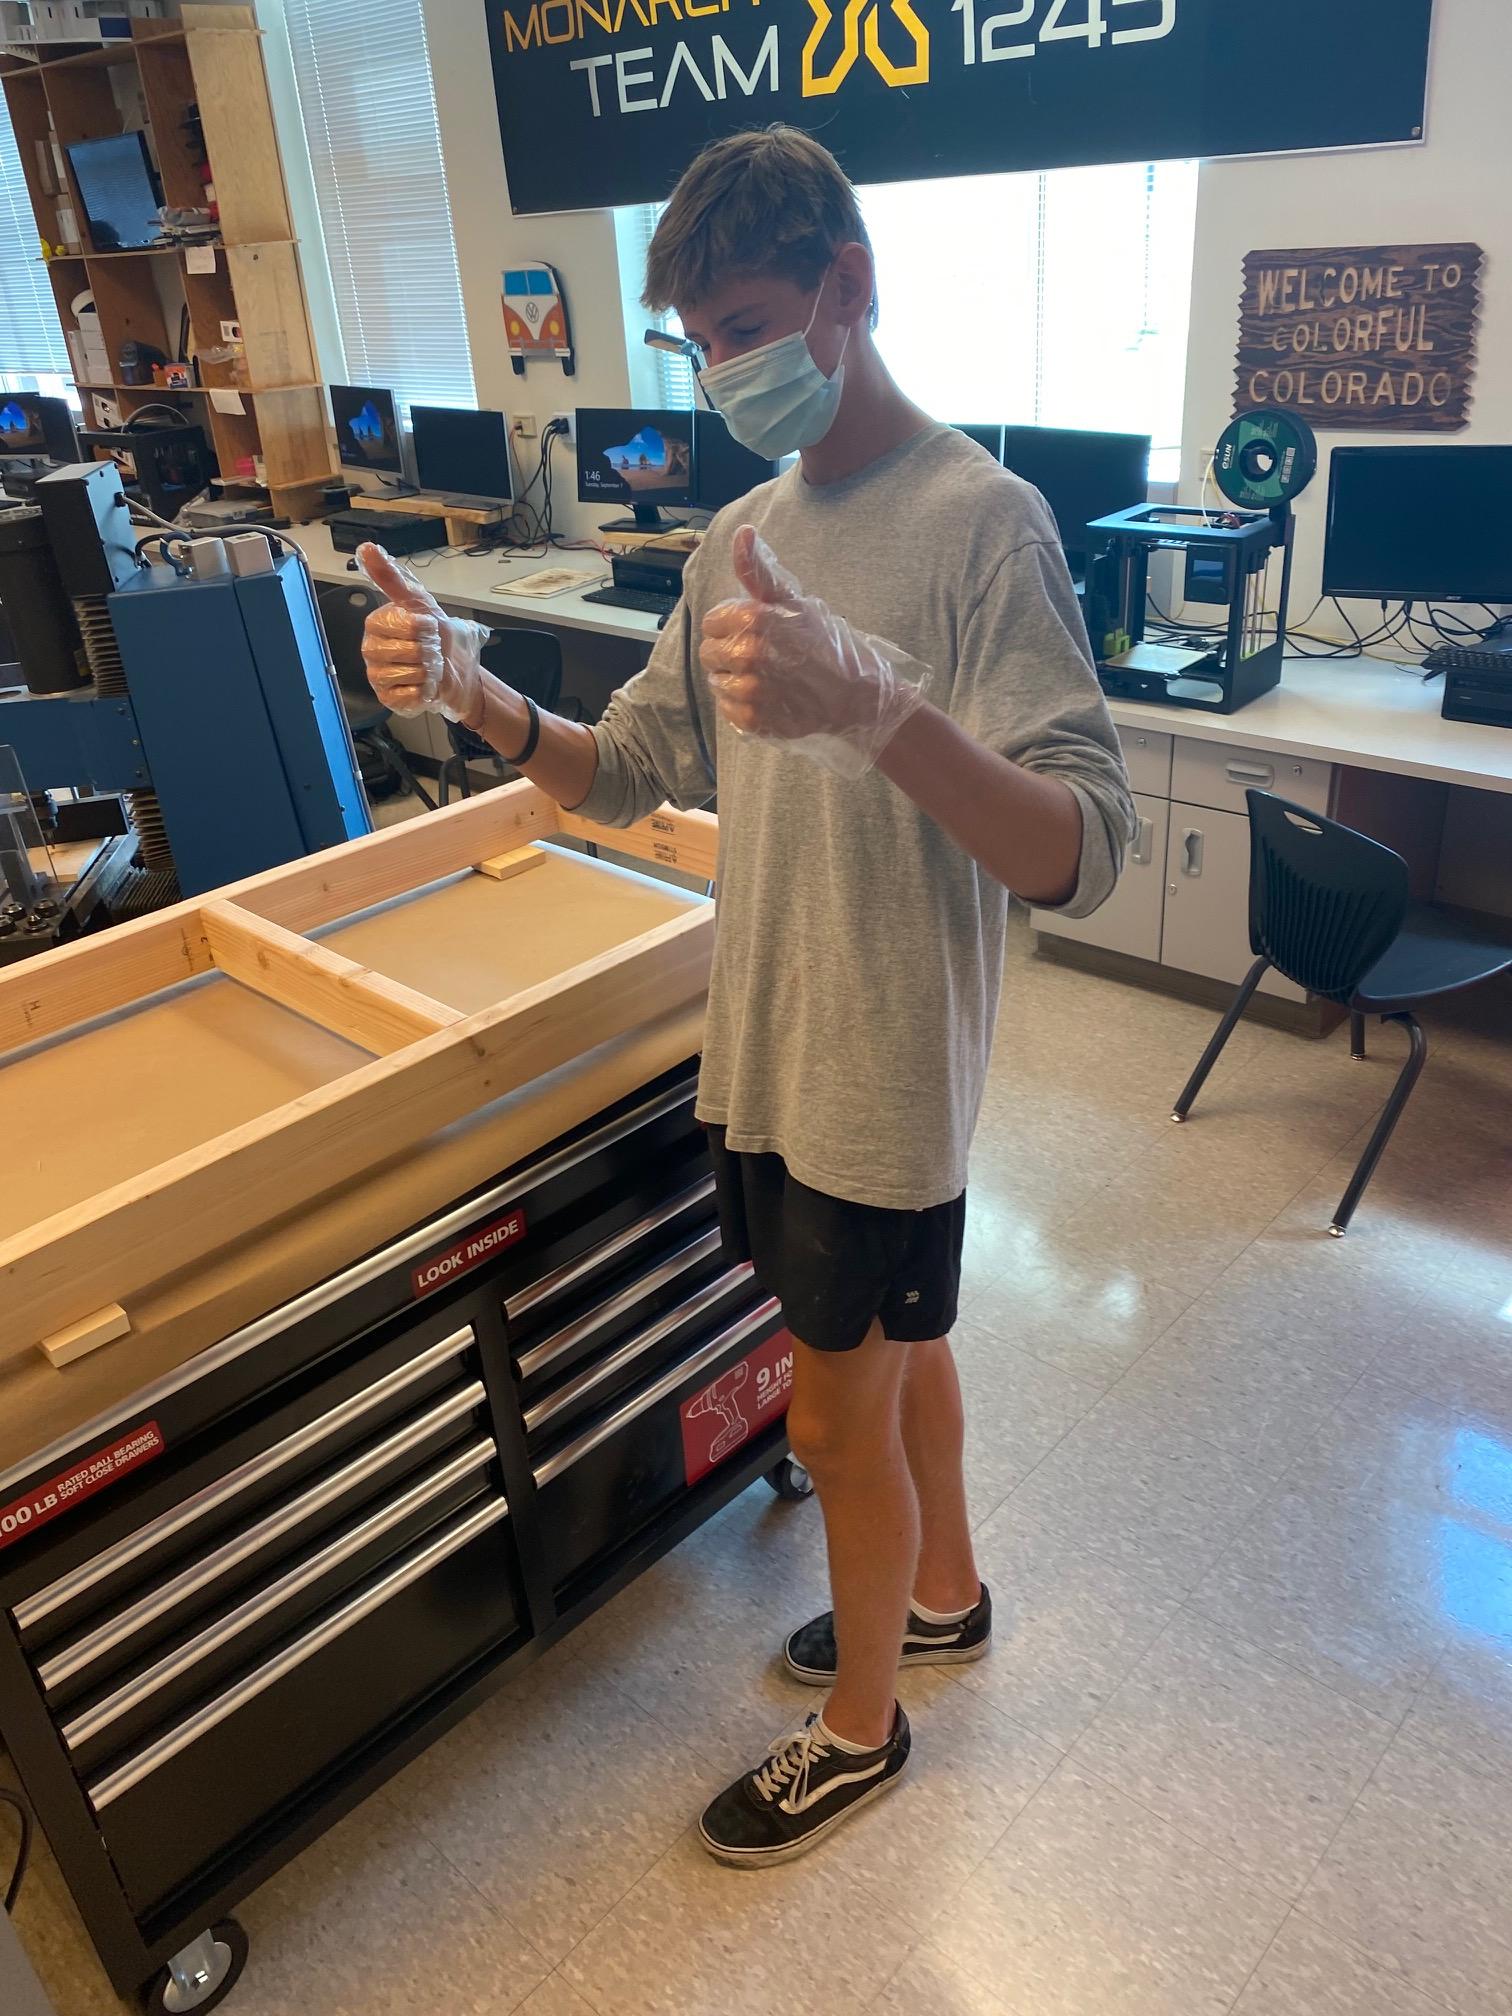
Apply 2 - 3 layers of polyurethane to the frame, sanding with 400 grit sandpaper in between coats, leaving the side where the top will go free of stain.
Use bolts, washers, and wingnuts to secure the legs to the frame. The top of the board should be twelve inches from the ground once the legs are attached.
Attaching the Top to the Frame
Apply a bead of wood glue along the unfinished side of the frame then spread it with your fingers.
Align the top of the board to the frame.
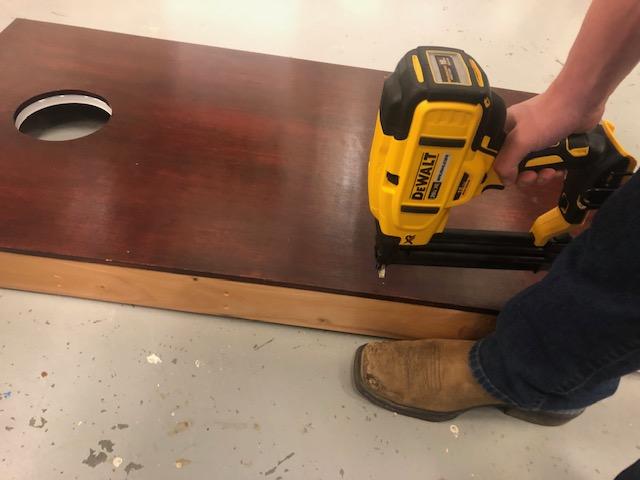
Use a nail gun to run 1 ¼ inch nails along the edge of the board to secure it to the top A template may help to make sure you put the nails in equally spaced.