APPPAD


#~~~~~~~~~~~~~~~~~~~~~~~~
<NOTE: You just basically need two things:
1.) Your Windows 10/11 Computer – This is your setup tool. You'll use it to prepare, configure, and burn the system image to the memory card. Its job is done once the card is ready.
2.) The Orange Pi One Board – This is the project itself. It's the small, standalone computer that boots from the card and runs the Armbian Linux system.
In short: You use your Windows computer for the initial setup, and the Orange Pi is the dedicated device that runs the project.>
#~~~~~~~~~~~~~~~~~~~~~~~~
APPPAD V0.01 (Automated PDF Portable Print Assist Device) SRNHS SY.2024
DIY: Turn Your Old Printer into a Smart Printer
Tired of having to use a desktop computer to print your PDF files? This project offers a simple solution - a device that allows you to print PDFs directly, without needing a desktop or laptop.
Think of it as upgrading an old LED TV to a smart TV. This device will transform your basic printer into a "smart printer" with enhanced capabilities.
It's designed to work with any printer that is listed on the OpenPrinting website (https://www.openprinting.org/printers) and lacks built-in USB support for direct printing from a USB drive.
########################
NOTE: This project is dependent on the CUPS (Common Unix Printing System) driver on a Linux-based operating system, such as Armbian, to manage and utilize a printer. The project will not be functional without the CUPS driver integration.
########################
The core of this project is a combination of an Orange Pi One and an Arduino Uno. This setup can read PDF files from a USB flash drive and send the print data directly to your printer. It's a straightforward build, focused on the key functionality of reading PDFs and sending them to the printer. PDF was selected as the supported file type since it's a common and widely-used document format.
The instructions provided are to show how to replicate and use APPPAD. Some additional instructions will be provided as links.
Supplies


Parts Needed:
- 1x Arduino Uno R3
- 1x Orange Pi One
- 1x SanDisk 64GB Ultra MicroSDXC UHS-I Memory Card
- 1x Rotary Encoder Module
- 1x TFT Display 2.0 inch OLED LCD ST7789V 240RGBx320
- 1x RJ45 Male to Female Screw Panel Mount Ethernet LAN Network Extension Cable
- 2x USB 2.0 Male to Female Extension Panel Mount Extention Port Cable
- 1x ORICO TWU3-4A 4 port USB Hub
- 1x Orange Pi USB to DC 4.0MM - 1.7MM Power Cable
- Jumper Wires/Dupont Wire Cable
Connect Rotary Encoder Module to Arduino

ROTARY ENCODER ---> ARDUINO UNO

GND            ---> GND
5V             ---> VCC/5V
S1             ---> D7
S2             ---> D4
KEY            ---> D2
Interfacing an ST7789V Display With Arduino

ST7789V ---> ARDUINO UNO

VCC     ---> 3.3V
GND     ---> GND
SCL     ---> D13
SDA     ---> D11
RES     ---> D9
DC      ---> D10
CS      ---> D8
Attach Ethernet Network Extension Cable to Orange Pi One

Flash APPPAD Image to an SD Card Using BalenaEtcher

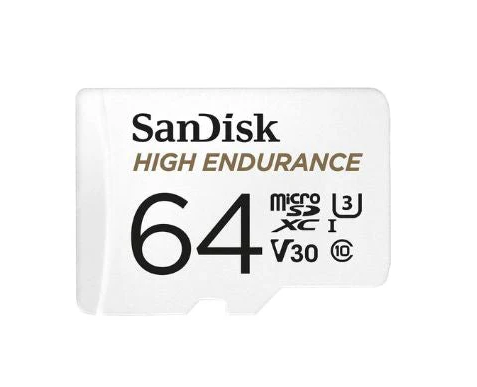

https://drive.google.com/file/d/1nhKRZlo37wQ42y7plO-8DEPzRkxJ38sC/view?usp=drive_link
Connect All USB Peripherals to ORICO USB Hub

1x RJ45 Male to Female Screw Panel Mount Ethernet LAN Network Extension Cable
2x USB 2.0 Male to Female Extension Panel Mount Extention Port Cable
1x Orange Pi USB to DC 4.0MM - 1.7MM Power Cable
To Supply Power on APPPAD
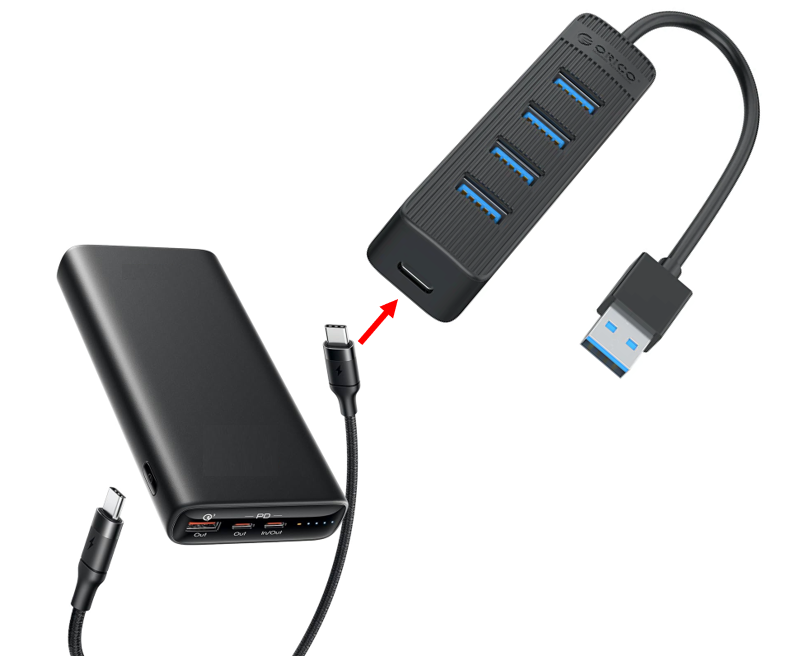
We can use any 5V 2A powerbank to power APPPAD.
Using the EPSON L120 Series
Connect the Printer: Before turning on APPPAD, first plugin and connect the EPSON L120 Series printer. Ensure the printer is properly plugged into a power source and that the USB is securely connected.
Once the printer is connected, you can proceed to turn on APPPAD. The printer should automatically be detected and the necessary drivers should be loaded.
Access Printer Settings: To adjust the printer settings, you can access the printer's web-based interface by navigating to its IP address on port 631 using a web browser. This will allow you to configure various printer settings, such as paper size, resolution, and other preferences.
Note: Please note that these configurations are specific to the EPSON L120 Series printer and may need to be adjusted if you are using a different printer model. We cannot guarantee these instructions will work on other printer models, as we have only tested this setup with the EPSON L120 Series printer.
Example of How to Add a Printer
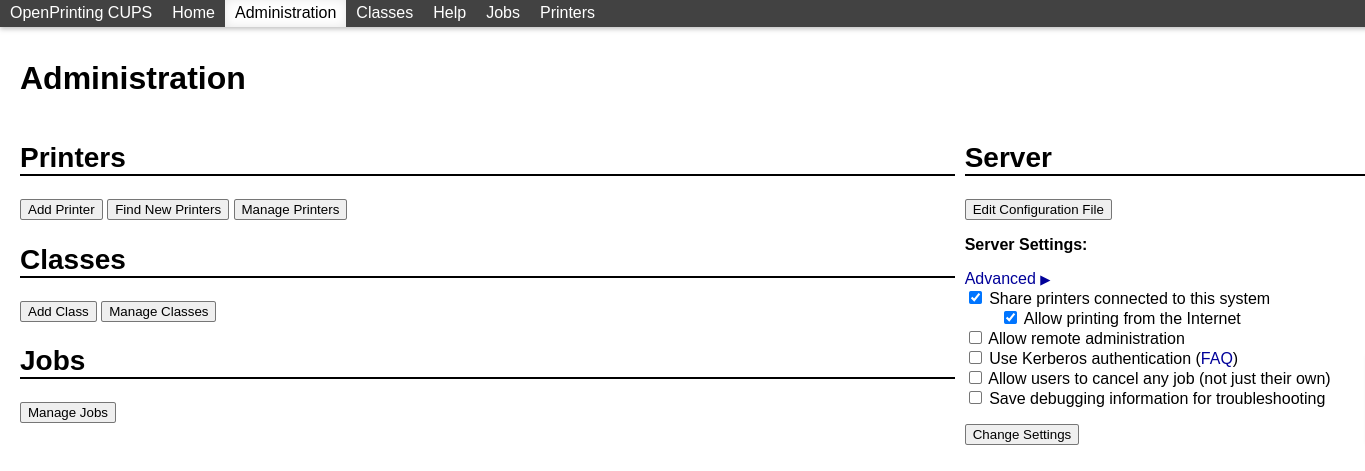
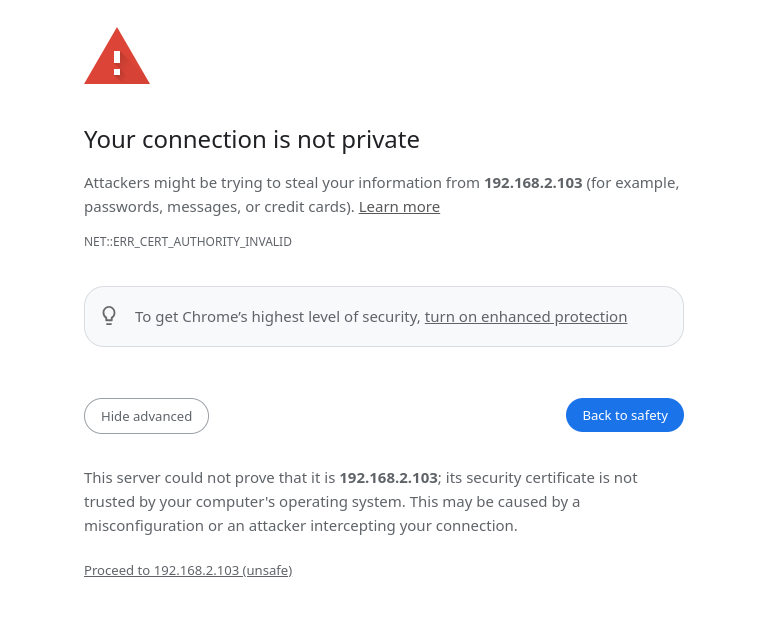
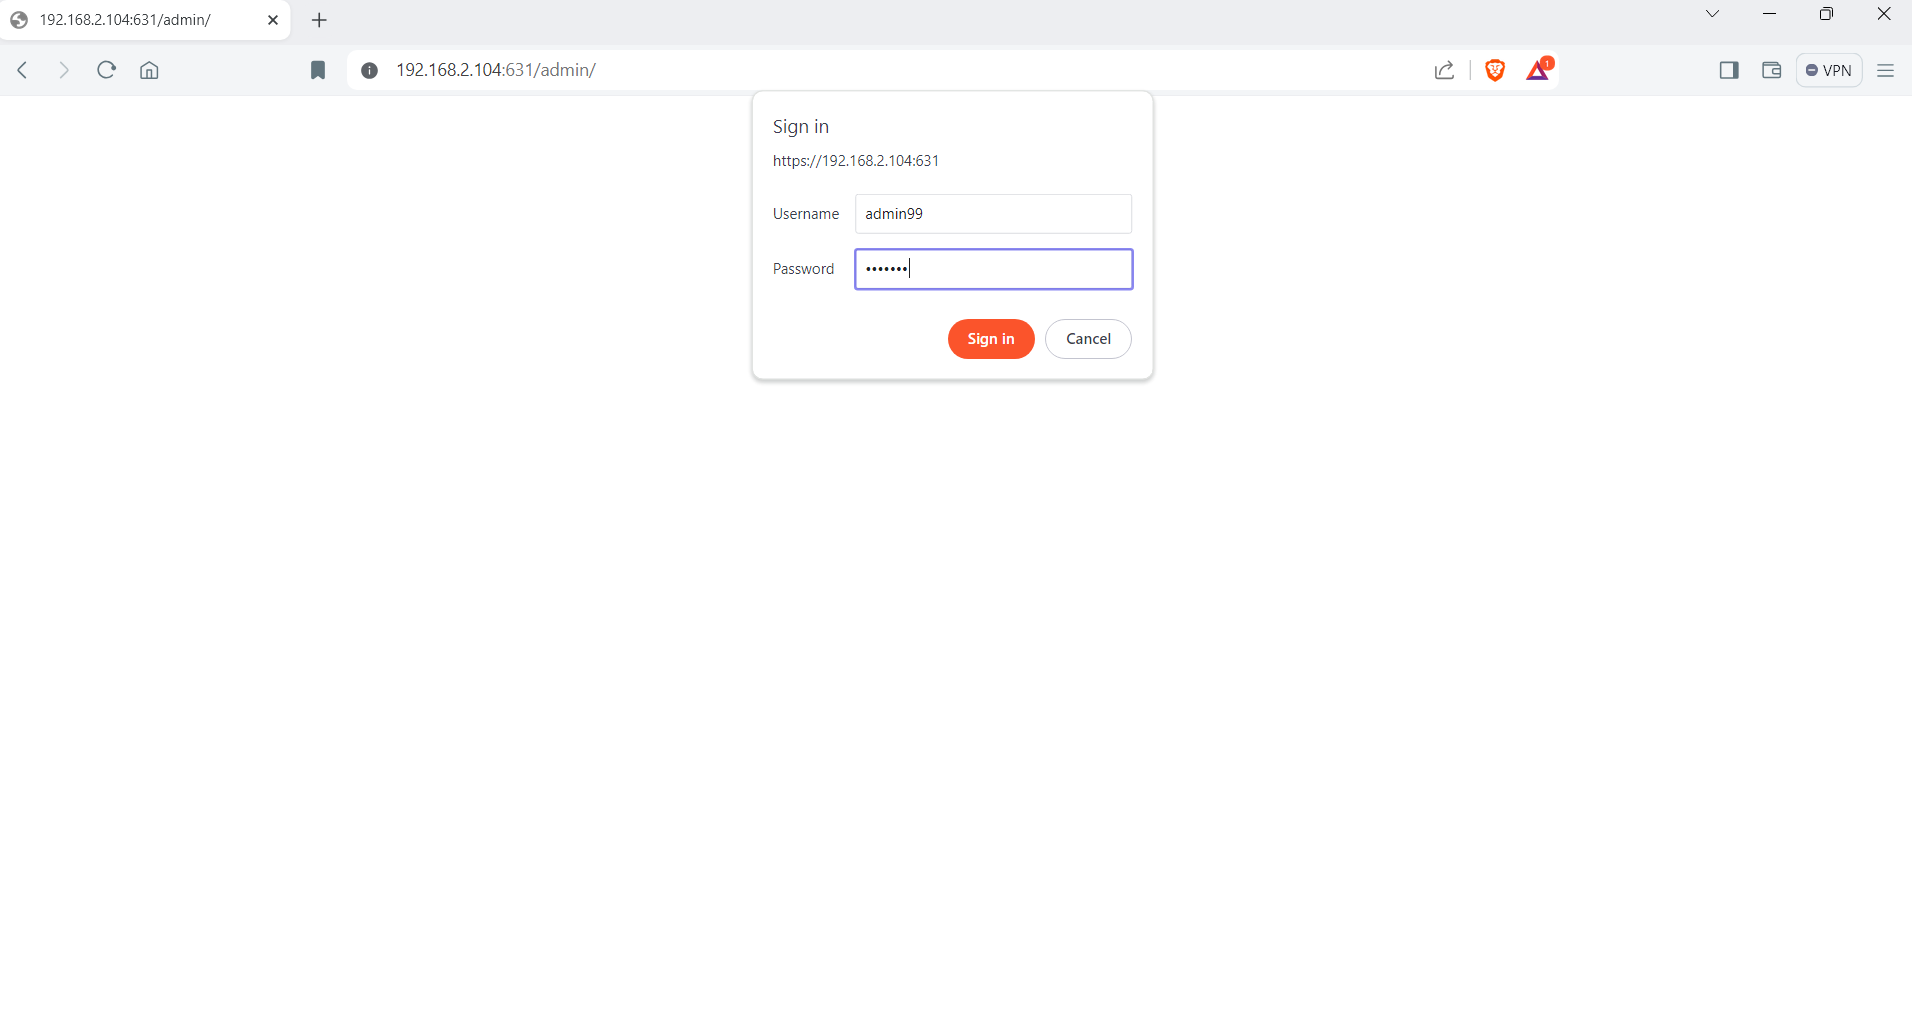
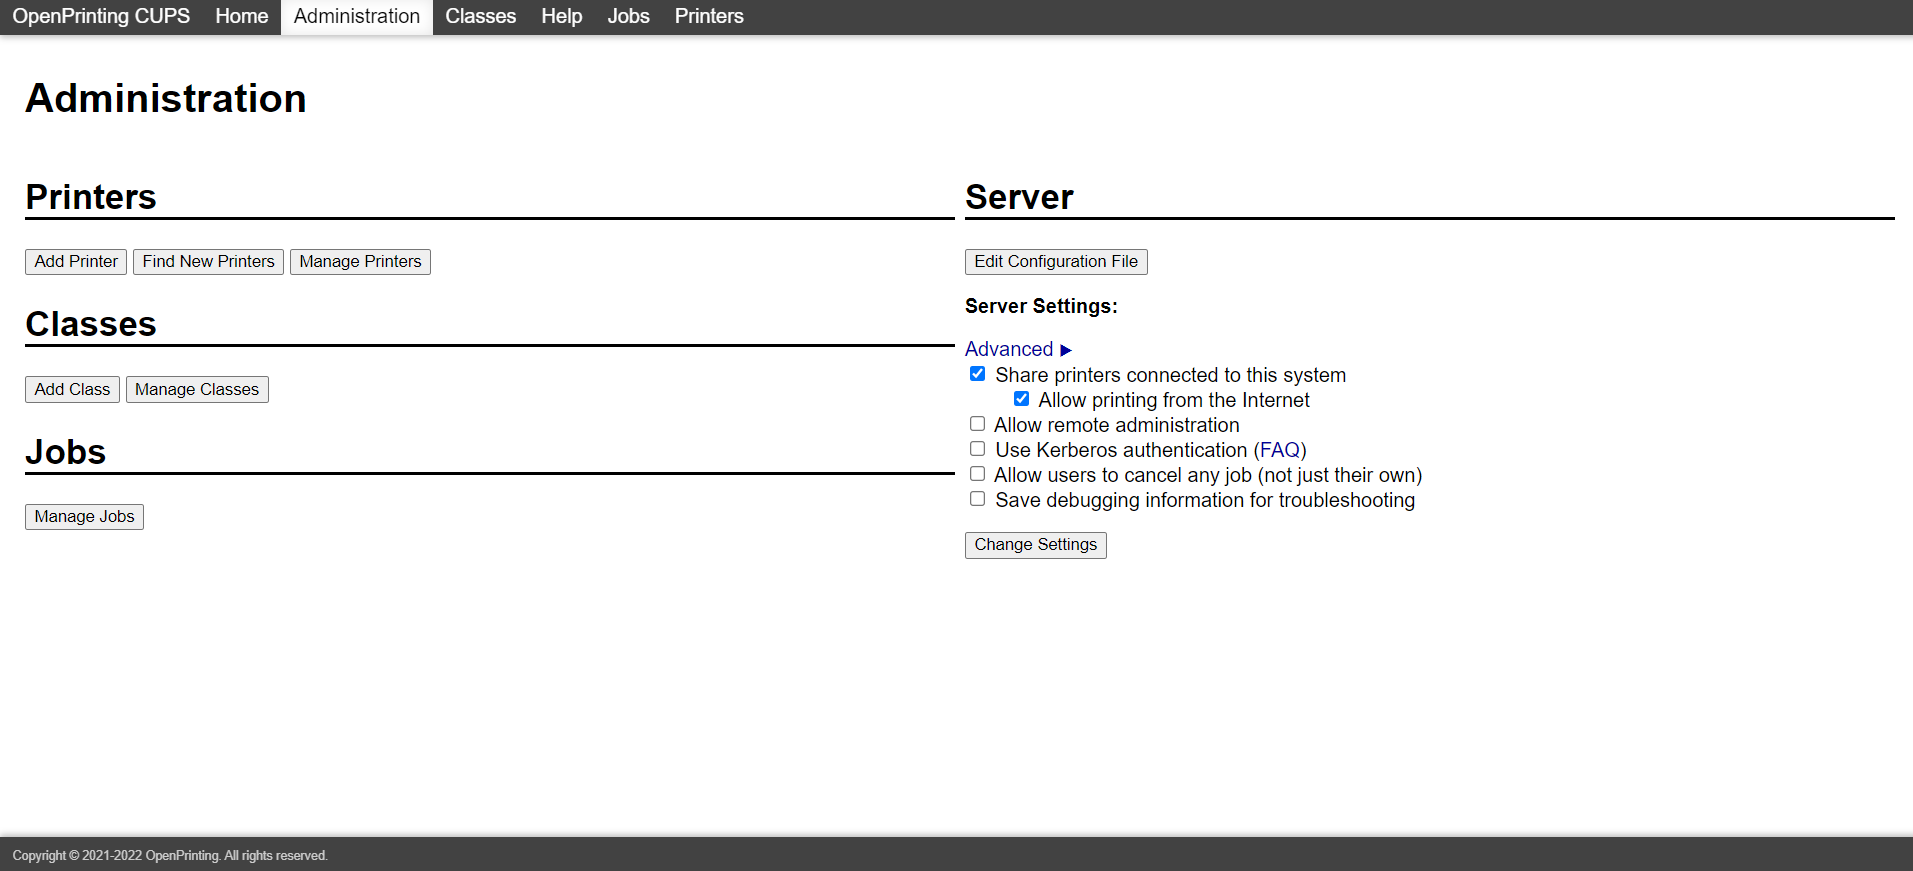
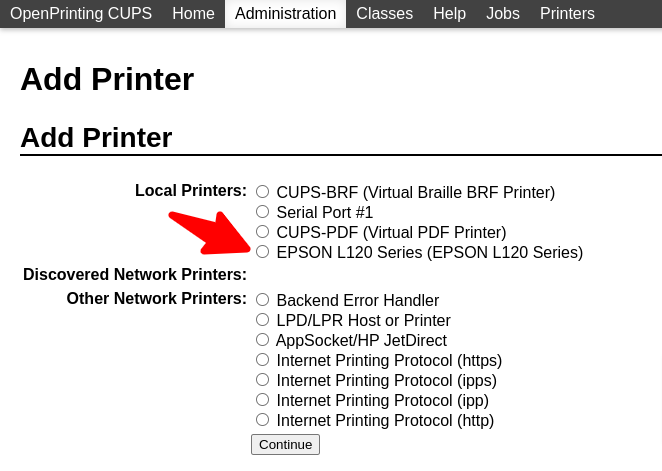
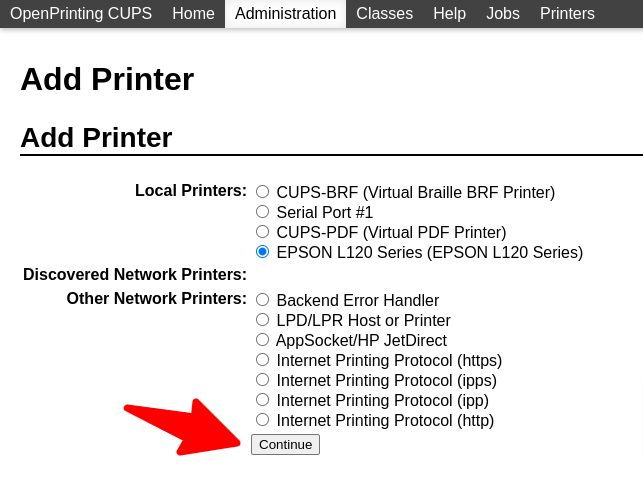
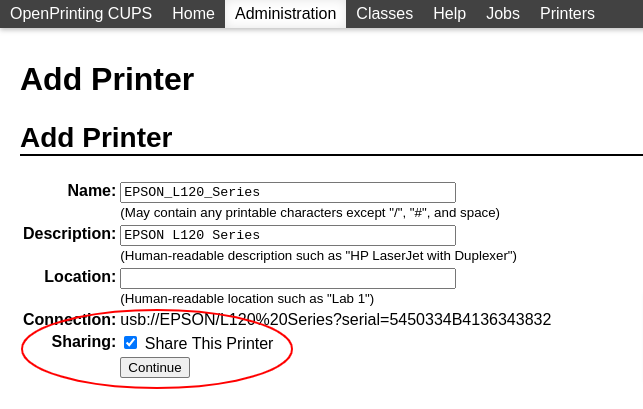


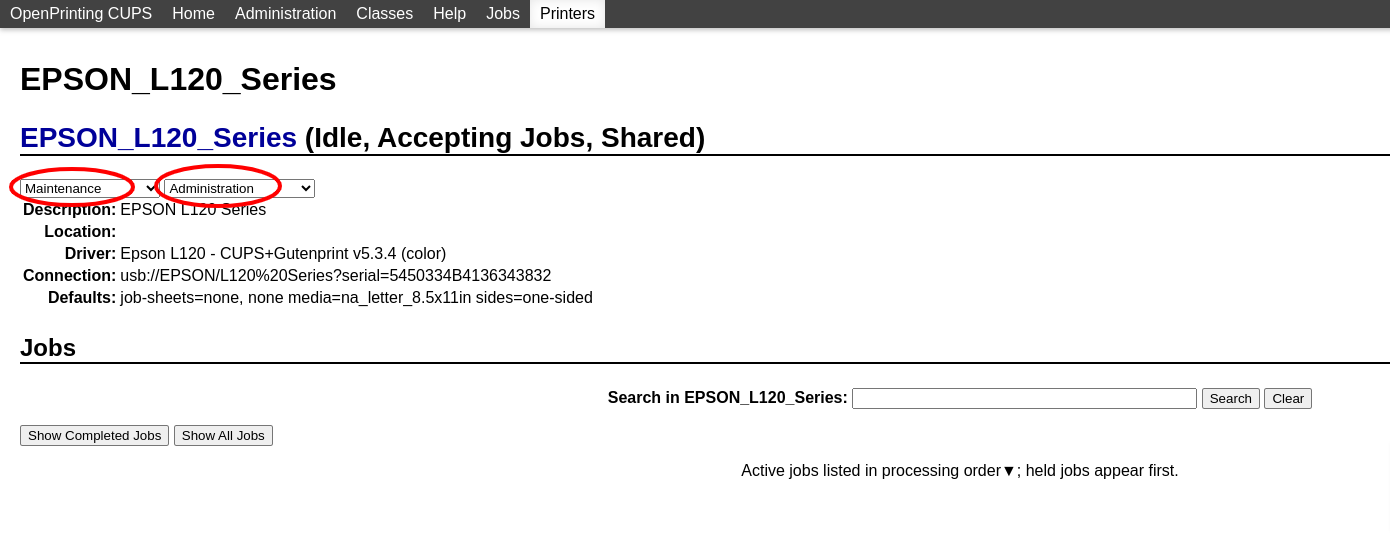

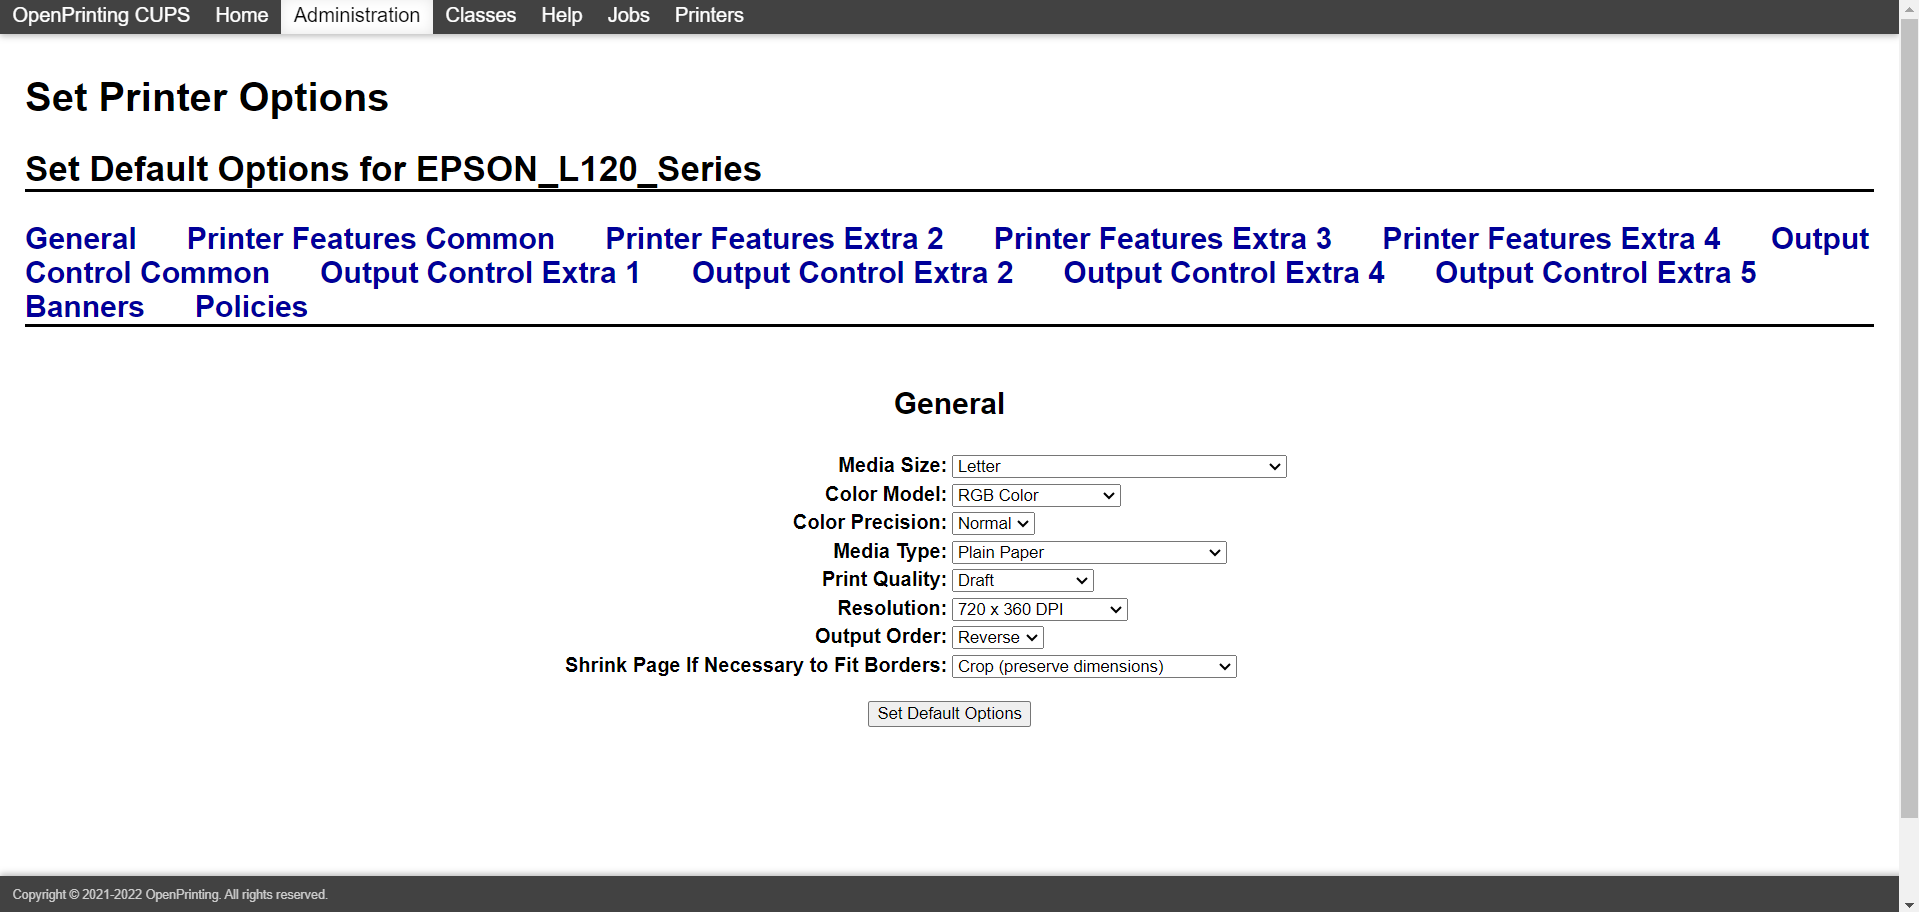
Make sure that APPPAD is connected to your router and your printer is connected to APPPAD before proceeding with the setup. Then turn ON APPPAD.
For instance, if the IP address shown on the screen is 192.168.2.104, open a web browser and type in the address bar
192.168.2.104:631
This will allow you to browse the configuration of the device.
username
	admin99
pass
	grp3ste
Set the New Printer As the Default
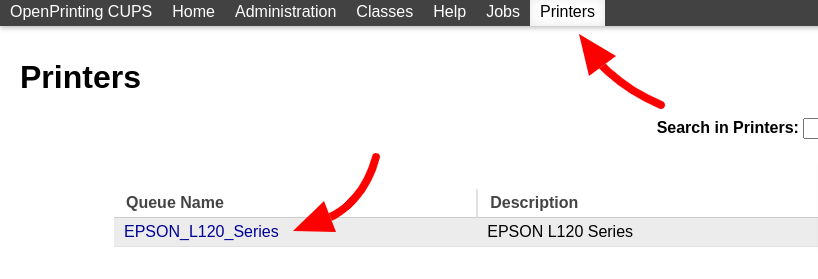

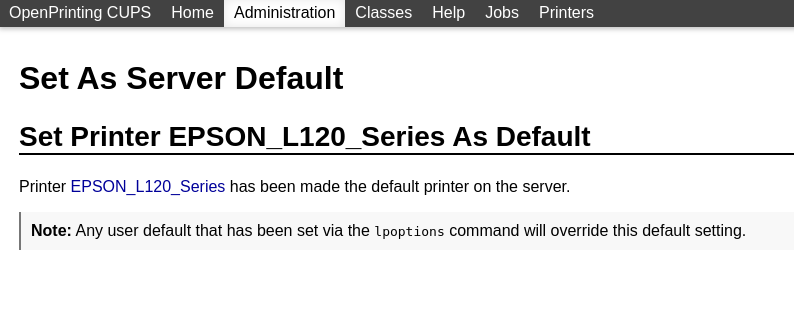
After the new printer has been added, you should see it listed in the "Printers" section.
Accessing Files on the Network


If APPPAD is connected to the router, you can access the files by using the Windows File Explorer. You can browse the files by navigating to the IP address that appears on the screen.
For example, if the IP address displayed on the screen is 192.168.2.103, you can access the files by going to the following path in your Windows File Explorer:
\\192.168.2.103\admin99

username
	admin99
pass
	grp3ste


Arduino Source Codes
\\192.168.2.103\admin99\apppad_c

Python Scripts
\\192.168.2.103\admin99\apppad_py
Unplug Ethernet
Once you have finished setting up the printer, you can disconnect the APPPAD from the network by unplugging it from the router.
Ready to Use for Printing
You can now use this device to print your PDF documents directly from USB flash drives. However, you should avoid using USB external hard drives, as they require a high-powered USB power source that this device may not be able to provide.
This device has a convenient feature that automatically prints your PDF document if it finds only one file on the USB flash drive. If there are multiple files on the drive, you will need to use the menu options to select the file you want to print.
Thank You!!
Thank you for taking the time to read the how-tos of this project. This innovation will help extend the capability of old printers, allowing users to conveniently print PDF documents directly from USB flash drives without the need for a desktop computer. It's a simple yet powerful addition that can breathe new life into aging printer hardware.