ARGB Leds and ESP32-CAM a WLED Tutorial
by Manojna09 in Circuits > Arduino
2223 Views, 2 Favorites, 0 Comments
ARGB Leds and ESP32-CAM a WLED Tutorial

Hello I am uploading this on instructables for the first time, so if i have done anything wrong please feel free to comment about it, also i have put a lot of effort into this.
Now lets start the tutorial, firstly i made this project because i had all the needed parts, and i was also free as i has some holidays during the end of the school year. And secondly i like these kidna stuff and it is my hobby.
Supplies
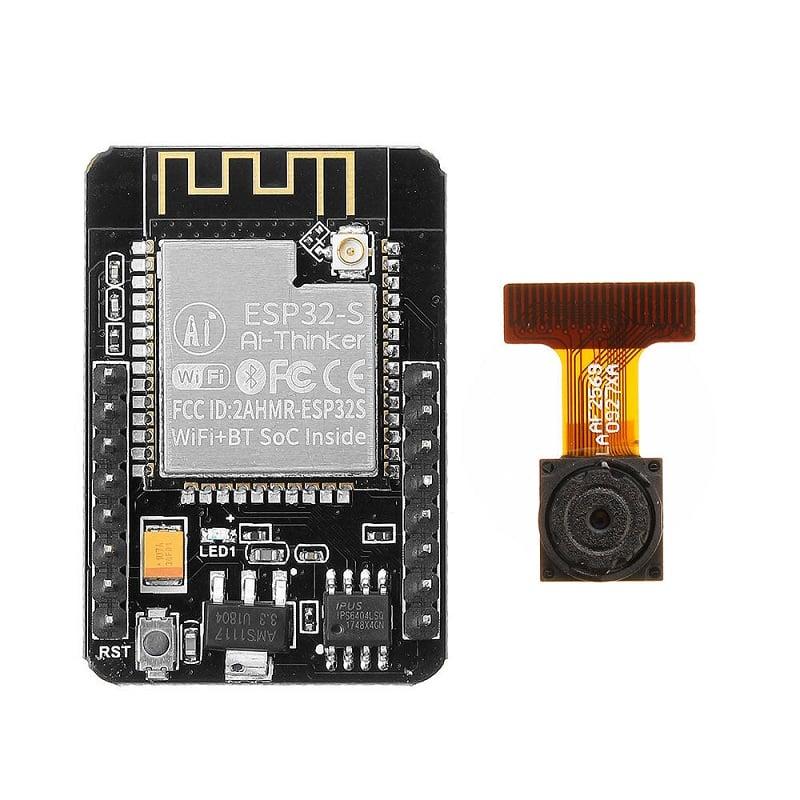


So the following are the parts that i have used in my project
- ESP32 CAM module
- ESP32 CAM programmer board
- 16 bit ARGB WS2812 led ring
- A USB A to Micro USB cable
- And some jumper cables
And i live in India so the following is the link the all the supplies that i have used here with the price
- https://robu.in/product/ai-thinker-esp32-cam-development-board-wifibluetooth-with-ov2640-camera-module/
- OR https://robu.in/product/esp32-cam-wifi-module-bluetooth-with-ov2640-camera-module-2mp/
- https://robu.in/product/esp32-cam-mb-micro-usb-shield-module-for-esp32-cam-development-board/
I expect you to search for the jumper cables yourself if you need them, as per your requirments and the same with the micro usb cable for programming.
Also i have used the ESP32 CAM board as it is a cheap esp board with a camera and more storage and ram rather then a normal esp32 board, but i will recommend the nomal esp32 dev board if you are making this as a permanent project.
Programming
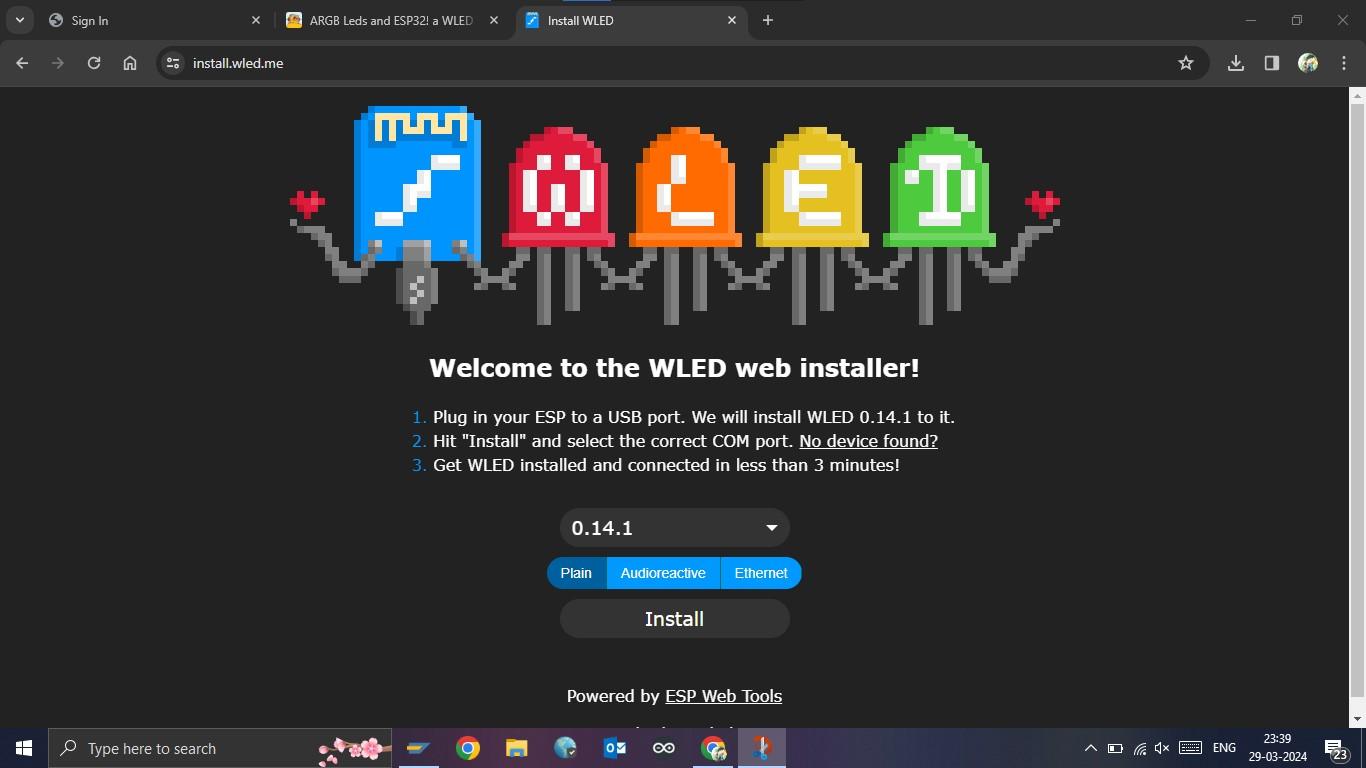
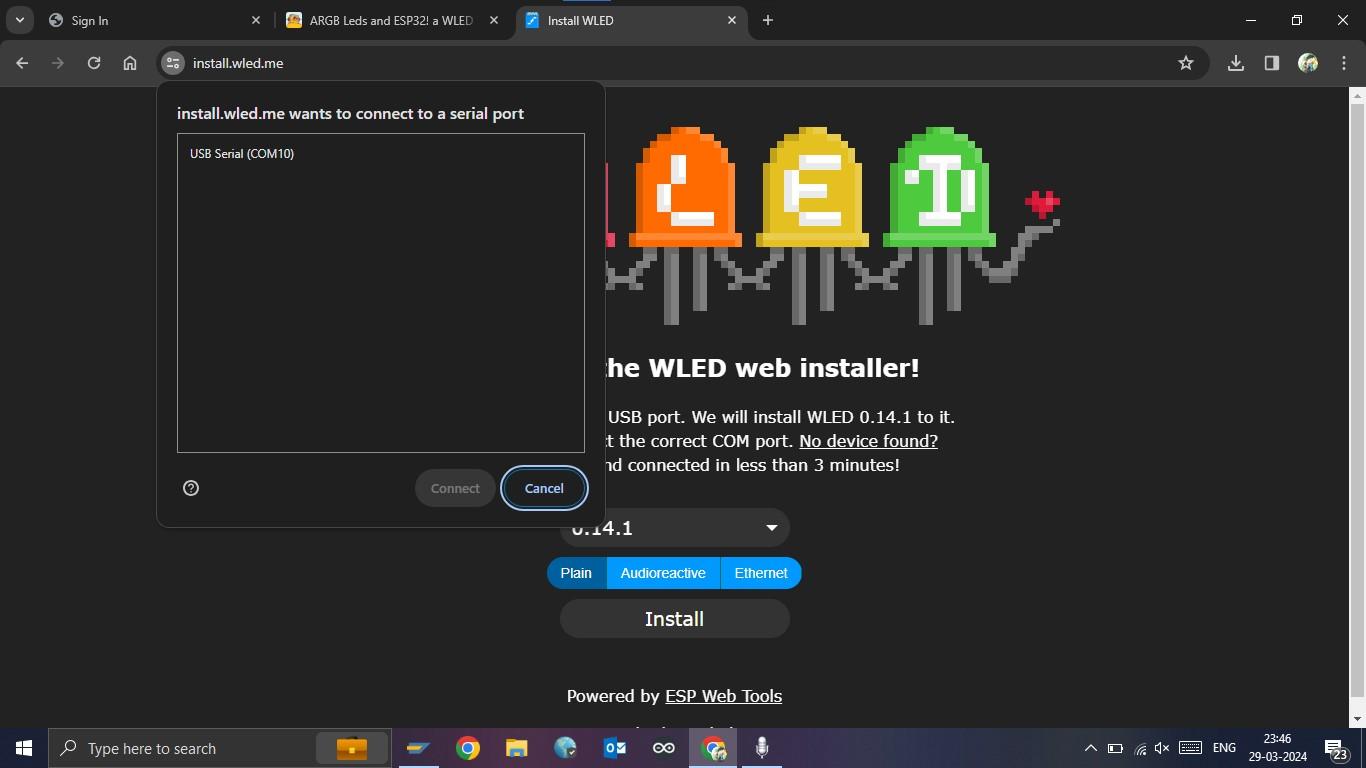
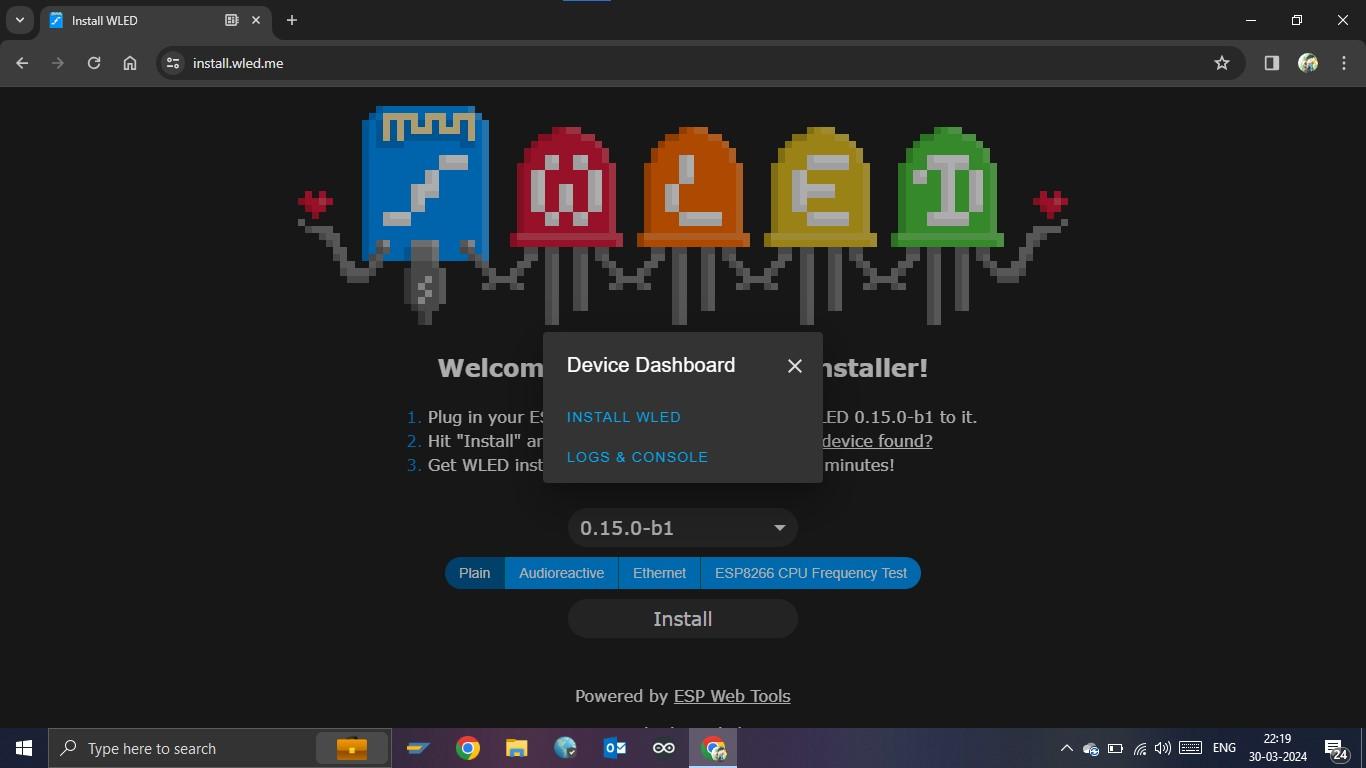
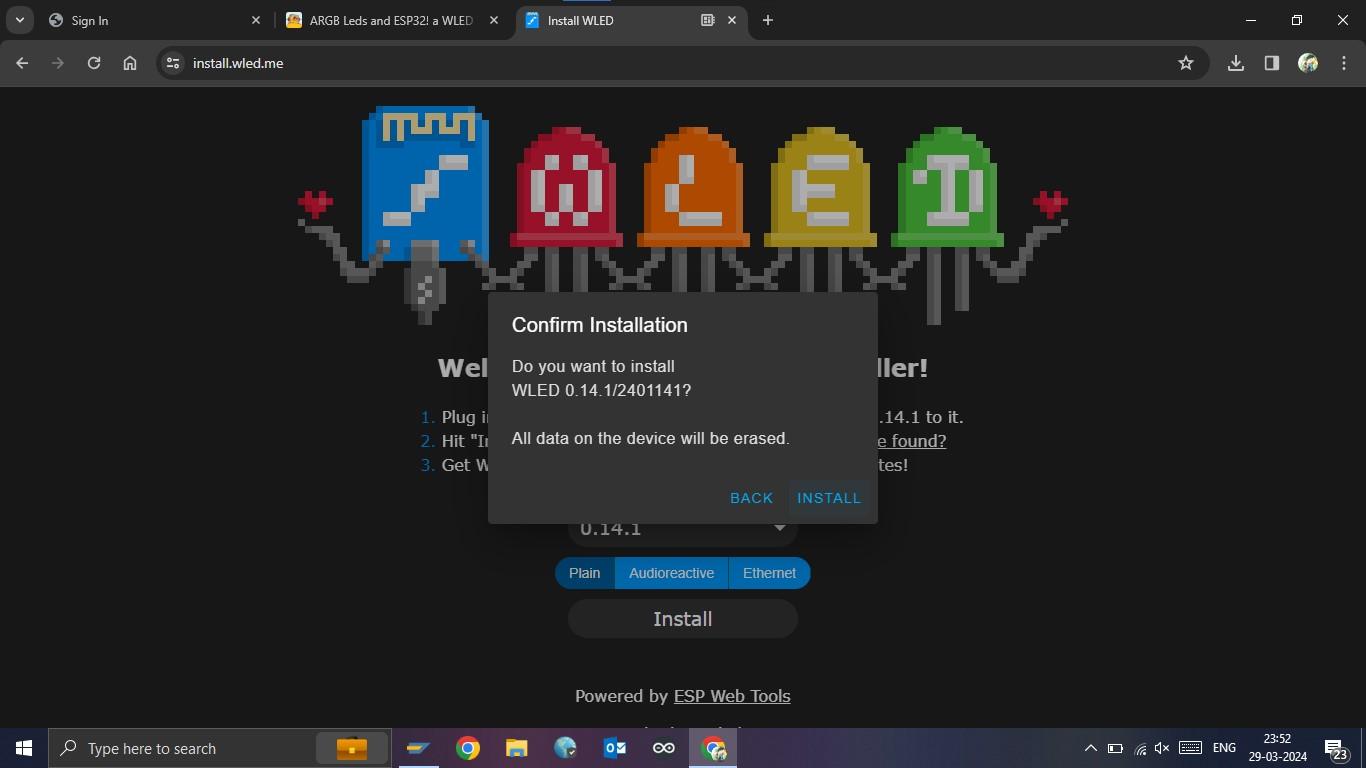

So first we will have to program our ESP32 CAM, and we do nat have to do any programming at all.
WLED site already has the code ready for us to use free of cost.
First go to the following site https://install.wled.me/
As seeing above the screen should load up, if not check everything and retry.
Then select the Version i have 1.14.1 selected though its not the latest, then plug the esp in to the programmer, if you have a FTDI adapter connect it accordingly, and now connect the Programmer or the FTDI adapter to the PC via the micro usb cable.
Now click on the install button, then a popup apears select the board, for ease turn of the bluetooth and disconnect any usb device that can communicate with the pc like another dev board etc.
Then click on connect option after selecting the board
Another popup comes click install on that. it will take some time to upload the code to the esp. Click on the next button and exit that tab as it is no longer needed for us.
Connecting Wires

After programming the board we will connect the following pins using jumper wires
ARGB Leds Esp32 CAM Board
5V VCC
GND GND
Digital Pin IO16
Connecting to the ESP Board

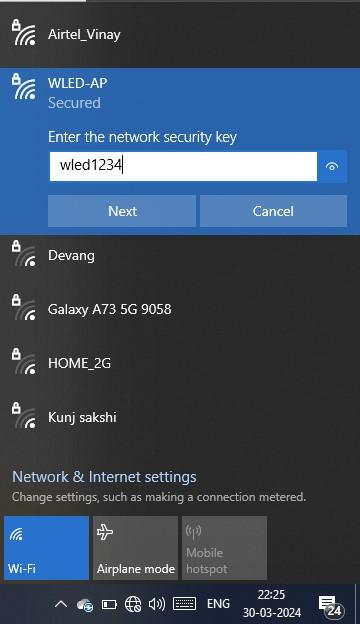
Now cut off the power to the board and connect it back again. then turn on the wifi of the PC or mobile.
Then You should see a wifi named WLED-AP, now connect to that wifi with the password as wled1234, it is the default password.
Config
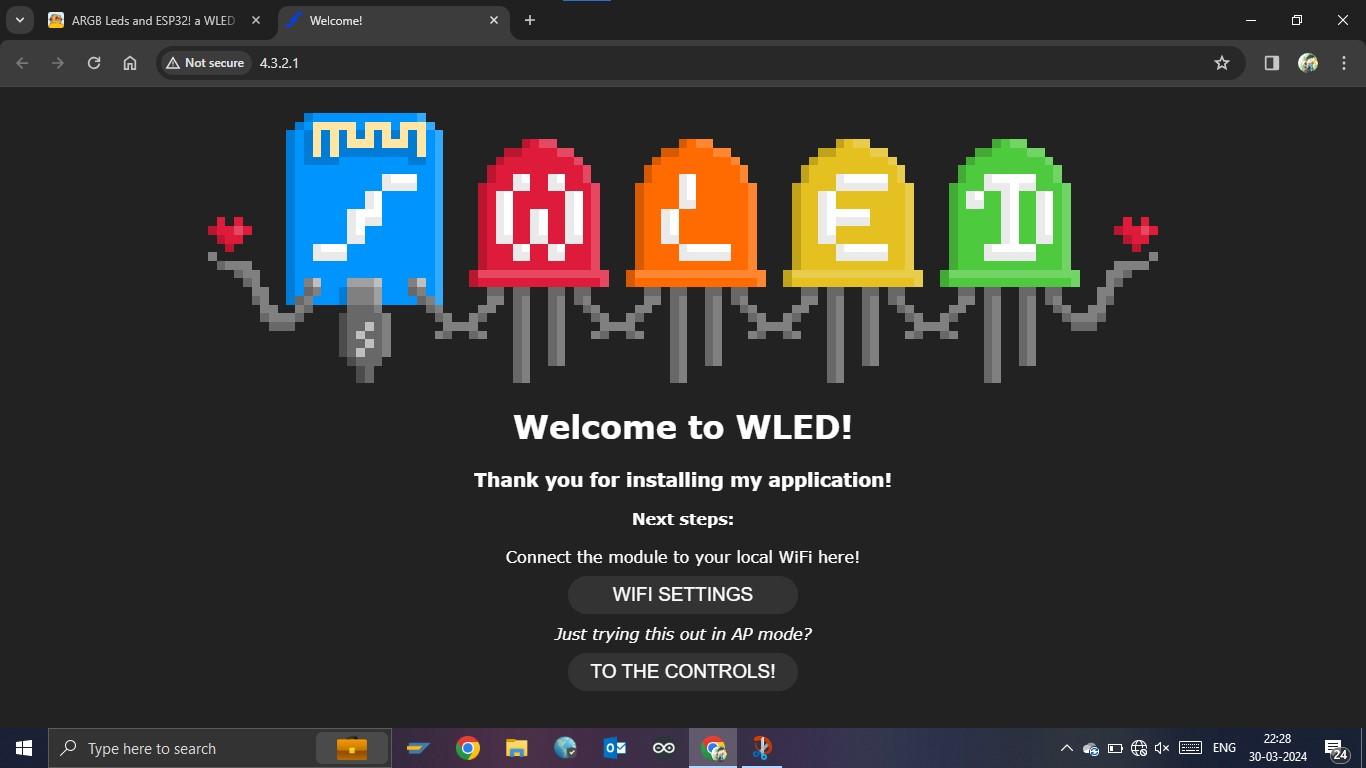


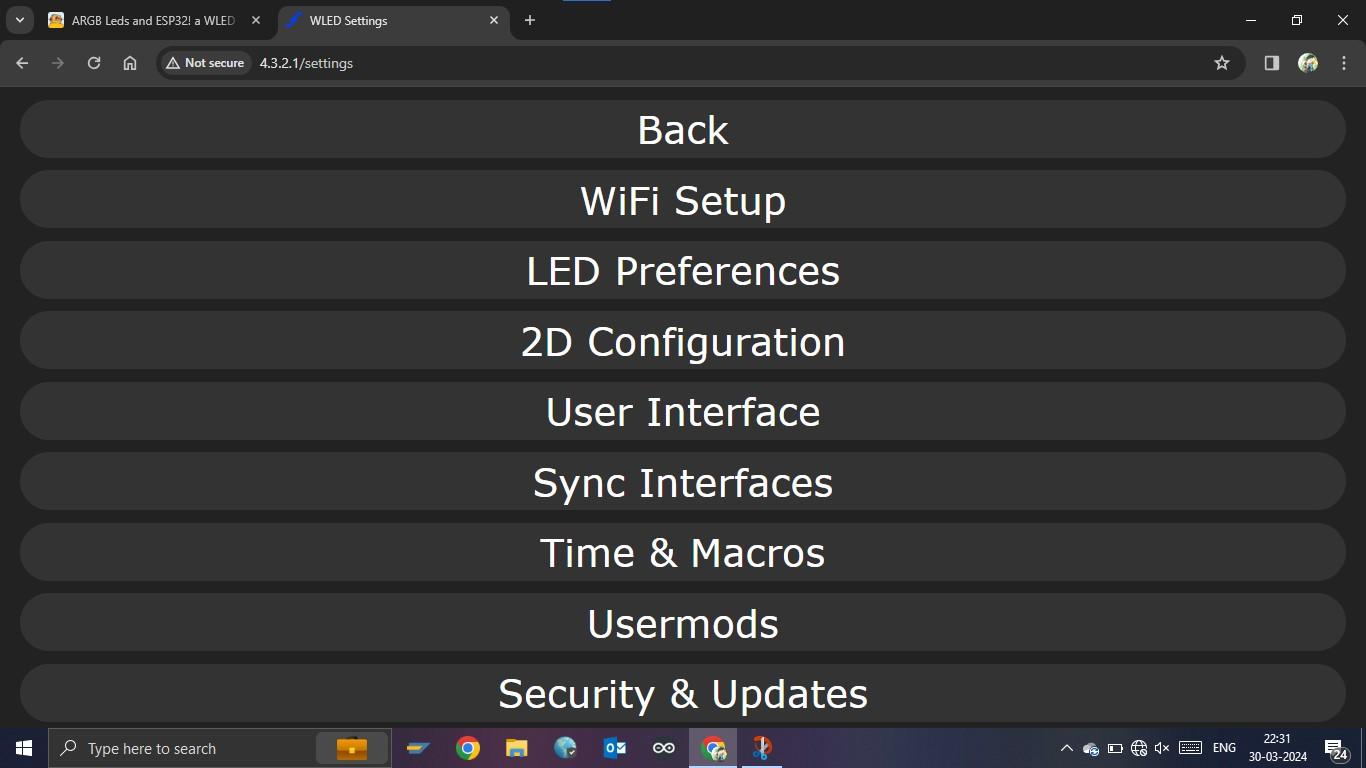
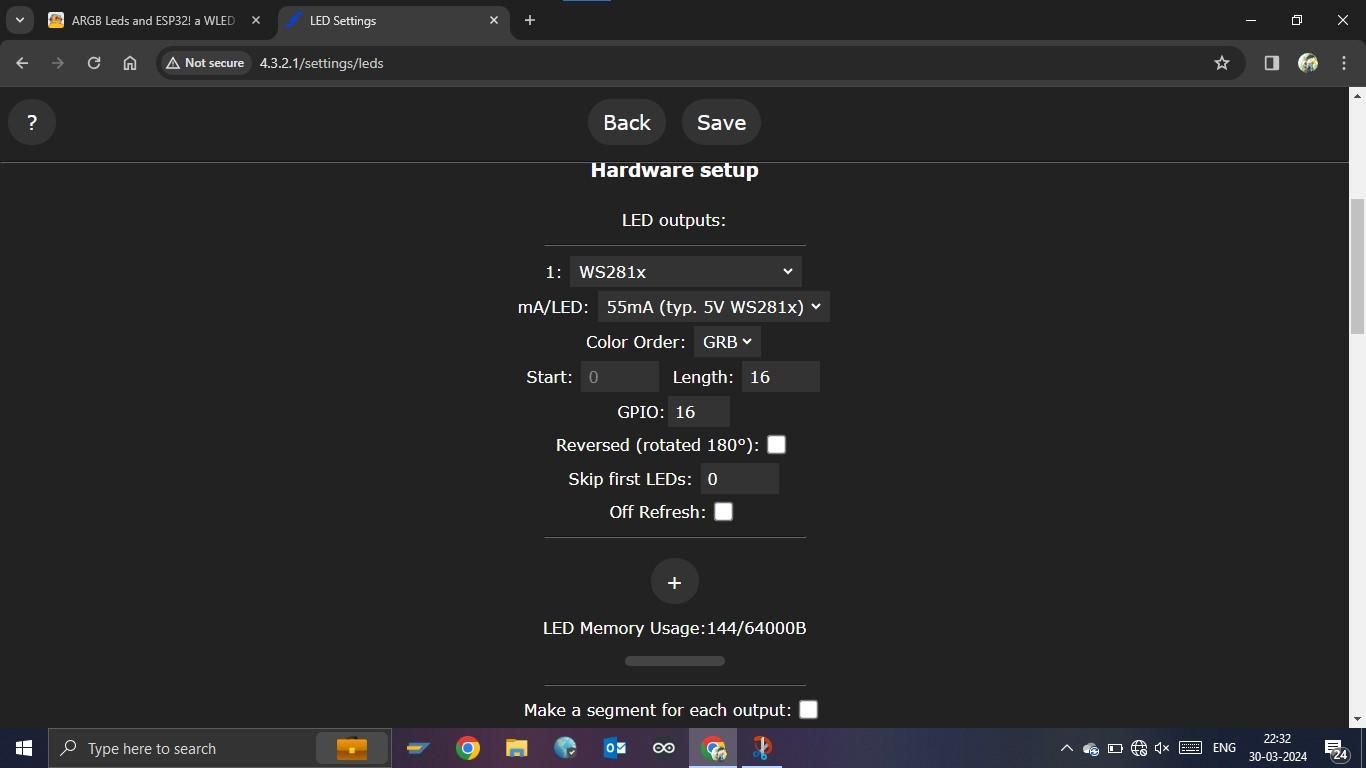
When you connect to the wifi your default web browser will open, with a tab named 4.3.2.1 click on To The Controls
in this window click on config tab on the top. Then click on LED Preferences and select the correct options and the correct pins here i have selected GPIO16, for your argb led strip or led ring. And also enter your wifi's ssid (name) and password above. Now enter your mDNS (the website from where you will control the leds) or leave the ssid and password of your wifi and the mDNS if you dont have router installed at your house. Then click save and connect.
Controls
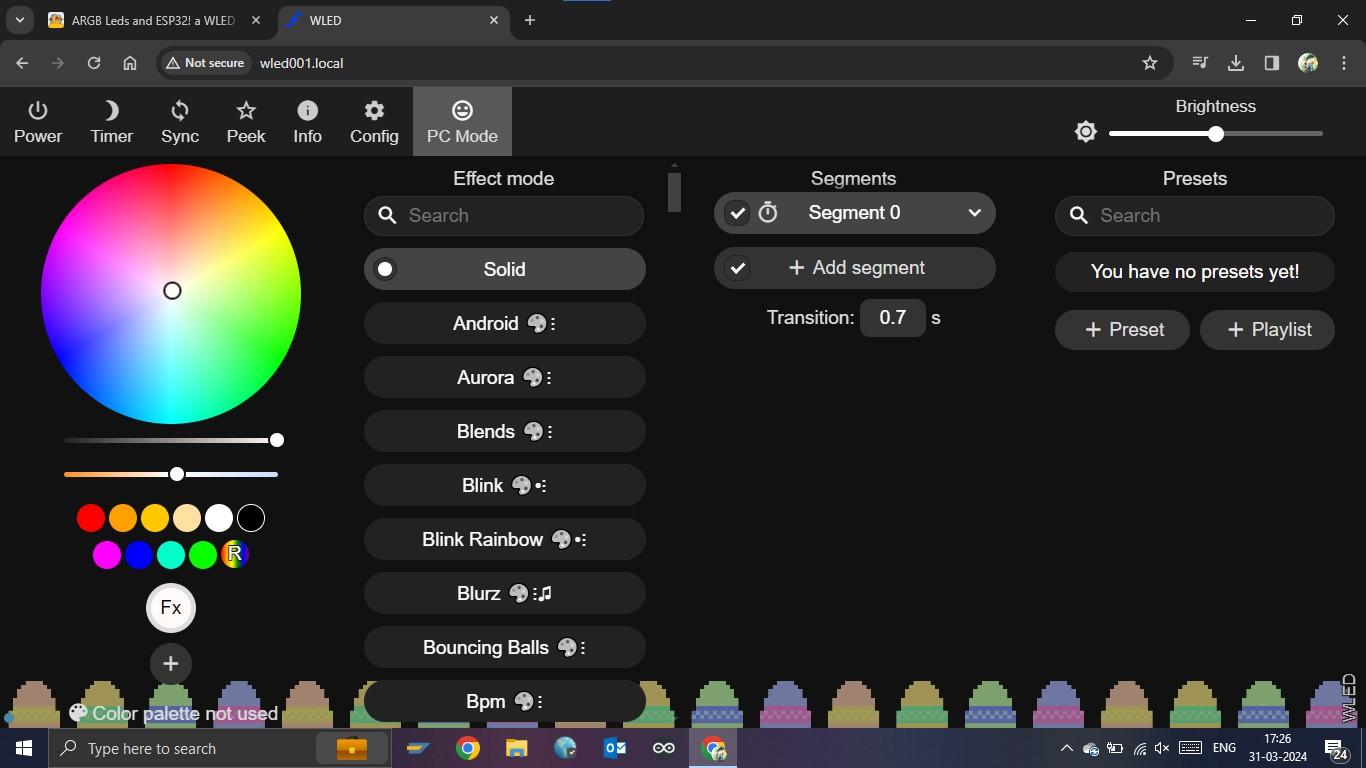
Now disconnect and reconnect the power to the esp32 cam. And connect to the AP or if you have entered the wifi details and mDNS. Connect to the wifi to which the esp32 is also connected, now go to your browser and enter the mDNS with .local at the end. It will take some time to load, then you can control your leds from their. You could also use the android app, there connect to the same wifi and clock on add button located at the top right. It will automatically find the led if the esp is connectd to the wifi. From there you can control you leds.
Conclusion
Now this is a fun project to do at home. I chose the esp32 cam board as it is a cheap ep32 board with a onboard camera and sd card reader/writer which we can use for another project. Now you can replicate this project with a normal esp32 dev board also all the steps are same.
Thank you for reading the article, if you like please write a comment below
-Regards Manojna