Adding Intermittent Wipers to a 2007 Tacoma Base
by charlessenf-gm in Living > Life Hacks
505 Views, 0 Favorites, 0 Comments
Adding Intermittent Wipers to a 2007 Tacoma Base
.JPG)
.JPG)
After complaining for years that my wife bought a pickup truck w/o cruise control, I discovered that all one had to do was add one ($10 part) to the steering column and Voila! we've got cruise! It turns out that all the bits and pieces for cruise are installed and wired up at the factory! Then all your dealer does is add the little cruise stick to the steering column and charge you an extra $350 (or more for 'the package). So, I bought the cruise switch off the internet after watching a girl do the install on your Tube.
Then, It rained. Not very heavily, sort of a light drizzle and I realized I only had fast and faster speeds for the wipers. Not the adjustable, precise, intermittent control I was used to on my cheap Korean sedan. So I went looking to see if I could simply change the wiper switch and gain the intermittent control that didn't come with the cheapest (base model) Tacoma they sold in 2007.
Initial searches brought good news and bad news. It seems that the car was likely 'wired' for intermittent control and, if I bought the factory (non-returnable) switch, I could install it in less than an hour. I found the factory switch for way too much money and no 'cheap third-party' alternative. Salvage yards wanted fifty bucks or more plus FedEx shipping or long drives and waiting for them to 'pull it' out of the wreck. I forgot about it for a while until one junkyard emailed an offer of $30 plus another $15 to ship it to me. I renewed my search to verify I had the correct part number on a Tacoma user site and again on Amazon where I found a new, third-party OEM unit for $29.49 including delivery (PRIME).
Supplies
.JPG)
.JPG)
.JPG)

.JPG)
.JPG)
.jpg)
.JPG)
A day or so after the part arrived I loaded the YouTube Video of a fella installing the same part "How to replace WIPER SWITCH on Toyota Tacoma, INTERMITTENT wiper MOD, Part # 84652-02710 Lincoln Max n Co" And went to the garage with the little white (rather flimsy) box with the new part inside.
I got a little magnetic parts tray, an HFT Free flashlight, an HFT FREE muti-tip screw/nut driver and a bright 120VAC LED bulb (seen hanging off a visor) to help me see inside the truck.
Right & Left Screws
.JPG)
.JPG)
.JPG)
.JPG)
.JPG)
.JPG)
.JPG)
.JPG)
.JPG)
.JPG)
There are but two screws that need to be removed in order to access the old wiper switch and install the replacement. They simply fasten the two halves (through the one and threaded into the other - so do NOT try to tighten them down hard when replacing them.)
When the steering wheel is 'at rest' the screws are hidden. To see and access the screw on the right, turn the wheel to the left. To see and access the screw on the left, turn the wheel to the right. Using a Phillips Head screwdriver, remove the two screws in turn and place them in a safe spot.
Remove the Top and Bottom Covers
.JPG)
.JPG)
.JPG)
The two halves that enclose the parts are joined by detents along the mating edges at the line seen just above the screws you removed. With a plastic non-marring tool (if you got one) or a flat bladed screwdriver (if that's what's handy) press against the mated edges until you can get the blade between them and pry them apart.
The upper one is also fastened with a hidden clip near/under the instrument panel. I found I could dislodge the lower cover enough to get the job done even though I never got it completely off the steering column lock handle! Good thing, too - much easier to put back later on.
Removing the Old Control
.JPG)
.JPG)
.JPG)
.JPG)
.JPG)
.JPG)
.JPG)
.JPG)
.JPG)
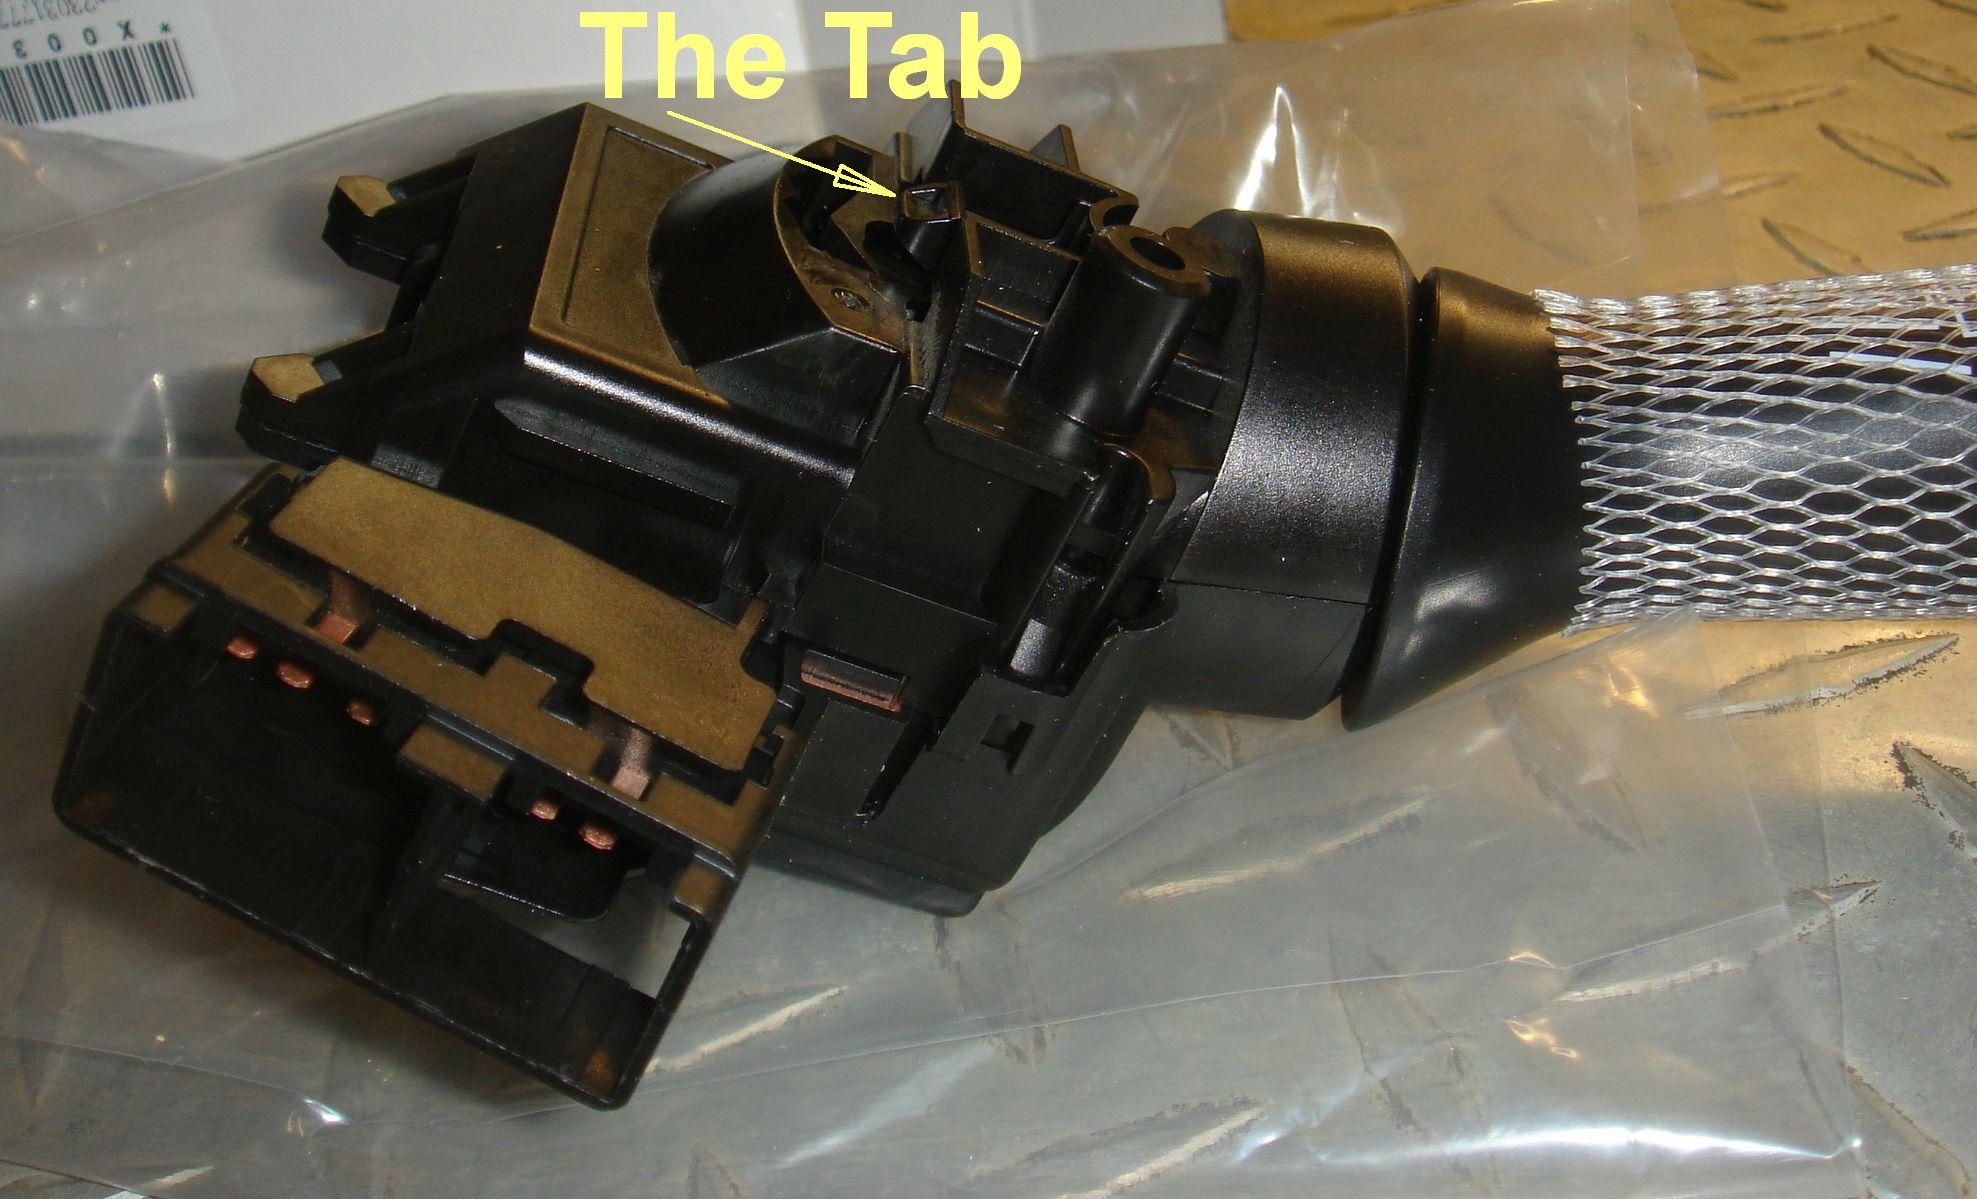
 The Tab.jpg)
.JPG)
There are two electrical connectors to be removed FIRST. I used a small flat blade screwdriver to press the locking tab of each connector 'in' while tugging on the wires to pull the connector free once I'd pressed the locking tab in sufficiently.
I've included several views of these connectors to help orient you - hope they do not confuse! ;)
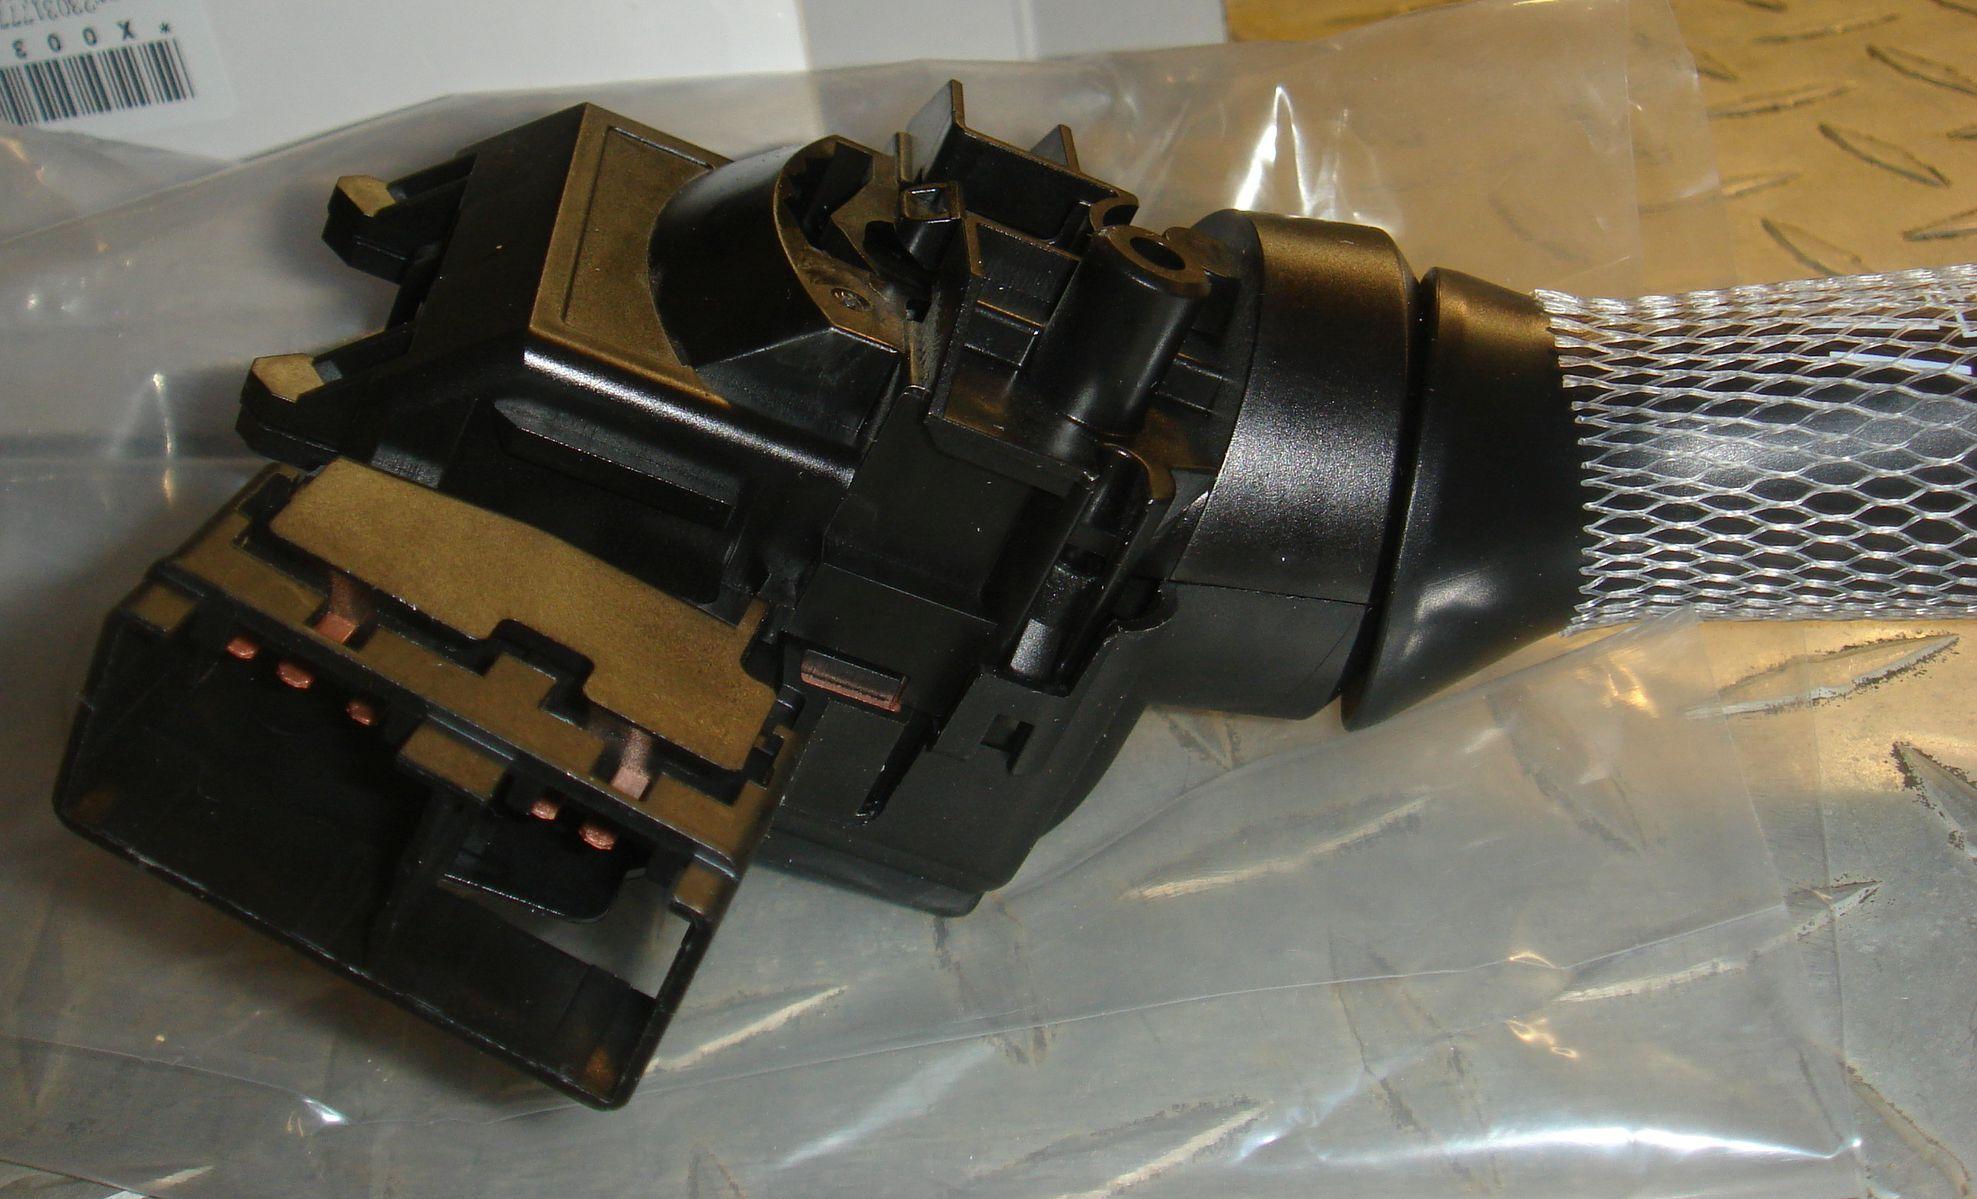
Once the two connectors are free, you need to press the black locking tab in the top center of the black control and tug (do not manhandle) the control out to the right. It may take a bit - be patient - not forceful! After all, even ABS is plastic! I indicated the tab on the image of the new part but black on black is hard to see.
Note: the tab/clip on the top cover (blue arrow)
From what I happened upon searching for my solution, it appears that there are not too many unique wiper controls for Tacomas and many are shared with other models (sedans and such) and the basic part is physically more similar in structure than not. So these instructions might well serve for other controls and vehicles.
Install New Control Switch
.JPG)
.JPG)
.JPG)
.JPG)
.JPG)
OK, you removed the OLD CONTROL, now stick the new control in the 'hole' you removed the old one from! It clicks into place and feels secure when you try to remove it (w/o pressing the tab!)
Now plug in those two connectors - large one in the large hole and the small one, well, you can guess.
Start the vehicle and exercise the windshield vipers! Got INTERMITTENT? Good, now let's button it up.
Button It Up
 GOESINTA.jpg)
.JPG)
 SCREW HOLE.jpg)
.JPG)
The upper plastic cover clips into a square opening in a metal bracket as shown in the GOESINTA image. Align the connector/clip with the opening and press down until it clicks into place.
Then lay the front edge down. Pull the bottom plastic cover up into place bringing the edges of the top and bottom sections into alignment and press them together - they should 'snap' together. Done correctly, the screw holes will align neatly and you can - turning wheel to left, install the right screw and, turning wheel to right, install the left screw.
Clean up your mess, put your tools away and drive off into the light rain with a smile upon your face!
And. the lesson of this Instructable is that car manufacturers only make one wiring harness so any accessory that you could have added when first buying the vehicle, can always be added later and likely for a lot less. It makes perfect sense once you say it out loud, but I am among the millions that never thought of it on my own!
Kicking myself, I remain