Adjustable Concrete Dumbbells
by nikierns in Workshop > 3D Printing
67 Views, 1 Favorites, 0 Comments
Adjustable Concrete Dumbbells
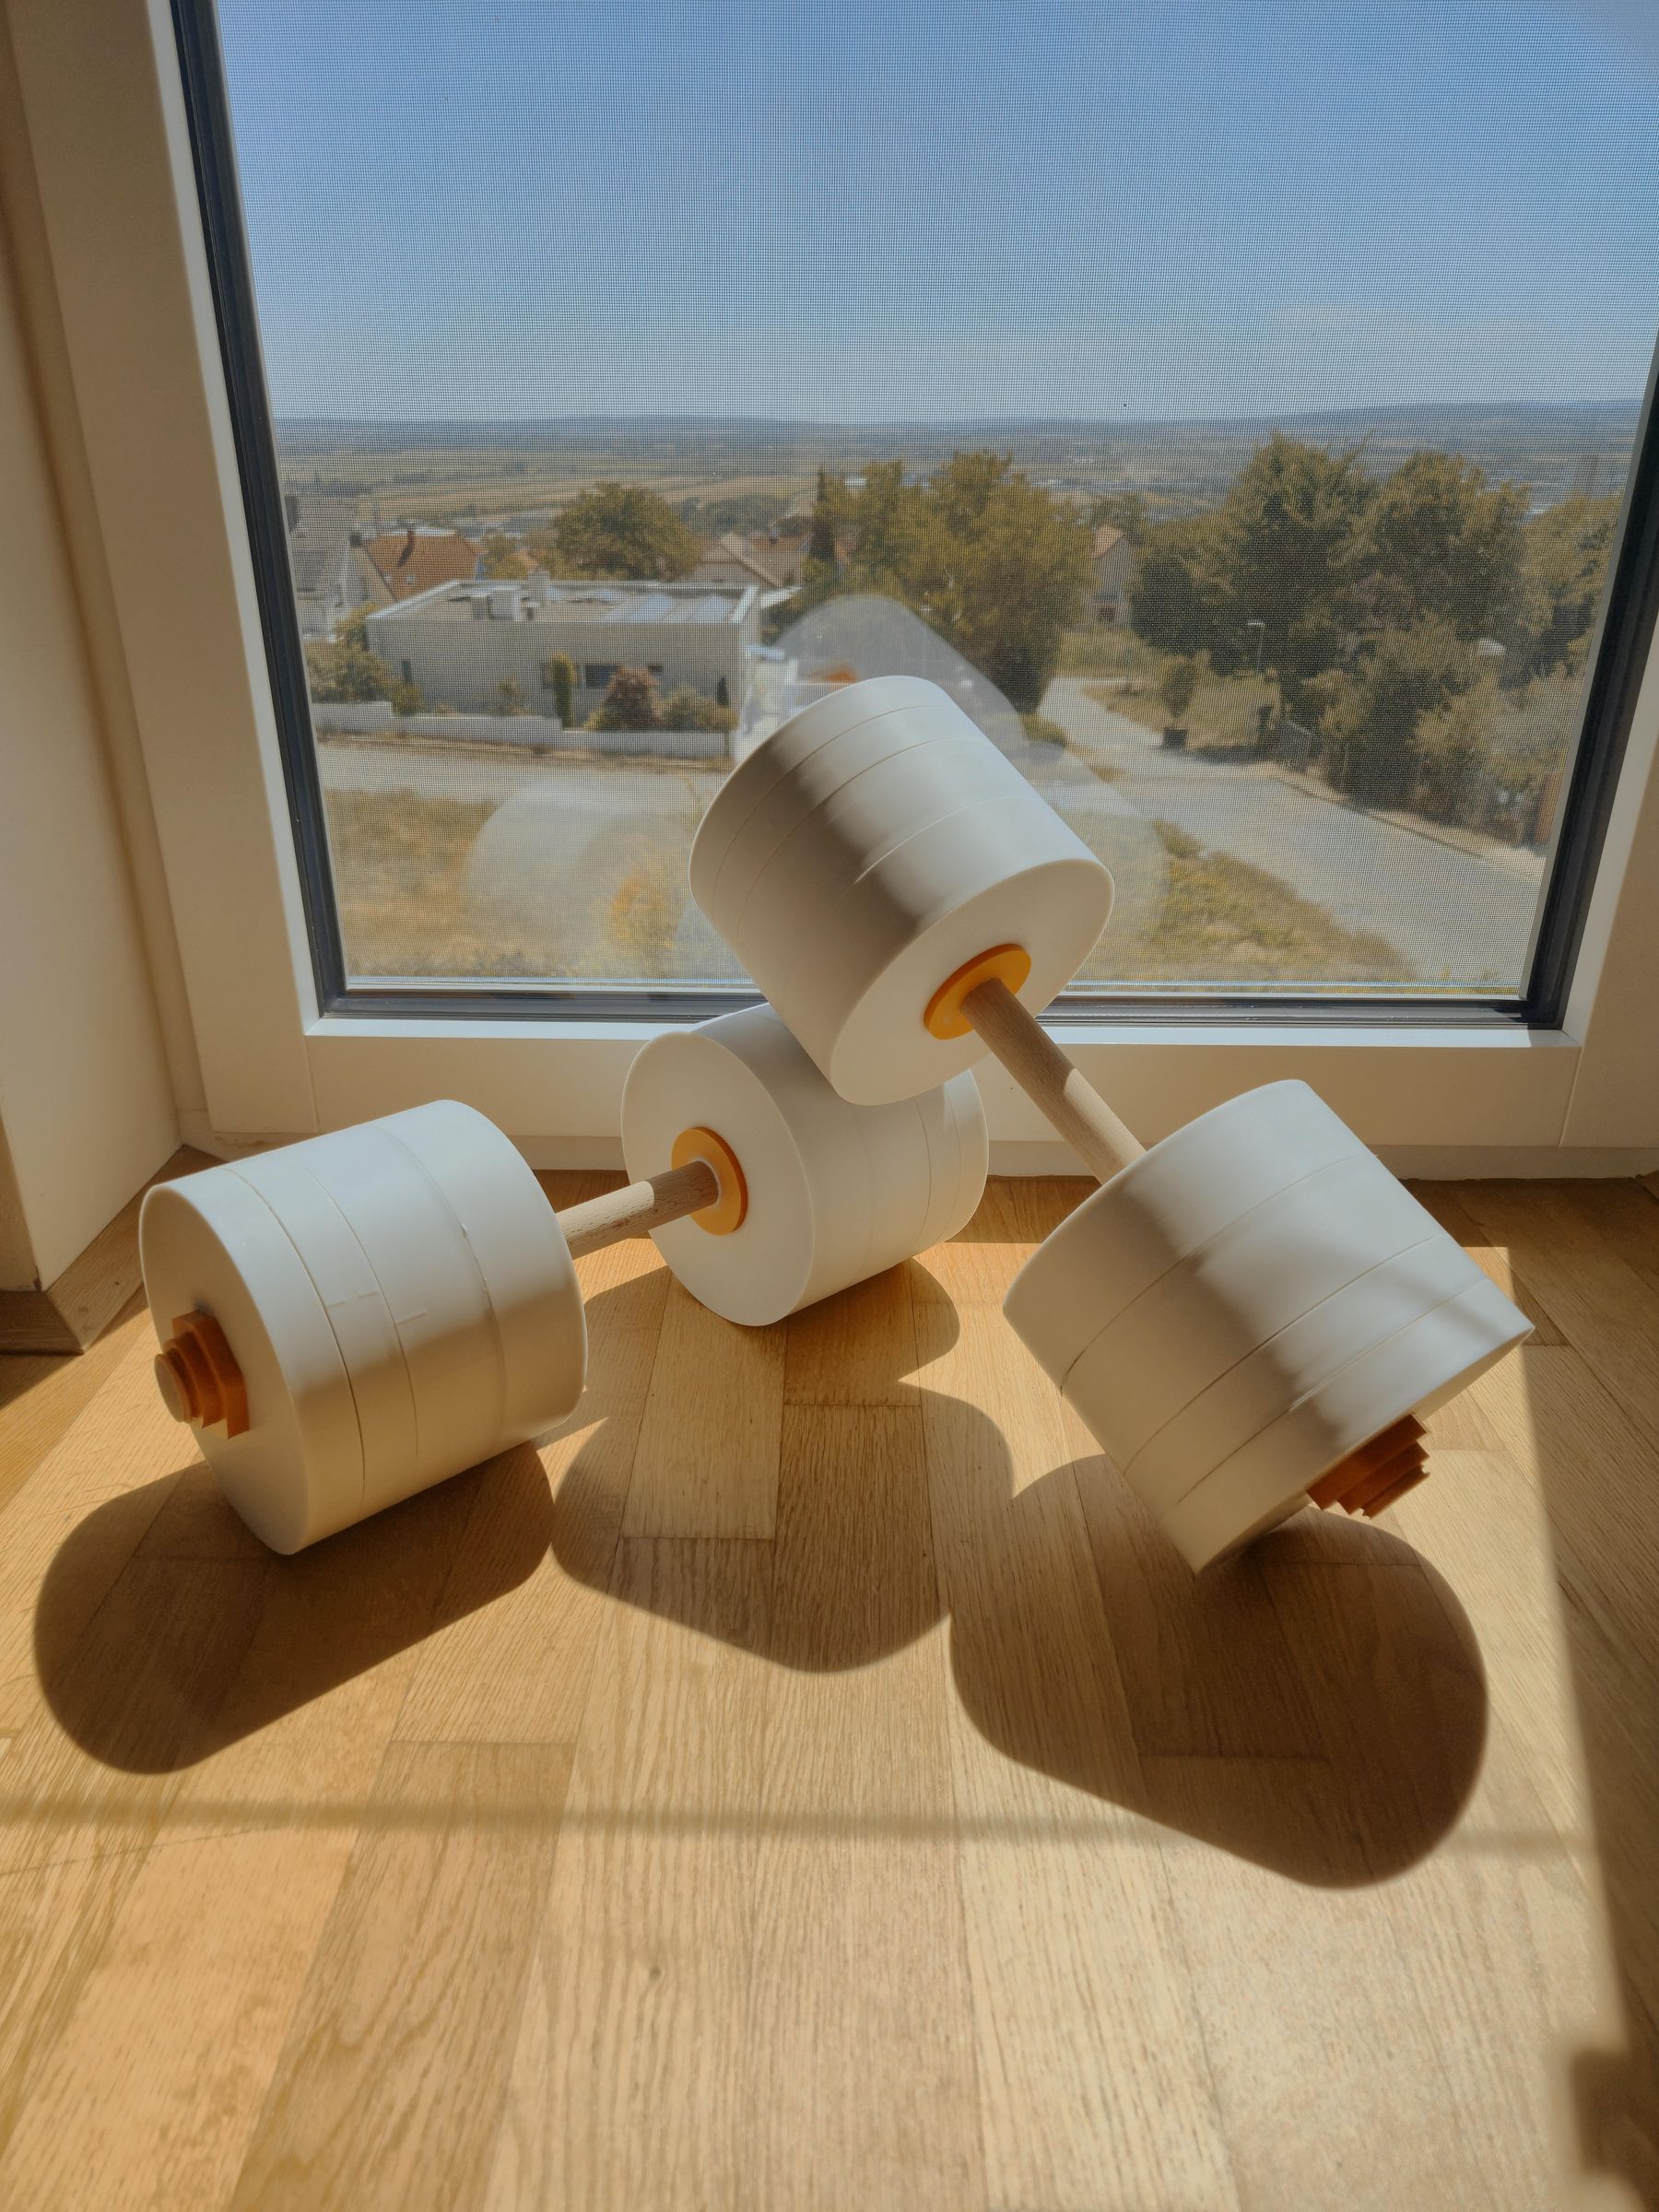
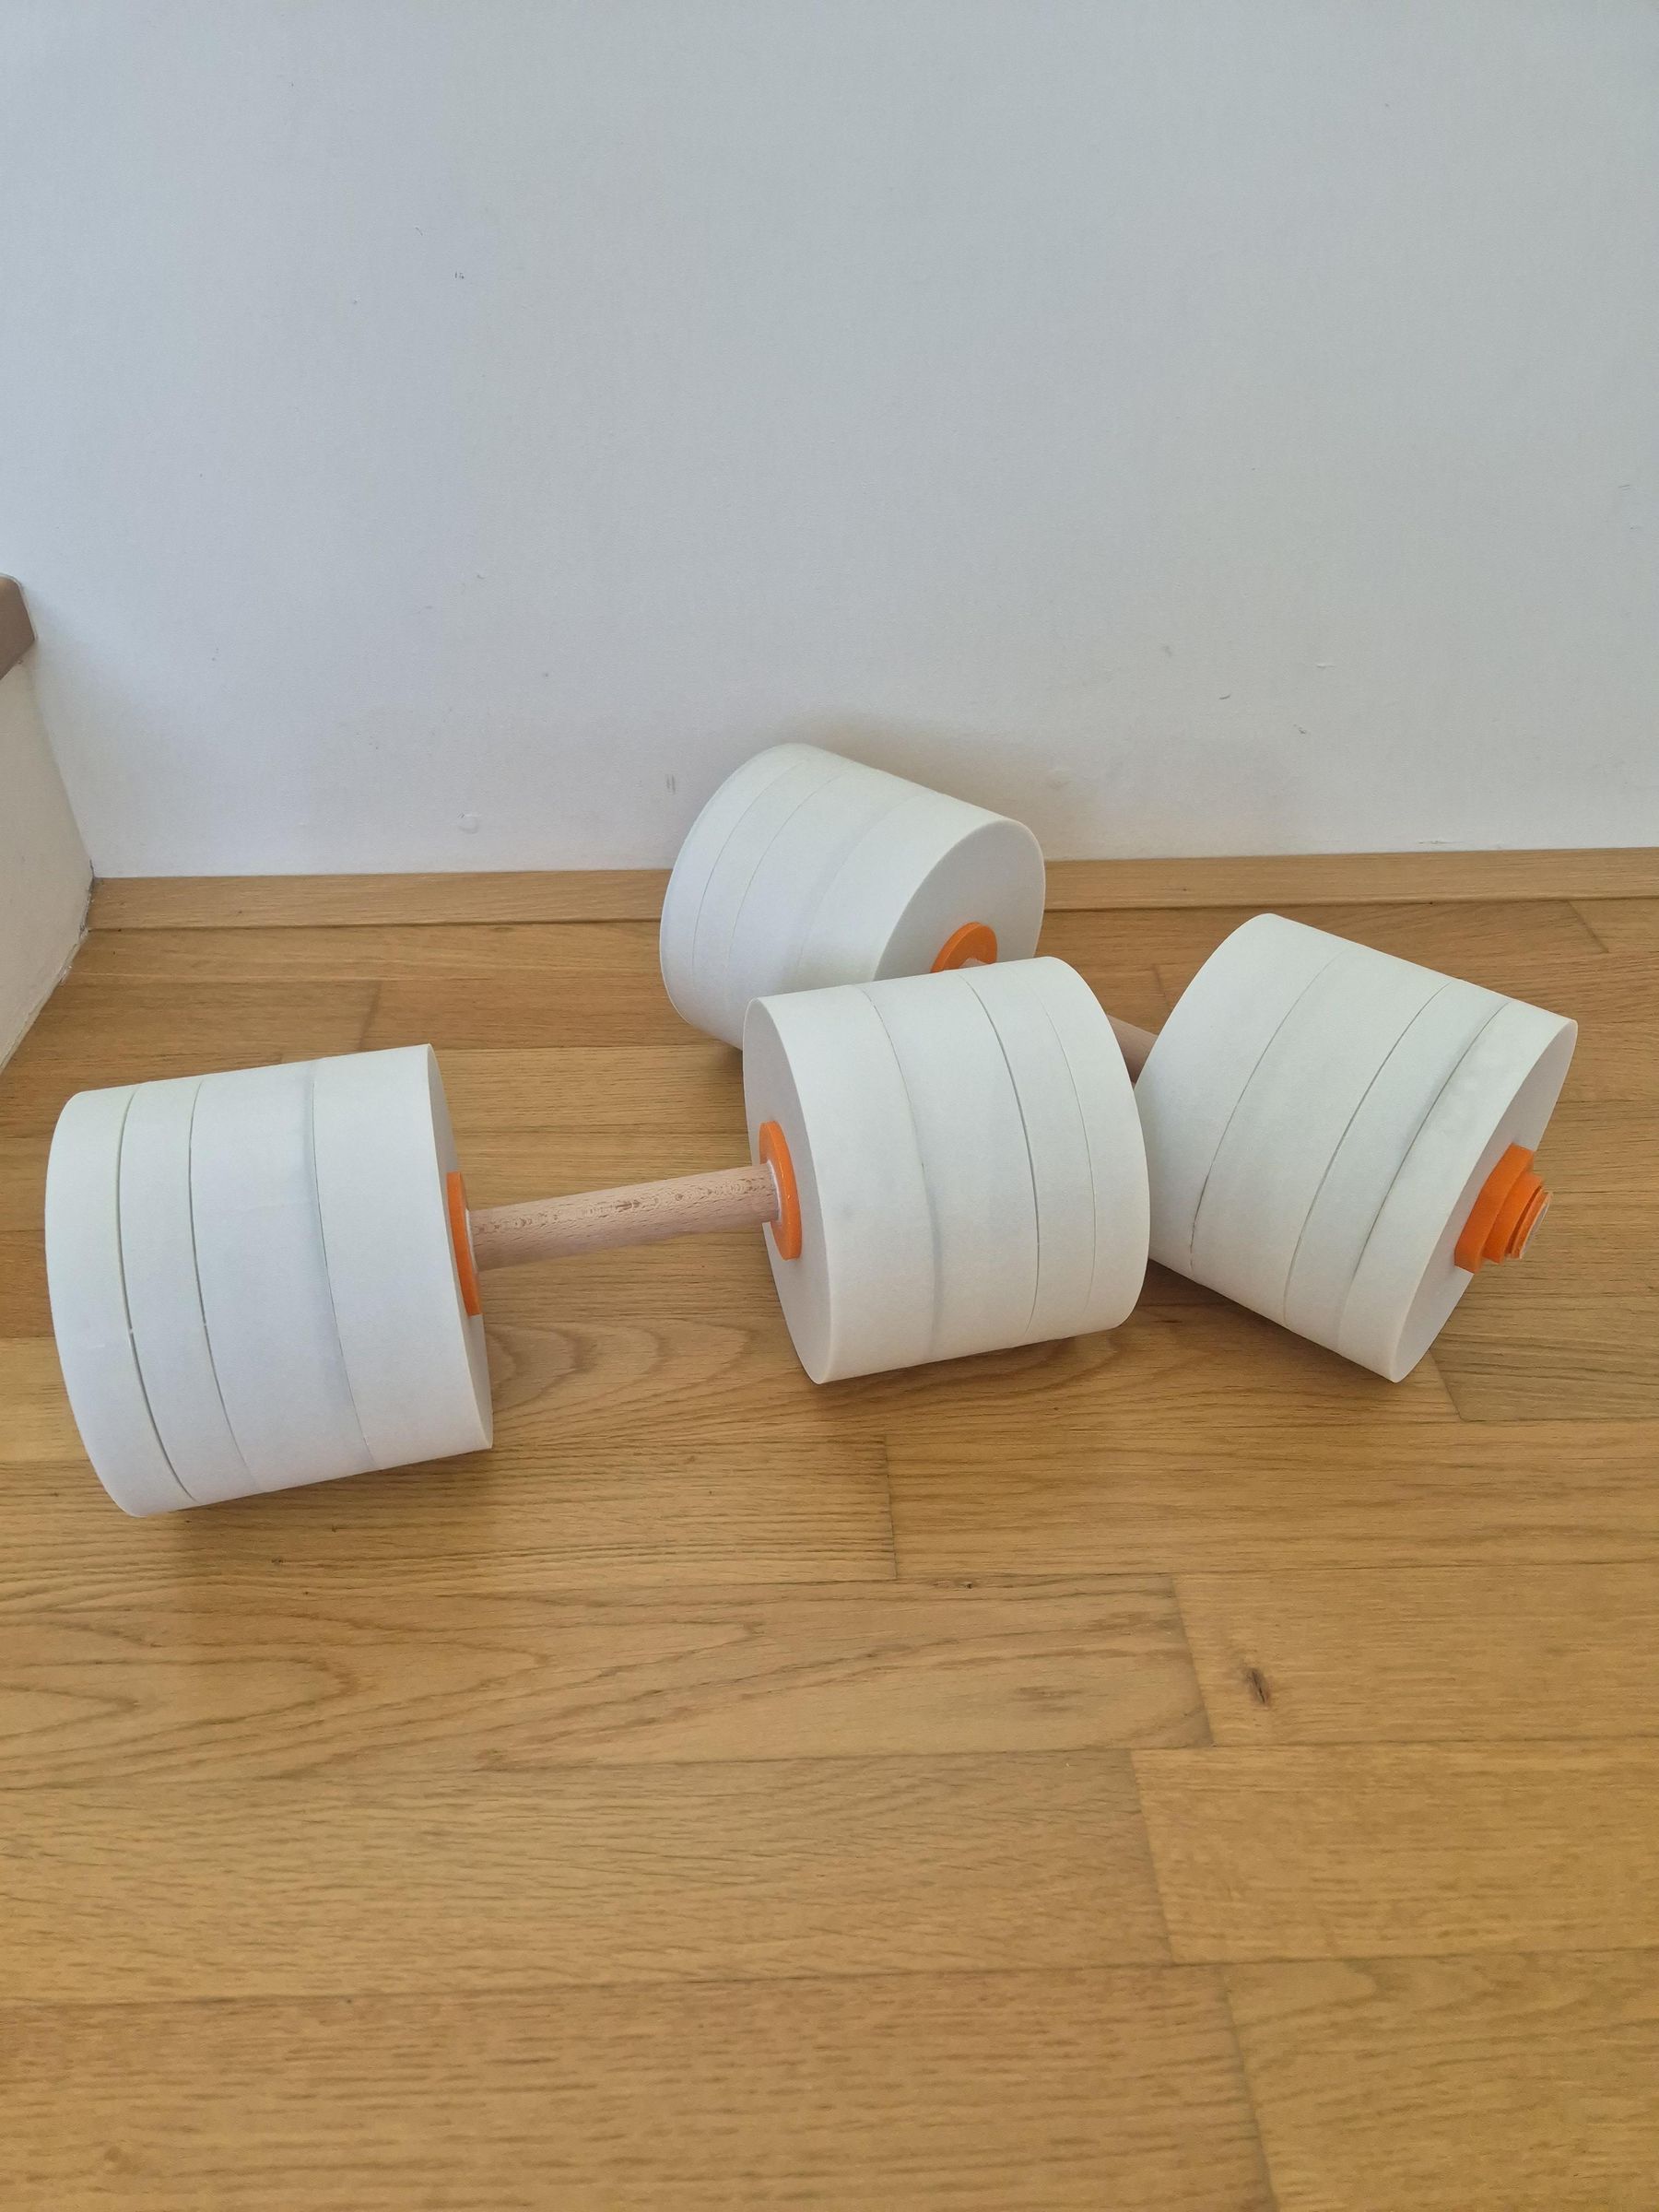
I built dumbbells that serve as a low-cost alternative to traditional store-bought weights. Therefore, they are perfect for anyone looking to get started with strength training without spending hundreds of euros on equipment. In terms of difficulty, I would recommend this project for beginners and intermediate makers.
Supplies
.jpg)
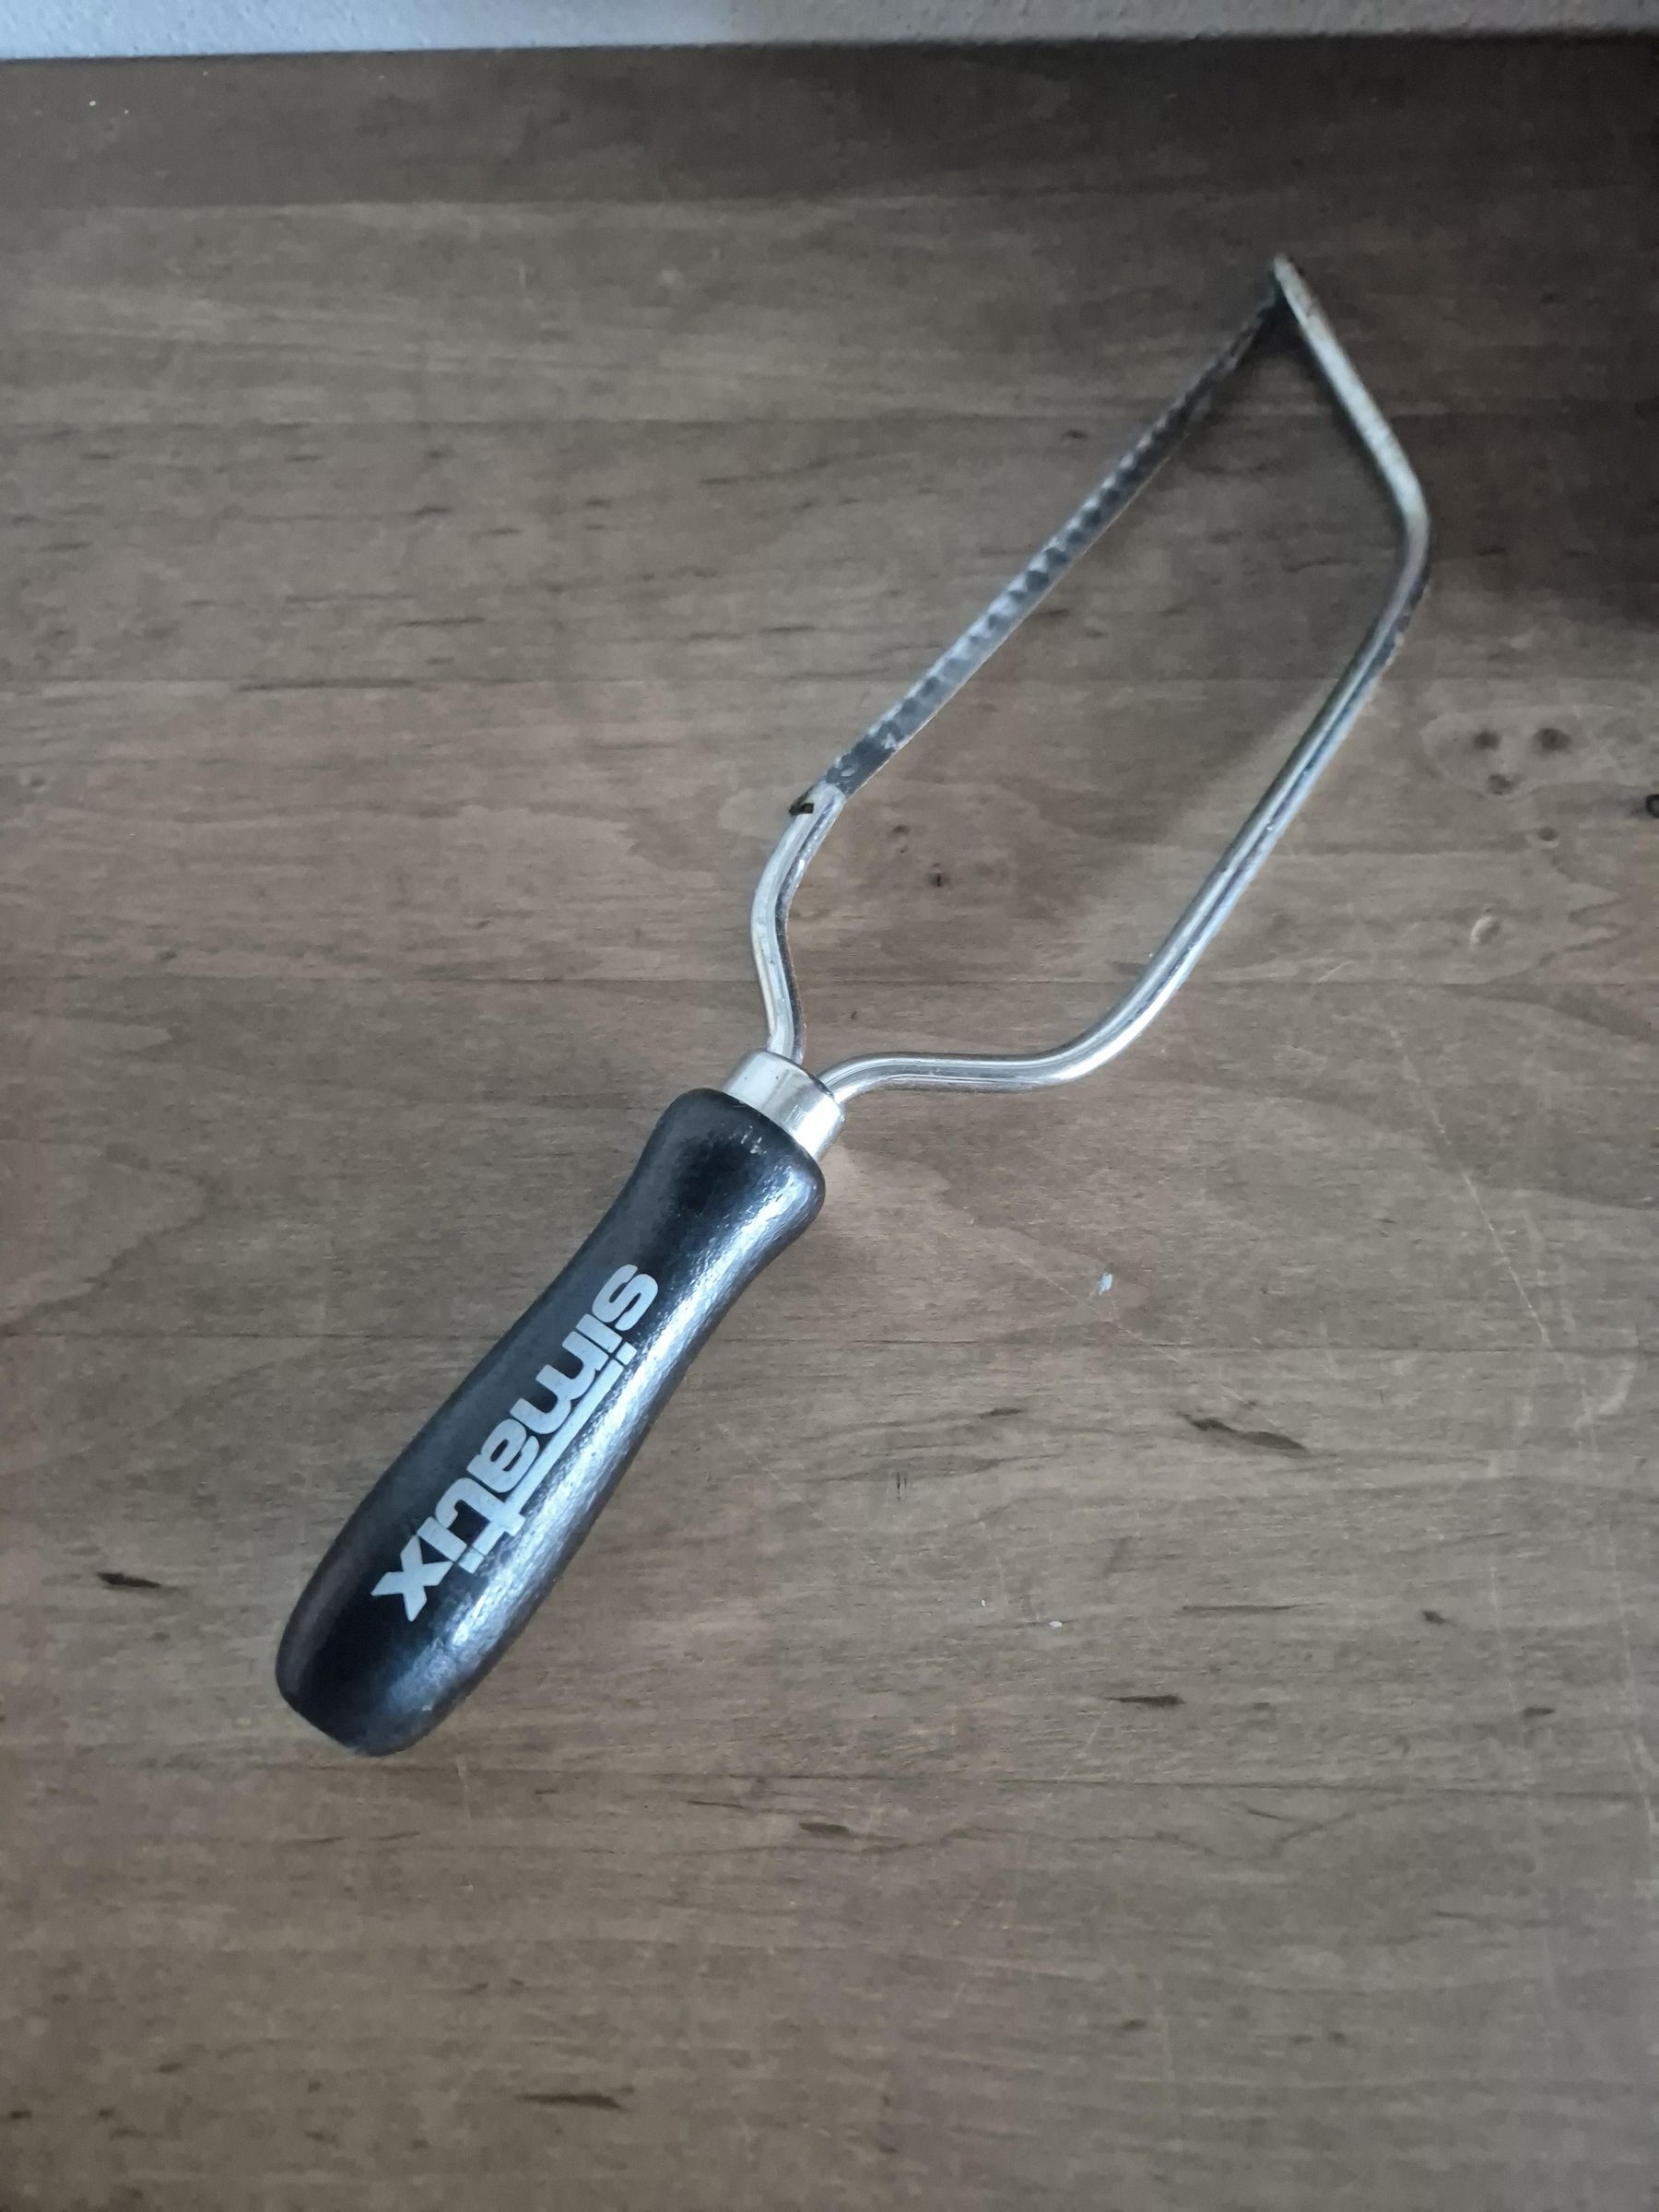
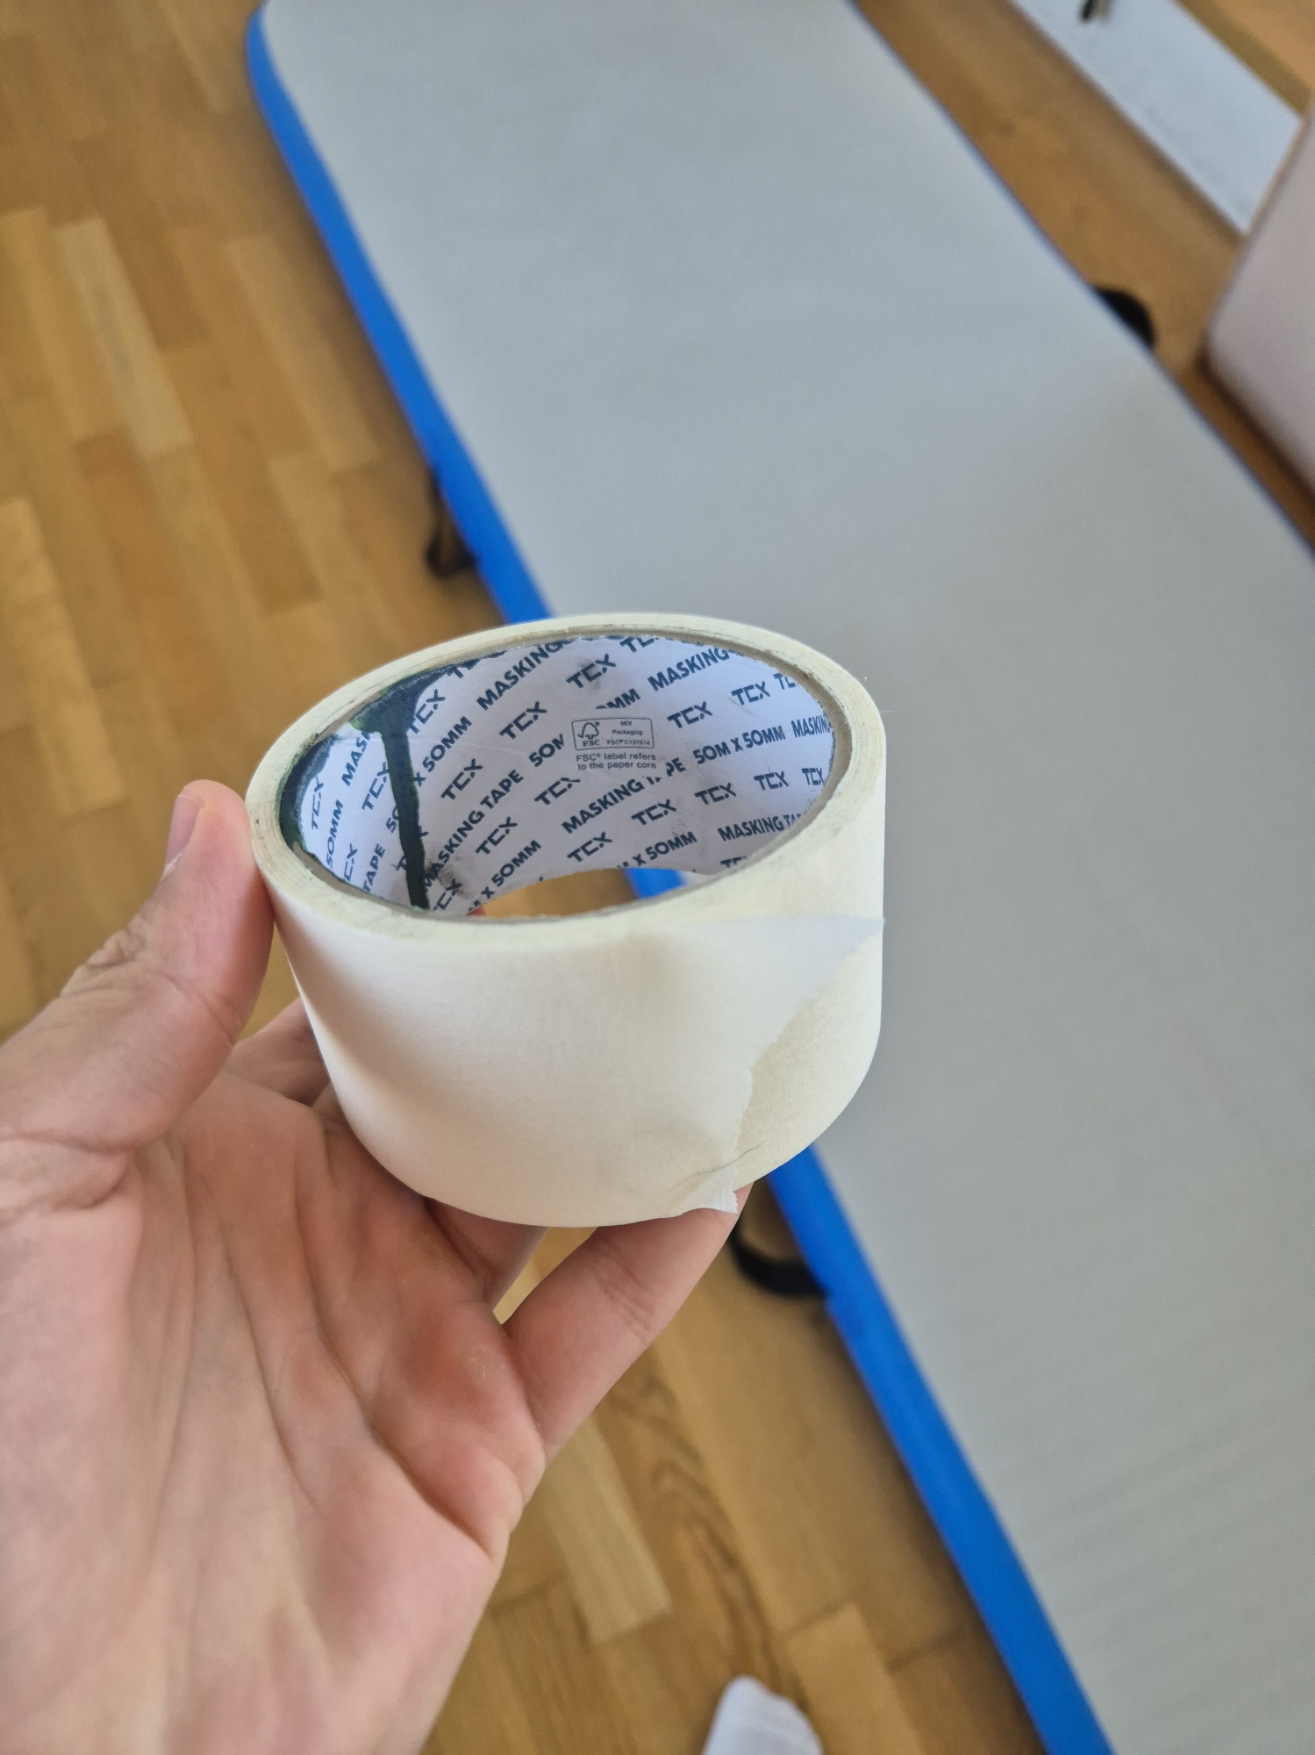
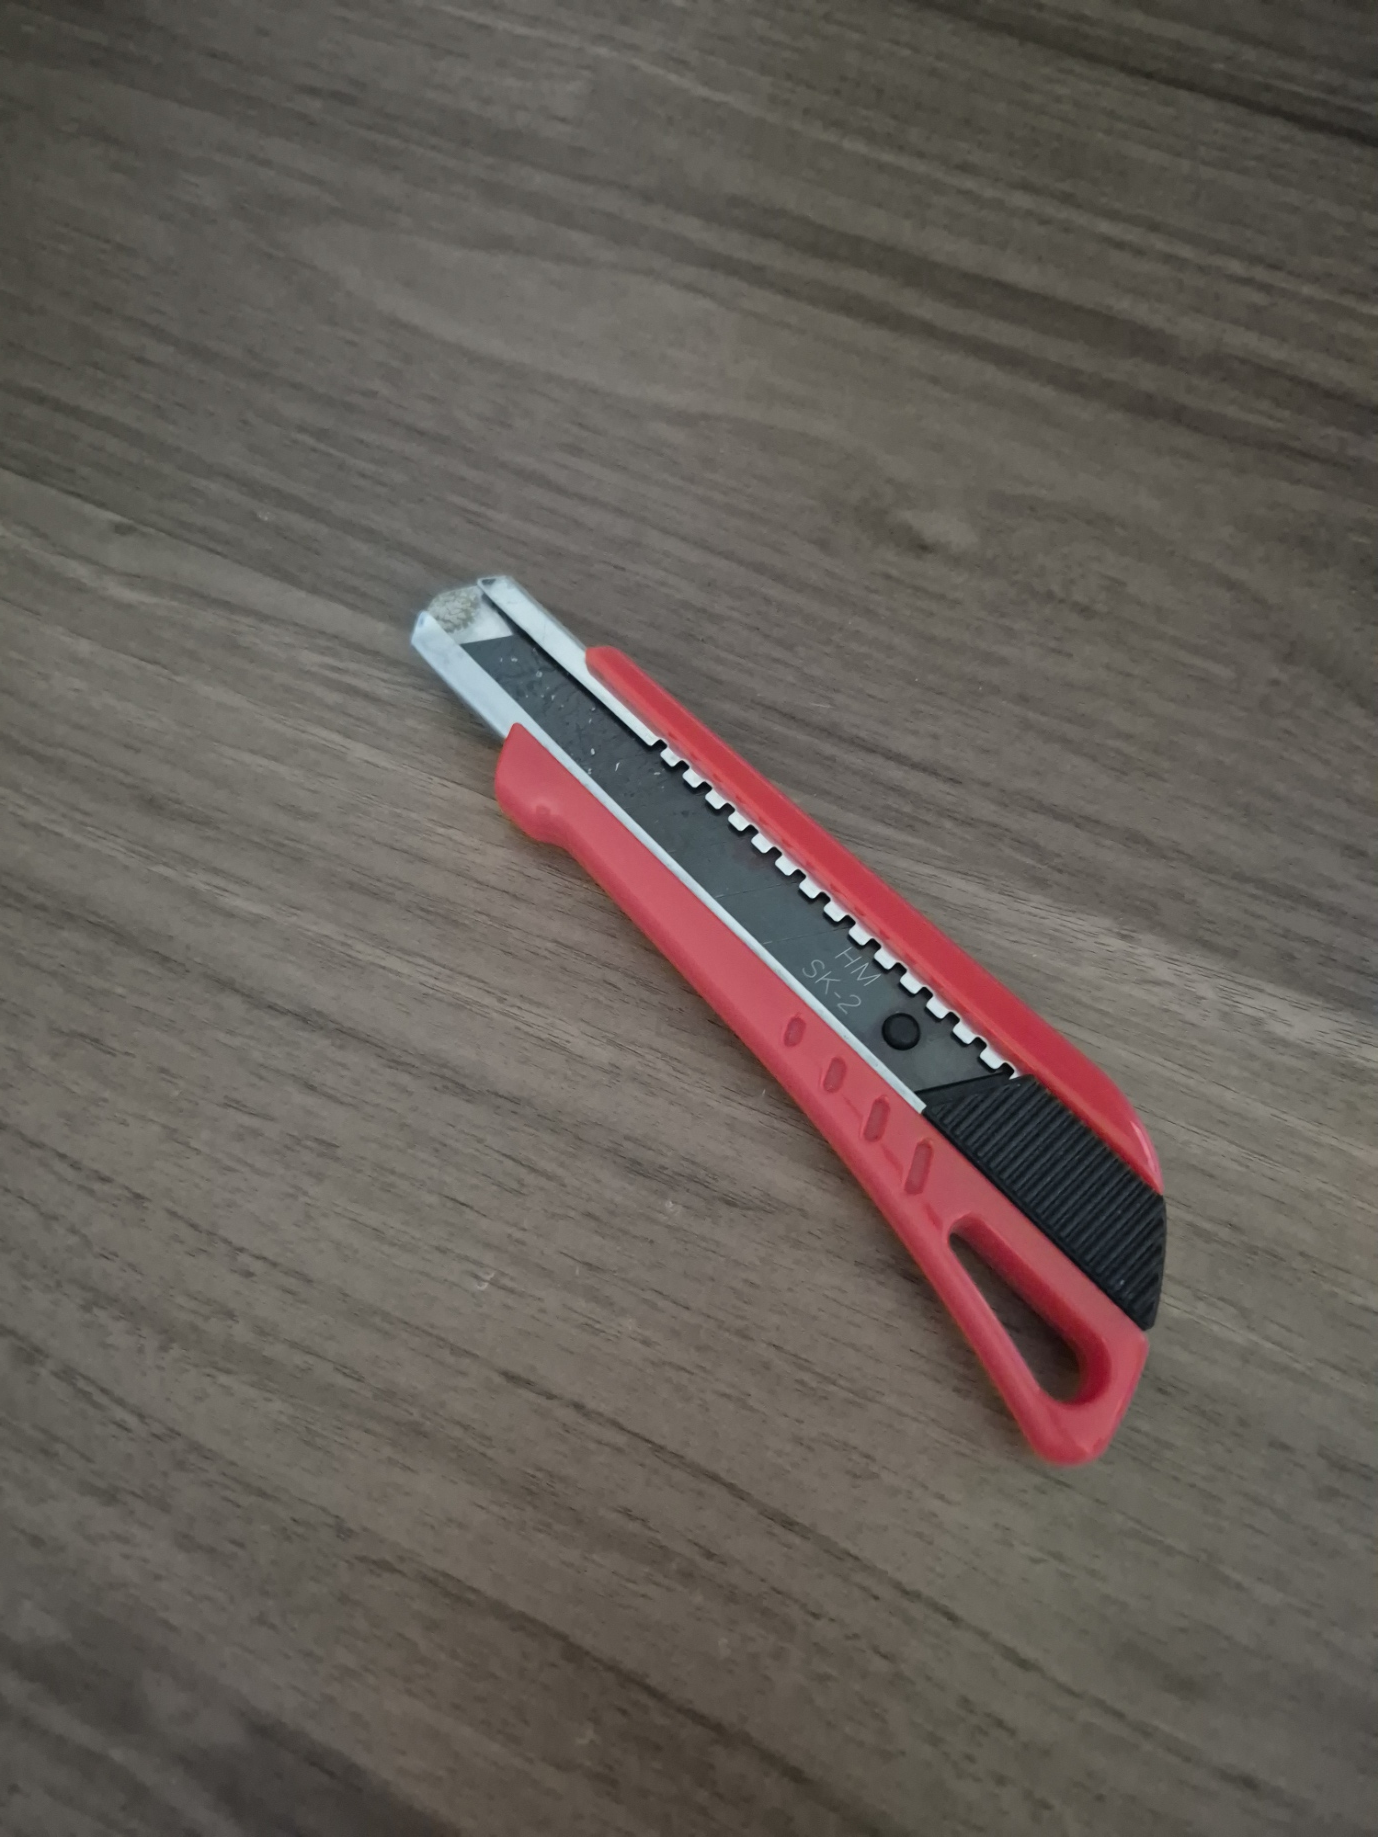
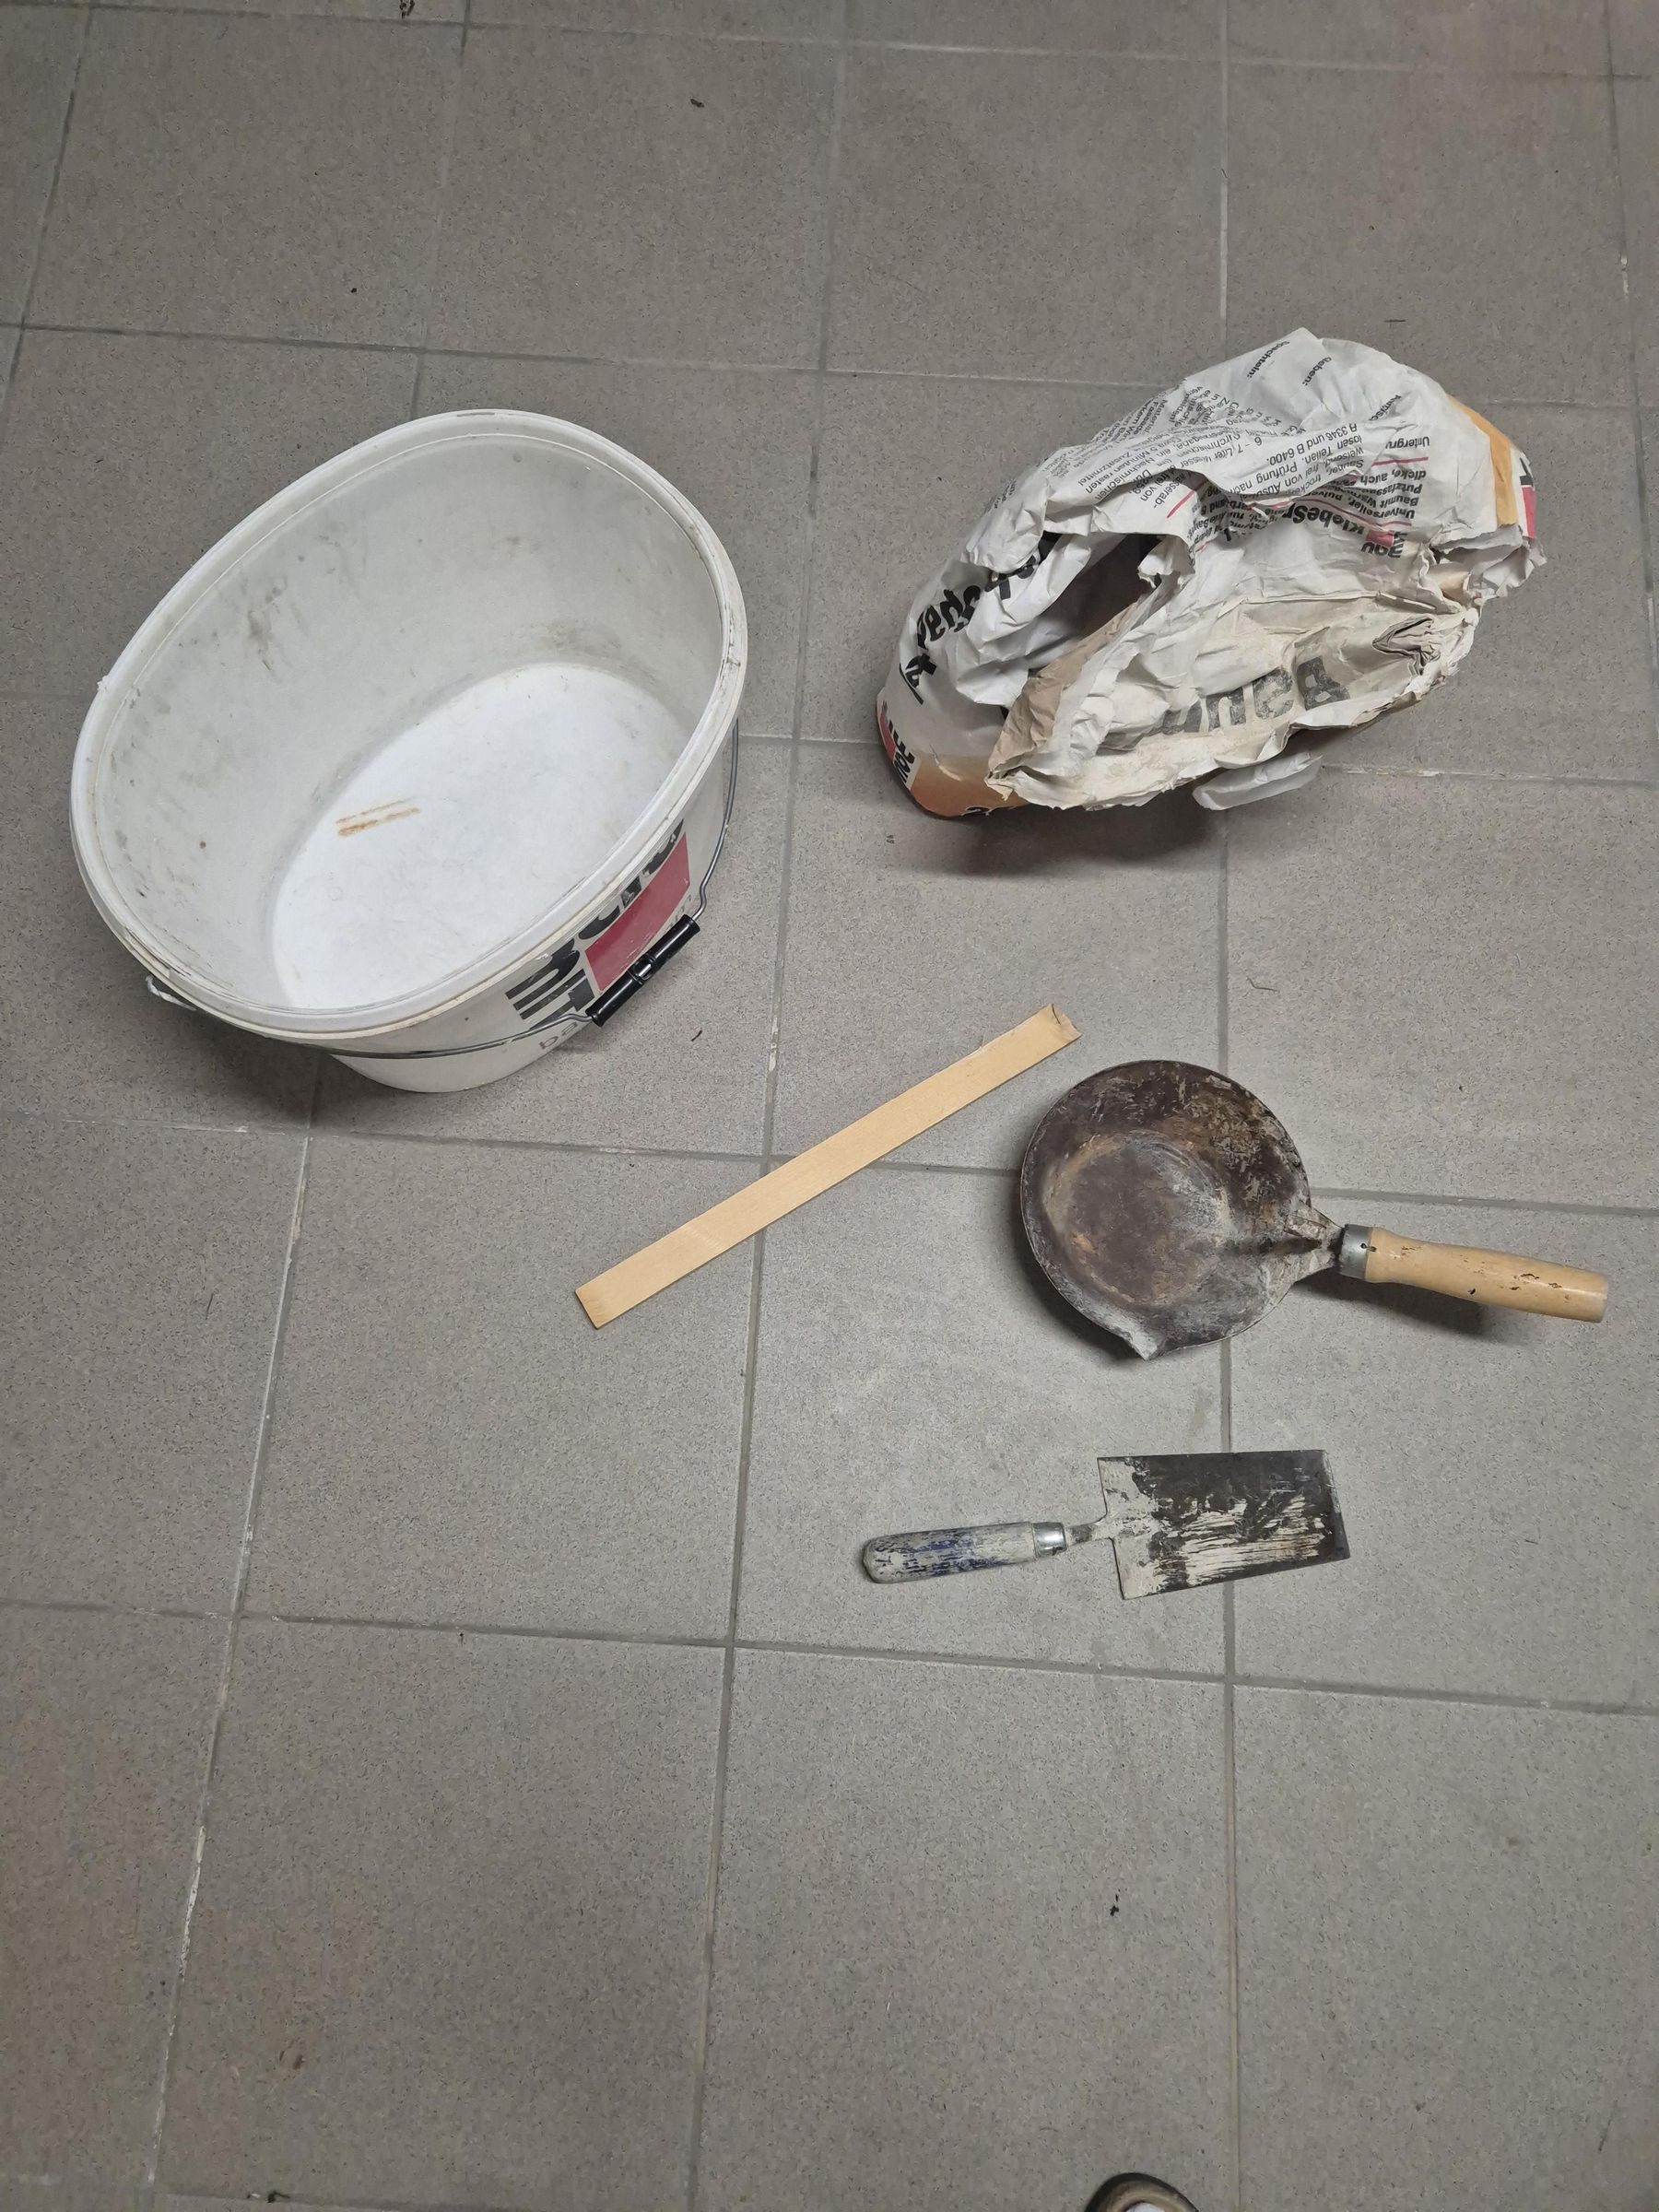
To make the dumbbells, you will need the following:
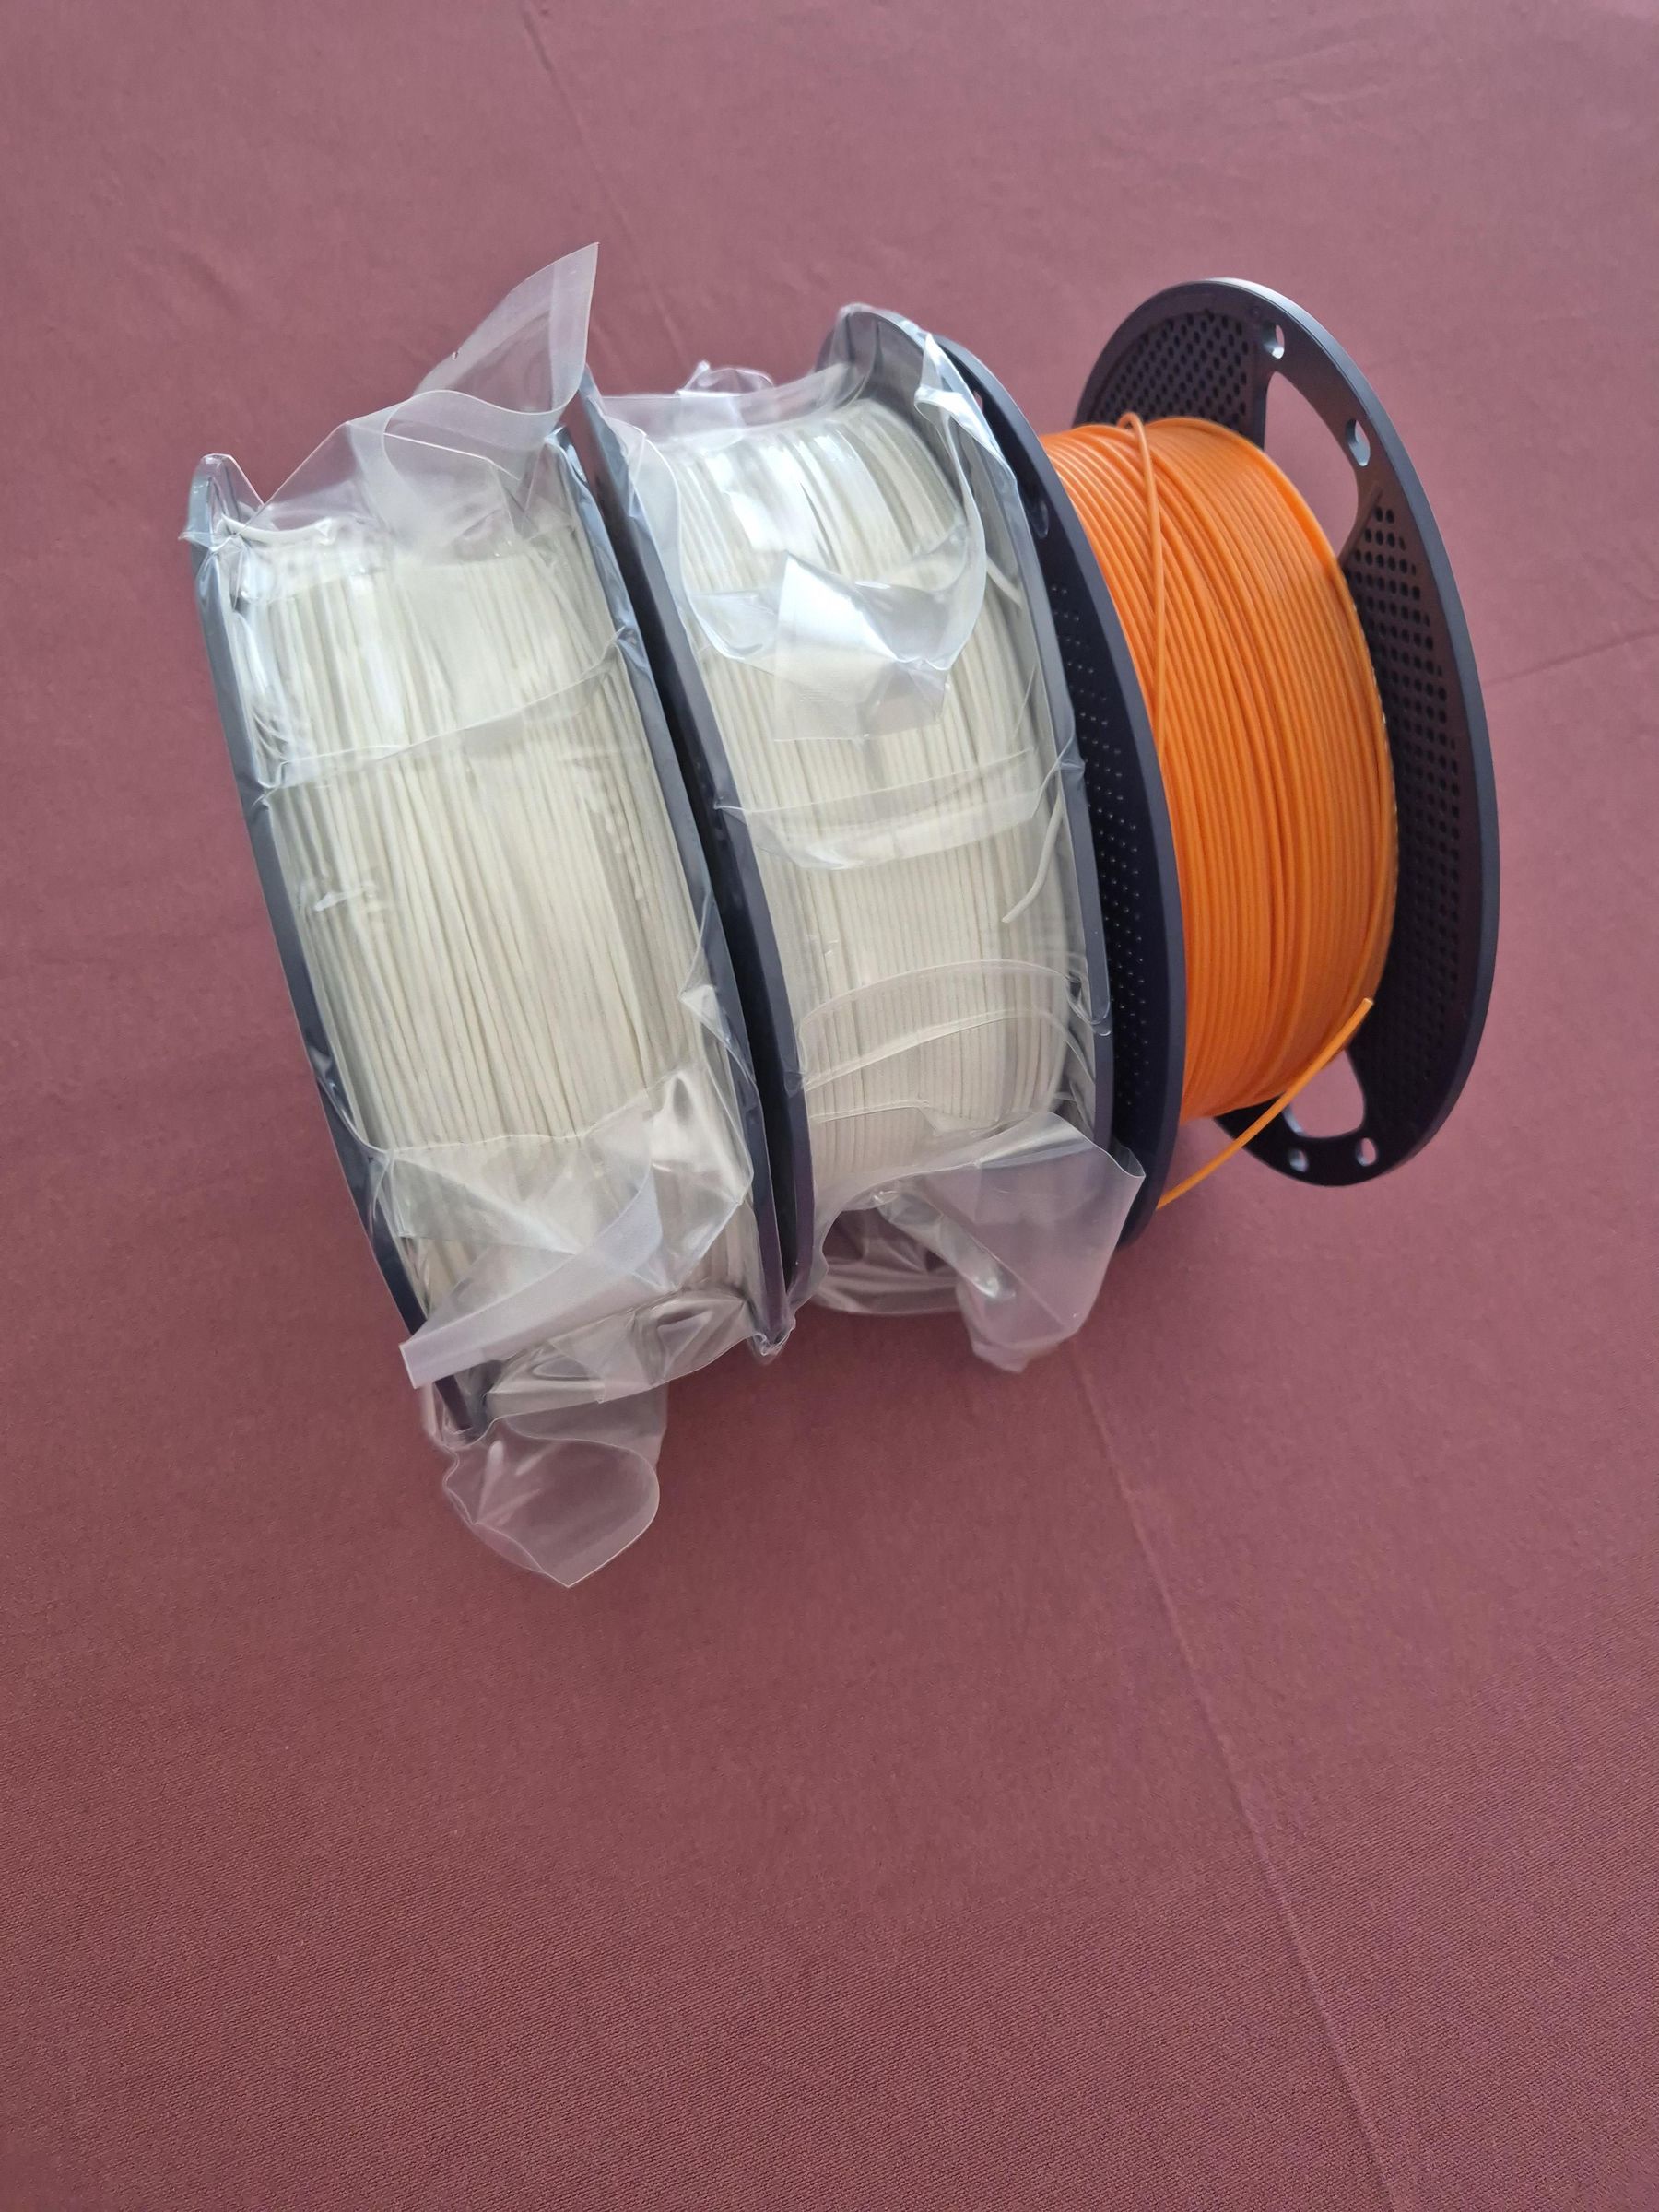
- ~2500g filament (2000g and 500g)
- Construction adhesive
- 25kg concrete + water
- Handsaw
- masking tape
- Utility knife
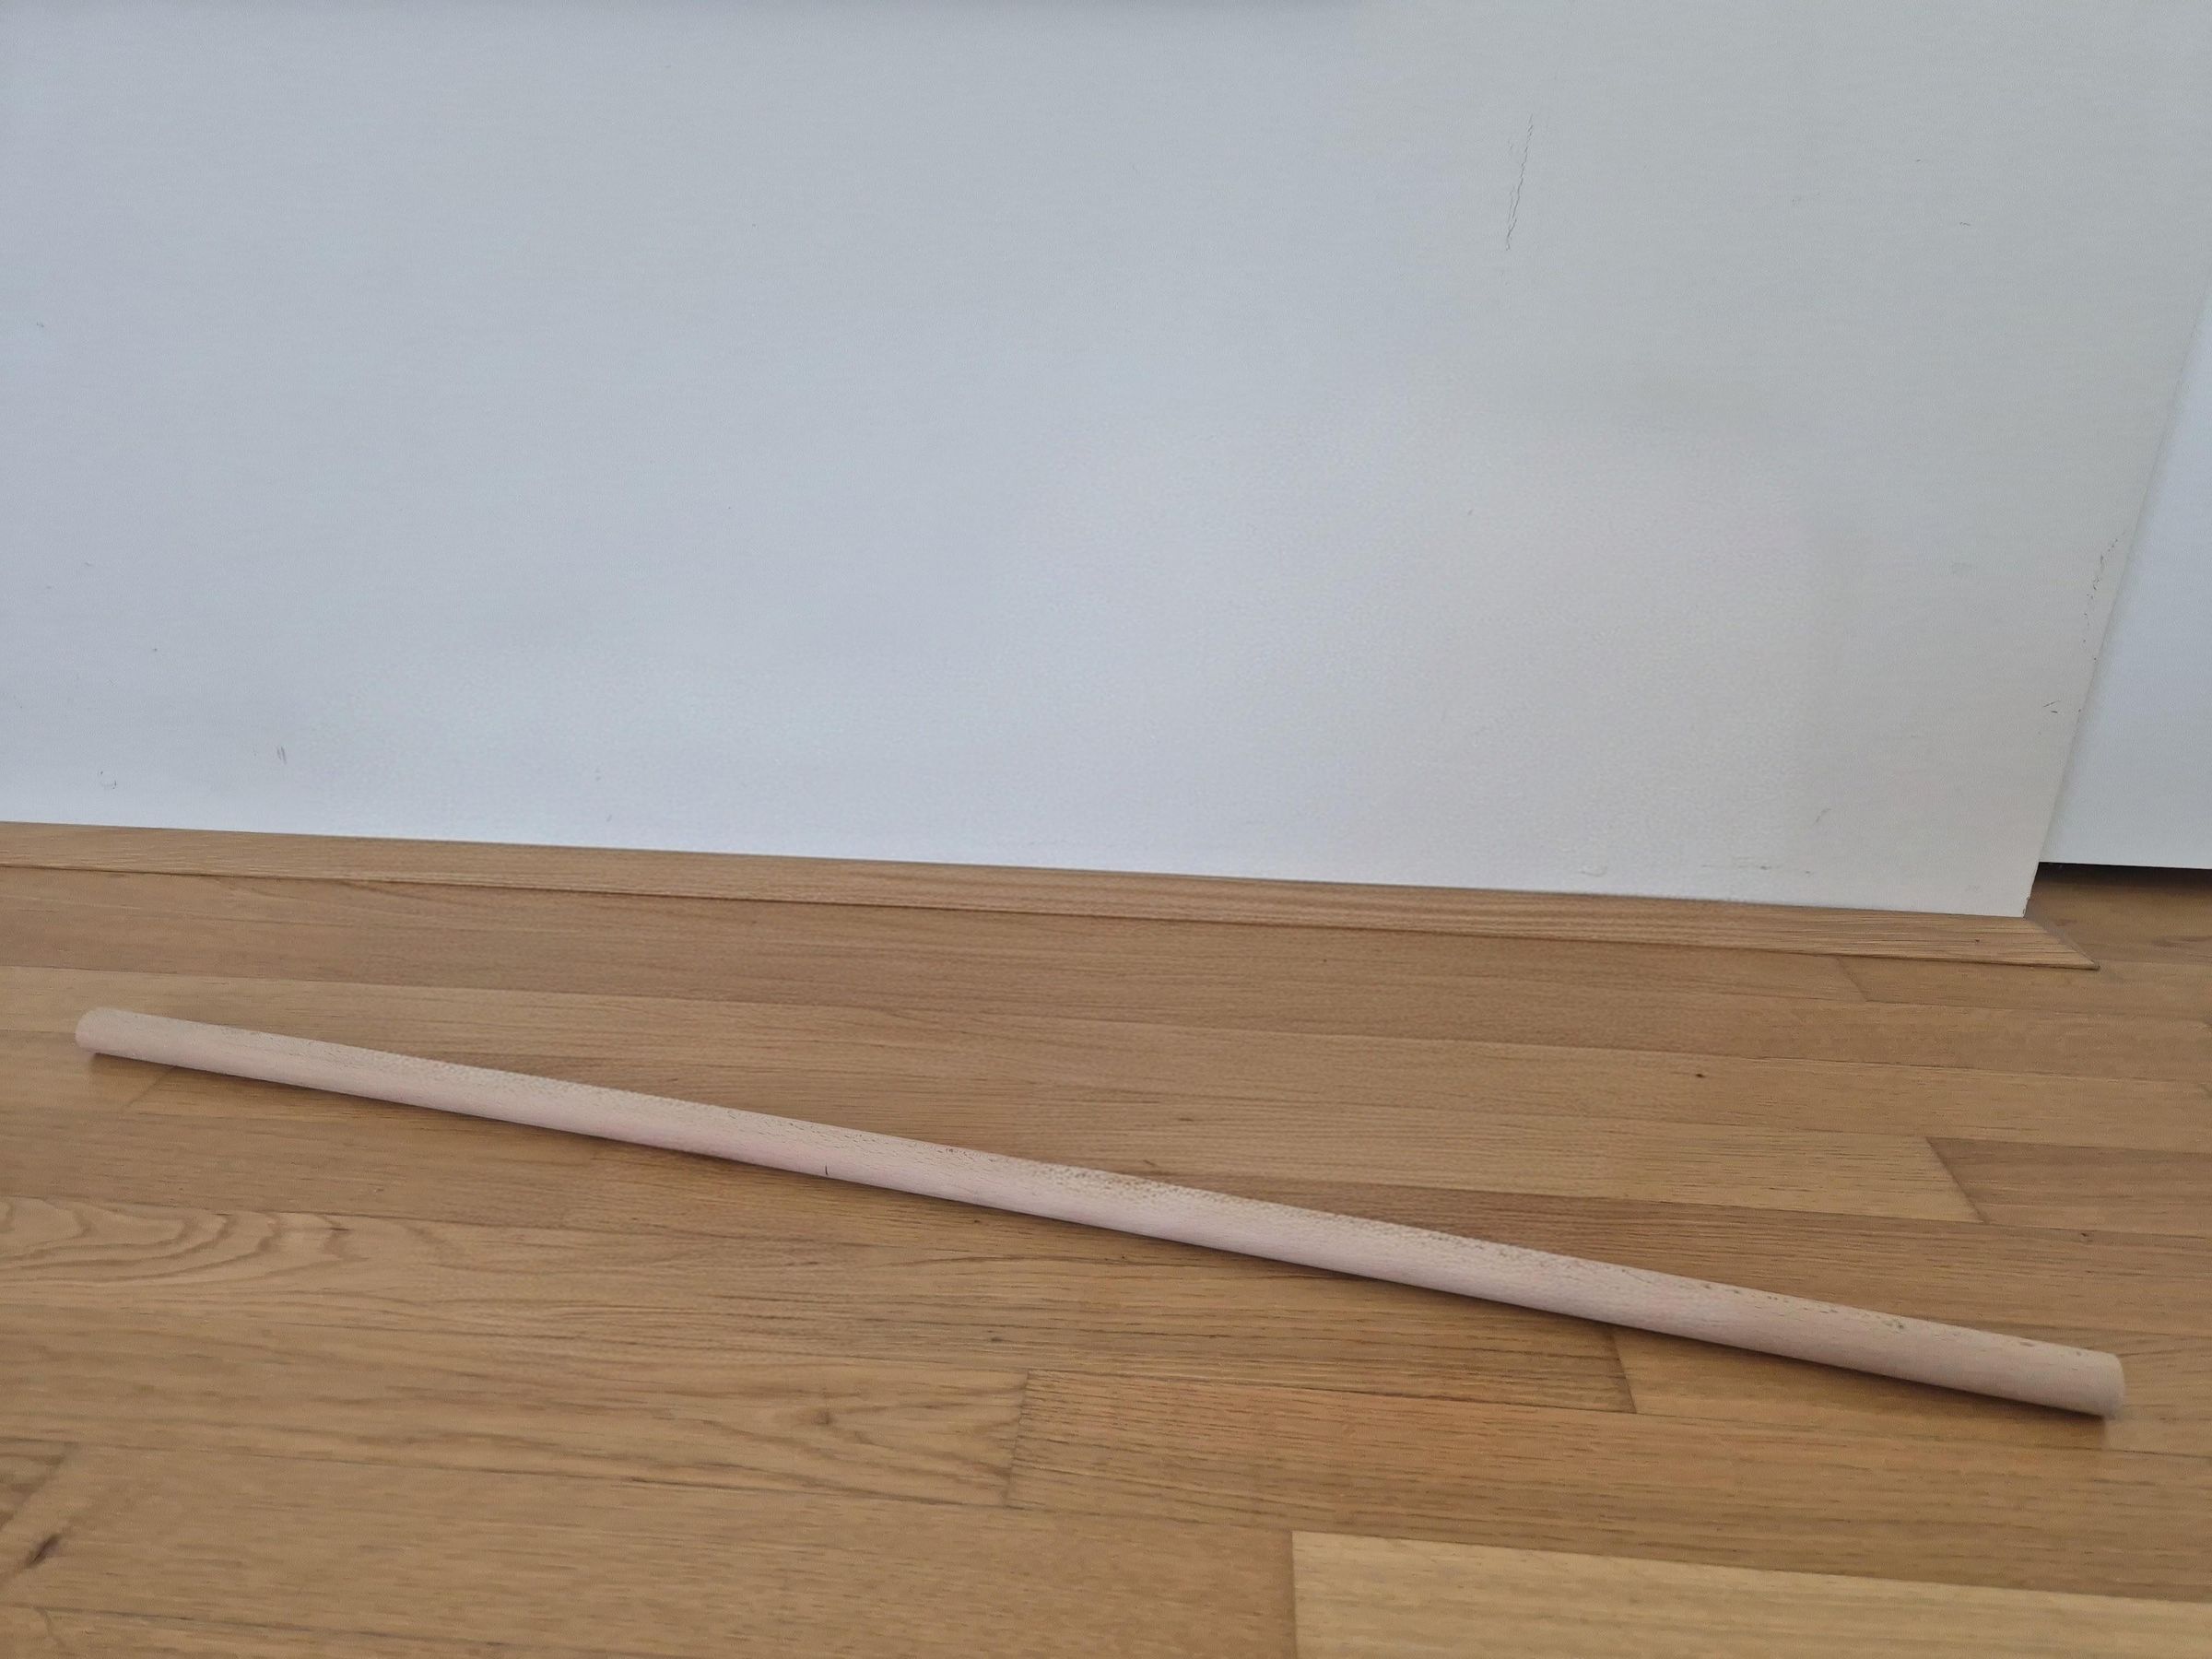
- Wooden dowel Ø25mm x 900mm
- Putty knife
- Mortar tub
- Bucket
- Wooden stick (for mixing)
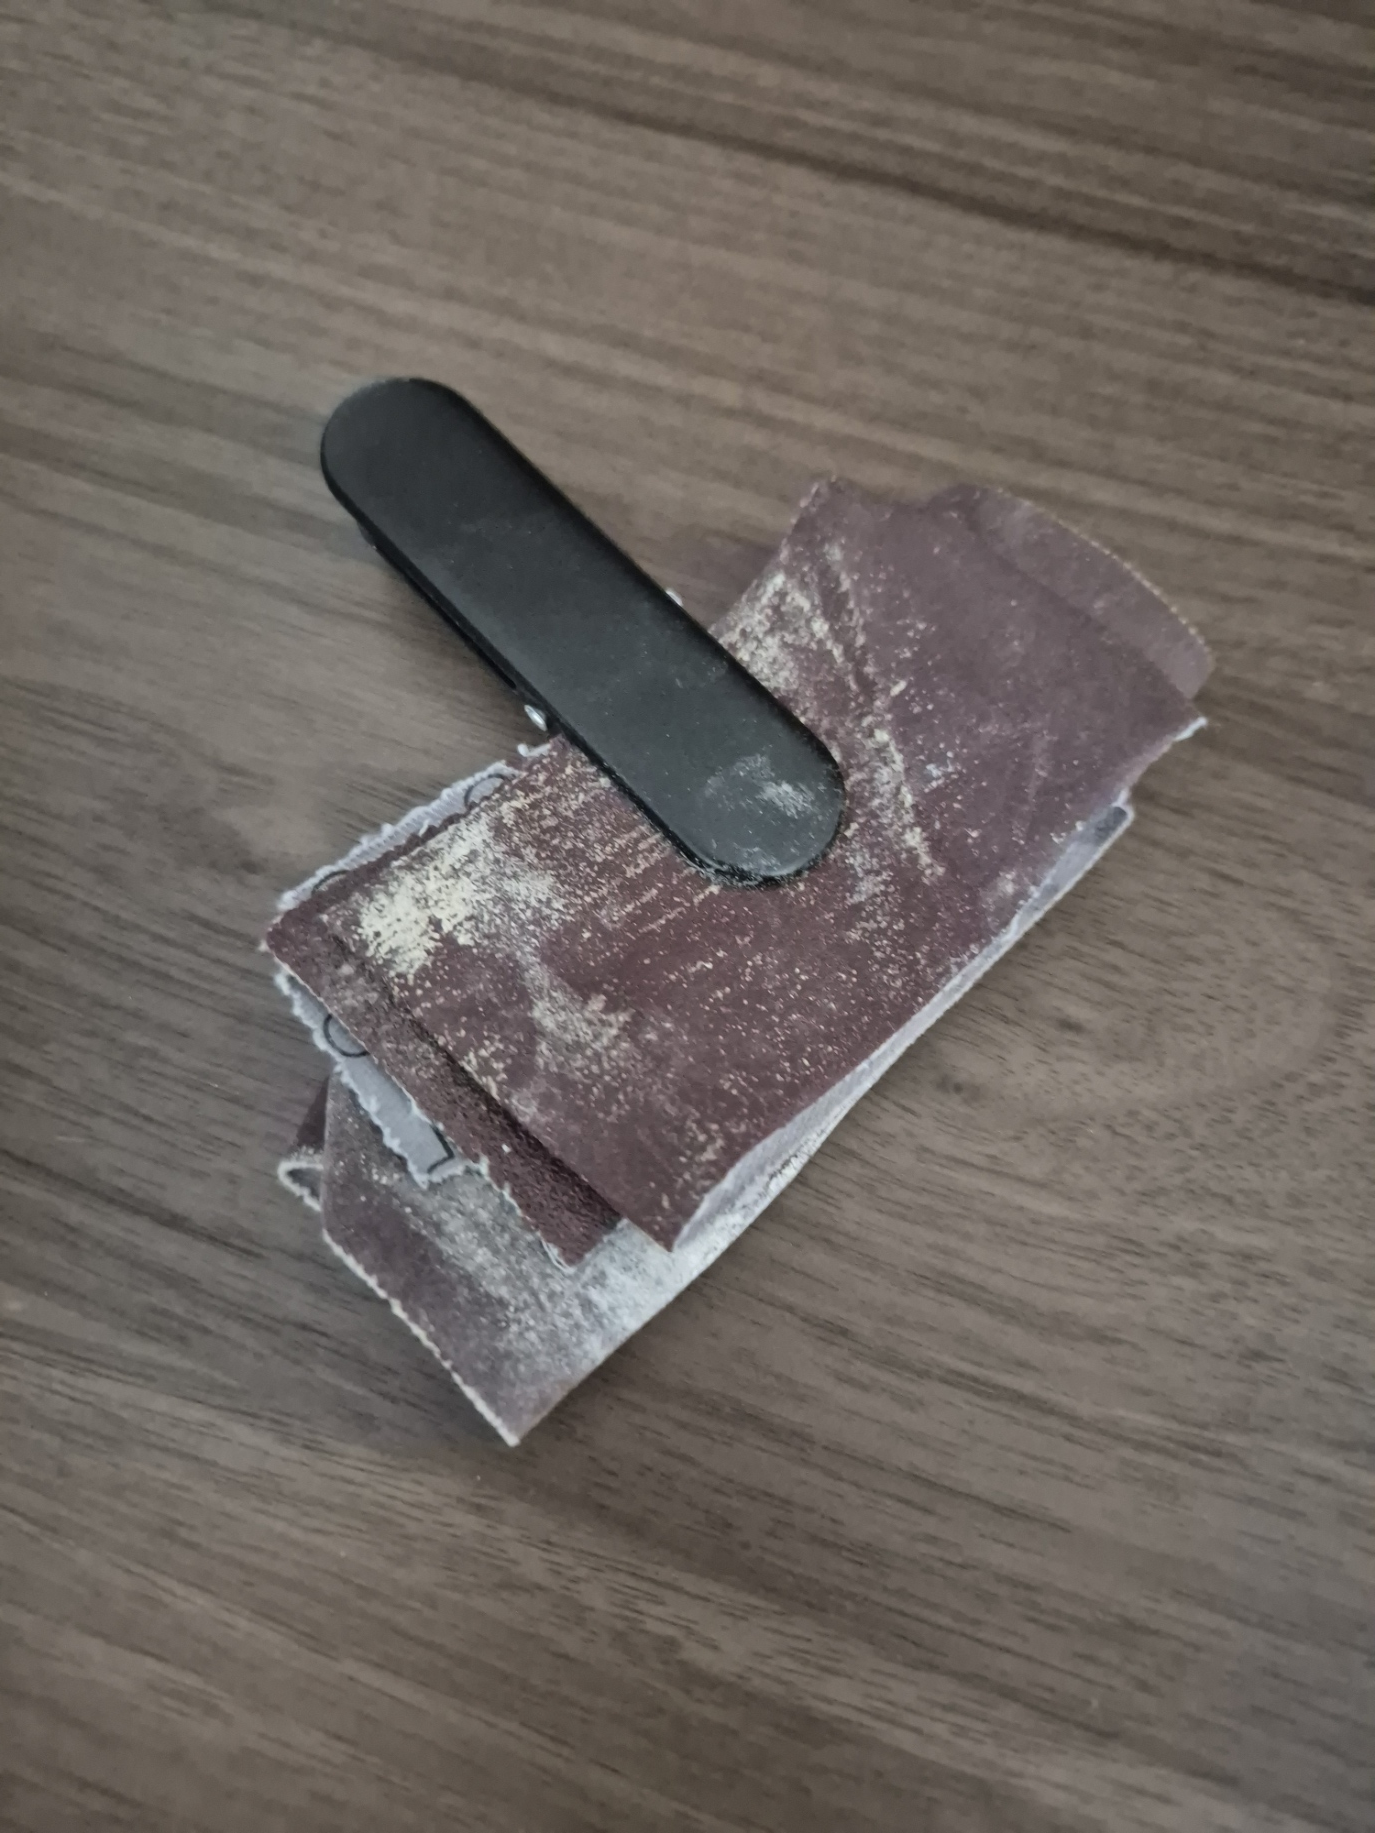
- Sandpaper (grit: 700-900)
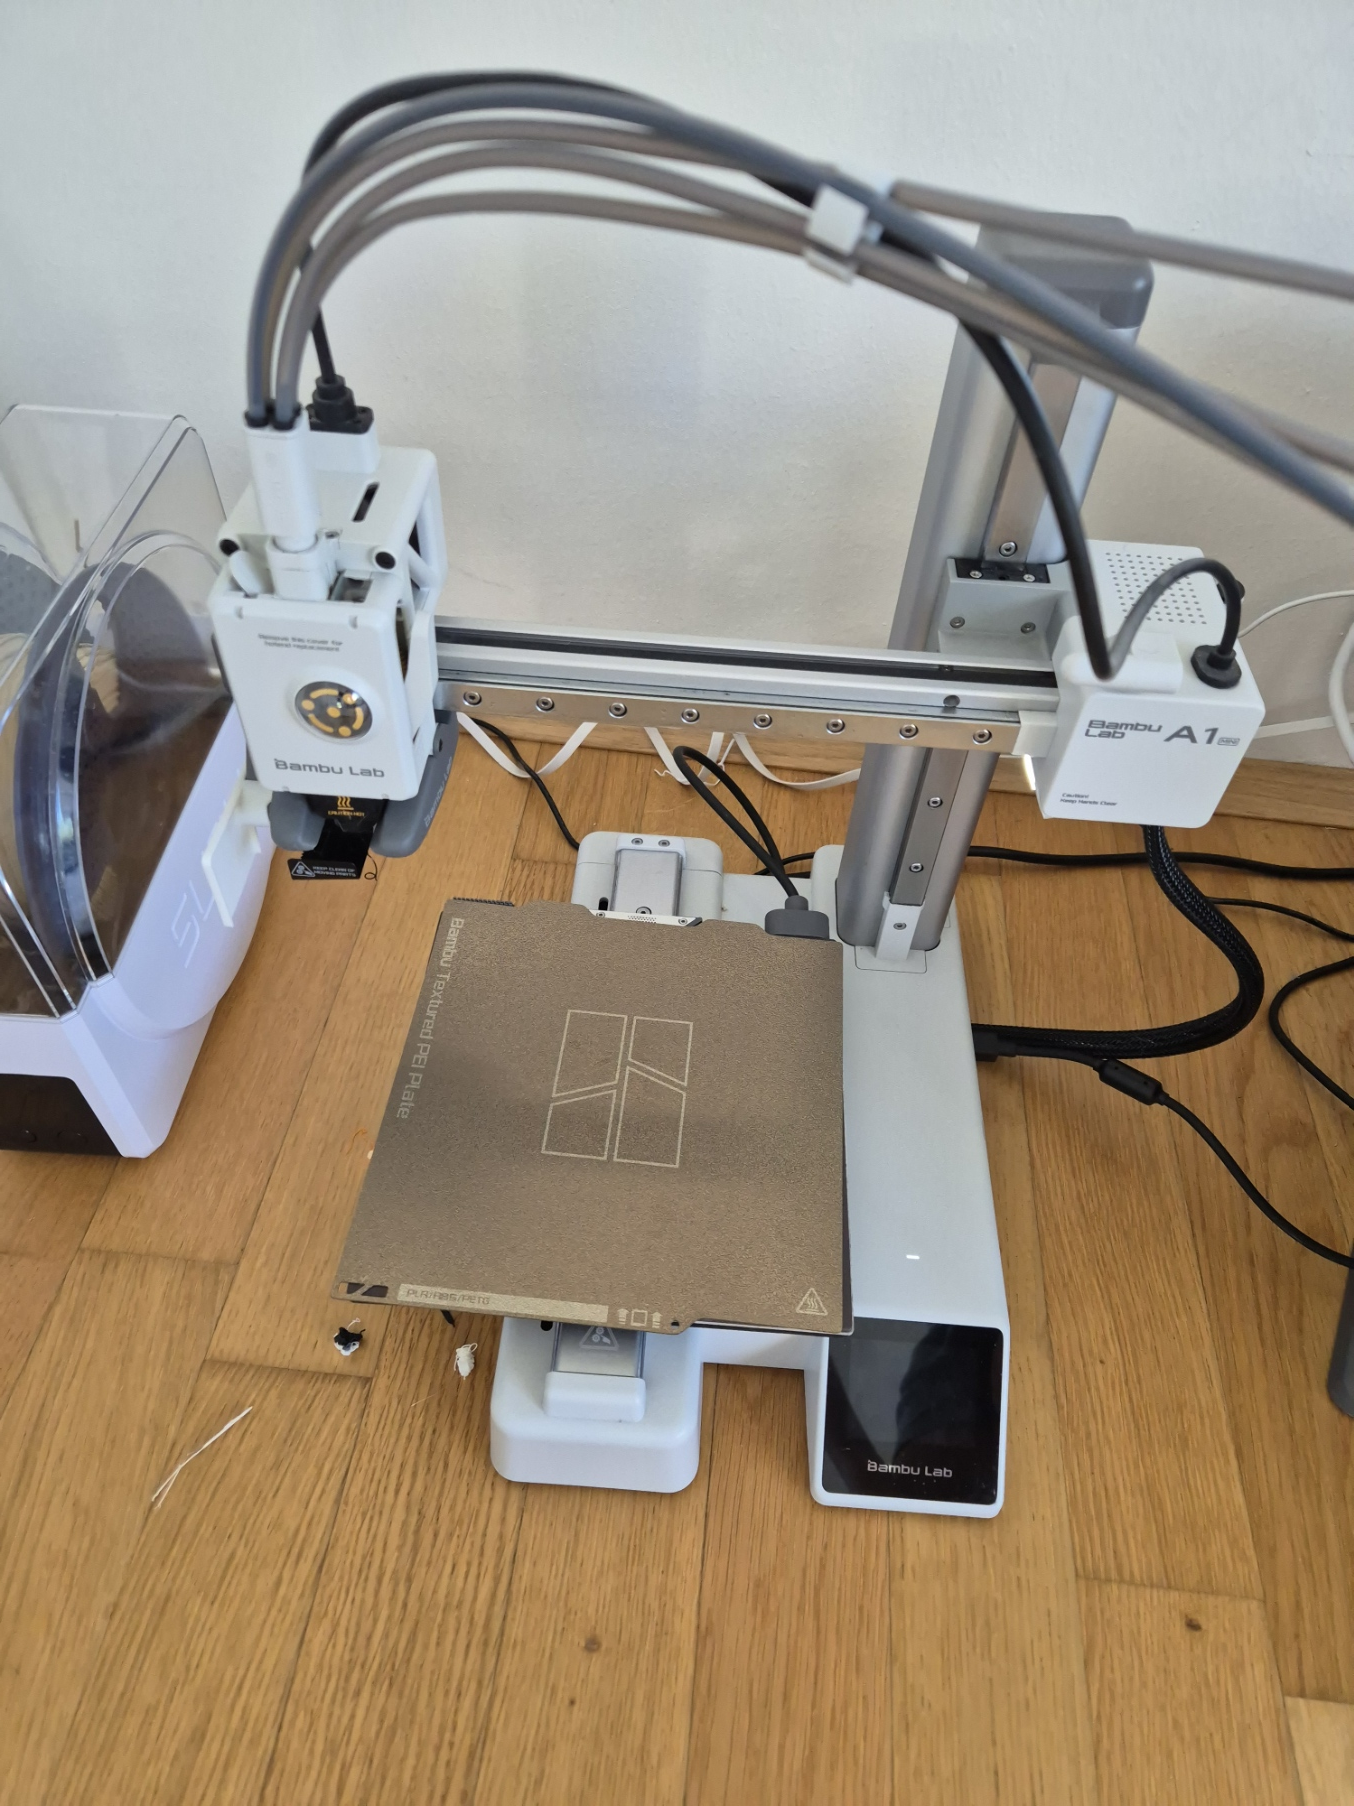
- 3d Printer (minimum build volume: 180 x 180 x 180 mm)
→Tip: Use fine concrete to ensure it fills the mold smoothly.
Printing
.jpg)
For a 12kg dumbbell set, you need to print the following:
- 8x Teil_Hantel_1kg_Deckel.STEP (white)
- 8x Teil_Hantel_1kg_Form.STEP (white)
- 8x Teil_Hantel_2kg_Deckel.STEP (white)
- 8x Teil_Hantel_2kg_Form.STEP (white)
- 4x Teil_Hantel_Schraubenmutter.STEP (orange)
- 4x Teil_Hantel_Befestigungsgewinde.STEP (orange)
2x Cutting the Wooden Rod to Size
.jpg)
.jpg)
Measure 44 cm from one end of the wooden rod. You can also use 45 cm if you have larger hands. Mark a line with a pencil at 44 cm or 45 cm, and saw off the rod right on that line. Do the same again with the remaining piece of the rod.
→Tip: When you are almost through, reduce the pressure while sawing so that the cut edge stays clean and smooth at the end.
2x Sanding
.jpg)
Now sand the cut edge and the wooden rod to get a cleaner finish. First, sand with 700-grit sandpaper, then progress to 800-grit, and finally finish with 900-grit. This ensures you will end up with a dumbbell that is truly comfortable and enjoyable to train with. Do the exact same thing with the second rod.
2x Gluing
.jpg)
.jpg)
.jpg)
.jpg)
.jpg)
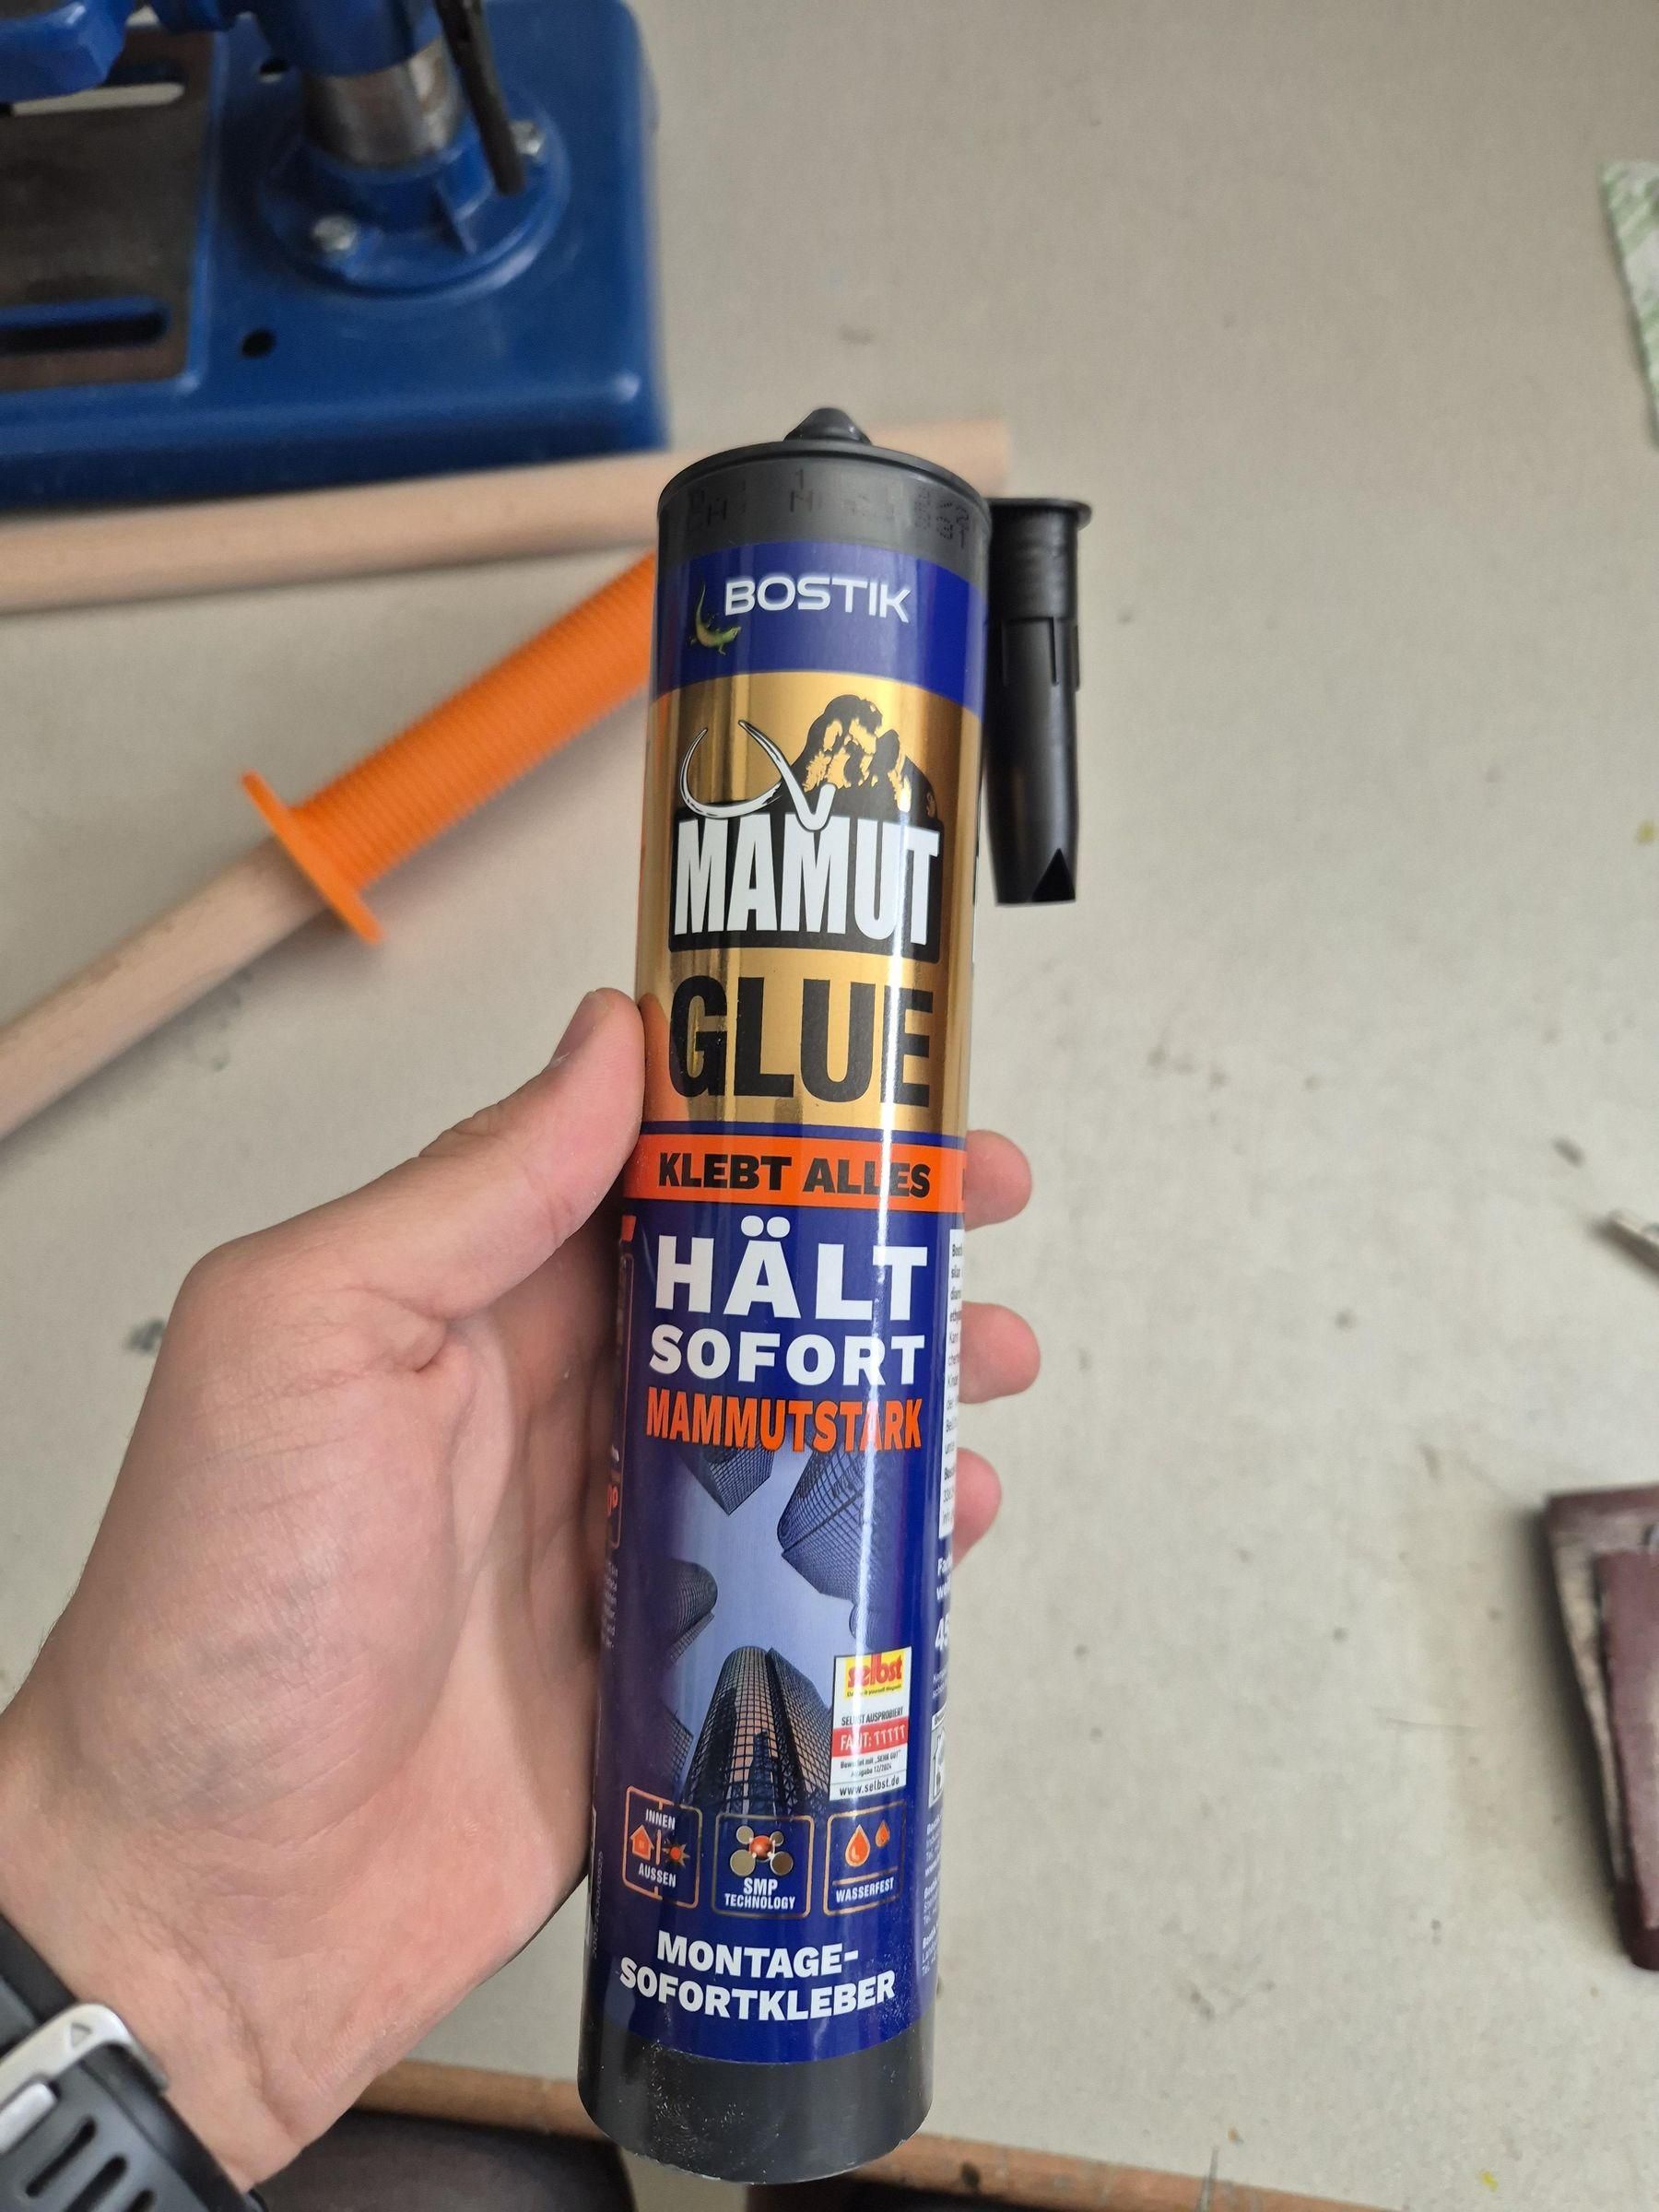
Cut the tip off the adhesive cartridge and load it into the caulking gun. Carefully apply a small amount of adhesive (not too much) to the contact area. Then slide the 3D-printed threaded part onto the wooden rod. Take a cloth or paper towel, dampen it slightly, and wipe away any excess adhesive squeezing out at the bottom edge to get a clean finish. Repeat this step for the other side and the other rod.
Allow everything to dry for about 36 hours until fully cured.
→ Tip: Try to avoid touching the adhesive as much as possible, as it is very difficult to wash off.
Taping Off the Edges
.jpg)
.jpg)
.jpg)
Take the masking tape and wrap it once around the rim of the 1 kg and 2 kg molds. There will likely be an overhang at the edge—simply fold this over, as shown in the photo.
Filling the Molds
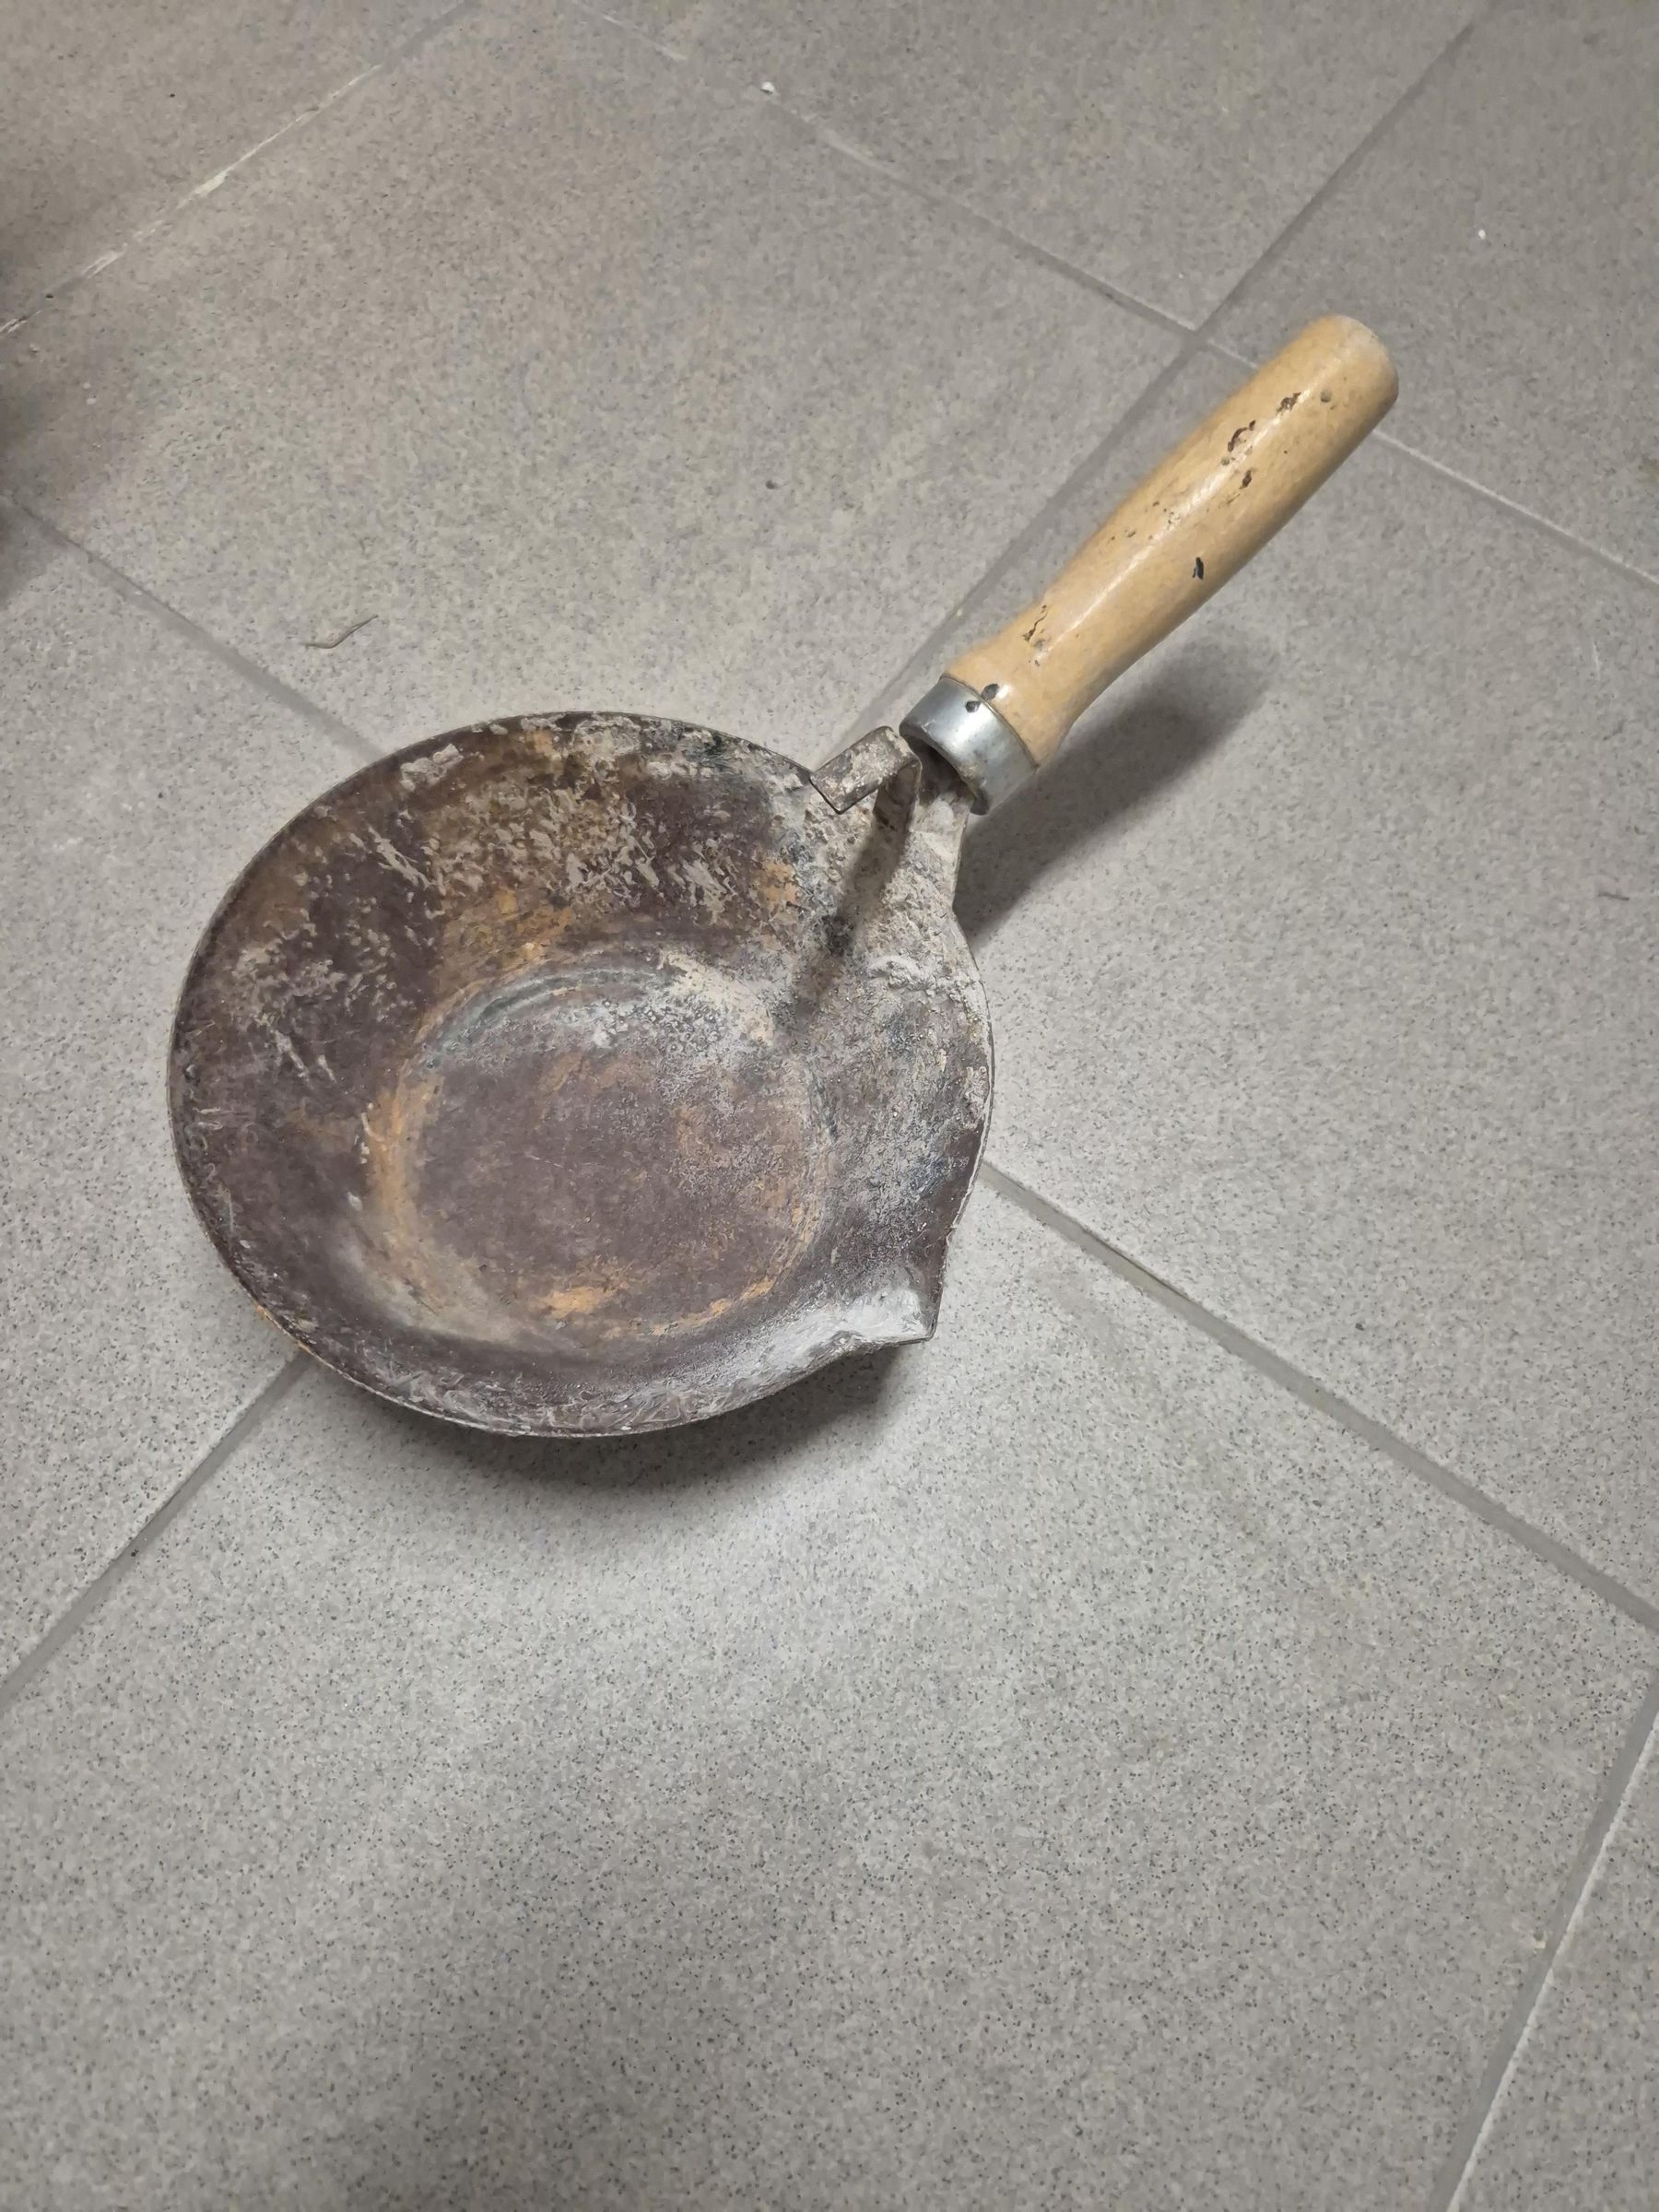
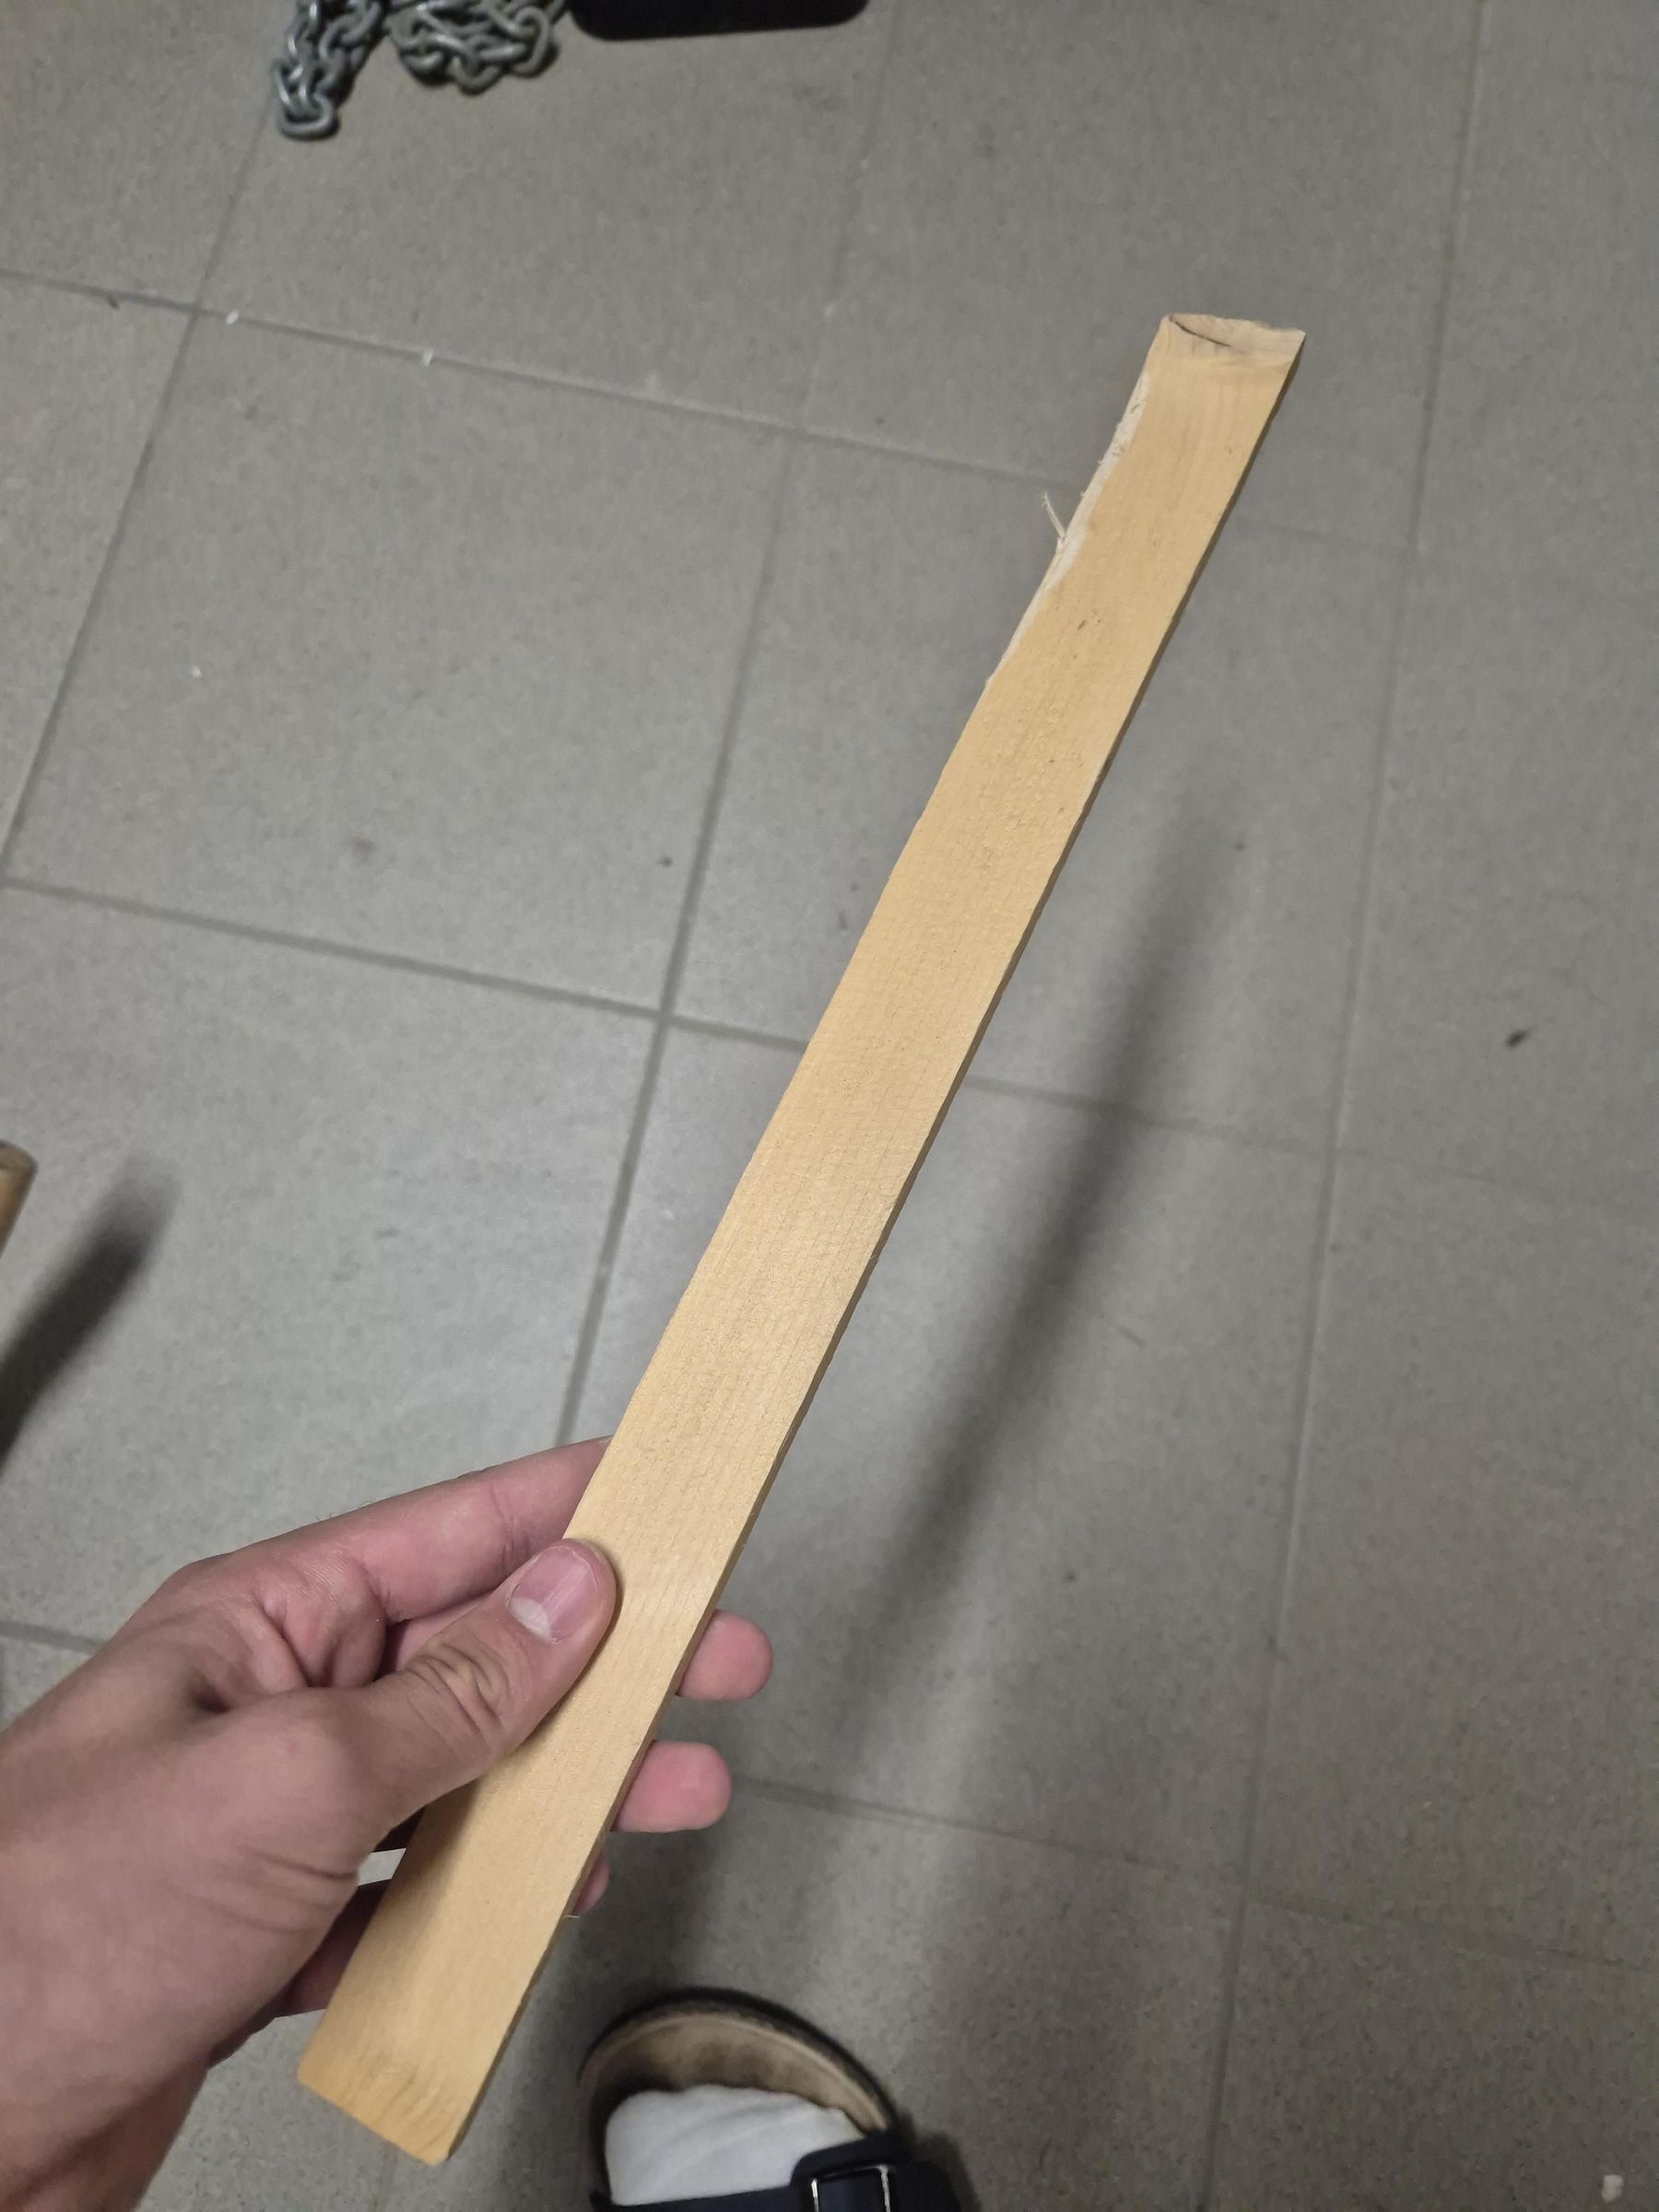
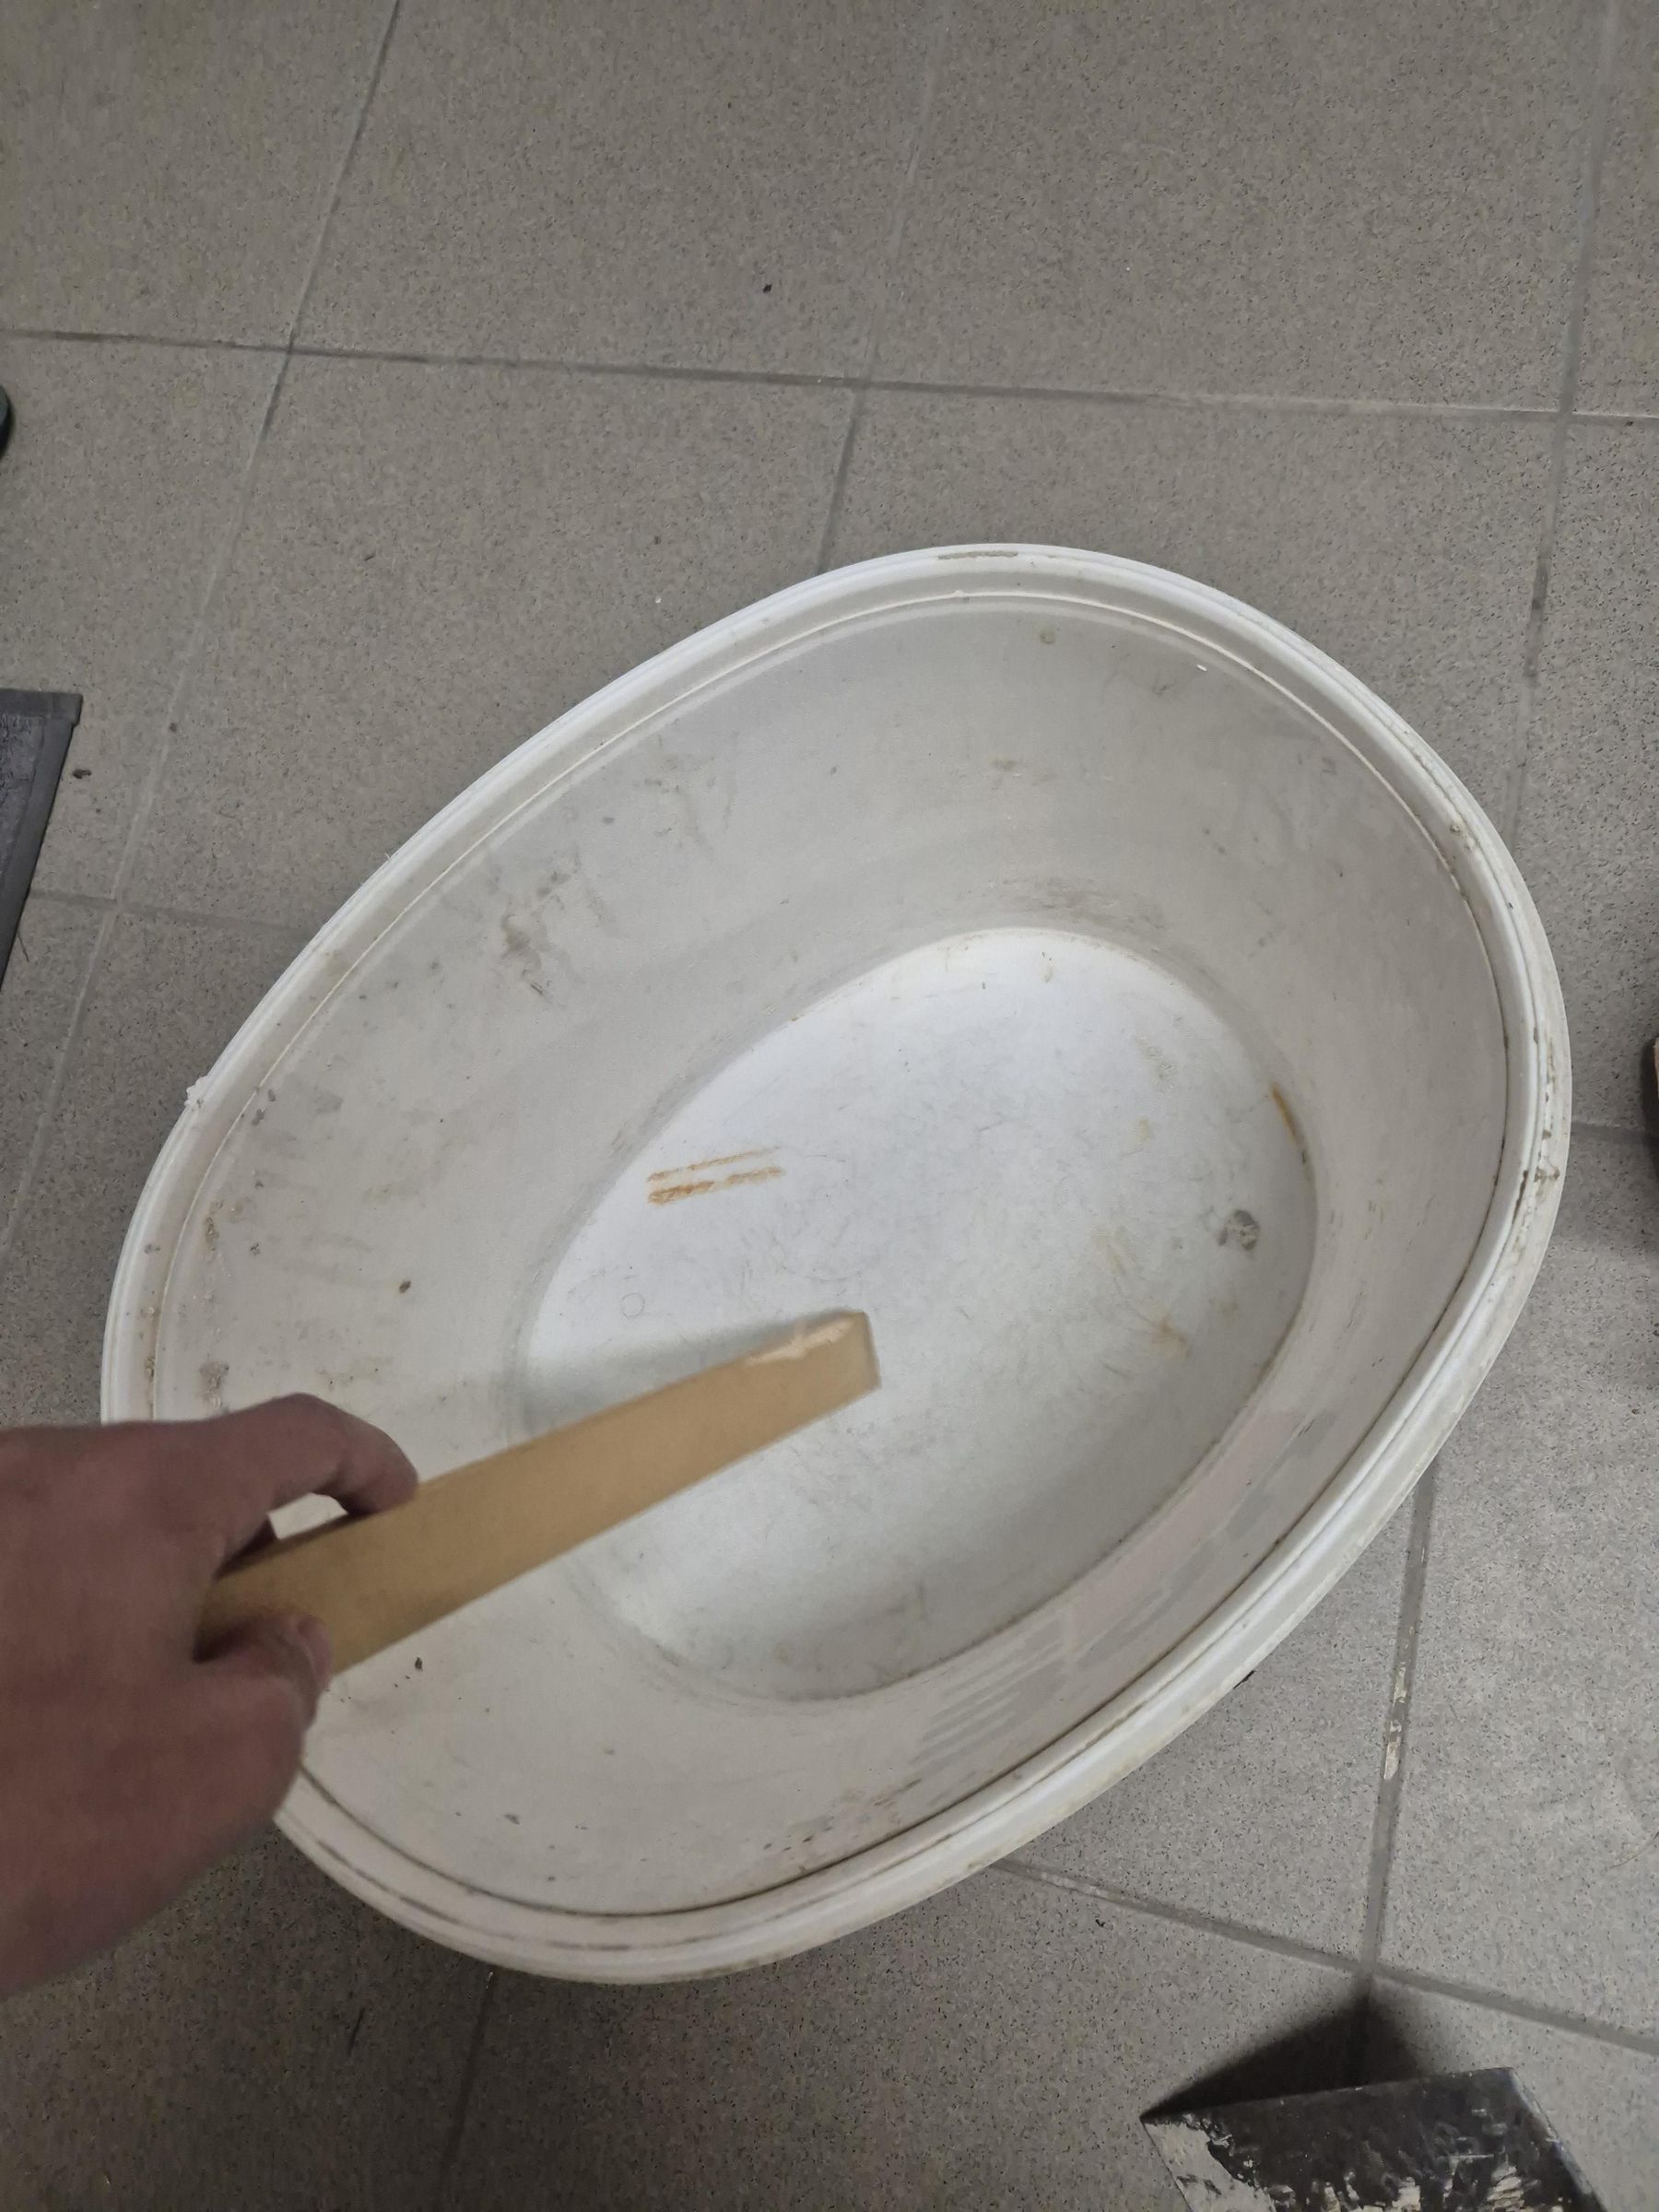
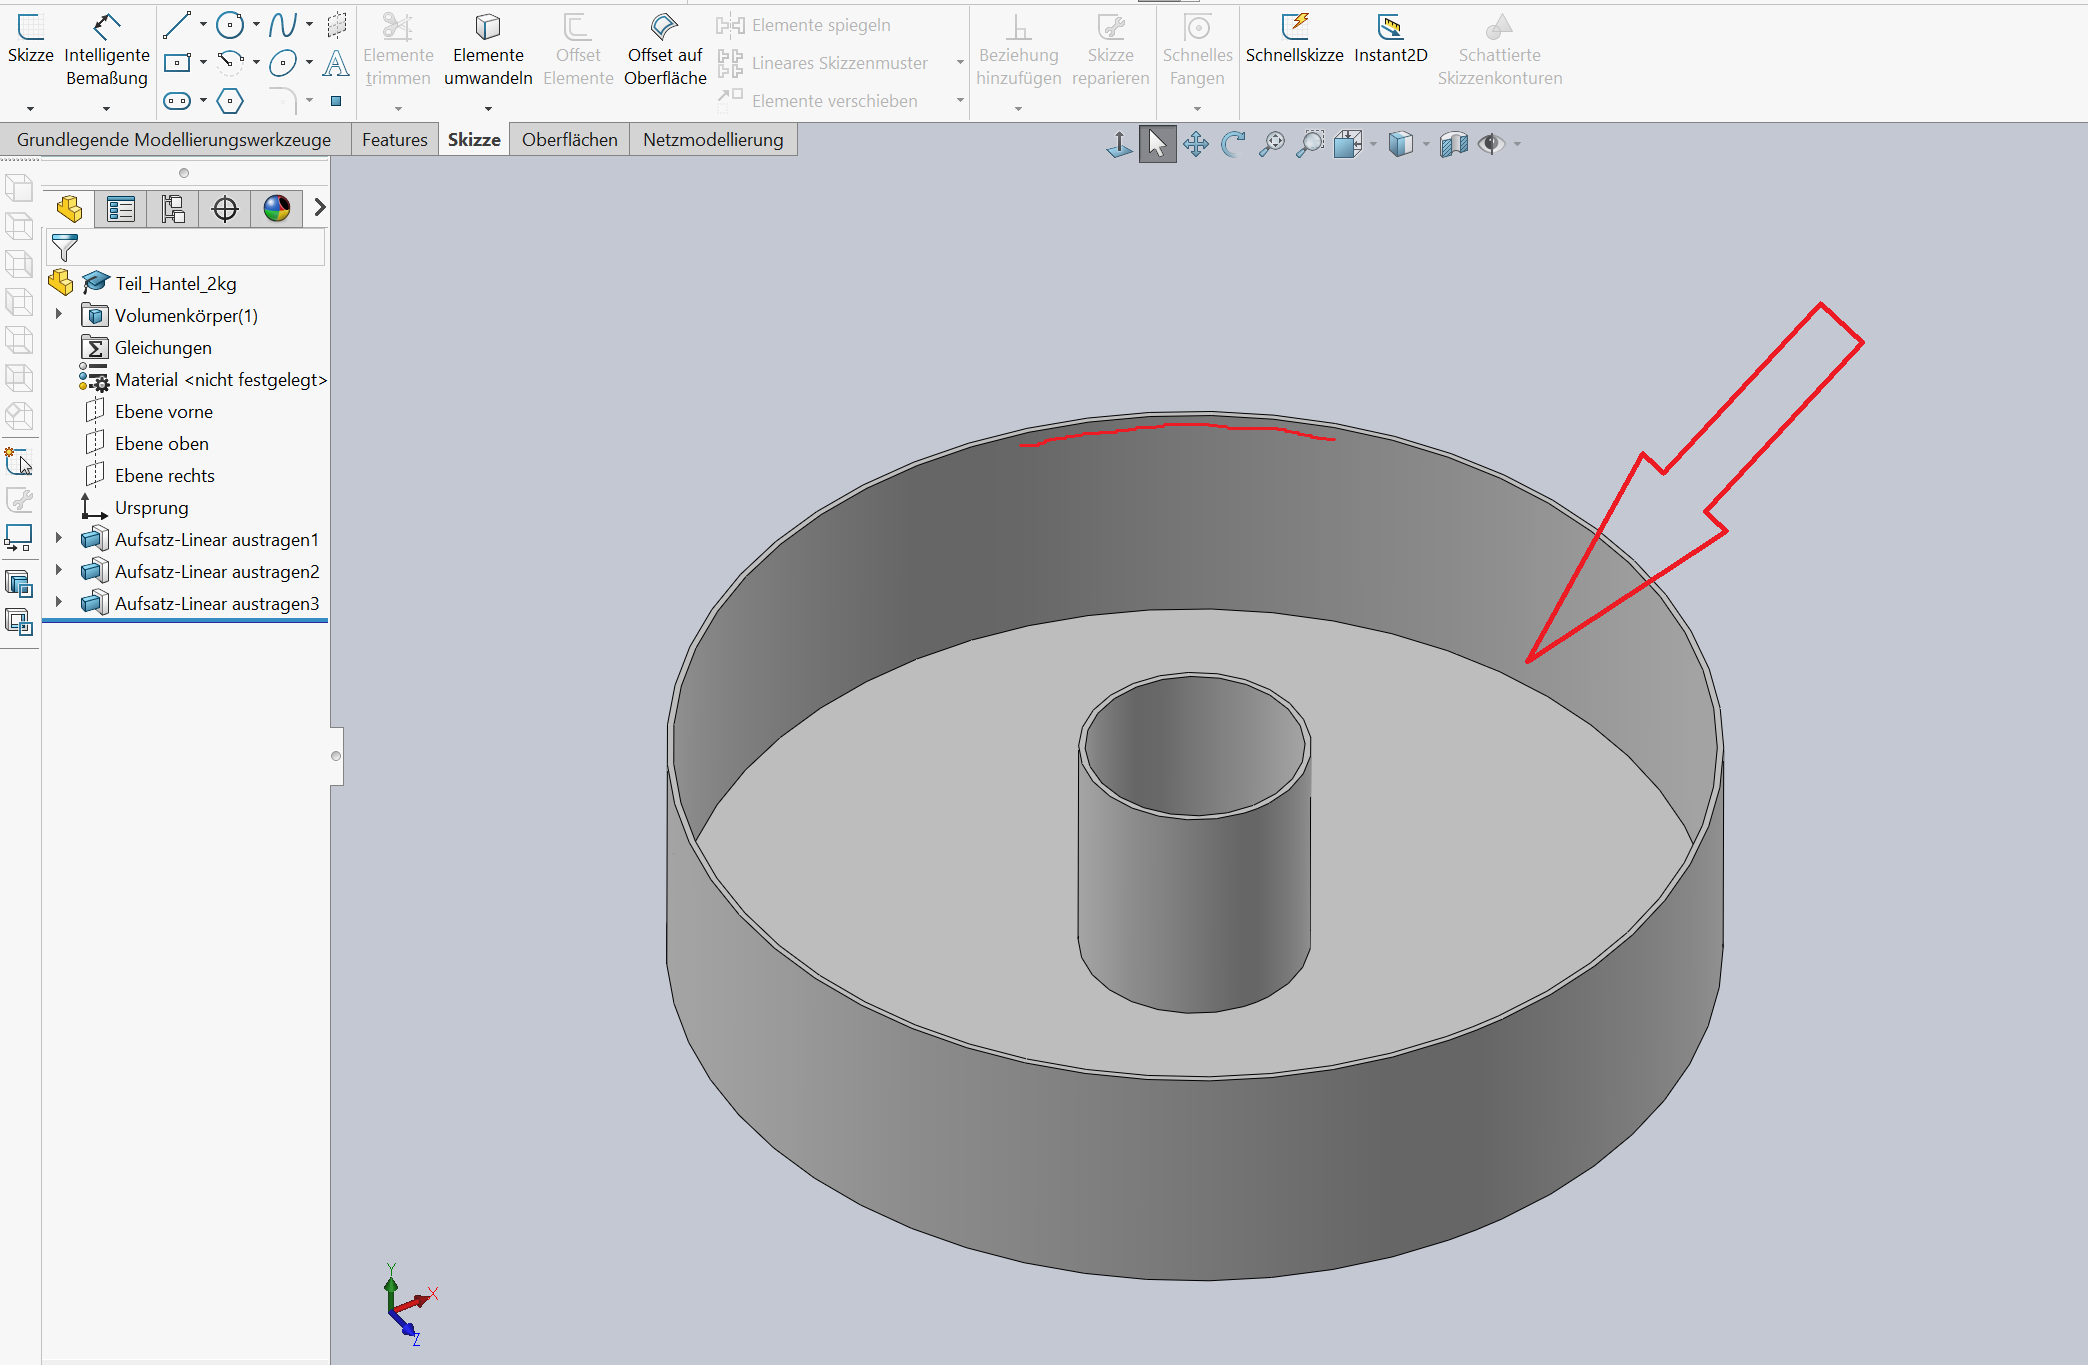
Pour the contents of the 25 kg bag of concrete into the bucket and add approximately 12 liters of water. Take a wooden stick and mix everything thoroughly until all the concrete is completely wet. If the mixture is too dry or difficult to stir, add a little more water.
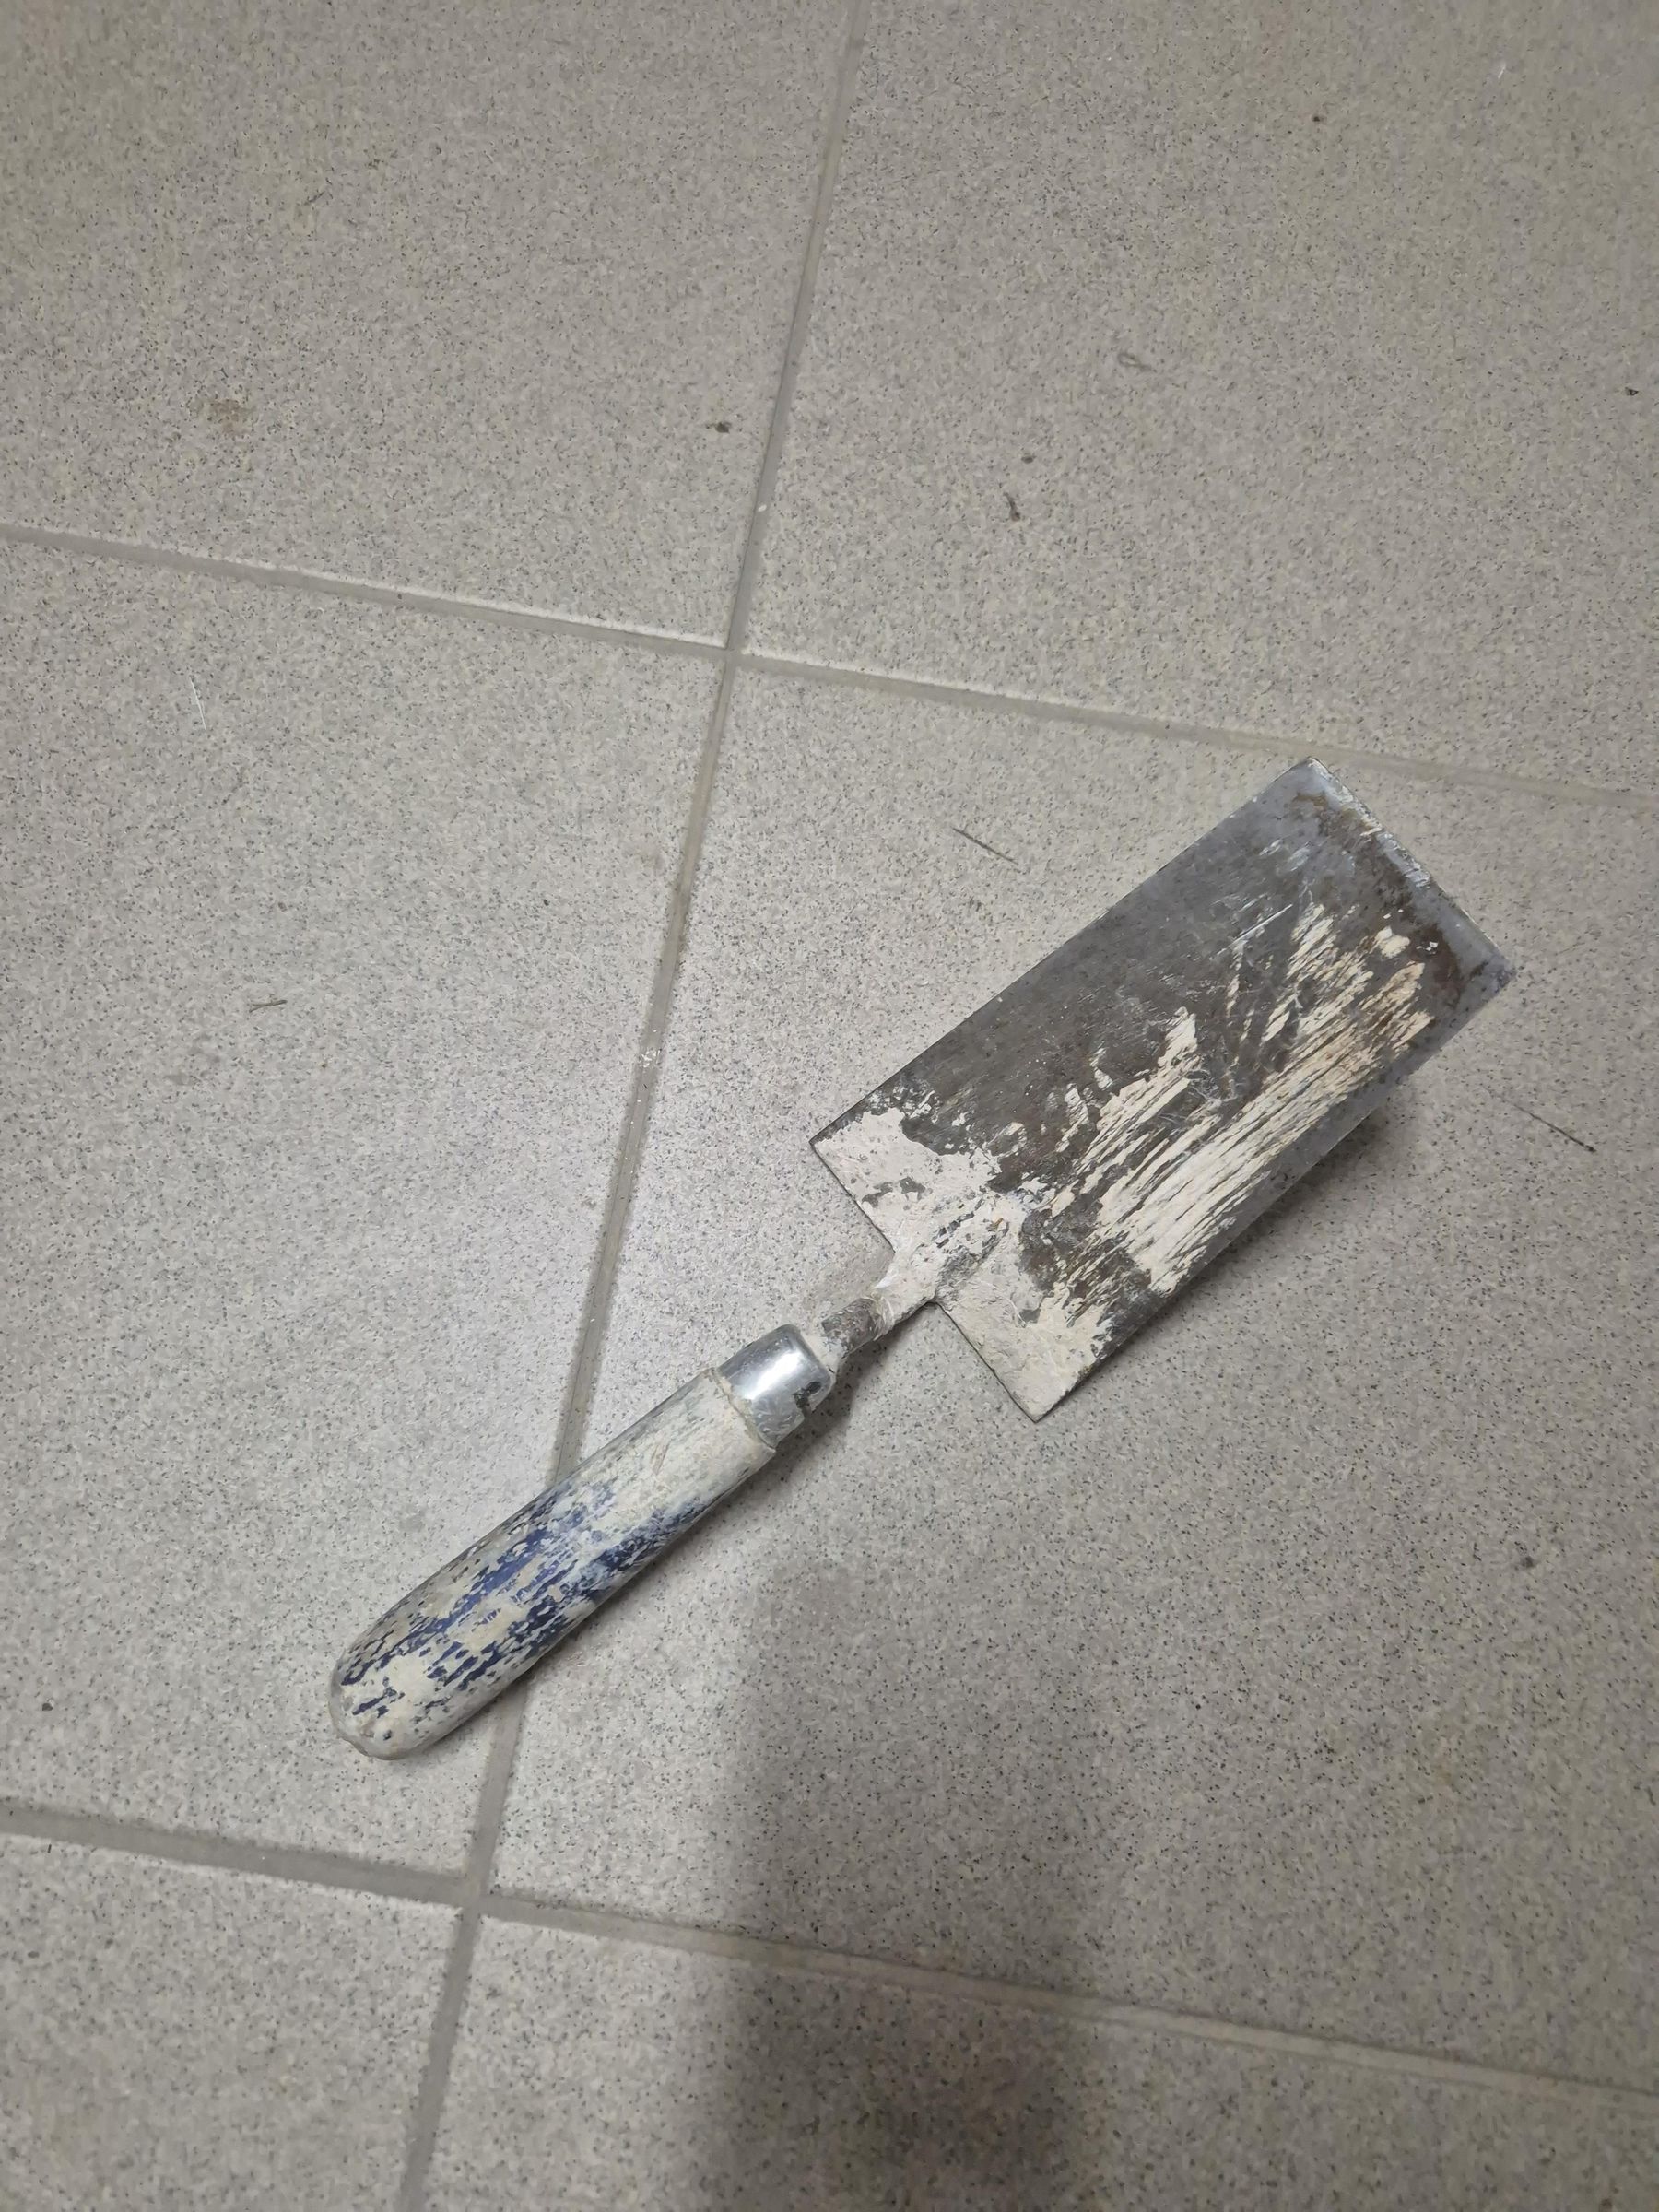
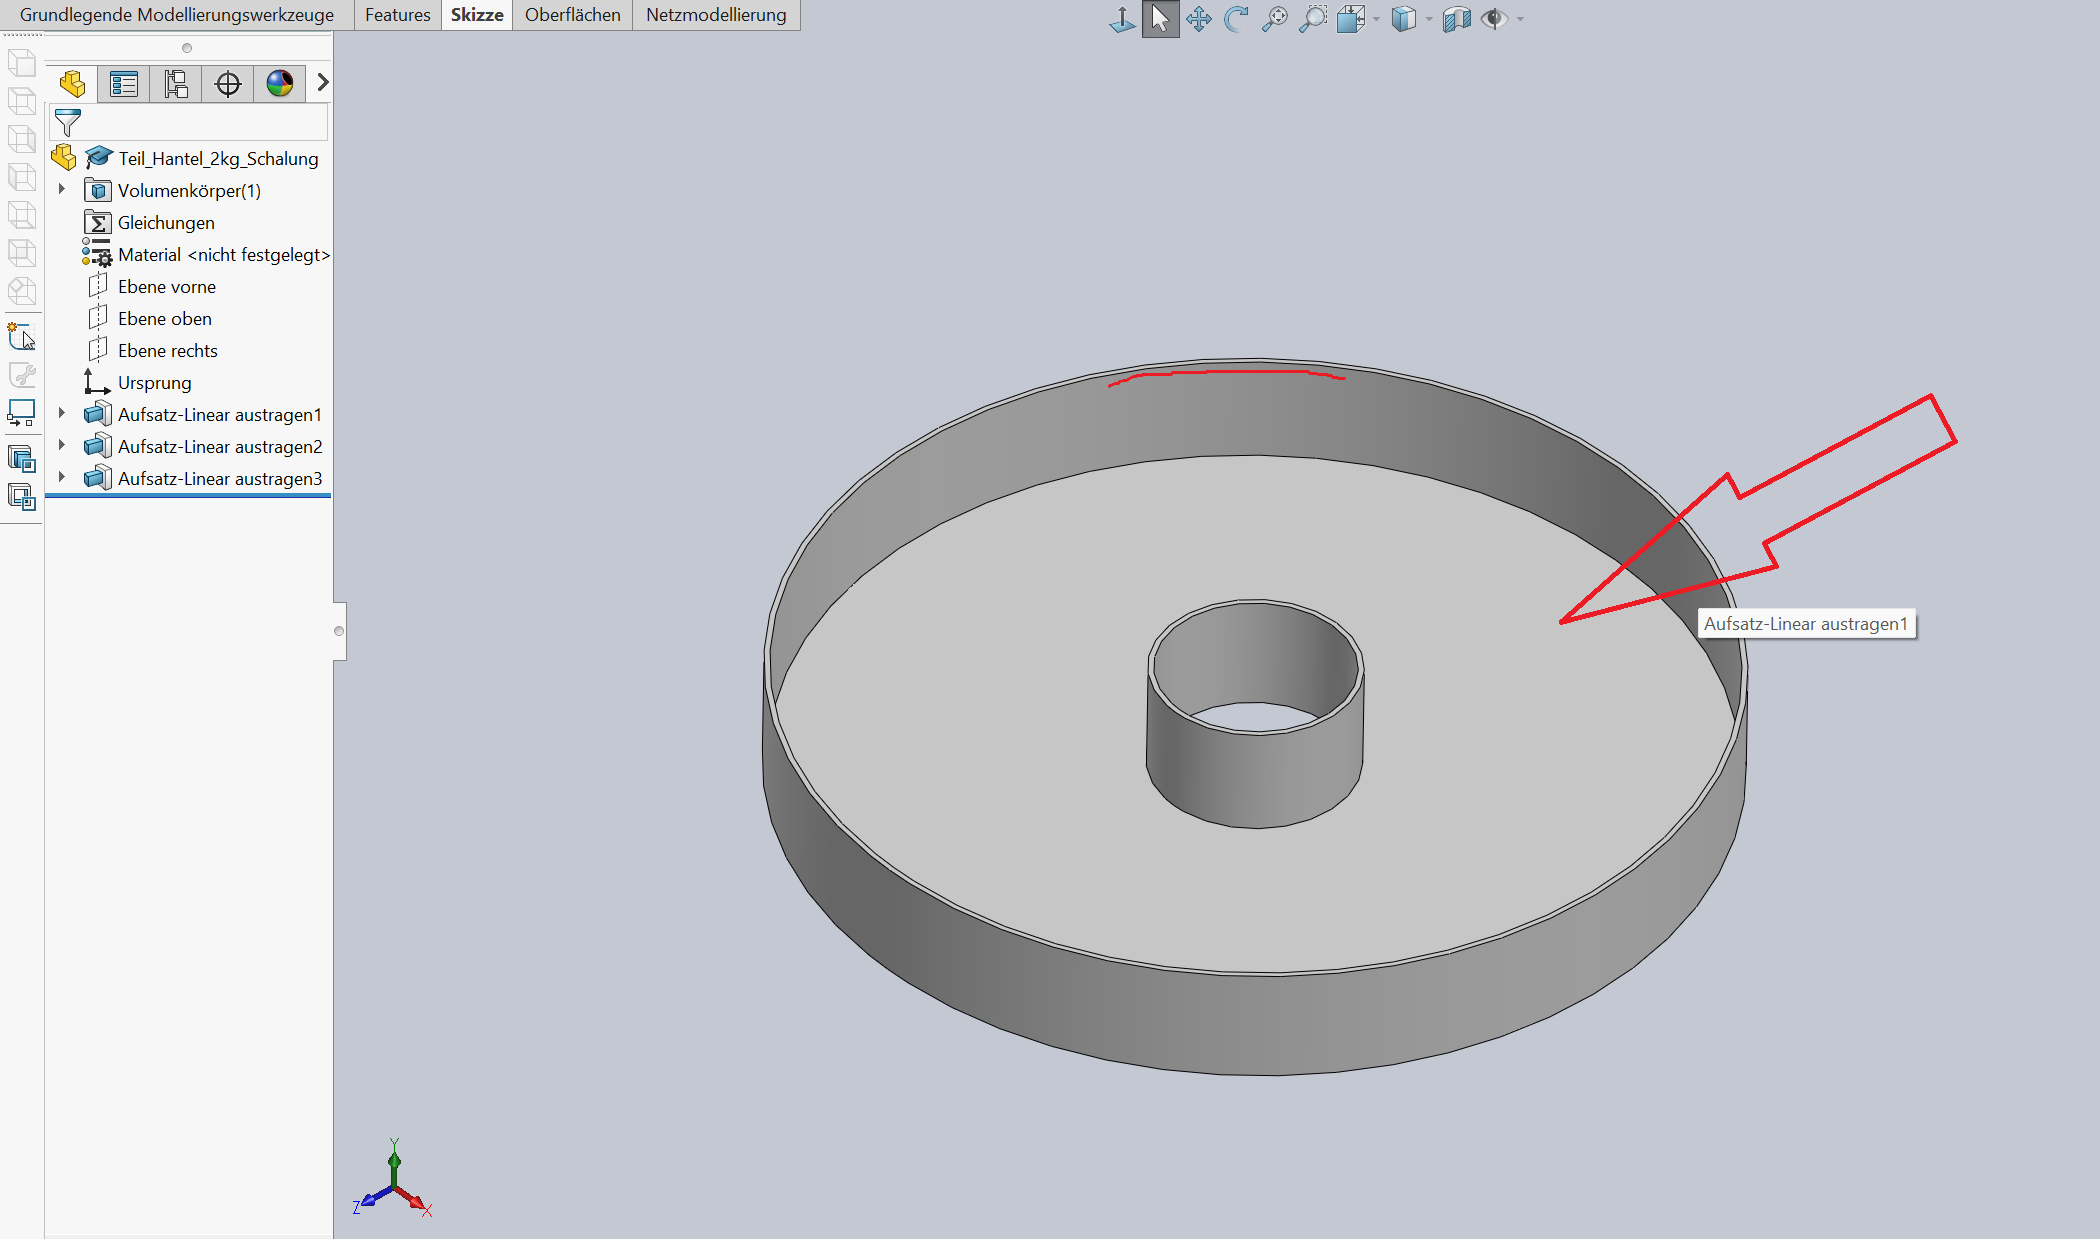
Use a mortar scoop to fill the molds up to 2 to 4 mm below the rim (roughly marked in the photo for visual reference). Then, smooth out any uneven spots on the surface using a putty knife or by gently tapping the molds to settle the concrete.
Crucial note: Make sure to fill only the molds (Teil_Hantel_1kg_Form.STEP and Teil_Hantel_2kg_Form.STEP)—the other parts are the lids, which can be identified by the smaller hole in the center.
Once all molds are filled, place the lids over them. Allow everything to dry for 2 to 3 days.
Cutting the Masking Tape
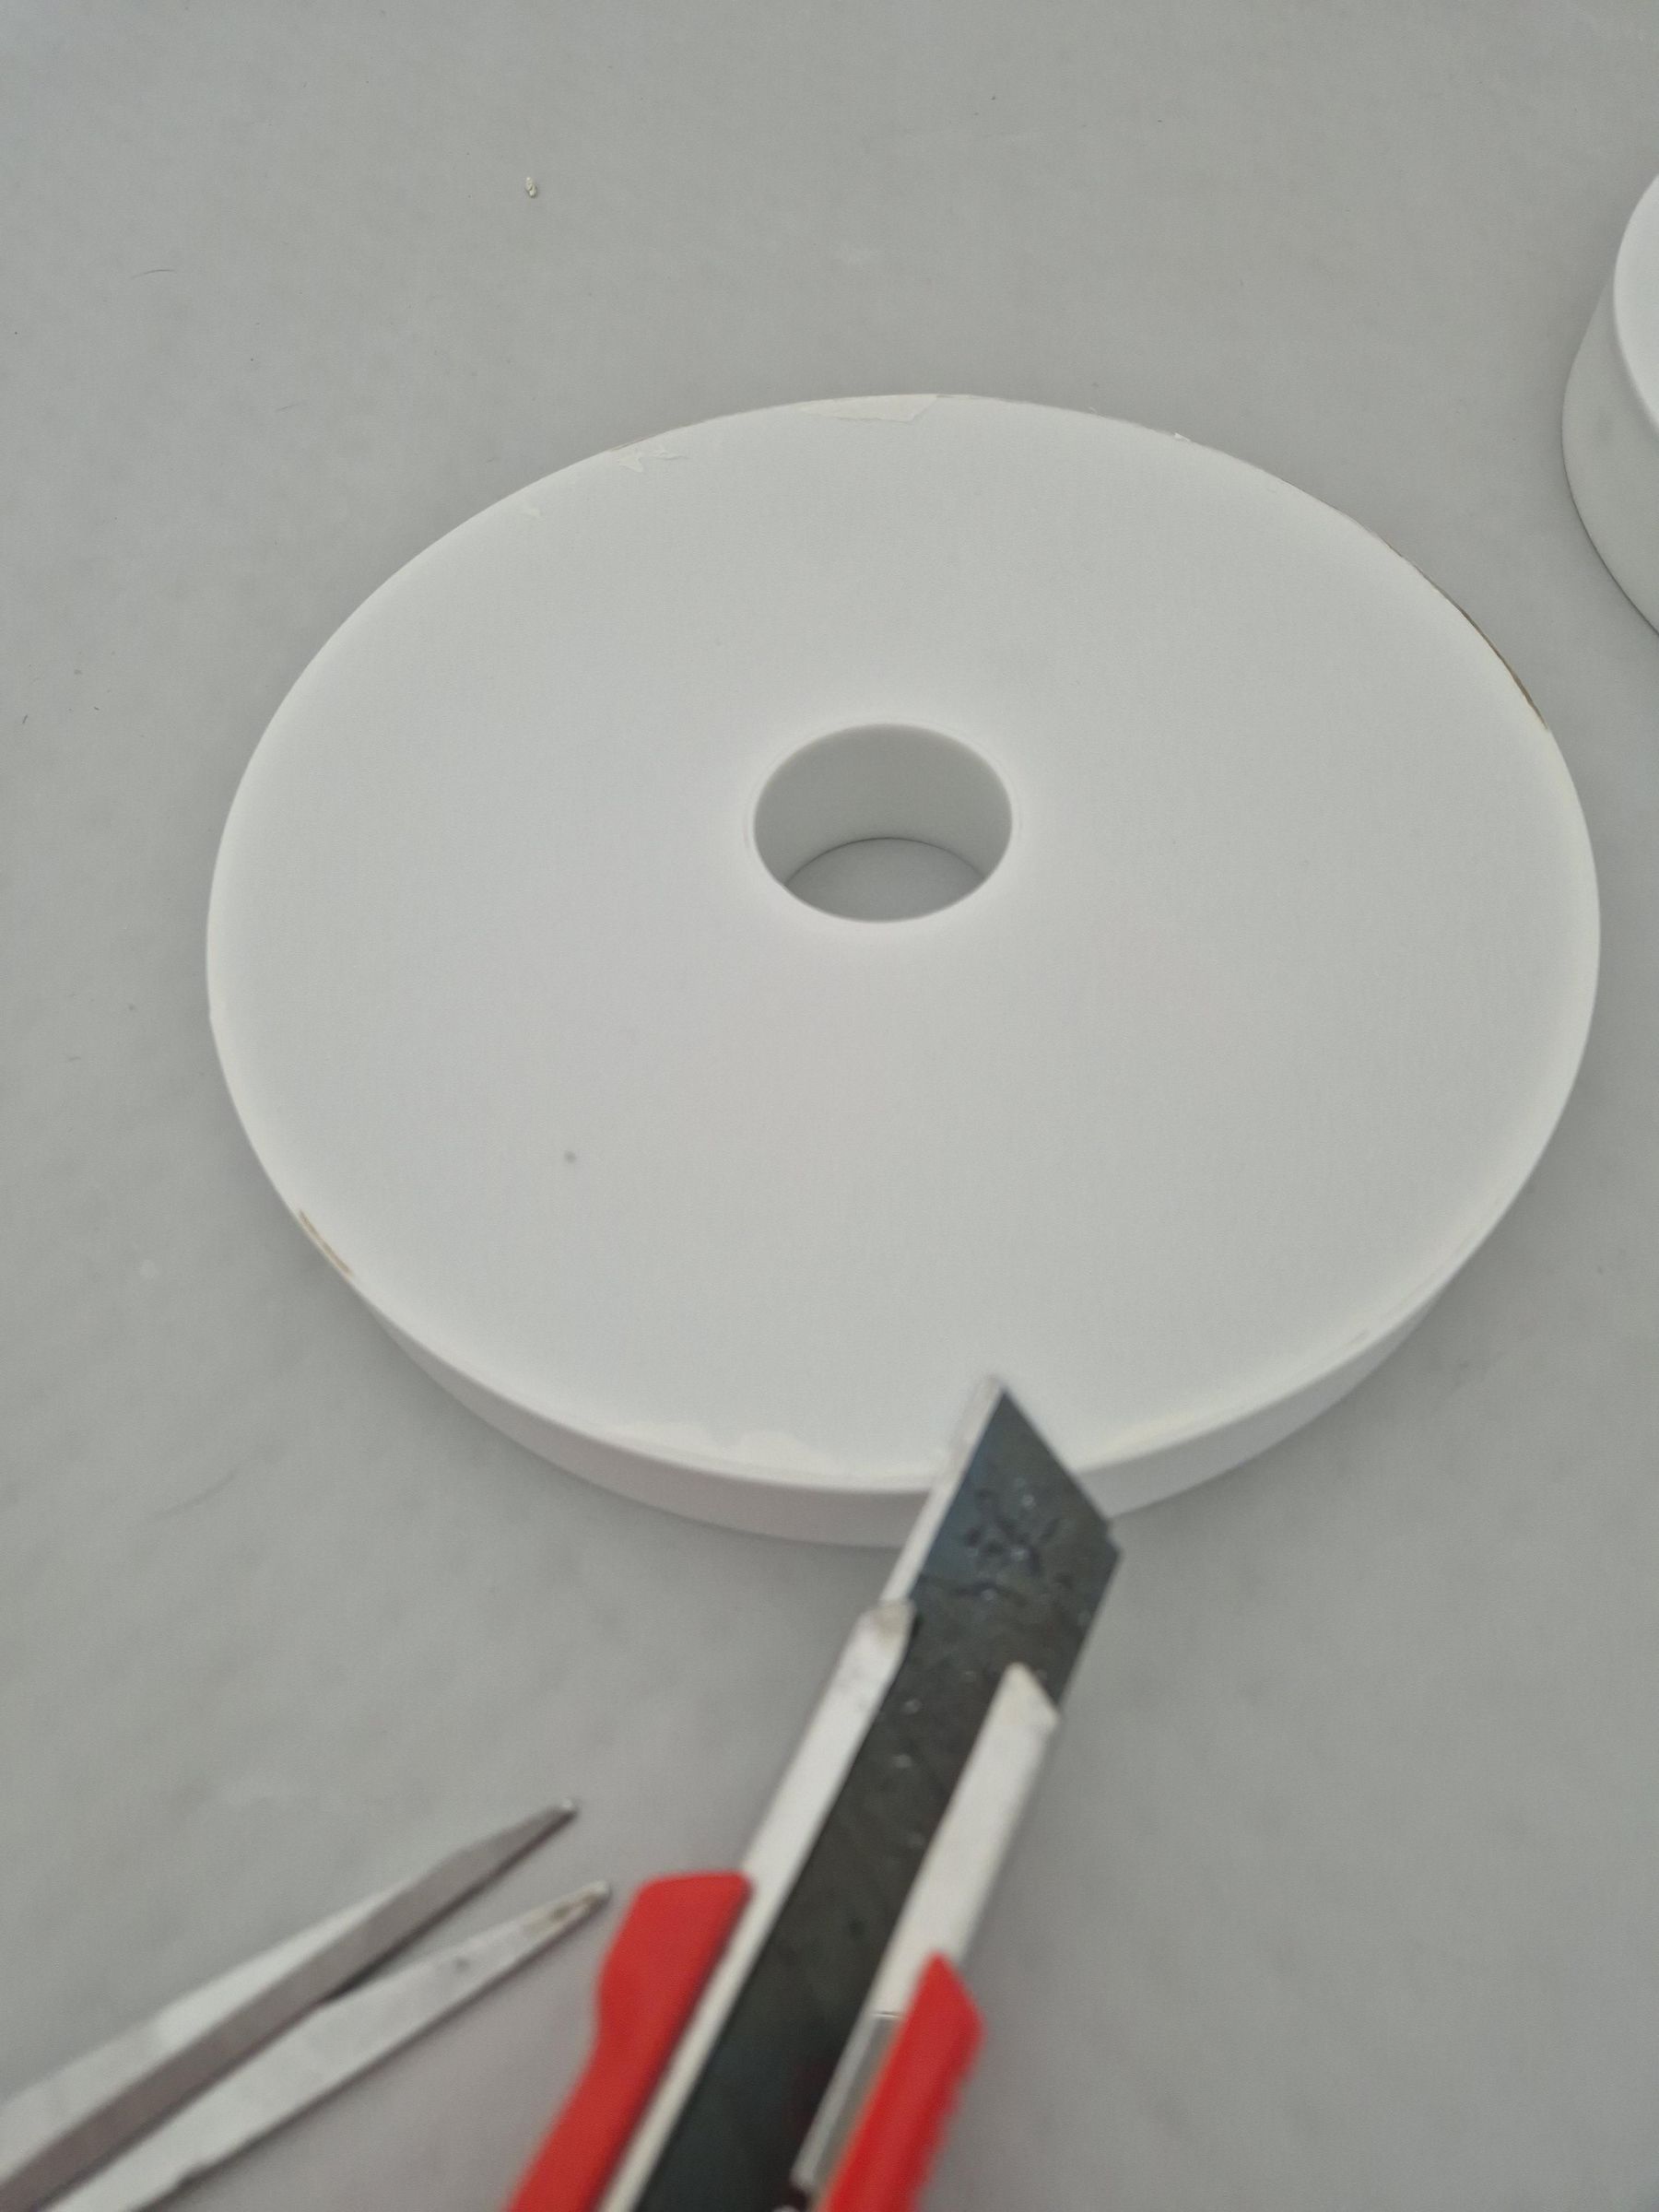
Cut away the masking tape at the bottom where it was previously folded over. This gives everything a cleaner look and ensures it won't get in the way during workouts.
Assembly
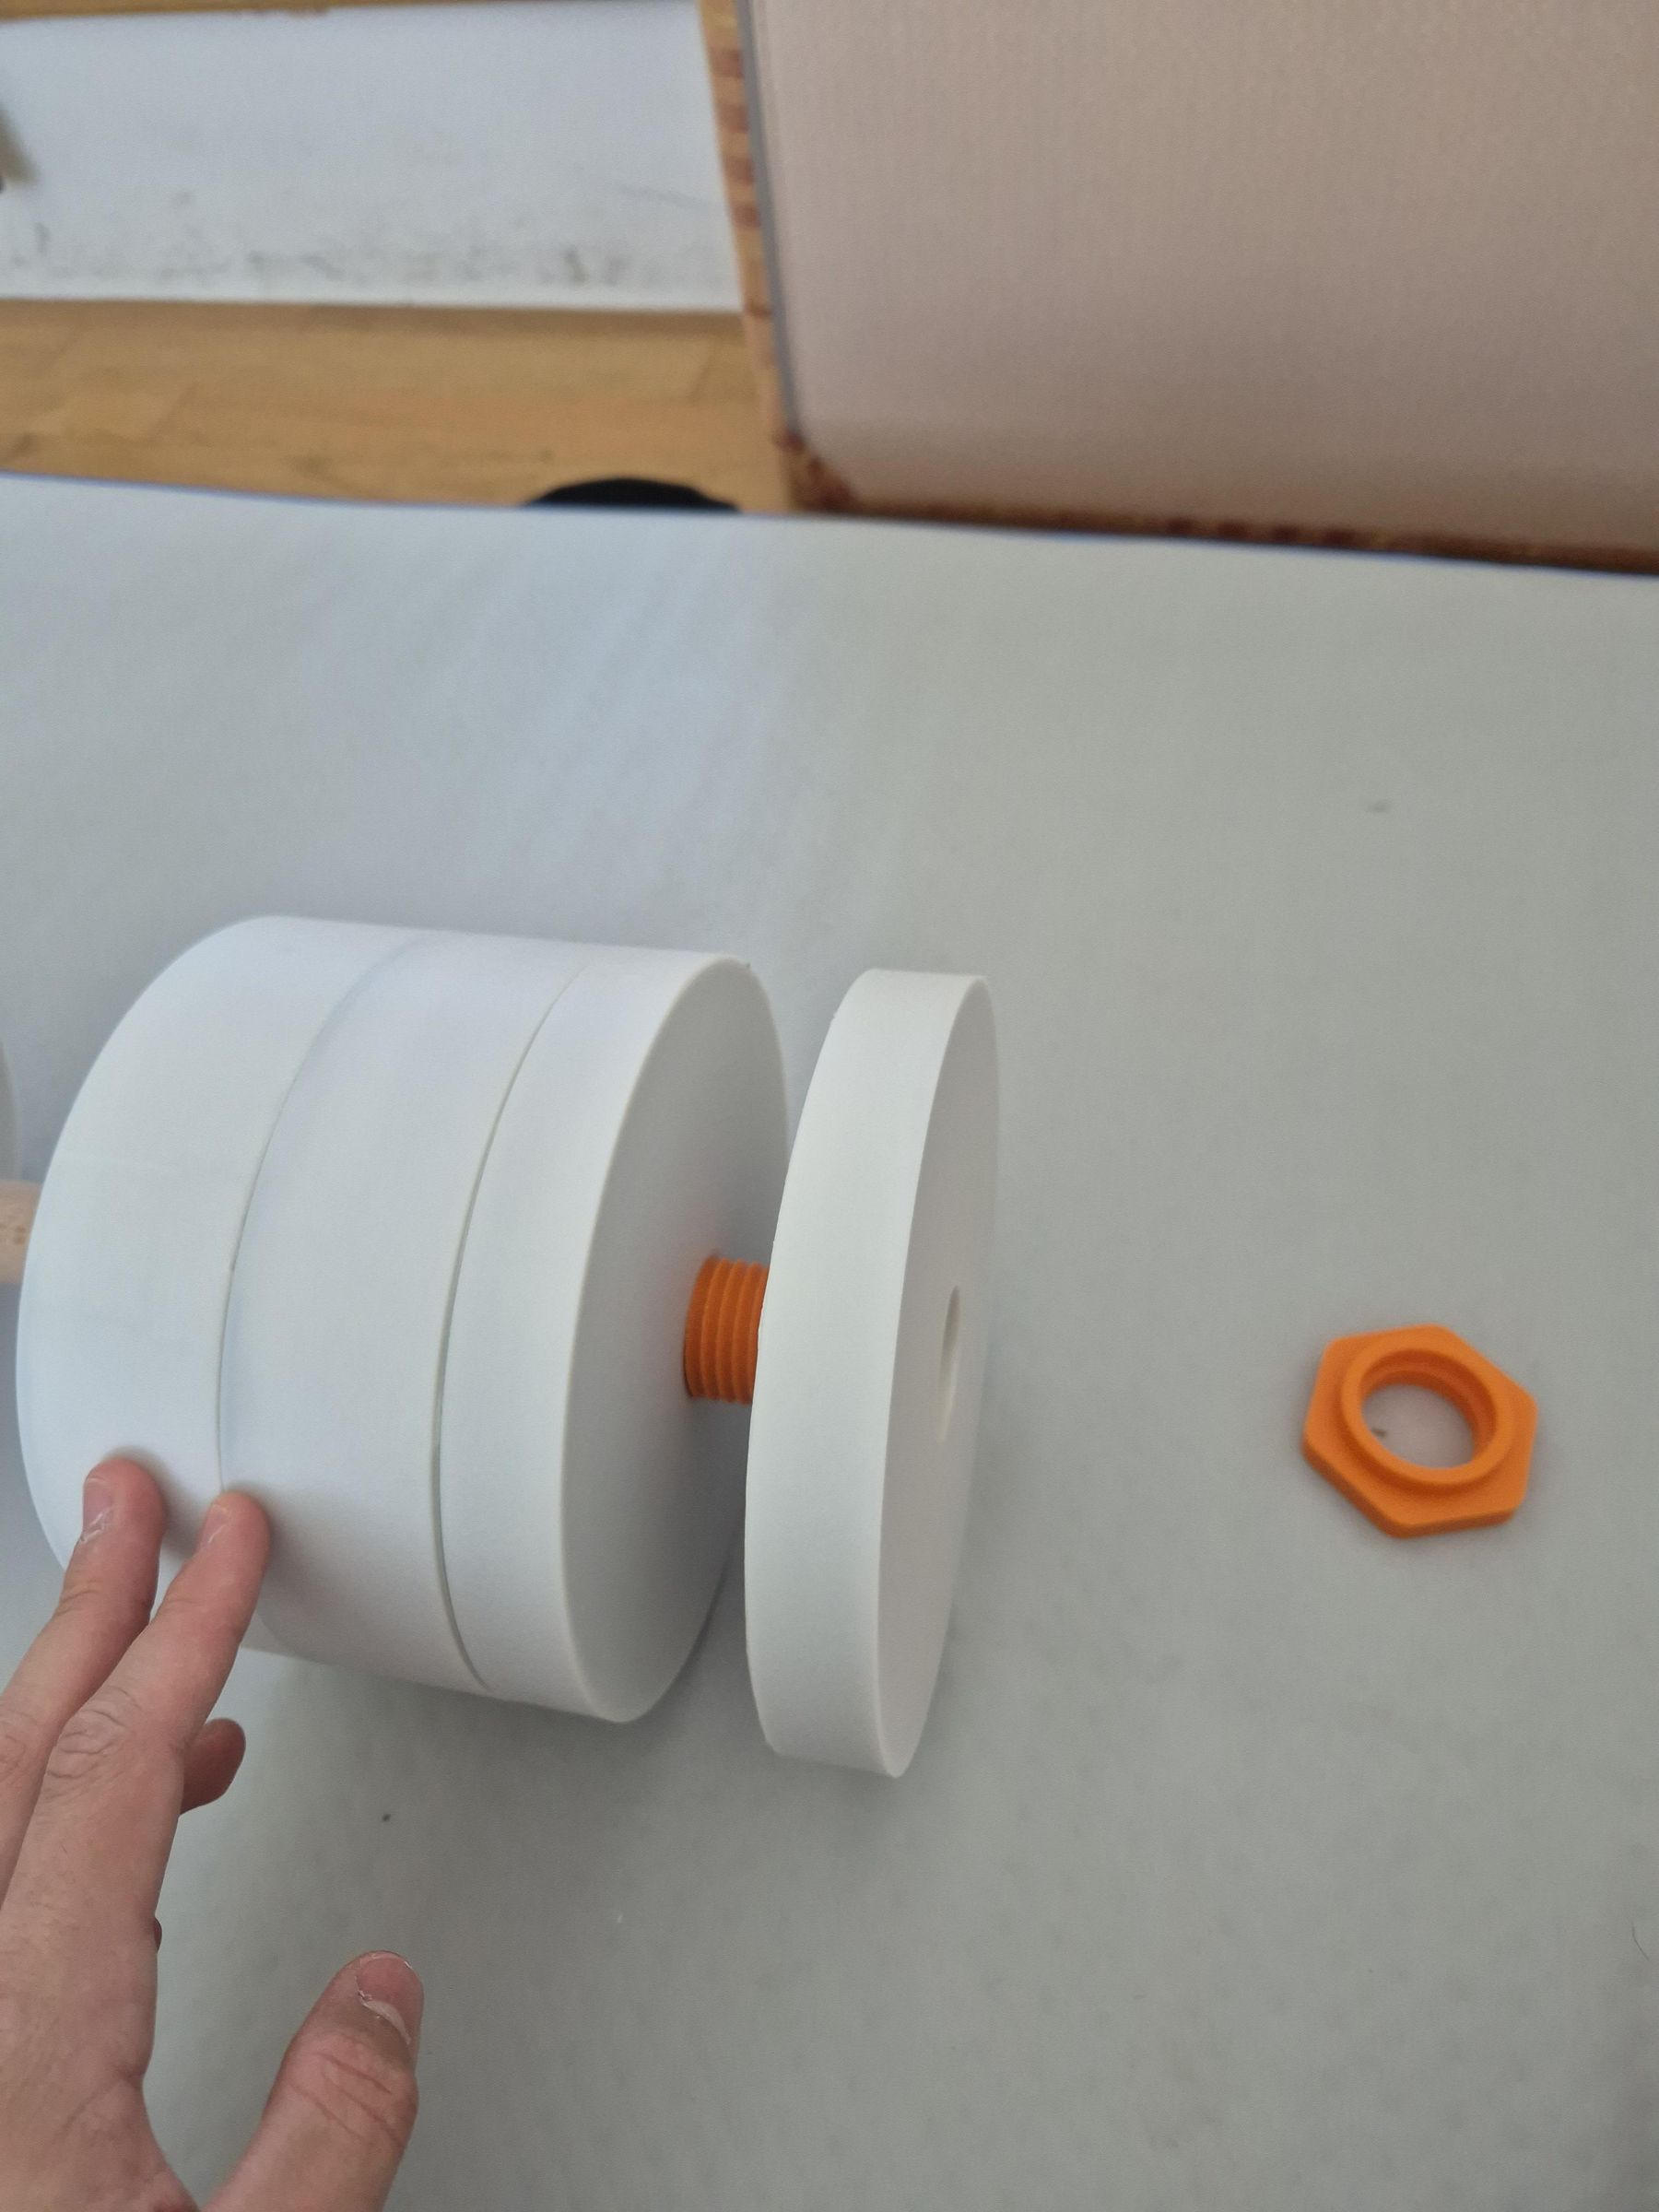
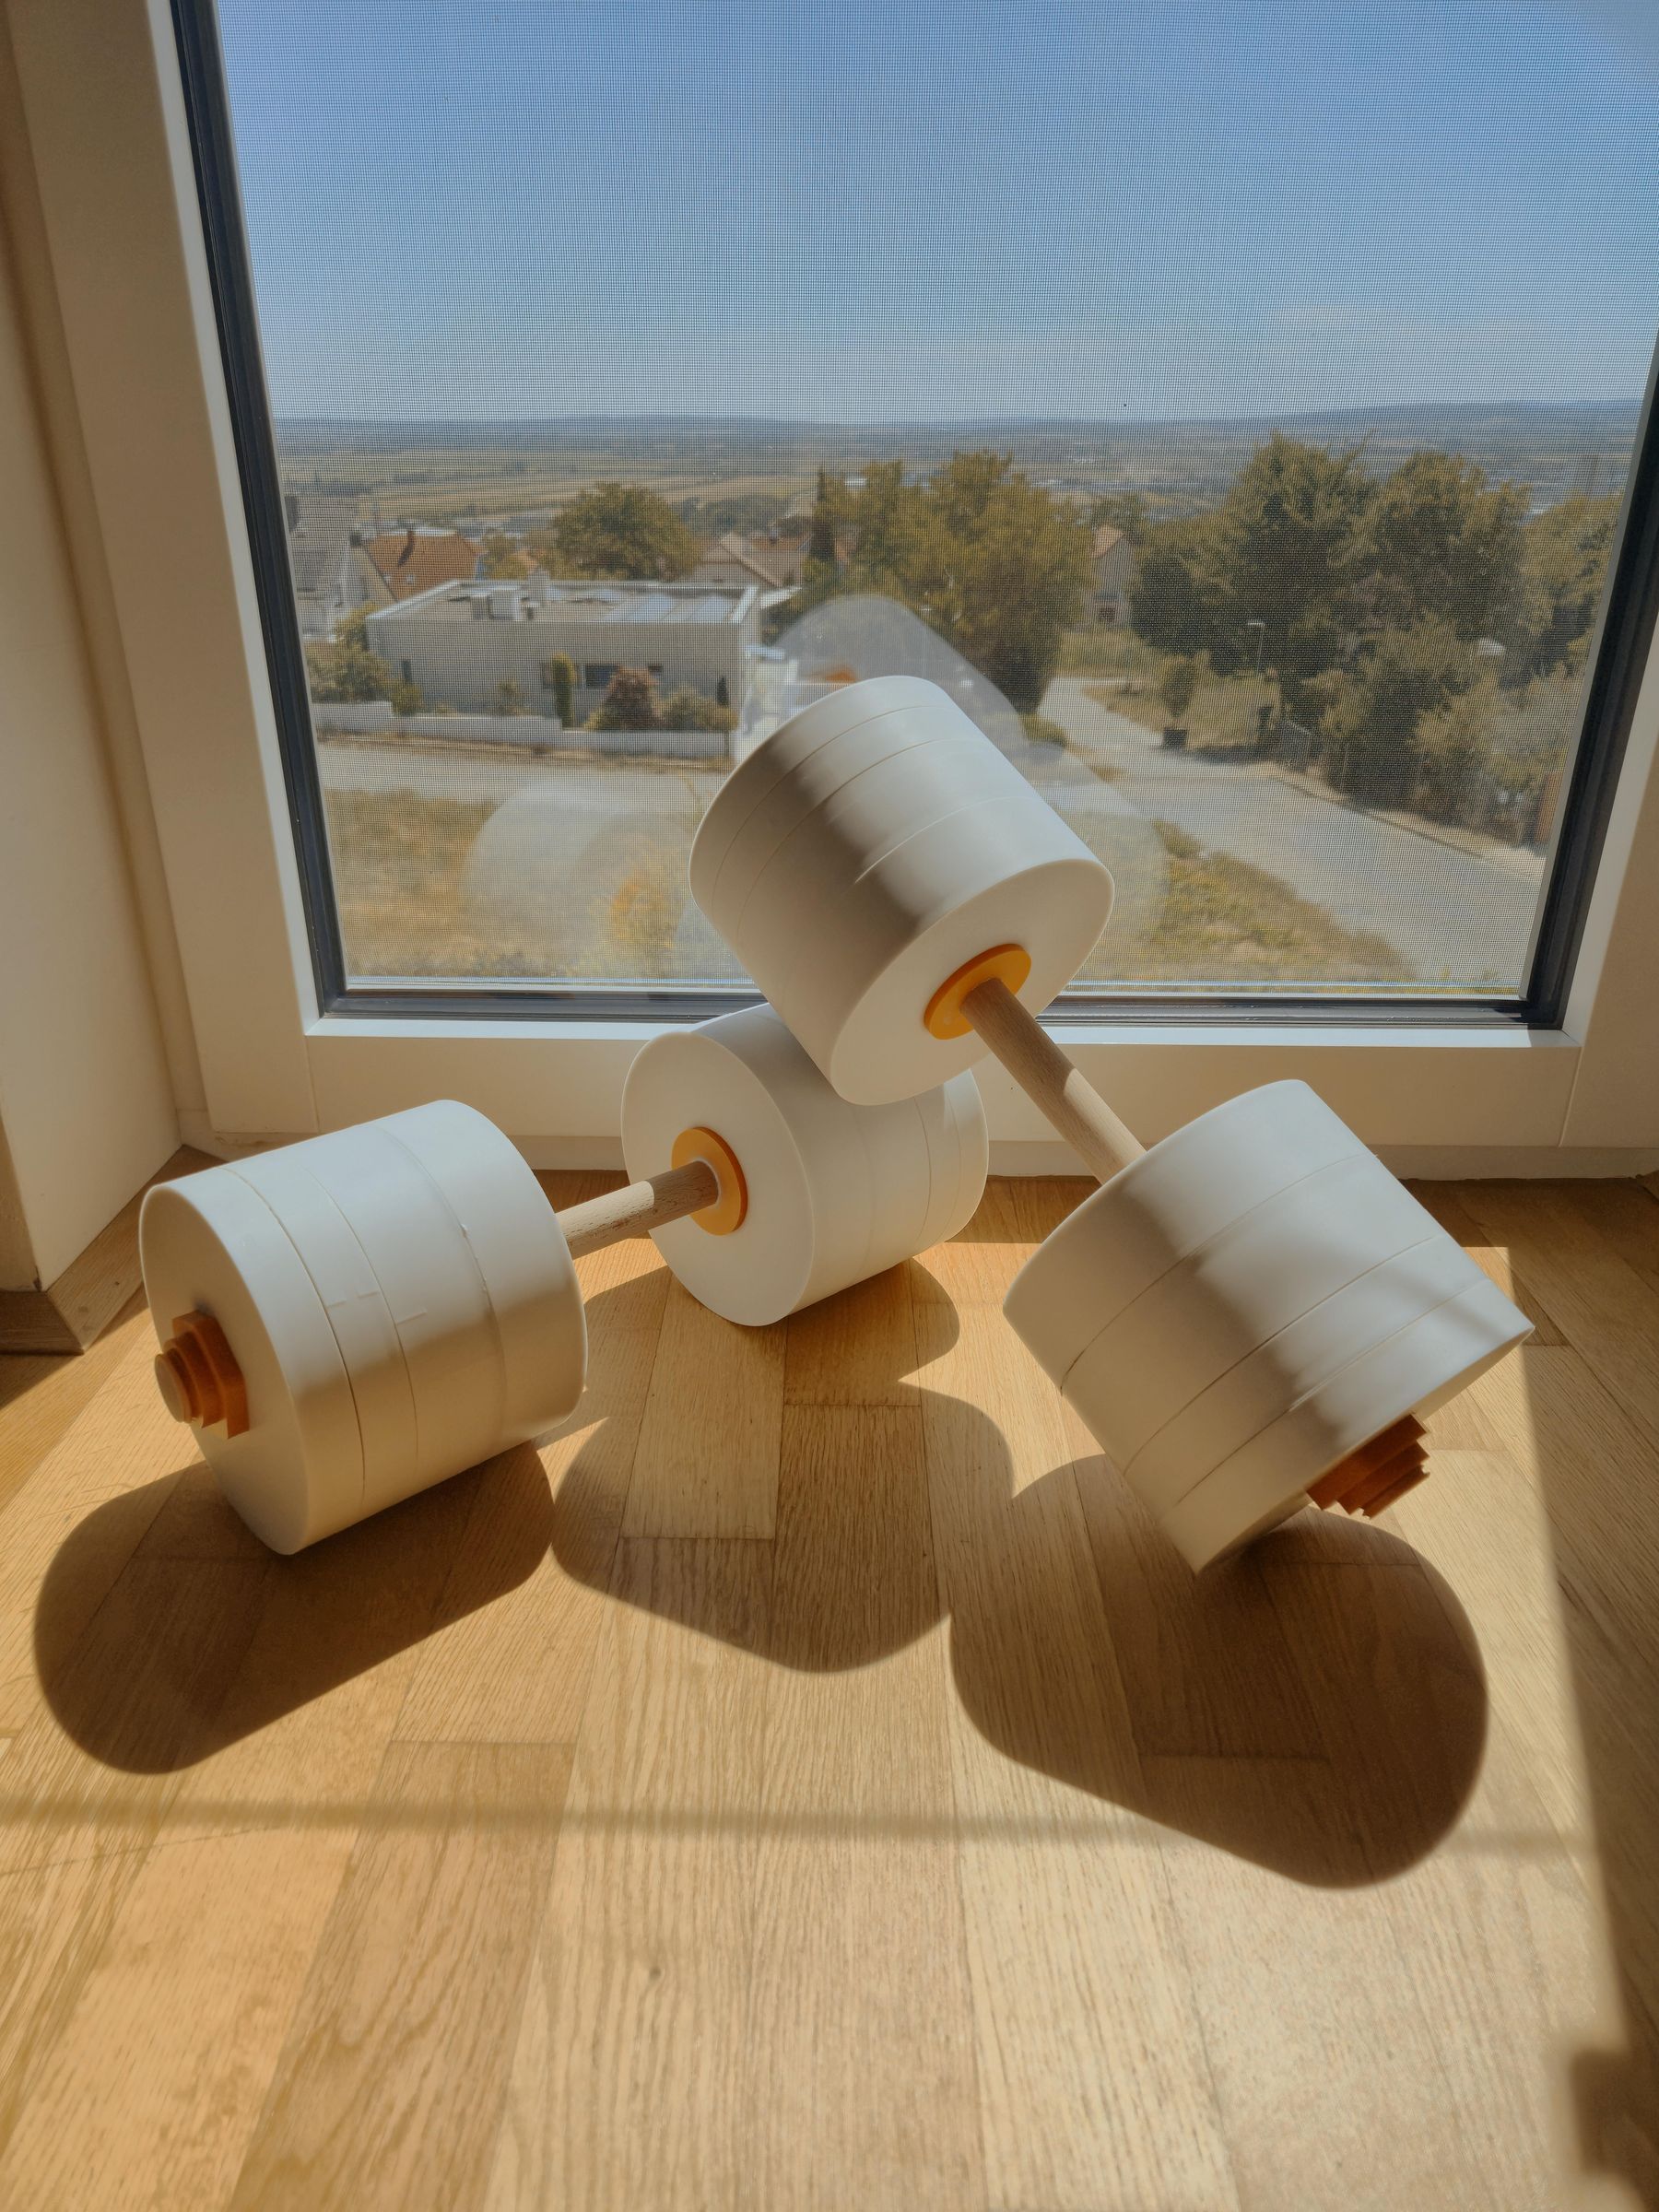
Now you can screw on the weights as you like and gradually increase the weight. Have fun training! 😊