AeroTerra Smart Cooling System
by 23kn162si in Circuits > Microcontrollers
77 Views, 0 Favorites, 0 Comments
AeroTerra Smart Cooling System
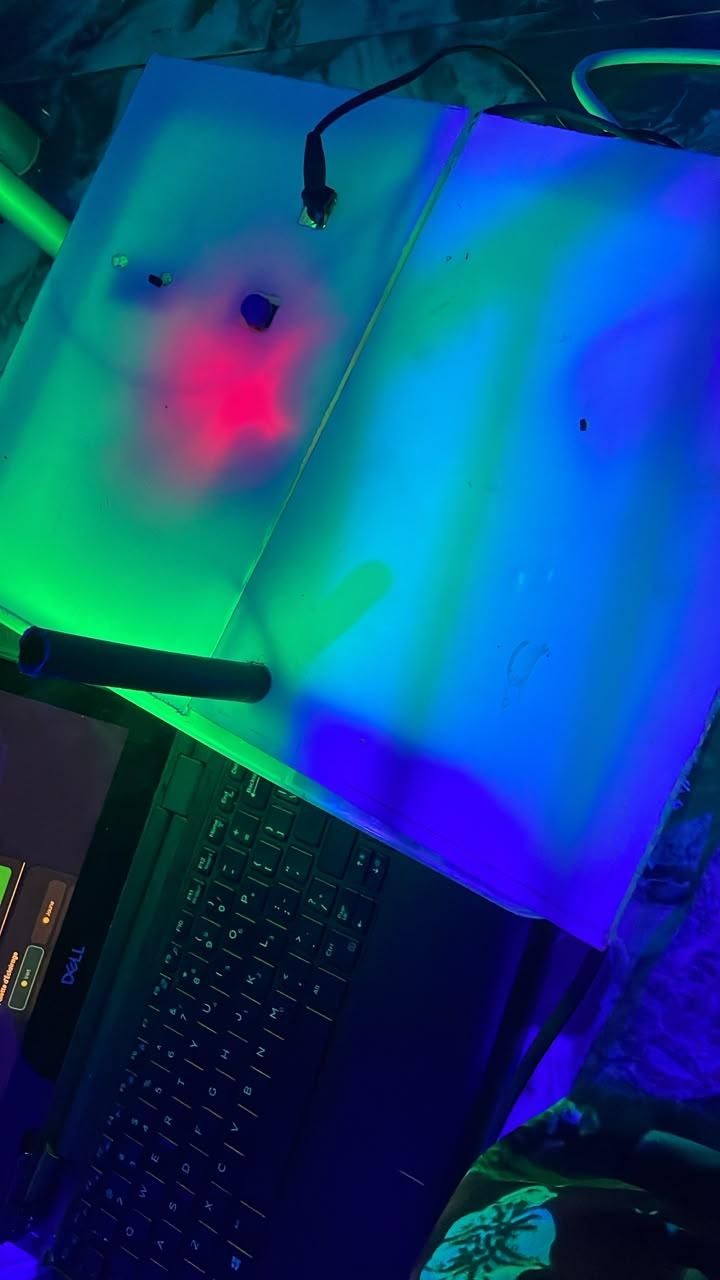
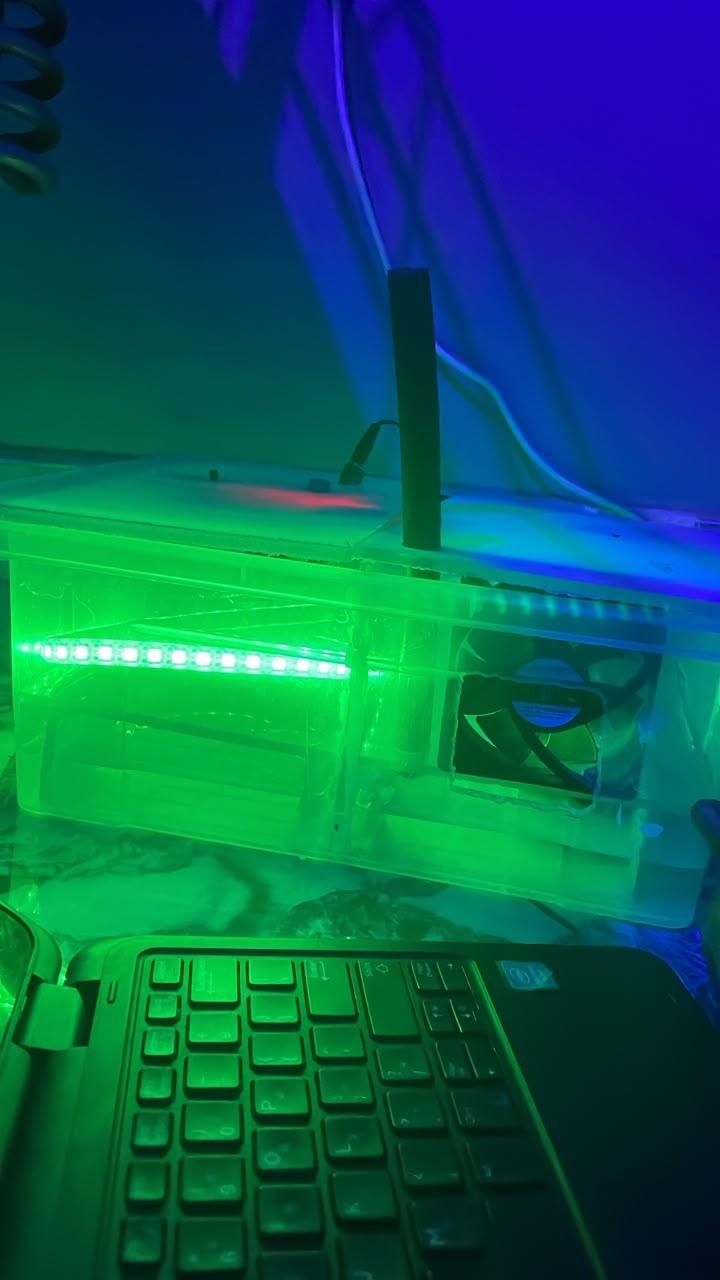
This contest is entitled Beat the Heat. We were asked to create a project that tackles the heat in an inventive and practical way. The goal is to design a system adaptable to various environments in order to make hot days more manageable and improve our daily thermal comfort.
As an inhabitant of the Democratic Republic of Congo, a country crossed by the equator, I know all too well what it means to endure intense heat without having access to cooling methods. It is a daily reality that can prove to be very challenging
That is why, as a student passionate about the Internet of Things (IoT), I thought of designing an intelligent and eco-friendly cooling system that I named: AeroTerra Smart Cooling System
This project presents the design of the AeroTerra Smart Cooling System, an eco-friendly, intelligent, and fully automated cooling system built around an ESP32 microcontroller. By leveraging the Wi-Fi connectivity of the ESP32, the system ensures real-time thermal monitoring and transmits measurements directly to a visual interface accessible from a computer or a smartphone.
By combining IoT for remote supervision and the thermodynamic principle of evaporative cooling, this prototype offers a thermal regulation solution that is both accessible and connected
Before diving into the details of the implementation, it should be emphasized that our prototype is multidisciplinary and relies on the alliance of four pillars:
- Do-it-yourself (DIY)
- Electronics
- Programming
- Thermodynamics (the phenomenon of evaporative cooling).
Without further ado, let's move on to the presentation of materials
Supplies

.jpg)
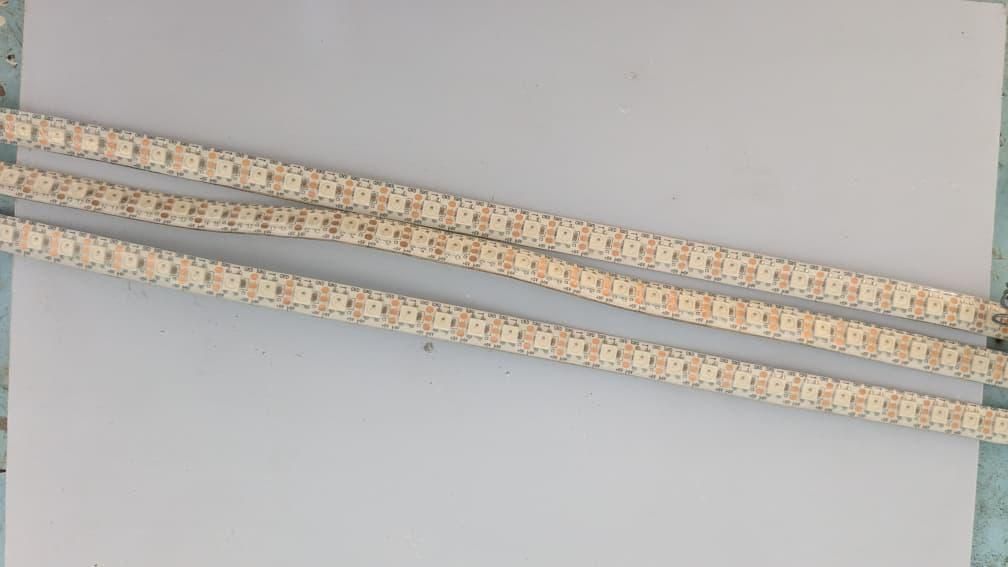
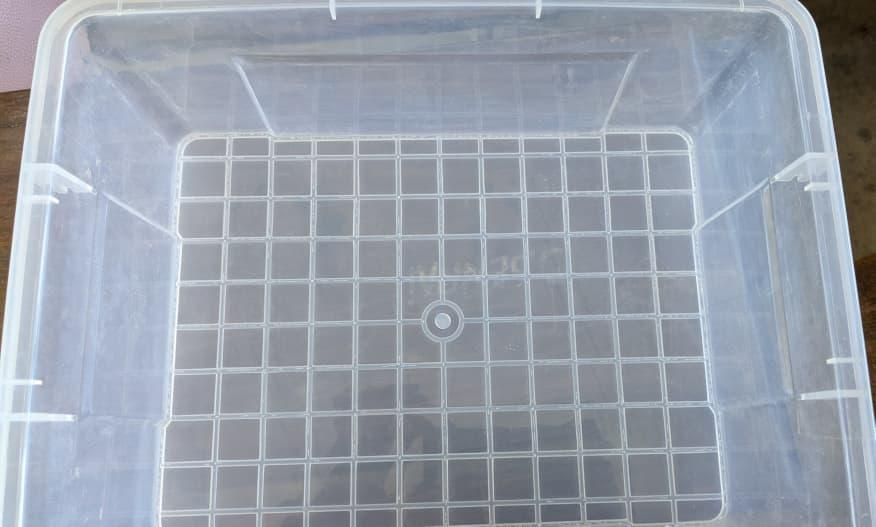
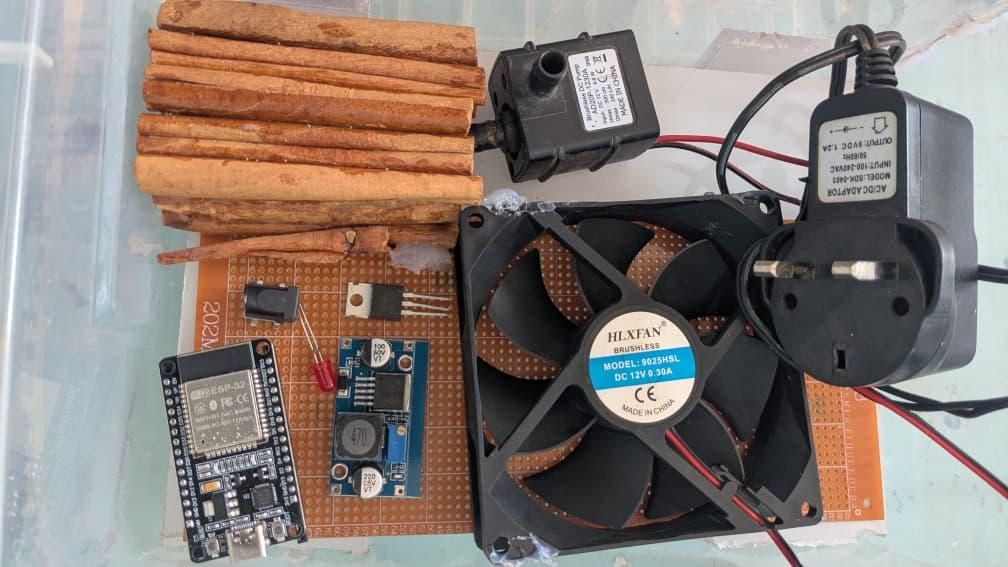
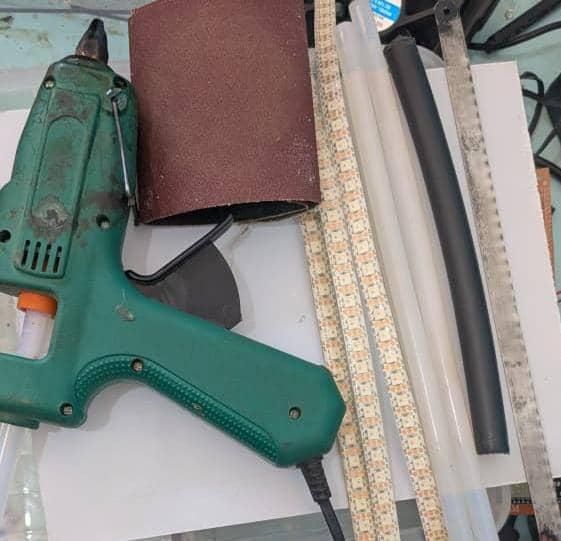
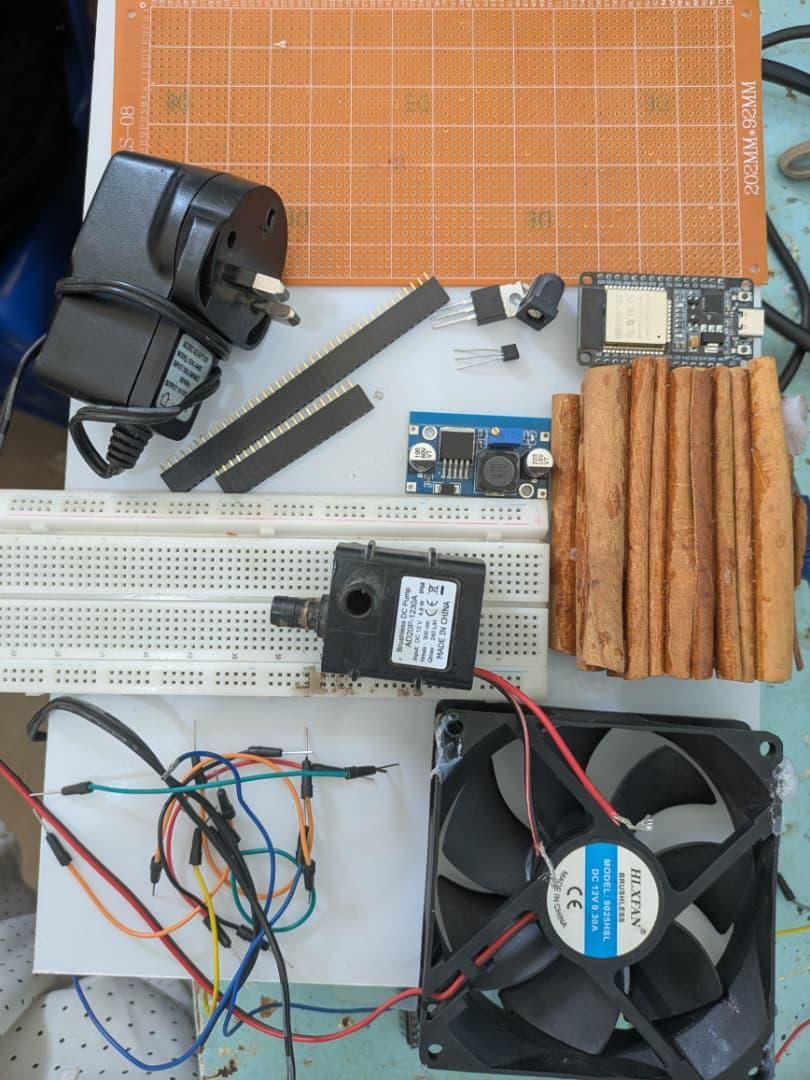
To design and assemble the prototype of the AeroTerra Smart Cooling System, I wanted to group the hardware into three main categories: electronic components, structural materials, and manufacturing tools.
NB: Although online links (such as Amazon.com) are provided for information purposes, the vast majority of these components can be salvaged or purchased directly from local vendors
Electronic Components, Sensors and Actuators
- ESP32 Microcontroller: The brain of the system, responsible for retrieving sensor data and controlling the outputs
- DS18B20 Temperature Sensor: Digital sensor for precise ambient temperature measurement
- 12V Cooling Fan: Salvaged from a broken computer (an alternative that is both eco-friendly and economical) or purchased new
- Mini water pump (5V/12V): To humidify the cinnamon medium.
- LM2596 voltage regulation module: Step-down converter (to adapt the battery voltage to the needs of the ESP32).
- Two MOSFET transistors: Used as electronic power switches to control the fan and the pump.
- Three LED strips & One red LED: For visual indication of the system states.
- Two push-buttons: For user interaction and manual settings.
- One 1N4007 protection diode & Resistors of different values: For safety and biasing of components
Structural Materials
- A batch of cinnamon sticks: Used as a porous and natural medium
- A transparent box: Main housing for the prototype
- Forex board: For separation, internal partitioning, and support of the various elements
- PVC pipe: To channel the water distribution inside the box
- Three hot glue sticks: To fix and seal physical connections
- Connecting wires (Jumper cables): For electrical connections
Assembly and Testing Tools
- A Breadboard: To test and validate the circuit before soldering
- A stripboard (perfboard): For the final soldering of components
- Soldering iron & Solder: To make permanent electrical connections
- Hot glue gun: For assembly (gluing)
- Saw blade & Sandpaper: For cutting and finishing PVC, Forex, or plastic elements
FUNCTIONAL PRINCIPLE
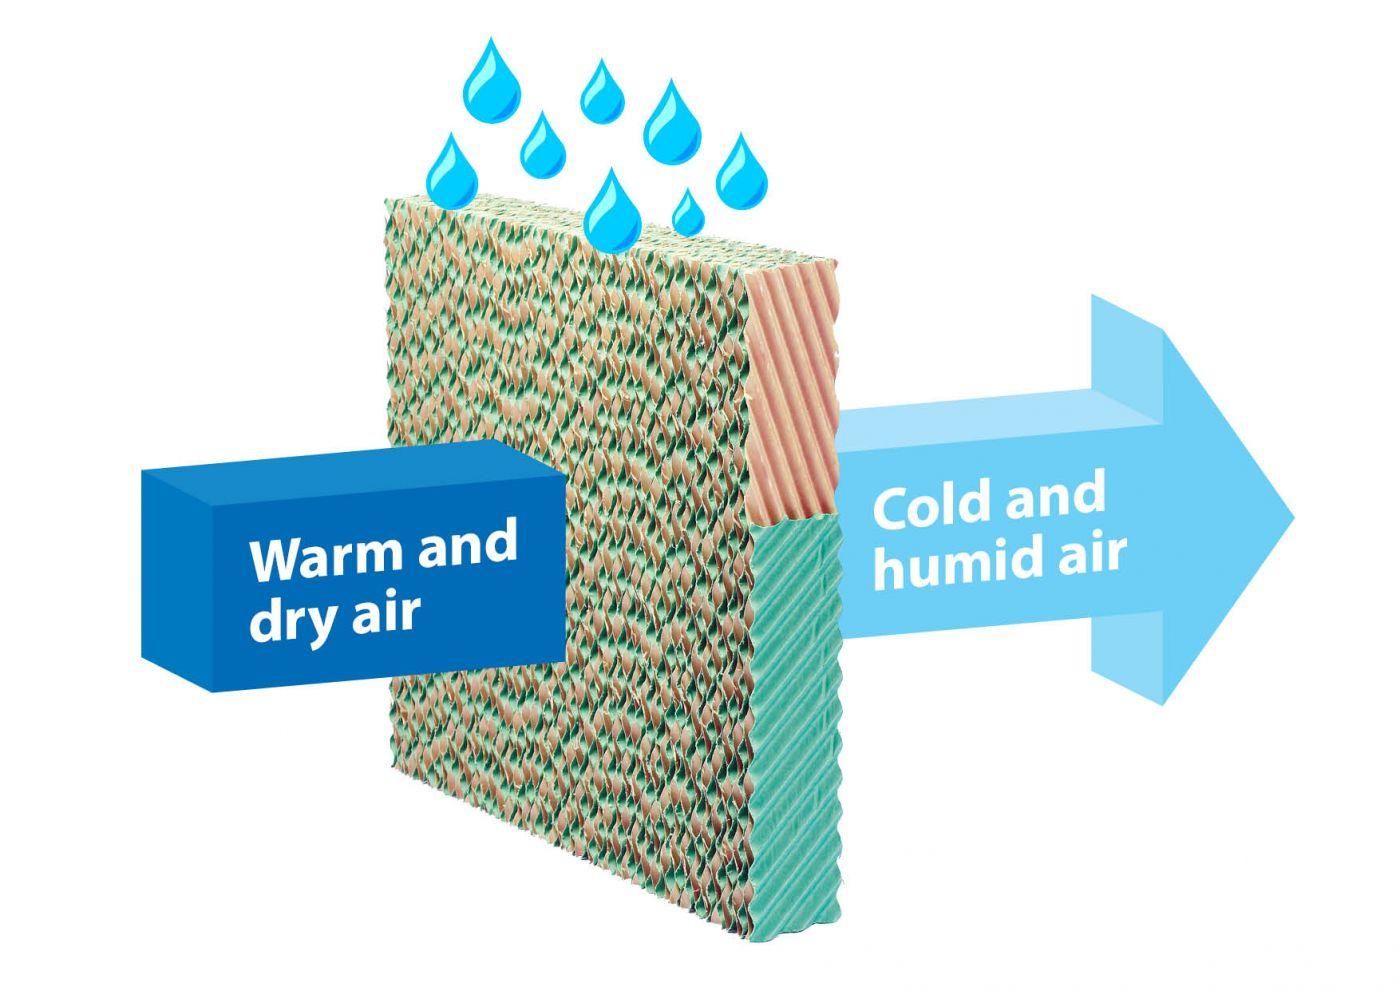
The functional principle: Evaporative cooling
How does it work in practice with the cinnamon and the fan?
Cinnamon is a spice obtained from the inner bark of the cinnamon tree. It has a porous structure, which means that it acts as a natural sponge capable of retaining water and maximizing the contact surface area with the air. It is this remarkable property that motivated me to integrate it into my project.
In practice, the fan draws in the hot air from the room and pushes it through this damp cinnamon support. To evaporate and change from a liquid state to a gaseous state, water needs heat. It will therefore absorb the calories (heat) from this flow of hot air. Deprived of its heat, the air immediately comes out cooled and purified in the form of fresh air
Explanation of the Model Fabrication
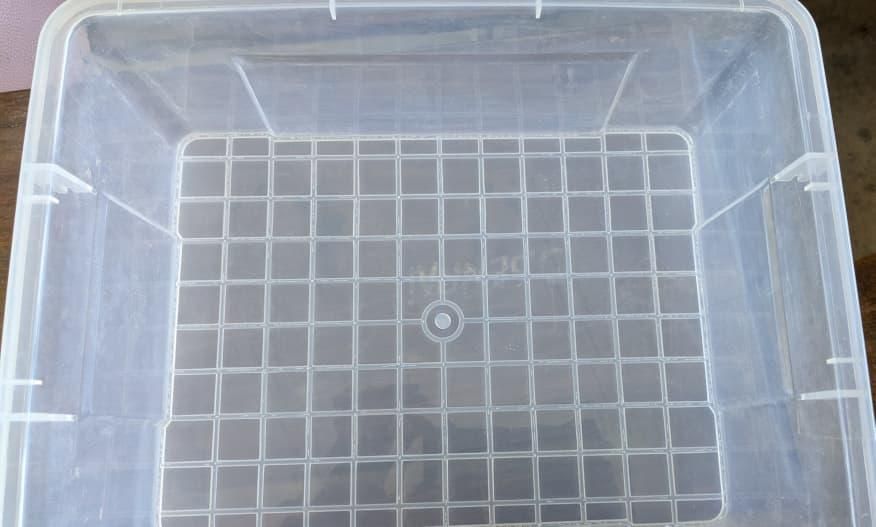

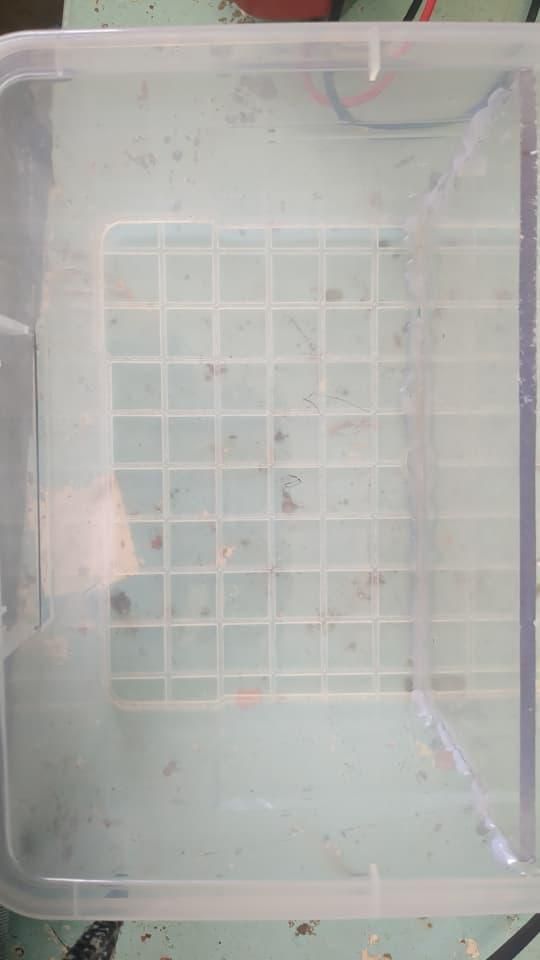
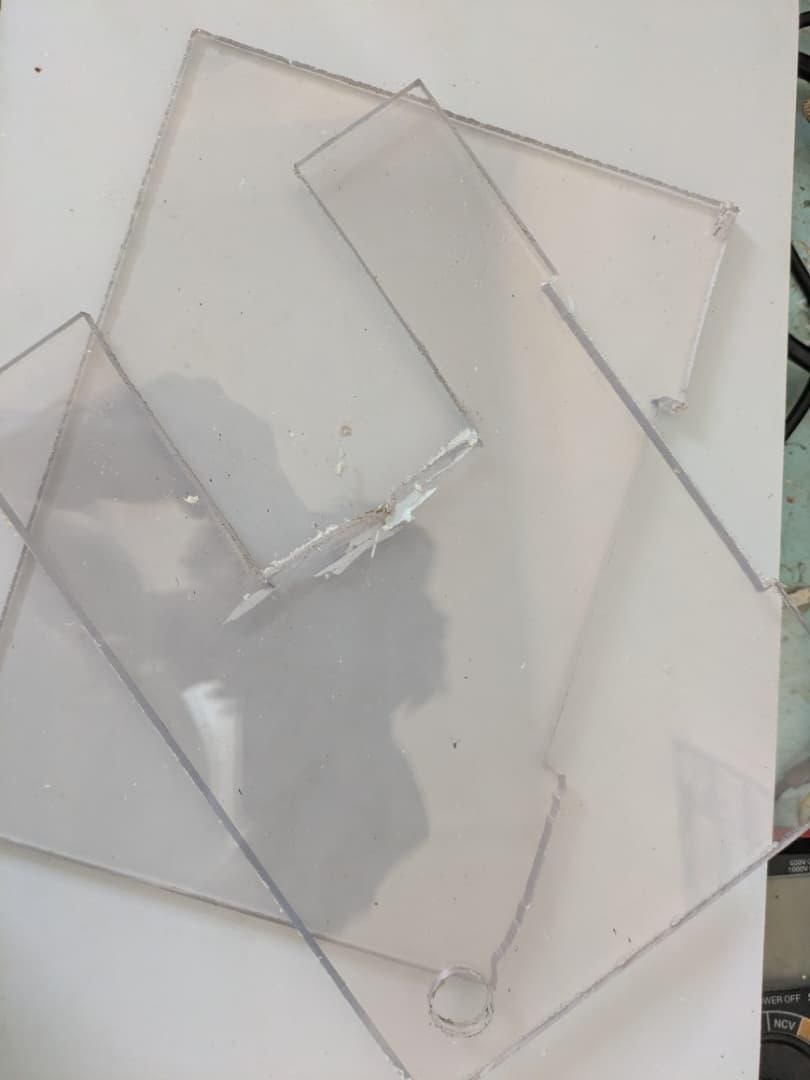
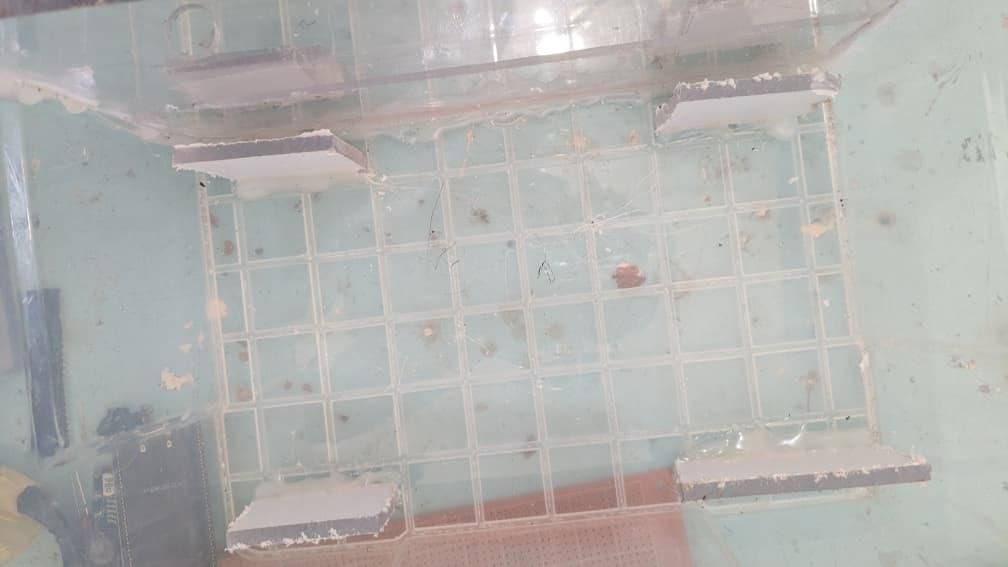
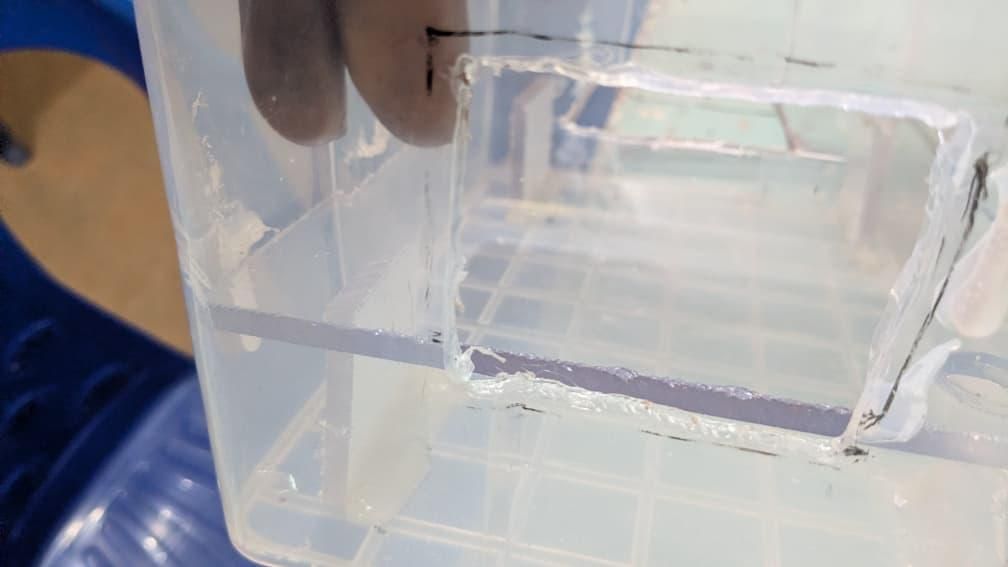
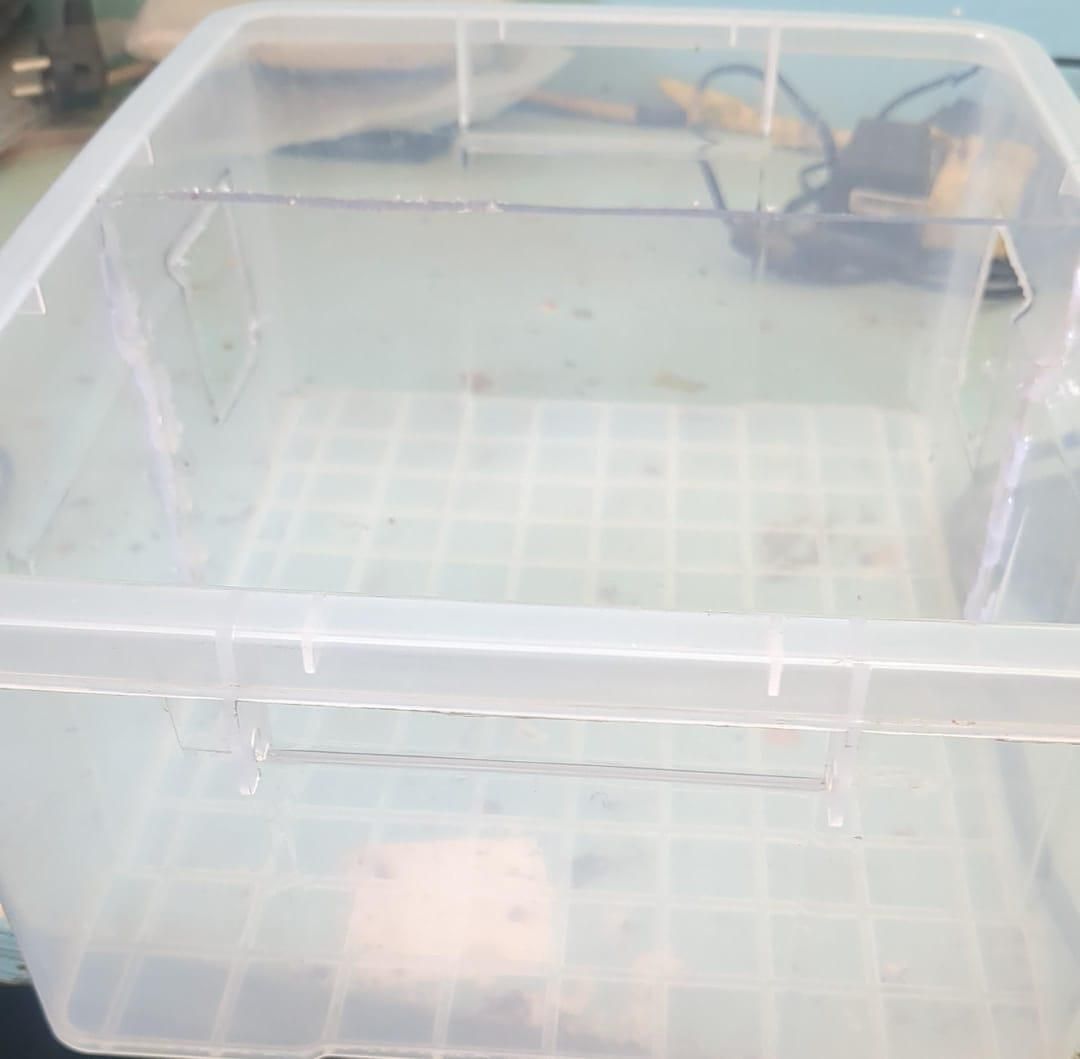
I do not have a 3D printer. Due to limited resources, I built this model by hand. At the beginning, as you noticed, I had a box with very little inside and, above all, without any life. So, I decided to make an effort to bring it to life.
Step 1: I started by dividing the box into two using a Forex PVC foam board. Then, I cut the Forex material according to the shape of the box and used hot glue to fix the Forex board inside the box. This gave me two compartments: one will serve as the water reservoir, while the other will house my electronic components.
Step 2: To ensure the protection of the components, I decided to place them at a higher level. I cut the Forex material again and created a kind of small pillars to support the Forex board that I placed horizontally, on which my components will be positioned. I used hot glue to secure the whole assembly. And now my components are well protected.
Step 3:I decided to immerse the pump in the water. I then divided my reservoir compartment into two horizontal sections: the pump will be immersed in the water, while the cinnamon and the fan will be placed above. I created a space where my pile of cinnamon will be placed in order to allow the water to flow back into the reservoir after humidifying it. I also created a kind of window on the fan side to collect the hot air from the room, and on the cinnamon side to release the cool air.
Step 4: I always used the Forex material to cover my two compartments: the reservoir compartment and the component compartment. I cut the Forex boards according to the shape I needed and made holes, as you will be able to see in the photos. There are two holes to allow the water that the user will pour into the pipe to be channeled, one hole to let the LED come out, another hole to let the push button come out, one hole to let the temperature sensor come out, as well as another hole to let the power supply port come out. At the bottom, I also made another hole that helps me bring the water from the pump back up through a pipe. I used Forex material because it reflects light, and I will need this property so that it can reflect the light from my addressable LEDs. I really worked in an artisanal way: using a saw blade and sandpaper for cutting, and hot glue for assembly. You can reproduce the same thing at home if you do not have a 3D printer.
Explanation of the Electronic Section

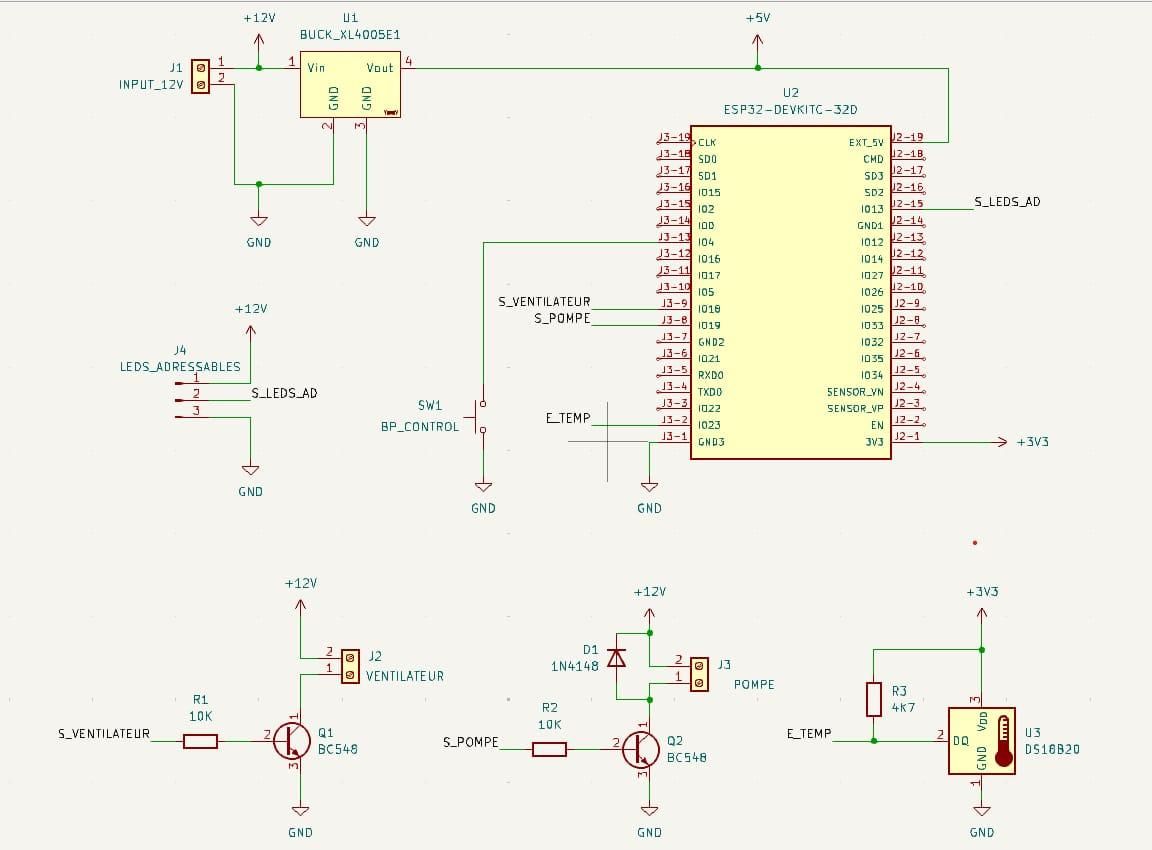
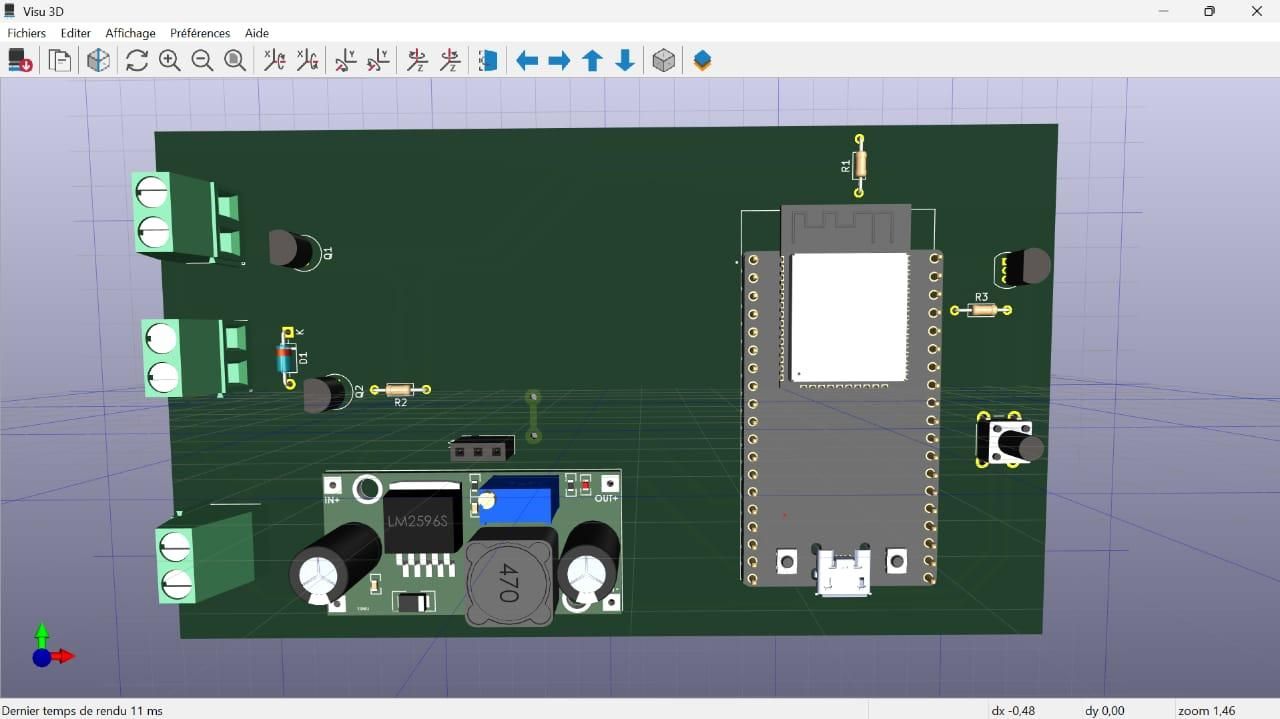
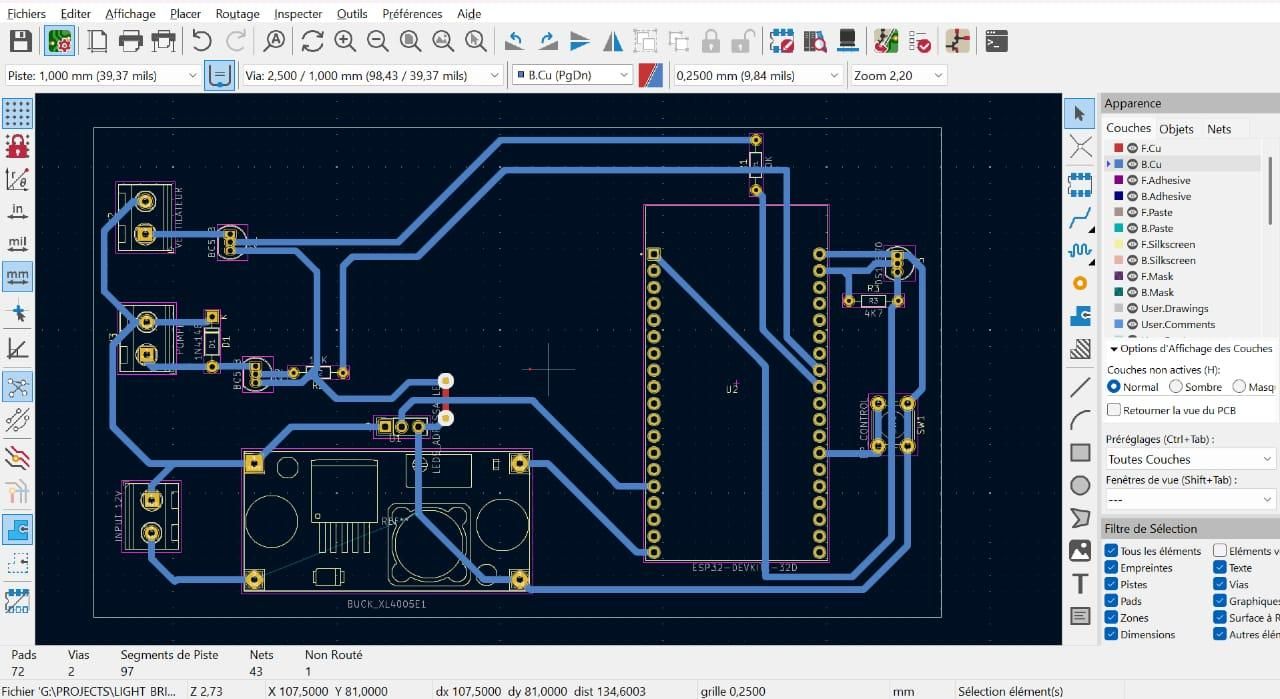
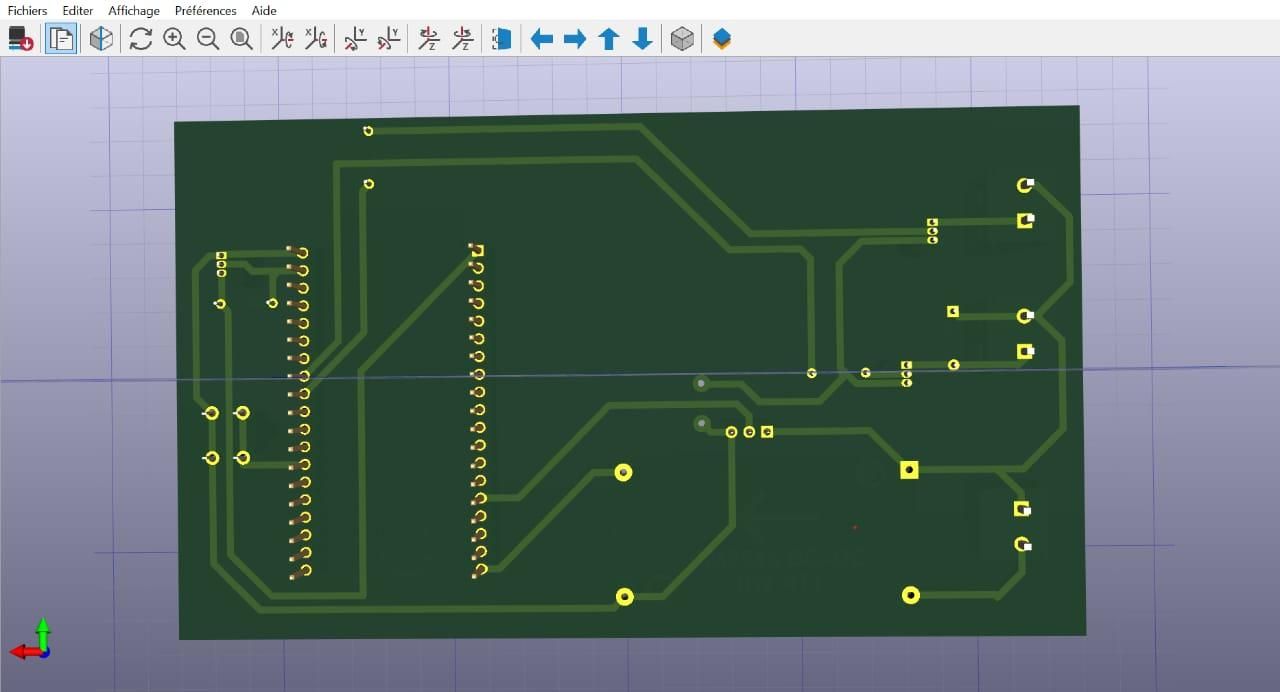
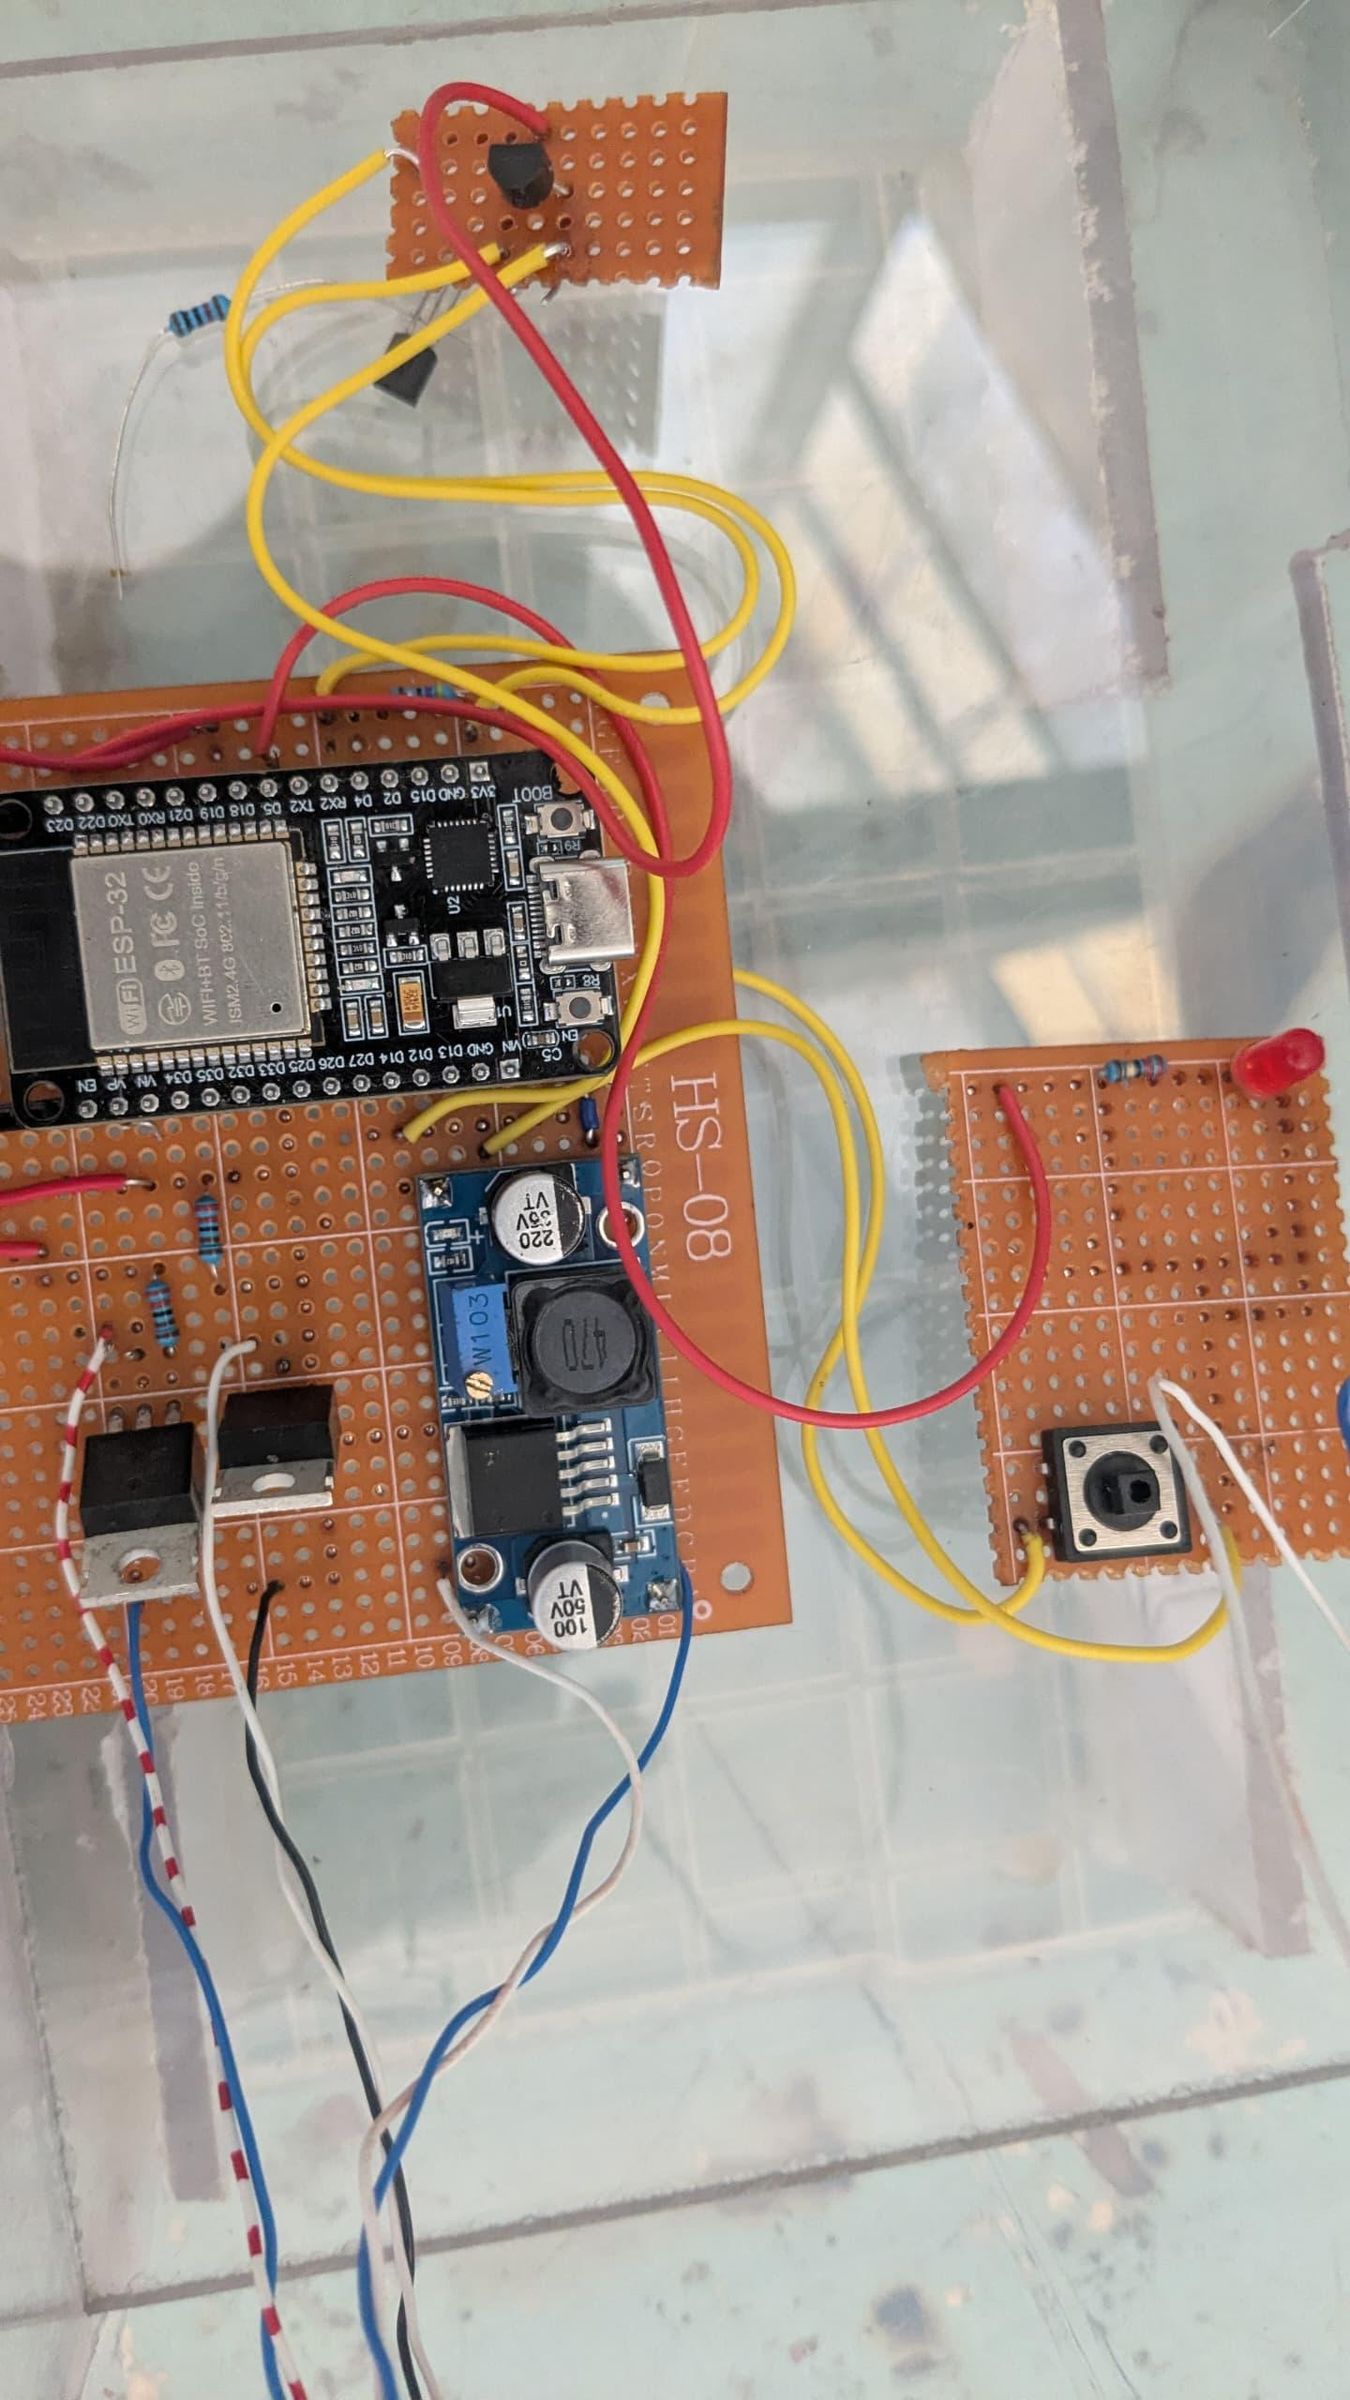
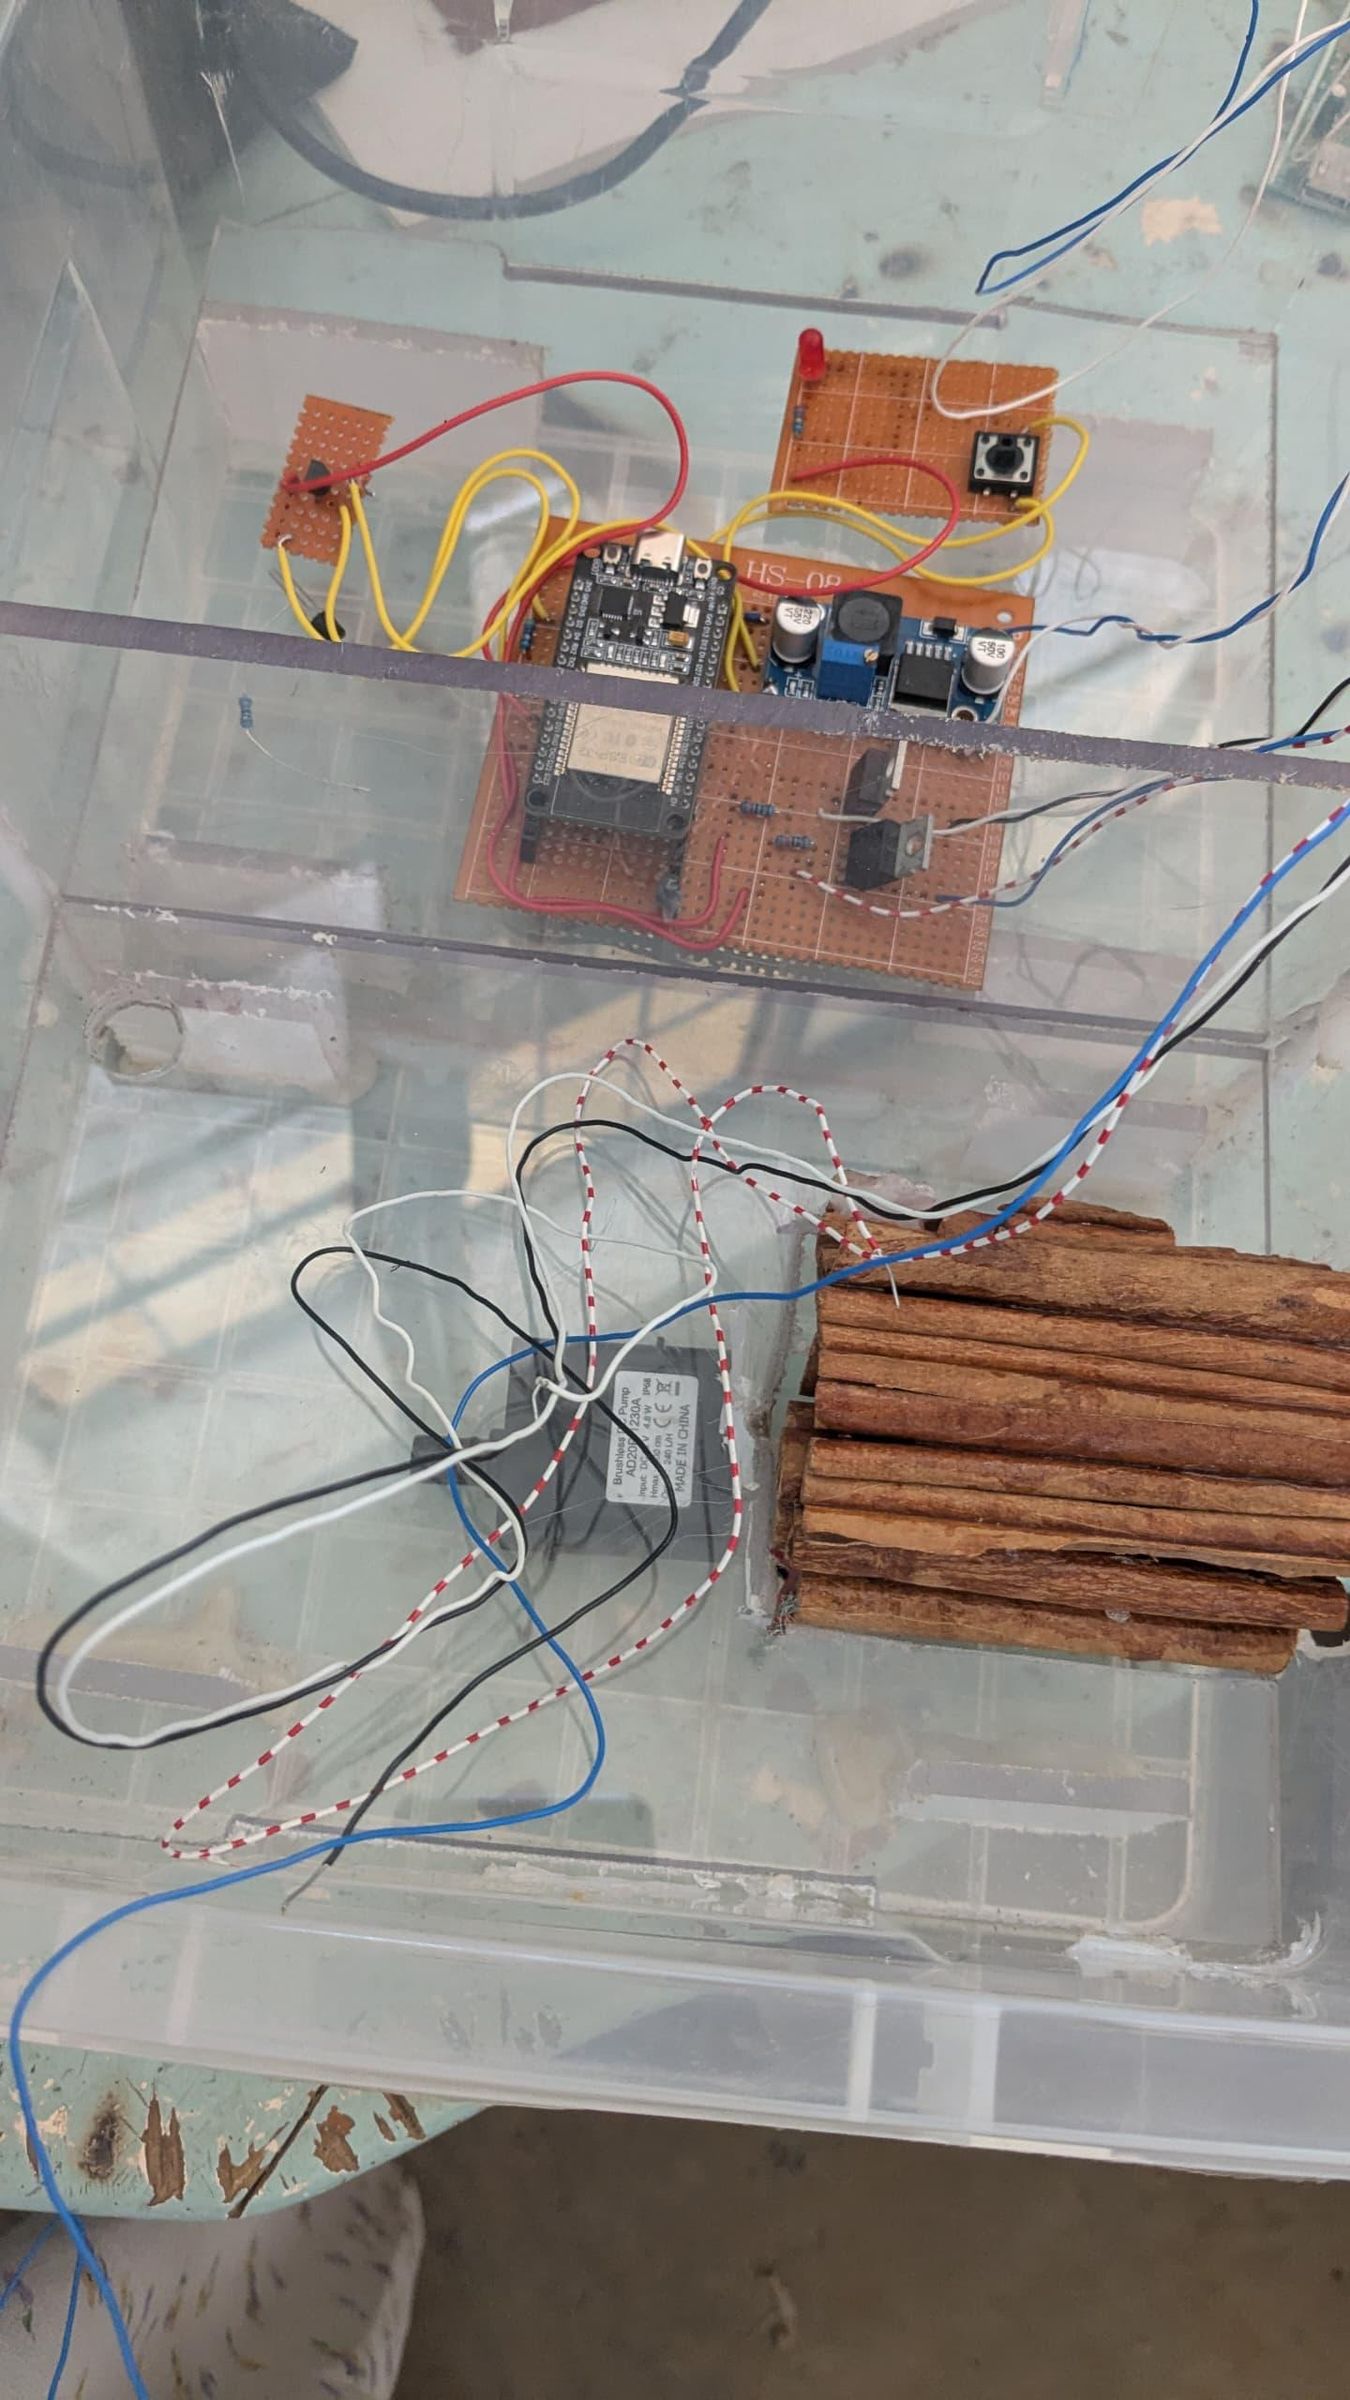
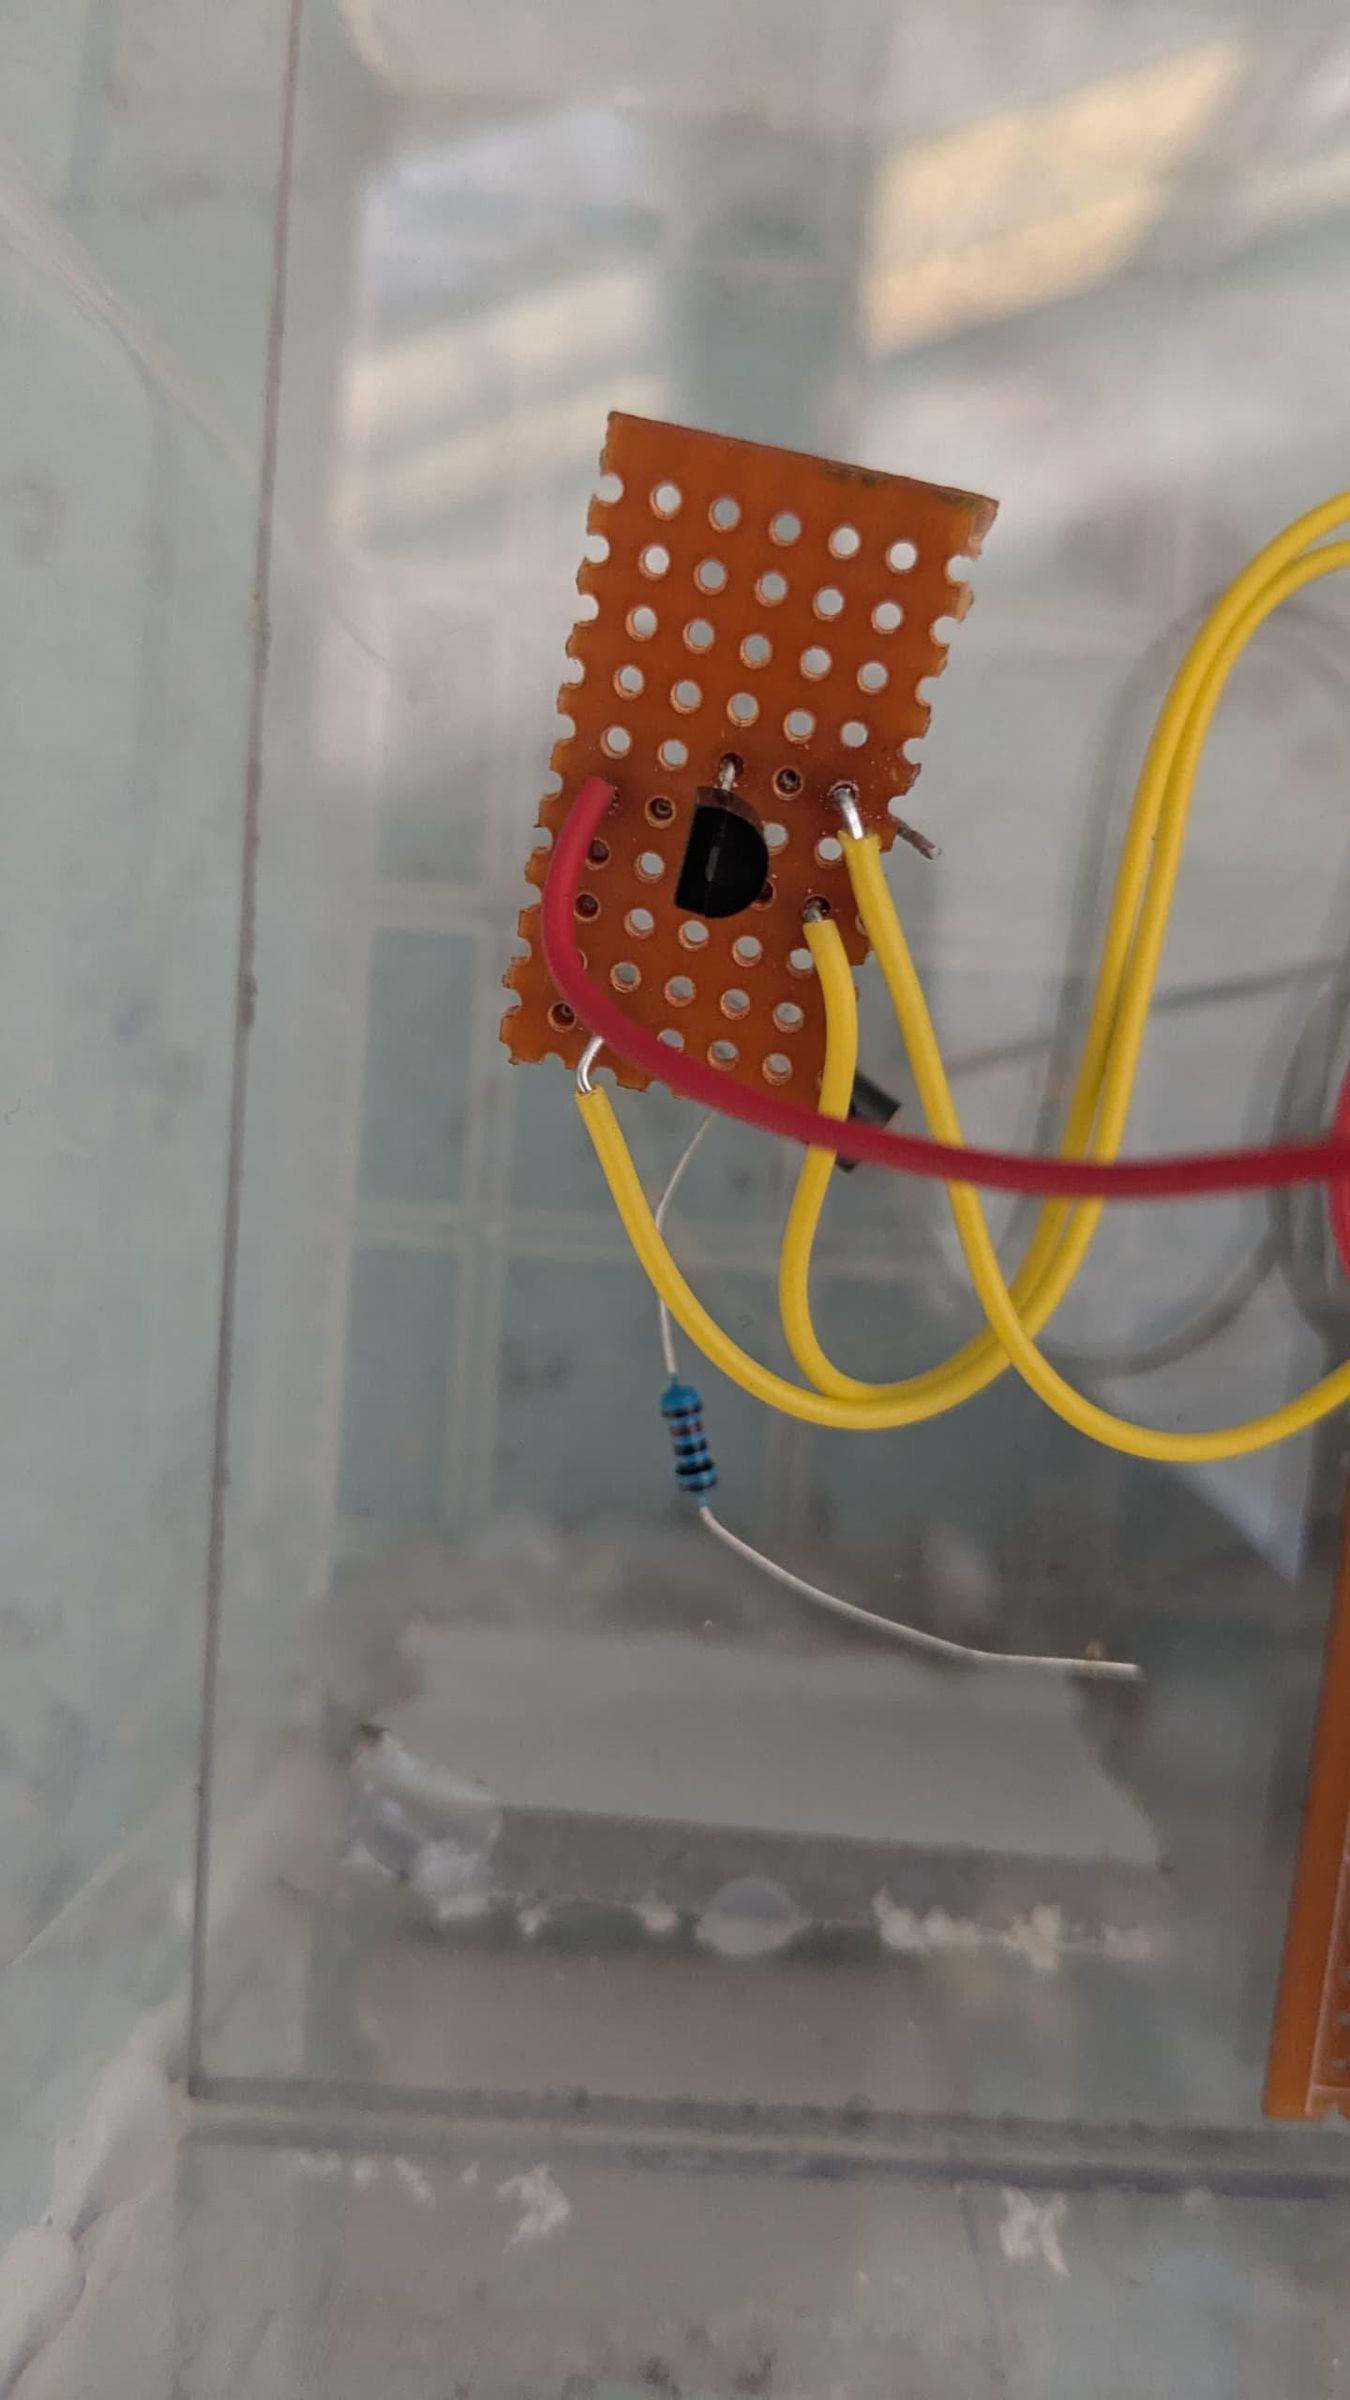
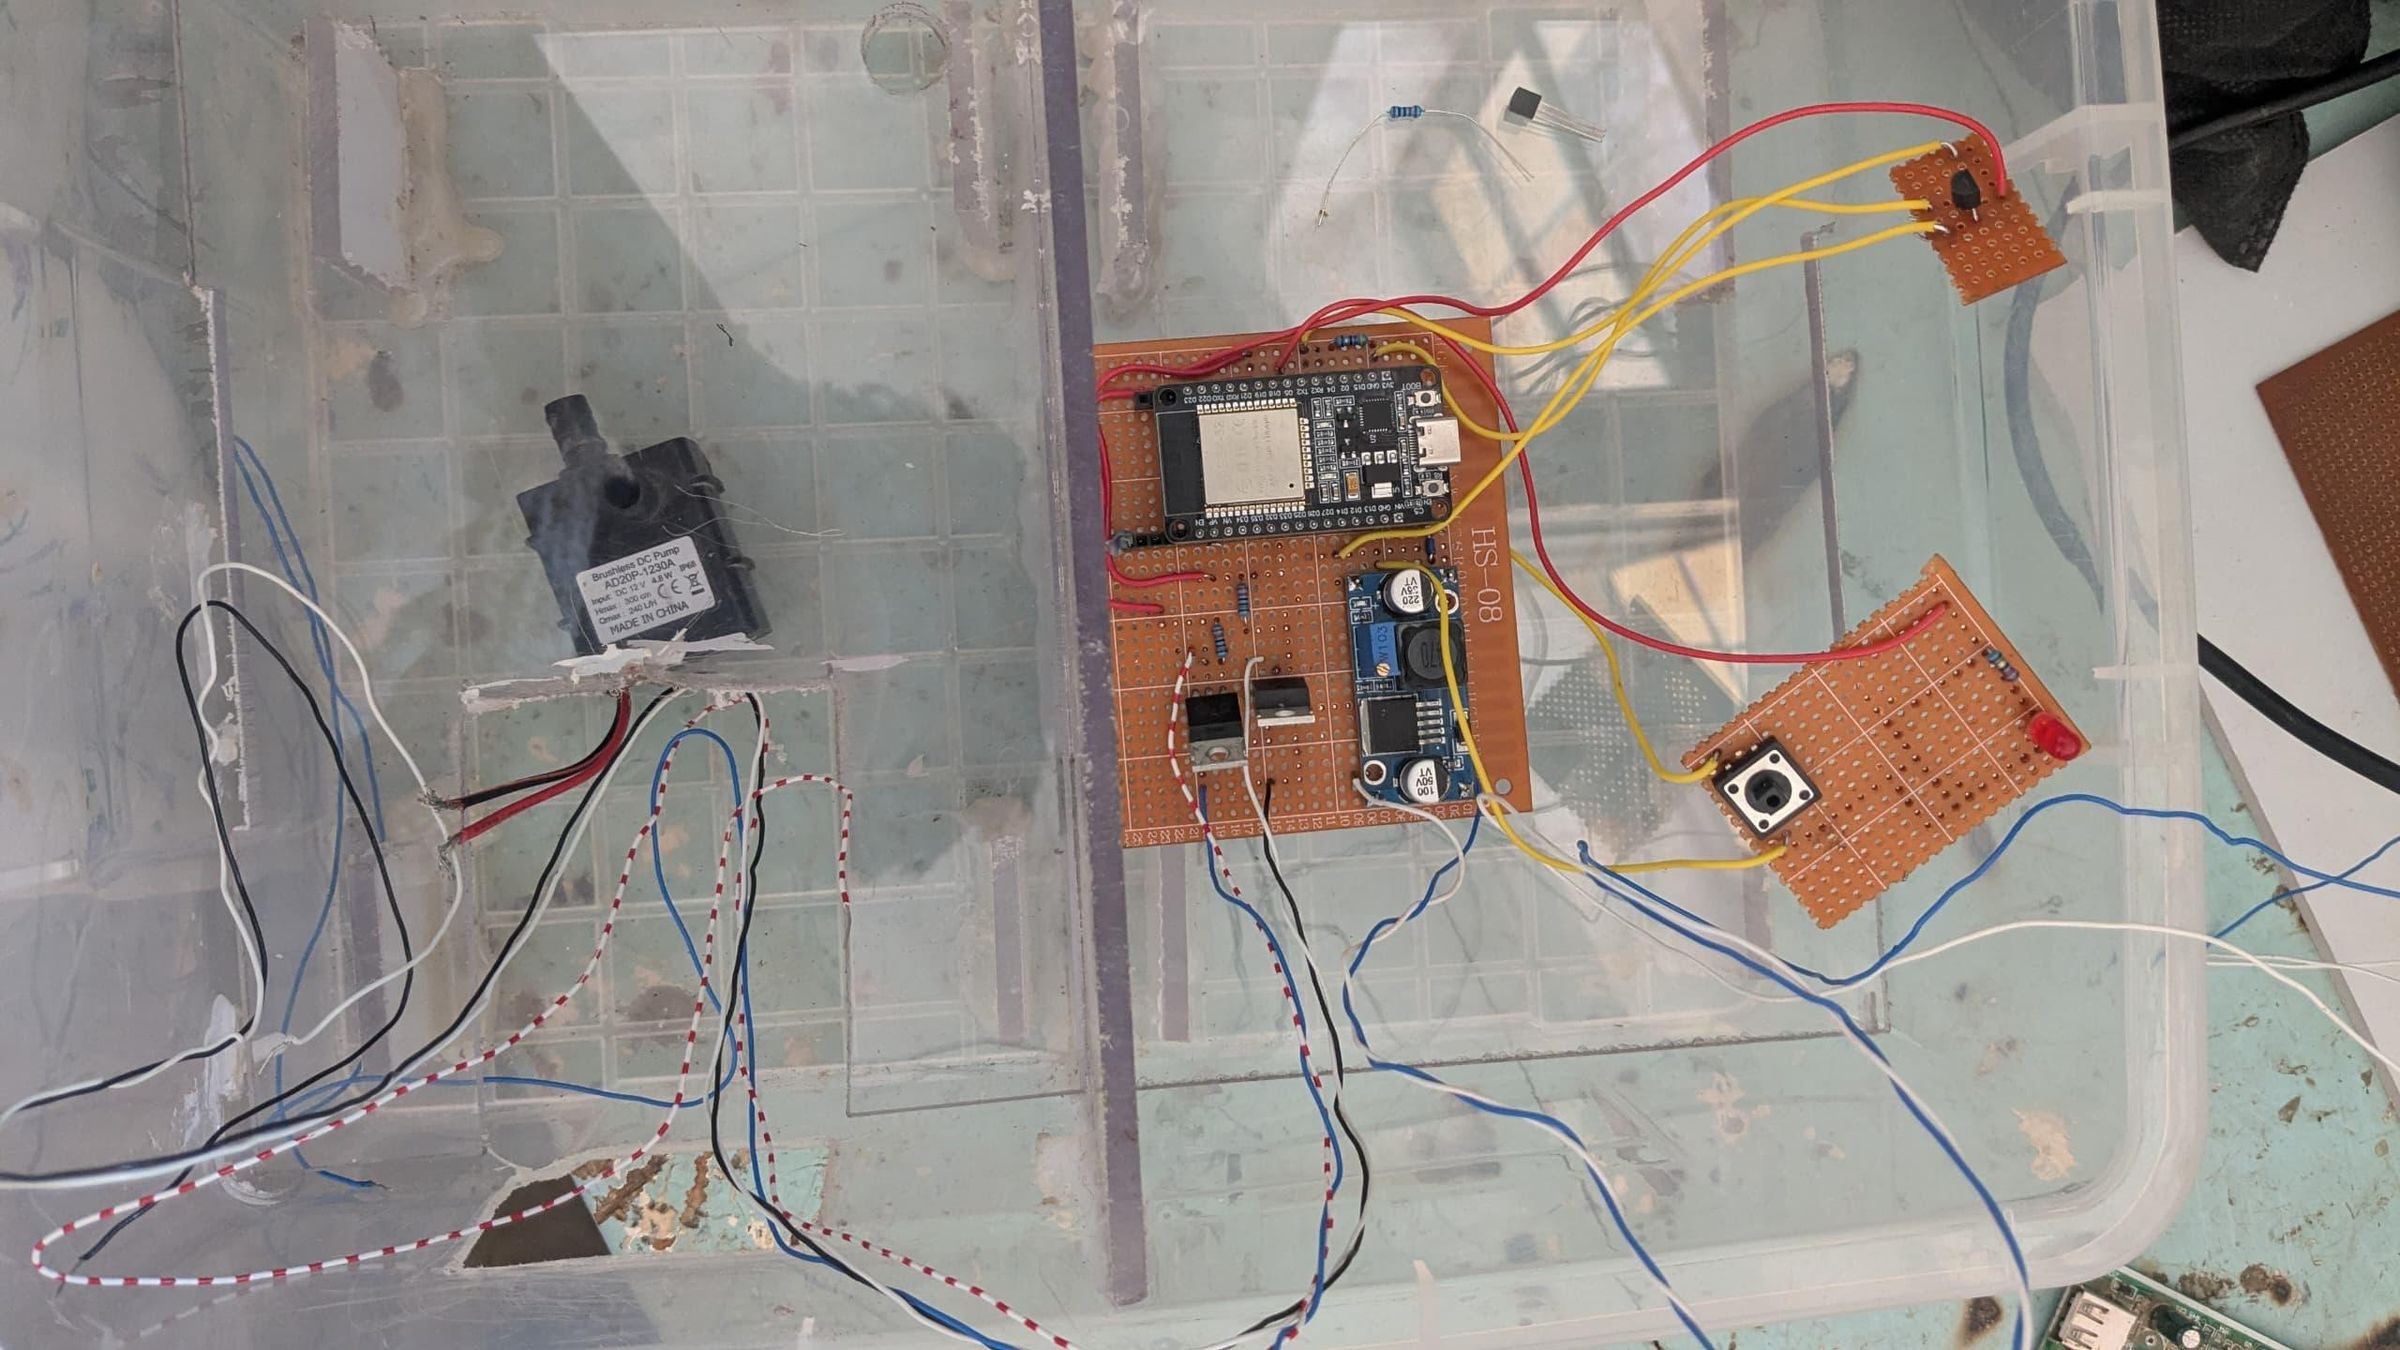
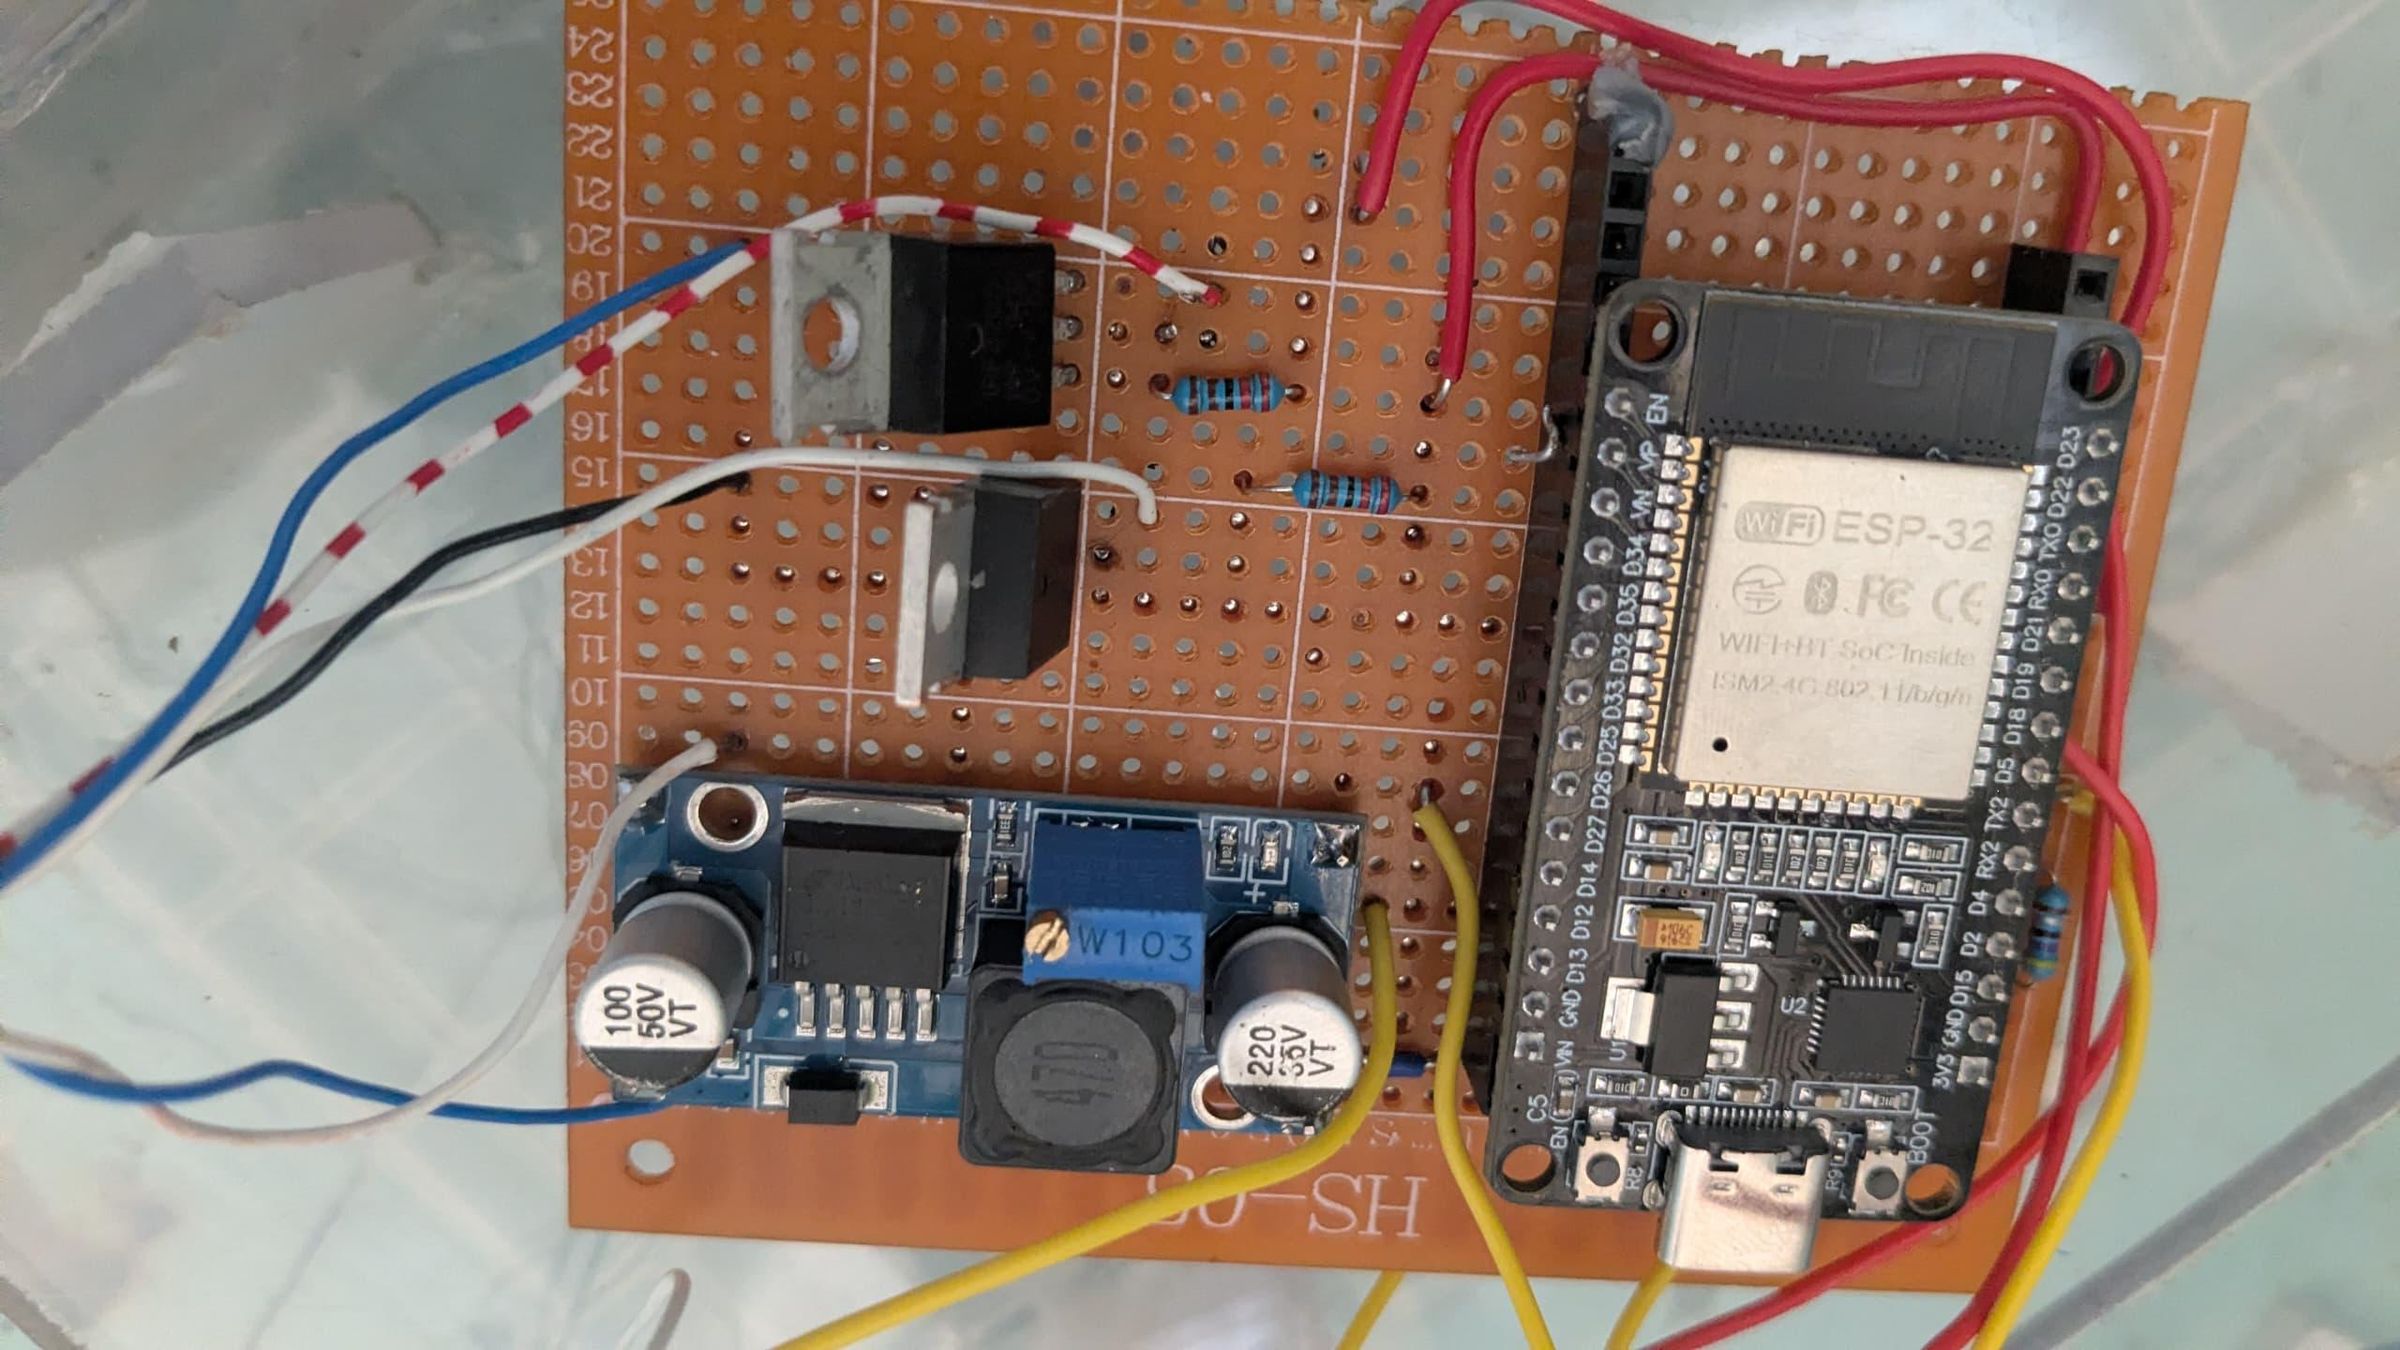
To design the AeroTerra system, the components were separated into two distinct power categories to balance the high power needs of the actuators with the sensitivity of the control logic.
The entire system is powered by a single AC adapter providing a raw voltage of 12V
- The Power Category (12V): The mini water pump, the salvaged cooling fan, and the addressable LED strip demand a high electrical current. Therefore, they are directly connected in parallel to the main 12V line of the adapter to run at full capacity.
- The Logic Category (5V & 3.3V): To power the control chips, an LM2596 step-down regulator module is used. Connected to the 12V supply, it outputs a stable 5V to power the VIN pin of the ESP32. Finally, the ESP32 internally generates its own 3.3V voltage to power the temperature sensor (DS18B20), the push button, and the control circuits.
Component Roles and Commutation
- The Transistors (BC547 / MOSFET): The ESP32 GPIO pins only deliver 3.3V signals at a very low current. Thus, the transistors are used here as electronic switches. When the ESP32 sends a signal to the base of the transistor, it closes the circuit and allows the 12V current to pass, activating the pump or the fan
- The Protection Diode (10D10): Placed across the terminals of the water pump, it acts as a flyback diode. It absorbs and blocks the dangerous voltage and current spikes generated by the pump's motor during sudden starts and stops, thereby protecting the ESP32.
- The Push Button: Connected to an ESP32 input pin with a resistor, it acts as a physical switch allowing the user to instantly toggle between manual mode and automatic mode
Mechanical Operation and Control Modes
The operation of the device is fully automated but leaves complete control to the user thanks to two distinct modes
- Manual Mode (Default at Startup): For safety and control reasons, as soon as the circuit is plugged in and powered, the device systematically starts in manual mode. By default, the addressable LED strip lights up in solid Red to signal this status.
- Direct Mechanical Action: Once the system is turned on in this mode, the fan spins to draw in the warm air from the room, while the pump activates to dampen the cinnamon sticks. The contact between this warm ambient air and the humidity of the cinnamon triggers adiabatic evaporation, instantly releasing a fresh and scented airflow. The motors can be controlled manually from the web interface, and the user can change the color of the LEDs as they wish on the site
- Automatic Mode: Upon pressing the push button (or via the interface), the system immediately switches to automatic mode. To visually confirm this transition, the LED strip instantly turns Green by default.
- Autonomous Regulation: From that moment on, the DS18B20 temperature sensor takes care of everything autonomously. As soon as it detects an ambient temperature above 29 °C, the ESP32 automatically triggers the entire system (pump and fan) to cool the room. Once the temperature drops below this threshold, the program disengages the actuators to stop the cycle and save energy. Even in this mode, the user retains full freedom to change the color of the LEDs from the webpage if they prefer a color other than the default green
Please note: Although the current prototype operates in "All or Nothing" mode (the motors are either 100% on or completely off), the circuit was designed to be fully compatible with PWM (Pulse Width Modulation) control. The integration of PWM would allow for varying the fan speed and the pump flow rate based on the intensity of the detected heat, thus offering a smoother, quieter, and more energy-efficient thermal regulation.
Intelligent Code & the IoT Ecosystem


You can explore, copy, or improve the project directly on my GitHub repository:Sephora-AeroTerra/AeroTerra: Système de refroidissement intelligent et automatisé avec ESP32.
Click on the link to go to GitHub. Then, click on the green 'Code' button to download the entire repository.
To breathe life into the AeroTerra cooling system, a modern and highly optimized software architecture was essential.
Rather than using the classic and basic Arduino IDE, this project was fully developed under Visual Studio Code combined with the PlatformIO ecosystem. This professional choice offers major advantages:
- Perfect control over external libraries.
- Ultra-fast processing times tailored to the ESP32 chip.
- Strict separation between configuration files and the main source code.
How does the code work?
The program manages three main tasks simultaneously without ever slowing down or freezing the system. This is possible thanks to the use of non-blocking timers (millis()) instead of restrictive delay() functions:
- The automated cooling loop: The ESP32 continuously interrogates the DS18B20 digital sensor. As soon as the ambient temperature reaches 30 °C, it instantly activates the 12V fan and the mini-pump. As soon as the room drops back to a comfortable threshold of 28°C, it cuts the actuators to save water and energy.
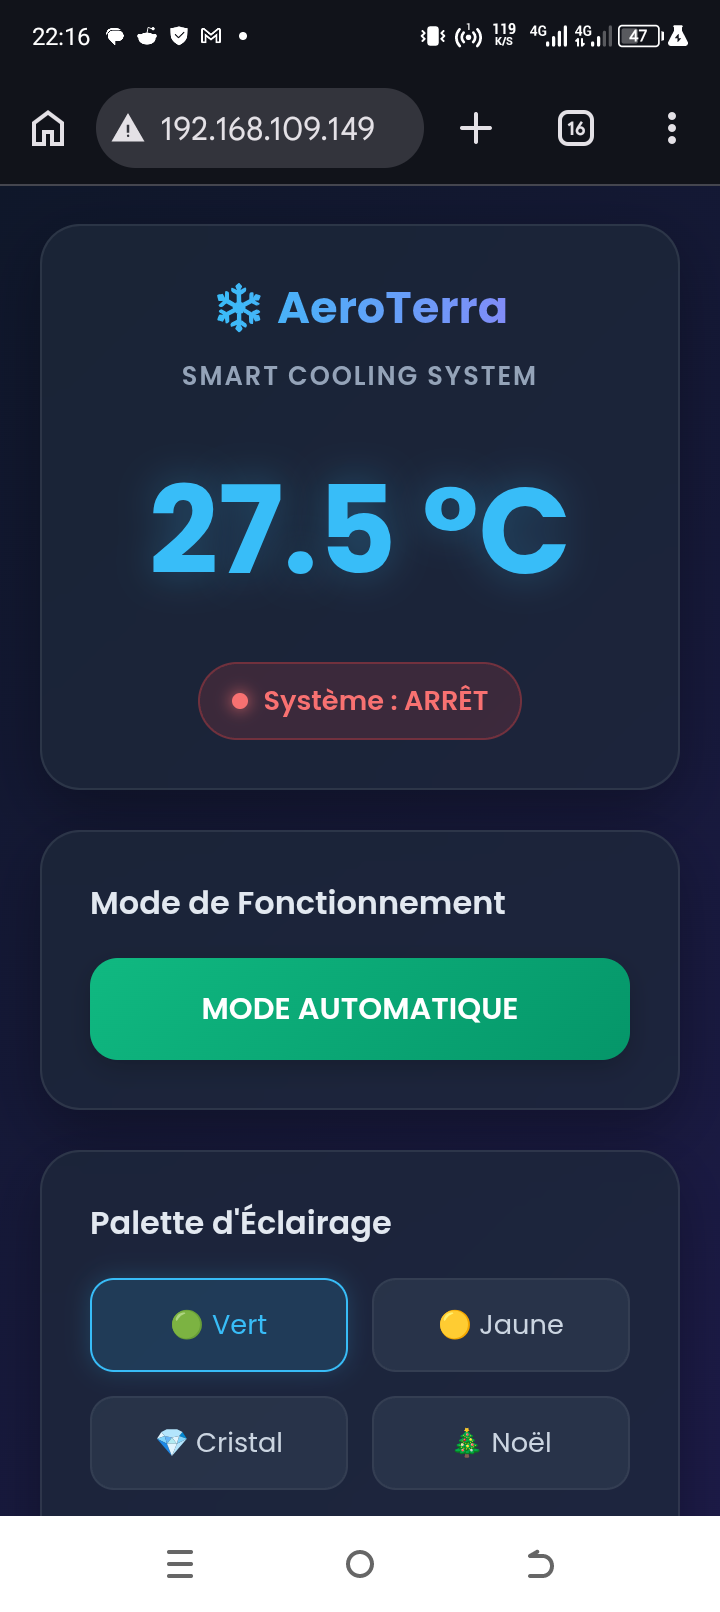
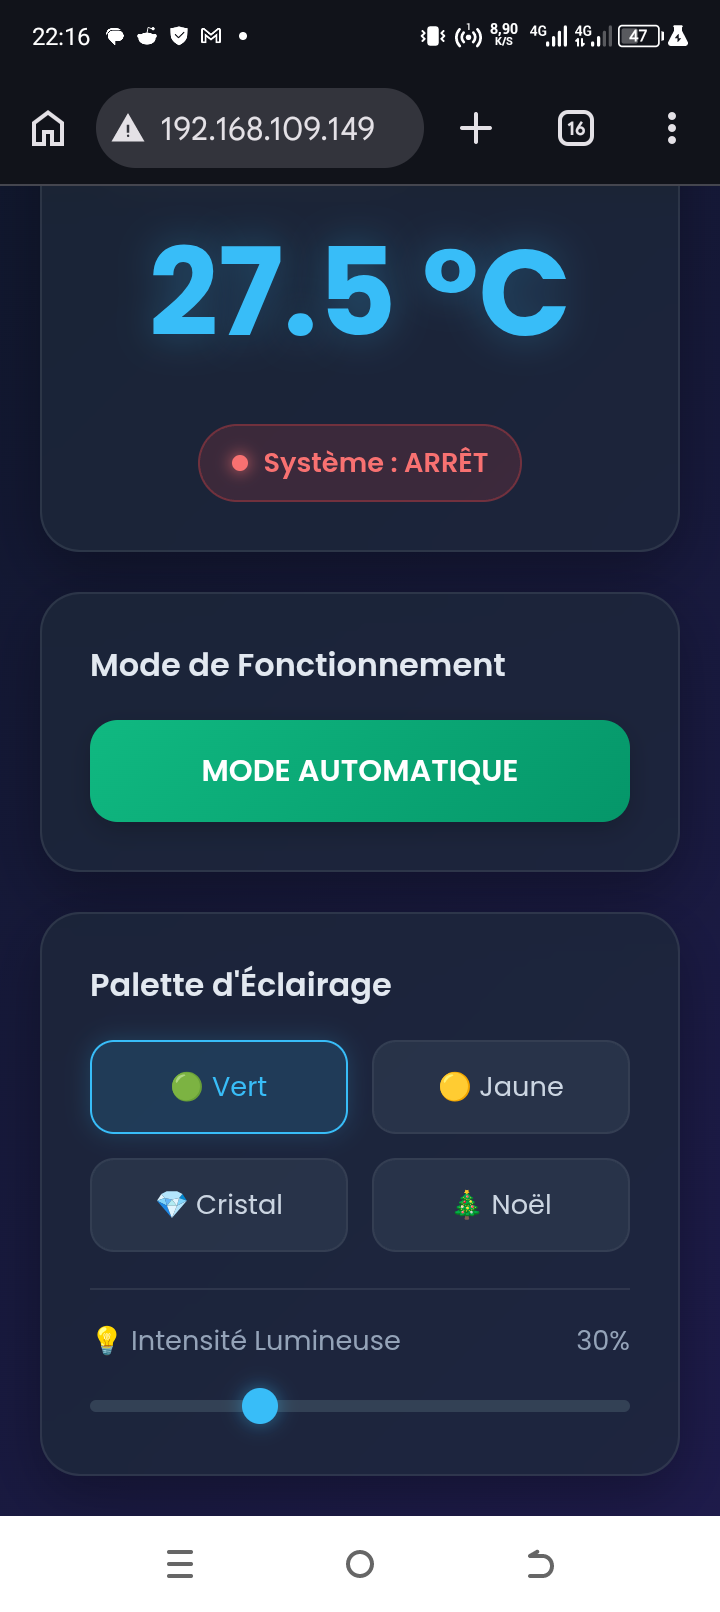
- An asynchronous IoT web server: Thanks to the ESPAsyncWebServer and WebSockets libraries, the system generates its own virtual dashboard. From any connected smartphone or computer, you can switch from Manual Mode to Automatic Mode, track the temperature in real time, adjust the light intensity, and change colors.
- A visual LED interface: A strip of 47 WS2812B addressable LEDs, controlled by the FastLED library, serves as a visual status indicator. The strip changes color dynamically according to the active mode (Red by default in Manual, Green in Automatic) with smooth animations during transitions.
How to connect to the AeroTerra web interface?
Connecting to the dashboard is completely seamless thanks to the ESP32's built-in Wi-Fi chip:
- The network connection: At startup, the WiFi.begin(ssid, password) command automatically connects the ESP32 to the local Wi-Fi network configured in the code (in this case, the network named "Sephora ")
- Retrieving the address: Once the connection is established, the ESP32 receives a unique IP address from the internet router (for example, 192.168.1.50)
- Accessing the website: The user simply needs to connect their smartphone or computer to the same Wi-Fi network, open a web browser (Chrome, Safari, Firefox), and type this IP address into the search bar. The ESP32, which continuously listens on the standard HTTP port (port 80), intercepts the request and instantly sends back the graphical page stored in its memory (index_html), displaying the interactive control center.
The entirety of this source code (including the embedded graphical interface in HTML/CSS/JS, the libraries, and the board configuration files) is completely open-source and accessible to the community.
Visualization and Conclusion
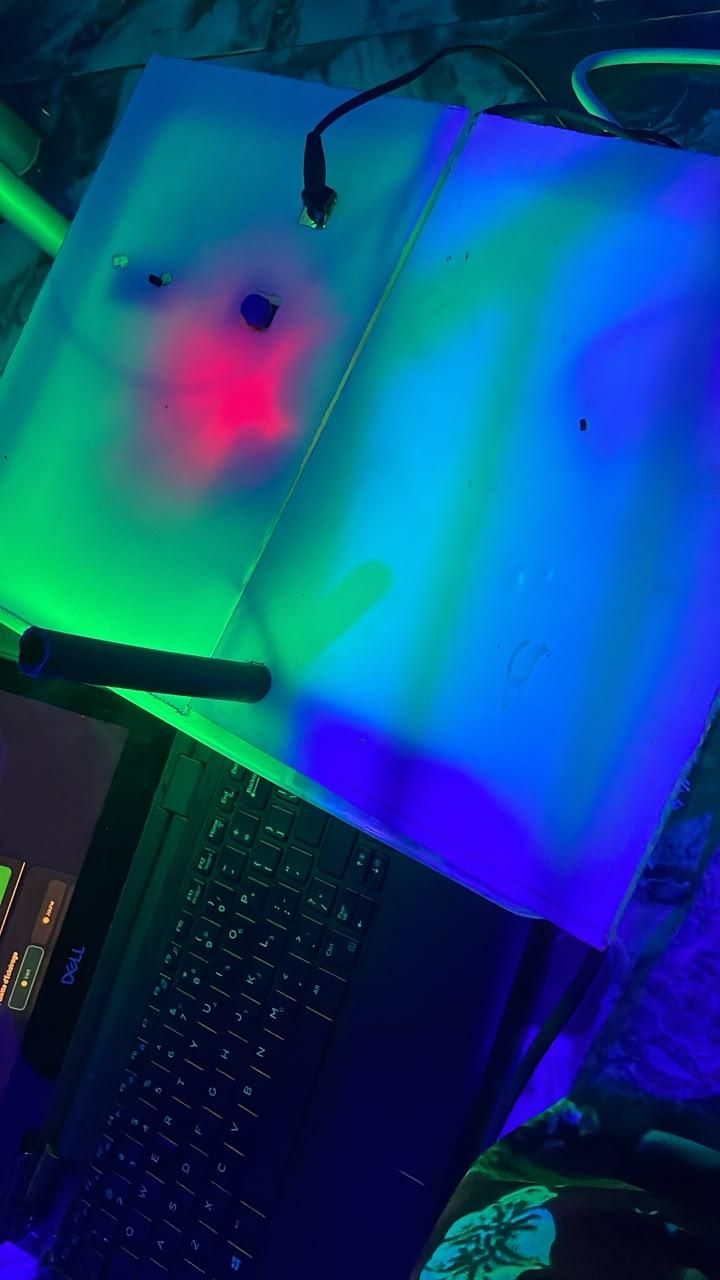
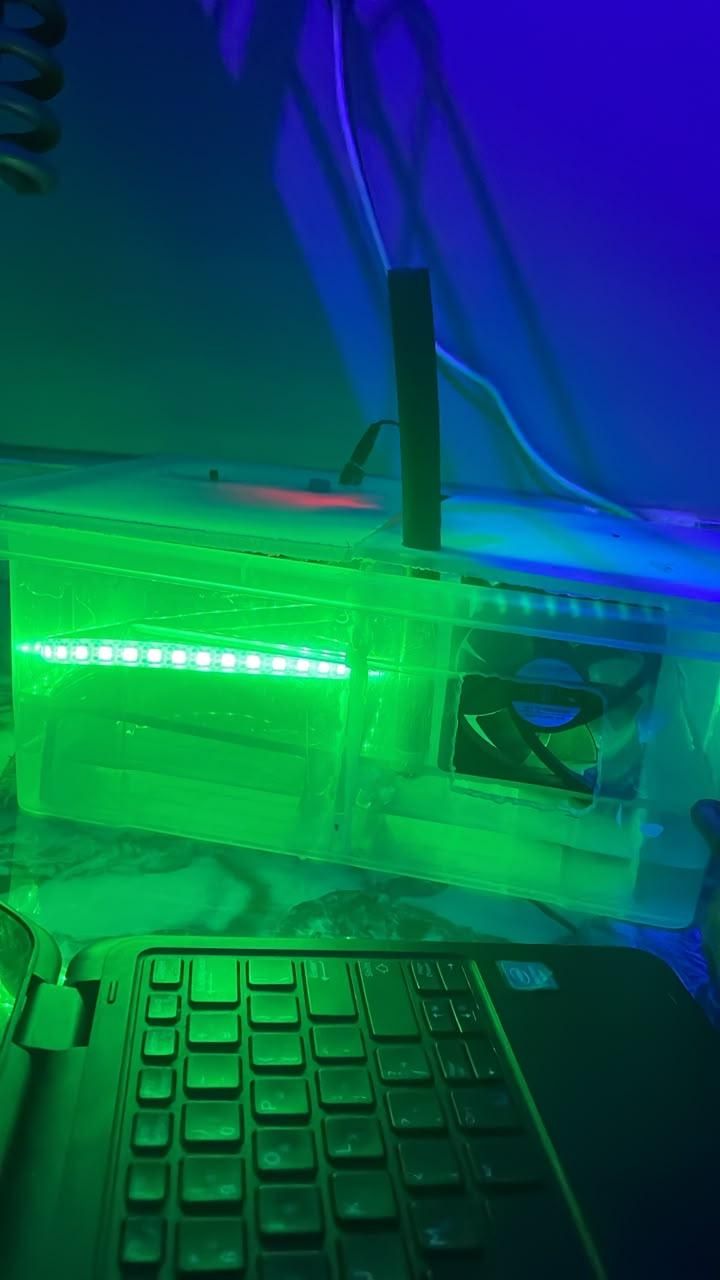
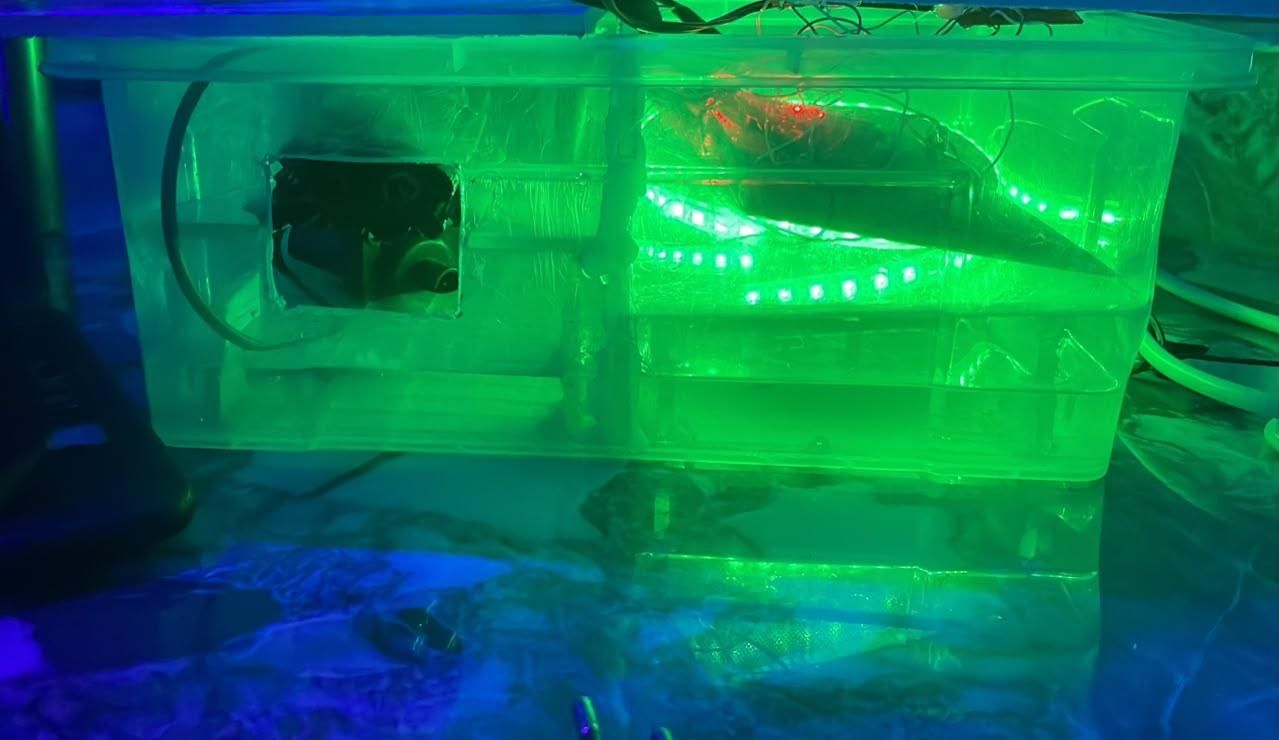
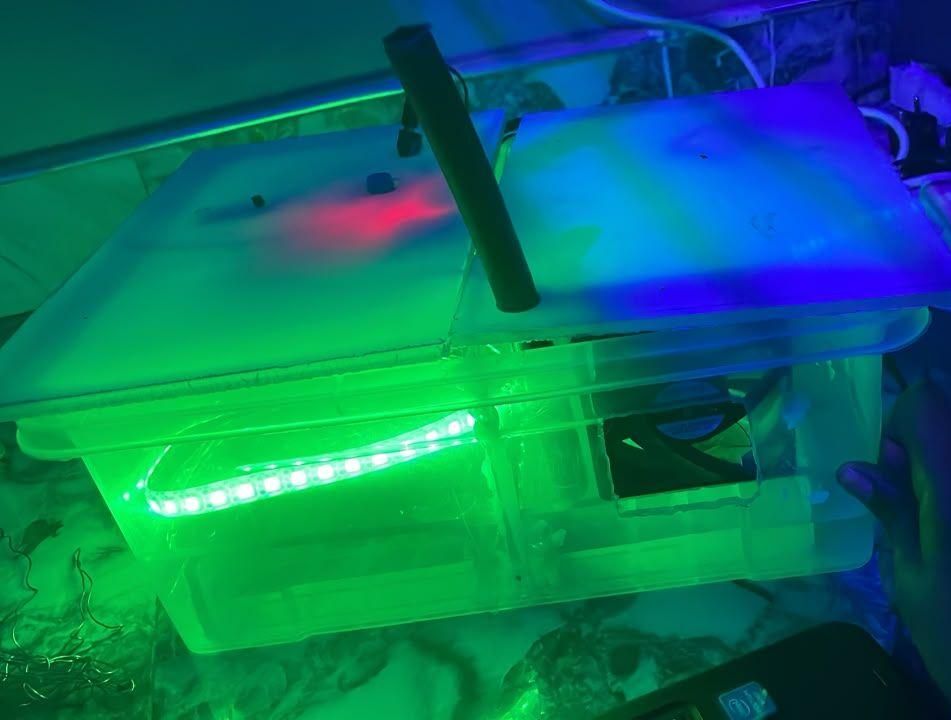
By watching the demonstration videos, you can see the system working in real time. When launching into this project, I wondered for a long time if I would really be capable of designing a functional and useful device for everyday life. Today, the answer is a big yes.
Although the aesthetics of the prototype remain artisanal and can be perfected, the device has a major advantage: it is entirely portable. Thanks to its lightweight and compact design, I have the ability to transport it and move around with it absolutely anywhere to offer myself an immediate spot of freshness.
In addition to effectively cooling the ambient air, the use of this natural resource offers us an exceptional therapeutic bonus: a woody, sweet, and extremely pleasant scent that instantly fills the entire room.
If you are lucky enough to own a 3D printer, you can completely model a more elegant custom casing, reproduce the system, and make the aesthetic or mechanical modifications that suit you.
To obtain an even colder airflow, it is enough to increase the density of the porous medium by adding a larger quantity of cinnamon sticks in the evaporation compartment.