Retropie Arcade Machine

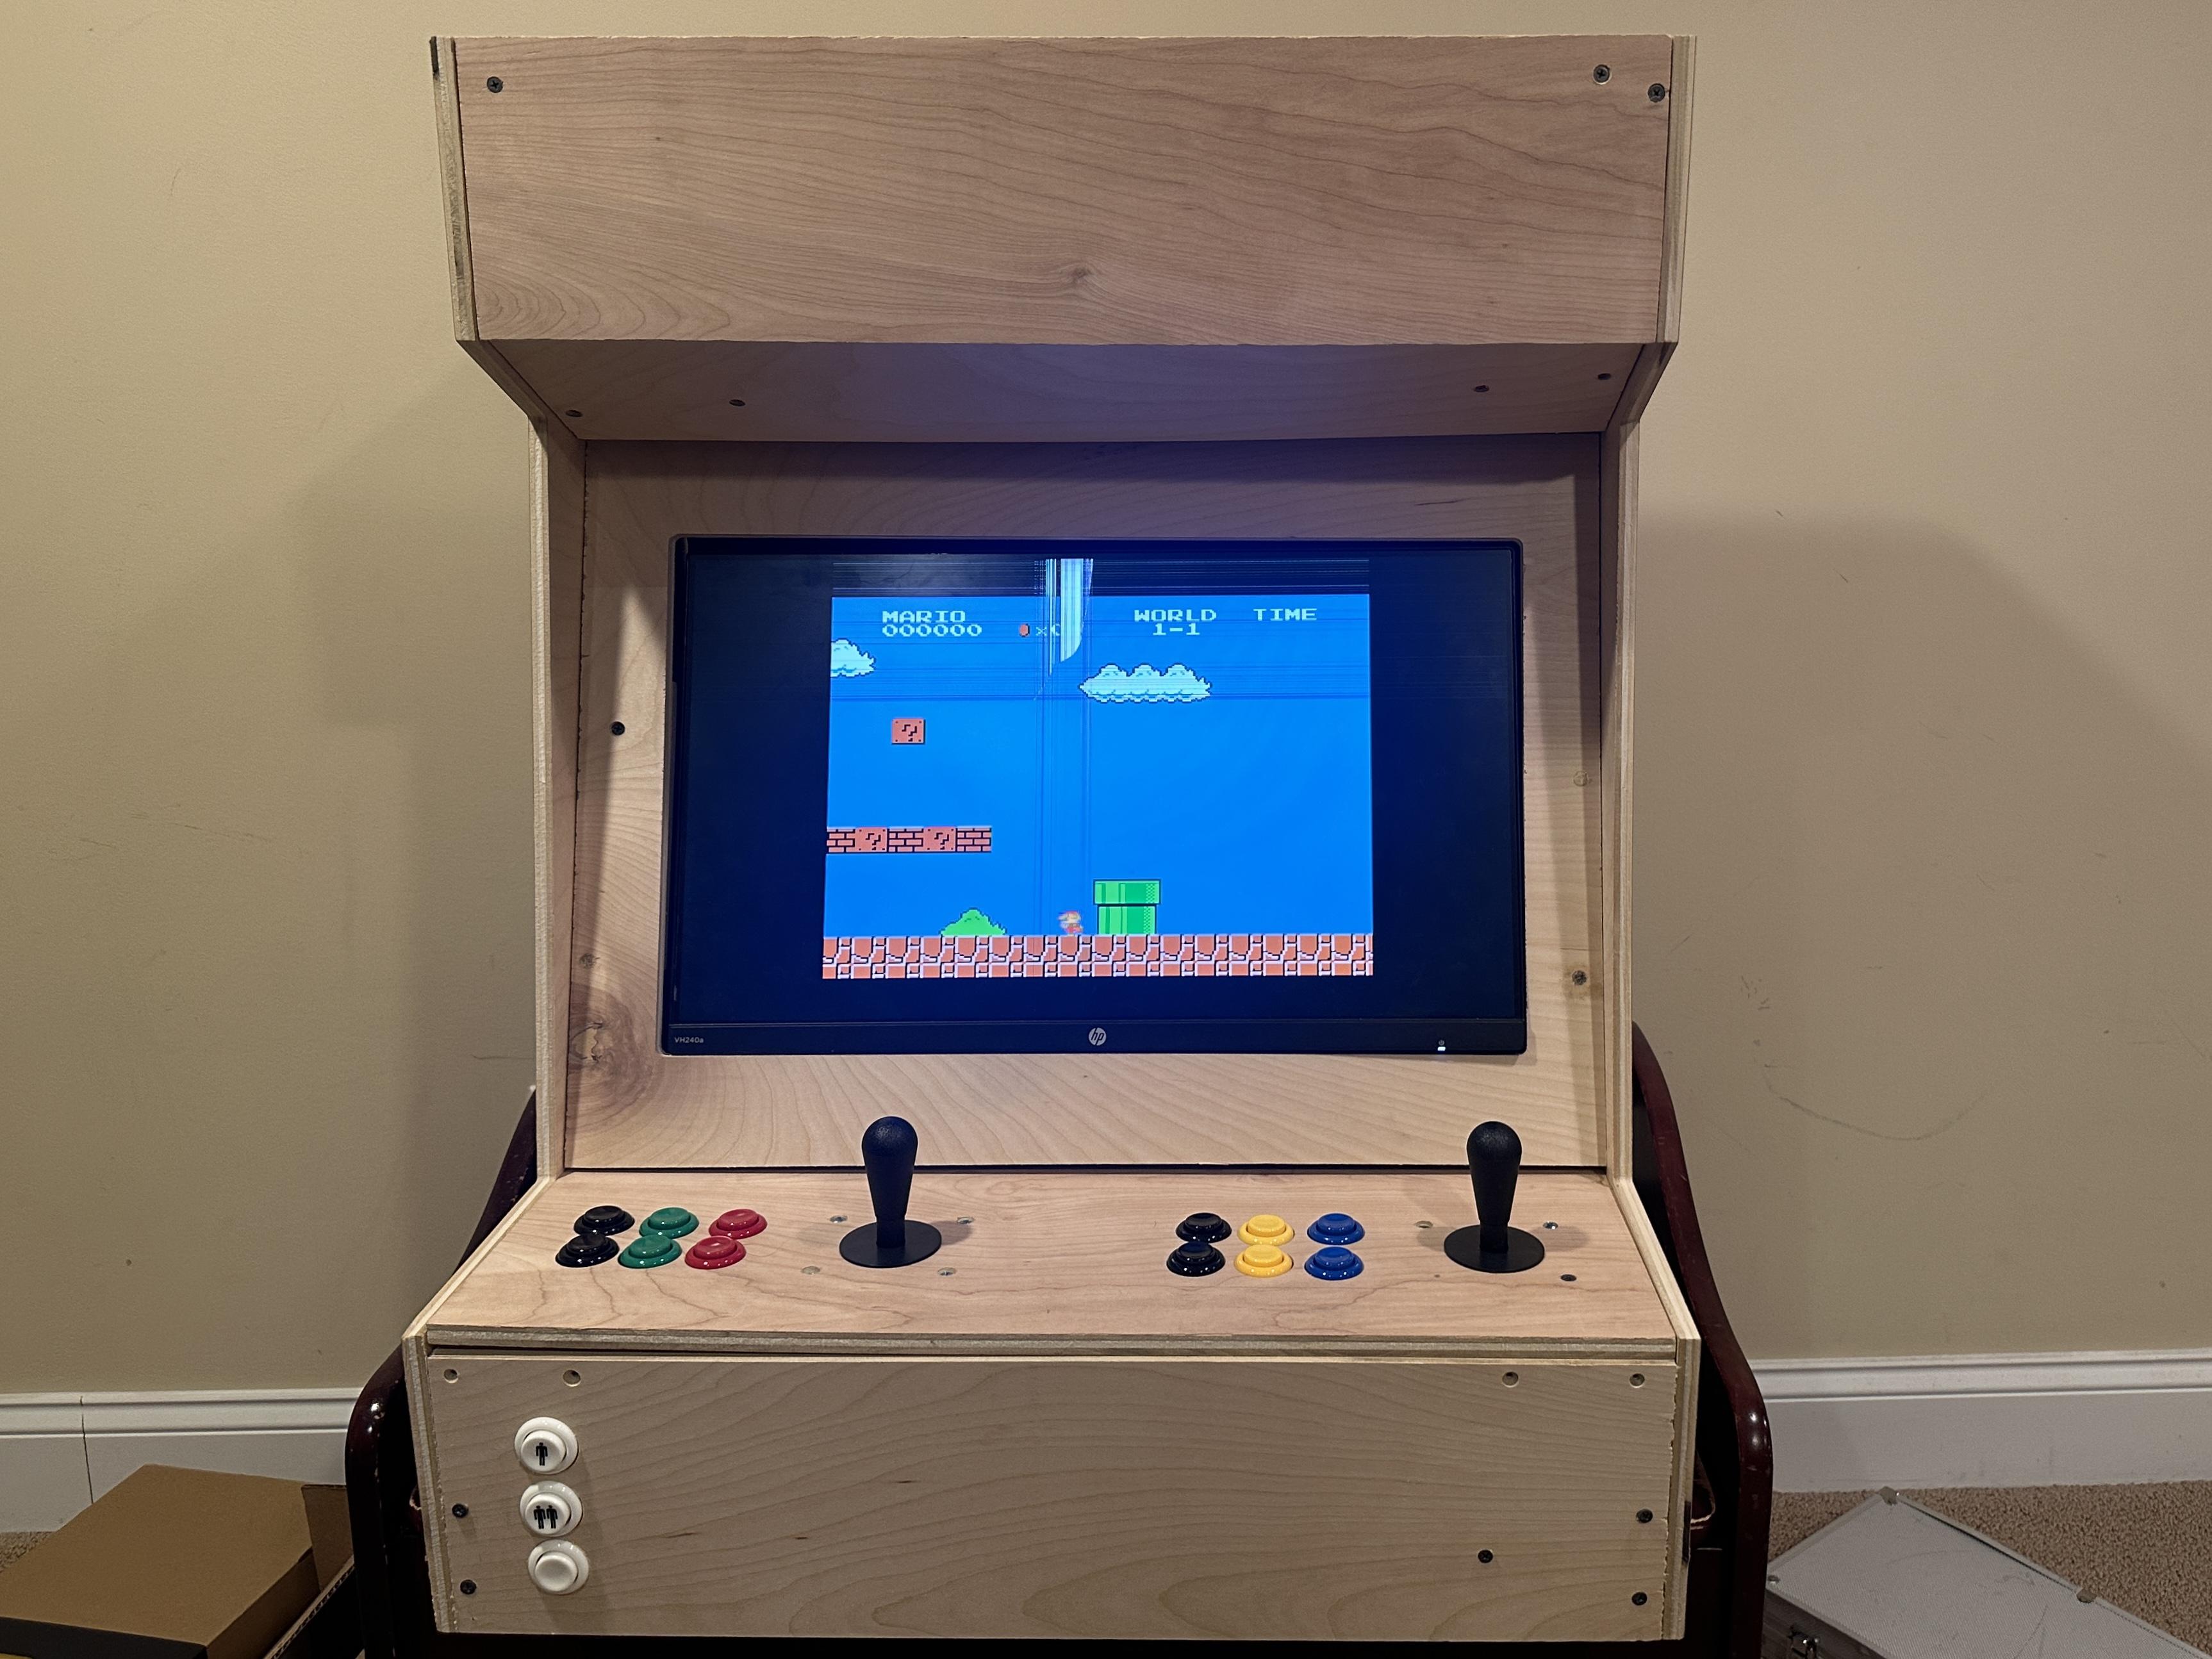
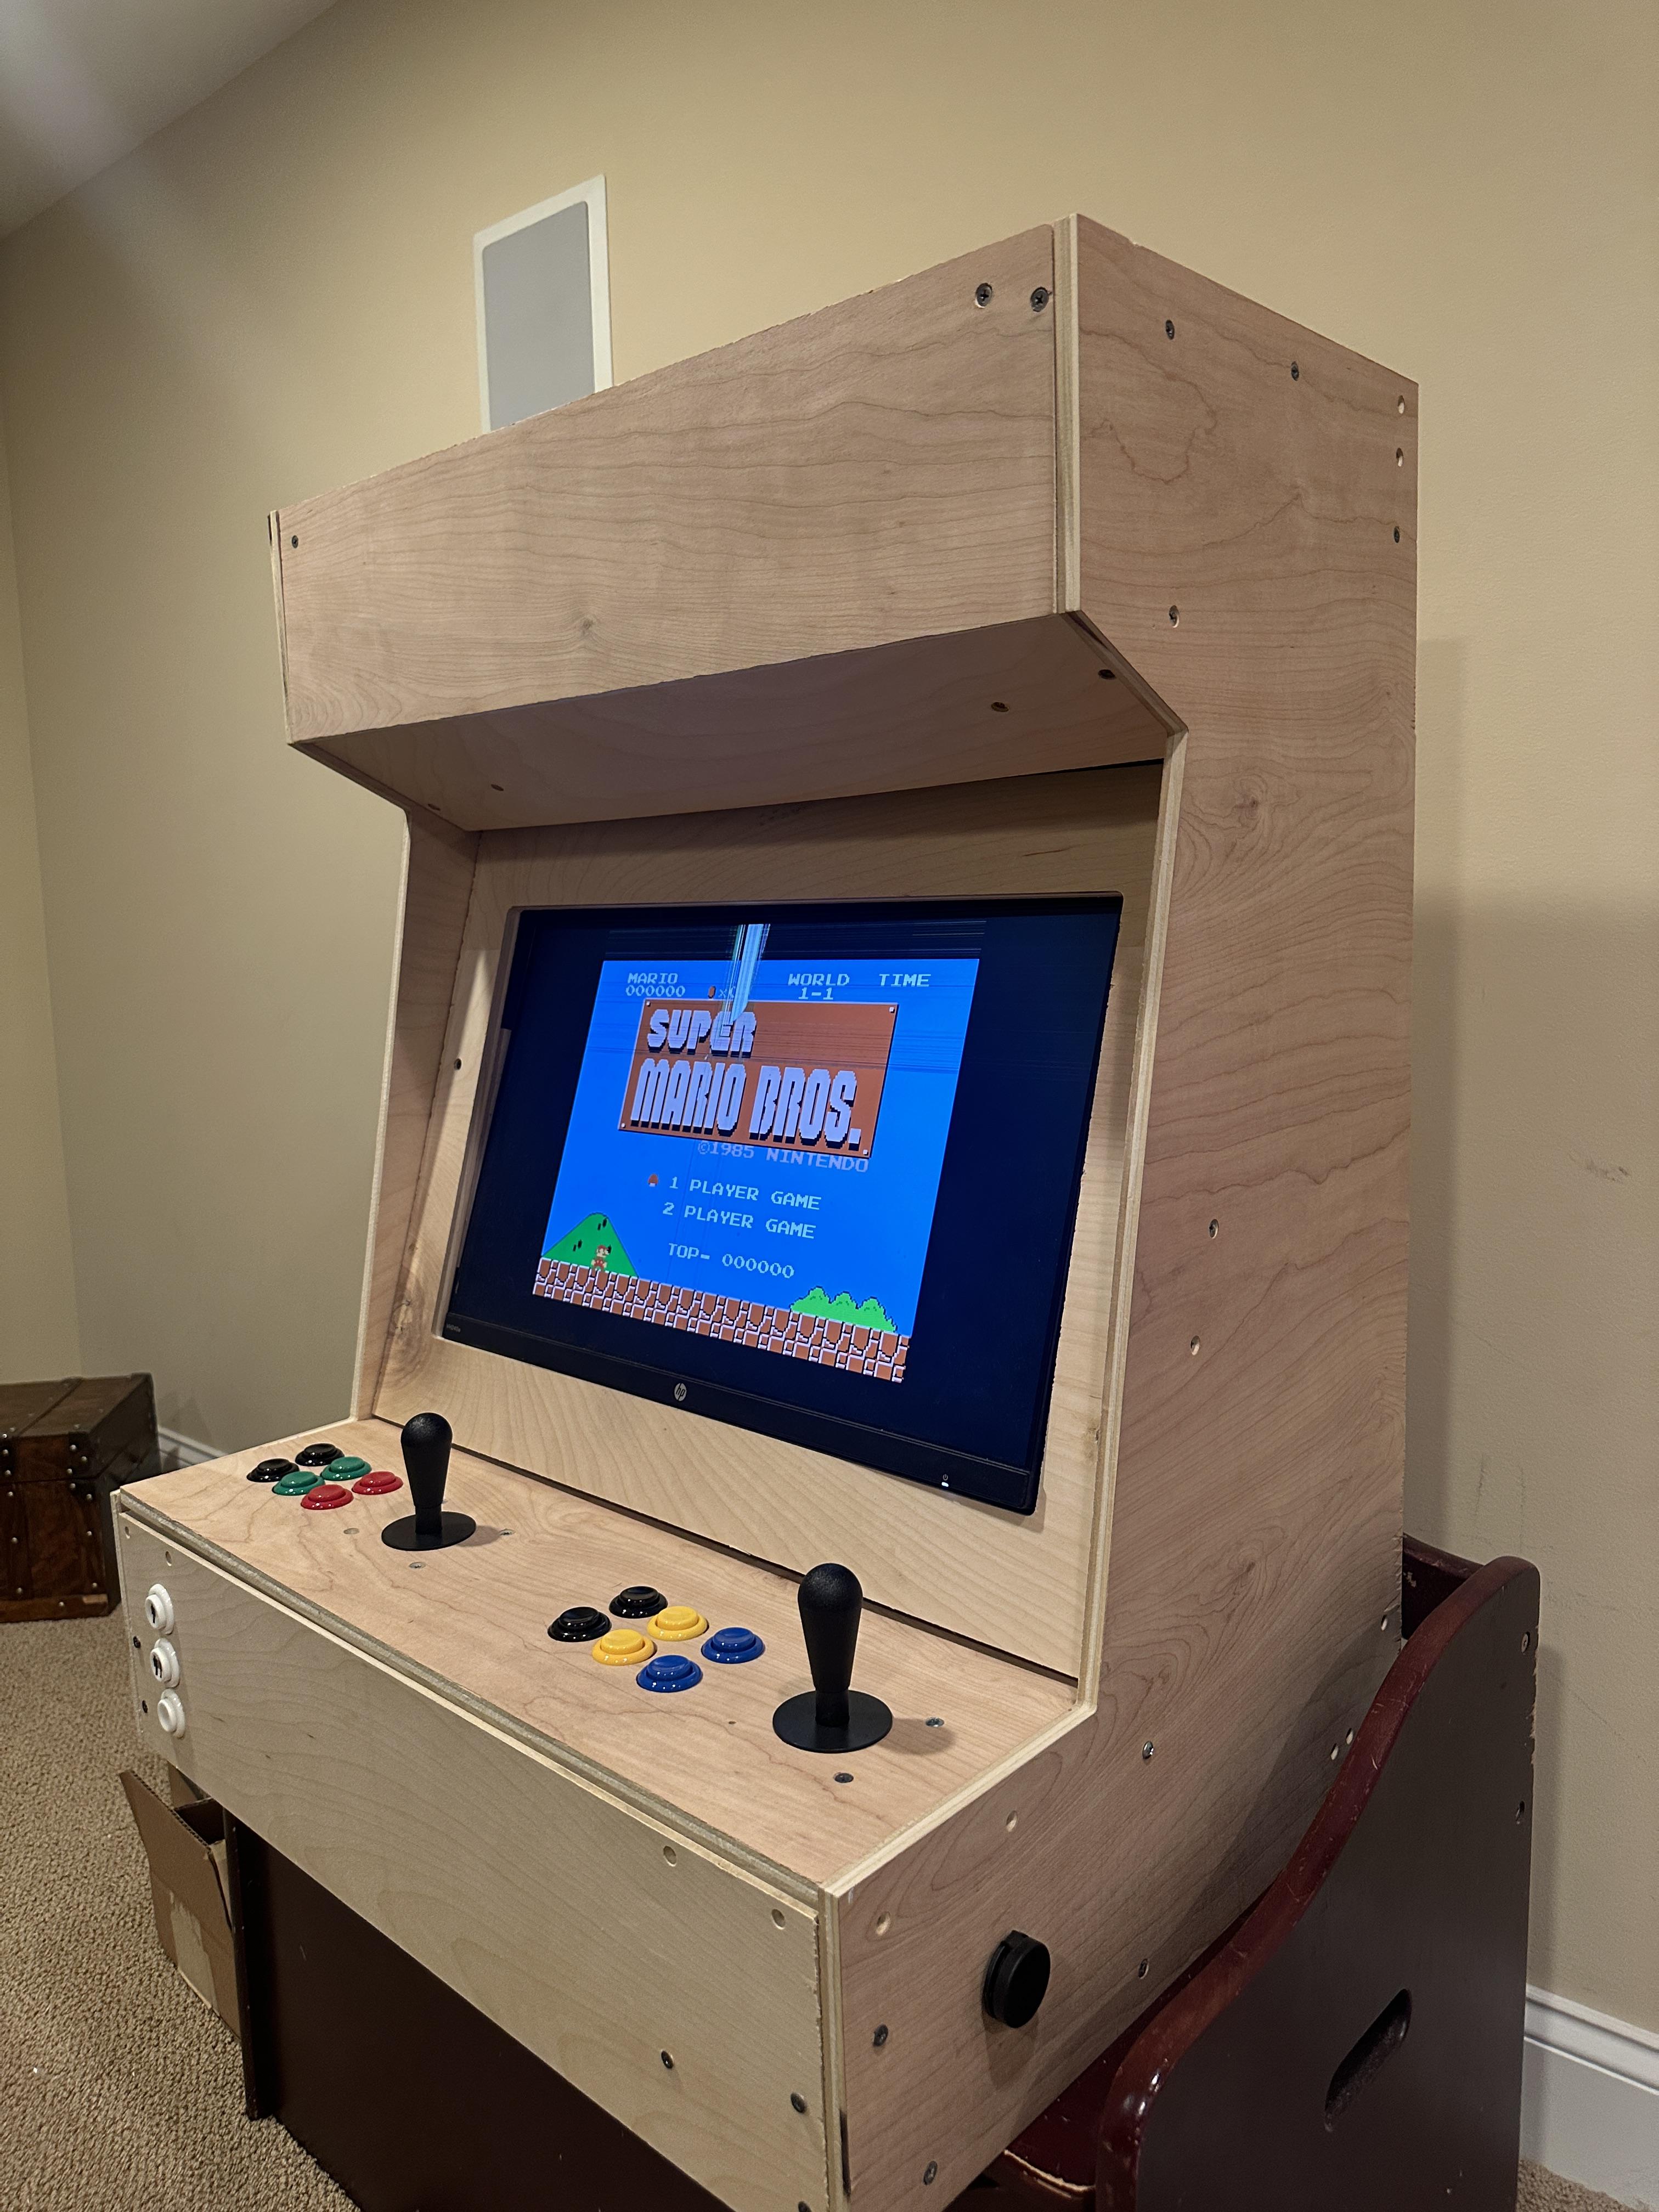
A full-scale arcade machine costs anywhere from $500 to thousands of dollars. This desktop arcade machine costs less than $250 in materials and can play a variety of different games. The arcade machine runs on Retropie and can accommodate two players. I decided to make the arcade machine because I wanted a better way to play video games with friends.
Supplies
Material needed:
- 1/2 inch plywood 4 x 8 ft (I recommend Maple) $40 - 70
- 10 - 20 2" inch self-driving flat head screws $5 - 10*
- Rasberry pi 4 $45
- Buttons and Joystick (amazon) $45
- Monitor (designed for 21 by 13 inch) $75 - 150*
- Scrap wood (to hold sides together) $10*
- hdmi to micro hdmi cable (amazon) $8
- [optional] port extension for Raspberry pi (amazon) $10
Total cost: $228 - $310
*estimate prices
Tools Needed:
- Drill/impact driver
- Orbital Sander
- CNC machine
- Clamps
- Drill bits:
- 1 1/4 inch woodboring bit
- assortment bits
- Countersink bits
Digital Design


Before starting the woodworking, I designed the arcade machine in Fusion 360. I made the arcade machine to fit an old monitor, which was 21 x 13 inches. The monitor cutout can be adjusted to fit any size monitor.
Downloads
Cutting the Wood

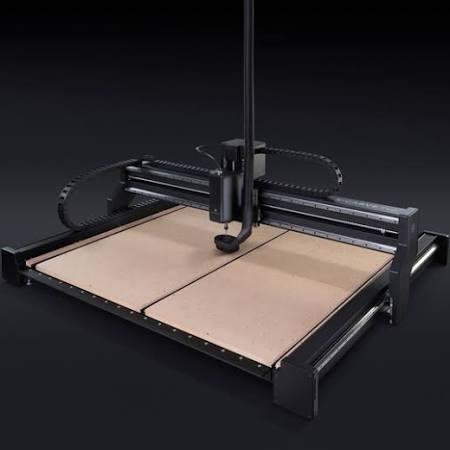
The best option is to use a CNC machine to cut out the pieces. It's possible to use other methods, but a CNC machine is the easiest. All the pieces fit into a 4 x 8 ft plywood sheet. Export the STL into a CNC software and cut out the pieces.
Downloads
Drill Holes for Buttons

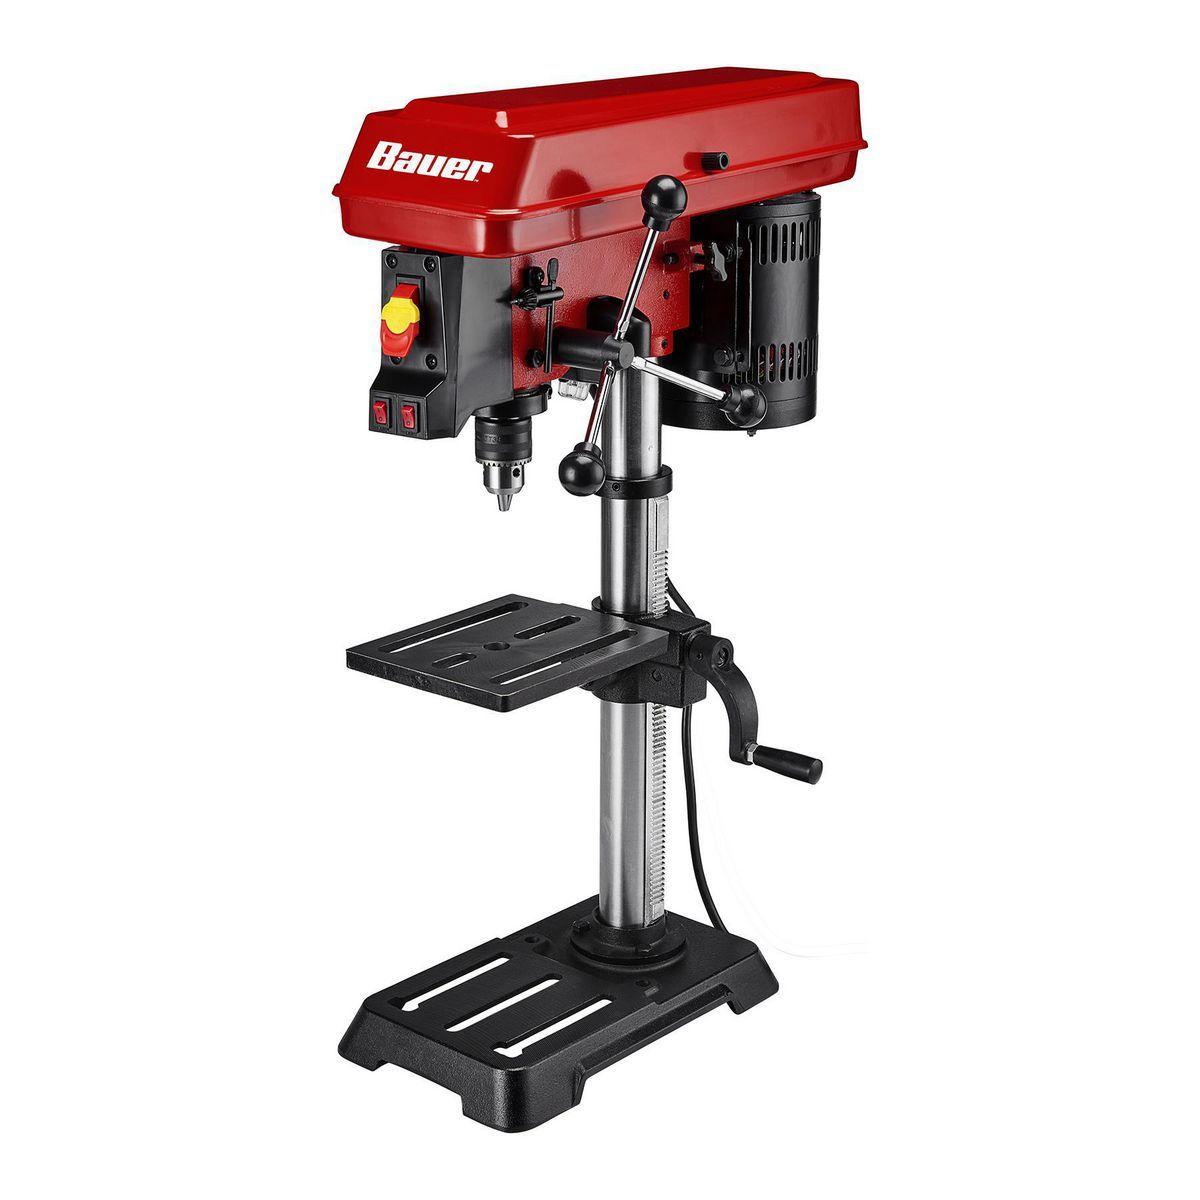
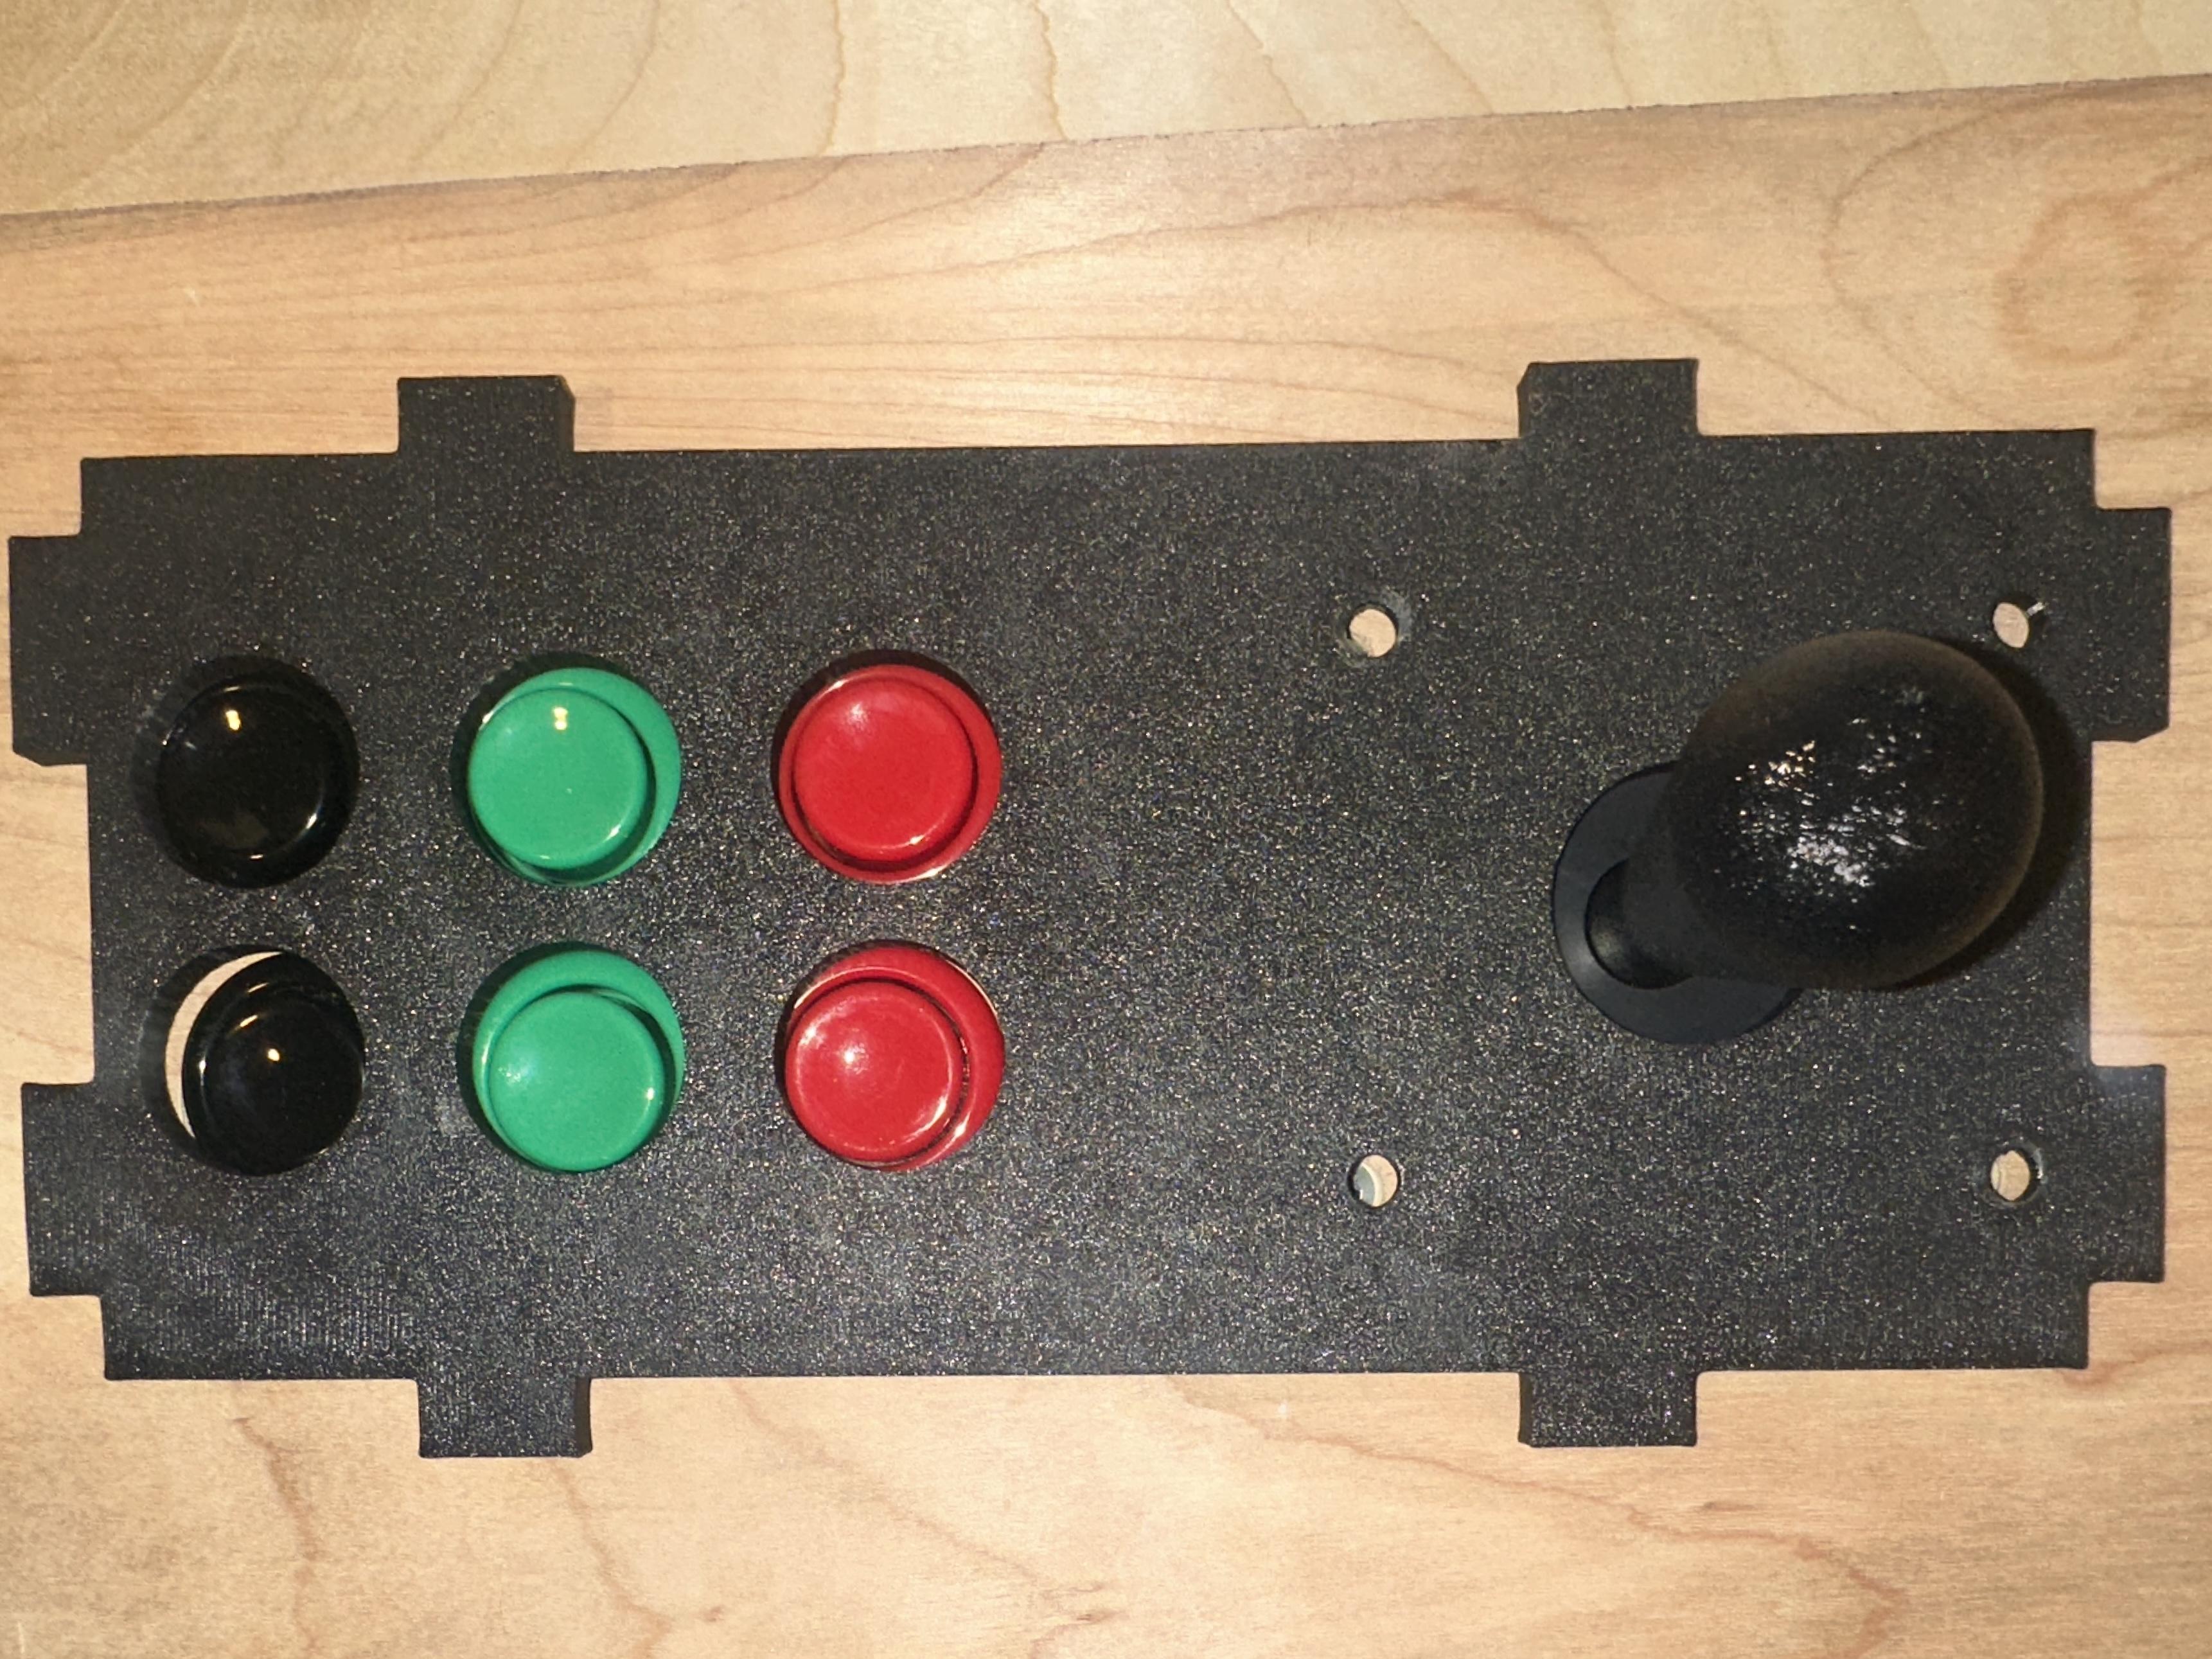
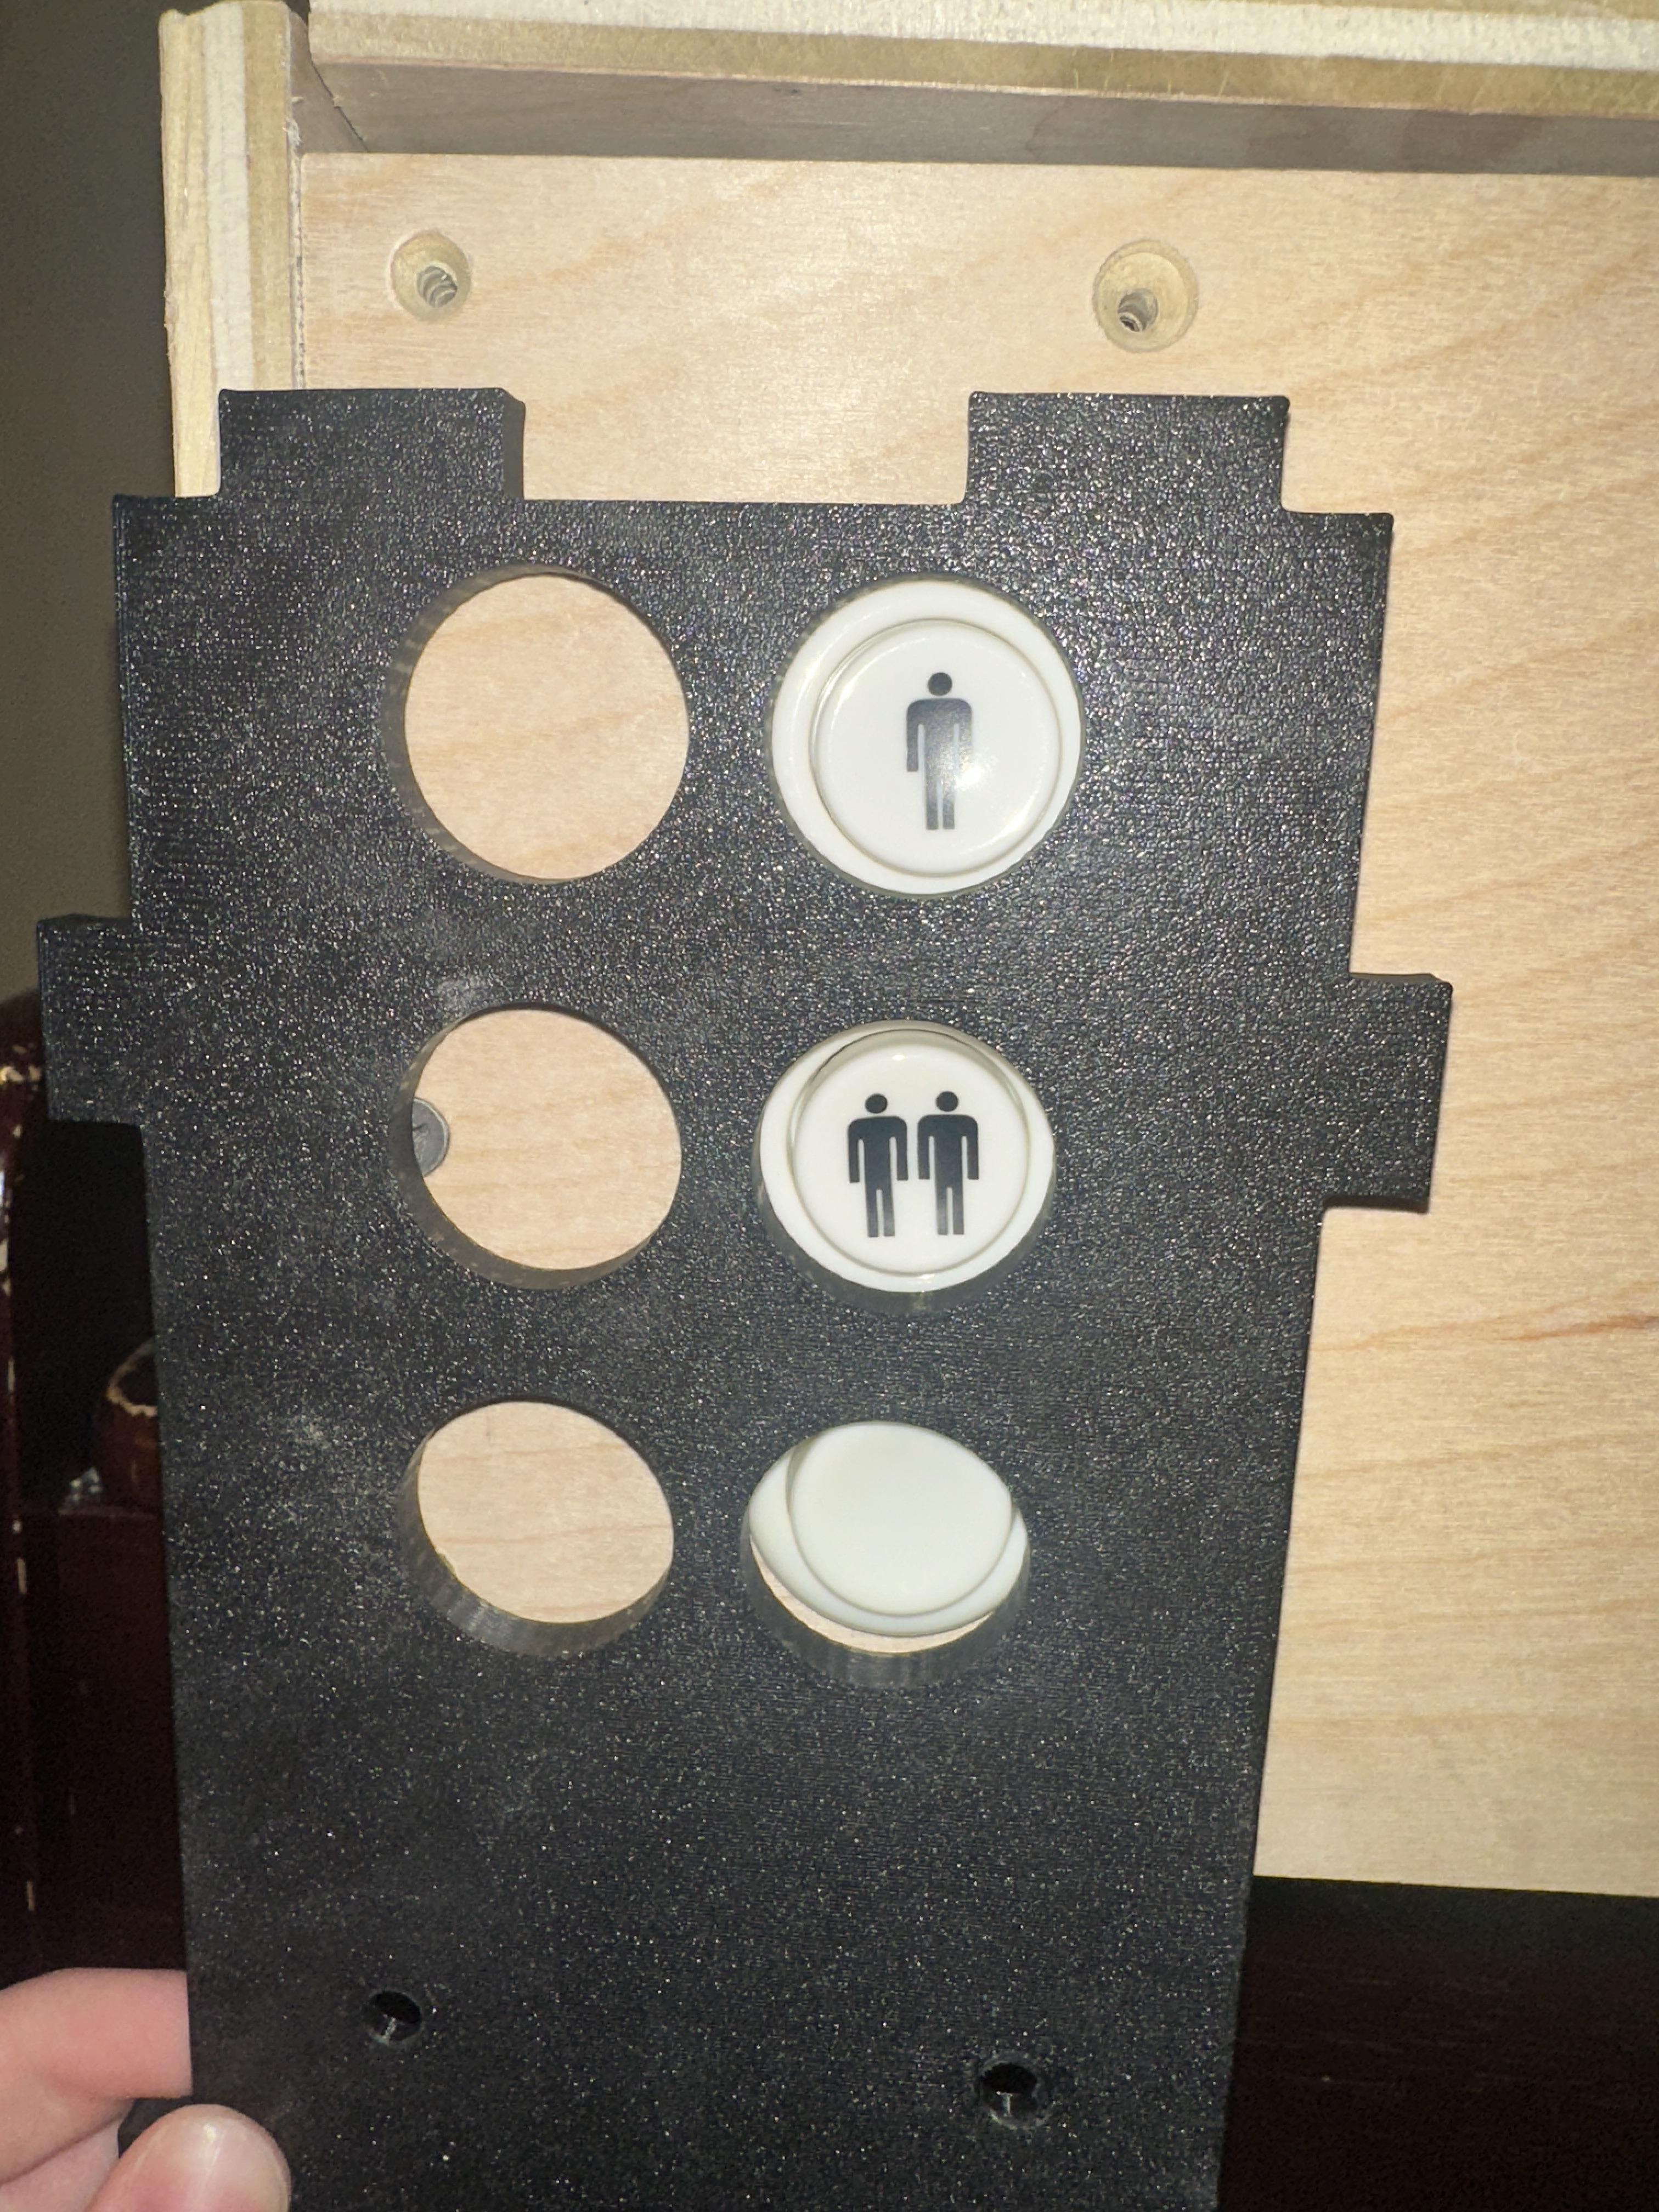
I went with a 1 1/2-inch woodboring bit to cut holes for the arcade machine buttons, they weren't the best size—I suspect the button size was meant for a metric sized hole—but still fit and don't fall out. I used a drill press to for the holes because I wanted them drilled straight, but a hand drill will also work. I used a 3D printed a cutout to make the locations for each hole. You can measure the layout of the holes with a tap measure or 3D print the button layout too.
Downloads
Assembly
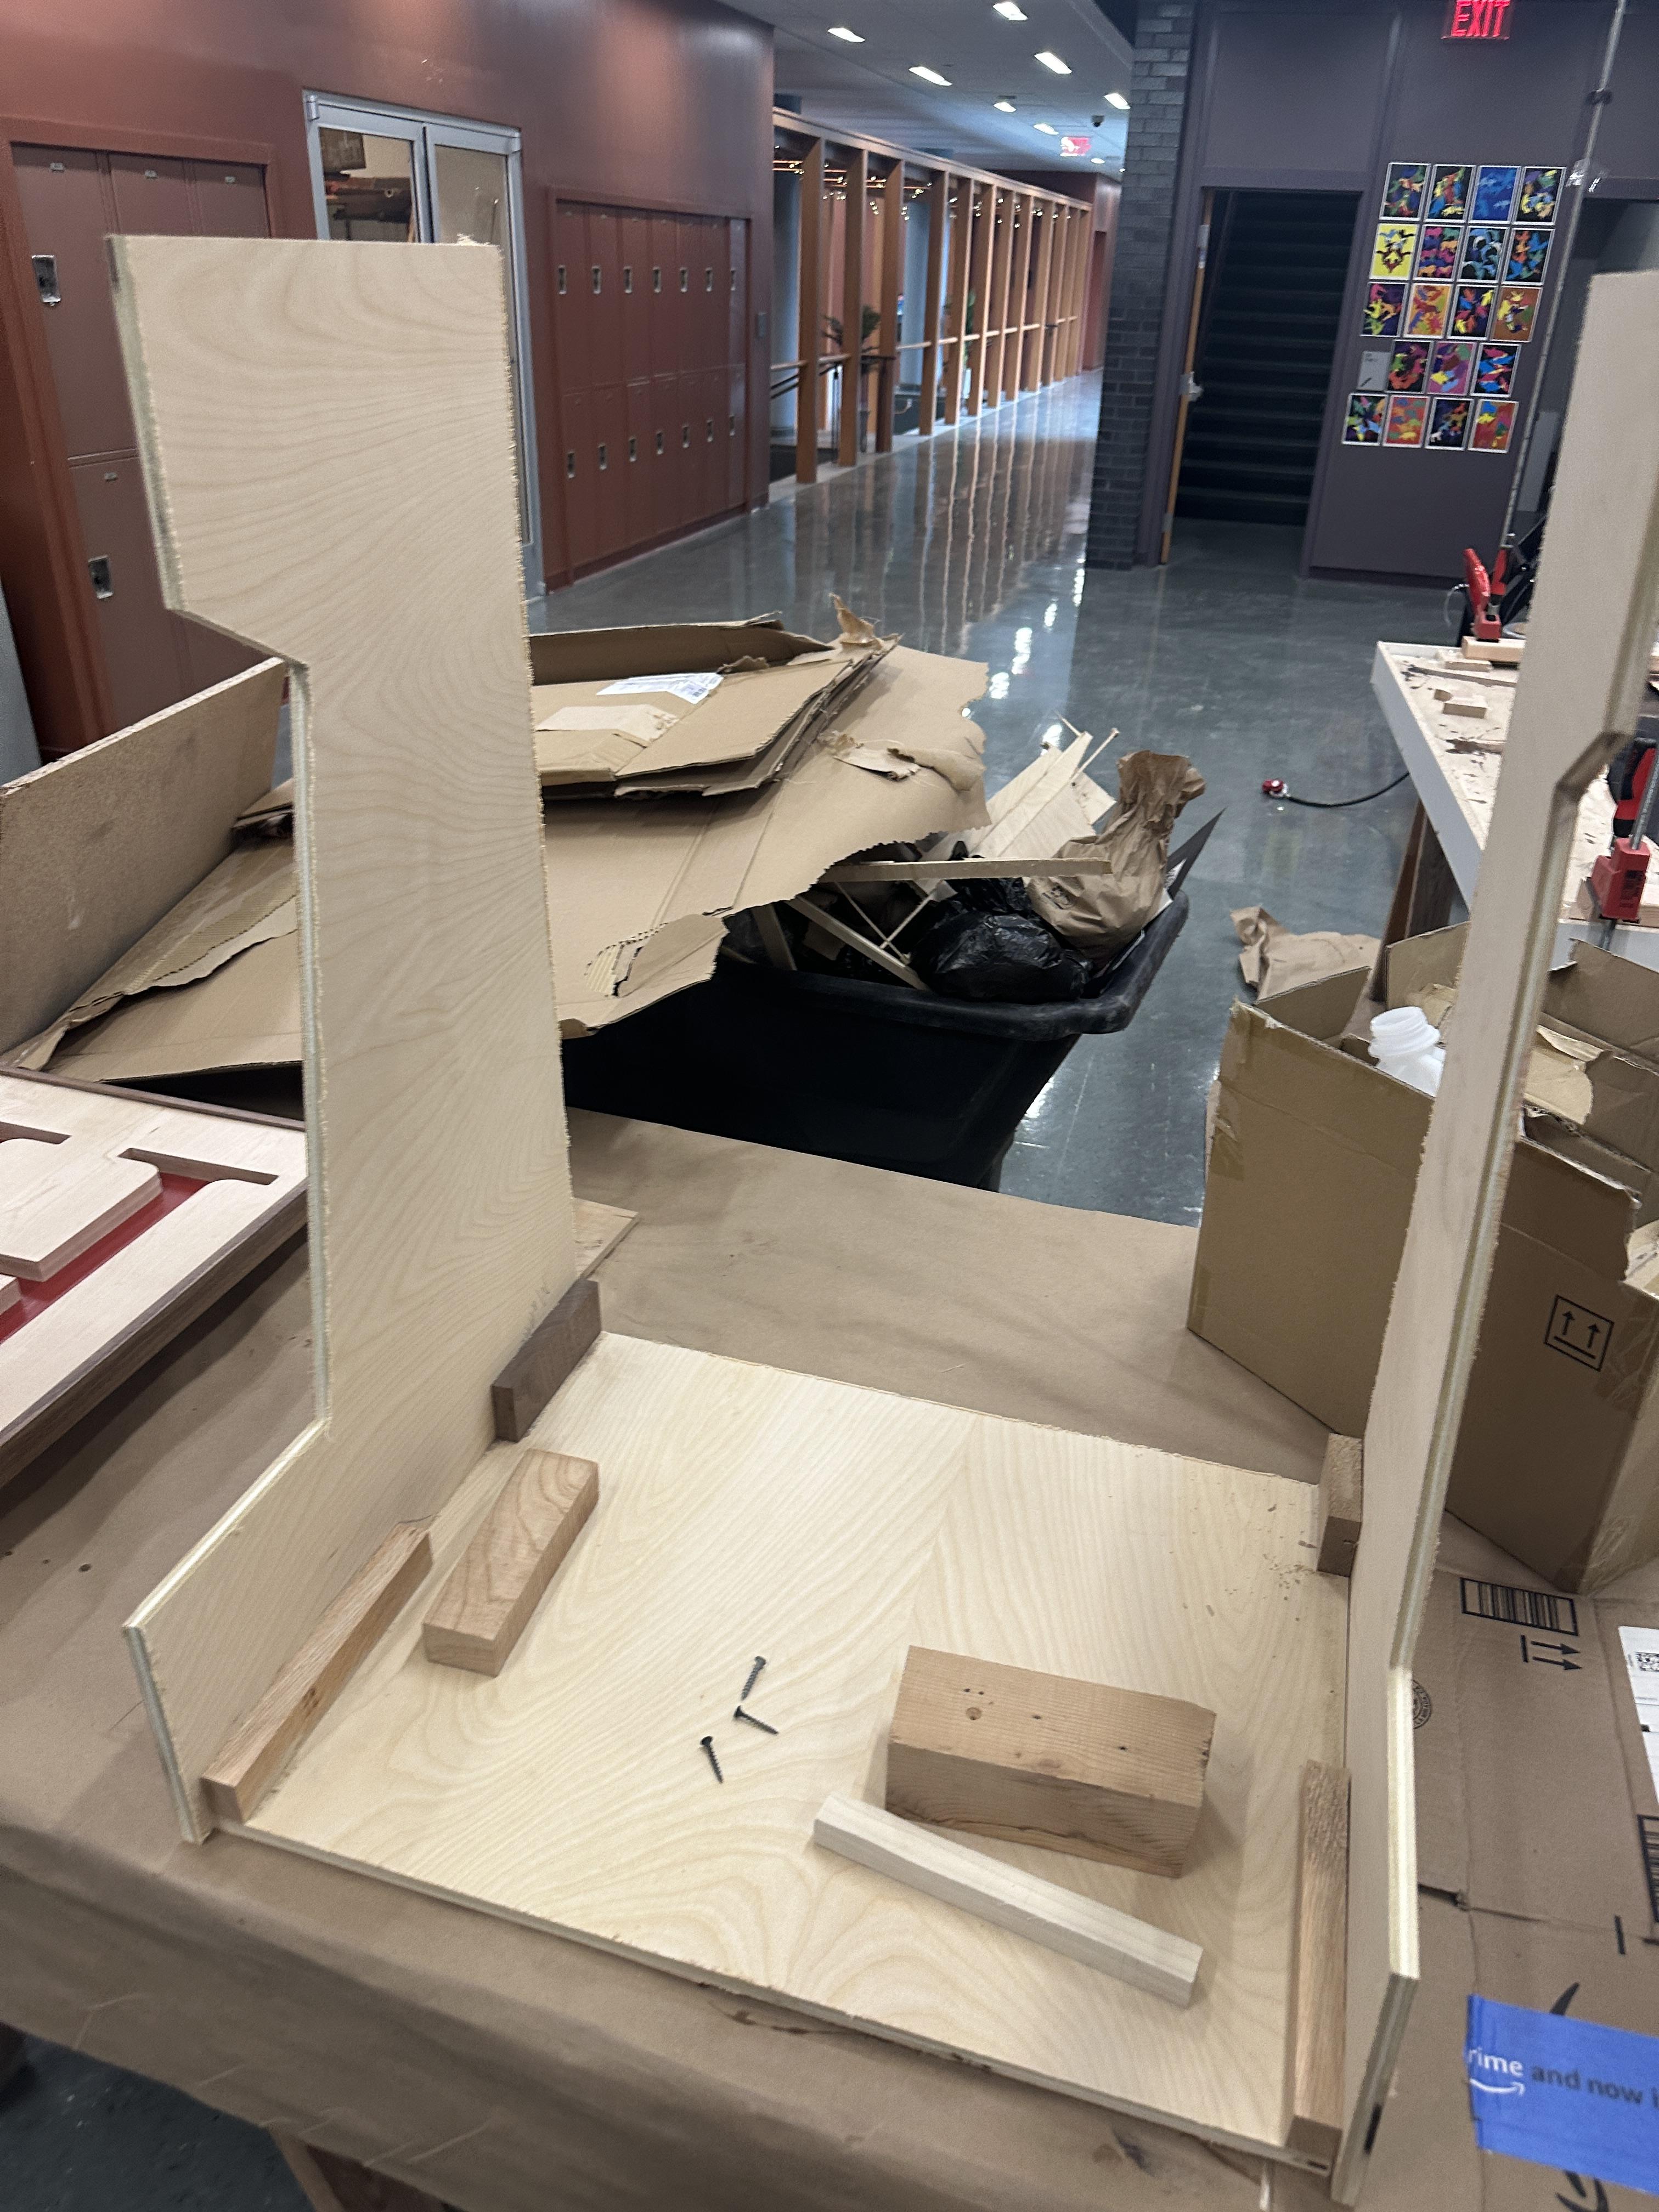
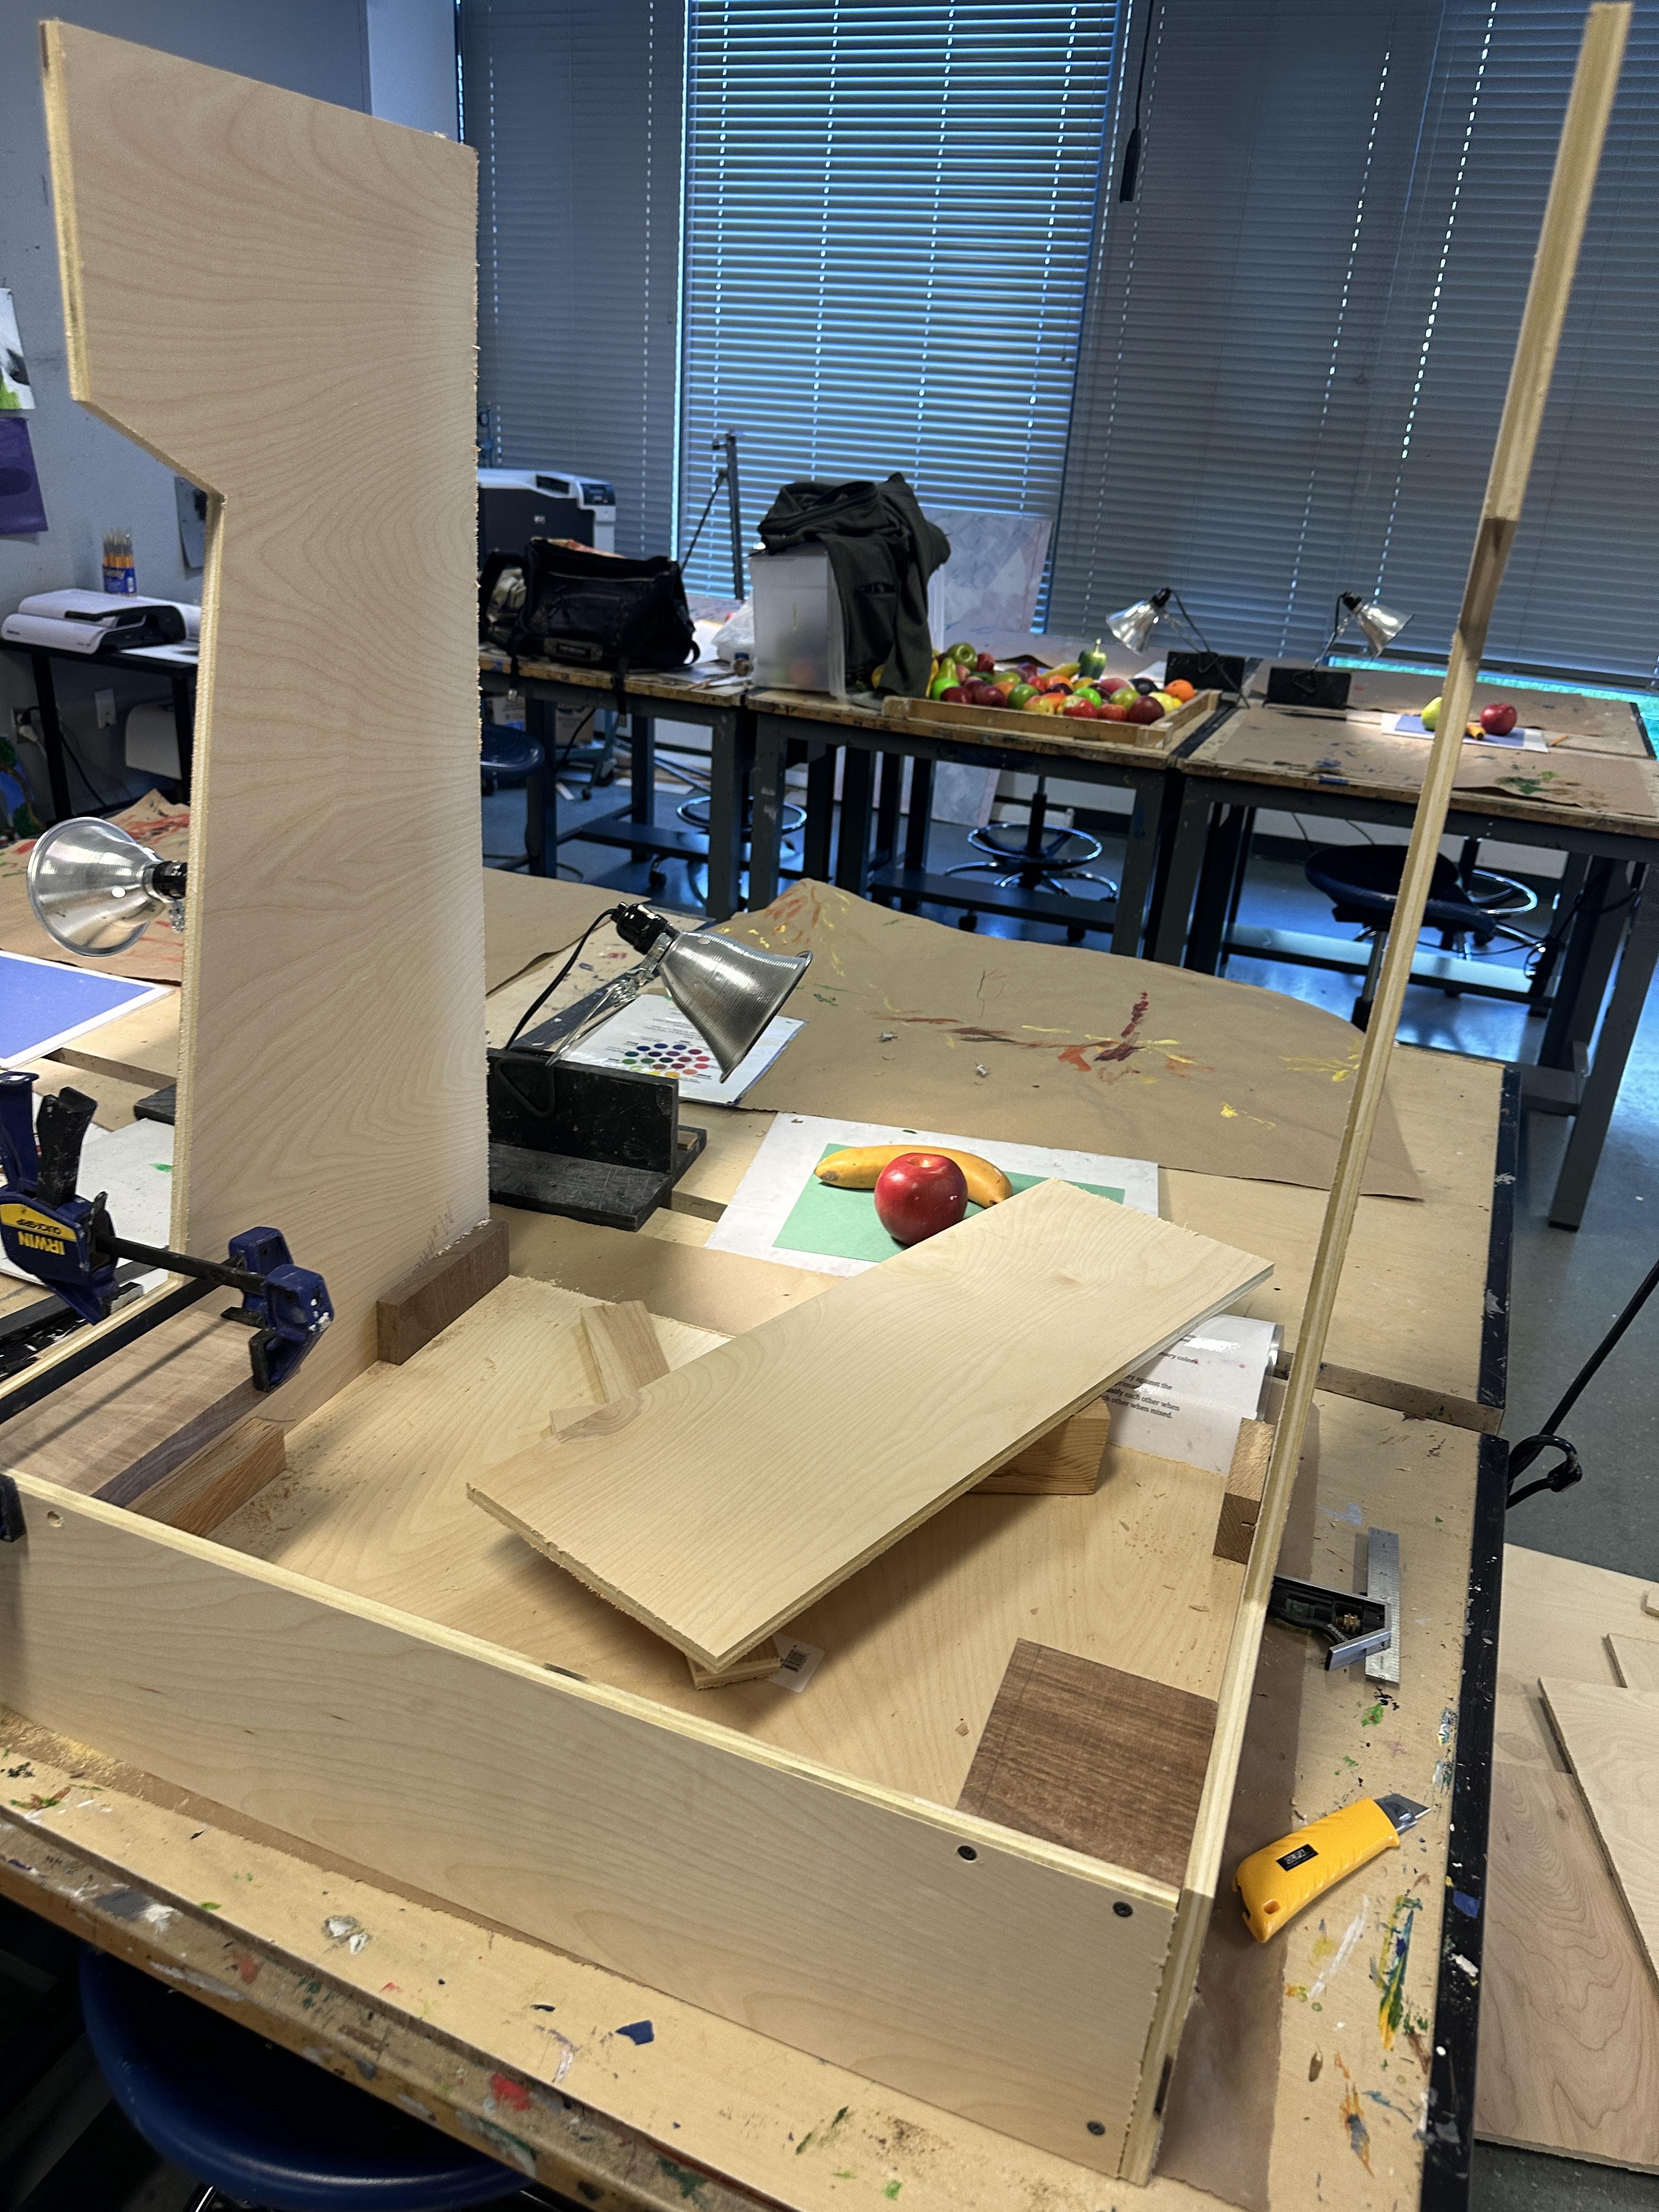
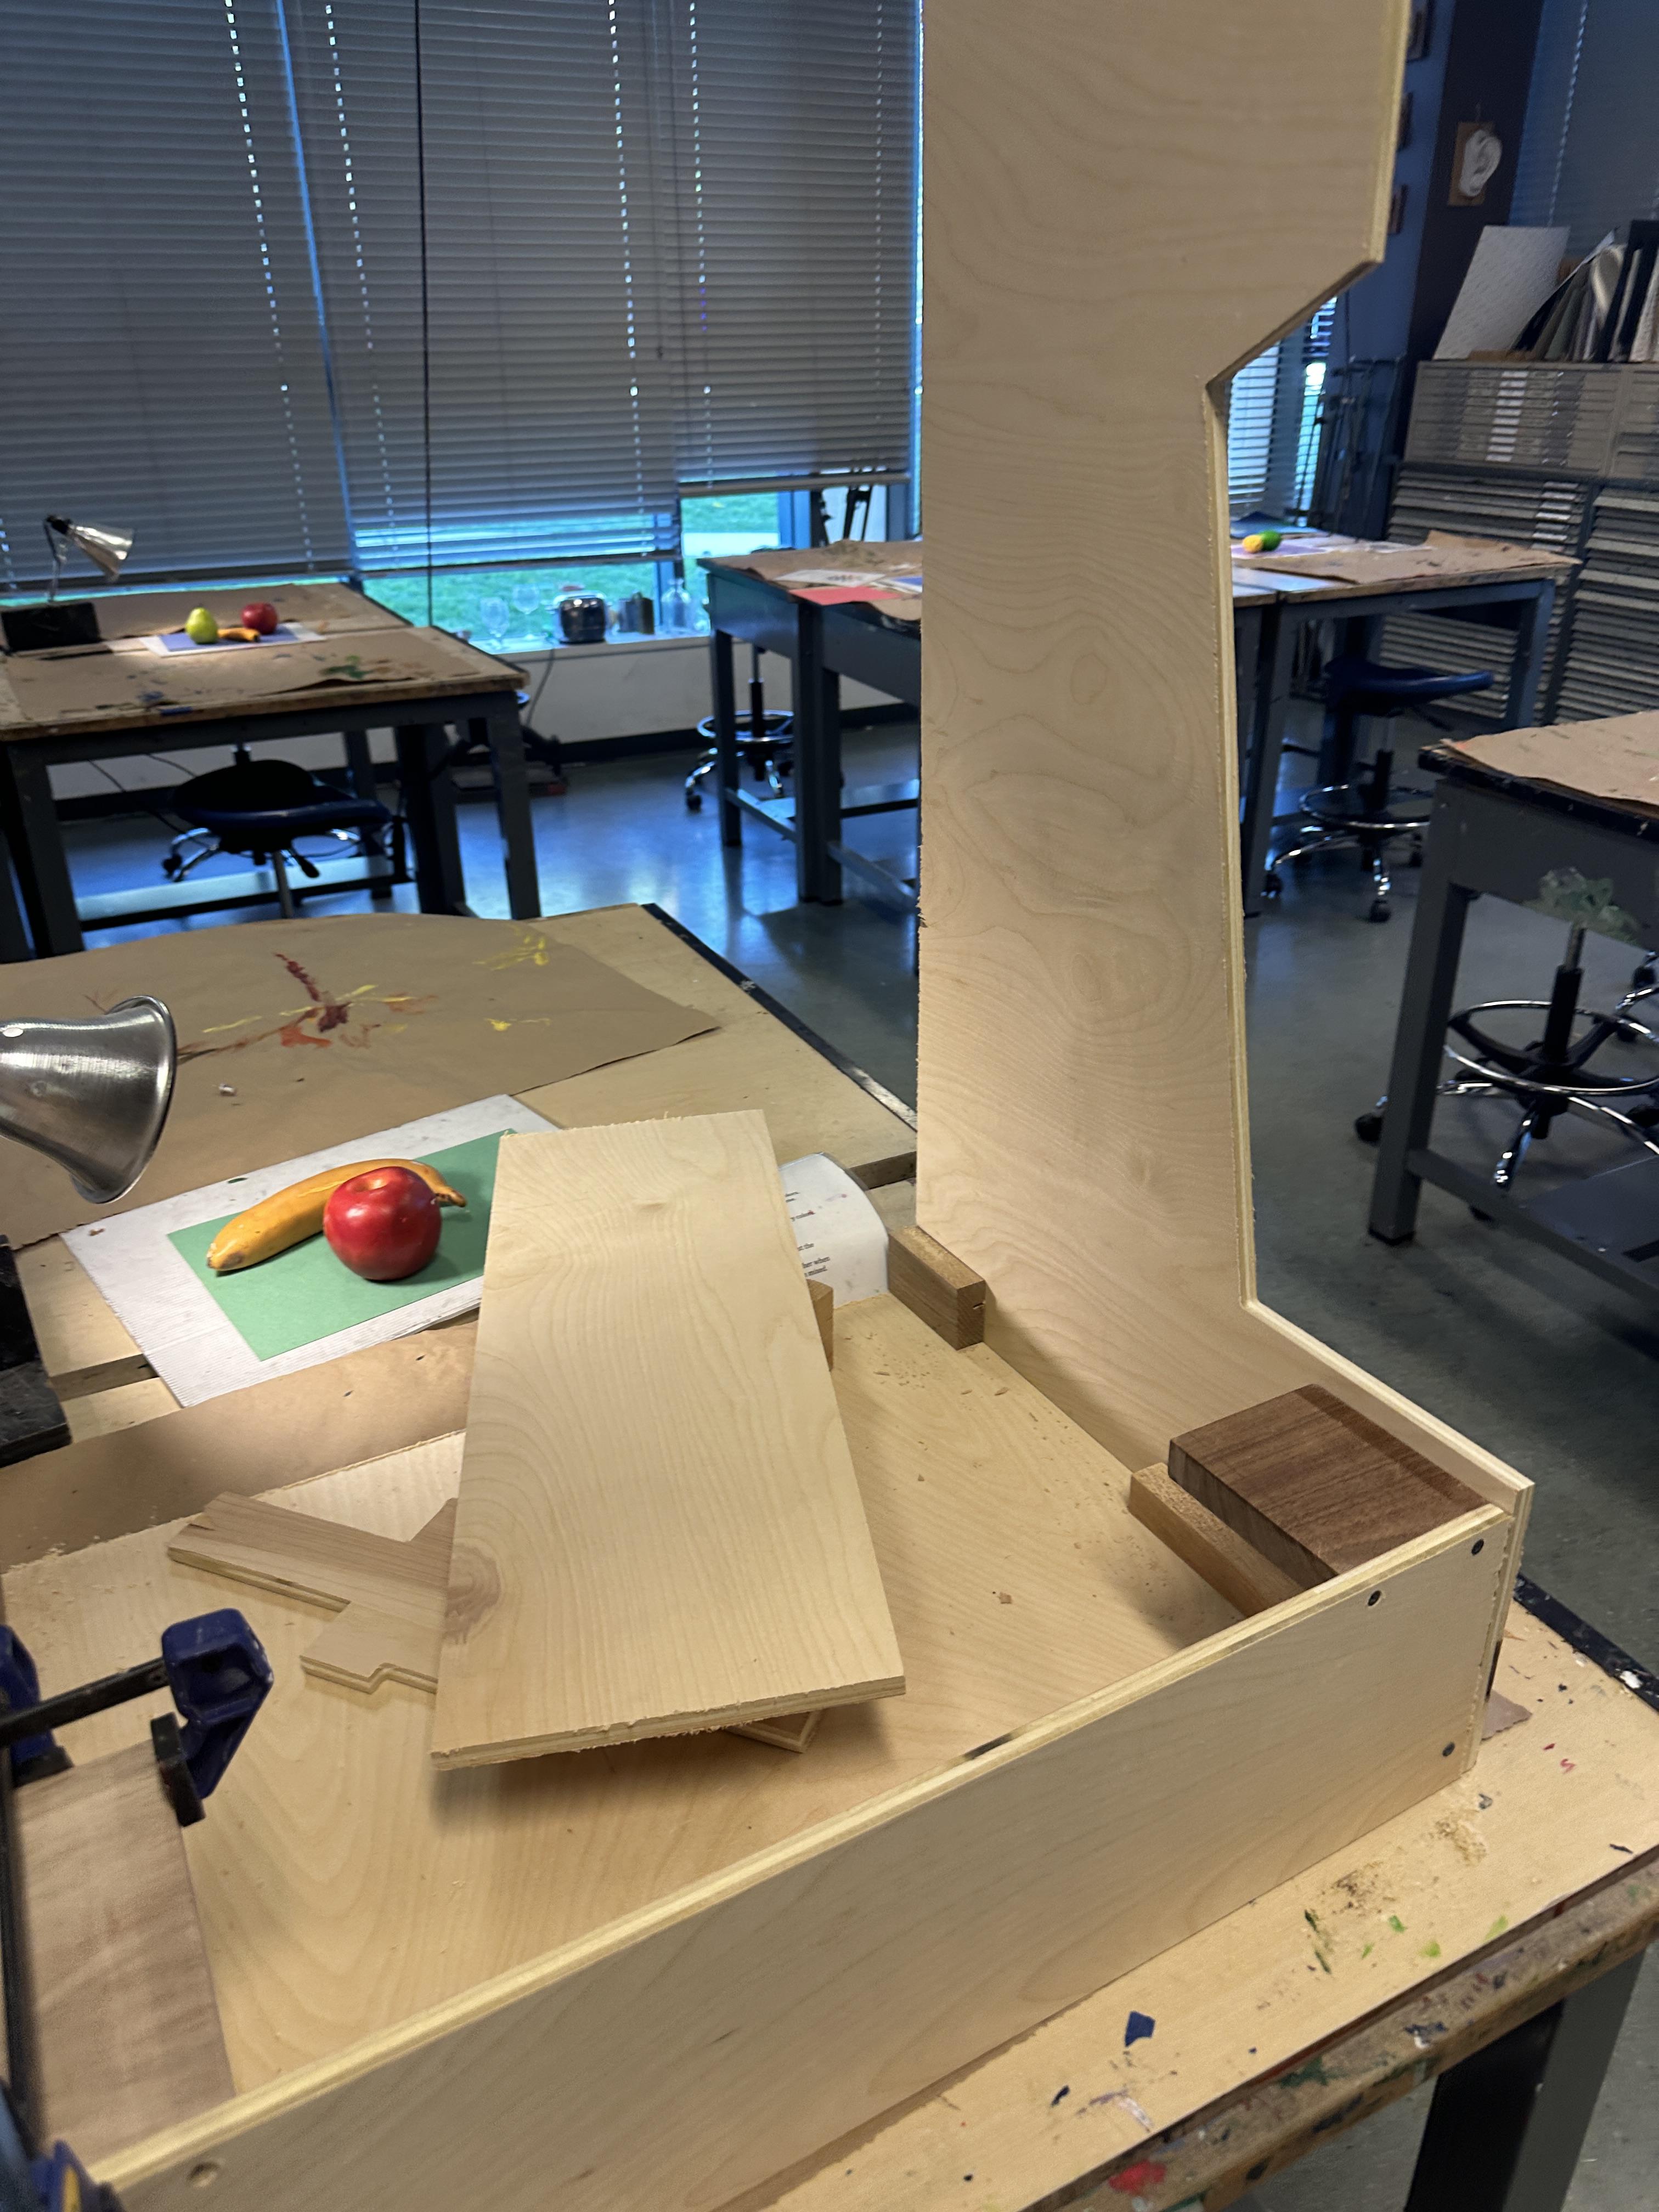
I aligned two sides at a time and used scrap wood to connected the panels. I used a countersink drill bit to pre-drill holes into the plywood and the support wood, the countersink drill bit allows the screws to sit flush in the plywood. Then, I used an impact driver to screw the a panel into the another panels scrap wood. I repeated this method to attach all the panels together. Once the arcade machine was assembled, I used a woodboring drill bit to drill holes for the monitor and raspberry pi power cord.
Sanding and Finishing the Wood
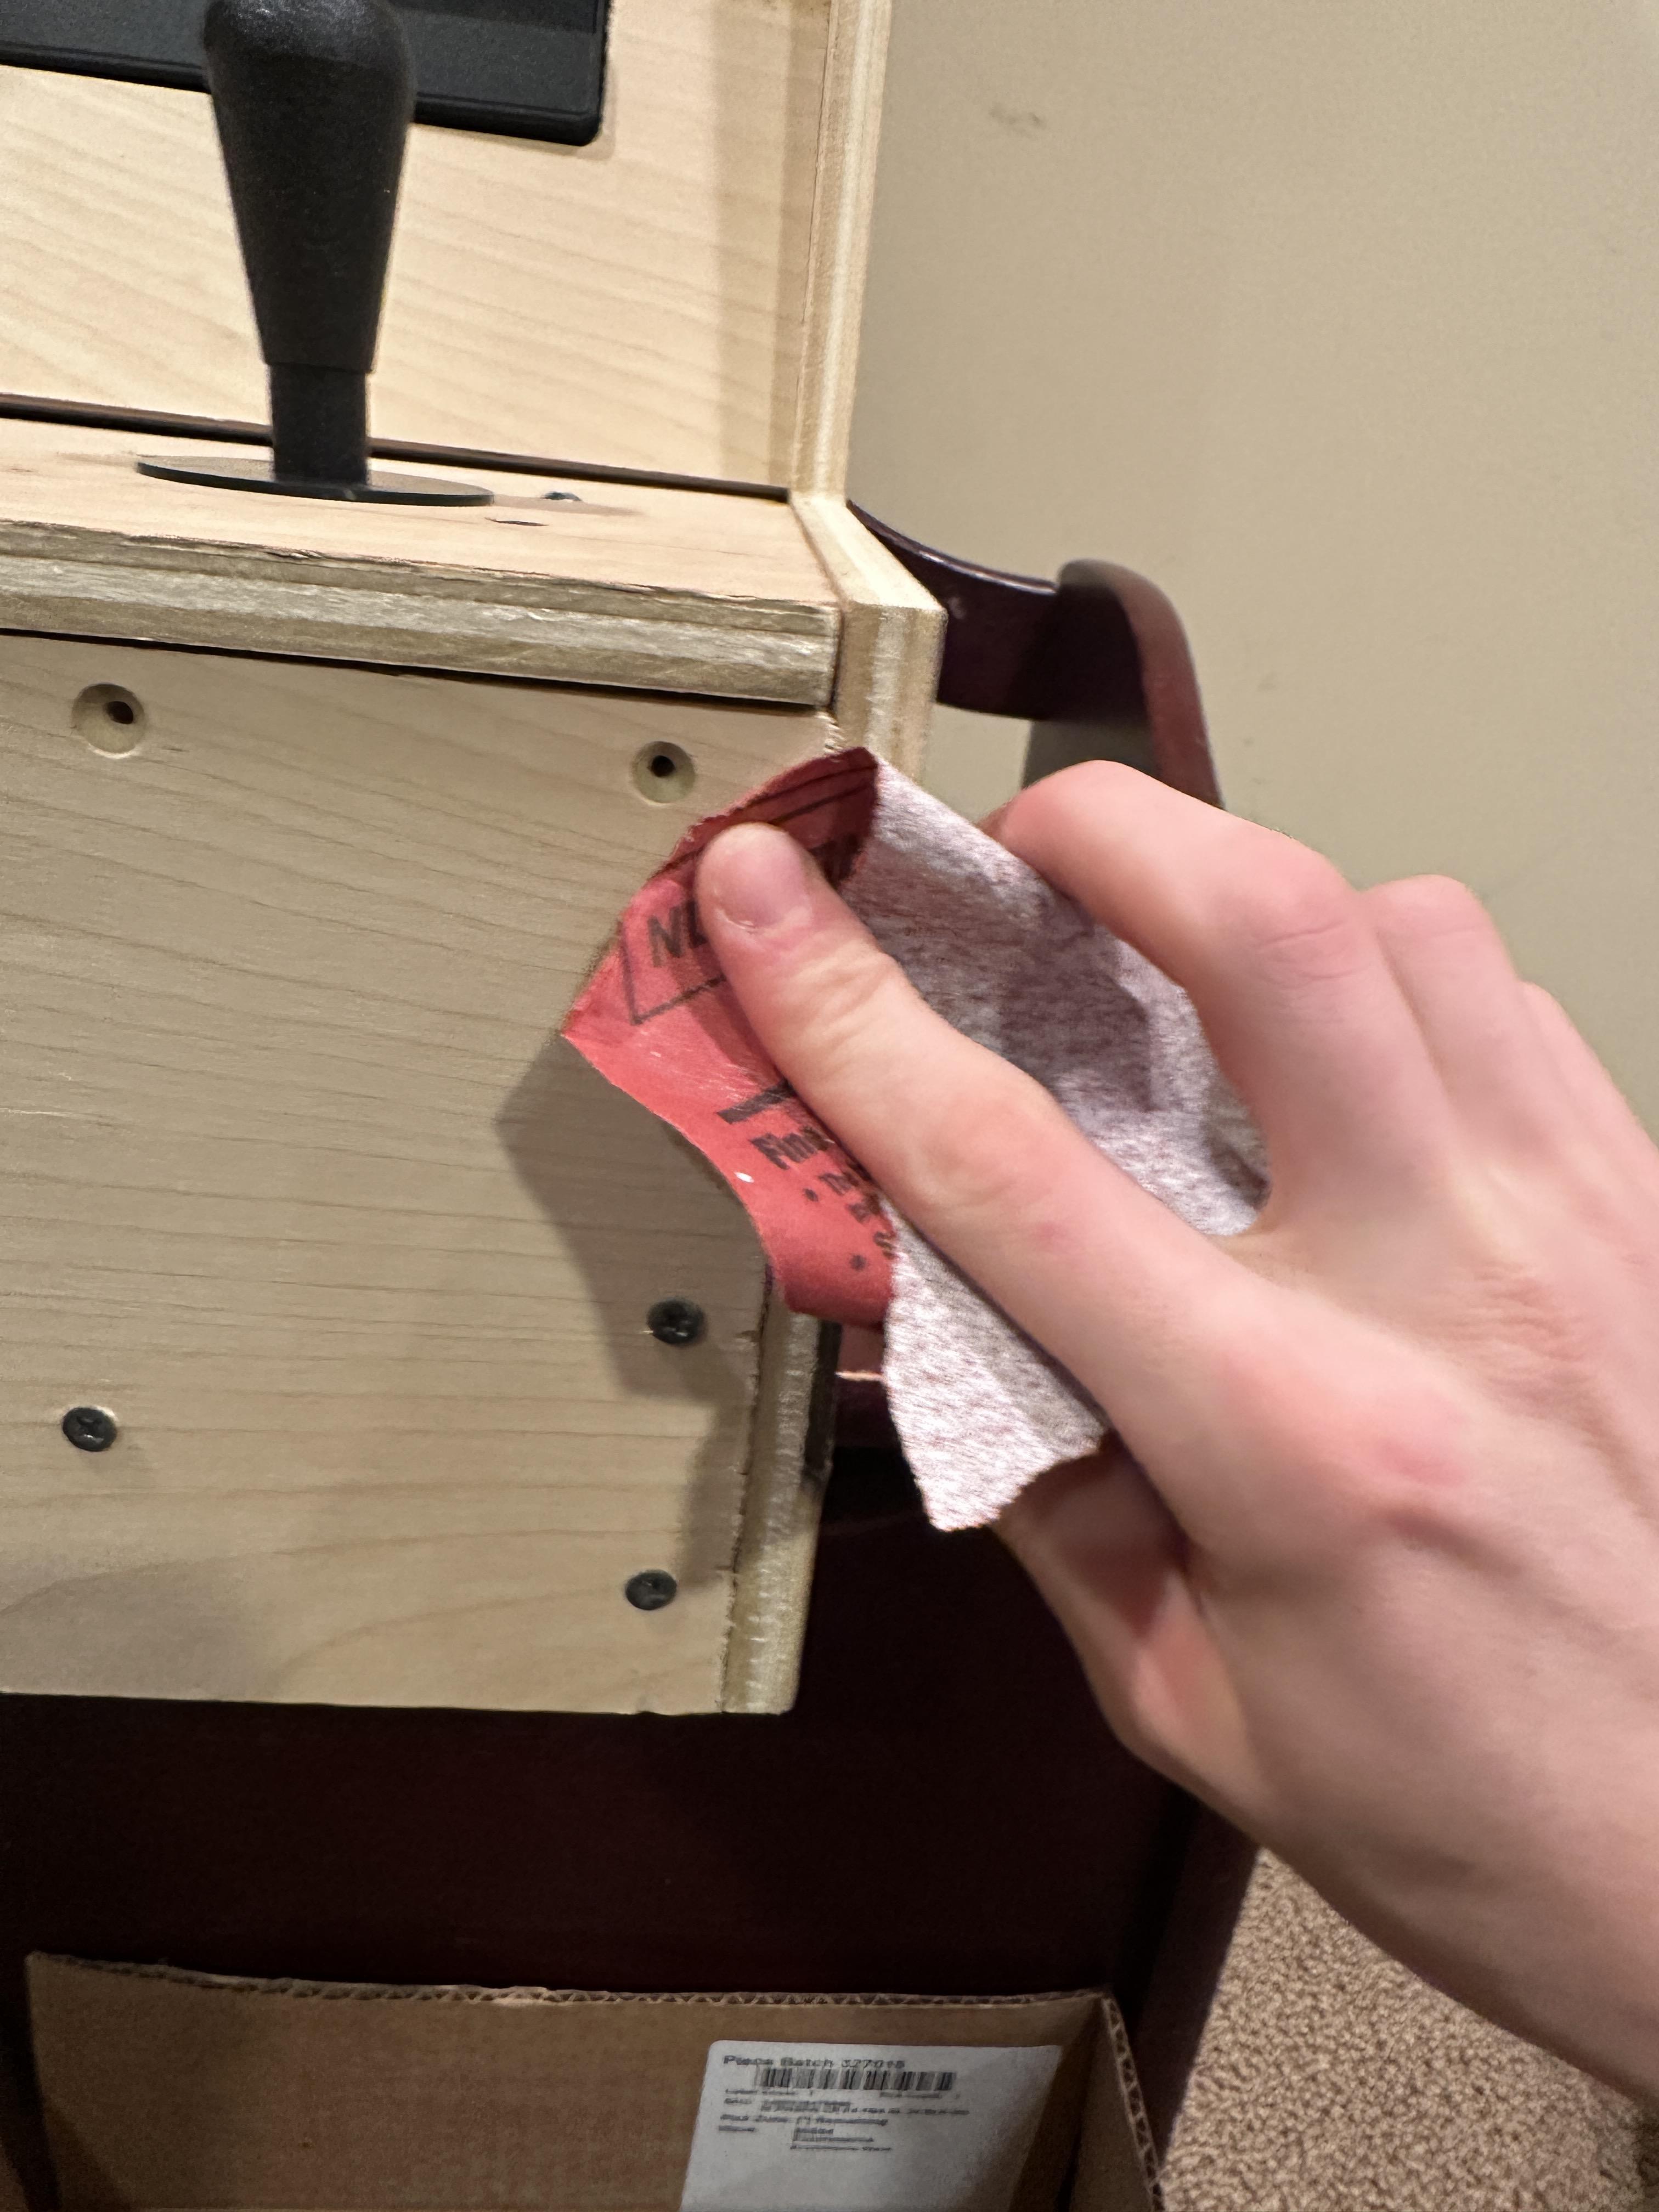
After the assembly is complete and the holes are drilled, I smoothed the arcade machine with a the orbit sander and sandpaper to smooth the surface. Start with a lower grit and move your way up till the surface is smooth to the touch. Target the edges of the plywood; the edges will have the most blowout from the CNC machine. If the edges are a bit rougher, you might need to use box cutters. For a better finish use wood-filler to fill holes left by the screws.
After the sanding is complete, wood filler can also be added to any holes accidentally drilled or to cover up the countersunk screws, I would recommend applying wood filter after sanding because sanding wood filler can create dust harmful to the lungs. Then, varnish or spray paint can be applied to protect the wood.
Assembling Button Circuit
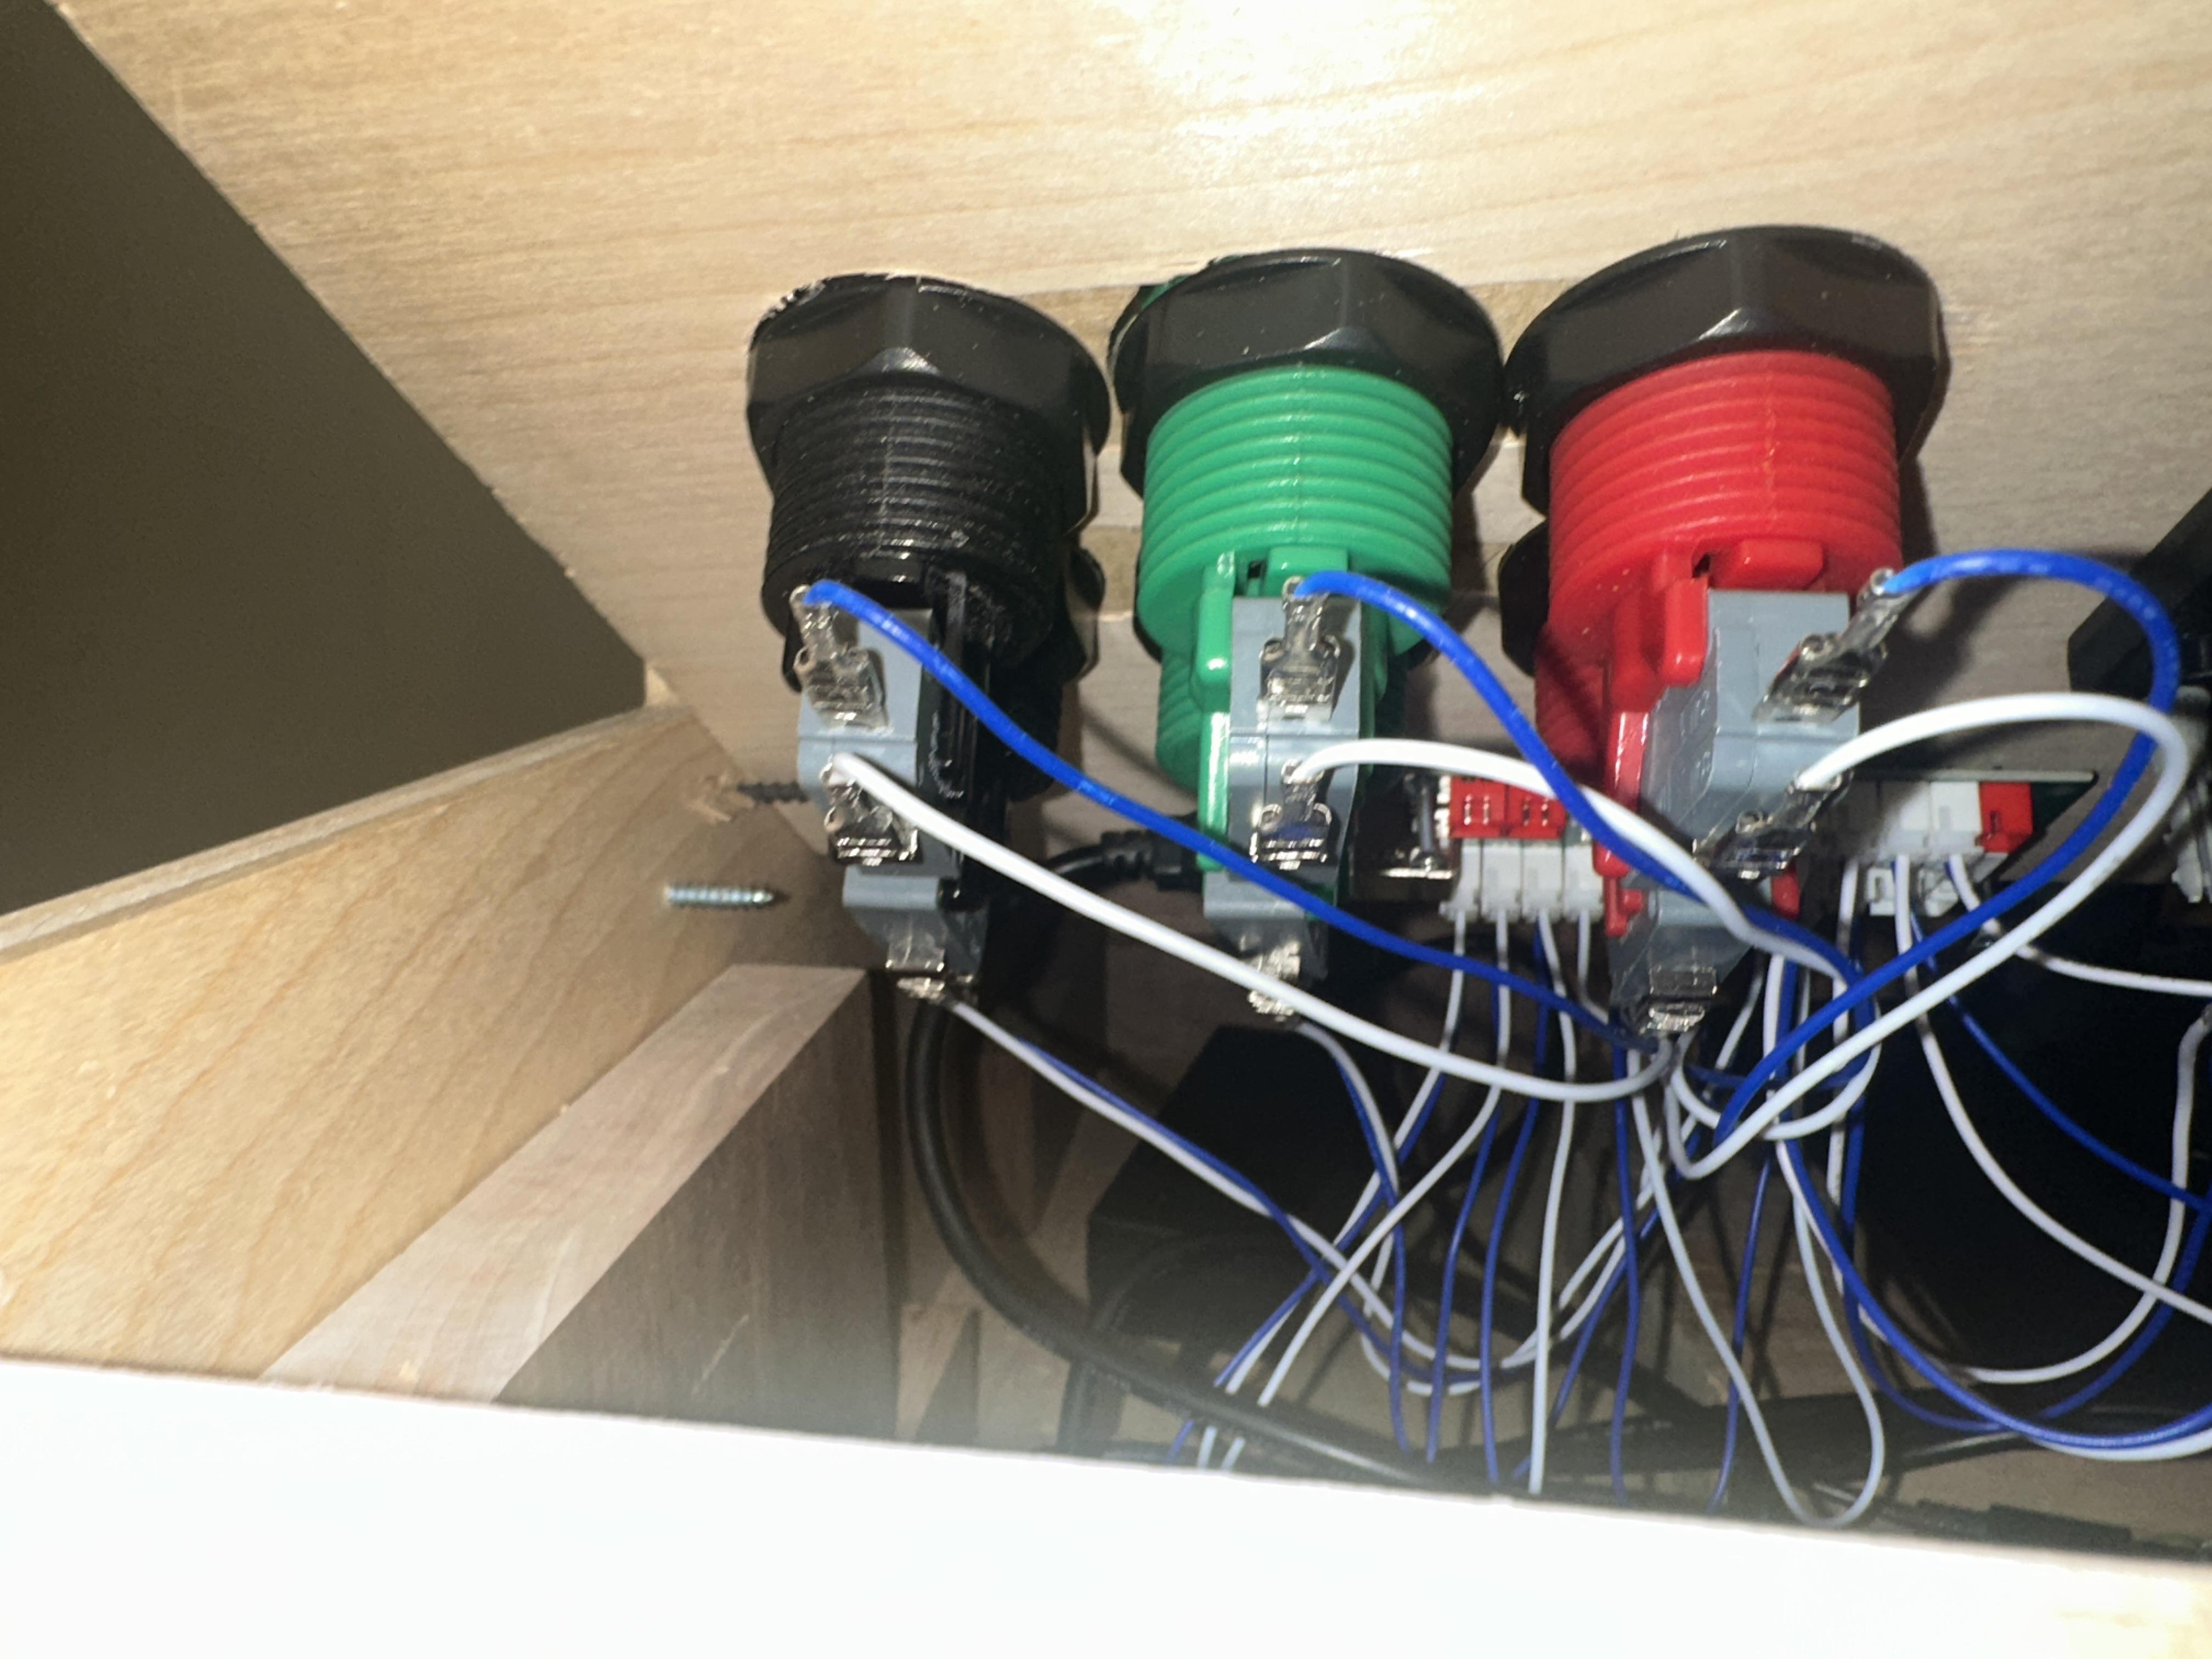
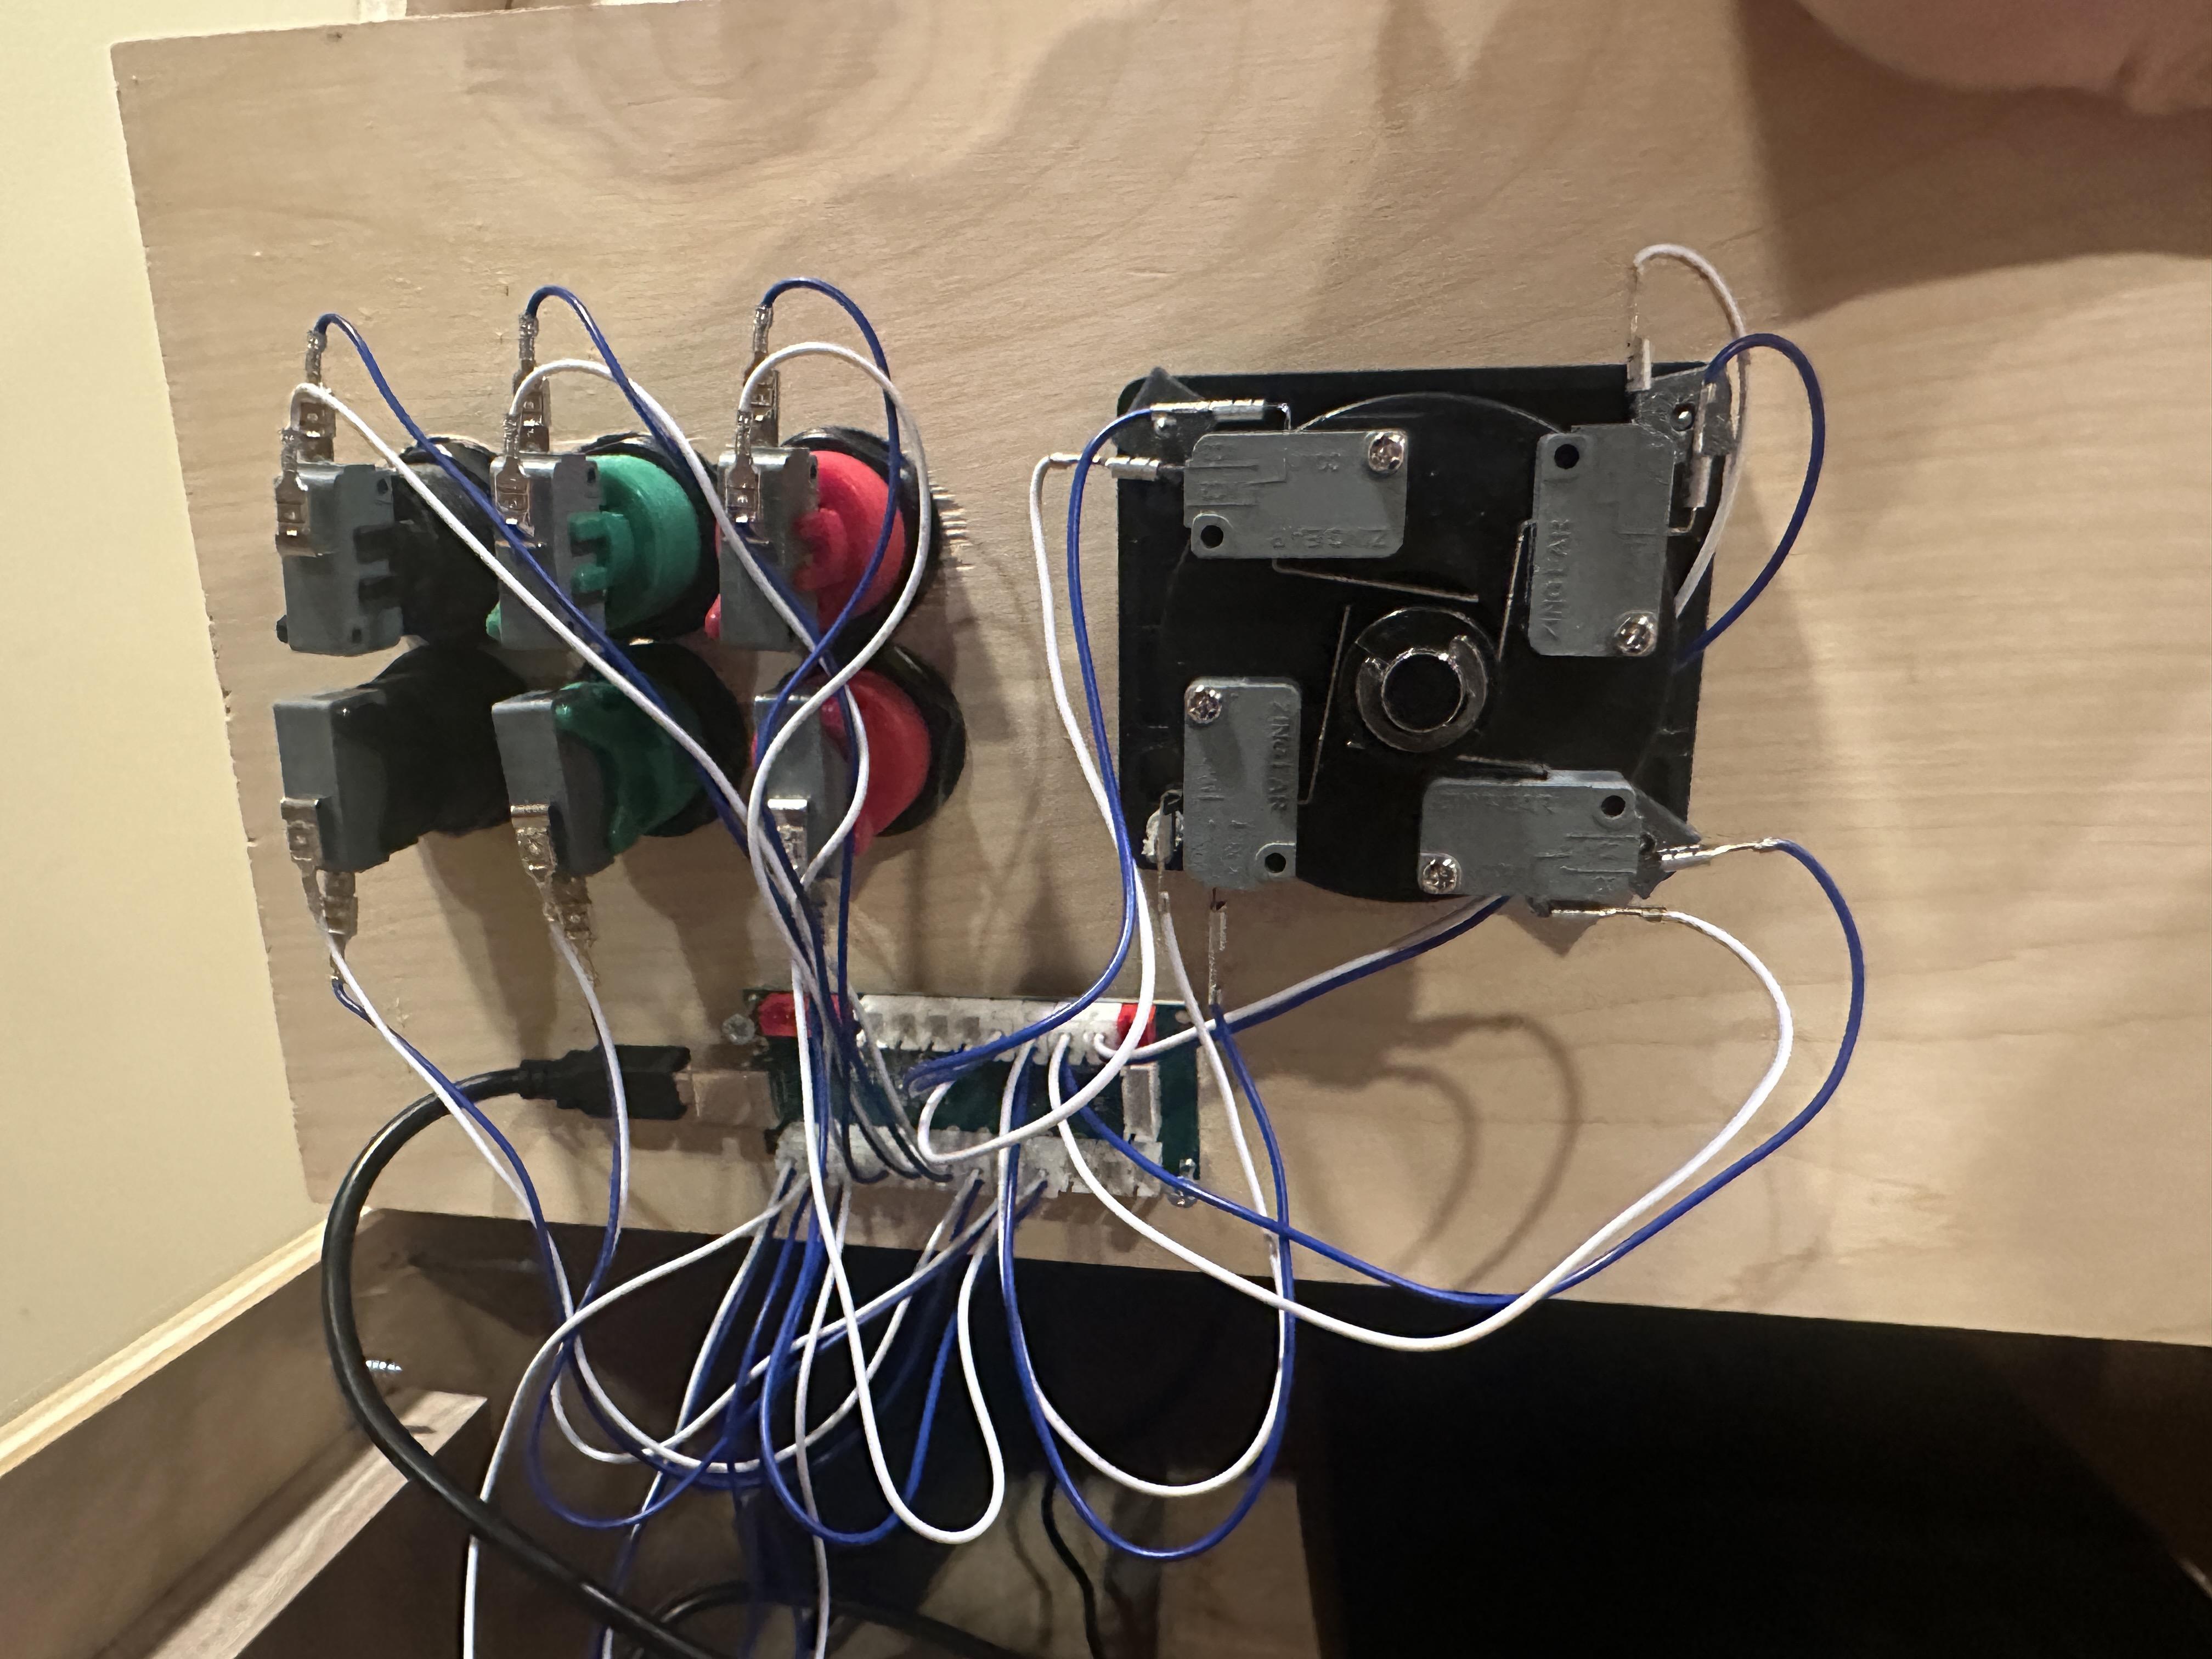
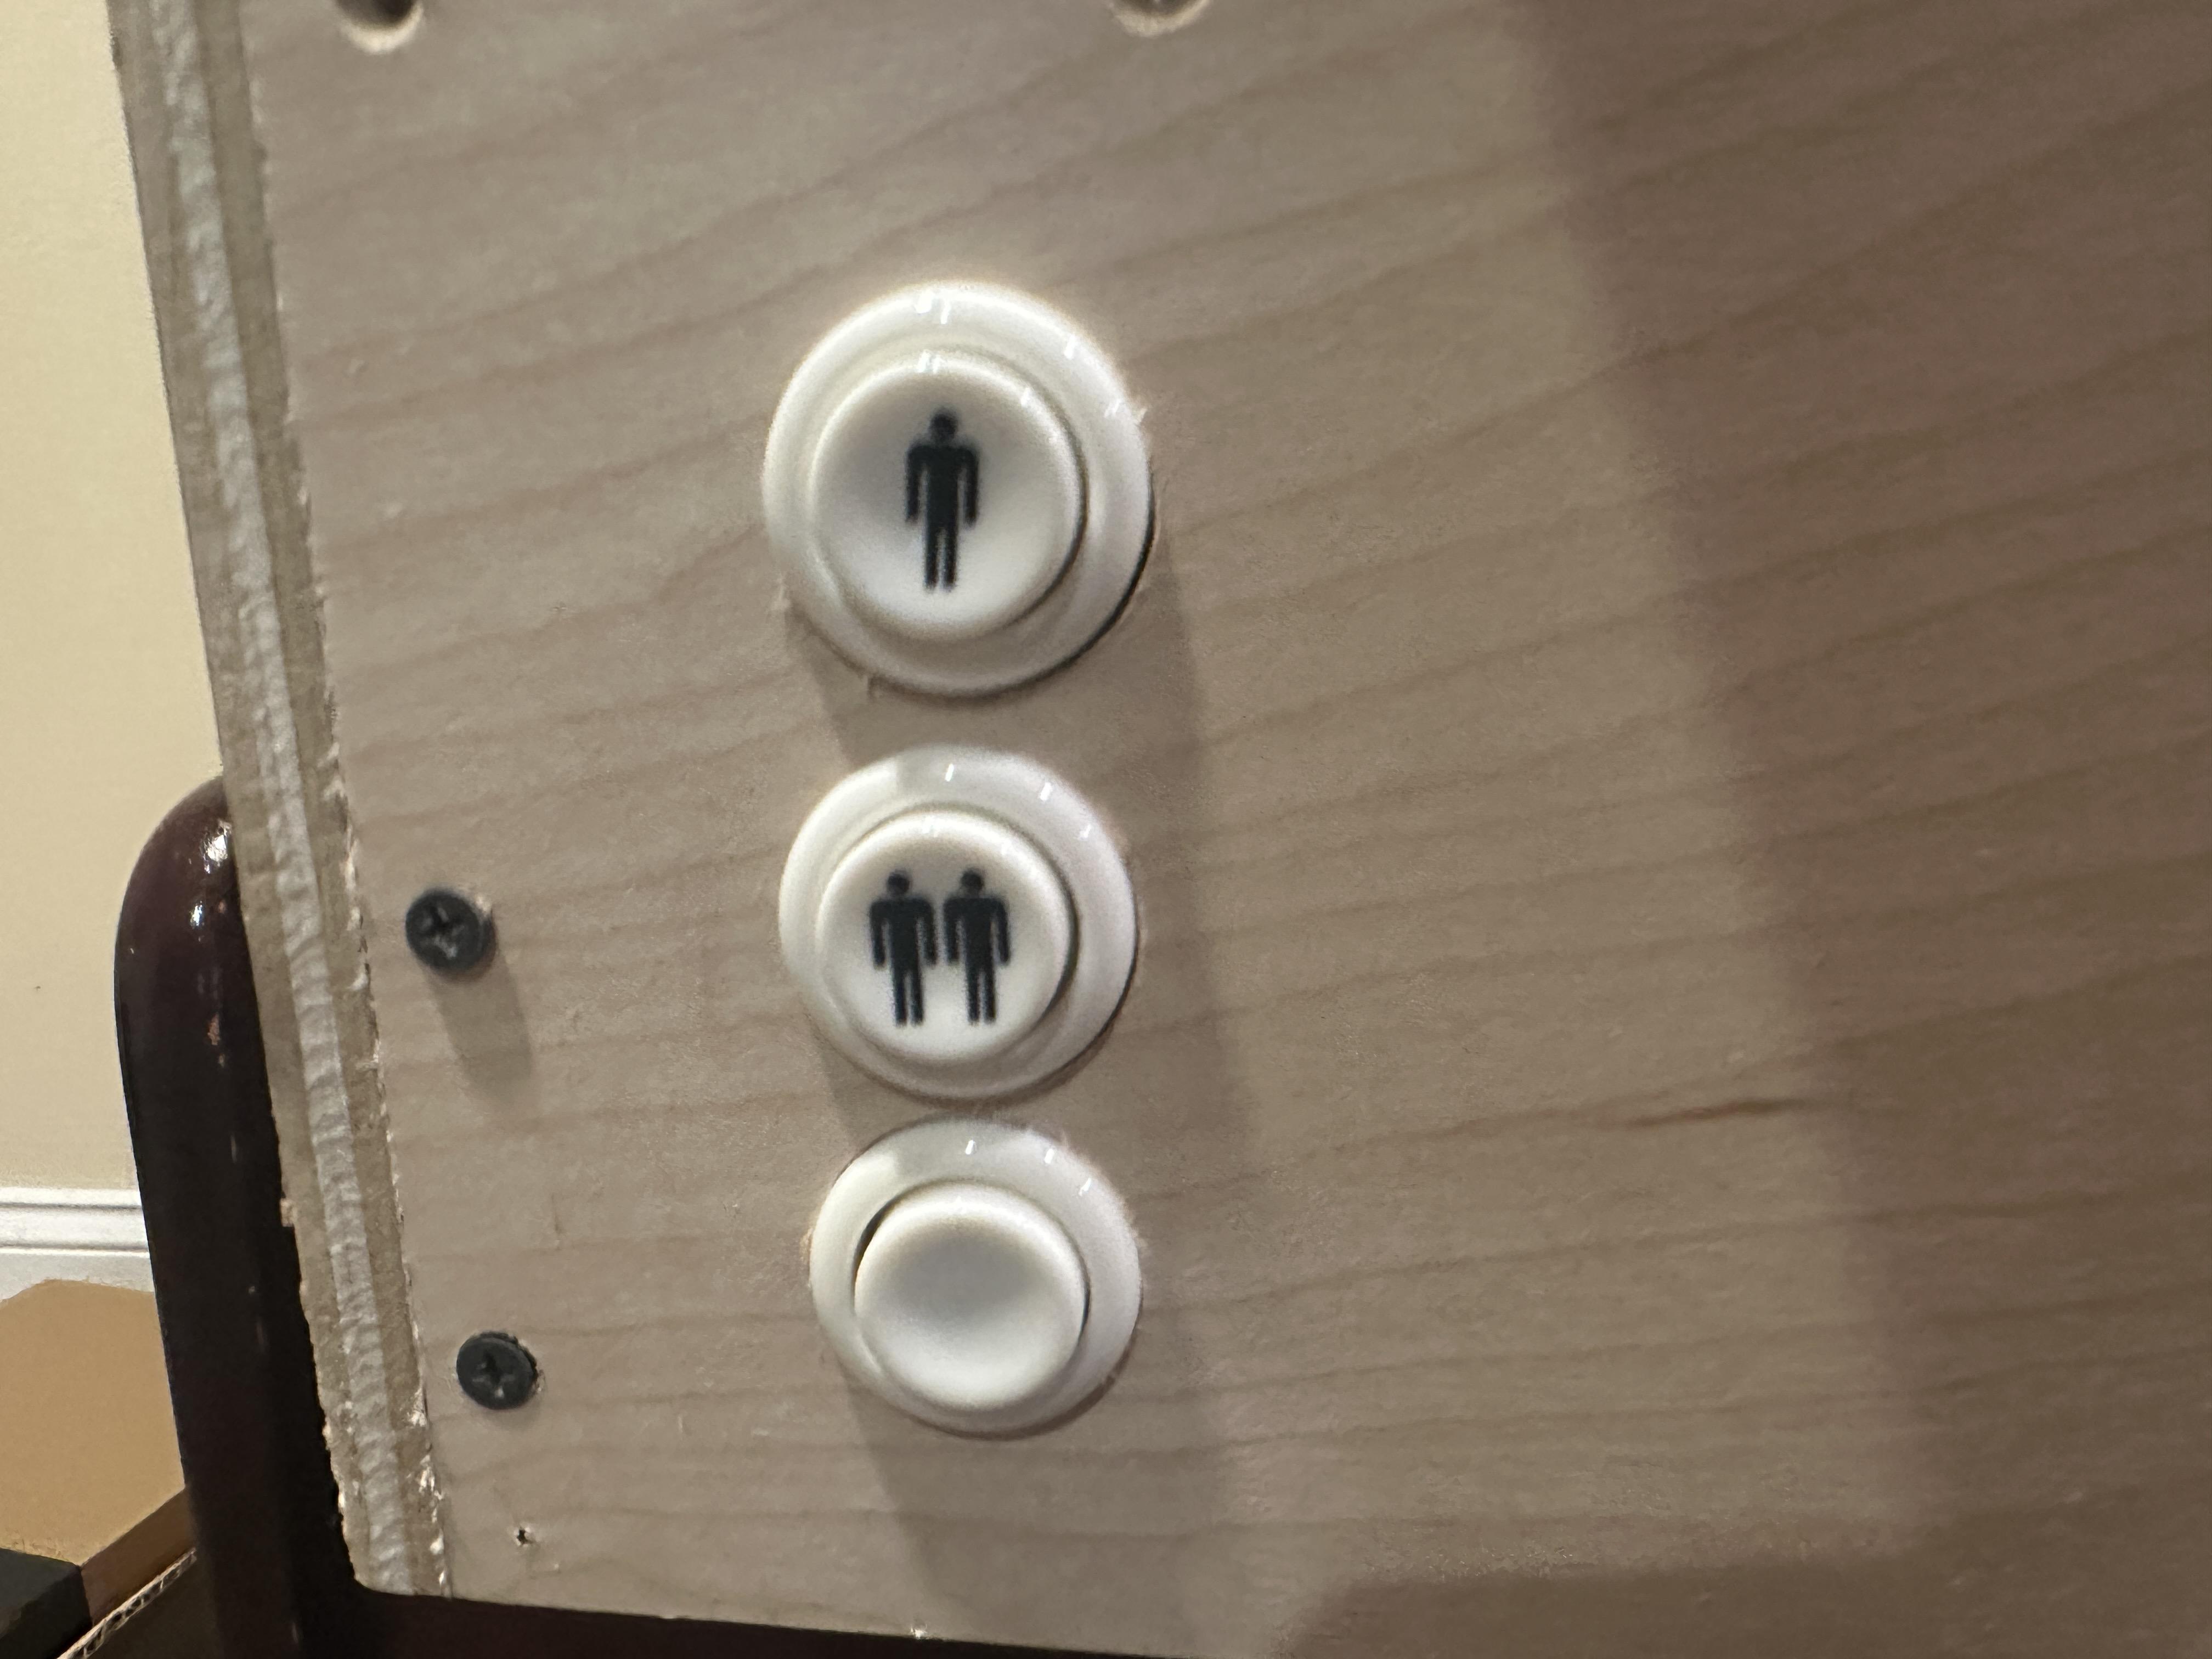
Each button gets pushed into the holes drilled previously and then the microswitches are attached to the bottom of the plastic button. Then wires (they were included which the kit I bought) are attached onto the microswitch prongs, then the jst connector is attached to the control board. The control board then attaches to the raspberry pi via a usb cord.
Adding Port Extension (optional)
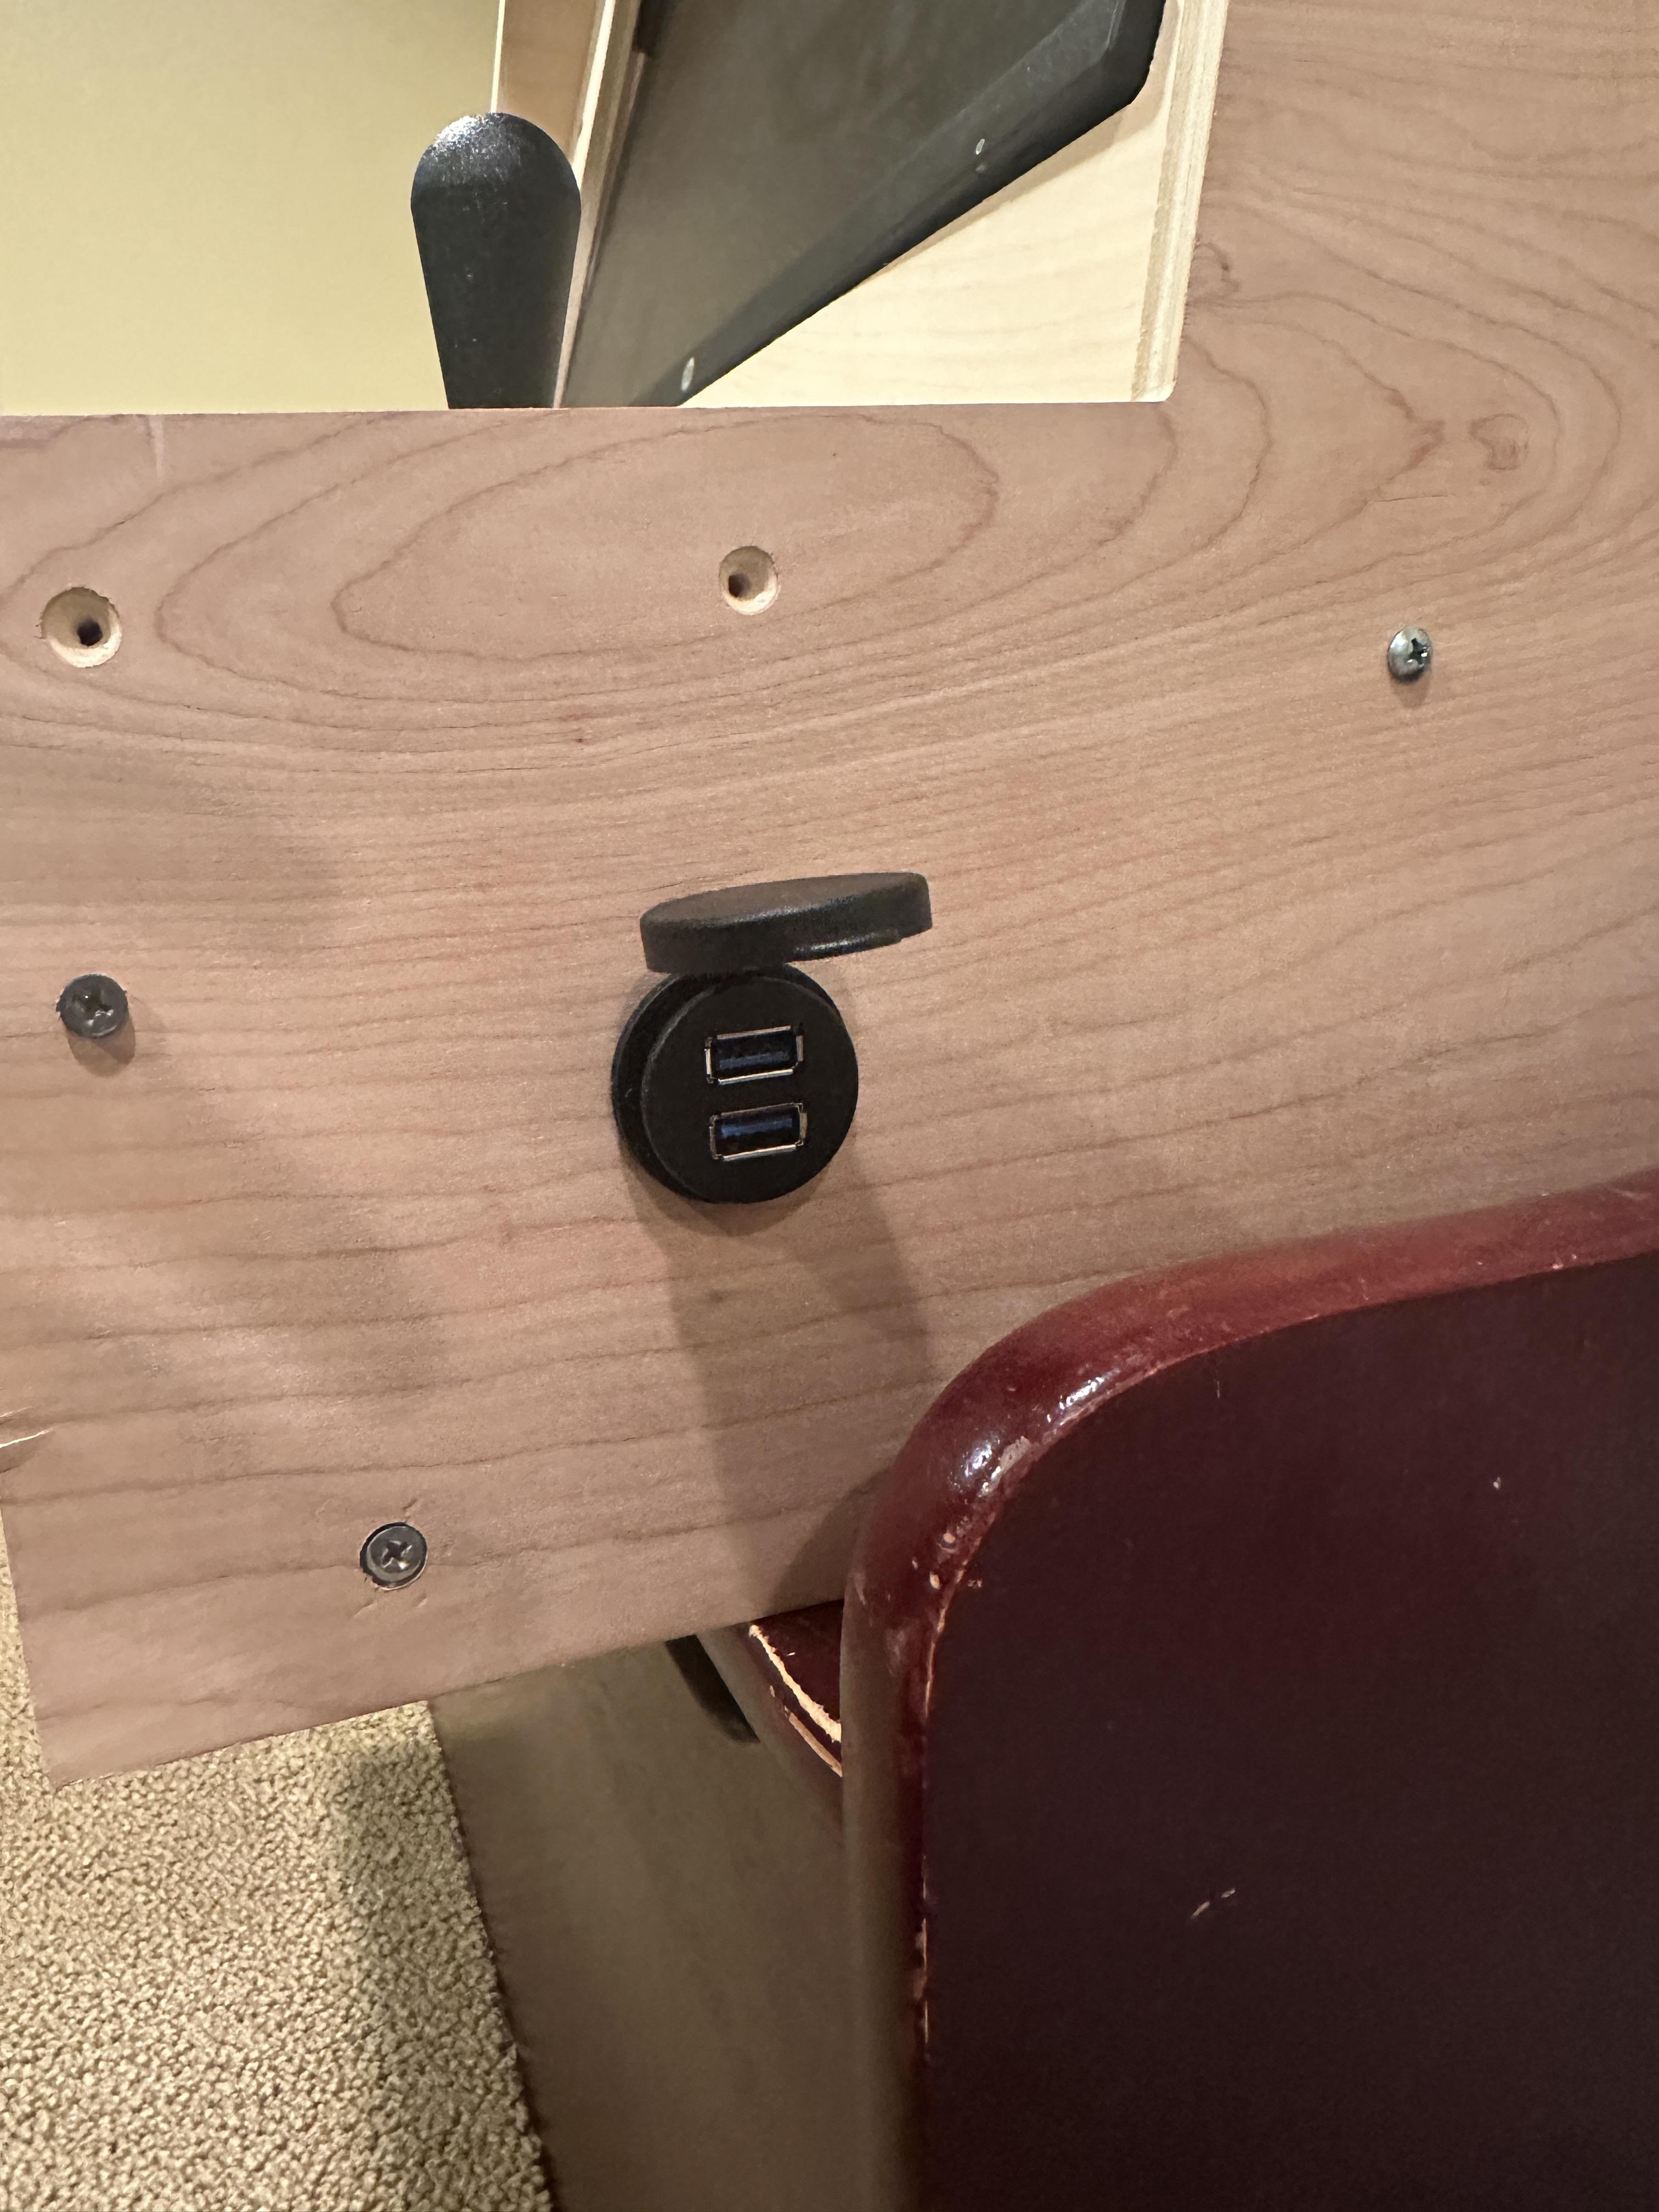
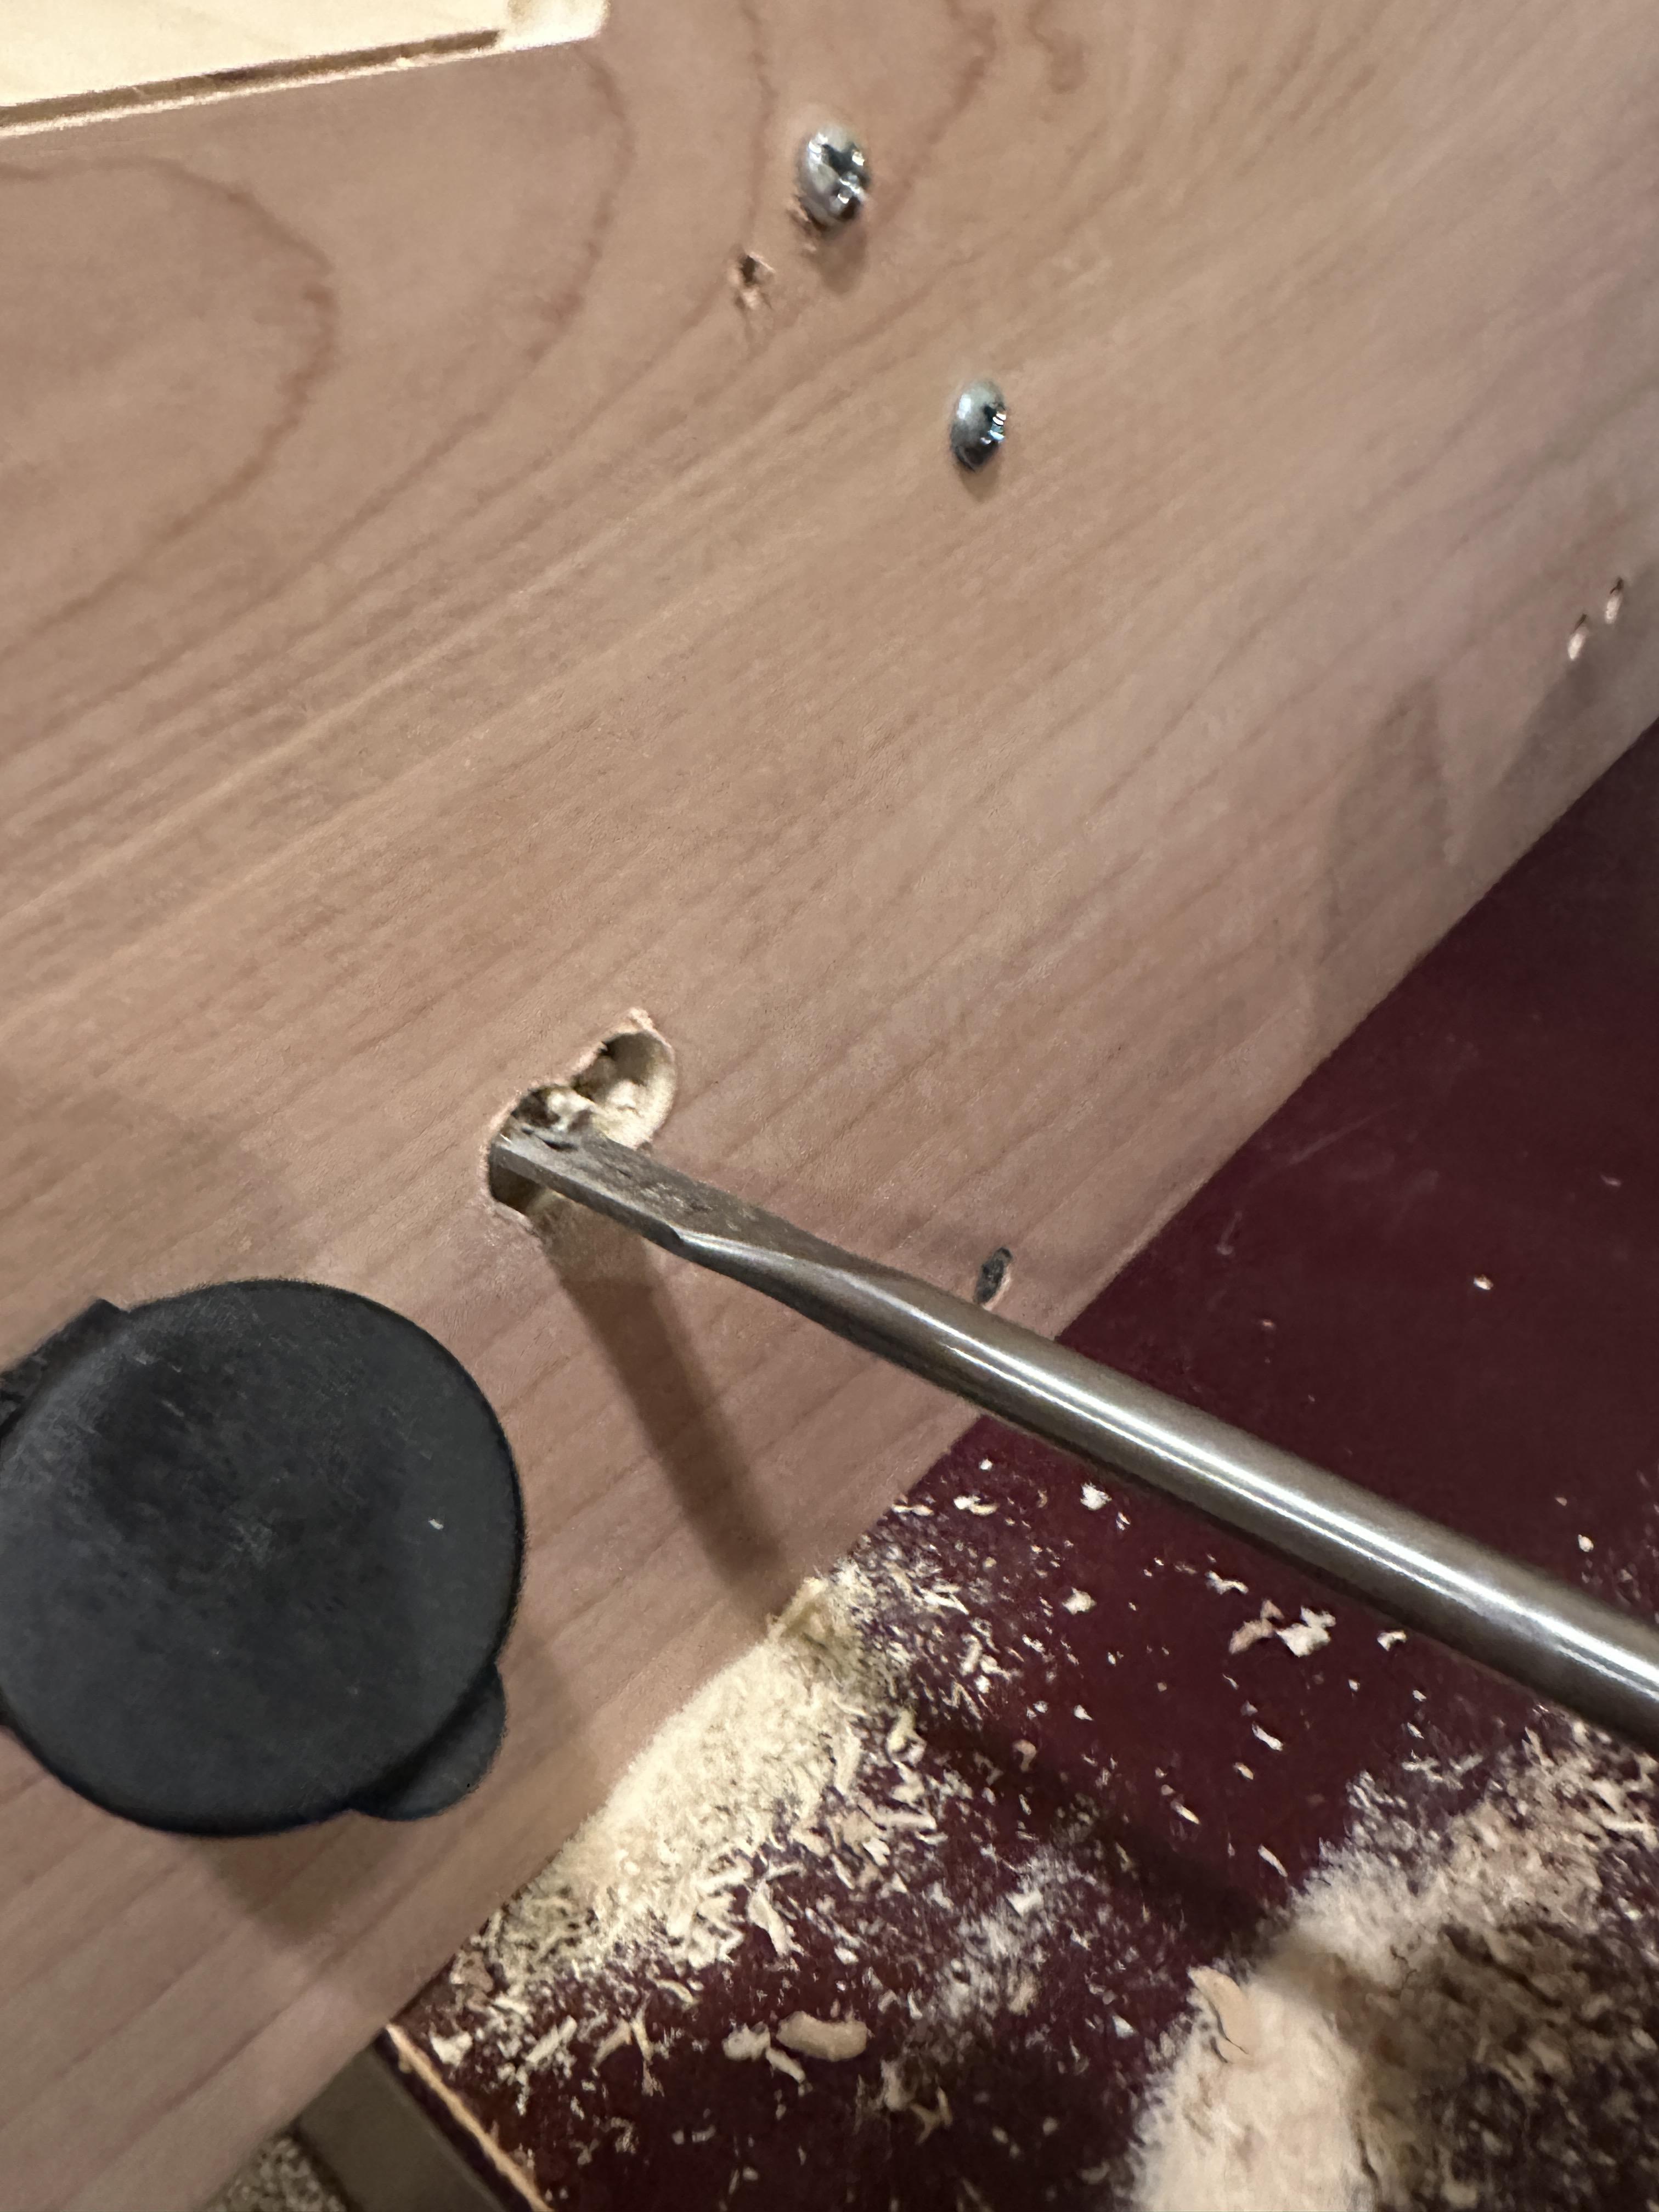
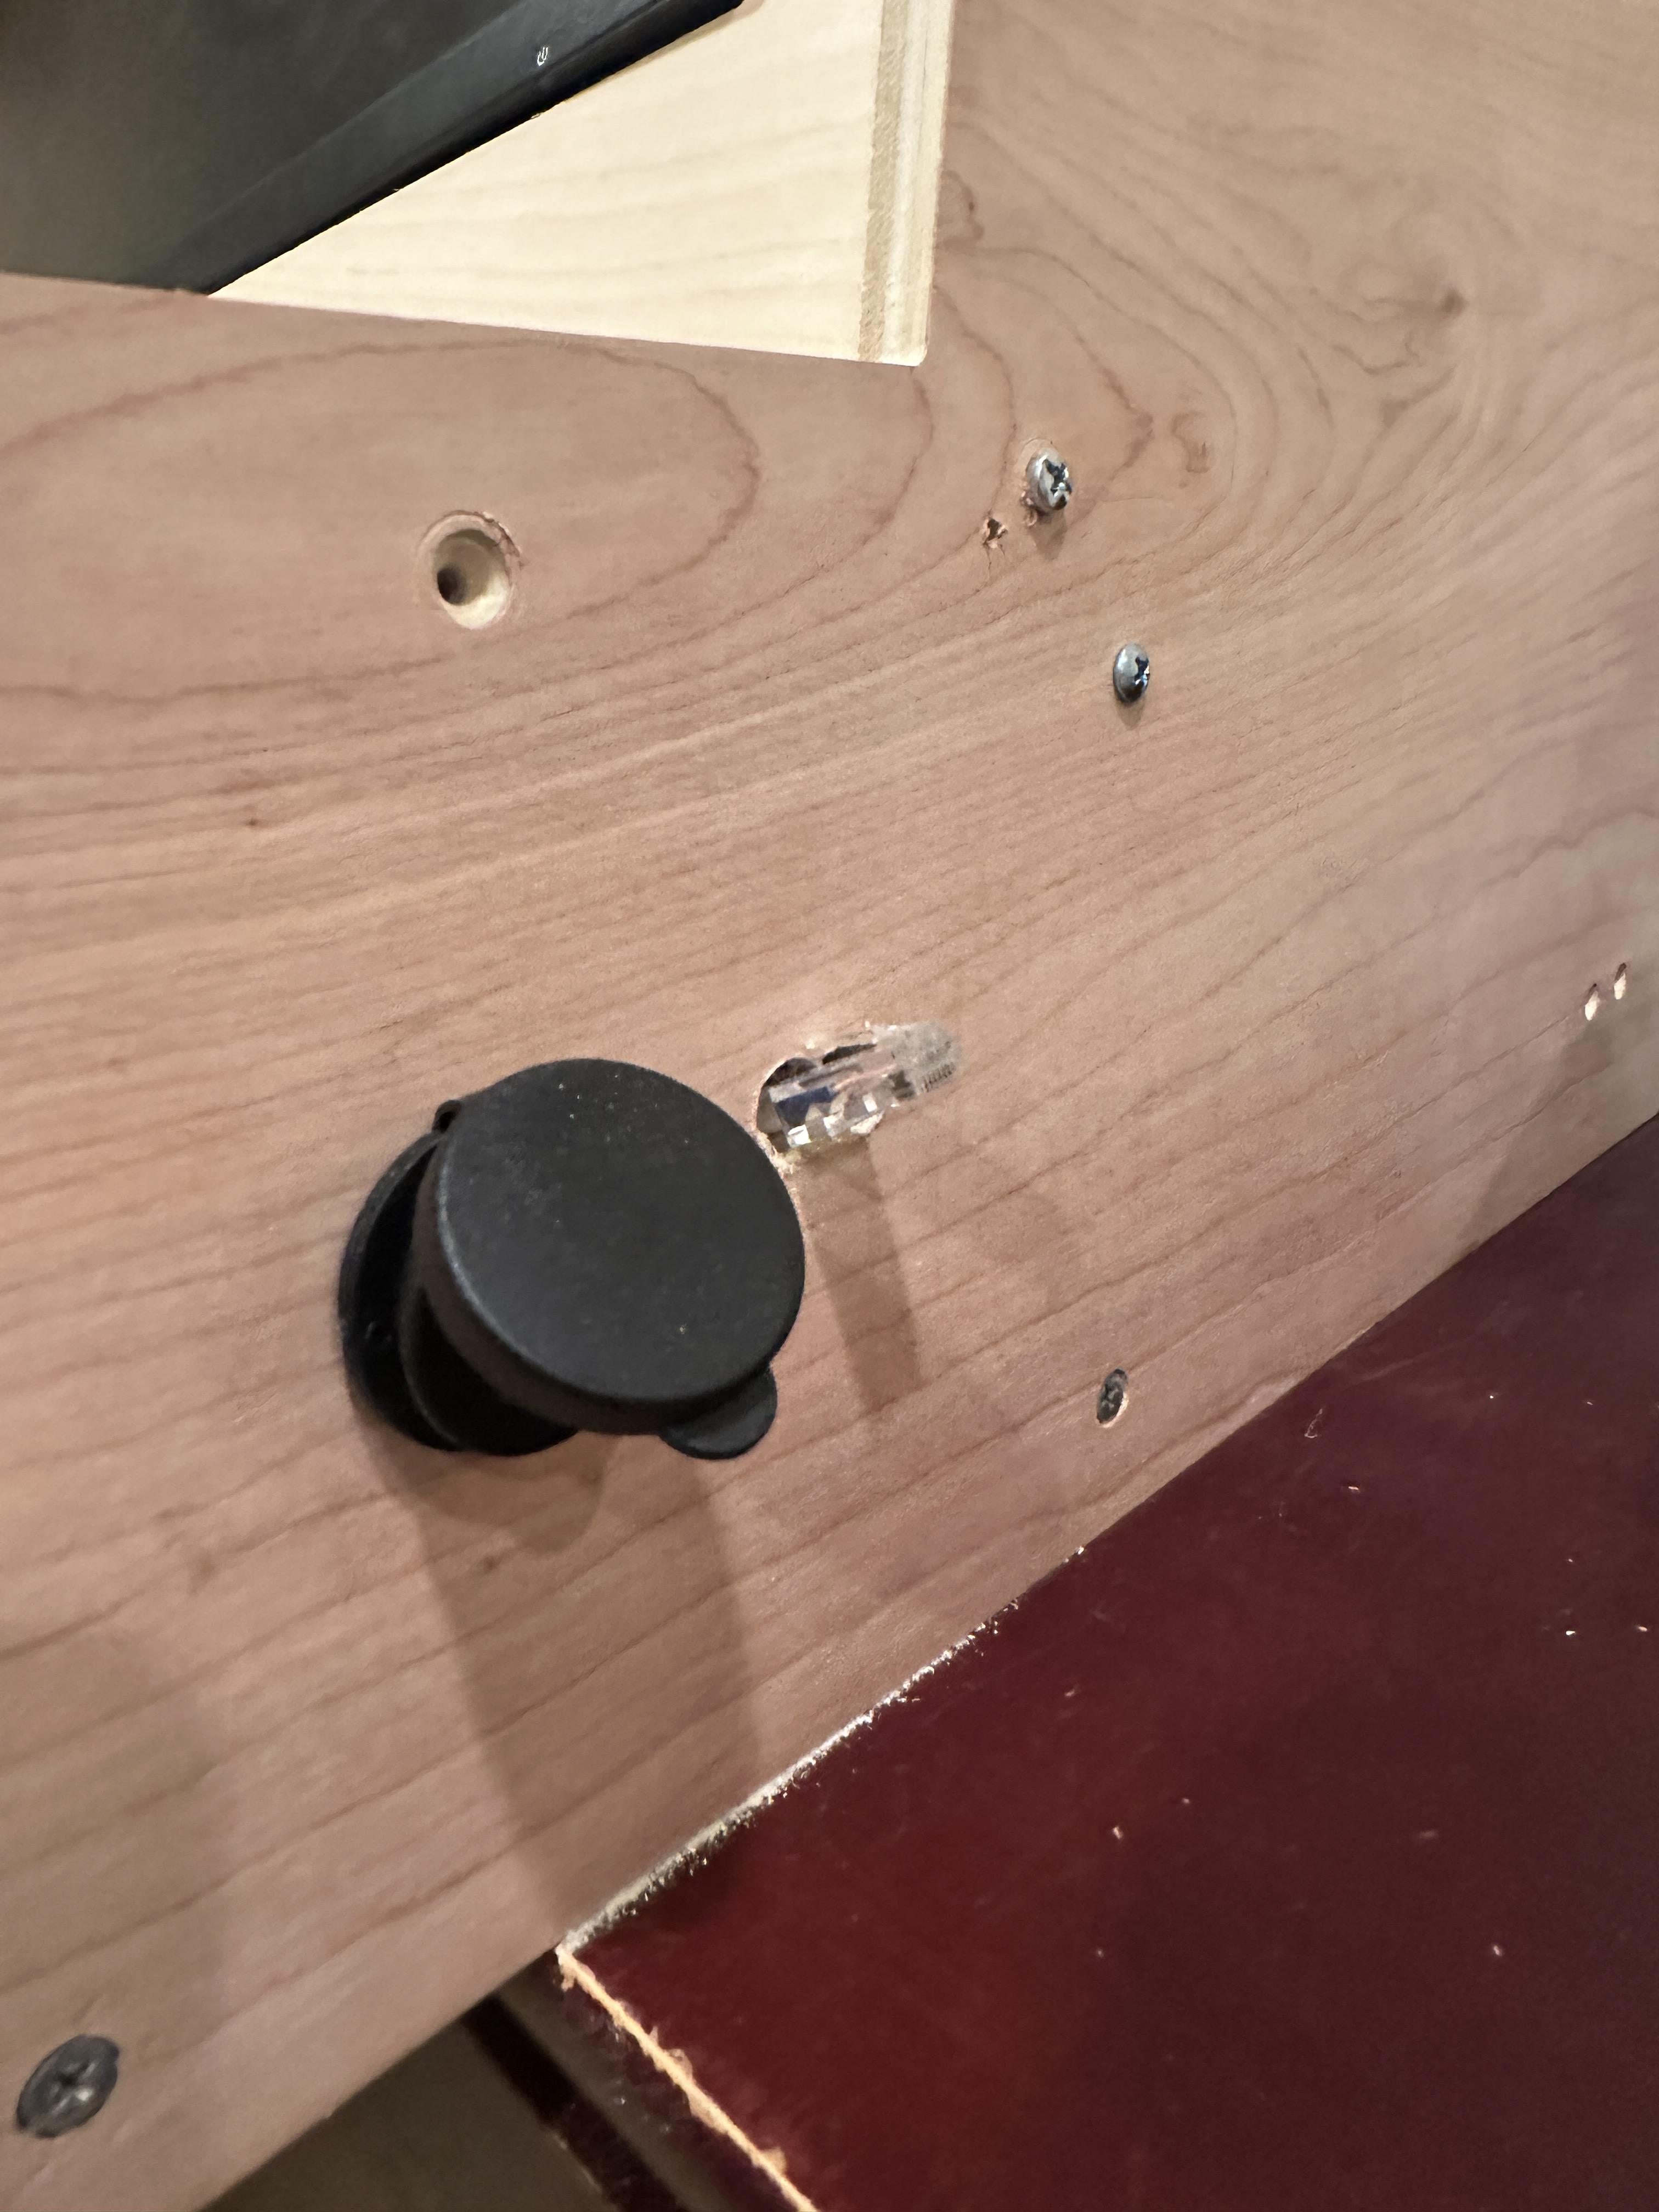
I drilled two addition holes inside the right side panel for usb and ethernet. I bought a usb port extender to make connecting a keyboard and mouse for setup easier—the keyboard and mouse are not necessary after initial installation. The second hole is for a ethernet cable which can be used for downloading game files. The circular port has a diameter of 1.26 inches.
Load Software Onto Raspberry Pi
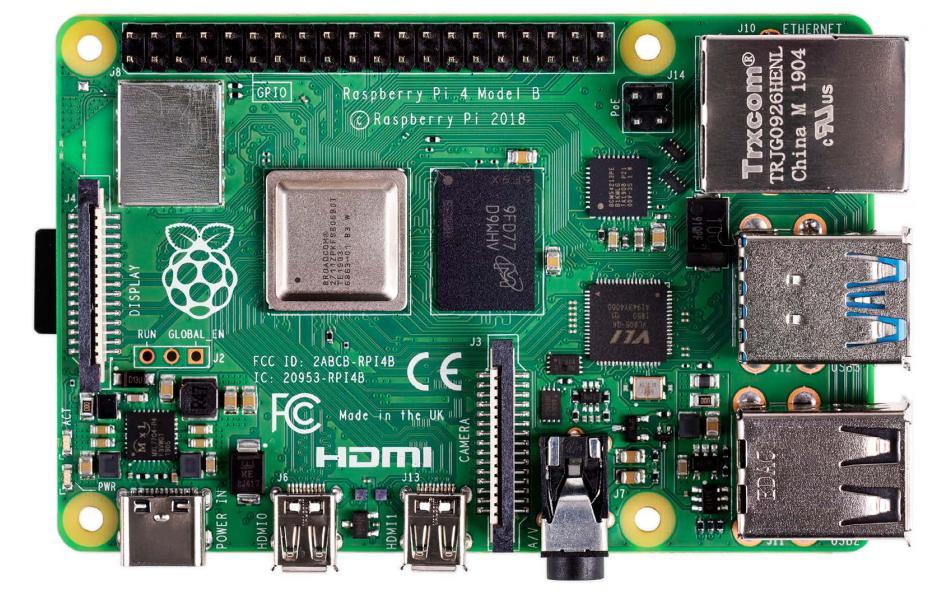
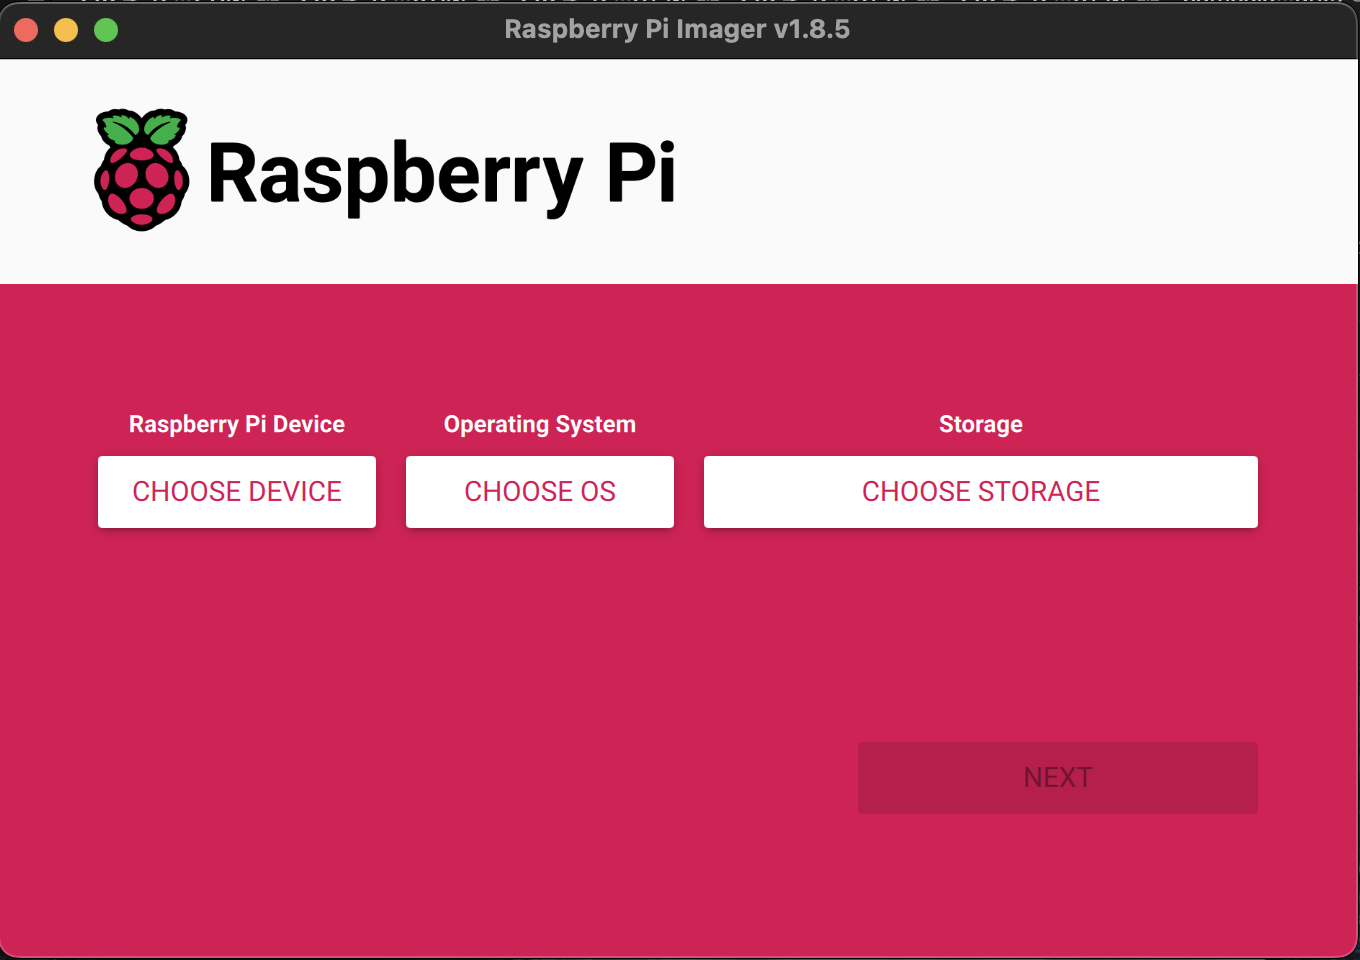

The brain of the computer is a raspberry pi. The raspberry pi can be setup in only a few minutes. First, download Raspberry Pi imager to upload software onto a Raspberry pi. Select the Raspberry pi device, then select Operating System and choose Retropie. If you are using the new raspberry pi imager then you will need to download the retropie files from the retropie website. Make sure to select the version of Retropie that correlates to your Raspberry pi model. Connect a micro sd to your computer and select the sd card under storage. Finally click next and choose whether you want to change additional OS customizations then select yes to continue. If you want to download game files over the internet, enter your wifi network and password under the addition OS customization.
Additional instructions to setup Raspberry pi:
Adding ROMs
ROMs stand for read only memory but refers to playable game files for the retro pi system. There are many ways to acquire ROMs (retro pi ROMs). After you choose a ROM, download it on your personal computer. There are two main ways of downloading ROMs onto the Raspberry pi, you can either wirelessly upload the ROMs over wifi—this method requires the Raspberry pi to be connected to wifi—or you can connect a ethernet cable from your laptop to the Raspberry pi—this method does not require a internet connection on the Raspberry pi—and upload the ROMs. After the ROMs are uploaded to the Raspberry pi, restart the Raspberry pi by temporary disconnecting the power. After the Raspberry pi is reconnected the game should show up on the screen.