Air Hockey Robot With Shot Prediction
by zeroshot in Circuits > Robots
4120 Views, 27 Favorites, 0 Comments
Air Hockey Robot With Shot Prediction


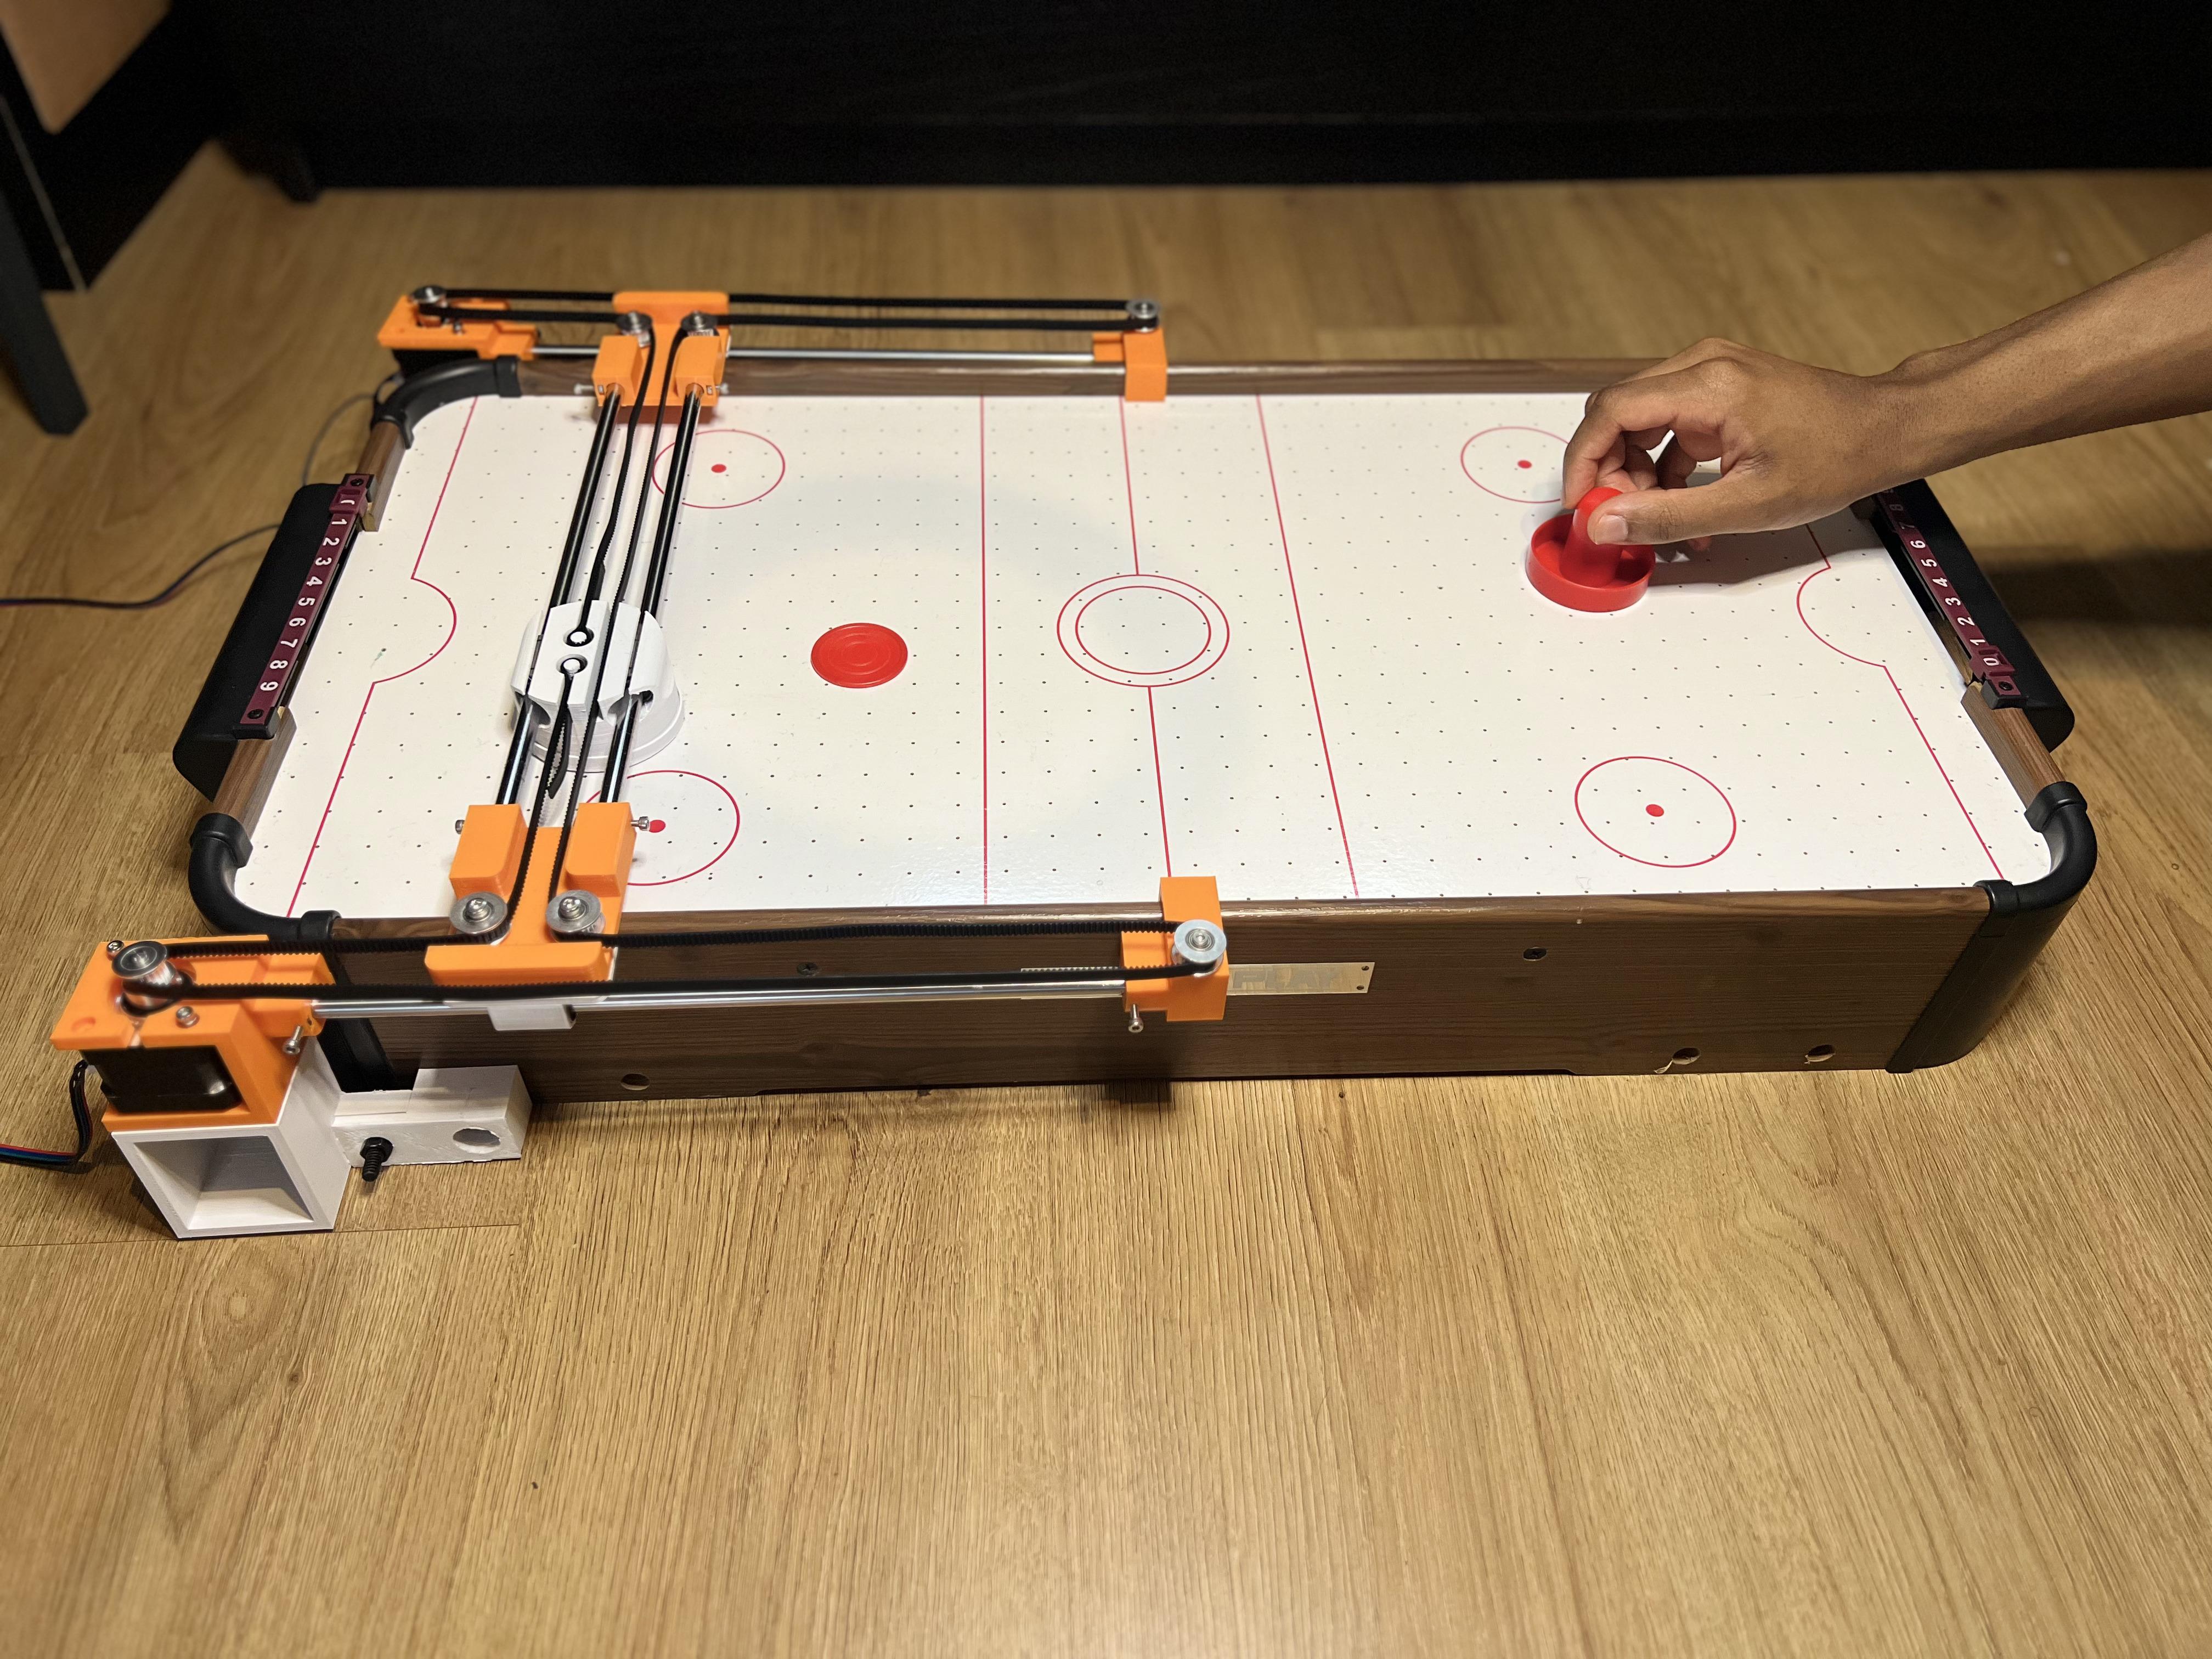
Ever wanted to play air hockey against a computer in real life? Well I have the solution for you - a DIY Air Hockey Playing Robot! It's a bit of fun as the robot doesn't put up too much of a challenge against a human player but it turns out when it's configured just right it can actually be pretty tough to score against.
Supplies


Disclaimer - Supplies list may include affiliate/paid links.
Parts
- 27 inch Air Hockey Table (H70 x W16.8 x D37cm)
- Raspberry Pi 3B+ Amazon
- Pi camera v2 Amazon
- Arduino Uno Amazon
- TMC2208 stepper drivers Amazon
- 2× Nema 17 steppers Amazon
- 2.5m GT2 6mm timing belt Amazon
- GT2 pulleys and idlers kit Amazon
- 4× 8mm x 300mm Linear Rods Amazon
- 4× 8mm Linear motion bearings Amazon
- 12V 10A power supply Amazon
- 12V DC Adapter Plug Amazon
- Solid core wire 22 AWG Amazon
- M3 nuts and bolts Amazon
- Breadboard Amazon
- Air hockey table Amazon
- PLA Amazon
Tools
- 3D Printer
- Screwdriver
- Multimeter
Watch the Video!

Check out the video for more details!
3D Printing

Step one is to 3D print the parts. The following models are needed for mounting the stepper motors:
- stepper_platform_extender.stl (×2)*
- stepper_platform_right.stl (×1)
- stepper_platform_left.stl (×1)
- stepper_mount_right.stl (×1)
- stepper_mount_left.stl (×1)
Once they have been printed the rest of the parts to make the x-axis and y-axis of the robot should be downloaded:
- y_axis_end.stl (×2)
- x_axis_slider.stl (×2)
- rod_clip_right.stl (×1)
- rod_clip_left.stl (×1)
- puck_hitter.stl (×1)
⚠️ *Depending on the length of the air hockey used you might not need to print stepper_platform_extender.stl (it's not necessary for shorter tables)
Y-Axis Assembly 1


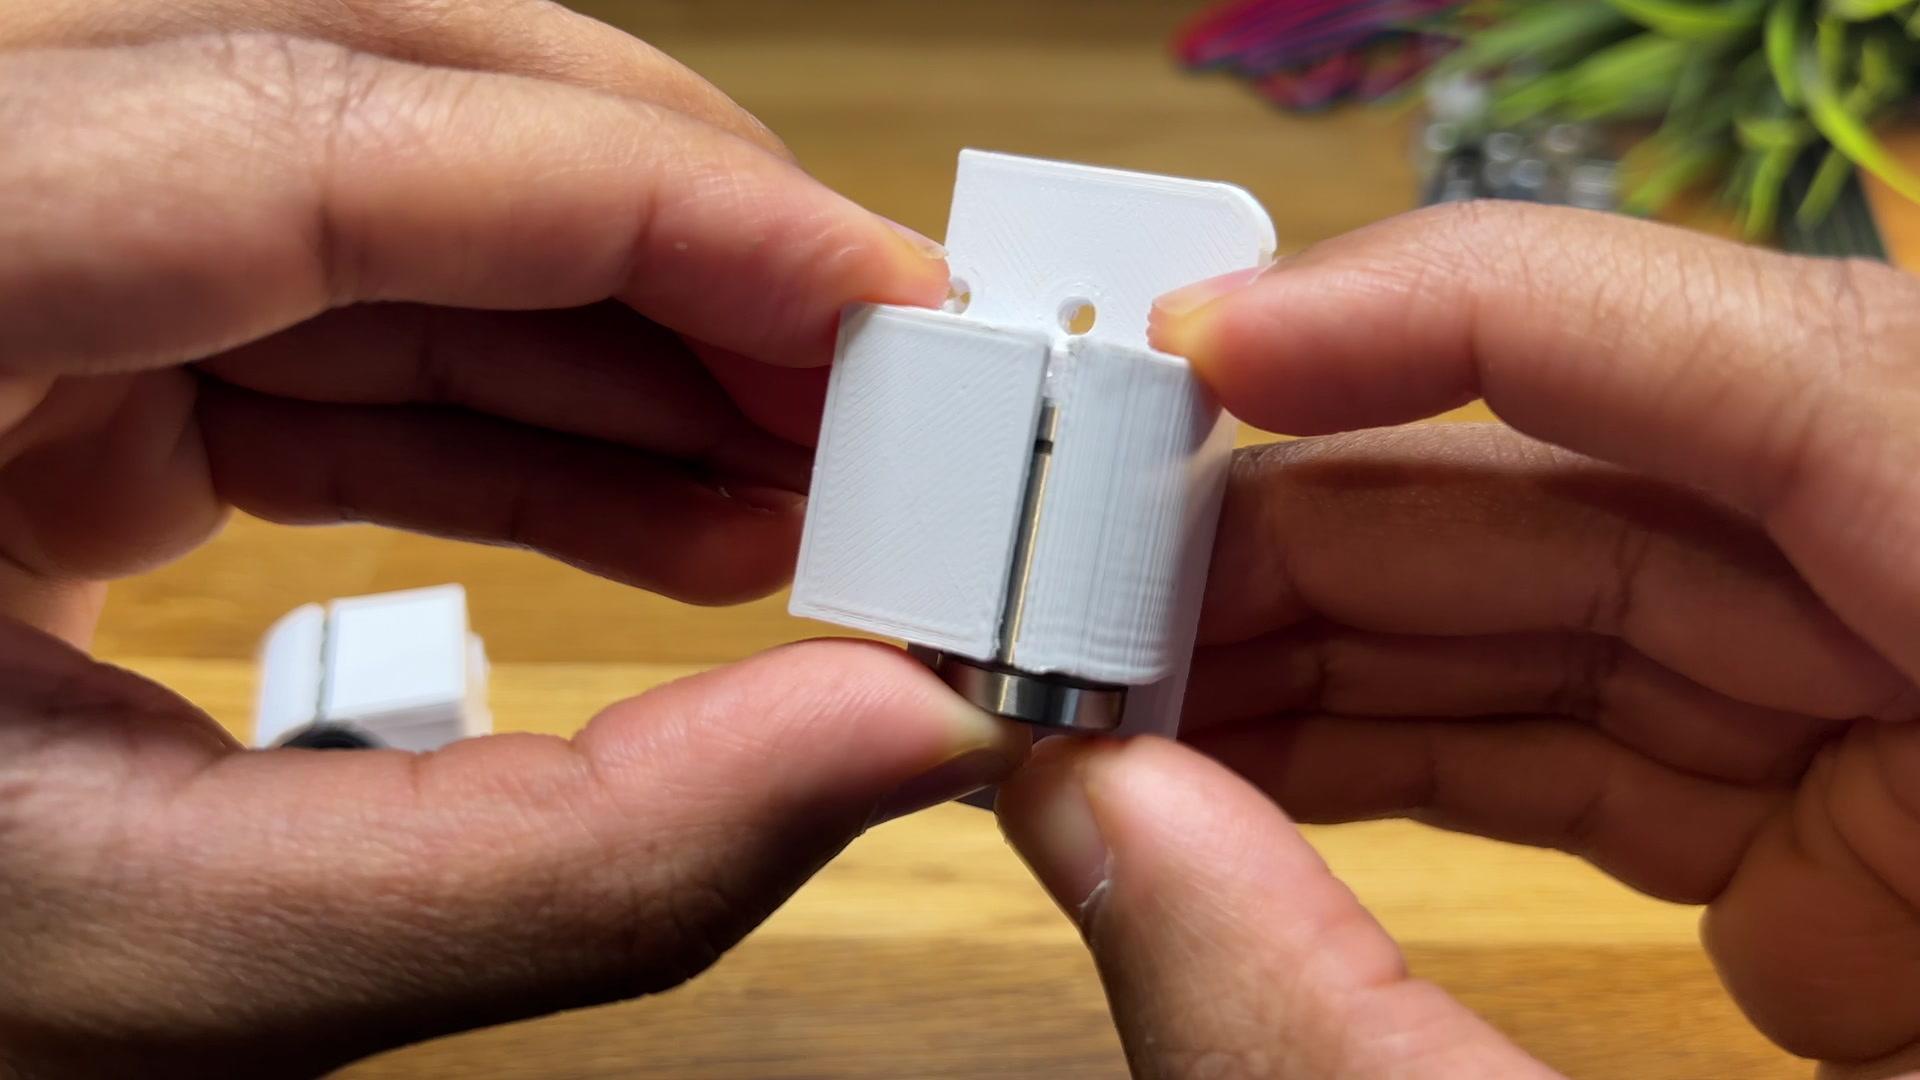
Take the x_axis_slider and insert a linear bearing into the hole - it should fit securely by itself. Do this again so that you have two of them.
Grab the y_axis_end and attach the x_axis_slider to the underside using M3 screws and fasten using nuts from the other side. It might be tricky to tighten the nuts so using some pliers is recommended.
Once that's done, on the top side place a pulley on each of the two small bumps designed to hold them and attach them to the y_axis_end using M3 screws. The screw should pass through both y_axis_end and then the x_axis_slider part. Do this once again so that you have two.
⚠️ Make sure that the pulleys can turn freely and that the head of the M3 screws touches only the inside of the pulley.
Y-Axis Assembly 2


Take the puck_hitter and insert a linear bearing into each of the holes that pass through the side of it. Then, take two of the linear rods and insert them into the puck_hitter.
Line up the rods and then push one of the completed sub assemblies from the previous step onto the end. Secure in place by inserting nuts into the side slots and fasten with M3 screws.
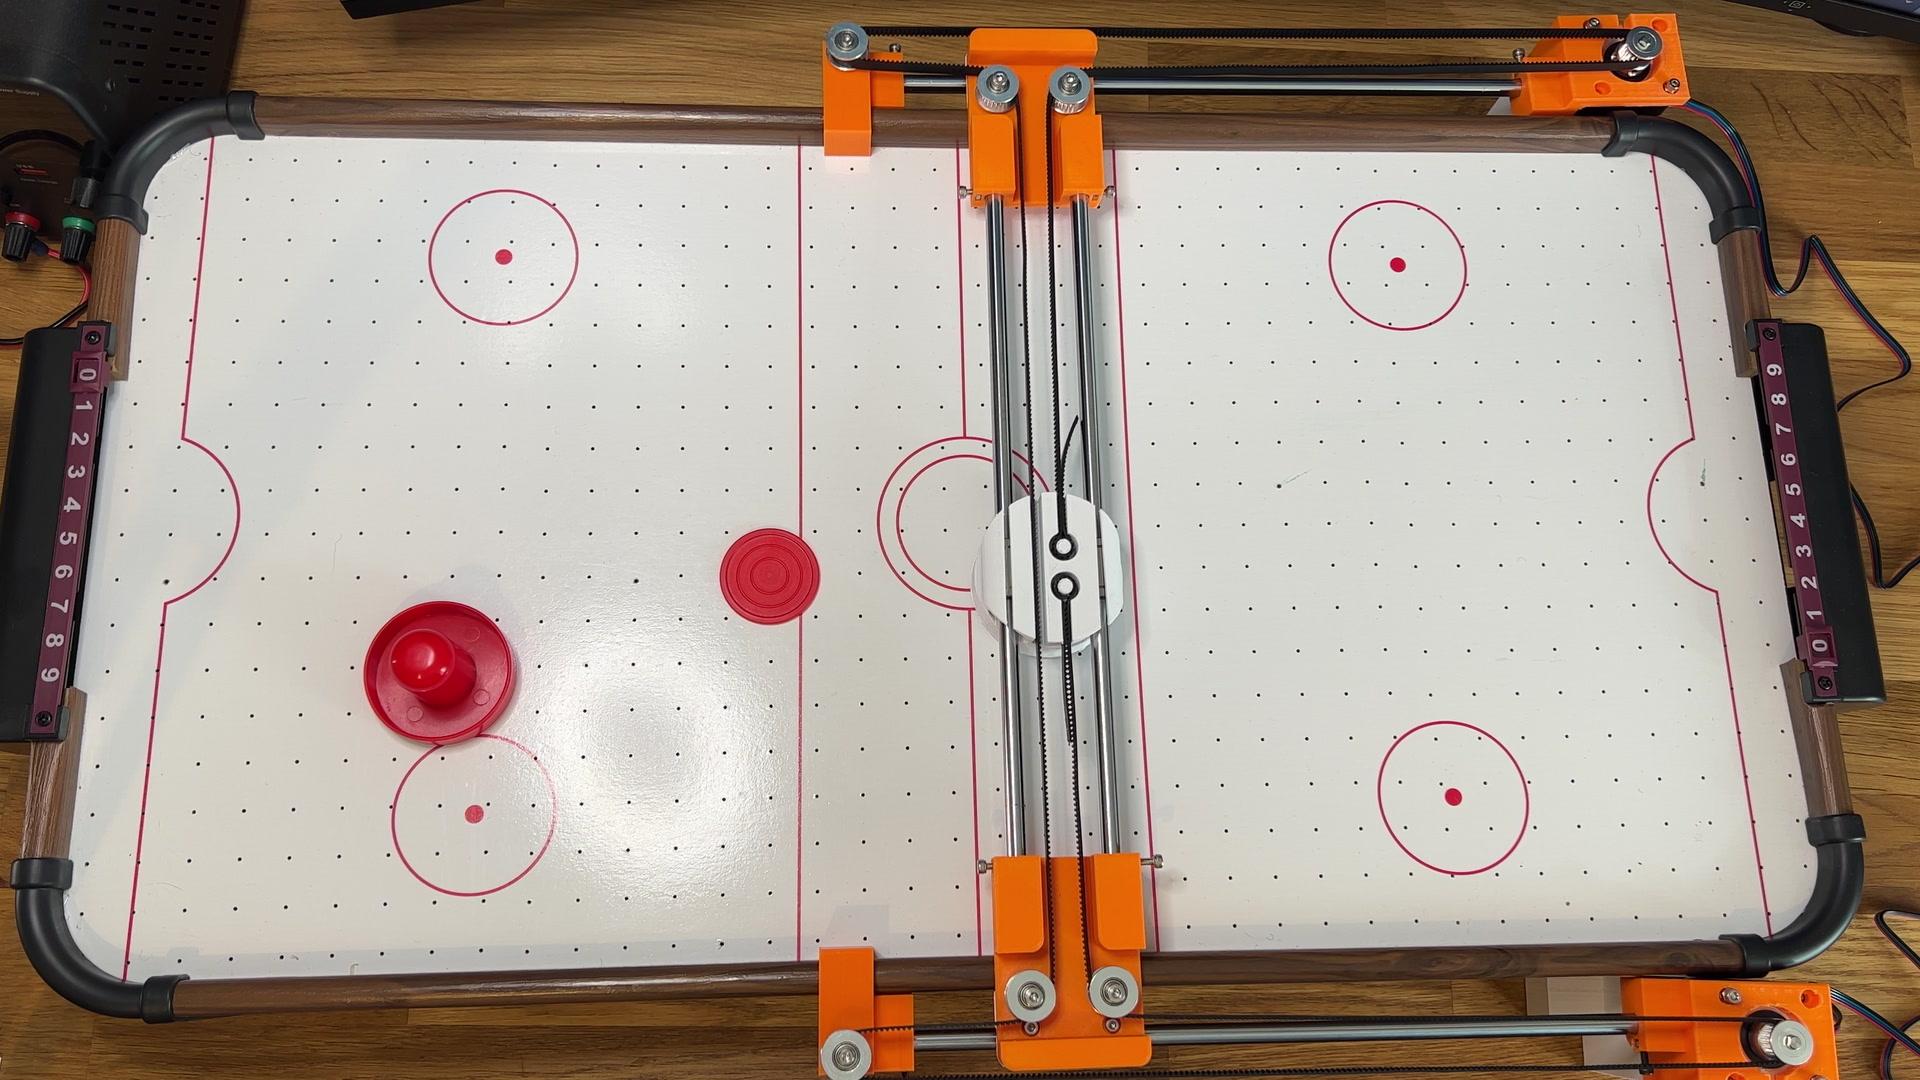
Now everything can be placed on top of the air hockey table to make sure it fits properly - the x_axis_sliders on each end should overhang the table.
X-Axis Assembly 1


The next step is to build the x axis that goes on either side of the table.
First, take rod_clip_right and rod_clip_left and attach a pulley to each in the same way as the previous steps.
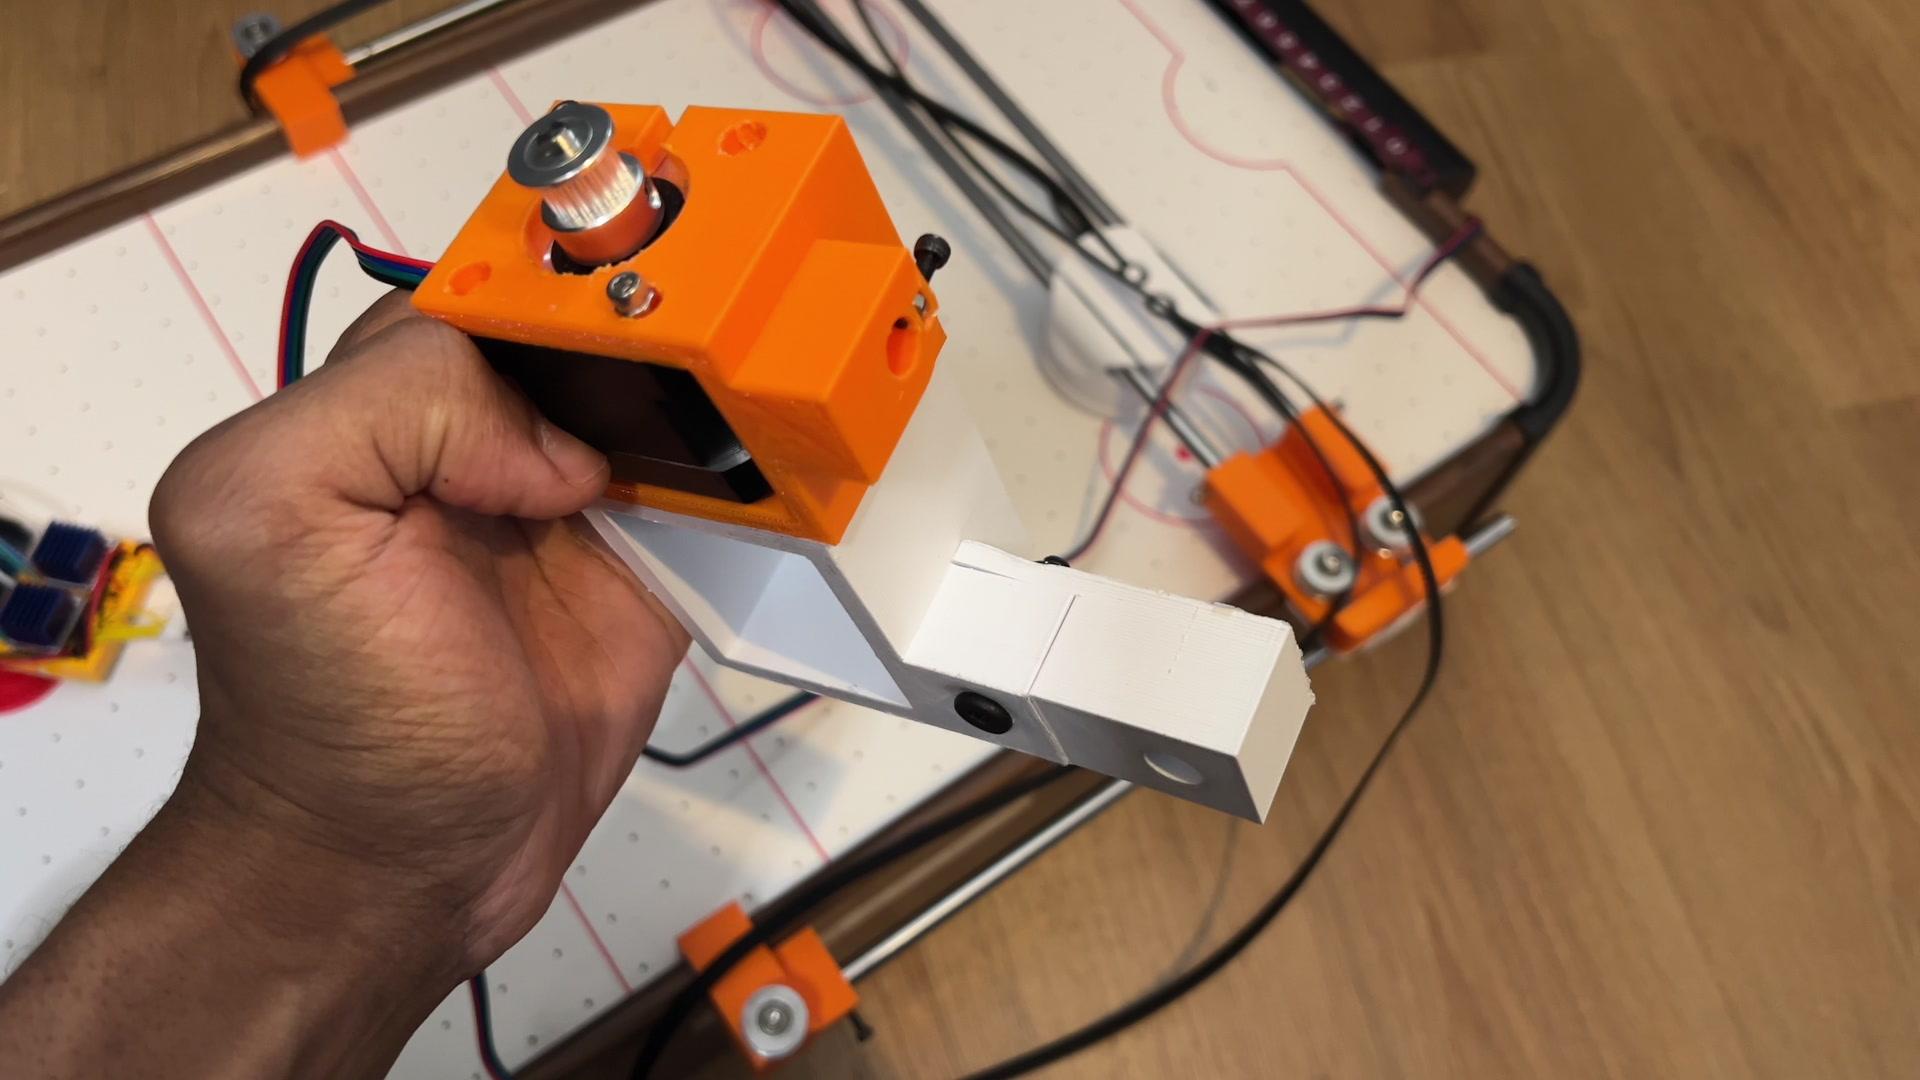
Once that's done, take the left and right stepper_mount pieces and fasten them to their respective stepper_platform pieces as shown in the images. This should allow for the stepper motors to be put in place and attached using screws.
At this point, take one of the stepper assemblies and attach it to the side of the air hockey table. Depending on the length of your air hockey table you might need to extend the stepper_platform using a stepper_platform_extender.
X-Axis Assembly 2


With the y axis sub assembly placed on top of the table, take a linear rod and pass it through first the x_axis_slider and then into the hole in the side of the stepper_mount.
Then push a rod_clip onto the other end. Make sure the linear rod is sandwiched tightly and then insert M3 nuts into both the rod_clip and the stepper_mount and tighten with M3 screws.
Repeat this again for the other side and then finally place pulleys onto the stepper shafts and tighten.
Electronics


Now we can move onto the electronics. This project requires the use of two stepper drive modules which should be connected to an Arduino Uno through it's digital pins.
You must also remember to set the voltage reference on each driver module to limit the amount of current supplied to the motors, which can be done via the following steps:
- Connect the driver to a 12V power source.
- Turn on the power and set your multimeter to measure DC voltage.
- Place the black probe on the ground pin and the red probe on the tiny potentiometer.
- Adjust the potentiometer while monitoring the multimeter reading to set the reference voltage
I set the reference voltage to around 1V.
Then the Arduino can be connected to a Raspberry Pi through USB.
ℹ️ For more details on how the electronics are wired check out the video!
Adding the Belt


At this point I would recommend putting the belt in place, which should wrap around the pulleys in a H-shaped configuration. The ends of the belt should fit into some holes I designed on the puck_hitter. The fit is a bit fiddly so it may take a few tries to get the belt to be tight.
⚠️ I recommend cutting the belt at the very end and leaving it long just in case some adjustments need to be made
Programming and Testing


This step is the hardest as it requires some trial and error. To get the air hockey robot working we now need to work on the software.
The exact details are going to be slightly different because each setup is unique but in a nutshell:
- Find a location to place the Pi and Pi Camera so that it has an overhead view of the arena (I stacked mine on a bunch of boxes)
- Connect the Pi up to a computer - either through a keyboard and mouse or a VNC client for e.g - and set up the computer vision code using Python and OpenCV.
- Upload some code to the Arduino to control the motors directly (which can be done through the Pi)
To help with some of these steps, below is the code that I used to get my robot working - which should probably work for your setup but might need to be tweaked due to things like camera lighting and motor specifics.
Finished!


After some experimentation you should be finished!
For some video footage of the air hockey robot playing against a human, check out the video.
Thank you for reading.