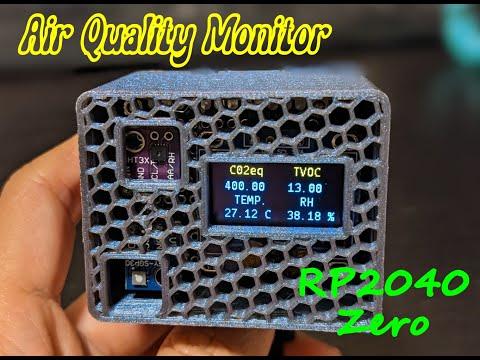
Air Quality Monitor (for CO2, TVOC, Temperature and Humidity) With RP2040
by gubutek in Circuits > Raspberry Pi
2159 Views, 27 Favorites, 0 Comments
Air Quality Monitor (for CO2, TVOC, Temperature and Humidity) With RP2040
)
This is an upgrade version of the air quality monitor device here https://www.instructables.com/Air-Monitor-With-RP2040-Zero-SSD1306-Oled-Screen-a/
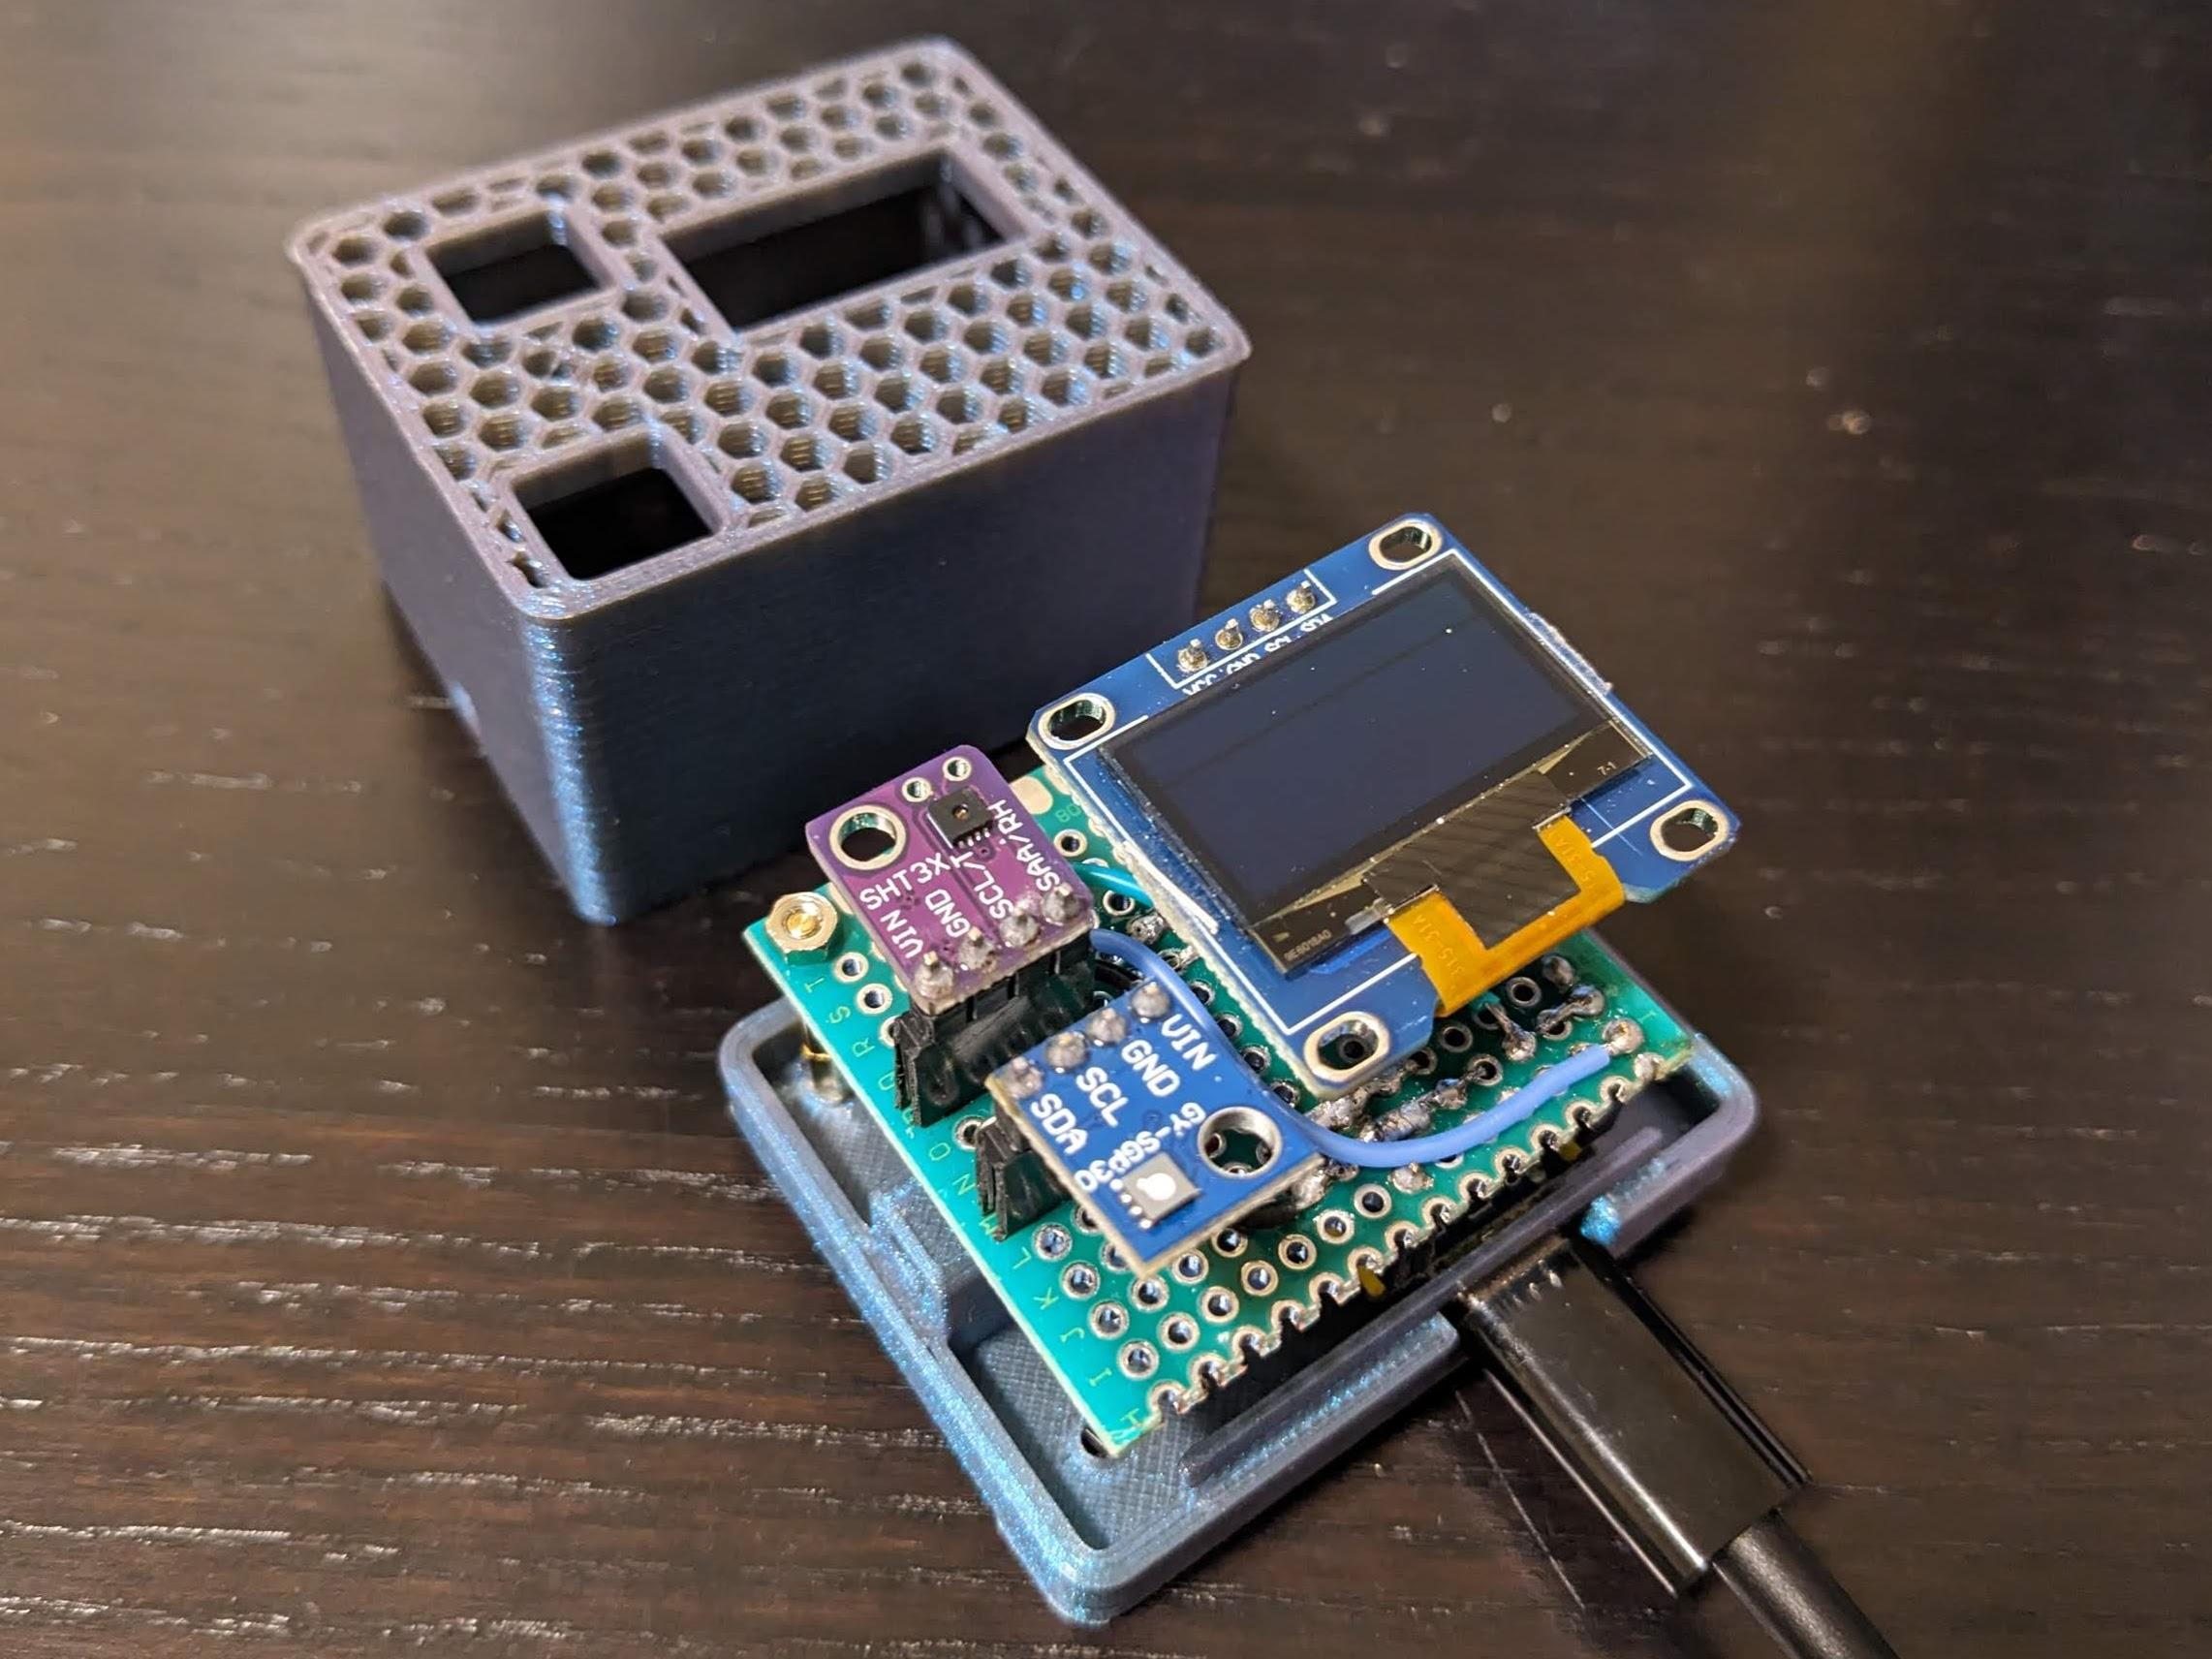
I used RP2040-Zero micro-controller to gather data from
- SHT31 humidity and temperature sensor
- SGP30 air quality sensor (CO2 and TVOC)
The results are shown on SSD1306 oled screen.
You can download all the code from my Github
Supplies
This is a mini version of RP Pico. It fits small project better because you don't need to use all the GPIO anyway. You will have a compact design using this. More important is the price, this one is cheaper that the original Pico.
This is Multi-gas (VOC and CO₂eq) sensor.
This Humidity and Temperature sensor is popular thanks to the accuracy and repeatablity. It is much better than DHT11 or DHT22 which are usually come with beginner kit.
In this version I used the 2-colors yellow and blue, you should update the address of the screen in the ssd1306.py (line 105) to 0x3D instead of 0x3C
You will need some tool and material for soldering
- Wires and female headers for the circuit.
- Soldering iron
- Cutter
Make the Circuit


There are two I2C buses in the RP2040. According to my test, the SGP30 works well with the I2C1 so the other I2C0 can be used to connect the SHT31 and the oled screen.
It is not a complicated circuit so I decided the soldering it with prototype board. You can have a look at the temporary design there. If you would like to redesign, I recommend to put the two sensors as far as possible to each other. The SGP30 will be heated when it works and that could have affect on the SHT31
Add the Code and Test


In the python code, you will need to add the libraries for the sensors we used as well as the oled screen (lines 17,18, 19)
Then we have to assign the I2C buses to those components. As I said before, SGP30 only works well with the I2C1 (lines 36, 39) so the I2C0 will be used for both SHT31 and the SSD1306 oled screen (lines 29, 32, 33)
The measured data can be acquired using the build-in functions of the imported libraries (lines 81, 82)
You can use any program to add the code on RP2040-Zero (I used Thorny)
All the code is uploaded on my Github
3D Print a Case (optional)
.jpg)


I designed a case for this device. I planned to add magnet so I can mount it where I need it. This step is optional if you don't have access to 3D printers. In case you do, it will need spacers and some M2 screws to attach them together.
For your information, the case may increase the temparature of the SHT31 and you will have 1, 2 degrees higher and the surrouding environment. You can check on my video here for more details
Enjoy
That's all for today. I hope you can learn more about this microcontroller as well as those sensors. Feel free to play with the code. Happy making!