Airsoft Claymore Mine
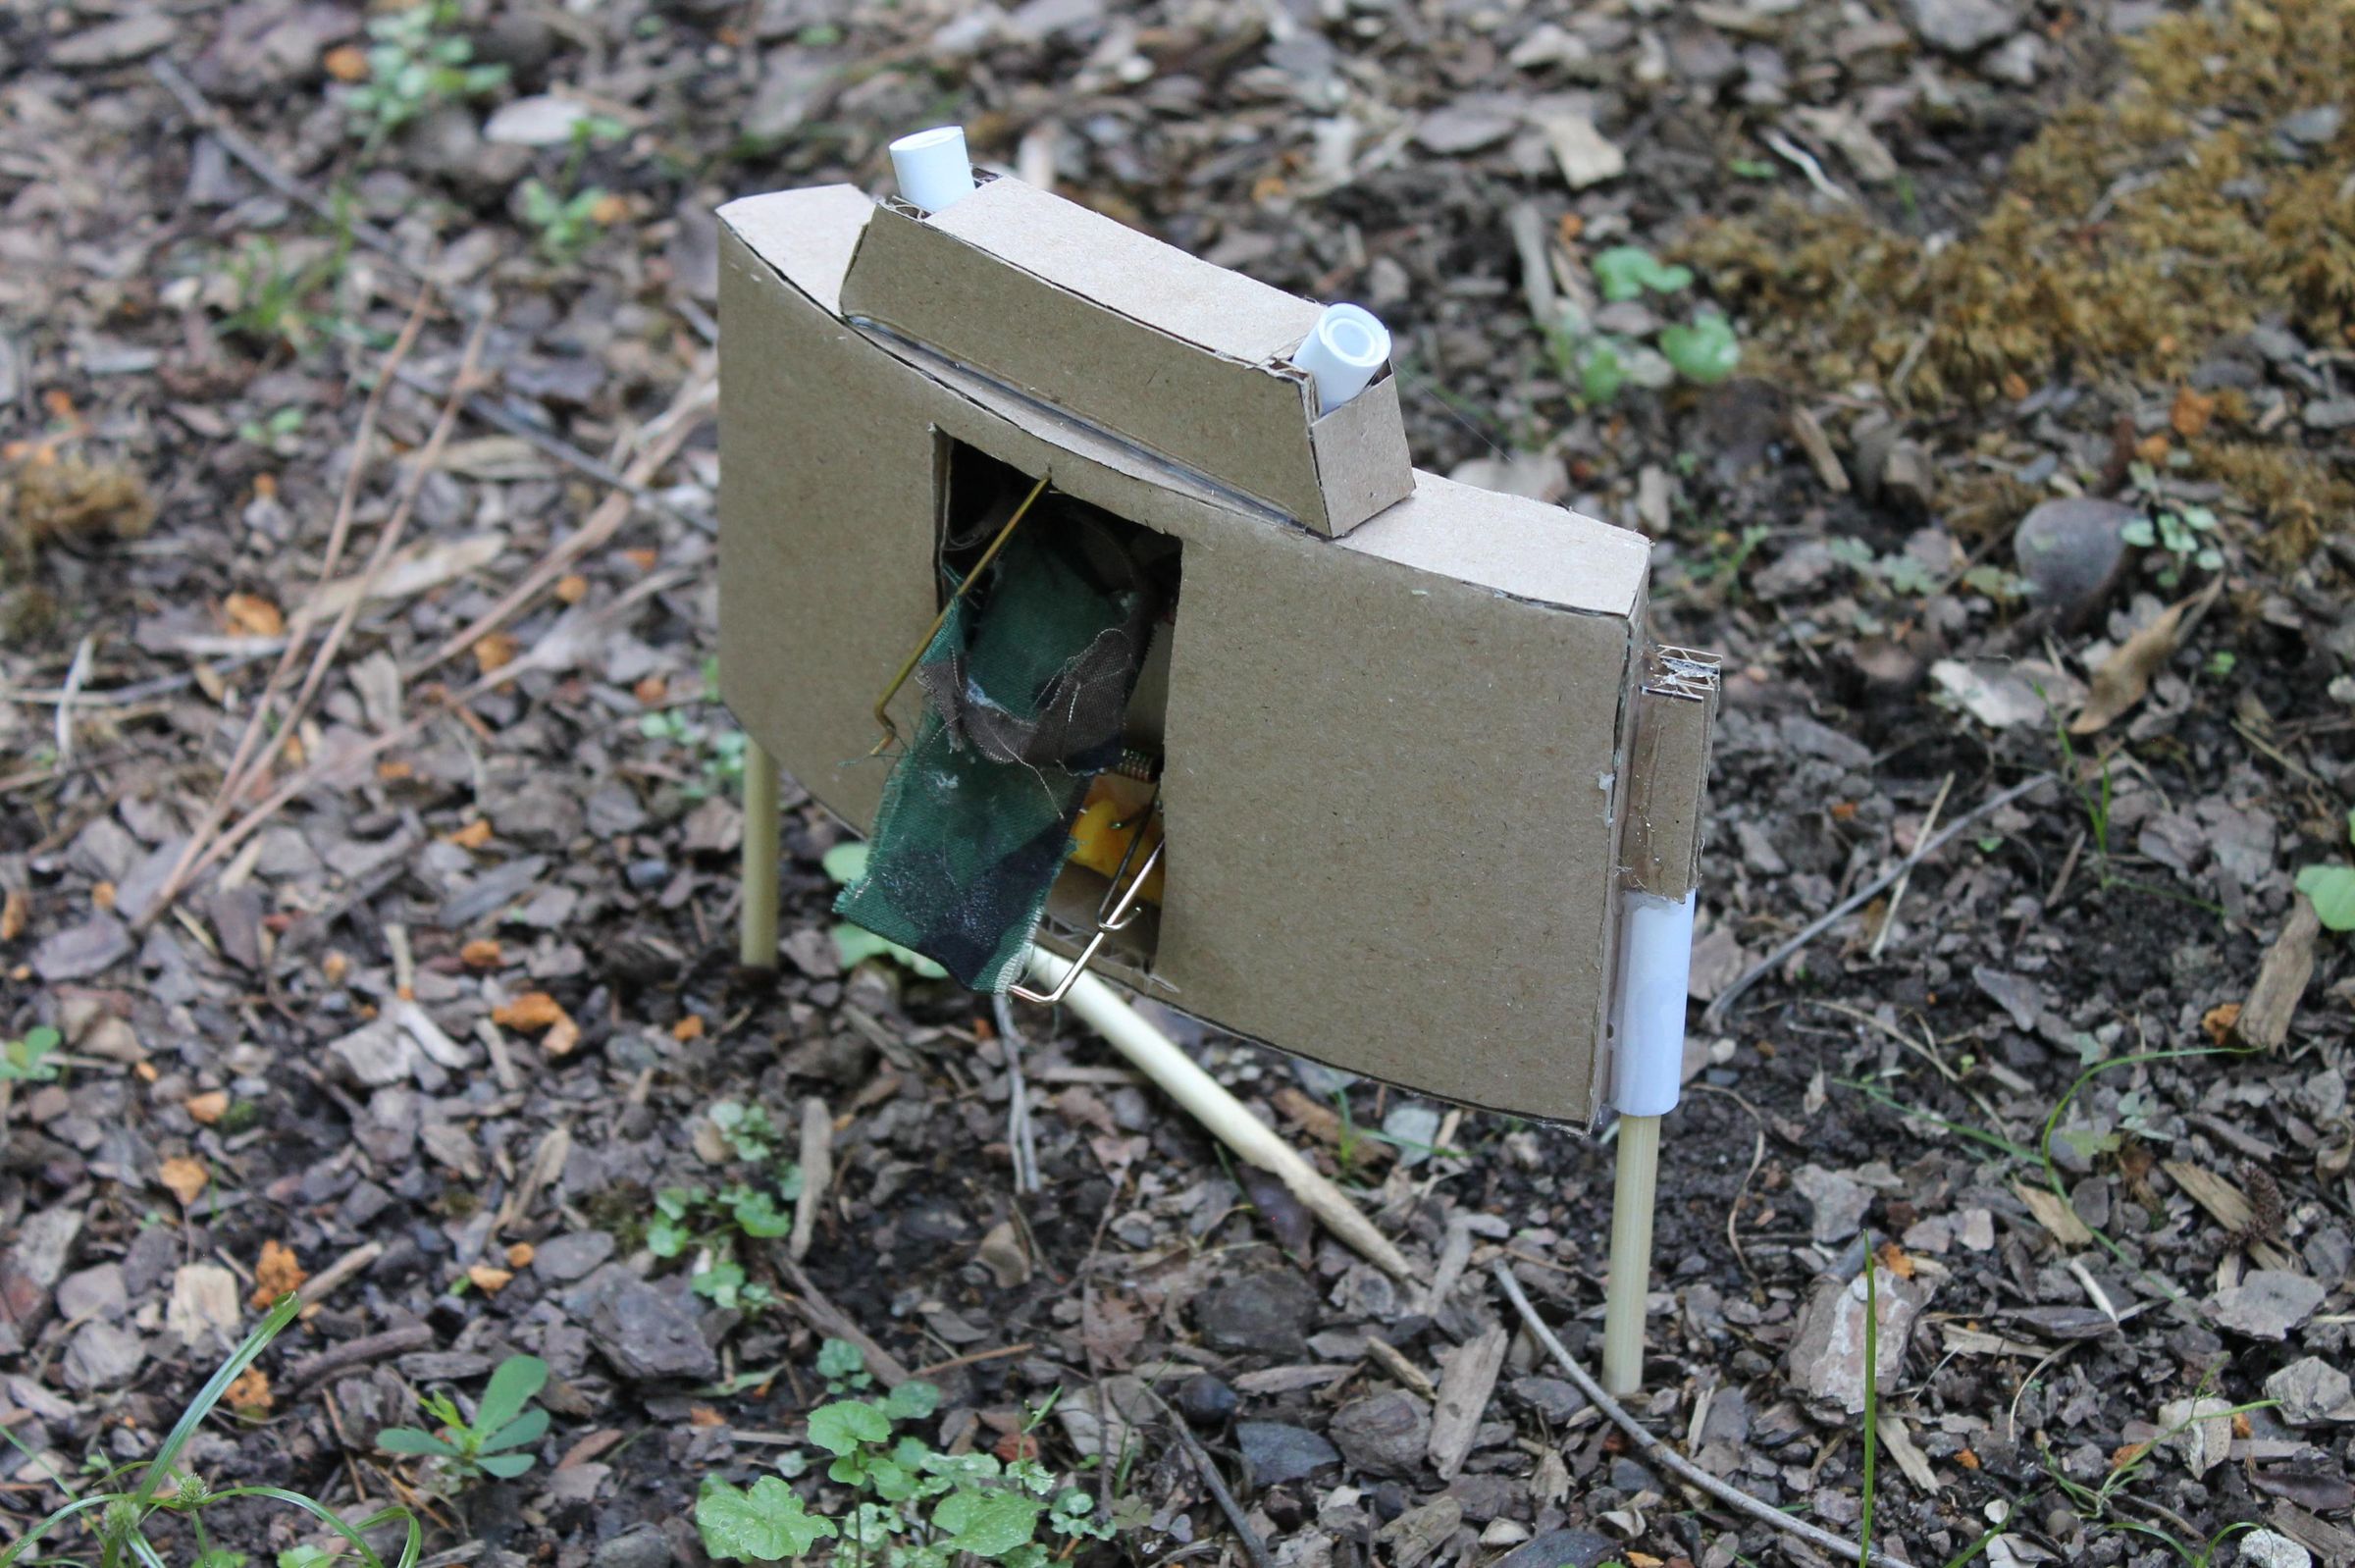
I have not added any instructible in a long time. So, this time I decided to add a real explosive entree. I am going to show you how to make one of my favorite cardboard builds that are functional. That would be a claymore. I originally found this tutorial about a year ago on YouTube, and I decided to make it a little more stylish and just as powerful. So lets get into it.
Supplies
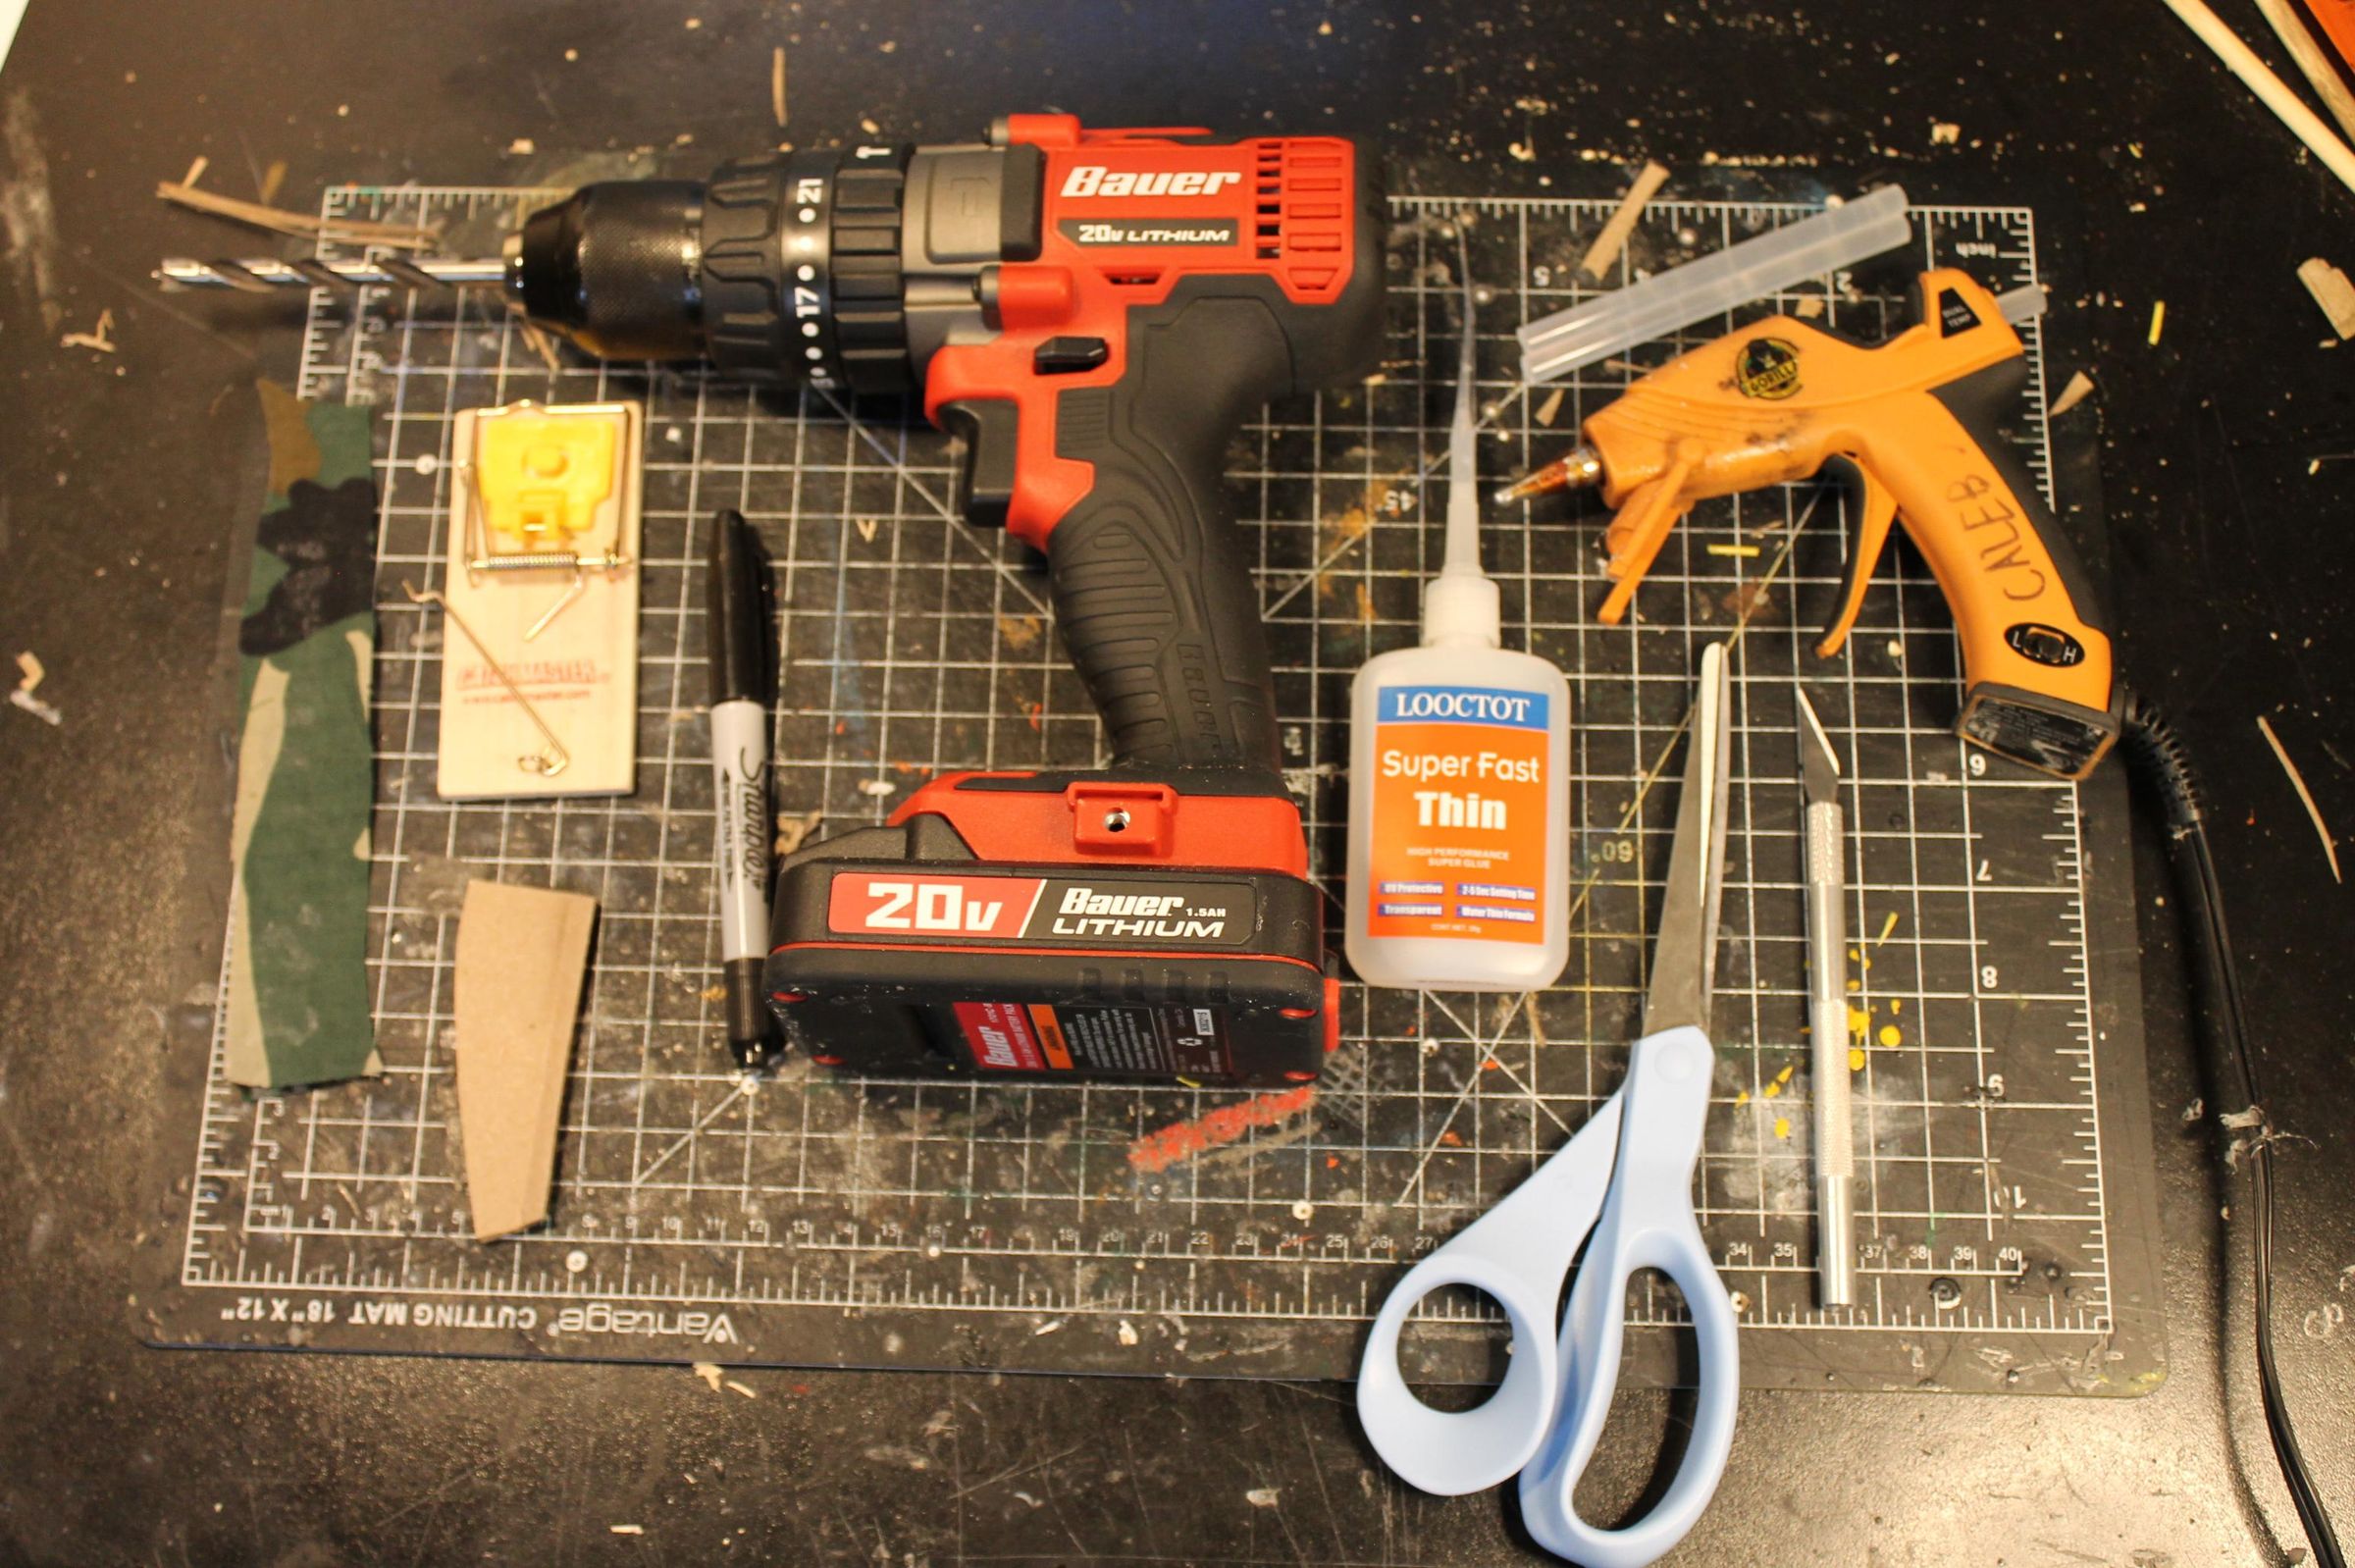
Supplies List:
- Hot Glue + Hot Glue
- Cardboard
- Fabric (I used camo)
- Scissors
- Drill
- Hobby Knife
- Super Glue
- Mouse Trap
- Dowel Rod
- Printer Paper
Turn the Trap Into a TRAP
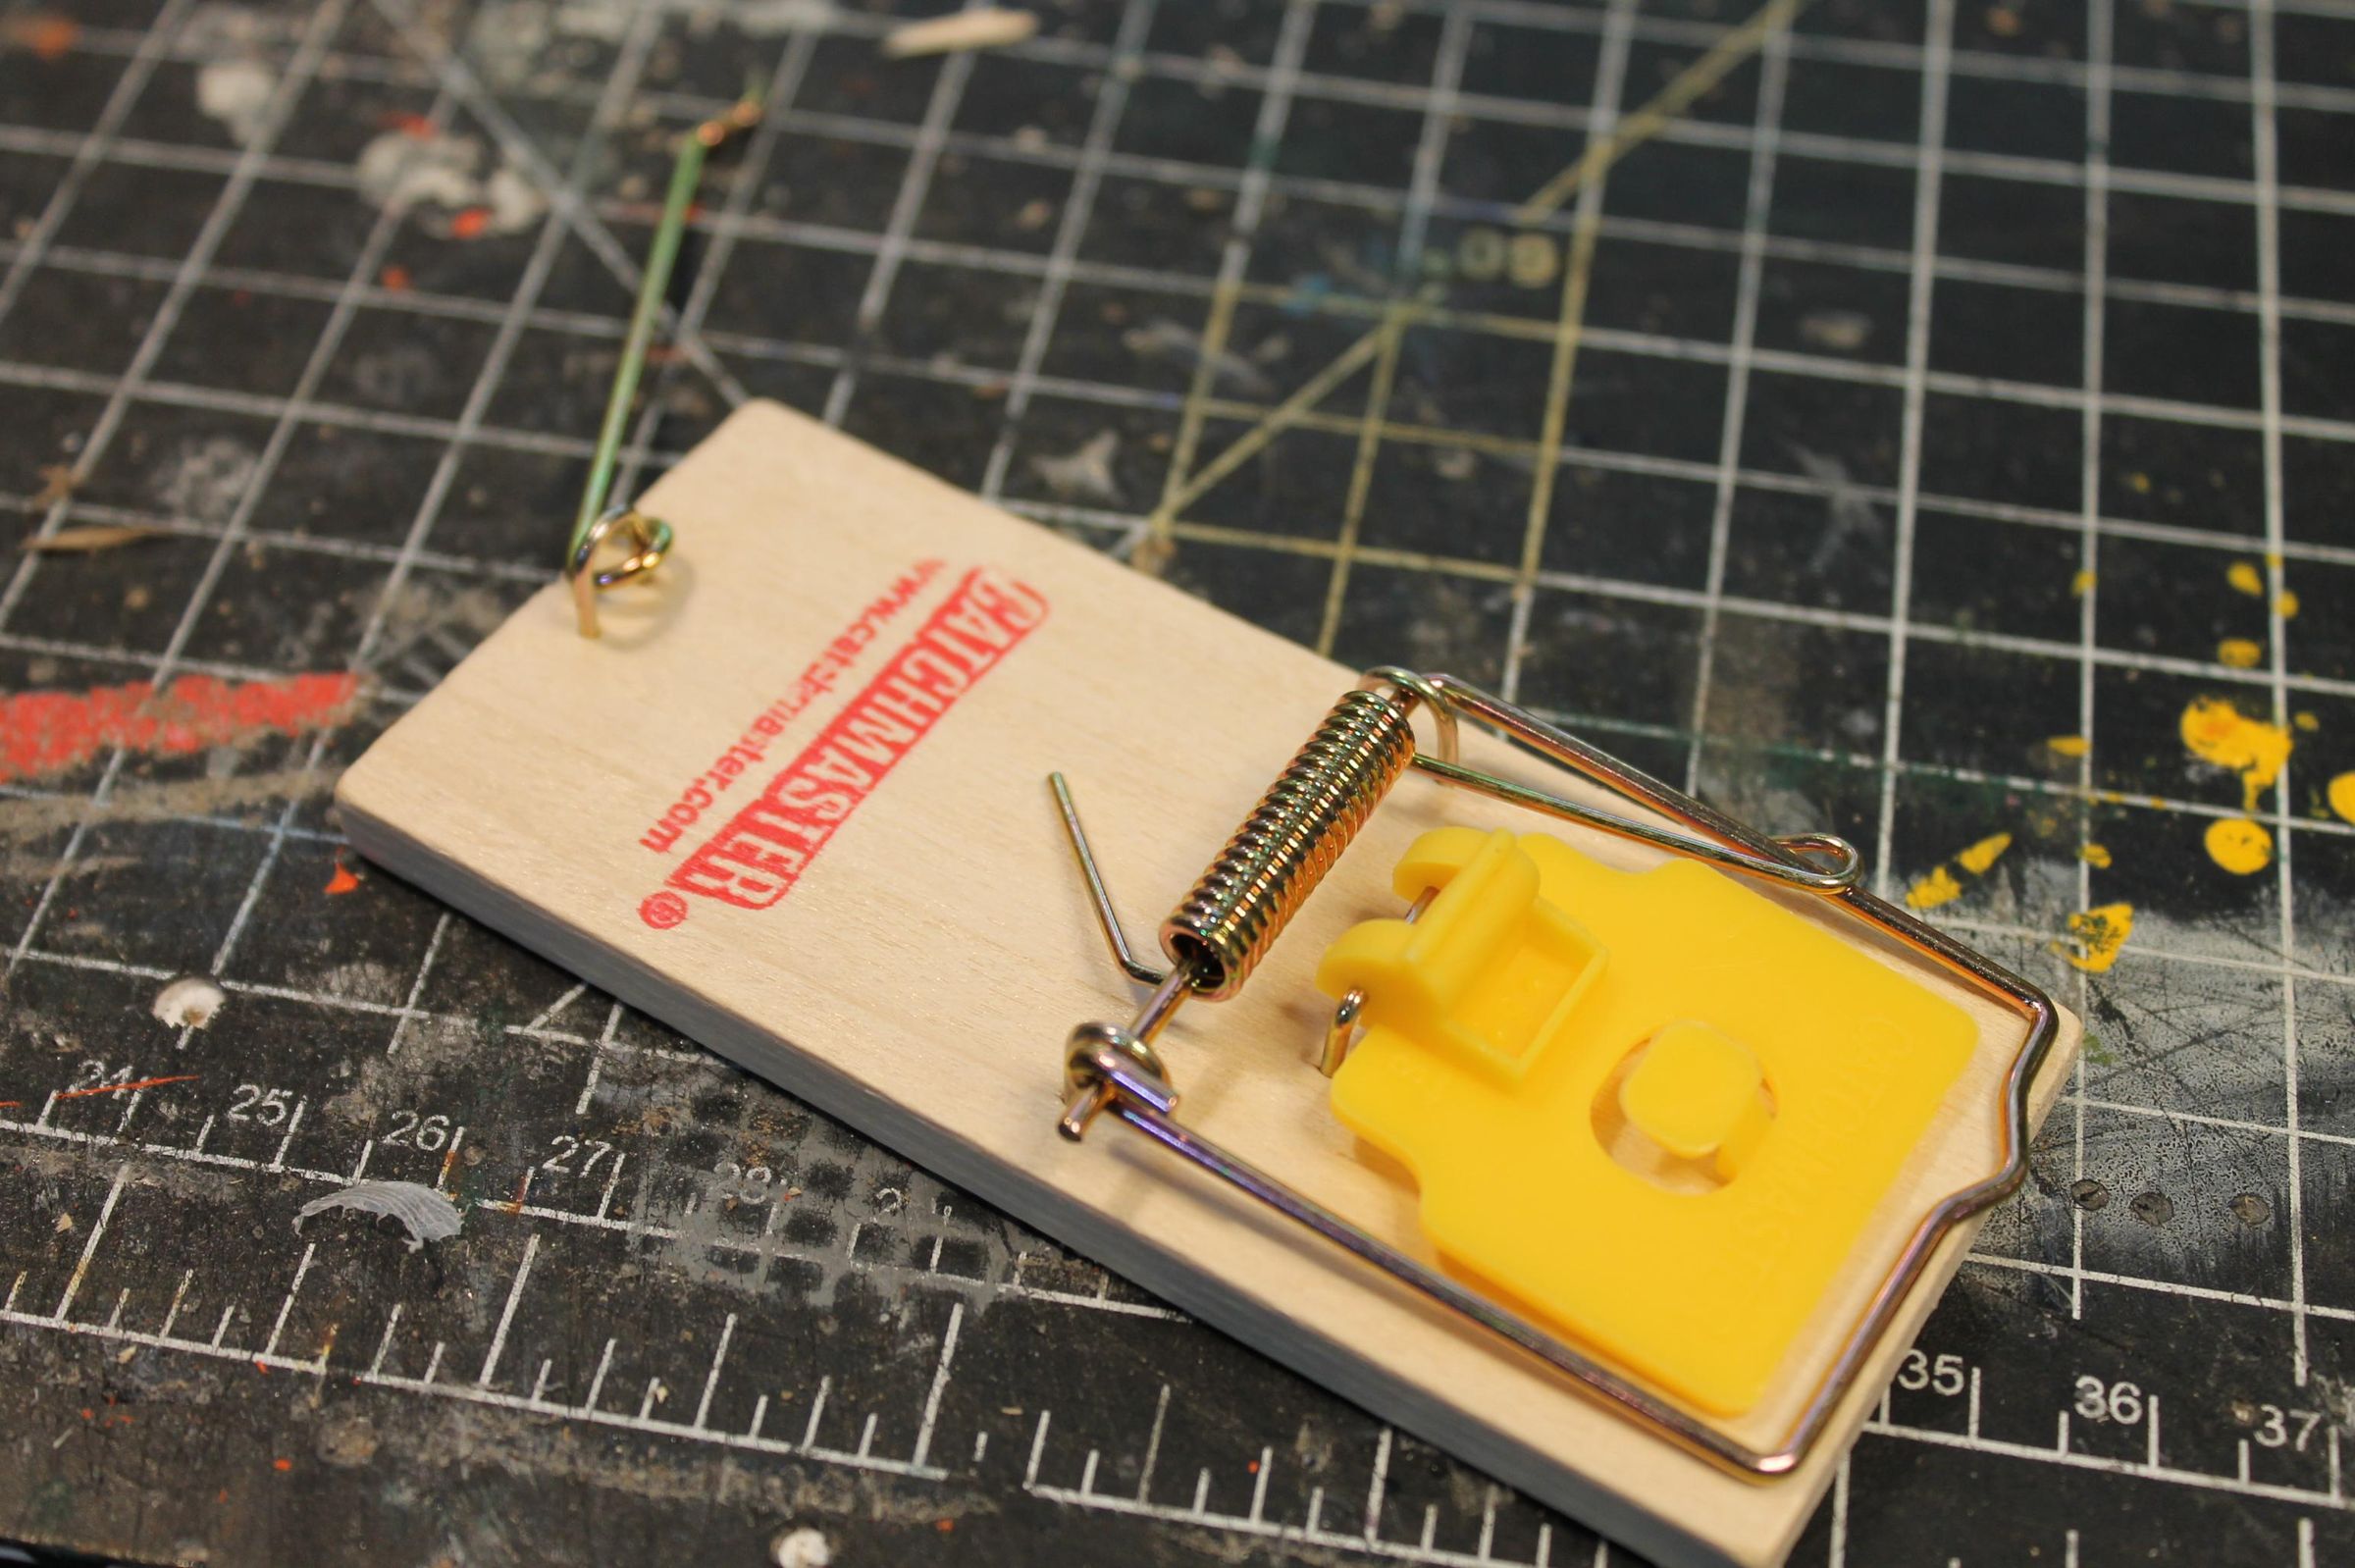
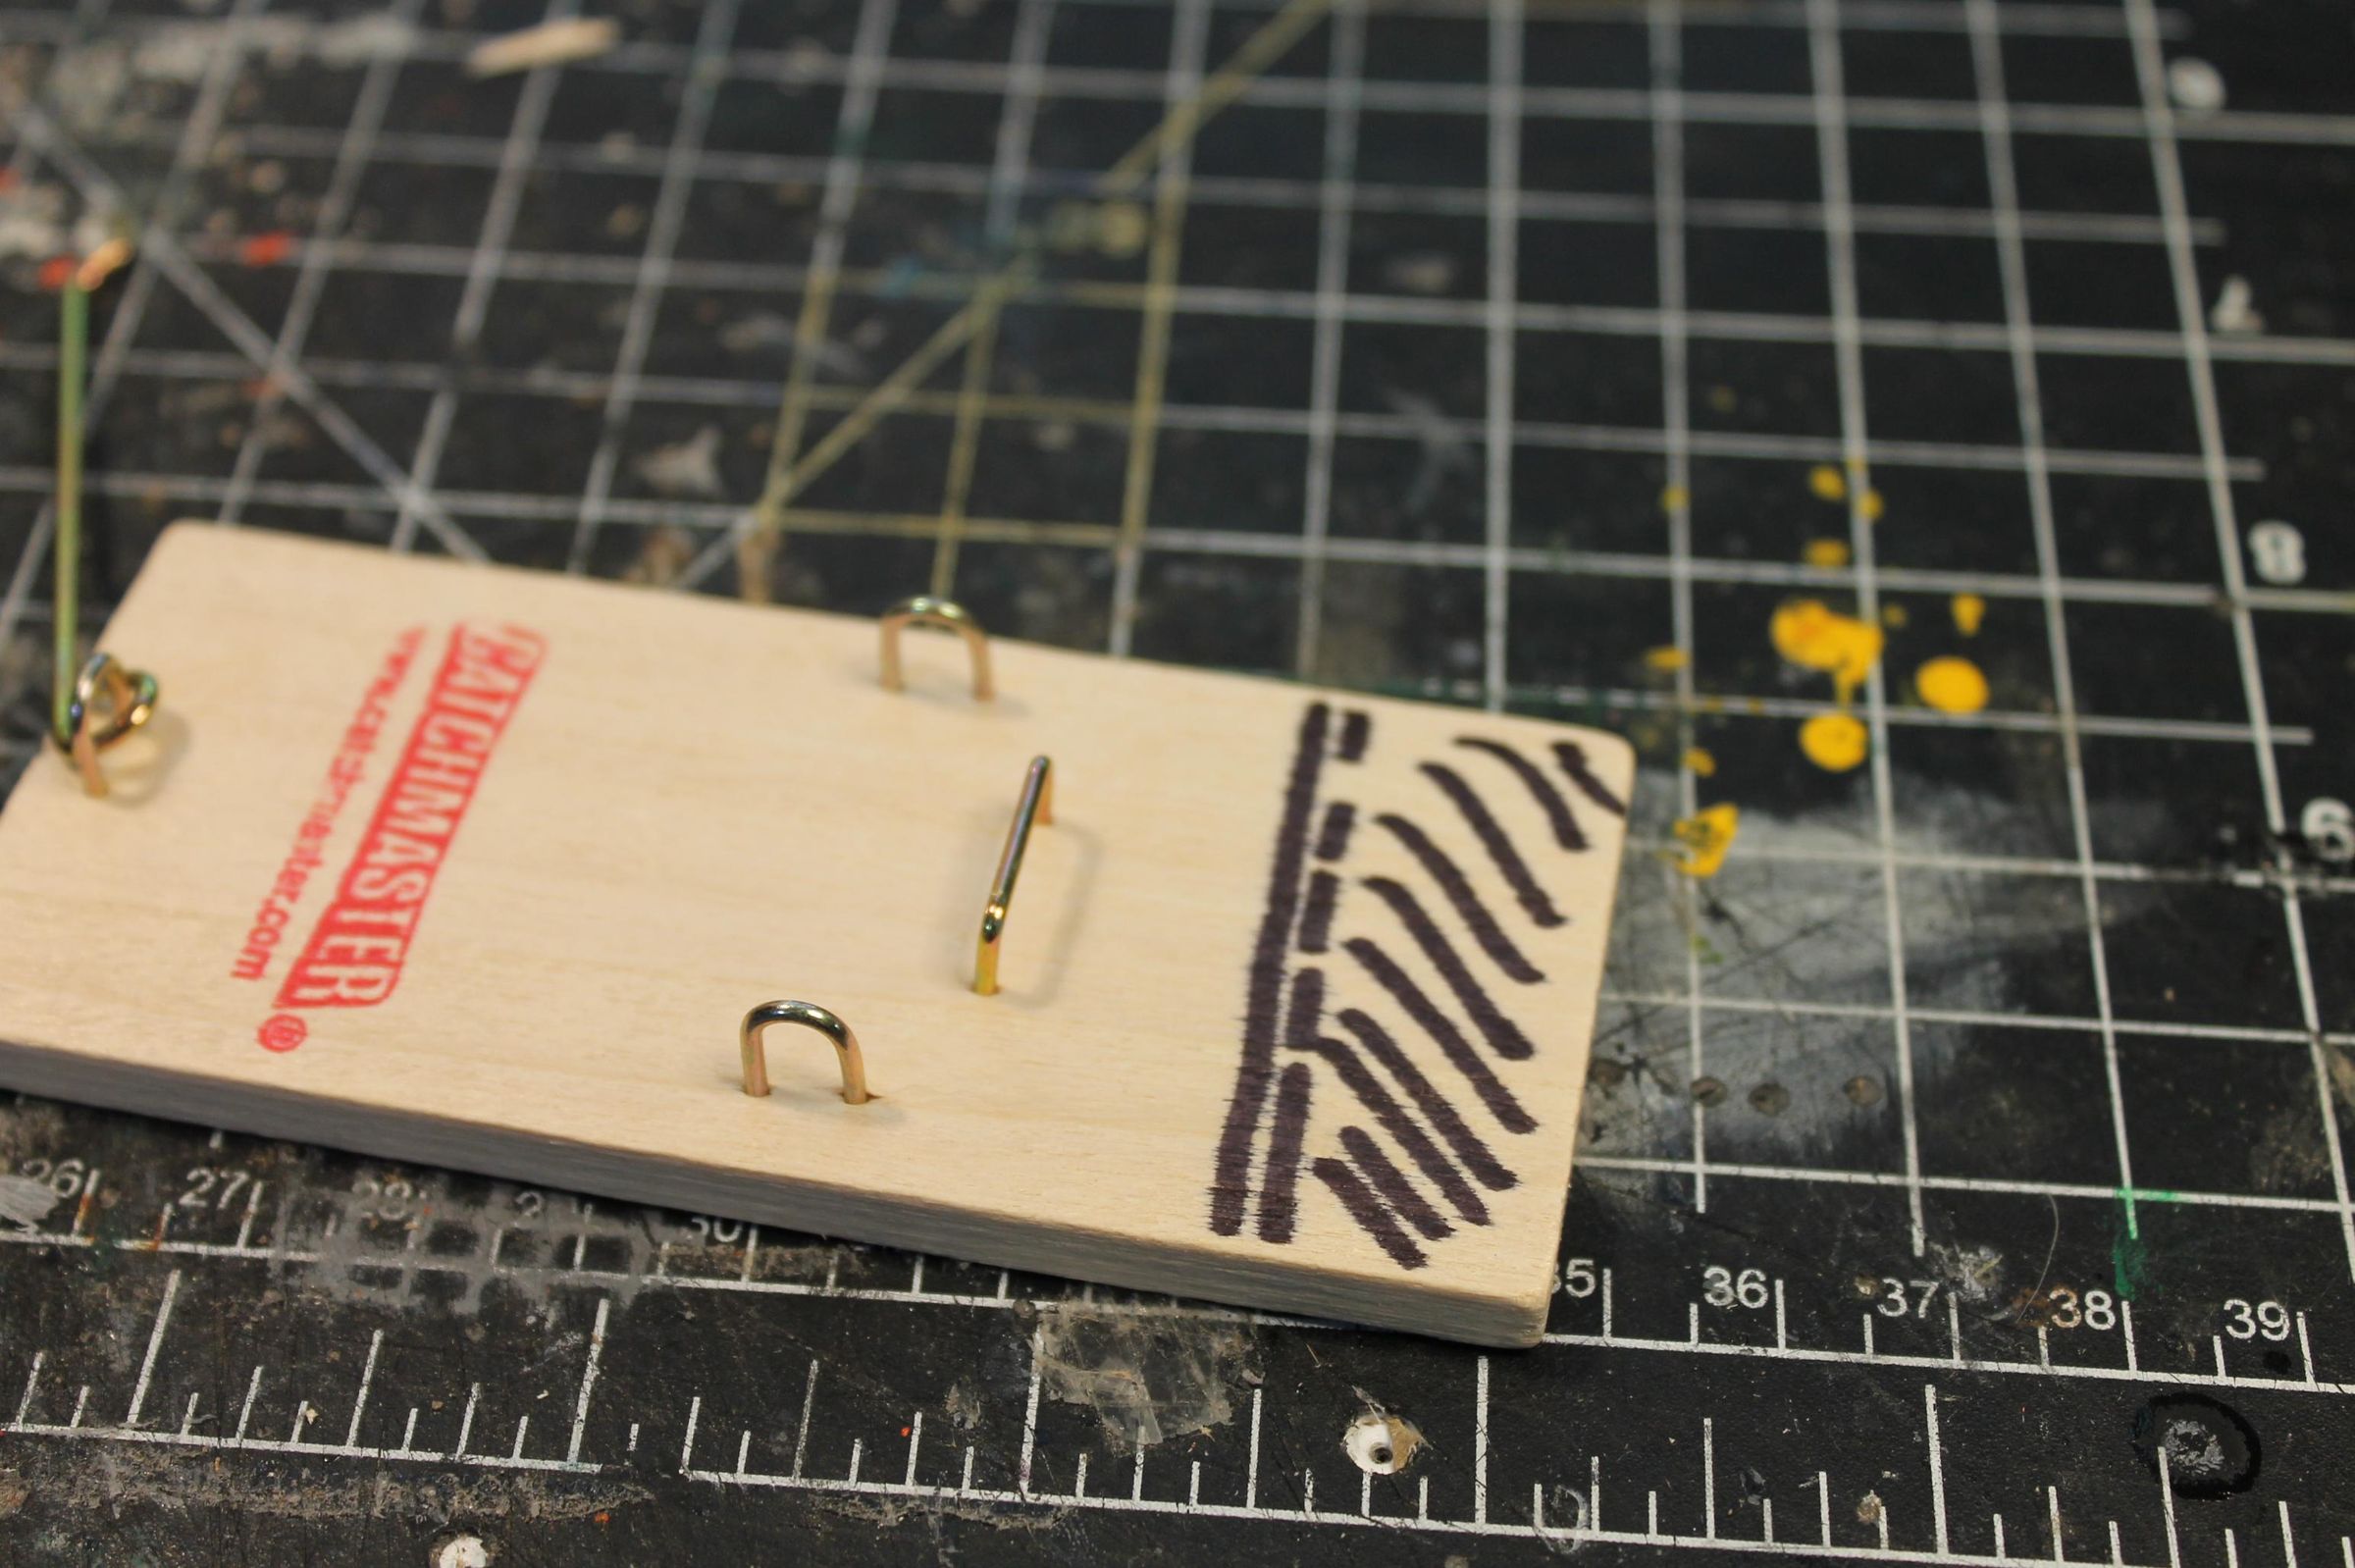
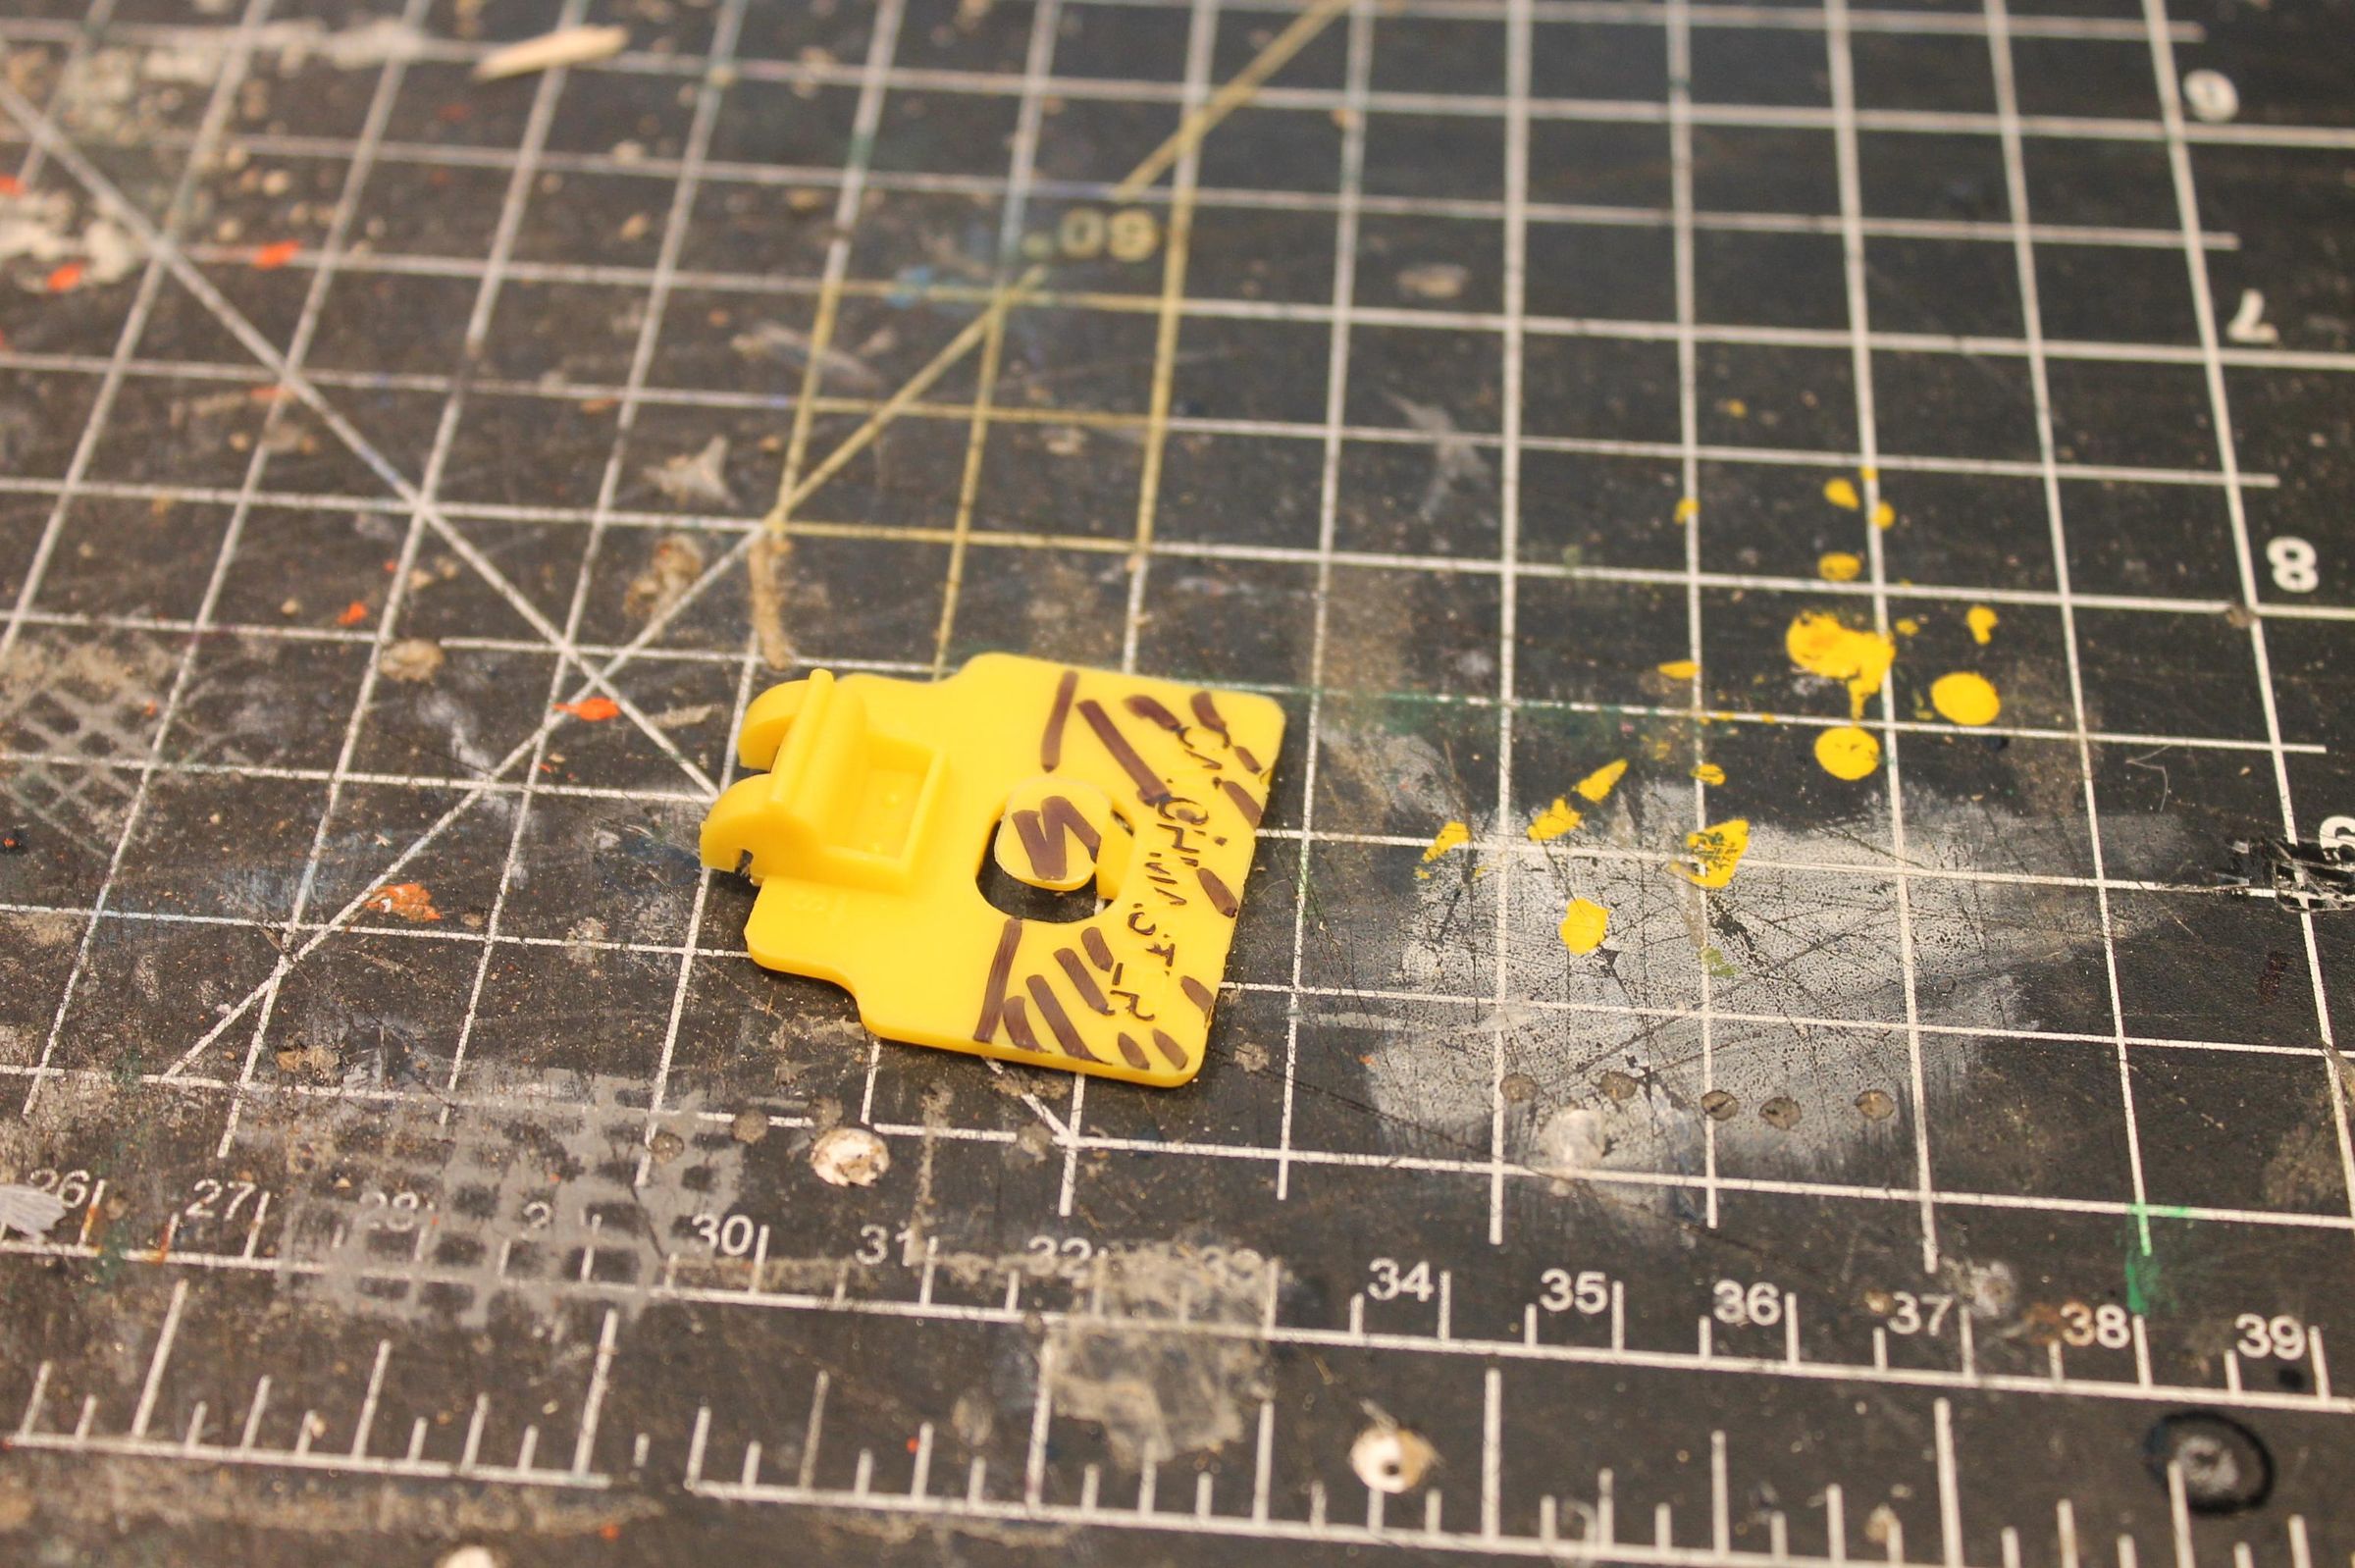
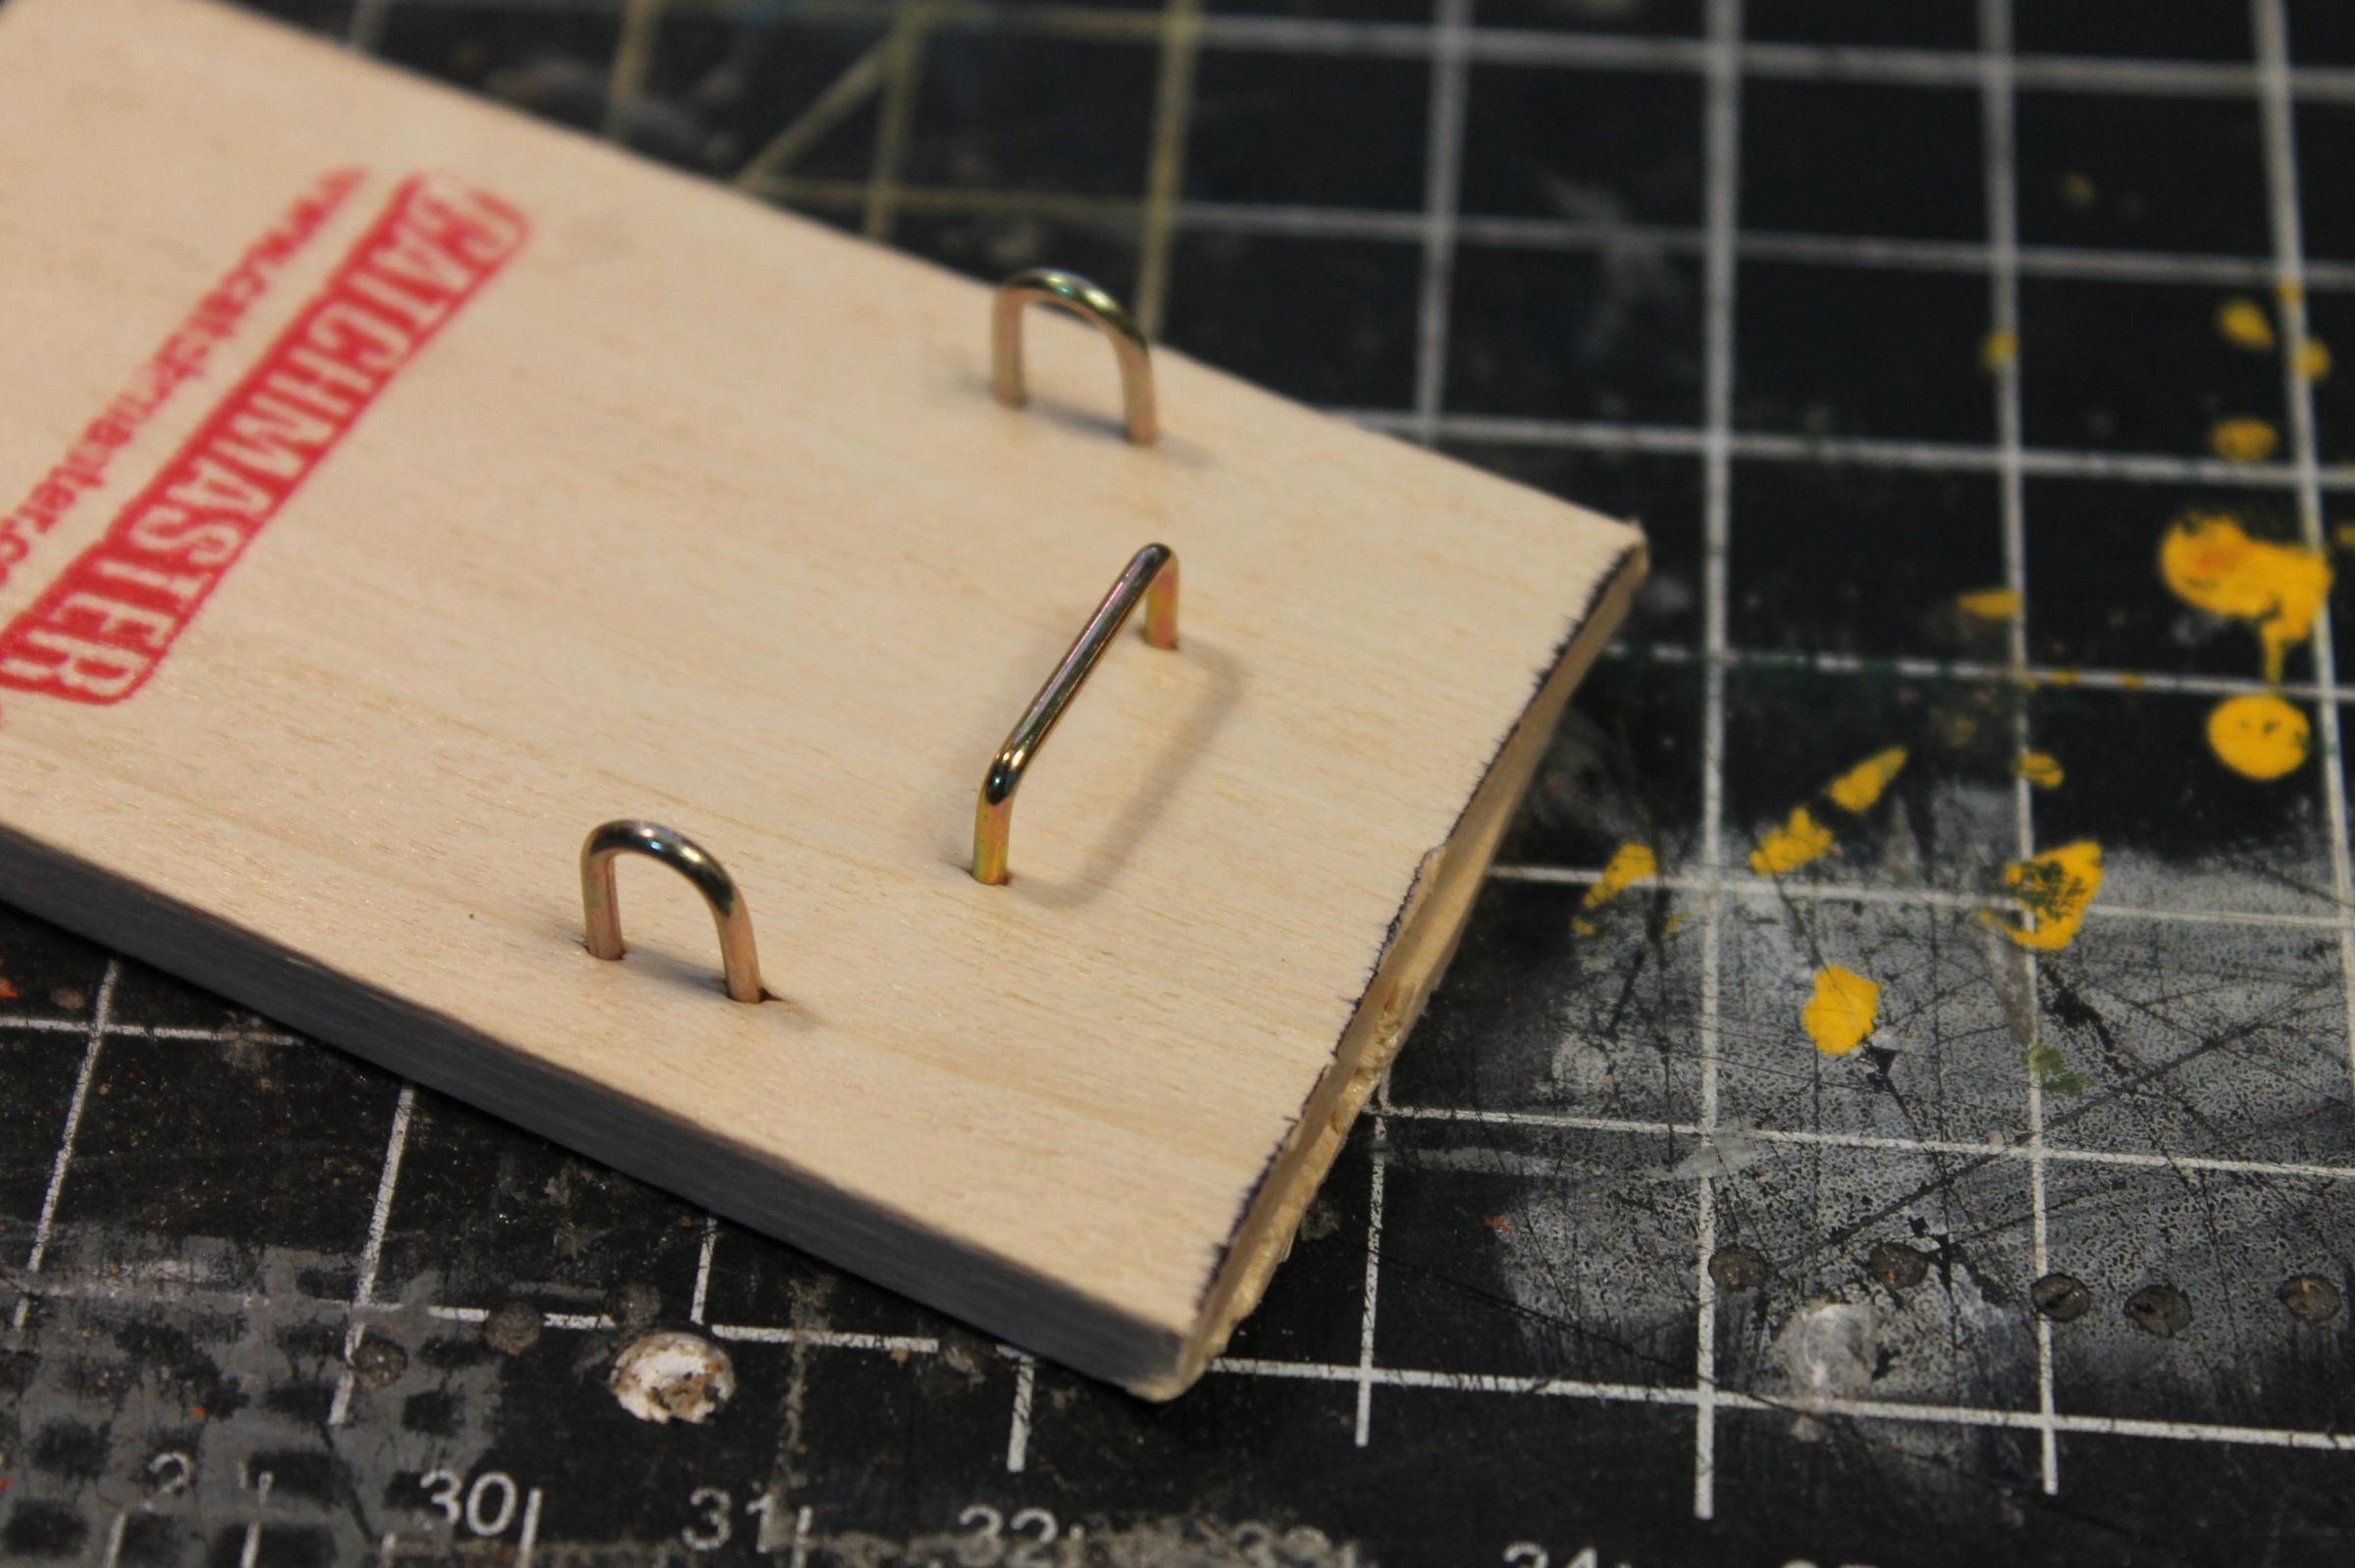
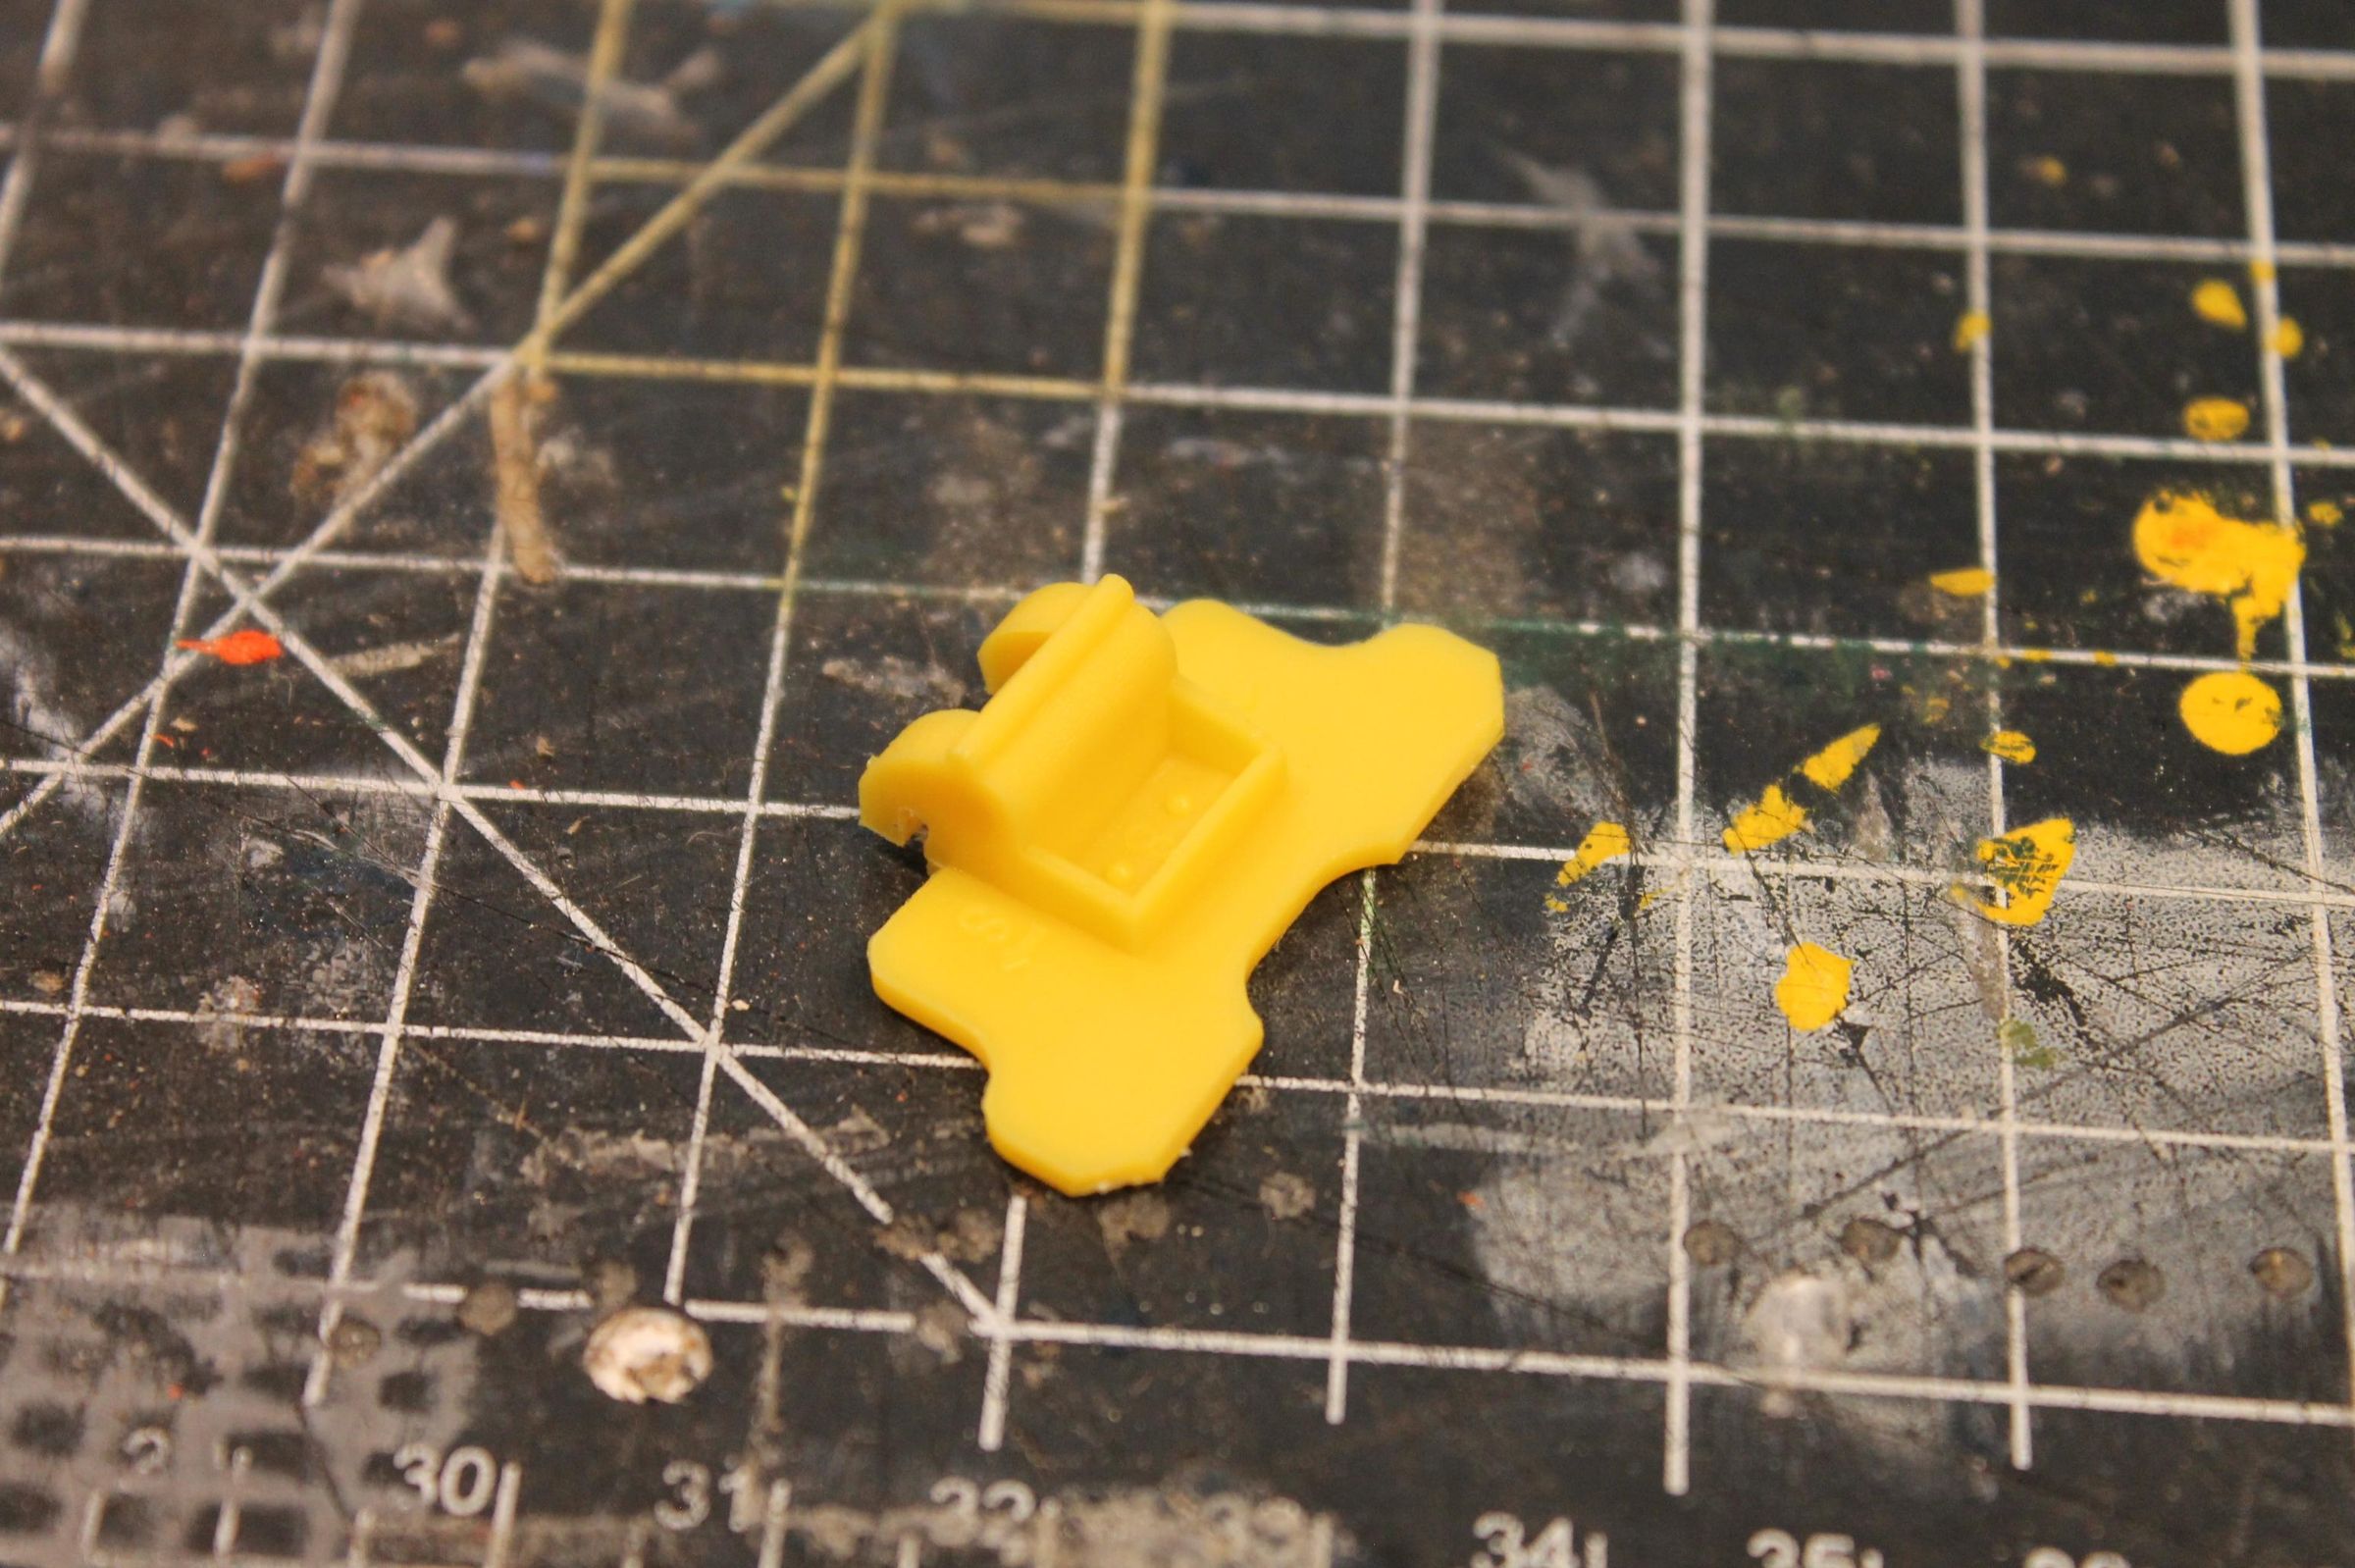
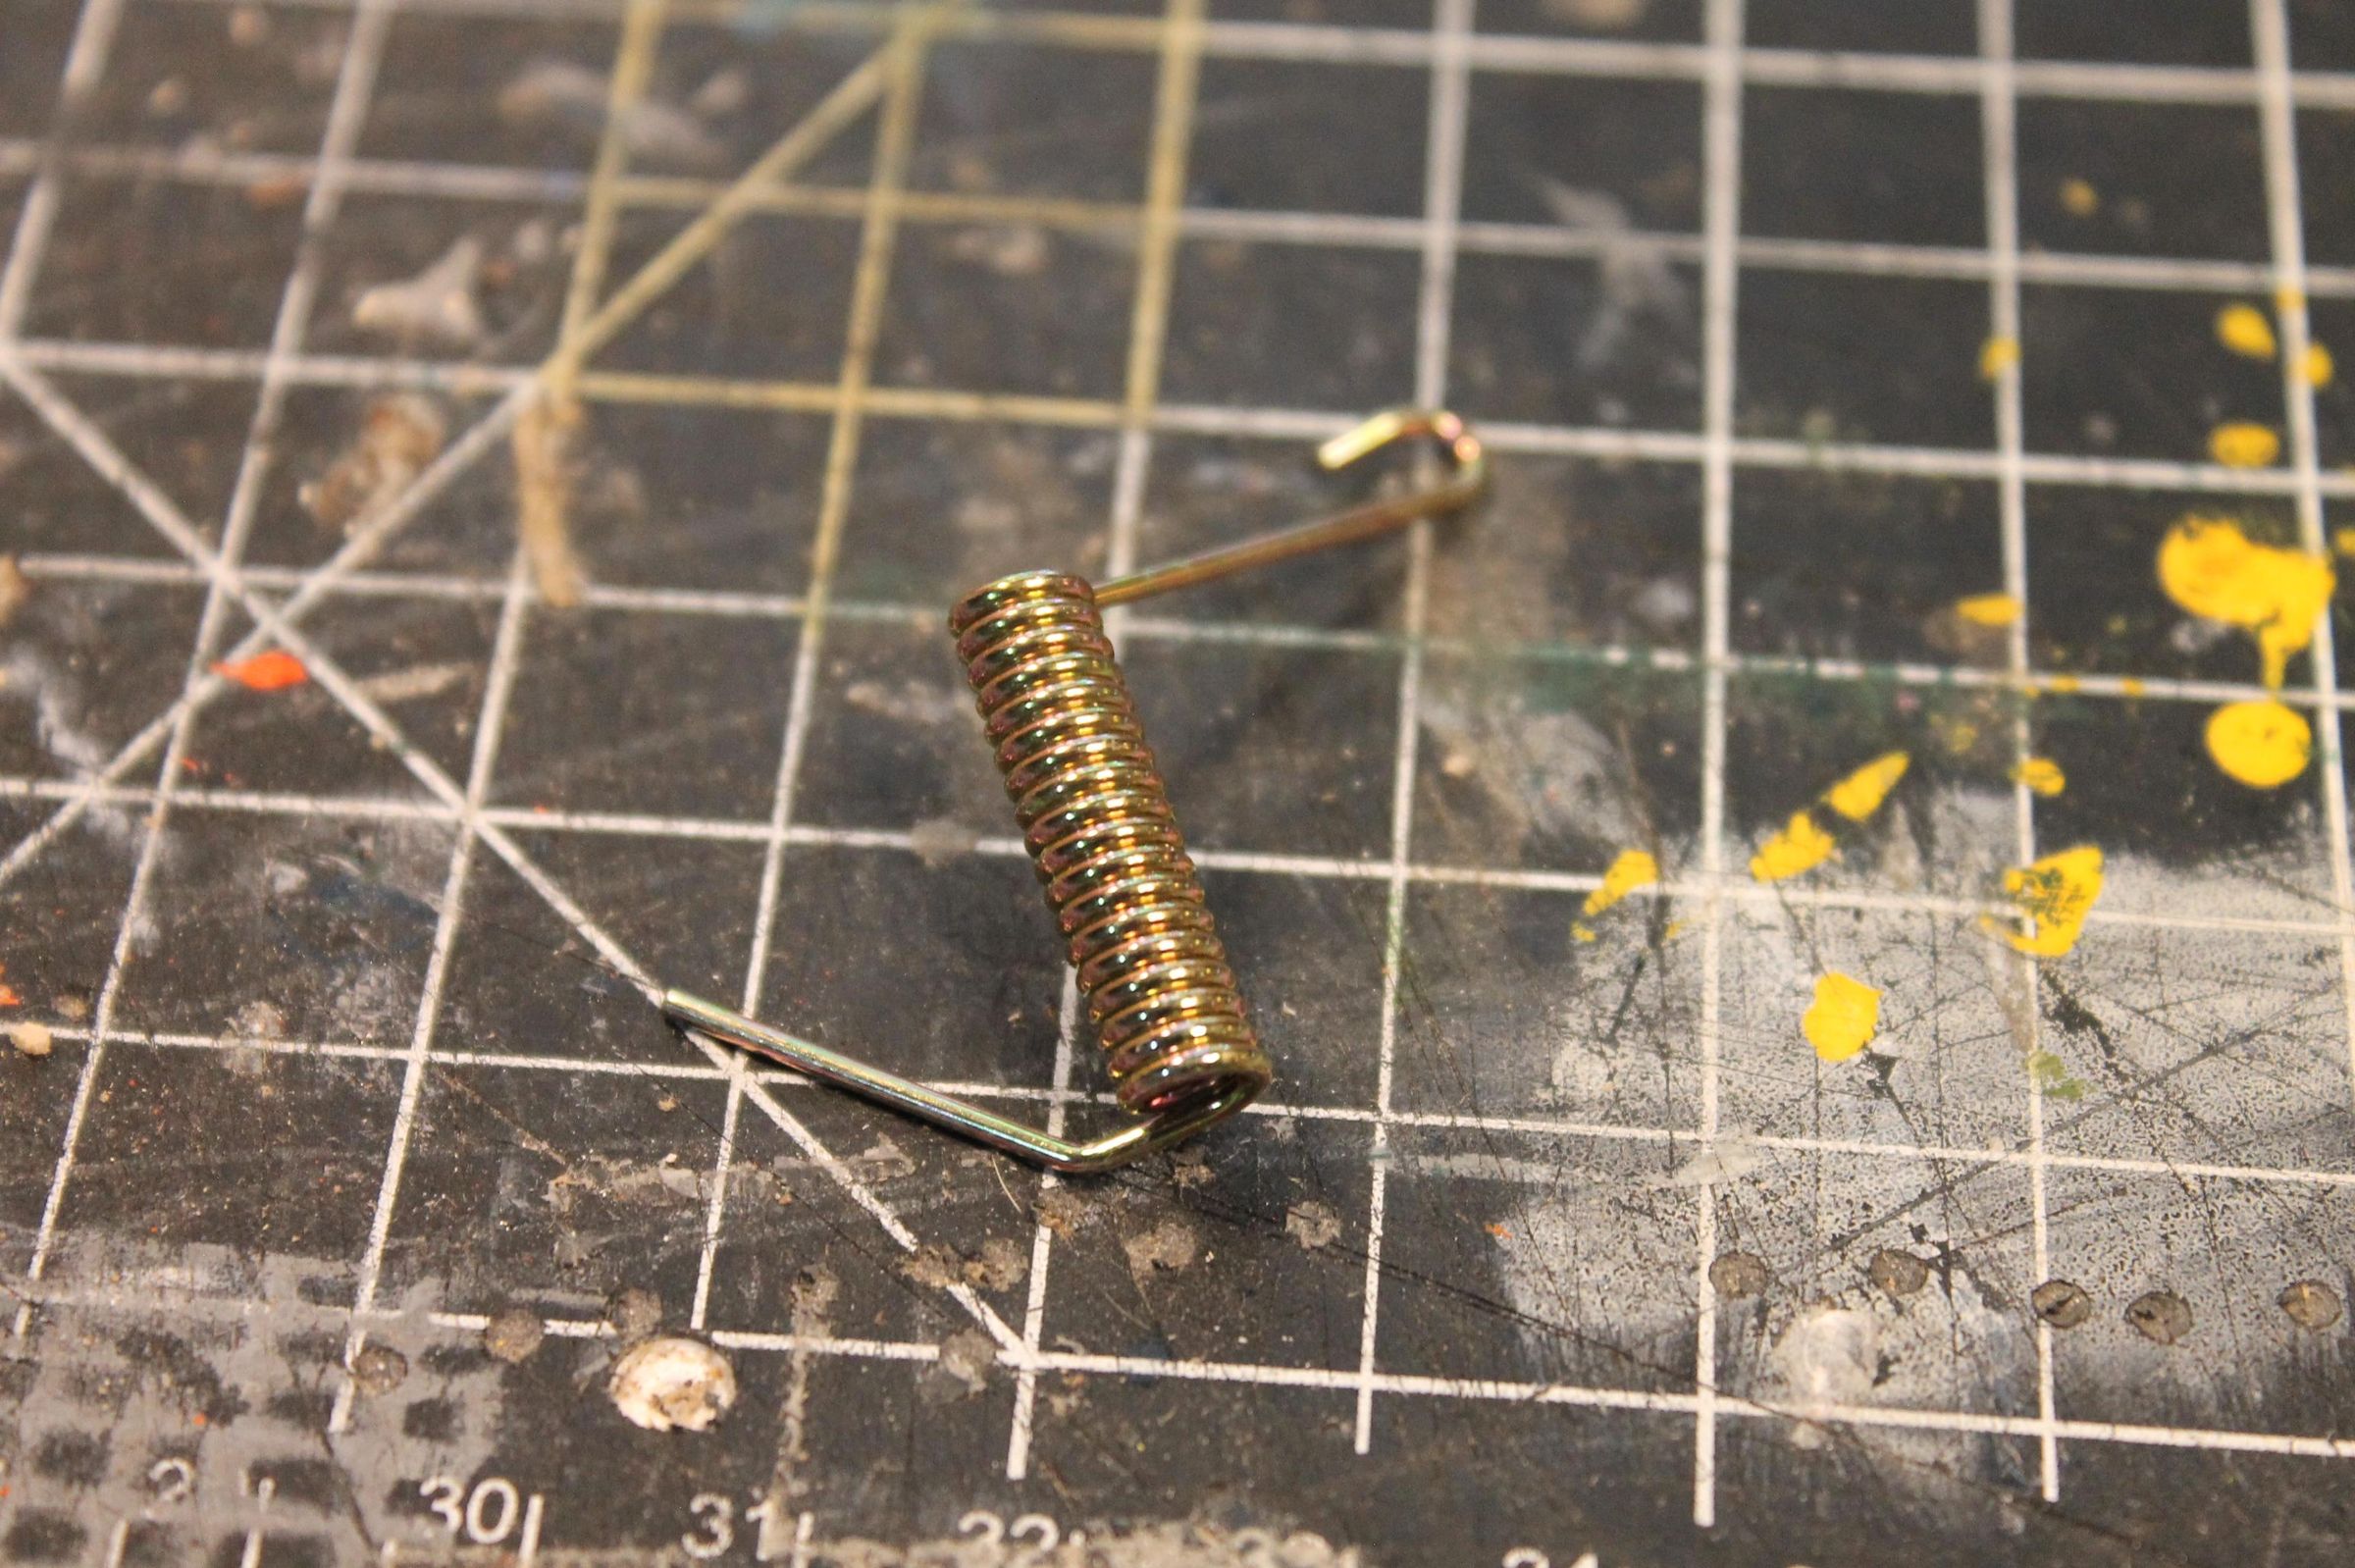
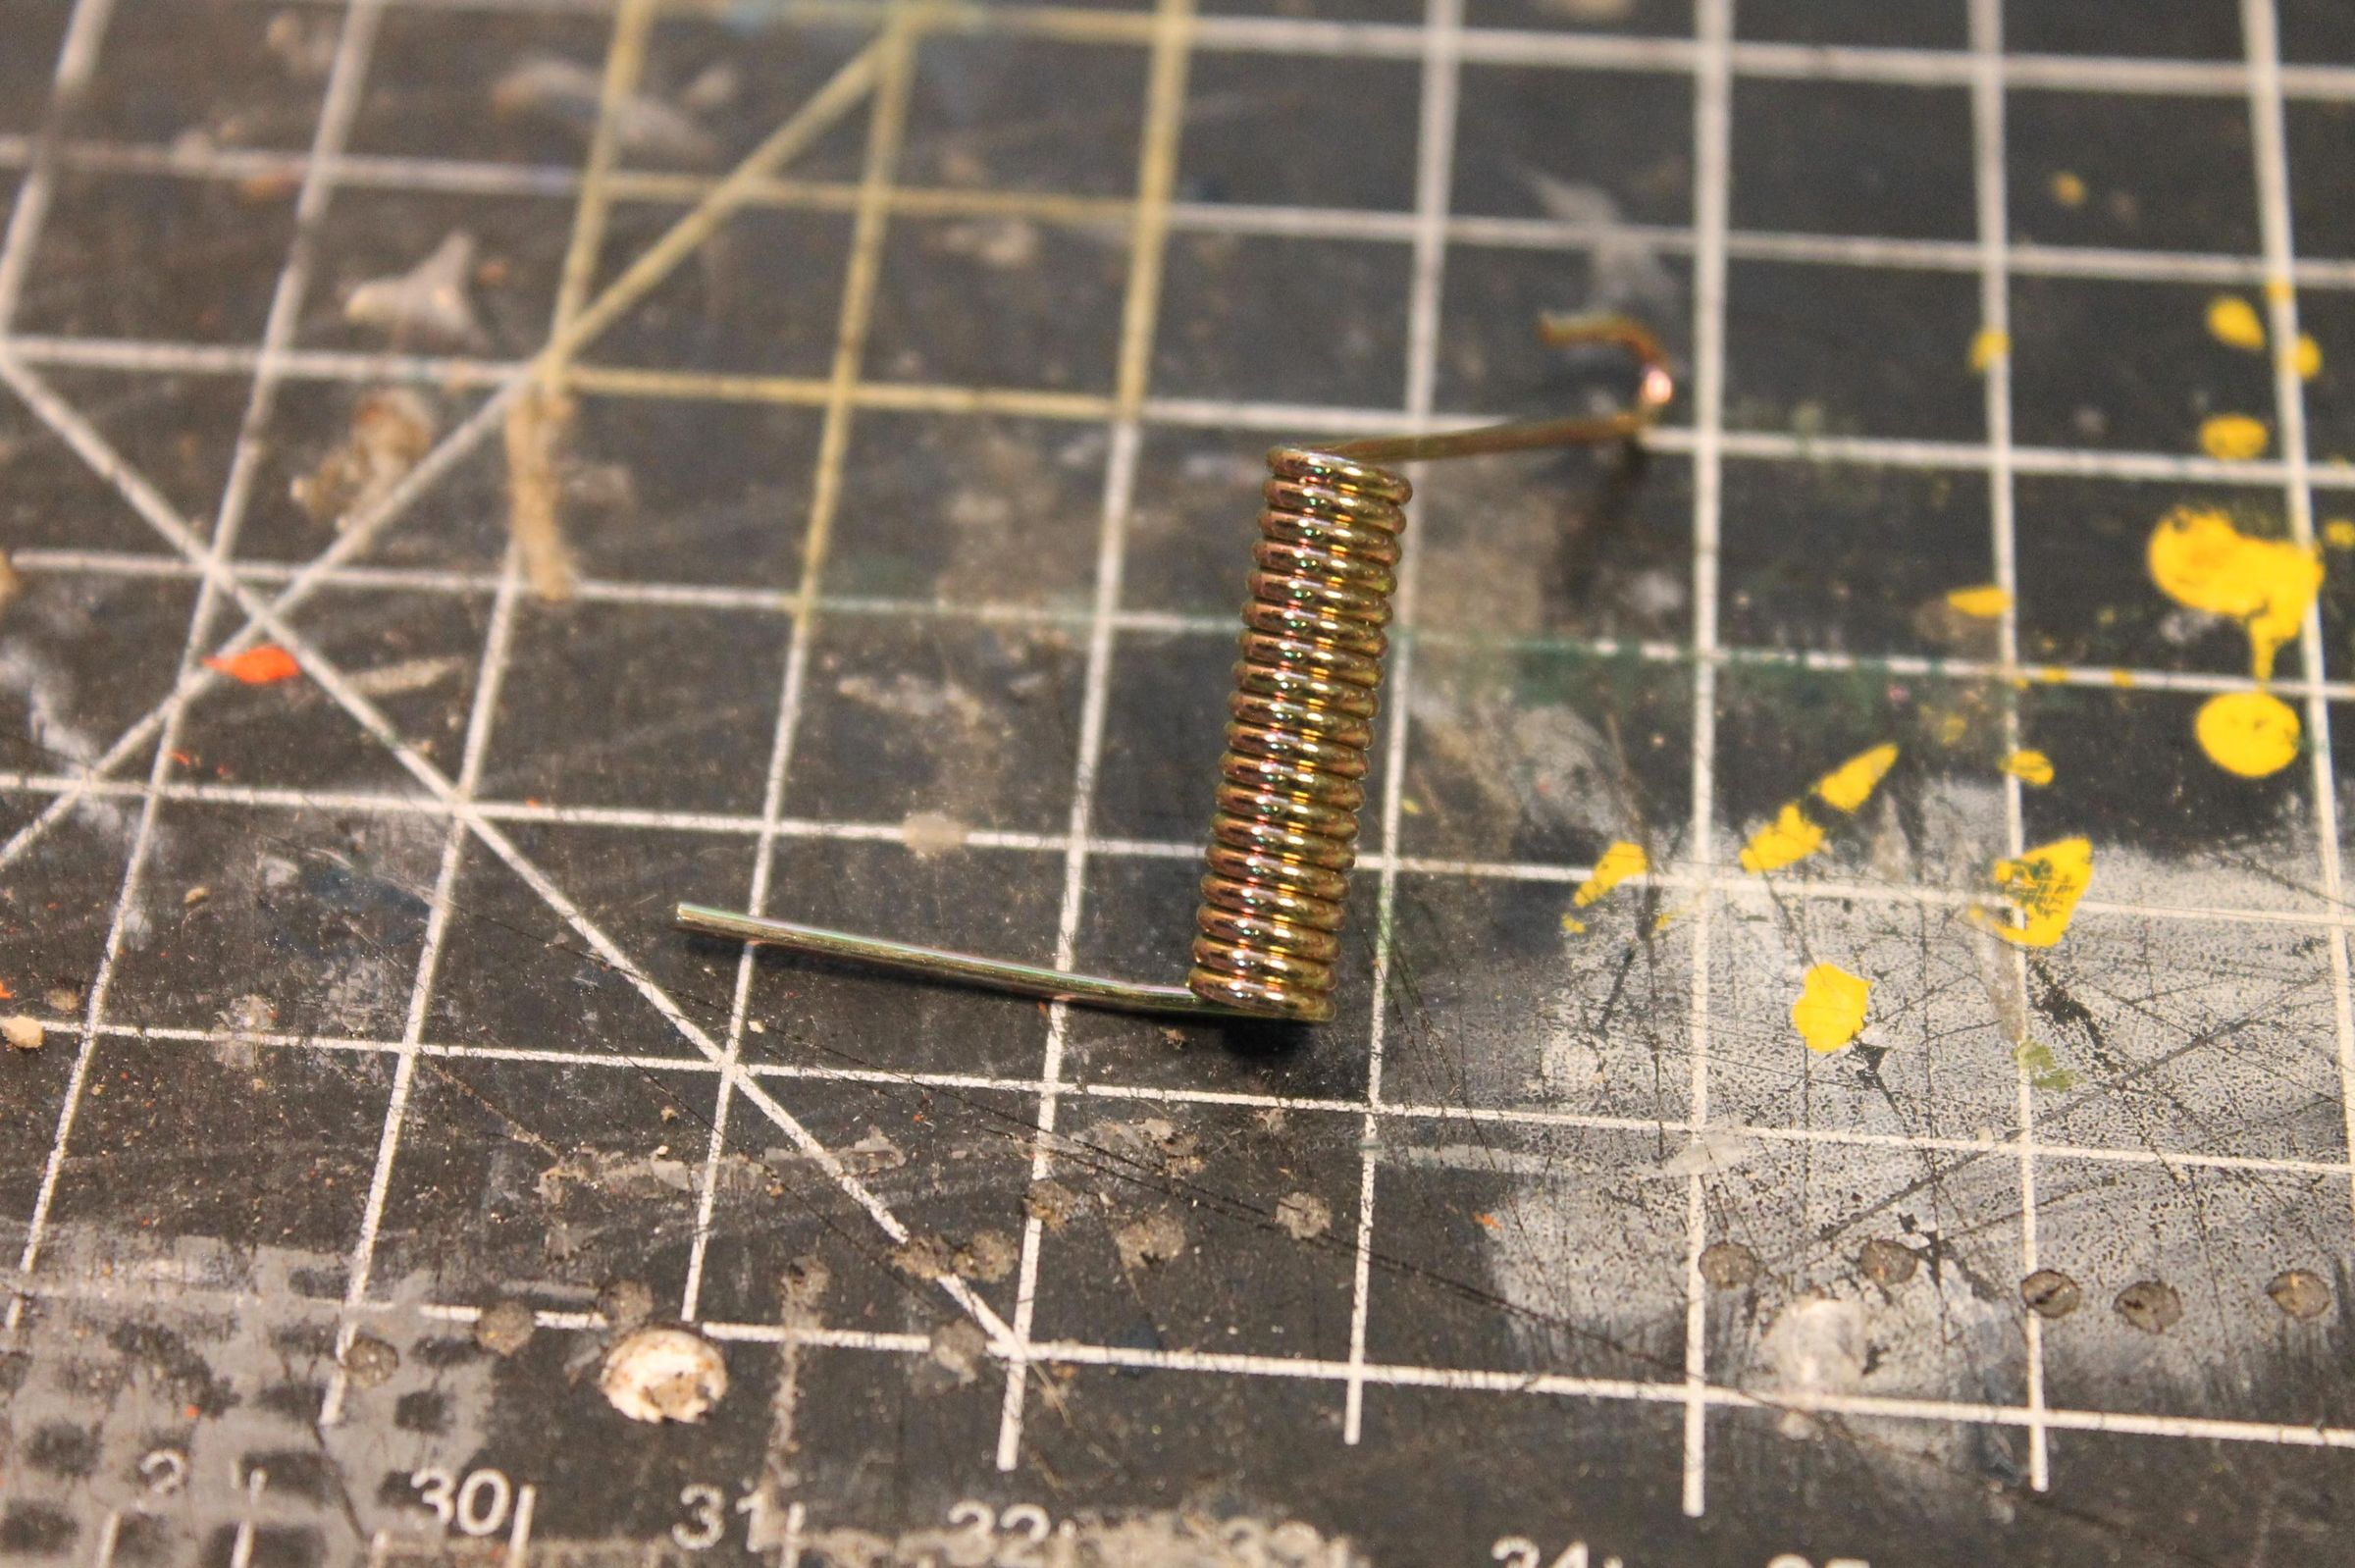
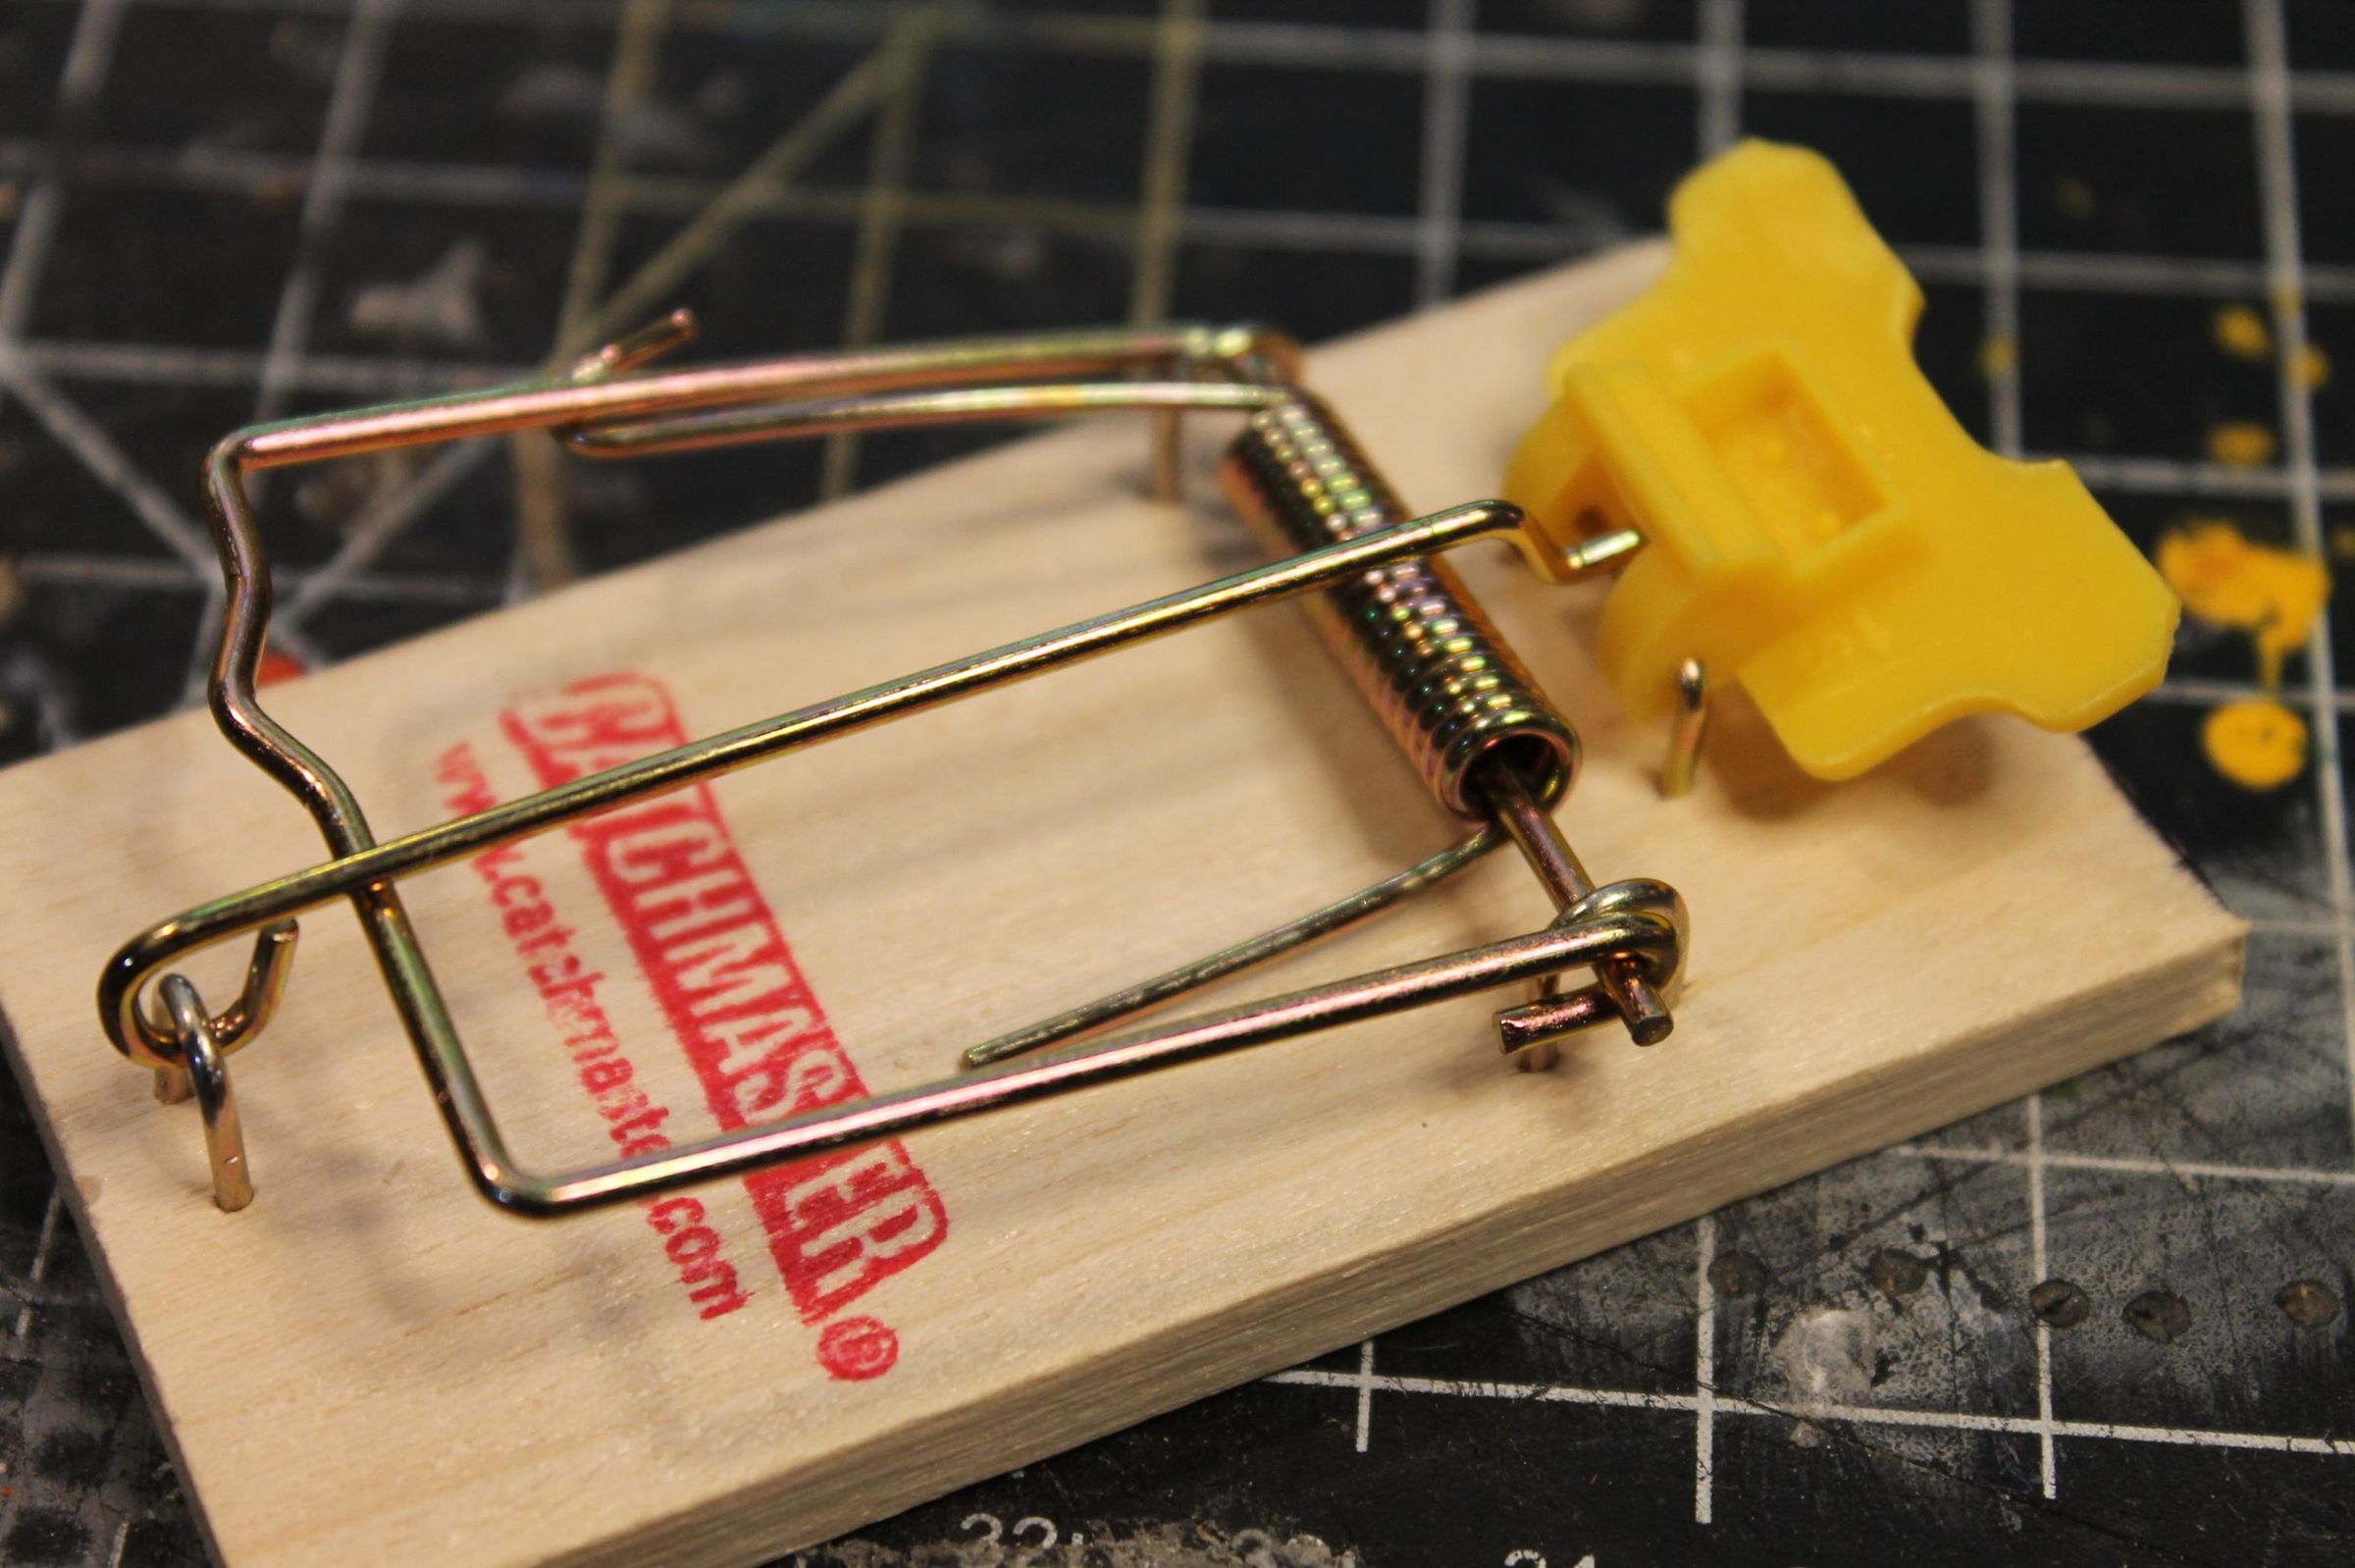
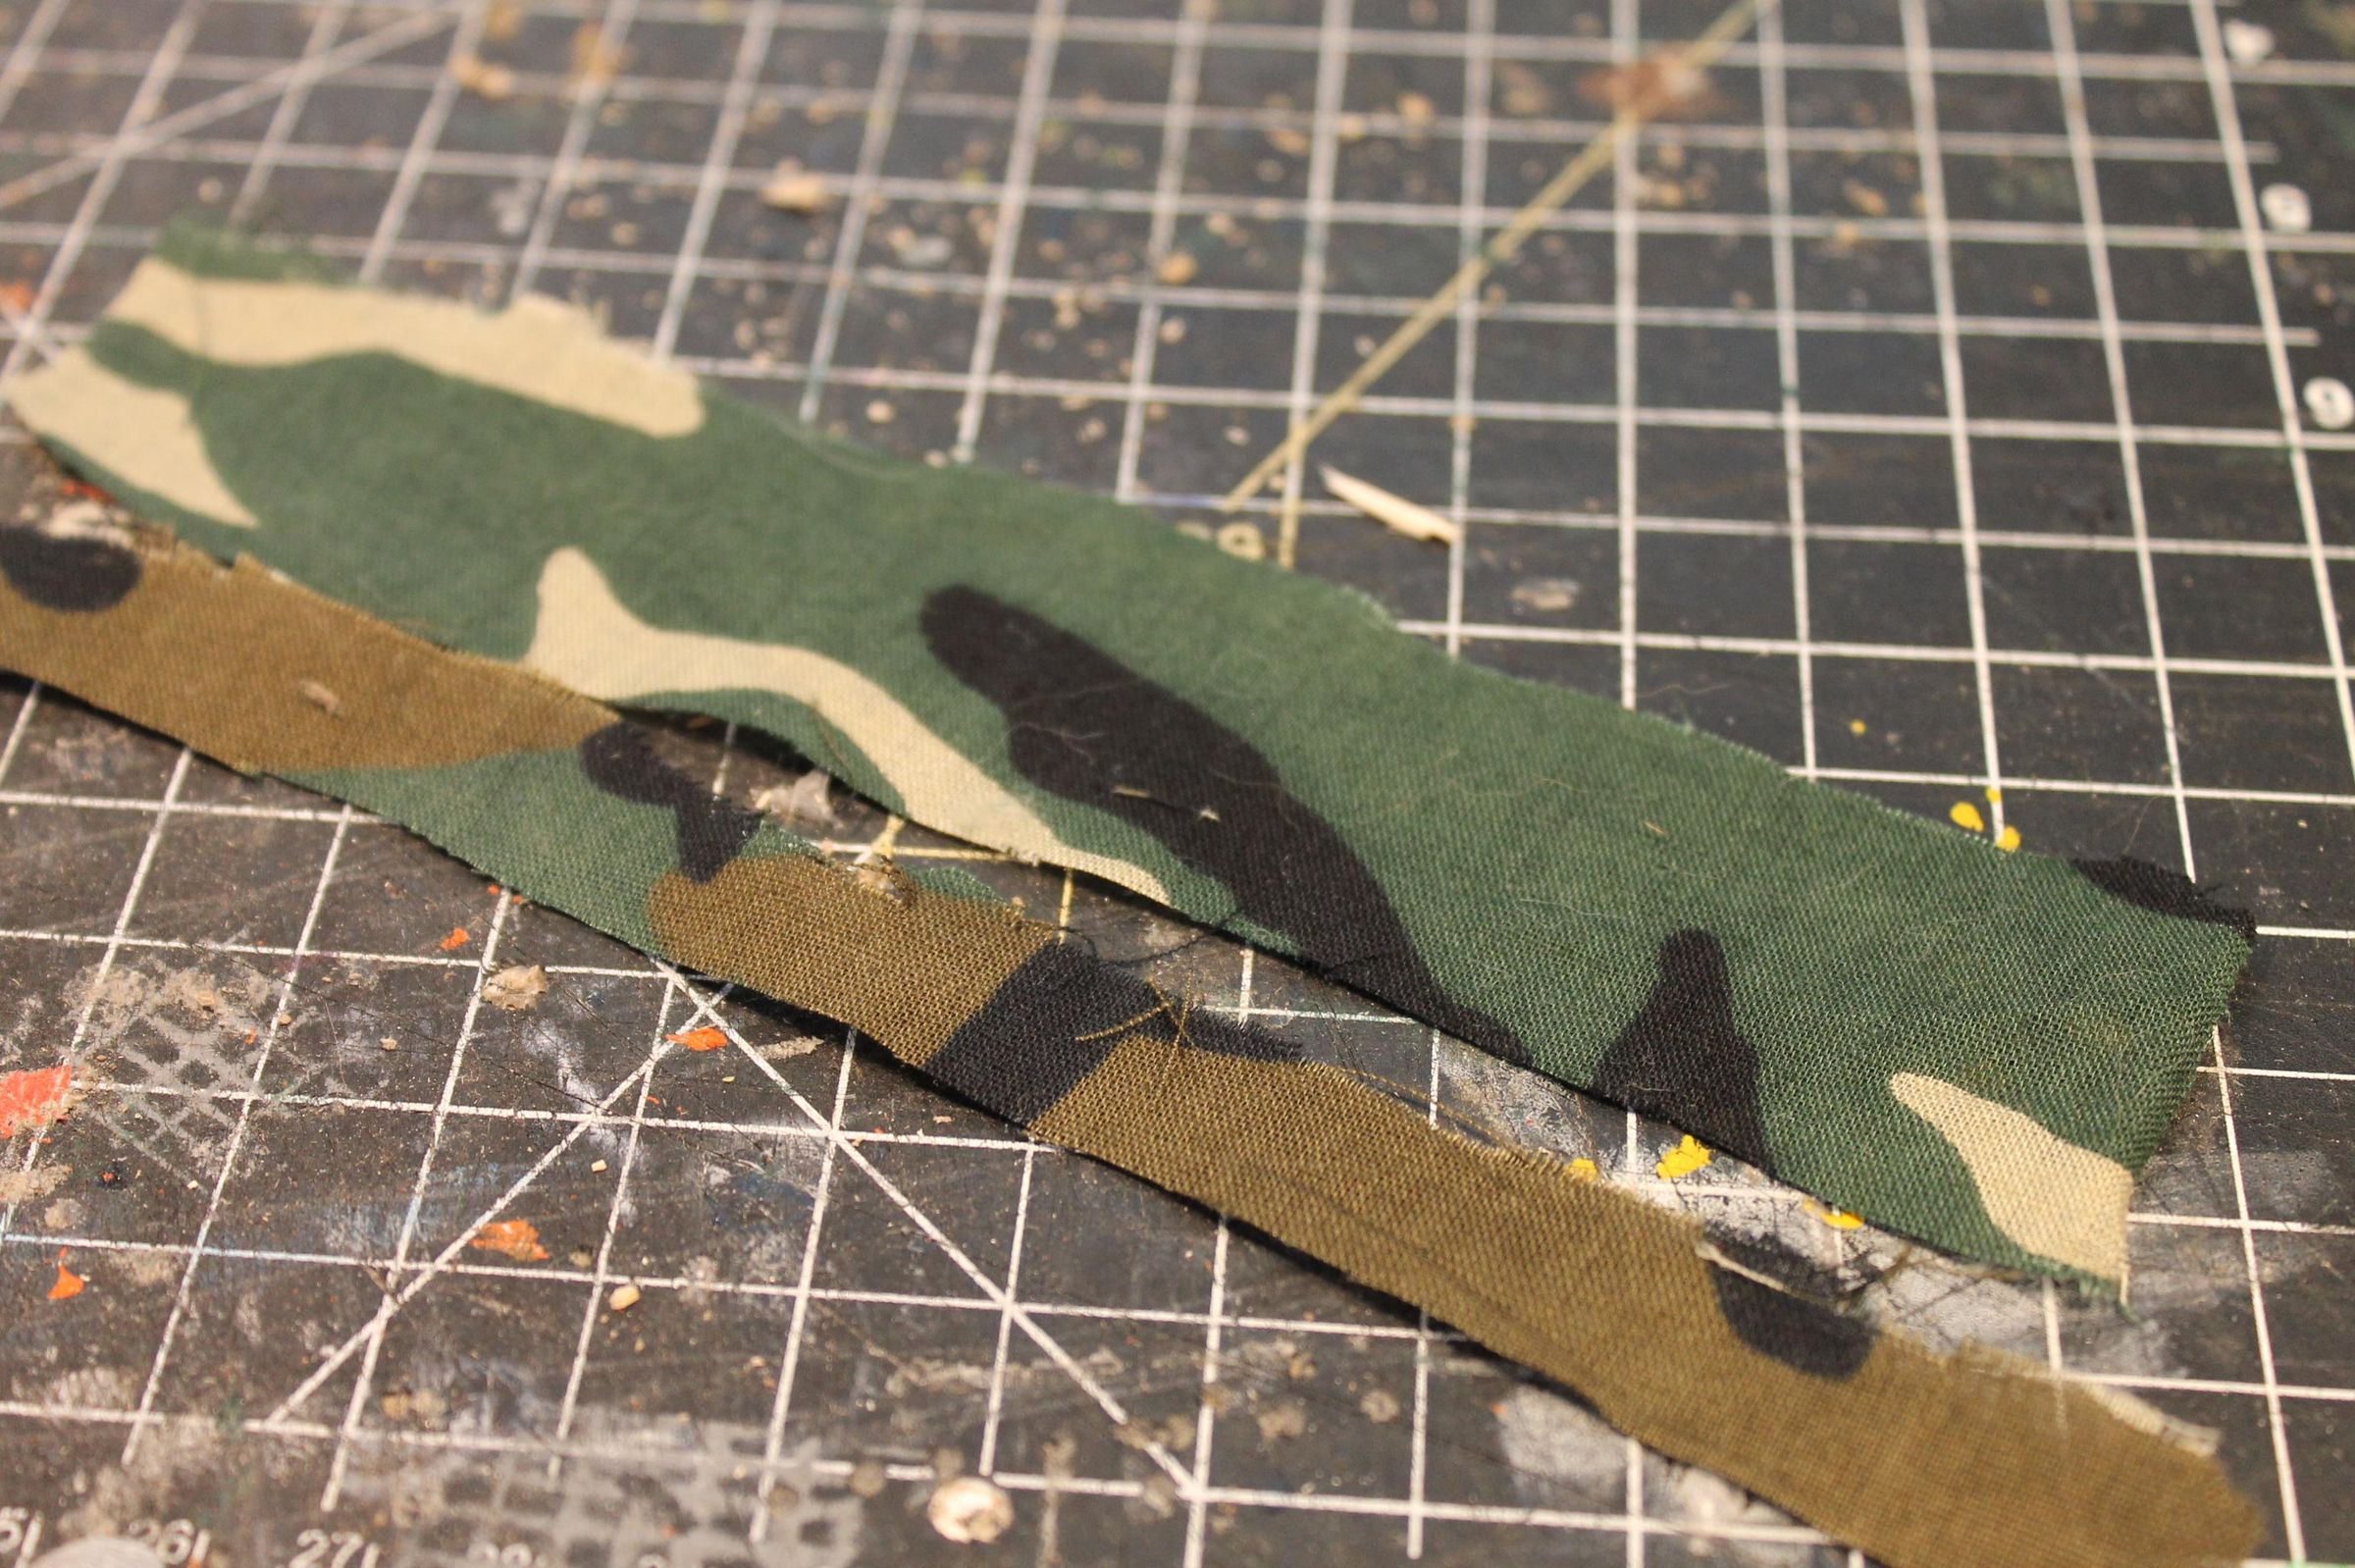
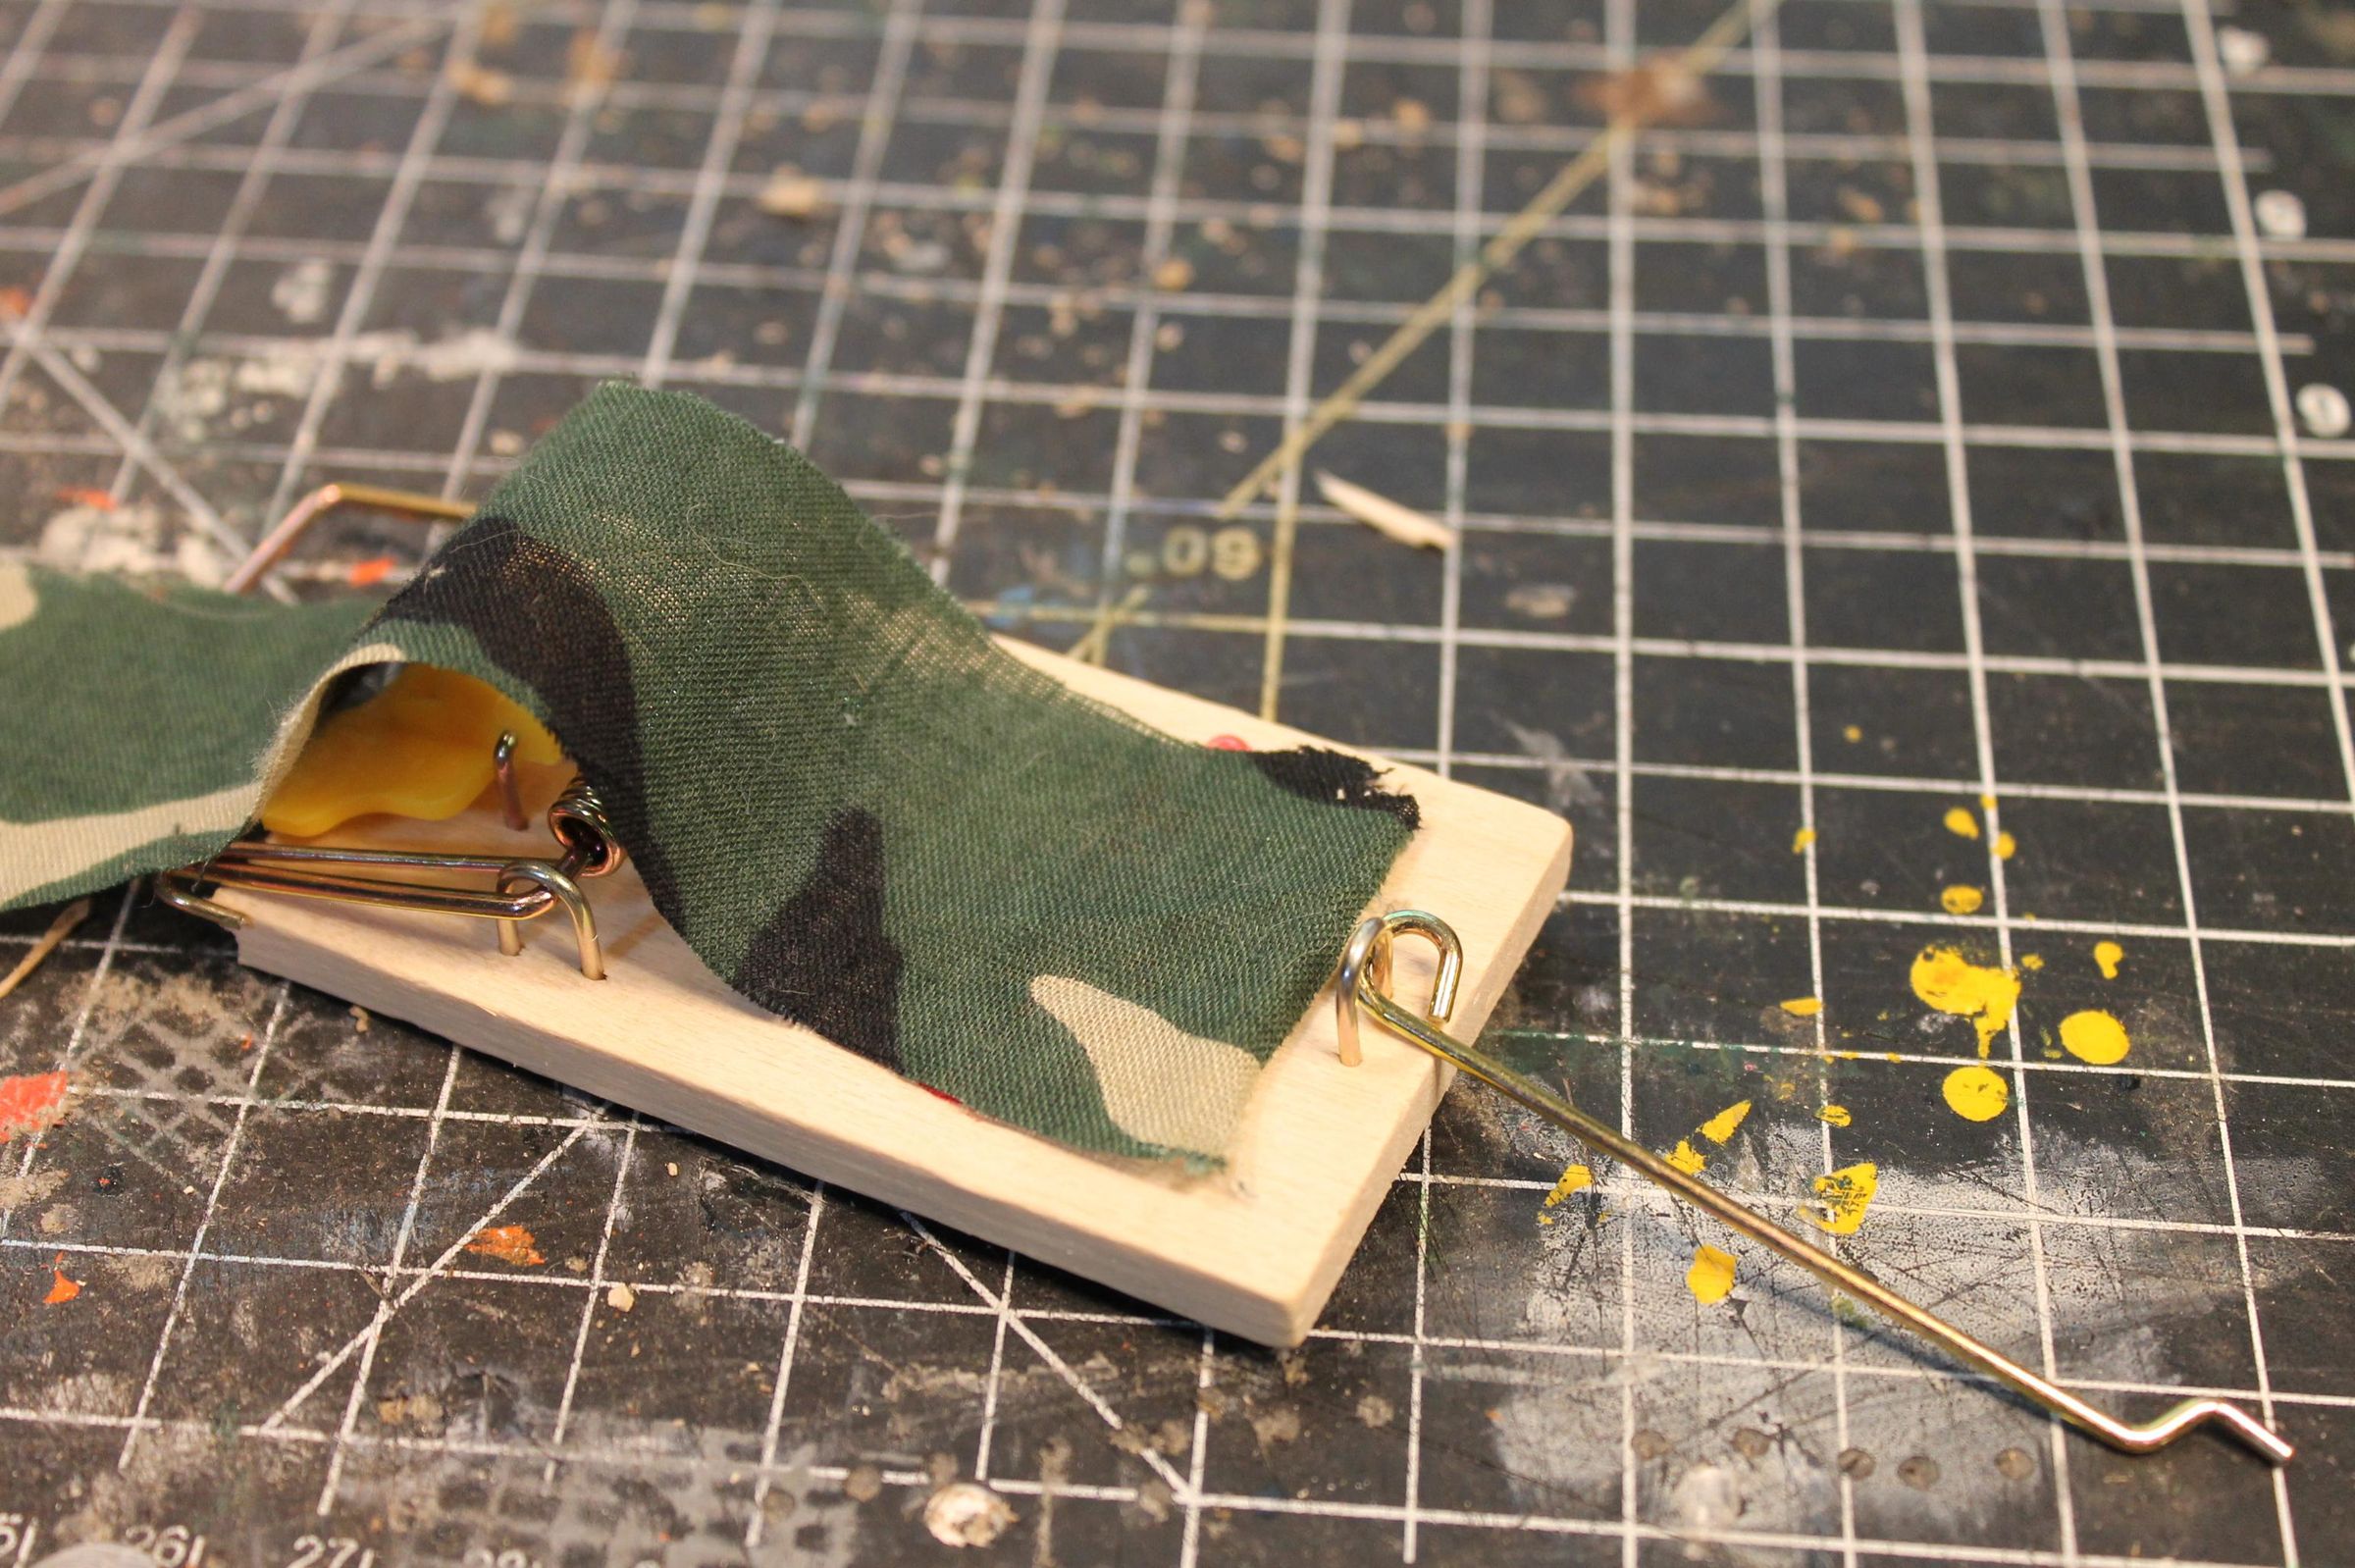
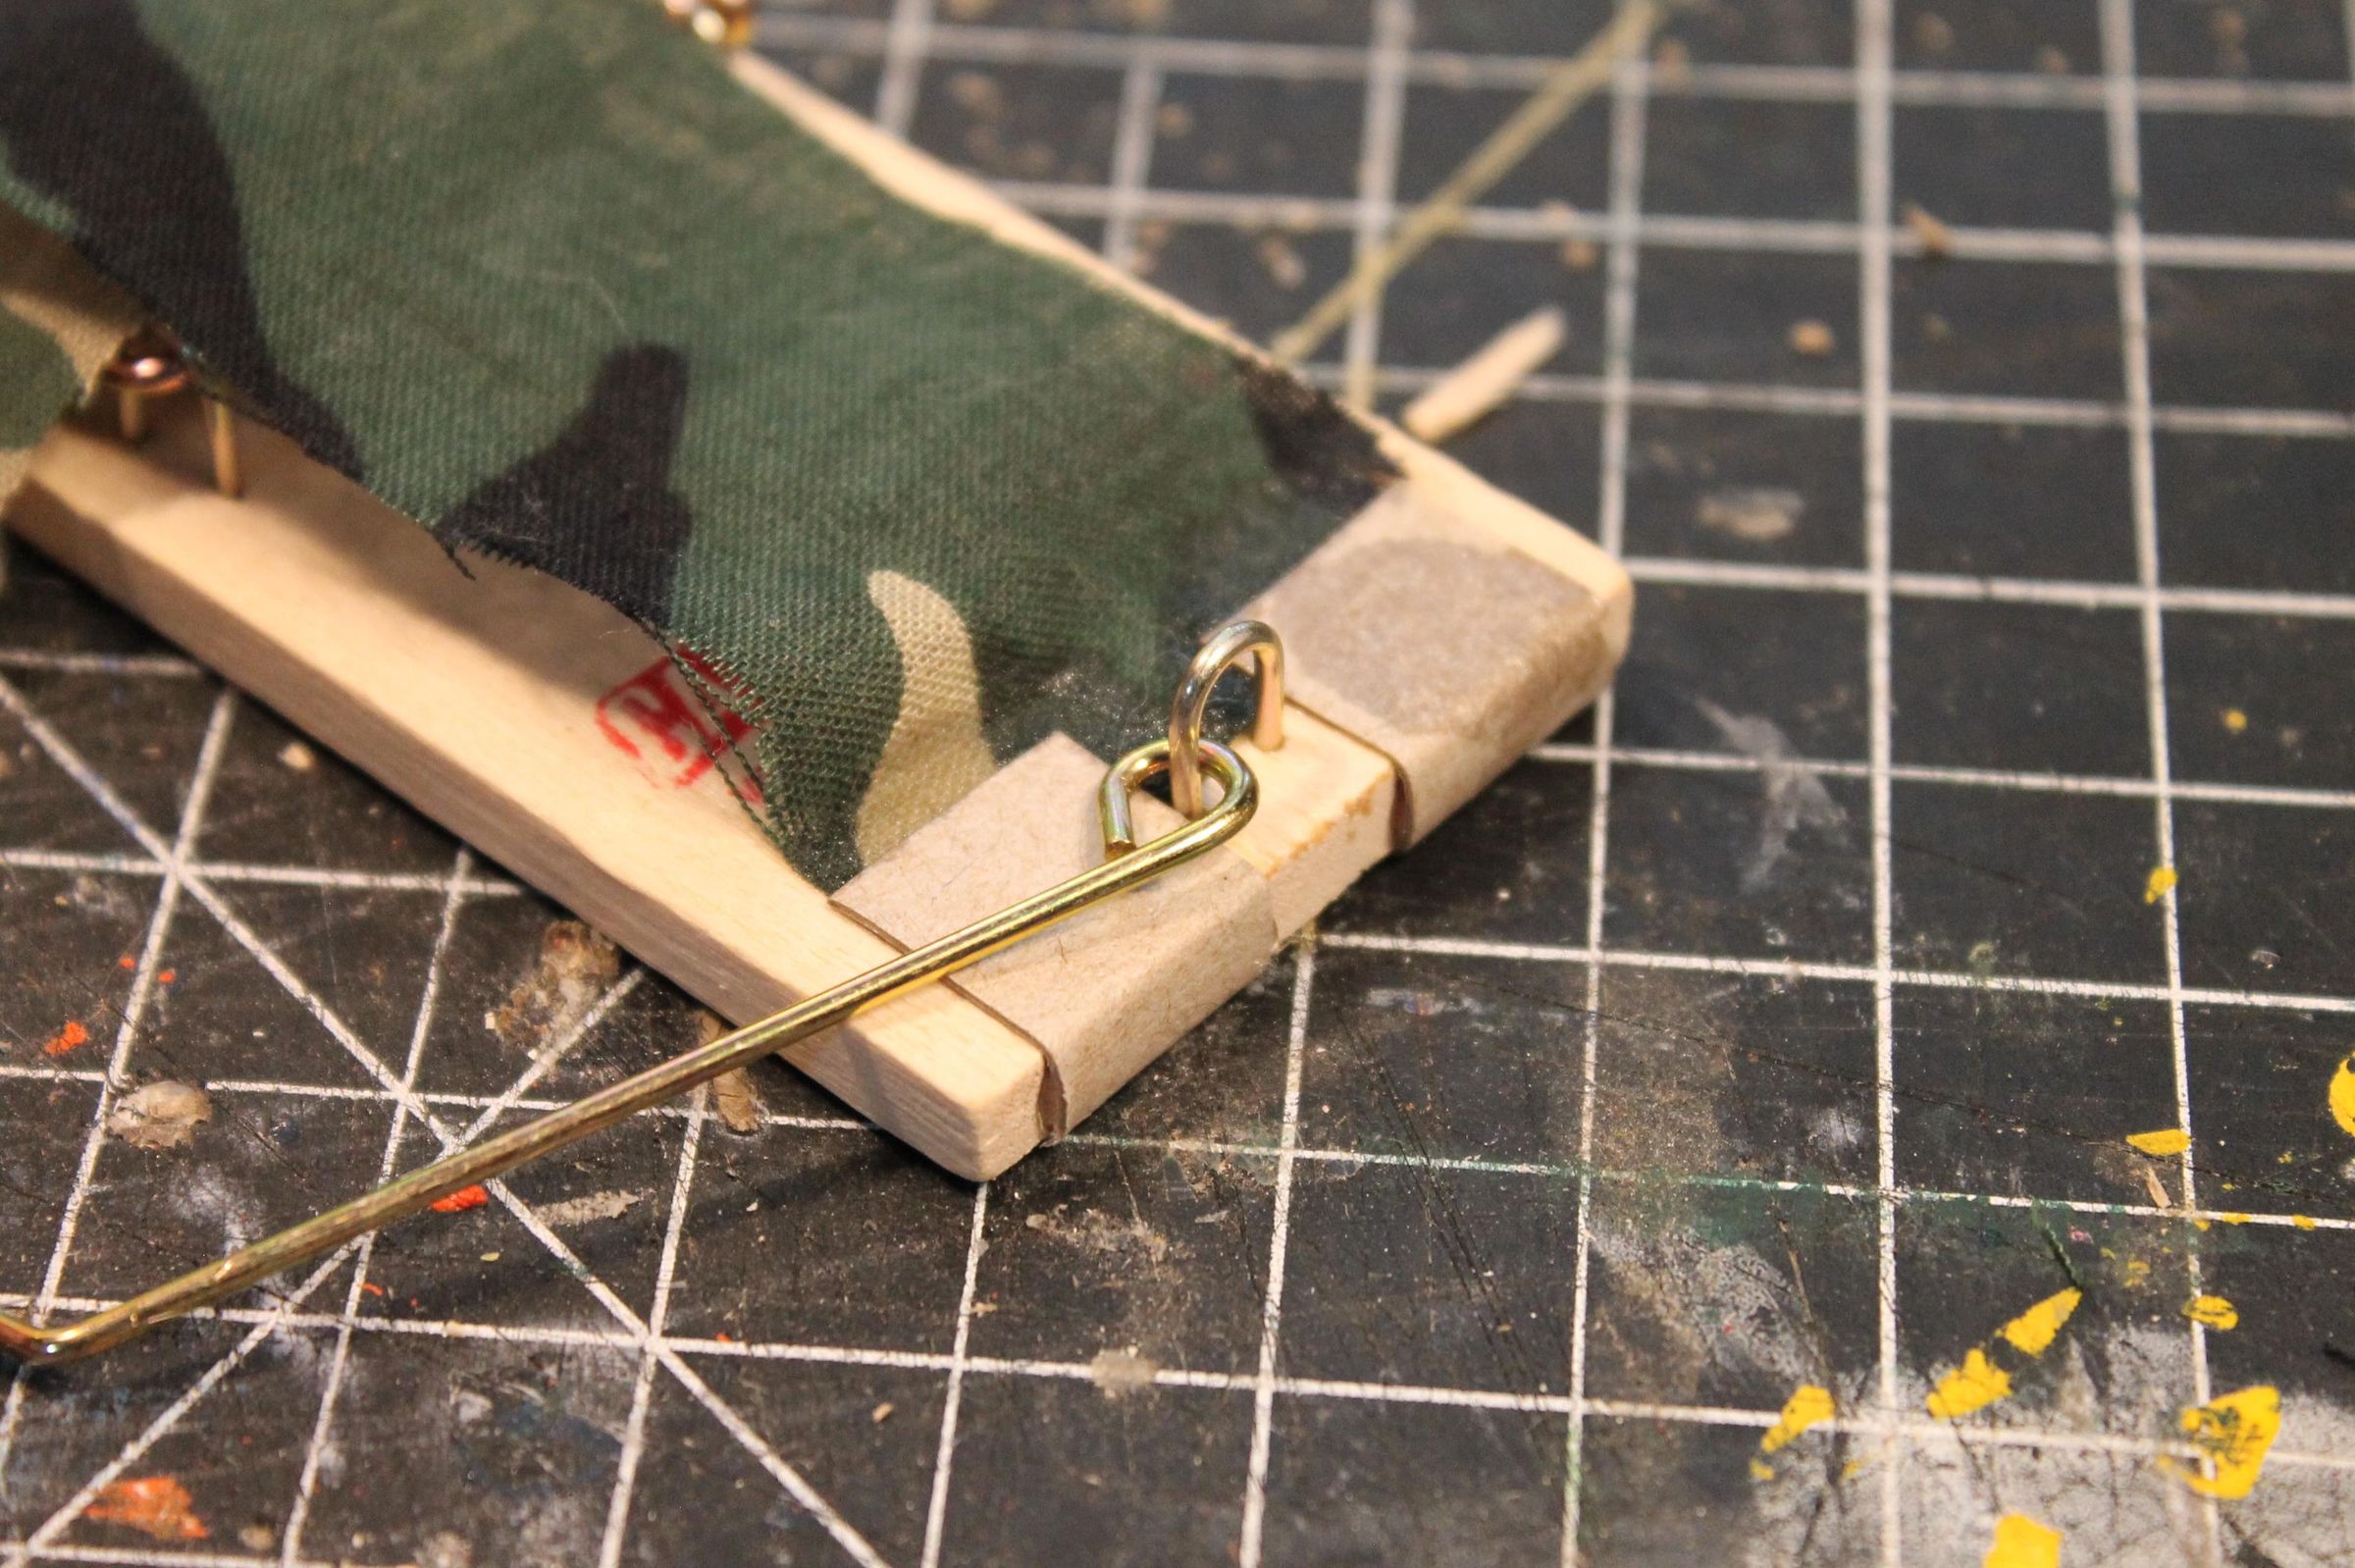
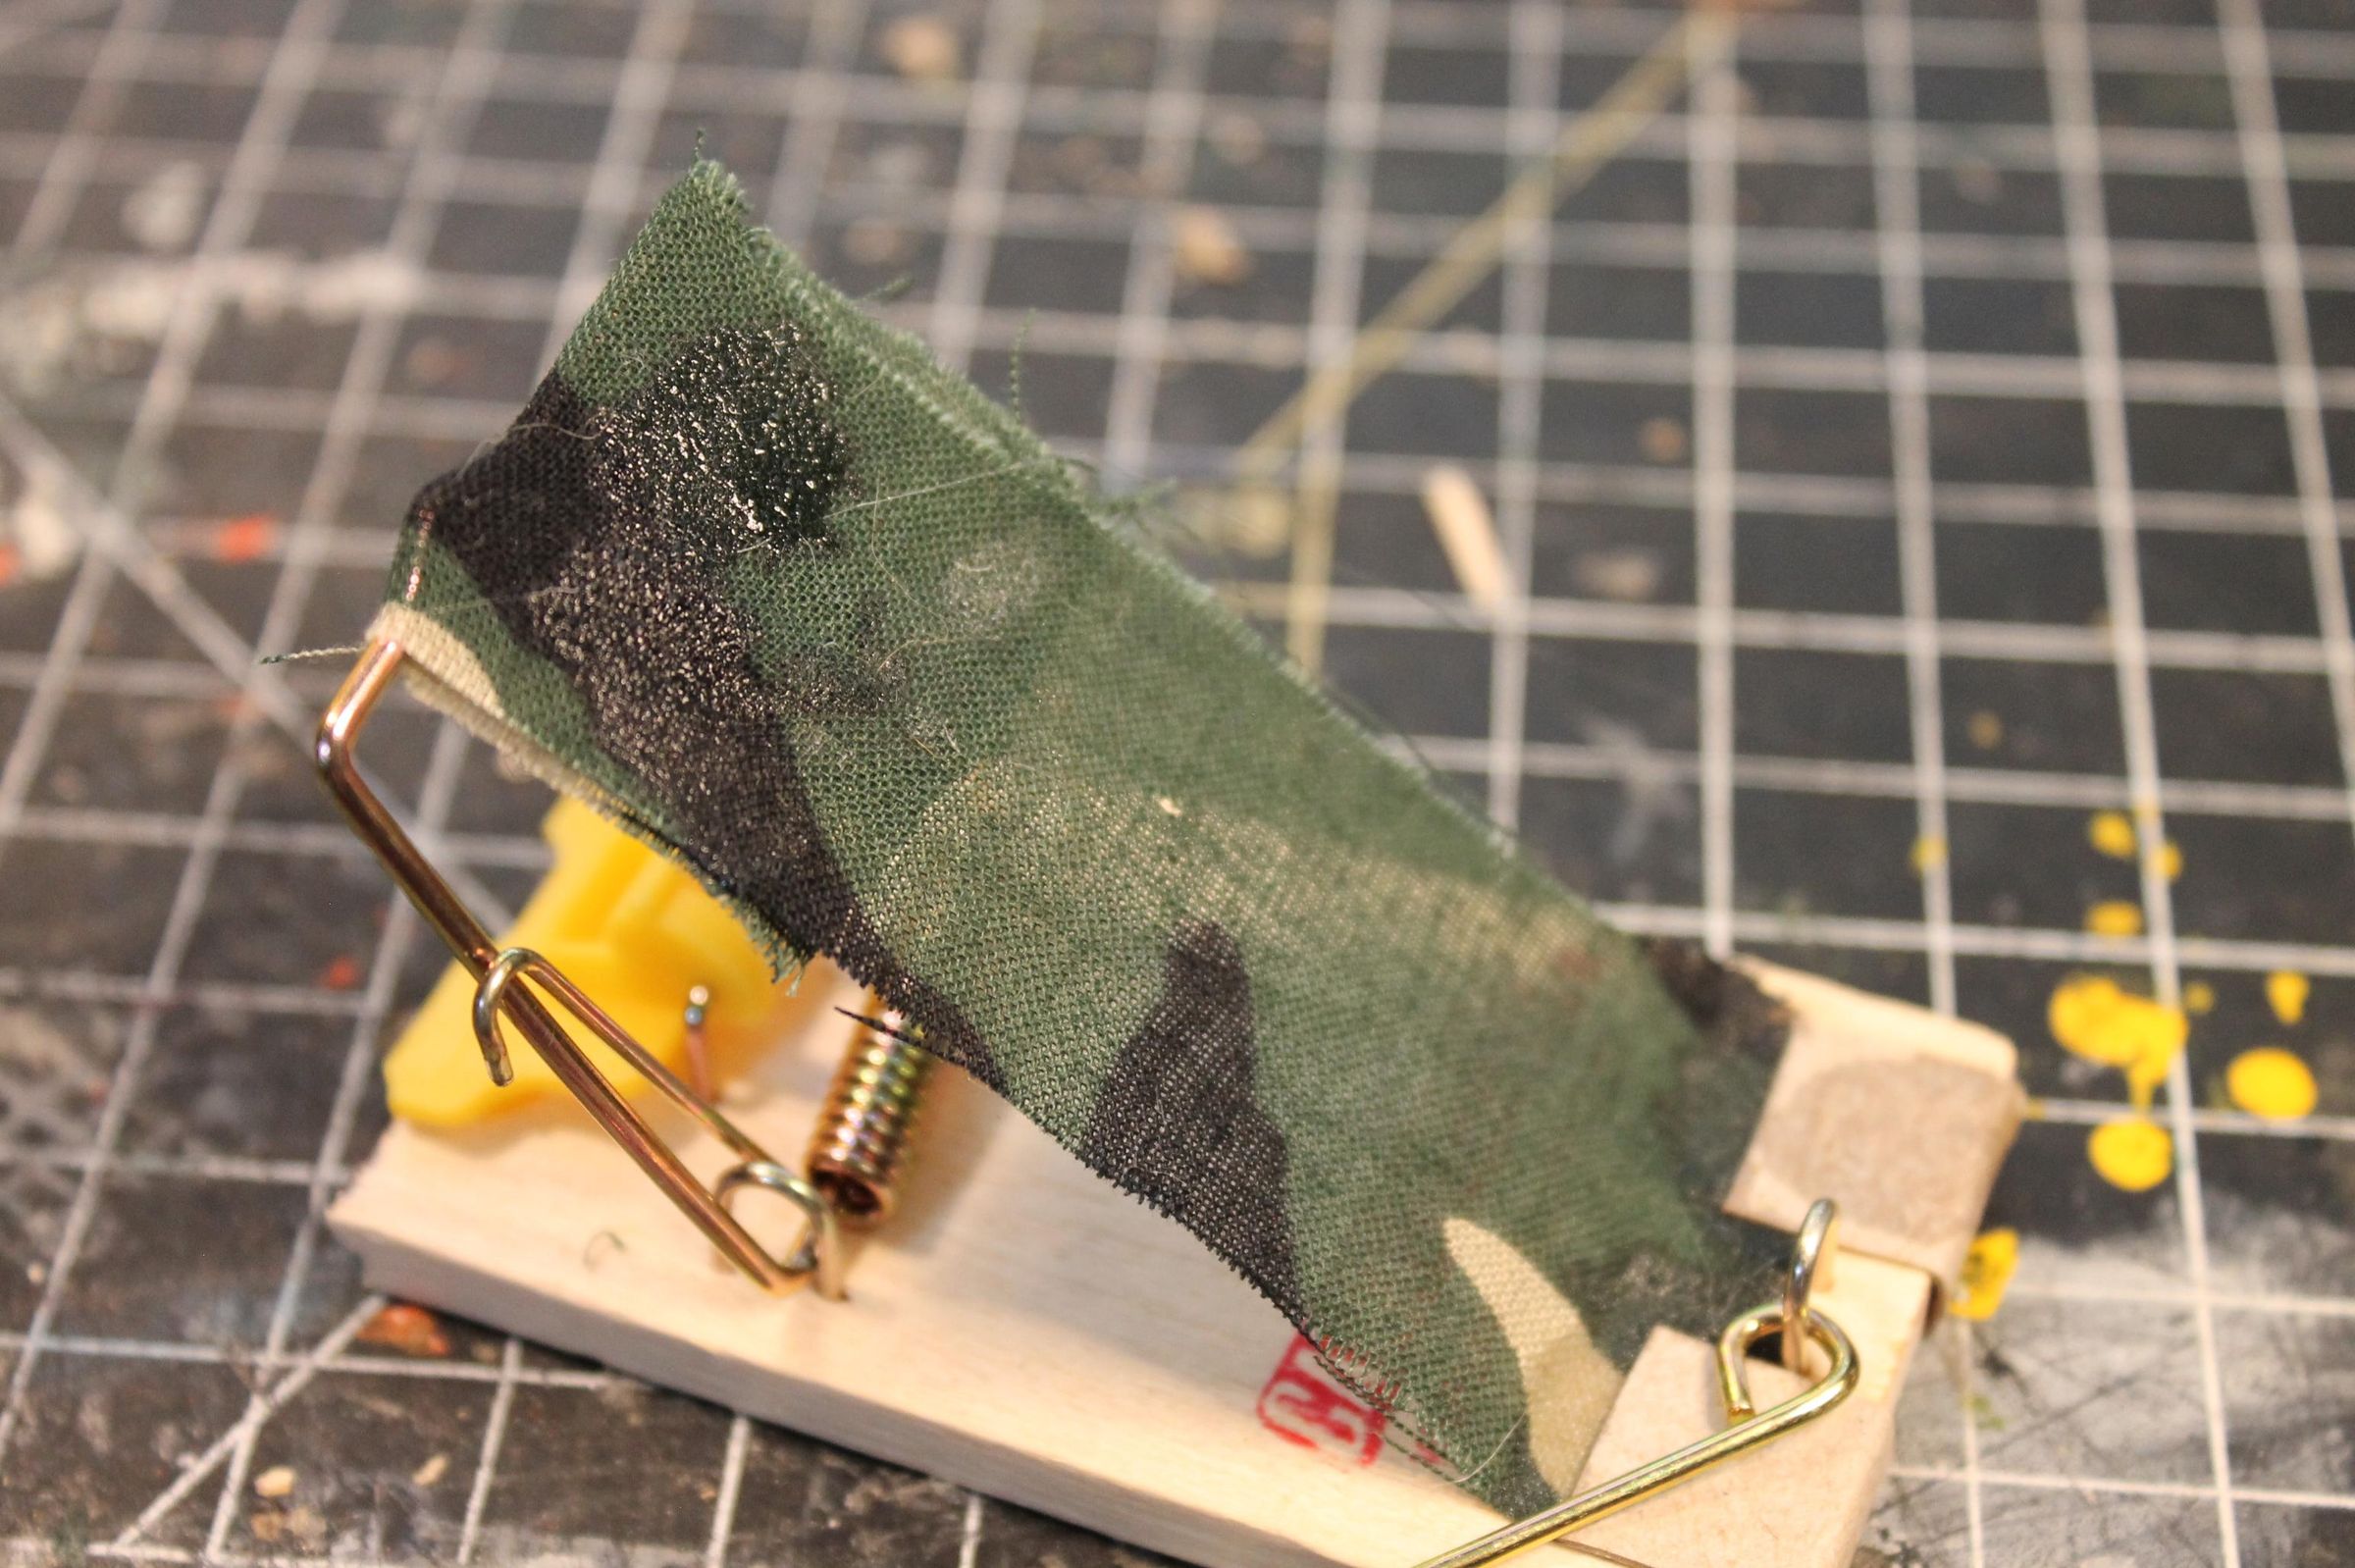
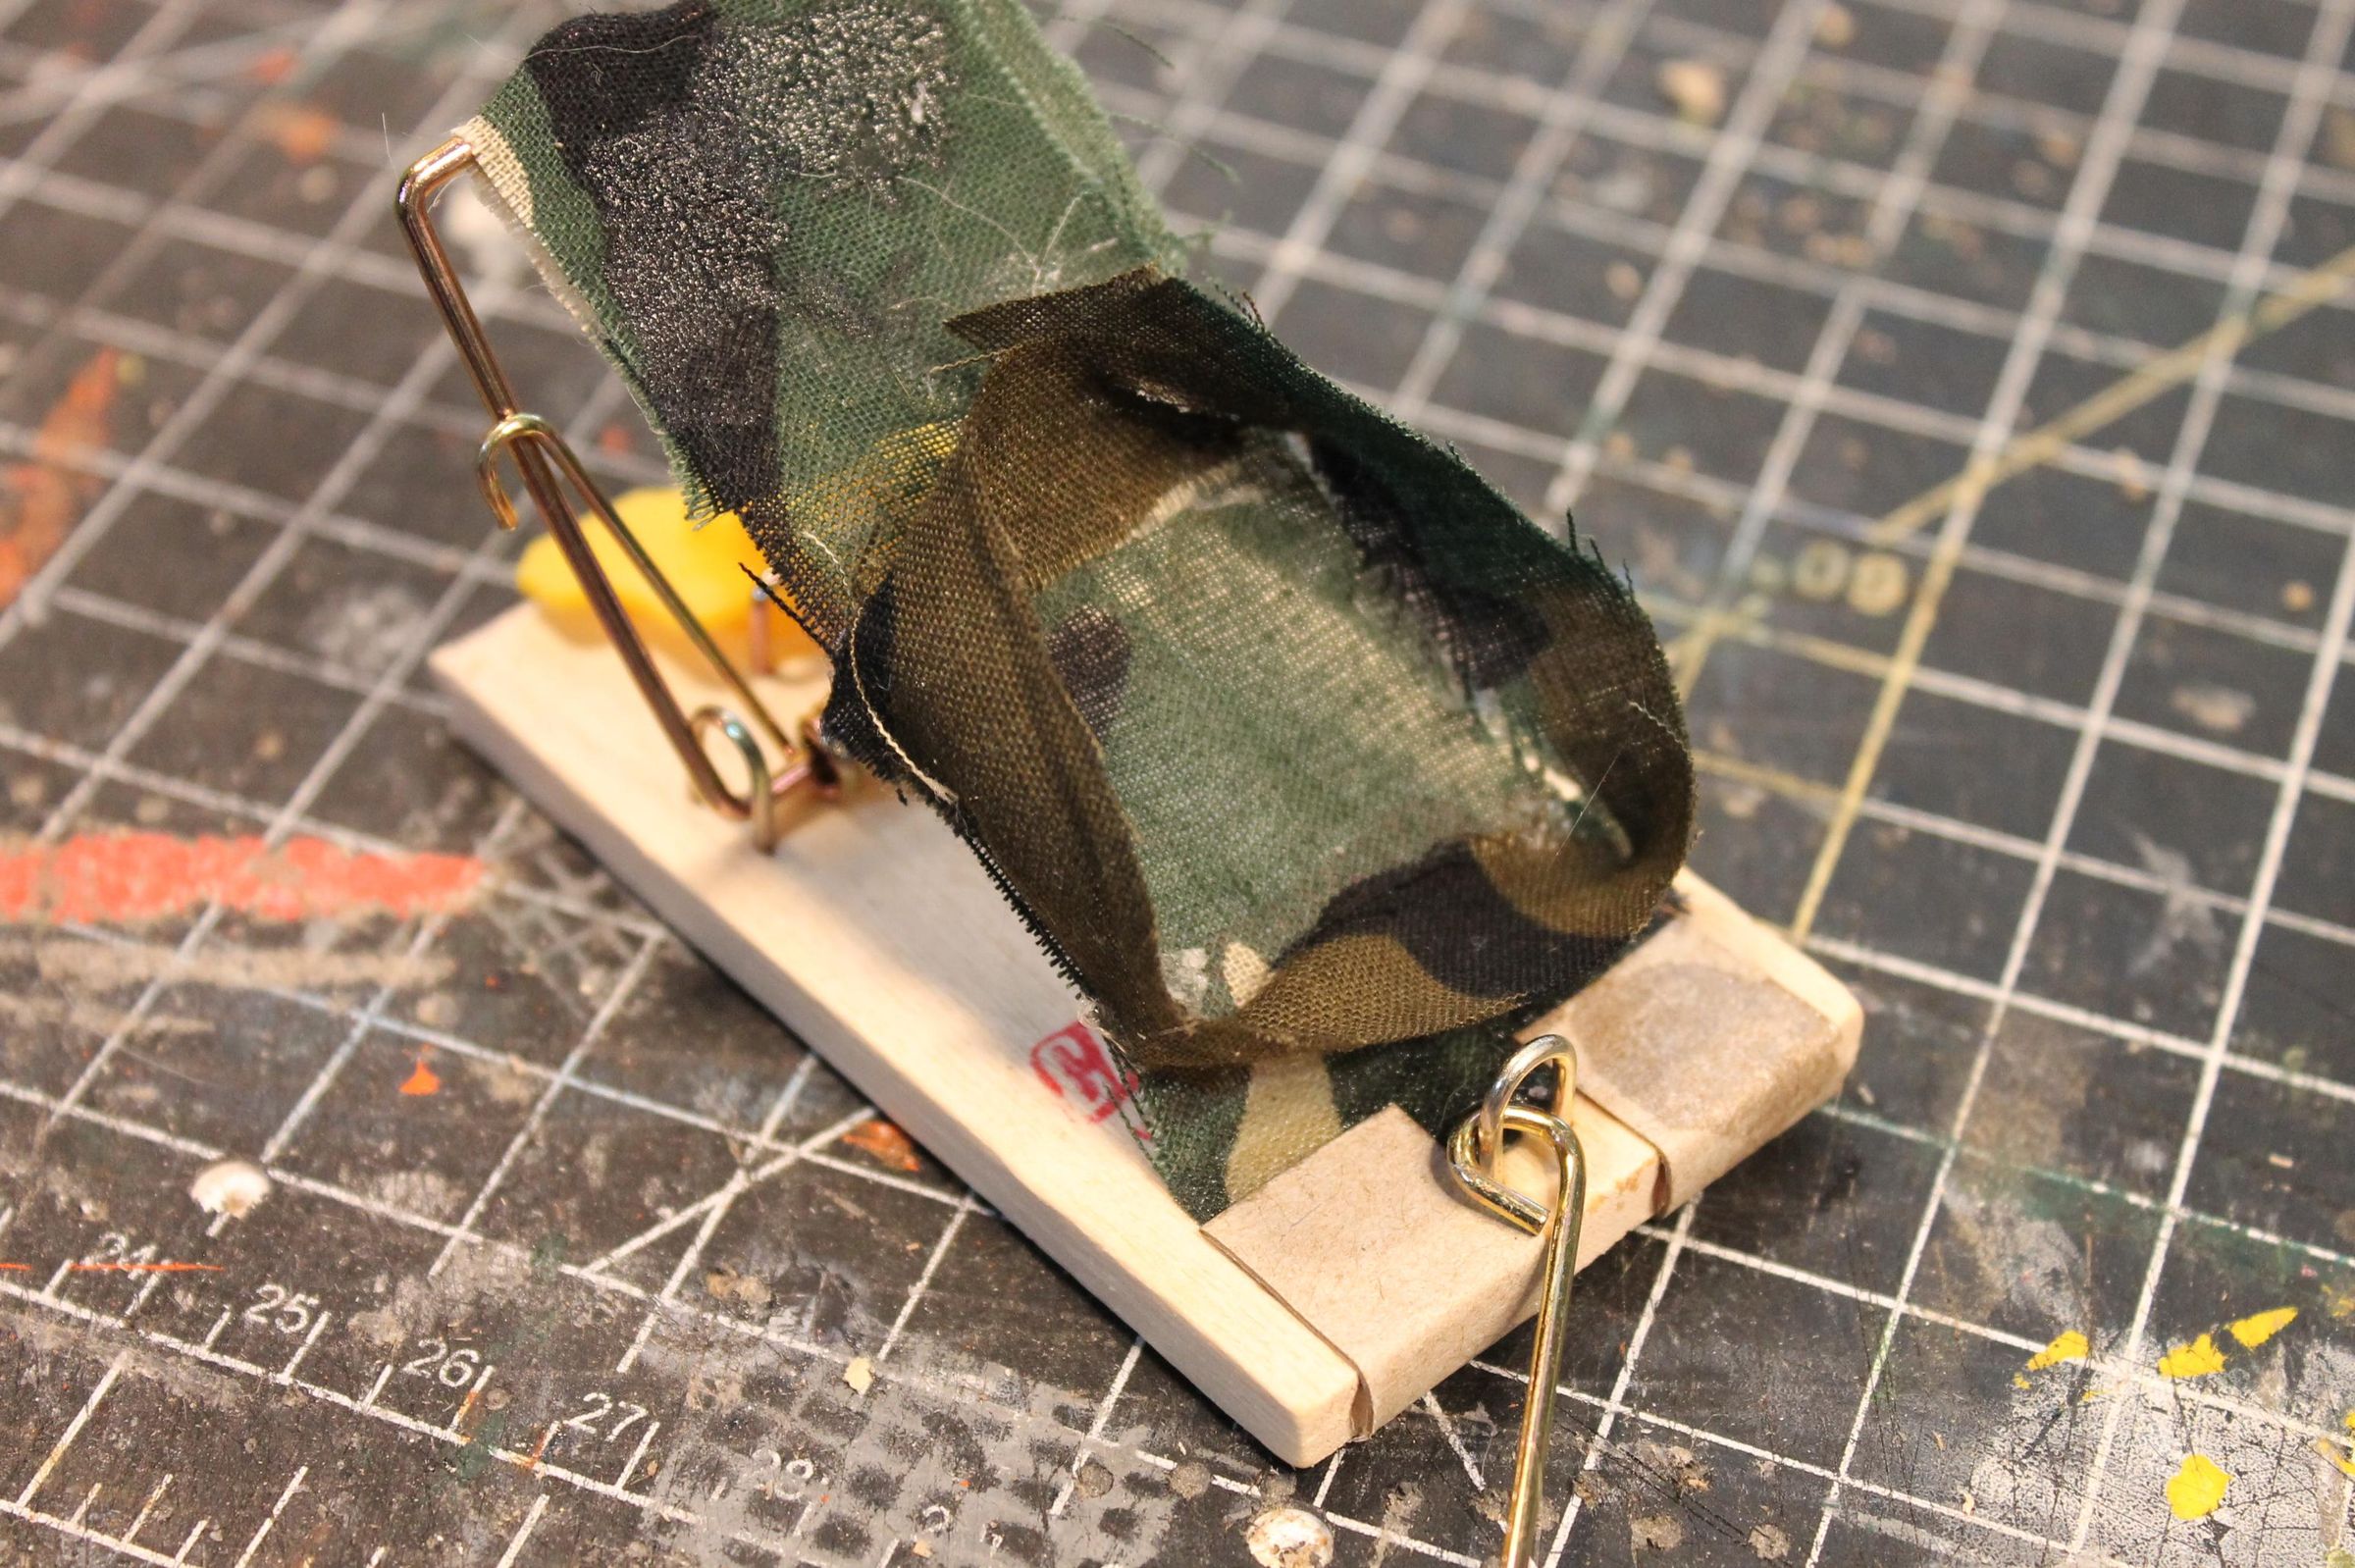
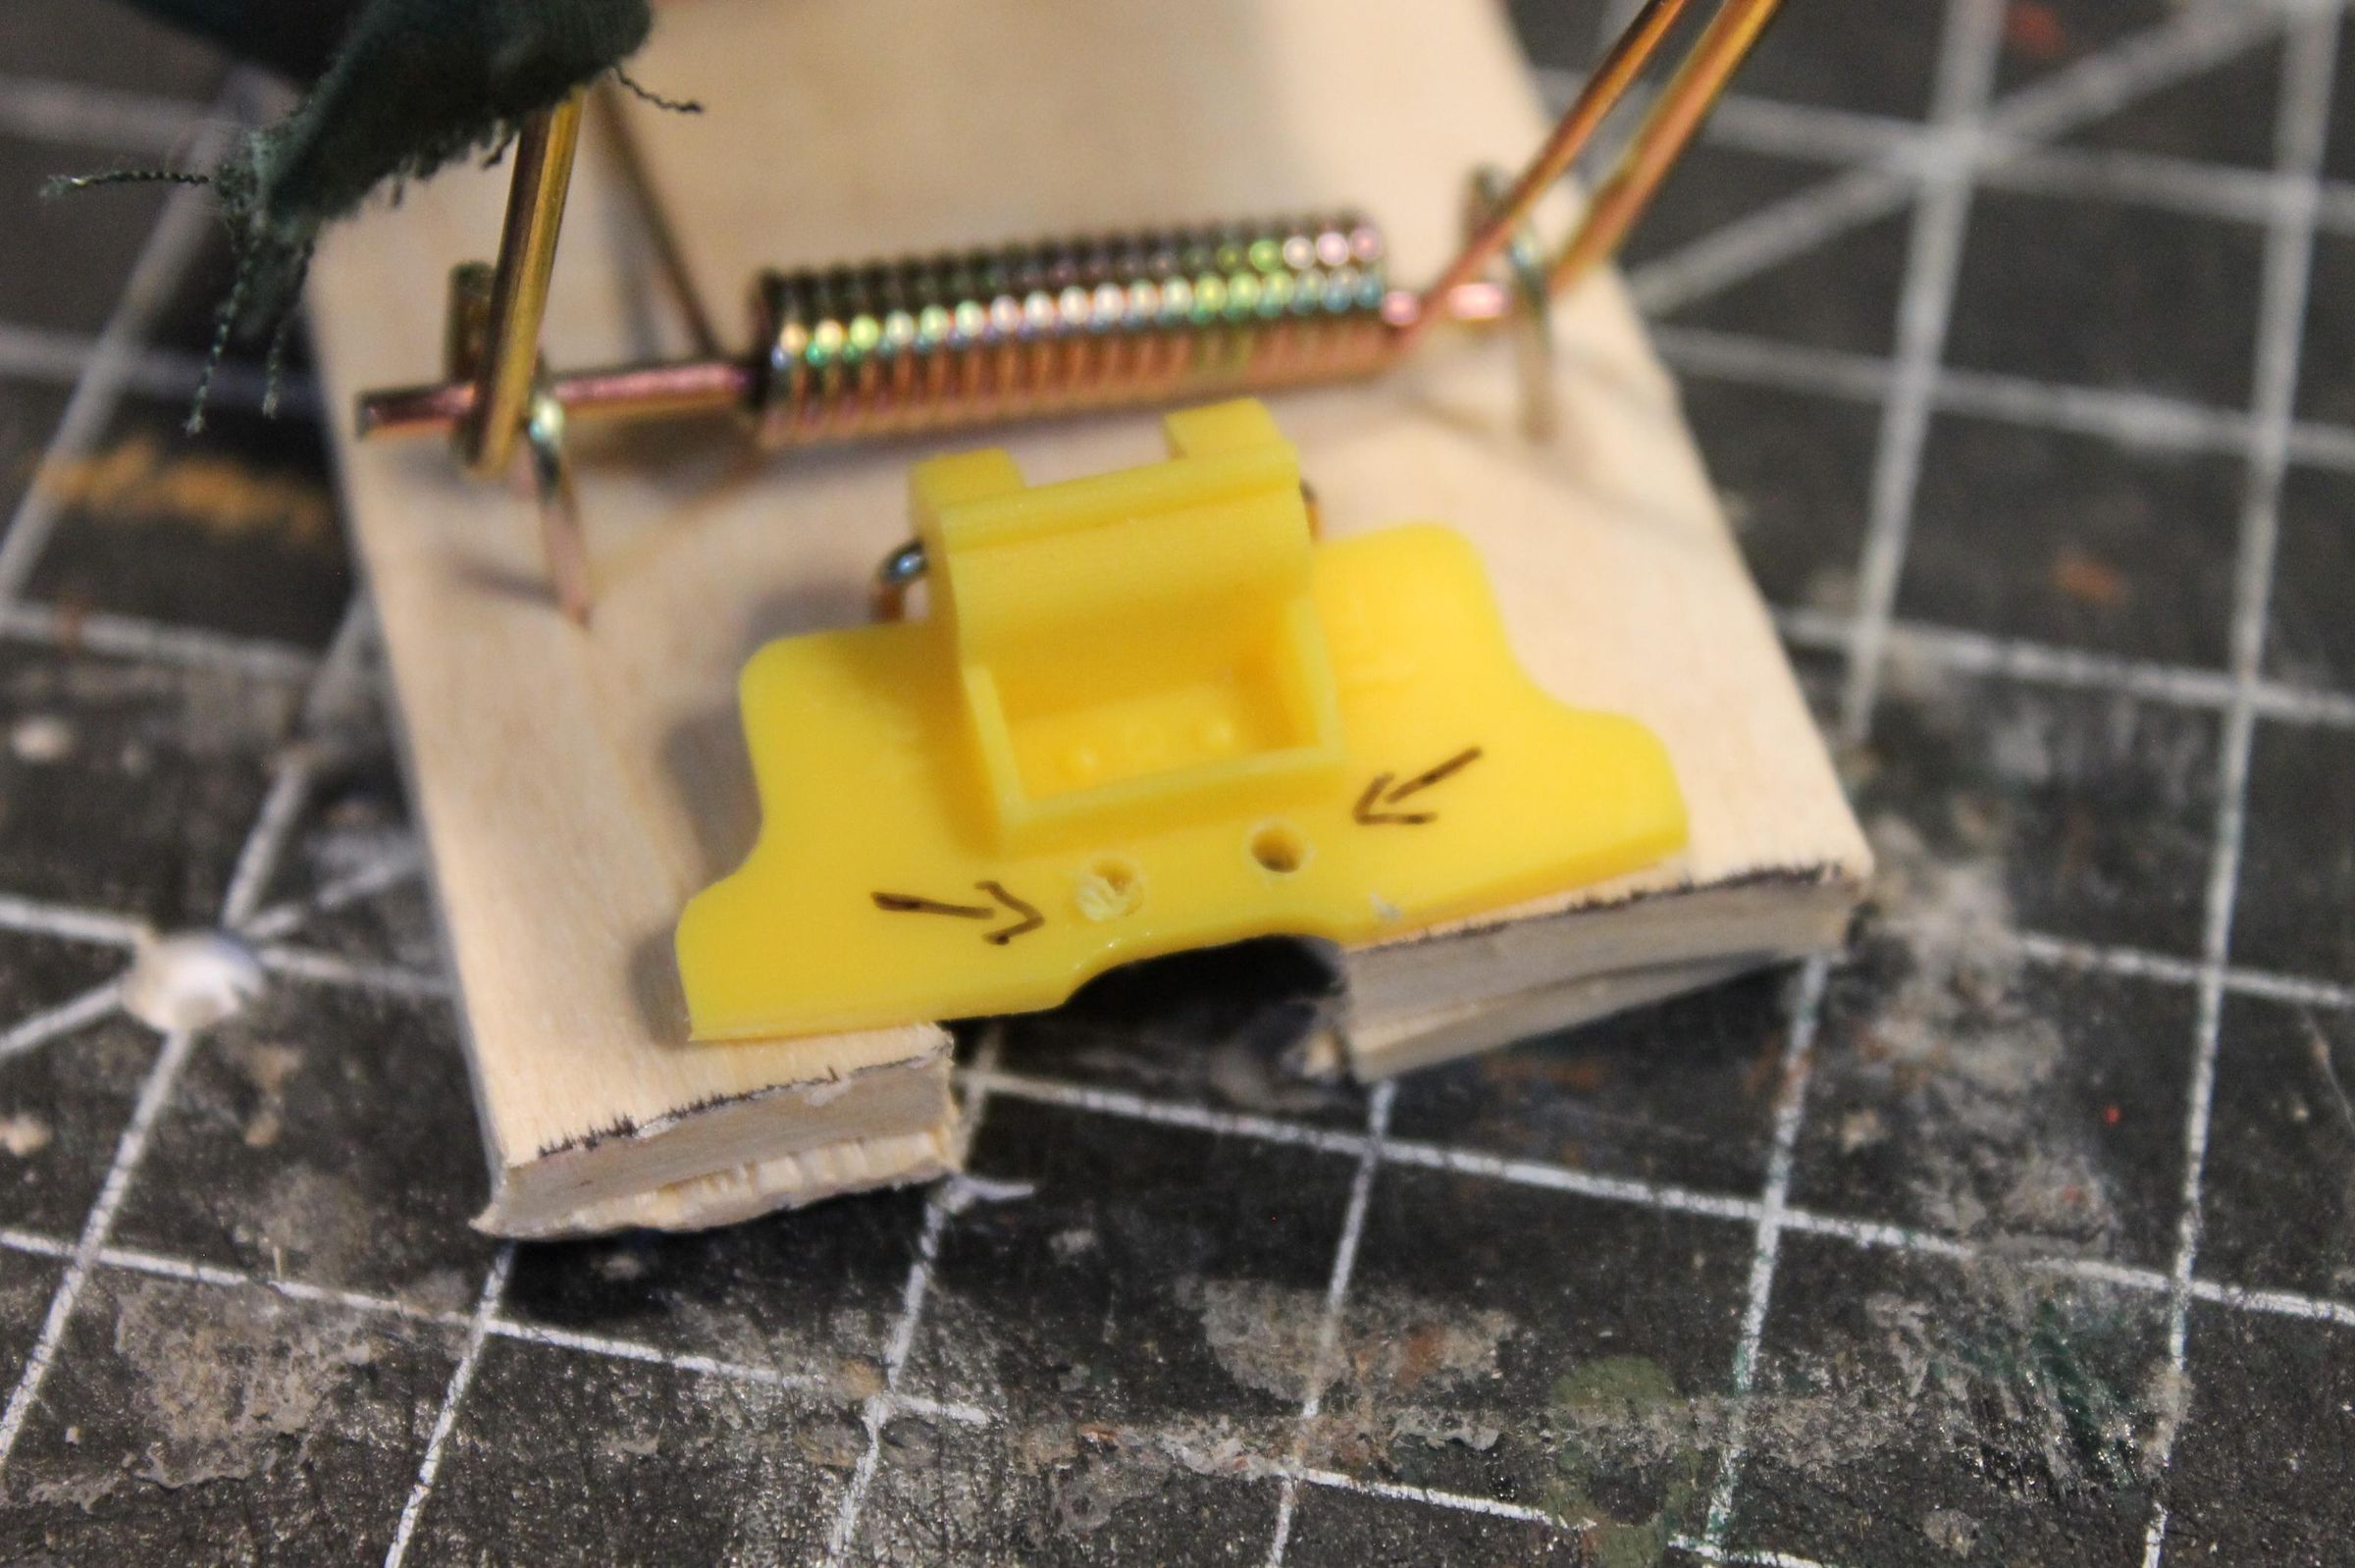
Take the mouse trap and mark off and cut 1/2 inch of the wood under the trigger. Take a pair of scissors and cut the plastic trigger so that it is even with the newly cut base. Next, use a pair of pliers to bend the spring that is in contact with the wood, so it is straight (this increases the power of the trap). then take a piece of fabric that is about 1 1/4 inch wide and glue one side beneath the bar that holds the trap down (use cardboard or cereal box to reinforce the fabric). Add hot glue to the top side to make a flap that keeps the trap from fully closing. Take a thin strip of fabric and glue it down onto the main piece to make a holding area for the BBs. Using a hobby knife, cut a small chunk of wood out from underneath the trigger. Then use a drill to drill two small holes (for tying a trip wire).
Main Body
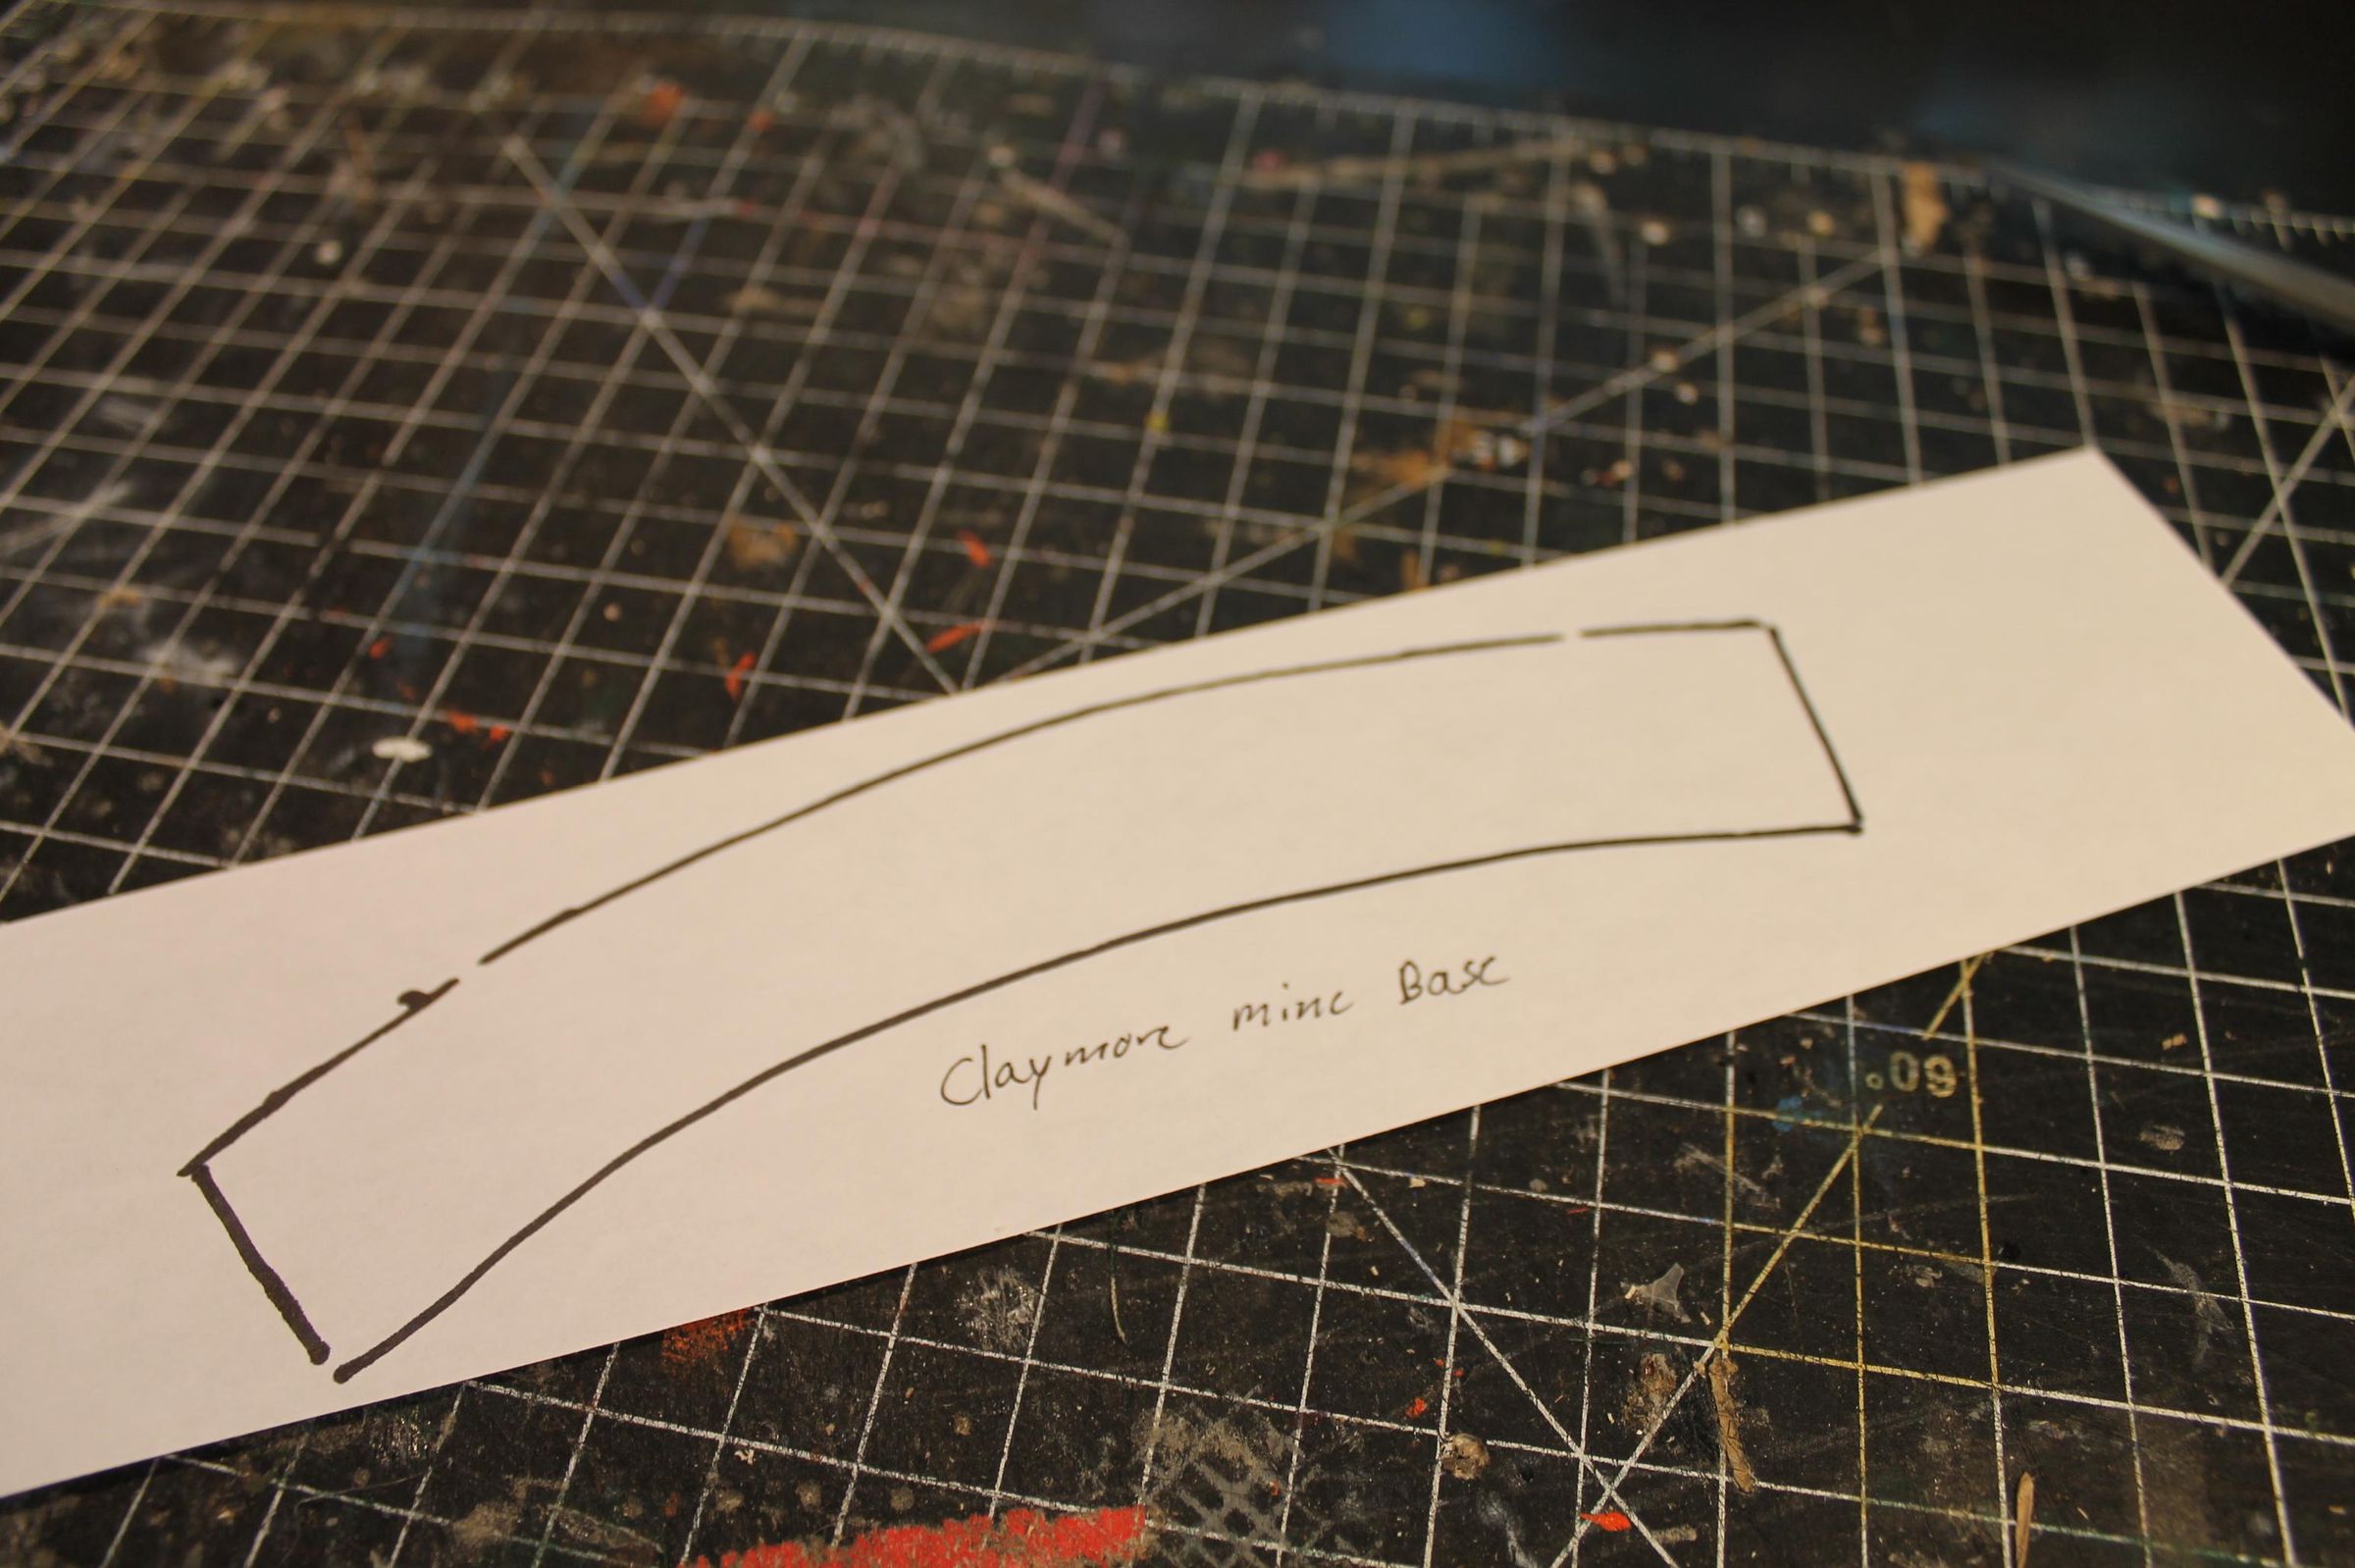
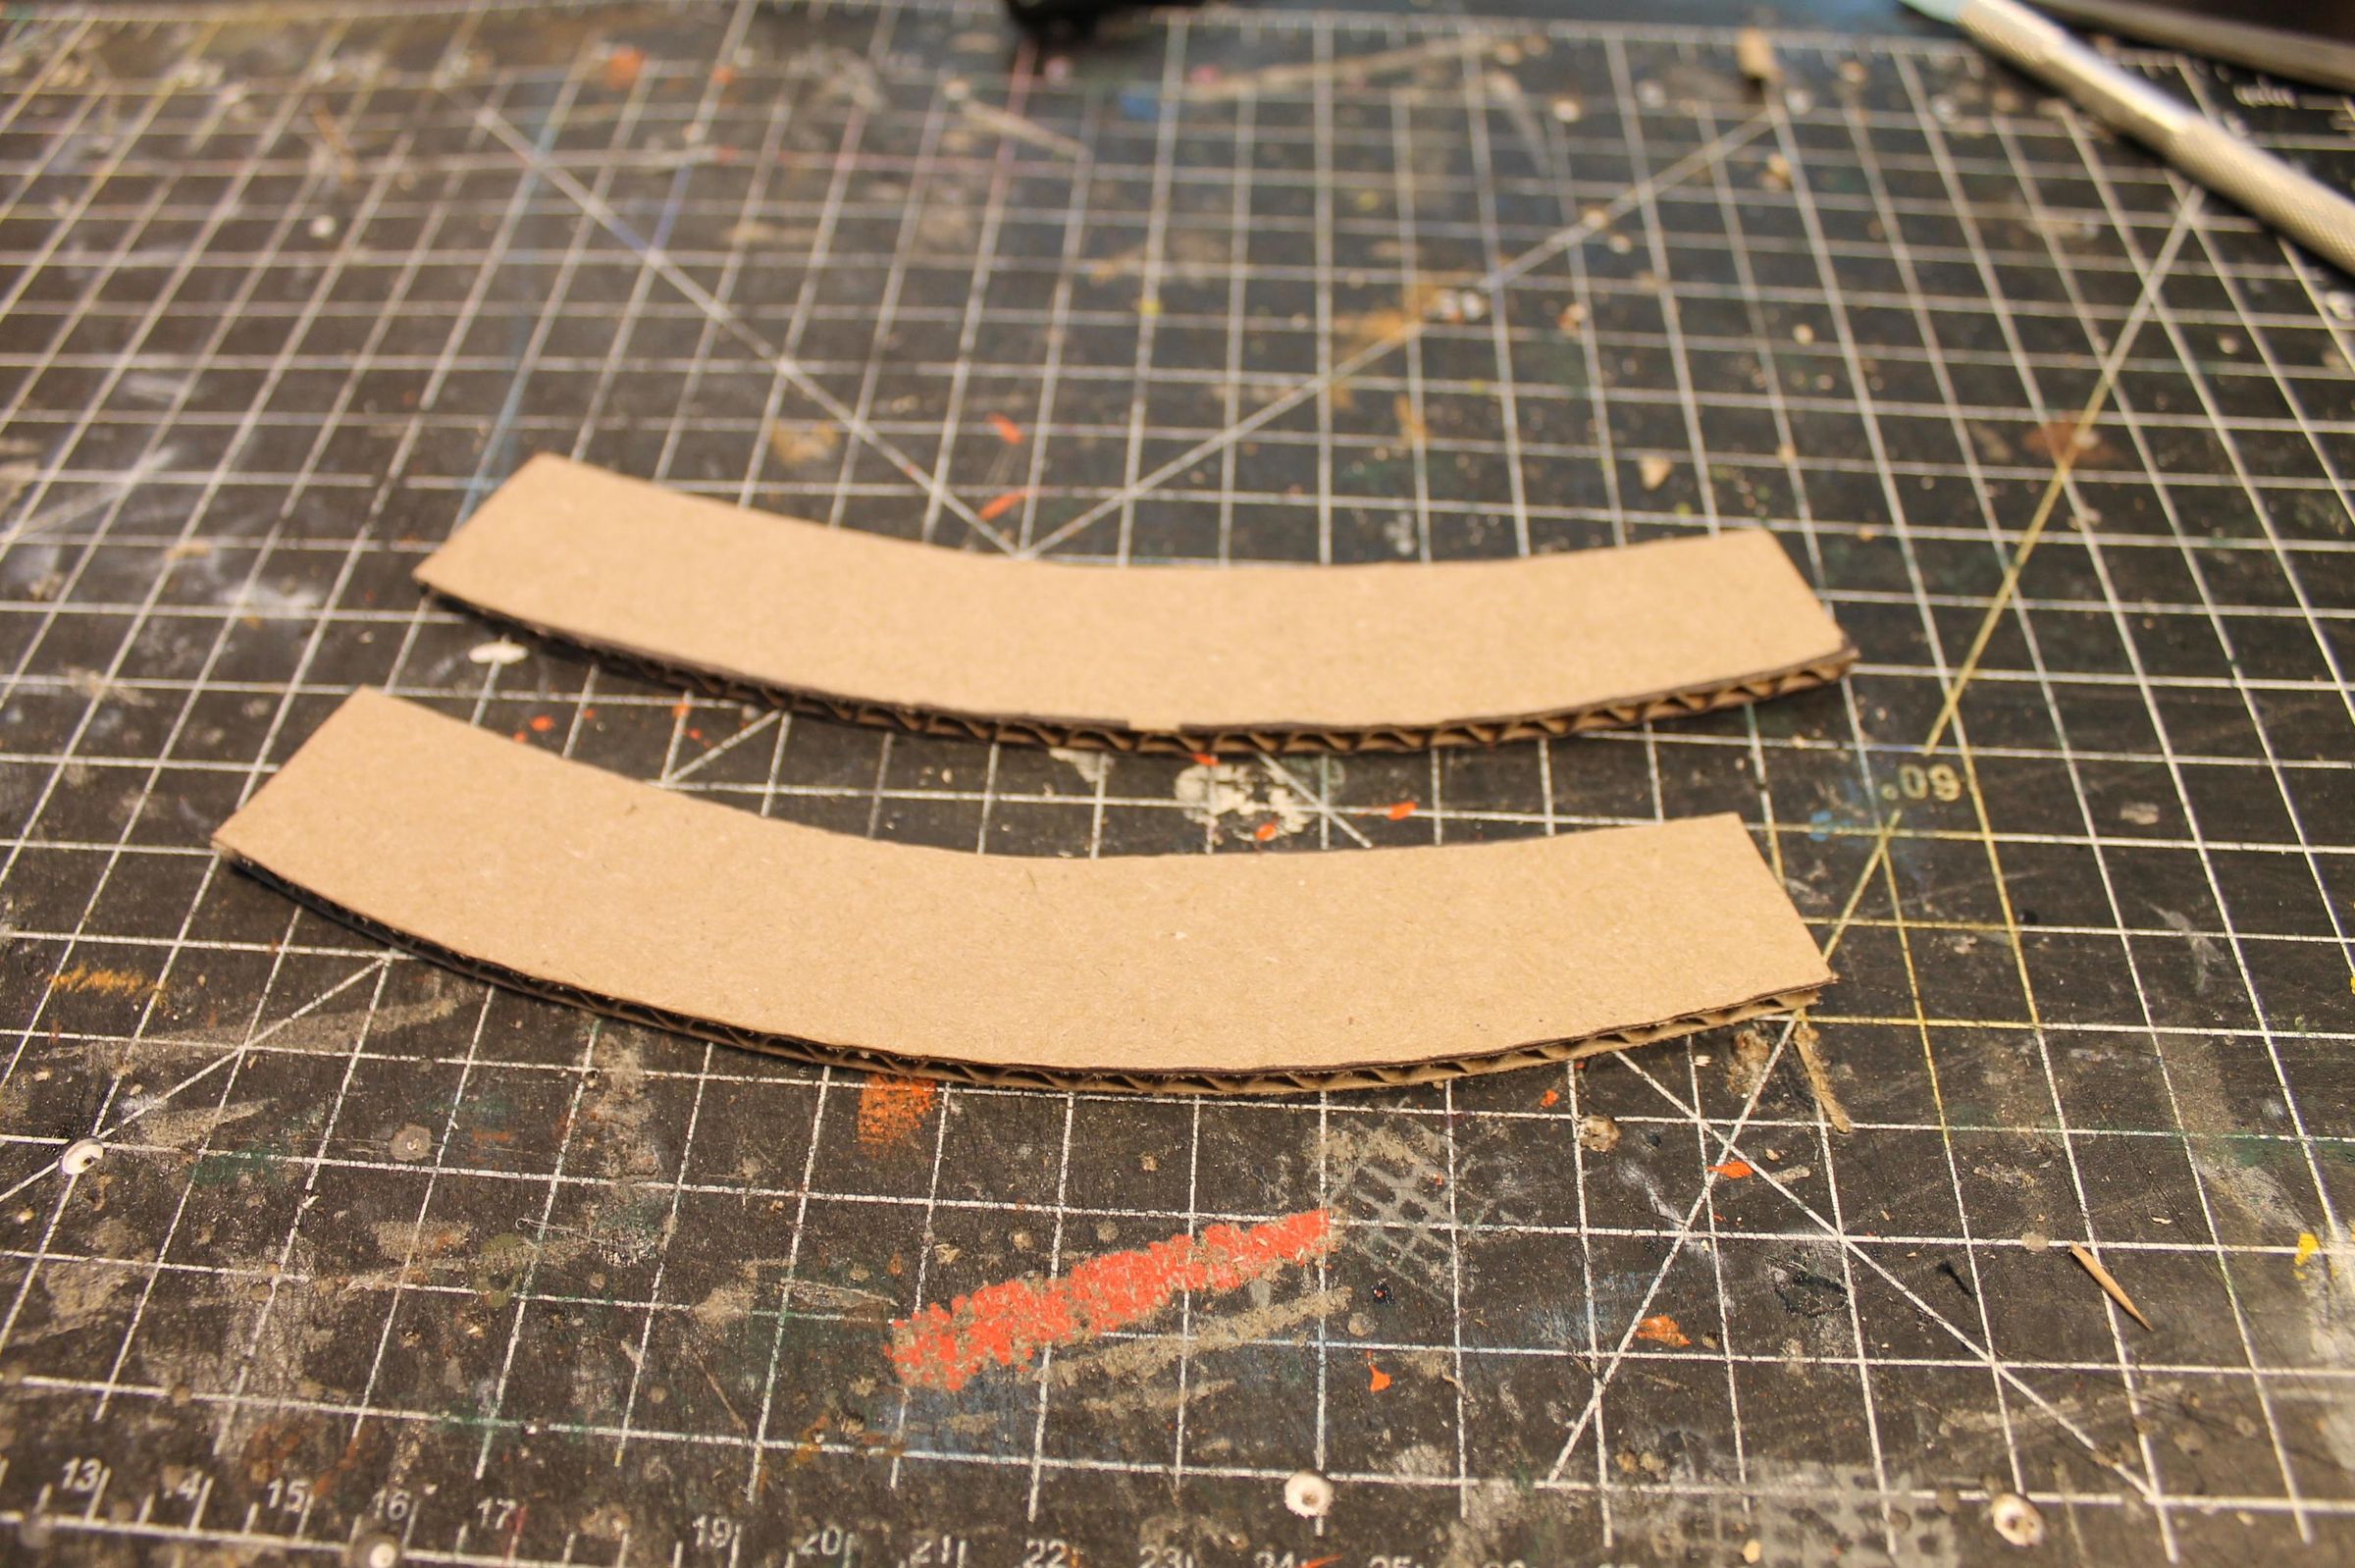
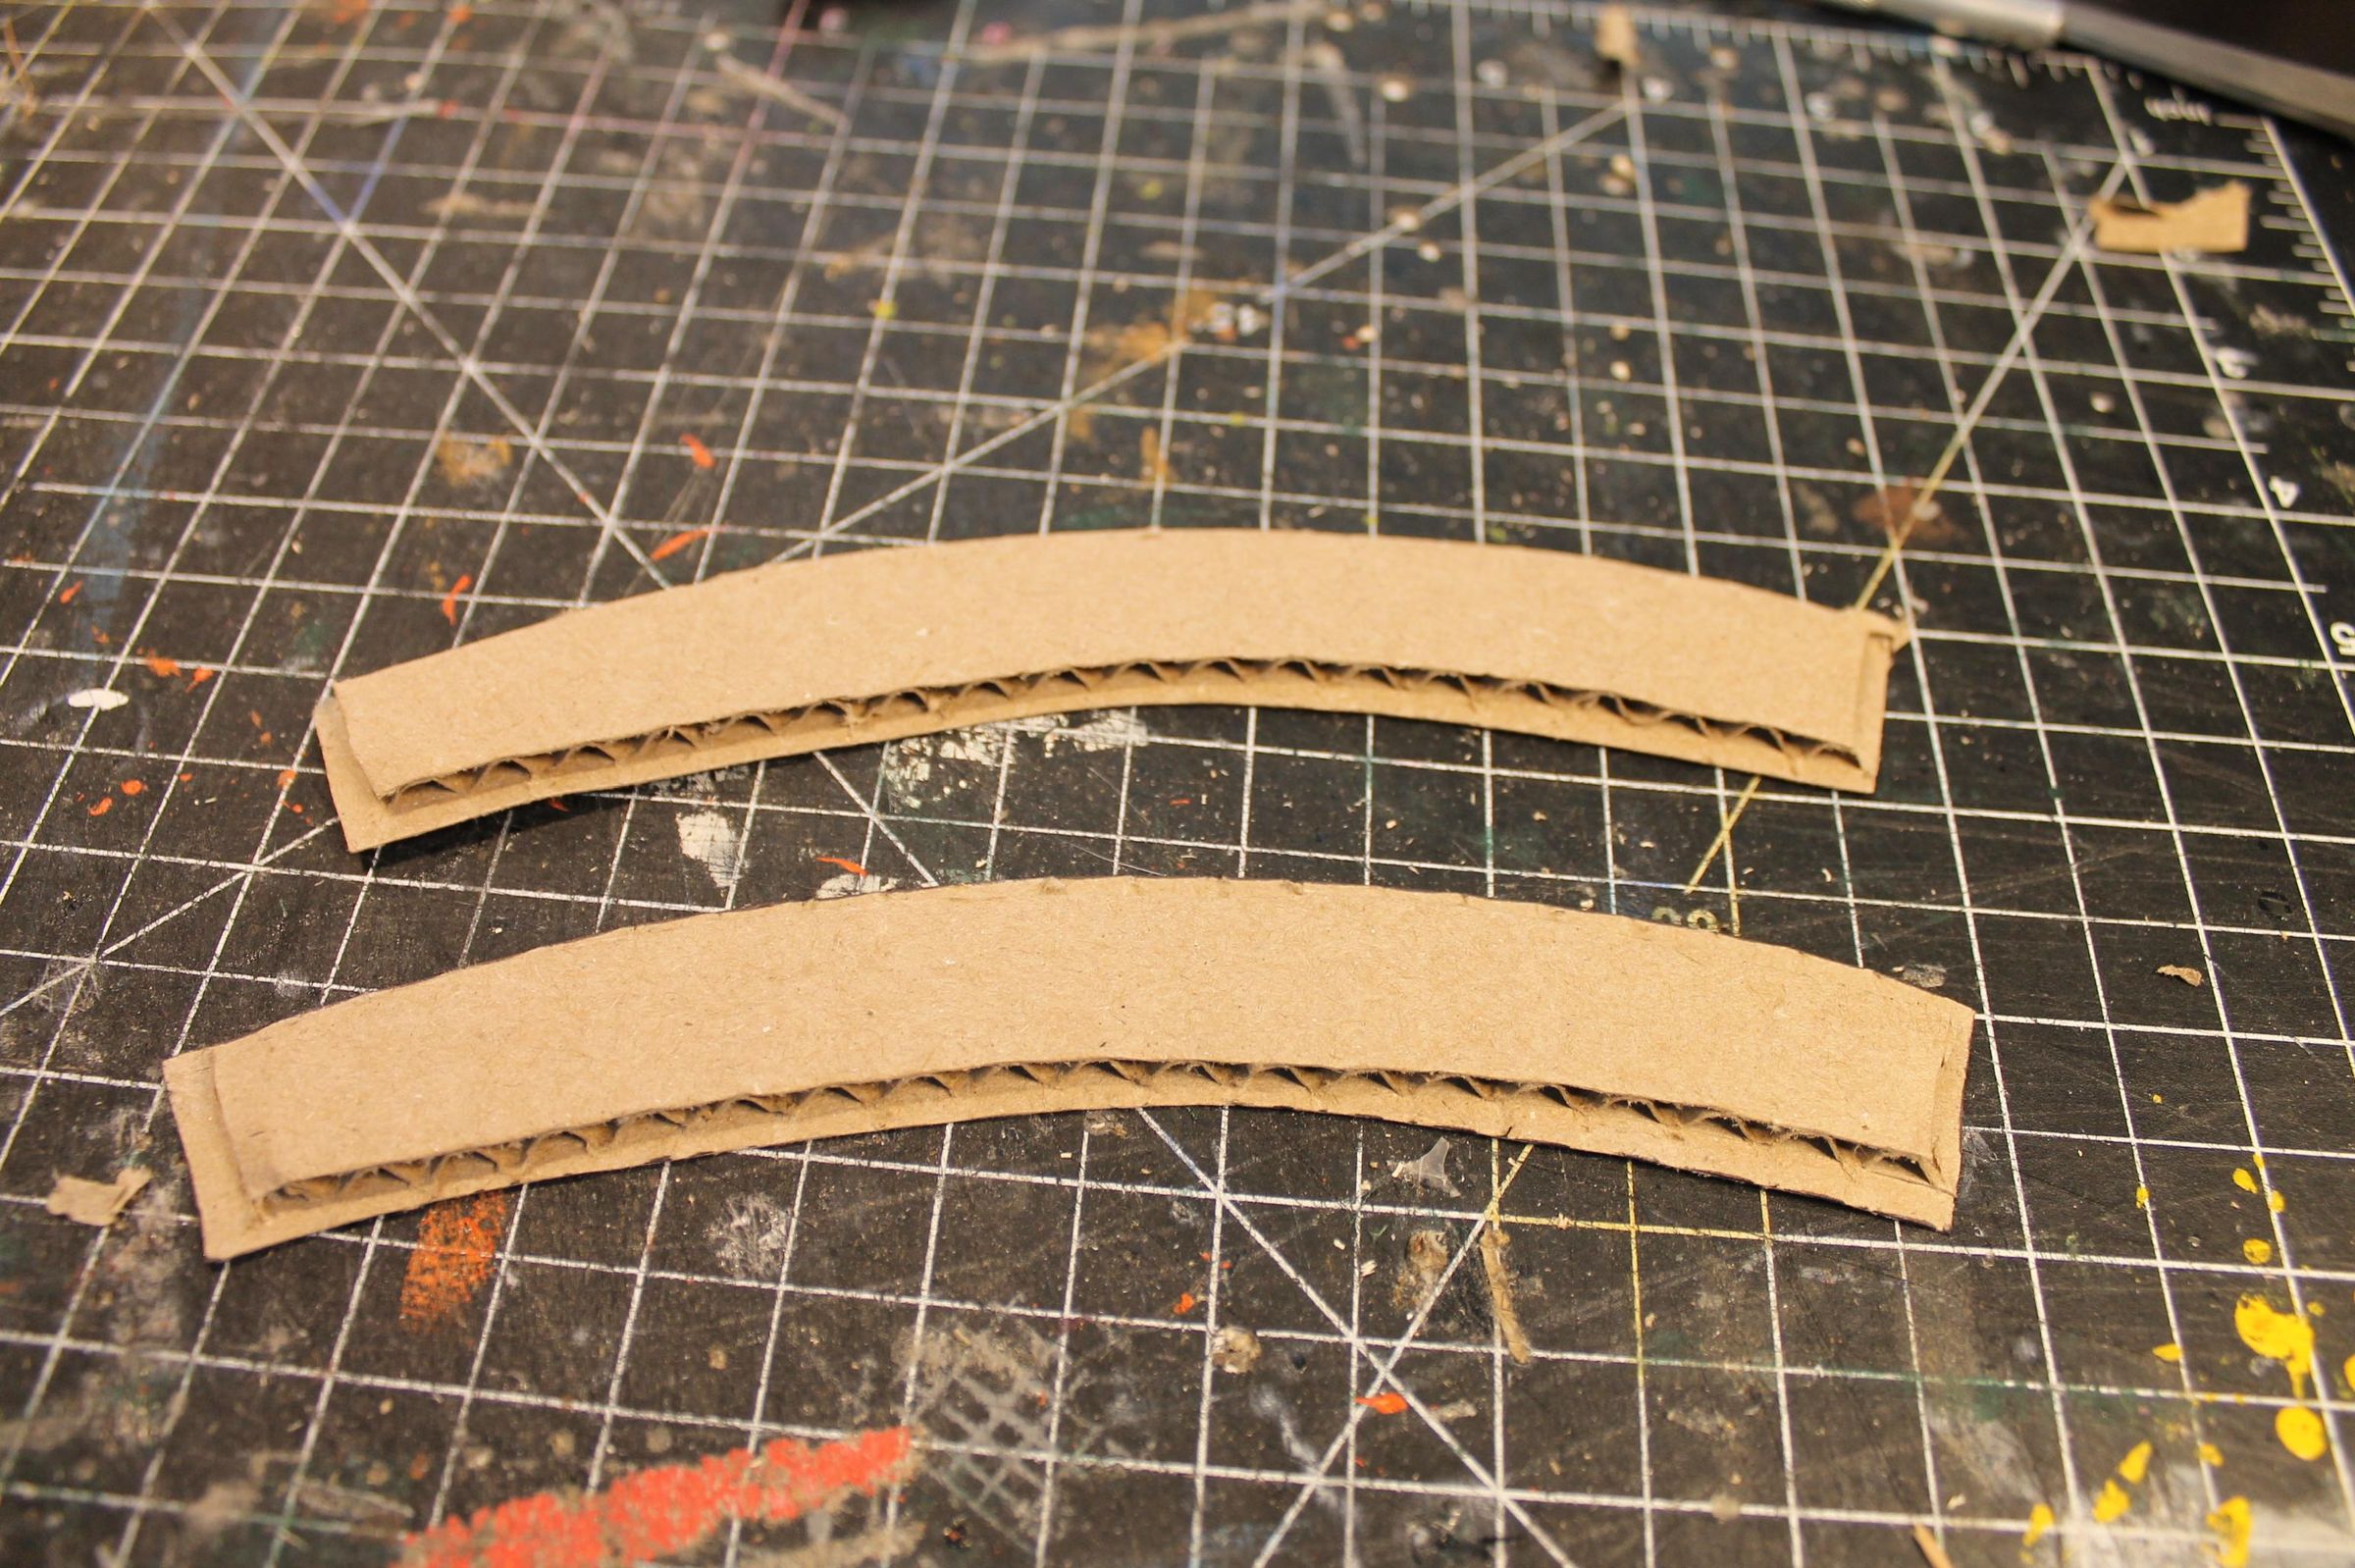
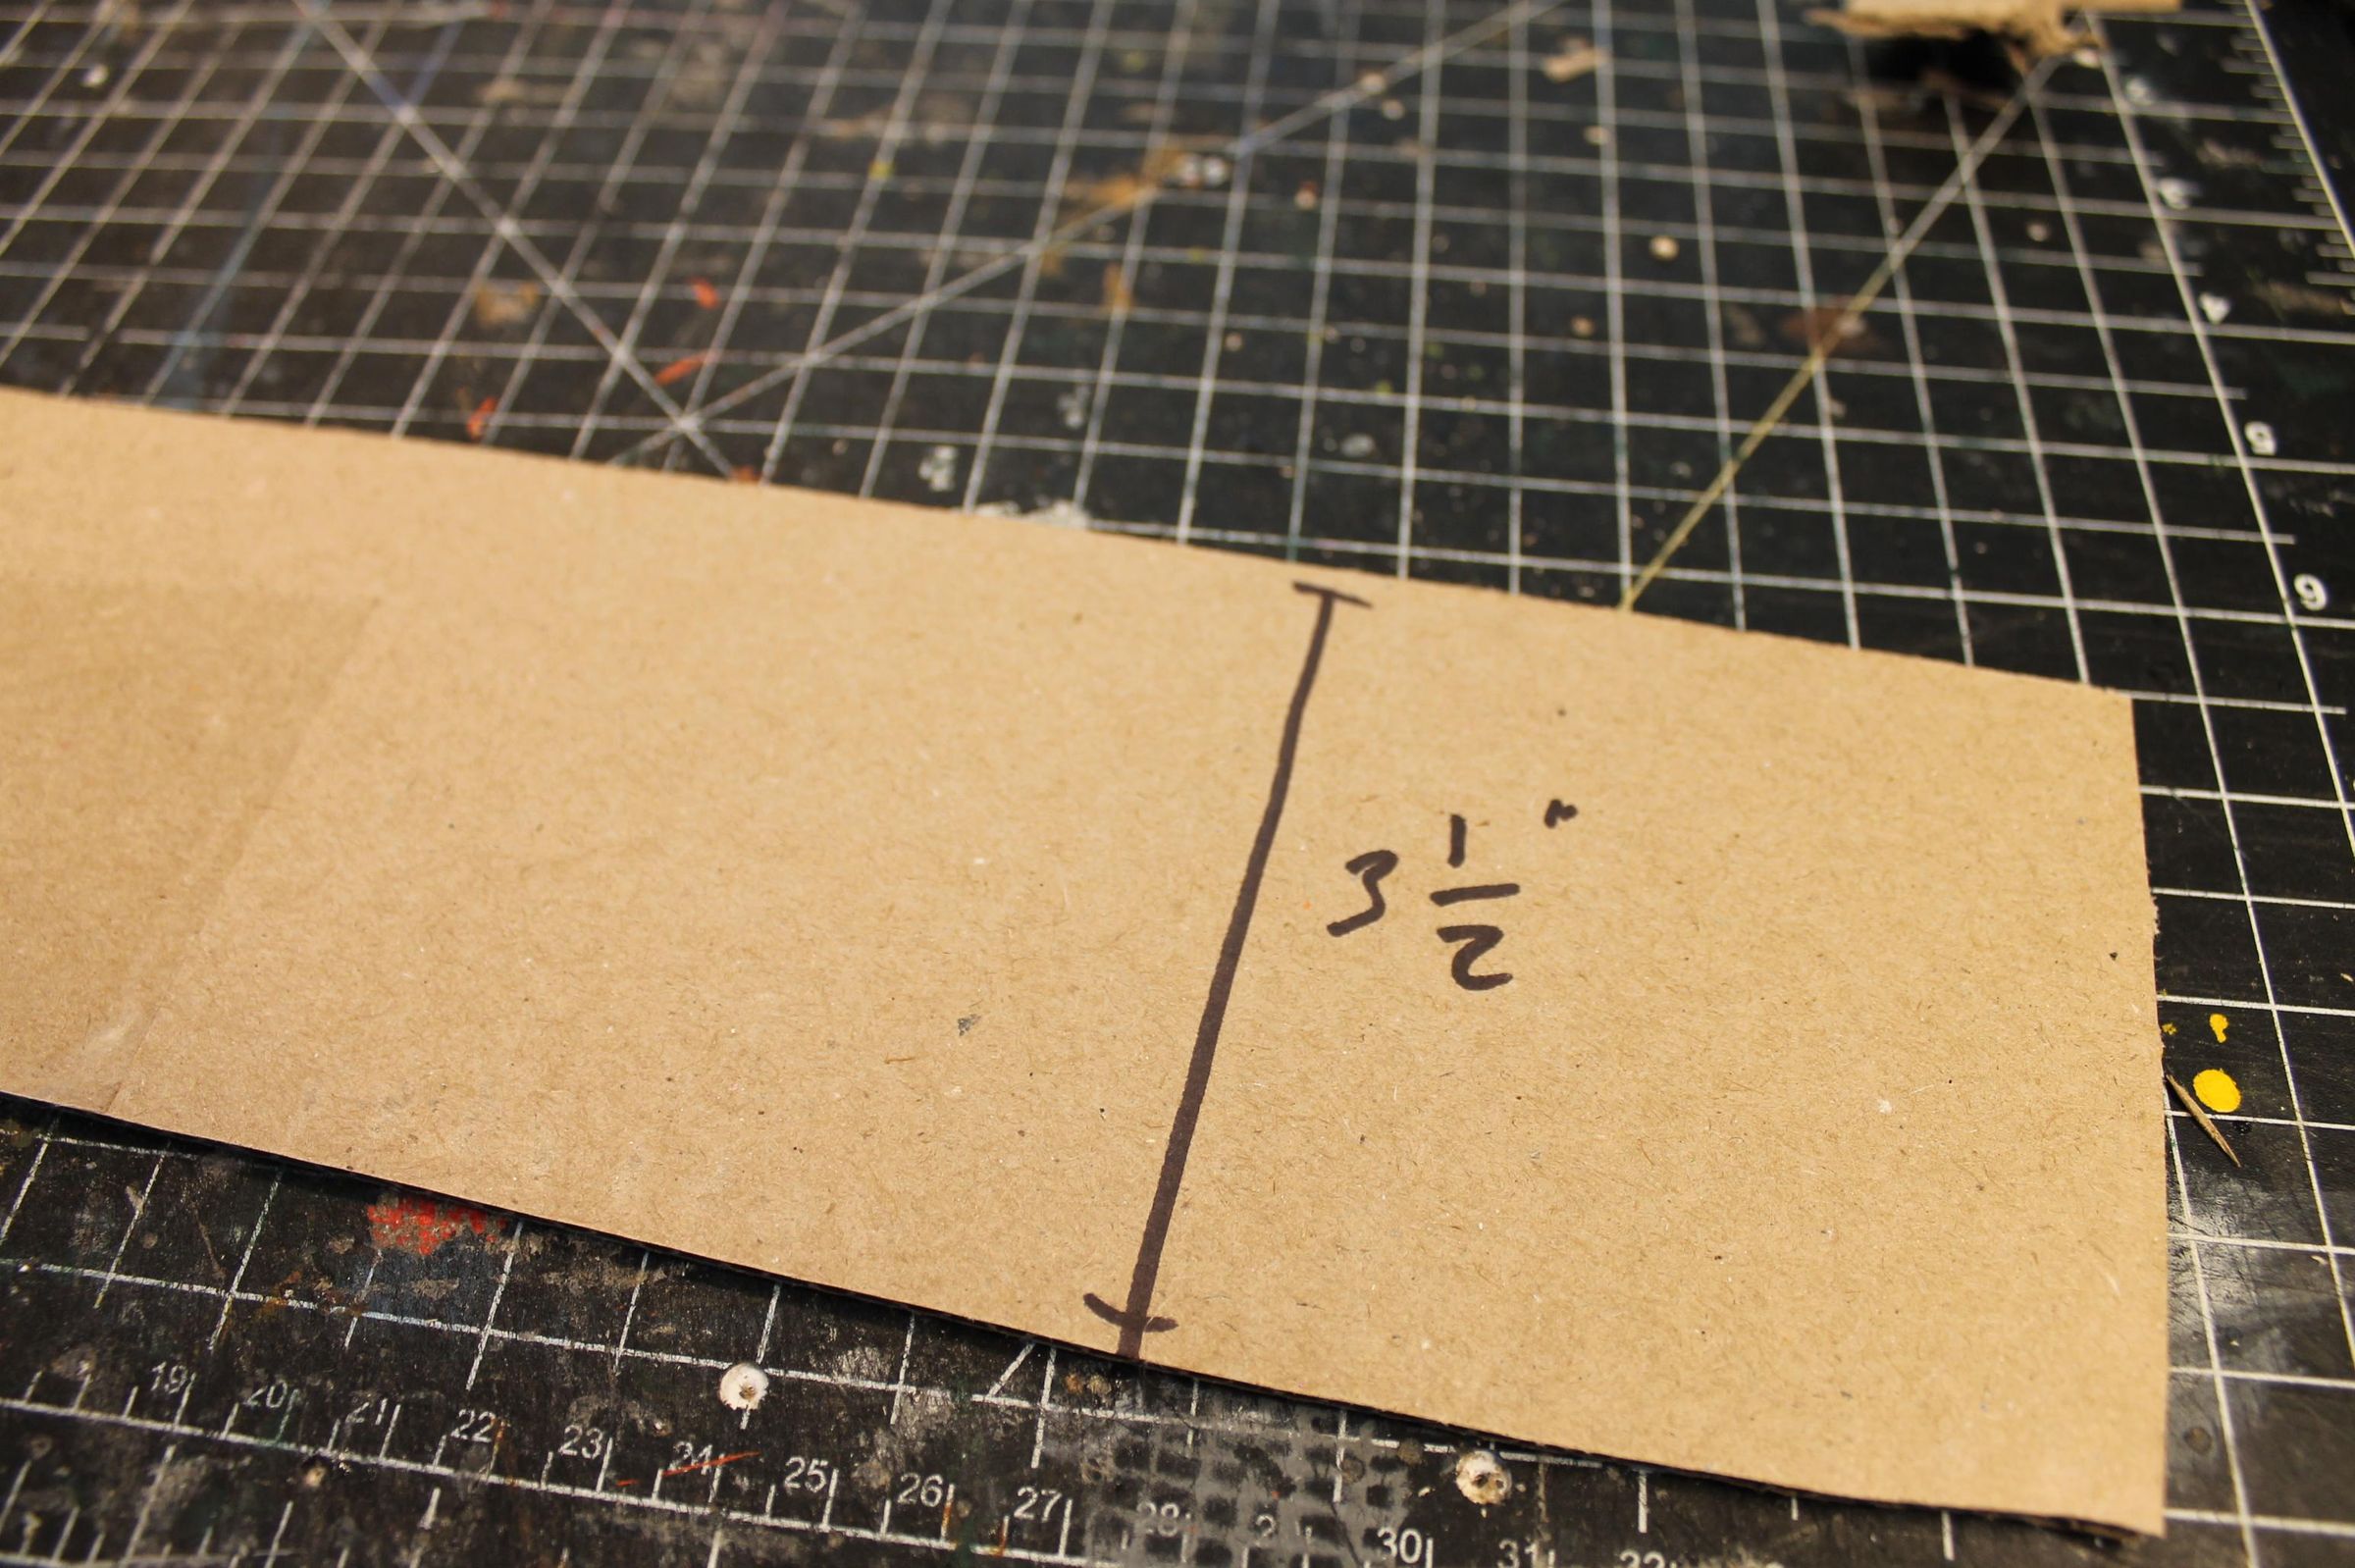
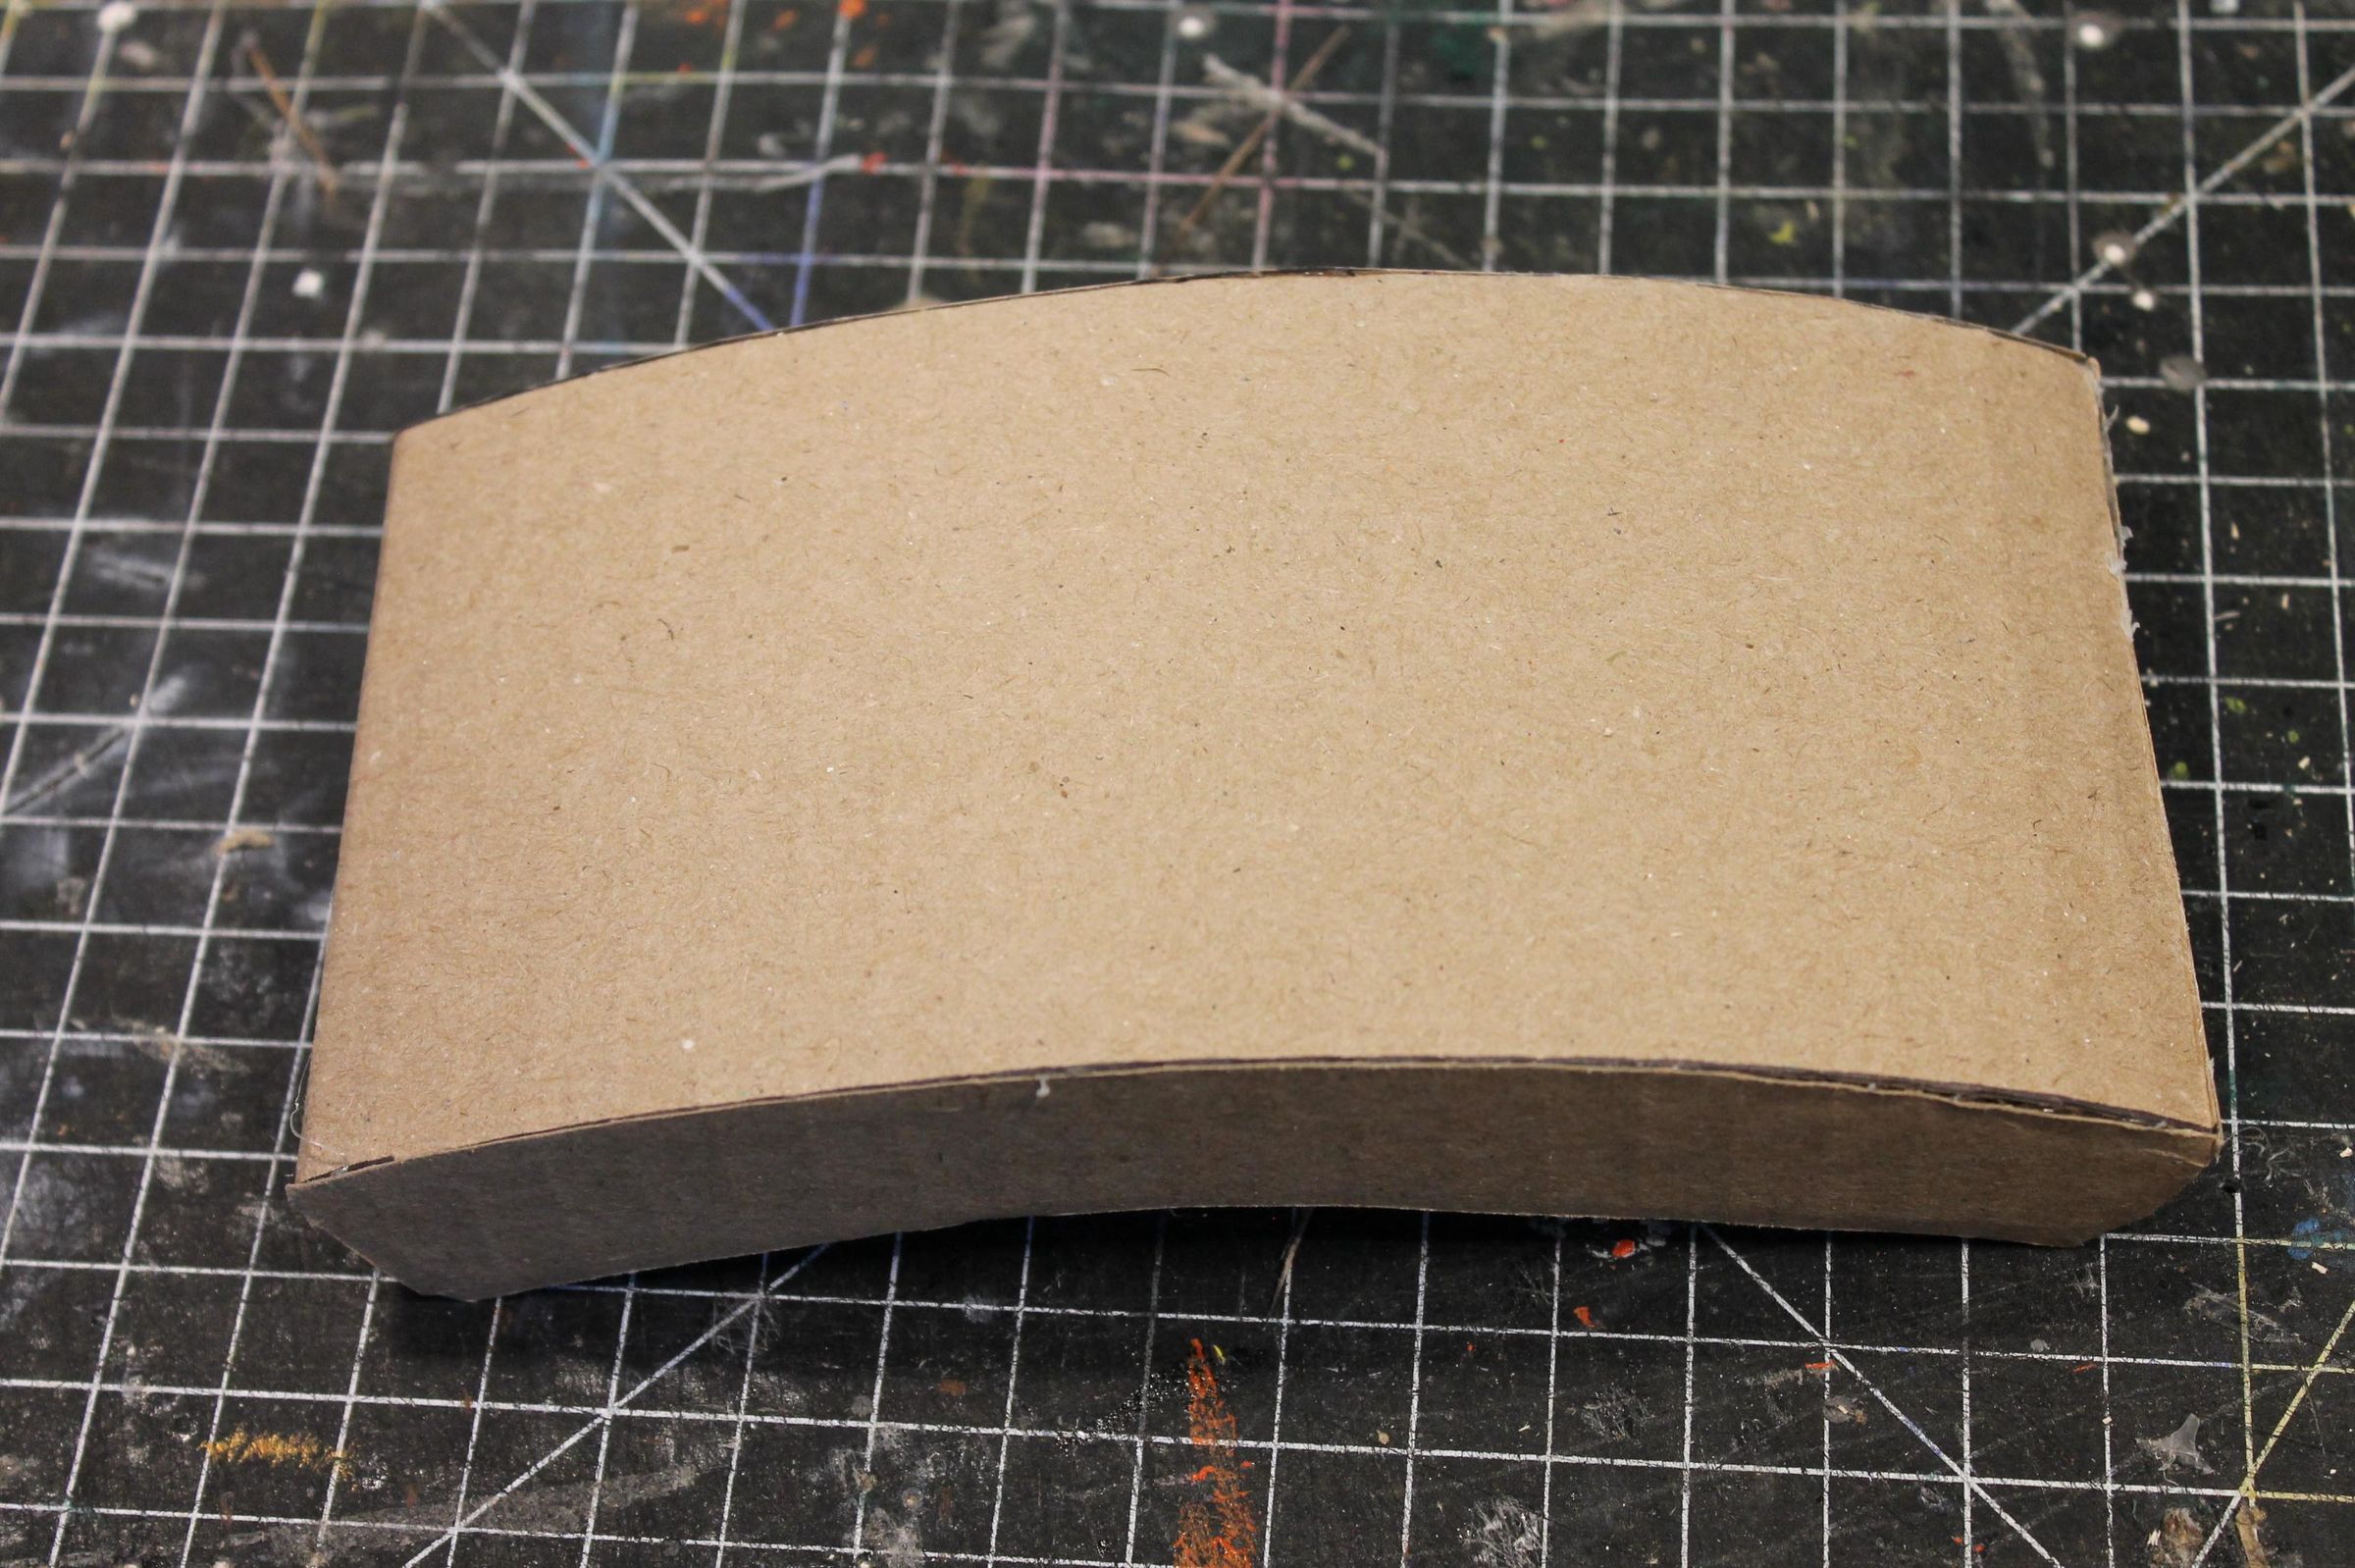
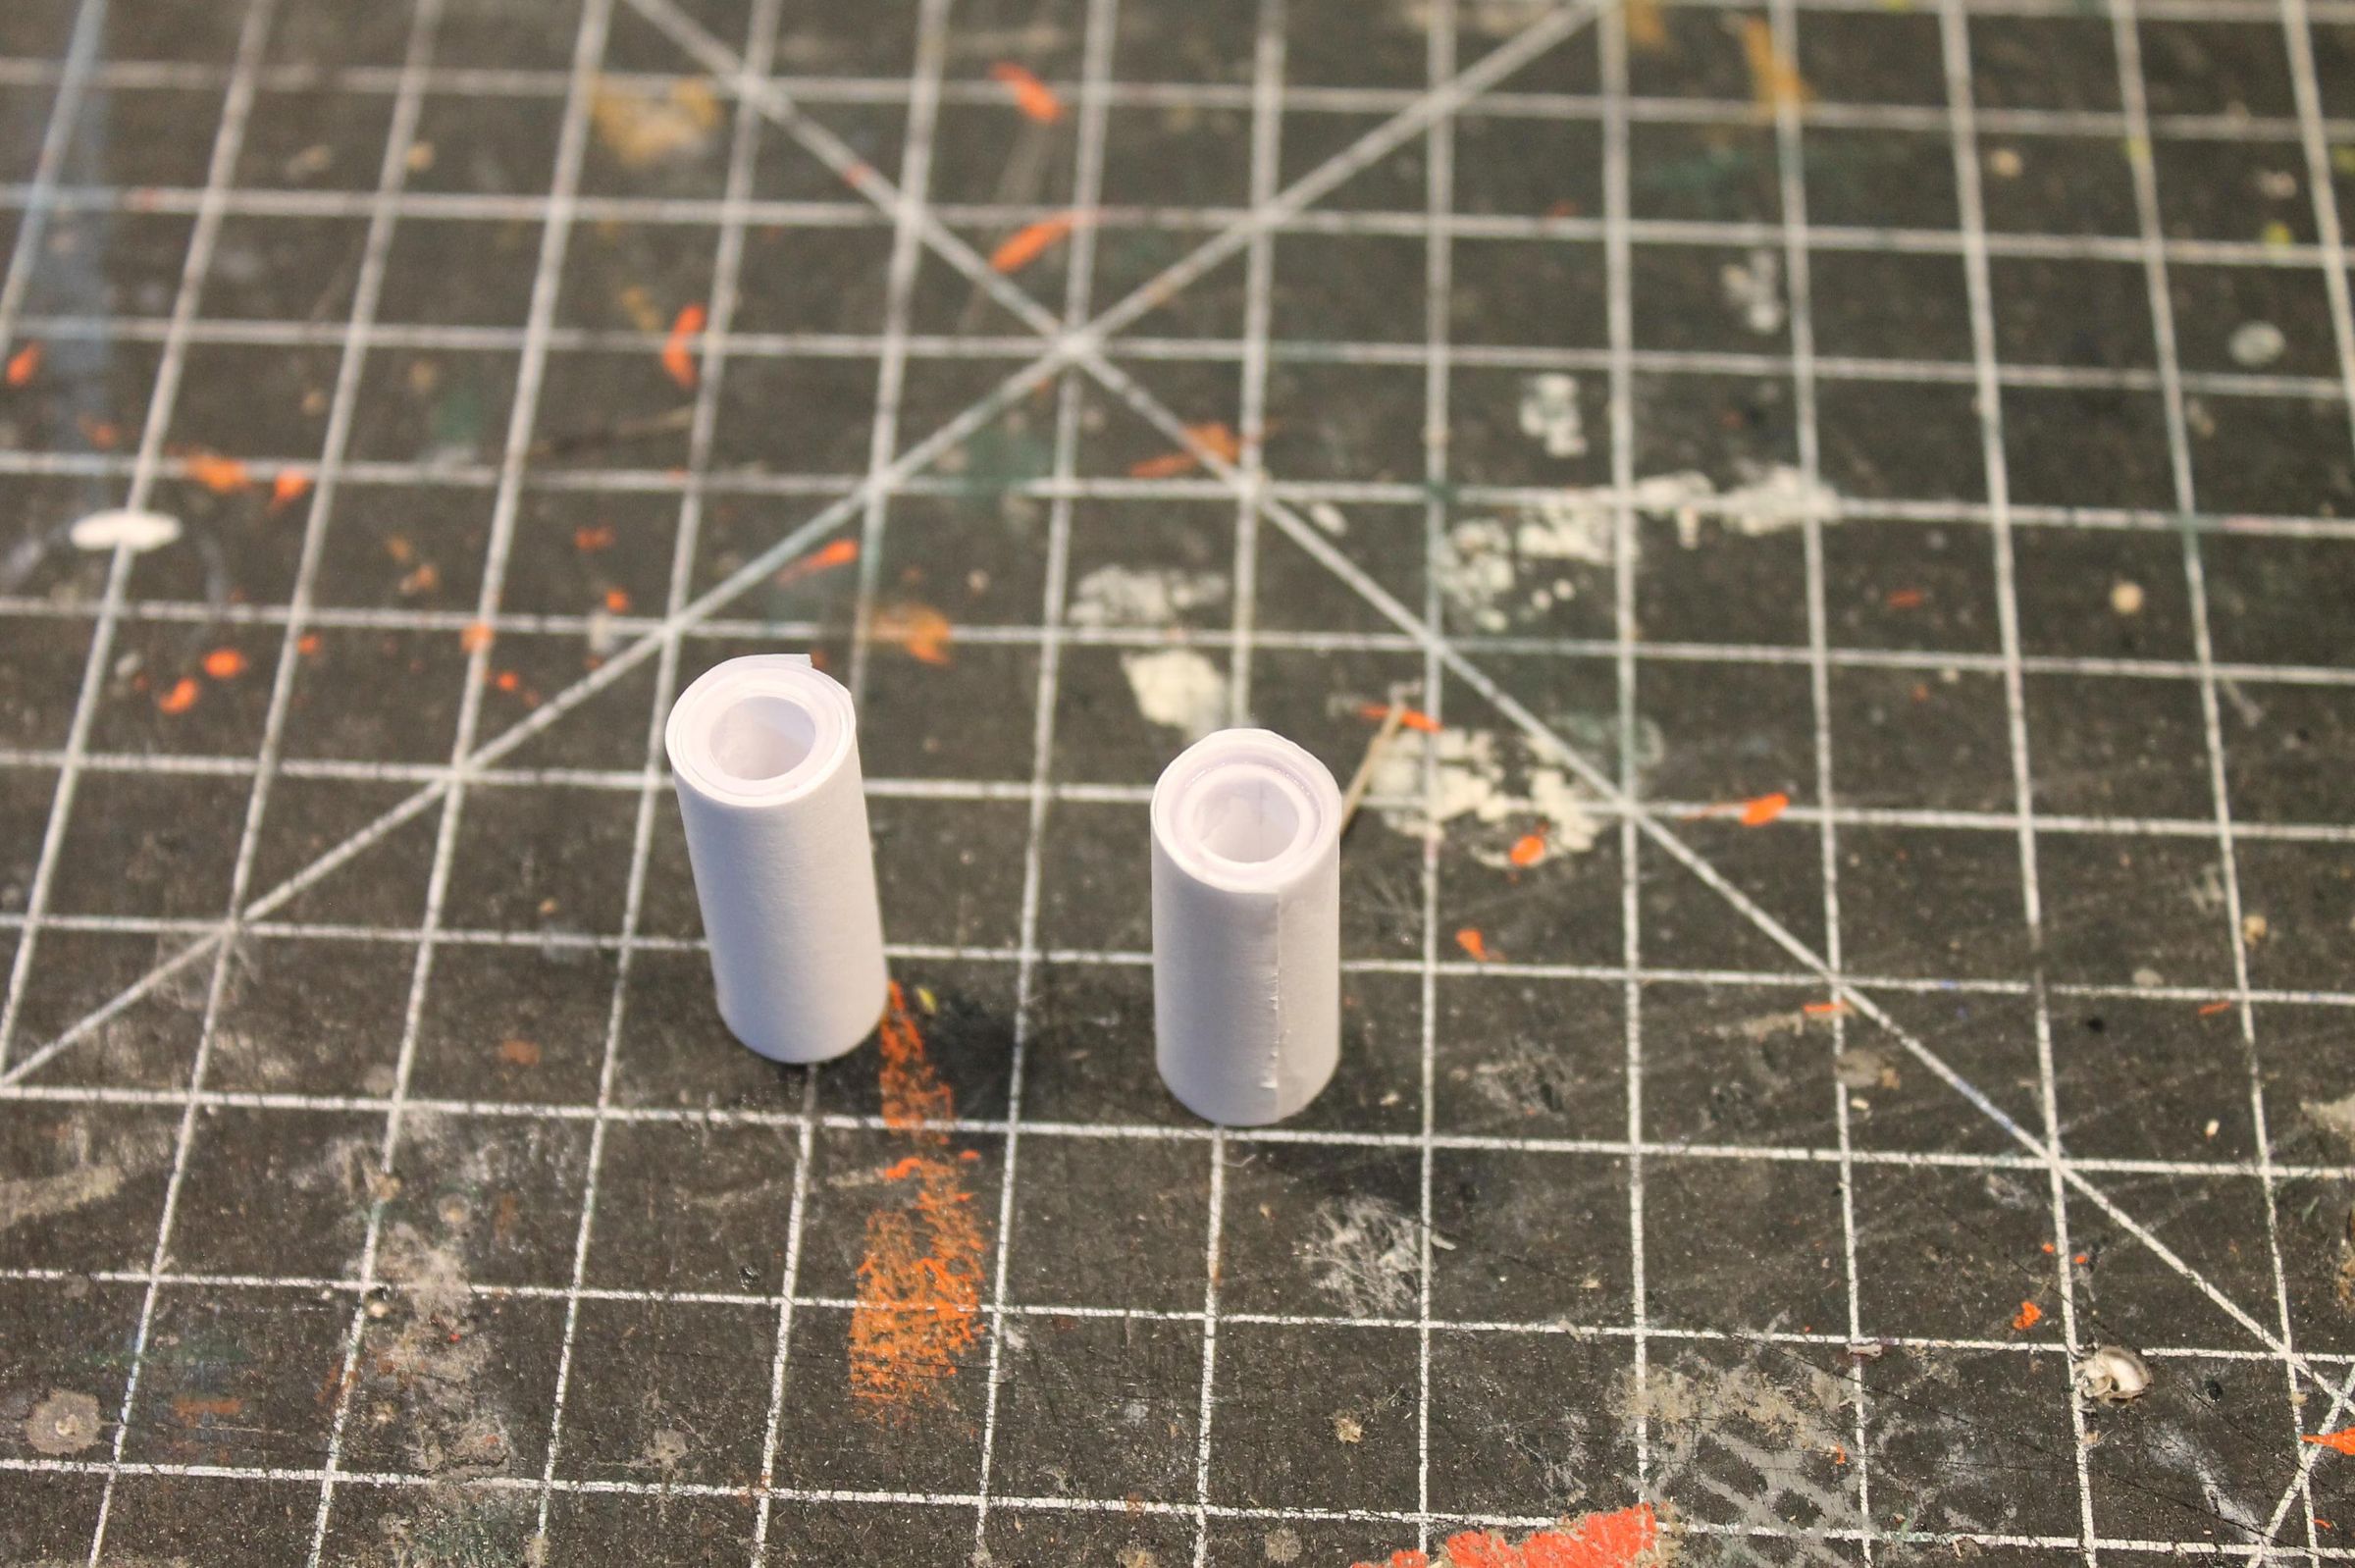
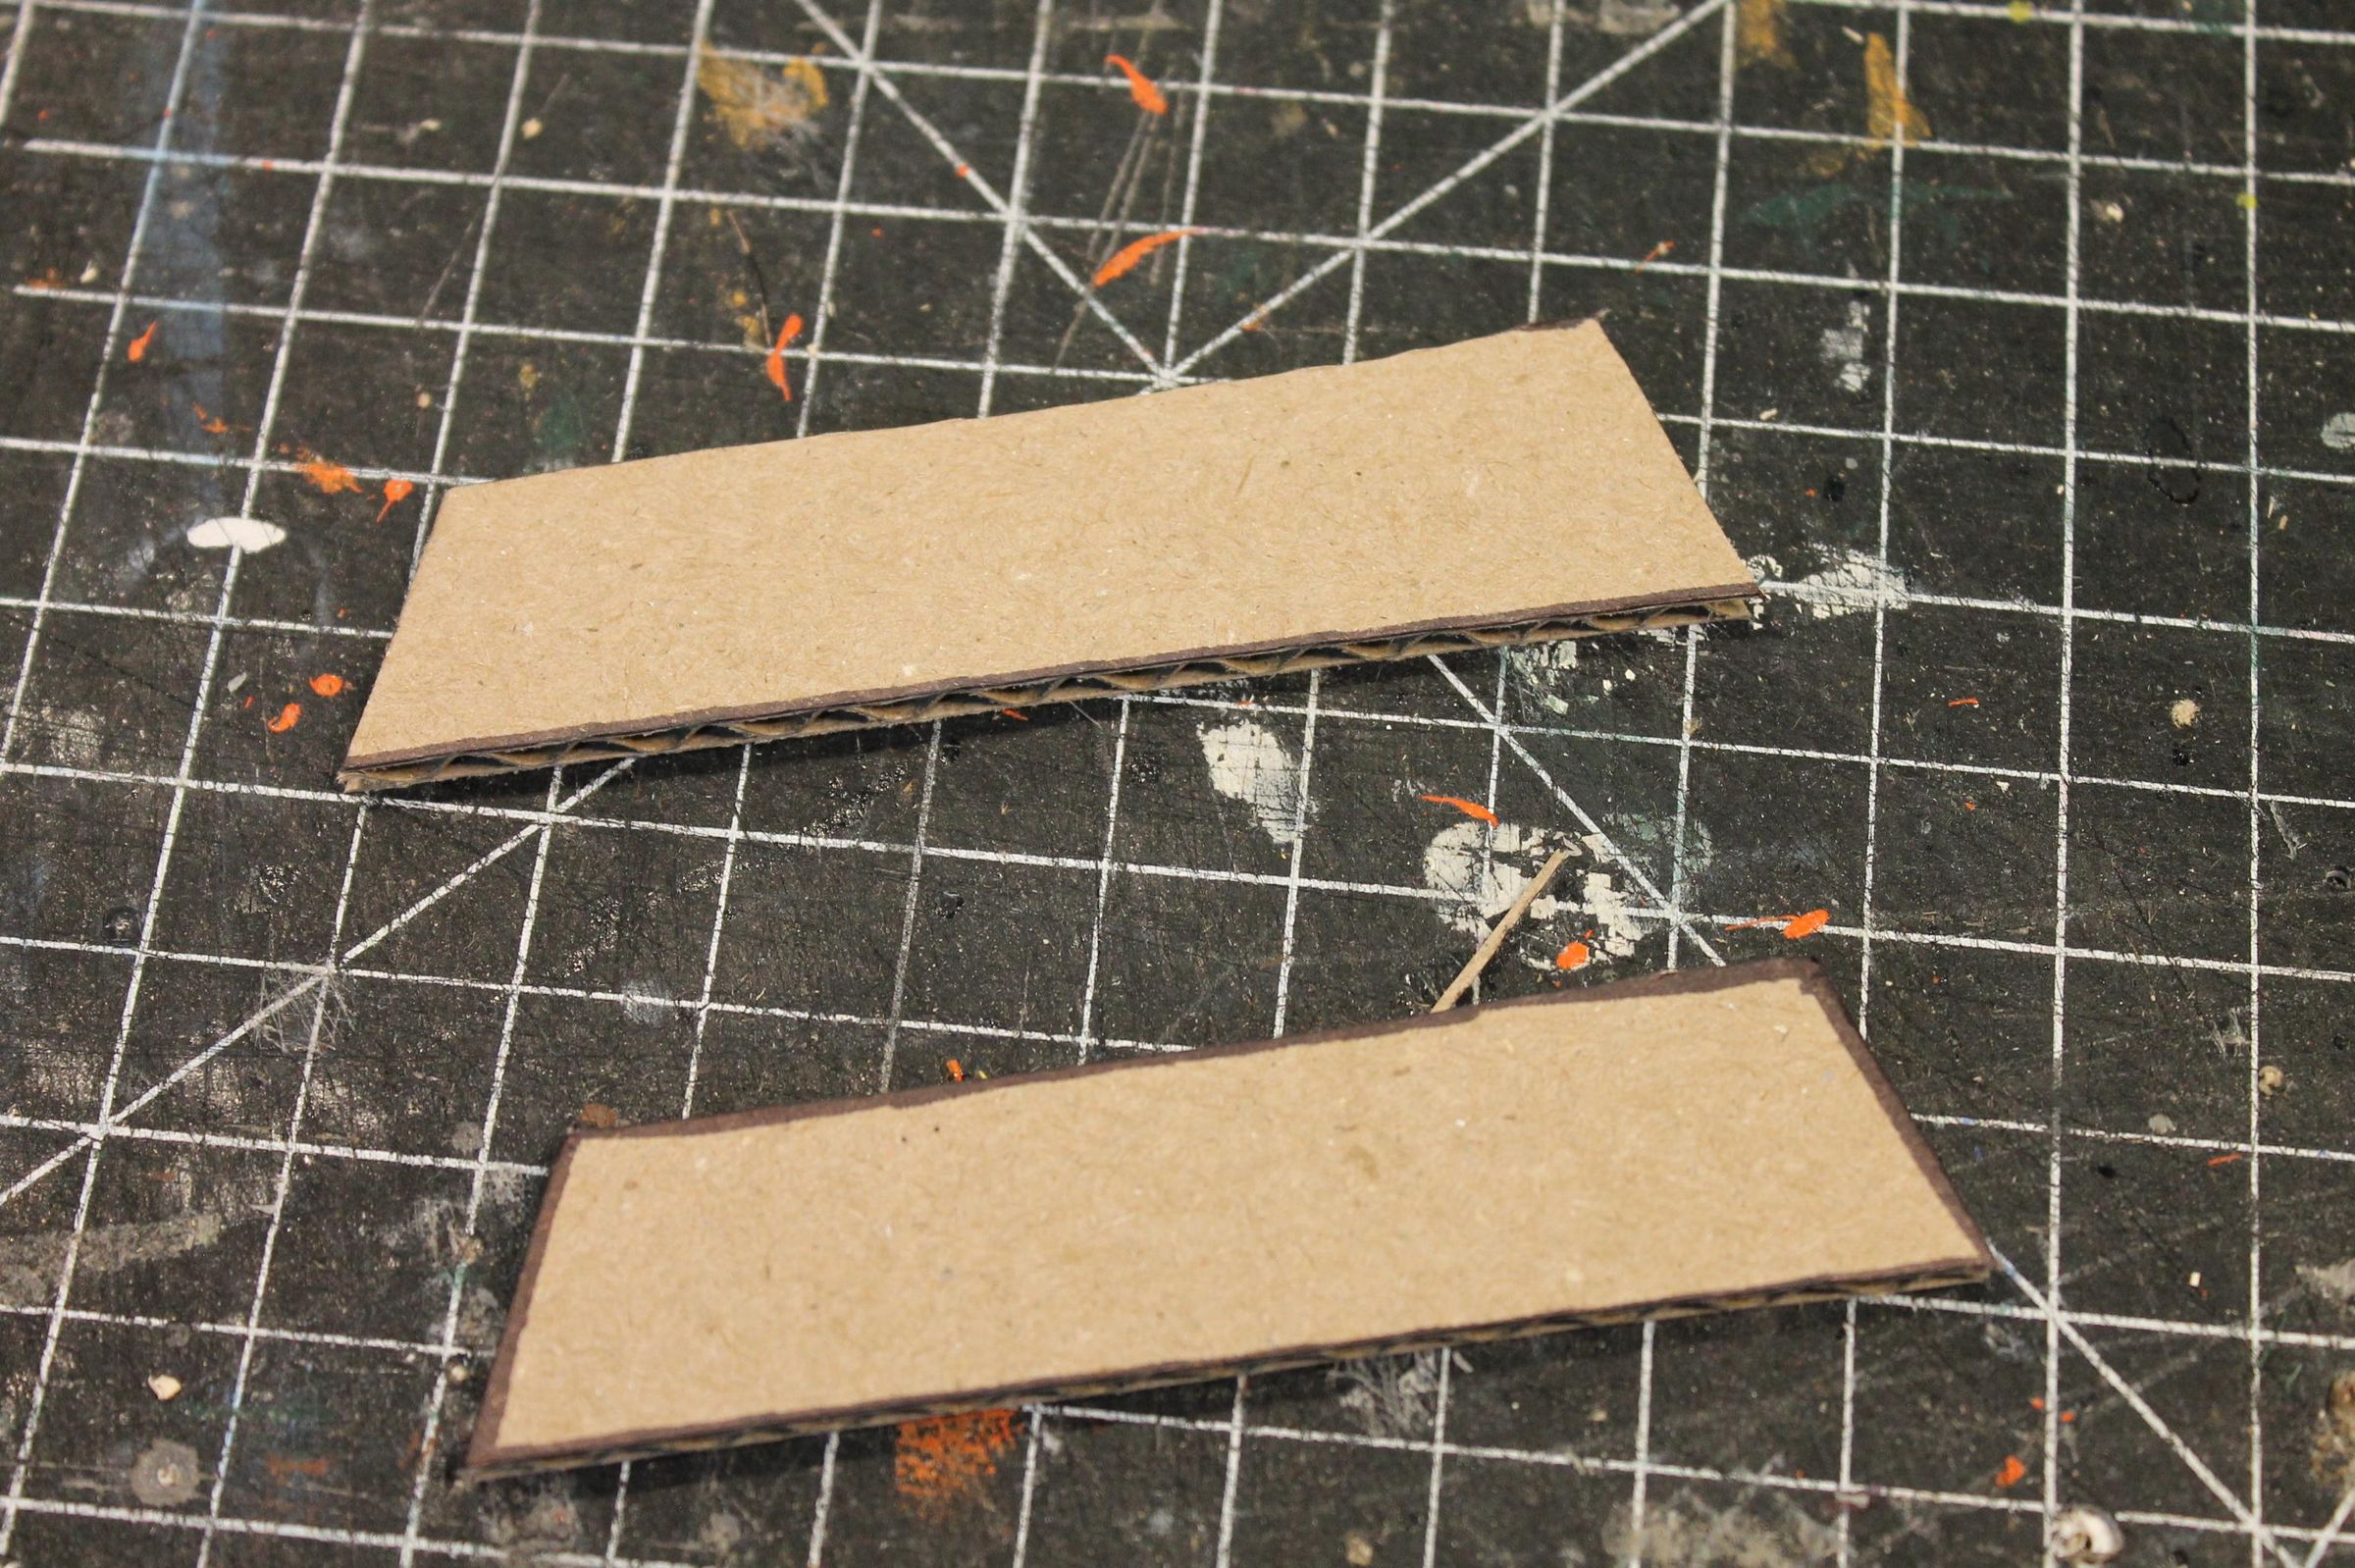
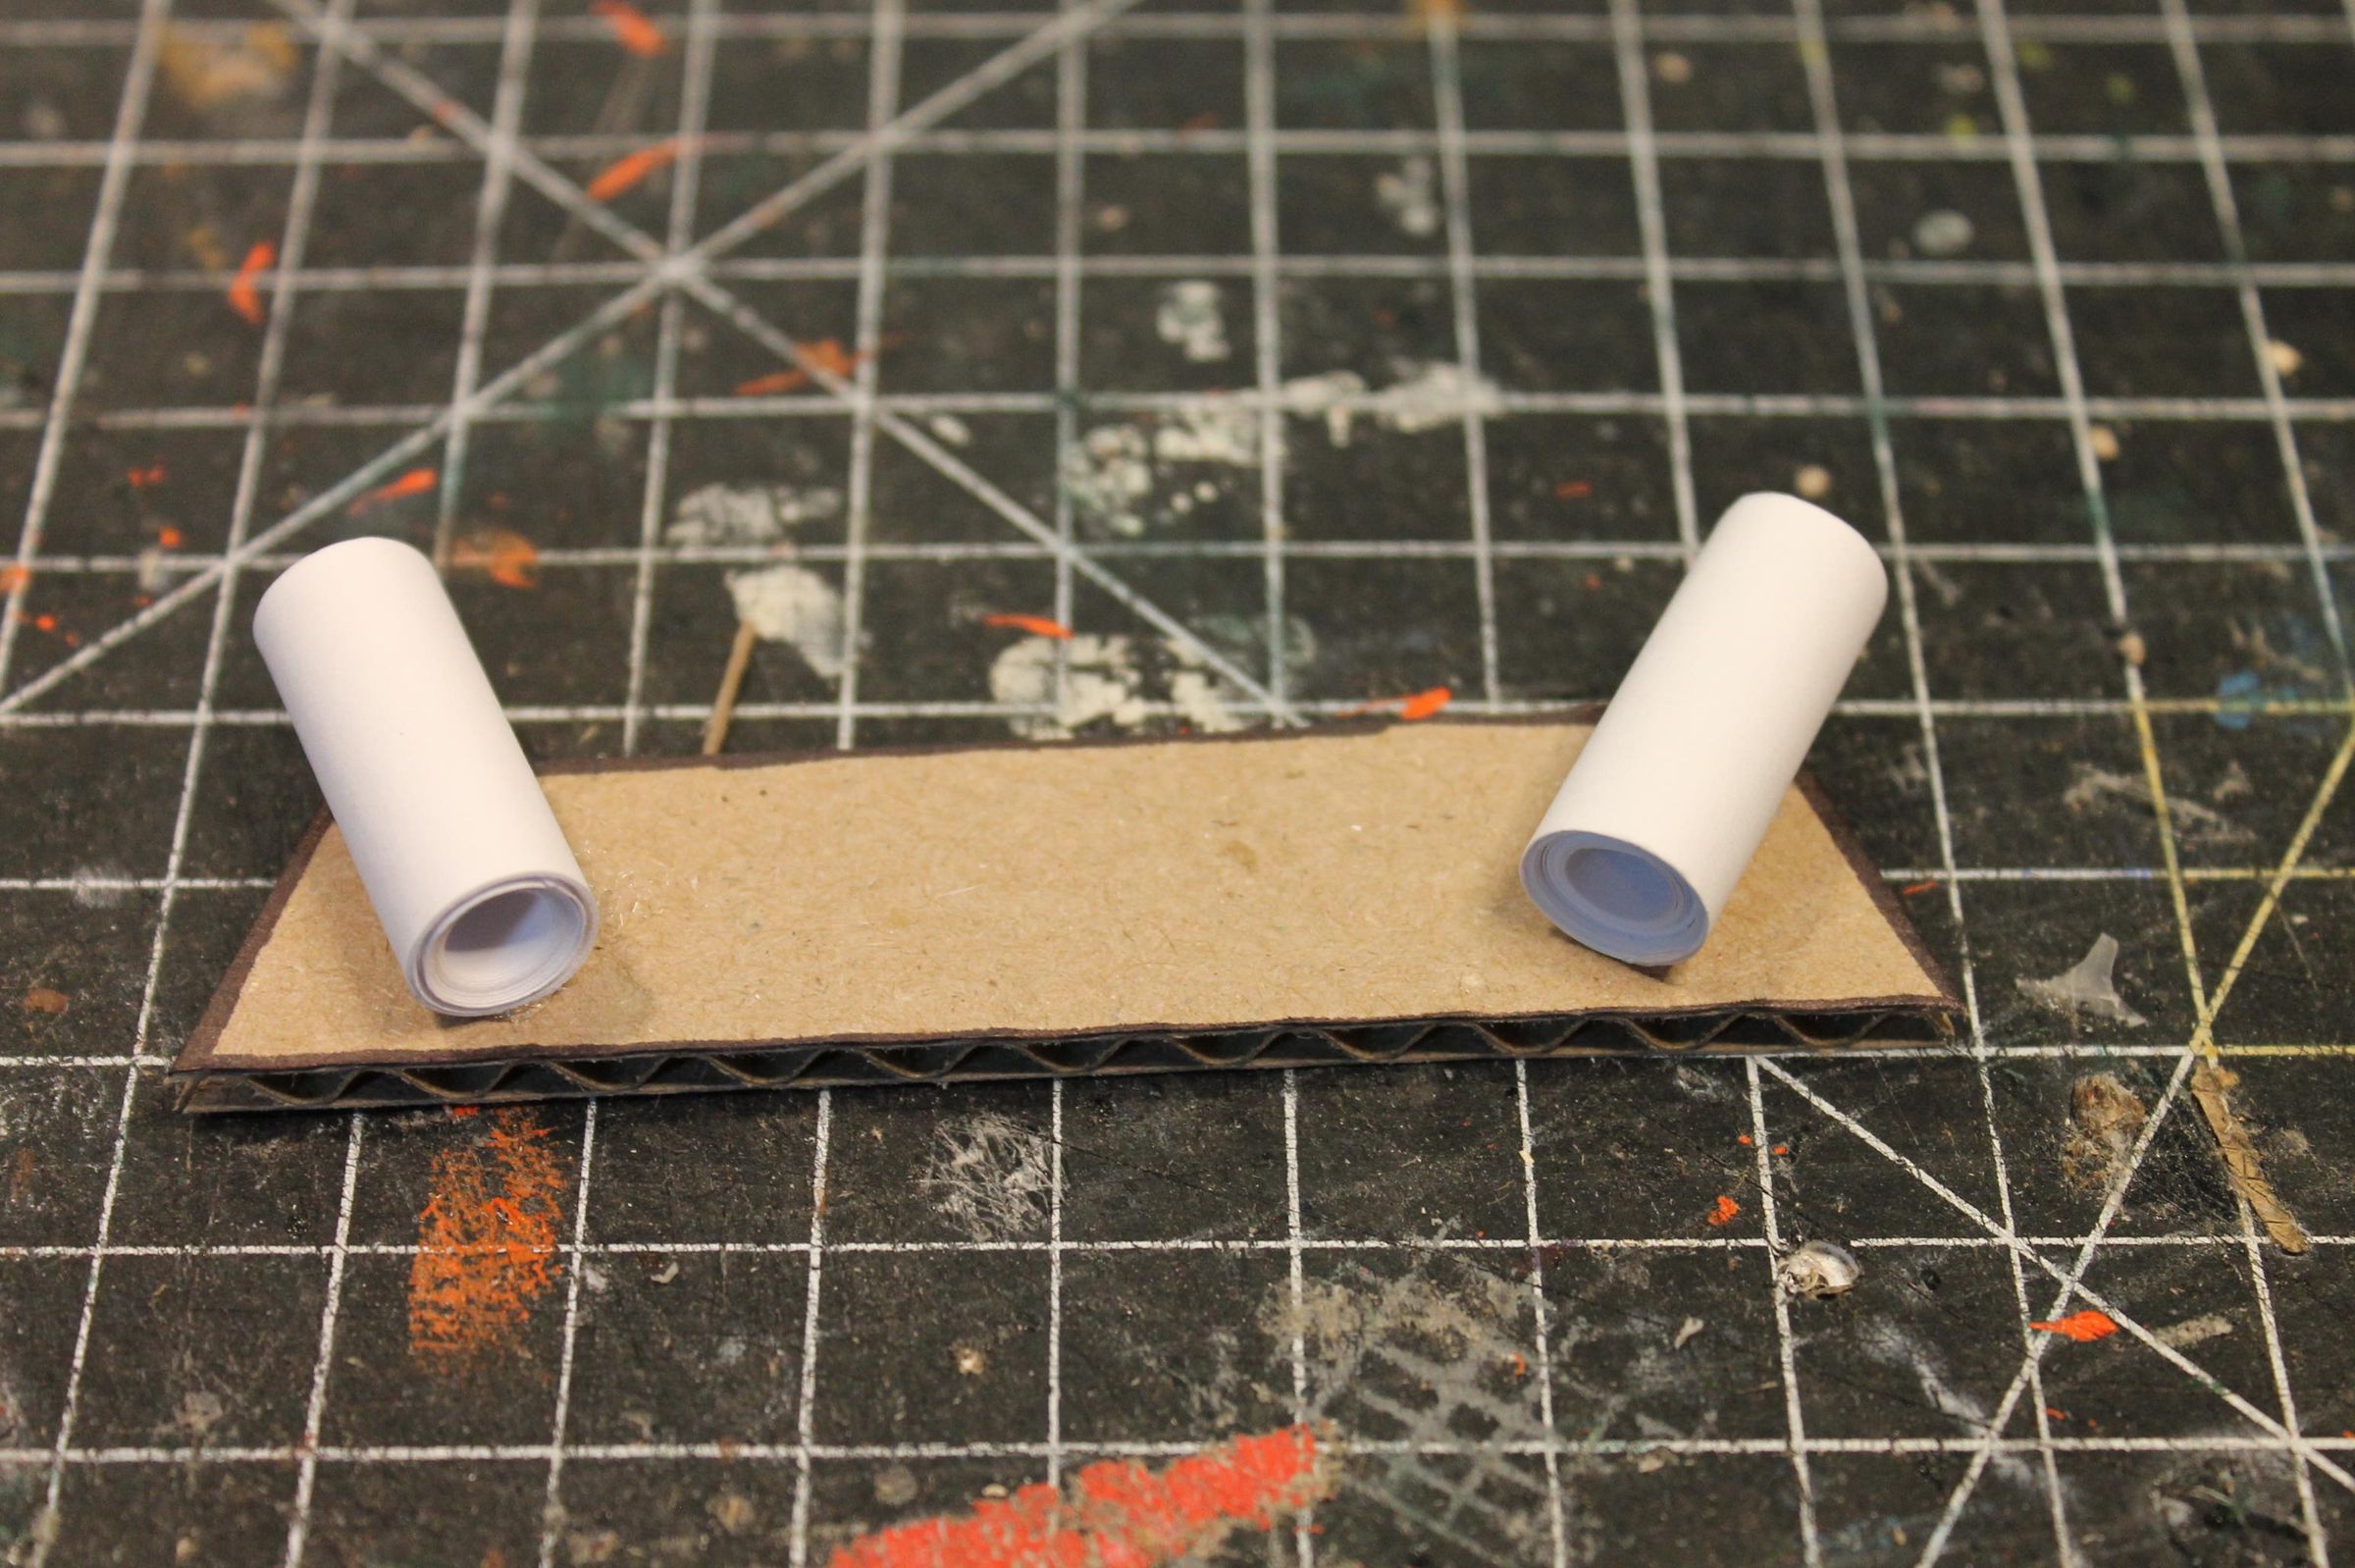
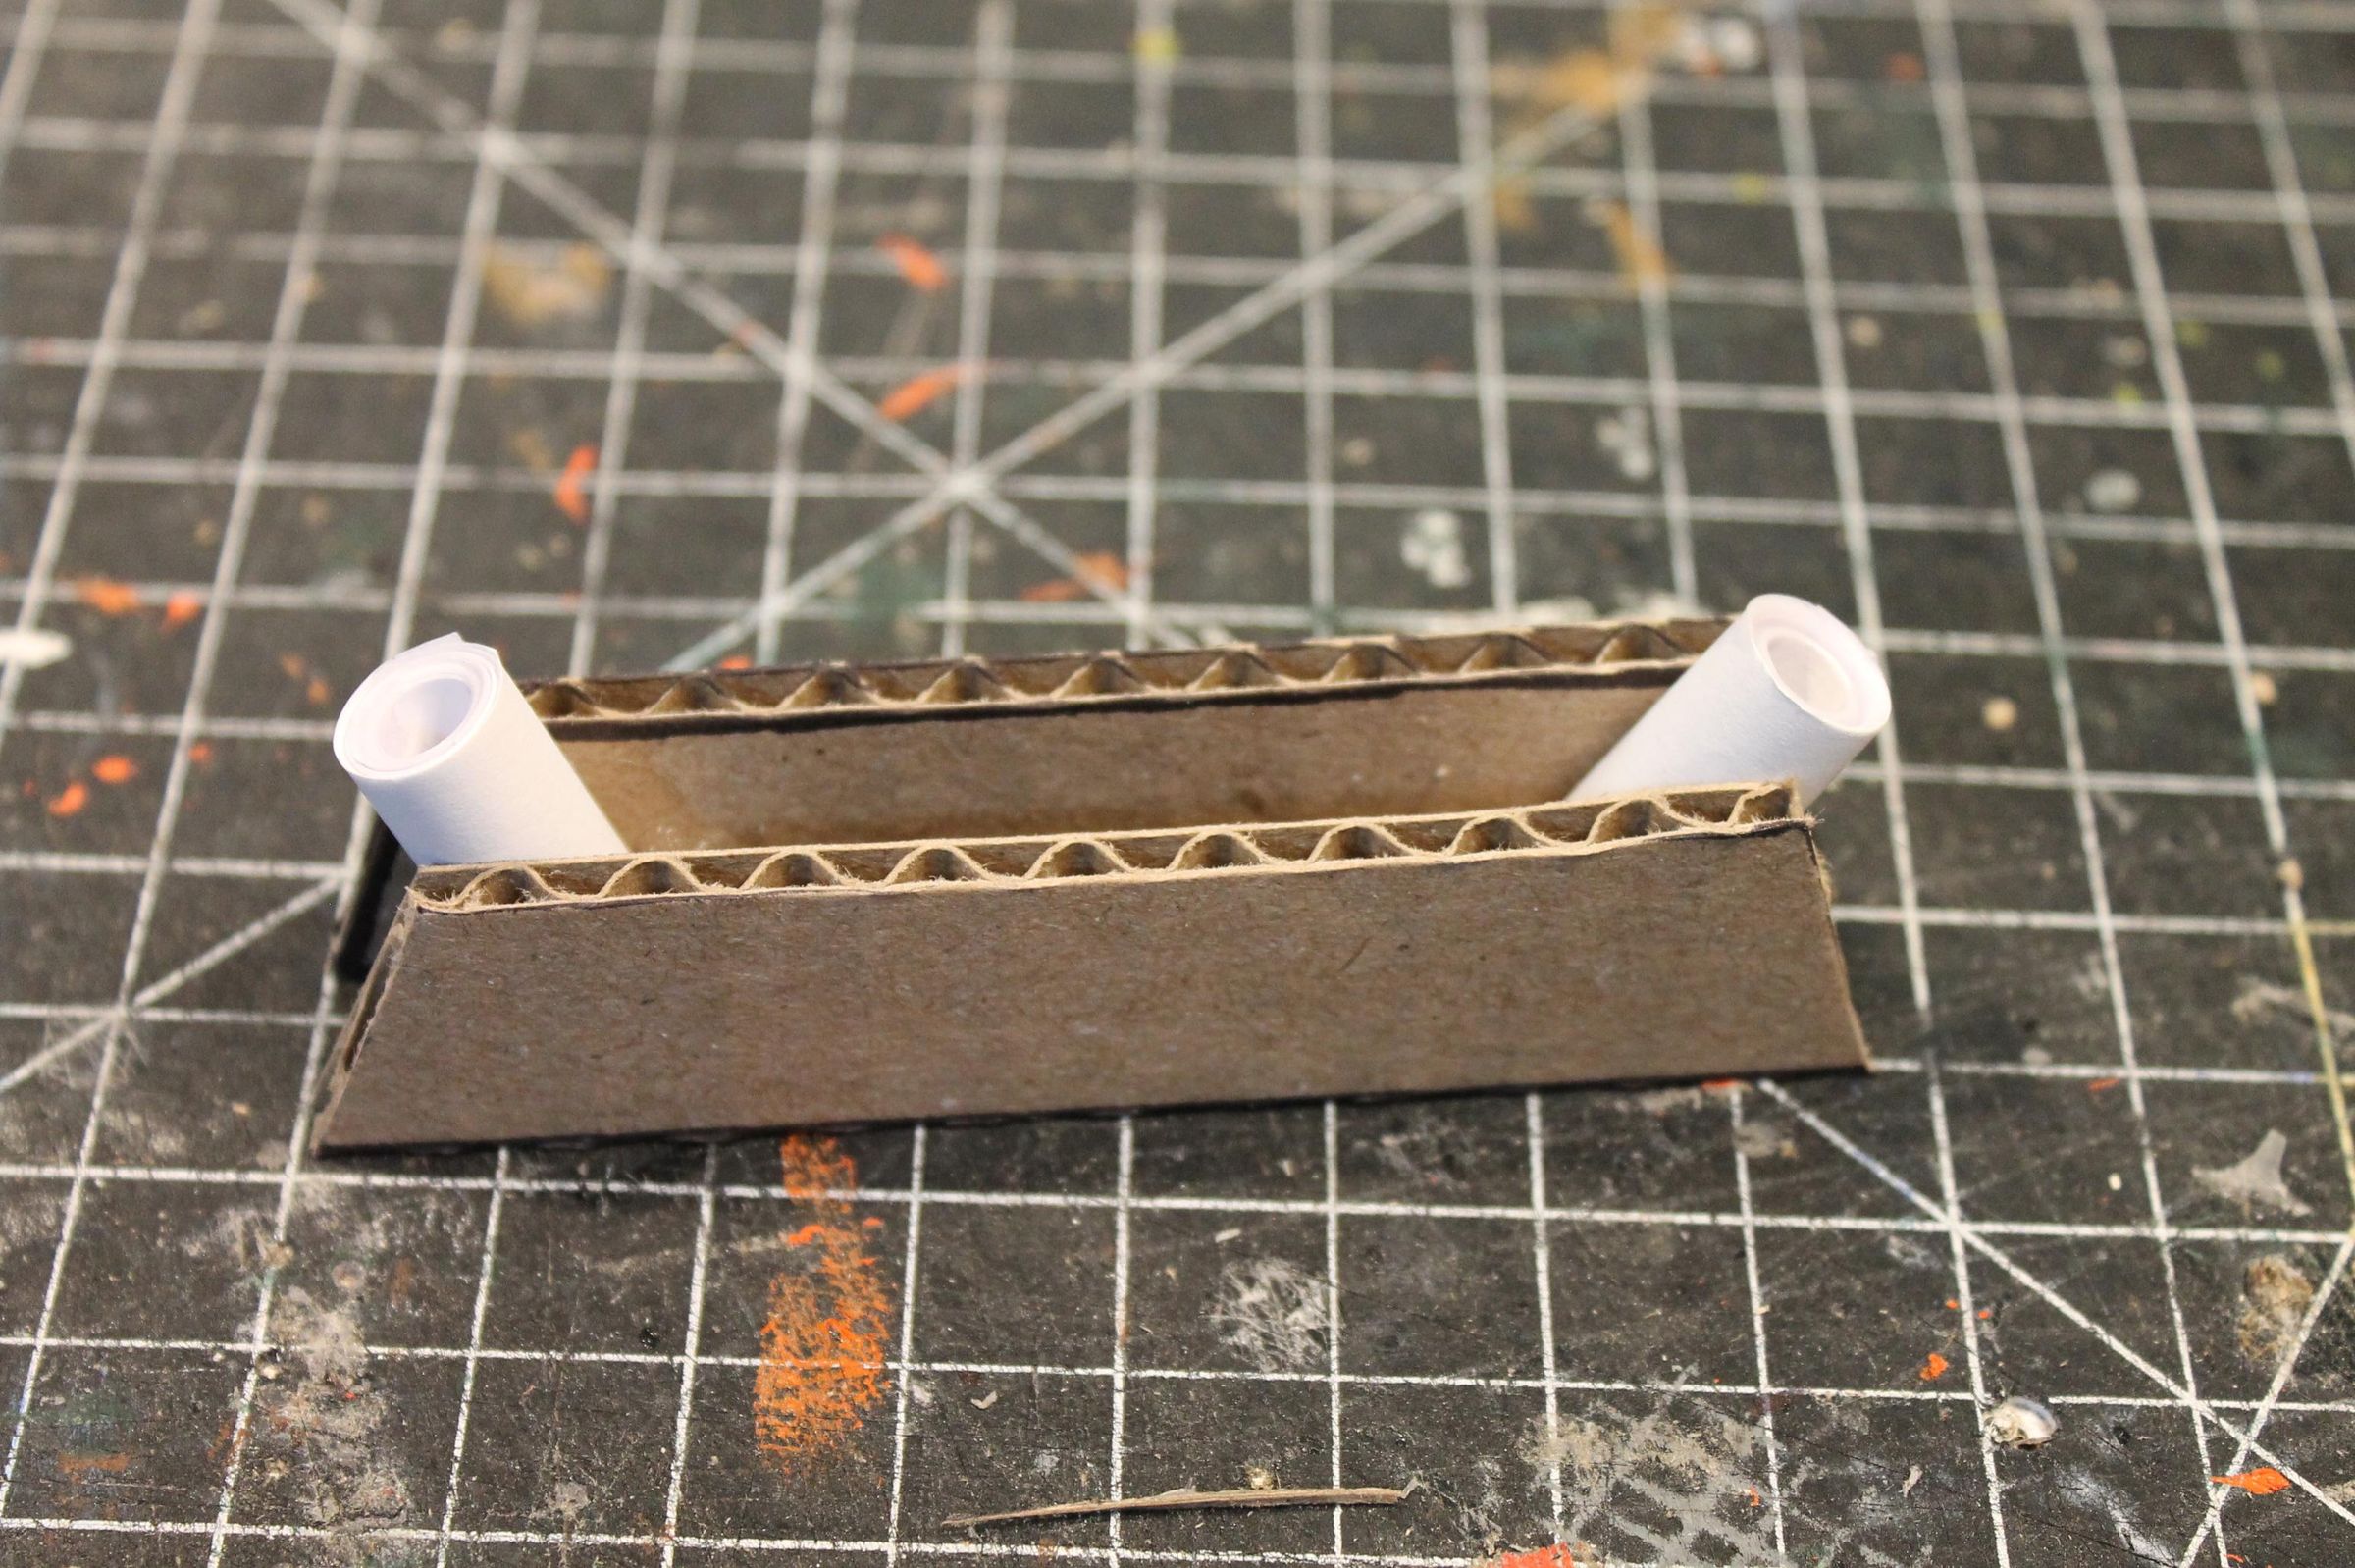
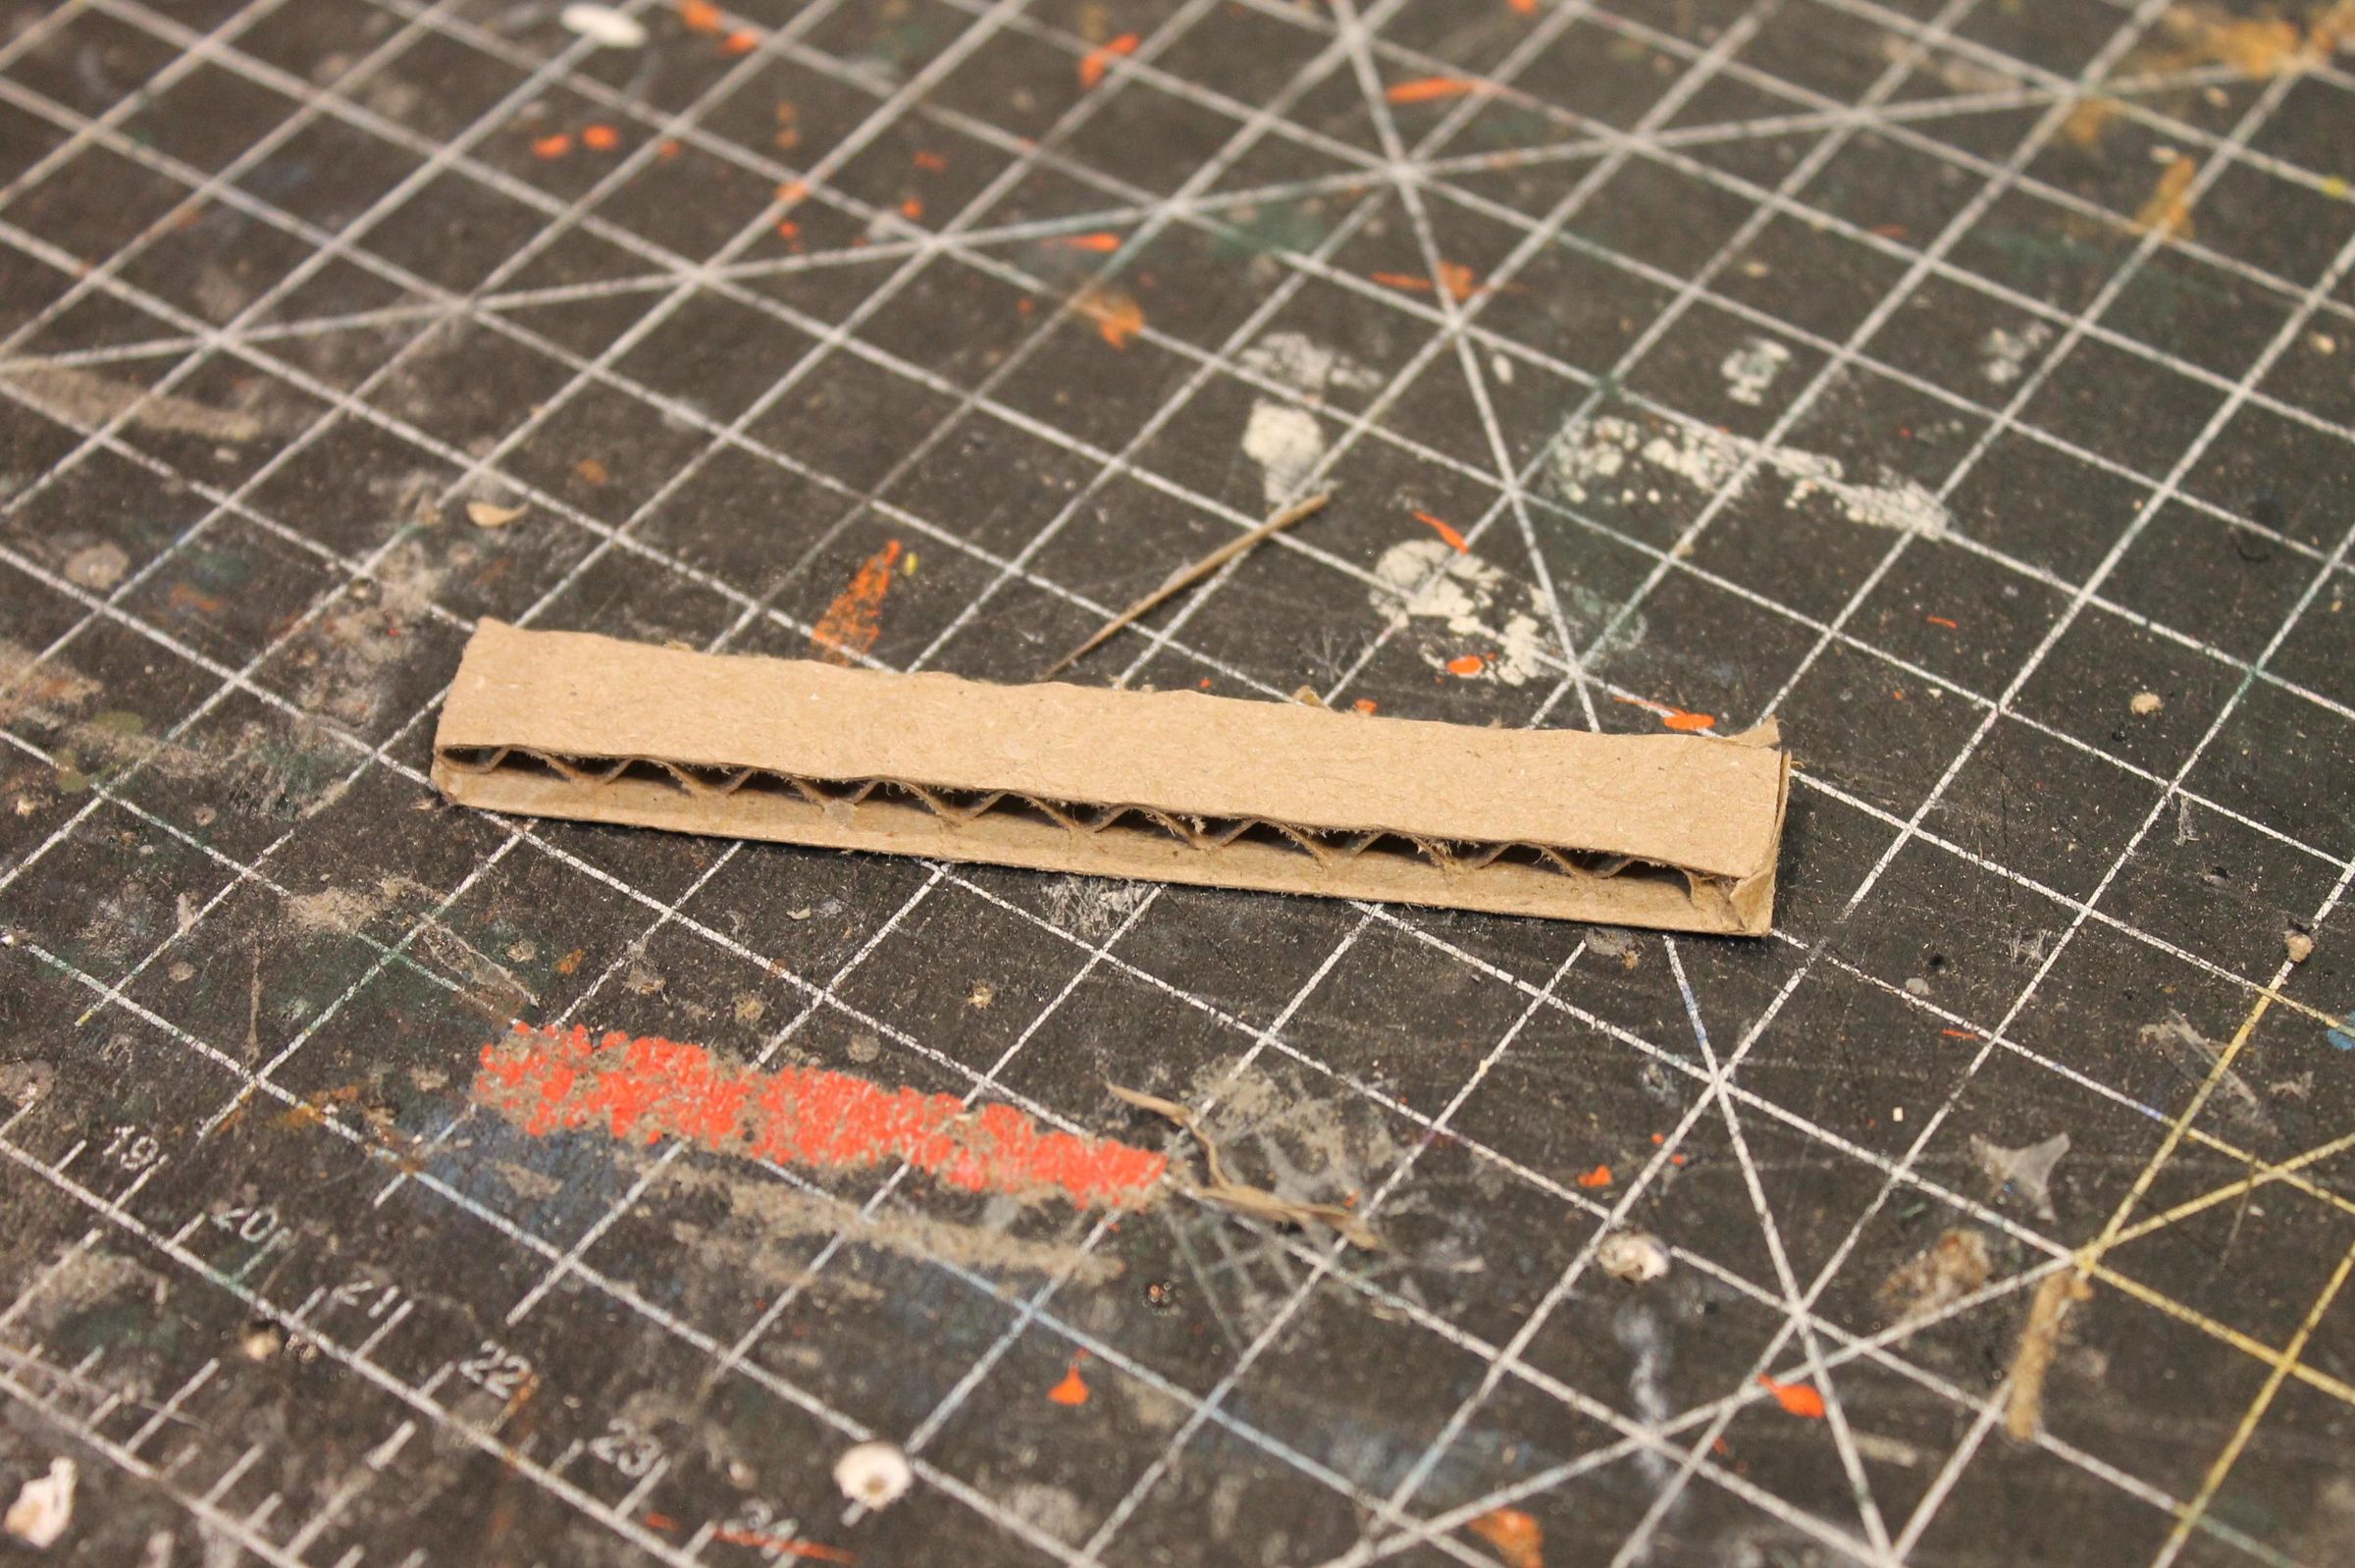
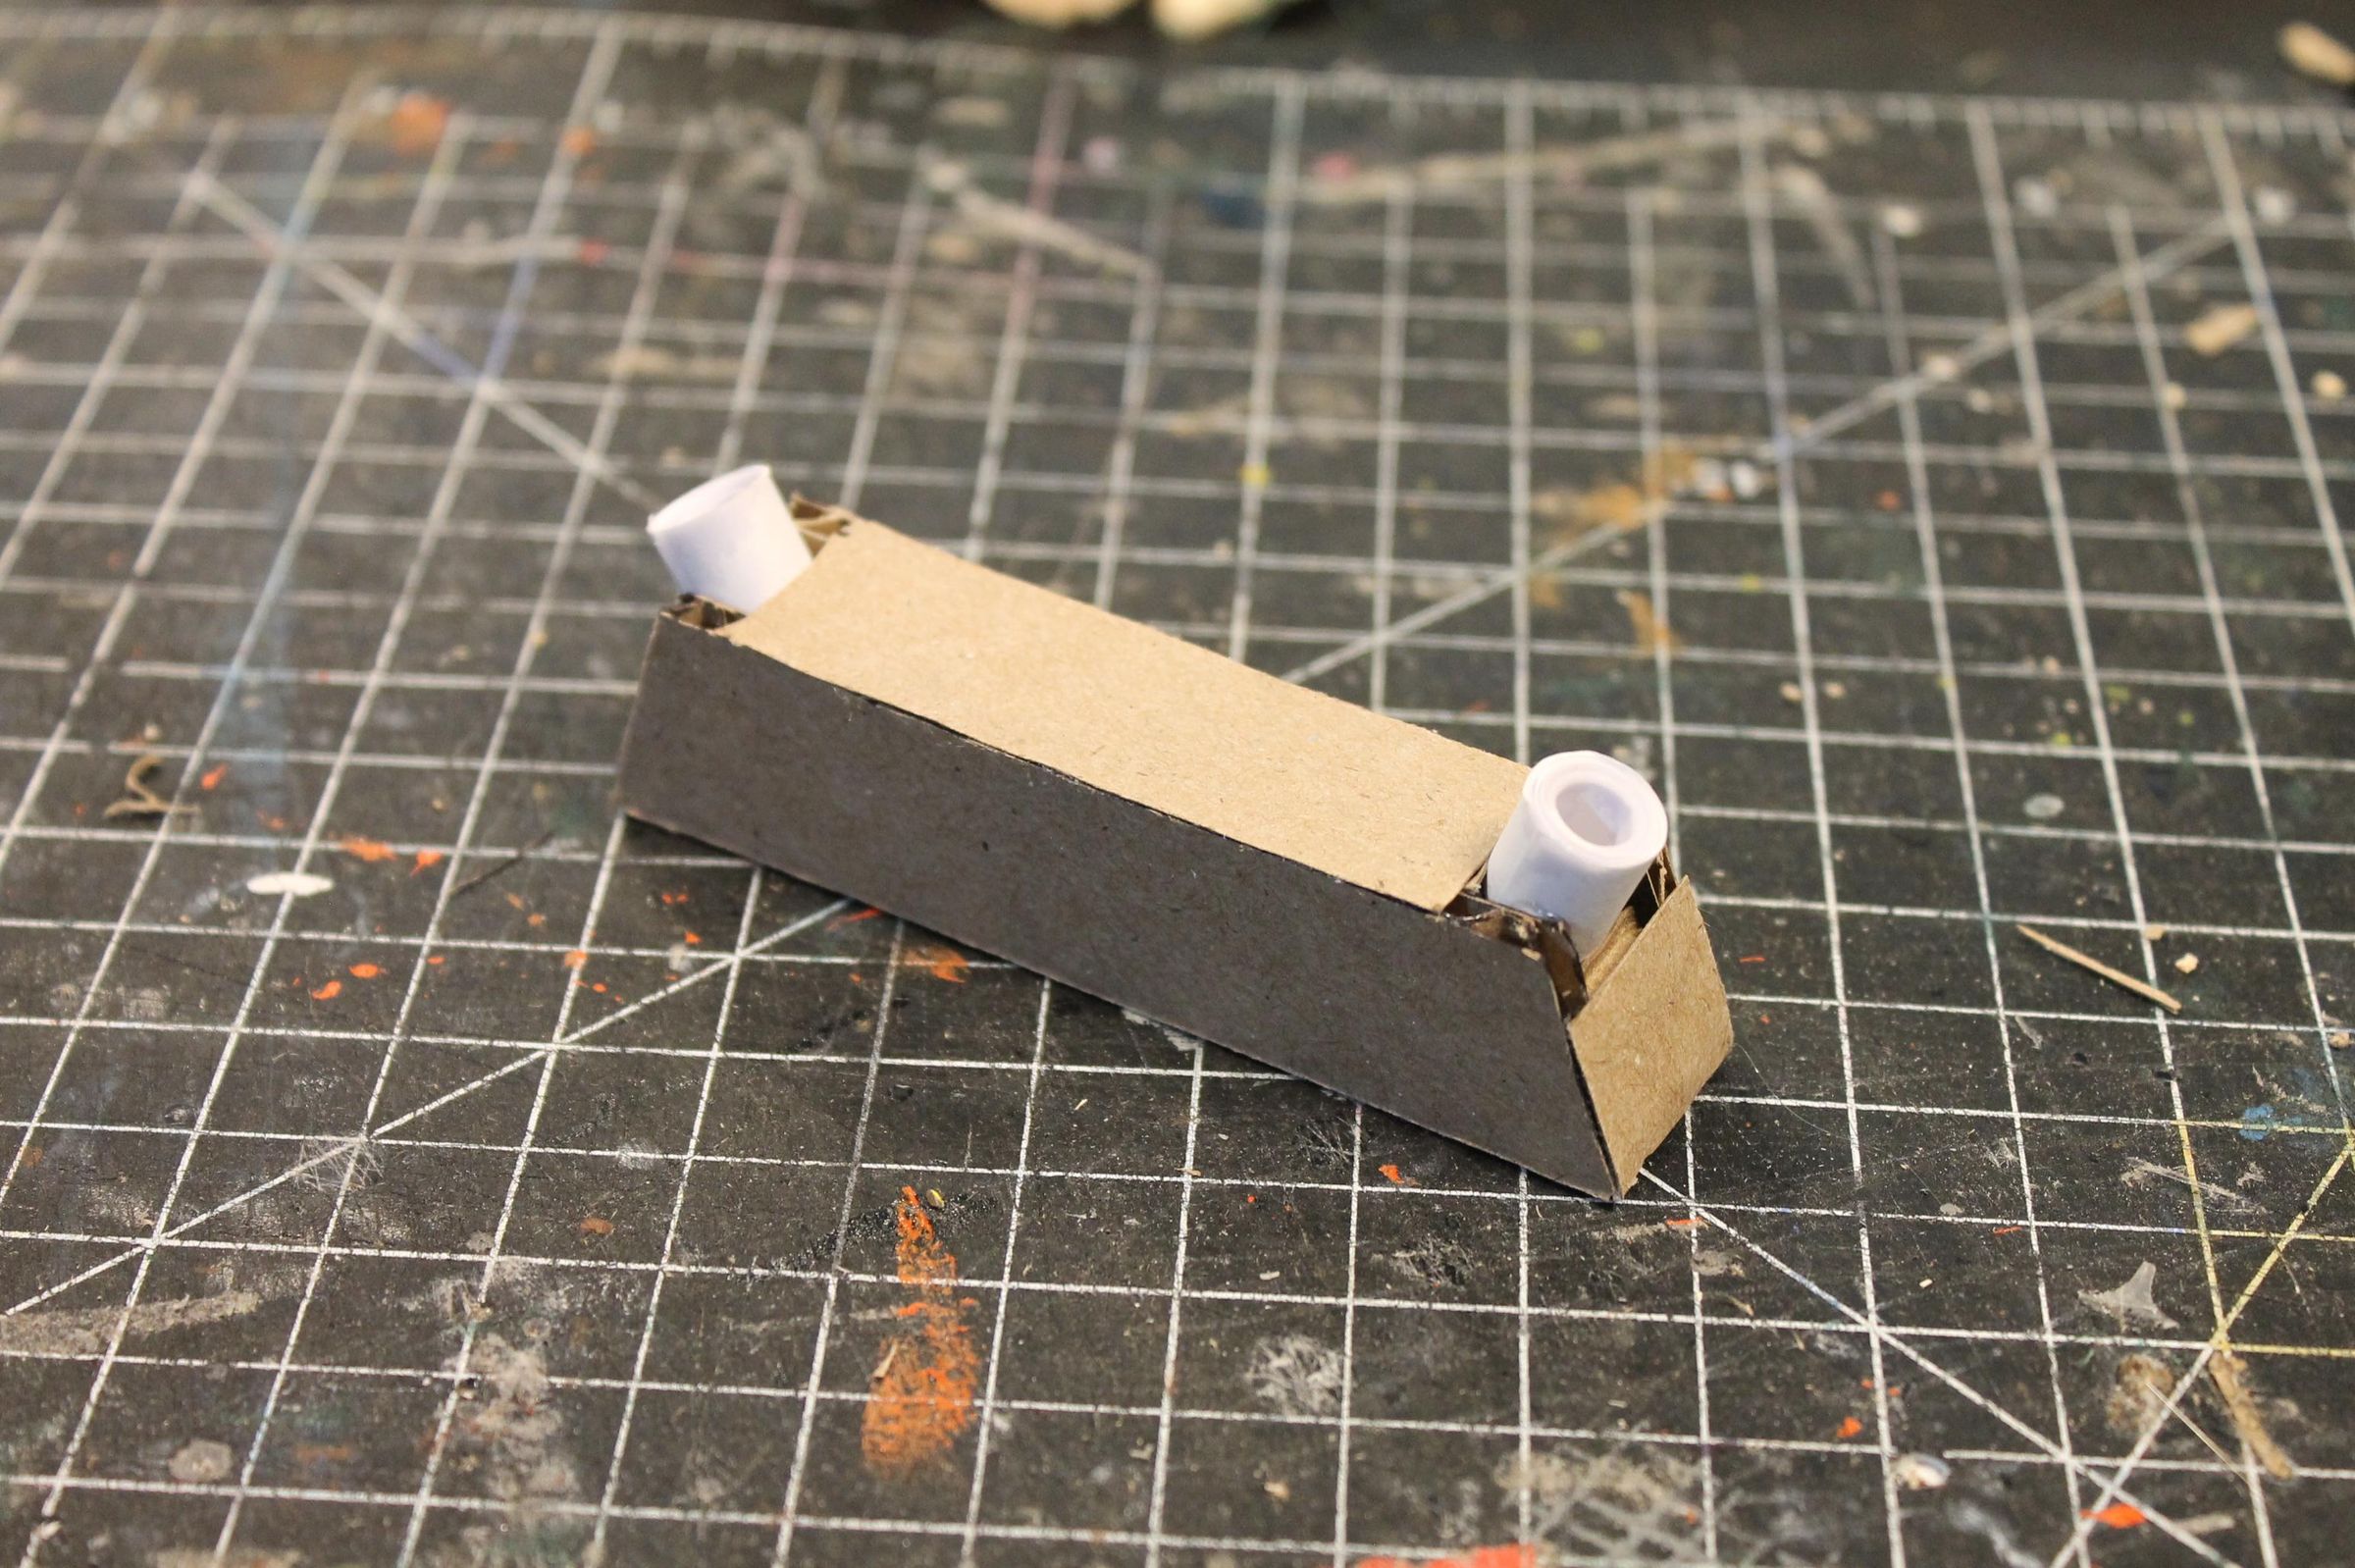
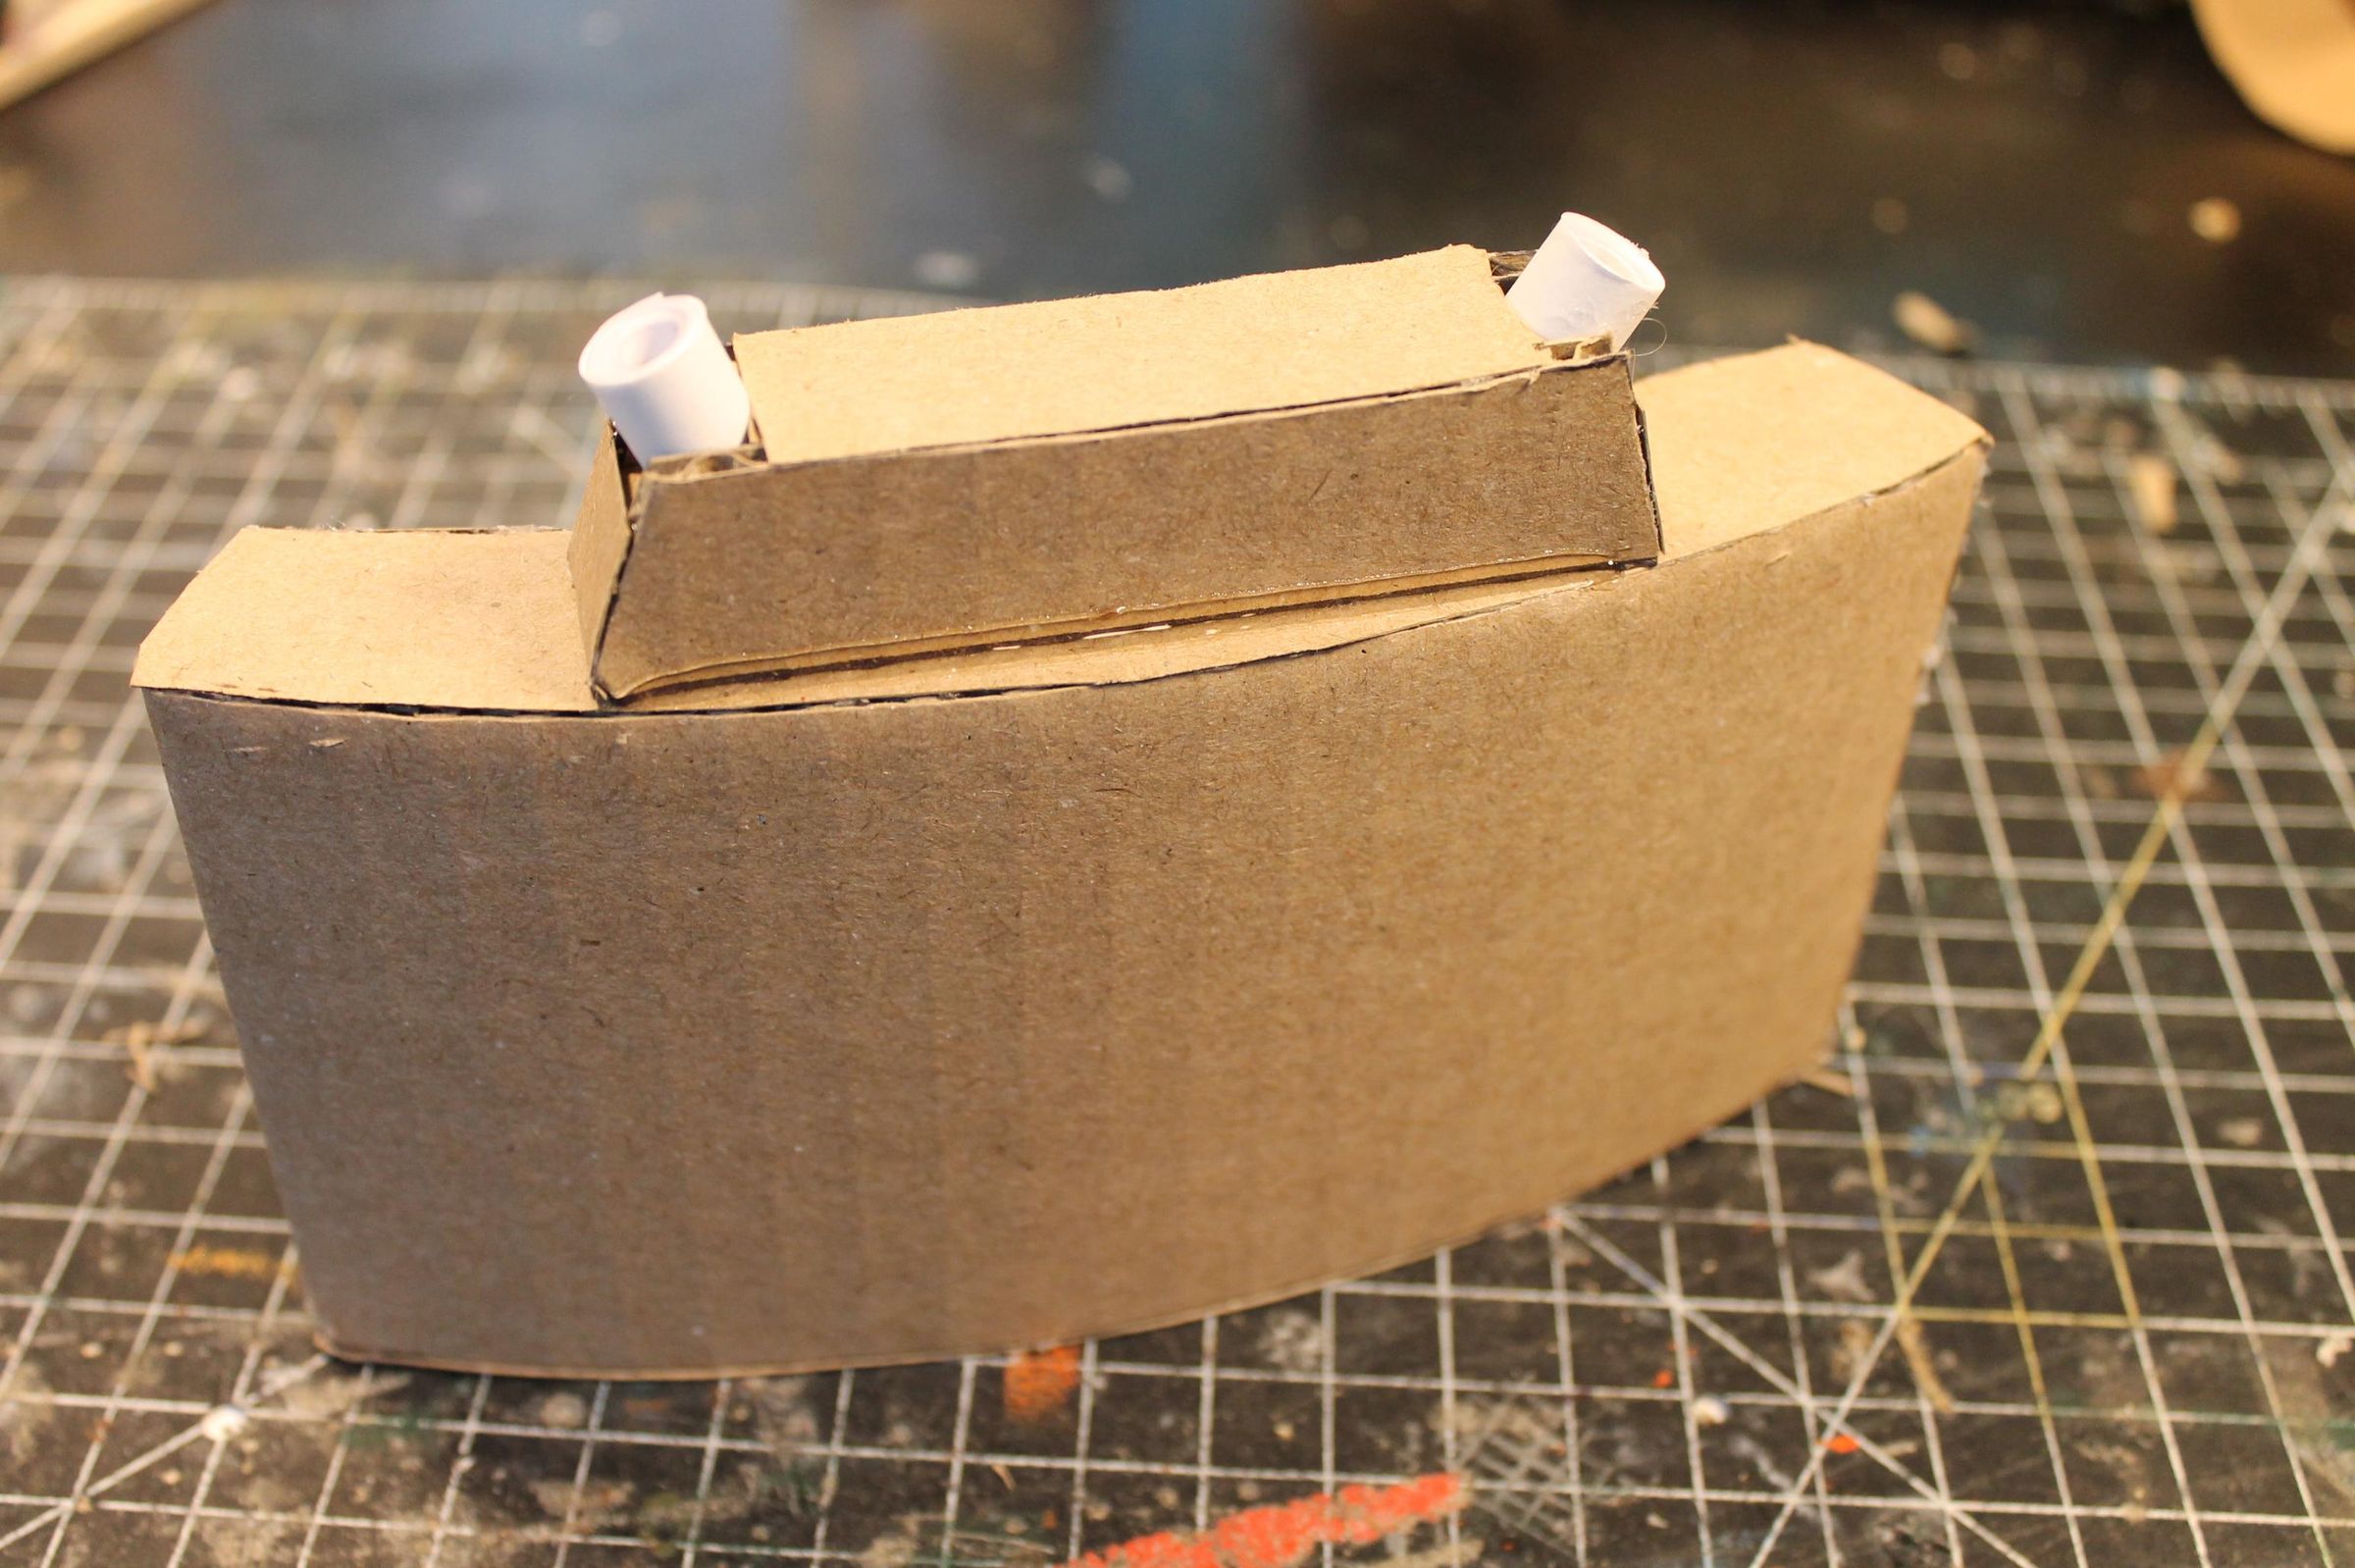
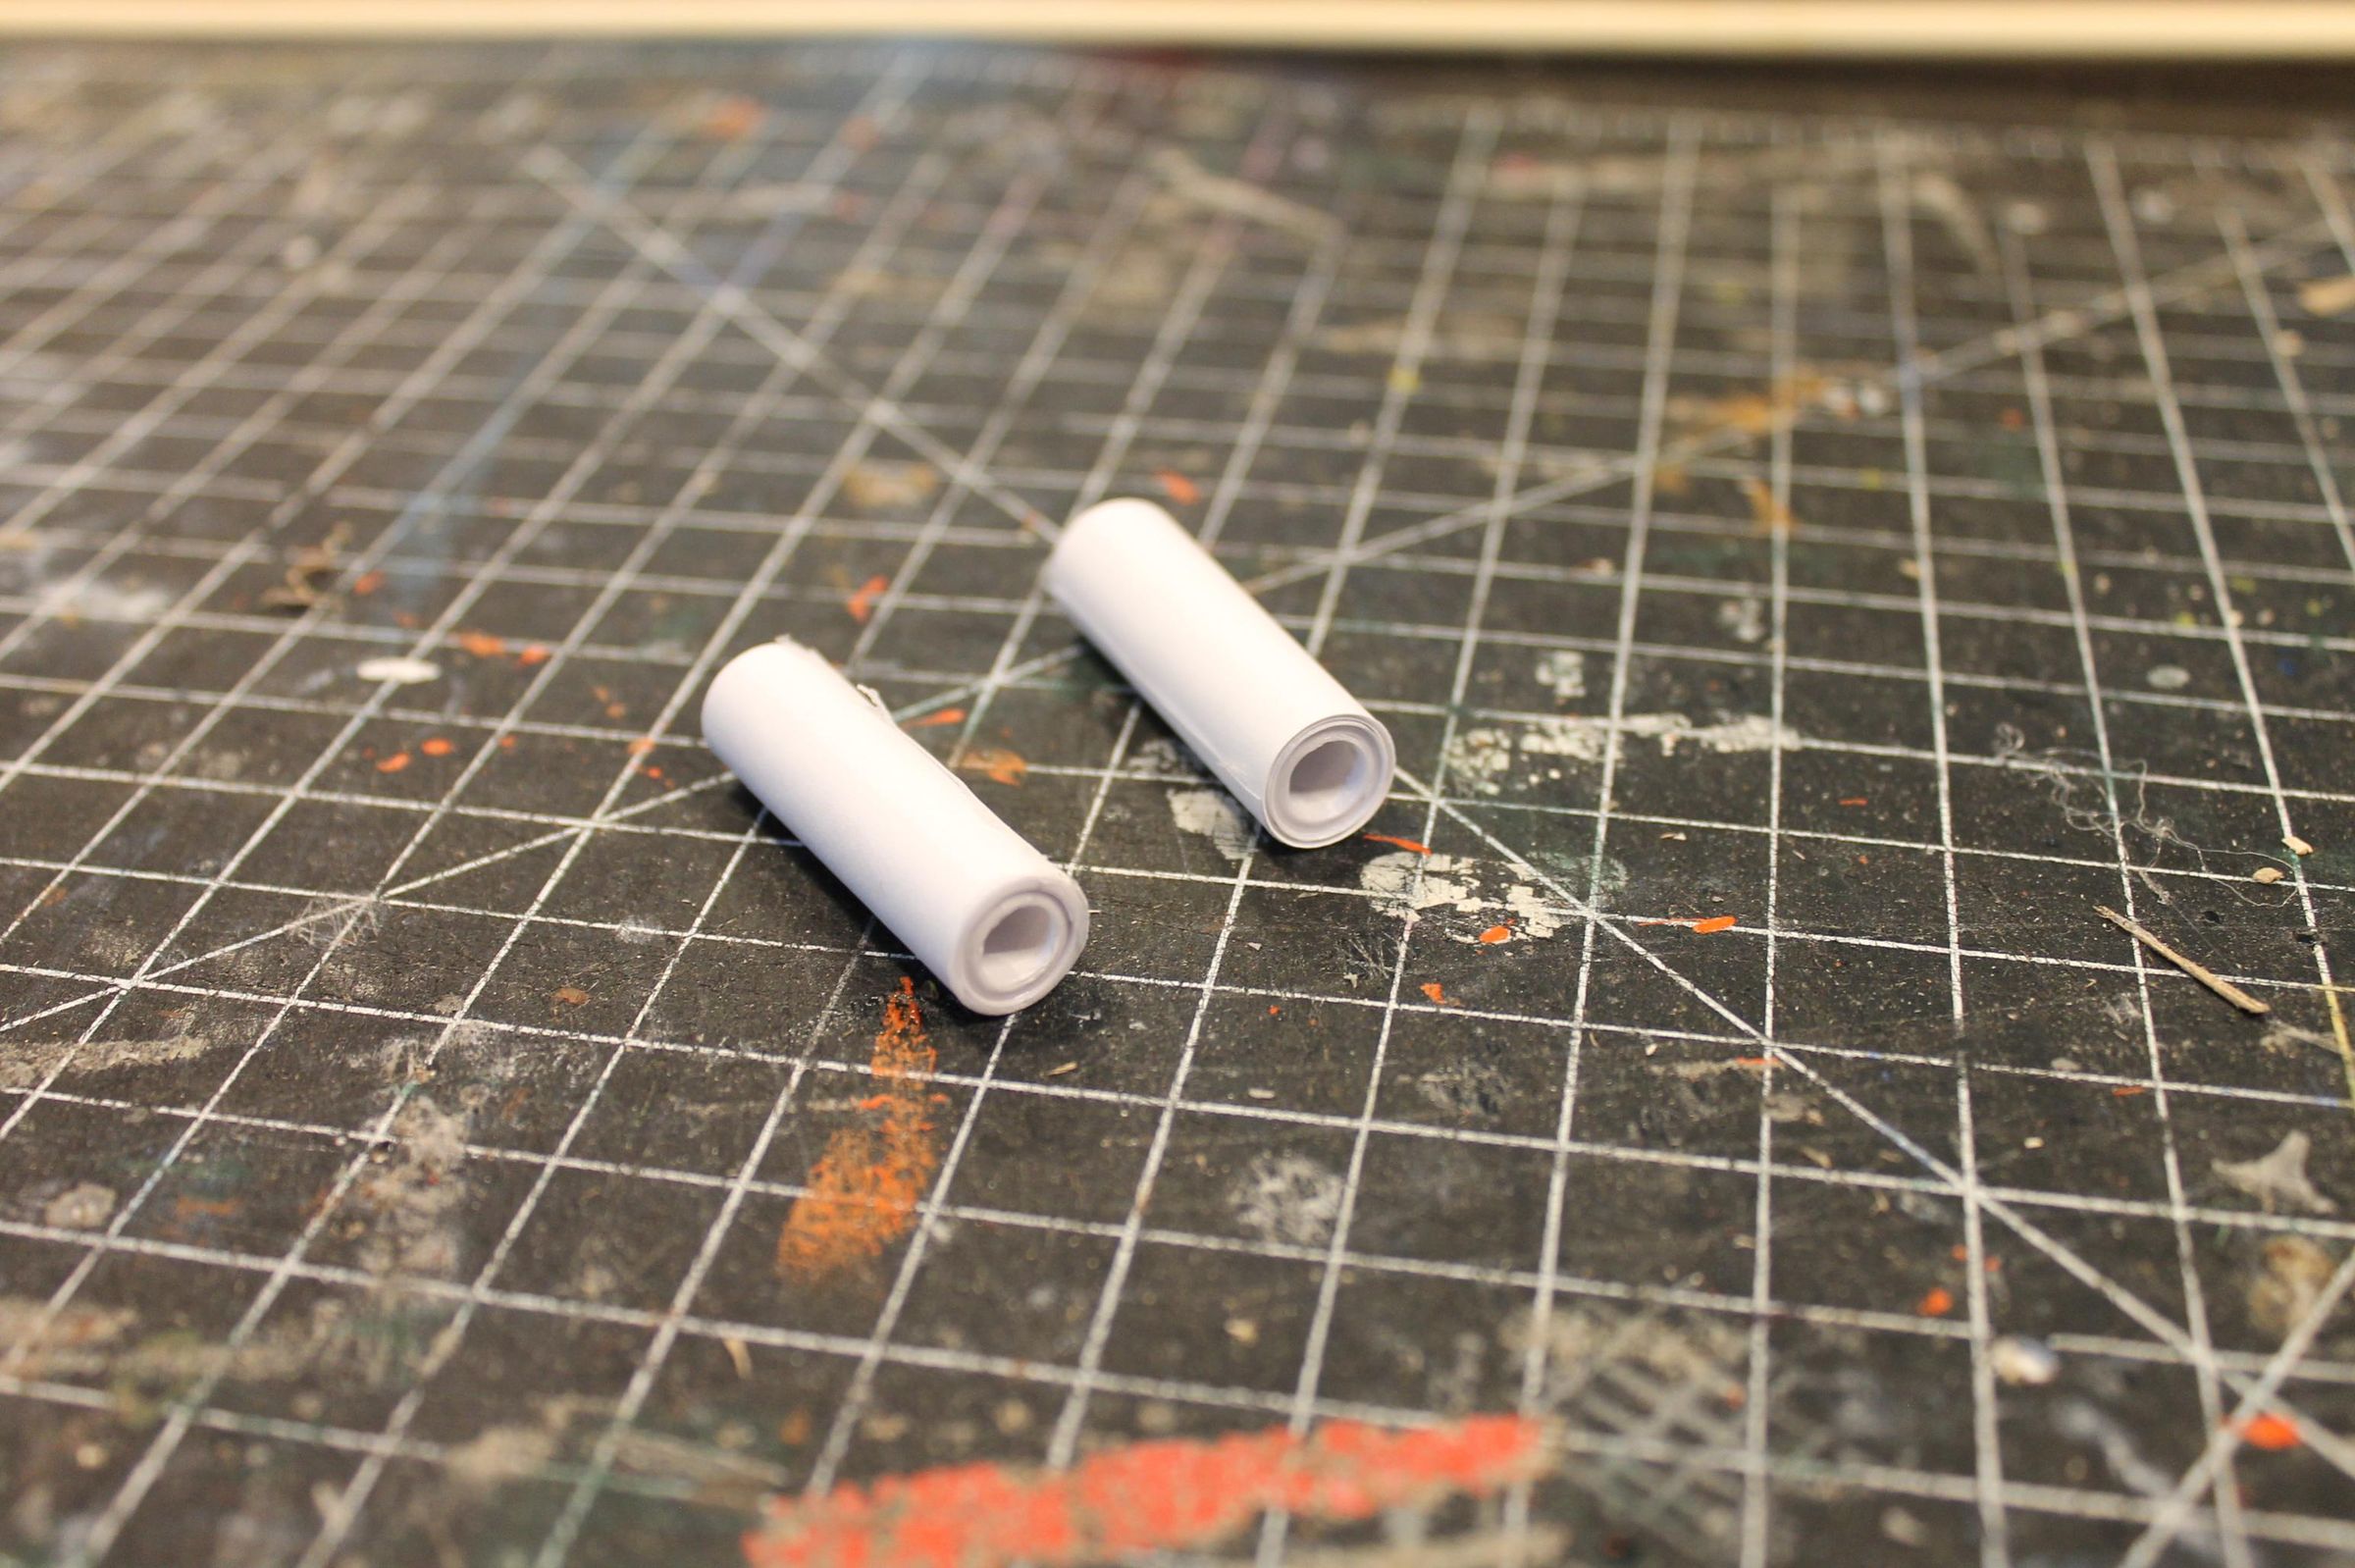
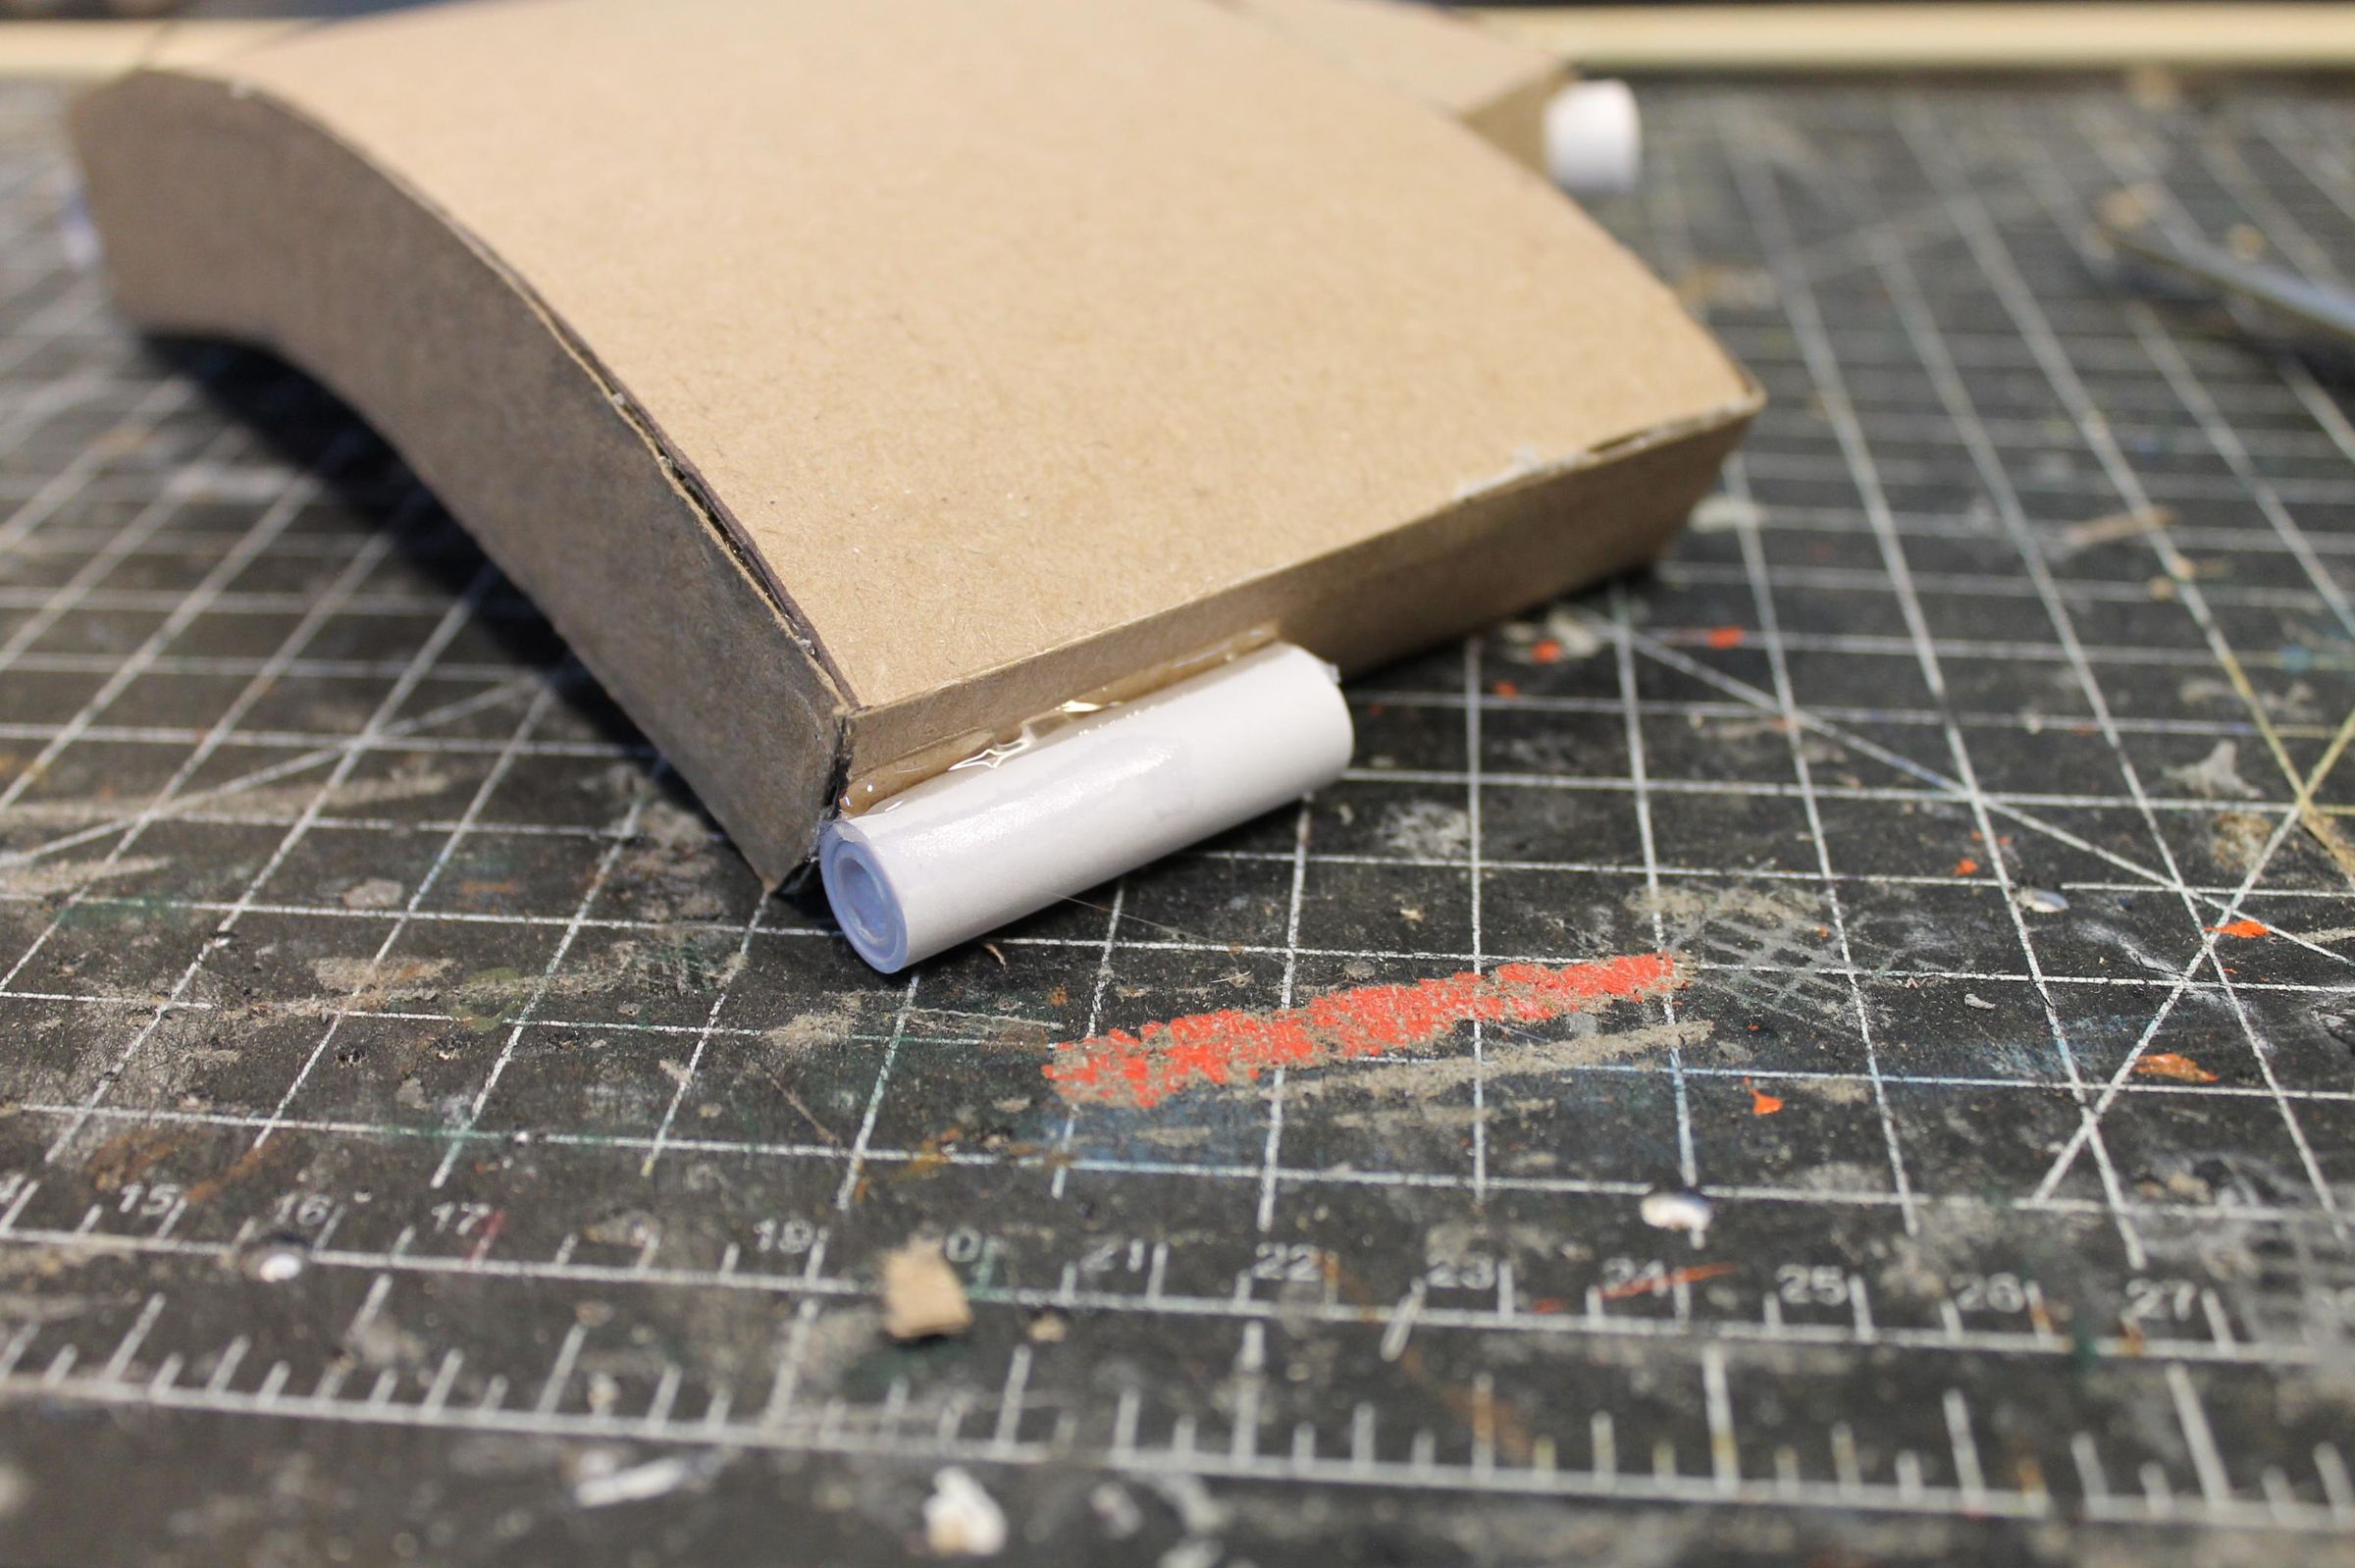
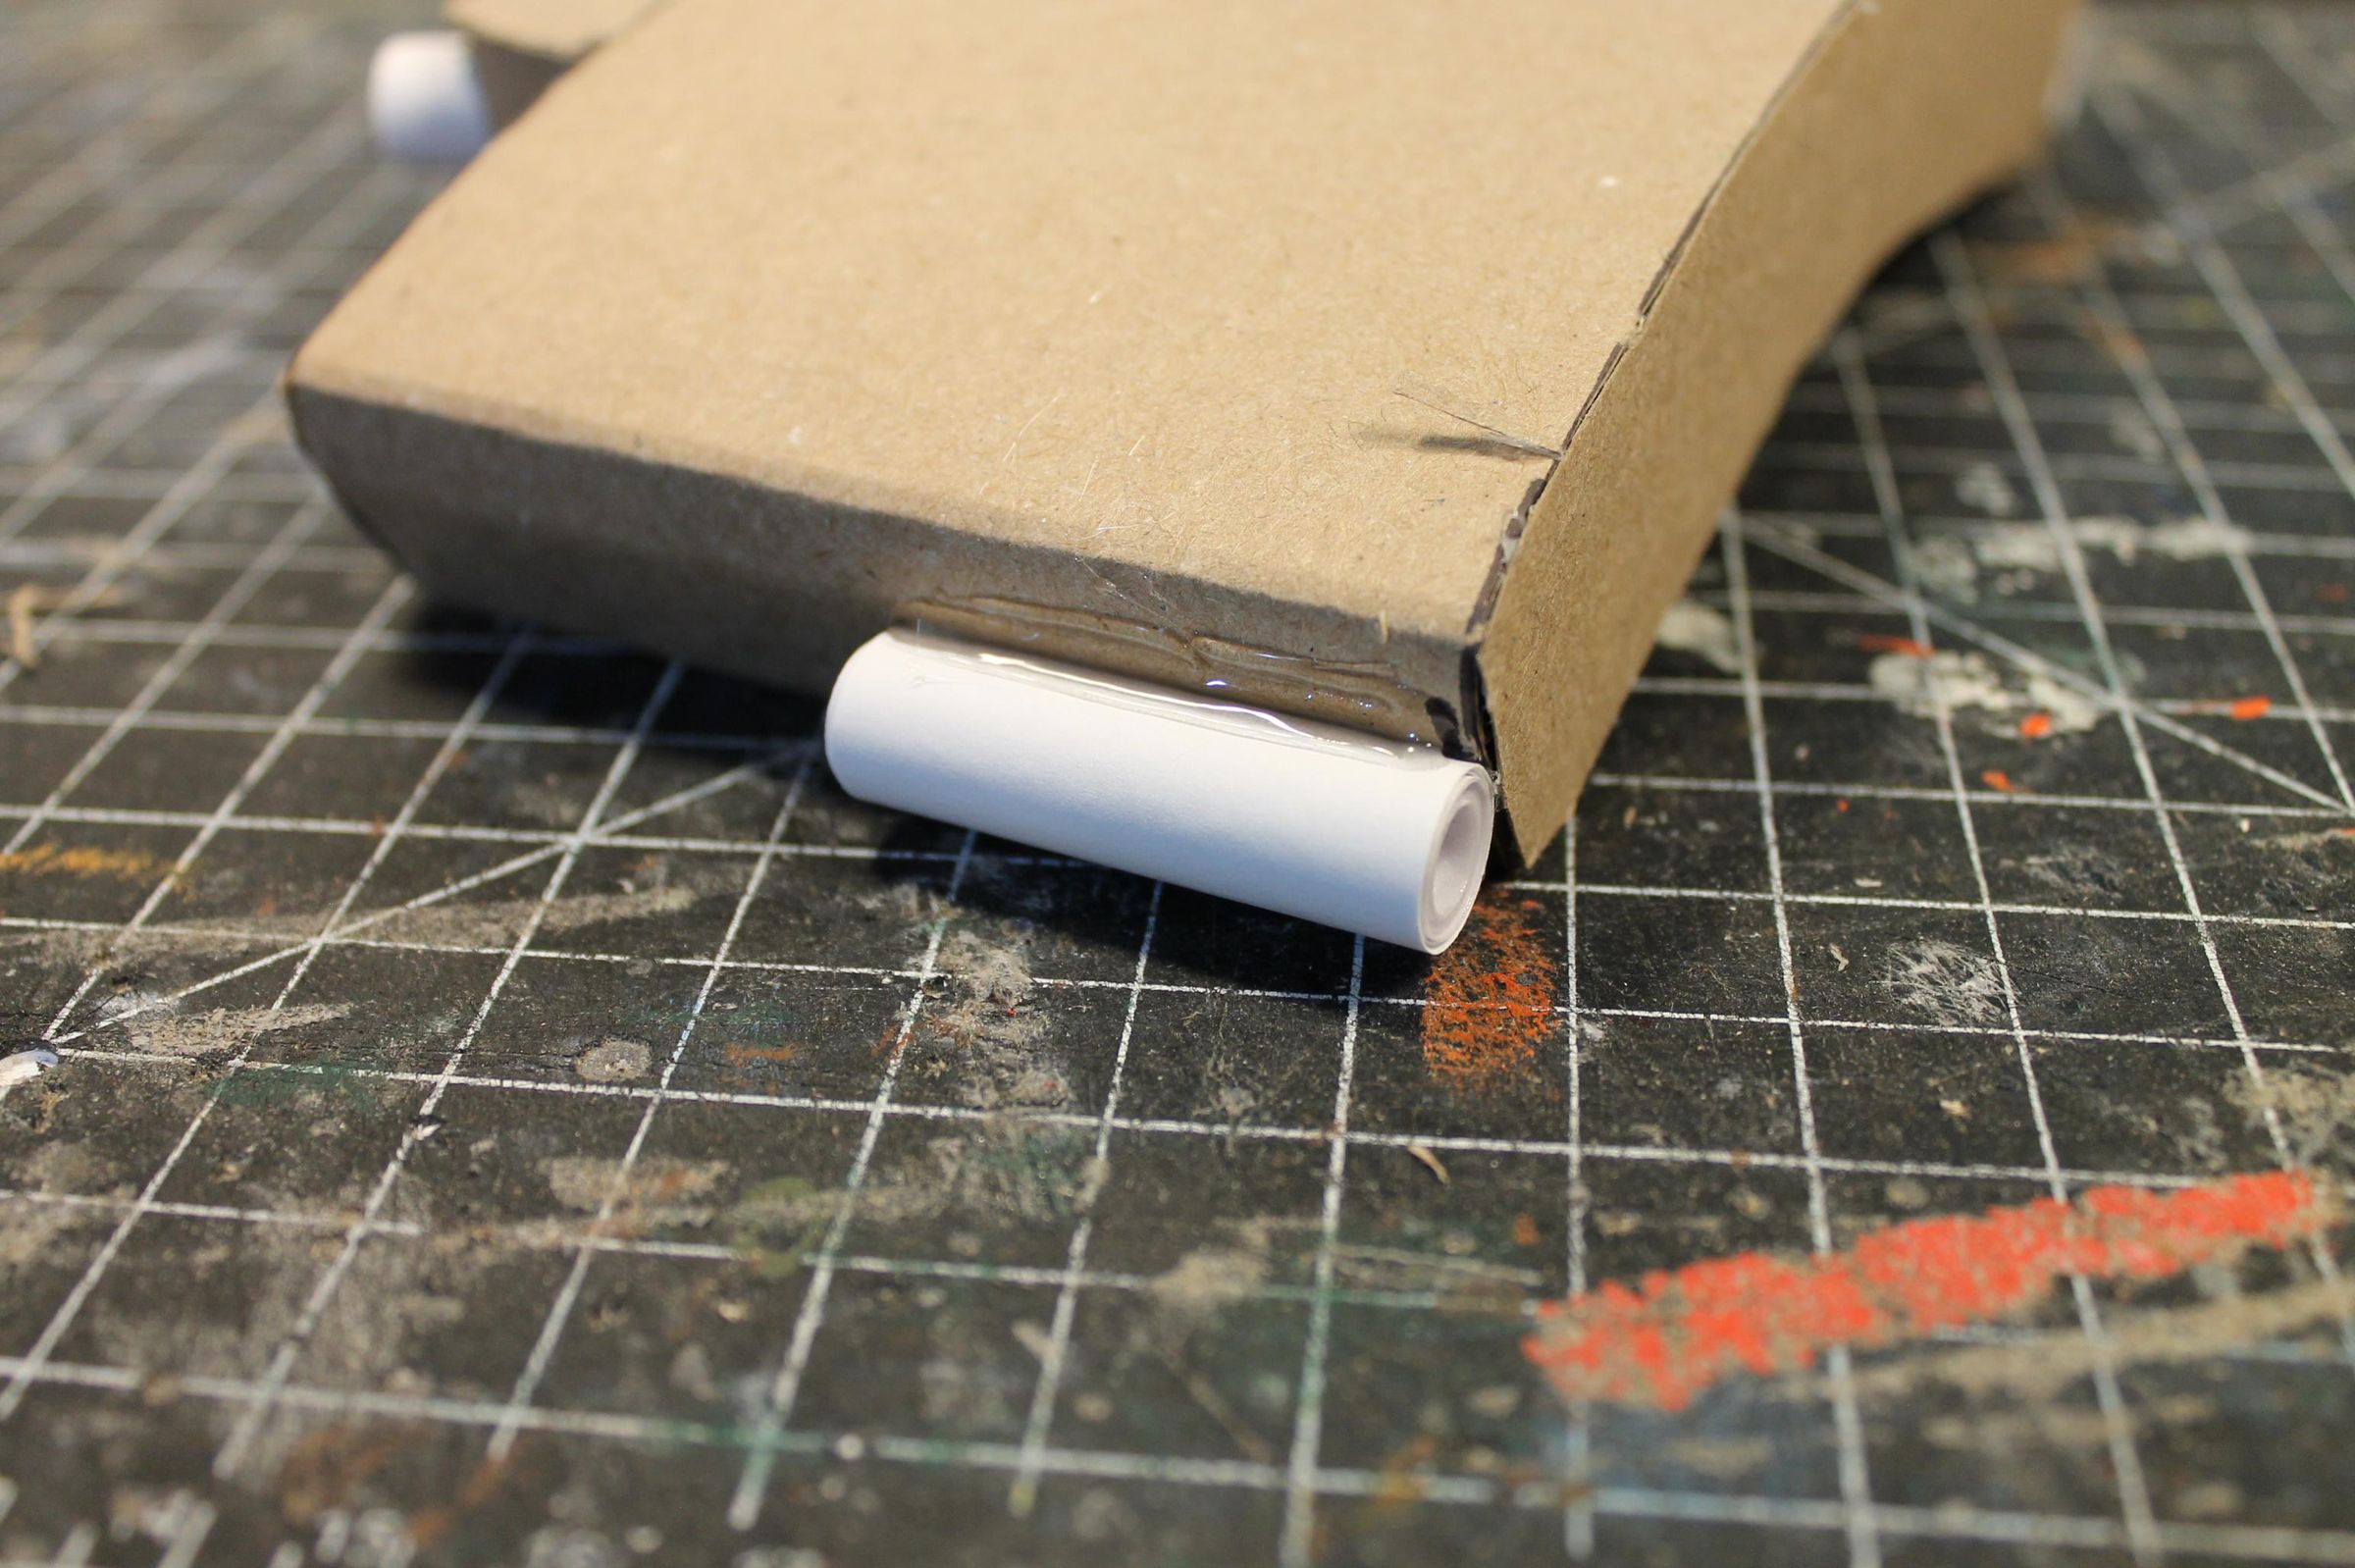
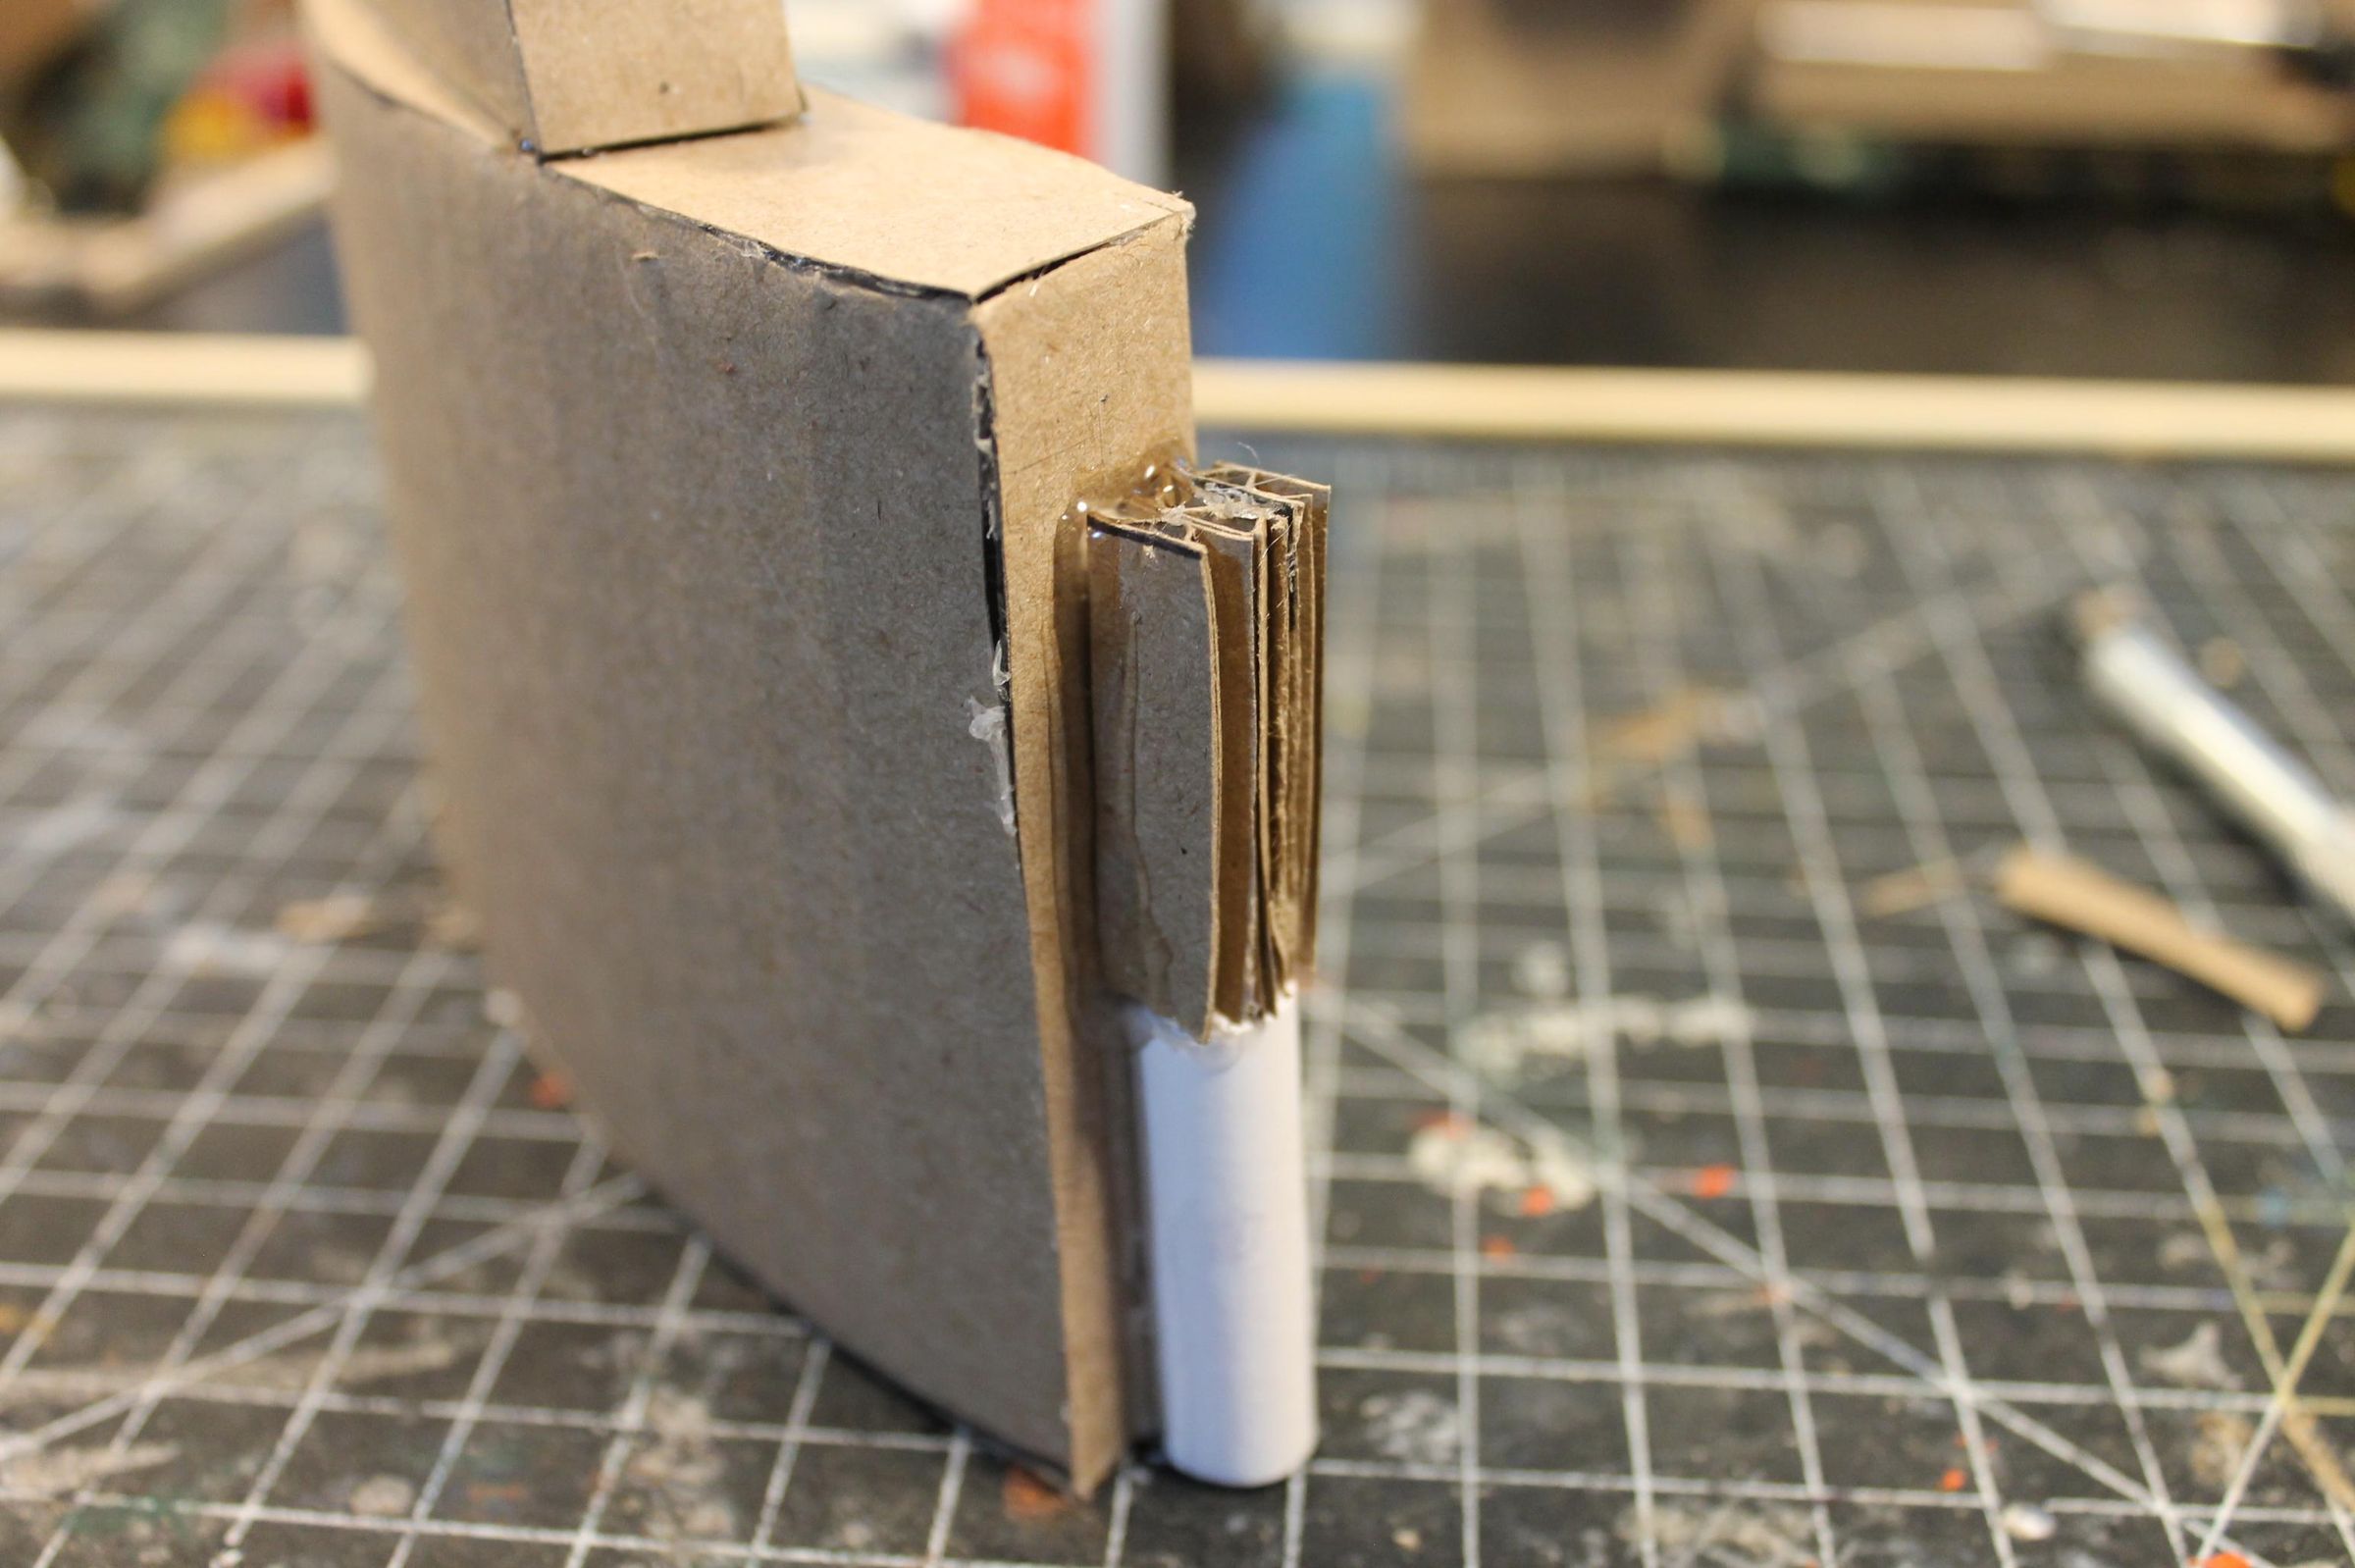
Here you will make the base of the Claymore. It should be a curved base like in pic 1. mine was about 6 1/2 inches at its longest point. Cut out two of the bases and shave a thin sliver off the sides making a lip. Cut another long piece of cardboard that is approximately 3 1/2 inches tall. wrap the long piece around the perimeter of the first base, gluing it into the groove. Taking the second base, glue it to the top, making a curved box. Roll two sections of paper about an inch tall and cut two mounting panels. glue the two tubes onto one of the panels and then mount the other one to the other side. Cut another long thing strip of cardboard and make the grooves. Glue it into the top of what you just made in pic 9. Glue the entire apparatus onto the top of the claymore. Roll two more tubes to hold the support legs. Glue the tubes to each side of the claymore. Add a small stopper at the top so that the legs do not slide out.
Insert the TRAP
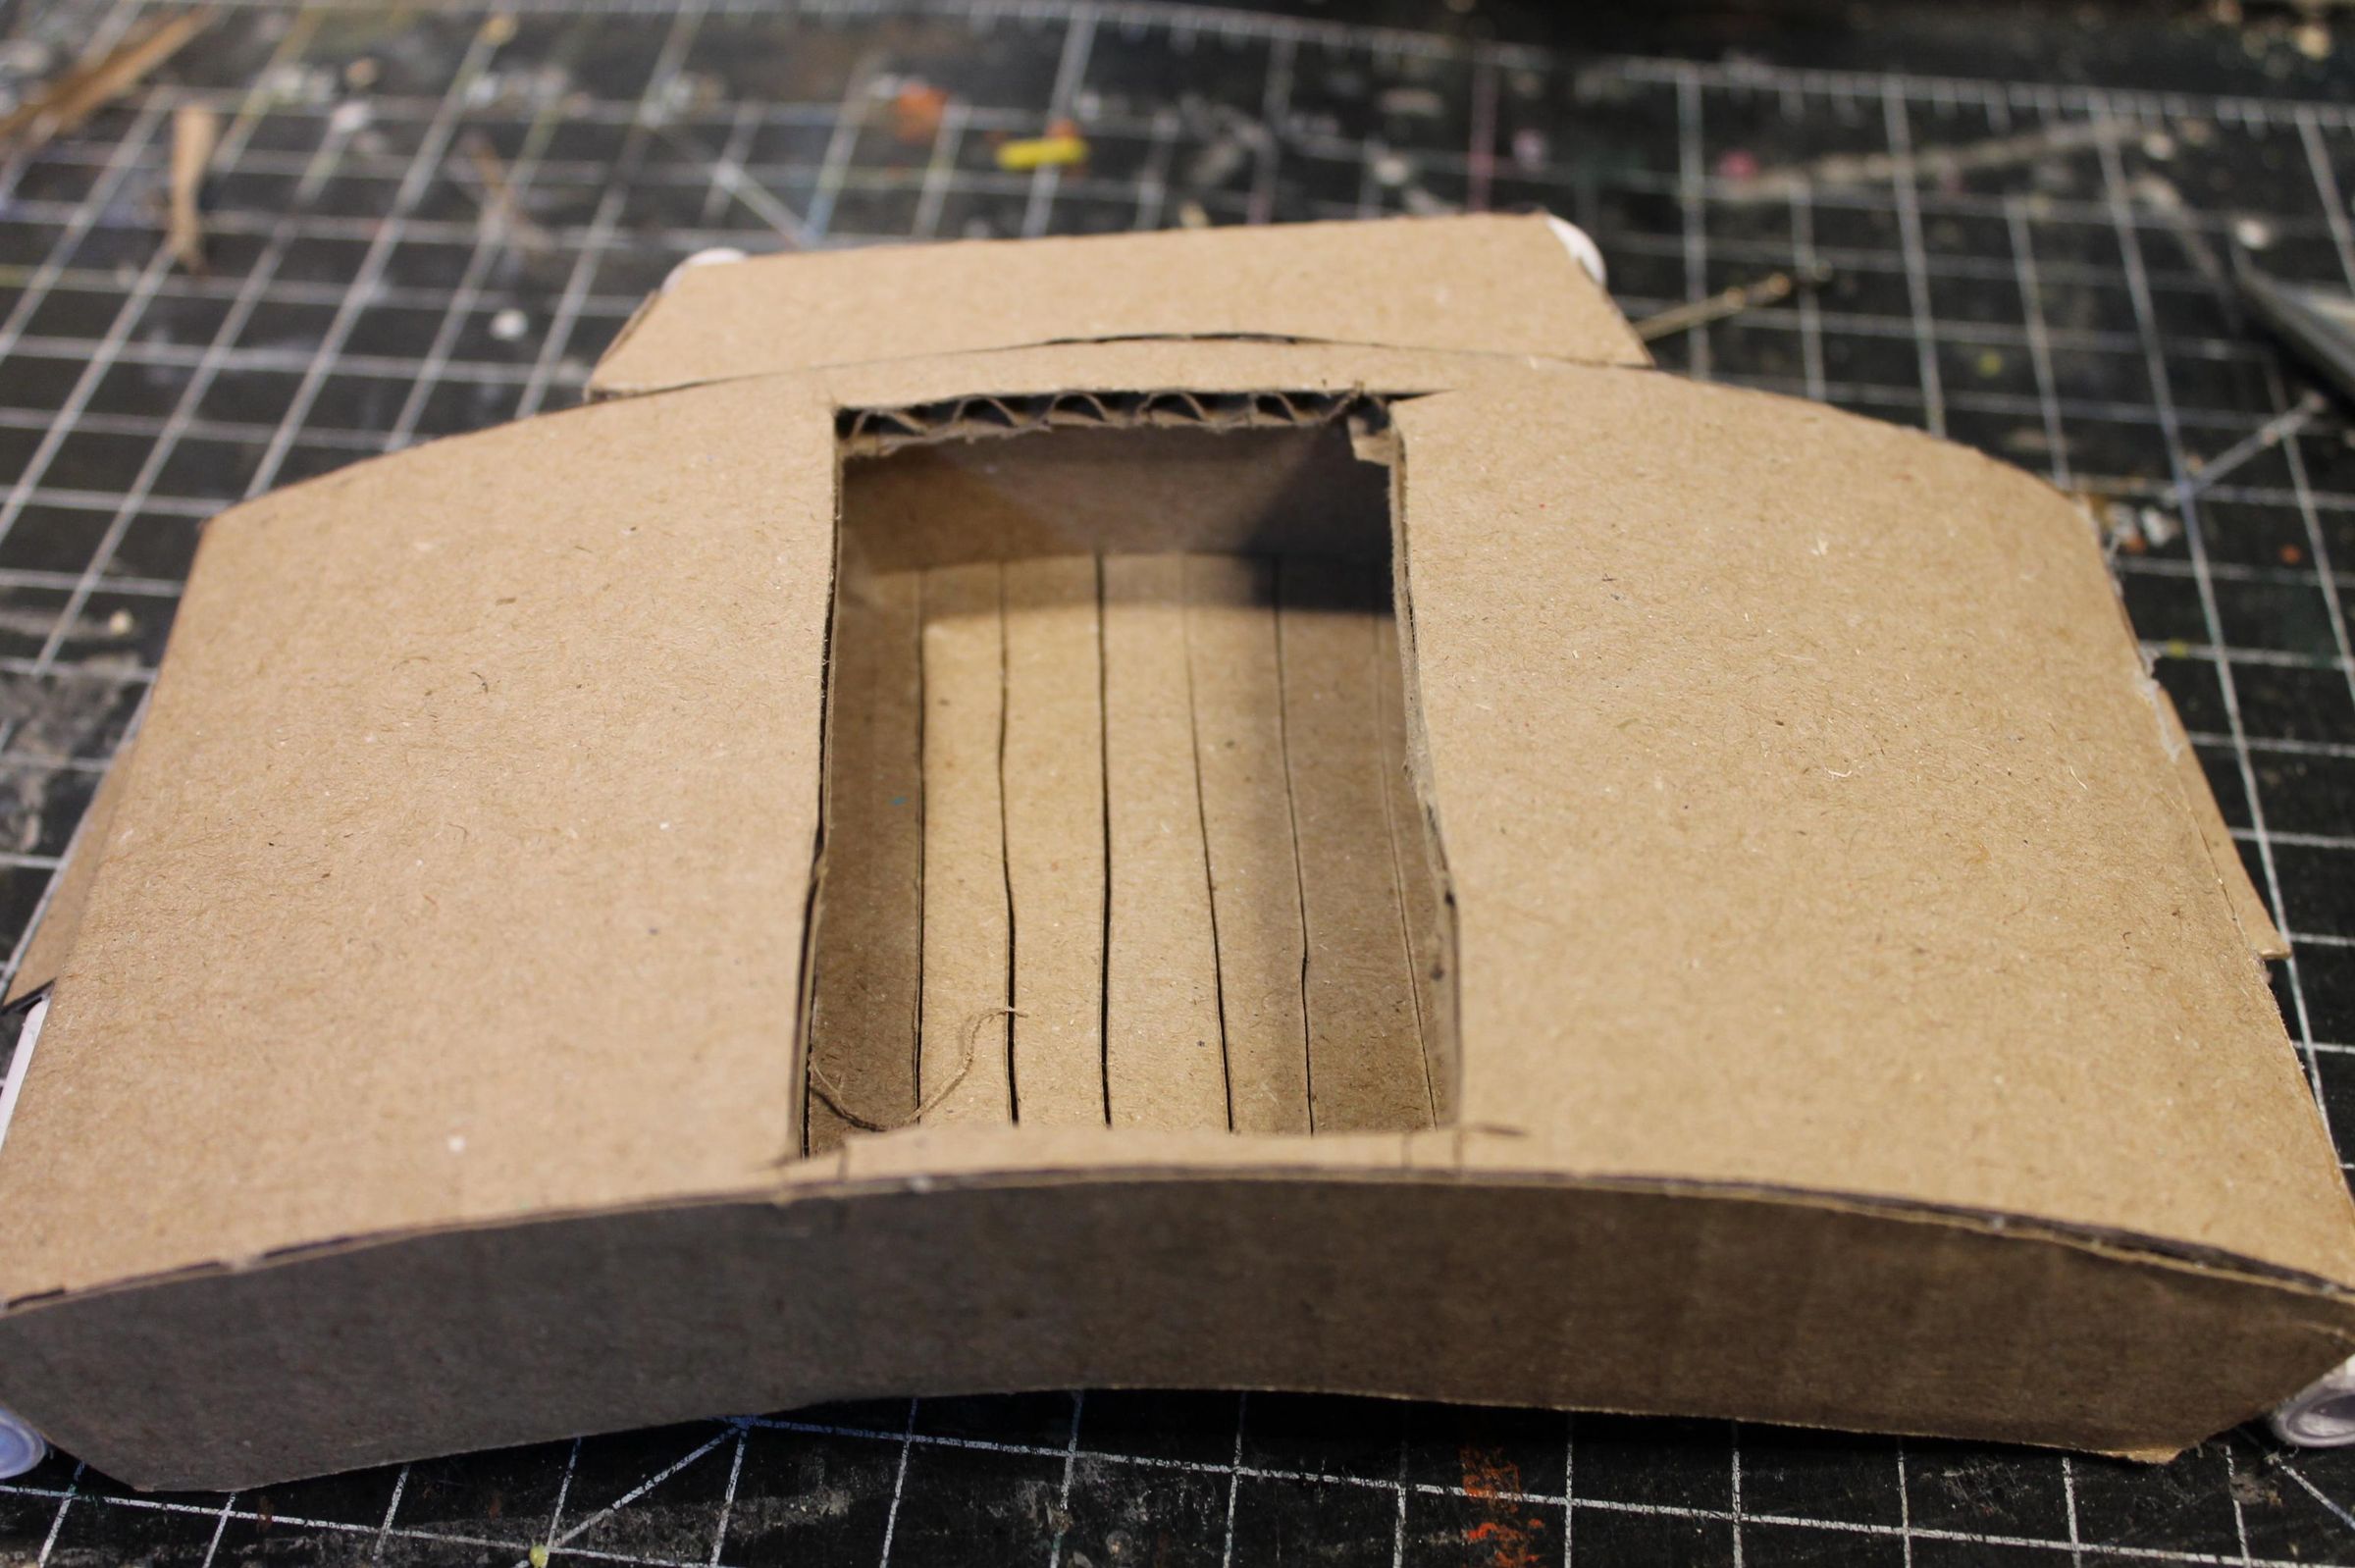
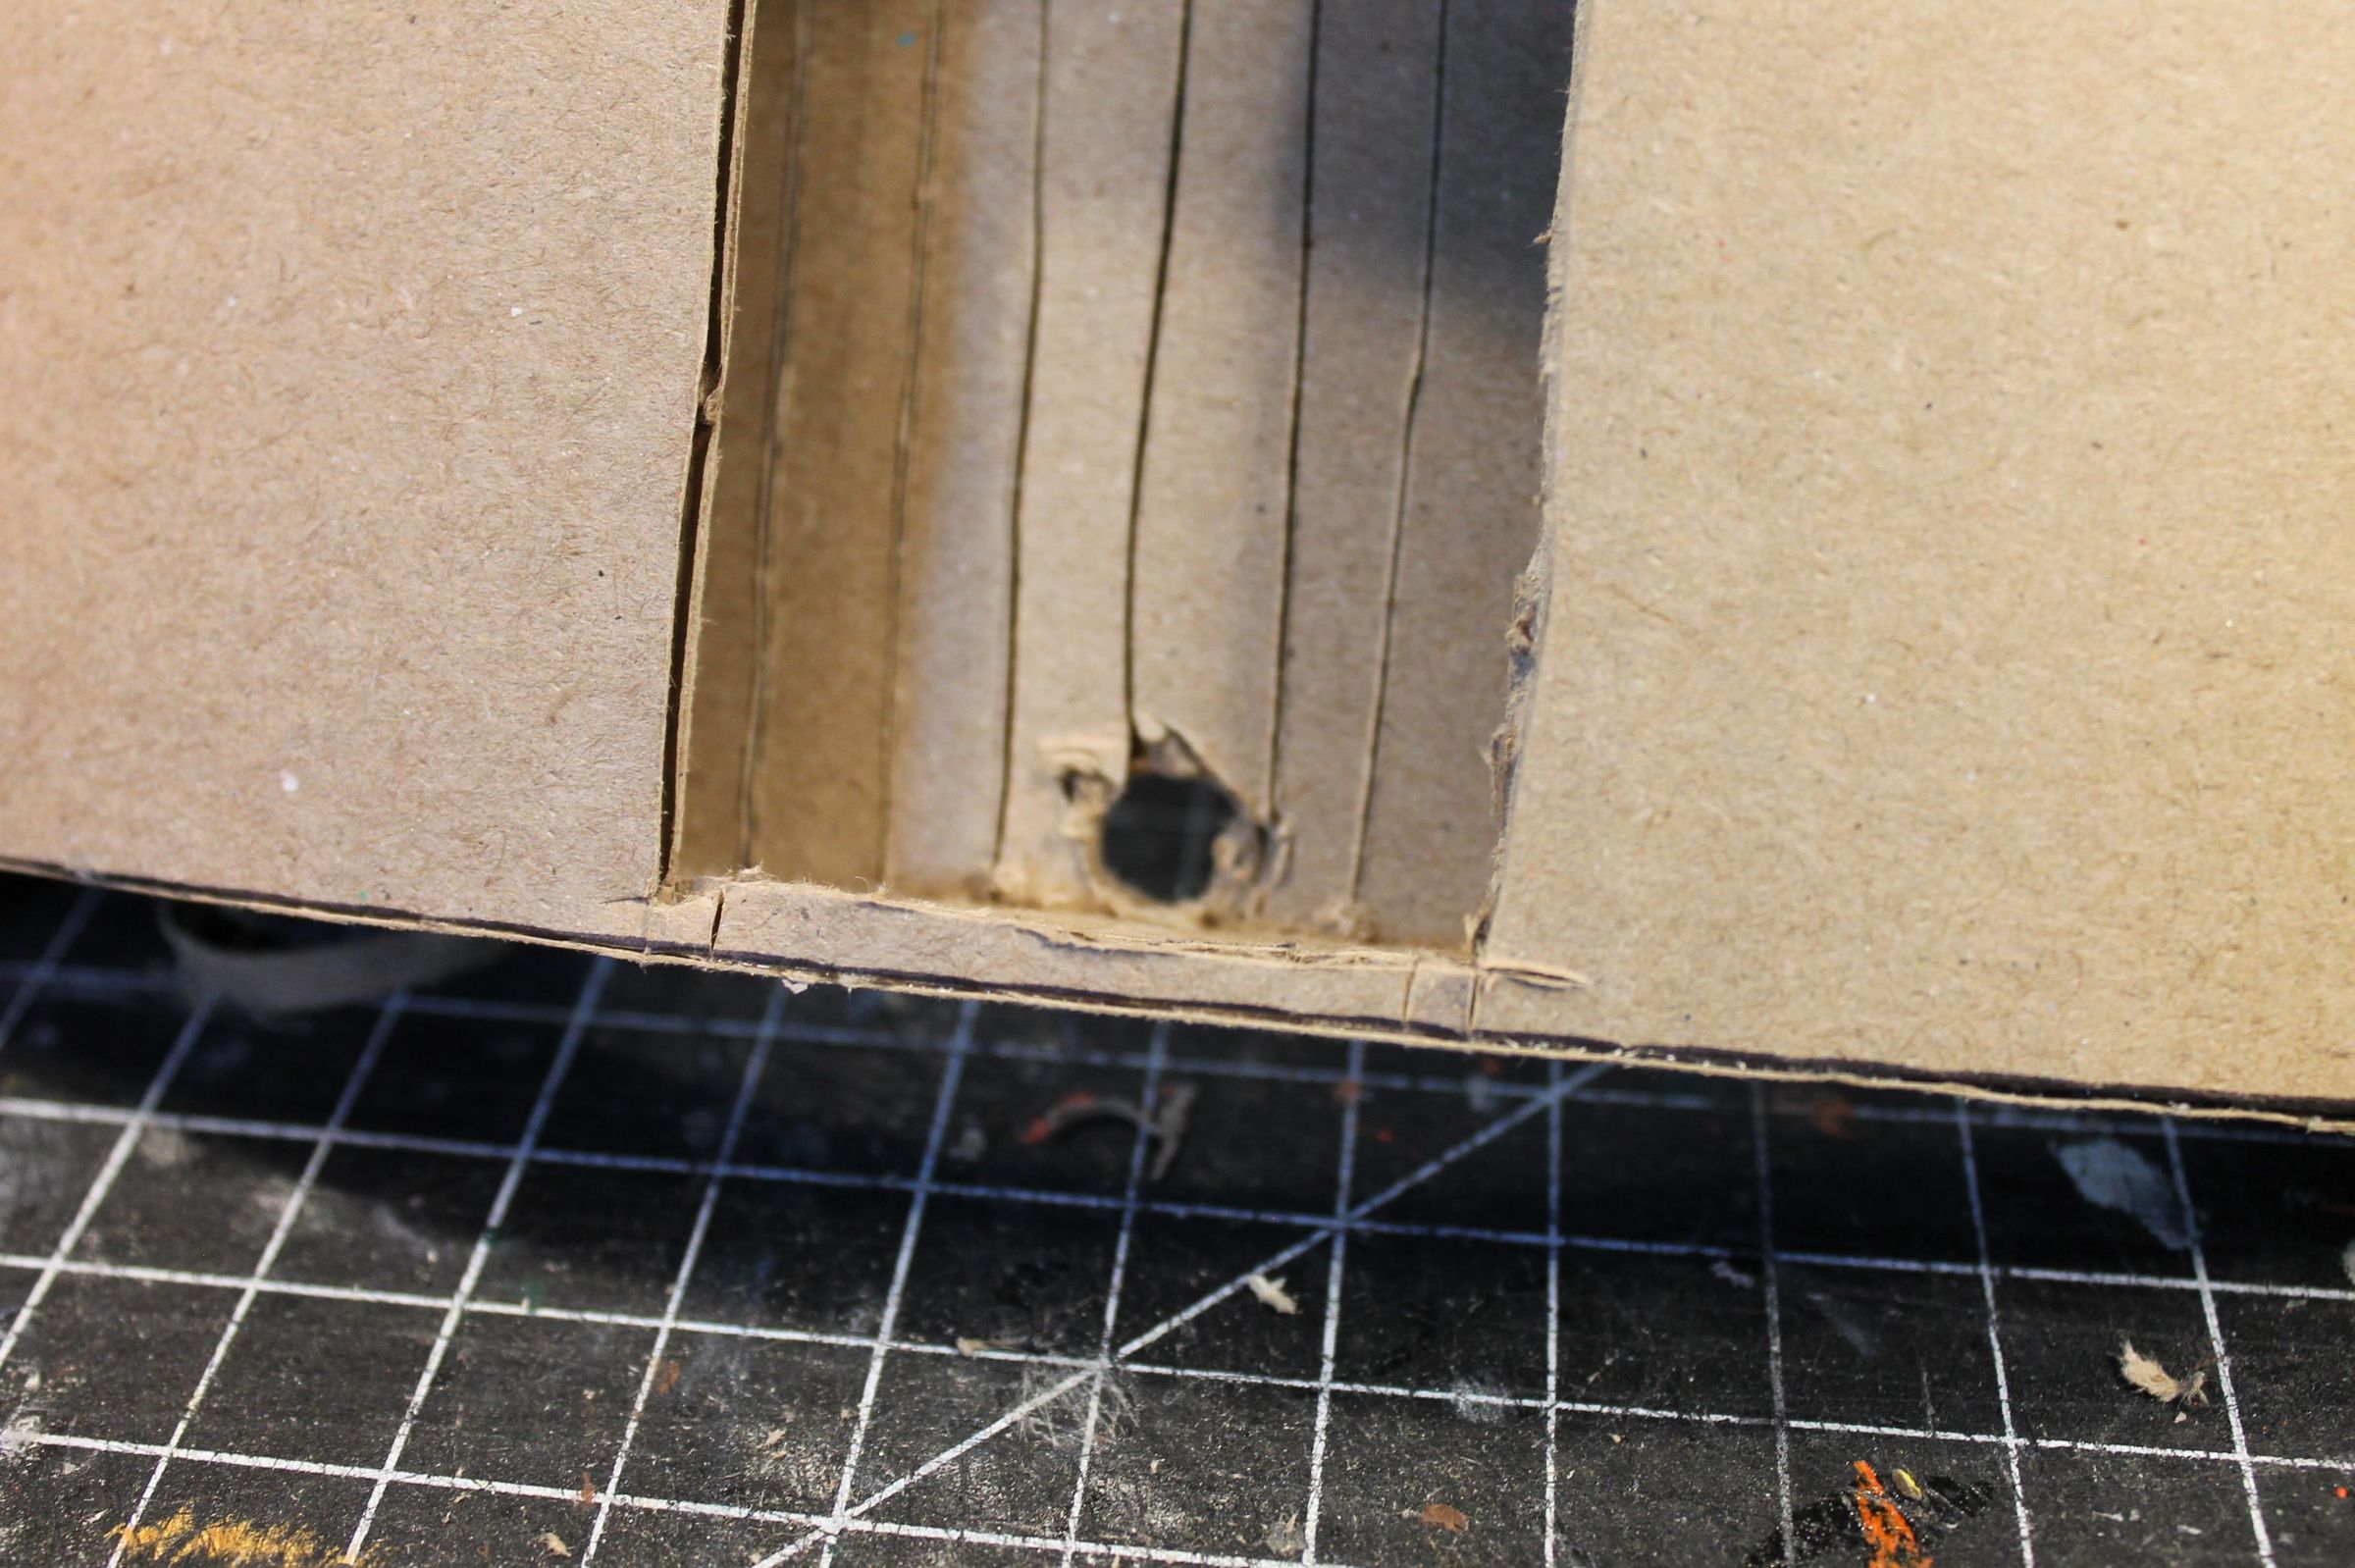
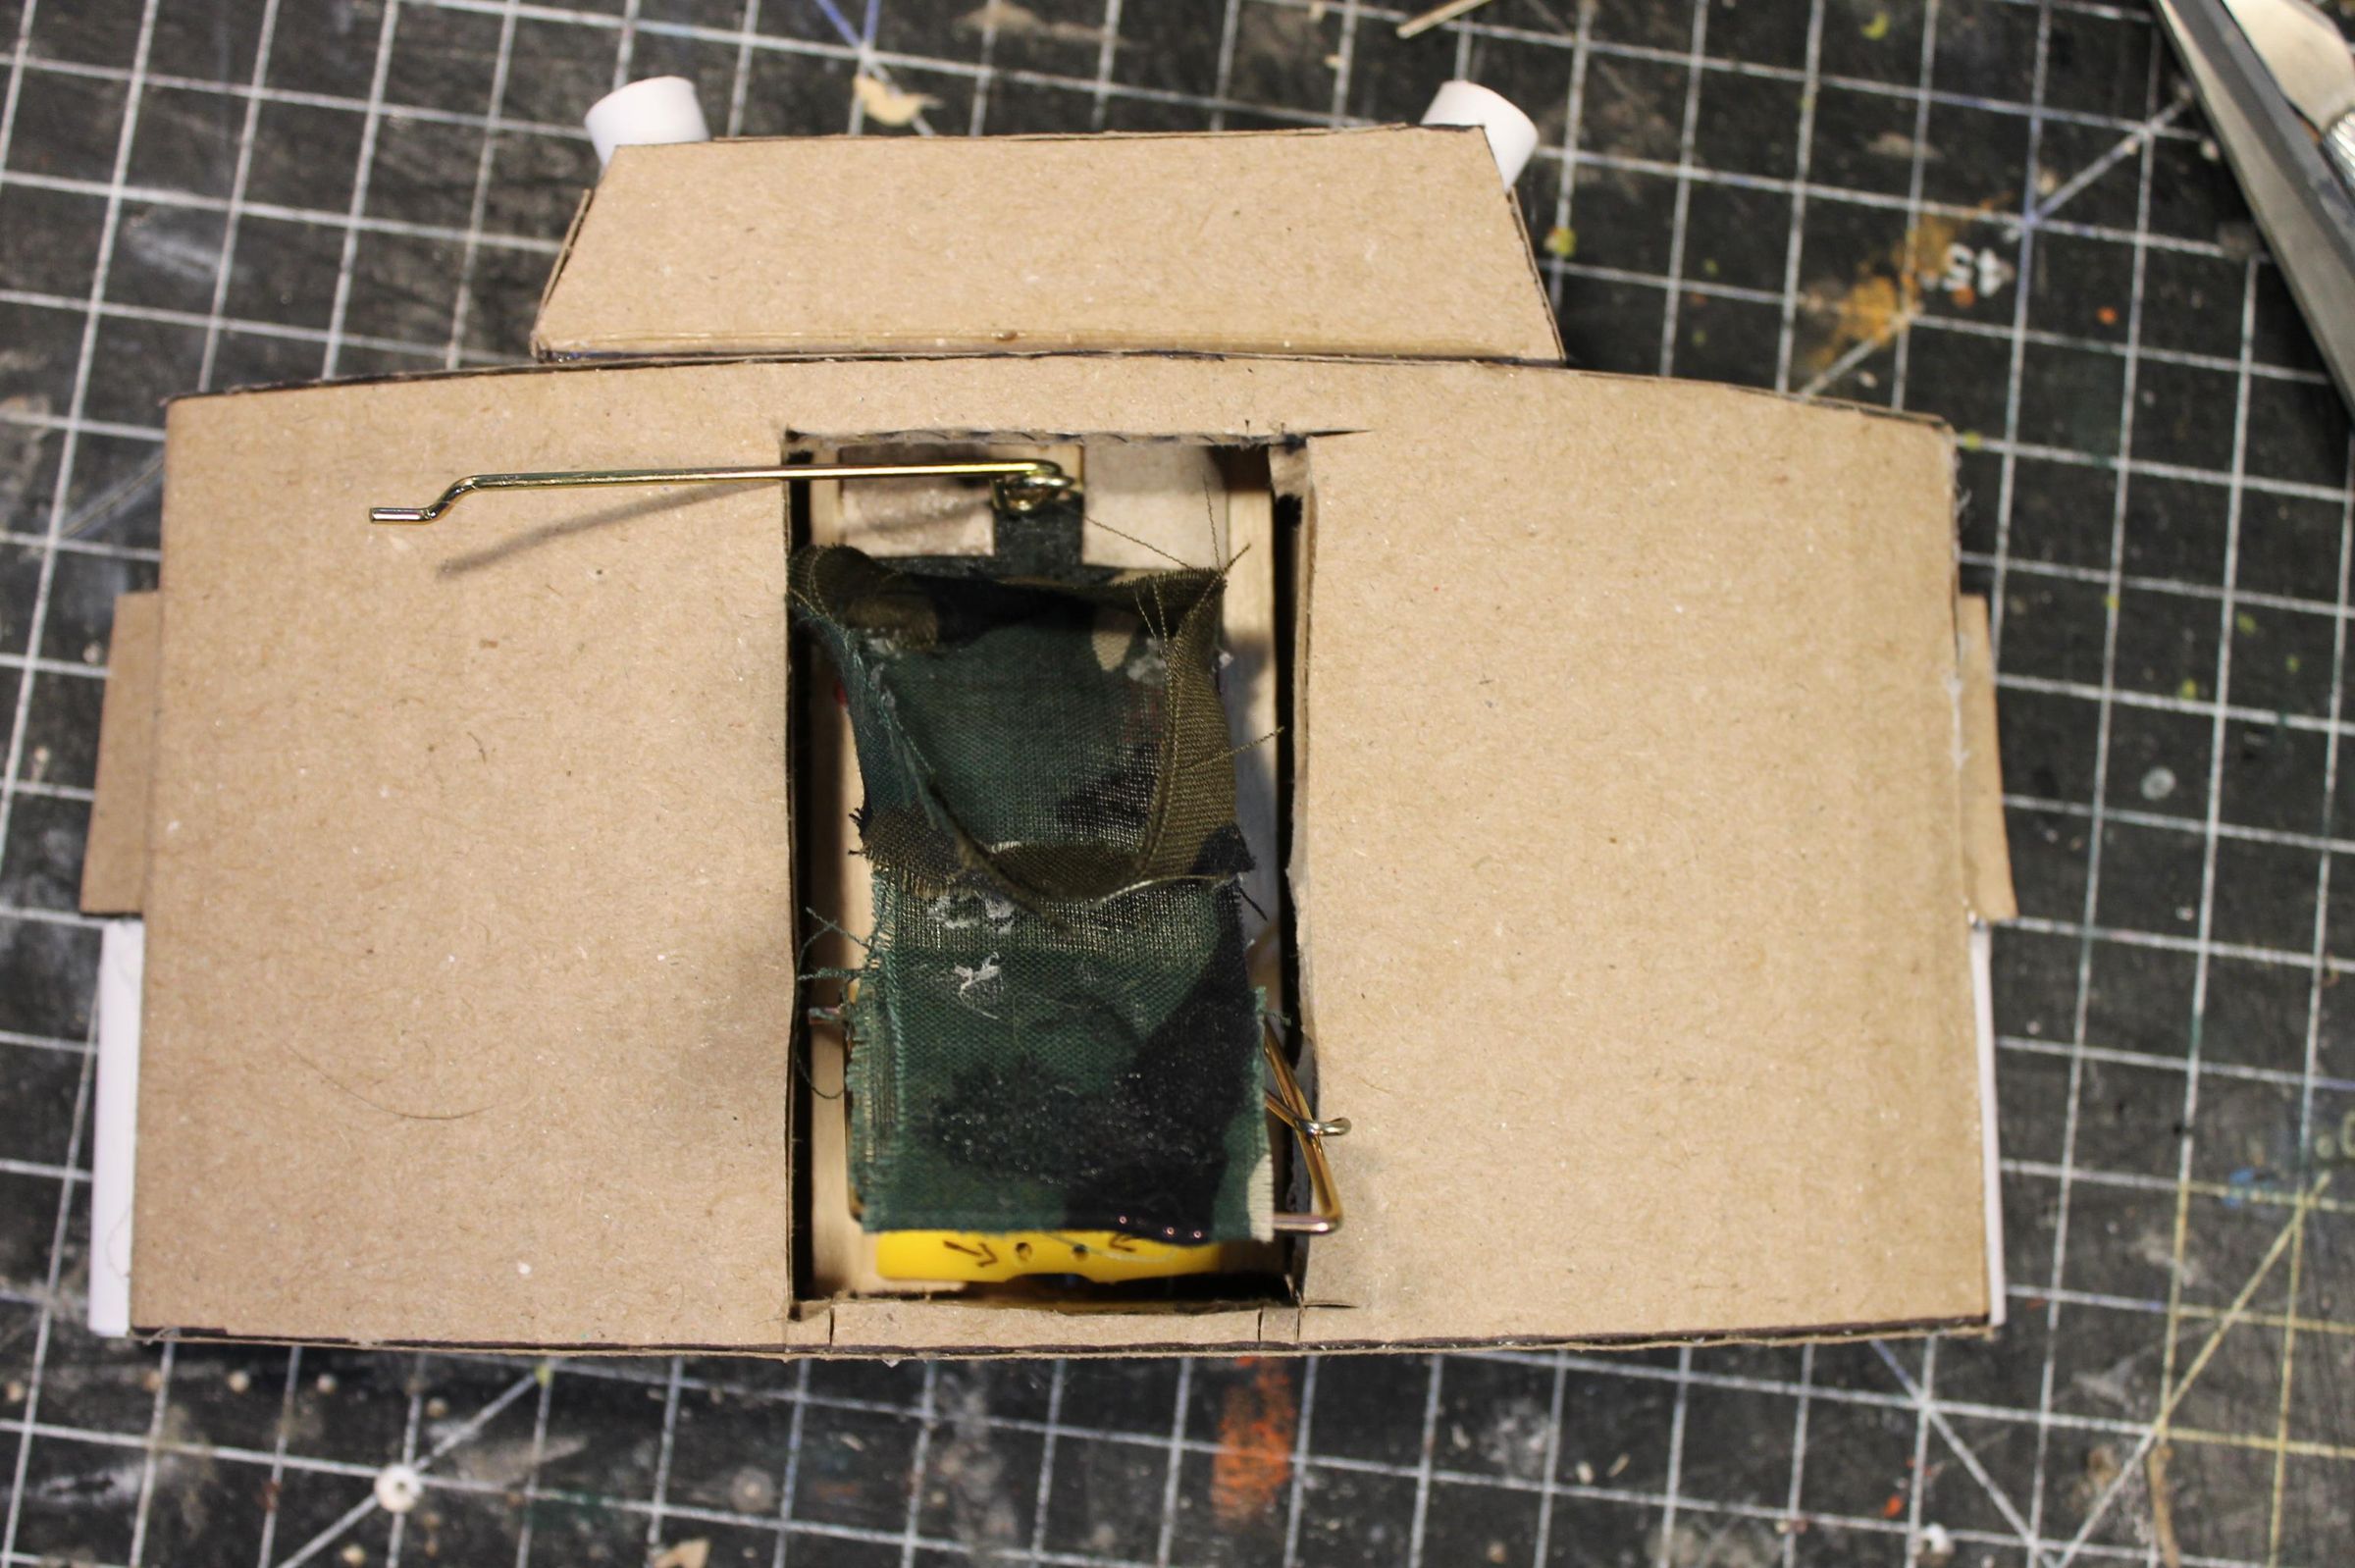
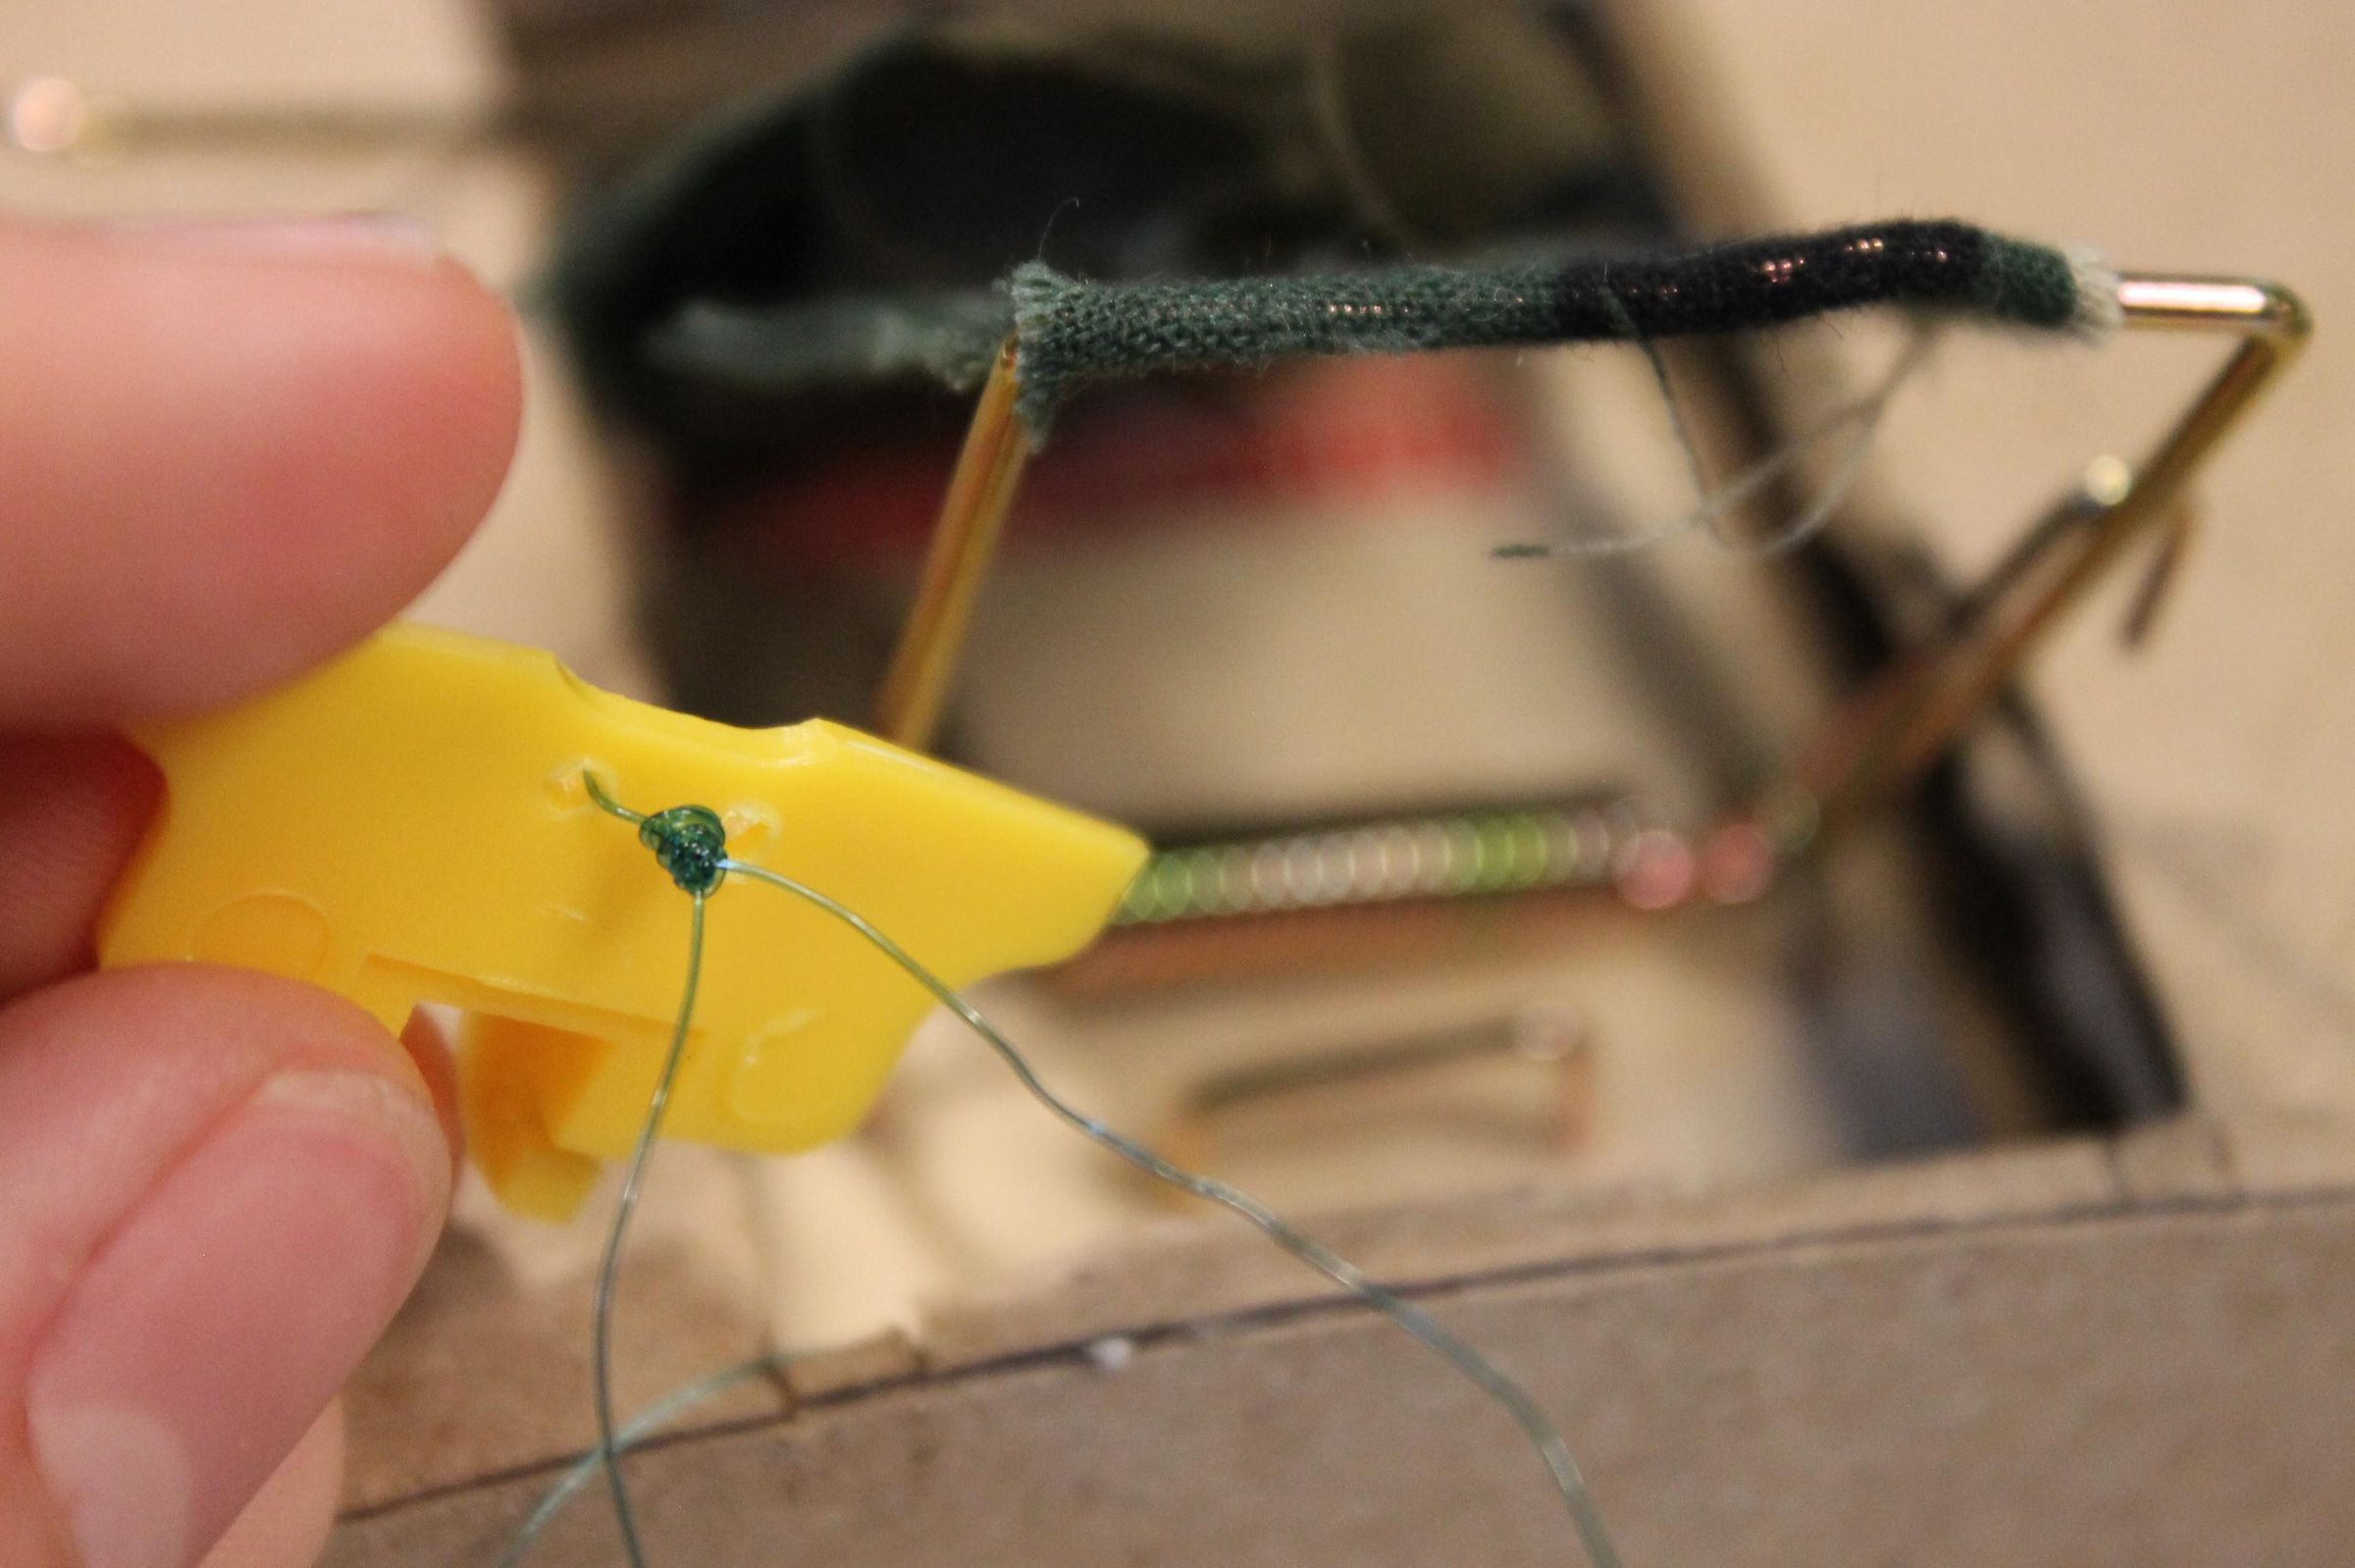
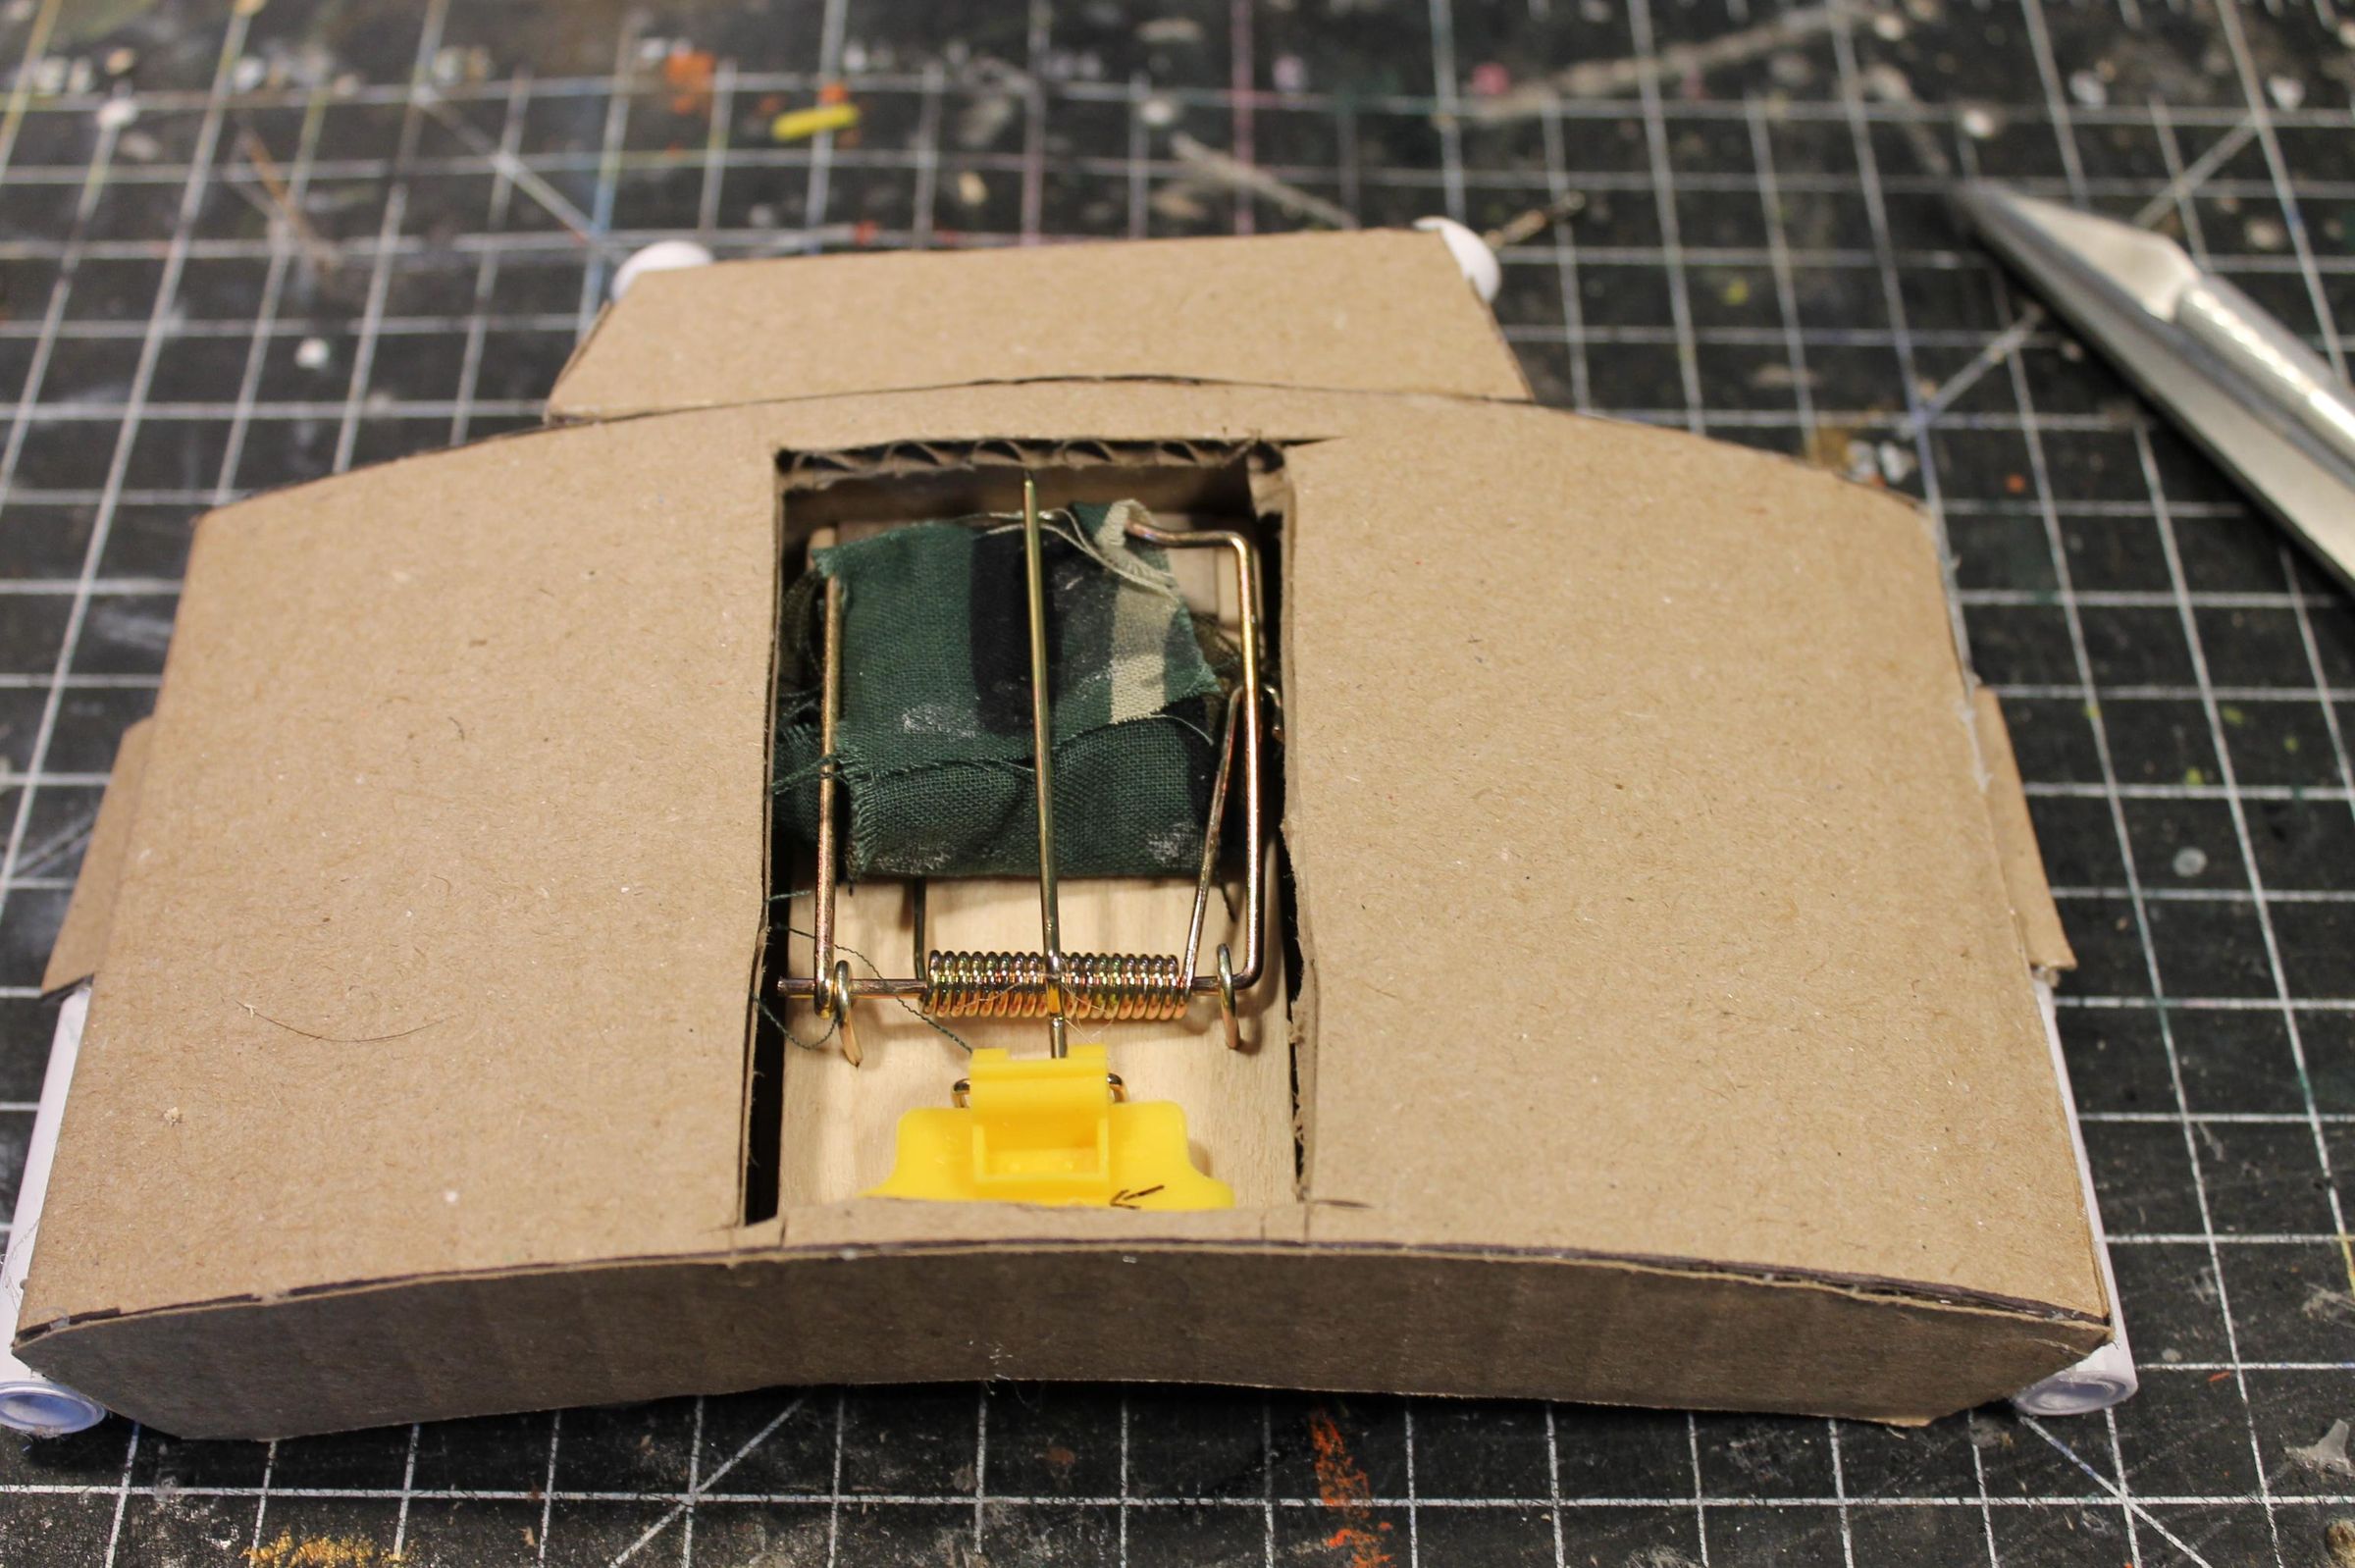
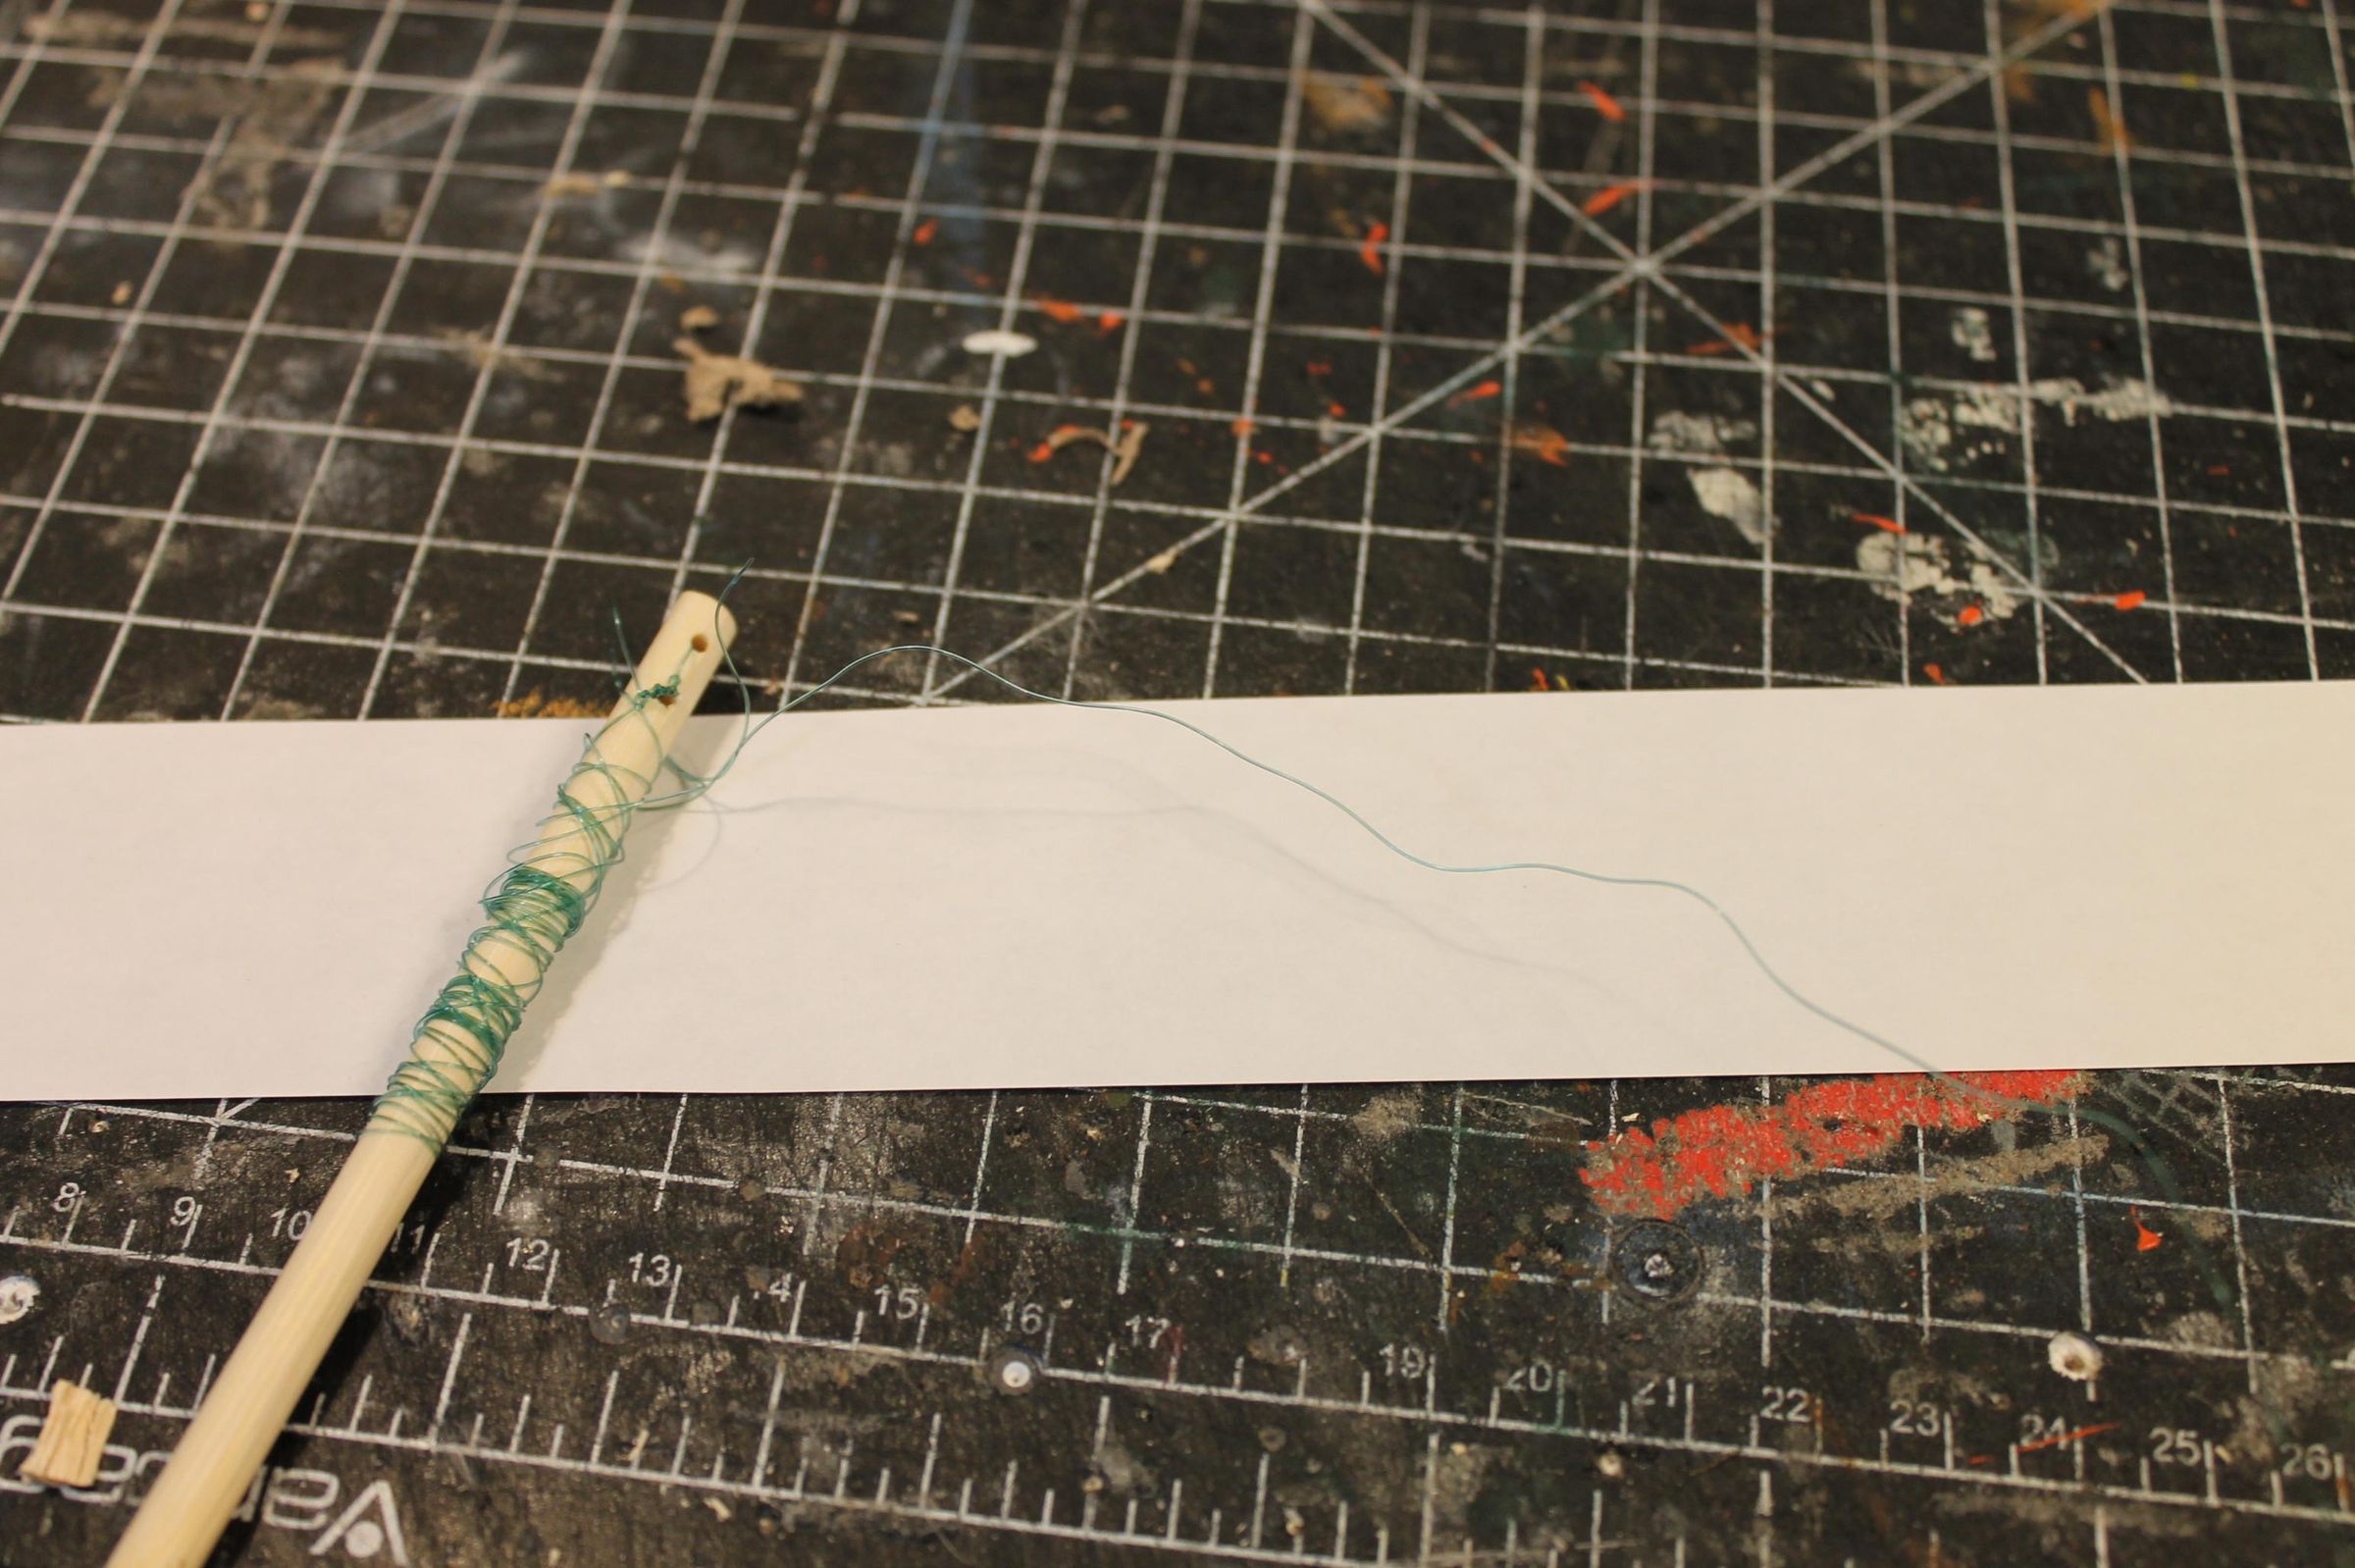
Cut out a small panel on the front of the claymore large enough for the TRAP to fit inside. Using a drill, drill a hole at the back of the claymore for the trip wire. Glue the TRAP into the claymore. Take a long piece of fishing wire and feed it through the hole you drilled in the back of the claymore. Remove the trigger on the mouse trap and feed the cord through both holes. Tie a lure knot so that the wire does not come undone. re-attach the trigger two the trap and make a pole to hold the trip wire.
Finishing Steps + Outro
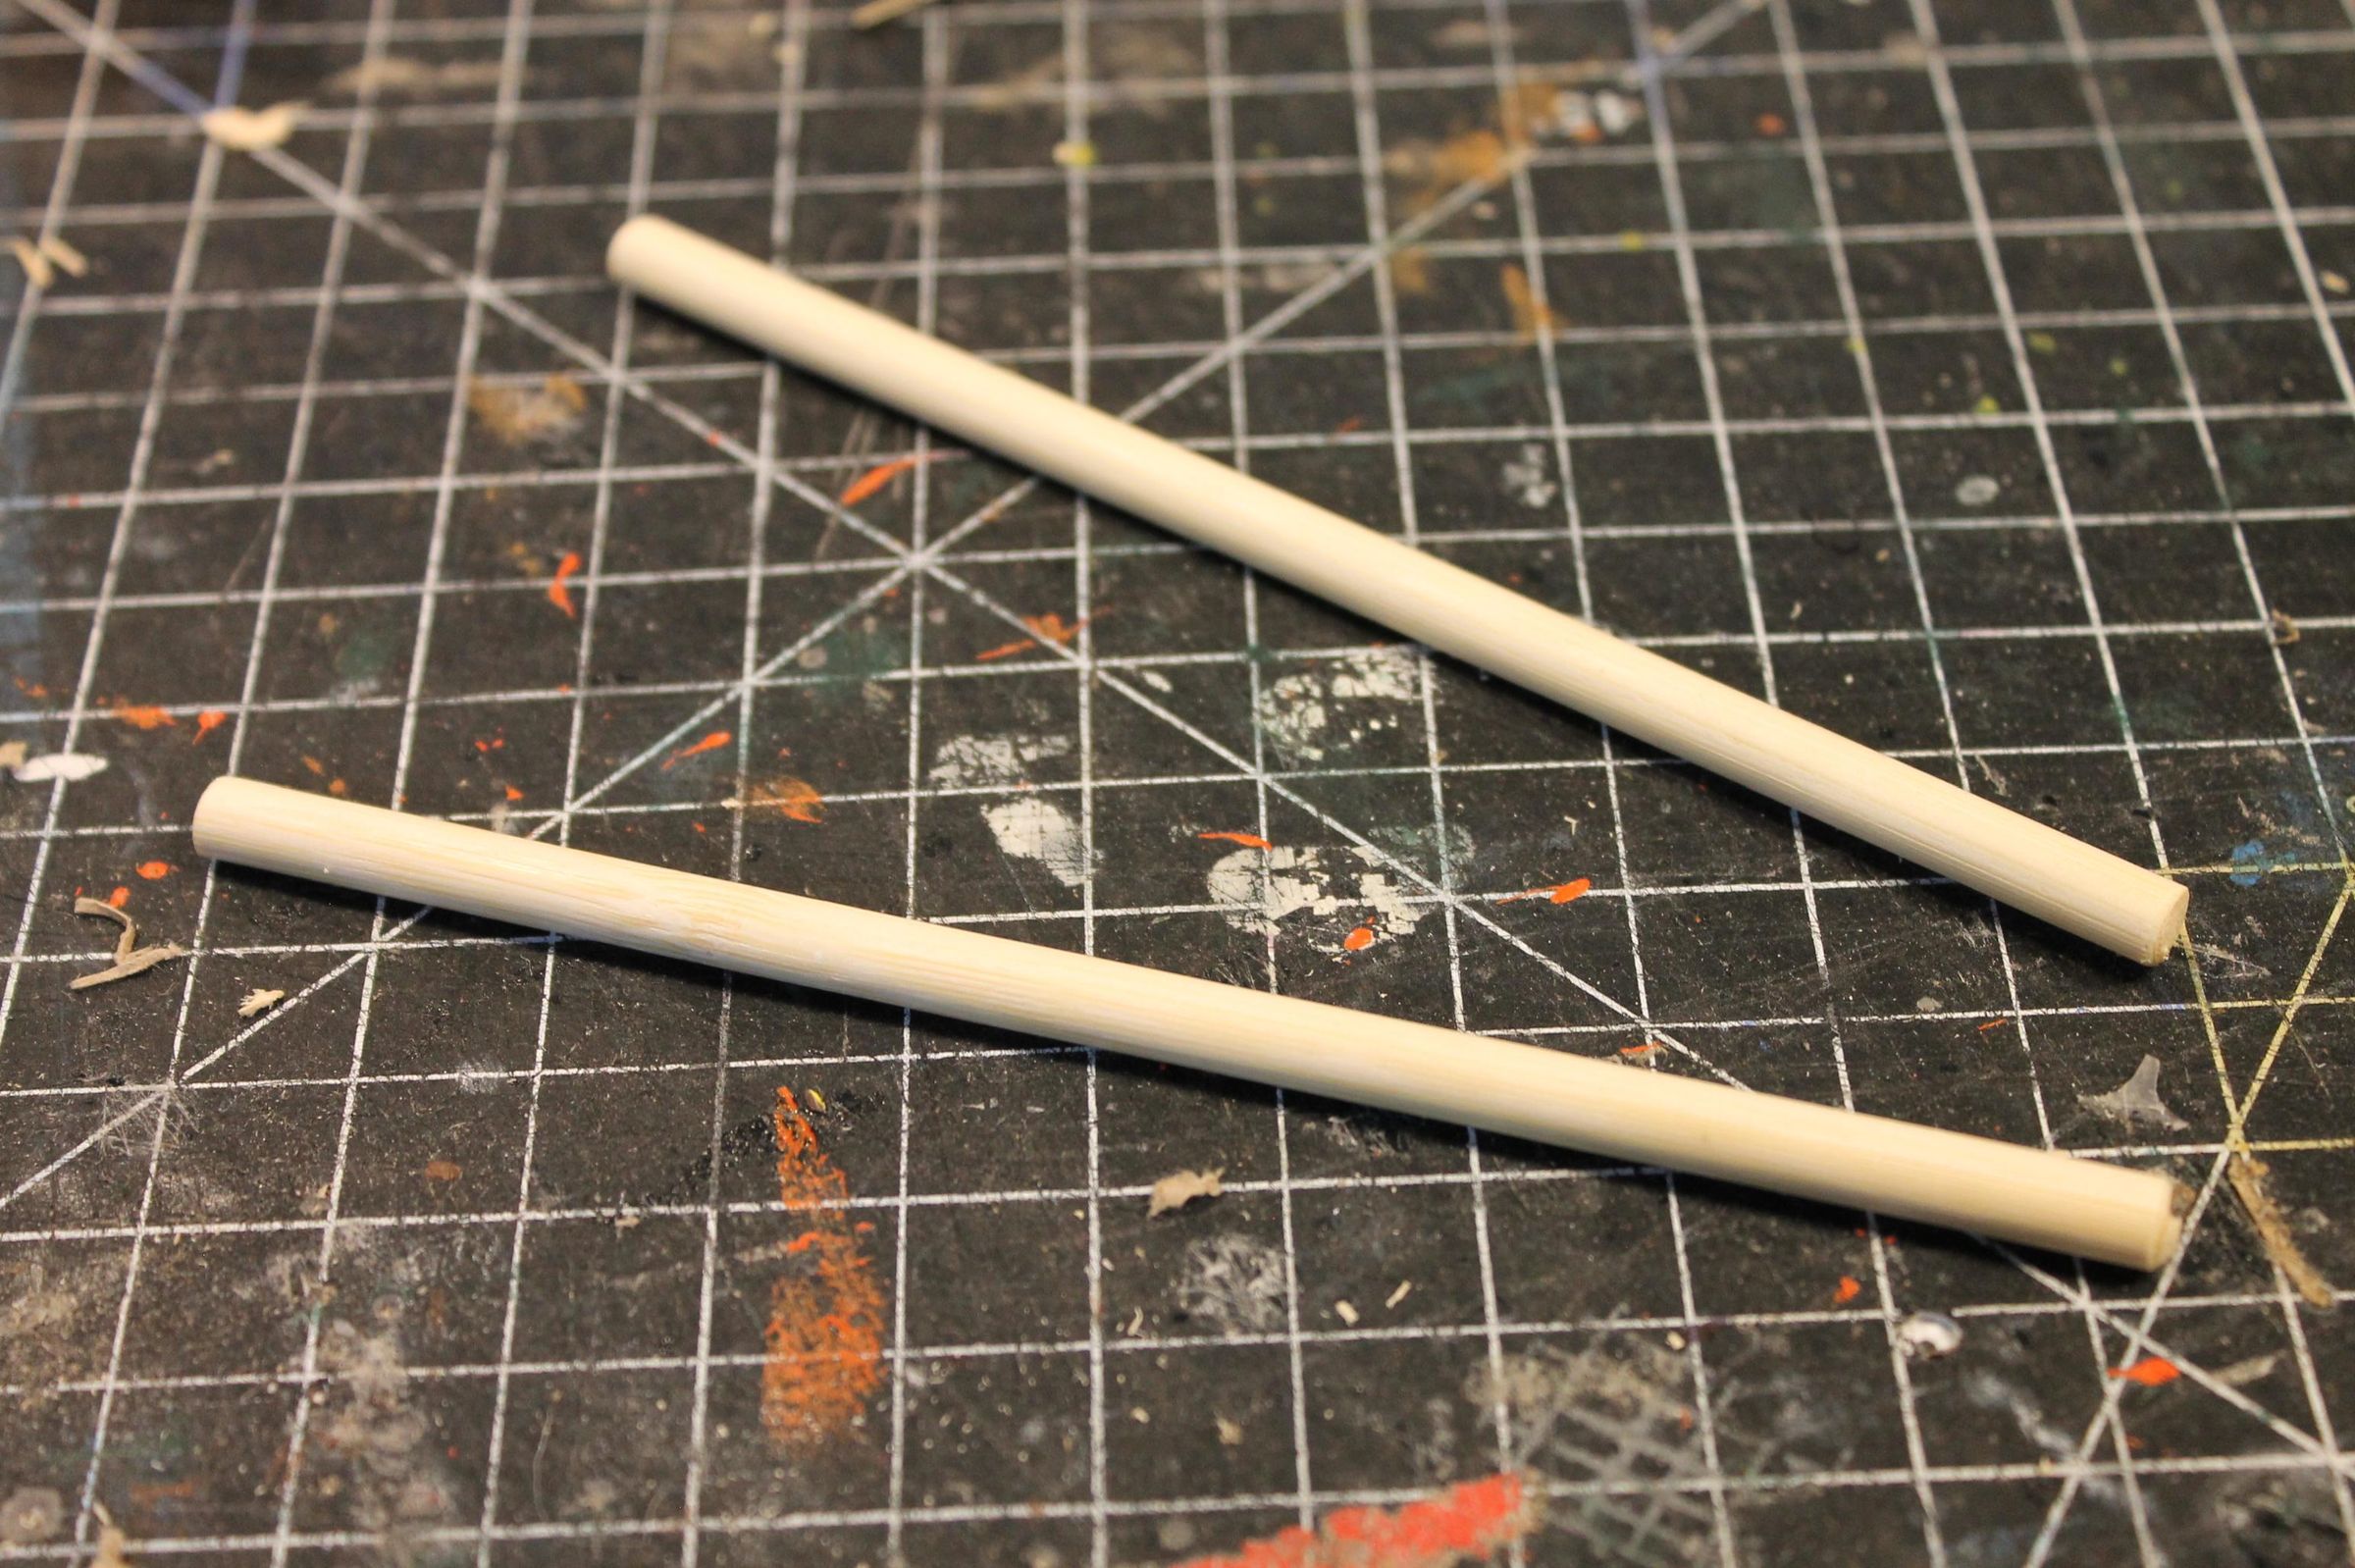
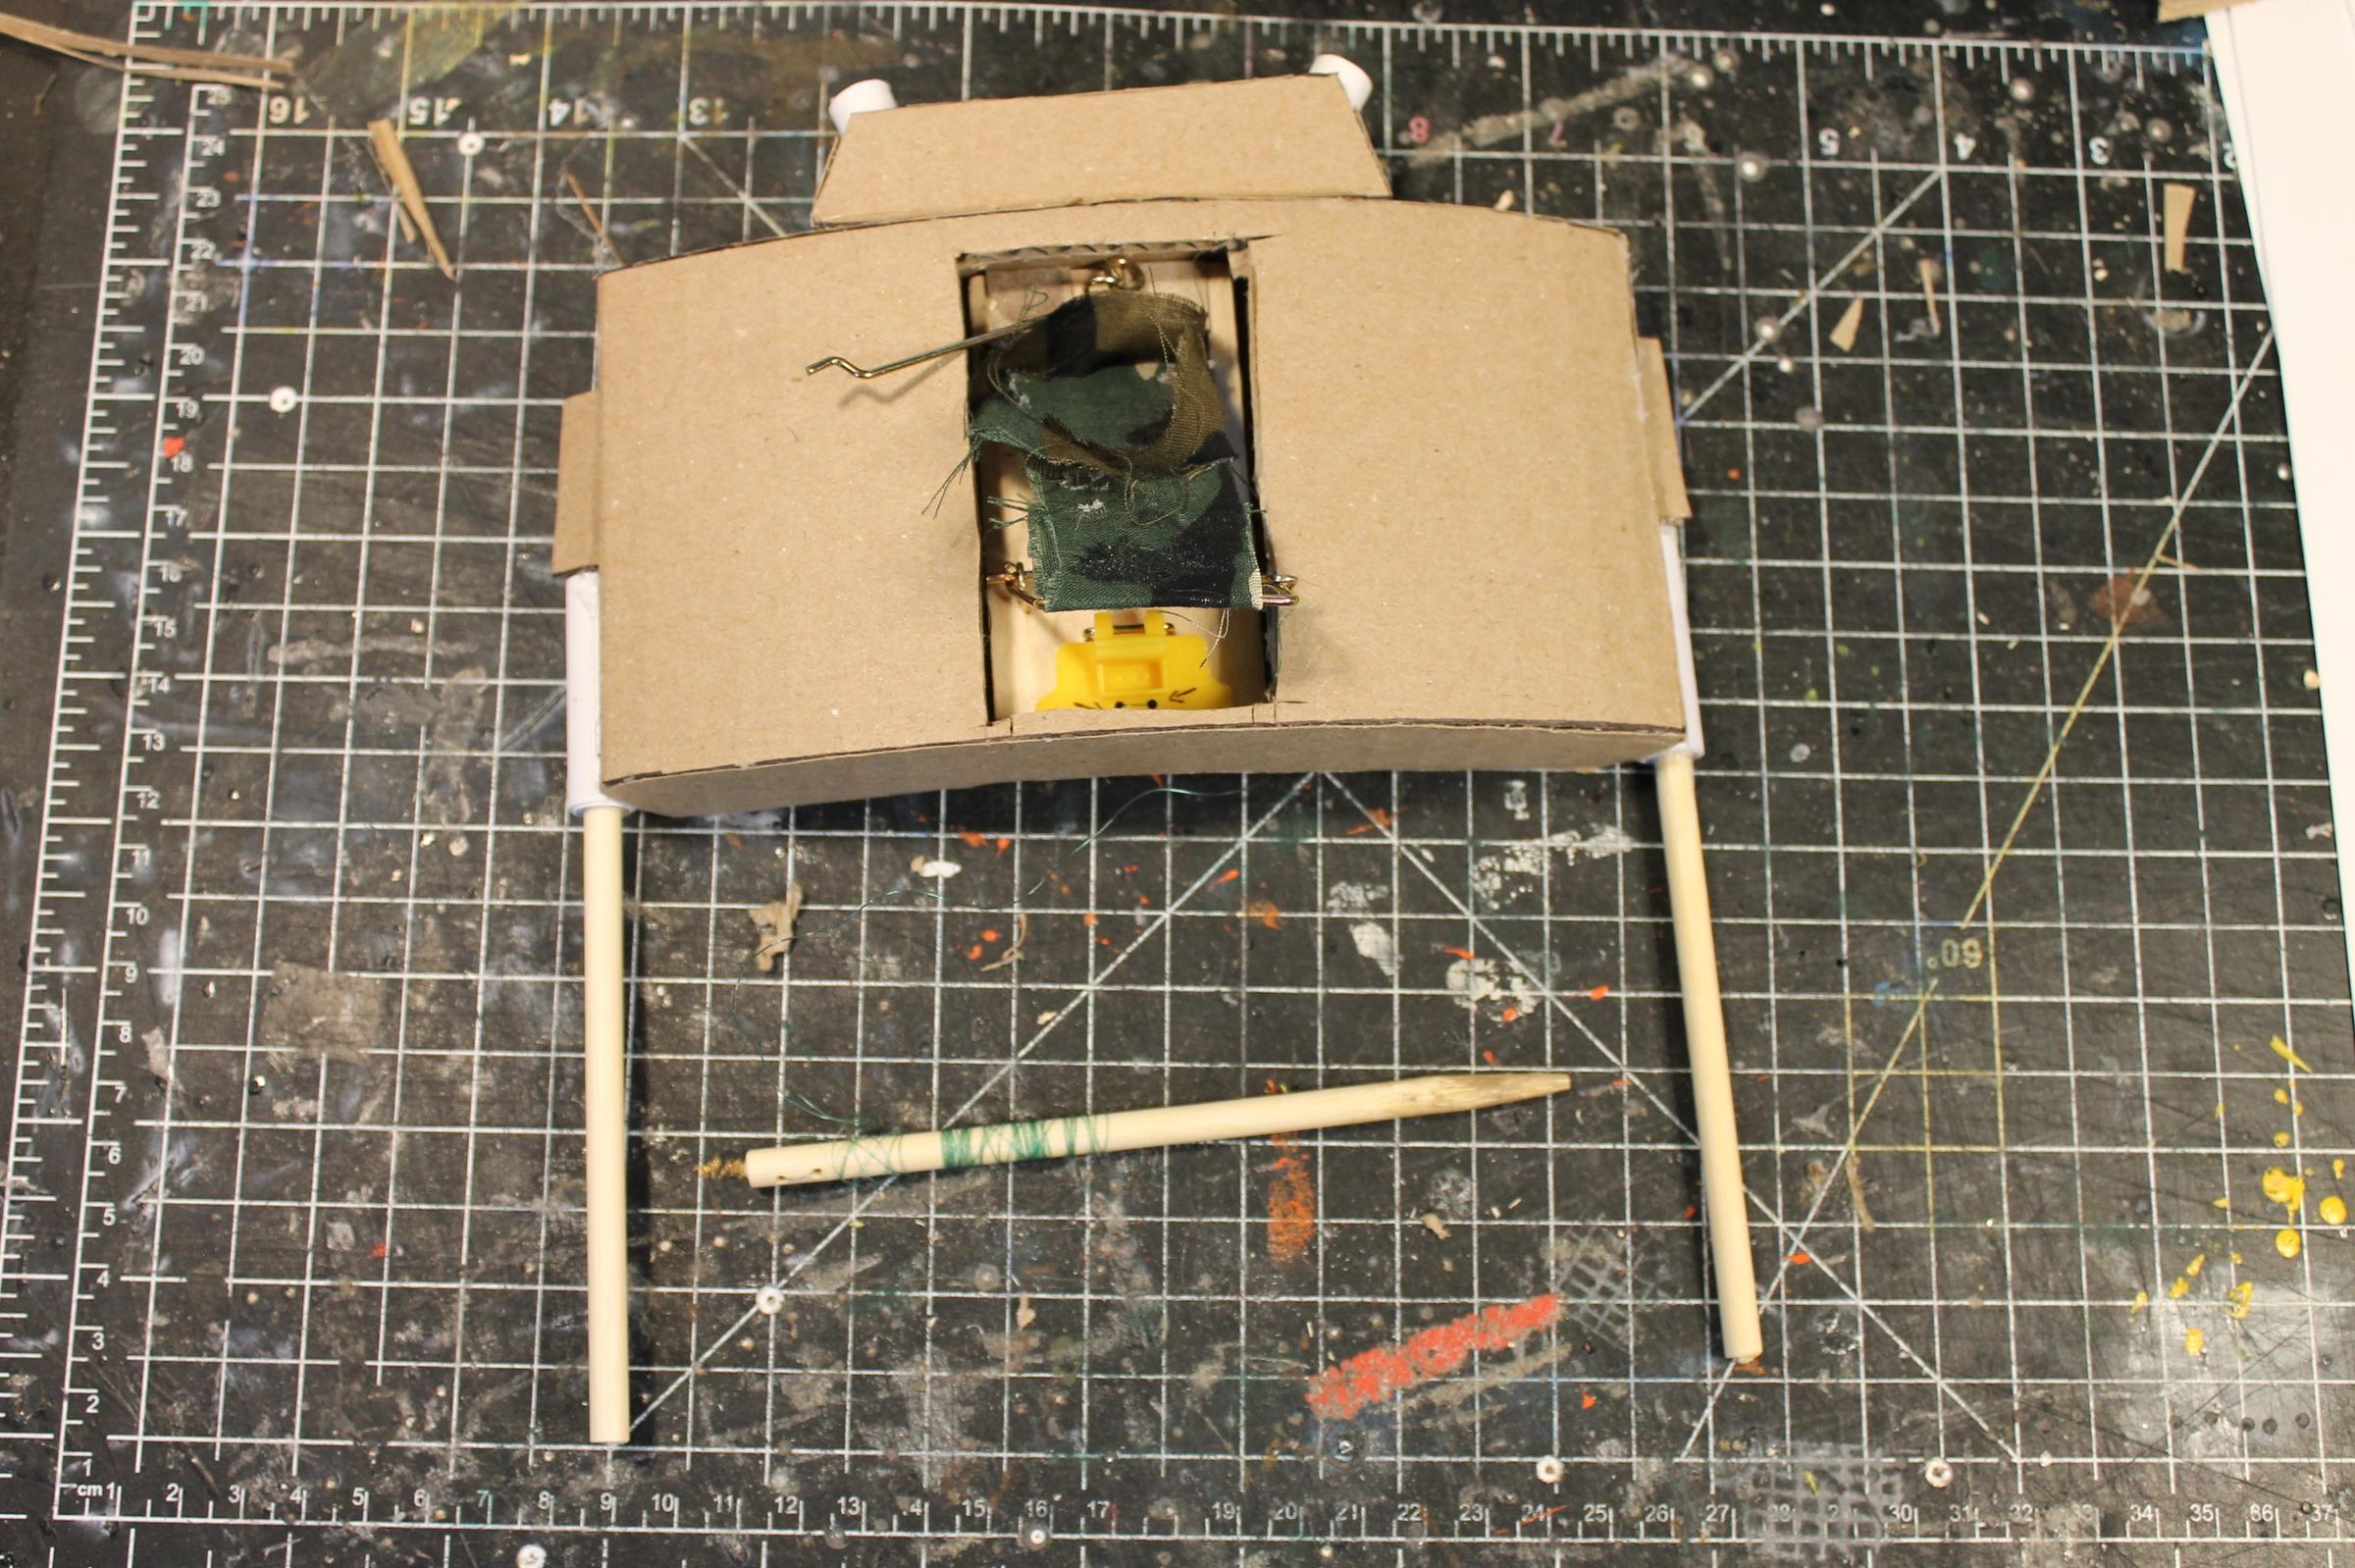
Cut two dowl rods to be the legs and insert them in the bottom of the claymore. Congratulations, you're done.
Overall, this build took me about two hours for the first and about an hour for the second. I hope you enjoyed building this like I did, and I hope that you have a lot of fun using this in games or just for fun. If you like this build, please follow and like. Comment below if you have any projects that you would like me to build out of cardboard, and have a blessed day.