American Flag Storage Cabinet
by NathanGauer in Workshop > Woodworking
1076 Views, 20 Favorites, 0 Comments
American Flag Storage Cabinet
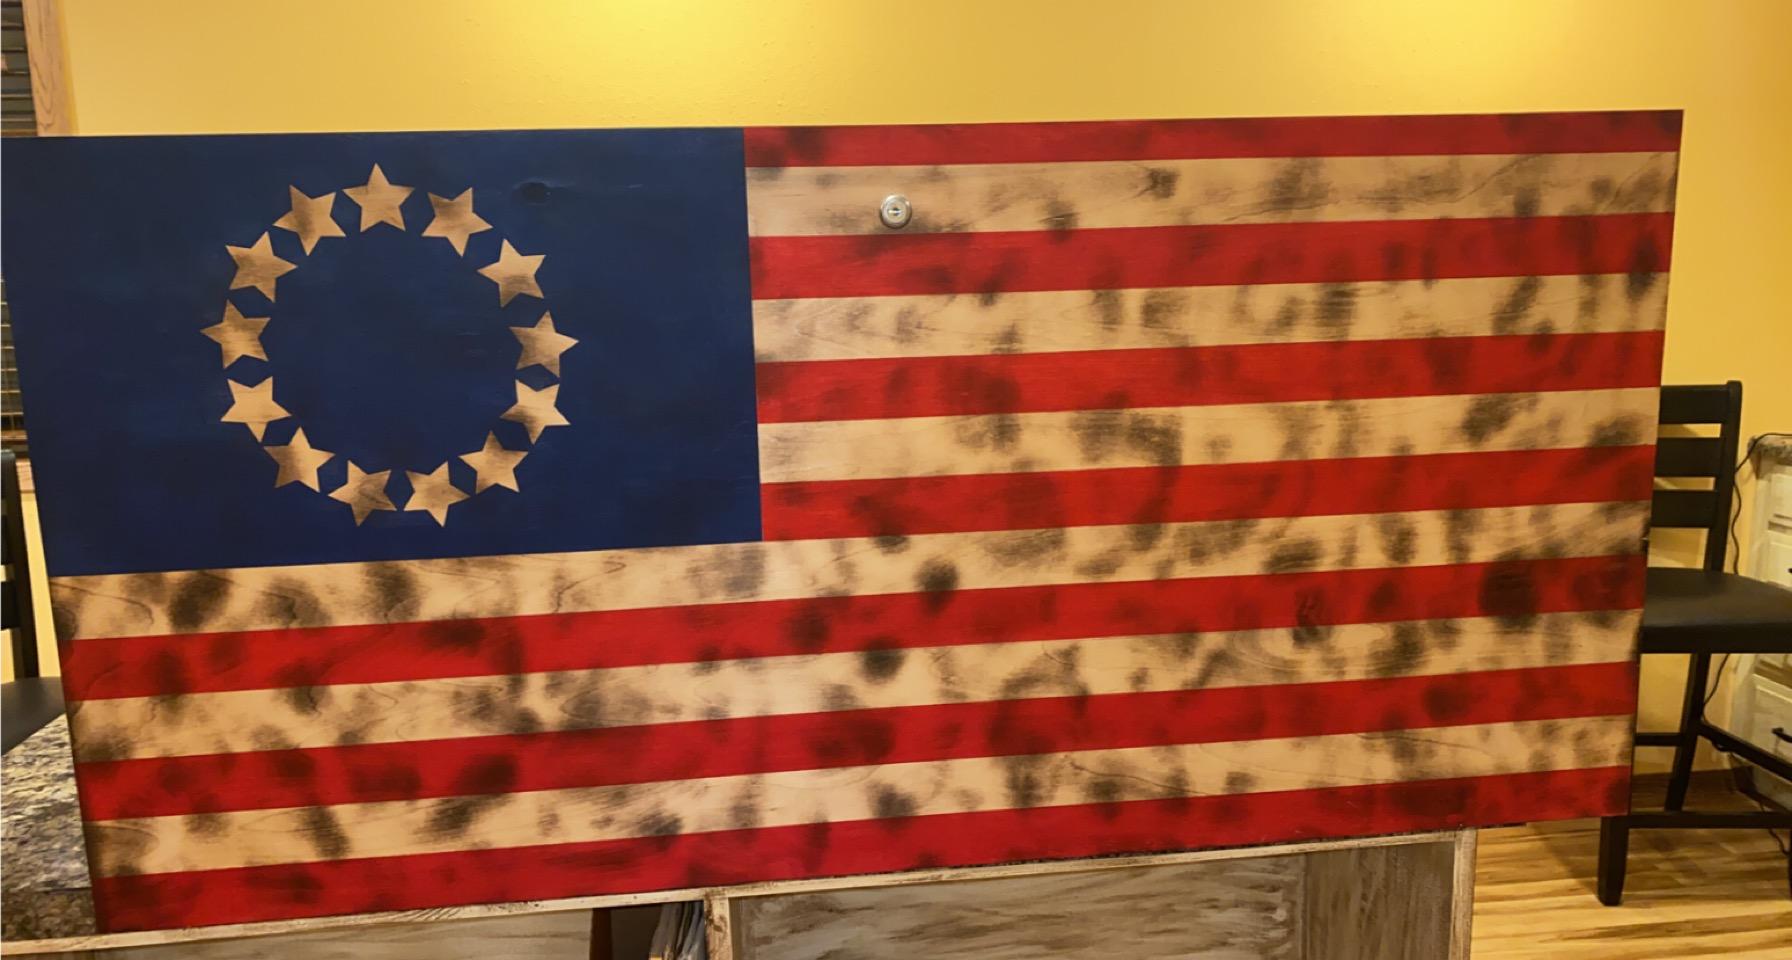
Hi, my name is Nathan Gauer. I have been building furniture, home decorations as well as cool stuff for personalized man caves. Learning the skills to do quality work making home décor as well as man cave decorations will save money. Today I will show how to make a very beautiful American Flag Gun Storage wall decoration for your personalized man cave. Learning these skills will save you $200 as well as give you a sense of pride in your work.
Gather Supplies
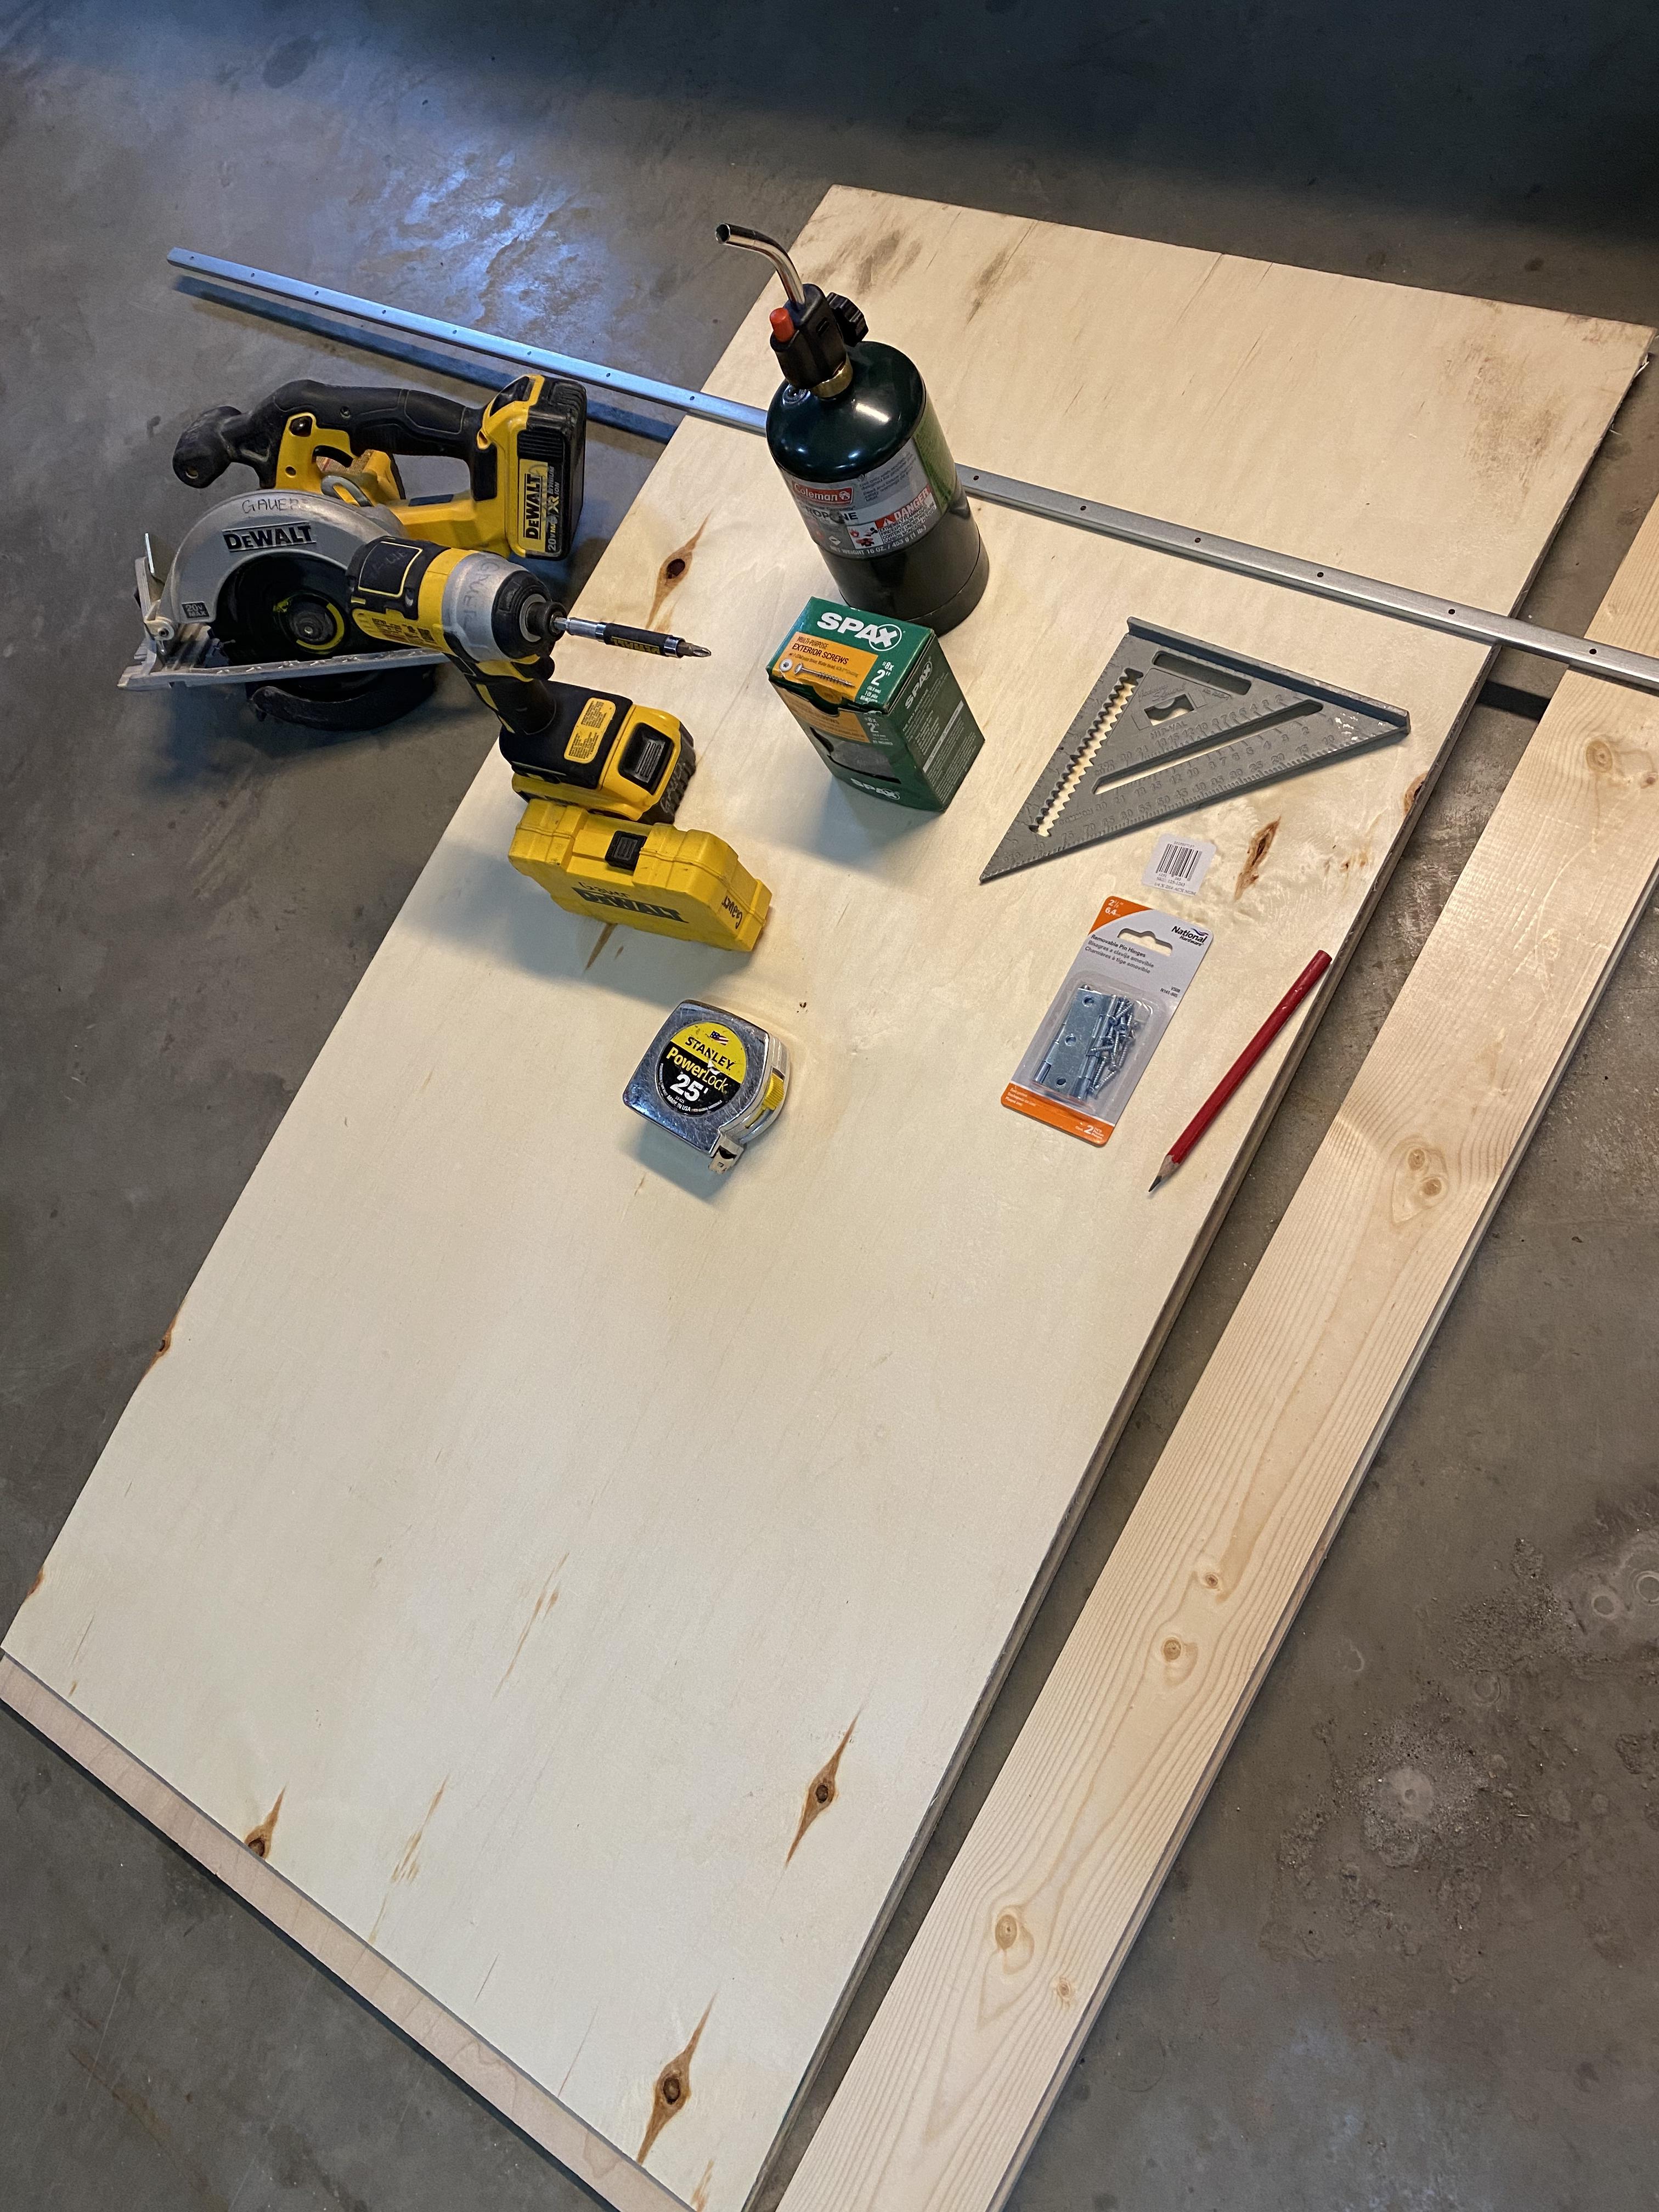
Step one, before beginning the following supplies will be needed:
1- 2’x4’x ½” sheet of birch plywood, 1- 2’x4’x 1/4” sheet of plywood, 2- 1x4x 8’ Pine board, Wood Glue, 1lb of 2” screws, 2- 2 ½” Hinges, red paint, and blue paint and a star stencil. The tools needed will be a drill, circular saw, drill bits, straight edge, speed square, pencil, tape measure, and a small propane torch.
Cut the Boards for Frame
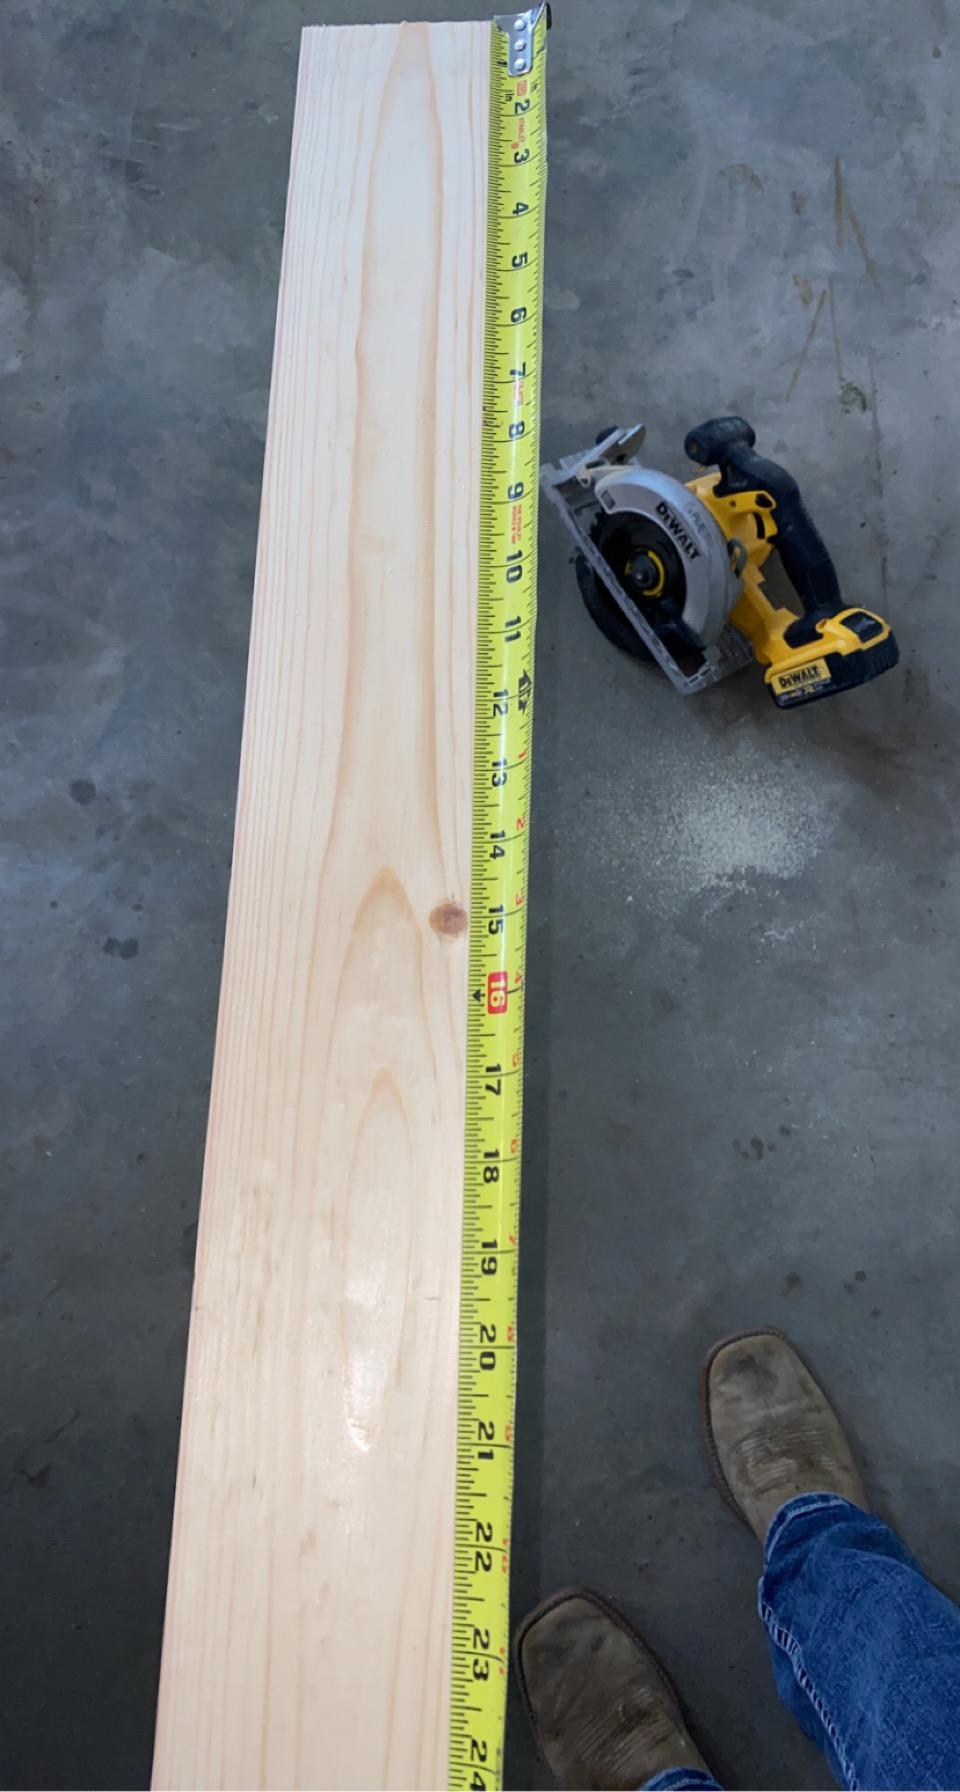
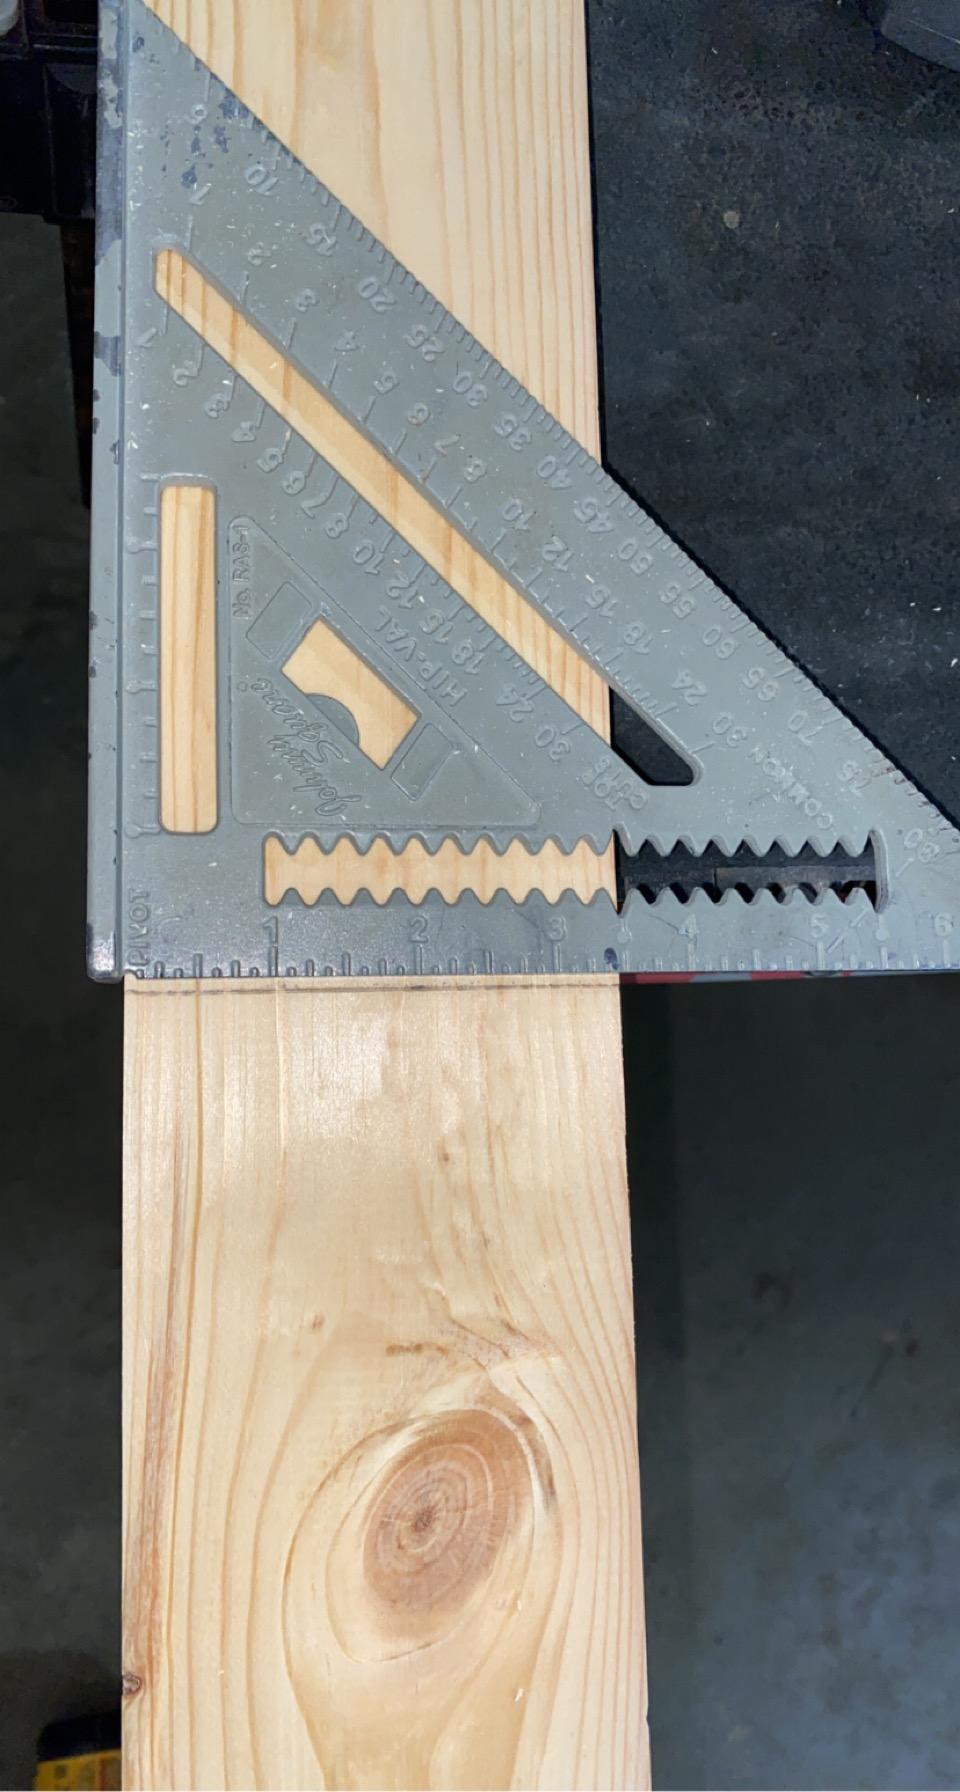
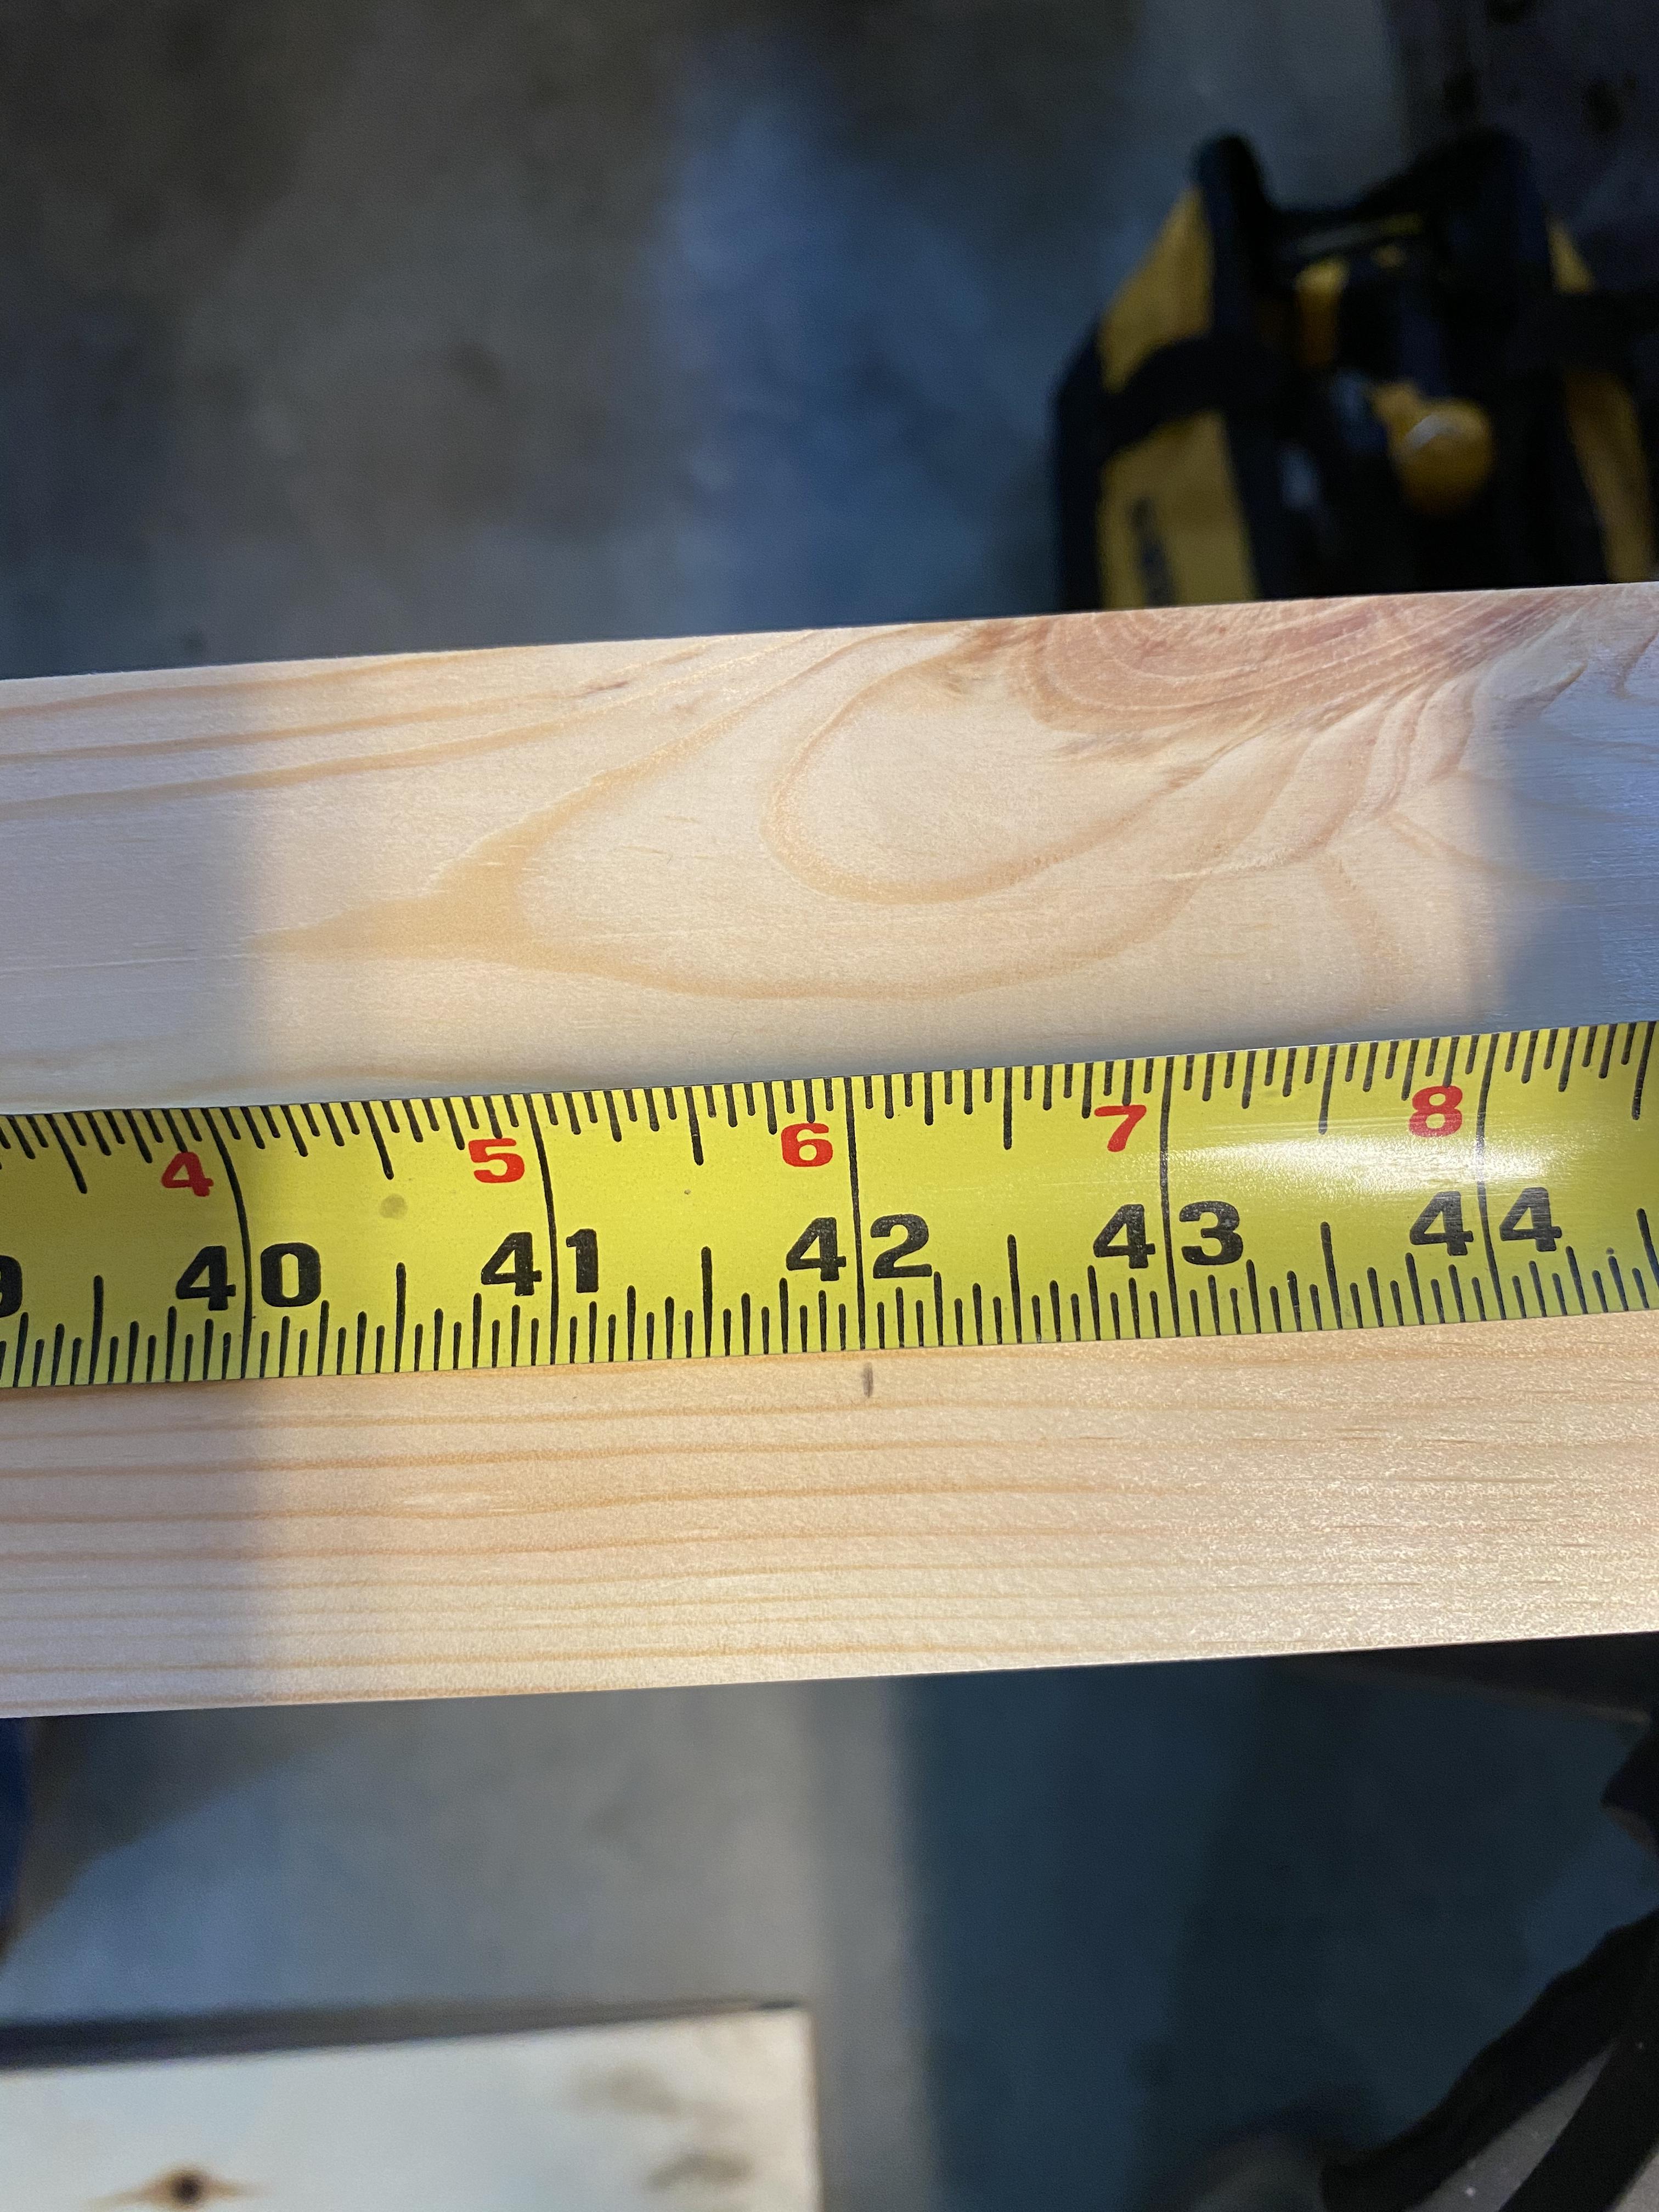
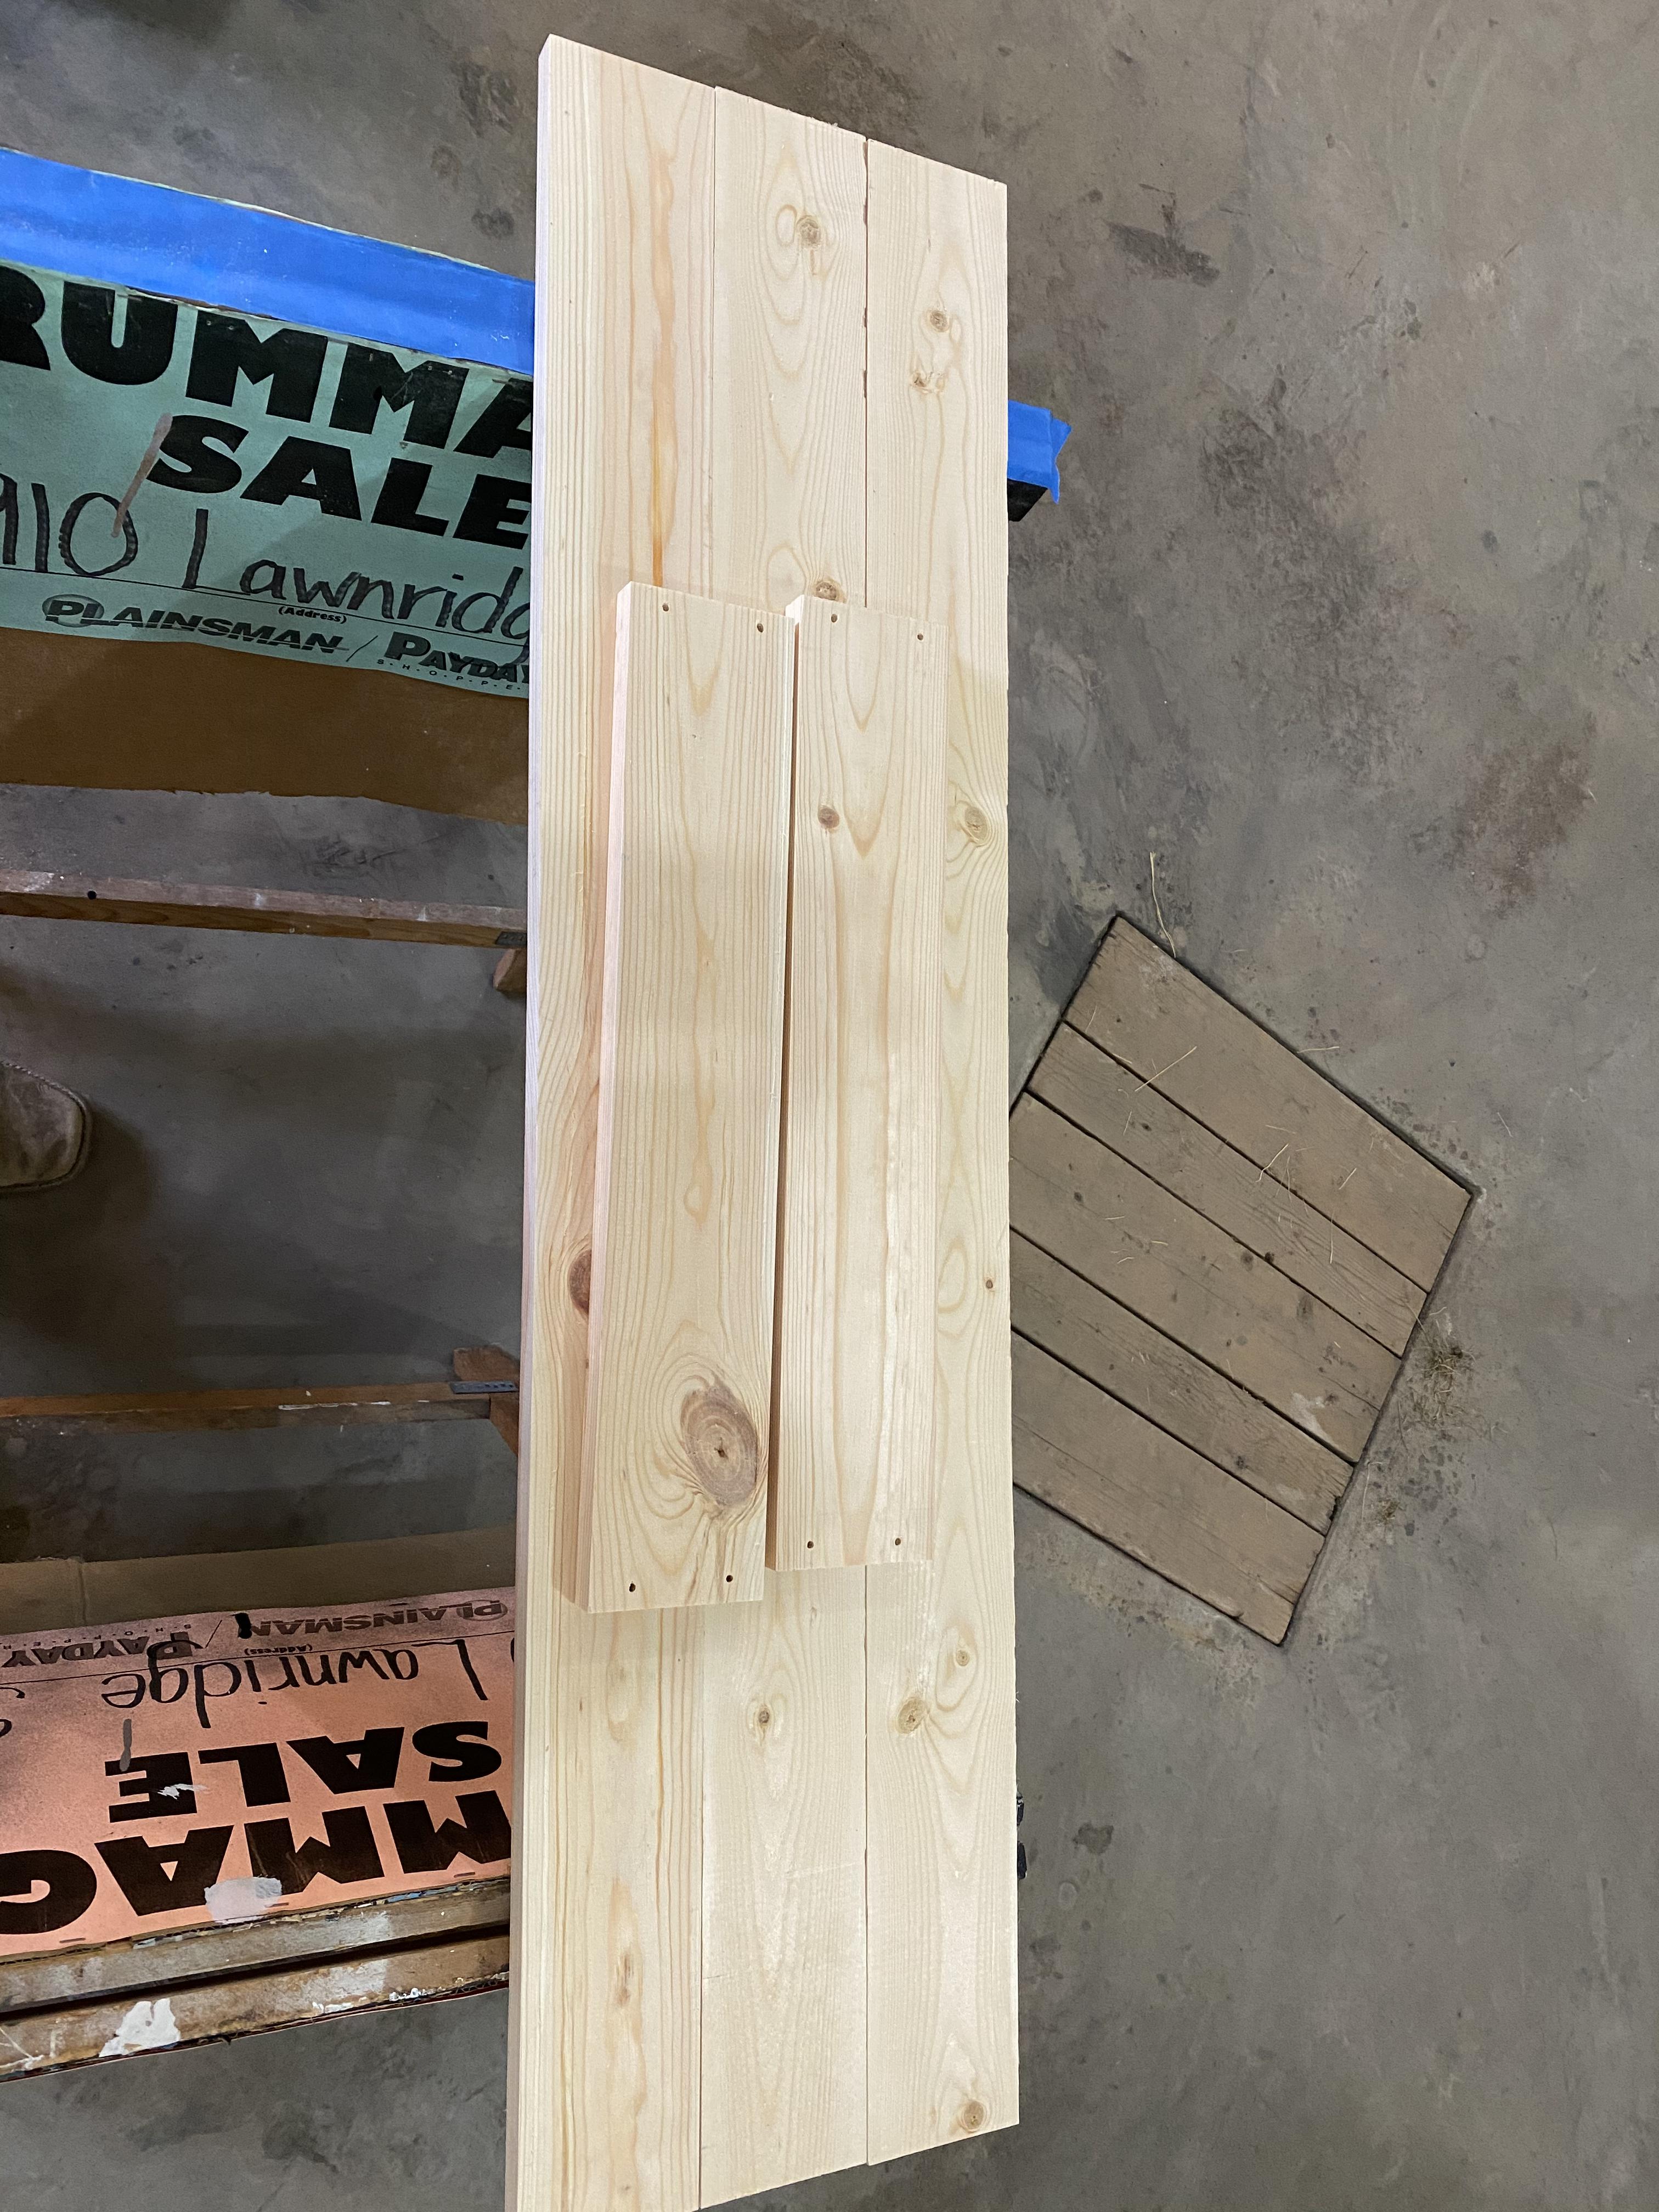
Next, take the 1x4 and hook the tape measure onto one end of the board, then put a mark at 19 ½ “. After that is complete use the speed square and put the straight edge along the mark on the board and draw a line across the 1x4. Then the circular saw will be used to cut on the line. Repeat this step one time so that there are two boards, each at 19 ½ “. Once that is finished hook your tape measure on the end of the remaining chunk of 1x4. Next put a mark at 42”, using the speed square put the straight edge on the mark. Using the pencil draw a straight line across the board. Then take the circular saw cutting along the straight line. Repeat this step two times. After cutting all of the boards, there should be 2- 19 ½” pieces and 3- 42” pieces remaining.
Build the Frame
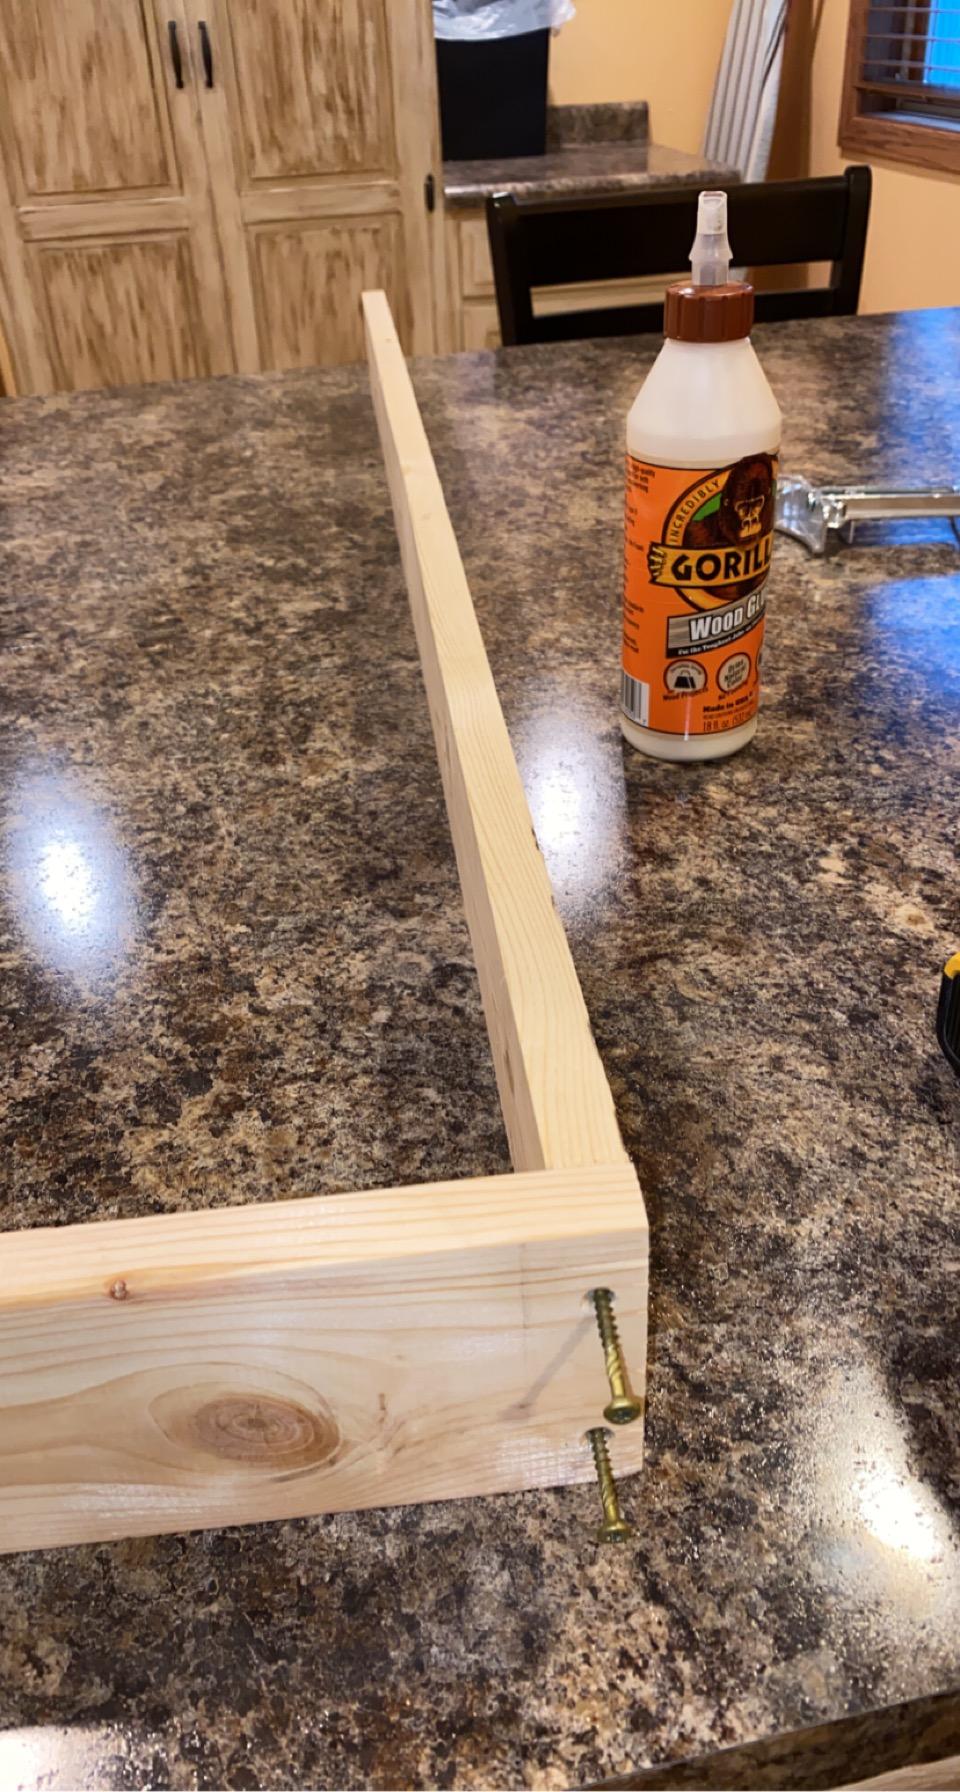
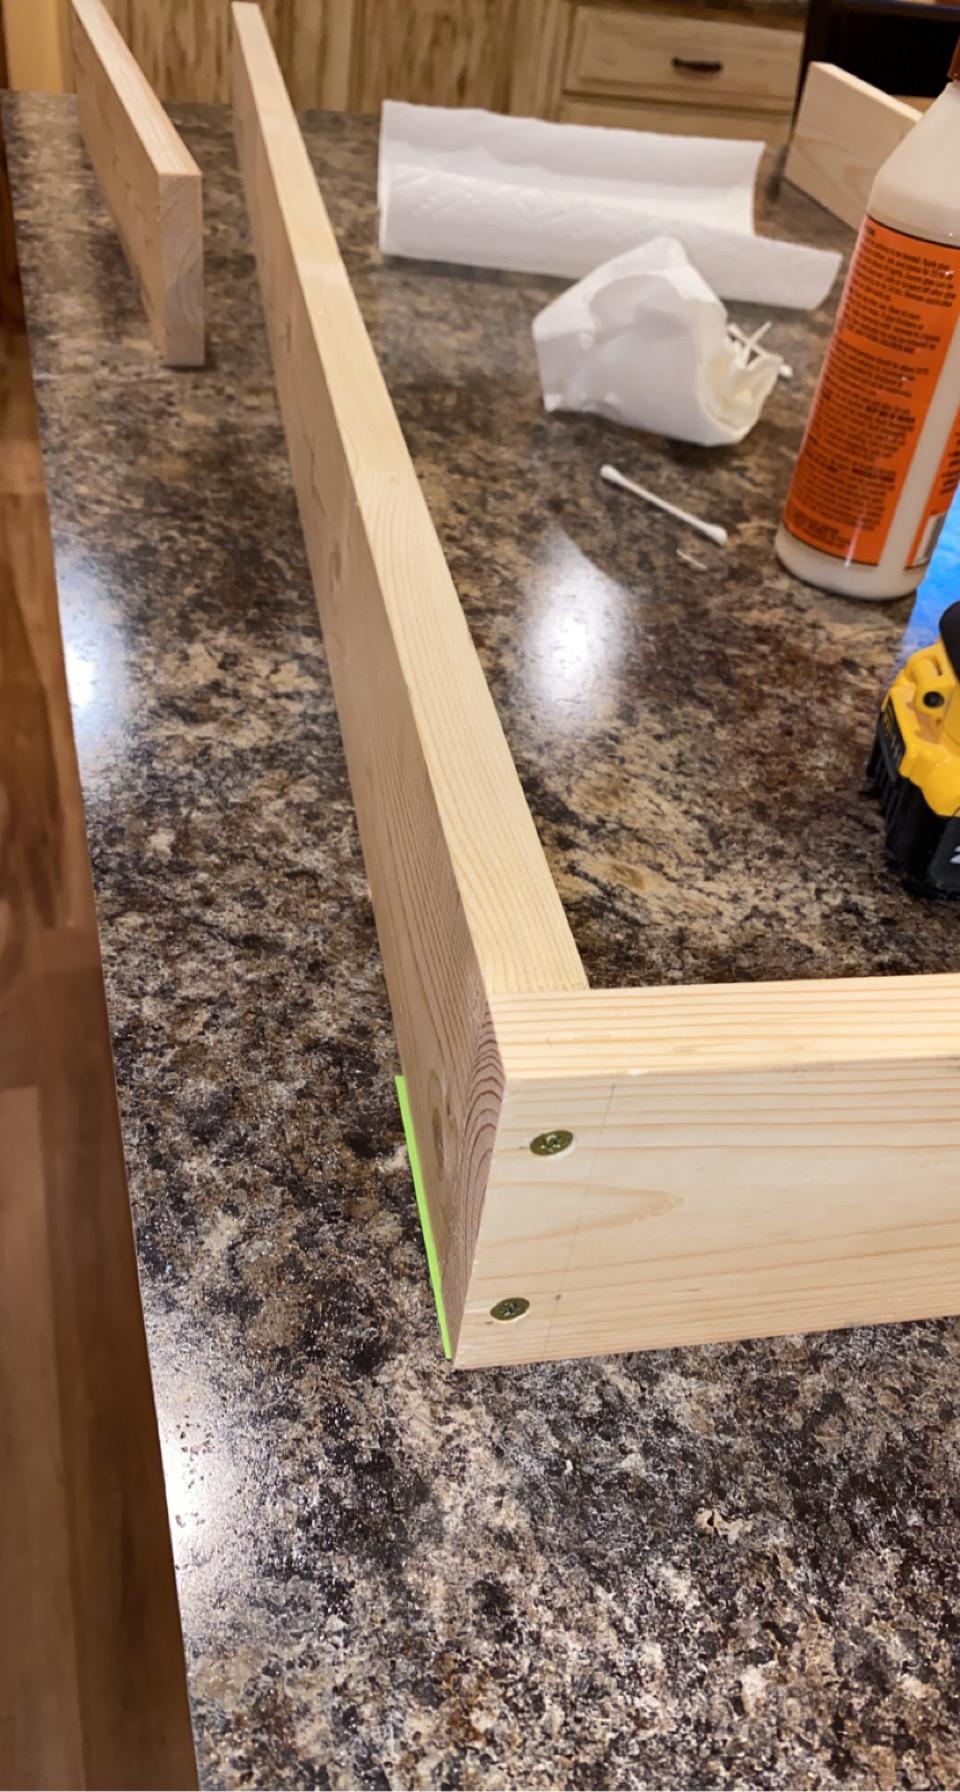
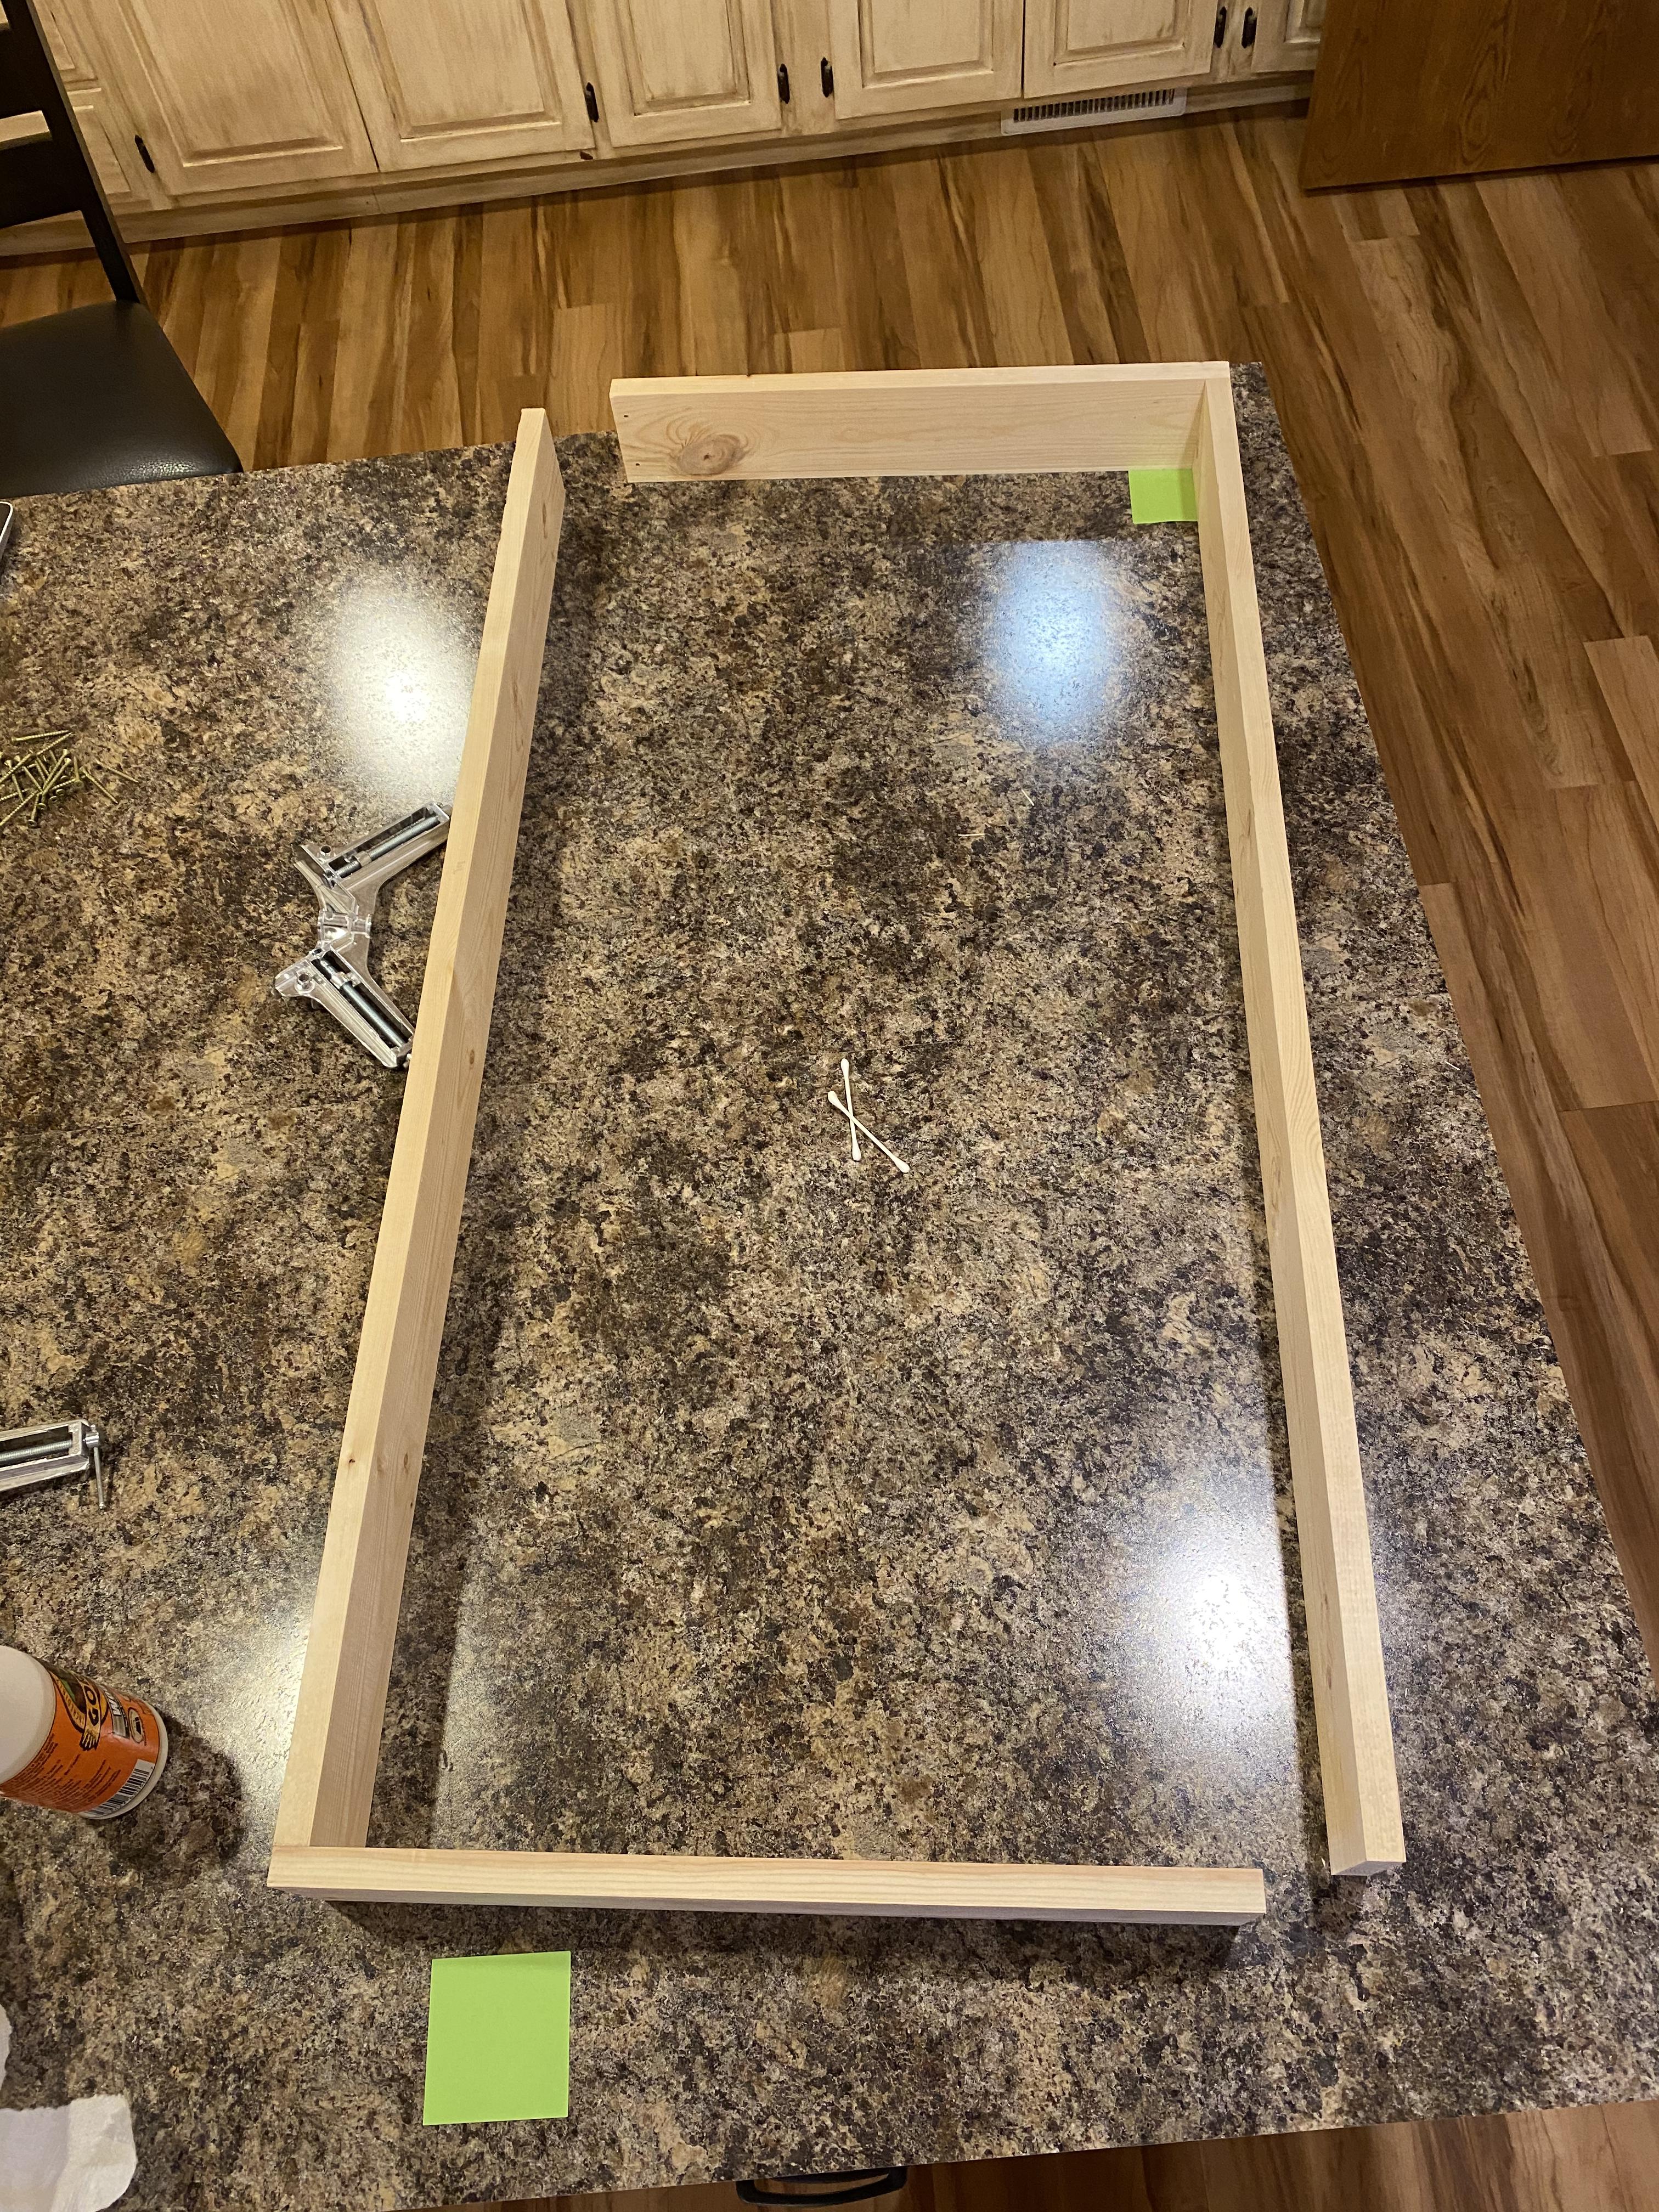
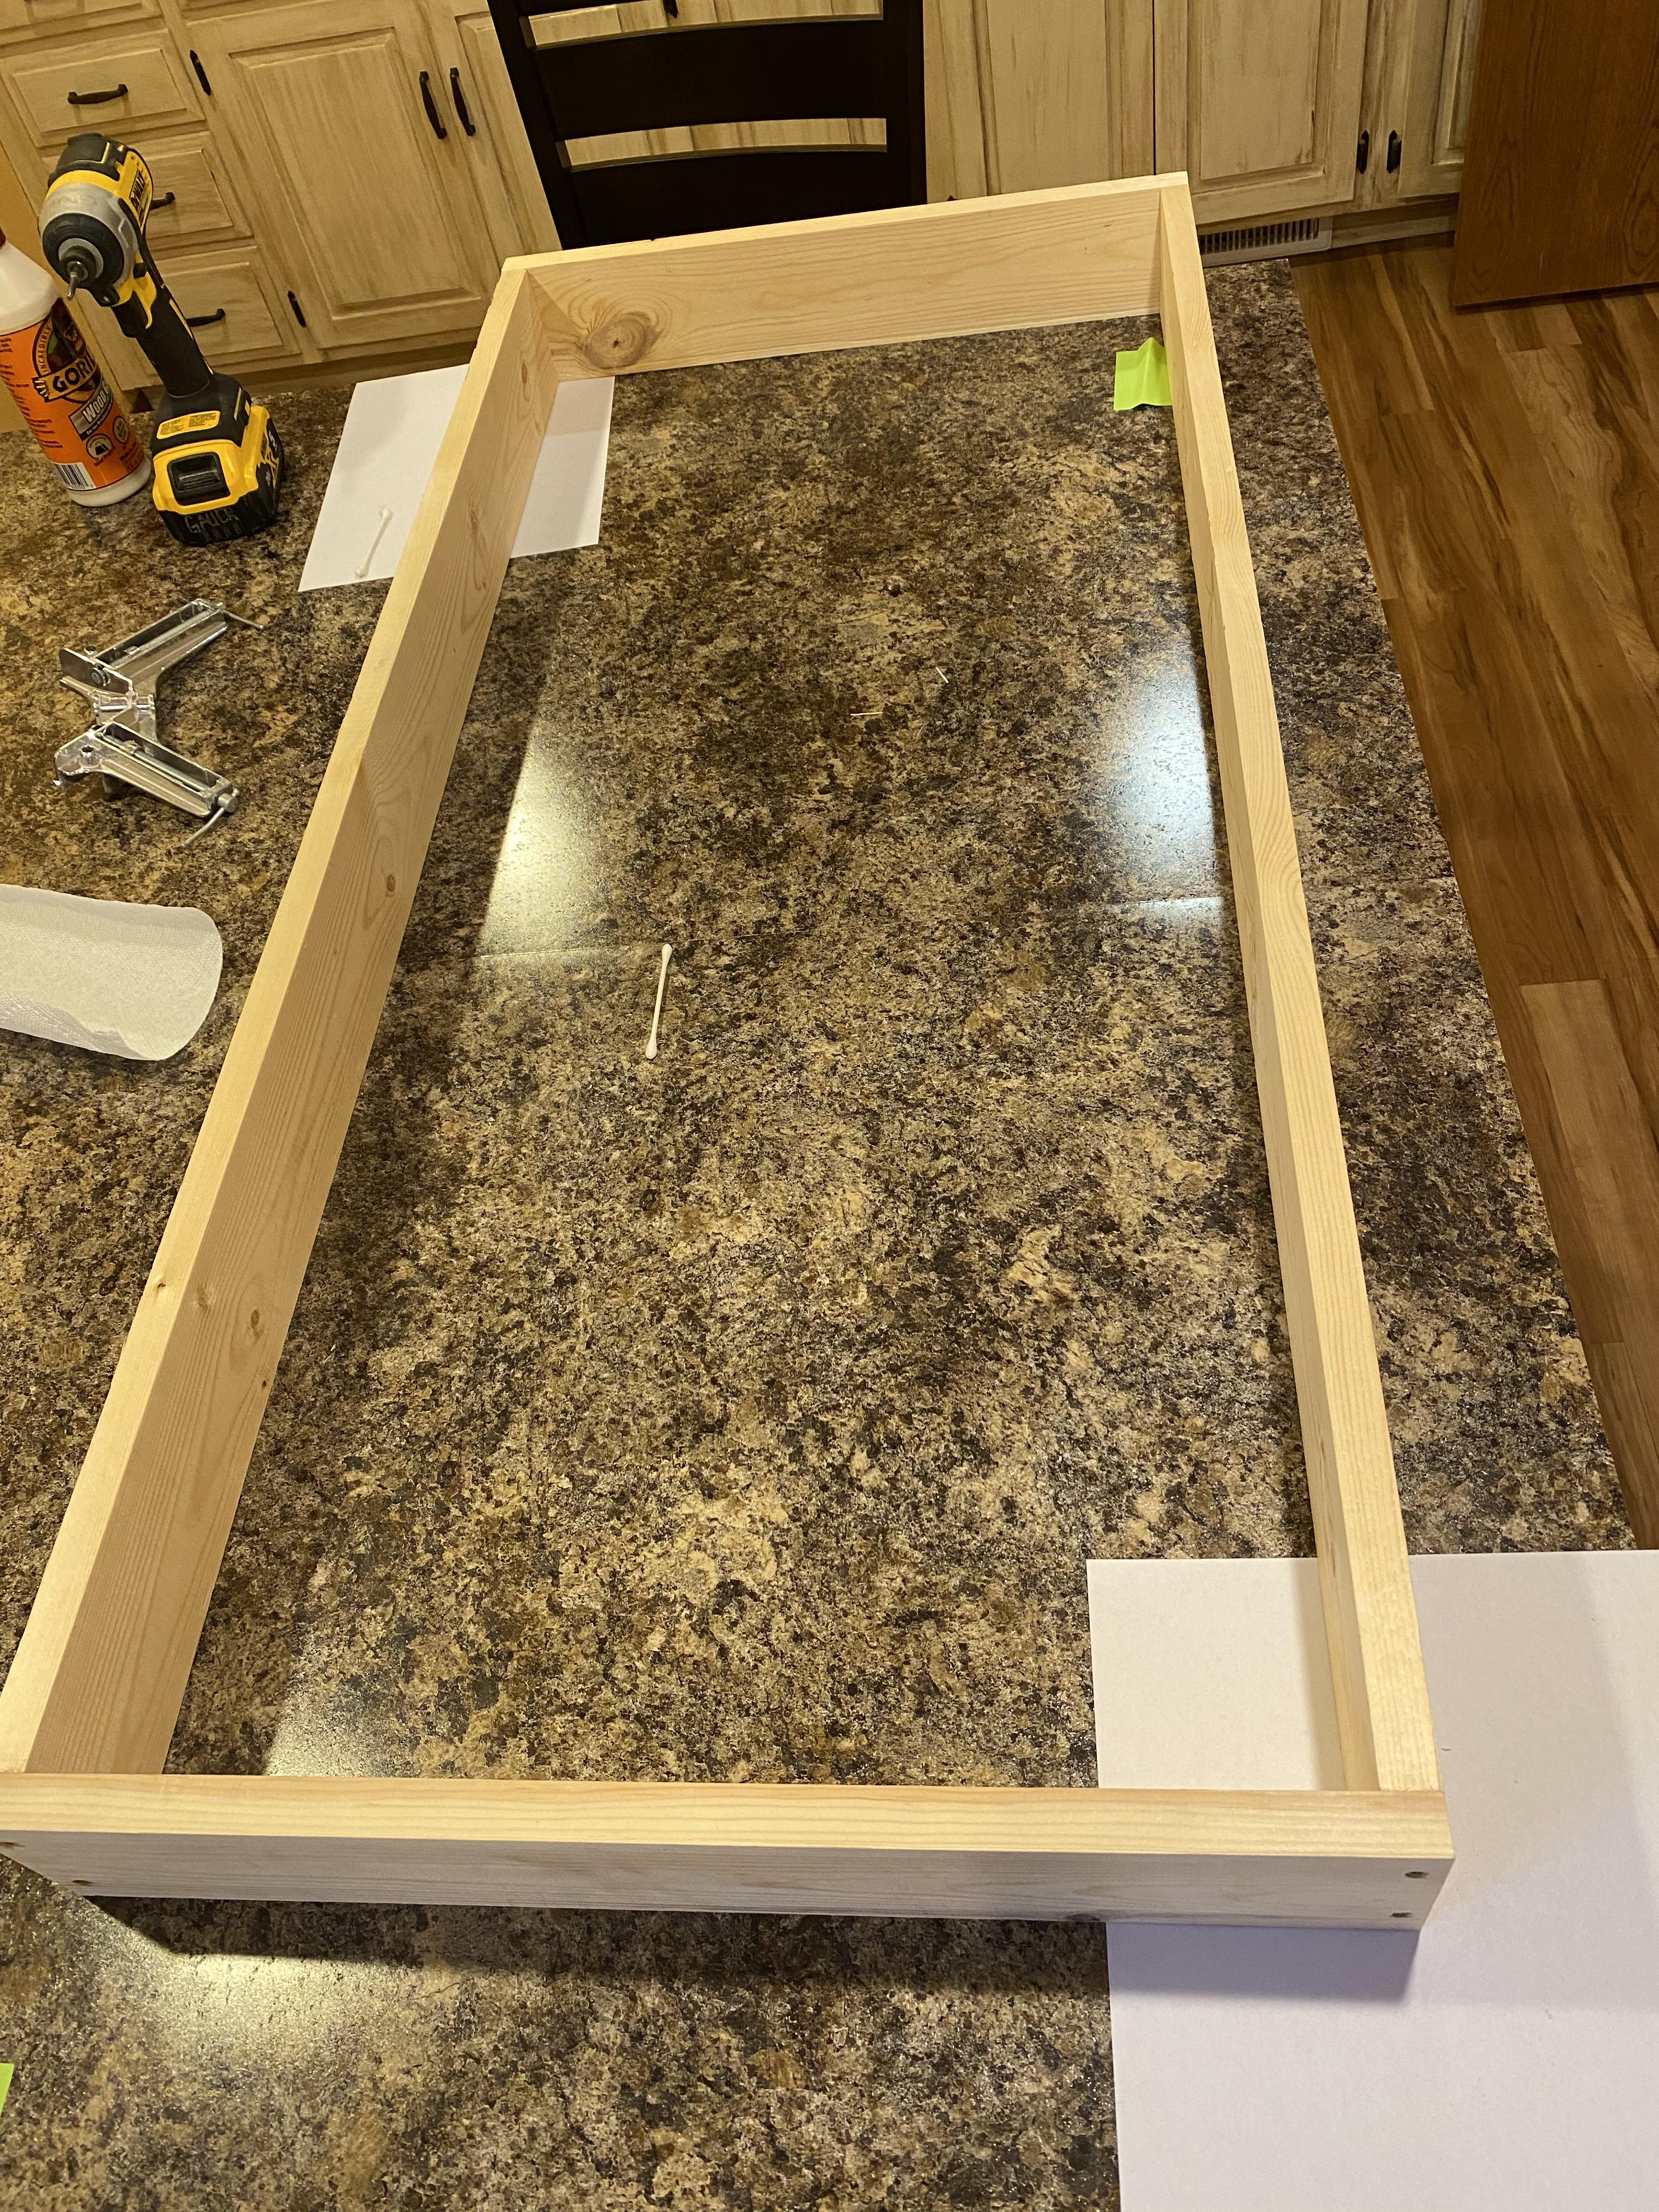
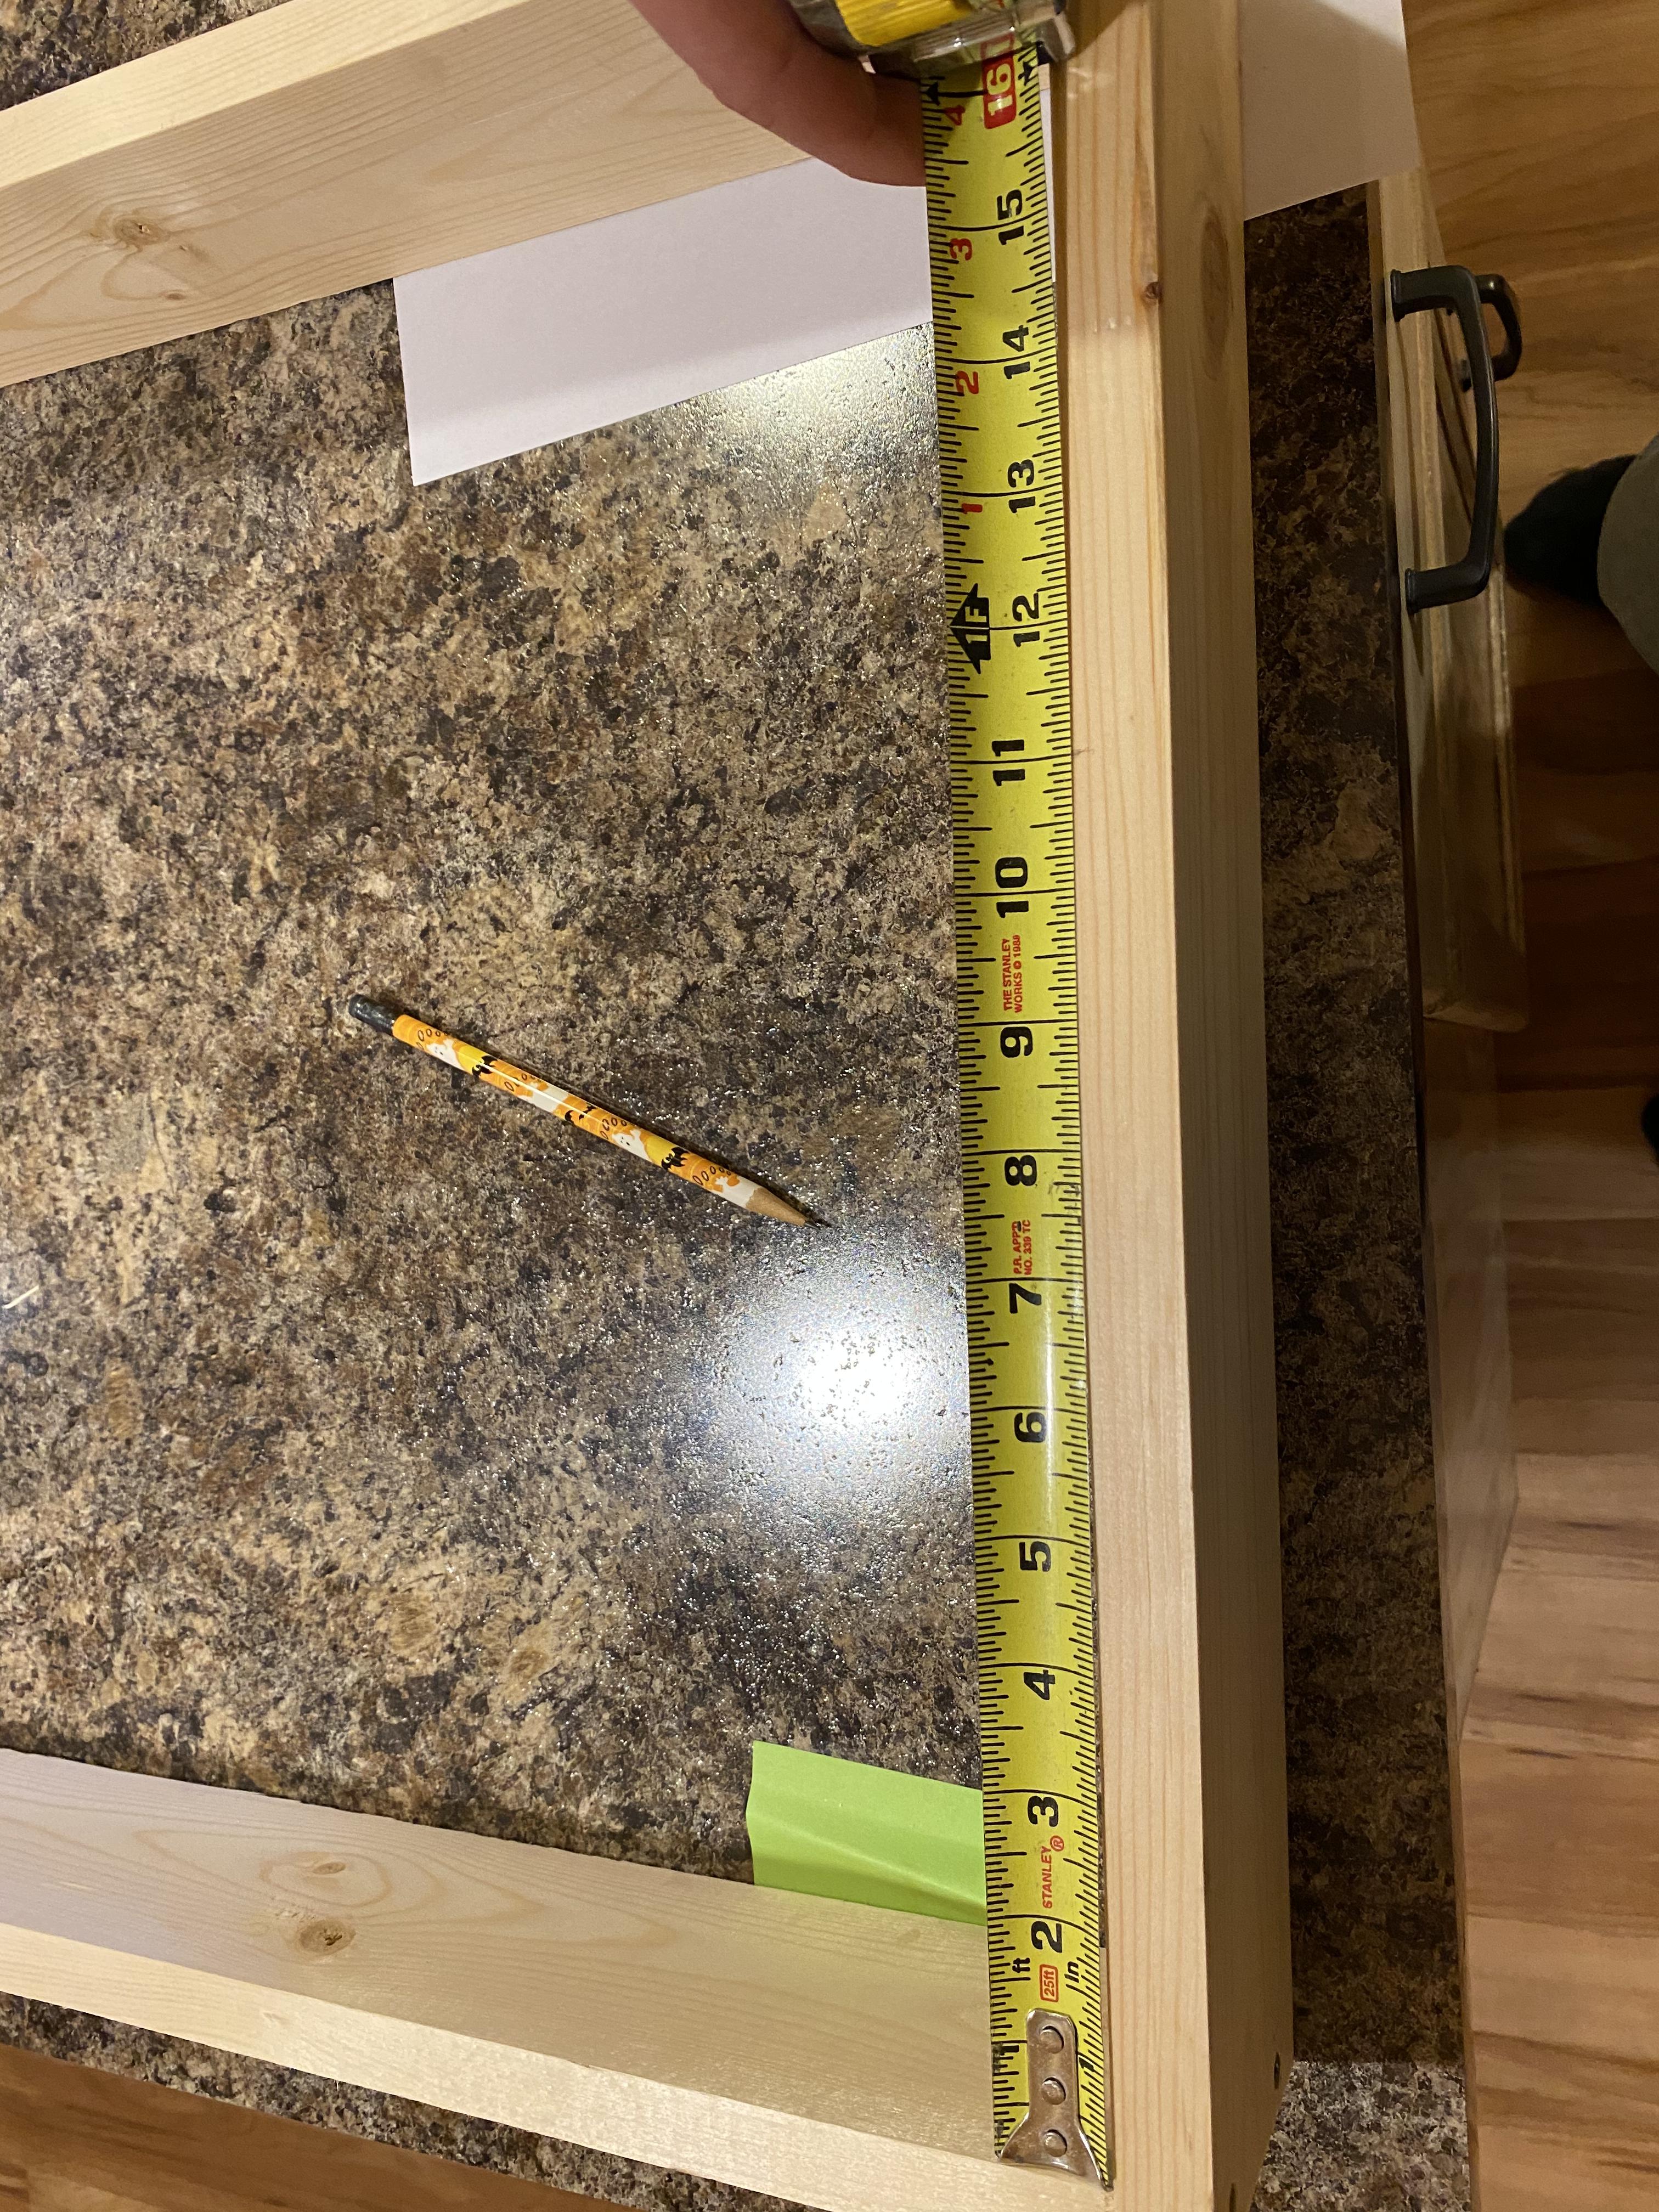
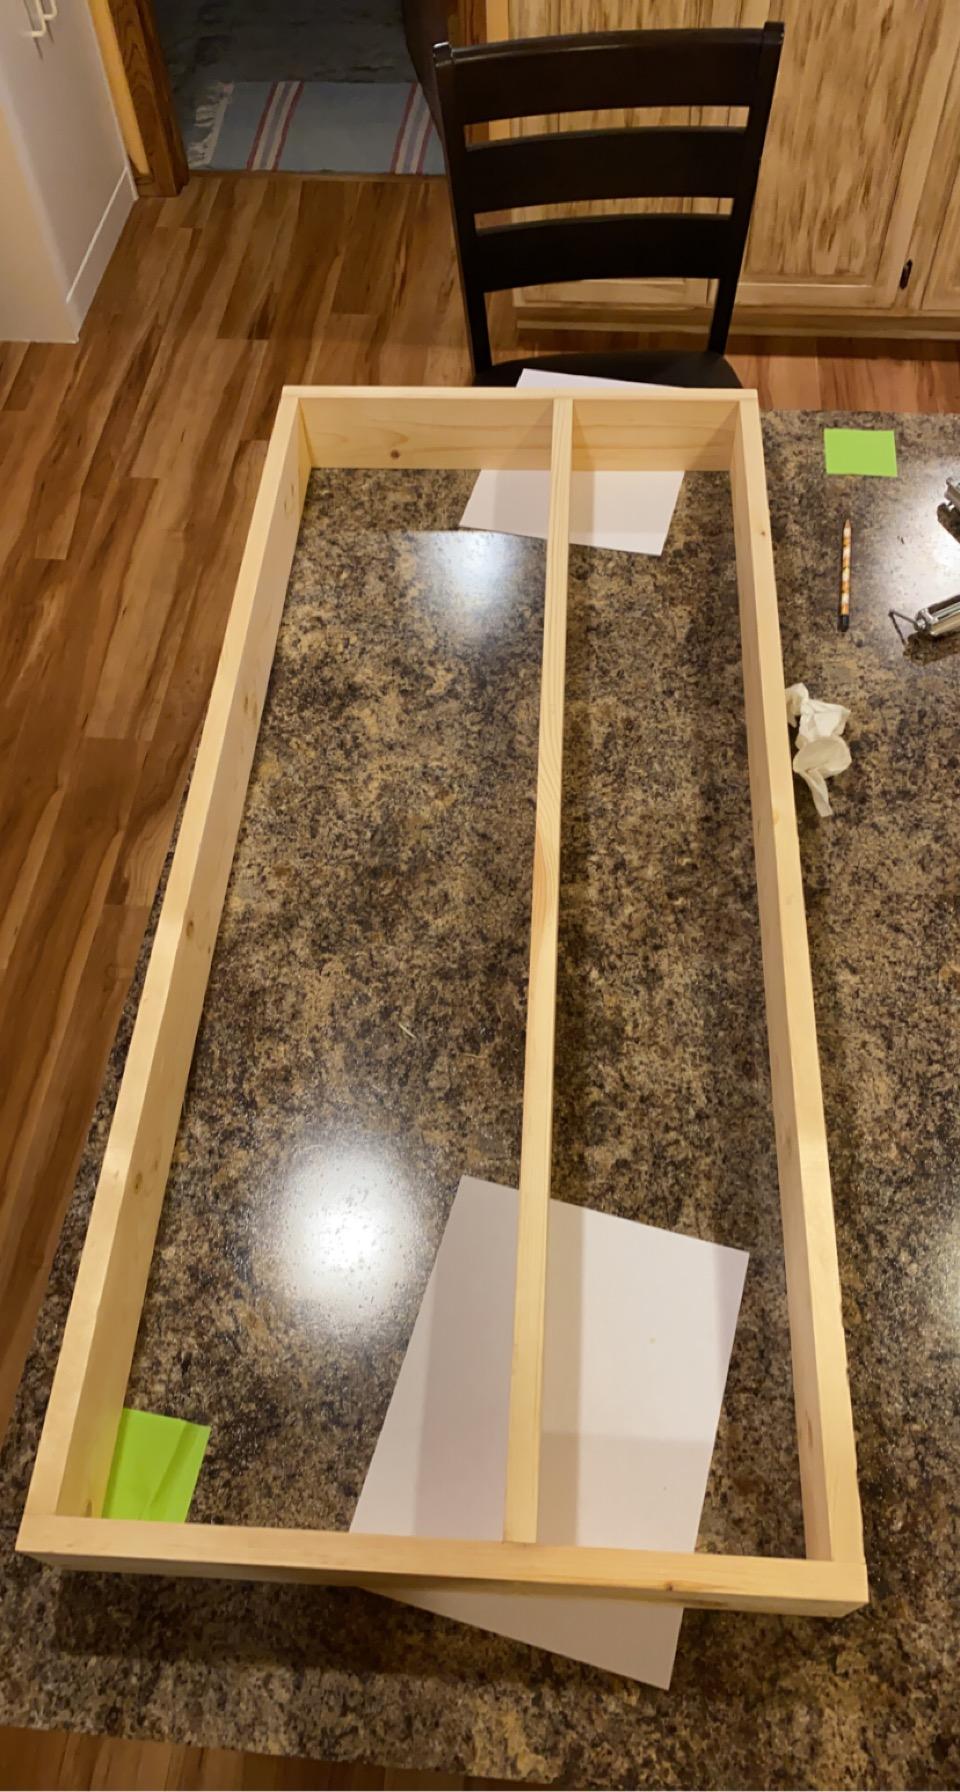
The next step is to take one of the 19 1/2“pieces and lay it on a flat surface with the skinny side against the surface. Then take one of the 42” pieces and turn it perpendicular to the other piece. When looking down on the two pieces together it should make the shape of an L. Before screwing the two pieces together put glue on the end of the 42” piece. Then push it back against the 19 ½” piece and put two 2” screws through the 19 ½” piece into the 42” piece so the pieces are snug together. Repeat this step one time so that there is only one 42” piece left. Then take both L’s and put them together so that they make a rectangular box. Put glue on the end of both 42” pieces where it hasn’t been screwed yet, and flush the ends with the two ends of the 19 ½ “pieces. Then drive two 2” screws through the 19 ½ “pieces into the two 42” pieces. This will create a shape that looks like a rectangular picture frame. After that is complete butt the tape measure into the inside of the 42” piece and measure up the side of the short piece and put a mark at 11” repeat this step on the other side of the frame. After completing this, use the speed square and draw a line across the board on each mark. Then take the last 42” piece and put glue on both ends. Slide the piece into the frame and make the bottom side of the board flush with the line. Next drill two 2” screws through the side piece into the 42” piece.
Cut the Plywood for the Back
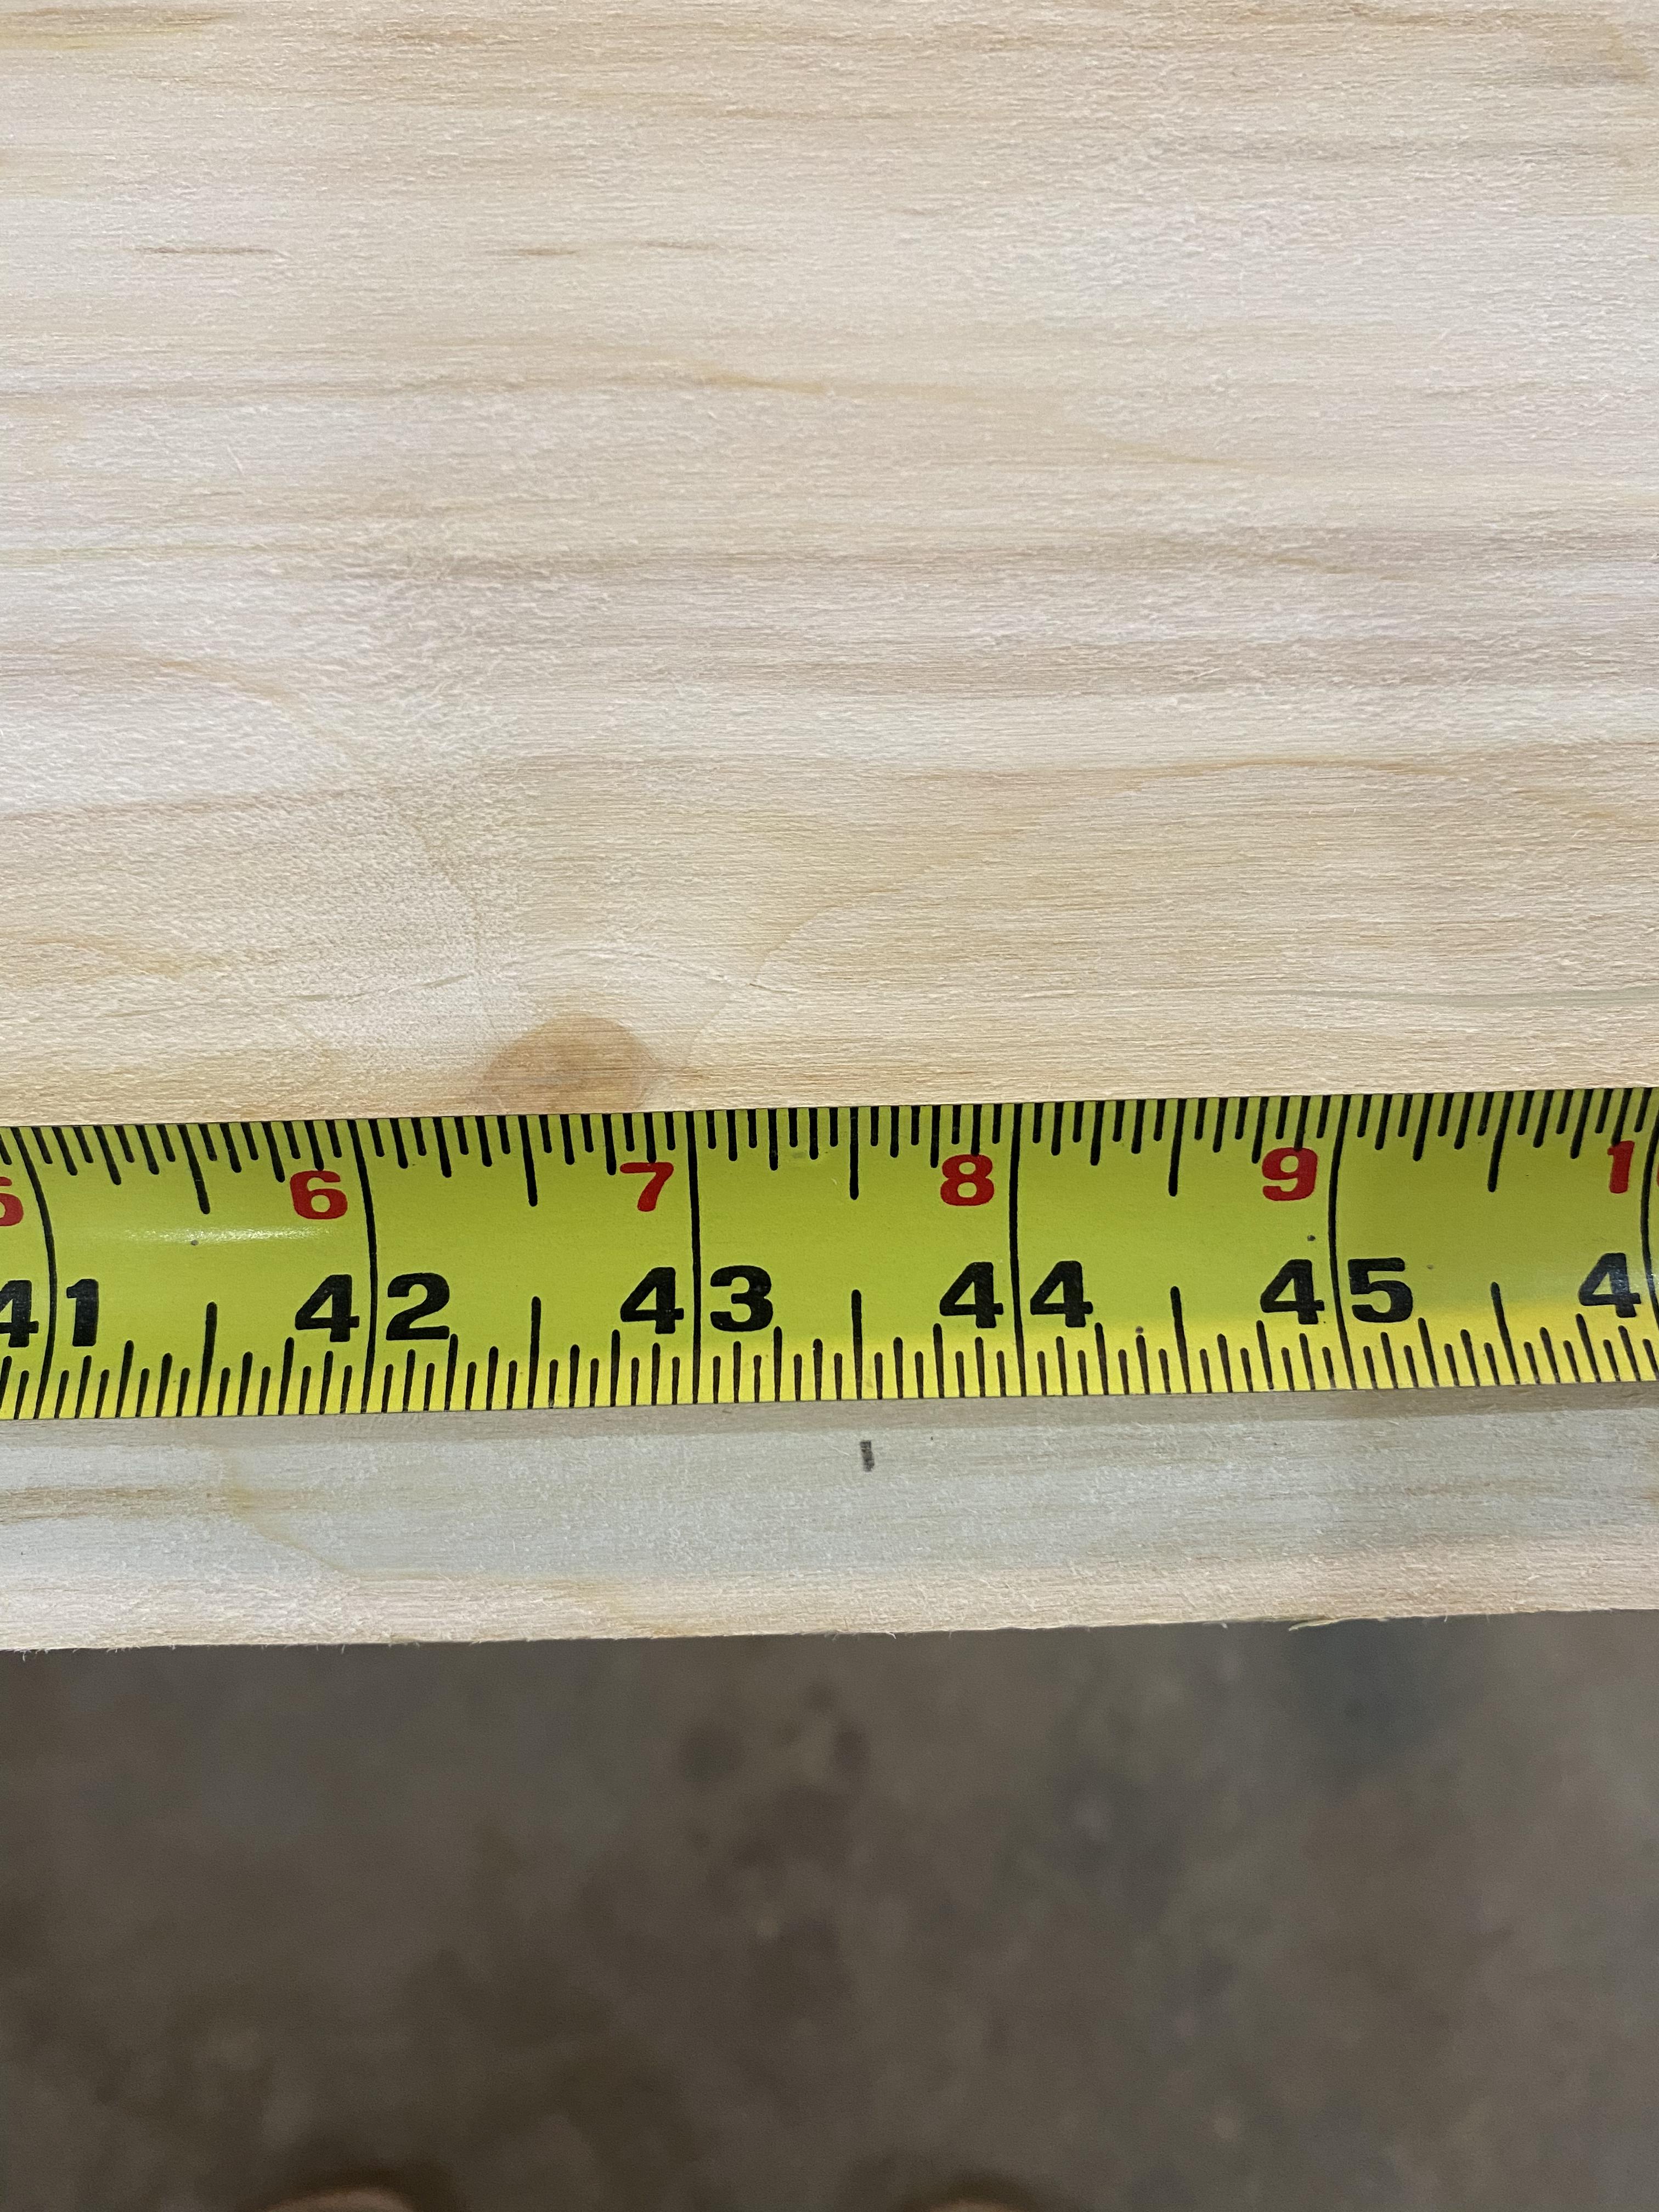
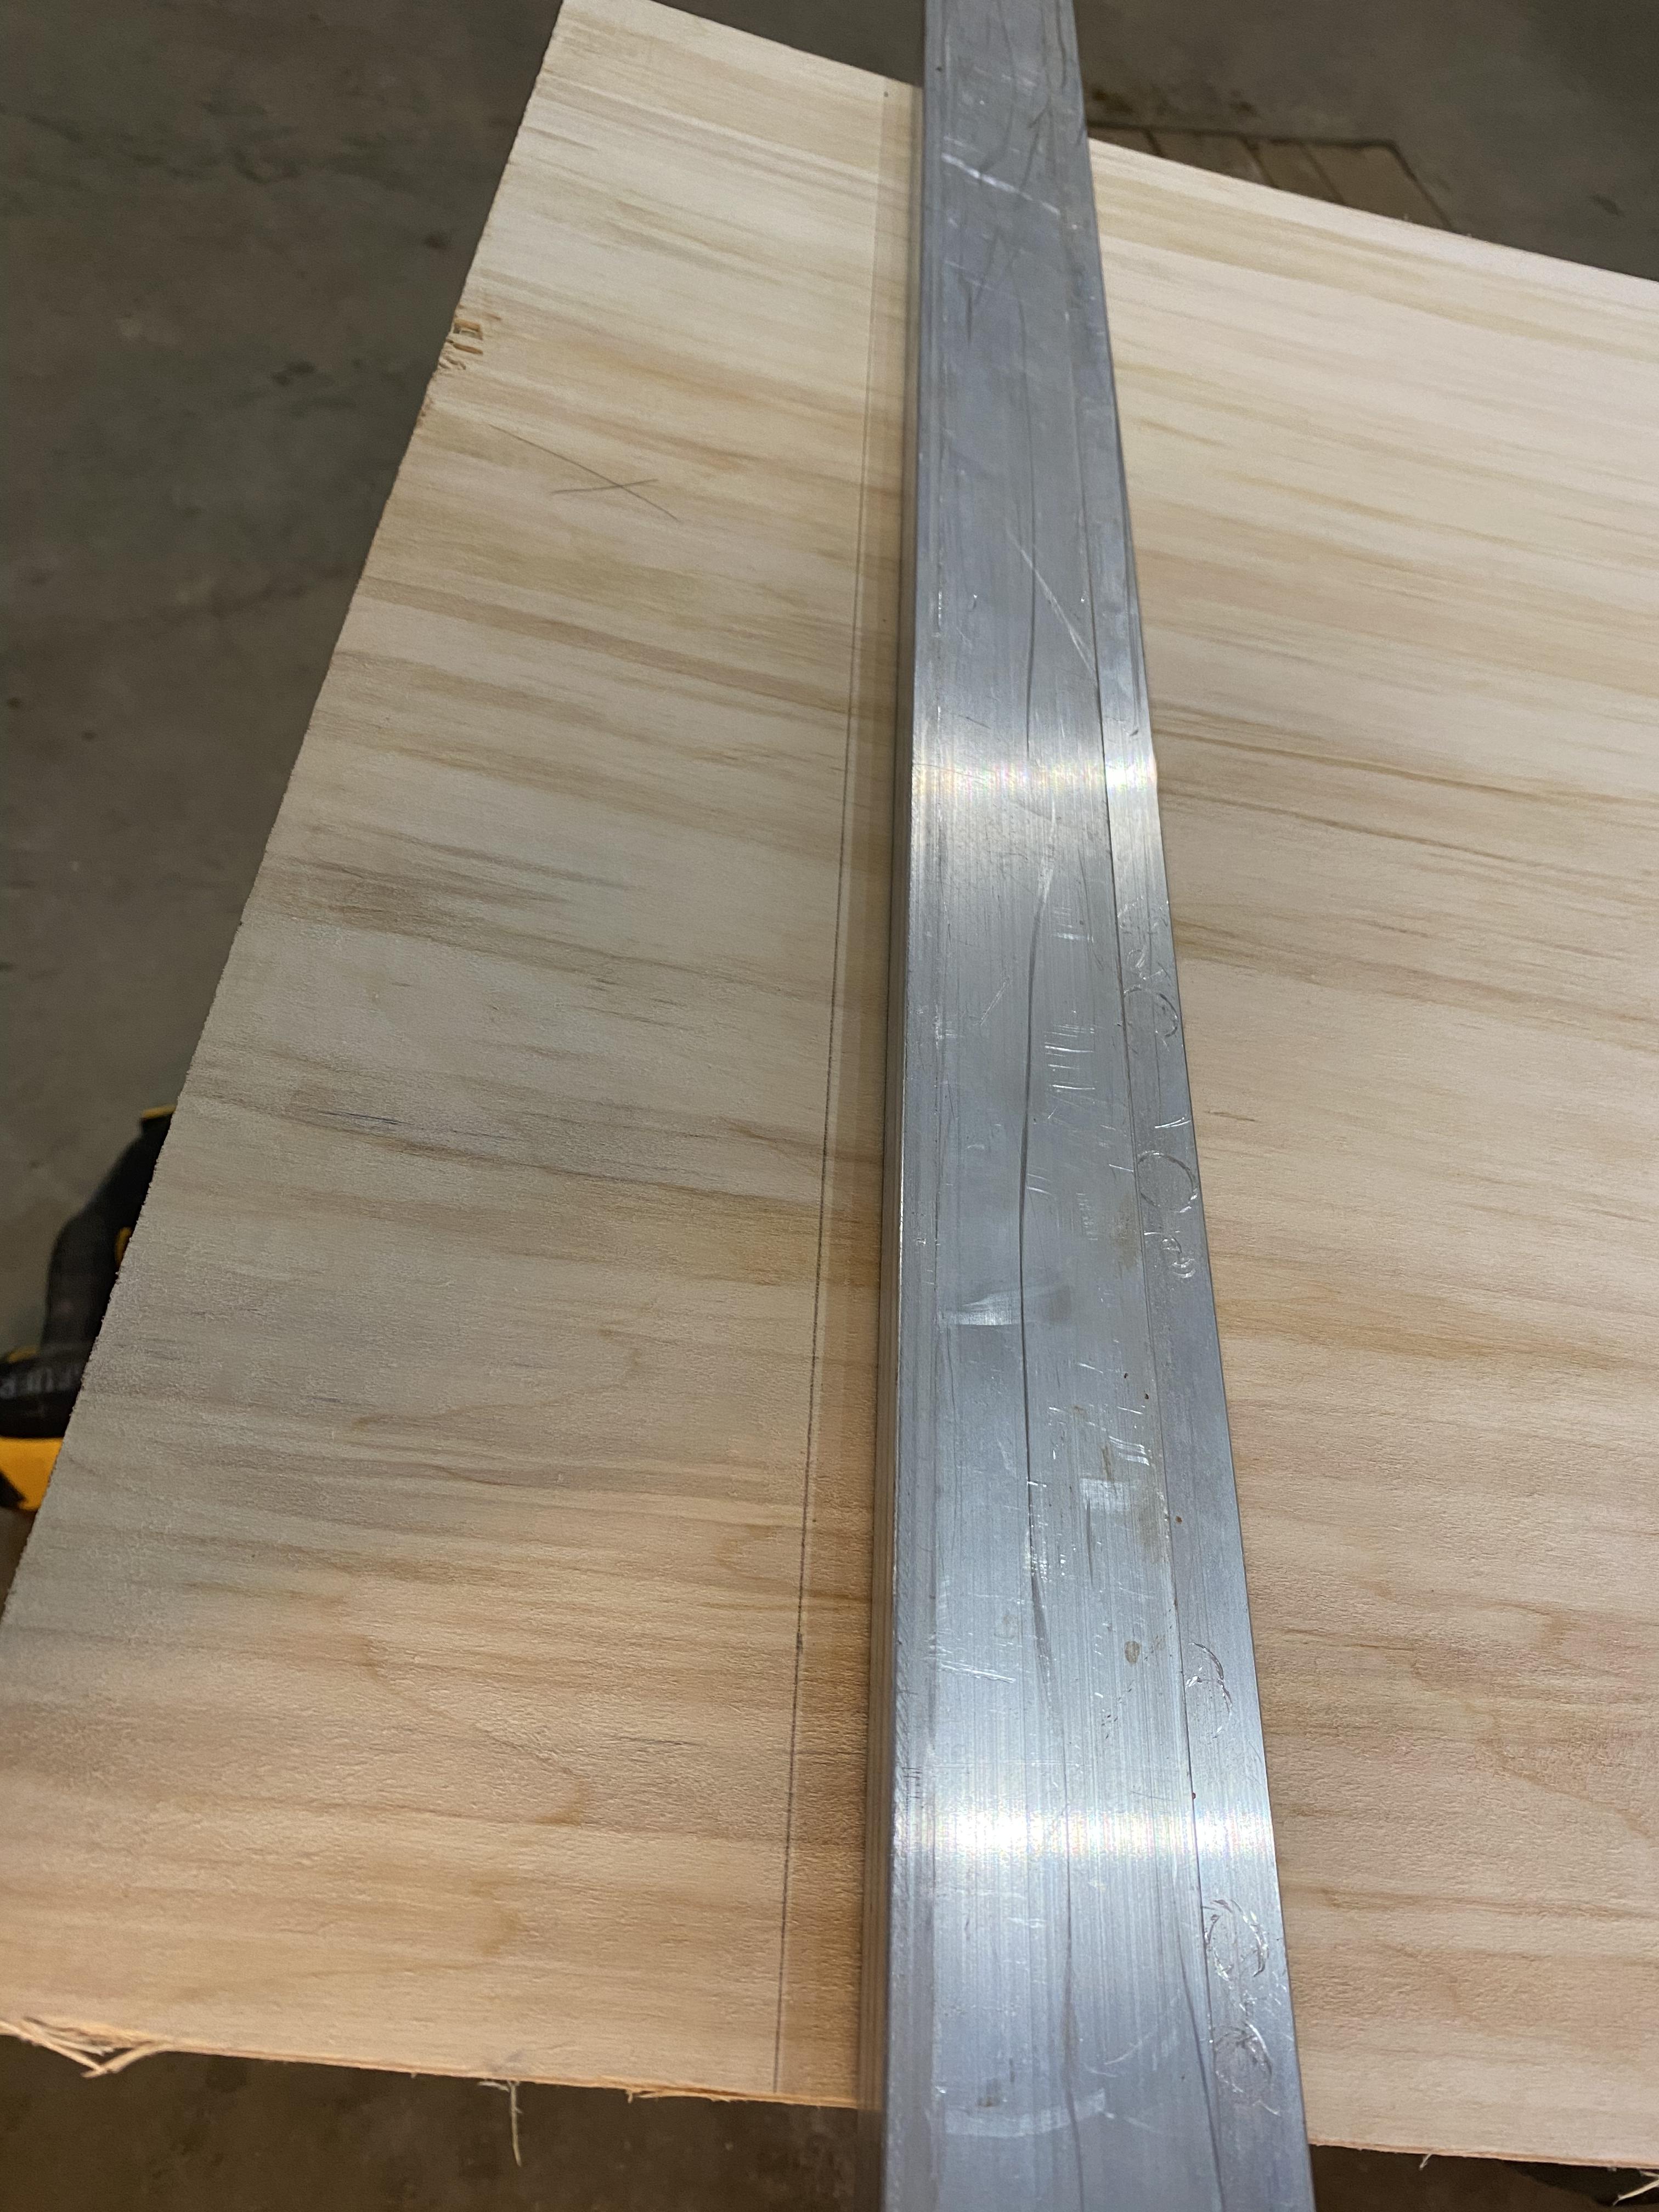
Now that the frame is complete. The back piece of plywood is going to need to be cut. Using the tape measure hook on the 4’ side of the ¼ “piece of plywood. Measure up on both sides 19 ¼ “and put a mark. Then use the straight edge to draw a straight line onto the plywood from one mark to the other, then use the circular saw to cut on the line. This cut will make it the same height as the frame, hook on the side of the plywood that is 19 ¼ “tall and drag the tape across. Put a mark at the 43 ½ “. Do this towards the top and the bottom. Then use the straight edge and put the edge on both marks and draw a straight line across the sheet of plywood. Then use the circular saw and cut on the line. After this is complete the sheet of plywood should be the same size as the frame.
Applying the Plywood to the Frame
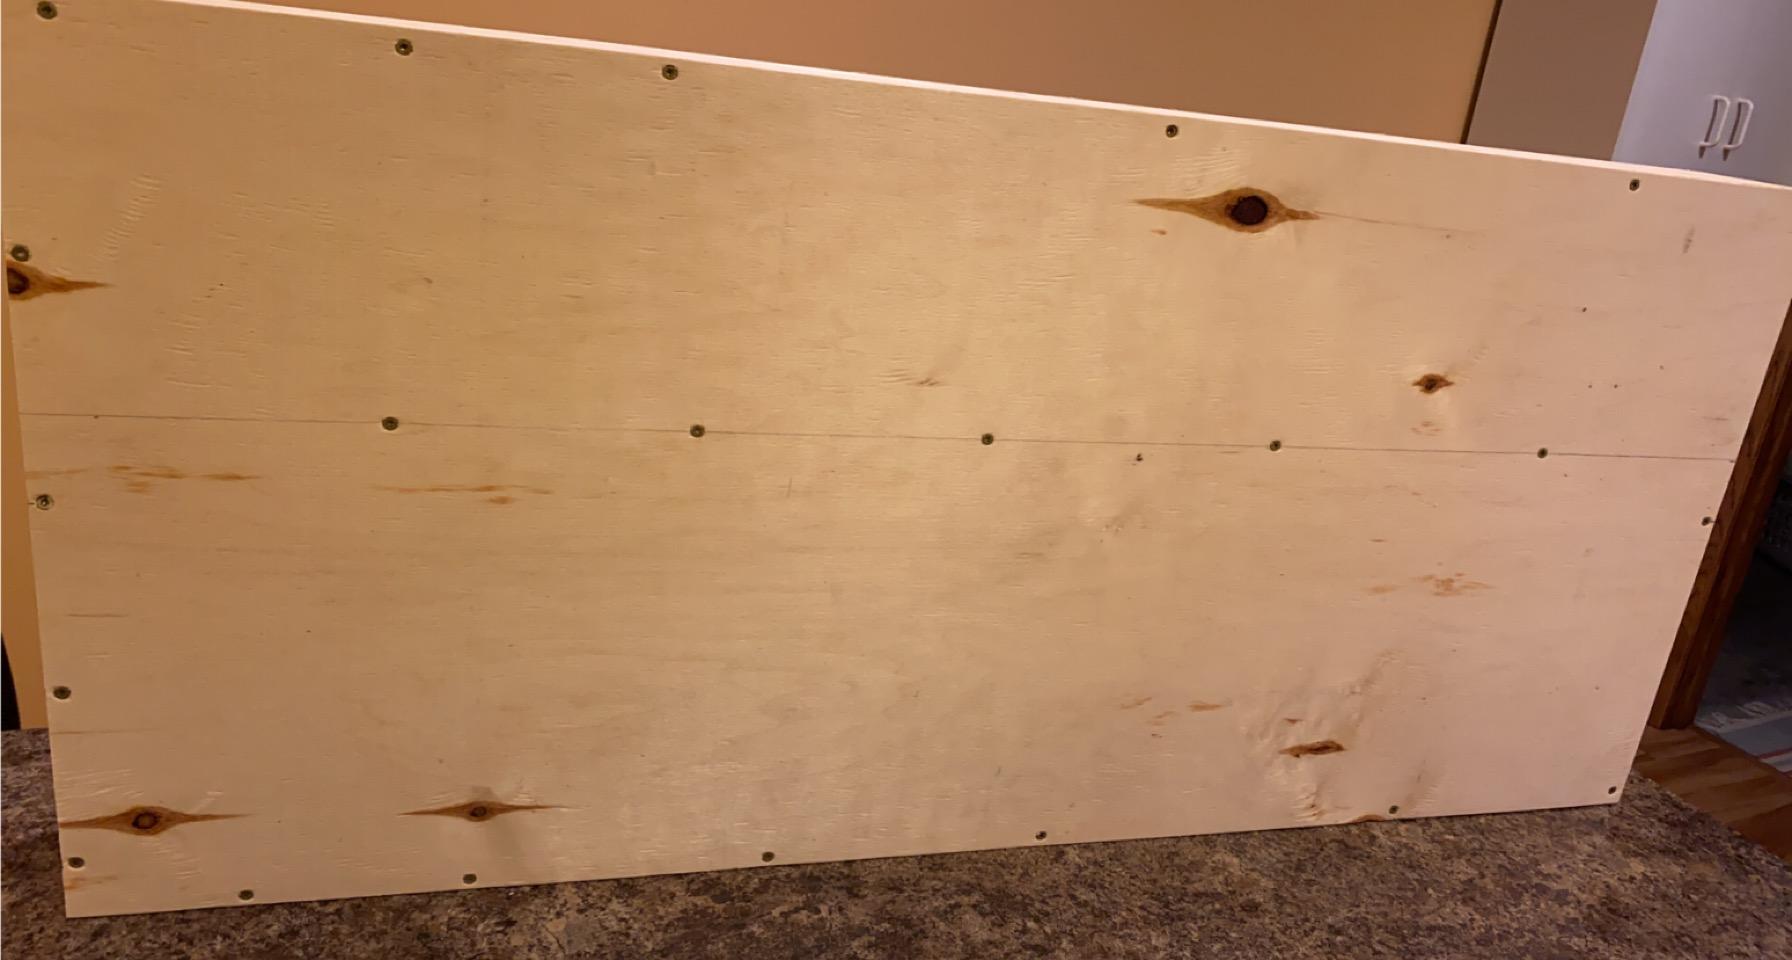
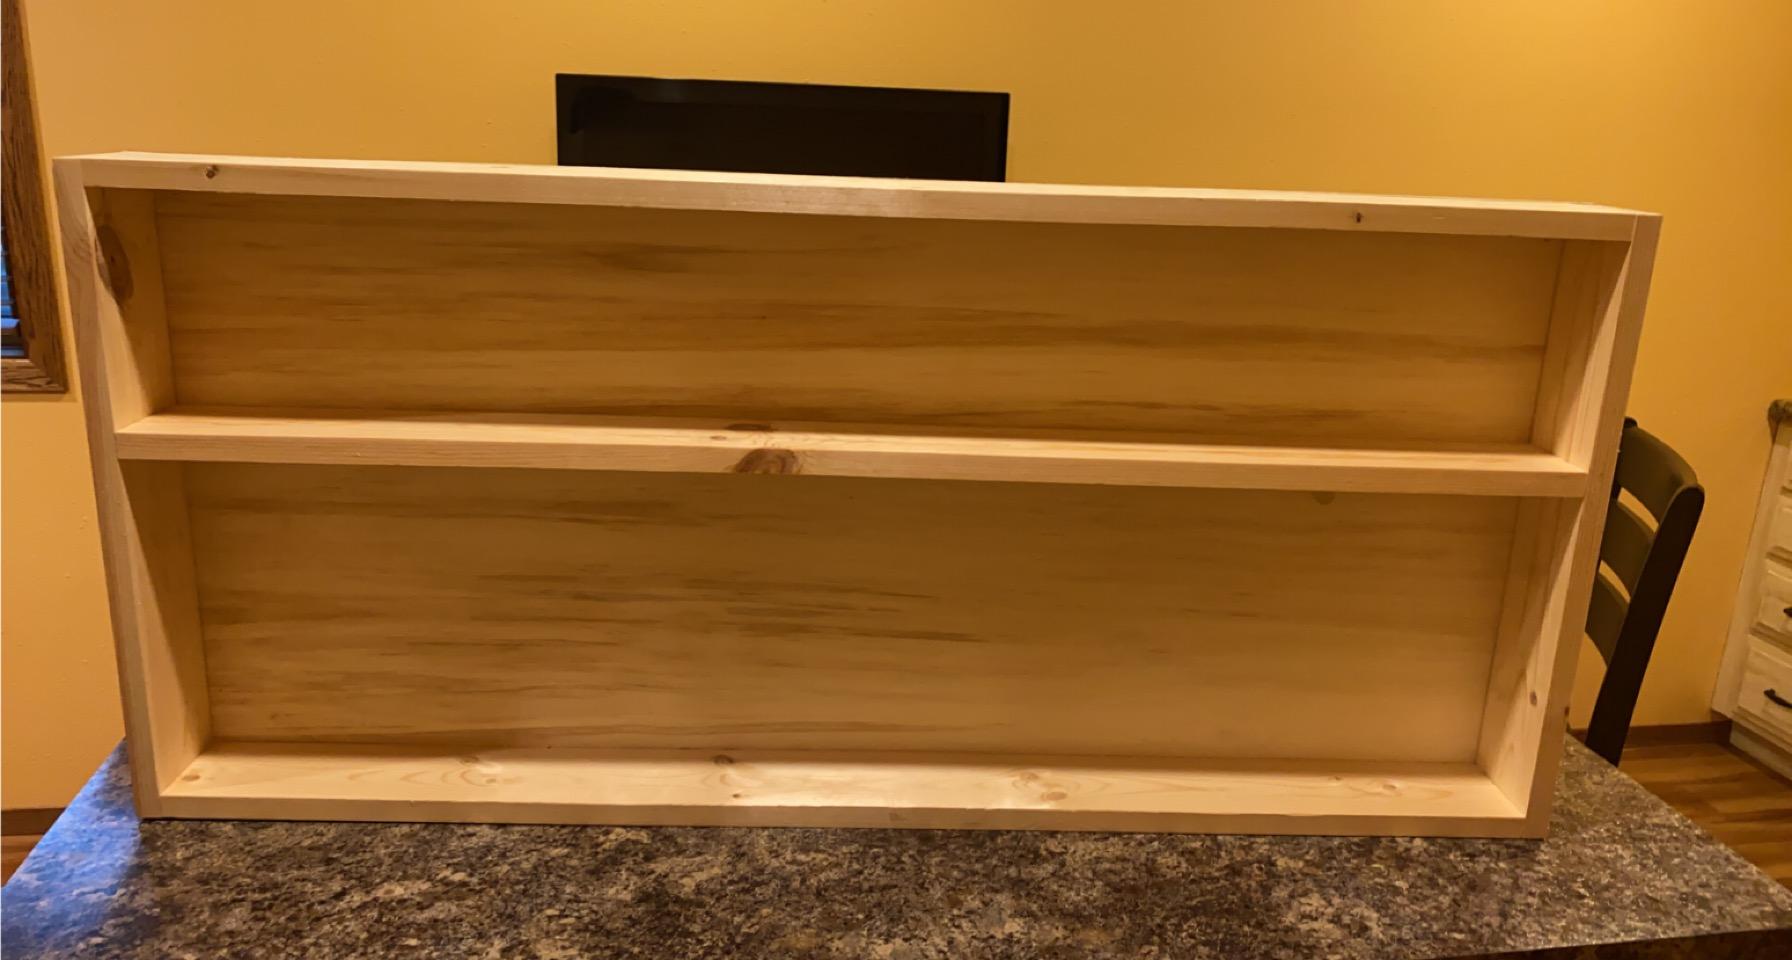
Next apply glue around the edge of the frame put the sheet of plywood onto the frame, then screw down the plywood to the frame. Put six 2” screws across the top, six across the bottom as well as across the middle. Two screws need to be added on both sides, one in each gap on both sides so there should be a total of five screws on each side.
Cut the Front Plywood Sheet
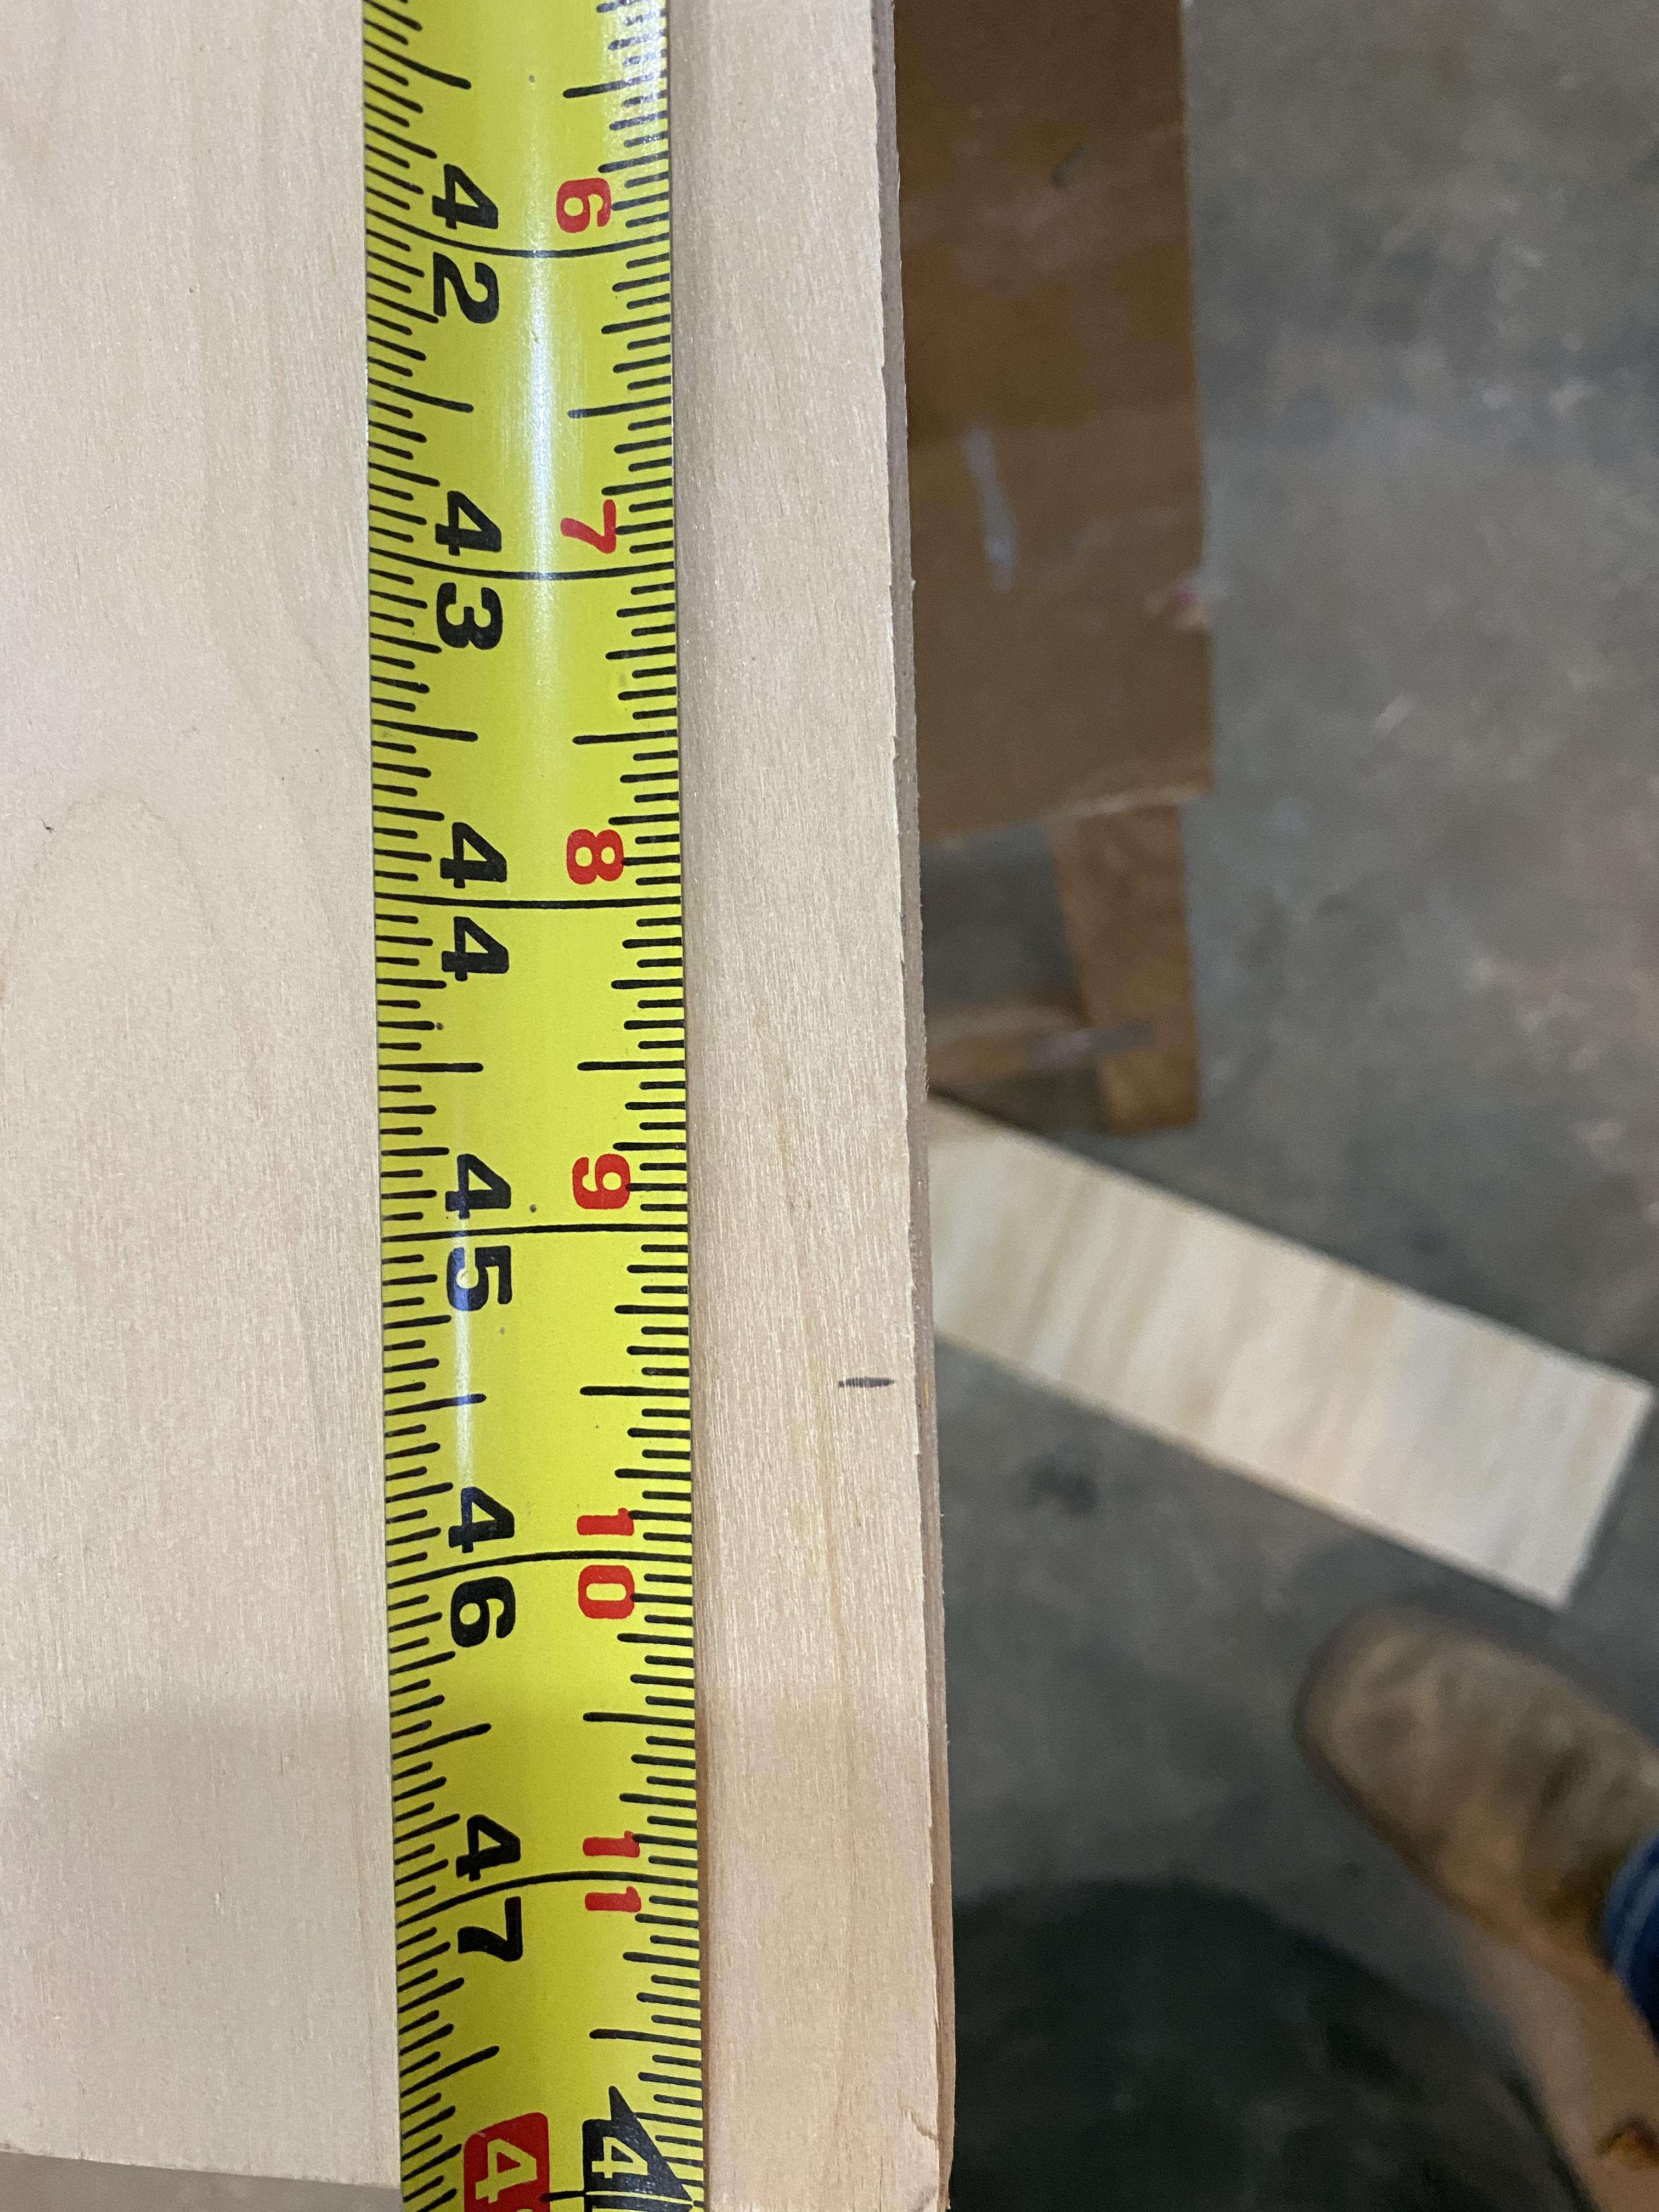
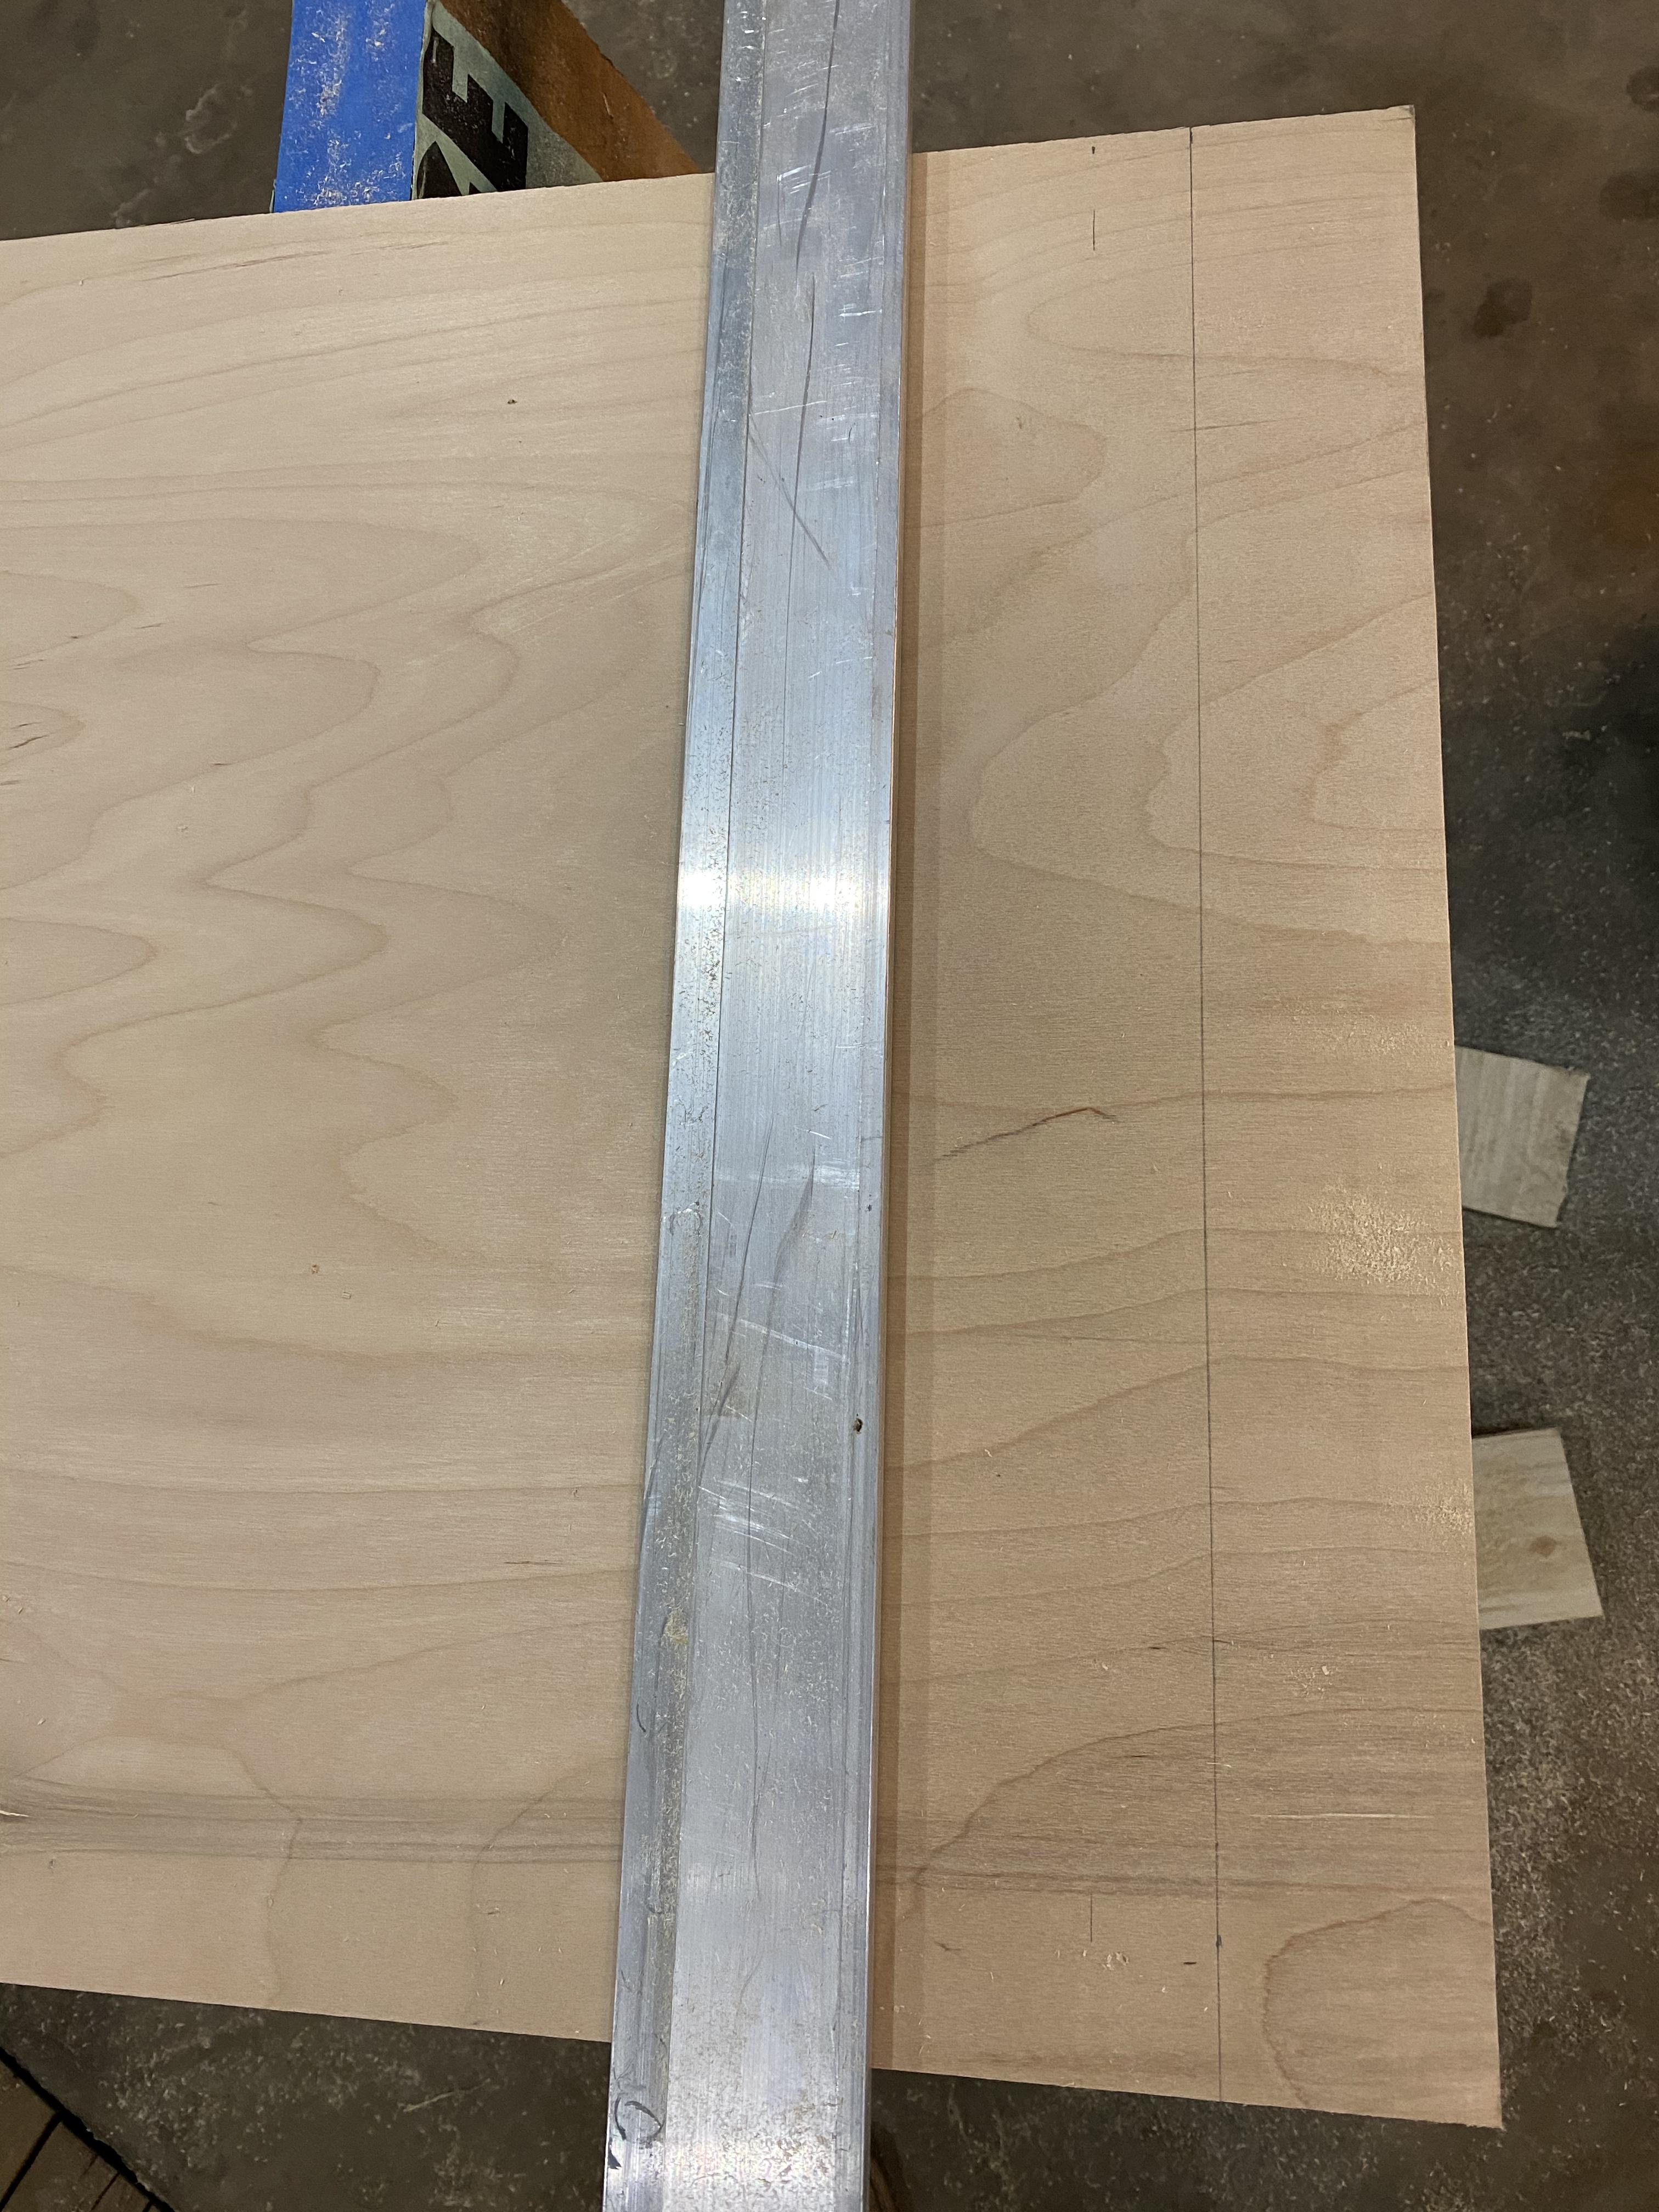
The next step is to cut the piece for the front of the frame. Using the ½ “sheet of plywood, hook the tape measure on the 2’ side of the sheet towards the bottom and measure over 45 ½ “and put a mark. Do this again towards the bottom of the sheet; then use the straight edge and put it across the board on the marks and draw a line. Then use the circular saw and cut along the line. Next measure up from the long side of the plywood and put a mark at 21 ½ “. Do this again on the other side of the sheet. Using the straight edge draw a line from one point to the other. Using the circular saw cut along the line.
Burn the Wood With Torch
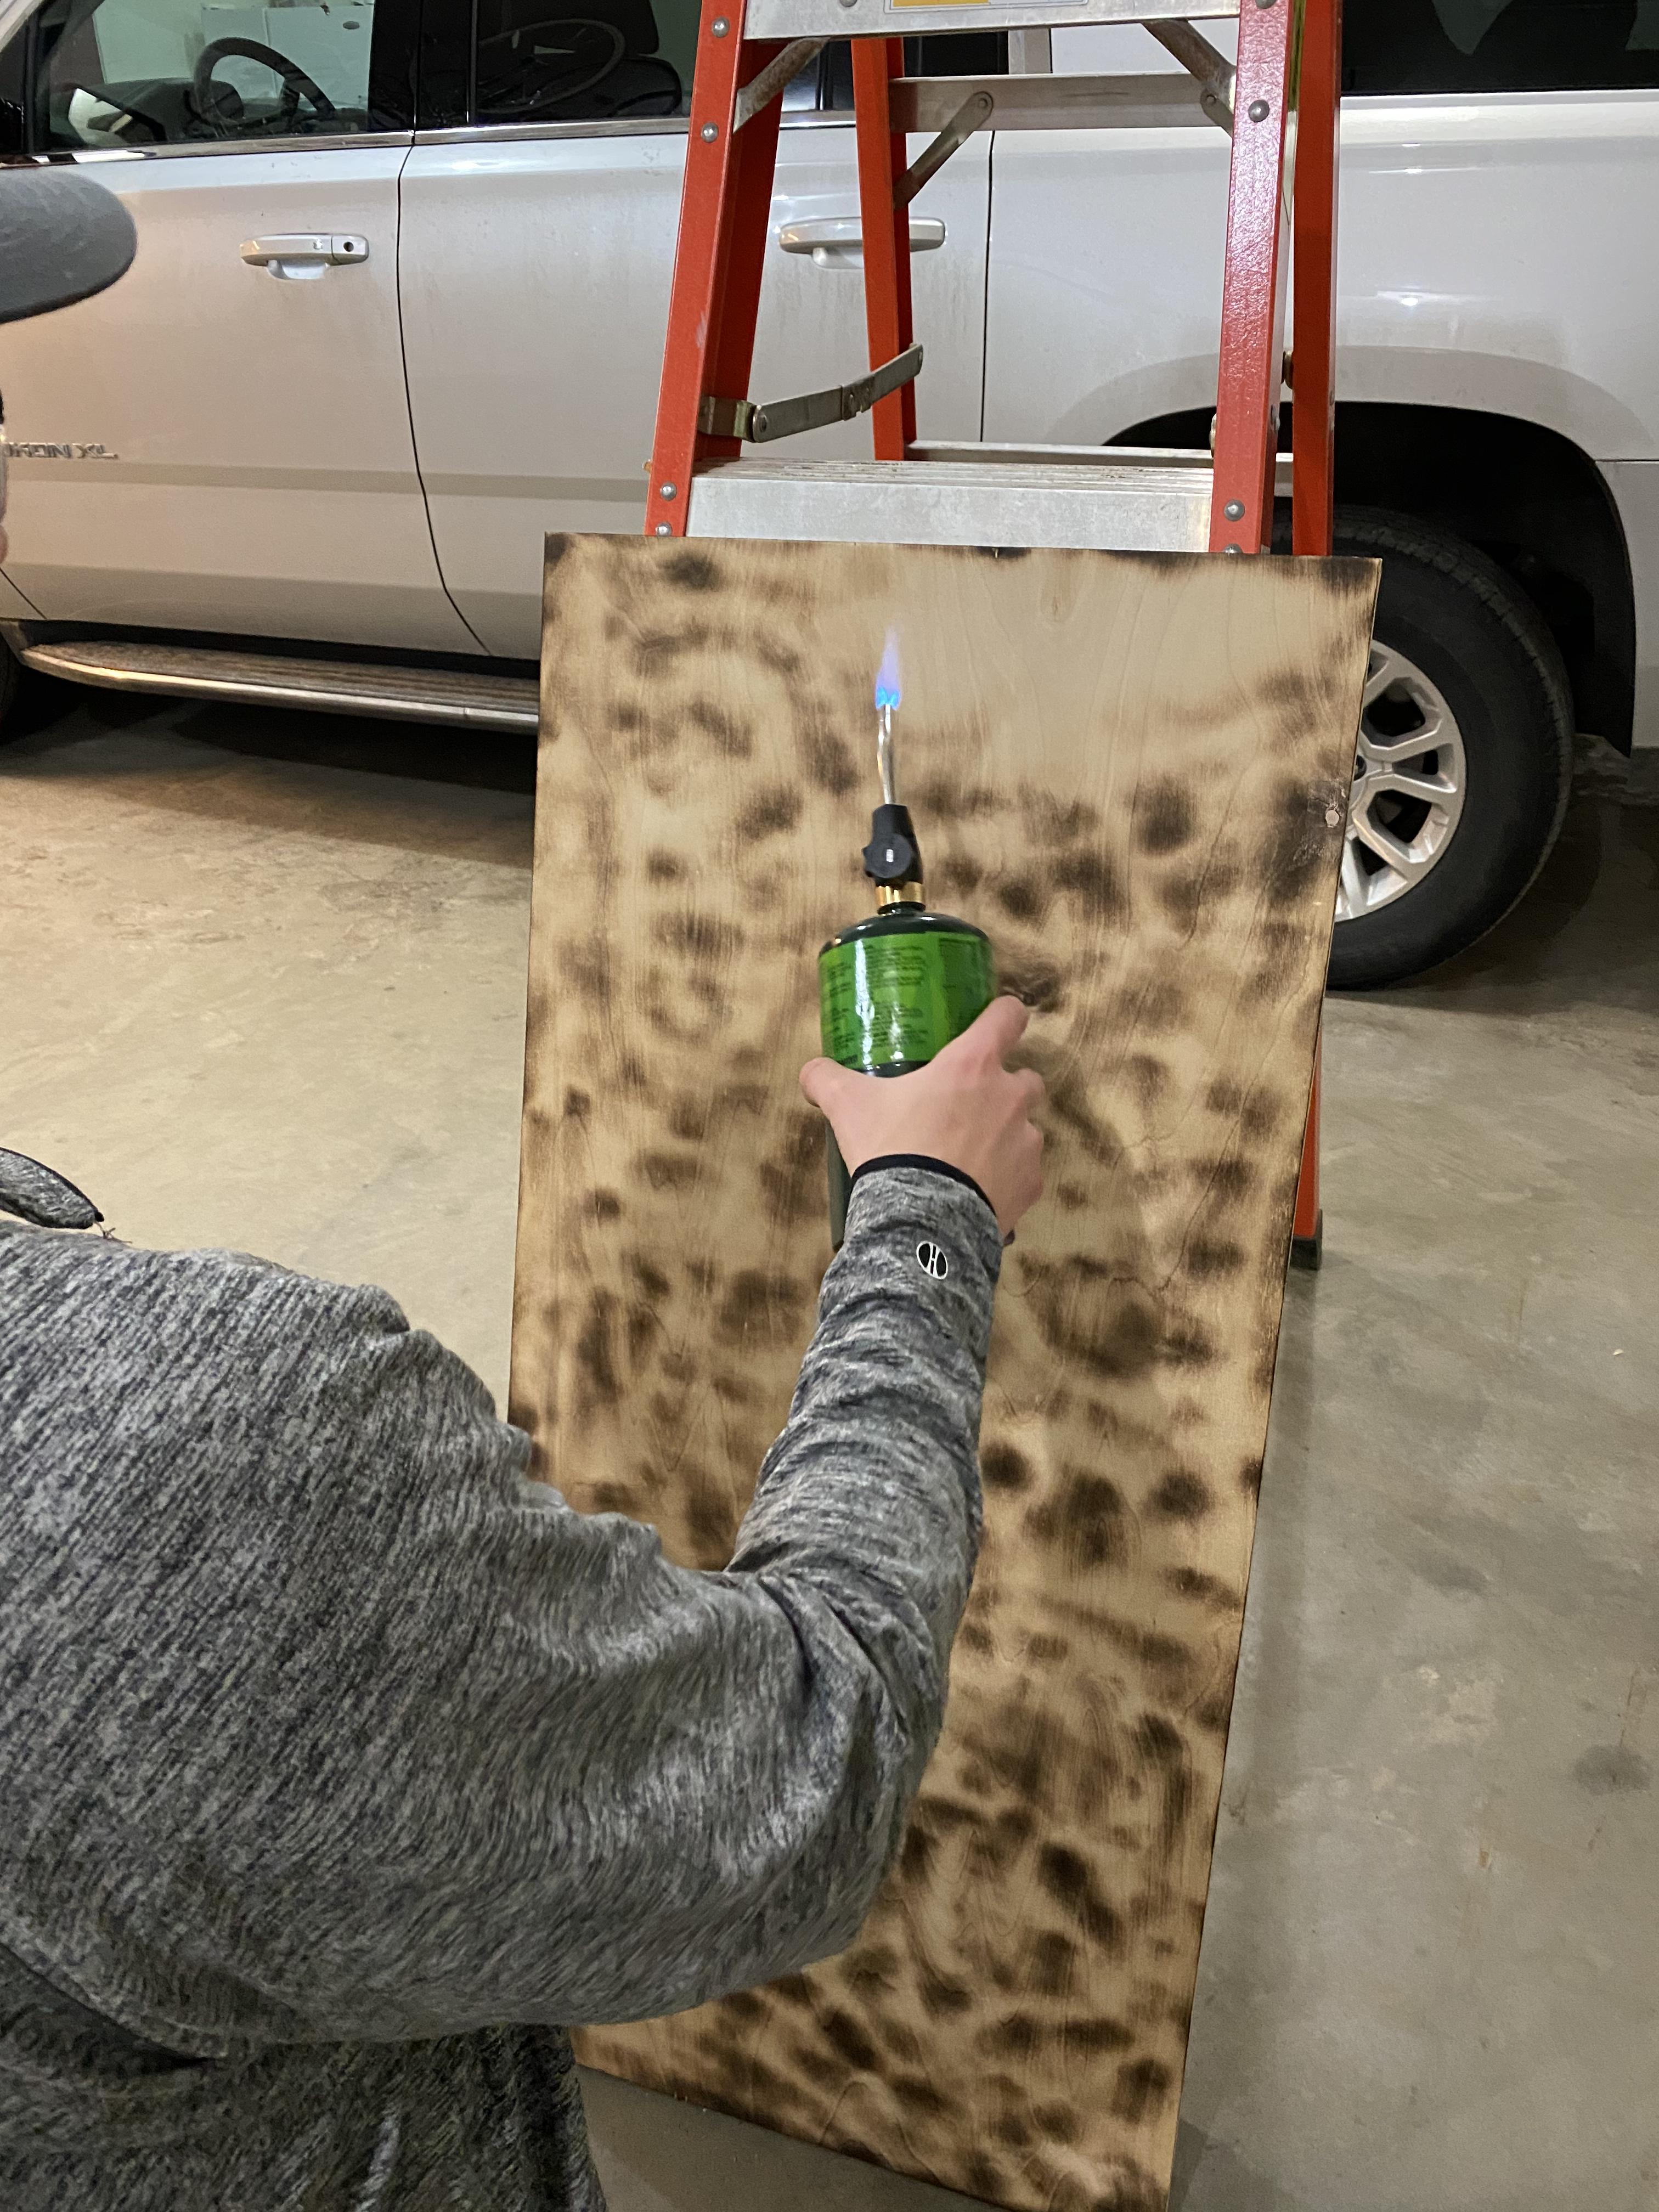
After that, using the propane torch, lightly burn all of the wood on the frame, the back, and the front piece, do not burn the wood so that it is entirely black. It should just turn to a medium to dark brown.
Draw and Paint the Flag
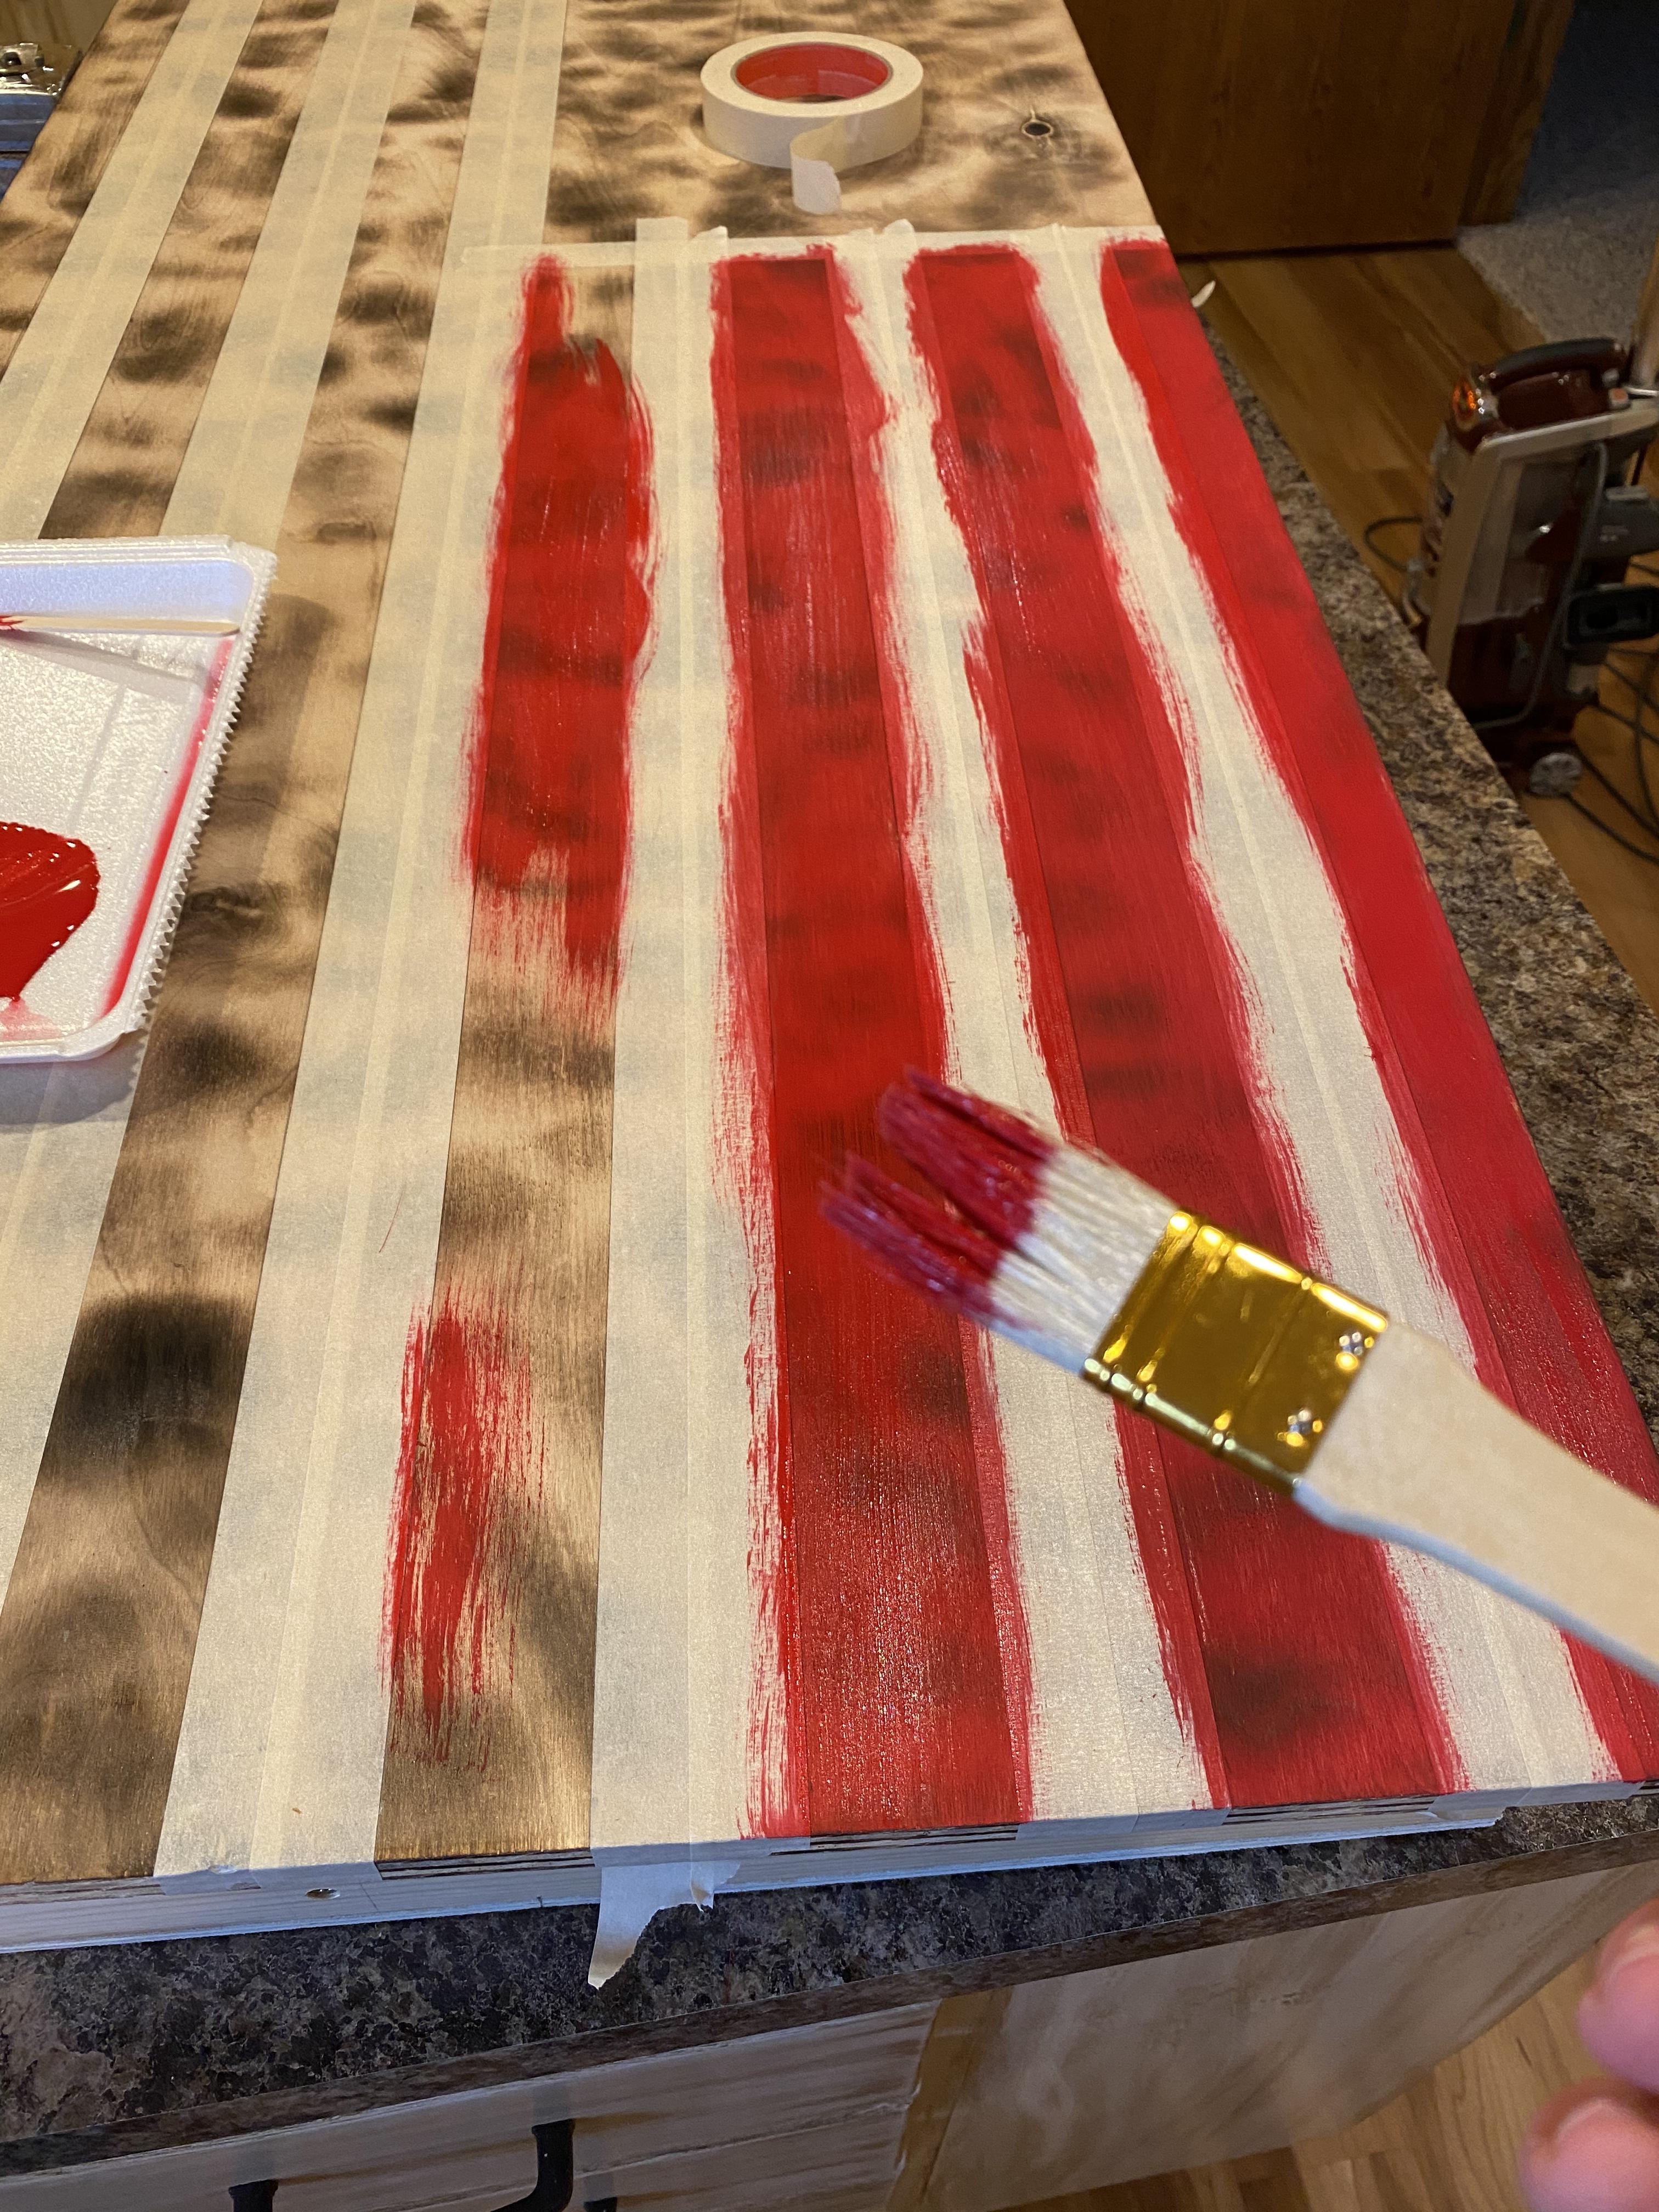
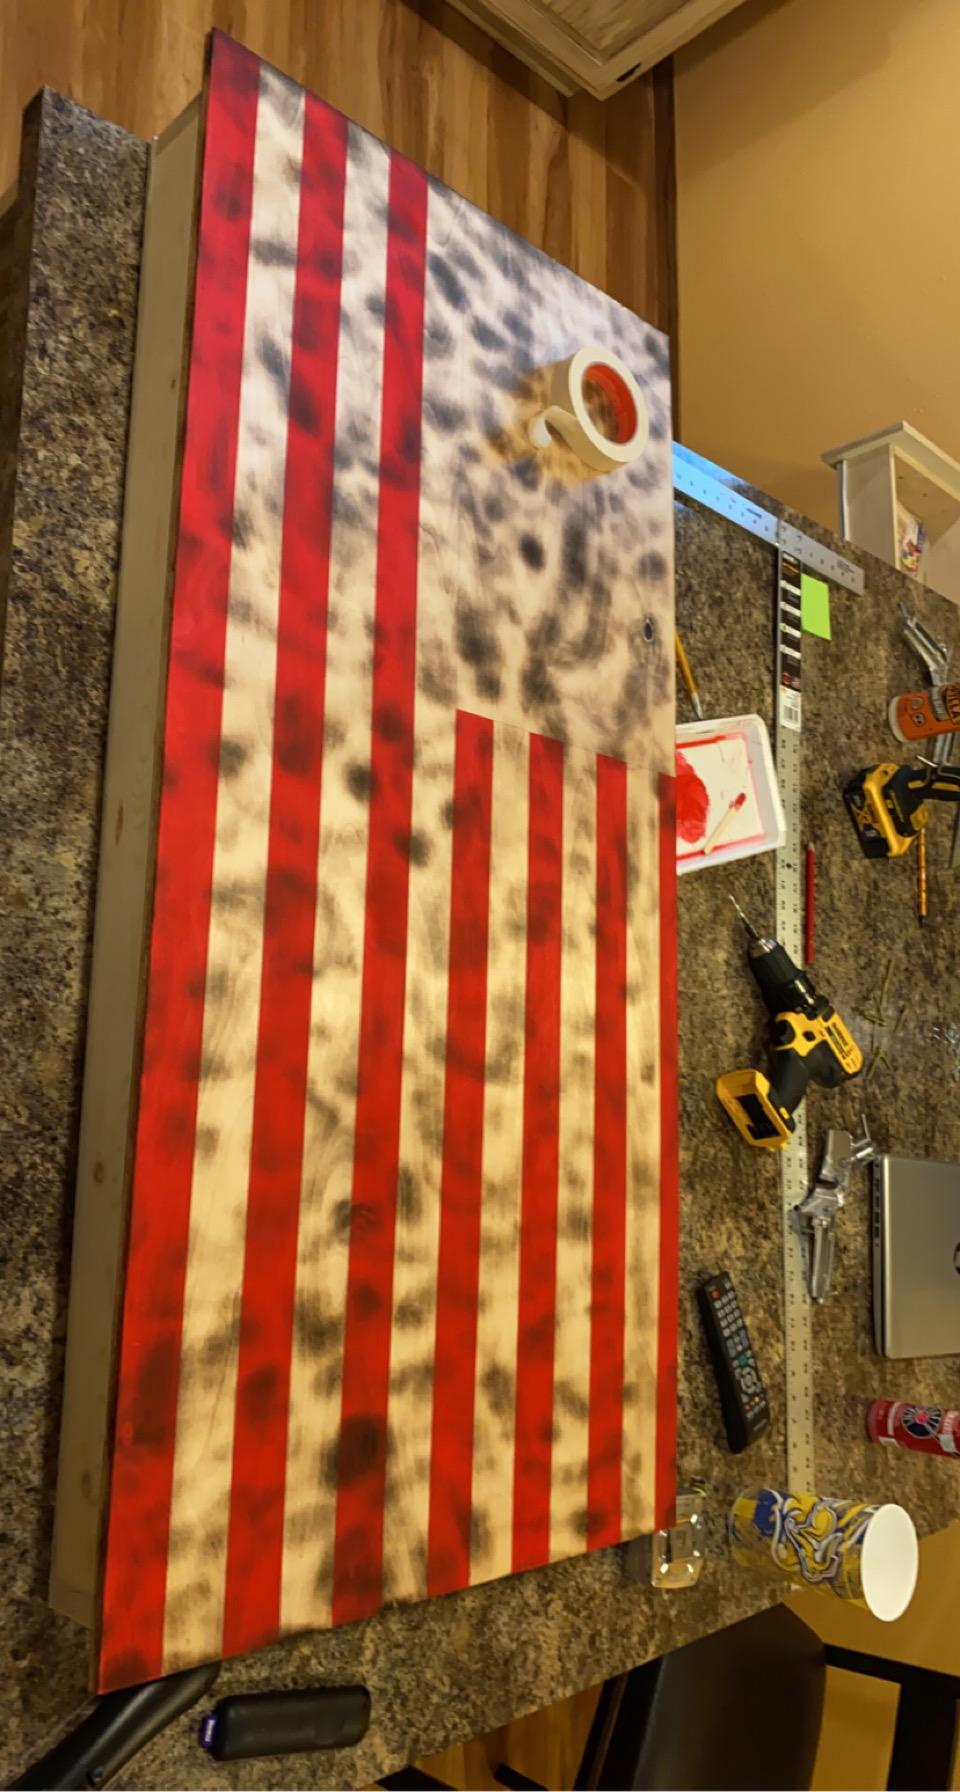
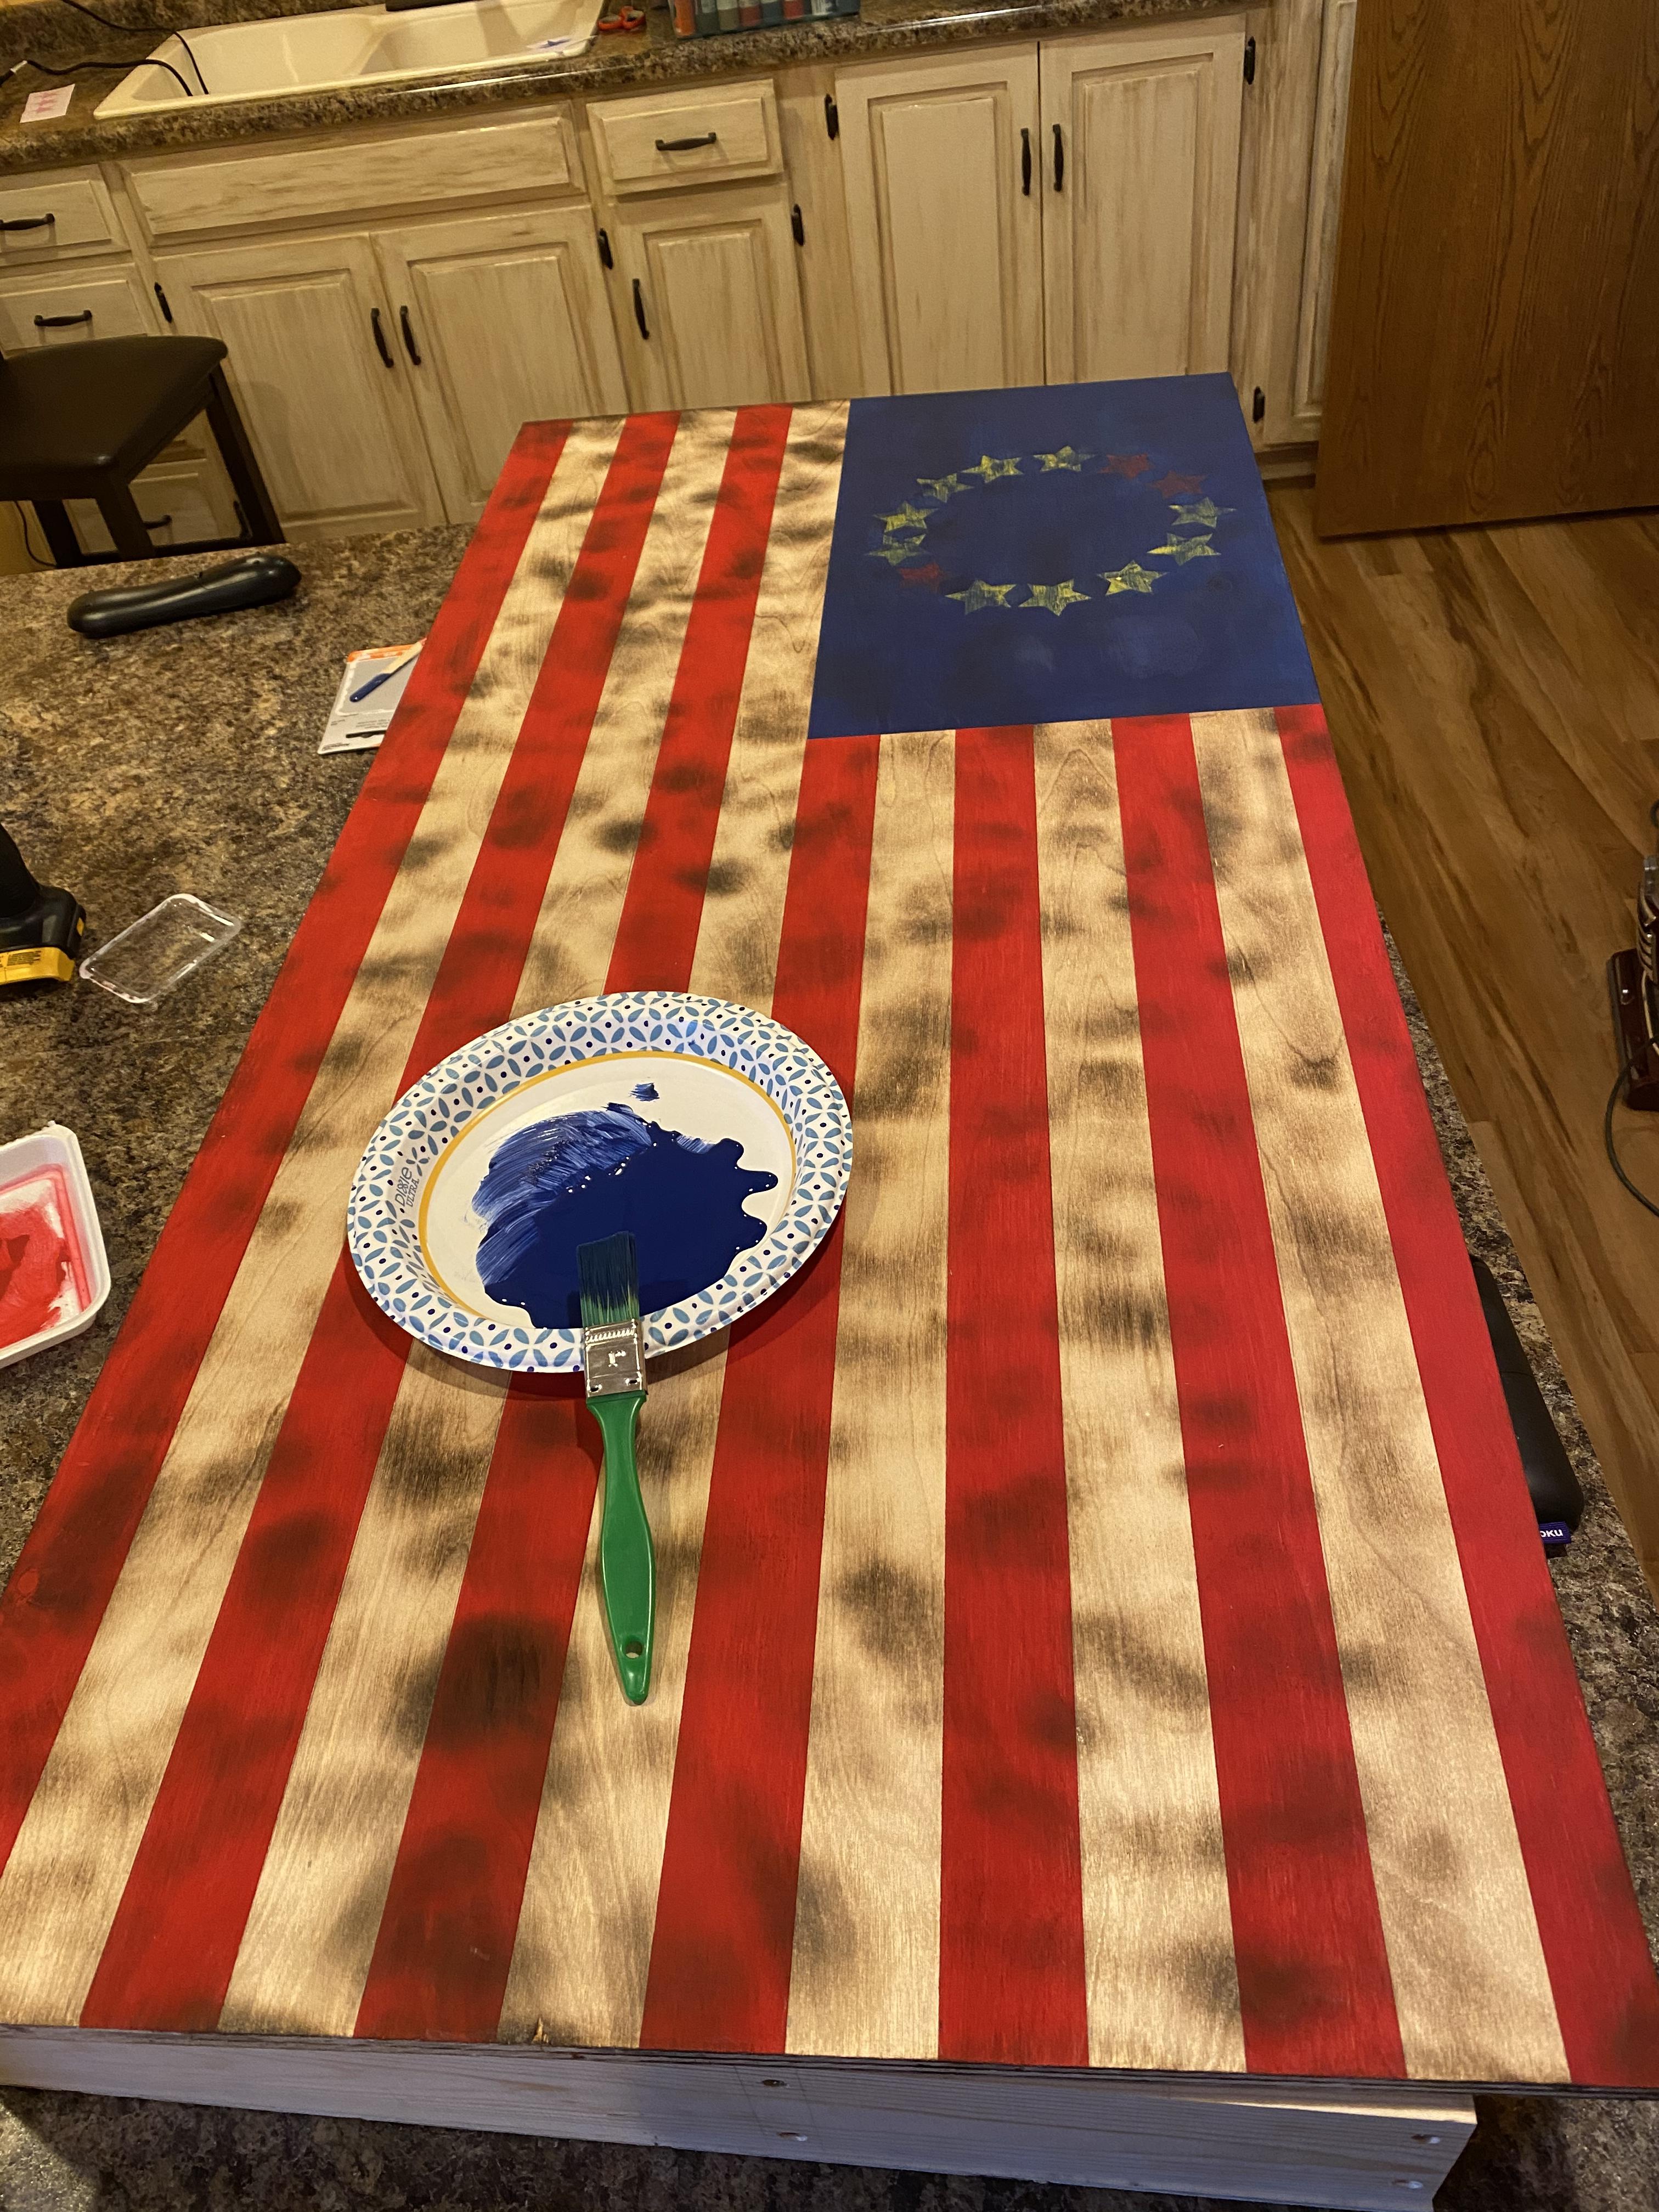
Once all of the wood is lightly burned take the front piece of plywood that is not attached to the frame yet and hook the tape measure onto the bottom of the long side toward the left side of the sheet. Put a mark every 1 11/16 “. Do this six times. At the sixth mark up hook the tape measure onto the left side of the board and put a mark at 18 ¾ “. Do this again towards the top of the board. Then using the straight edge connect the two lines. Hook the tape measure on the left side towards the bottom and measure over 18 ¾ “. Hook the tape measure onto the bottom of the long side at the mark and measure upward putting a mark every 1 11/16”. Do this 12 times so that there are 12 marks on the board. Then hook the tape on the bottom towards the right side. Put a mark every 1 11/16” there will be 12 marks. After that is complete using the straight edge. Connect the marks drawing a line with the pencil. This will create the outline of the American Flag.
Next the stars will need to be drawn. Taking a star stencil draw 13 stars in a circle centered on the rectangle in the top left side of the flag. Once the stars are drawn on the painting process begins. Starting on the bottom stripe paint the stripe red. Every other stripe will need to be painted red. If this is done correctly the top stripe will be red as well as the bottom stripe. Next the top left rectangle will get painted blue. The whole thing gets blue paint besides where the stars are. The easiest way to paint it is to outline the stars with paint right away and then paint the rest of the rectangle blue. Let the paint dry for approximately 6-8 hours.
Attach Hinges
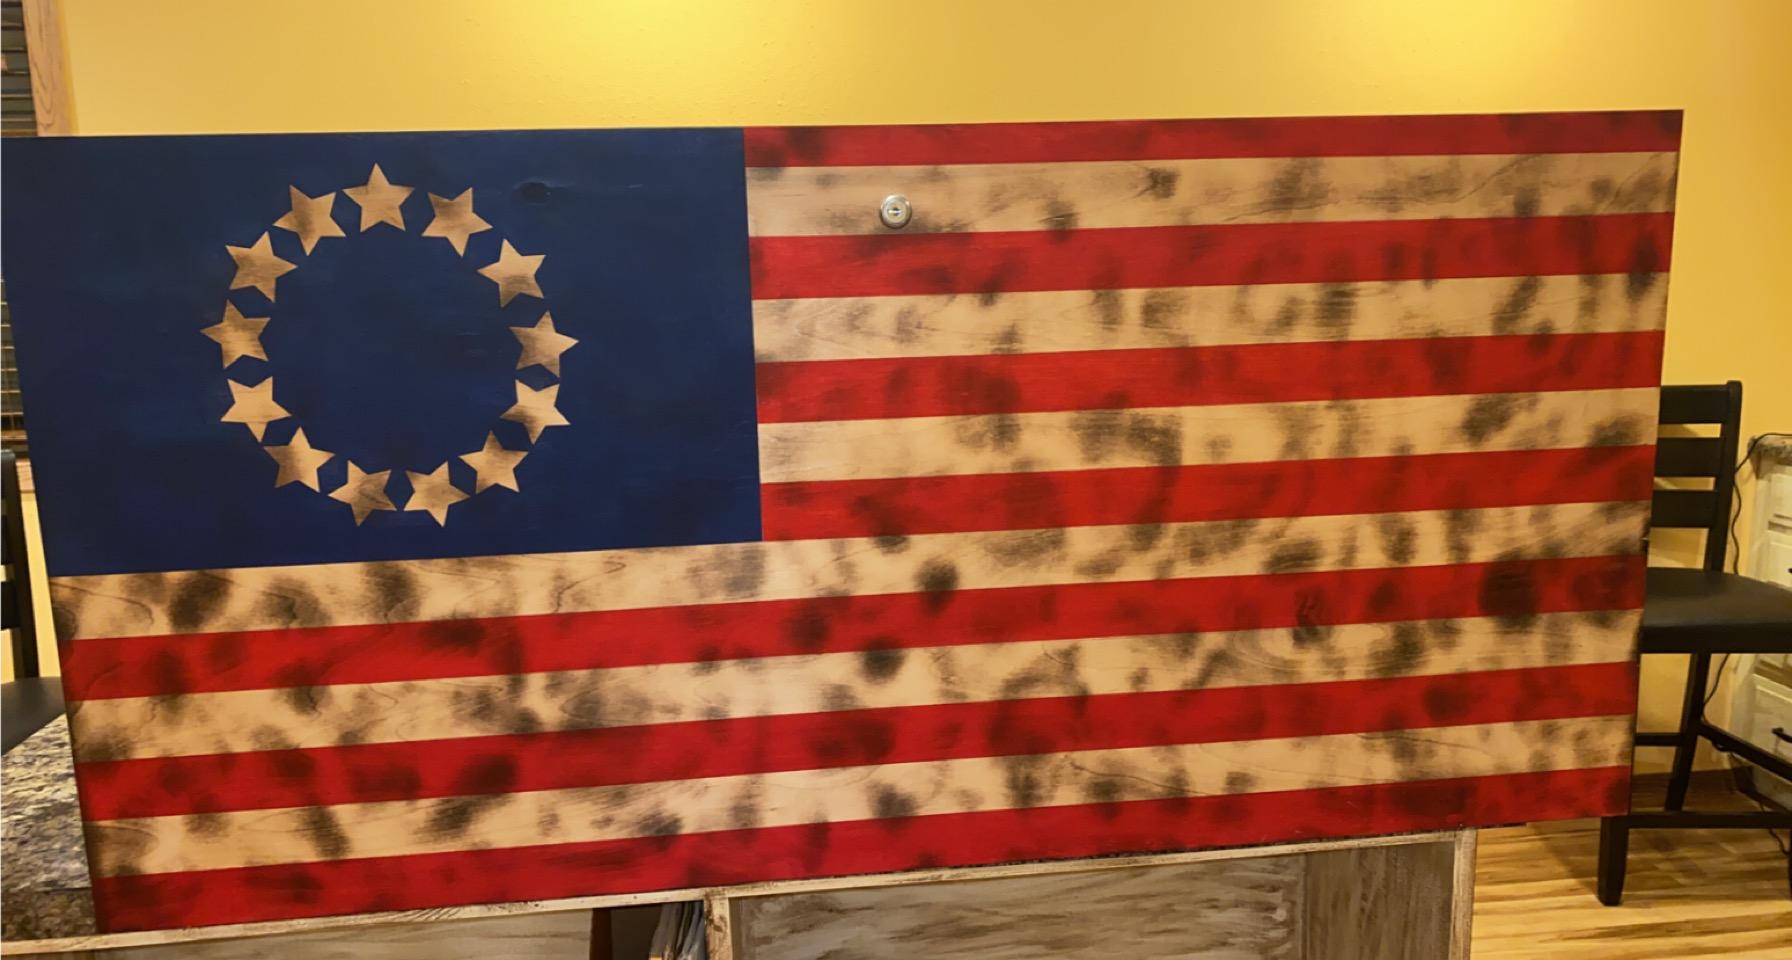
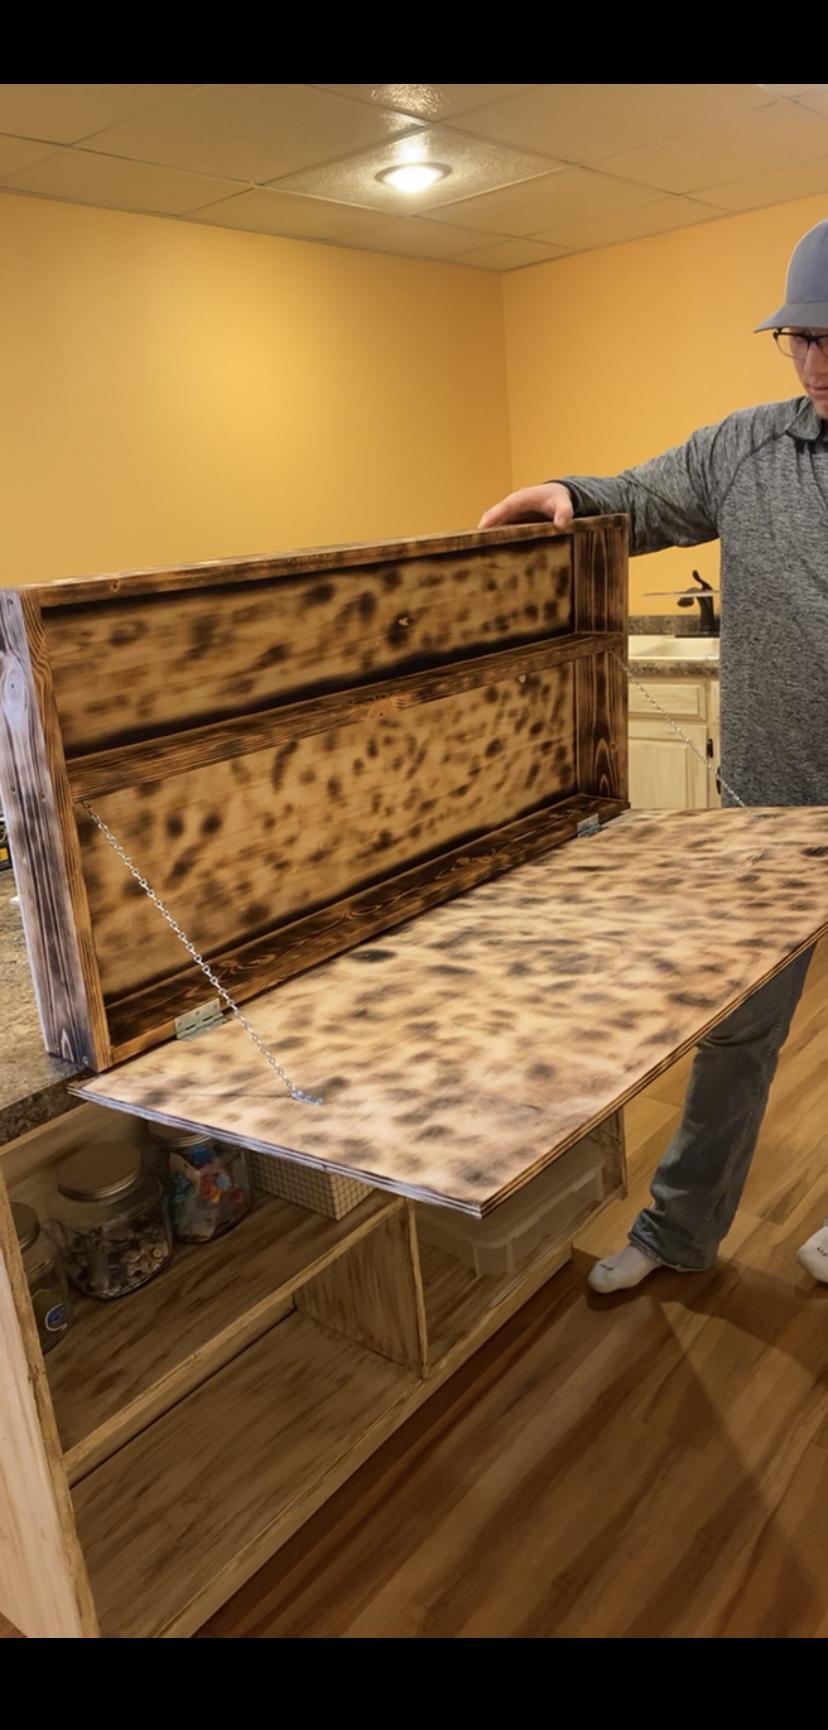
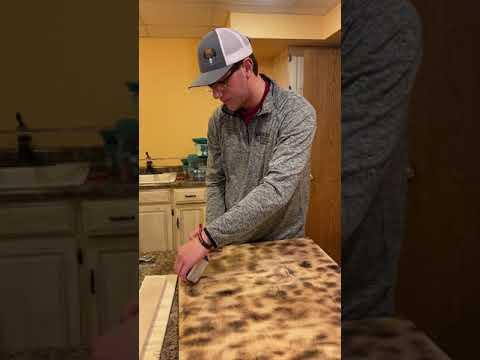
Once the paint is dry. The board is ready for the hinges to be installed. To install the hinges, onto the frame the hinge part should be toward the outside. Hook the tape measure on the bottom left corner of the frame on the short side. Put a mark at 4”, do the same from the right side. Then flush the top of the hinge as with the board, as well as flushing the outside edge of the hinge with the line. Once the hinge is set to where it needs to be mark where the screw holes go and drill a pilot hole into the board. Reset the hinge back onto the board and use the screws that came with the hinges to attach the hinge to the frame. Repeat this step one time to attach the second hinge. To attach the front board, measure up from the bottom of the flag on the backside of the board 1” and put a mark. Do this on both sides and use a straight edge to lightly draw a line across. Then measure ¾ “up from that line and put a mark on each side and lightly draw a line across with the straight edge. Then measure 1” in from the left side and 1” from the right. Then take the frame and set it on top of the back side of the board with the flag on it. The corners of the board should be in line with the two 1” marks from the edges. Then flush the hinges with the line that is 1 ¾ “up from the bottom and mark where the screw holes go. Then drill a small pilot hole. Once complete line the hinges back up with the holes and use the screws provided with the hinges to screw it all together. After that is complete the project is finished. Enjoy!