Animating a Futuristic Jet Takeoff
by Arush47 in Design > Animation
768 Views, 7 Favorites, 0 Comments
Animating a Futuristic Jet Takeoff


Hey, my name is Arush.
I am a student learning 3D modeling as a hobby. I am happy to present my journey of creating my first-ever animation in front of you. Hopefully, this instructable will inspire you to make your own animations and explore the realm of animation yourself.
Making this project taught me many new things about animation, and hopefully you might learn something new about animation too. Without further ado, let's begin.
Supplies
- PC or Laptop with the requirements to run Blender.
- Blender for 3D modeling and animation.
- Any video editing software of your choice to add after effects and sounds.
And thats basically all the supplies you need to get started.
Designing and References


Before making the 3D modeling, it's essential to have a clear vision of what you want to create. This is where references come into play. Using references can significantly enhance the quality and accuracy of your projects.
References serve as the backbone of your design process. They provide a visual guide that helps you stay true to your concept and maintain consistency throughout the project. For my animation, I started by sketching the model I wanted to create. Sketching is an excellent way to combine and review your ideas, giving you a tangible representation of your vision.
For my jet design, I used the F-16 Fighting Falcon as a reference.Since it has a simple design and overall looks cool
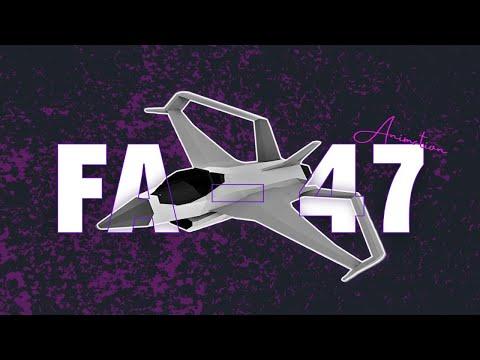
Since I was influenced by the F-16 Fighting Falcon, I decided to call my jet FA-47, combining the letters F-16 and my name, Arush.
Importing References


The first step in creating the jet model is to import references into Blender.
After importing the references, I arranged them in such a way that they are mutually perpendicular to each other.
3d Modeling


BODY AND COCKPIT
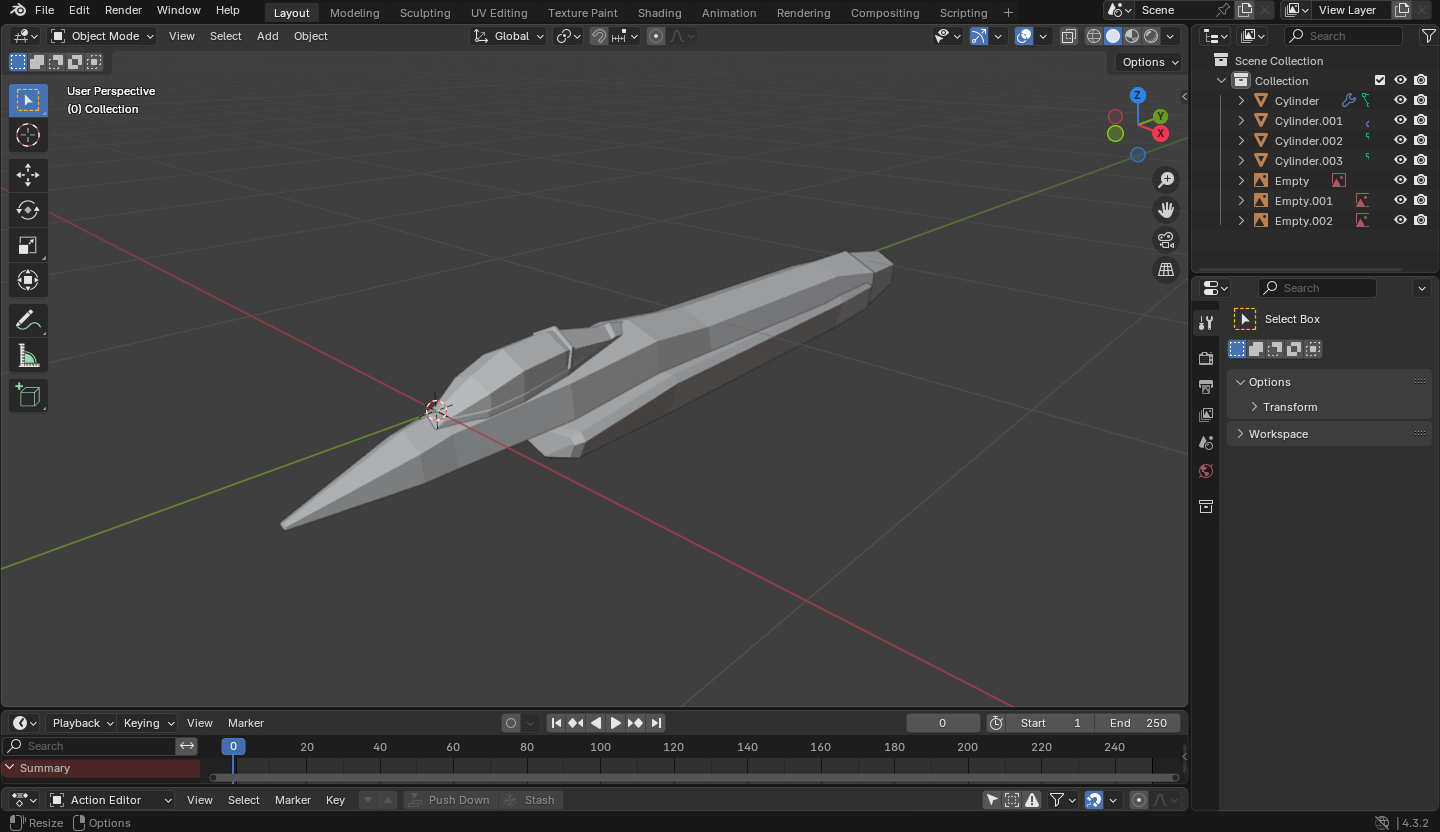
- I started by using the references to model the jet's body shape, dividing it into four sections.
- Main body
- Cockpit
- Exhaust Nozzle
- Motor Air Inlet (The bottom)
- In the material tab, I changed each part's color, roughness, and reflectiveness.
Wings
- I repeated the same steps for the wing as well but joined the main and stabilizing wings to give it a futuristic look.
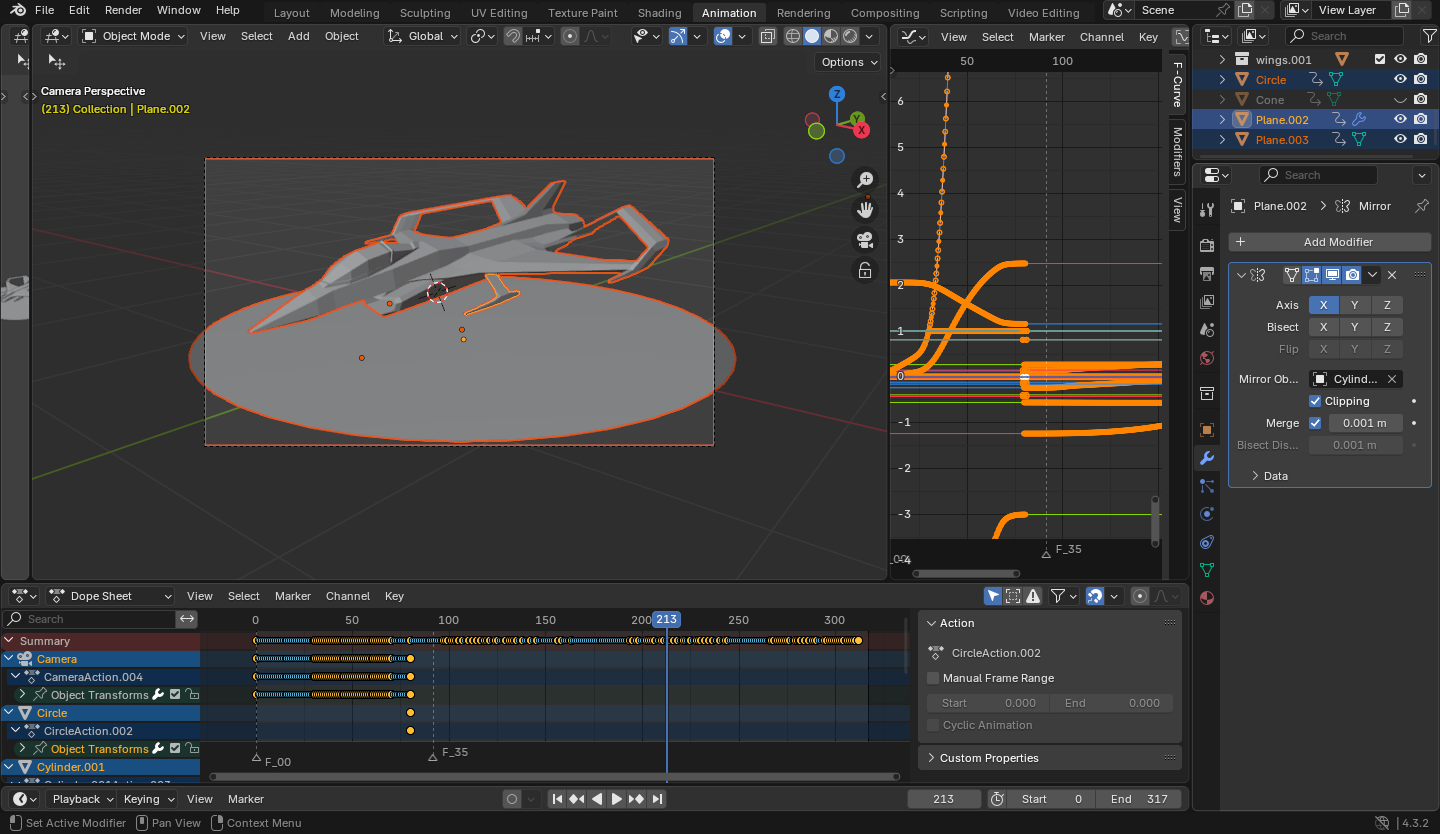
- I then duplicated the wing on the opposite side using the mirror modifier.
- And finally joined all the parts of the jet using shortcut Ctrl+J.
Test Animation


To get familiar with Blender's animation system, I thought of making a short test animation.
For the test animation, I made a simple animation of the jet flying past the camera. To achieve this, I just moved the planes and added a keyframe using the shortcut I.
I created a short looping animation by exporting the animation as an image sequence and then running it through a GIF maker.
Test animations are an excellent way to build confidence and refine your skills. They offer a low-pressure environment to experiment and learn, setting a solid foundation for more complex projects ahead.
Main Animation Break Down

With the foundation set, it was time to embark on the main animation. The first crucial step was to visualize the entire sequence by sketching out the scenes. This method provided a rough blueprint of the final animation, helping me to plan and organize the flow of the project.
I divided the animation into four distinct scenes. This approach made the process more manageable and ensured each part received the attention it deserved.
Scene 1: The camera moves from the front to the side of the jet in a smooth motion. As the jet lifts off, it retracts its landing gear, setting the stage for the action.
Scene 2: Positioned behind the jet, the camera captures the thruster igniting. The jet then takes off, showcasing its power and speed.
Scene 3: The jet flies straight at the camera, which passes through the wings, creating an intense and dramatic effect.
Scene 4: The final scene shows the jet flying over the camera into the distance as the credits roll, providing a cinematic conclusion.
Scene 1


Scene 1: The camera moves from the front to the side of the jet in a smooth motion. As the jet lifts off, it retracts its landing gear.
First, I set up the jet on a circular platform and gave it a reflective metallic texture. Then, I positioned the camera in front of the jet.
To achieve the smooth camera movement from the front to the side of the jet, I followed a tutorial by Polyfjord named 'Tutorial: Quick Smooth Camera Movements in Blender.' The tutorial taught me to use the walk navigation feature of cameras to get smooth camera movements. If you want to learn how to get these smooth camera movements, I highly recommend checking out this tutorial.
Finally, when the camera reached the side of the jet, I animated the lift-off of the jet and the retracting landing gear. the stage for the action.
Downloads
Scene 2


Scene 2: Positioned behind the jet, the camera captures the thruster igniting. The jet then takes off, showcasing its power and speed.
I started by positioning the camera behind the thruster, aiming to capture the intensity and power of the jet's takeoff from a dynamic perspective.
To create the flame effect, I added a cone and selected the emission surface in the texture tab. I chose a vibrant blue color to represent the high-energy exhaust flame.
The next step was to animate the flame. I focused on making it appear as if it was growing in intensity by changing its length gradually.
Instead of moving the jet and the camera together, I decided to move the base to simulate the jet taking off. This approach made it easier to animate the jet taking off and the flame getting bigger simultaneously.
Downloads
Scene 3


Scene 3: The jet flies straight at the camera, which passes through the wings, creating an intense and dramatic effect.
To create the effect of the camera flying through the wing of the jet, I utilized the same walk navigation feature of the cameras that I had used previously.
Surprisingly, this part turned out to be one of the easiest to animate. Despite its simplicity, the result exceeded my expectations, adding an impressive and dynamic element to the overall animation.
Downloads
Scene 4


Scene 4: The final scene shows the jet flying over the camera into the distance as the credits roll, providing a cinematic conclusion.
For the final scene, I positioned the camera under the jet. Using the walk navigation feature, I moved the camera backwards to simulate the jet flying over it.
Now the only part left is editing and combining each scene together.
Downloads
Editing


Editing is where our animation truly comes to life through the addition of audio-visual effects. For the editing phase, I will be using Wondershare Filmora, as it simplifies the process of adding visual effects.
I began by arranging all the scenes in order and importing audio/sound effects I downloaded from Pixabay.com.
After that, I arranged and layered the sound effects, tweaking their volume as needed. For the visual effects, I used Filmora's built-in effects tab to add and adjust the effects strength, opacity, frequency, etc.
Finally, I added credits at the end to complete the animation.
Final Animation

And there we have it, our final product! For my first-ever animation, this turned out amazing. This was a great experience for me, and I learned many things along the way.
Thank you for following along on this incredible journey of creating this animation.