Annikken Andee Soccer Robots
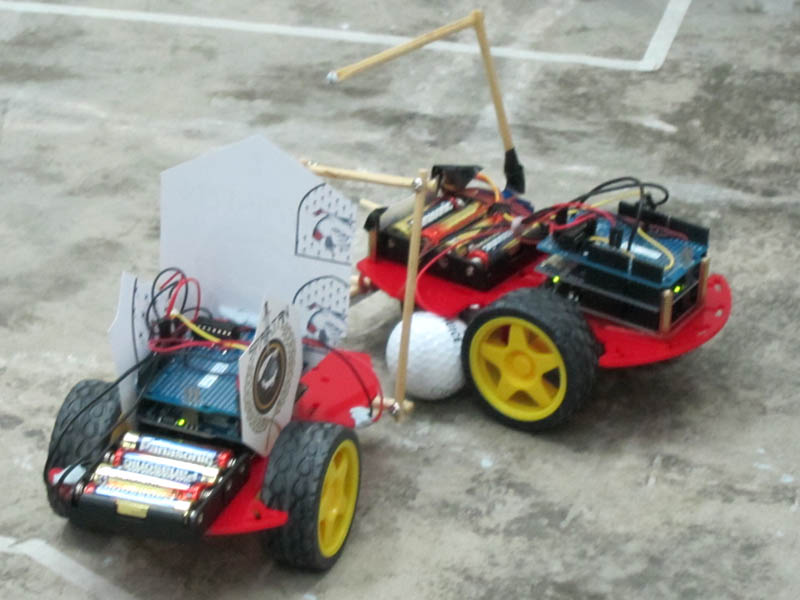
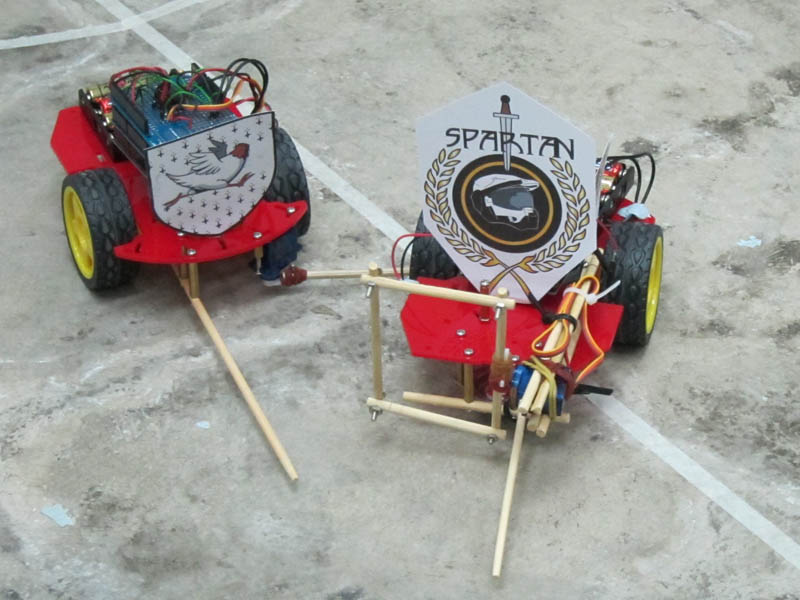


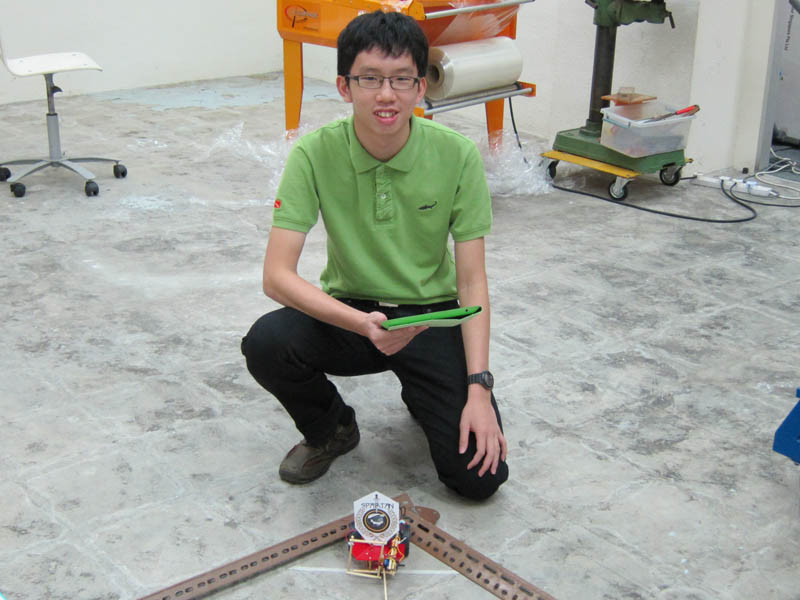
Annikken wanted to get in the mood for the World Cup and the best way is to ask our interns to create robot teams. Using Annikken Andee and their mobile devices , it was easy to control their dribbling and scoring!
We gave them each the same tools so as to be fair to all, Magician Chassis - DG007 was fully equipped with all they need to start making the base of their soccer robot. We also provided them with Annikken Andee, companion board, Arduino proto shield, Annikken Andee Starter Kit and a pair of chopsticks for their extended arm.
They had to learn Arduino from our Annikken Andee library. Using the lessons on our website they are able to create functional interfaces to take control of their soccer robots. With lessons on how to create customise slider and buttons, all they need was an idea on how to grab the ball and dribble toward the goal.
What You Will Need:


1 x Magician Chassis - DG007
1 x Starter Kit ( servo included in kit)
1 x Annikken Andee ( Android or iOS)
1 x Anikken companion board
1 x Arduino proto shield
10 x rubber bands / tape ( hold something up together)
1 x Ball
Easy Mobile Interface Creation:

Lesson 13: Using Buttons to Control Servos
You can find this lesson and more in the Arduino IDE (File -> Examples -> Andee).
If you are unable to find them, you will need to install the Andee Library for Arduino IDE.
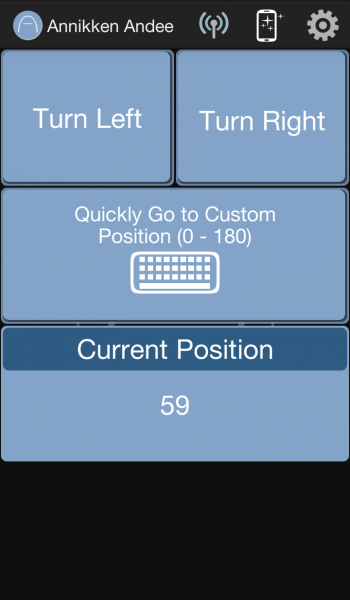
In this lesson, I'll show you the various ways to control a servo using buttons! We'll create 3 buttons. One to make it slowly turn left, the other to make it slowly turn right. And the third one to quickly turn to a user-specified position. We'll also create one display box to tell us about the servo's current position.
Easy Mobile Interface Creation:


Lesson 18: Using Sliders to Control Servos
You can find this lesson and more in the Arduino IDE (File -> Examples -> Andee). If you are unable to find them, you will need to install the Andee Library for Arduino IDE.
In this lesson, I'll show you how to control servos with a slider! We'll create 3 buttons. One to make it slowly turn left, the other to make it slowly turn right. And the third one to quickly turn to a user-specified position. We'll also create one display box to tell us about the servo's current position.
Mobile Integration


Annikken Andee
Easily connect smartphones to the physical world! With Annikken Andee, you can now expand your smartphone's abilities to monitor and control things in the physical world! Designed for the widely popular Arduino platform, the Annikken Andee allows you to easily monitor and control electrical devices and gadgets wirelessly via Bluetooth. We've simplified the entire process with our special hardware and resource library so that even a beginner can easily learn and master the basics in less than an hour to create amazing things
Easy
to Learn
We've designed Annikken Andee to be easy to learn so that a beginner with no background in programming can master the basics in less than an hour!