Another Free Little Library From Old Wooden Pallets
by GregO29 in Workshop > Woodworking
208 Views, 1 Favorites, 0 Comments
Another Free Little Library From Old Wooden Pallets
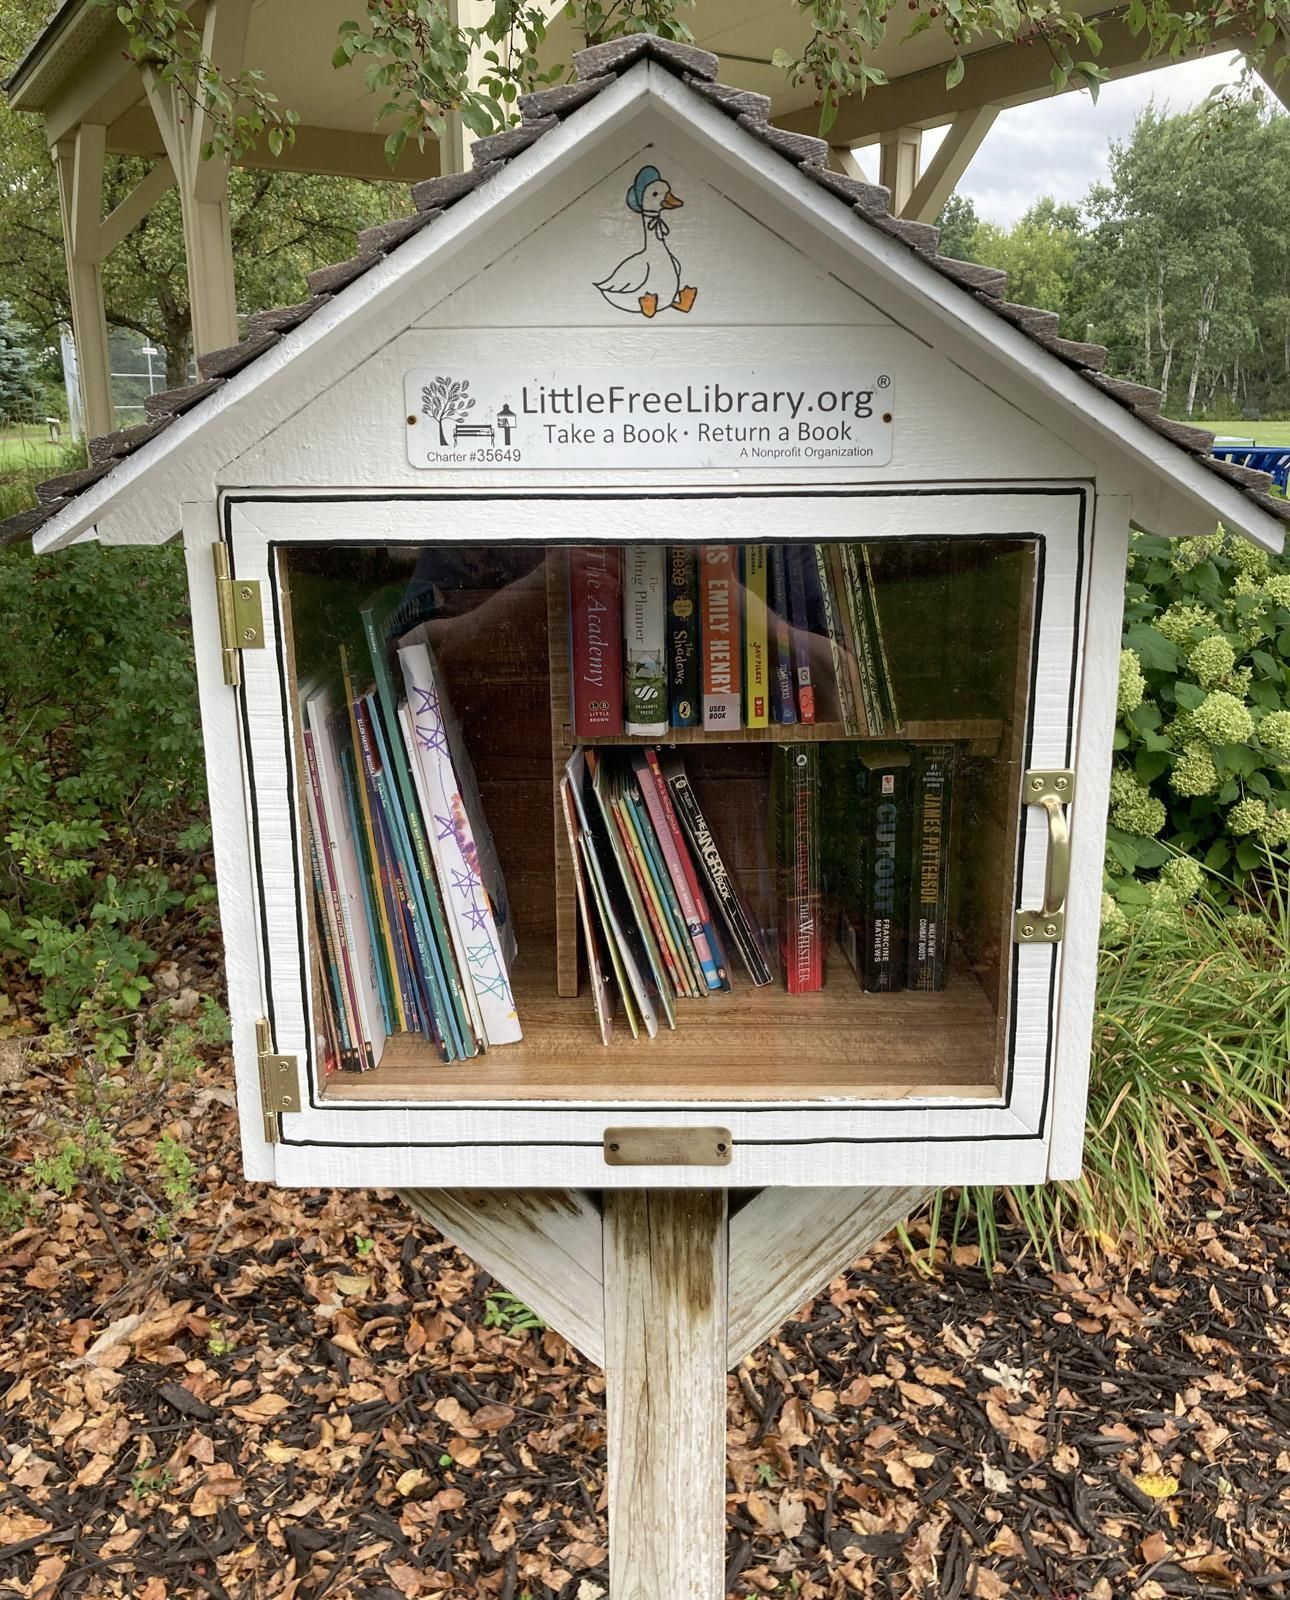
My free standing Little Lending Library is a neighborhood success. There are several other Little Free Libraries in the neighborhood, and my HOA asked me to build a new one to replace a tattered old one. I salvaged a couple standard size wooden pallets for lumber and designed and built this replacement.
Supplies
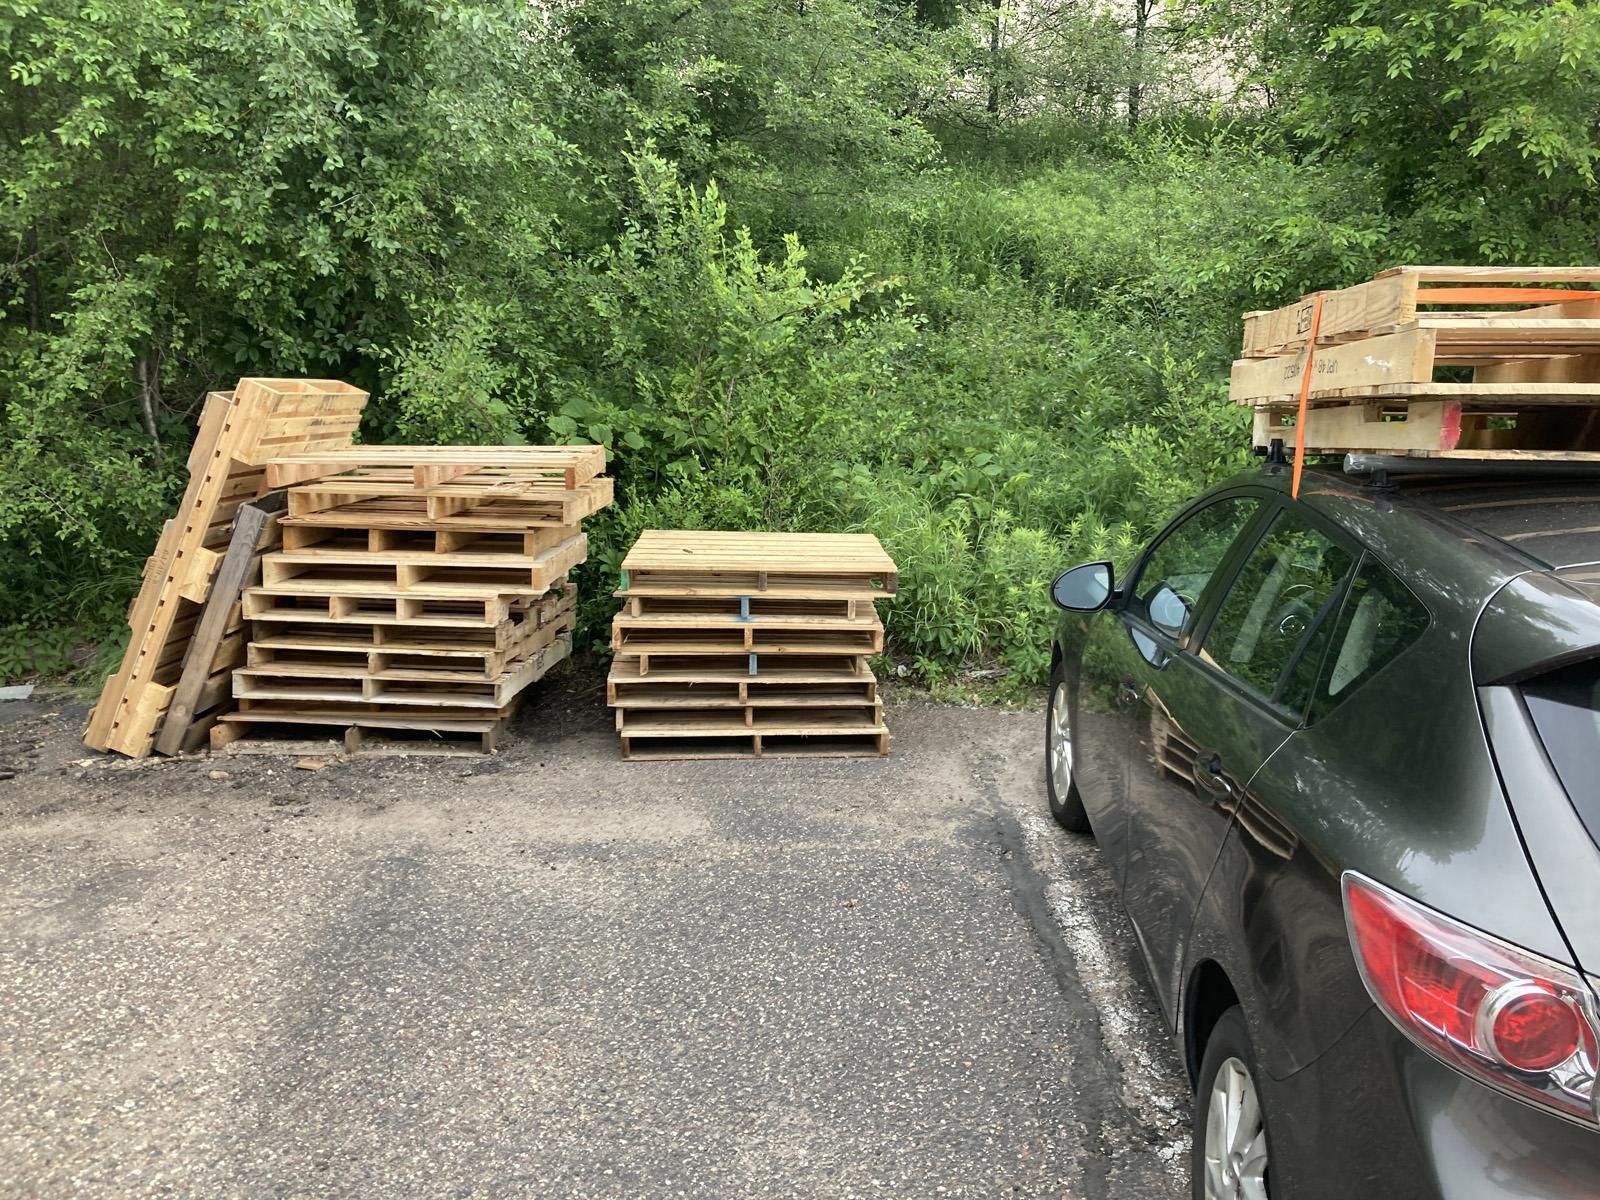
- Salvaged wooden pallets (typically pine, but I prefer oak)
- Brad, staples, screws, or other wood fasteners. I used an air powered stapler with 3/4" staples and 2" brads
- A Sheet of 1/8" Acrylic or Plexiglass
- Hinges and Latch
- Wood Glue
- 24"x36" tin (I used an flat drip tray)
- Wood Filler/Putty
- Various Paints and Finishes
Tools
- Hammer
- Crowbar
- Nailer (air or electric)
- Utility knife
- Table Saw
- Jig Saw or Scroll Saw
- Chisels or Rotary Tool
- Drill
- Sand blocks or powered sander
- Screwdrivers
- Metal shears
- Metal Brake (or wood blocks and a hammer)
- Paintbrushes
- Gloves, Eye and Ear Protection
Disclaimer: I am not a professional carpenter or woodworker, so I tend to build on the fly. I have a general idea of what I want to accomplish but there is a lot of hindsight and learning along the way. These steps are very similar to my previous build, but the design is different and the outcome seems much more pleasant.
Break It Down
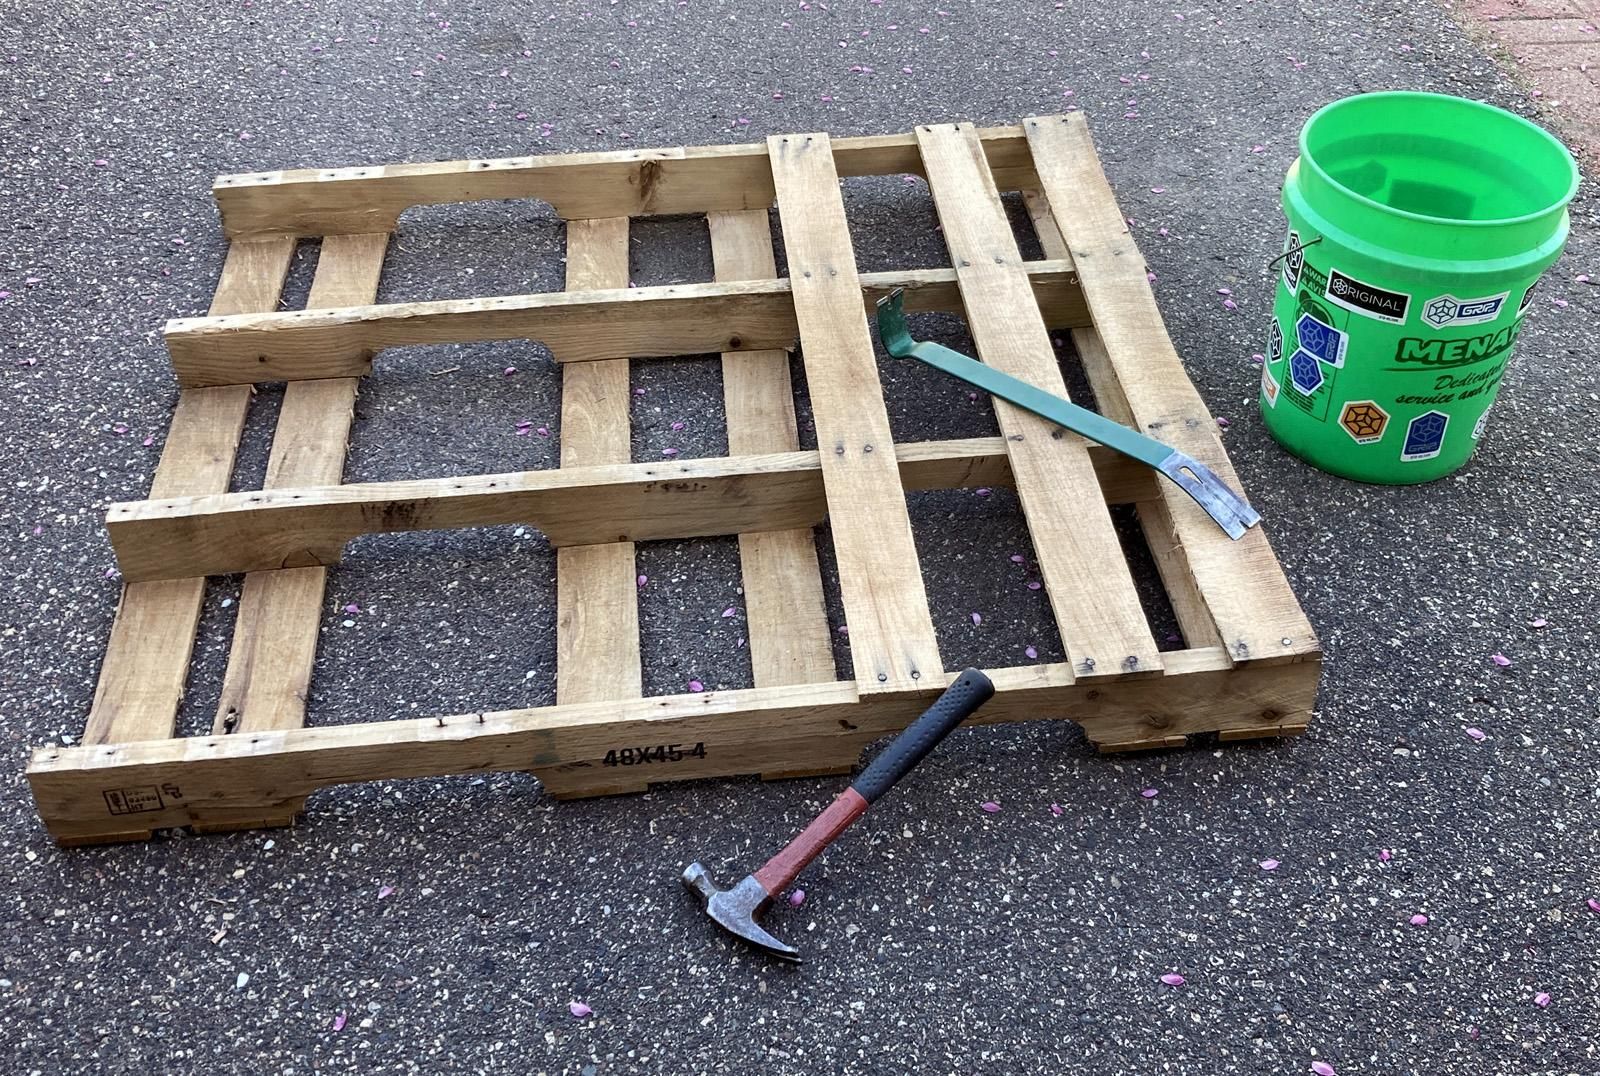
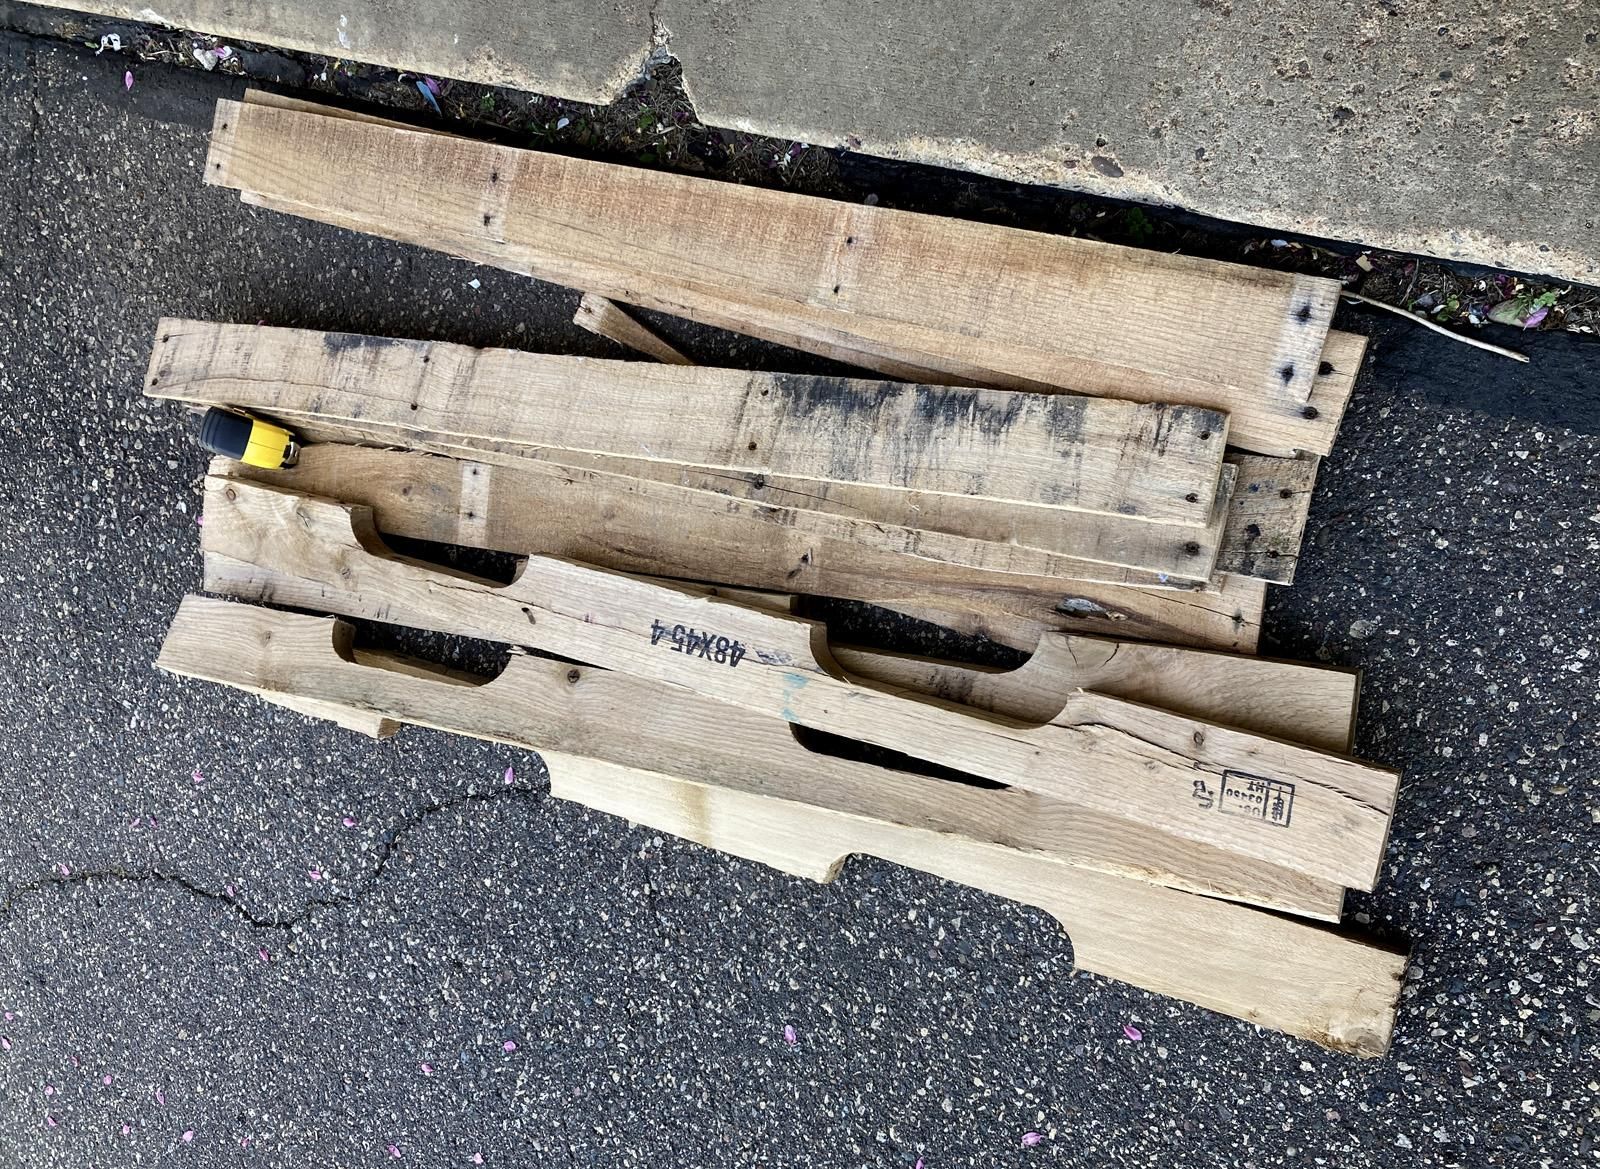
Disassemble the pallets with a Hammer and Crowbar, pulling all nails where possible. If they break off or can't be pulled, they can damage the saw blades when cutting the wood. Do your best to remove all nails. I found my locking pliers were not strong enough to hold all the nail heads, so I ended up clamping the tough nails into the bench vise and prying the wood away from the nail.
The flat planks from these pallets measured roughly 3/8" x 3.25". I will use these planks for the 'dutch lap siding' and roof, and use some of the support struts for the base floor, the corners, and other support areas.
Plan Ahead
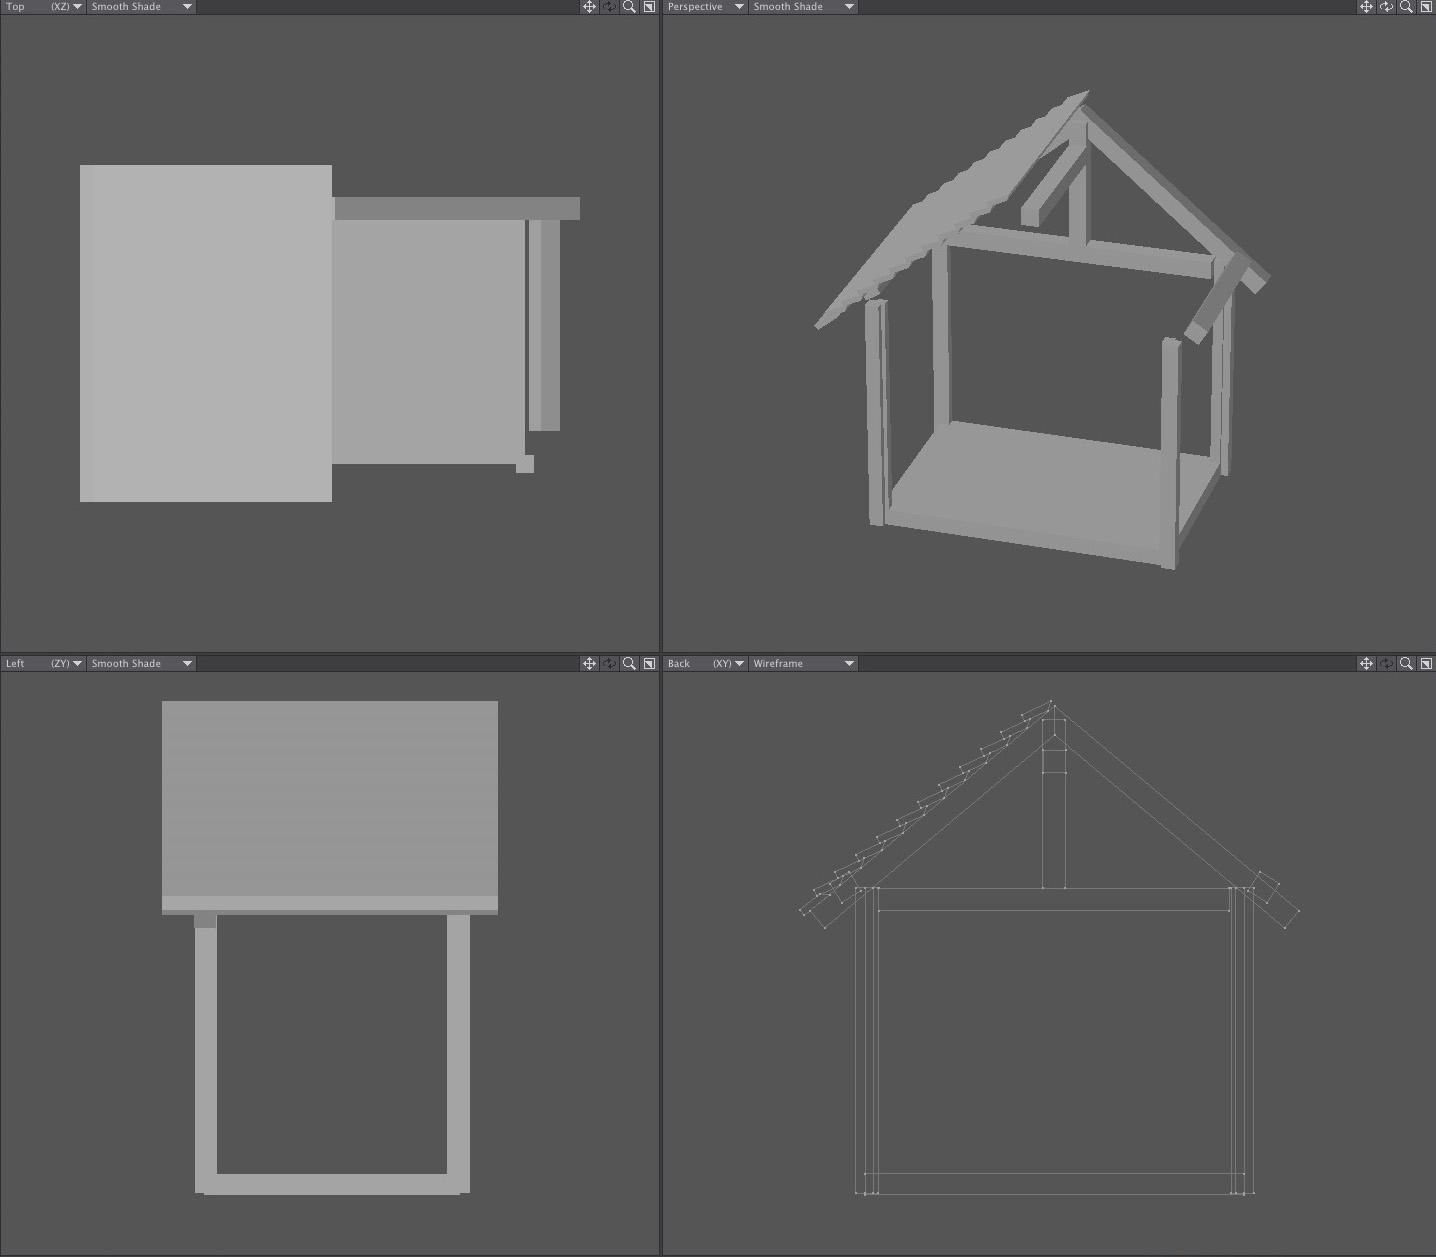
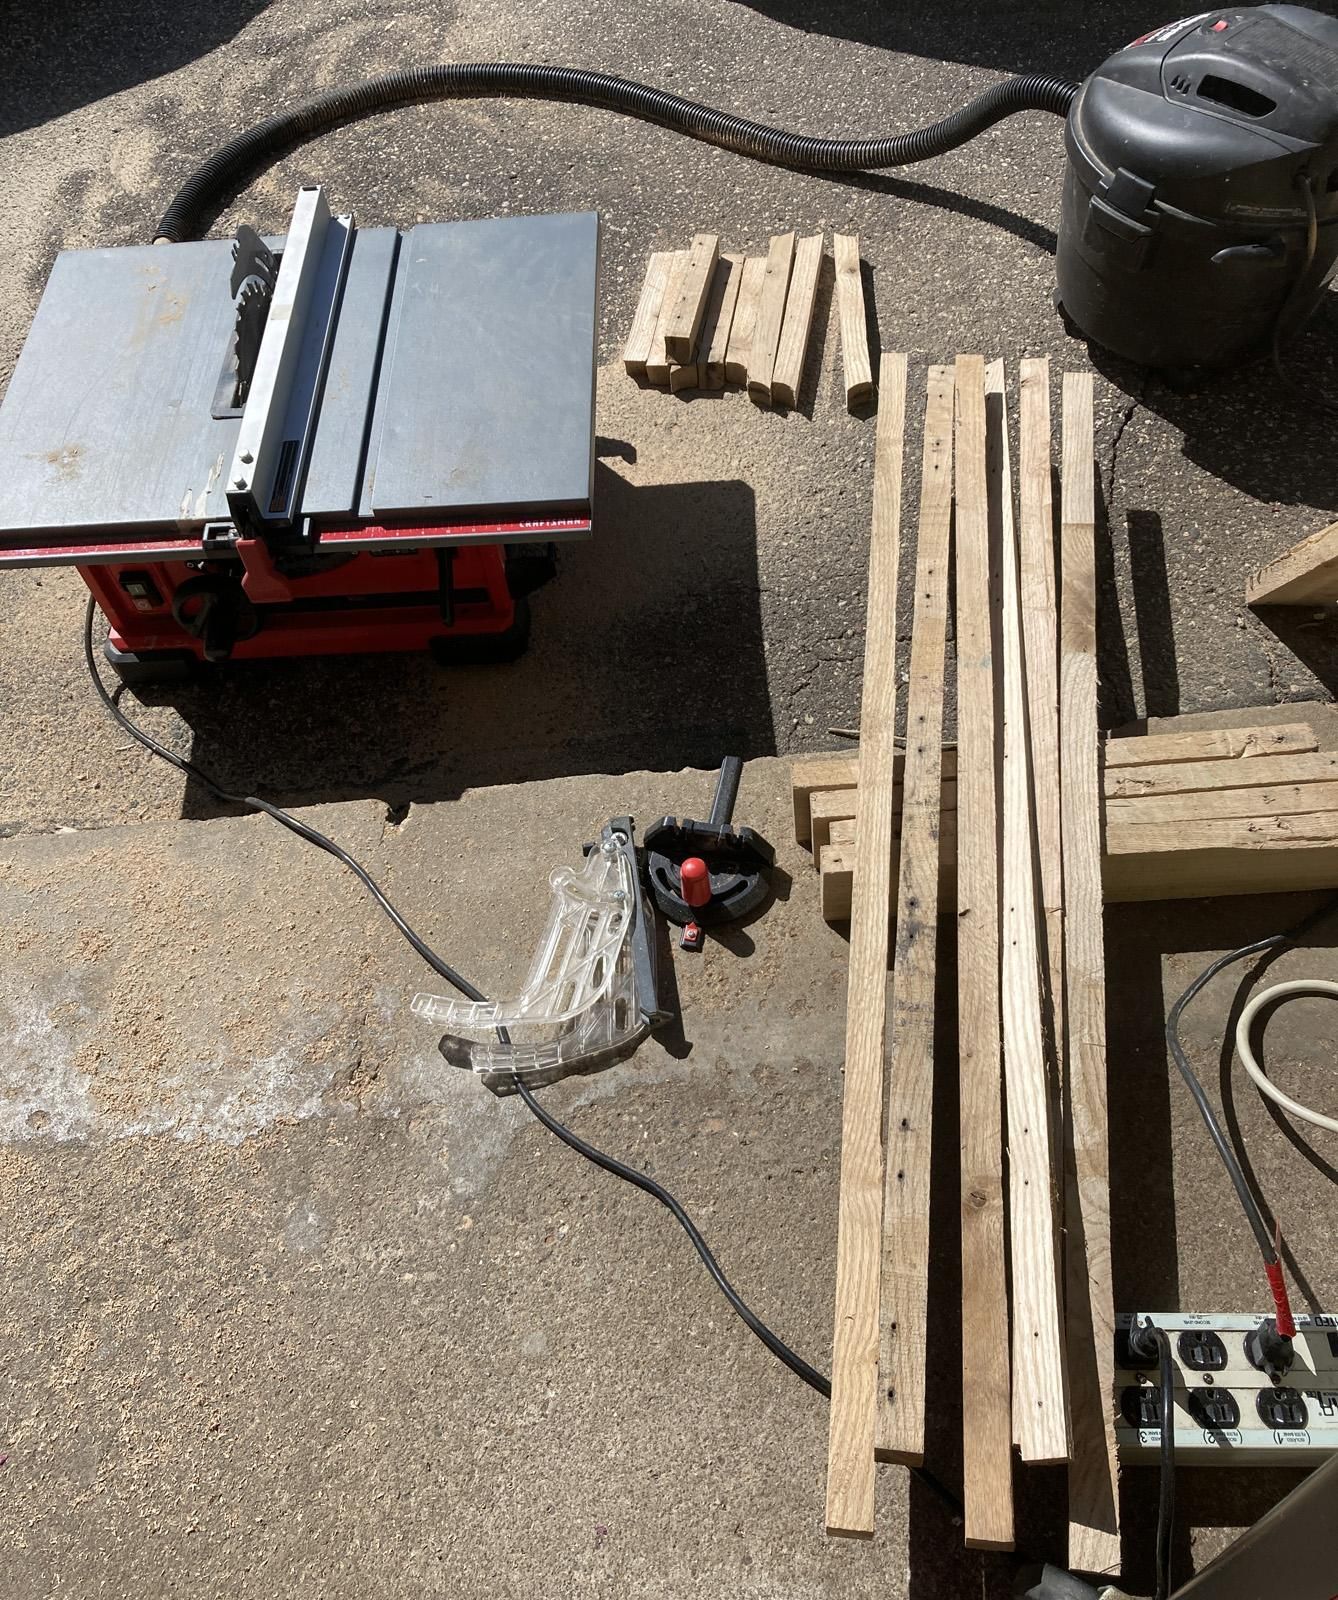
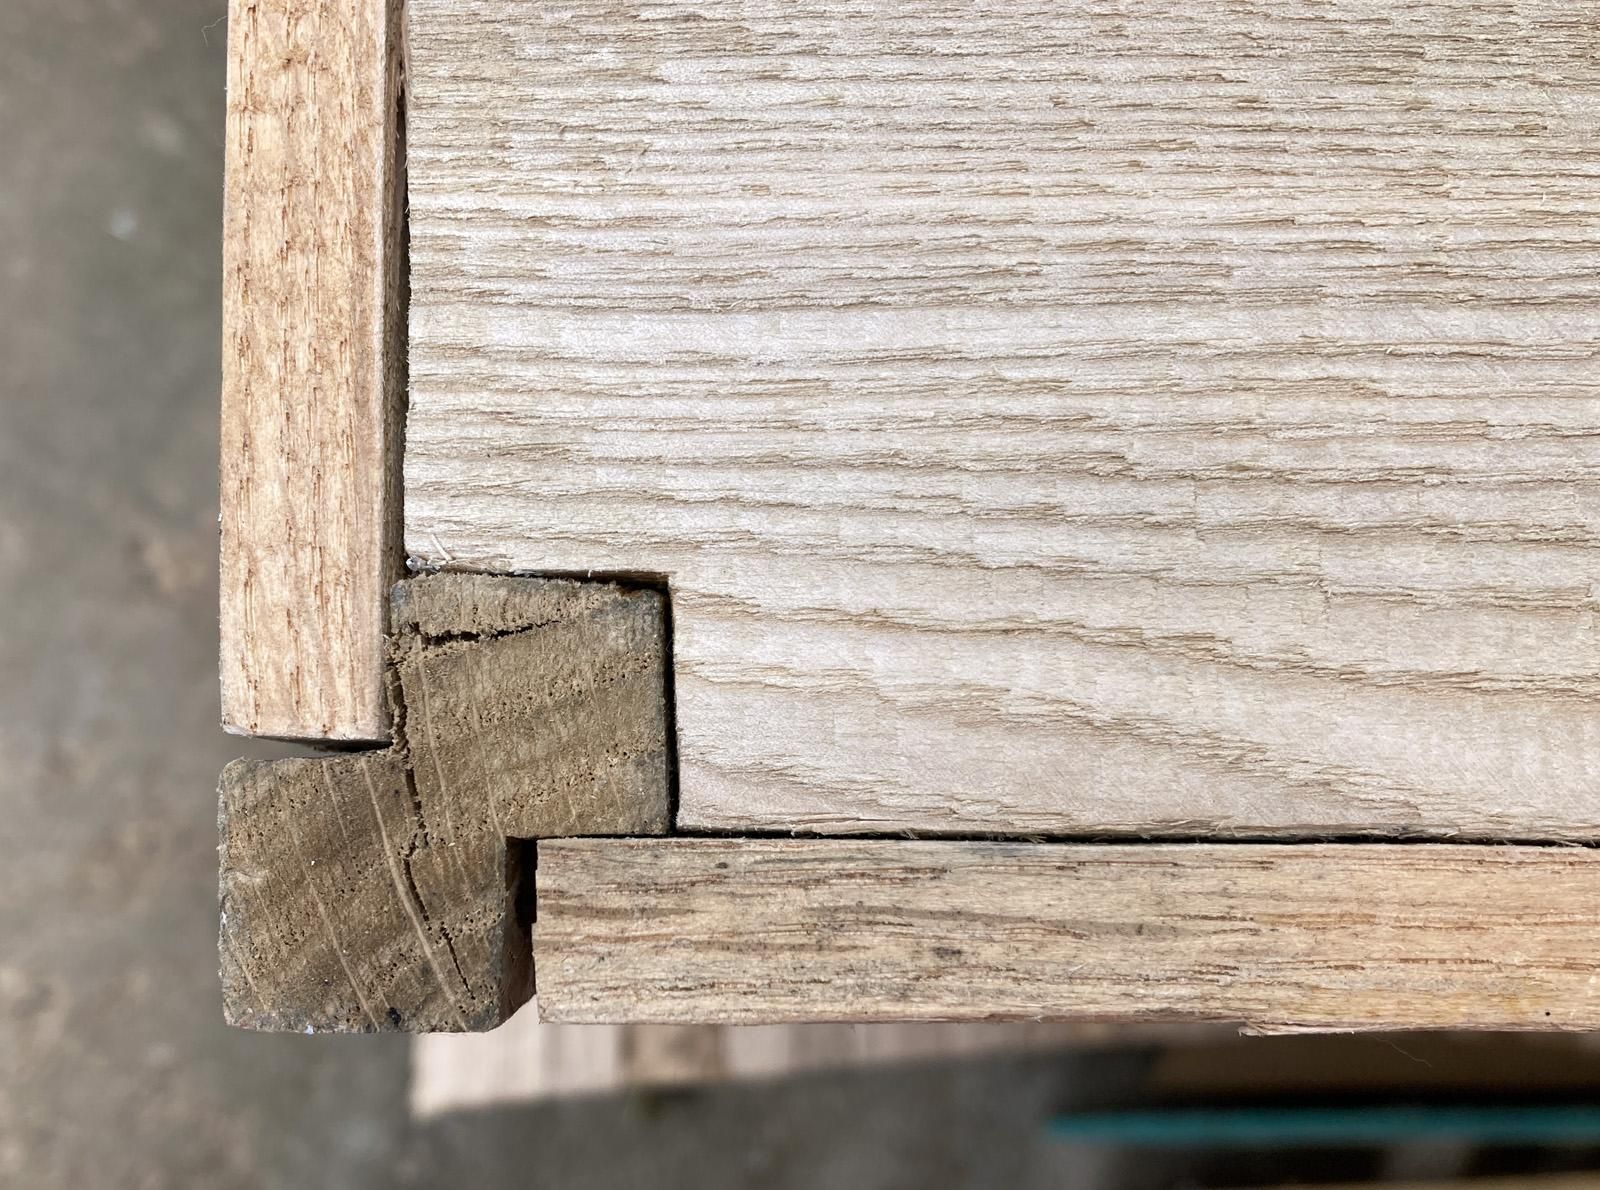
I model in an old version of Lightwave 3D, just to visualize what I am trying to accomplish. Rough dimensions of the base are 13x20 inches, a 35 degree sloped gable roof, a door with mitered corners, and mounting the whole thing on an existing post. I adjusted some dimensions to minimize the amount of externally visible nail holes. The 1.5x3.5" pallet runners were used for the base. This time, I used wooden dowels and drilled holes in the runners to join four pieces together. They were glued and clamped until dried (I did not take pictures of that step). I don't have a planer, and it came out generally smooth. Running an orbital sander over it cleaned it up nicely.
The runners typically have a couple fork pockets so I ripped them square at 1.25". Then I notched them with 1/2" deep slots to allow the siding from both sides that touch a corner. I notched out the corners on the base to attach the four corner posts.
The Walls
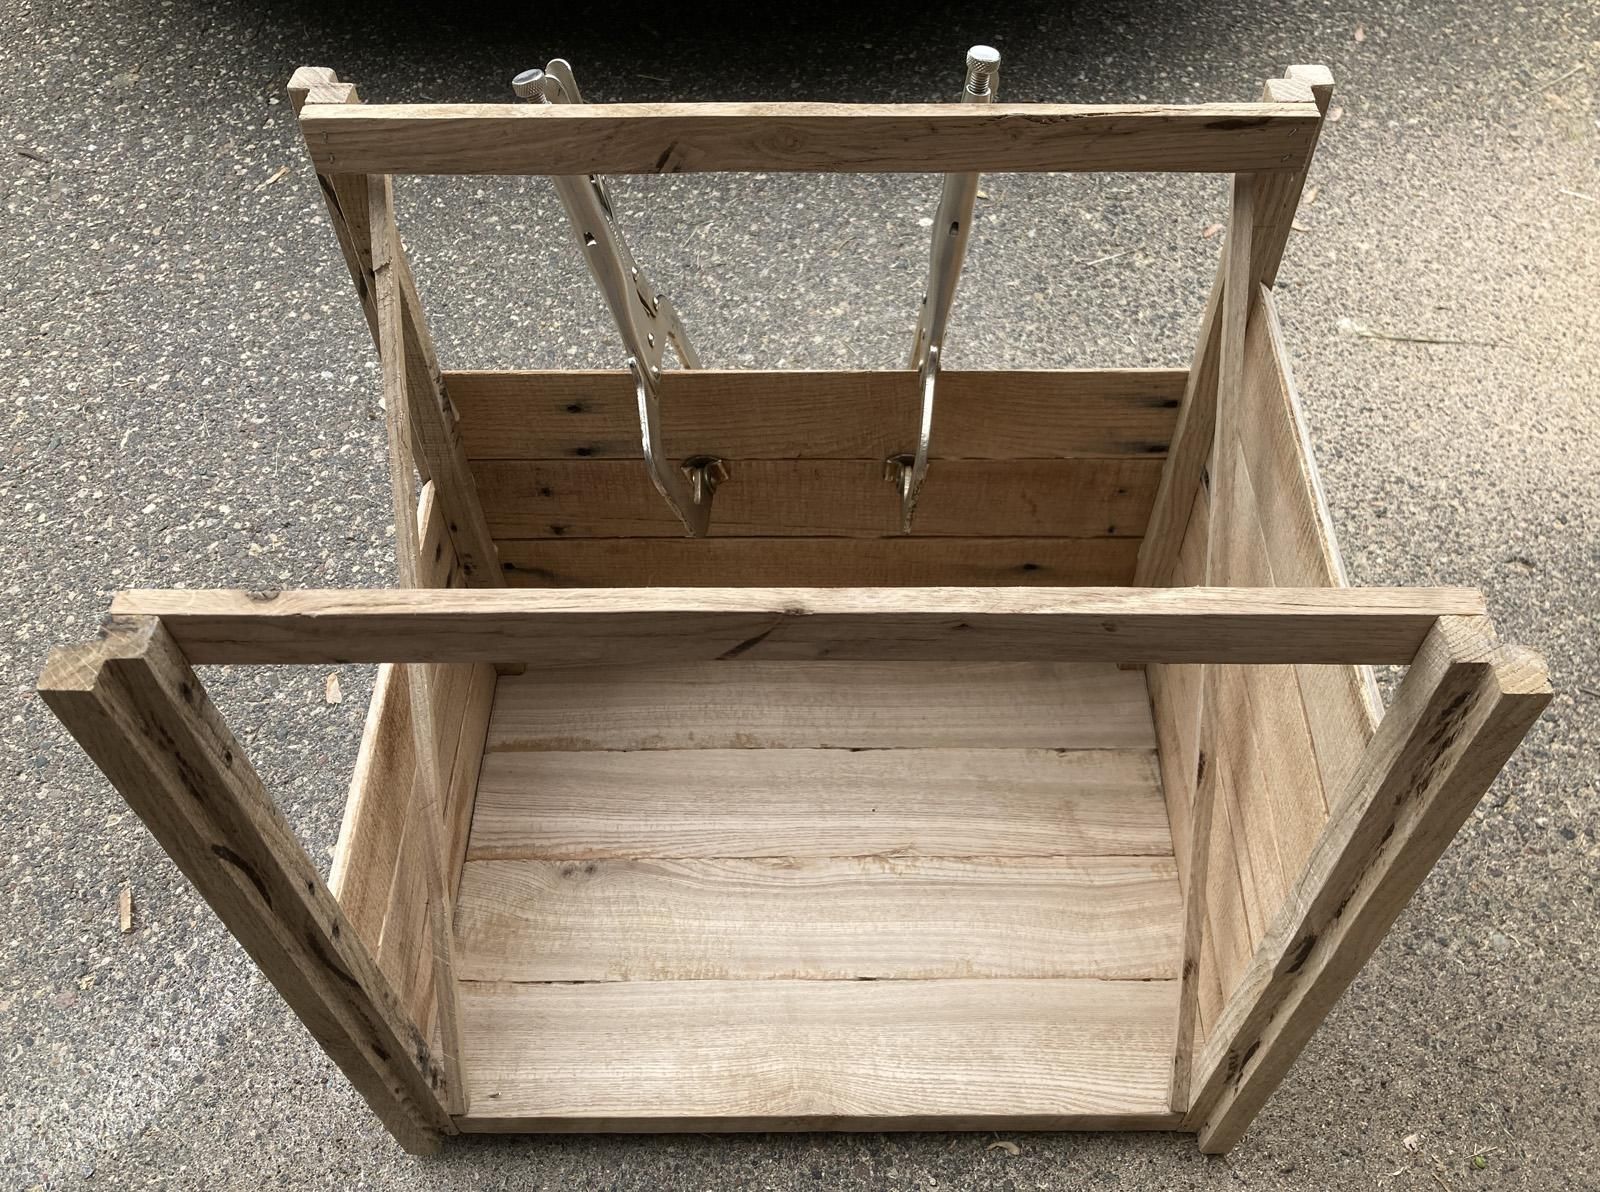
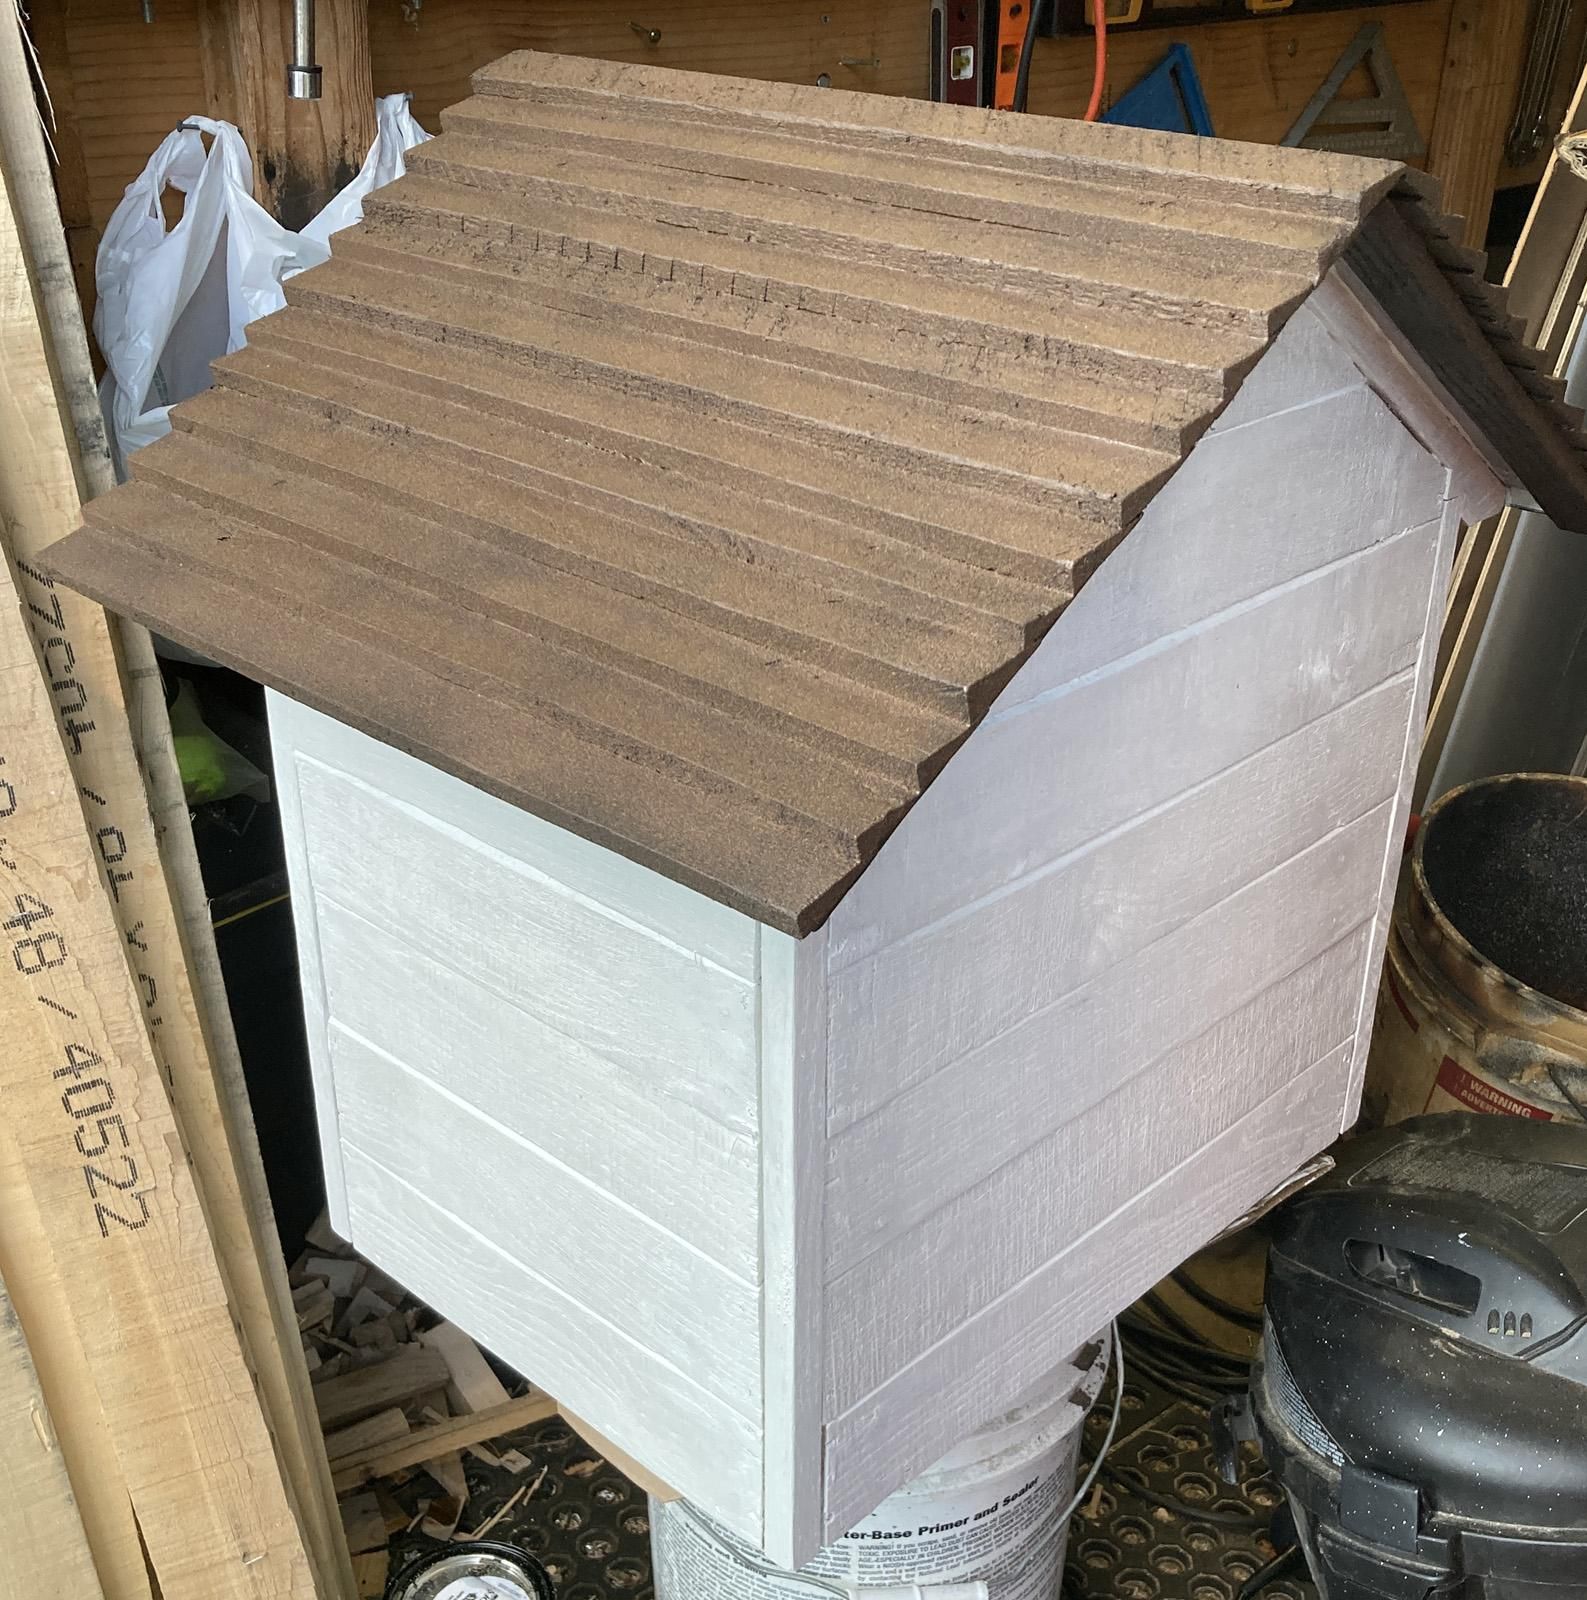
The two short sides were short enough to eliminate most nail holes. The back (or long side) did have some nail holes present, but I can fill those with wood putty. The front only has two small, triangular pieces above the door. To create the somewhat look of dutch lap (and to keep water out), I cut a beveled 45 degree edge off each board so they overlap but still lay flat. This will give an overall flat surface with a small seam where each board meets. I used some other scraps as bracing to keep things square as I built it up.
The Gable Roof
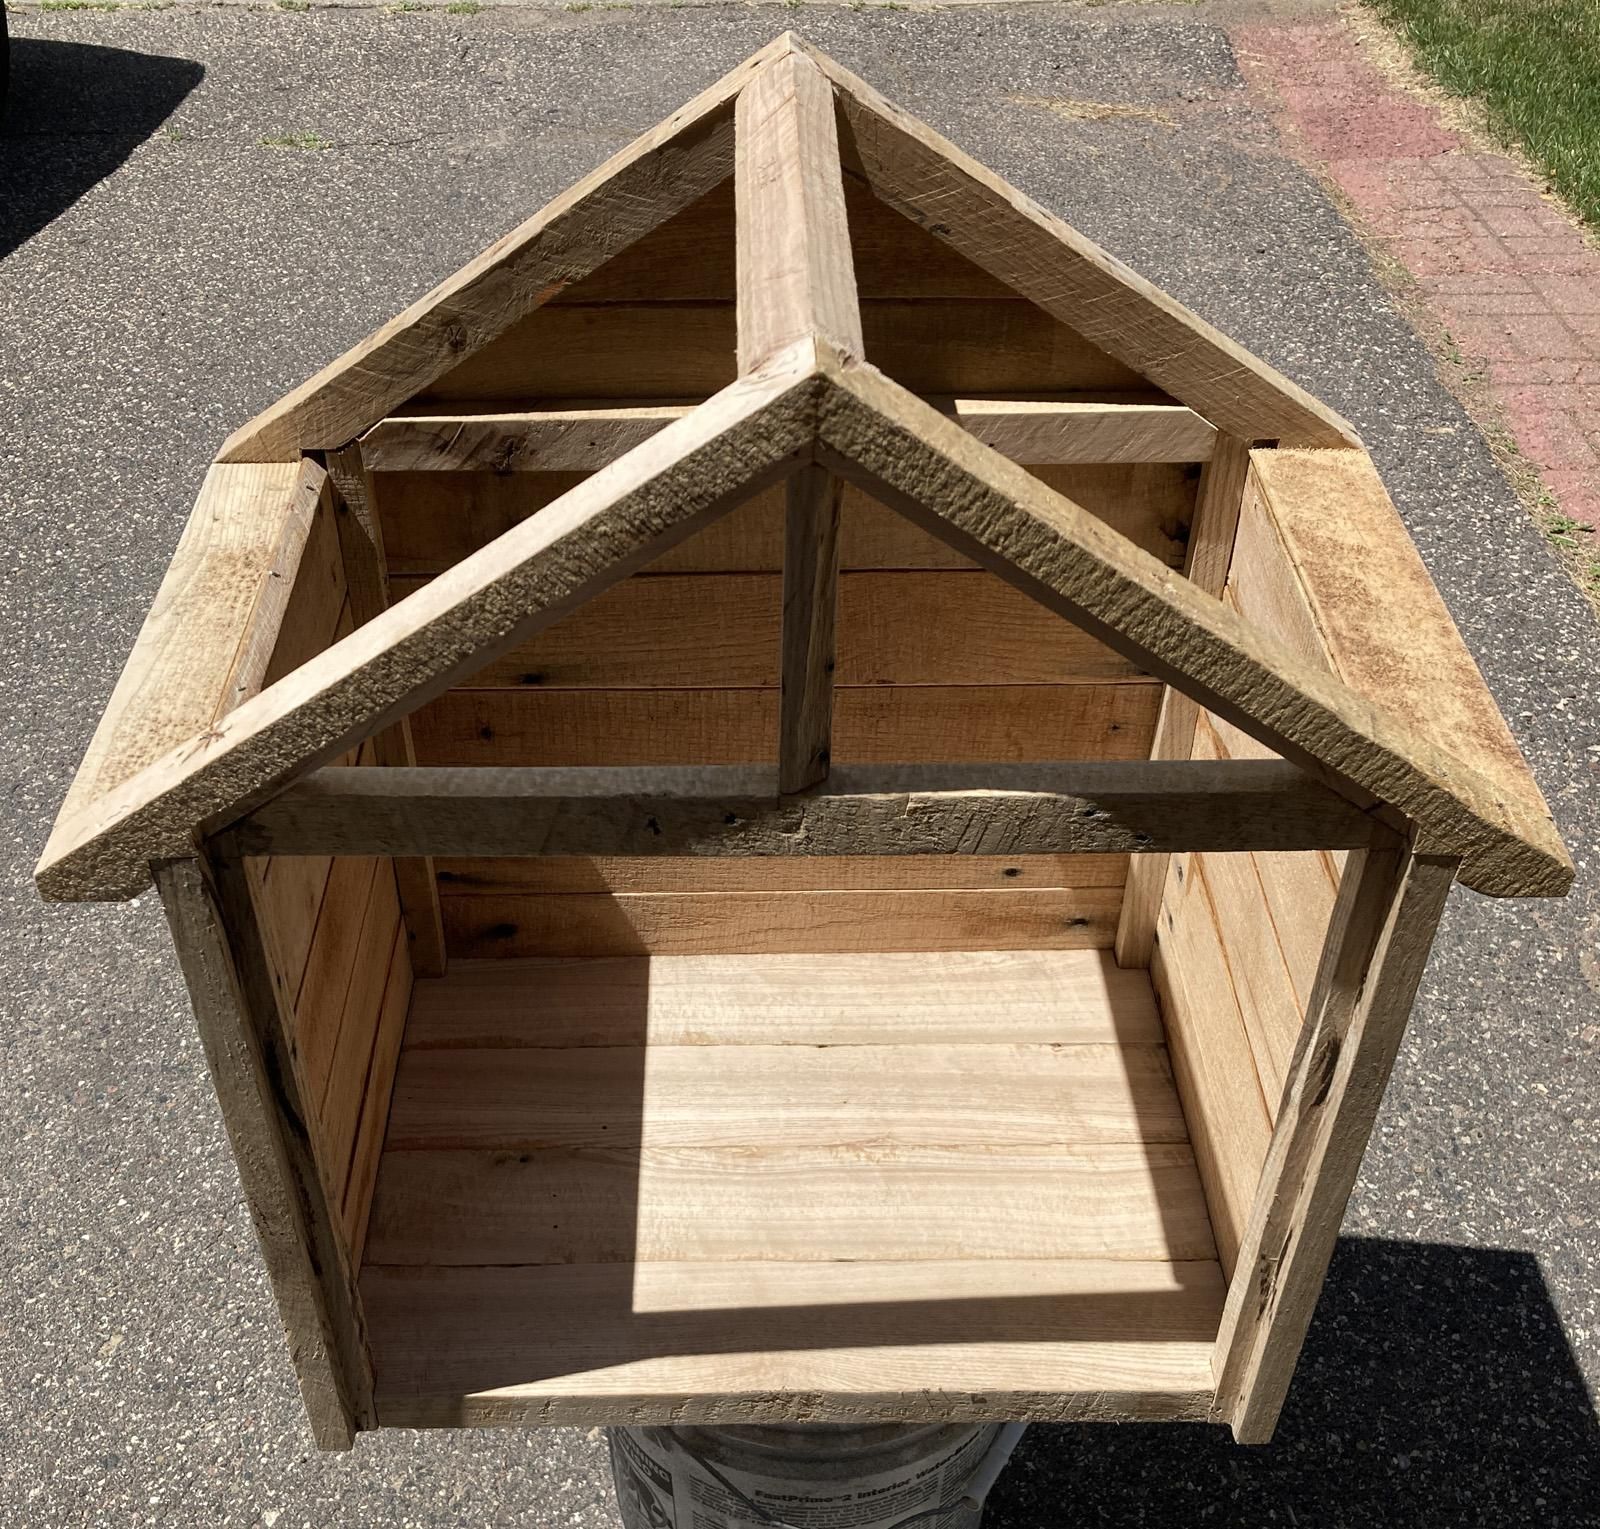
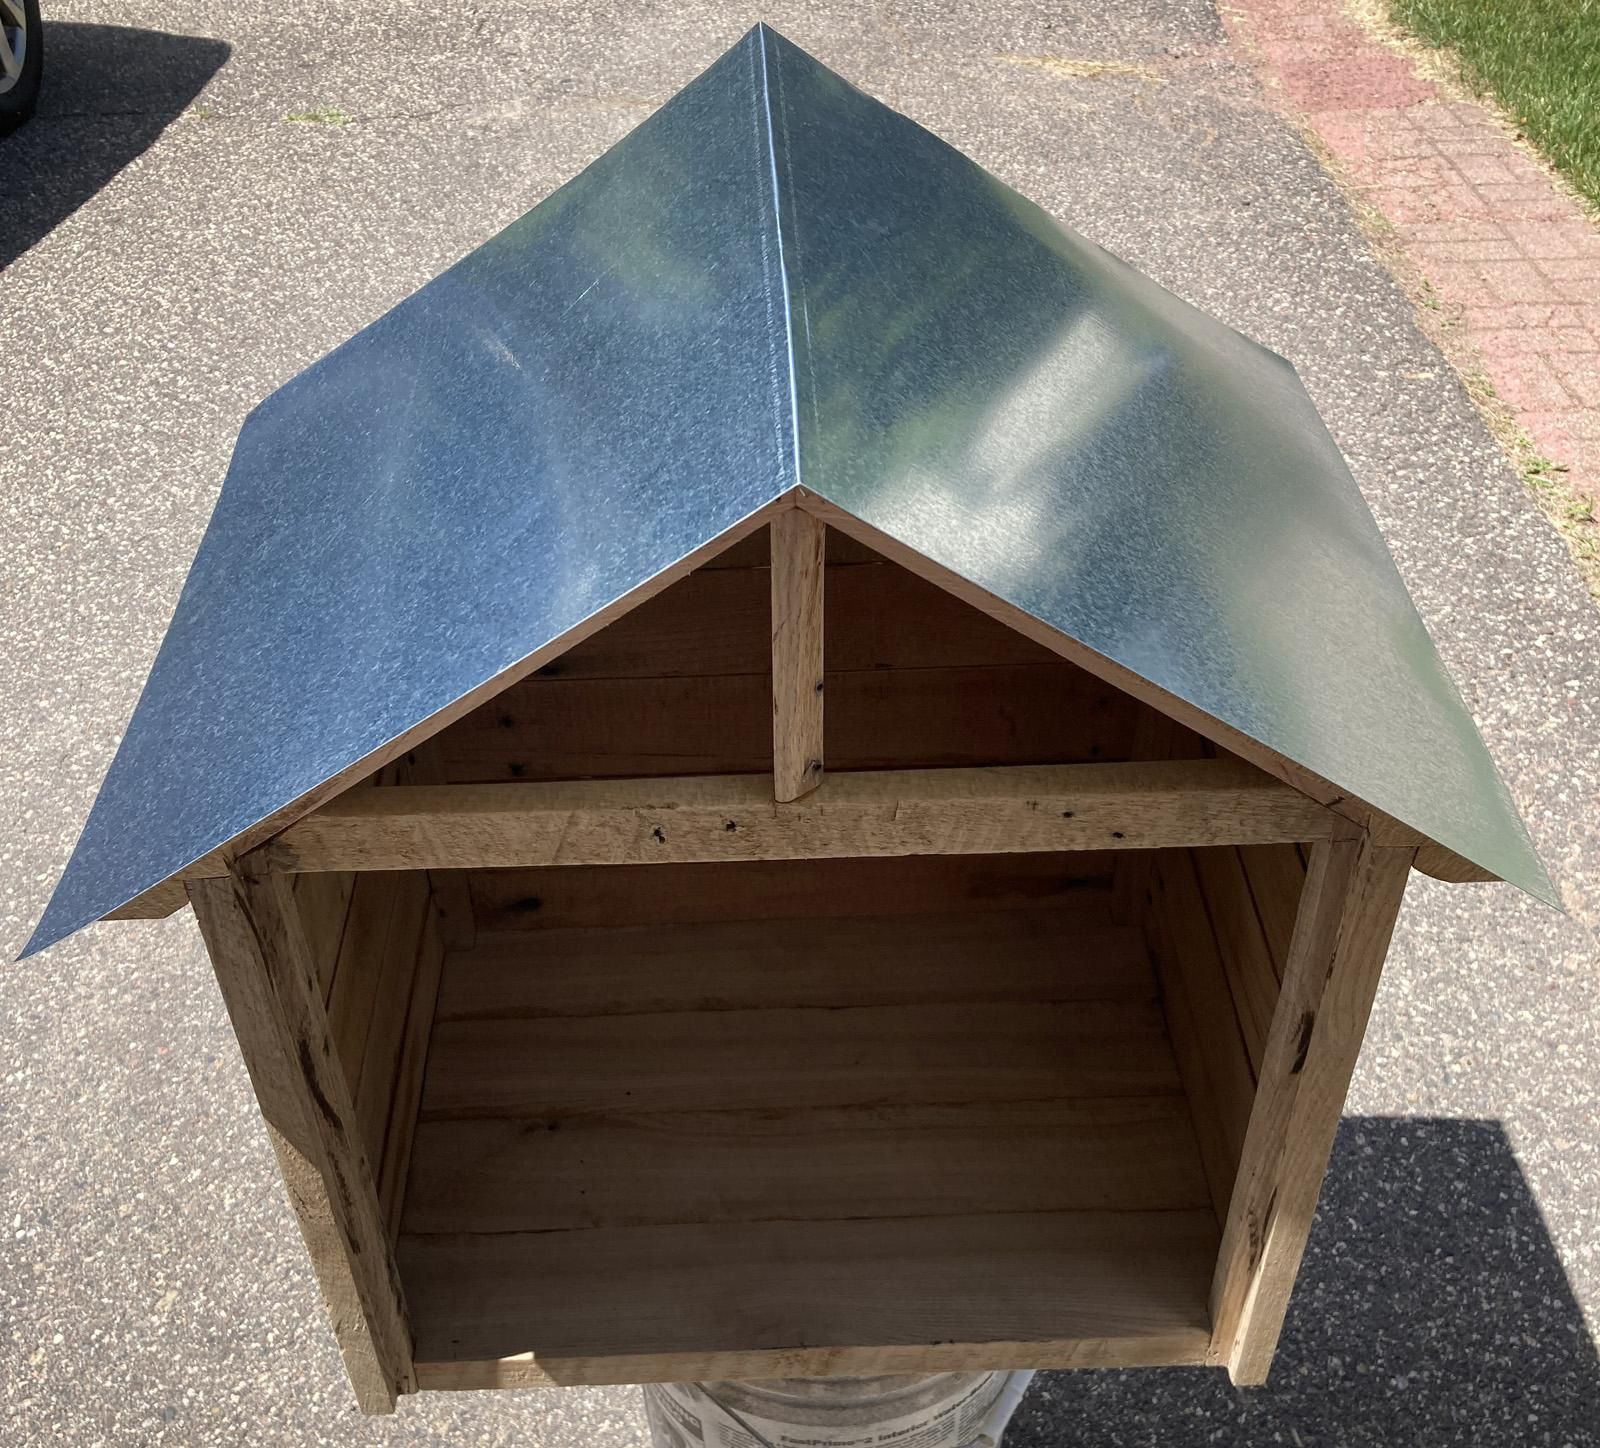
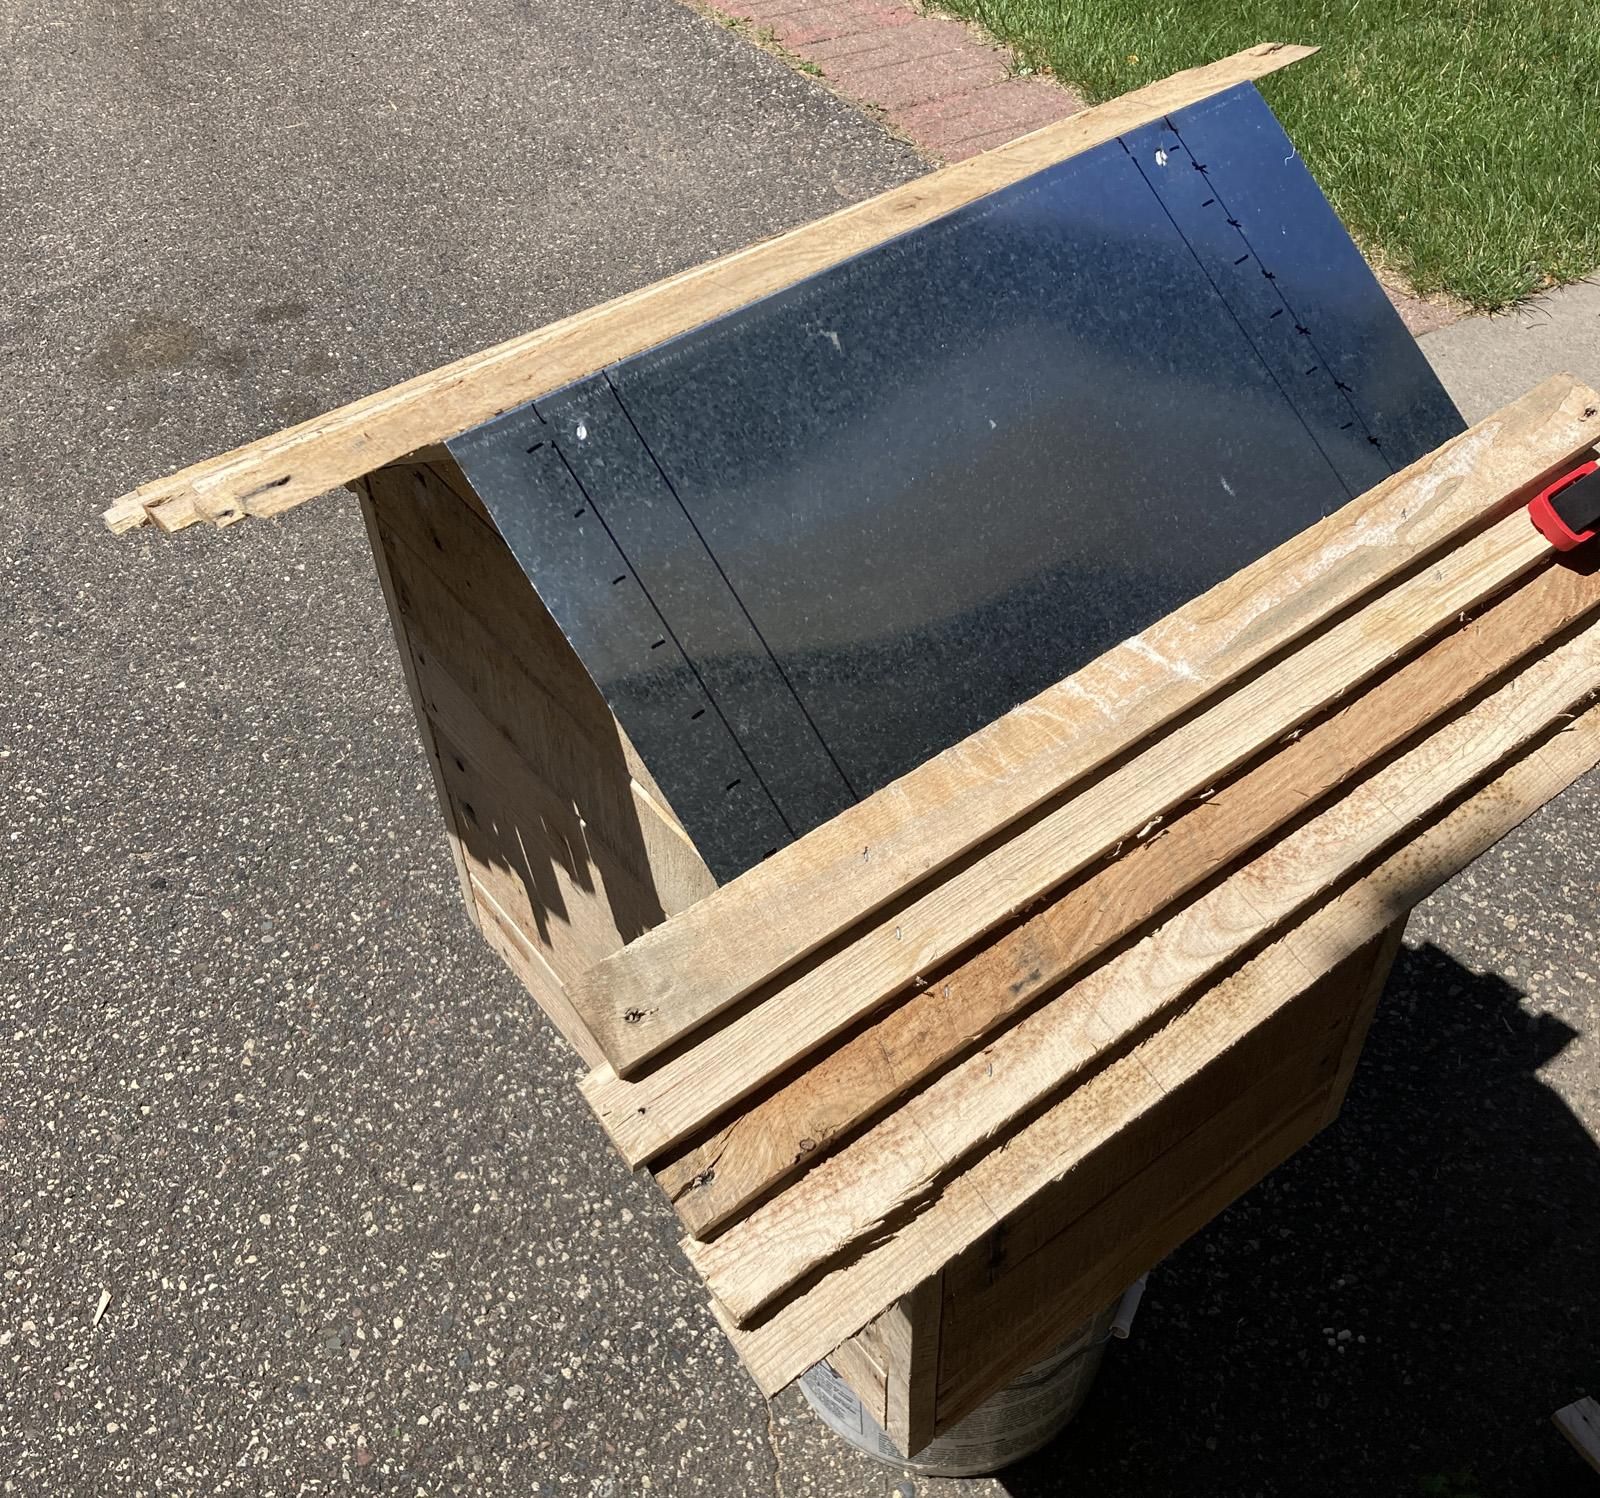
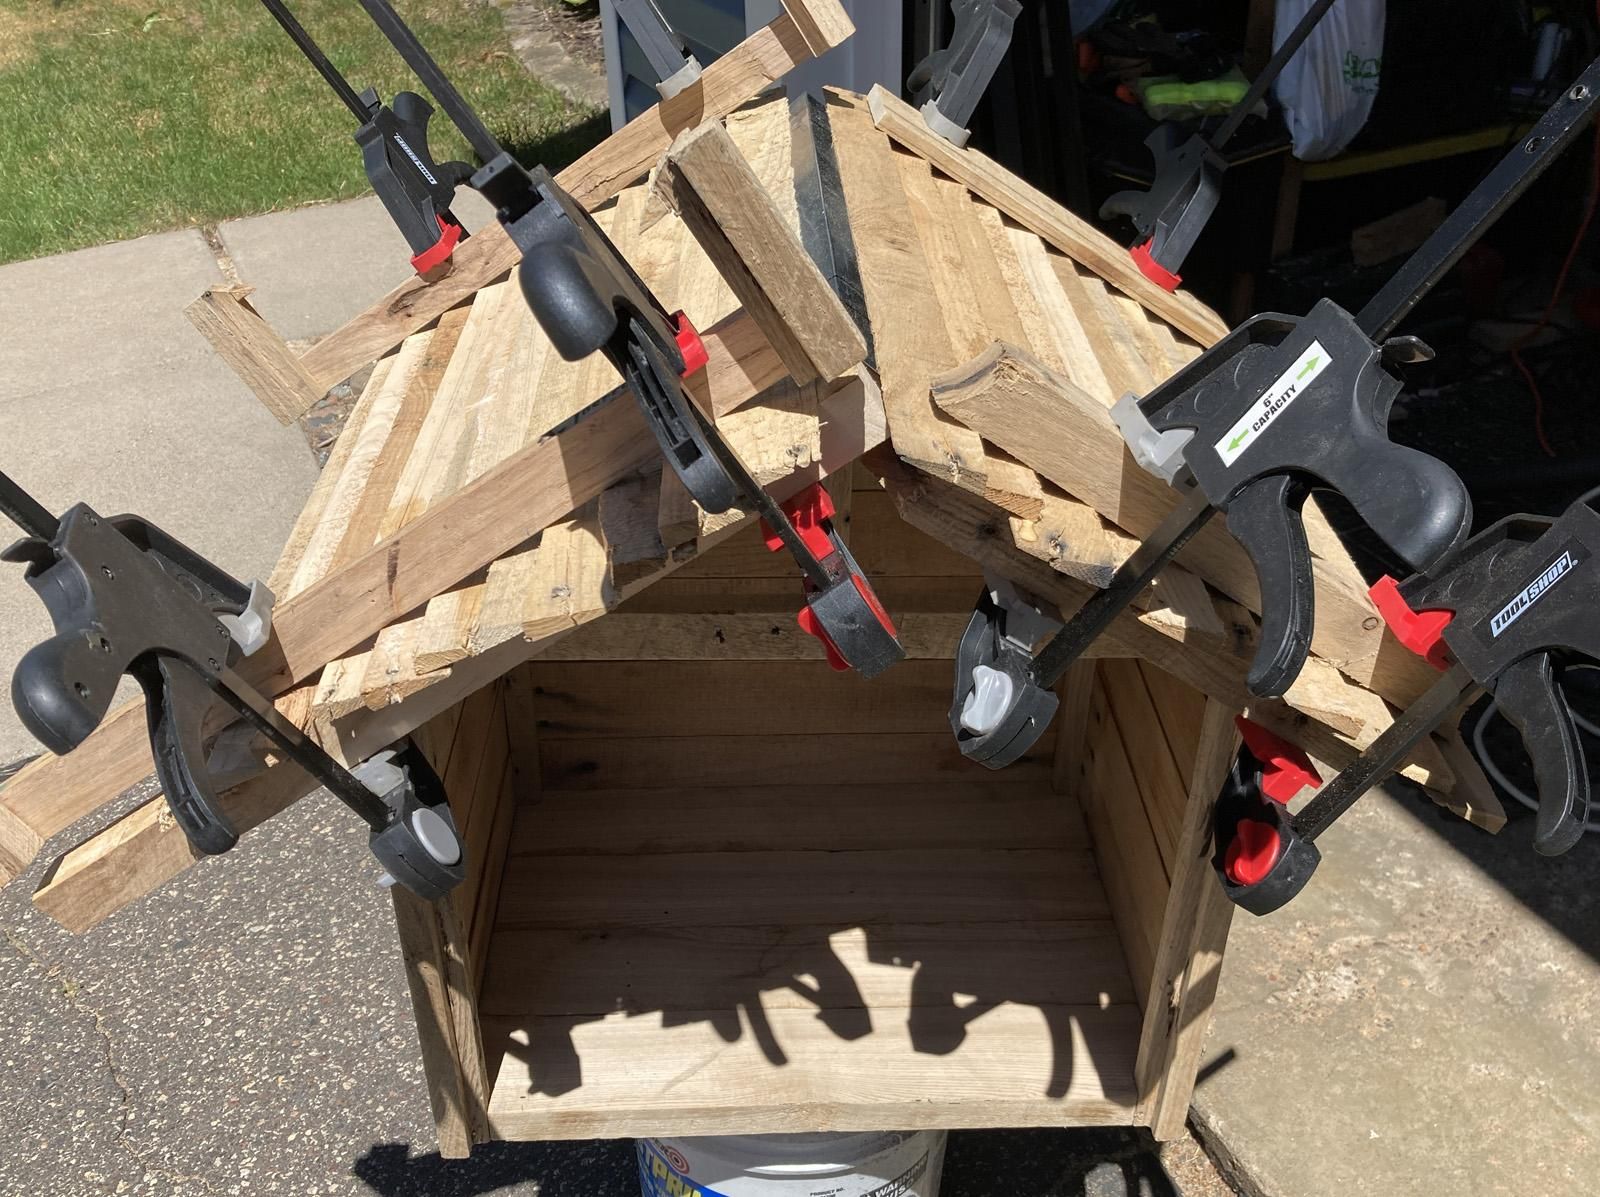
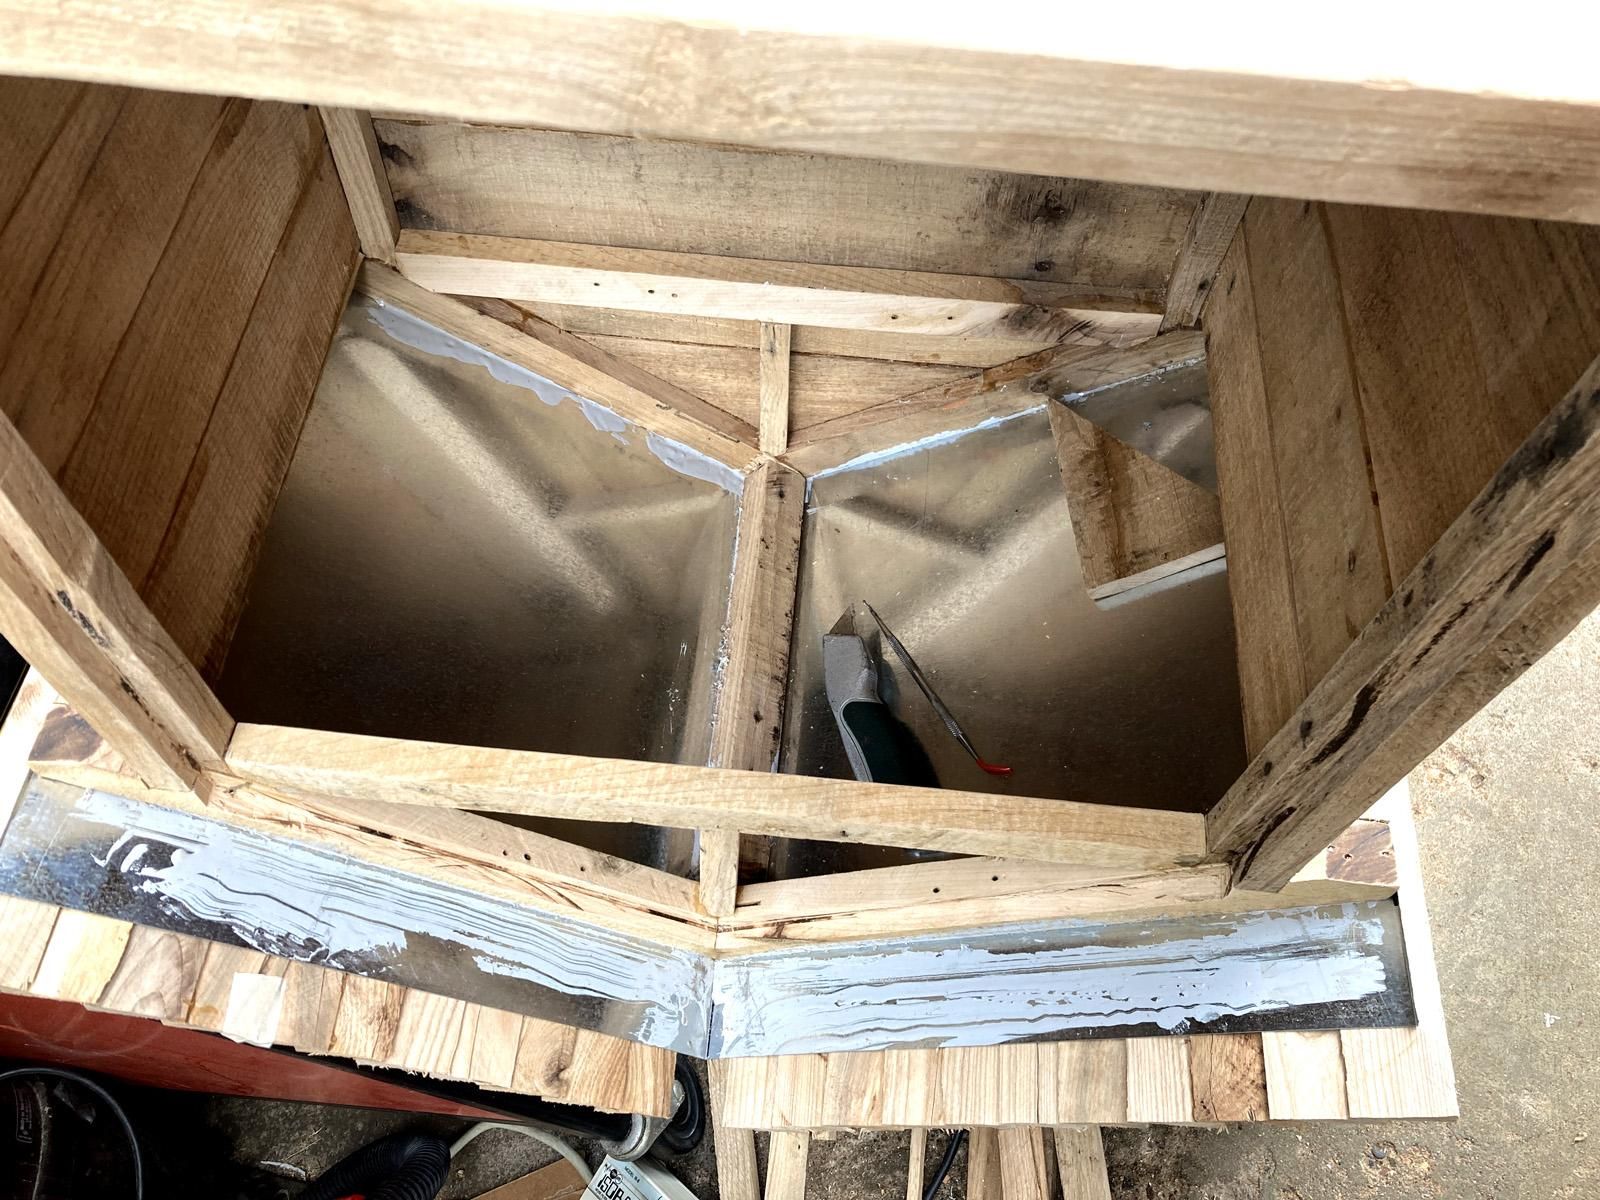
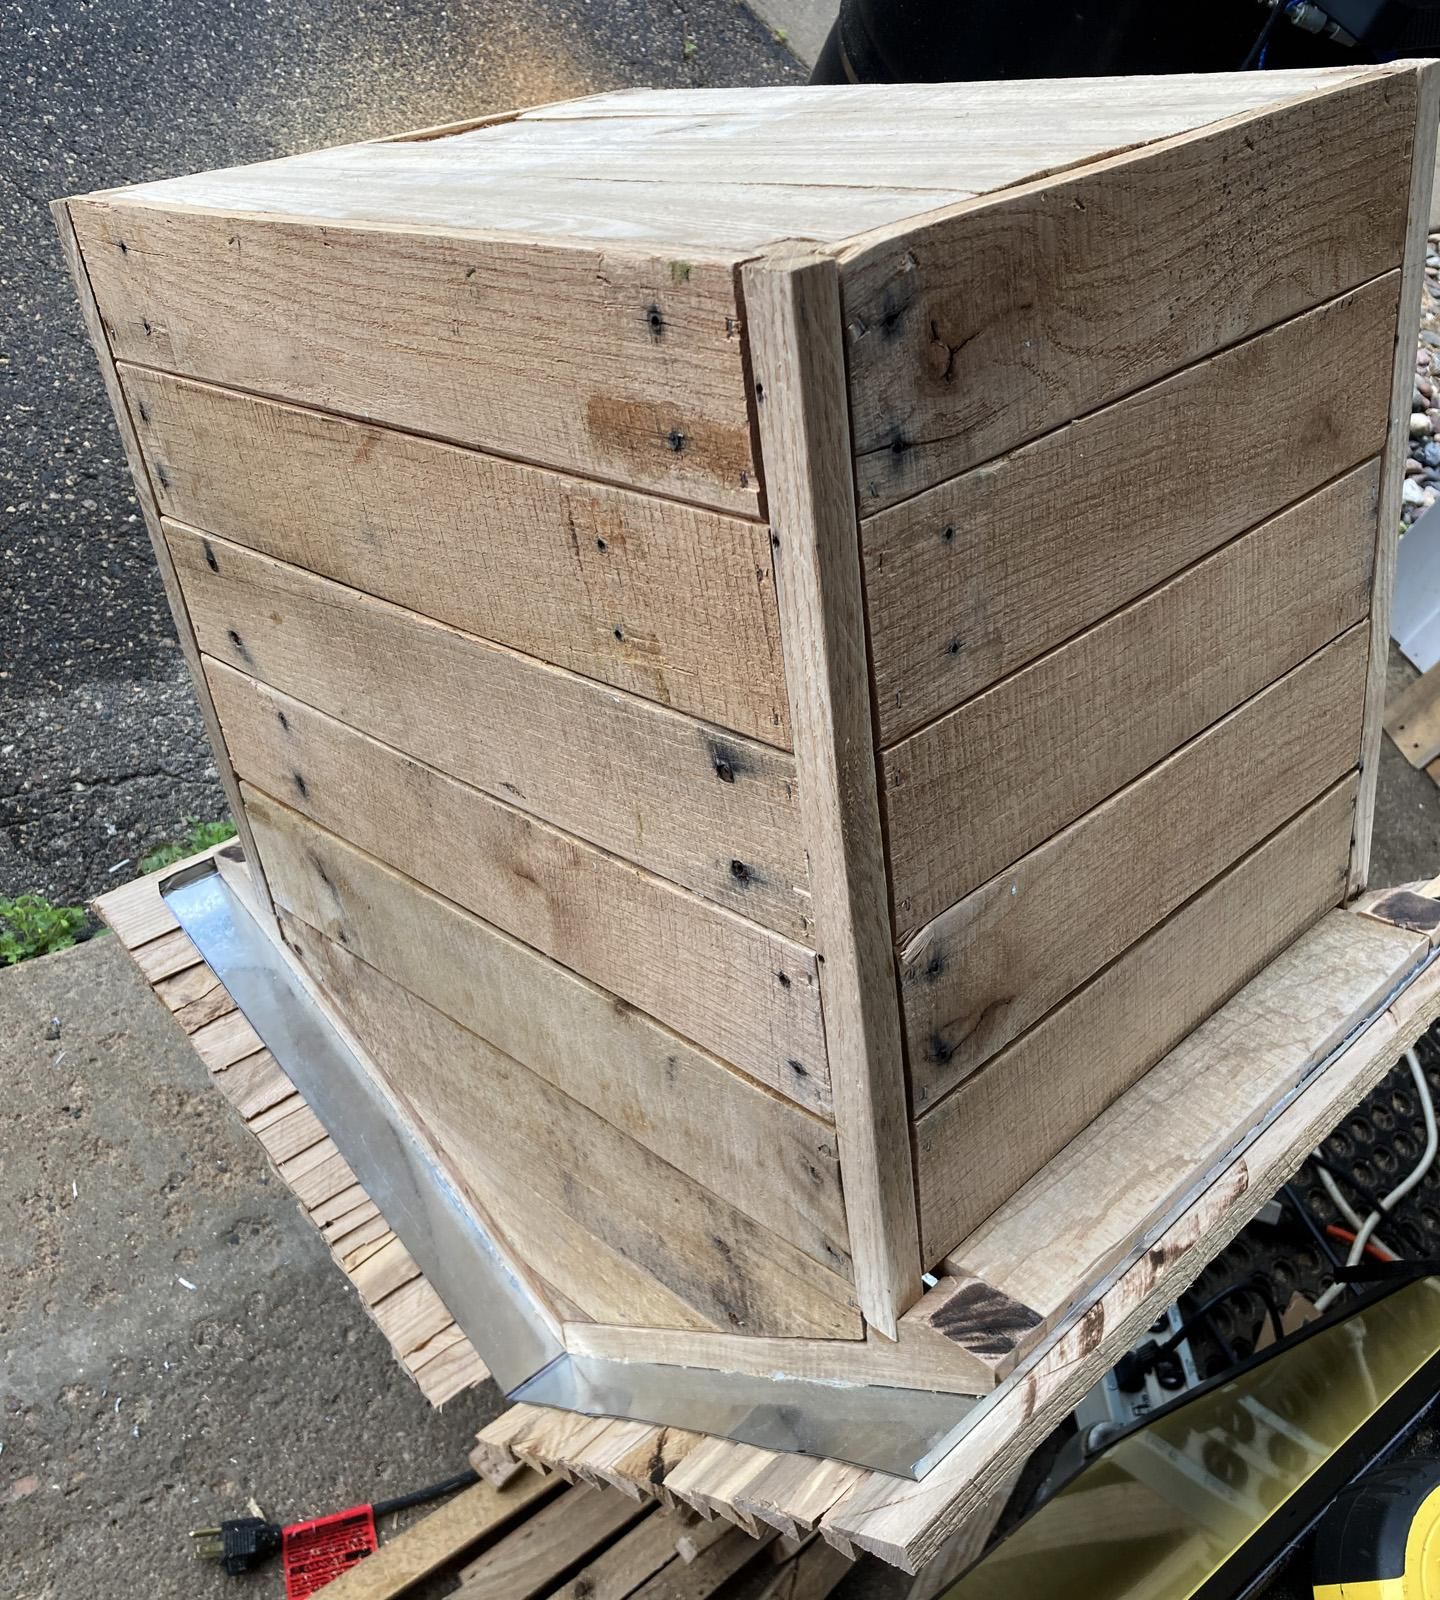
A simple gable with a minimalist truss was utilized for the roof line. Everything is glued and nailed. I used some of the flat planks to create the soffit edge on the sides before attaching the roof. Using a 24x36" sheet of galvanized drip pan tin, I trimmed a little longer than required and bent along the center. I then wrapped the overhang downward to waterproof the whole roof. I attached the tin with some construction adhesive. I ripped some more planks in half and then at angles to create simulated shingle overlap. I marked the tin, and then glued and nailed these shingles on through the tin. I added clamps to hold the slats firmly until the glue dried. Use a saw to cut off the rough edges of the shingles. I had to do some cleanup of the excess construction adhesive.
A Simple Door and Sealing It Up
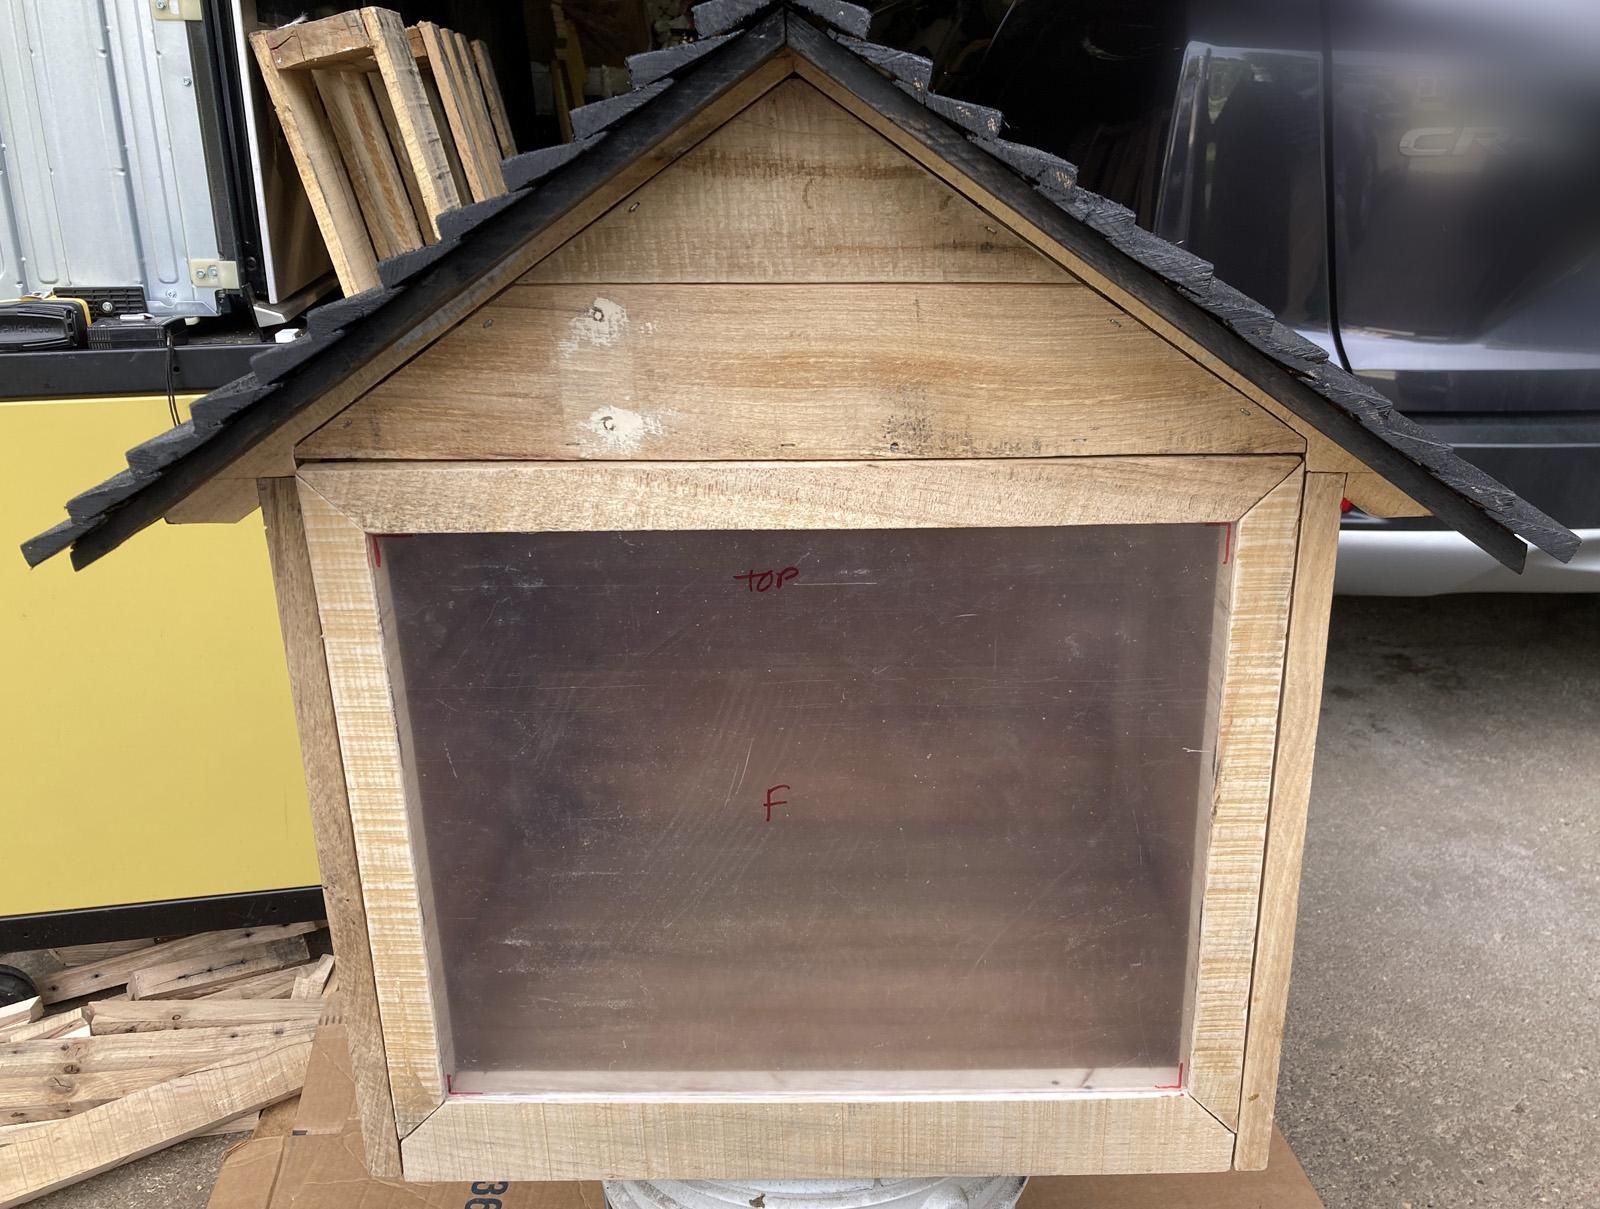
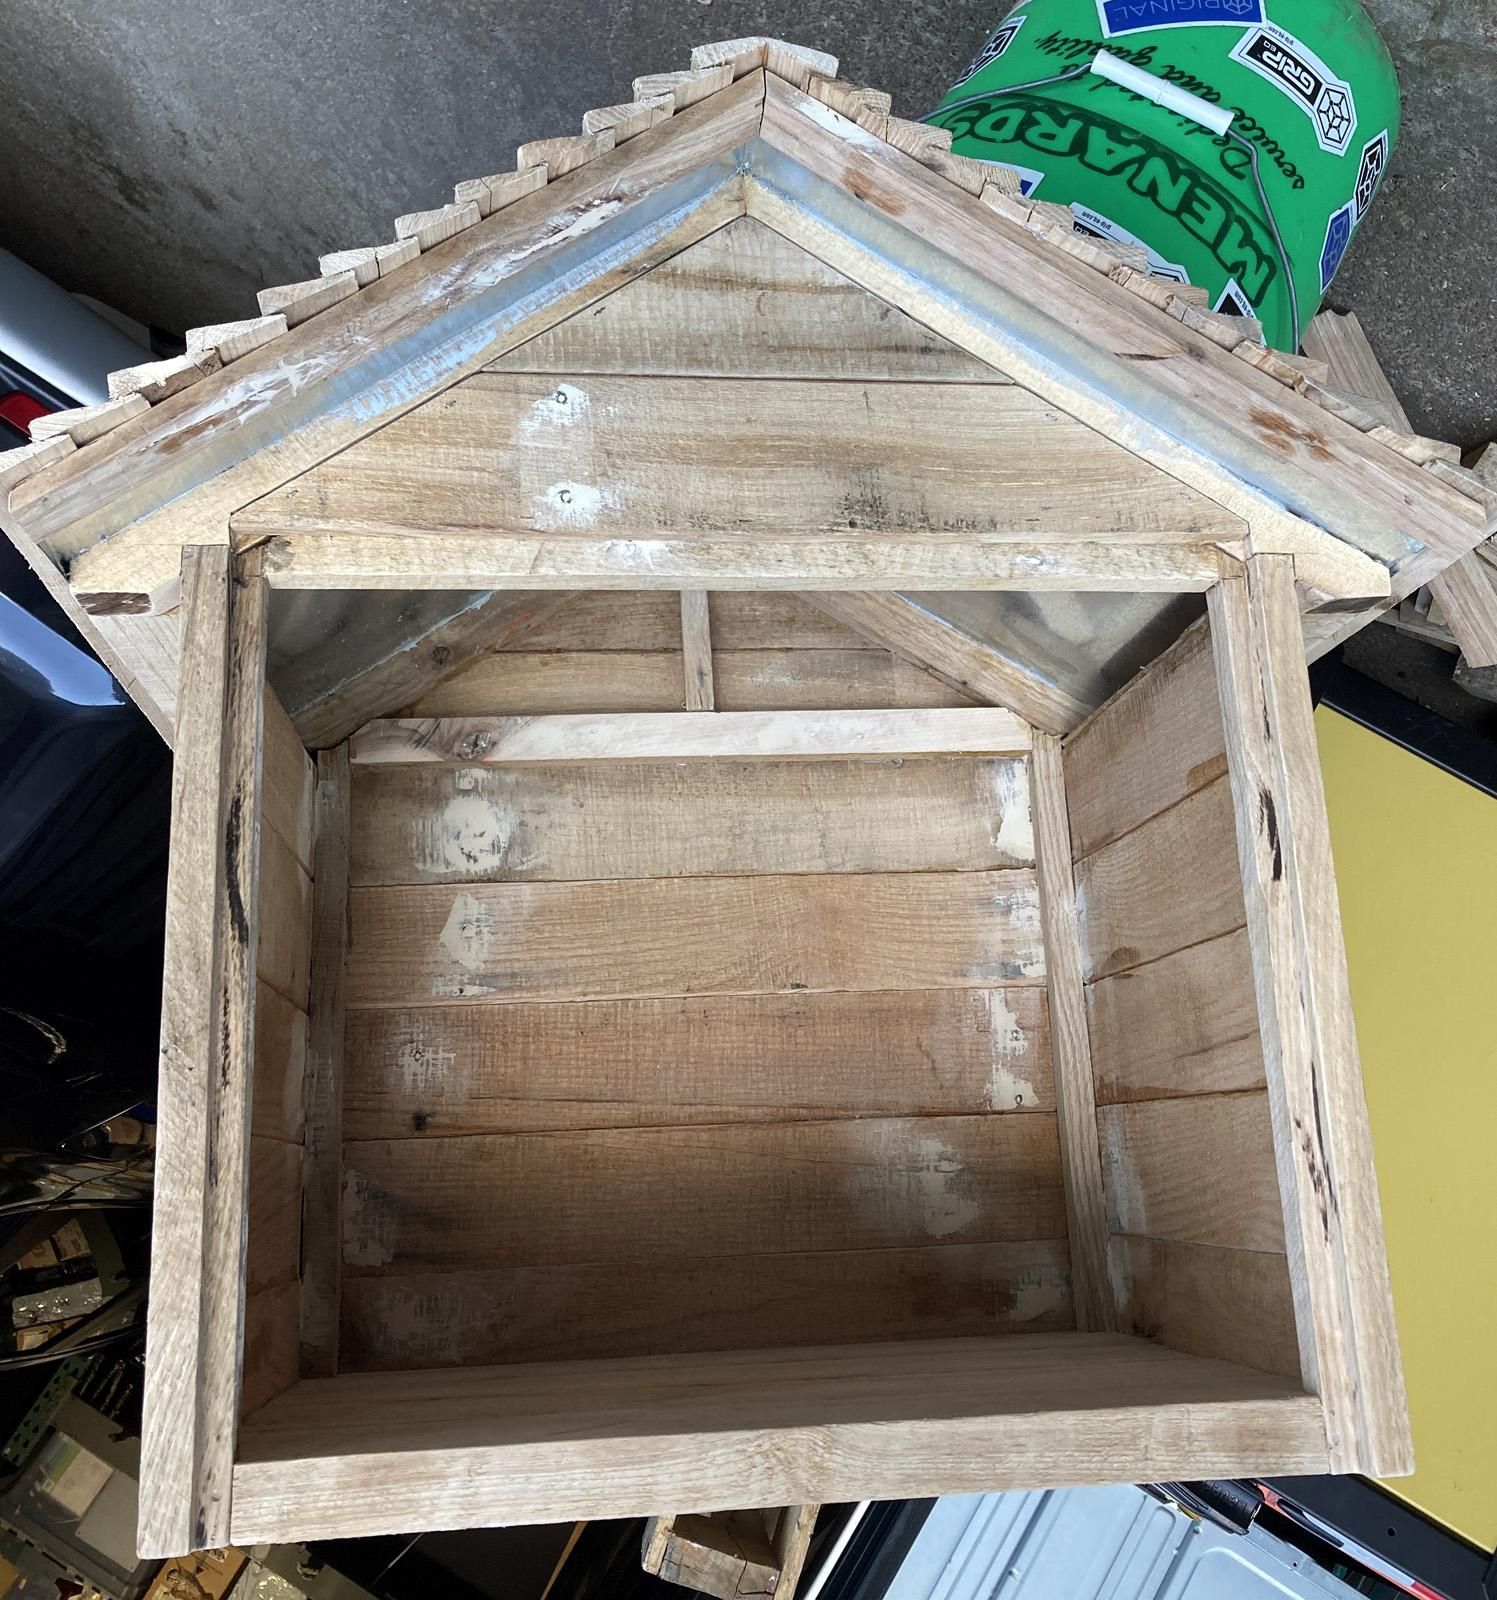
A Basic rectangular frame, the lower edge is thicker as it has to cover the depth of the base. I ran the frame through the table saw to slot a groove for the window pane. I did miter the corners. I used a simple routing tip on my rotary tool to groove out a notch for the hinges. I added metal corner supports on the inside of the door. A magnetic latch is used to keep the door closed, and a handle will be installed on the outside.
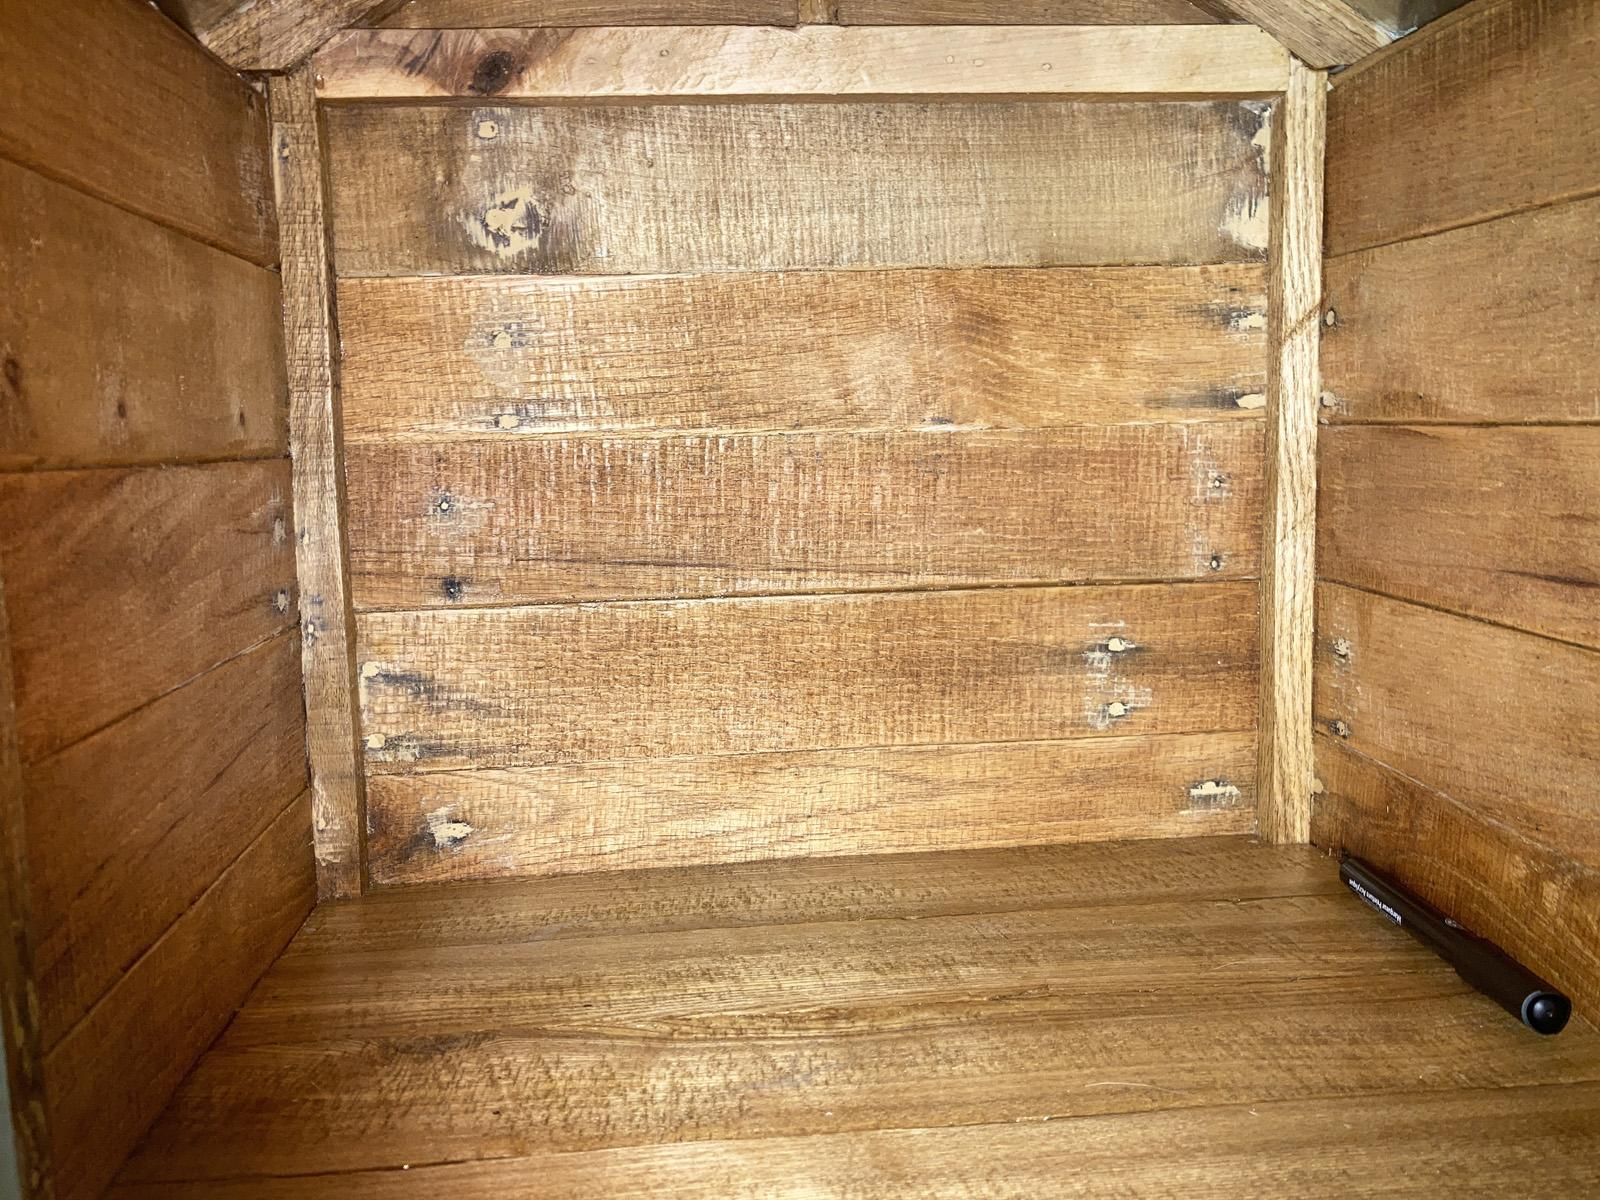
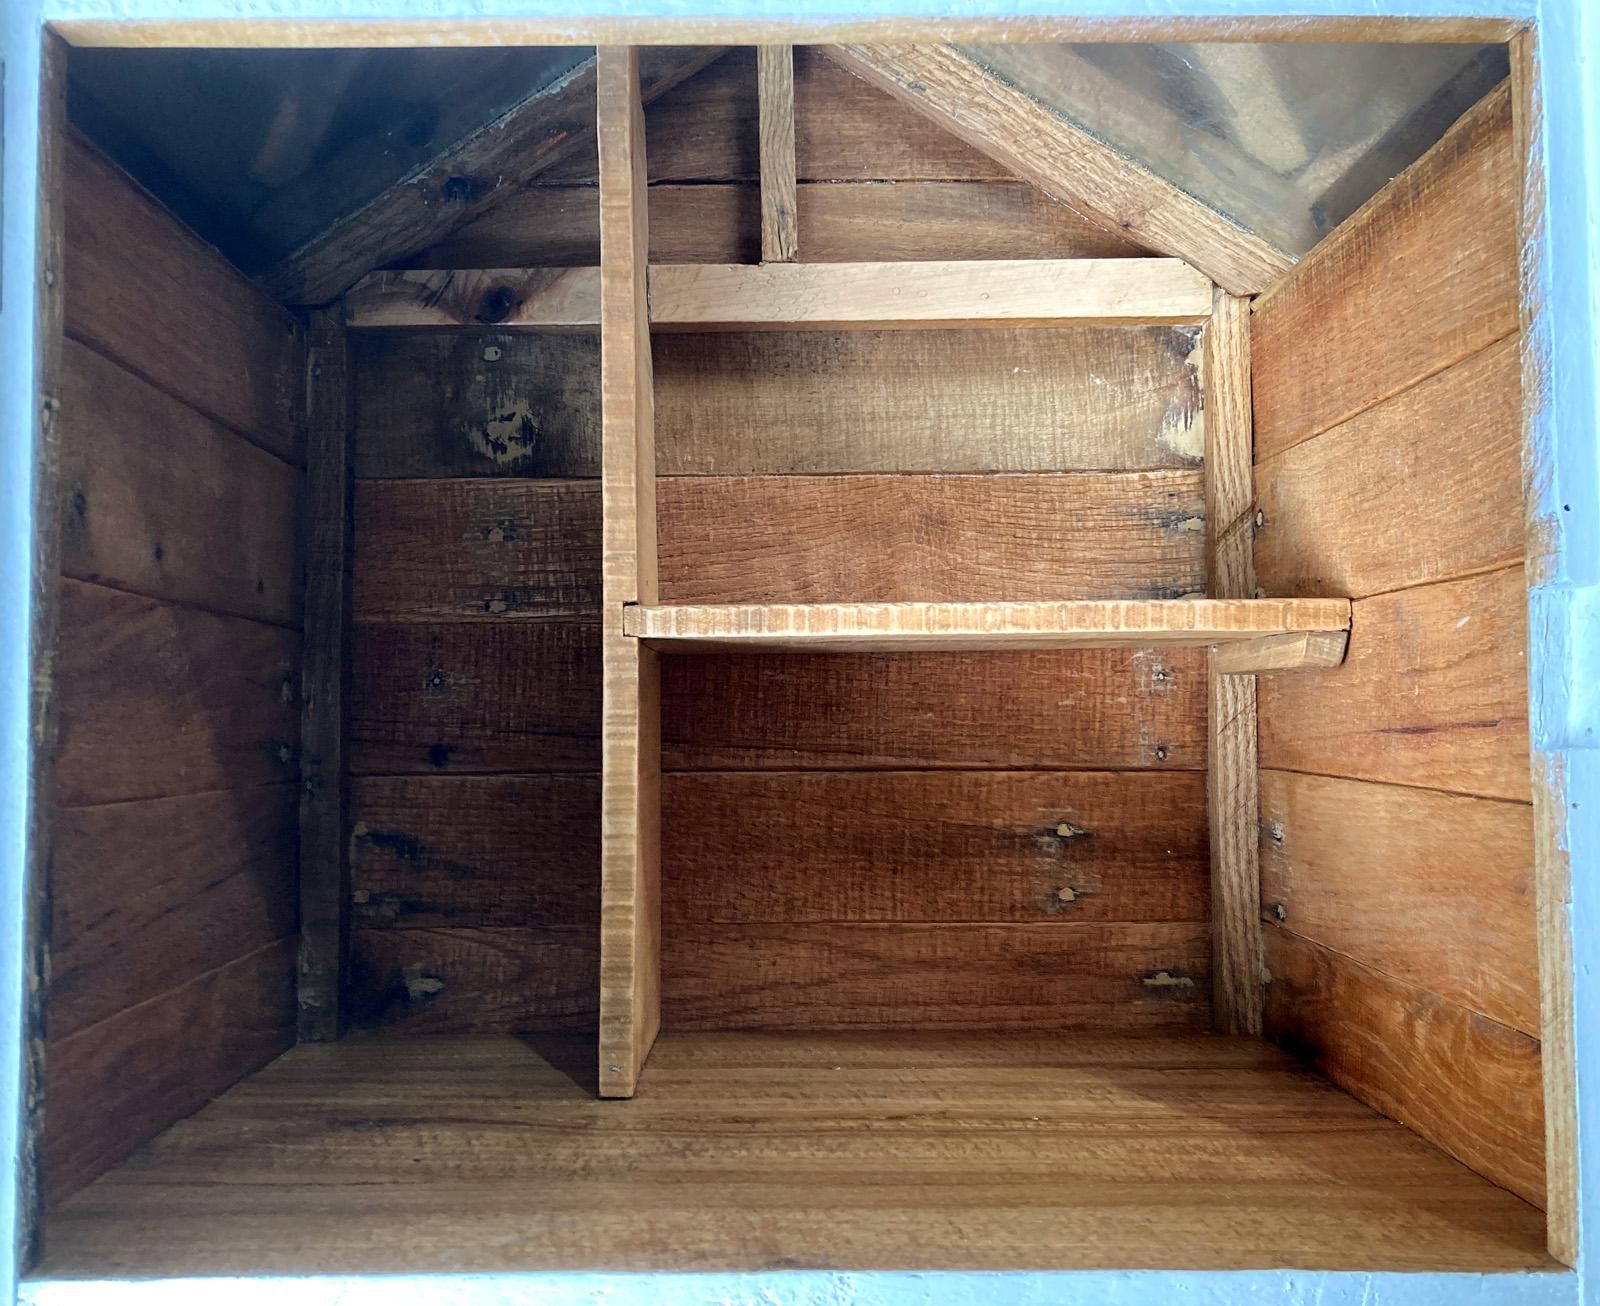
I sealed the roof with some black one-step stain. I used a brown speckle spray paint to add some simulated texture to the shingles. All wood holes in the walls were filled with wood putty and sanded after drying. The interior was sealed with a one-step stain/protector. The outside was primed with white. A shelf was a mere afterthought, but I was able to get one added with a couple extra planks.
Design and Painting
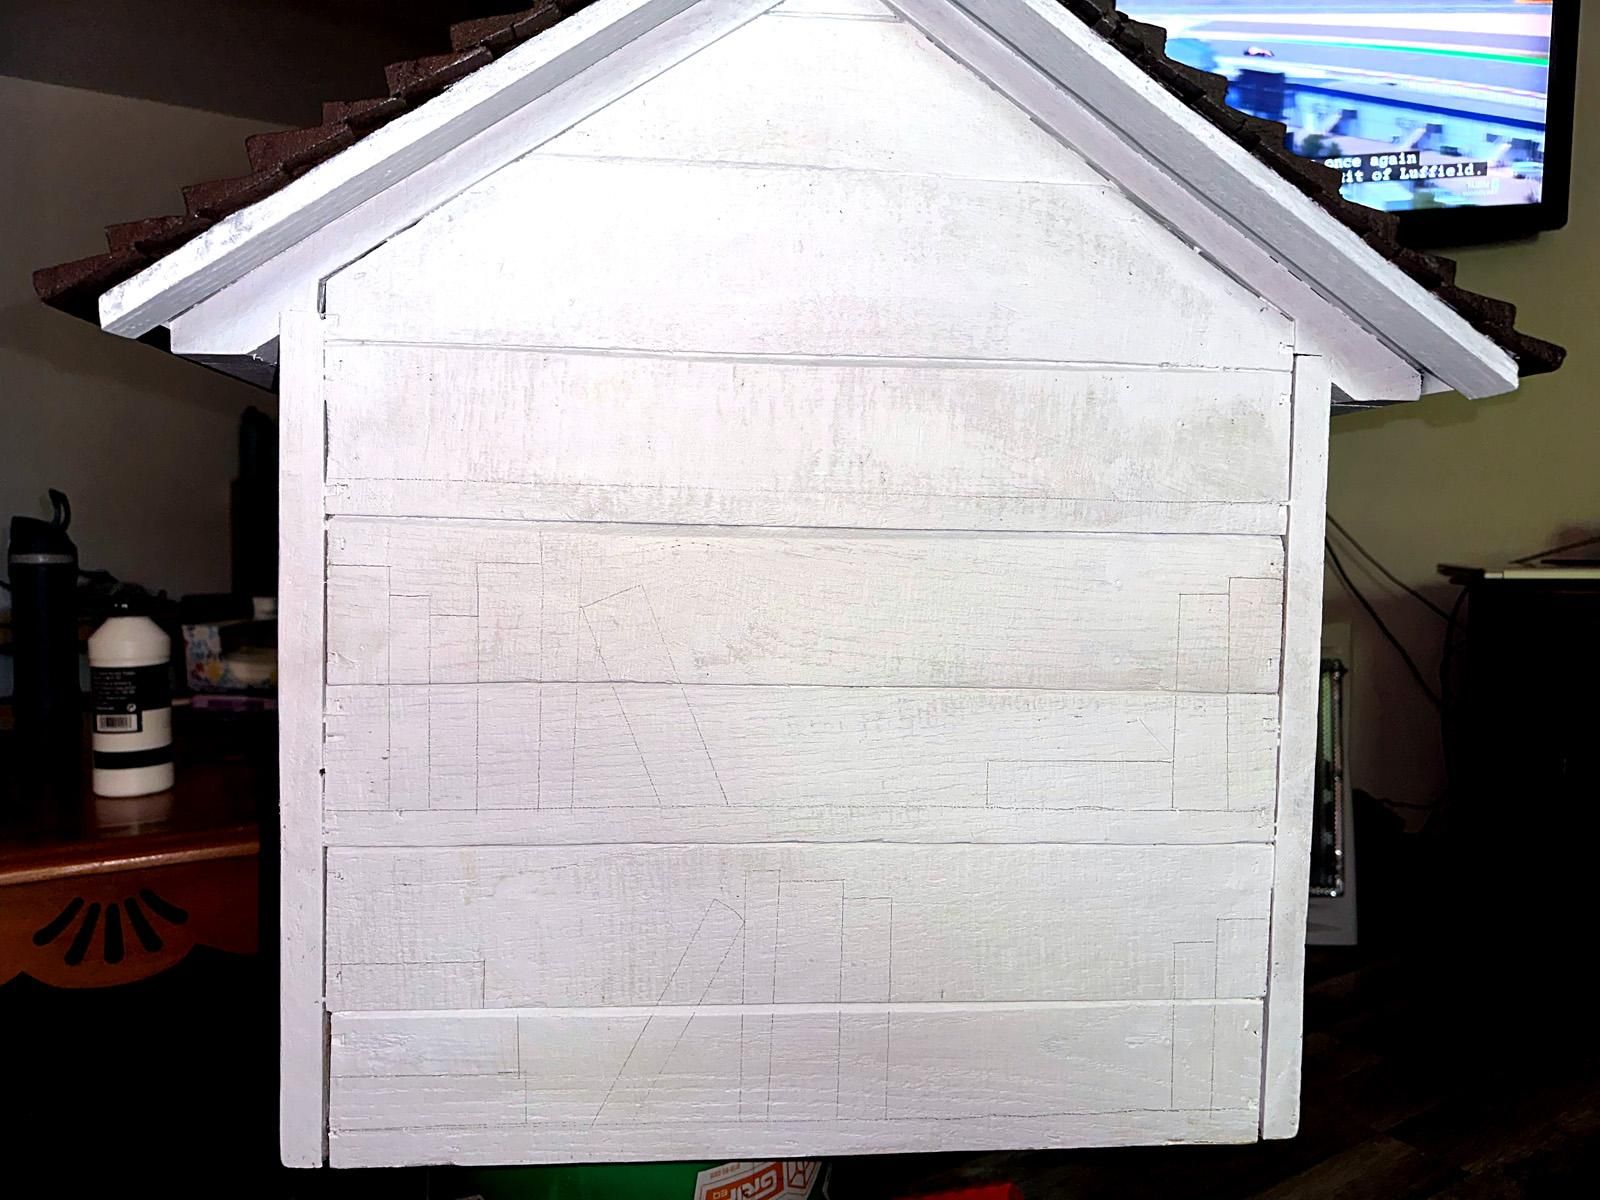
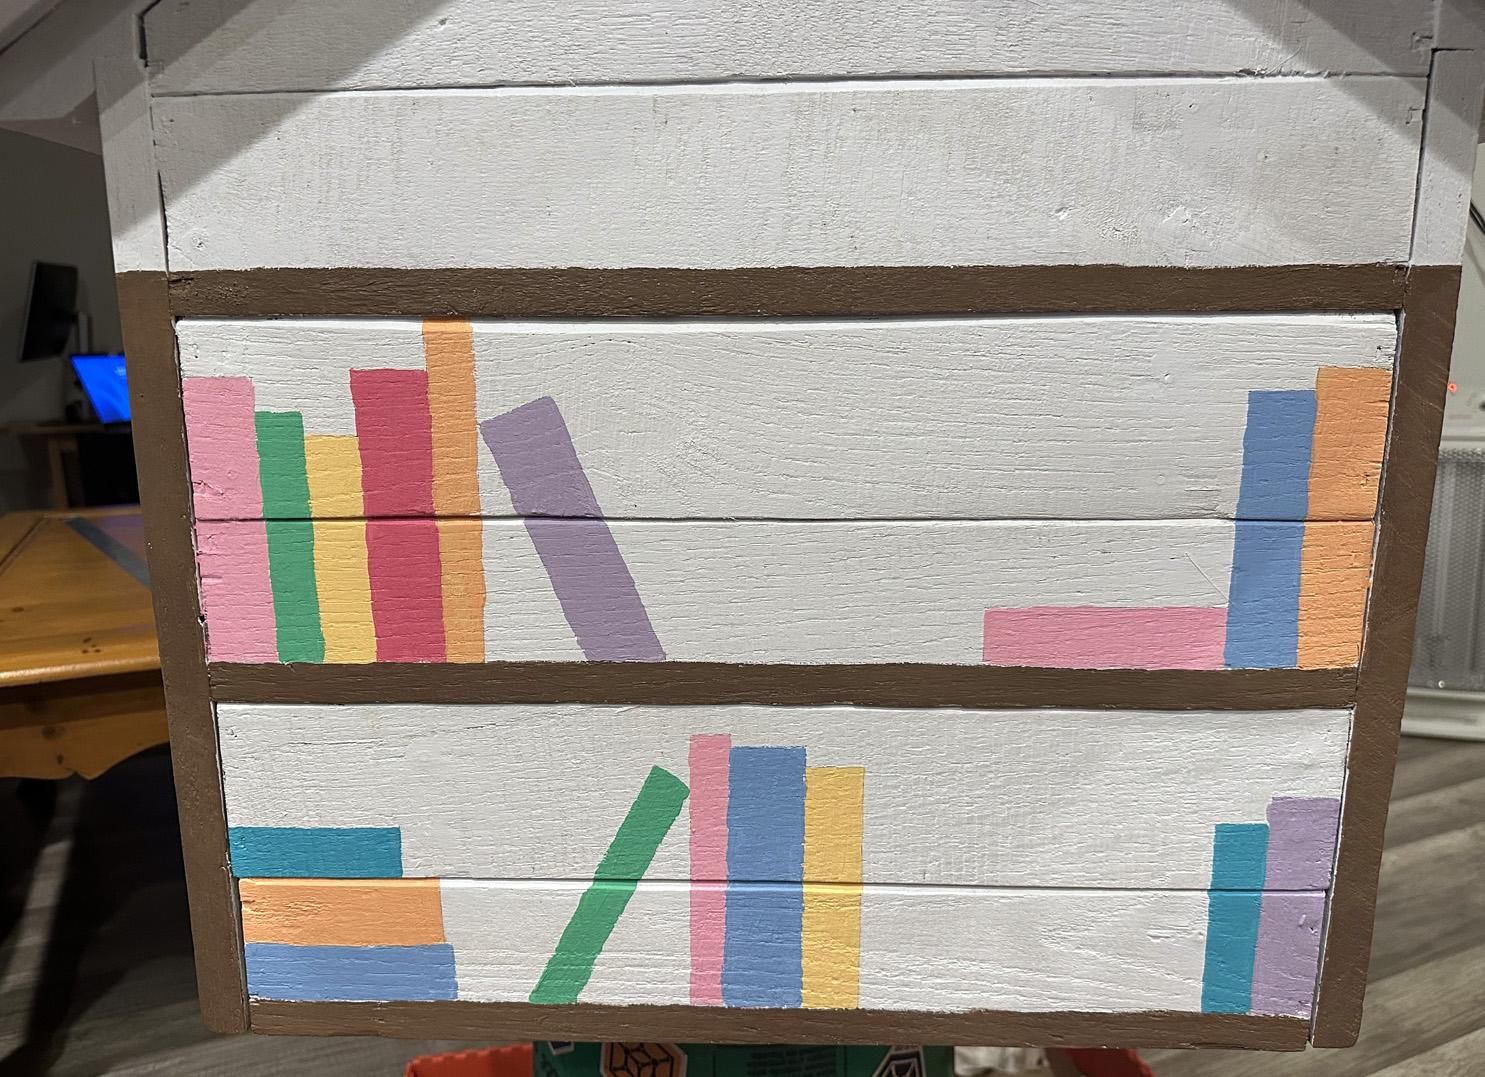
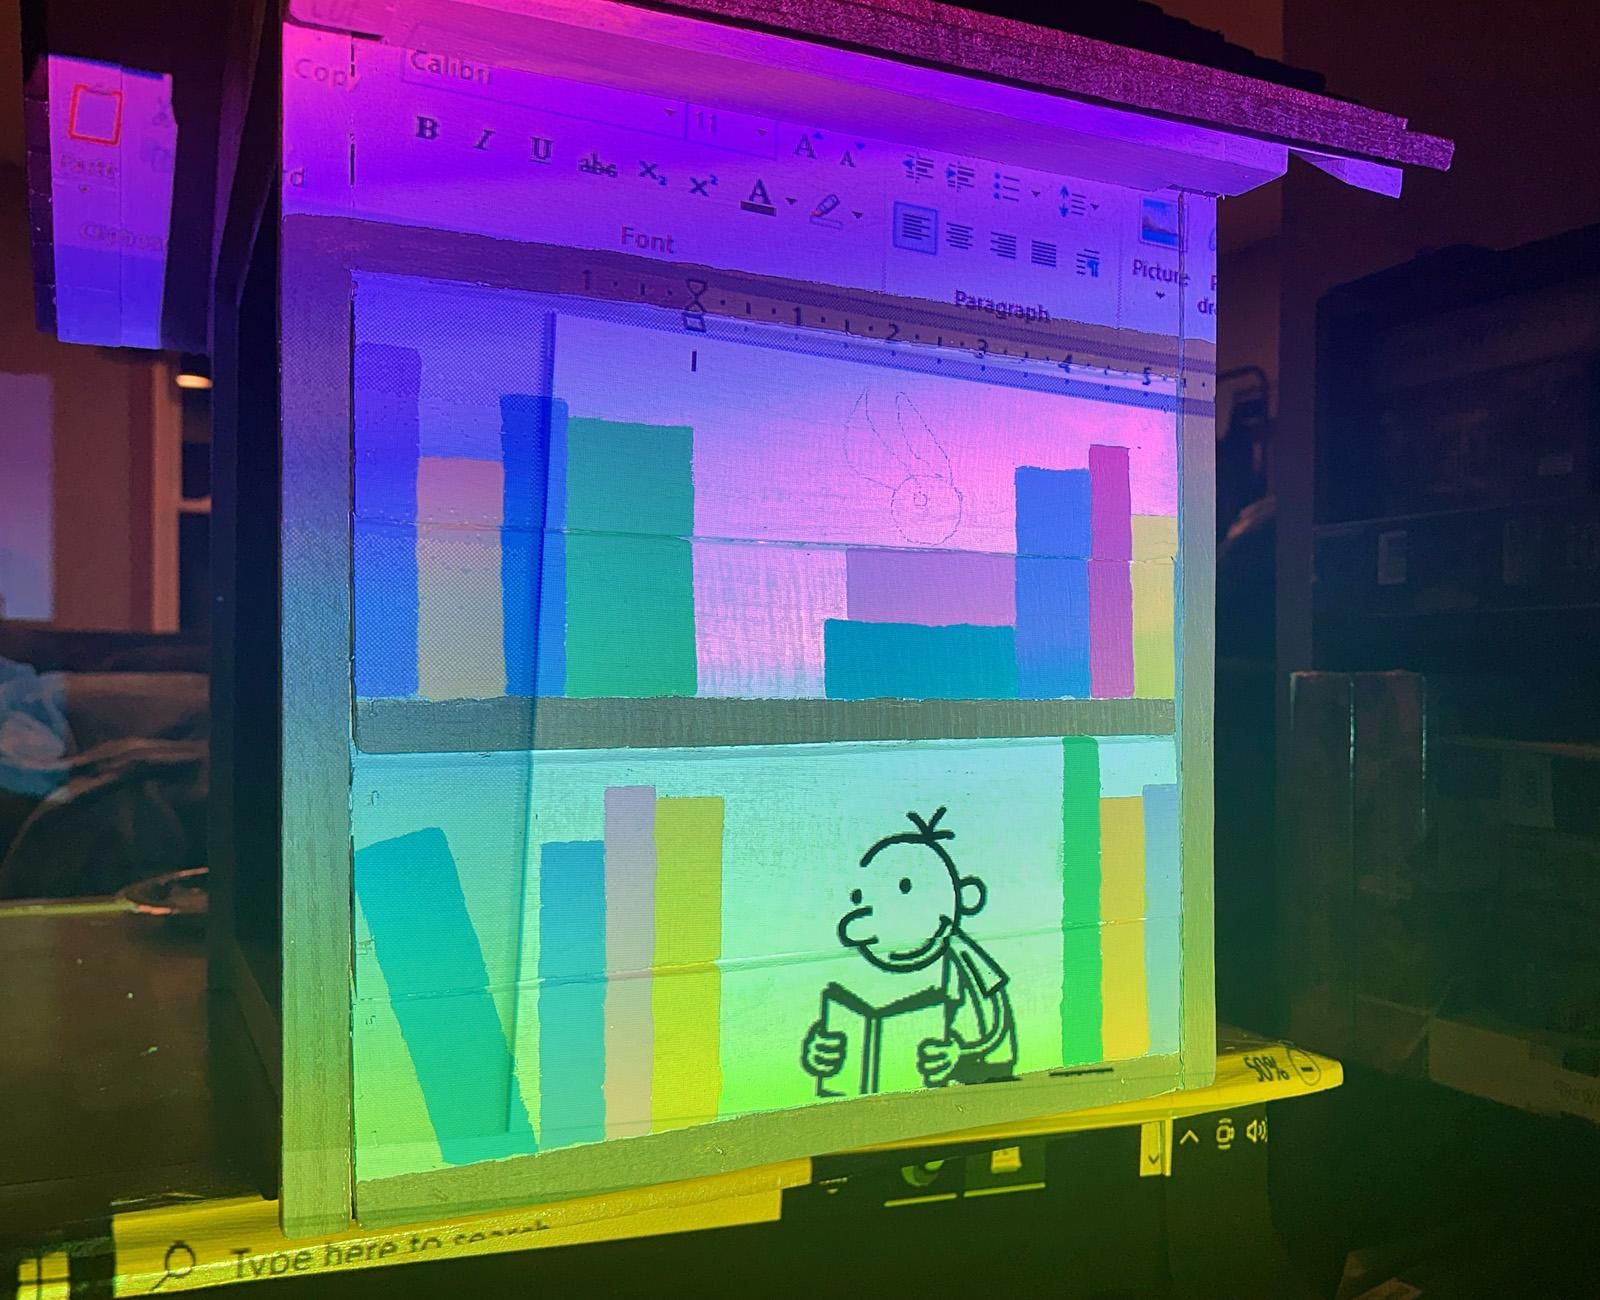
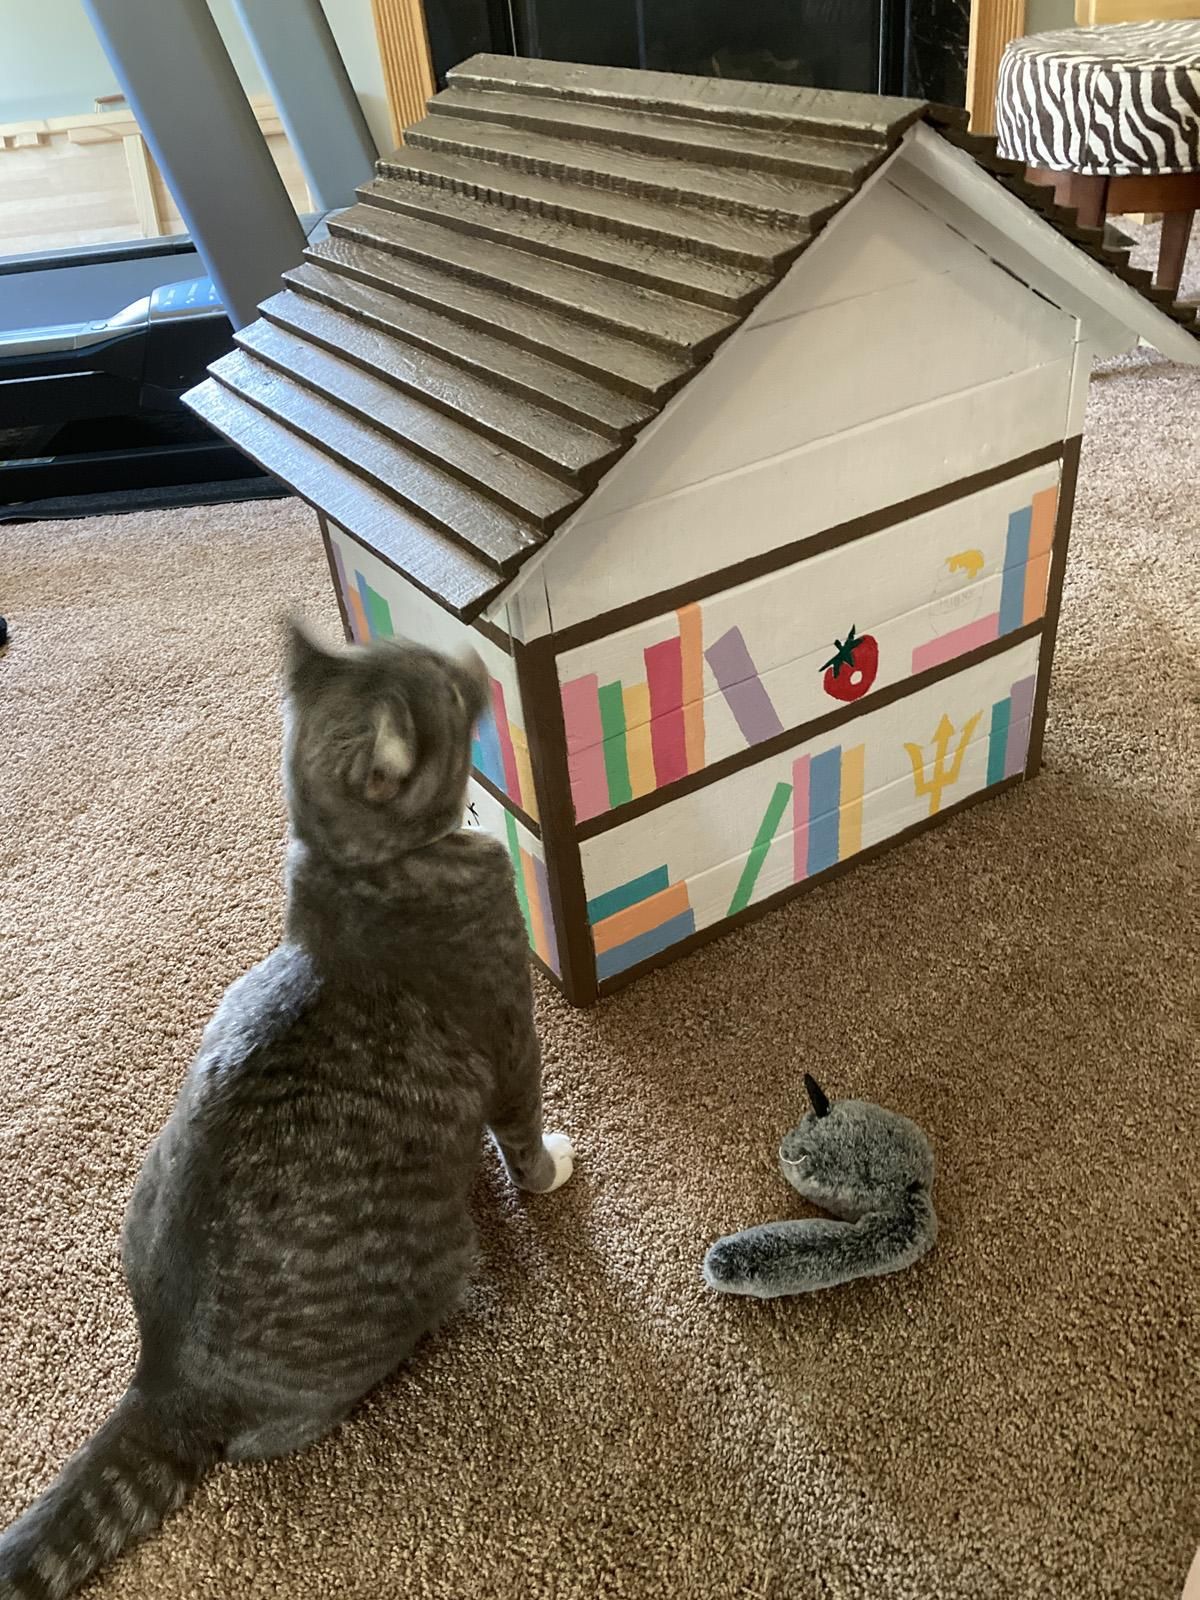
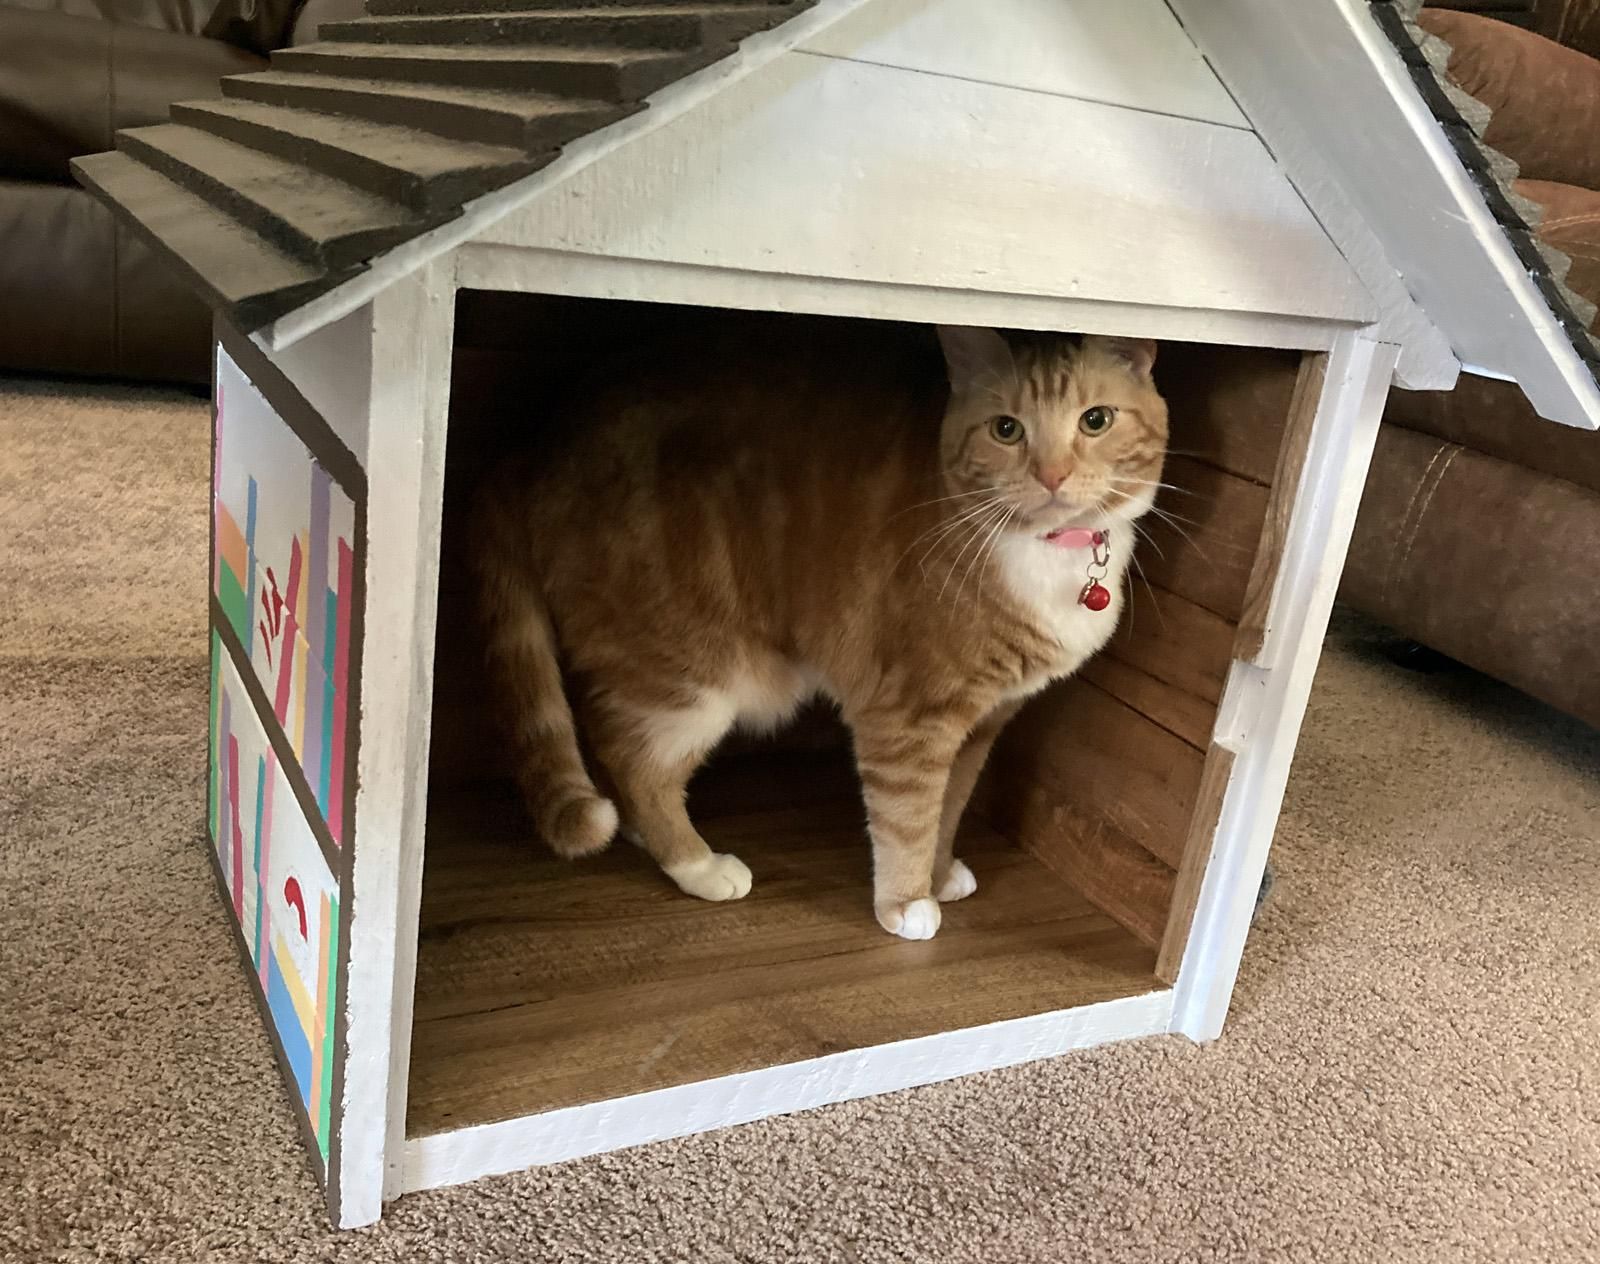
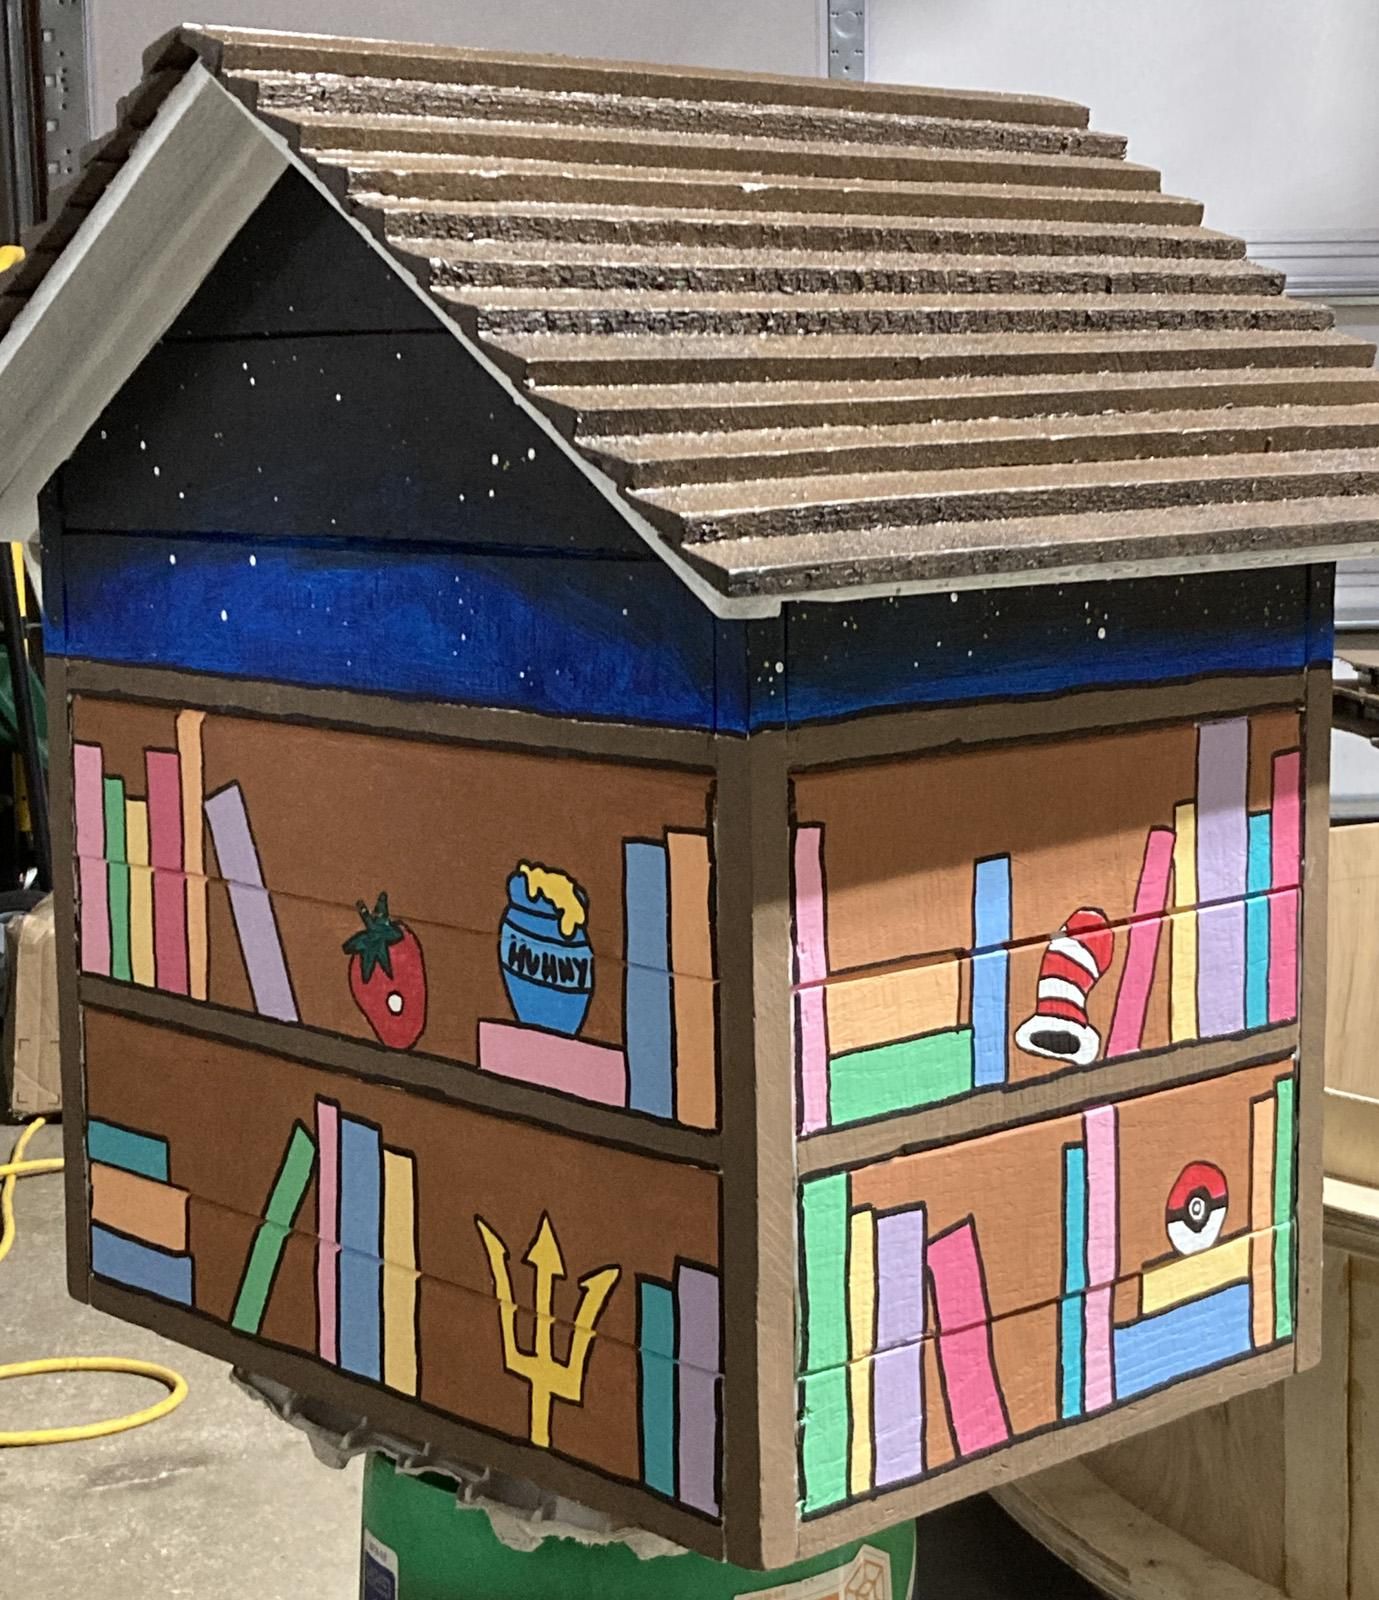
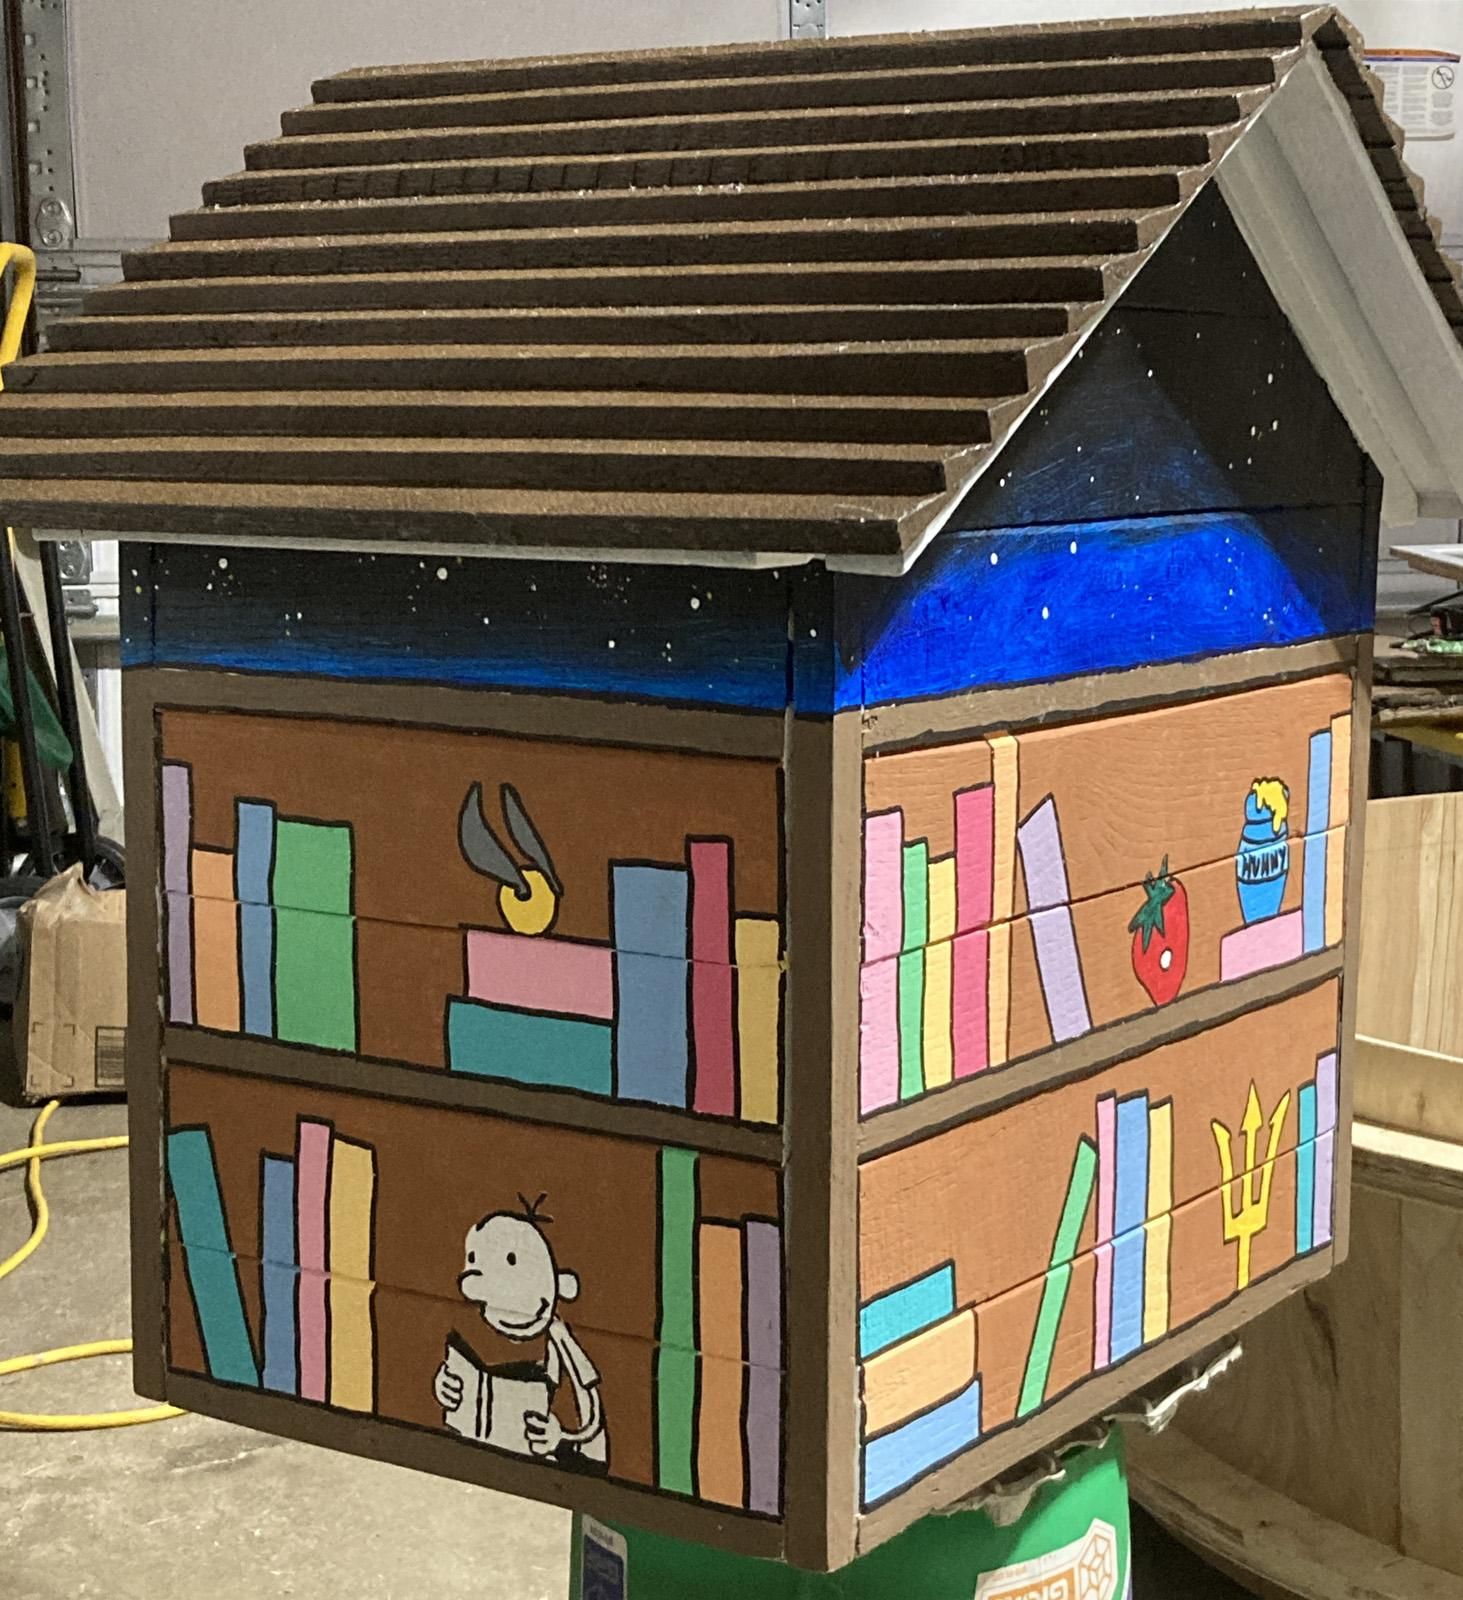
My daughter offered to paint the exterior, so I let her do her own thing. She took some ideas from the old, existing library we are replacing, as well as adding her own flair. She drew out books and then painted them. She utilized a projector to put some images on the sides that she then traced with pencil and painted in. We had a couple cat scans completed to get the final approval. She then painted in the background and outlined everything with a black acrylic paint pen.
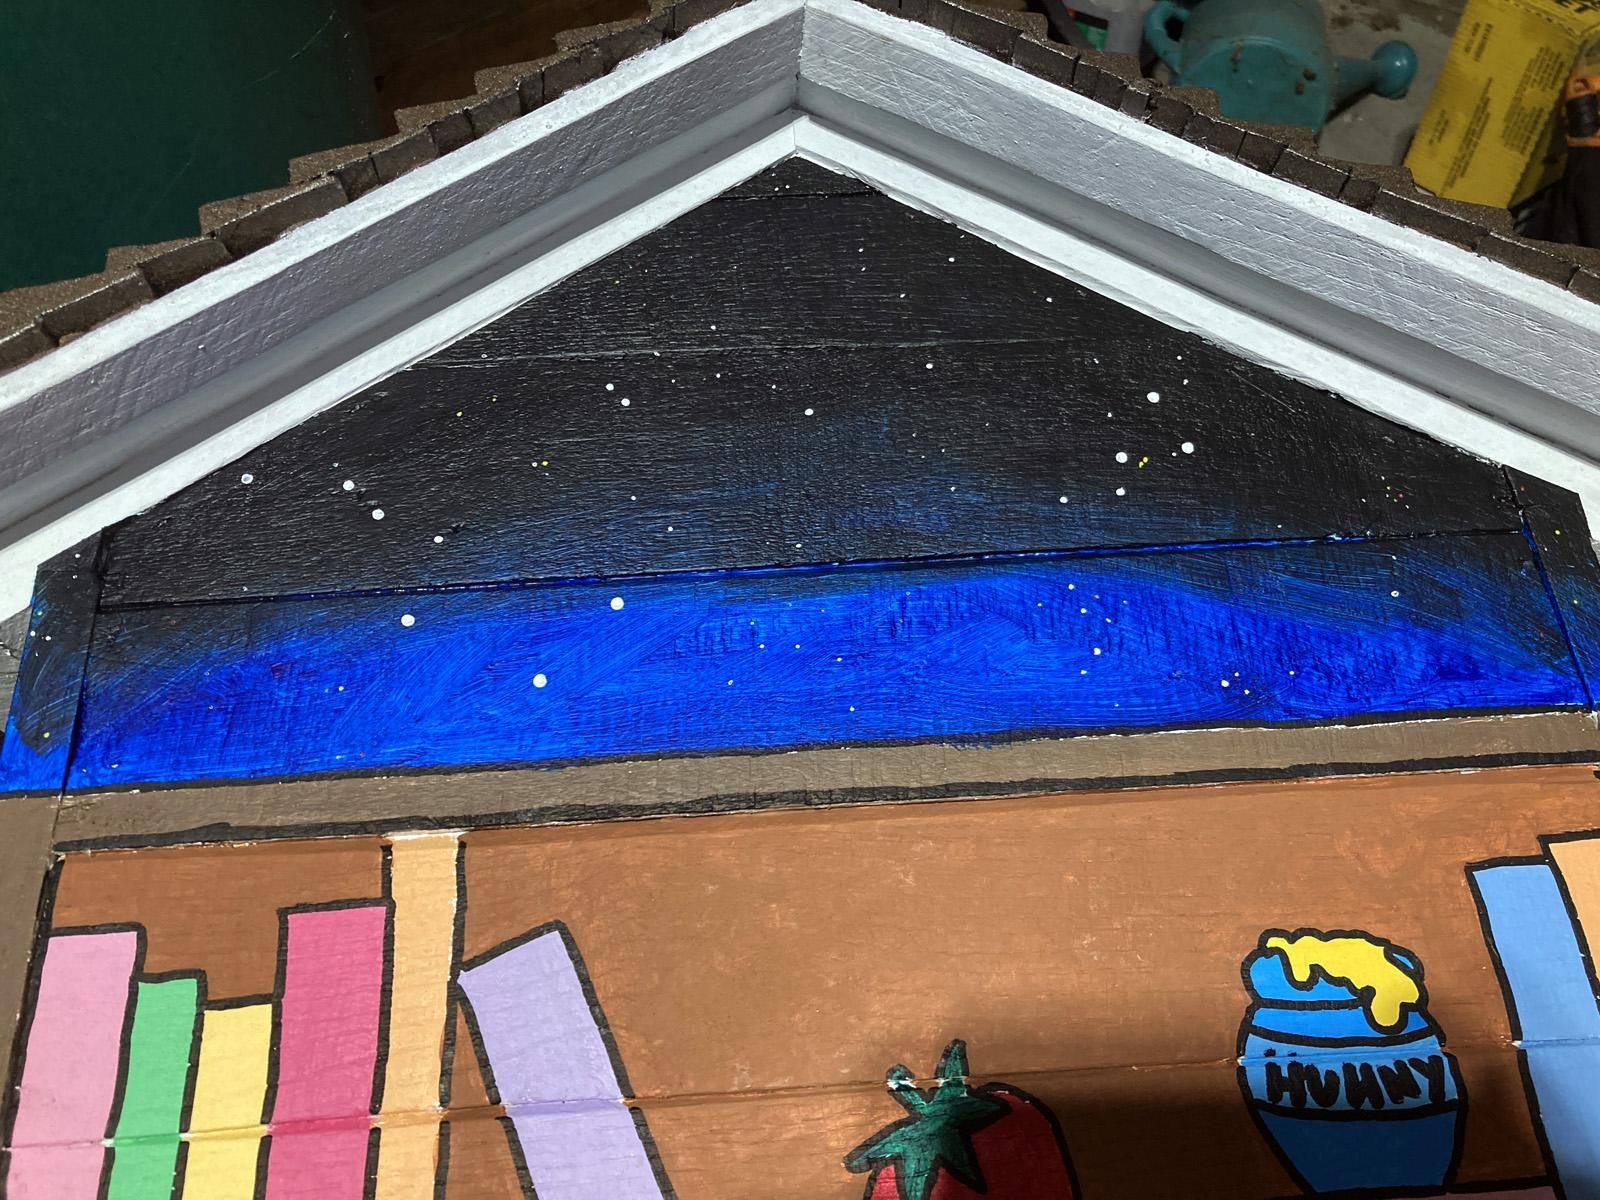
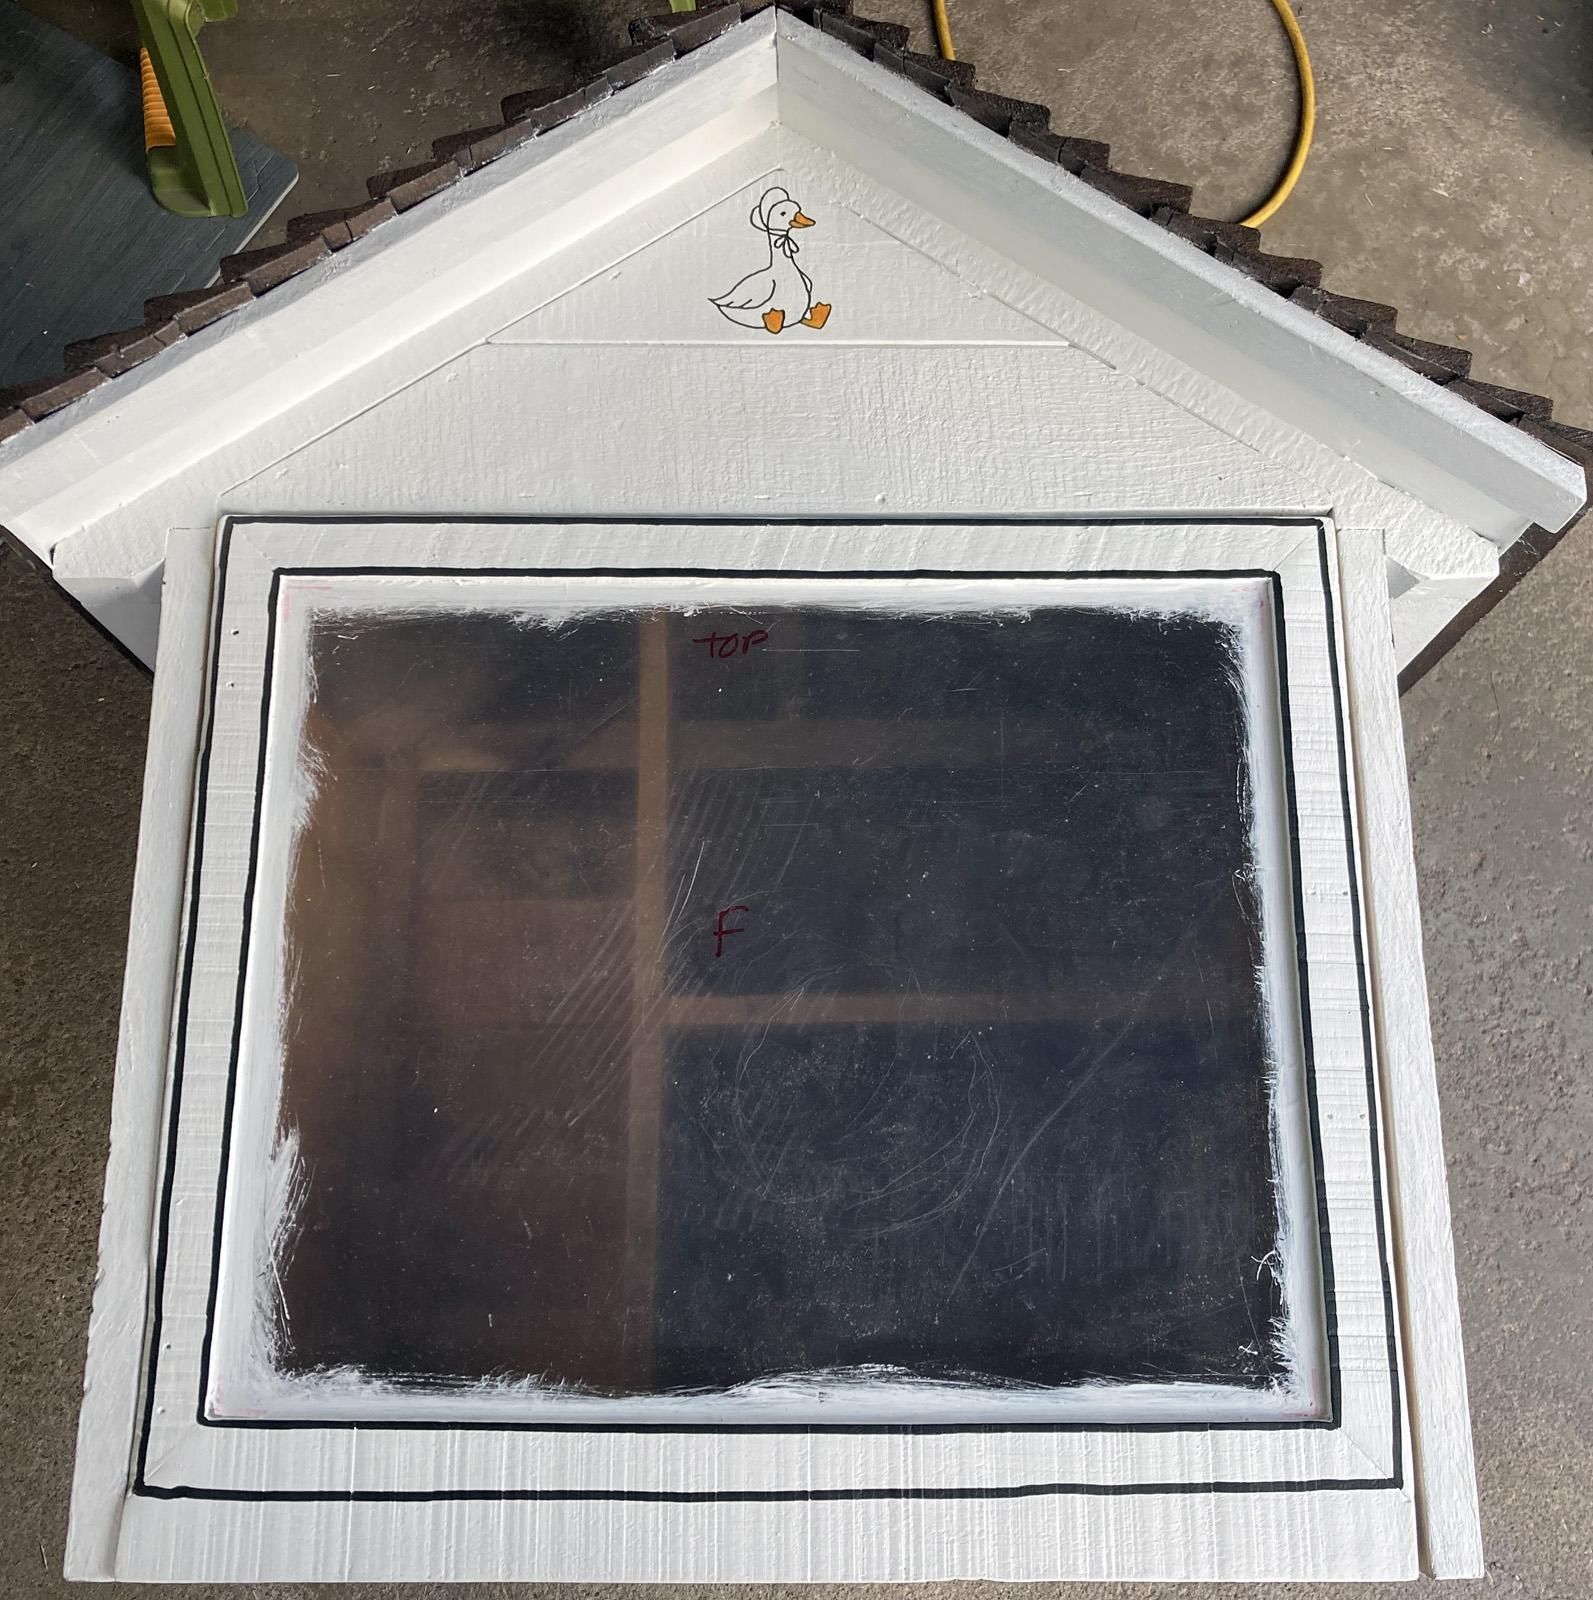
I finished up the exterior painting with a suggestion from my wife; a starry night. The side stars are completely random, but on the back I tried to put in a few constellations (Ursa Major, Ursa Minor, and Cassiopeia). The front door was left white, as there is minimal surfaces there. I added a double black line for highlights. Our first grandchild is due any day now, and the parents have not shared the name, but they refer to her as "baby goose", so I added that to the front (I pulled an image from Google of a goose). Two coats of clear matte finish were added over the entire exterior for protection.
The protective film is still on the window and needs to be removed. I left if on there during painting to minimize scratching and paint smudges. The film was removed before final installation.
Installation
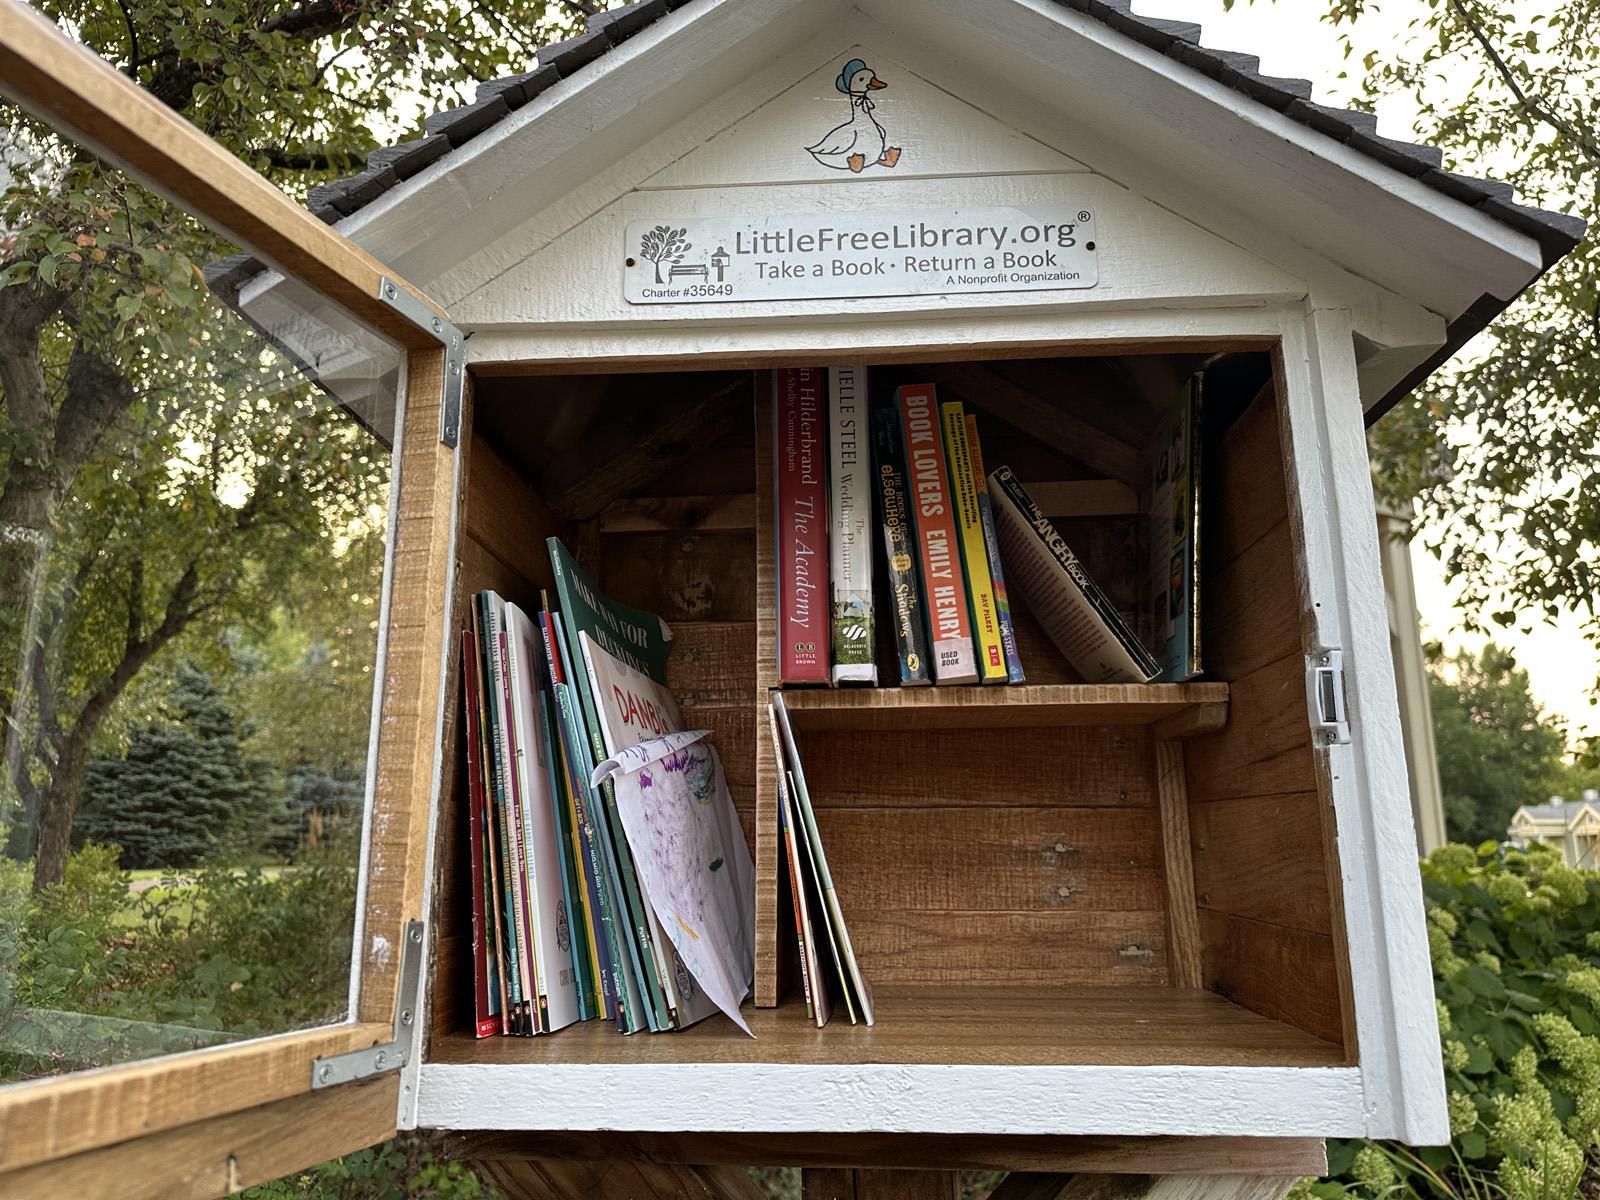
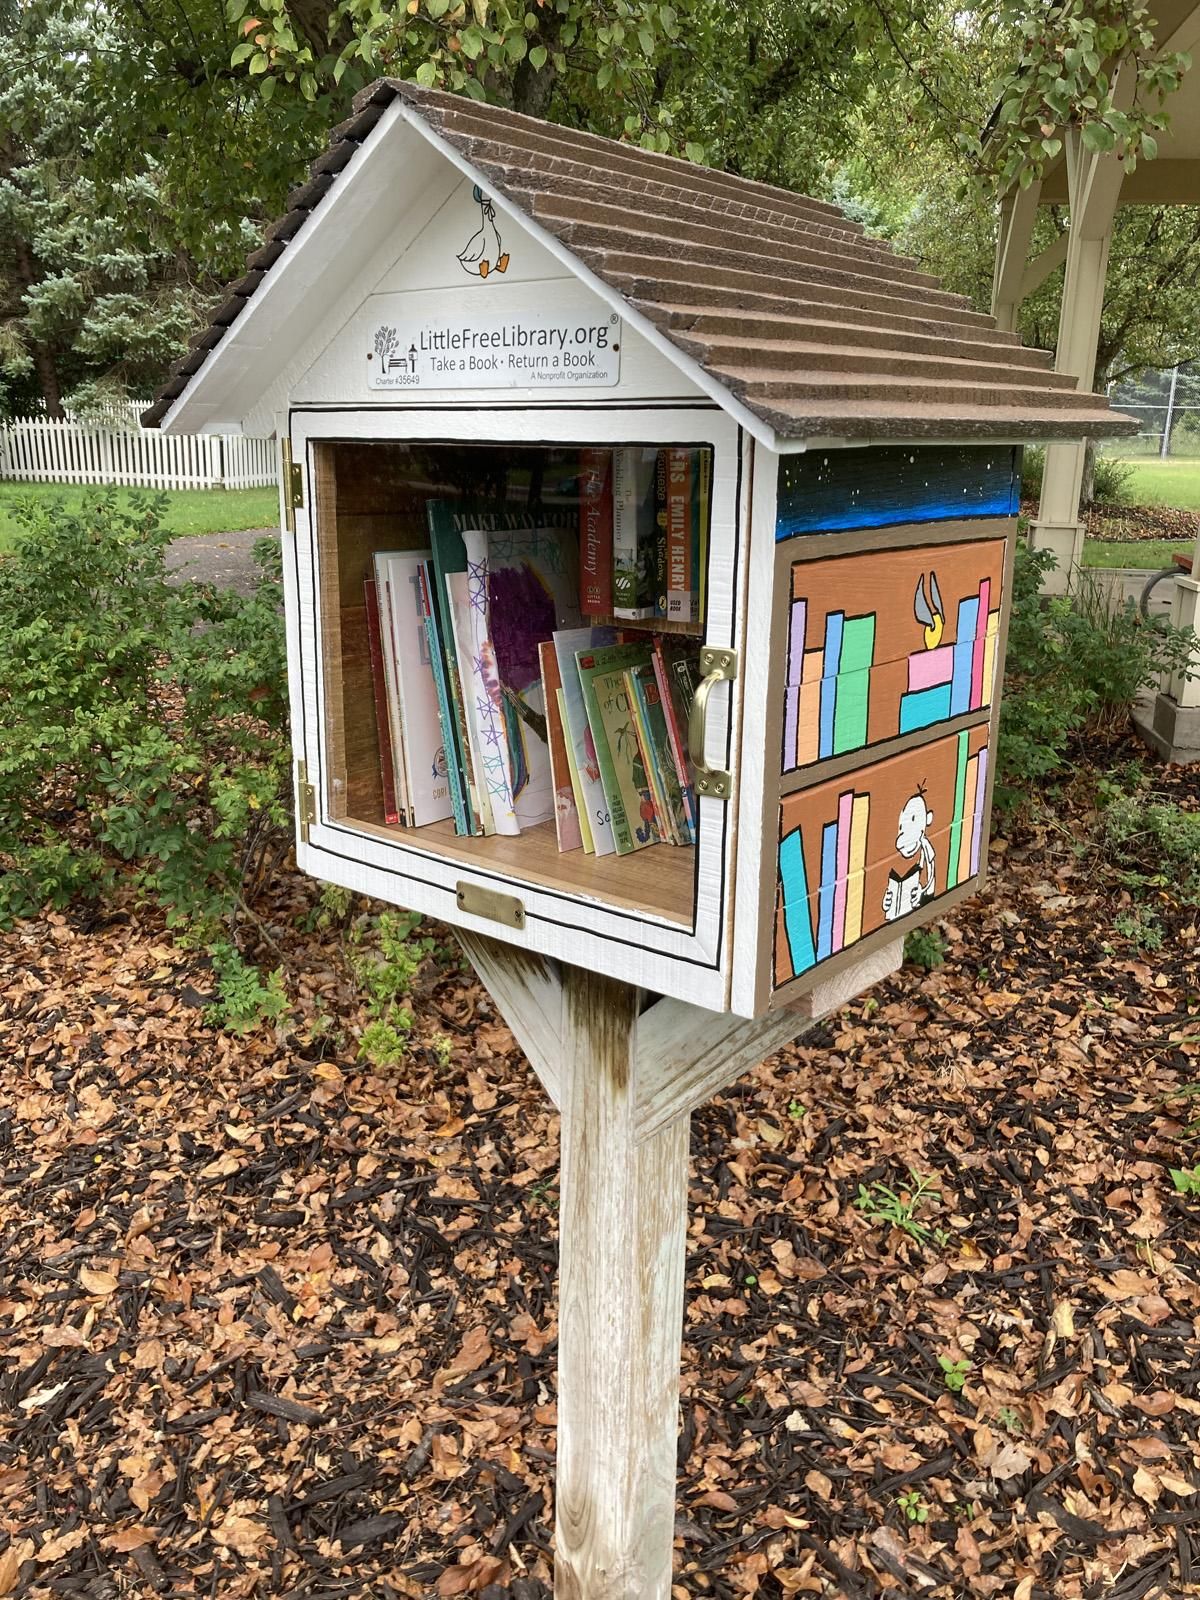
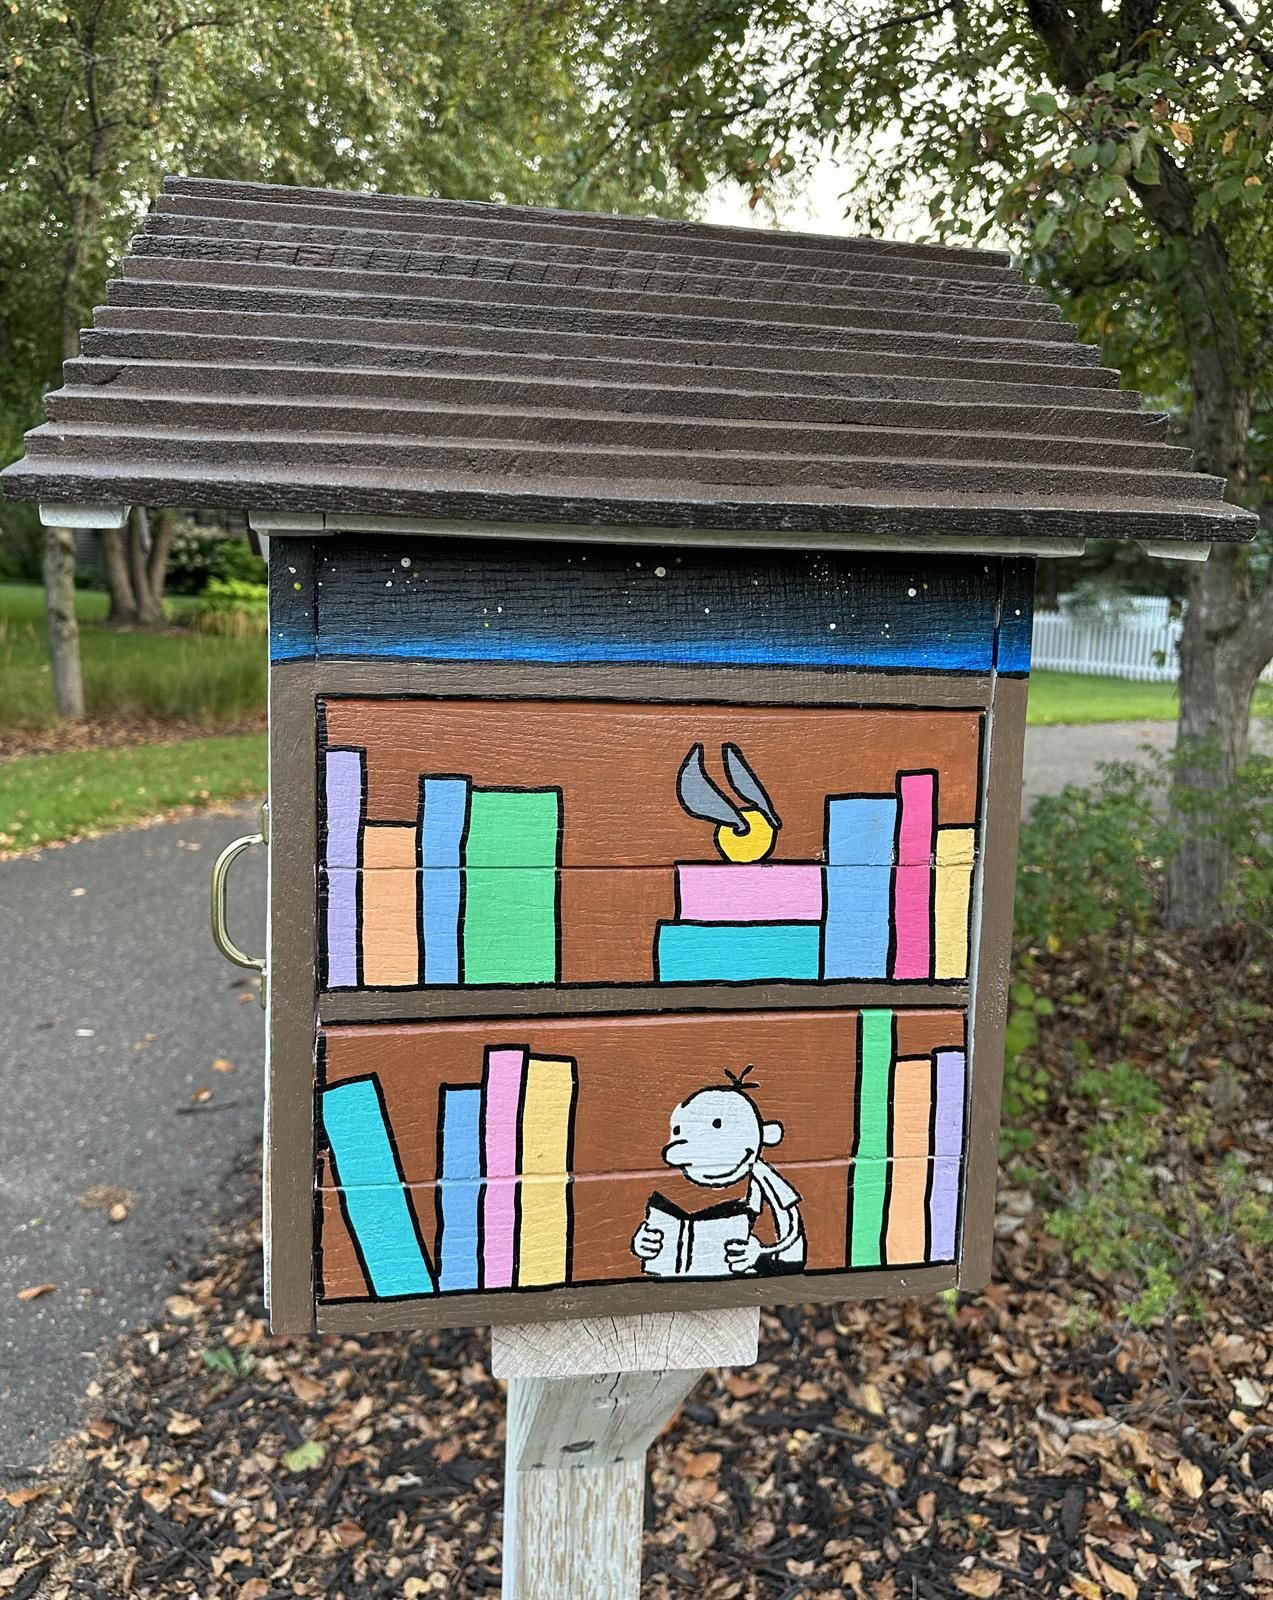
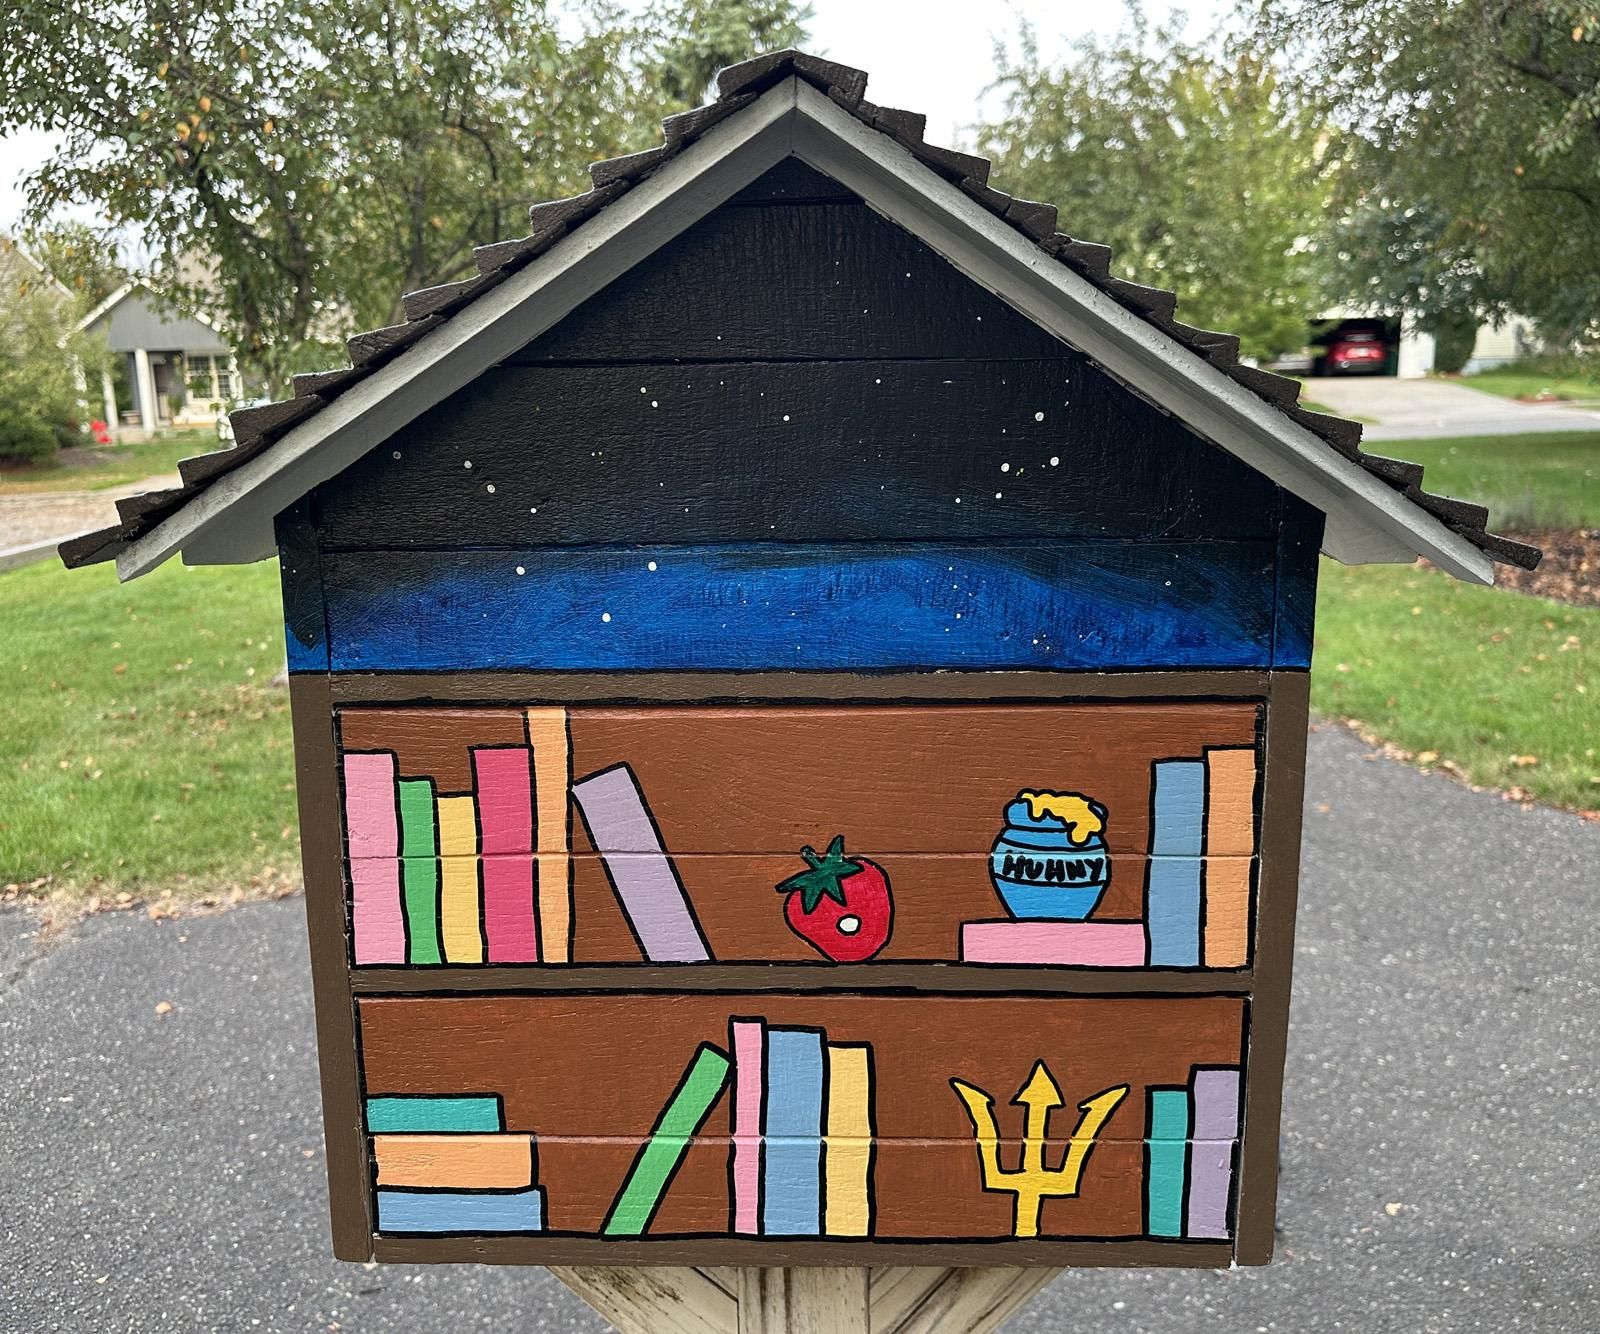
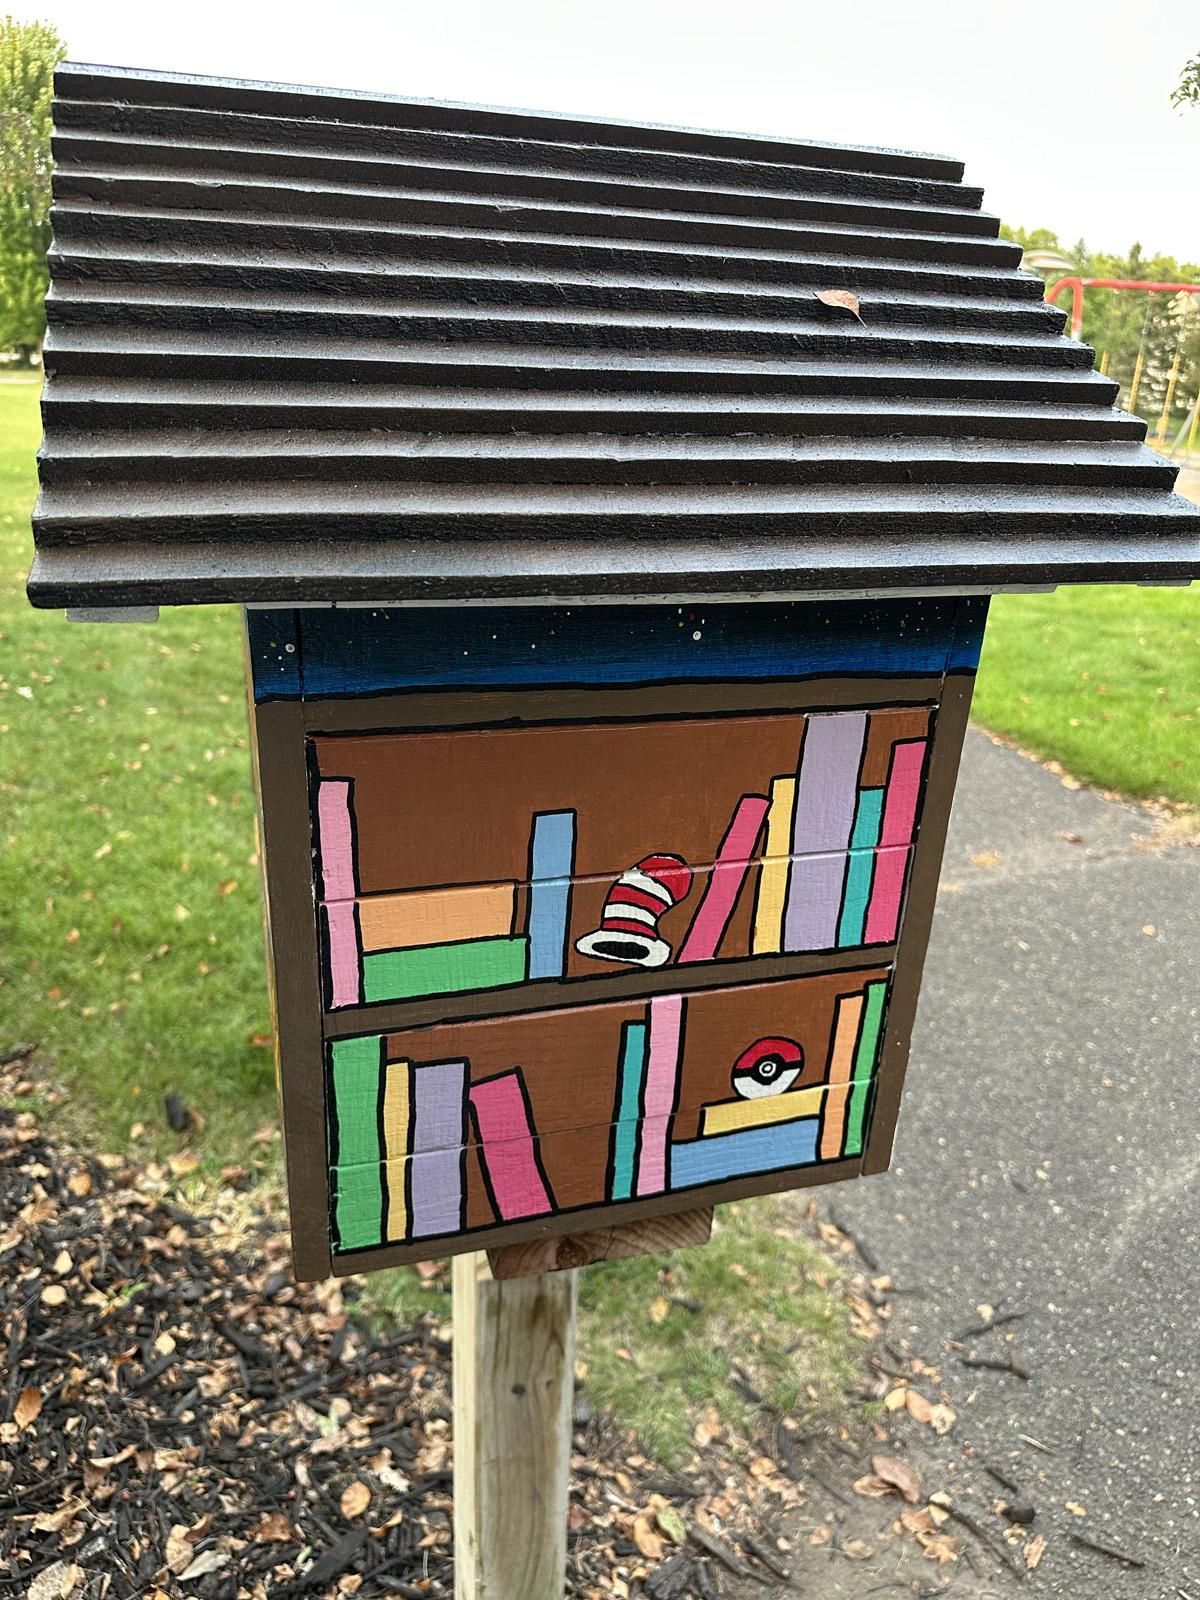
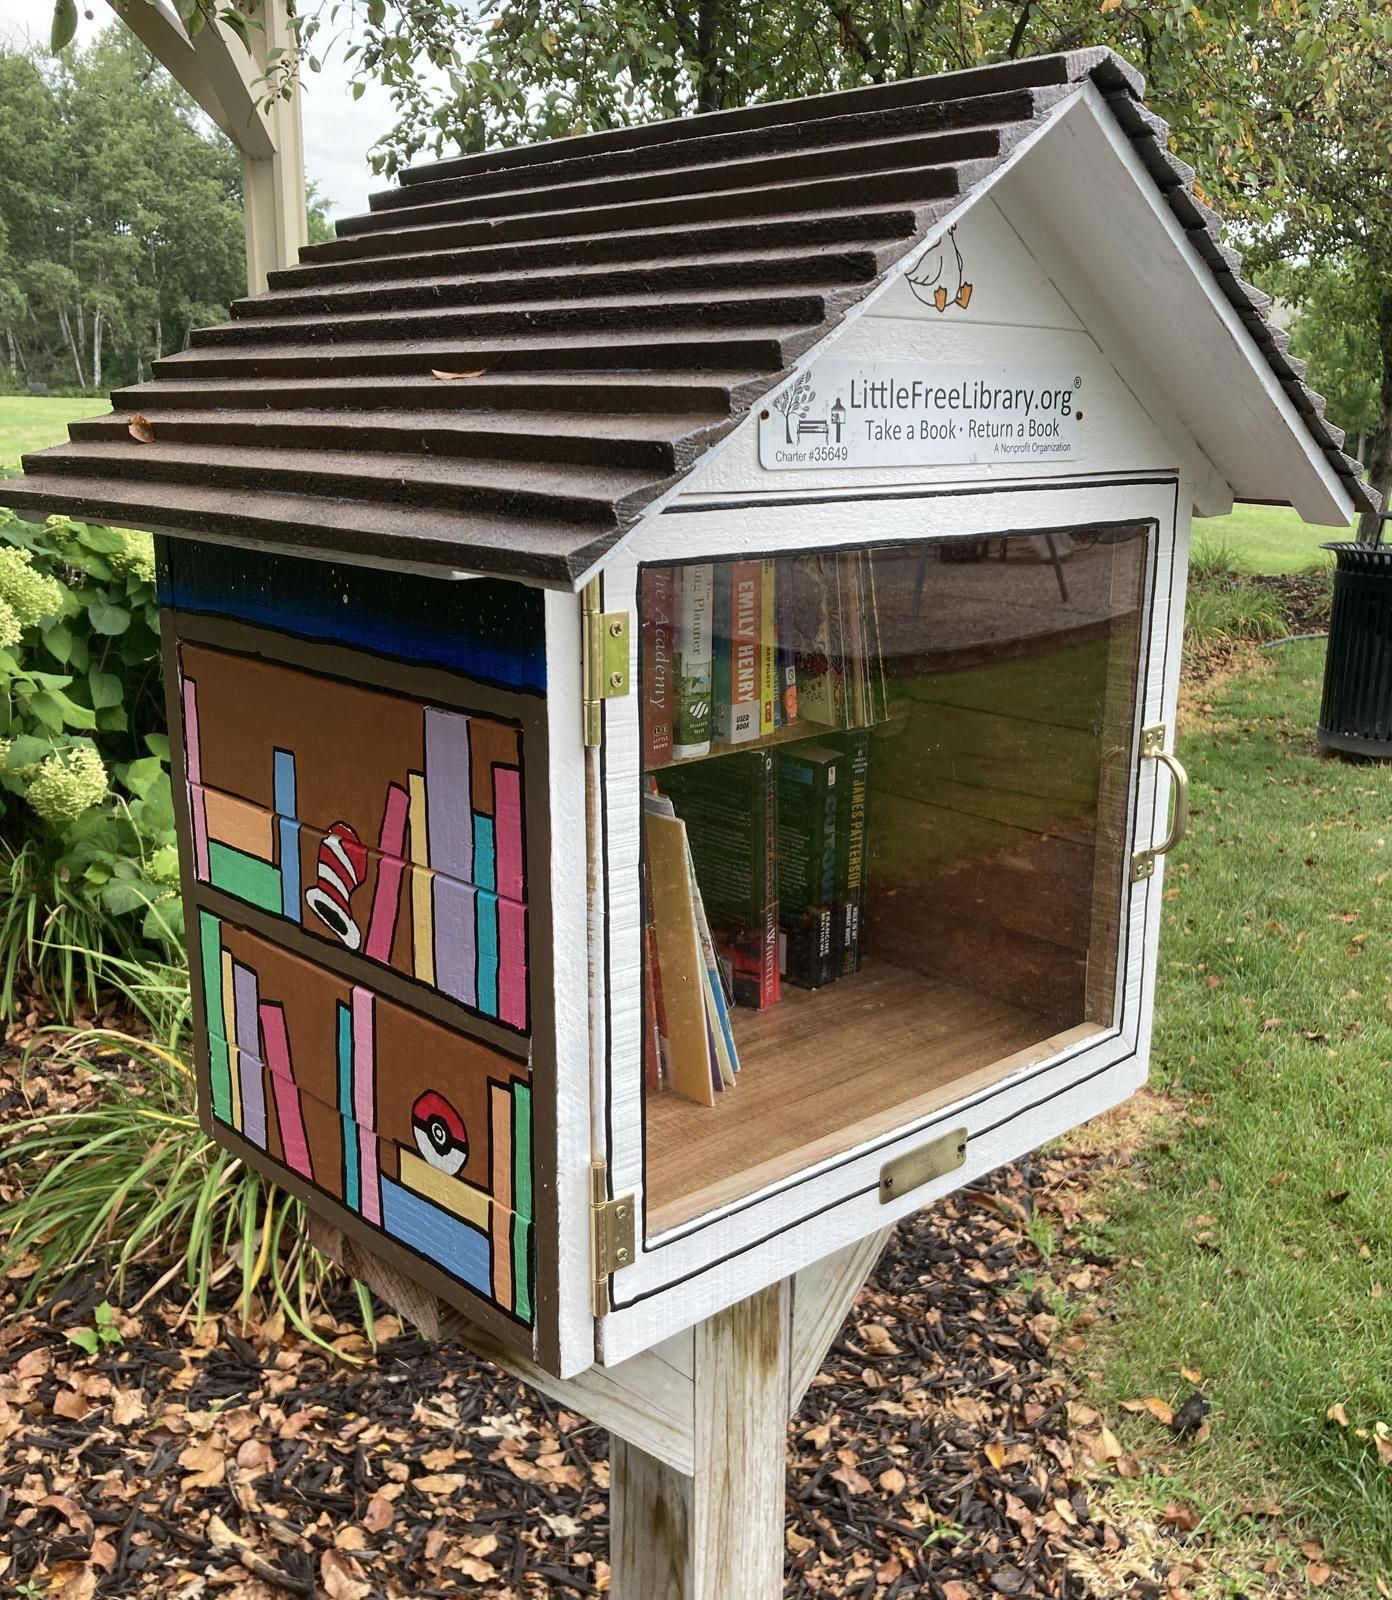
My daughter and I installed this library on August 8th, 2026. We removed the old library and transferred the library plaque to the this new one. I am patiently awaiting feedback from the local community on it's reception. Let me know what you think!