Arduino 3D Printed Can Robot (one More Object Avoiding Robot)
by Ardumotive_com in Circuits > Arduino
18985 Views, 192 Favorites, 0 Comments
Arduino 3D Printed Can Robot (one More Object Avoiding Robot)
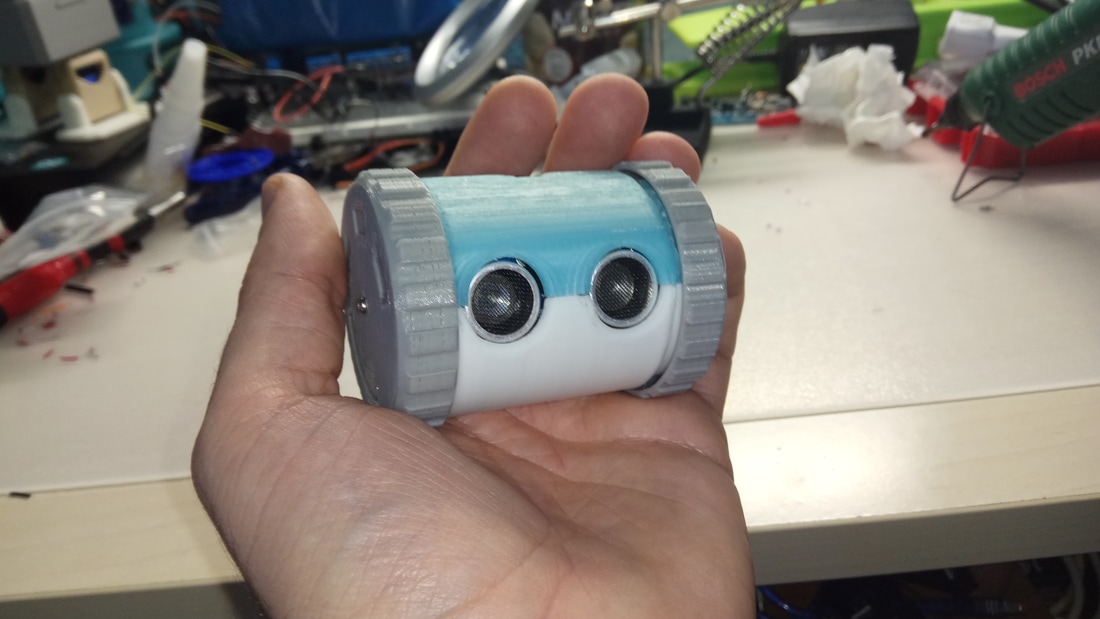
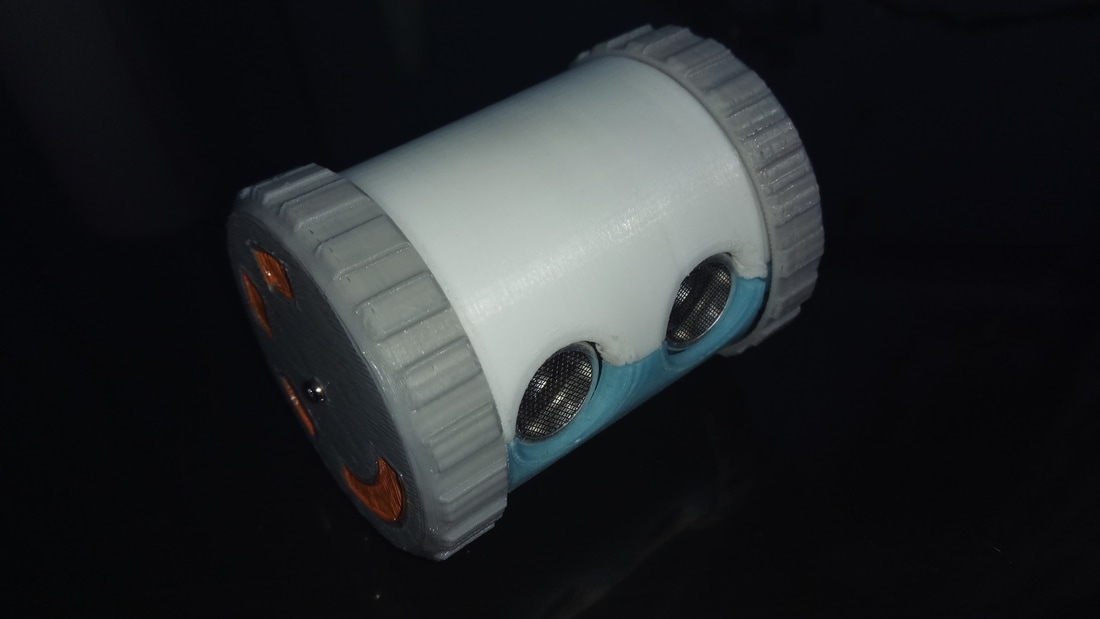
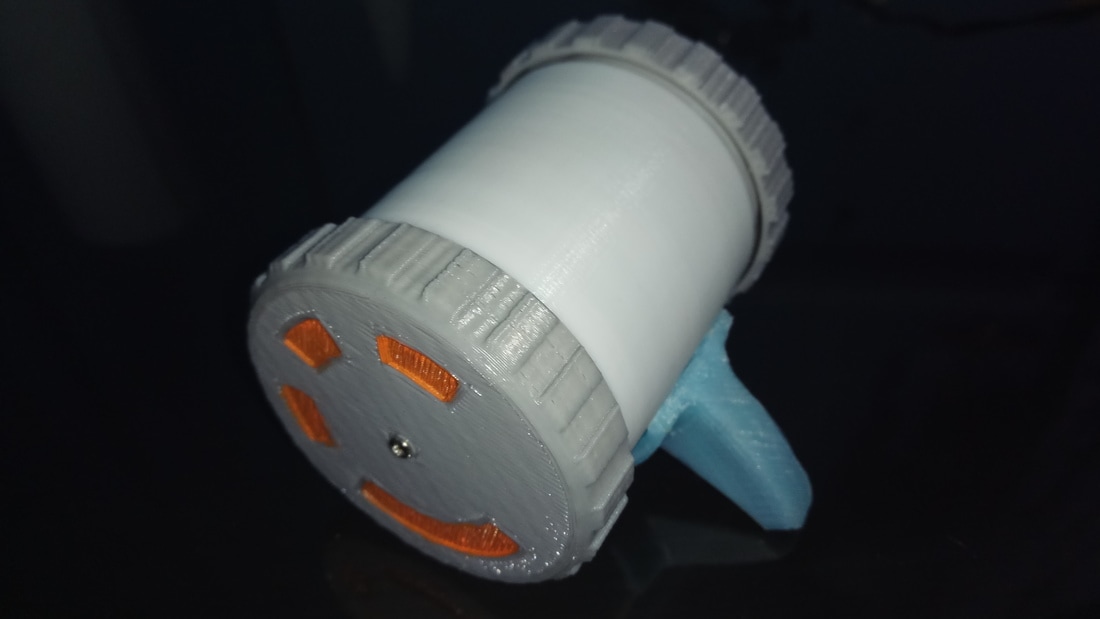
In this "how to" guide I will show you how to make your own 3D printed Can Robot with the Arduino UNO micro-controller.
This is a remake of the Attiny Canbot that I found at Thingiverse.com by Wingman94 (link here) .
I made my own circuit with ATmega328 IC and I add a buzzer to make a beep tone every time that robot finds an object in front of it. I didn't include the IR remote control function.
This little robot is powered by one 3.7V 500mAh rechargeable battery and can be charged from the builtin charging circuit .
Watch my little robot in action:
Project page - future updates can be found here.
Let's get started!
What You Will Need - Hardware


For this project you will need:
- Atmega328 (with Arduino UNO bootloader)
- 28 dip socket
- 16 MHz crystal oscillator
- 2x22 pF capacitors
- 10 kOhm resistor
- 2 continuous rotation servo FS90R
- HC-SR04 ultrasonic sensor
- Buzzer
- 3.7V 500mAh rechargeable battery
- Charging circuit
- On/Off micro switch
- PCB prototype board
*You will also need a TTL to USB module or an Arduino UNO board for the programming procedure.
Tools: You will need a soldering iron and hot melt glue gun and of course a 3D printer.
The Circuit


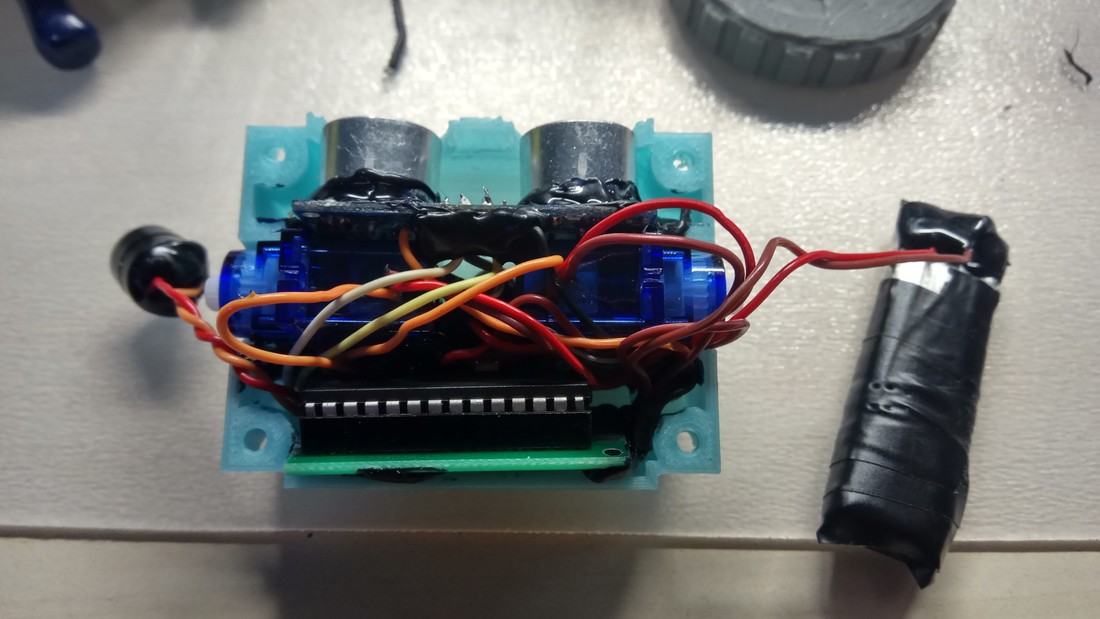
Take your time and make your circuit as small as you can so it can fit inside the can robot.
The Code
Connect your circuit with TTL to USB module (or Arduino uno board - note - remove ATmega328) with 5 cables to the programming header. The pins RX and TX must be cross-connected. You can change the speed of your small robot by changing the "speedS=10" variable - line 14.
Download the code from this step and open it with Arduino IDE. Inside you will also find all necessary libraries.
Downloads
3D Printing Files


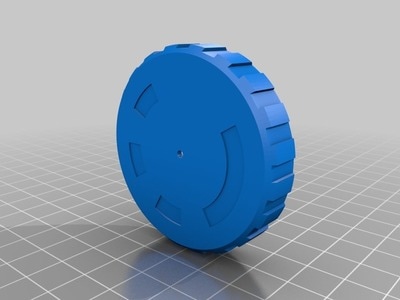
Here you will find the 3D files, download them from the official project page.
I would advice you to use support at your 3D printing procedure.
Finally...
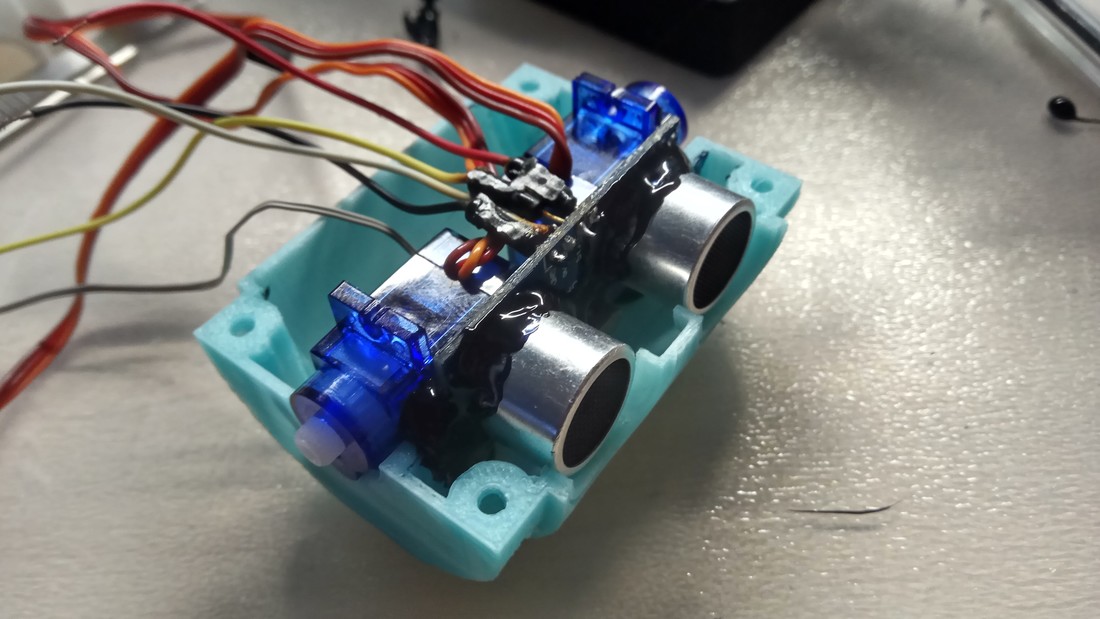

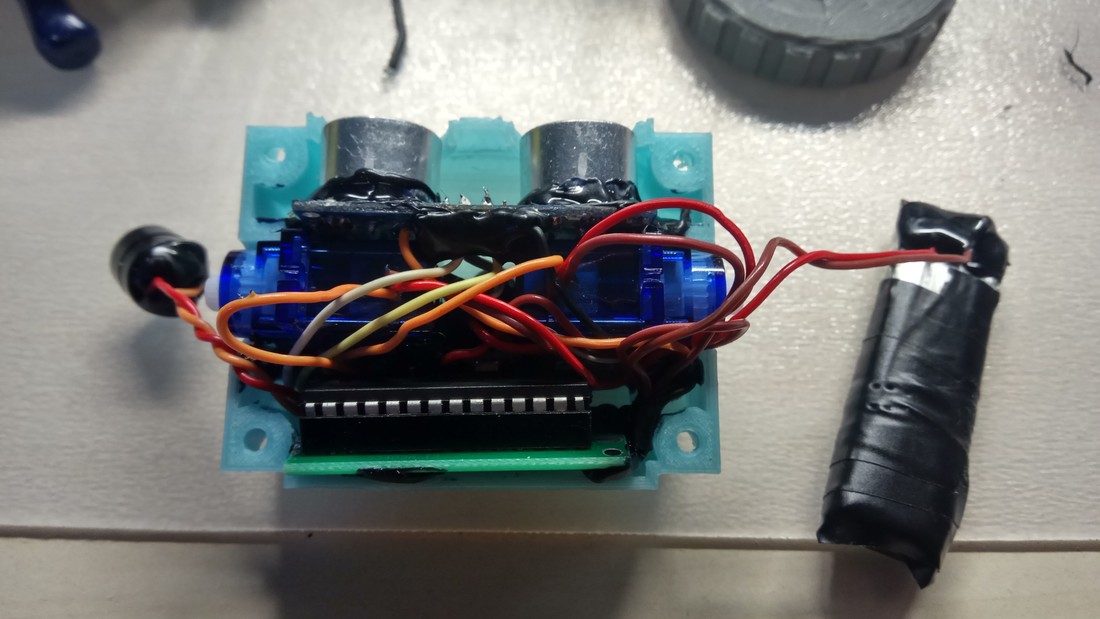
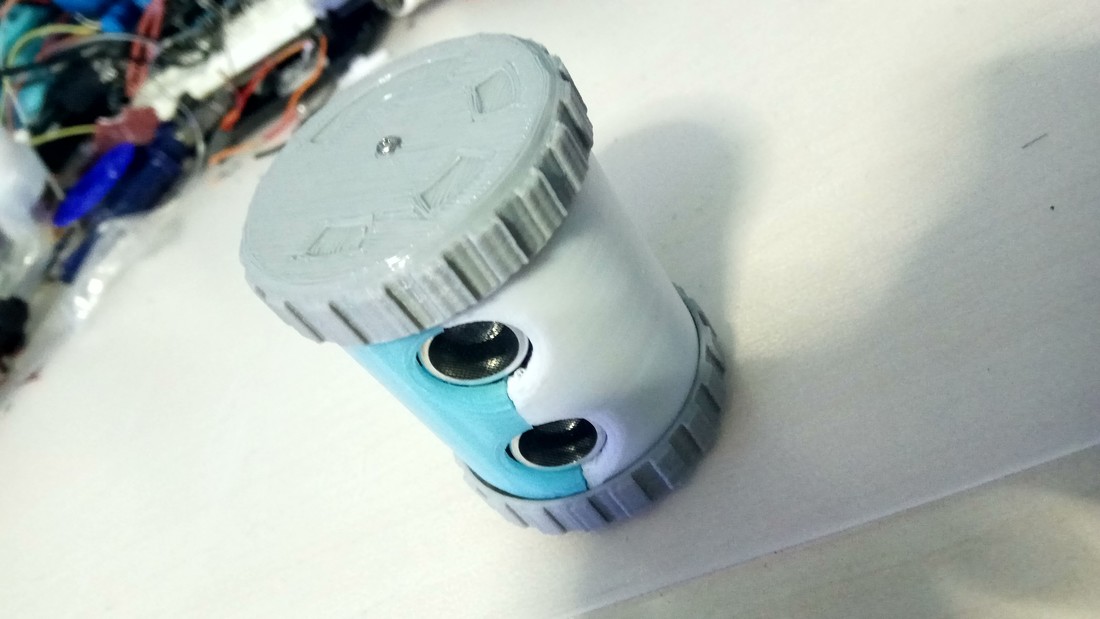
It's time to use your hot melt glue gun, watch the above images for reference.
That's it!
I hope you liked this, let me know in the comments!
I would also like to see some photos with your new 3d printed robot!