Arduino Nano Fencing Scoring Box - Foil
by jc0025 in Circuits > Arduino
927 Views, 0 Favorites, 0 Comments
Arduino Nano Fencing Scoring Box - Foil
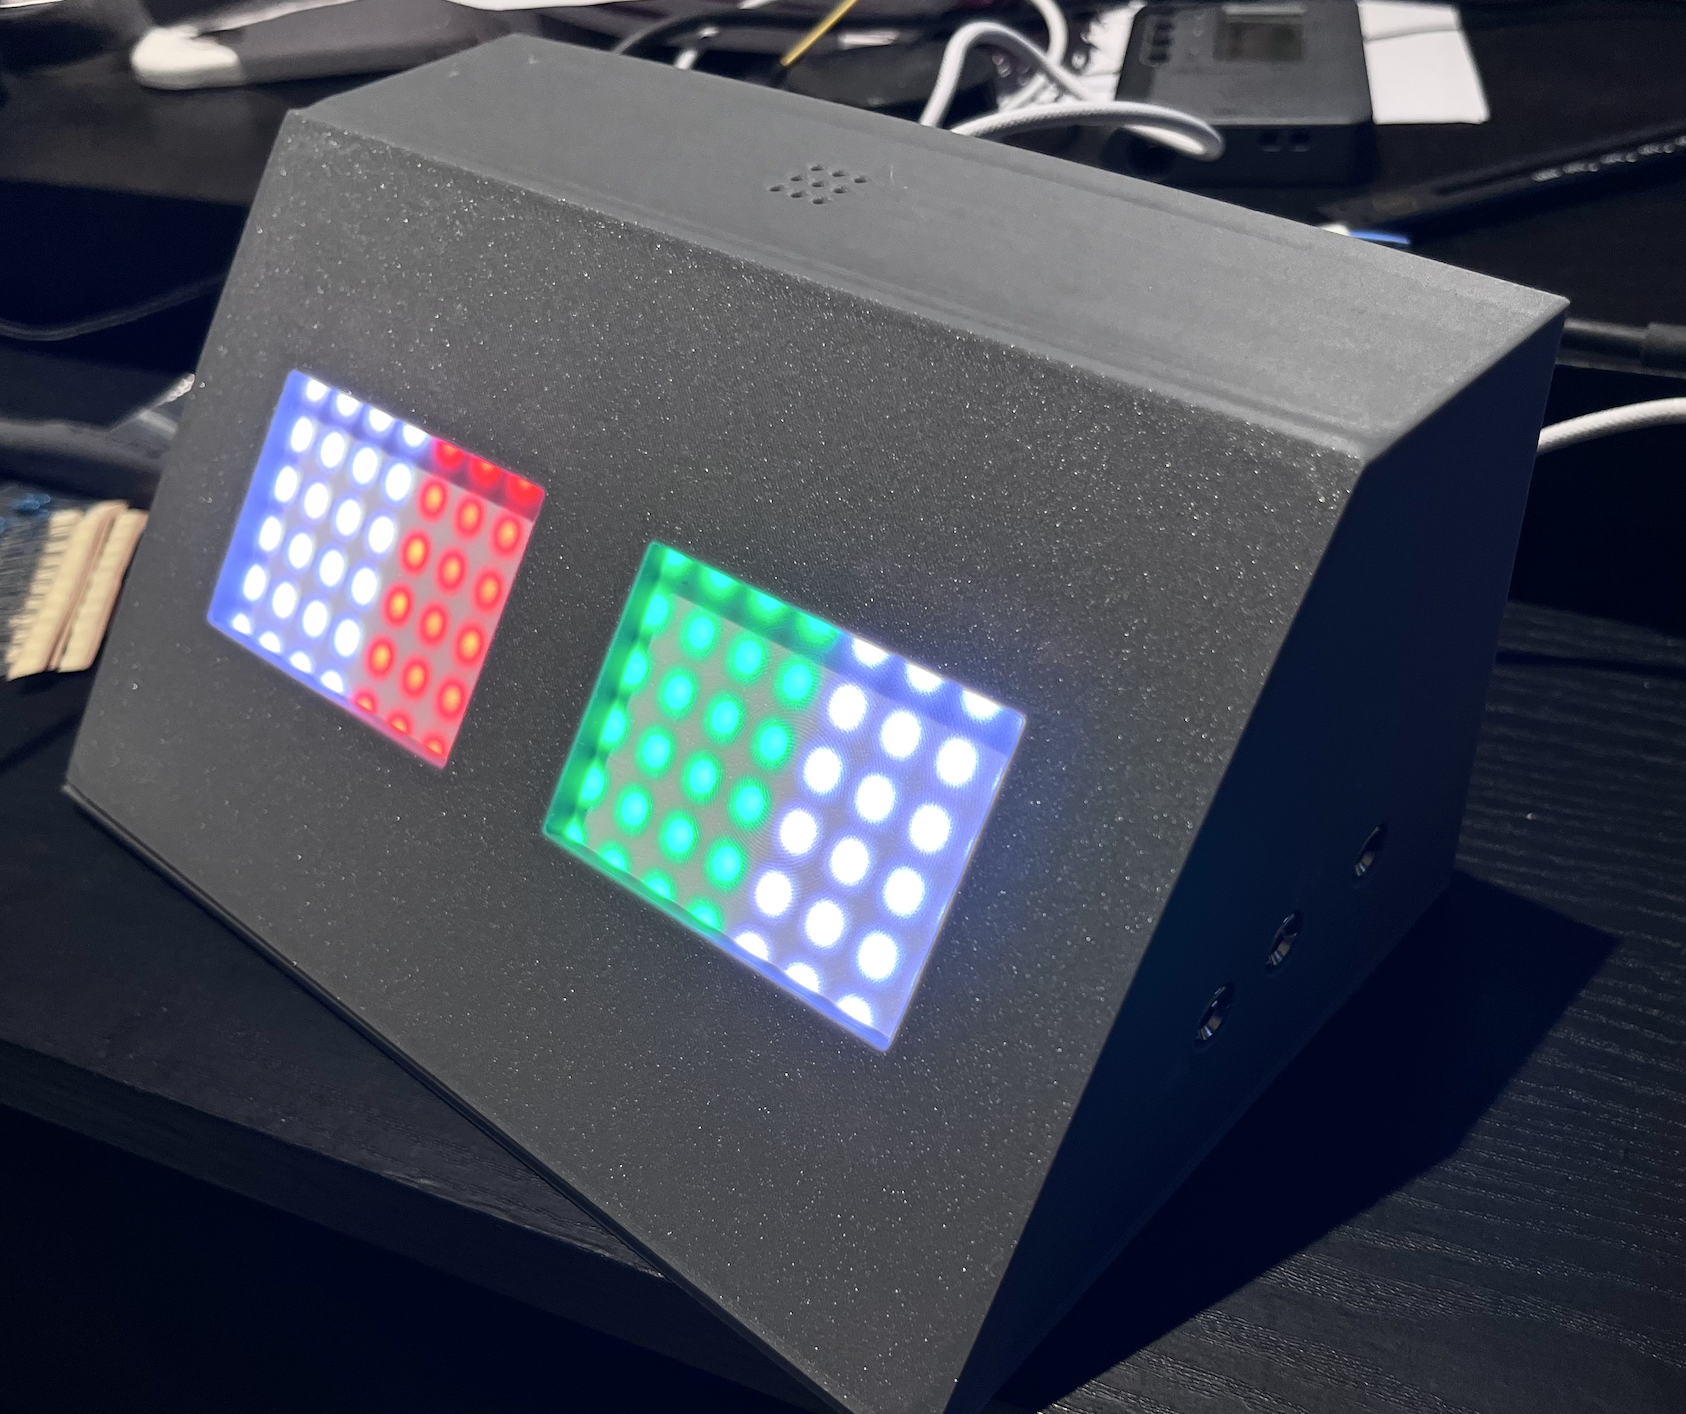
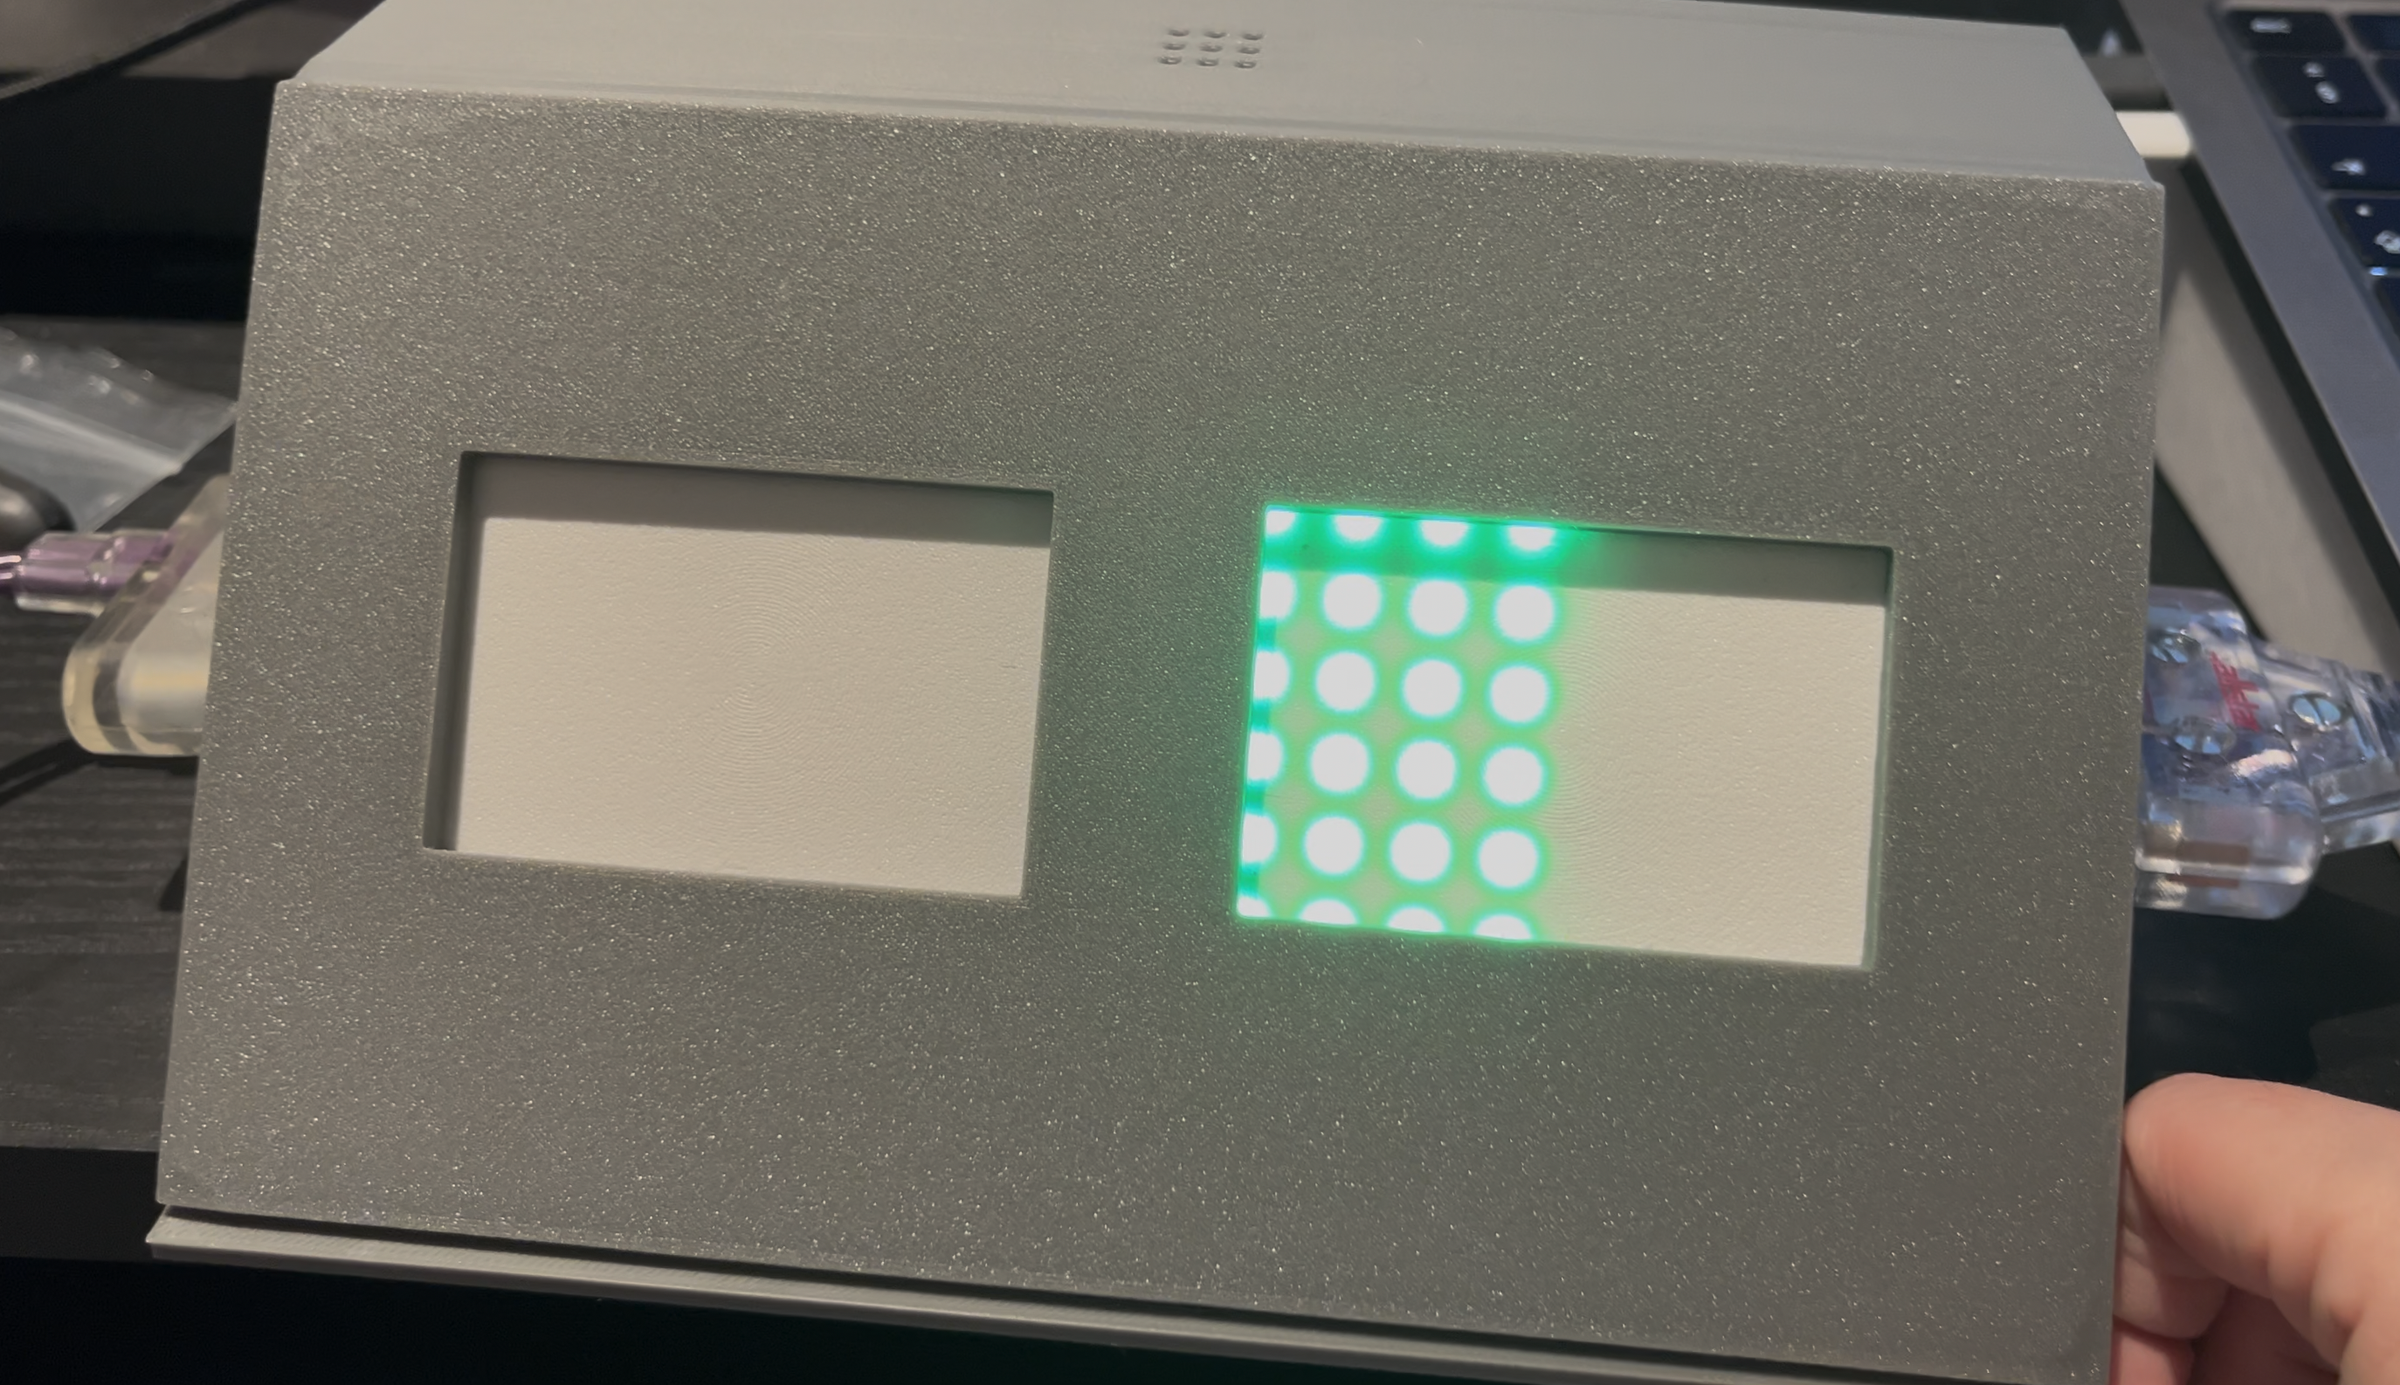
A 3D printed box that stands in for a broken scoring machine at club training!
Supplies
Electronics
- 1x Arduino Nano ATmega328P
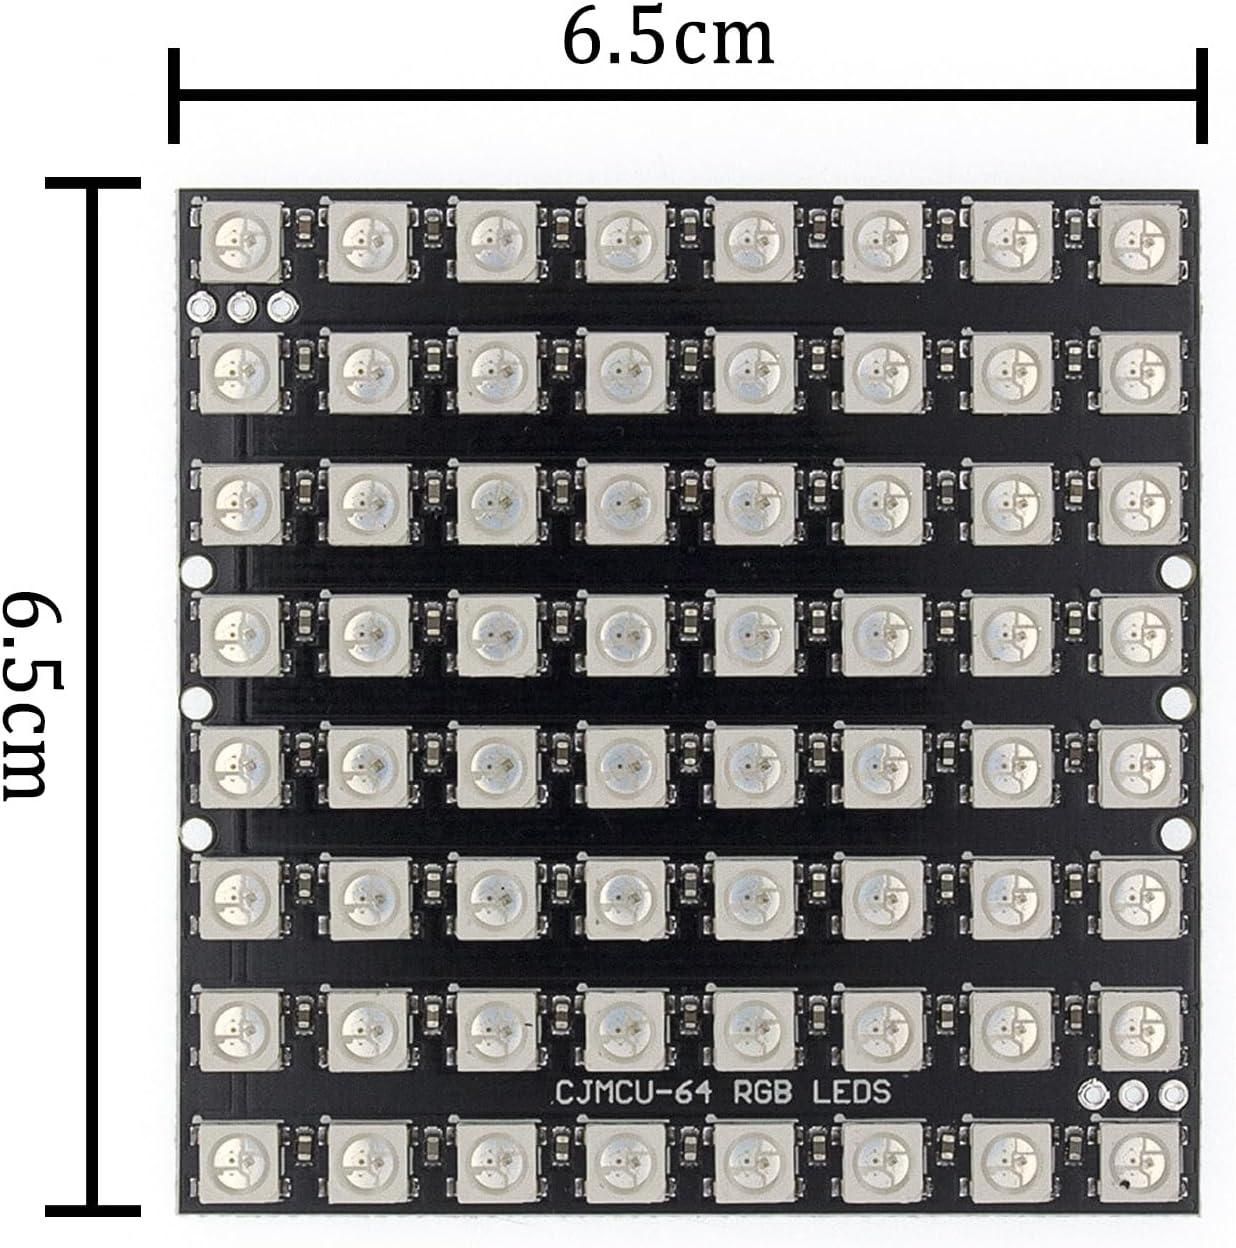
- 2x 8x8 WS2812B LED matrix panels
- 6x 1 kOhm resistors
- 1x 330 Ohm resistor
- 1x 1000 uF electrolytic capacitor, 10V or higher
- 1x active 5V buzzer
- 1x 70 x 50 mm perfboard
- 5V 2A USB charger
Fencing Parts
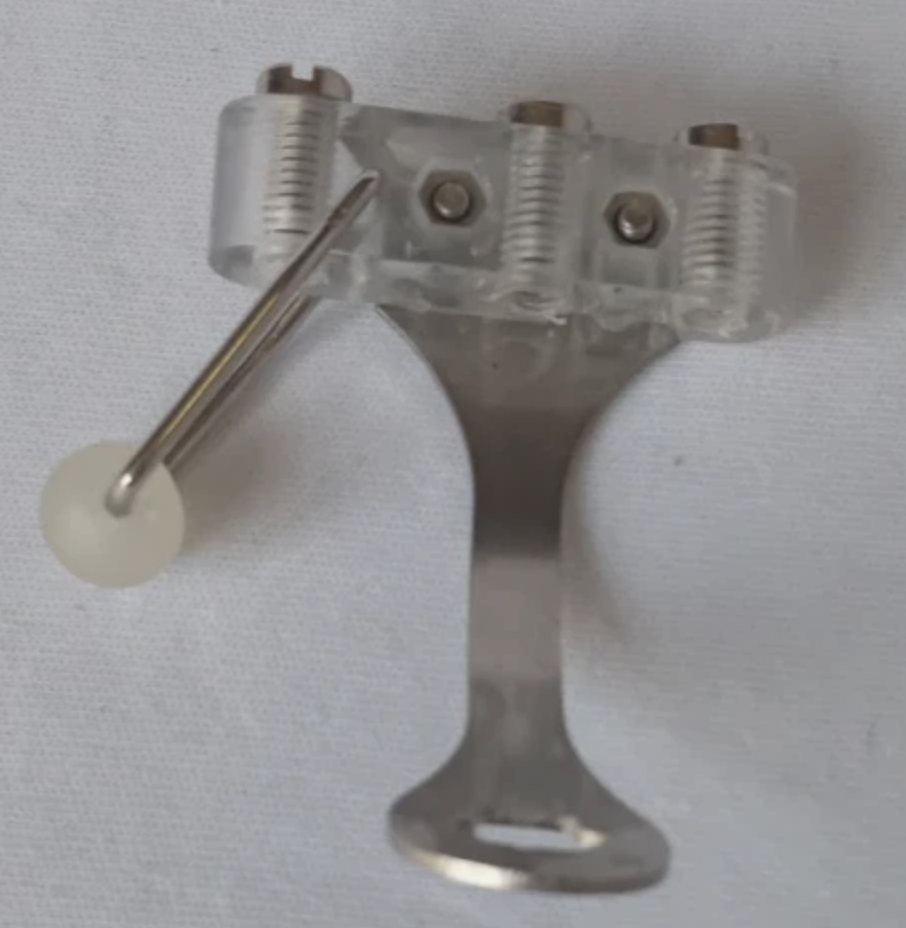
- 2x 3-pin fencing socket blocks (epee-style blocks)
Tools
- 3D printer
- Soldering iron
- Small screwdrivers
- Wire cutters and wire strippers
Fasteners
- M3 heat-set inserts
- M3 and M2 screws
3D Print Parts
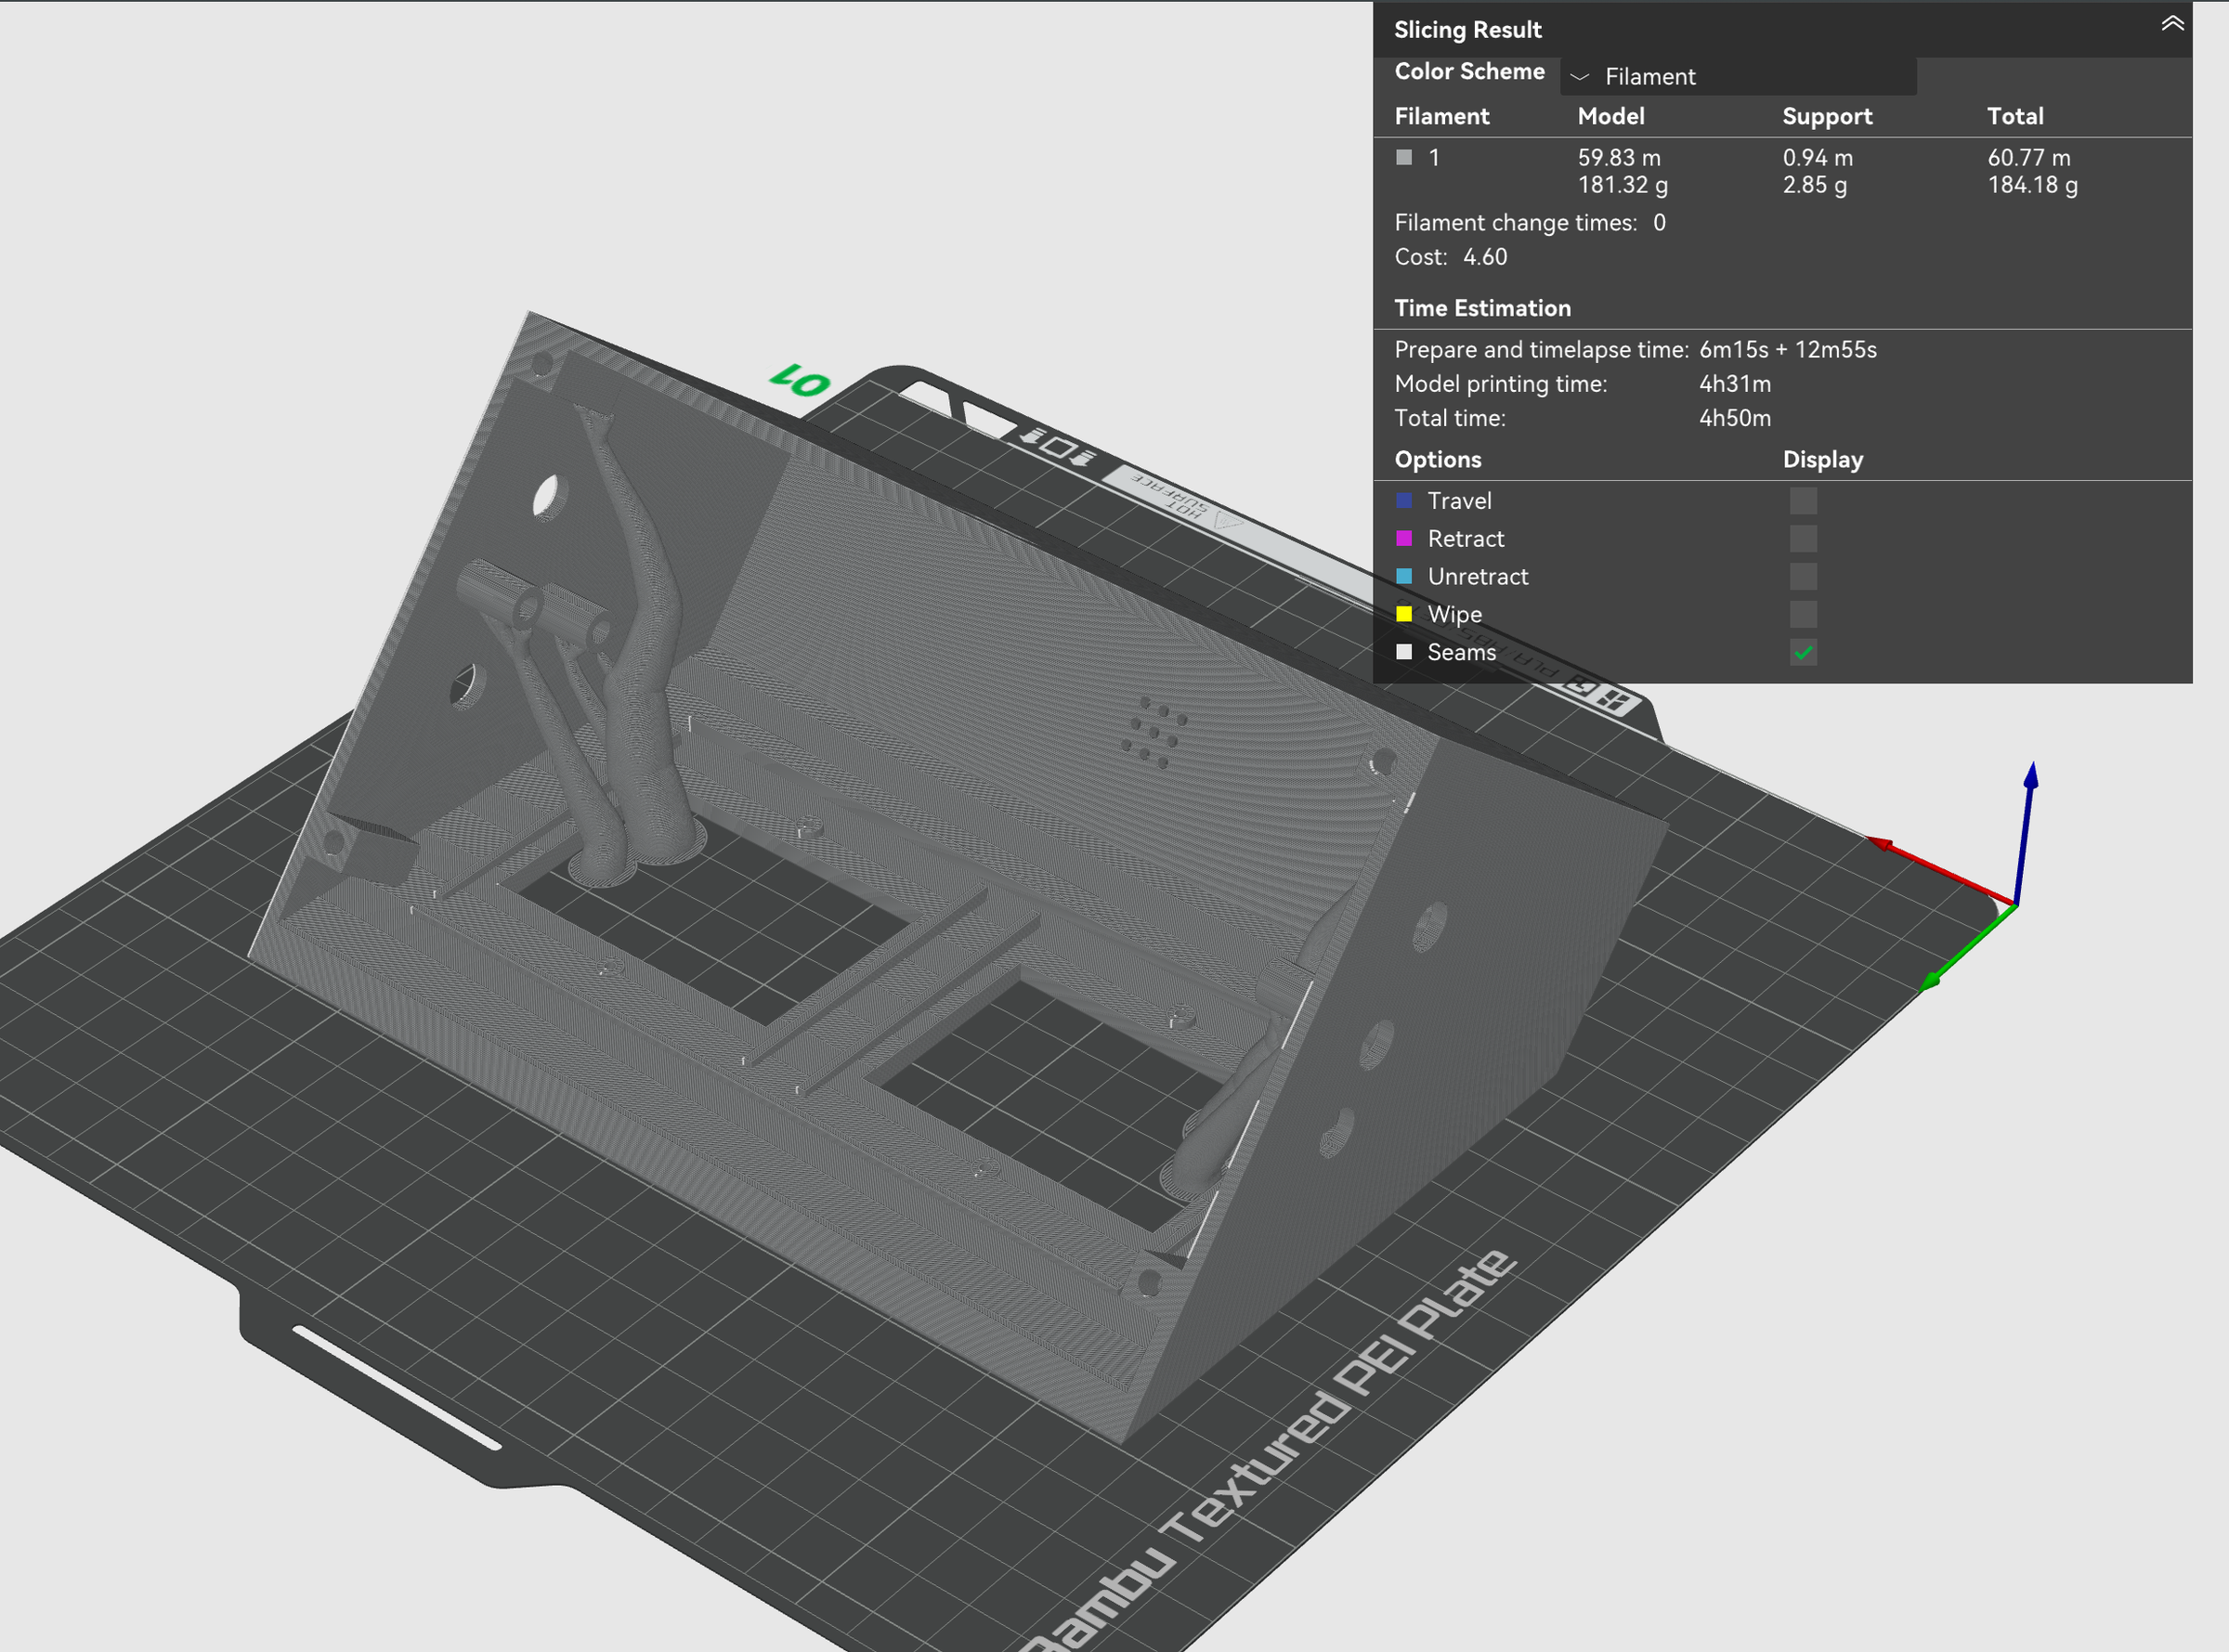
I have attached the STL files used for this build to this Instructable, so you can download them directly here. However, this project may continue to be updated on GitHub, including changes to the STL files, firmware, and documentation. For the latest version, please check the GitHub repository
STL files
- 1x wedge_body.stl
- 1x wedge_lid.stl
- 2x socket_bar.stl
- 2x diffuser sheets
Print settings:
- Material: PLA
- Layer height: 0.2 mm
- Wall loops: 3
- Infill: 15% gyroid
- Diffusers: white PLA, 100% infill
- wedge_body: sloped face down on the print bed (4 - 5 hrs)
- wedge_lid: flat on the bed, standoffs facing up
- socket_bar: flat back on the bed
- diffuser: flat on the bed
The socket openings are designed around the epee-style socket blocks used in this build. If you want to use separate banana sockets instead, you might want to adjust the hole diameters
Wiring and Mounting the Electronics
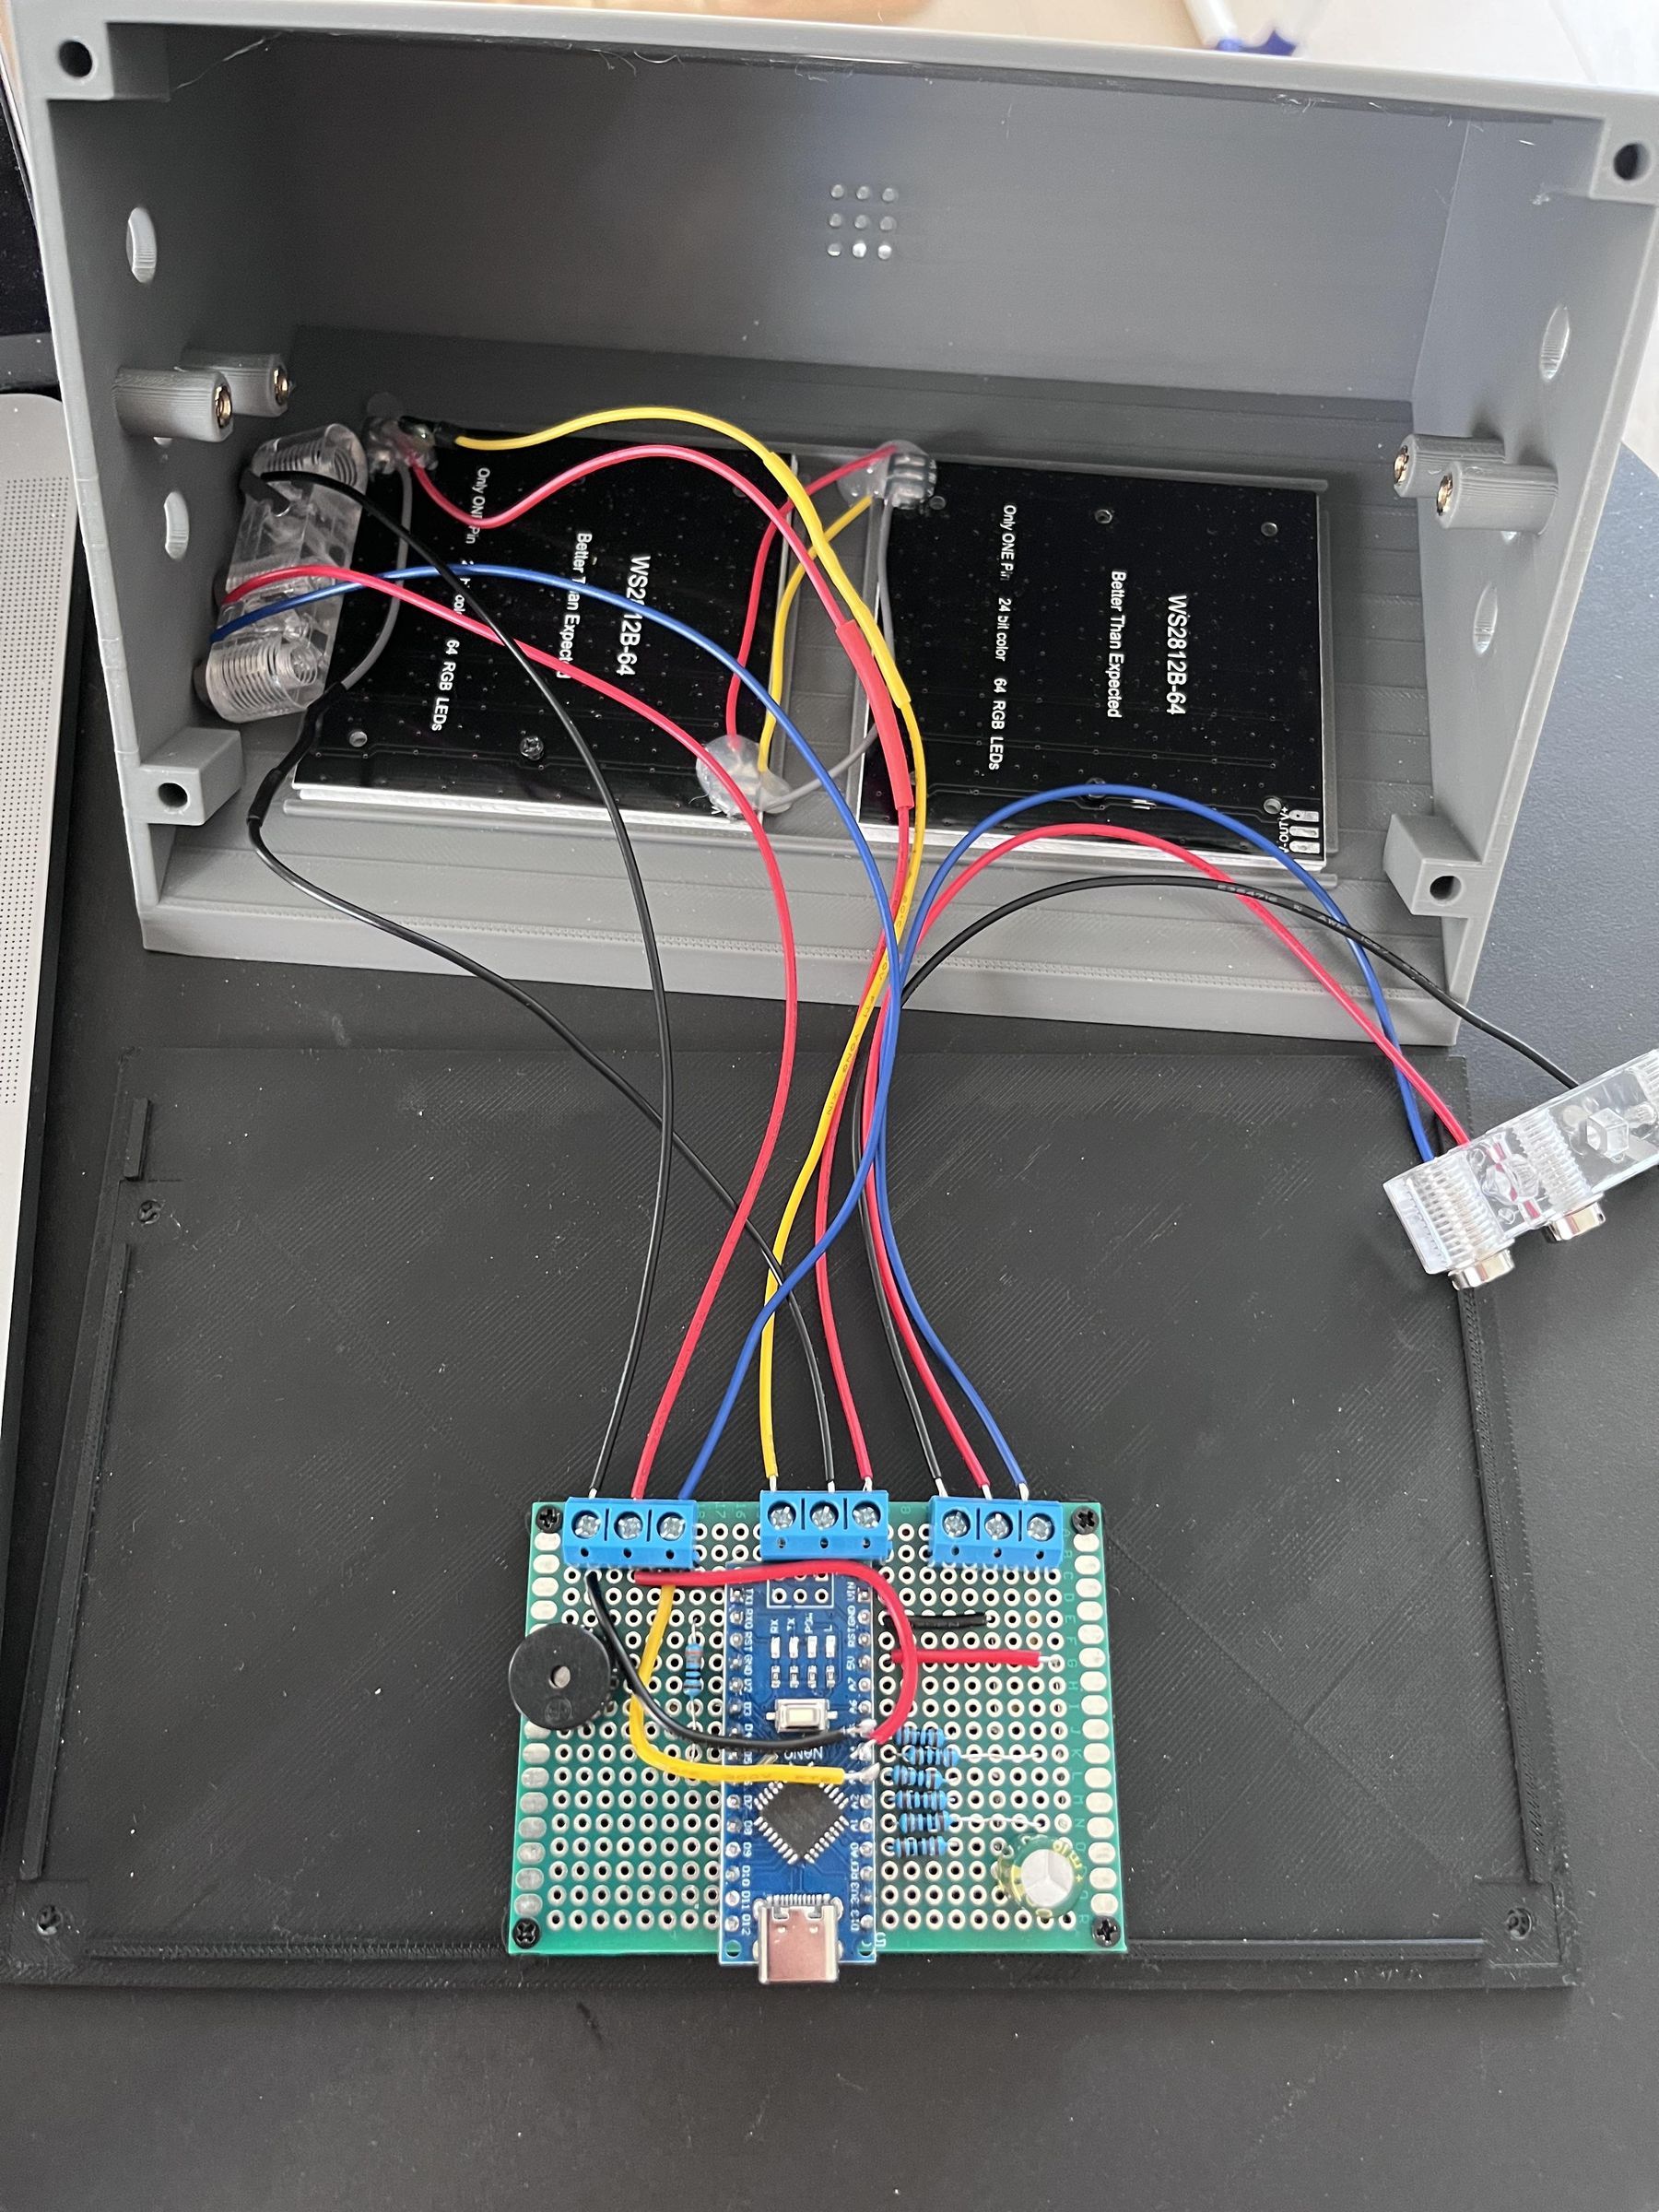
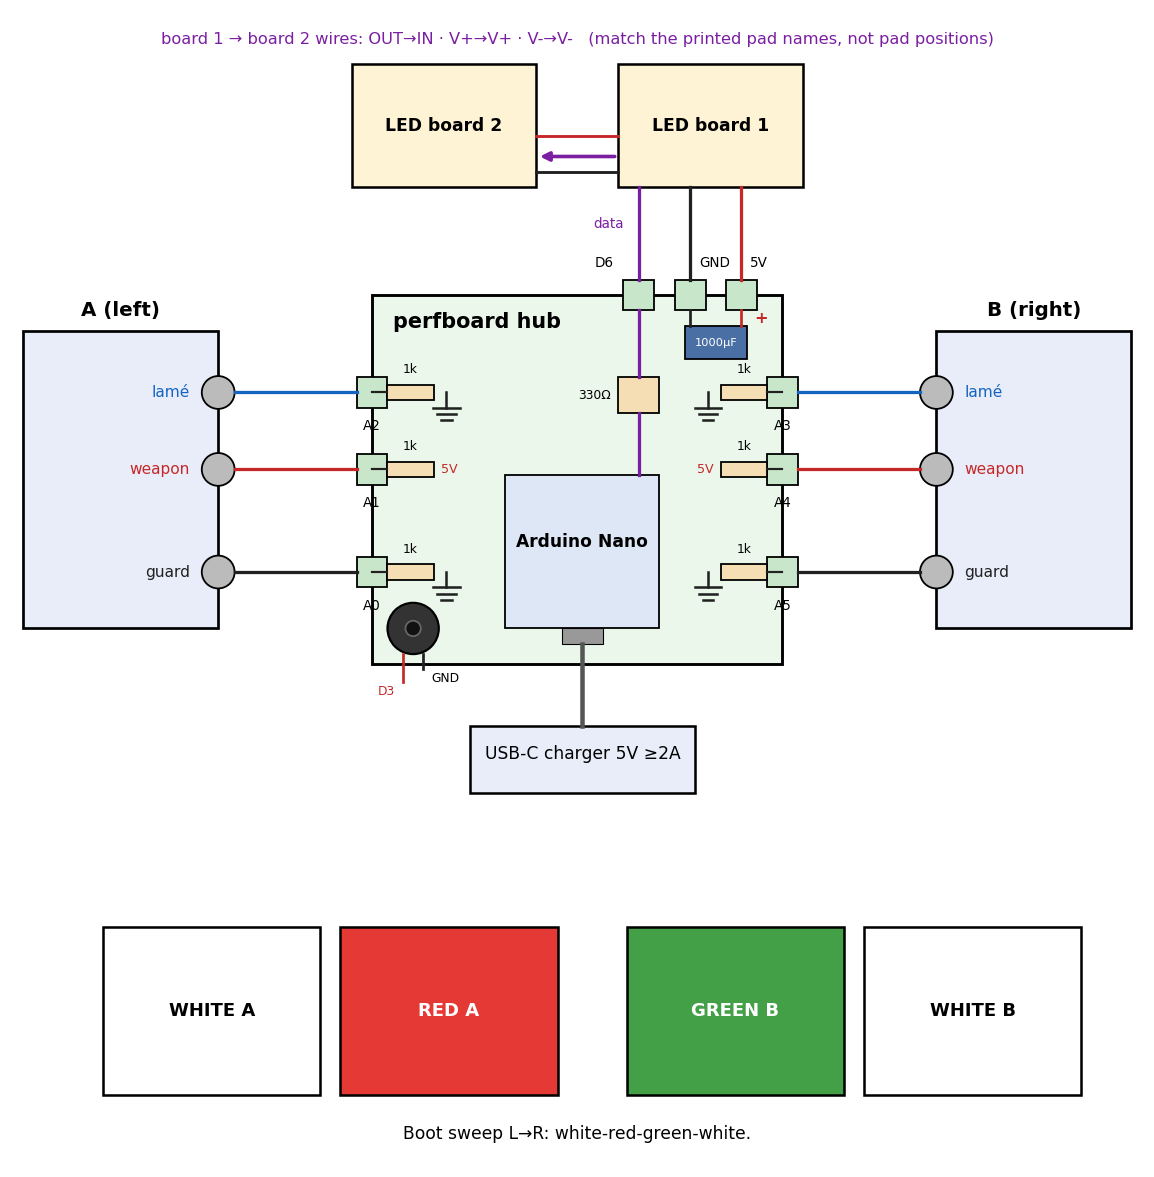
Each fencing socket has three lines:
- Blue = lamé
- Red = weapon
- Black = guard
The diagram also reflects the uneven hole spacing of the fencing socket. You can use this spacing to identify which hole is which.
Strip about 20 mm of insulation from each wire and wrap each wire around the corresponding socket barrel screw, then tighten the screw firmly.
After wiring, plug in a body cord and test continuity with a multimeter. Check that each socket barrel connects to the expected body cord pin.
The two LED matrix panels are chained together:
- DOUT from panel 1 to DIN on panel 2
- V+ from panel 1 to V+ on panel 2
- V- from panel 1 to V- on panel 2
Connect the LED panels to the Arduino:
- 5V to V+
- GND to V-
- Data input to Arduino D6 through the 330 Ohm resistor
You can arrange the parts on your own perfboard as long as every connection matches the diagram.
(The wire routing shown in the photos is not necessarily the best or most compact routing.)
- A1 and A4 each need a 1k pull-up to 5V.
- A0, A2, A3, and A5 each need a 1k pull-down to GND.
- The 1000uF capacitor goes across LED 5V and GND, negative leg (striped side) to GND.
- All GND points must be connected together: Nano, both LED boards, buzzer, and all pull-down resistors share one ground.
- Check with a multimeter that 5V and GND are not shorted before plugging in USB
Once the wiring is complete, mount the perfboard inside the 3D-printed enclosure. The lid already has mounting bosses for the perfboard, so simply align the perfboard with the bosses and secure it using self-tapping screws.
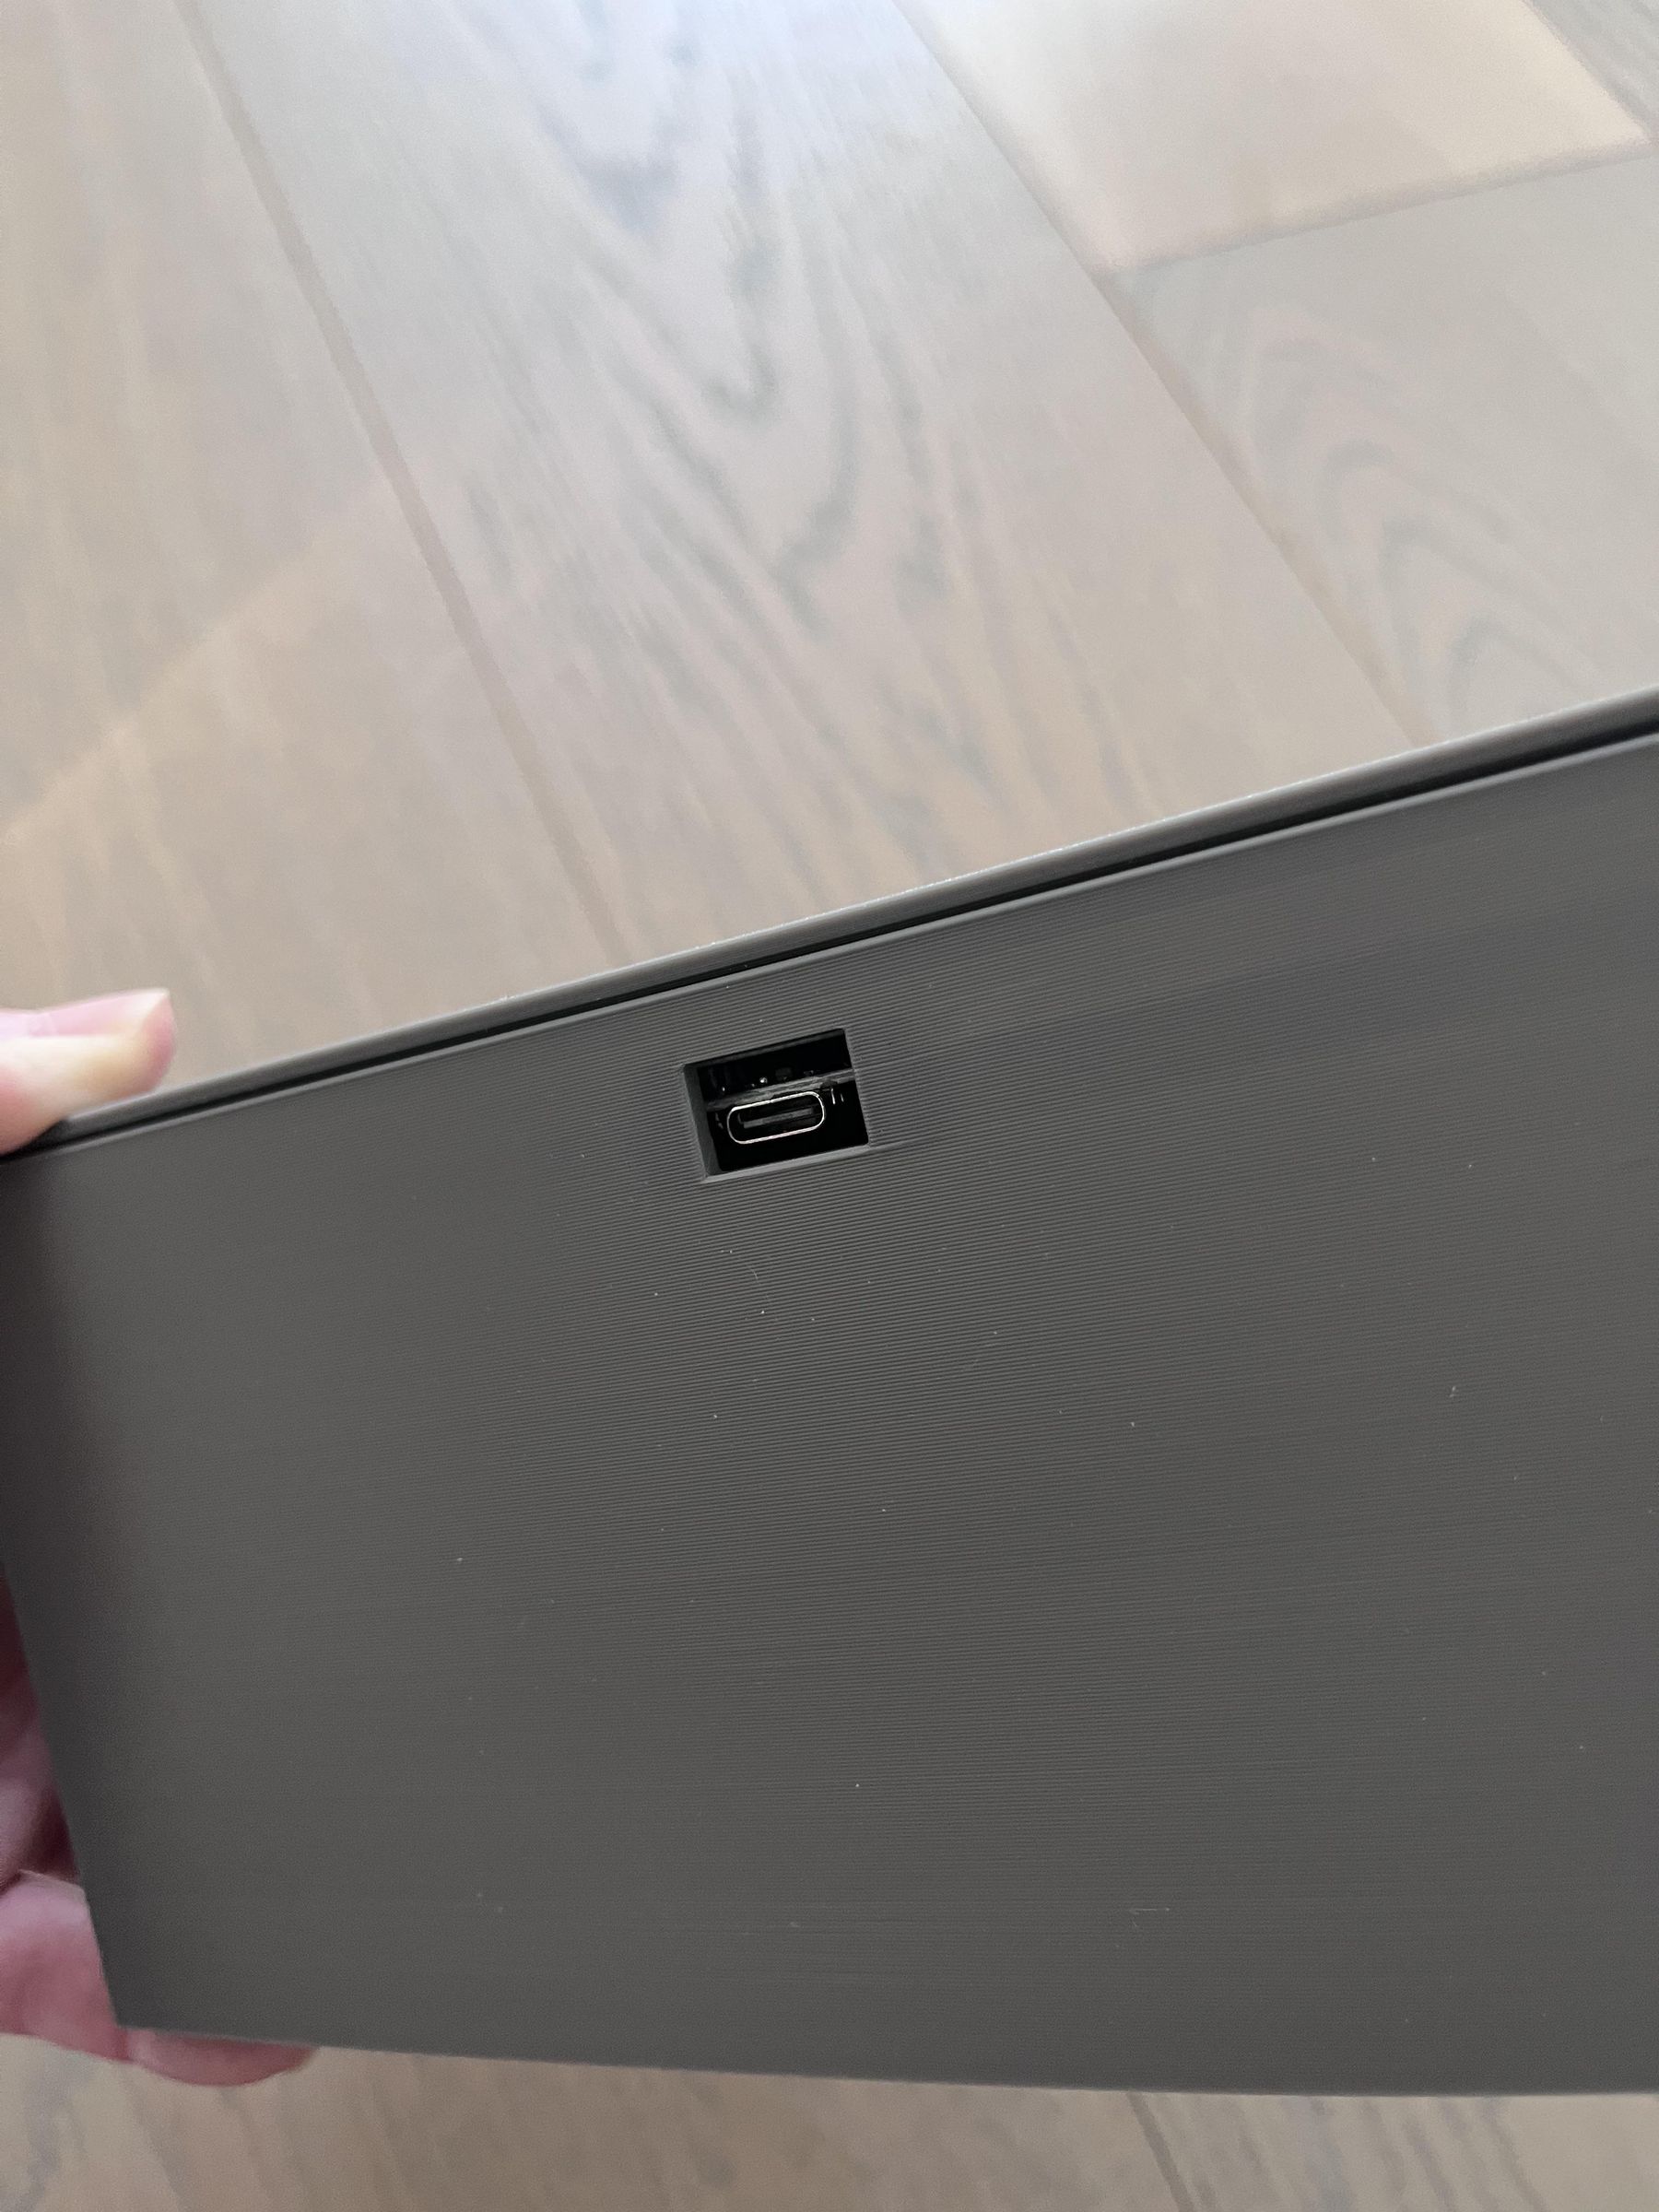
When positioning the Arduino Nano, make sure the USB connector is aligned with the opening on the back of the enclosure. The USB port should remain accessible so that a USB cable can be connected after the enclosure is assembled.
Perfboards from different manufacturers may have slightly different hole spacing and patterns. If the mounting holes do not line up with the printed mounting bosses, you can some holes in the perfboard.
Mount the LED Panels and the 3-pin Socket Blocks
For each LED window, place the diffuser sheet between the outside cut-out window frame and the LED matrix board. The diffuser is optional, but it makes the LEDs look smoother.
The diffuser has two clearance holes so the printed screw posts are still exposed. Place the LED matrix board inside the case with the LEDs facing outward toward the diffuser, then use M2 screws through the LED board mounting holes. These screws self-tap into the printed plastic posts. Do not overtighten them.
If the diffuser looks too thin, too thick, too bright, too blurry etc.. you can adjust the diffuser thickness and reprint it
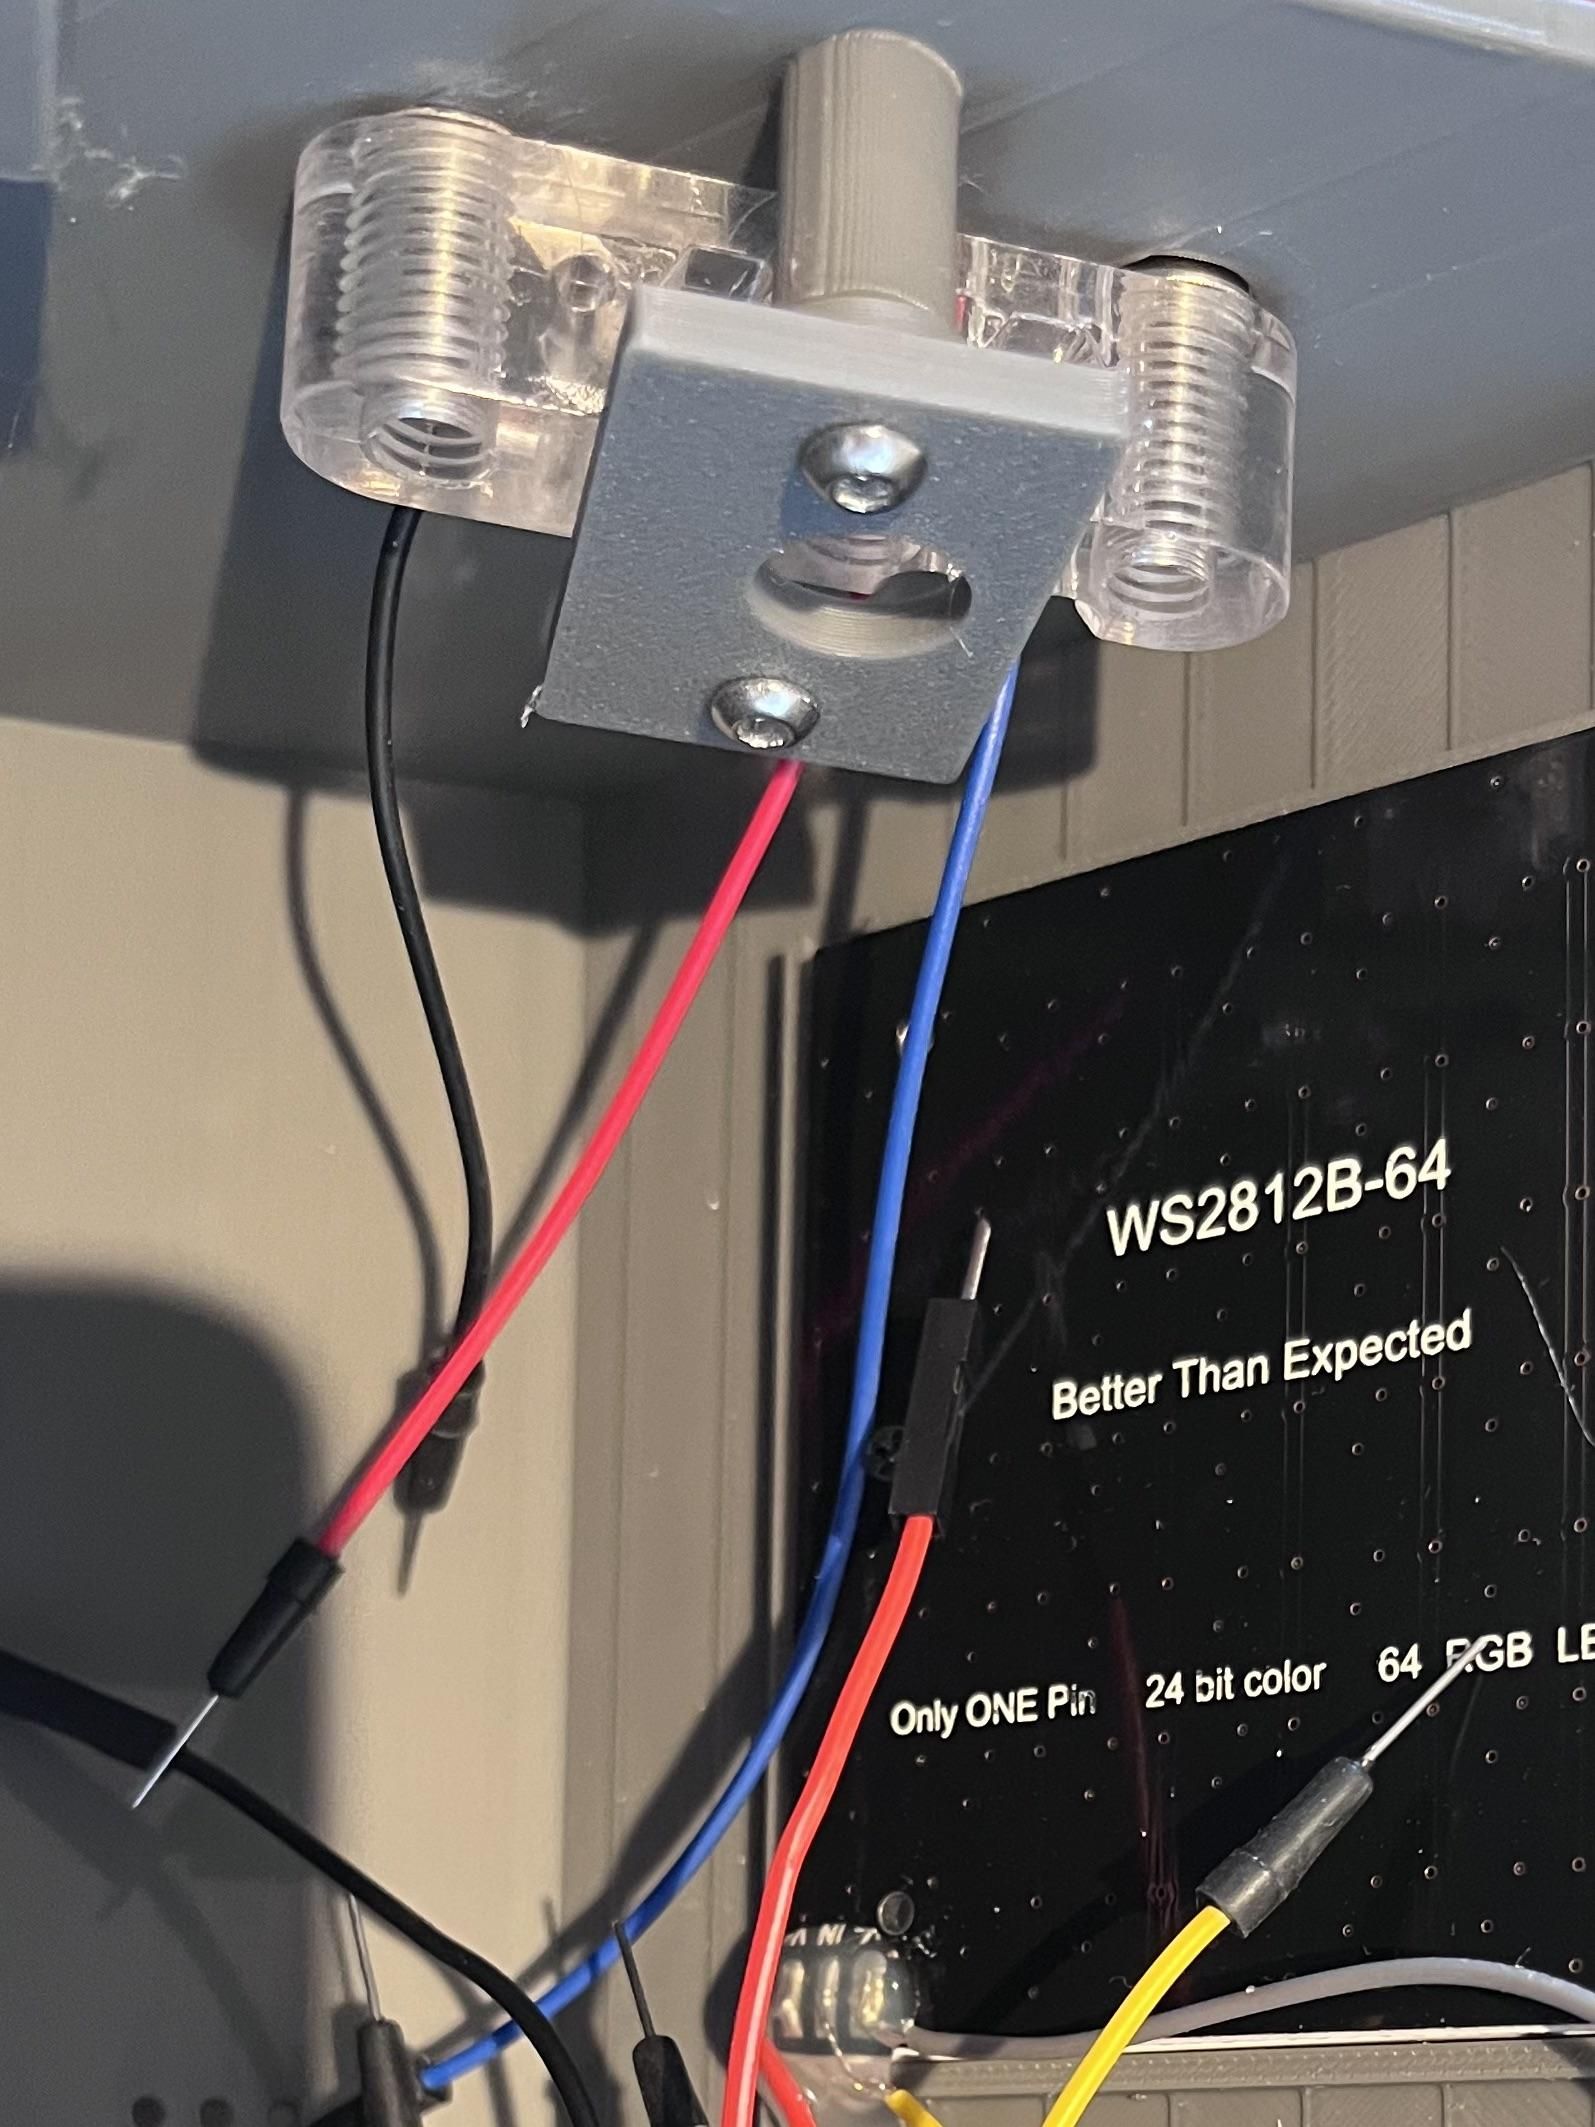
For the 3-pin socket blocks, install the socket block from the inside of the body and hold it with the printed socket bar. The socket bar has a correct direction: it must leave clearance for the male body-cord plug to fully insert into the socket block.
The socket bar is fixed with M3 screws into the heat-set inserts in the body
Upload the Firmware
Upload the foil firmware to the Arduino Nano:
foil_box.ino permalink This points to the exact firmware version used for this Instructable.
However this project may continue to be updated on GitHub, for the latest version, please check the GitHub repository
- Board: Arduino Nano
- Processor: ATmega328P
- If upload fails, try: ATmega328P (Old Bootloader)
- Serial monitor: 57600 baud
After uploading the firmware, all four light zones should turn on, the buzzer should beep once, and then the boot sweep should light up from left to right in this order: white, red, green, white. If the order, rotation, or layout is wrong, adjust the display mapping constants in the code (`LAYOUT_ROW_SERPENTINE`, `ROT_A`, `ROT_B`) If red appears on the right and green appears on the left, flip `CHAIN_STARTS_RIGHT`.
Then open the Serial Monitor, with nothing plugged into the fencing sockets, you should see readings like this
wA=1023 lA=0 wB=1023 lB=0
Test
Power the box from a 5V 2A USB charger.
On startup, the box should:
- Show the full colour map: white, red, green, white
- Beep once
- Run the boot sweep, left to right in this order: white, red, green, white.
- Enter normal scoring mode
Scoring behaviour:
- Nothing plugged in: white lights, like a broken weapon wire on a real scoring box
- Both weapons plugged in and at rest: lights should be off
- Tip pressed on the floor: white off-target light
- Tip pressed on the opponent's lame: coloured valid hit light
- Tip pressed on the opponent's guard: no light
- Both fencers hit within the lockout window: both lights
- Very quick tap below the depress time: no light
Known limitation: detecting a fencer's own touch
In the current V1 design, there is one limitation: if a fencer's weapon touches their own lamé, the opponent may register a hit.
This is because the current circuit only tells the Arduino that a particular lamé has been electrically activated. It does not tell the Arduino which weapon caused that activation.
For example, when A's weapon touches A's own lamé, and when B's weapon touches A's lame, the four sensing points on the current circuit produce the same electrical state. From the firmware's point of view, these two situations are indistinguishable.
This can be fixed with a relatively small hardware modification. Instead of connecting the two 1 kΩ pull-up resistors permanently to the 5V rail, their top ends could be disconnected from 5V and connected to two unused digital pins, for example D4 and D5.
With this modification, the firmware can determine which weapon is currently active by driving D4 and D5 high in alternating phases:
- During the A-weapon phase, if lamé A responds, the system knows that A's own weapon has caused the contact and can discard it.
- During the B-weapon phase, if lamé A responds, the system knows that B's weapon has caused the contact and can register it as a valid hit.
For V1, I have chosen not to implement this modification. A fencer's weapon making contact with their own lamé is unlikely during normal use, so the additional hardware and firmware complexity is not justified for the first version. This is a possible upgrade for a future version.