Arduino Nano Robot Controller Board for L0Cost Robots Built on Matrix or Strip Board
by tekyinblack in Circuits > Robots
1537 Views, 11 Favorites, 0 Comments
Arduino Nano Robot Controller Board for L0Cost Robots Built on Matrix or Strip Board

There are lots of commercially available circuit boards which accommodate an Arduino development board and provide interfaces for building robots, but for the L0Cost Robot project the cost of these automatically put them out of reach.
This is a simple design which an enthusiast can build easily and cheaply using readily available matrix or stripboard, provides for power regulation, motor control, servo interfaces and incorporates a switch and power LED.
The size of the board could have been reduced slightly but it has been chosen to fit with the chassis dimensions of the L0Cost Robot series of DIY robots, so there's a bit of expansion room to add additional circuitry or dedicated connectors such as for ultrasonic sensors.
This board should also be pin compatible with the newer Nano BLE, Nano IoT and Nano Sense boards but these are 3.3V input compatible only. They aren't described here as their cost alone exceeds project cost.
Supplies

Arduino Nano
Matrix board - the picture shows the sort used. A standard size makes two controller boards
PCB pins and sockets
Push button on/off switch
LED and 330R resistor, chose your own colour LED
Solid core hookup wire
BuckBoost regulator. Not needed if a regulated supply of 5V or less will be used.
L293D motor controller
2 x 10uF capacitors
16pin IC socket
2 pin jumper
Description


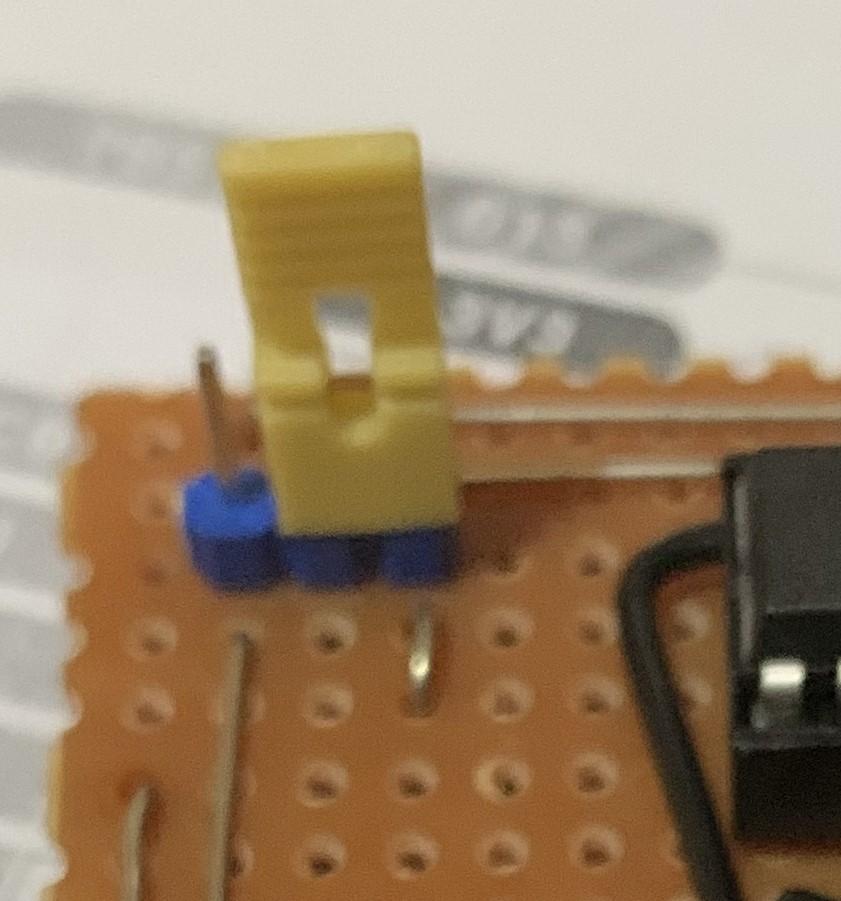
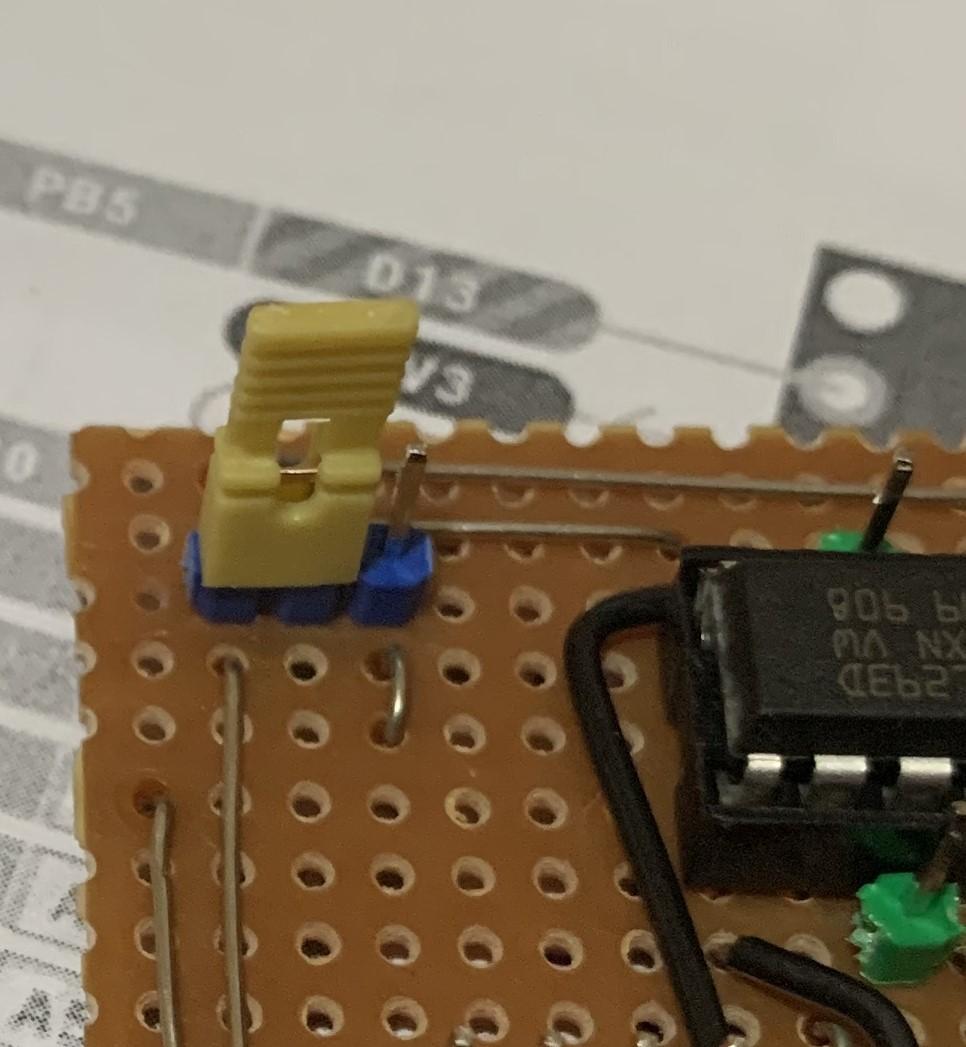
Power for the board can be either supplied via the USB socket, for very low loads, or via the power connection pins. An on off switch controls power from these pins and passes it to a MP2307 mini buck regulator, and to a jumper pin across the board. The MP2307 should be set to 5V output and provides power to all the positive pins on the board. A jumper allows selection of either regulated power (left position) or direct power (right position) from the switch to drive the robot motors.
The Arduino pins supporting servos have multipin blocks fitted to allow direct servo connection.
A block of four pins provides a power take off point for other robot items needing 5V. In the L0Cost Robots, this is either used for a voltmeter or to power the ESP32-CAM controller.
The TX and RX pins are made available for serial communication with power if needed.
An LED provides a power on indication.
The L293D motor controller IC is configured to provide a bidirectional drive to two attached DC motors or can drive one bipolar stepper motor.
Finally, the remaining pins on the Arduino Nano, primarily the analogue inputs and I2C (as well as 3.3V supply) are supported with a block of pins.
Code to support usage with the L0CostRobot controller will be available on github here.
Position the Sockets


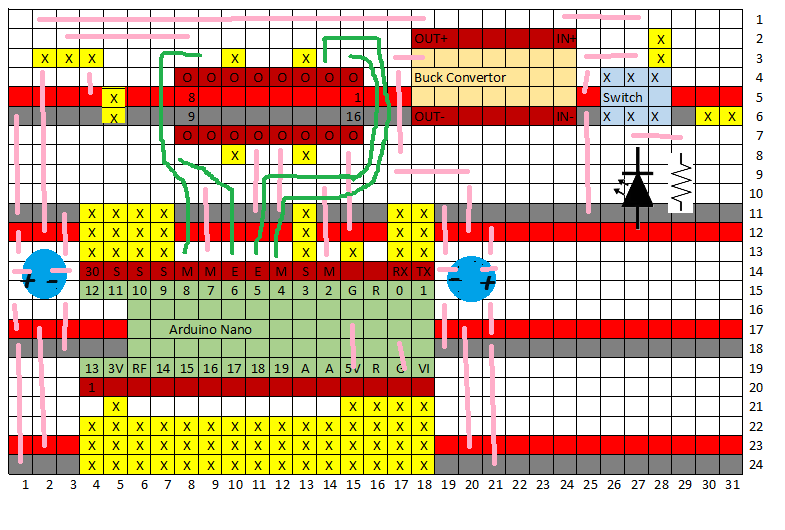
It's suggested that the diagram in step 1 is printed off and used as a reference throughout assembly. Yellow squares are pcb pins, brown squares are sockets, the red and black squares are positive and negative power busses respectively, light blue is a switch, buff is the regulator and light green the Arduino. Only the position of the IC socket for the L293D IC is shown to avoid confusing the diagram. All fixed wire links are in mauve and flexible insulated links in dark green.
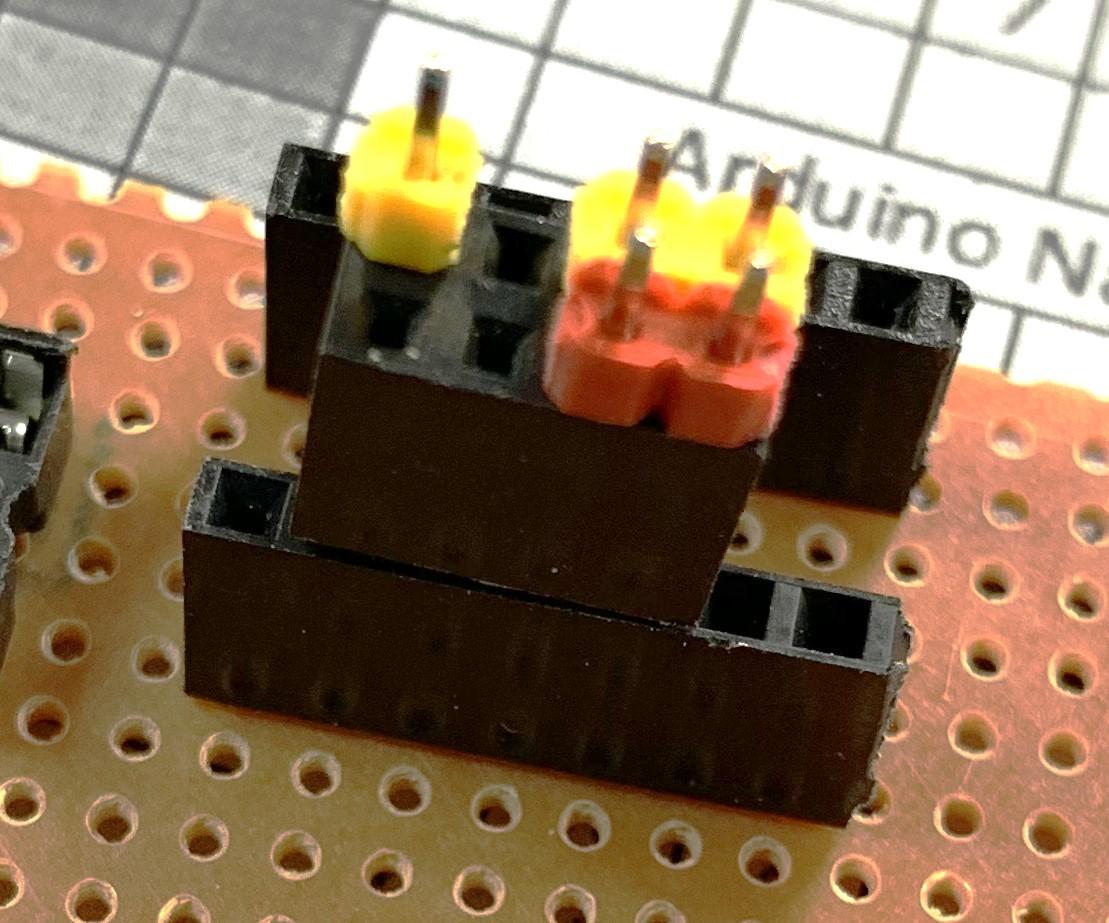
The regulator module and the Arduino Nano both use pcb socket strips, though the regulator mainly uses it's sockets as spacers. These need to to soldered to the matrix board in the correct positions as per the diagram.
To keep the sockets in place and upright, strips of PCB pins can be used to get the right spacing and hold the sockets while soldering is completed.
Once in place, the pcb pin strips can be removed. The 16 pin IC socket is easier to fit, bending a pin in opposite corners once positioned correctly and then soldering, holding teh socket against the board while doing so.
Add the Pins


Next fit the pcb pins, of which there are many. Here multicoloured pins have been used to differentiate the pin usage and voltage.
To aid fitting the pins, pcb sockets can be used to align them and keep them in place while soldering takes place. Bothe single strip and multistrip sockets can help here.
Solder each strip methodically to ensure all are correctly soldered and there aren't any solder bridges between copper traces.
Check the joints after each strip to make fault fining simpler later.
Fit the Switch


The switch used here is two way. If the switch to be used is also two way, verify with a multimeter that when the switch is operated, the two contacts on the left in the diagram are closed, and that the reverse happens.
Add the Direct Links

There are many direct links on the board and in the example shown, they are all bare wires which is much easier to cut to the correct length.
Work methodically across the board when fitting, only fitting two or three links at a time before soldering them in place and trimming the excess.
Cross each link off on the diagram as it's inserted and soldered. in this way the board is completed reliably.
Add the Flexible Links

There are only four flexible wire links and these are made with plastic covered wire, in this case black.
For each link, cut a length of wire sufficient to make the link, and trim off the plastic for 5mm or 2/10 inch. Bend this part in a right angle and put it into the starting hole. Bend the wire around the components on the board until the wire passes the destination hole and cut-off the wire again 5mm or 2/10inch past the hole, remove the insulation at the end as before, bend it and insert the end into the hole. Solder and trim each link as they are inserted and cross off the diagram that it's been done.
Intermediate Testing


Check your work against the diagram to verify that it is correct.
Place the jumper in the right hand position.
Start testing with a multimeter on the continuity range or 200Ohm range. Put one lead on the negative at the top right-hand side of the board (point 1 in the picture) and check that this has continuity to all the negative wires but not to any others. If there is a fault then start checking all the negative traces for either a break or a cross connection.
Connect the multimeter to the red input next to the switch (point 2) and verify that the switch turns the connectivity on and off as intended, then with the switch on, check that there is connectivity to the regulator socket (point 3) and to the L293D socket(point 4).
Disconnect the multimeter from point 2 and connect it to point 5.
Verify that there is connectivity to the positive pins and not to any others.
If you are very keen, test that there is no connectivity between adjacent signal pins (yellow).
As with the negative traces, if there is a fault then begin tracing from where you detected it.
Fit the Capacitors, Resistor and LED

There are two capacitors, a resistor and a LED to be fitted.
For the capacitors, bend the leads so that they fit between the holes in the board, inserting so that the negative symbol on the capacitor aligns with the negative symbol on the diagram.
For the LED, insert this so that the short lead is in the hole in the trace represented by the black line in the diagram. Insert the resistor in place next to it. The picture isn't quite right as I swapped the wire link and resistor.
Solder the Regulator and Jumper


As supplied, the regulator has solder pads in each corner but no pins to fit the socket.
it is also sometime useful when the power supply to the board is already regulated at 5V to insert a jumper across the regulator socket.
Fit four individual PCB pins into the corners of the regulator socket. Place the regulator over the four pins such that all four pass through the corner solder pads. Holding the regulator in place, solder the four pins.
Cut a small piece of stripboard with strips running longways, 7 holes by 5 holes. Repeat the procedure for this piece of stripboard as for the regulator.
When this is inserted into the socket, the switch output is connected to the rest of the board unregulated.
Always check that the power supply is 5V or less before using this bypass.
Final Testing
Once again, check the board against the diagram.
Without the Arduino, regulator or L293D IC inserted, connect power to the input and try switching on and off. If your checks were good, nothing should happen. With the switch in the on position and the multimeter in a low voltage range, say 20V, check the voltage across various points checked previously.
Switch off and insert the regulator.
Switch on, the LED should light and measure the voltage at the output of the regulator. Using a fine screw driver, carefully adjust the potentiometer so that the output is 5V. Switch off and back on and verify that the voltage returns to 5V.
With the power on, check that the voltage at the Arduino 5V pin is 5V. Switch off and disconnect the power.
Connect the Arduino to a PC and load the Blink sketch, or another sketch that you know will give a visible result.
Disconnect the Arduino from the PC and insert into the board socket with the USB socket closest to the edge of the board, as in the diagram. Also insert the L293D IC.
Reconnect the PC and the board should power up, the LED will light and the blink sketch will run, flashing the onboard LED.
Disconnect the PC and reconnect the power.
Switch on and the board should power up, the LED light and the blink sketch should run.
Complete


The board is intended to be a robot controller interface for the L0Cost Robot Controller but can be programmed to run independently and is intended to be customised by the builder to do what else they want.
The picture shows the board in test in the Trash Collector Robot, connected to two motors and three servos.