Arduino Volt Meter (0-100V DC) - Version 2 (better)
by CanadianWinters in Circuits > Arduino
34177 Views, 12 Favorites, 0 Comments
Arduino Volt Meter (0-100V DC) - Version 2 (better)
 with an ADS 1115 - 16bit ADC | Code in the description)

In this instructable, I've built a voltmeter to measure high voltages DC (0-100v) with relative precision and accuracy using an Arduino Nano and an ADS 1115 ADC.
This is a second version of the voltmeter used my previous instructable here: https://www.instructables.com/id/Arduino-Precise-A...
The test measurements I took were accurate , mostly within 0.1v of the actual voltage measured with a standard voltmeter (I used an Astro AI DM6000AR).
This is much better, and easier in my opinion than using an external voltage reference on the Arduino.
Supplies
1 x Arduino Nano - Link
1 x Oled Display (SSD 1306) - Link
1 x ADS 1115 - 16 bit ADC - Link
1 x 1/4W (I suggest using 1W resistors though) 1% Resistors - 220k ohm - Link
1 x 1/4W (I suggest using 1W resistors though) 1% Resistors - 10k ohm - Link
Breadboard and wires - Link
Astro AI DM6000AR - Link
USB Power Bank - Link
9V Batteries - Link
CanadianWinters is a participant in the Amazon Services LLC Associates Program, an affiliate advertising program designed to provide a means for sites to earn fees by linking to Amazon.com and affiliated sites. By using these links, as an Amazon Associate I earn from qualifying purchases, even if you buy something else--and it won't cost you anything.
The Schematics


I connected all the parts as per the schematics above.
I tied the ADDR pin of the ADC1115 to ground. This sets the address of the ADC to 0x48.
The Code and Resistor Calculations

As in the previous instructable, the idea of the circuit is that the DC voltage to be measured goes through a voltage divider. The scaled voltage and then gets into the analog pin of the ADC converter to be read, then passed to the Arduino via I2C and then re-scaled and displayed on the OLed display.
I did not use any averaging or smoothing in the code in this case, as the readings seem quite accurate a precise. To reduce the noise, you might want to add a small capacitor between A0 (on the ADC) and ground. It was not required for my test though.
One thing I noticed, was a bit of noise when there was no battery attached (0 volts). I used the serial monitor of the Arduino to display the ADC value and correct/adjust it via code.
As in the previous instructable, I made a spreadsheet that automates the calculations in case you want to use different resistor values in the voltage divider: Link to Google Sheet
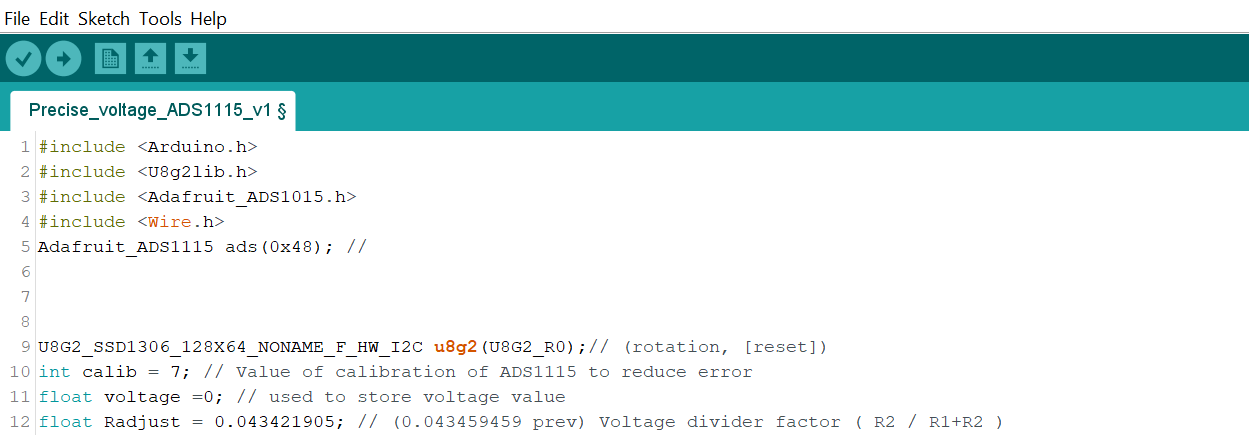
Here is the code I used for this project:
#include <Arduino.h>
#include <U8g2lib.h>
#include <Adafruit_ADS1015.h>
#include <Wire.h>
Adafruit_ADS1115 ads(0x48); //Adress of the ADC


U8G2_SSD1306_128X64_NONAME_F_HW_I2C u8g2(U8G2_R0);// (rotation, [reset])
int calib = 7; // Value of calibration of ADS1115 to reduce error
float voltage = 0; // used to store voltage value
float Radjust = 0.043421905; // Voltage divider factor ( R2 / R1+R2 )
float vbat = 0; //final voltage after calcs- voltage of the battery

//variables for refreshing the screen without using delay
unsigned long previousMillis = 0;        // will store last time the screen was refreshed

// constants won't change:
const long interval = 250;           // interval at which to refresh the screen (milliseconds)

void setup(void) {
  Serial.begin(9600);
  u8g2.begin();
  ads.begin();

}

void loop(void) {

int16_t adc0; // 16 bits ADC read of input A0
adc0 = ads.readADC_SingleEnded(0);
voltage = ((adc0 + calib) * 0.1875)/1000;

unsigned long currentMillis = millis();
vbat = voltage/Radjust;


//Prevent displaying negative voltage when battery is disconnected
 if (vbat < 0.1) {
        vbat = 0.01;
 }
// Setting the delay for the screen refresh using Millis

  if (currentMillis - previousMillis >= interval) {
       previousMillis = currentMillis;

  u8g2.clearBuffer();          // clear the internal menory

//Pack Voltage display - Fonts at this page: https://github.com/olikraus/u8g2/wiki/fntlistall

  //u8g2.setFont(u8g2_font_fub20_tr);  // 20px font
  u8g2.setFont(u8g2_font_fub35_tr);  // 35px font
  u8g2.setCursor (1, 42);
  u8g2.print(vbat,2);

  u8g2.setFont(u8g2_font_8x13B_mr);  // 10 px font
  u8g2.setCursor (1, 60);
  u8g2.print("Volts");

 }
  u8g2.sendBuffer();          // transfer internal memory to the display
  delay(1);

}
Let's Test It Out!

To test this voltmeter I used 10x 9v batteries that I got at a local store. This time I could measure up to 97 volts! I am planning to use this voltmeter to measure the voltage on my electric bicycles battery packs (they have voltages ranging from 24-60v with the occasional 72v ones).
Once the electronics are packaged into a pcb and a little box, this will make a nice and portable battery pack meter. The graphics and fonts on the OLED could be customized to fit your needs (eg. bigger font for easy reading). My goal was to have a voltage reading on the Oled/Arduino meter not too far from my Digital Multi Meter. I was aiming for +/-0,3v max delta.
As you can see from the video at the beginning of the Instructable, I was able to archive this! Most readings were spot on!
I hope you enjoyed this Instructable and let me know your thoughts!