How to Use Arduino WeMos D1 WiFi UNO ESP8266 IOT IDE Compatible Board by Using Blynk
by mybotic in Circuits > Electronics
164854 Views, 56 Favorites, 0 Comments
How to Use Arduino WeMos D1 WiFi UNO ESP8266 IOT IDE Compatible Board by Using Blynk
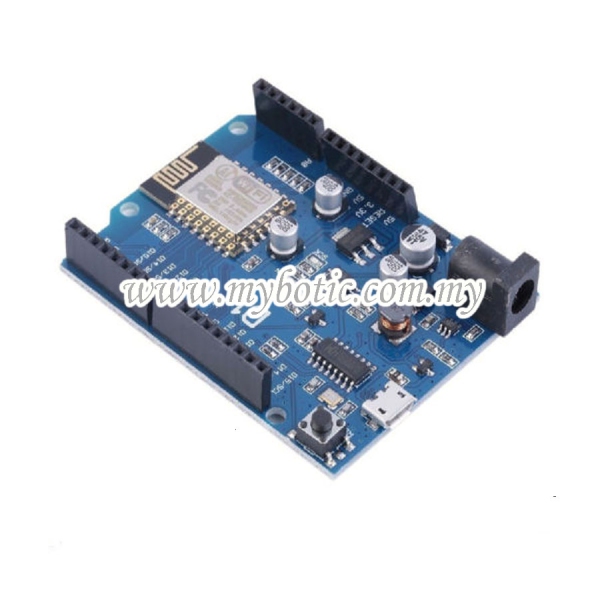
Arduino WeMos D1 WiFi UNO ESP8266 IOT IDE Compatible Board
Description:
WiFi ESP8266 Development Board WEMOS D1. WEMOS D1 is a WIFI development board based on ESP8266 12E. The functioning is similar to that of NODEMCU, except that the hardware is built resembling Arduino UNO. The D1 board can be configured to work on Arduino environment using BOARDS MANAGER.
Specification:
- Microcontroller: ESP-8266EX
- Operating Voltage: 3.3V
- Digital I/O Pins: 11
- Analog Input Pins: 1
- Clock Speed: 80MHz/160MHz
- Flash: 4M bytes
Item Preparation


In this tutorial, we'll use an application from smartphone "Blynk" to control the Arduino Wemos D1 (ESP8266) with LED Traffic Light Module.
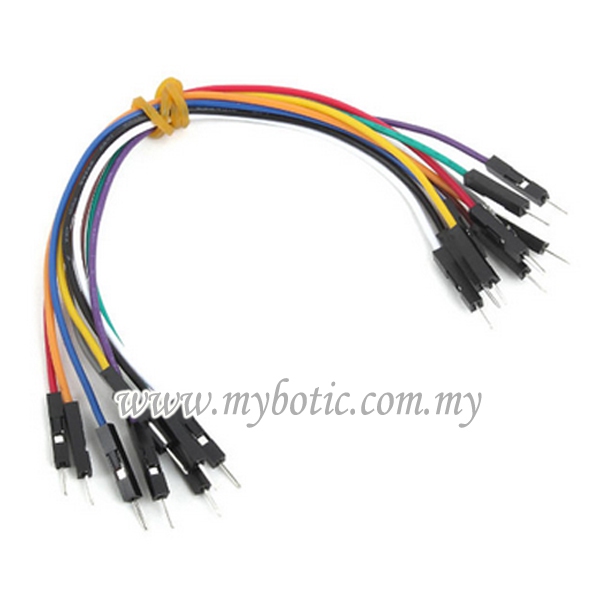
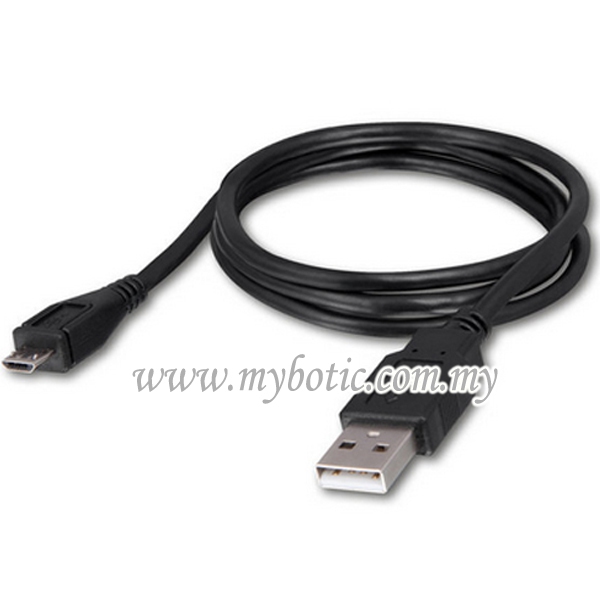
Before we begin, prepare all the item needed:
- Breadboard
- Arduino Wemos D1 Wifi UNO ESP8266
- Jumper wires male to male
- LED Traffic Light Module ( you can also use base LEDs )
- micro USB
- Smartphone ( You need to download "Blynk" from Play Store/iStore )
Pin Connection

Follow the connection as shown above.
Board Installation


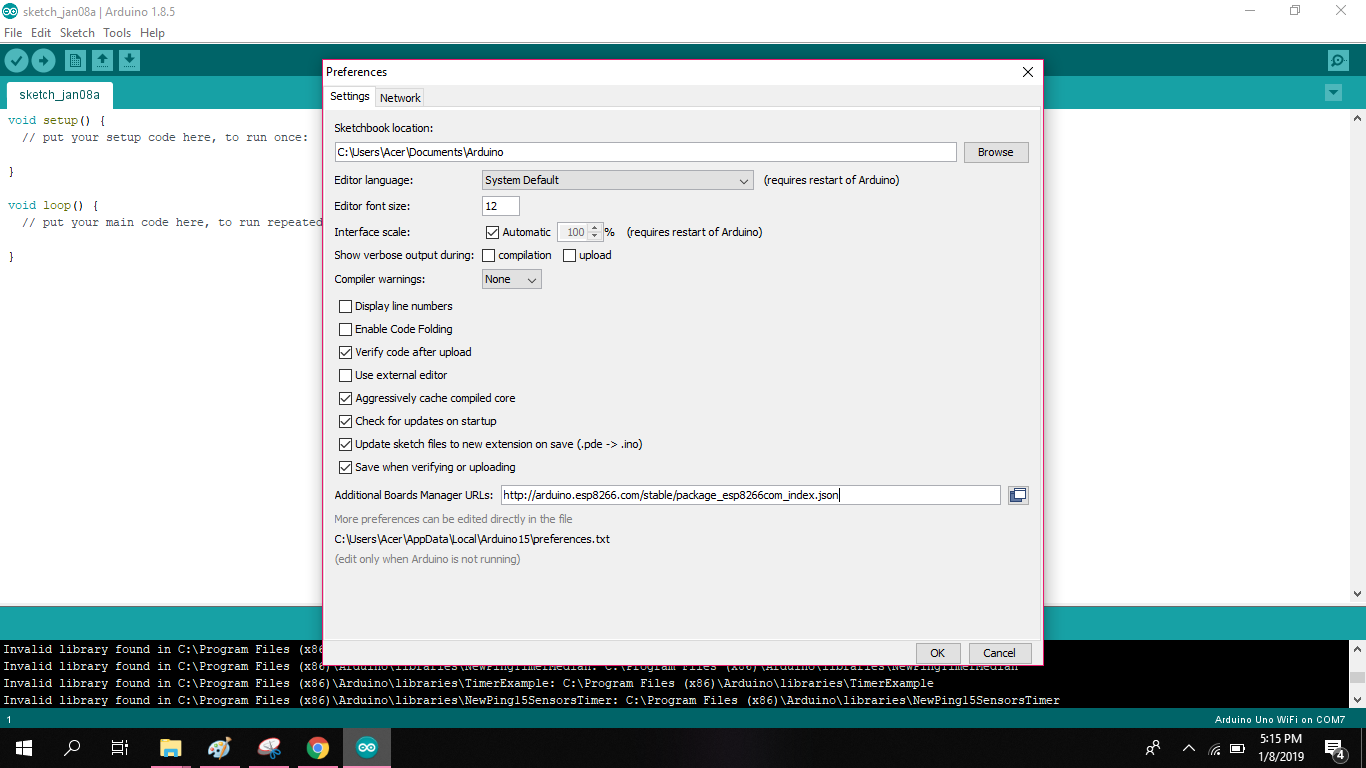
Next, open Arduino IDE and go to [File => Preferences]. A dialog box appears. In this box, an additional board manager URL text box is present.
- Copy and paste the following URL into the box and click OK to download the packages.
- http://arduino.esp8266.com/stable/package_esp8266com_index.json
Find Out in Board Manager
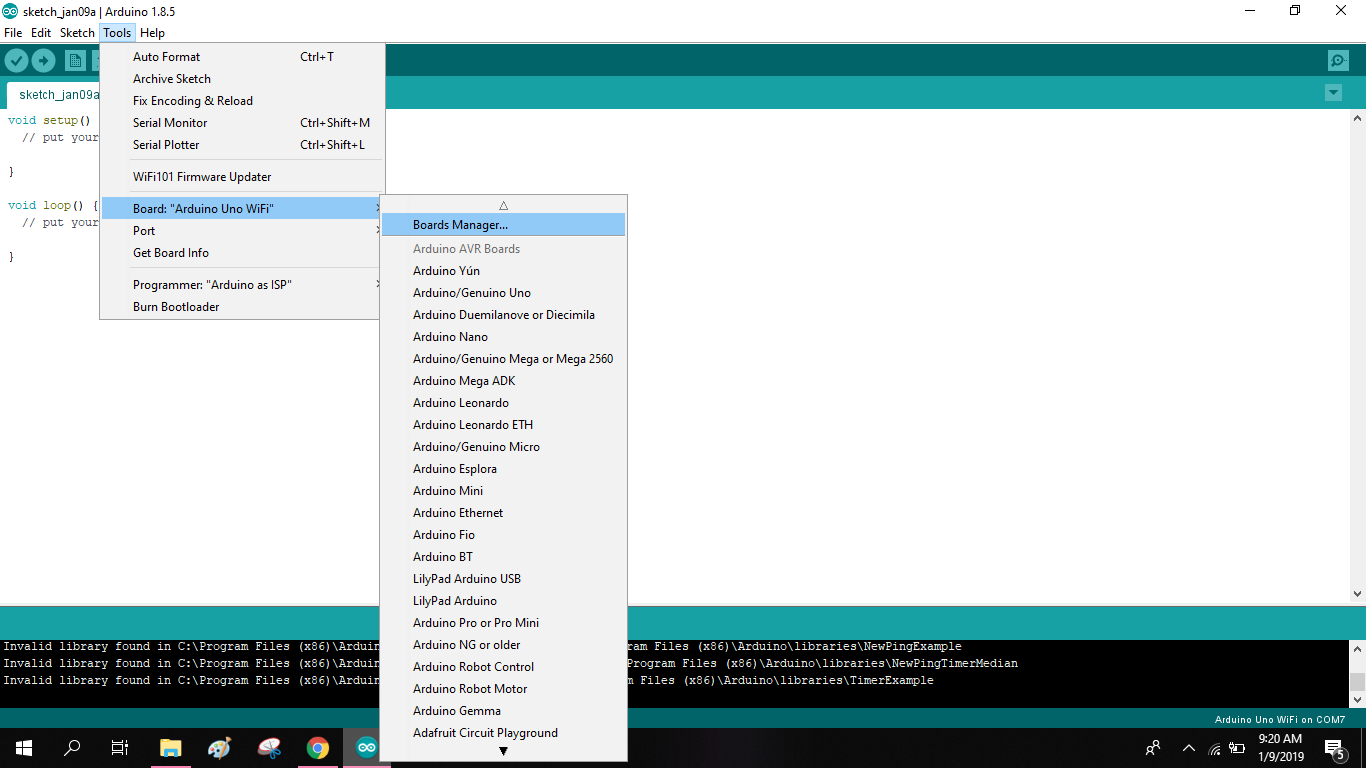
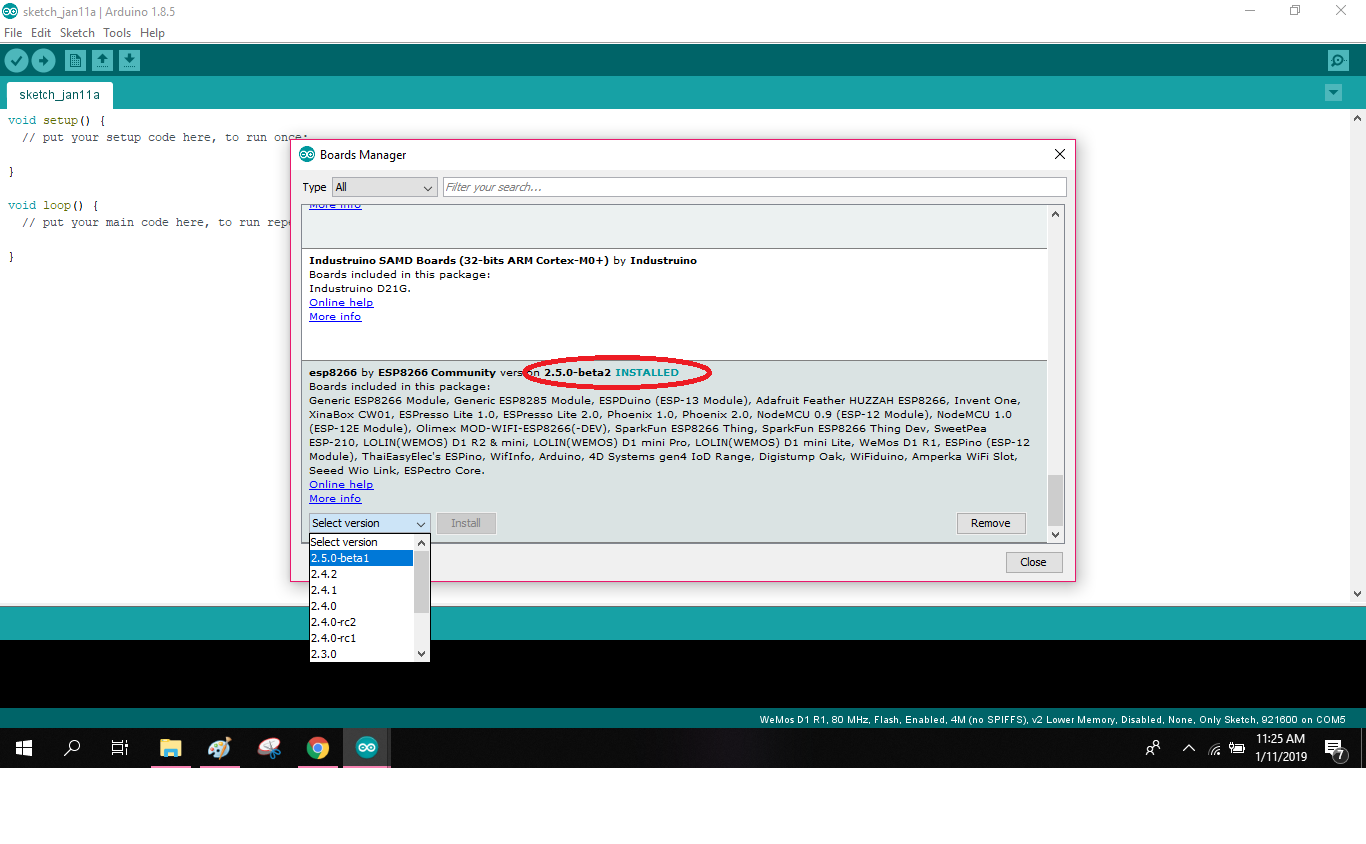
Next, go to [Tools => Board => Board Manager] in your Arduino IDE. The Boards Manager window appears as below. Scroll down the boards in the board manager to select ESP8266 from the list of available boards. Click on install to begin the installation.
Select Board
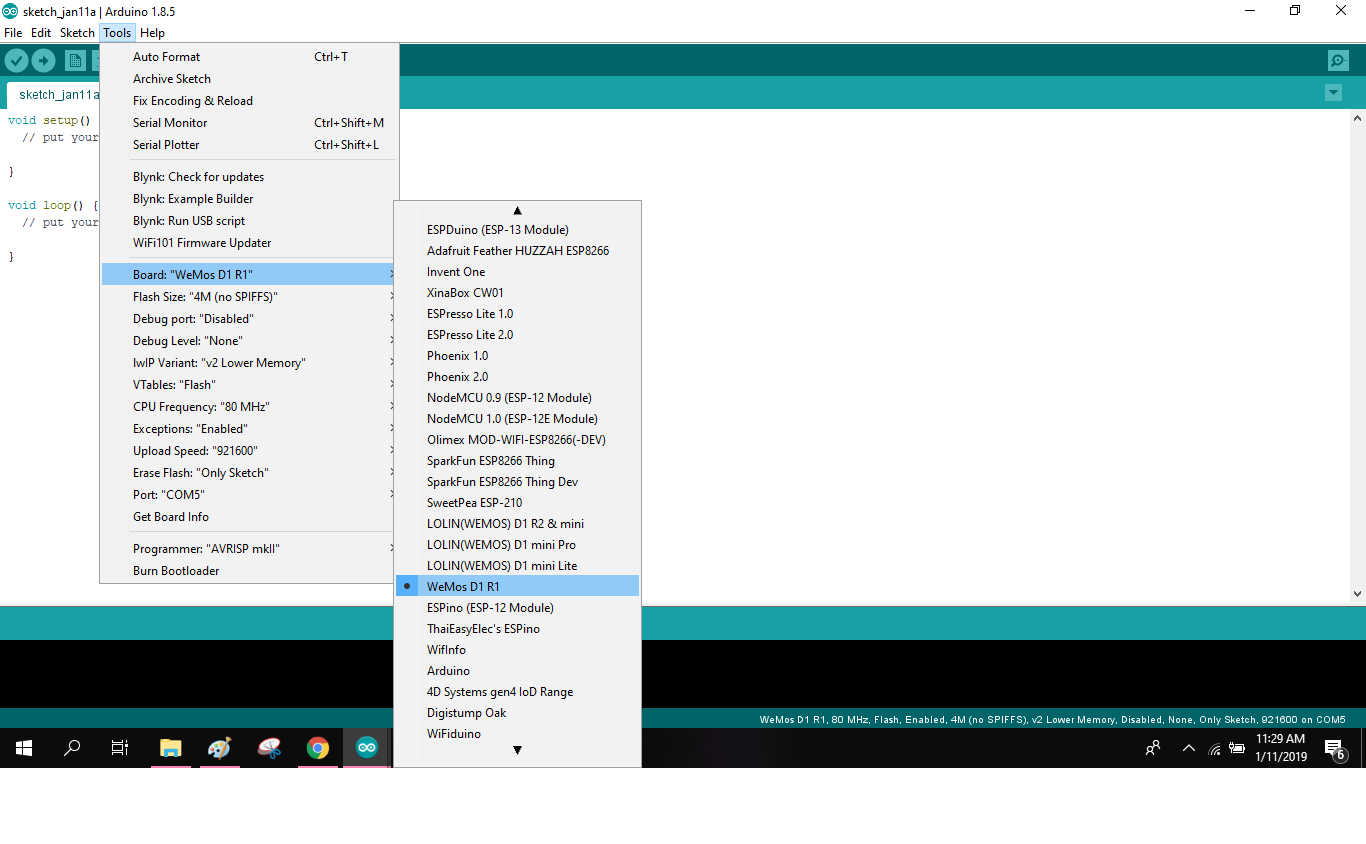
Next, uploading your first program select the type of "WeMos D1 R1" board from the [Tools => Boards] section in your Arduino IDE.
Example Code


To get the example code from the Blynk you need to download the library from Blynk website.
Follow these steps:
- Select "Download Blynk Library".
- Select to "Blynk_Release_v0.5.4.zip".
- Extract the files and copy both of the files (libraries, tools).
- Open Arduino IDE go to [Files => Preferences] find the files that appears on the "Sketchbooks location".
- Open the Arduino file and paste both of the files you've copied.
Then, open your Arduino IDE, go to [Files => Examples => Blynk => Boards Wifi =>Standalone] for the example code.
Blynk Setup

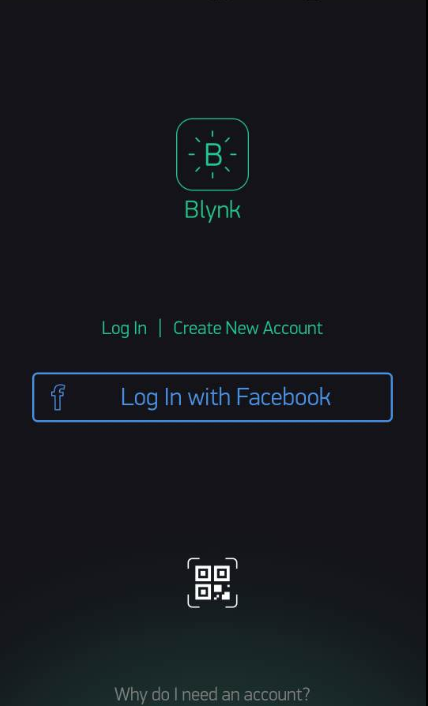

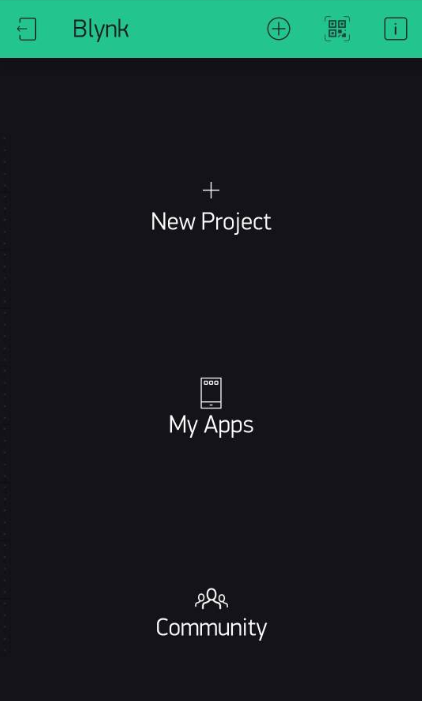


Next, you need to set up your "Blynk" from your smartphone.
Follow these steps:
- Download "Blynk" at Play Store/iStore.
- Sign up using your email.
- Go to "New Project" Enter your project name (if needed).
- Choose device "WeMos D1".
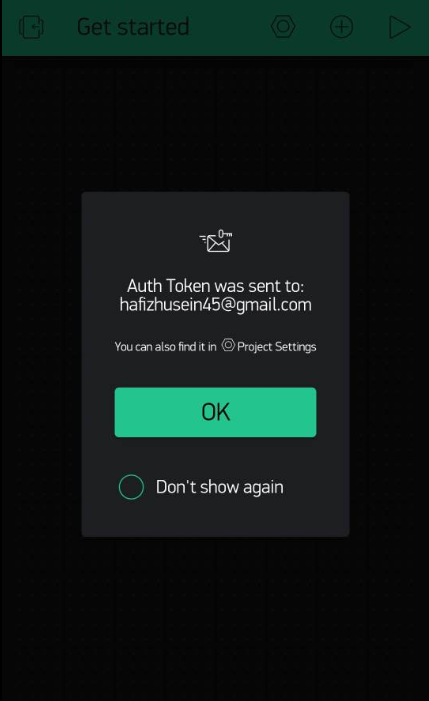
- Connection type "Wifi" then "Create". (After create you will receive Auth Token from your email).
- Slide to the left to open "Widget Box".
- Select "Button" to add button.
- Touch the button for "Button Settings".
- Select [Output => Digital => D2,D3,D4] to choose pin connection.
- Mode turn into "Switch".
Uploading
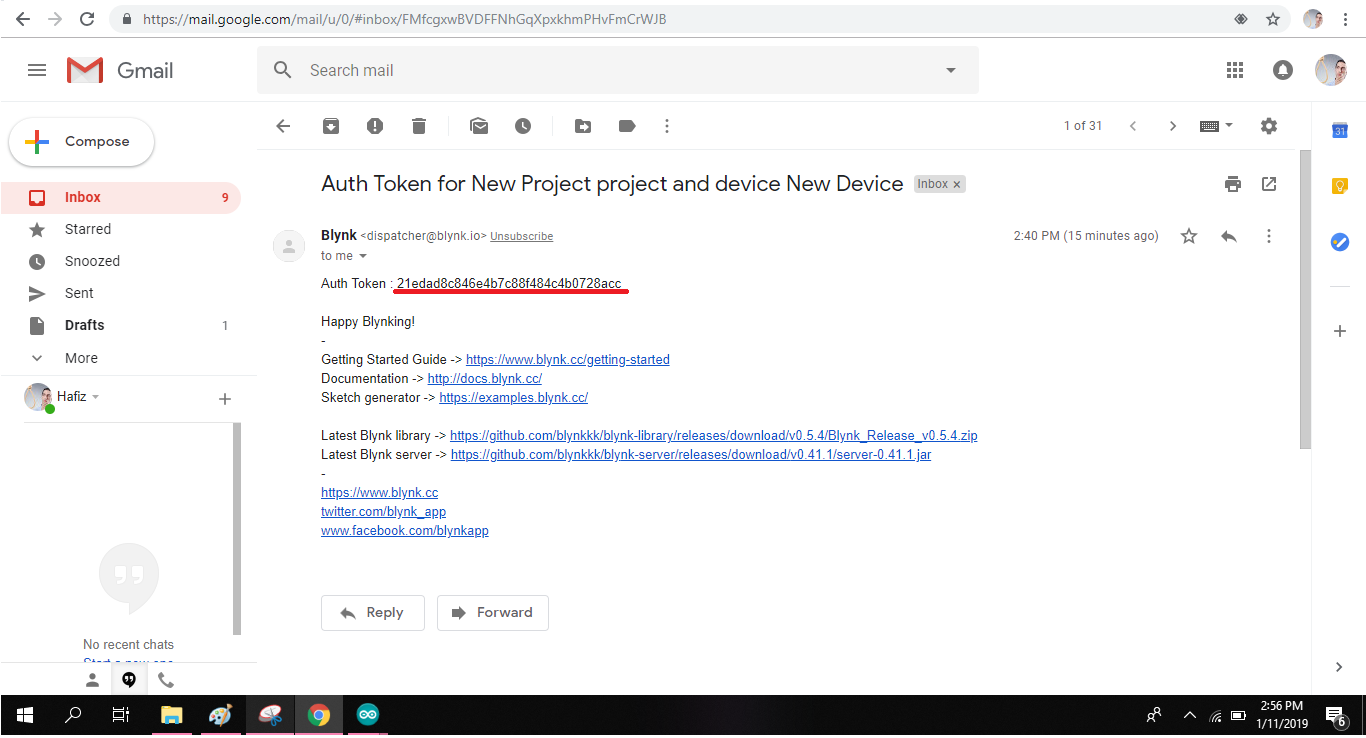

Now you need to check out your email inbox and copy the Auth token code.
Insert the Auth Token, Network name, and Password to your programming. Now upload the code to your WeMos D1 (ESP8266) through micro USB. Make sure you use the right port by select at [Tools => Port].
Try Out Blynk Button

Select the play button from the upper right side and turn on the pin button.
Finish

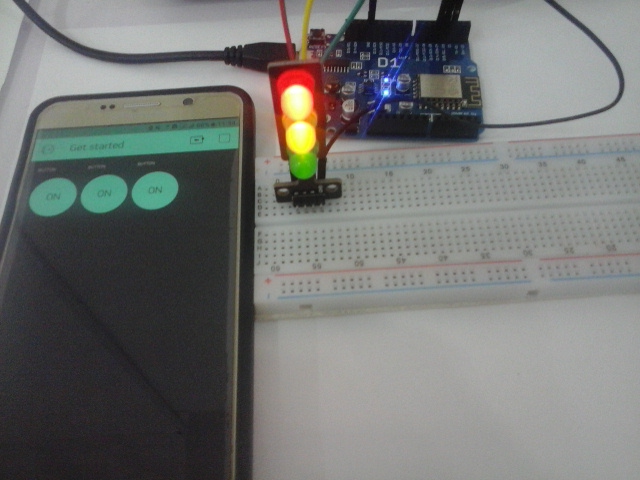

Now it's working! The Blynk pin buttons works as a switch.