Automated SOS
by Louisville Public Library in Circuits > Gadgets
1719 Views, 7 Favorites, 0 Comments
Automated SOS
![22.png](/proxy/?url=https://content.instructables.com/FXJ/JUOM/HY4L4BJ2/FXJJUOMHY4L4BJ2.png&filename=22.png)
This project uses an Arduino at Heart module to repeat
an SOS signal in Morse Code. We start by
constructing the circuit. Next we
install the Arduino IDE on a computer.
Finally, we type the code and upload it to the Arduino at Heart module.
Automated SOS
![18.png](/proxy/?url=https://content.instructables.com/F4R/QZXJ/HY7362MS/F4RQZXJHY7362MS.png&filename=18.png)
Start with the power module.
Automated SOS
![19.png](/proxy/?url=https://content.instructables.com/F7Y/HPUO/HY7362TL/F7YHPUOHY7362TL.png&filename=19.png)
Connect the Arduino at Heart module to the power
module.
Automated SOS
![20.png](/proxy/?url=https://content.instructables.com/FJ8/6W5Y/HY7362YH/FJ86W5YHY7362YH.png&filename=20.png)
Connect a buzzer to port d5.
Automated SOS
![21.png](/proxy/?url=https://content.instructables.com/FX4/UAZO/HY736367/FX4UAZOHY736367.png&filename=21.png)
Connect the LED to port d9.
Automated SOS
![22.png](/proxy/?url=https://content.instructables.com/FNJ/N8YA/HY73639P/FNJN8YAHY73639P.png&filename=22.png)
Connect the USB cable from the Arduino at Heart
to your computer (Computer is not shown).
Automated SOS
![23.png](/proxy/?url=https://content.instructables.com/F4S/K306/HY7363D7/F4SK306HY7363D7.png&filename=23.png)
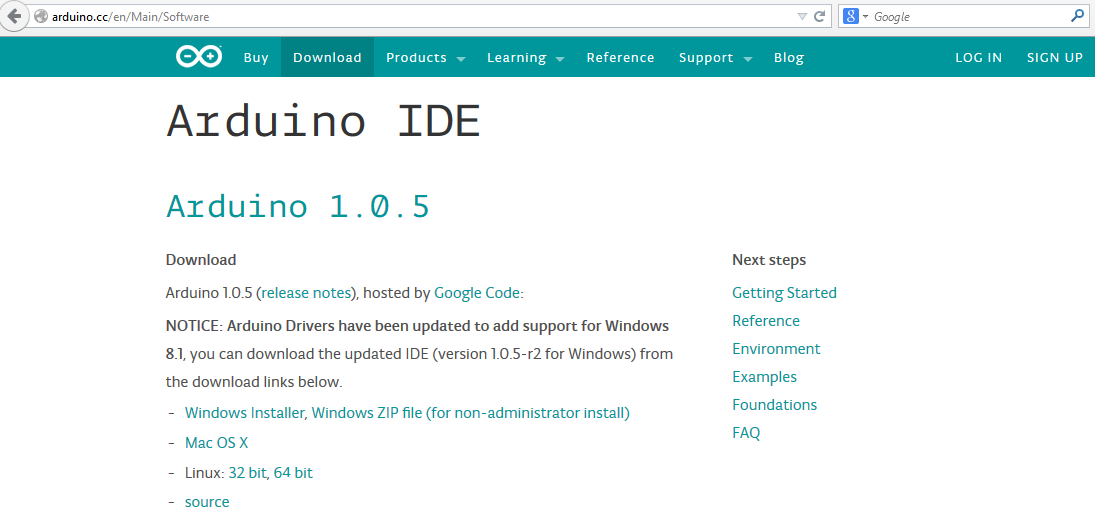
Download the Arduino IDE for your platform from http://arduino.cc
The instructions below demonstrate the
installation of the Arduino IDE for the Windows platform.
Automated SOS
![24.png](/proxy/?url=https://content.instructables.com/F6N/1OCH/HY7363GR/F6N1OCHHY7363GR.png&filename=24.png)
After downloading the appropriate file, install
the Arduino IDE software by double-clicking the downloaded file.
Automated SOS
![25.png](/proxy/?url=https://content.instructables.com/FWD/IQSM/HY7363M0/FWDIQSMHY7363M0.png&filename=25.png)
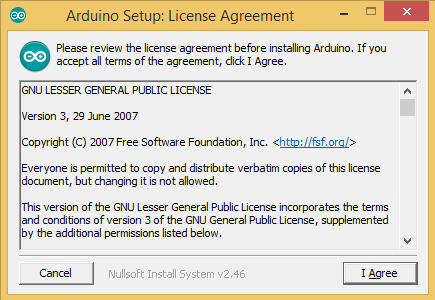
Read and agree to the license by clicking the “I
Agree” button.
Automated SOS
![26.png](/proxy/?url=https://content.instructables.com/FBJ/O8EL/HY7363RD/FBJO8ELHY7363RD.png&filename=26.png)
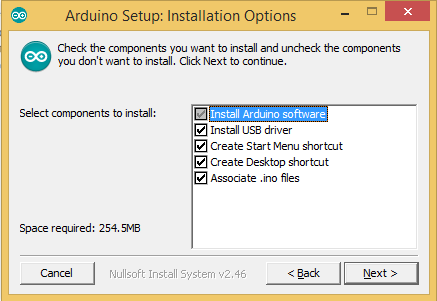
Leave all components checked. Click Next.
Automated SOS
![27.png](/proxy/?url=https://content.instructables.com/FNM/TPF1/HY7363YL/FNMTPF1HY7363YL.png&filename=27.png)
Leave the destination folder as is. Click Install.
Automated SOS
![28.png](/proxy/?url=https://content.instructables.com/FSW/4CEA/HY73643N/FSW4CEAHY73643N.png&filename=28.png)
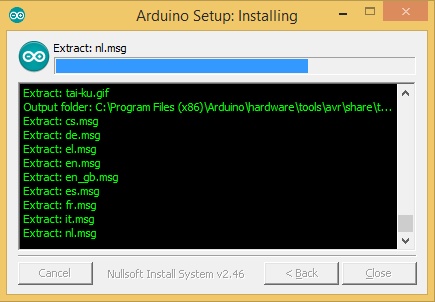
Allow the installer to extract the files.
Automated SOS
![29.png](/proxy/?url=https://content.instructables.com/F62/G2W0/HY736495/F62G2W0HY736495.png&filename=29.png)
When prompted to install the device driver,
click the Install button.
Automated SOS
![30.png](/proxy/?url=https://content.instructables.com/FOR/VSET/HY7364F5/FORVSETHY7364F5.png&filename=30.png)
When the installation completes, press the Close
button.
Automated SOS
![31.png](/proxy/?url=https://content.instructables.com/F70/FJB0/HY7364KK/F70FJB0HY7364KK.png&filename=31.png)
Start the Arduino IDE by double-clicking the icon.
Automated SOS
![32.png](/proxy/?url=https://content.instructables.com/F3O/76DH/HY7364OG/F3O76DHHY7364OG.png&filename=32.png)
1.
Turn on the power module.
2.
Select the Arduino Leonardo in the Tools menu.
Automated SOS
![33.png](/proxy/?url=https://content.instructables.com/FQ9/VCEK/HY7364XJ/FQ9VCEKHY7364XJ.png&filename=33.png)
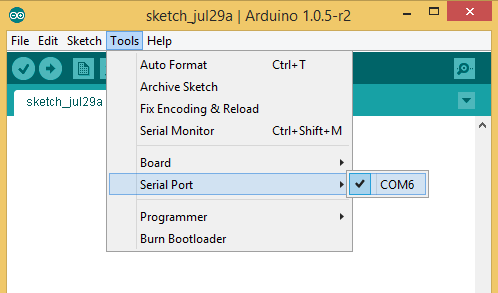
Select the serial port. (This port may change every time you connect
the Arduino at Heart module).
Automated SOS
![33.png](/proxy/?url=https://content.instructables.com/FRD/TJMK/HY736536/FRDTJMKHY736536.png&filename=33.png)
Type in the following code and save it as Morse. This program is called a sketch.
Automated SOS
![34.png](/proxy/?url=https://content.instructables.com/FD1/J93U/HY73657X/FD1J93UHY73657X.png&filename=34.png)
![34(2).png](/proxy/?url=https://content.instructables.com/FFN/W72E/HY736586/FFNW72EHY736586.png&filename=34(2).png)
Type in the following code and save it as Morse. This program is called a sketch.
Automated SOS
![35.png](/proxy/?url=https://content.instructables.com/FX7/HA15/HY7365I7/FX7HA15HY7365I7.png&filename=35.png)
Upload the sketch to the Arduino at Heart module
by clicking the right arrow under the Edit menu.
Watch and listen as an SOS distress call is tapped out!