Aviation Headset Adapter for Sony XM6 Headphones
by EdgarW12 in Circuits > Audio
816 Views, 3 Favorites, 0 Comments
Aviation Headset Adapter for Sony XM6 Headphones
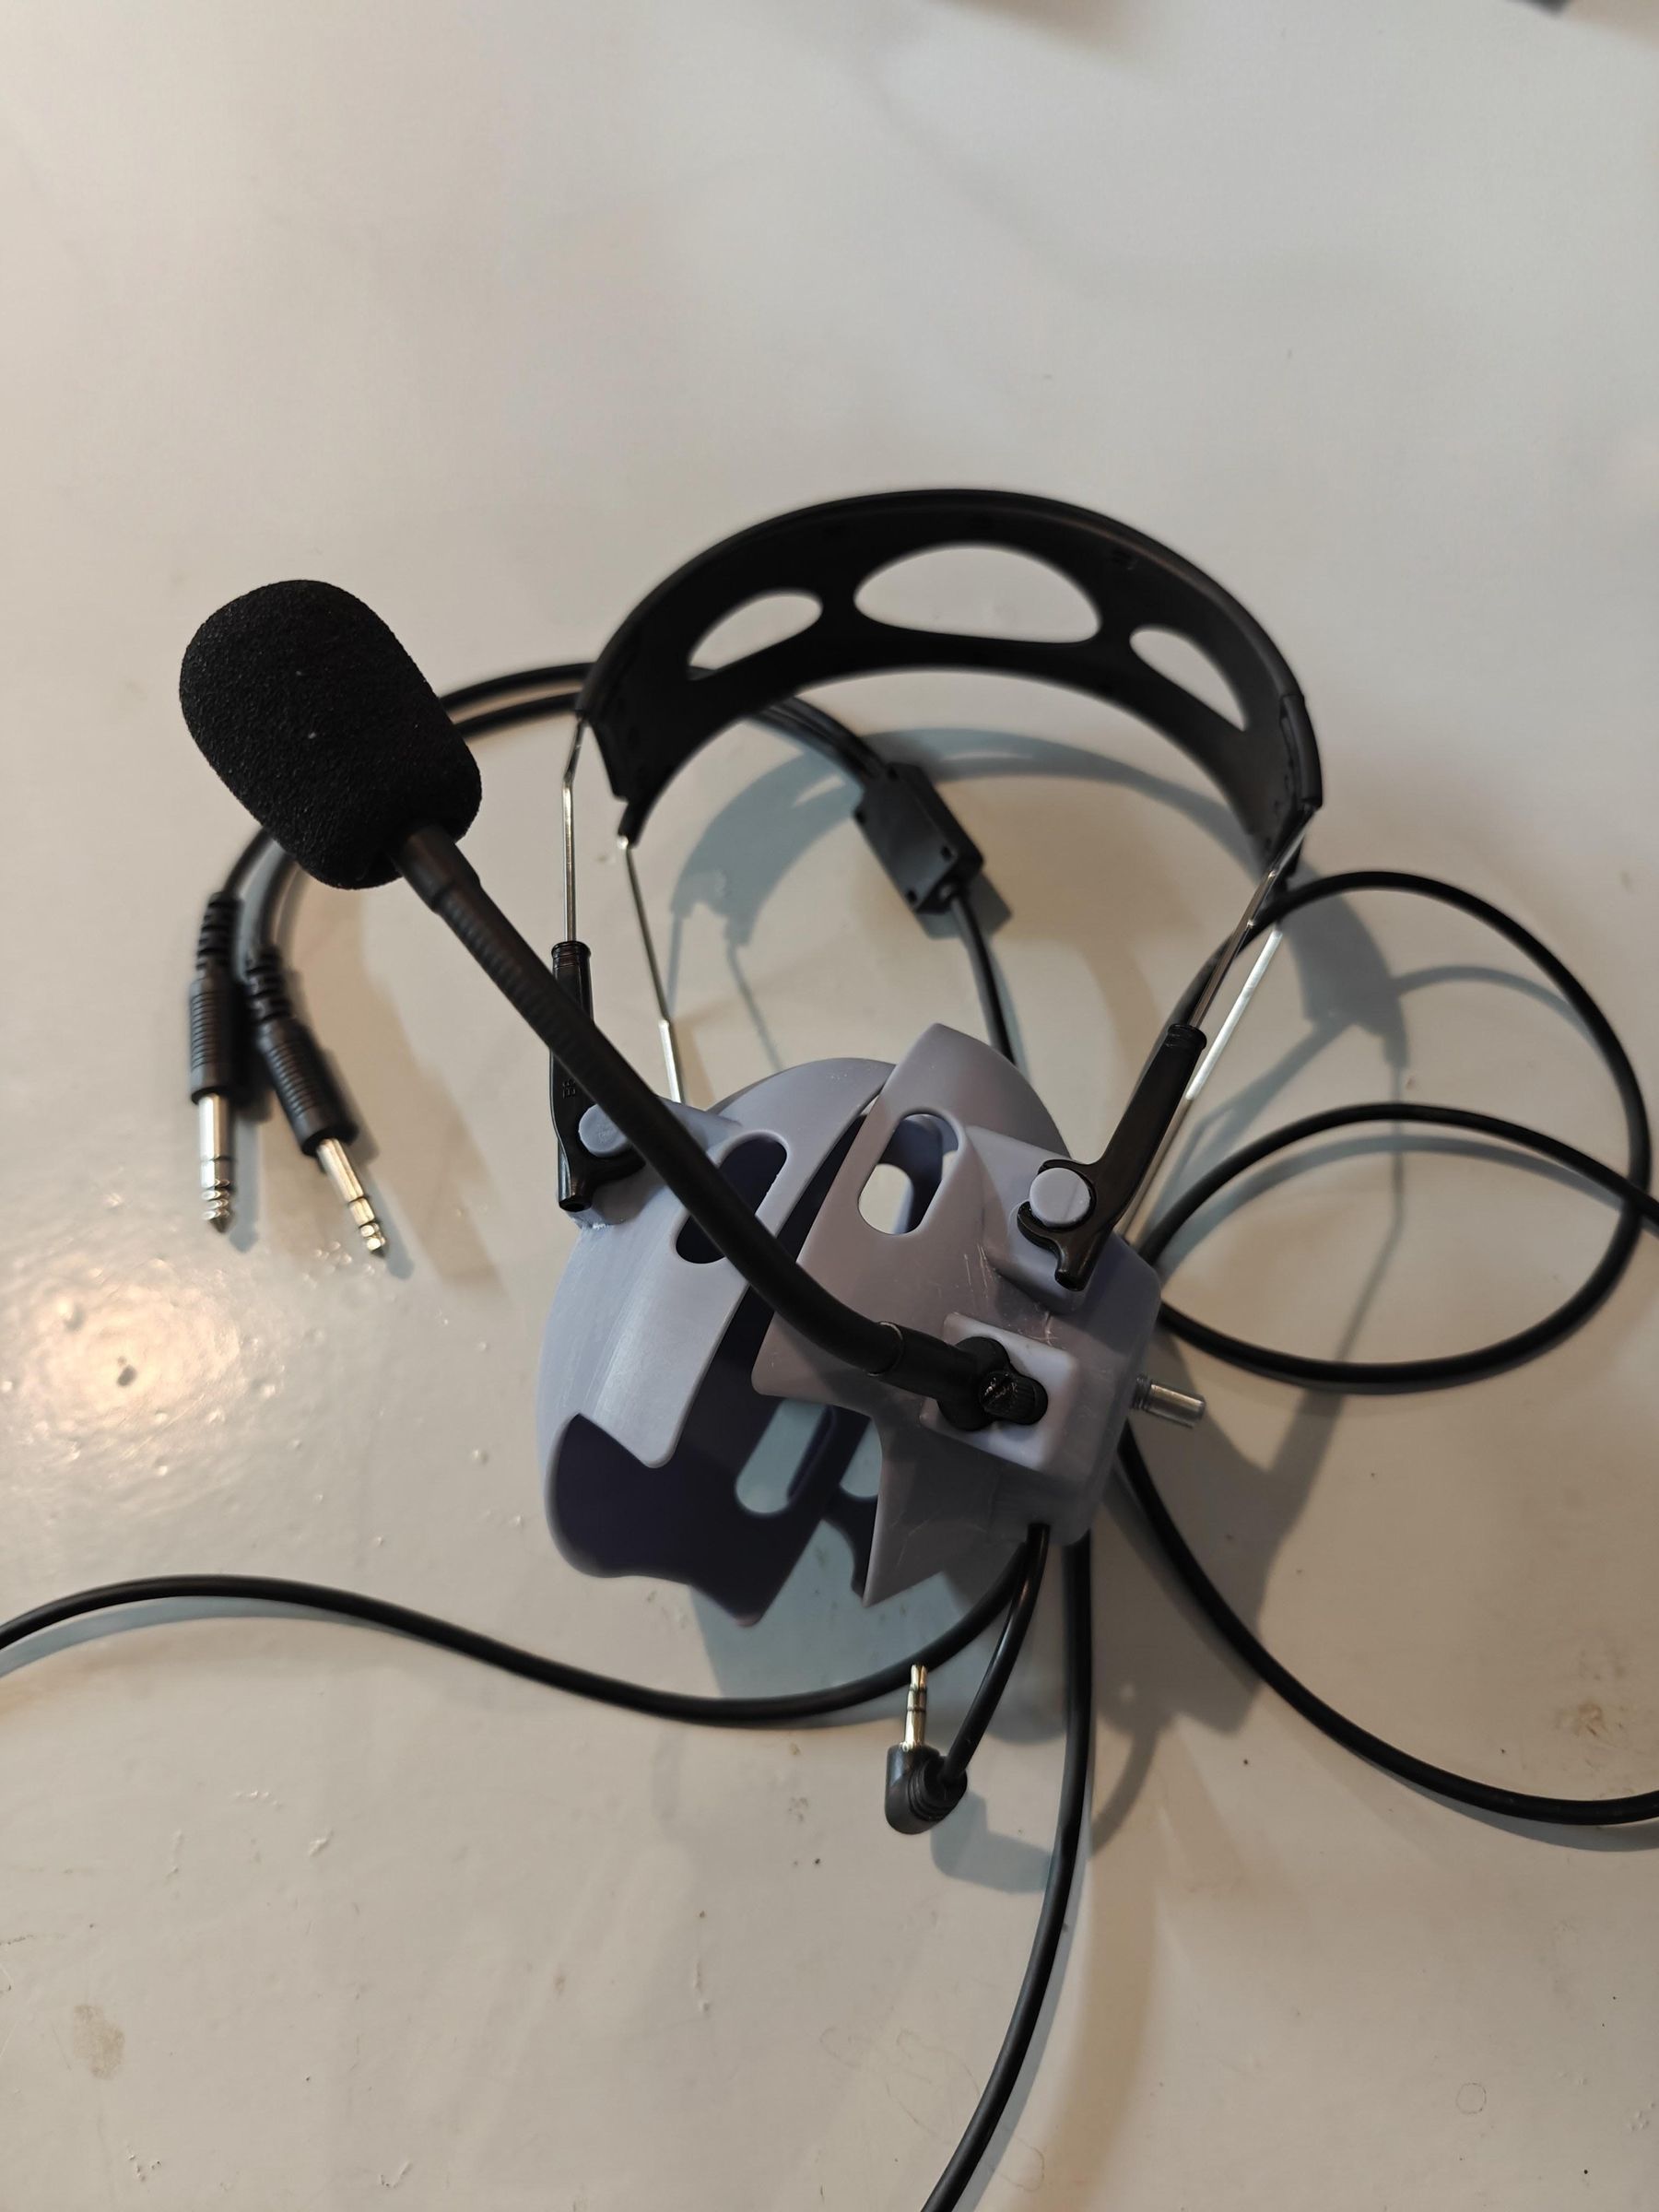
I was looking around for a good pair of ANC aviation headsets. And quite frankly, was shocked at the insane prices I was looking at. The Bose Aviation after tax is over $2000, and the Litespeeds are not far behind. Also I was dumbfounded when I saw most of these rely on non-rechargeable AAA batteries! It's like walking back in time 20 years! So with the bar this low, I knew there is something I can do!
Enter Sony XM6:
I already have the Sony WH-1000XM6, the "world's best noise-cancelling headphones" (as of April '26), so why not throw a boom mic on them, and I should be good? Well, not quite. I took them along on my next flight just to get a feel for how the sound reduction handles being outside my relatively quiet office. I had previously tried it with my Beats Solo Pro years ago, before I had my pilot's license, and they failed miserably in the extreme noise environment.
Field Testing Phase 1:
I found the Sony XM6 to handle the RV6A cabin noise with ease; however, the office-oriented clamping force was just not enough to make a good seal. Just some light pressure with the finger tips was enough to bring the noise level lower than any Lightspeed or Bose I have ever tried! Great, so now we know the headset will work, now to make the adaptors to add slightly more clamping, and the GA cables to plug into the aircraft audio jacks.
Let's build it
Supplies
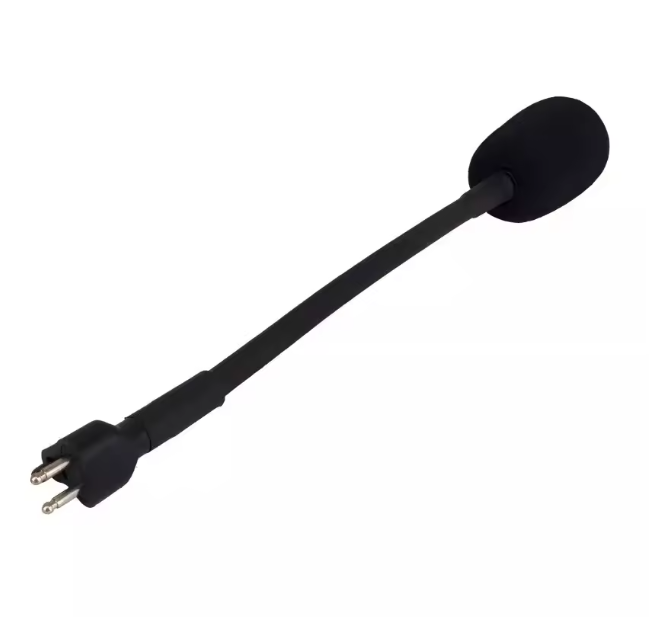
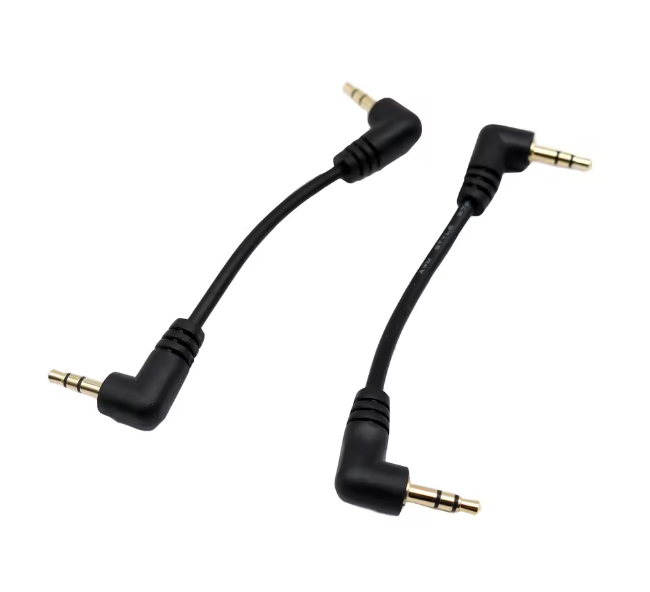
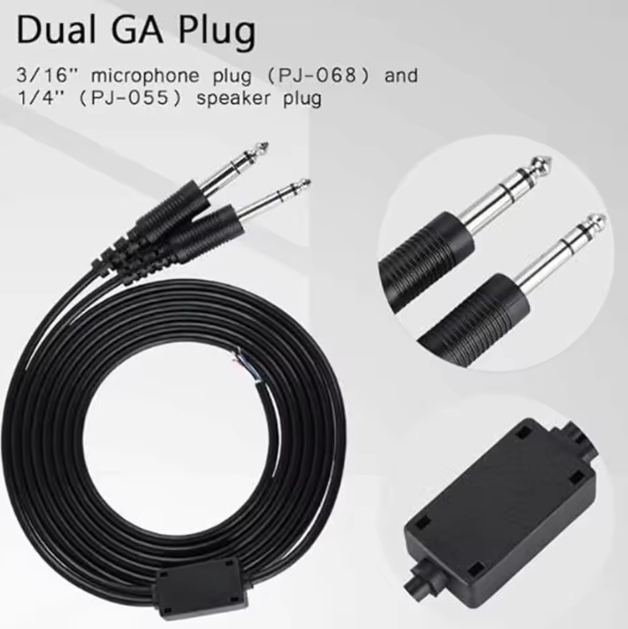
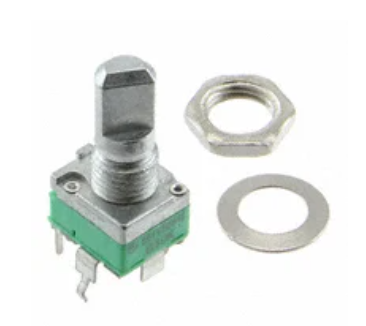
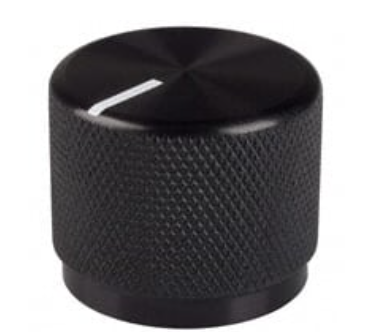
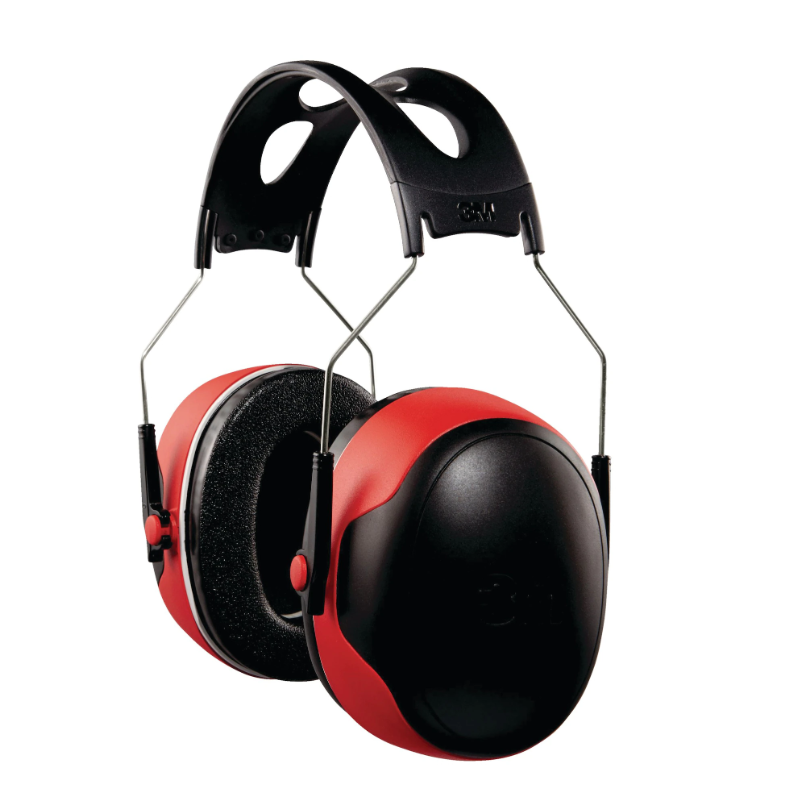
Here is what you will need.
- 3D printer, ideally one yourself, or if you have access to one at school or somewhere, that's great. Even if not, there are many services online where you can send your STL files, and they ship the parts back to you.
- Noise-Cancelling Boom Mic - $20.38 I found this one on AliExpress, https://www.aliexpress.com/item/1005009221404512.html I had to make some modifications to it, as you will see later on. It probably would have been easier to go with a different mic, but I had already built the 3D printed parts around it, so I just stuck to modding it.
- Actual Noise-Cancelling Mic - $48.31 NR-23160-000 by Knowles, Digikey part # 423-1010-ND
- Dual GA Plug Audio Cables - $29.38 Also found these on AliExpress for a great price. https://www.aliexpress.com/item/1005007724623220.html
- Right Angle 3.5mm Audio Cable - $1.59 You guessed it, found one on AliExpress https://www.aliexpress.com/item/4000664320567.html but it literally doesn't matter. Get one at Walmart for $20 if you wanna burn your money.
- 3M™ Pro-Grade NRR 30dB Earmuffs - $19.99 I got these from Canadian Tire, but I'm sure you can get the same ones at a local hardware store if you're not from Canada. https://www.canadiantire.ca/en/pdp/3mtm-pro-grade-nrr-30db-earmuffs-red-black-0550273p.html
- Trip Pot and Knob - $5 Literally any 1K trim pot and knob will work here. I just used some I had in my workshop, but here are some DigiKey links. Trim Pot Knob
- DIY Mic Preamp - $5 Perf Board Through-hole resistors, 1x 240KΩ, 1x 4.3KΩ, 1x 1.2KΩ, 1x 270Ω. Through-hole ceramic capacitor 1x 1uF. Just get those literally anywhere, I don't care.
As you can see, the parts are around $130, and even if you go get the Sony headphones extra, you are still cheaper than even the cheapest Lightspeed you can get!
3D Print the Clamp Shell
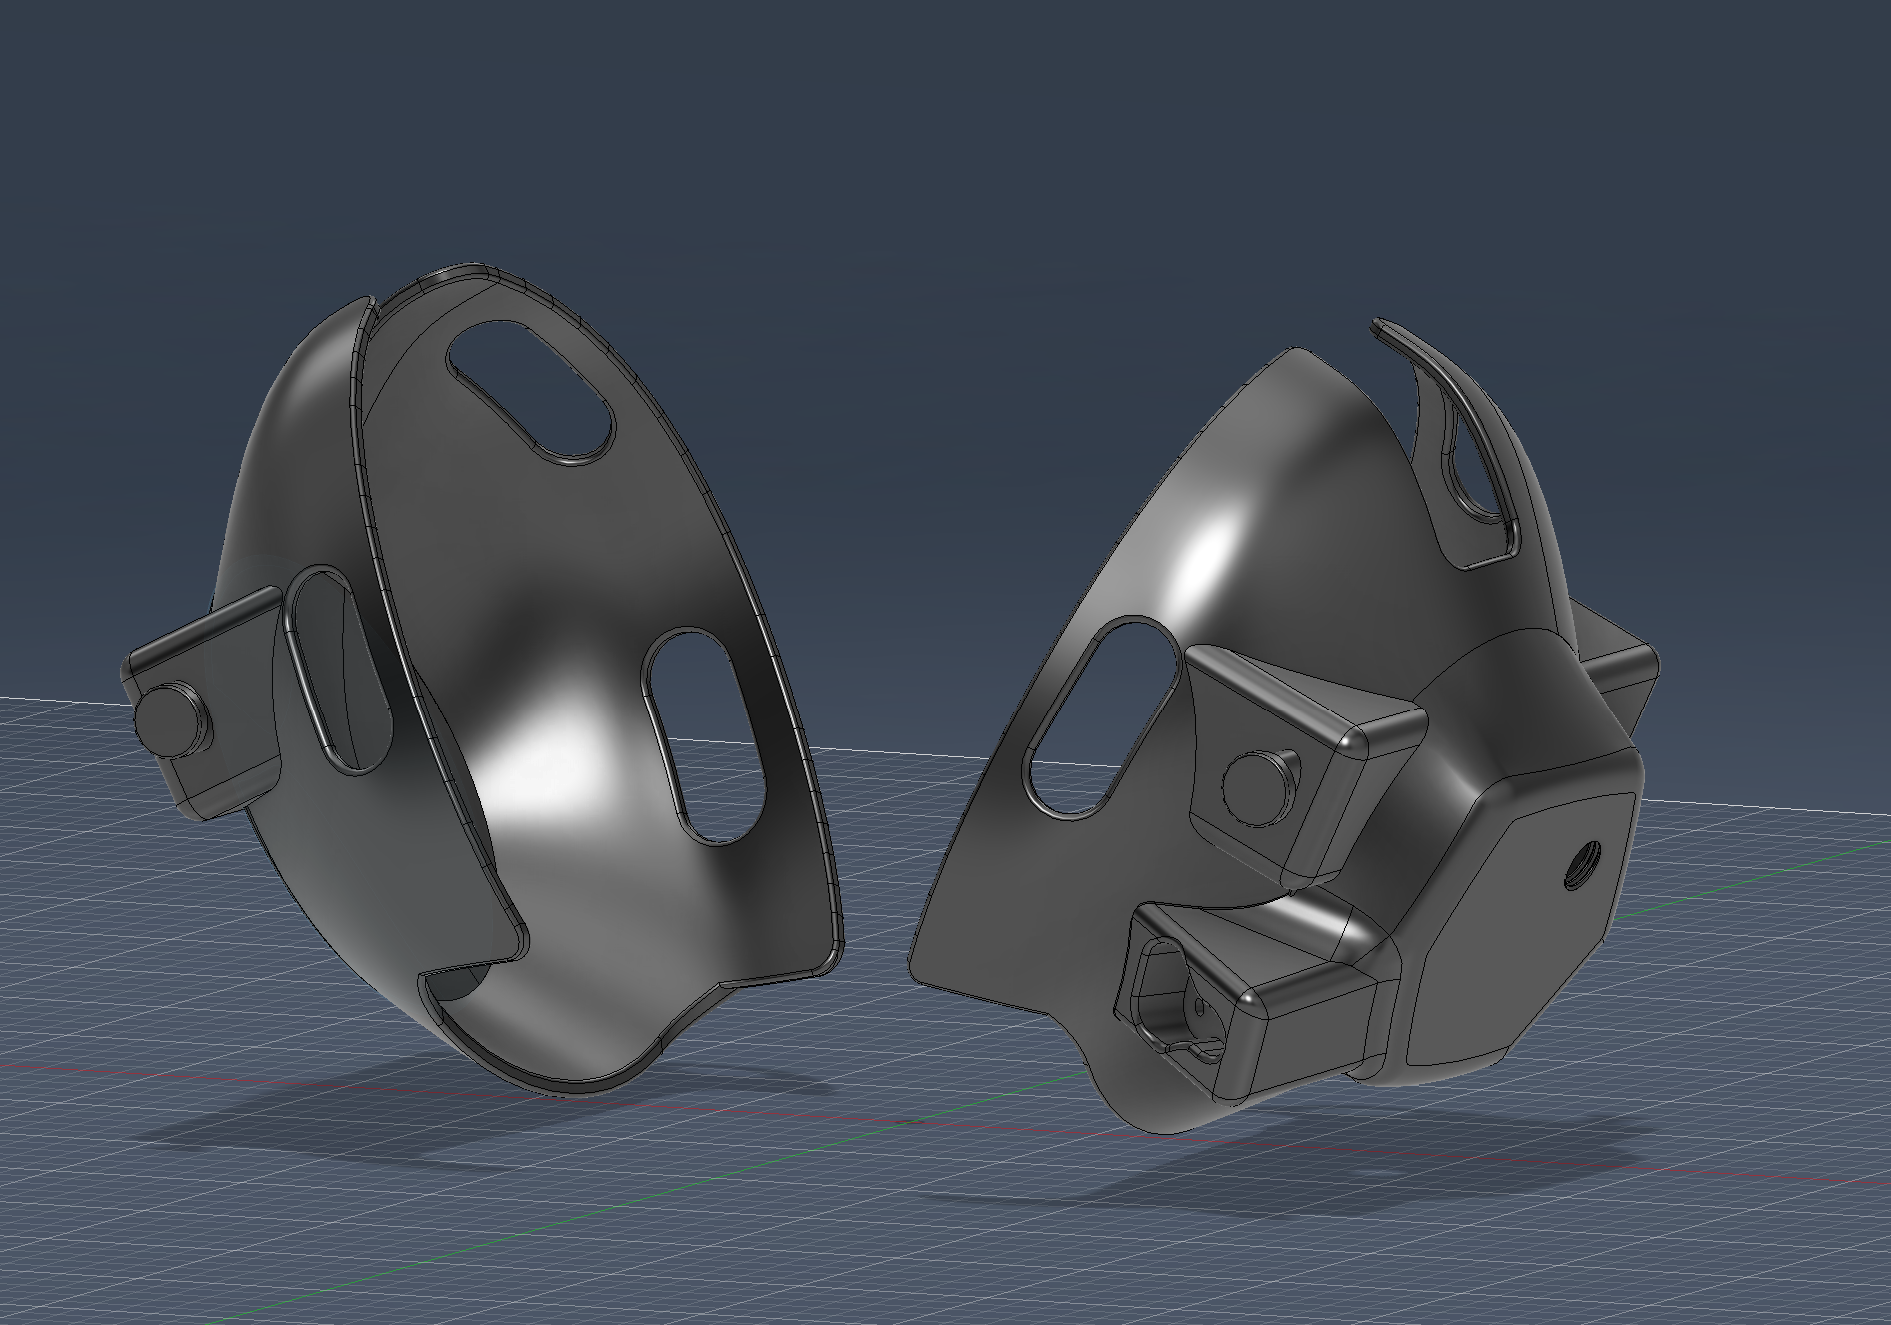
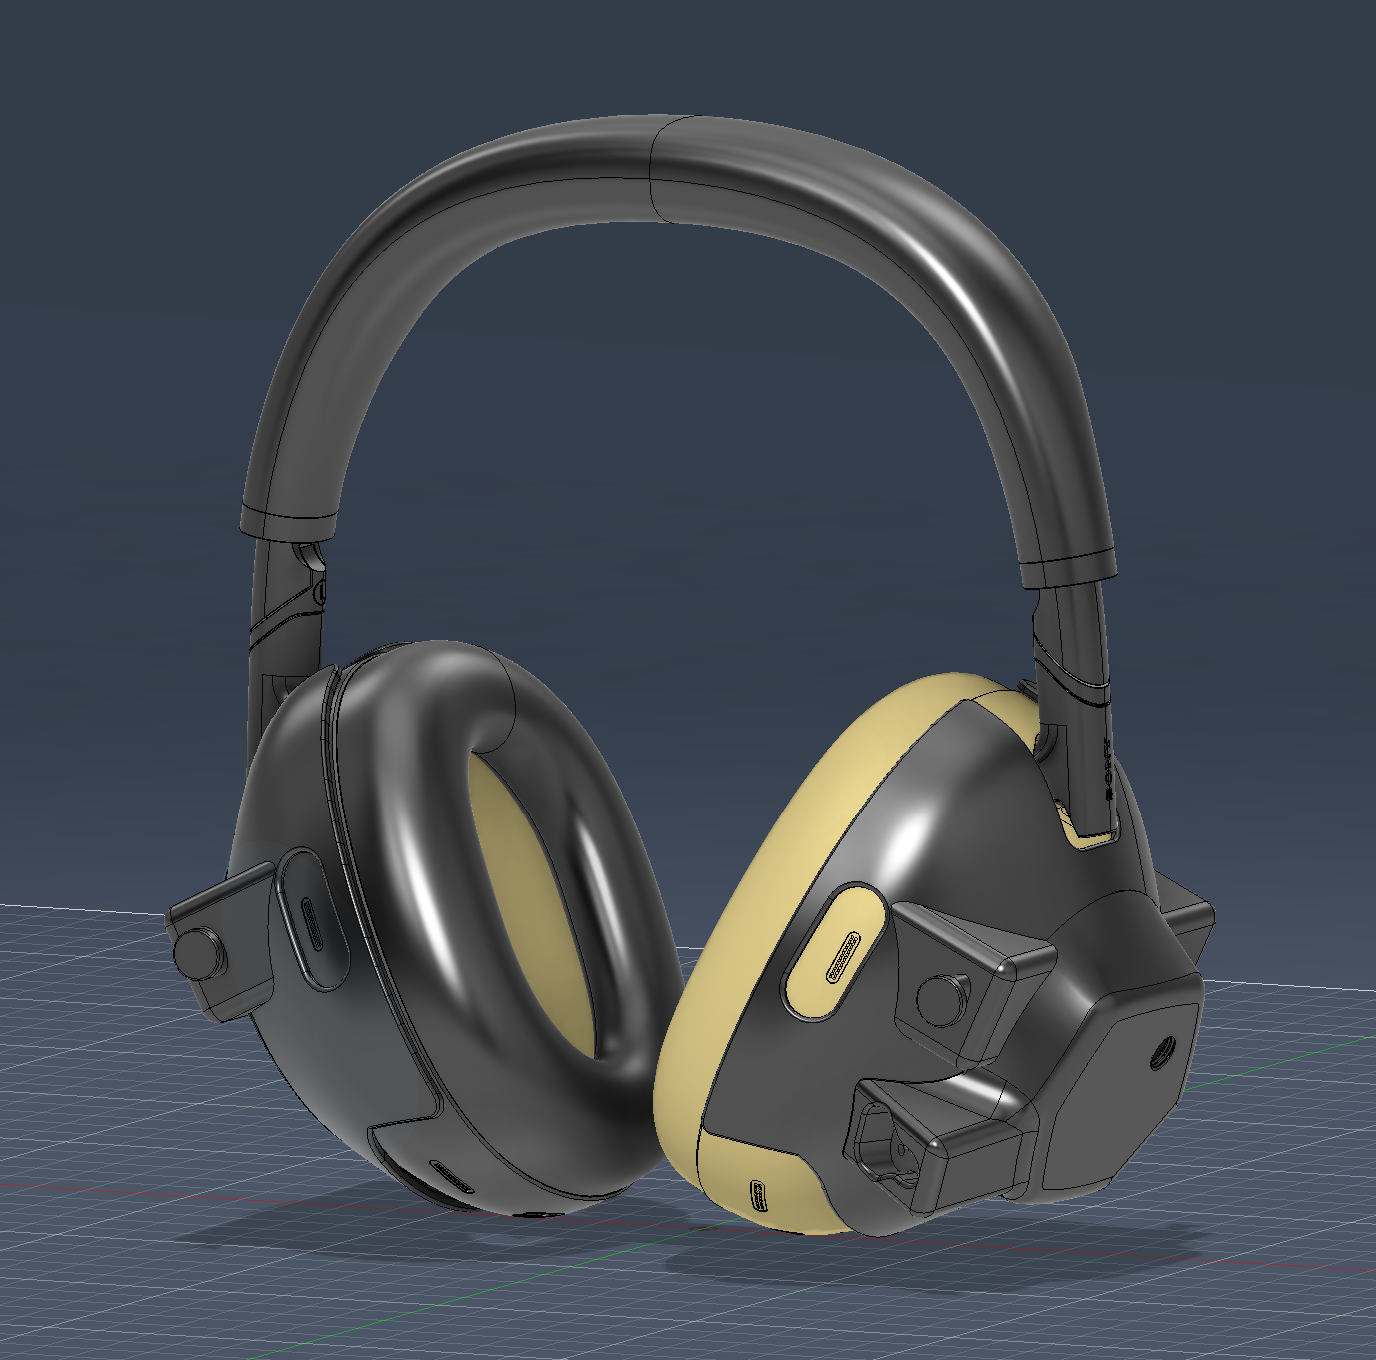
I found a 3D model of the XM6 headphones online, and modelled the clamping shell and boom mic holder to fit perfectly over the headphone cups. Download and print the following two STL files. I used a resin printer for a nicer finished product, but a filament printer should do fine.
Connect the Wires
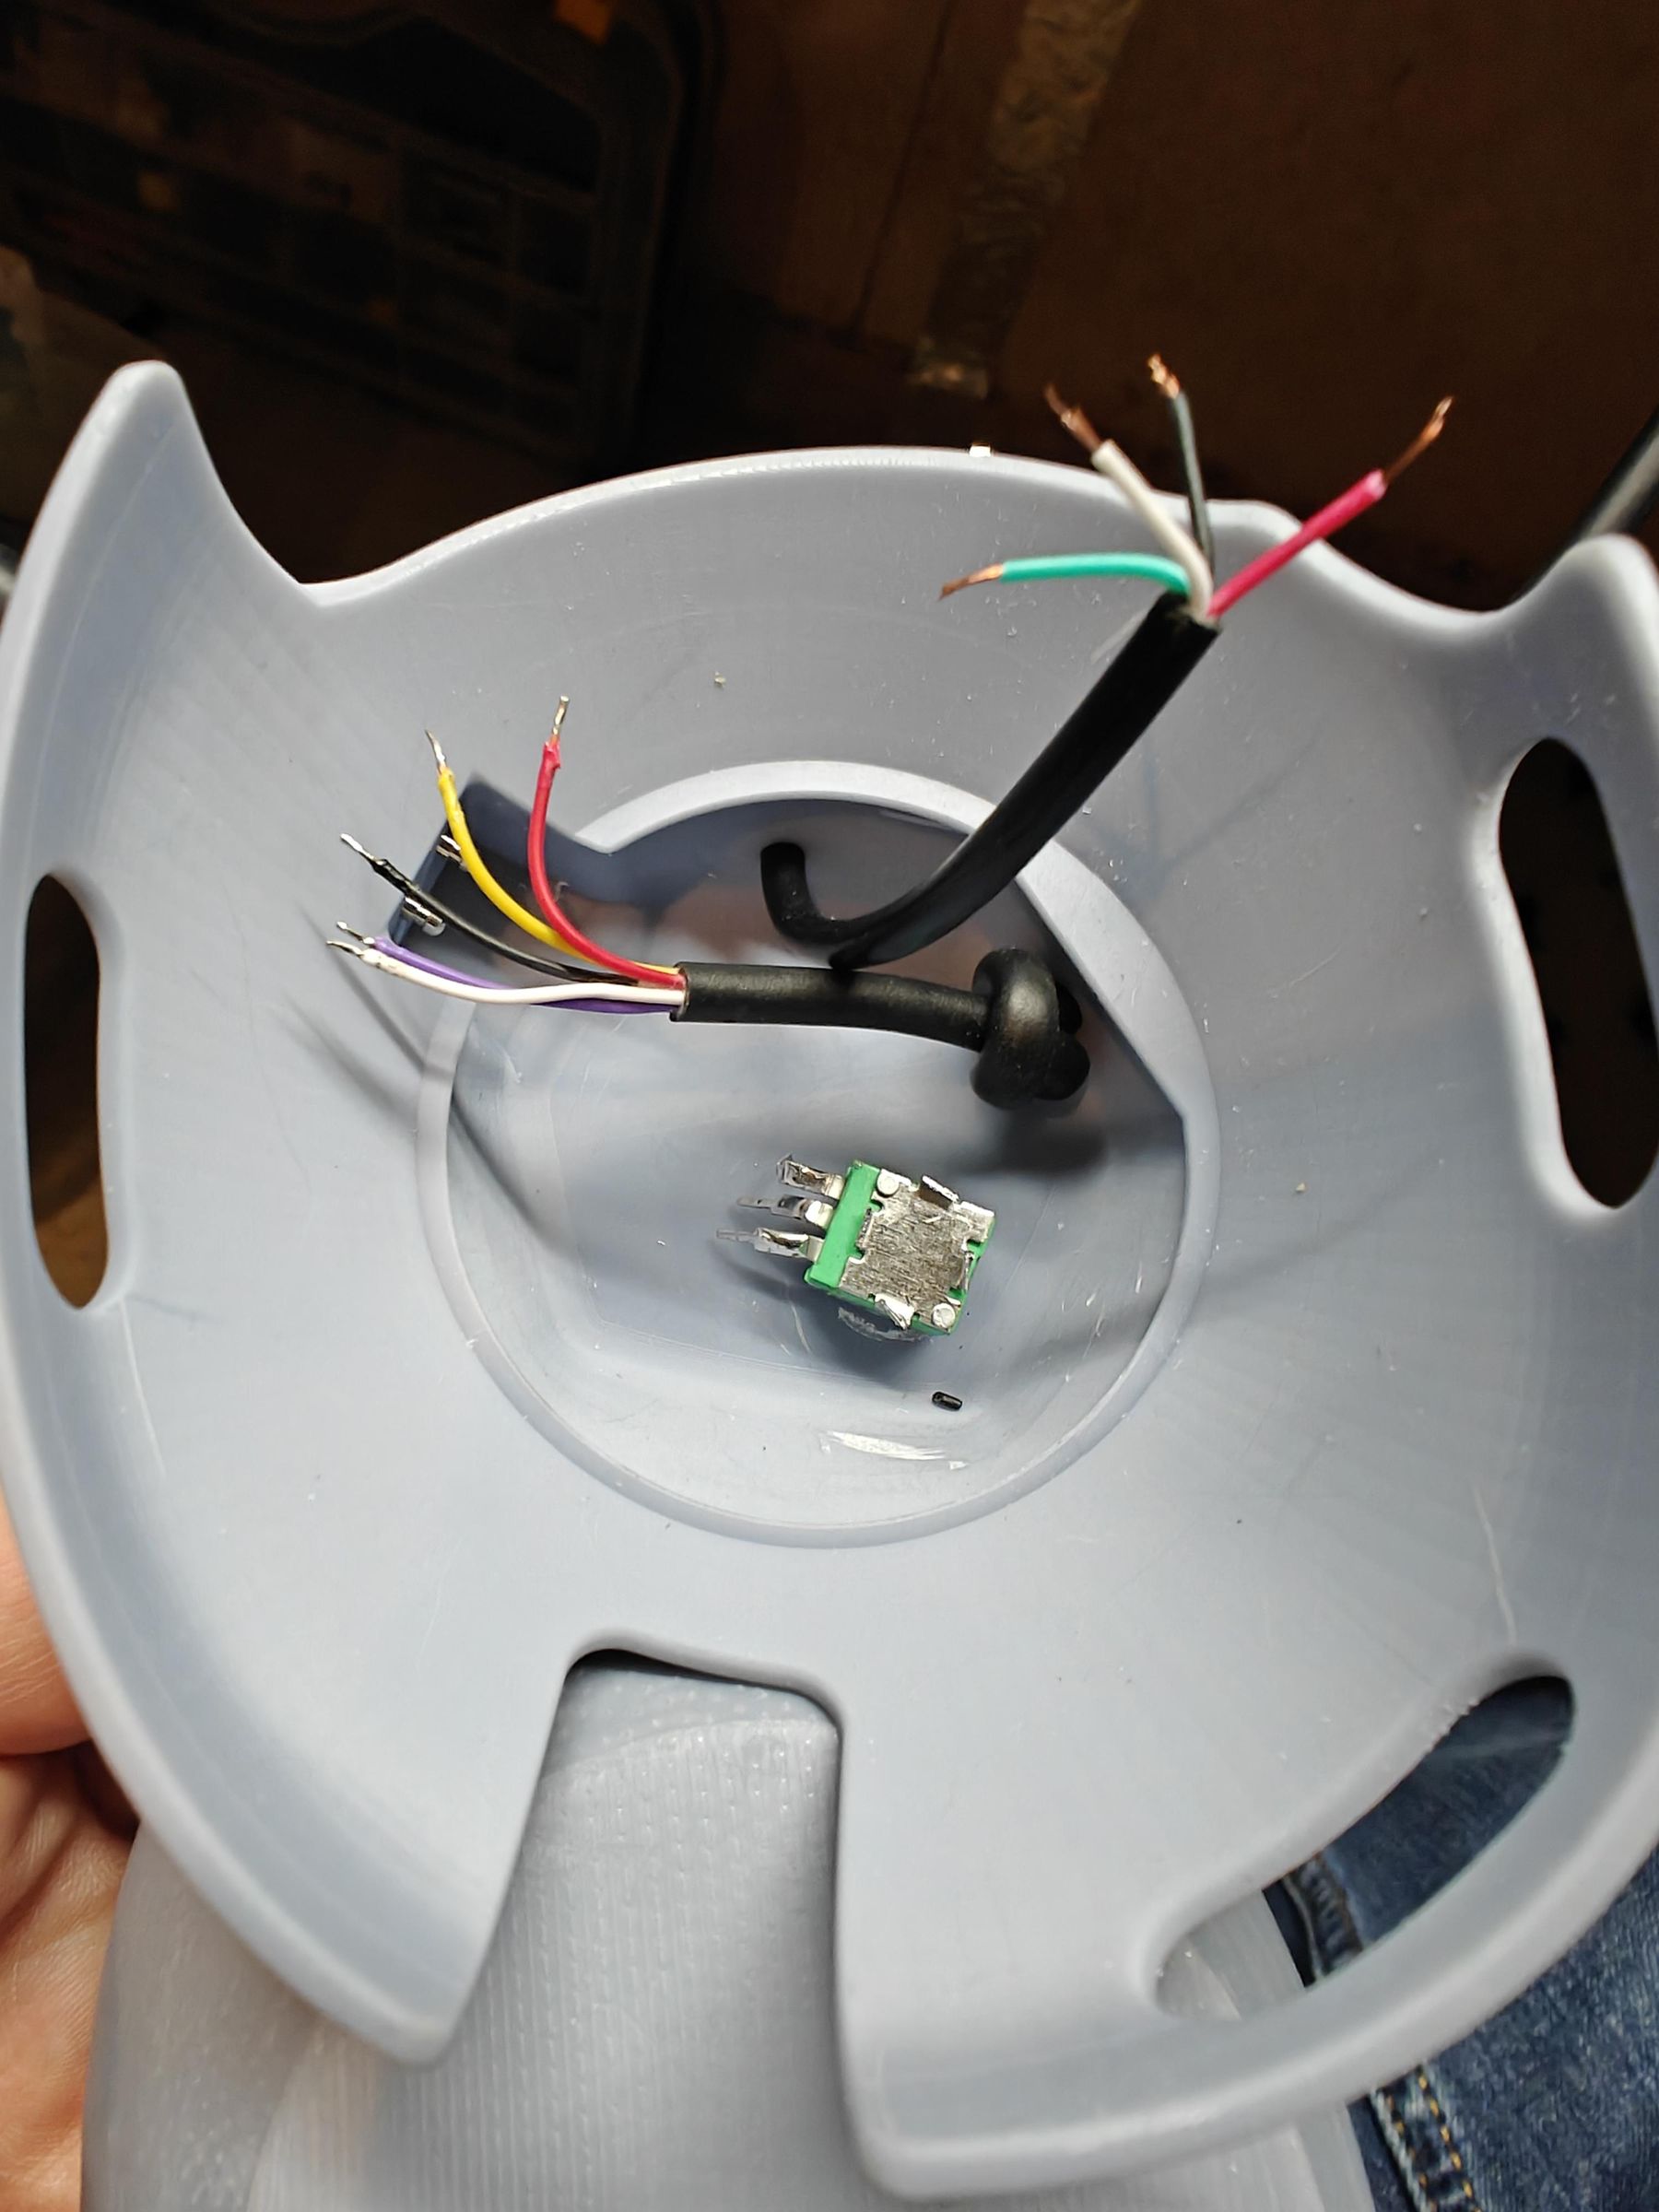
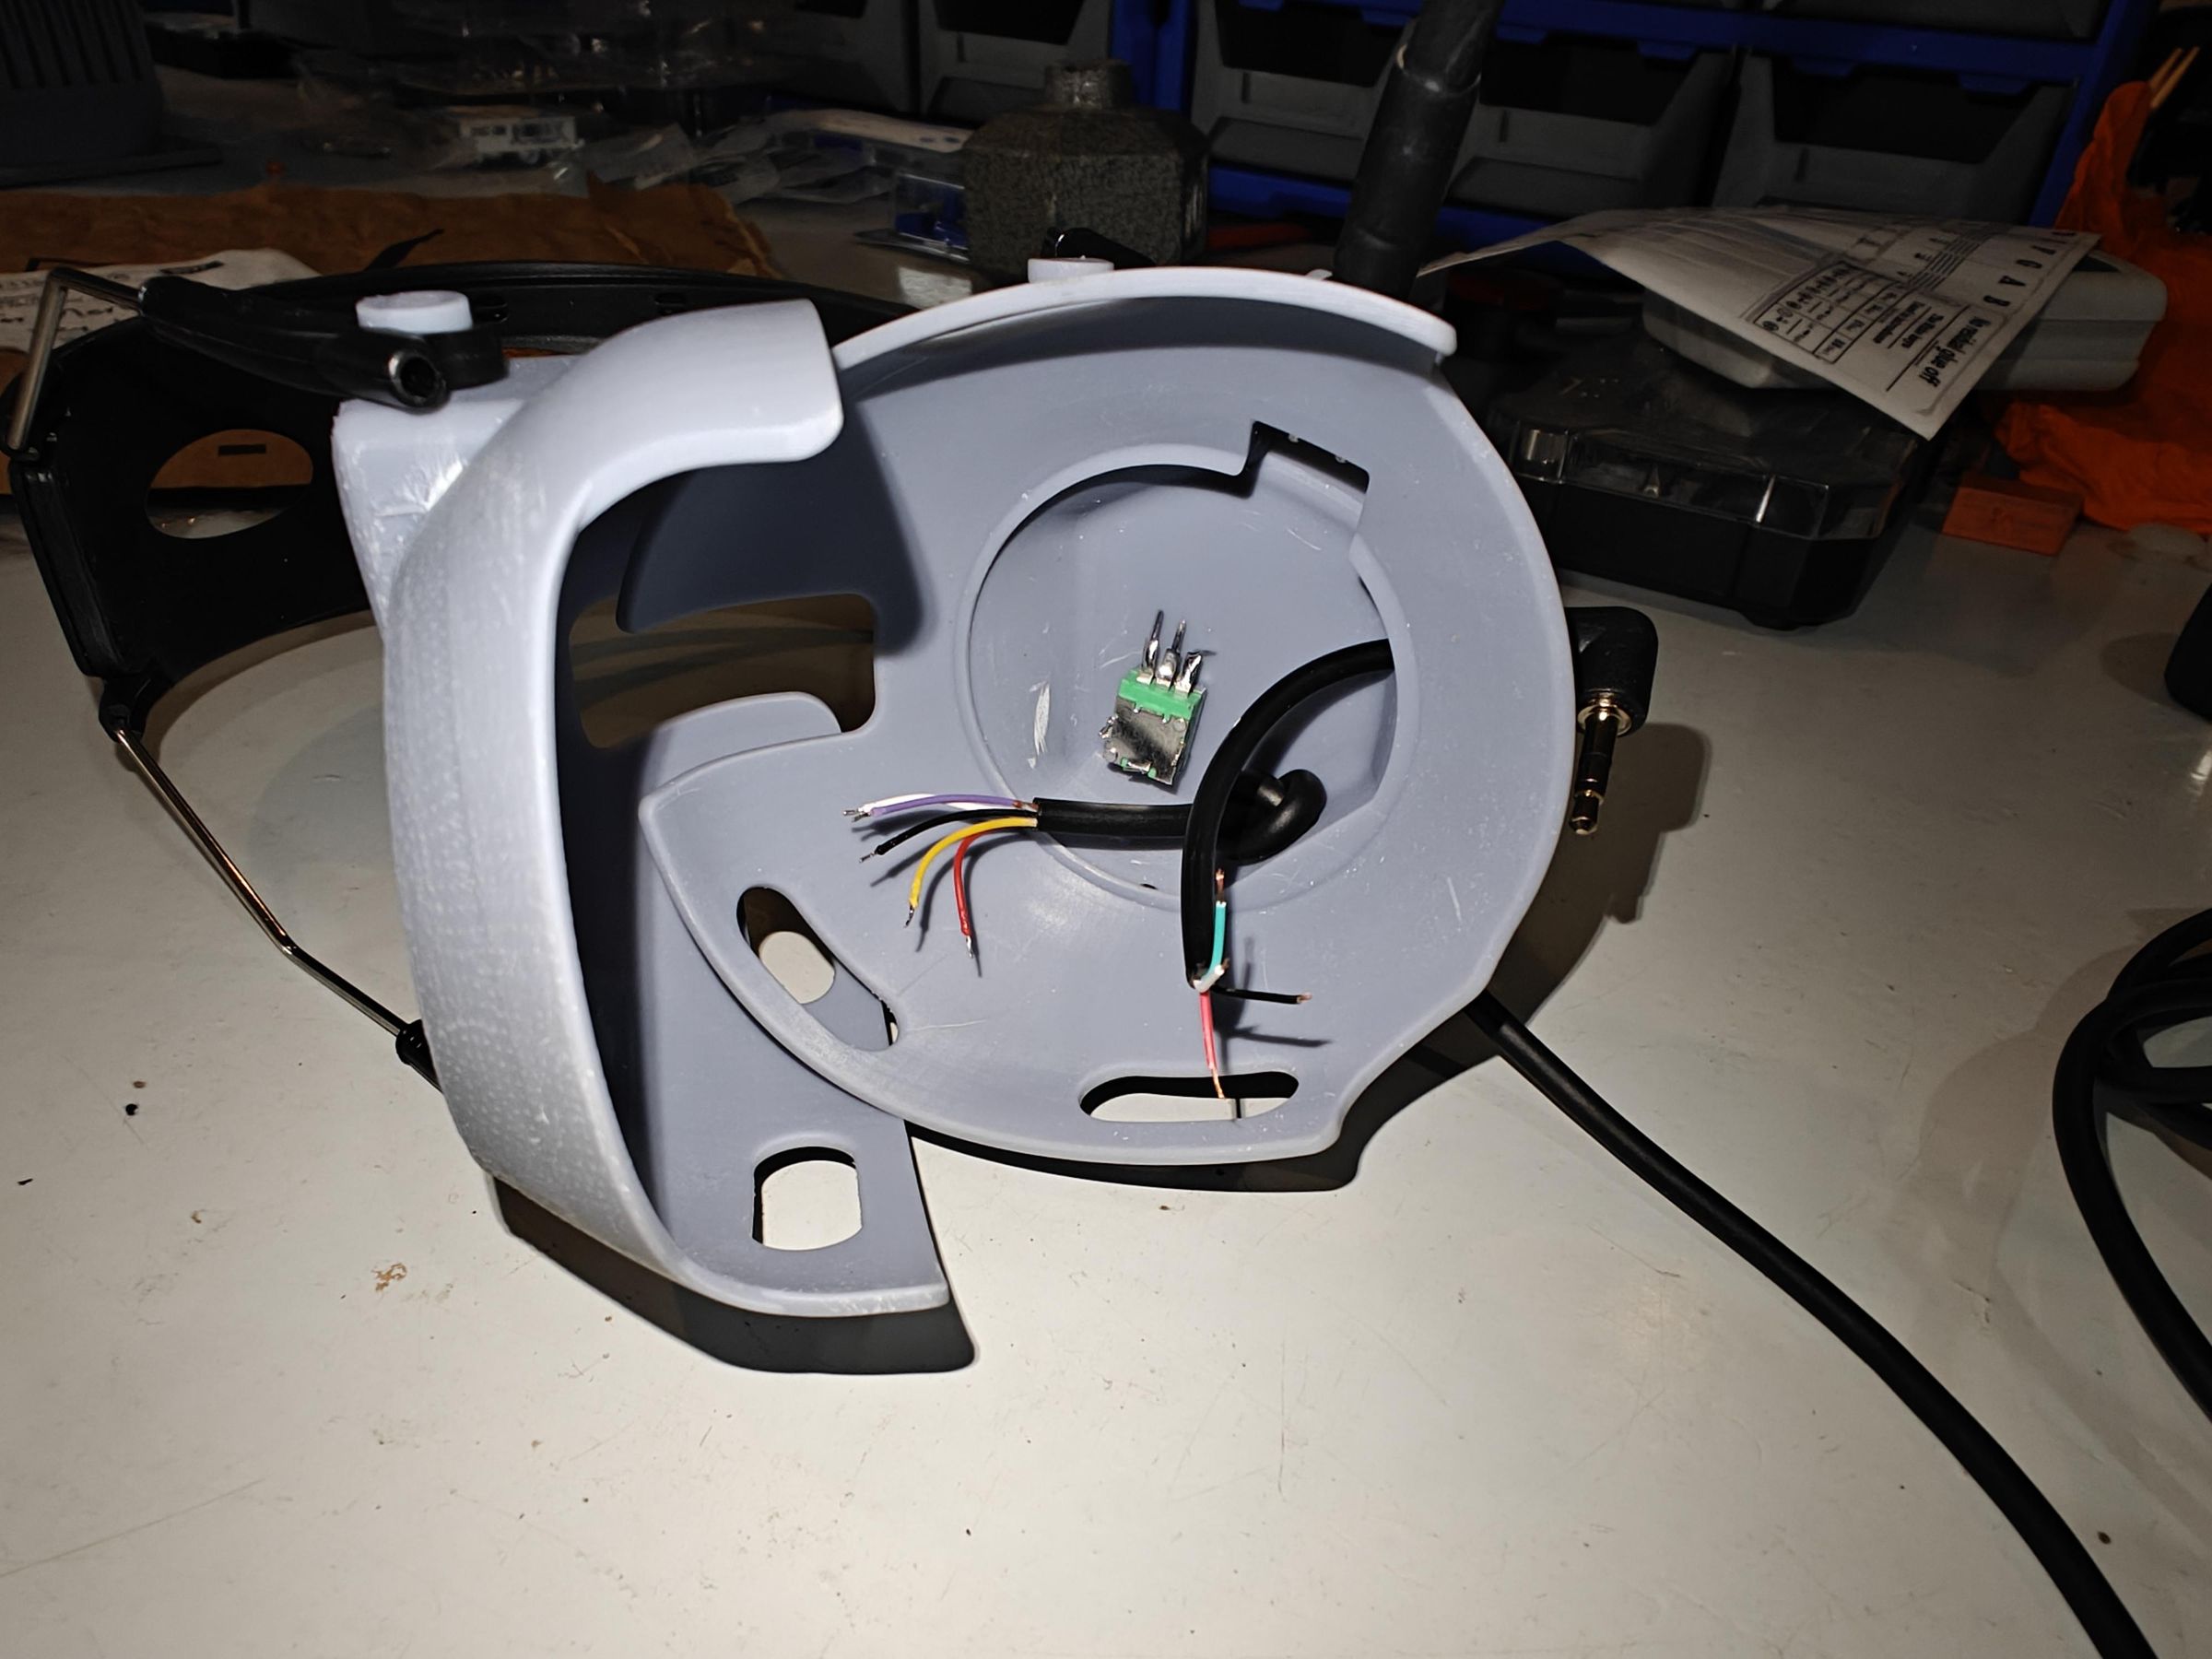
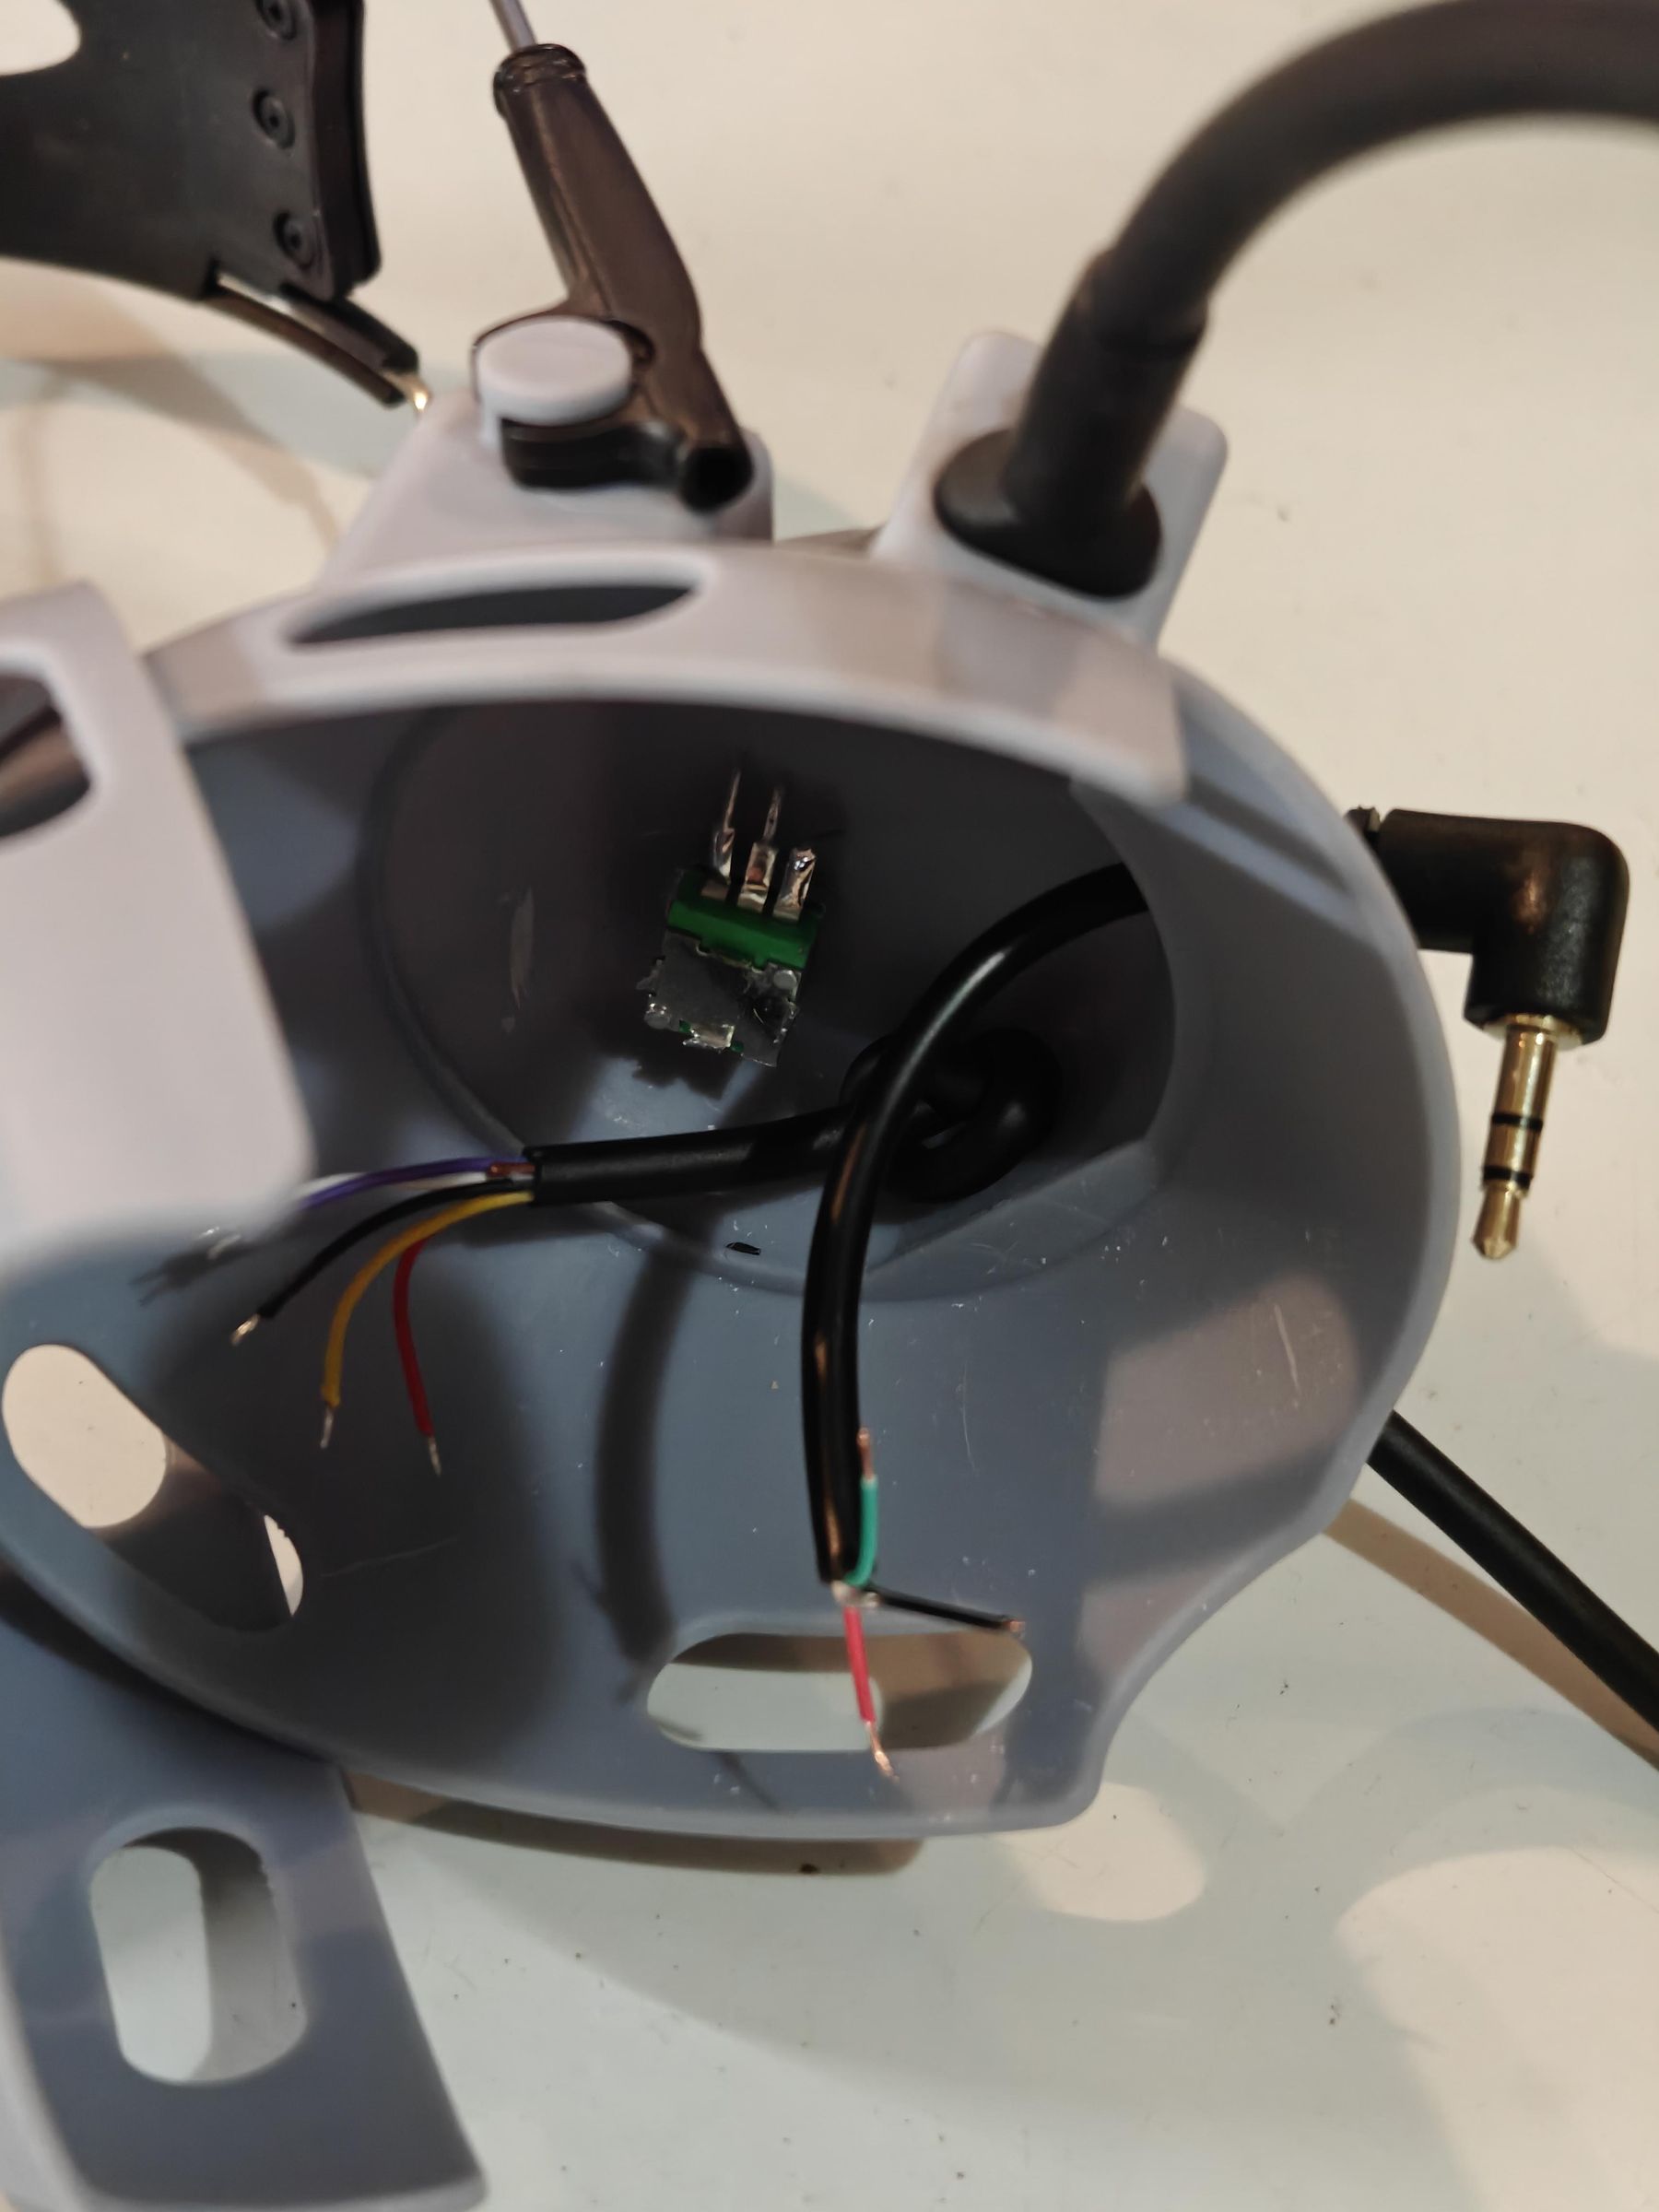
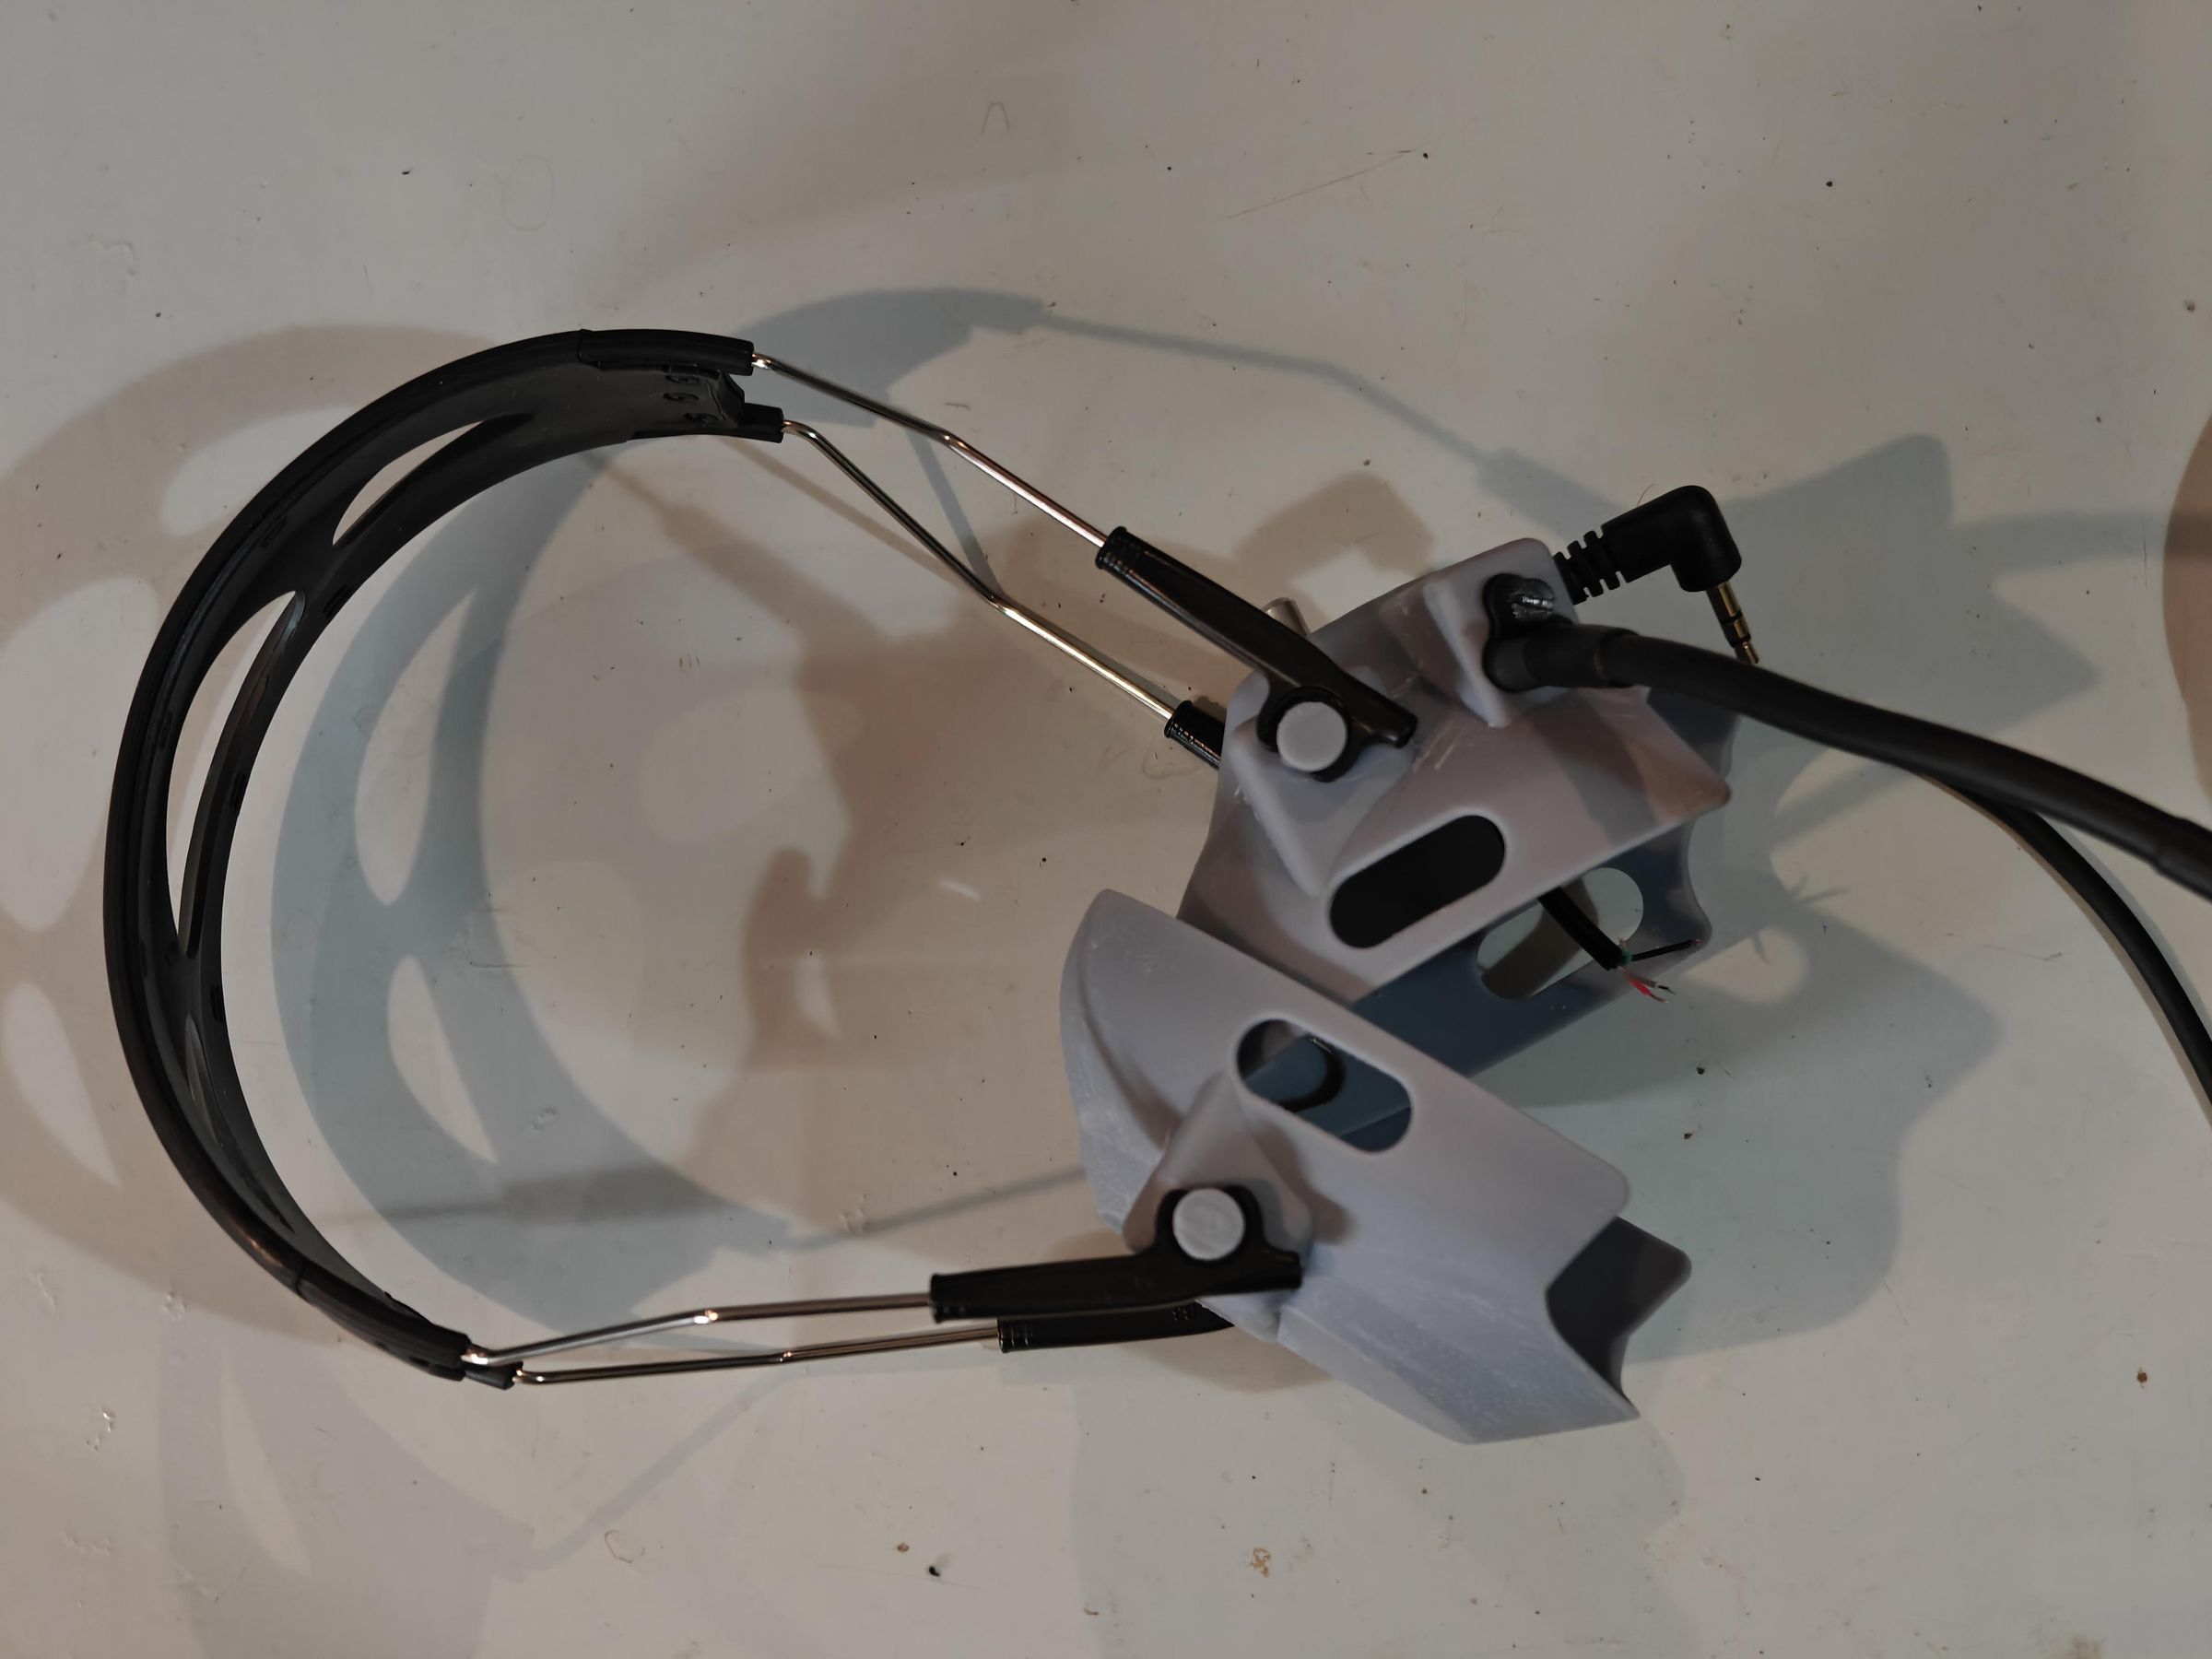
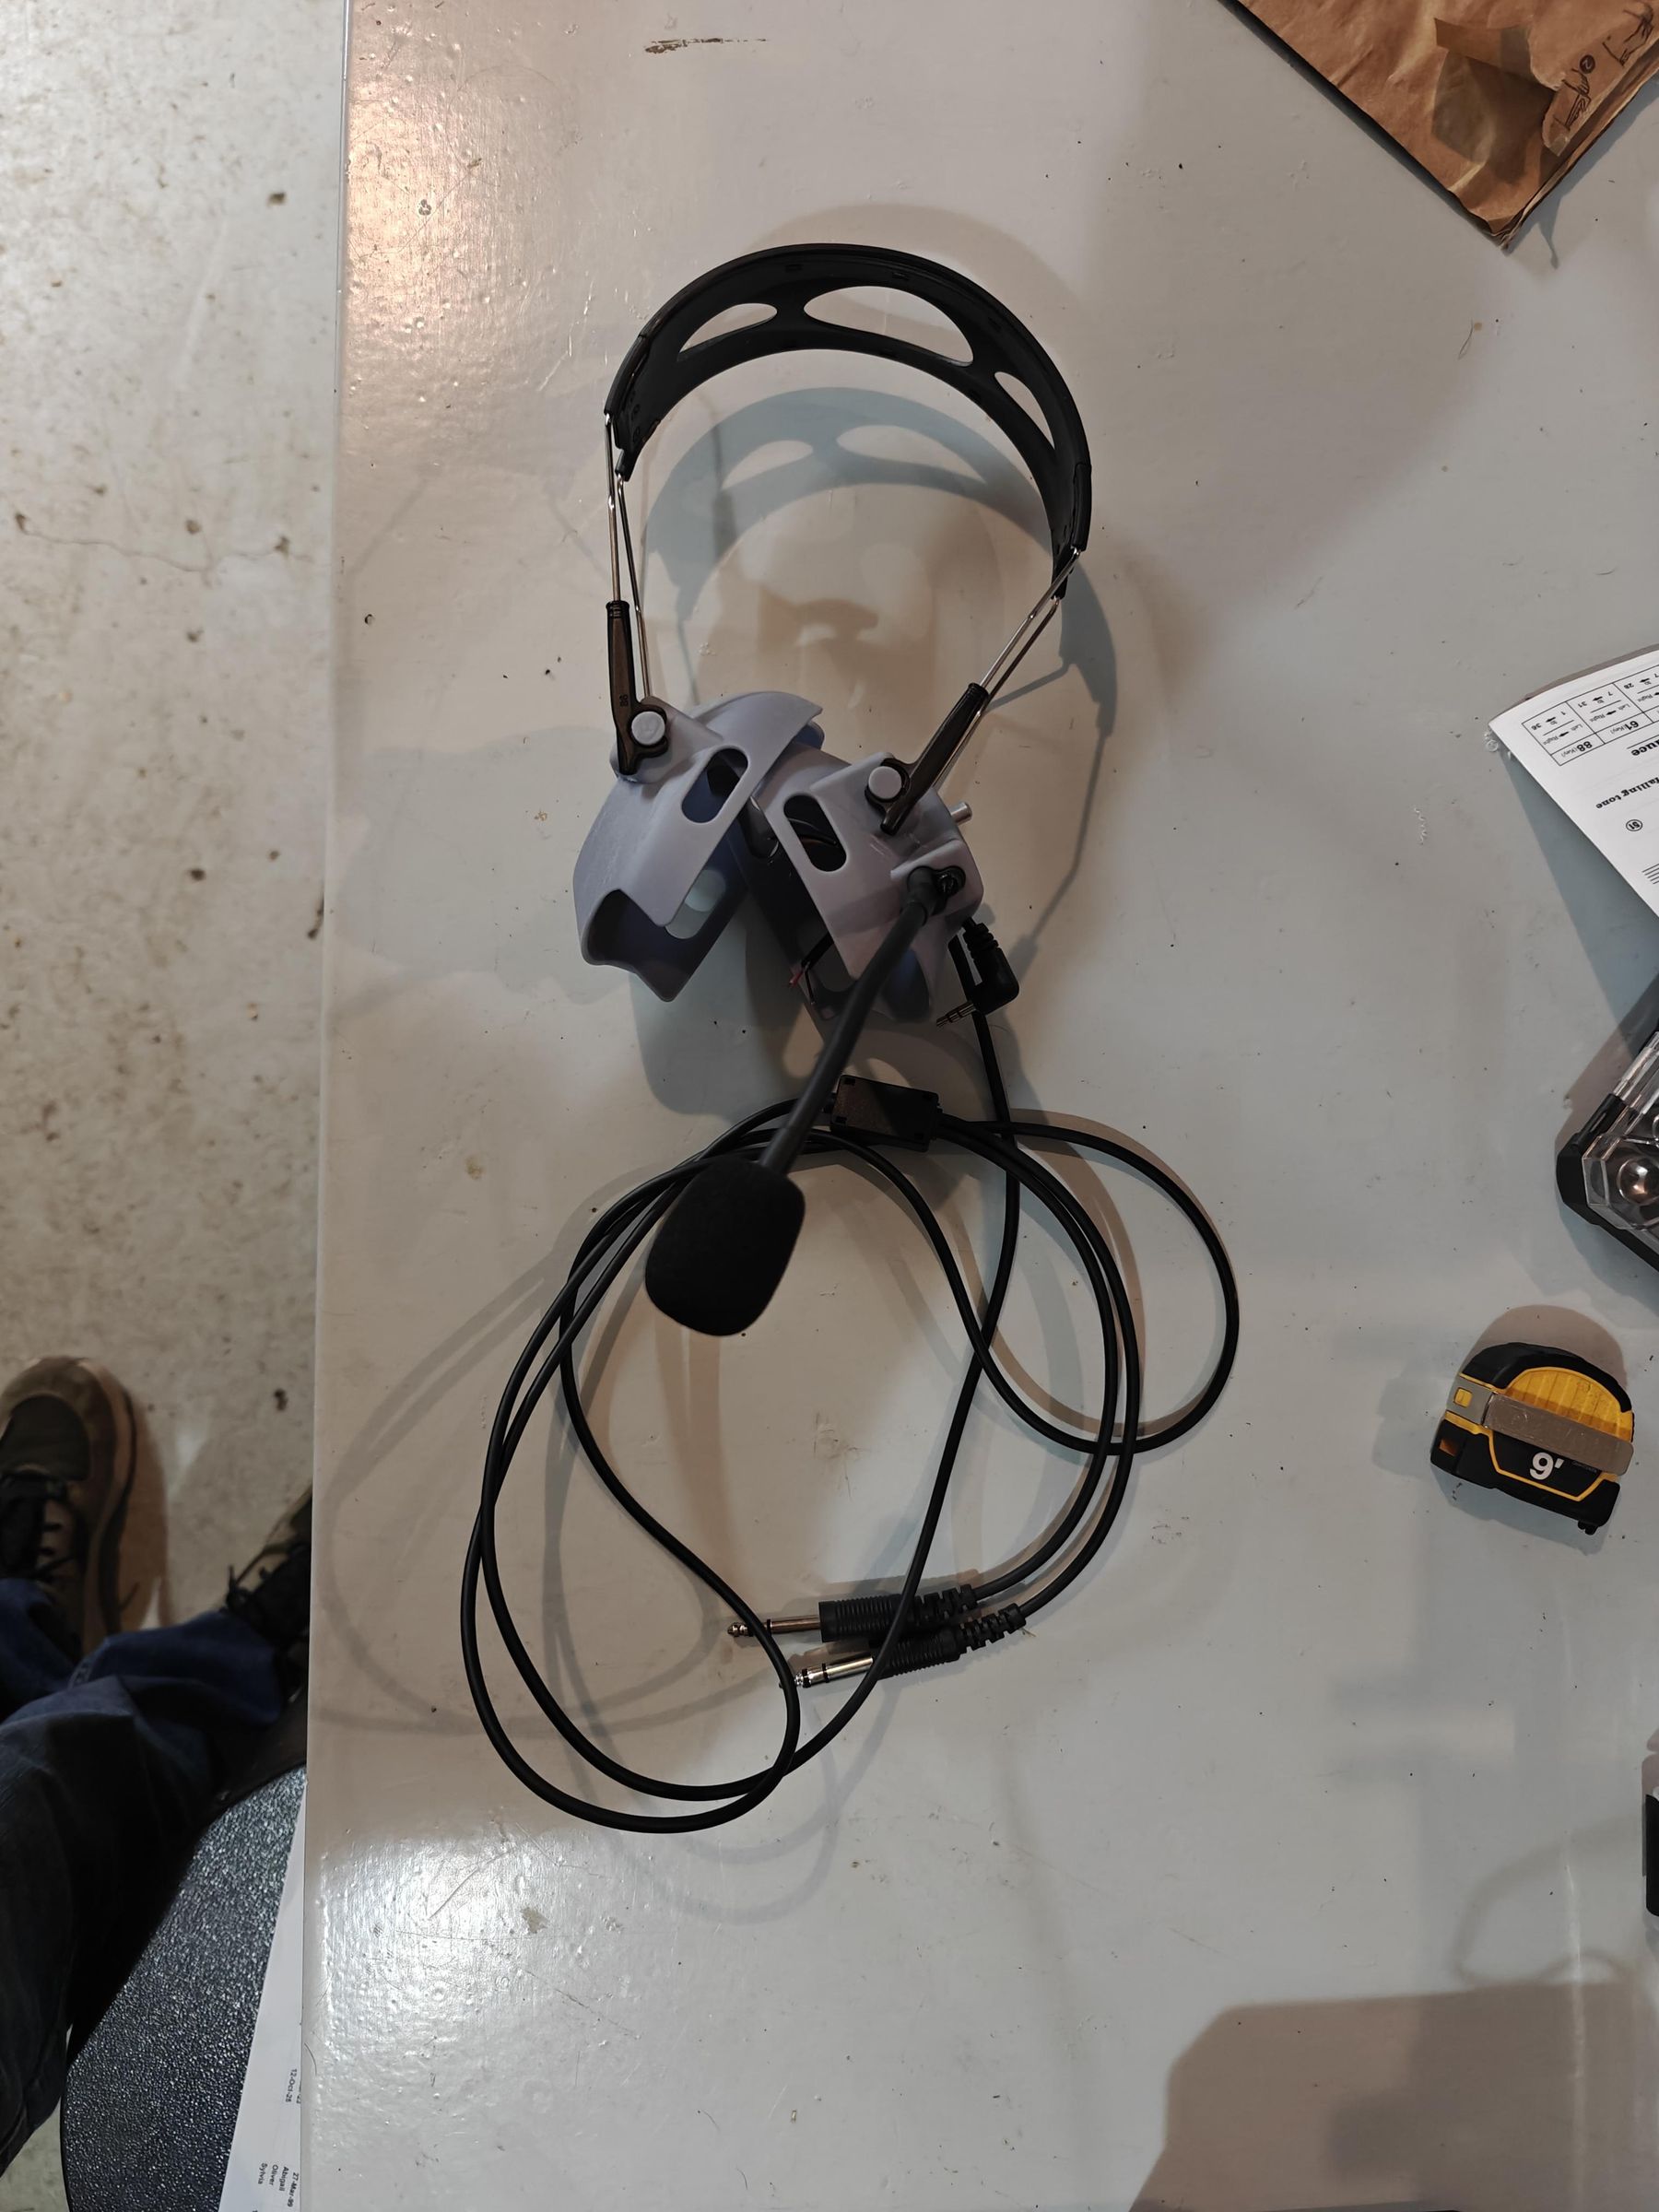
Now for the fun part. Connect the wires according to the General Aviation (GA) headset wiring diagram. You can find one here, or just look one up online. Use the right angle 3.5mm cable and cut it to length so that it fits into the aux jack on the XM6 headphones
Schematics
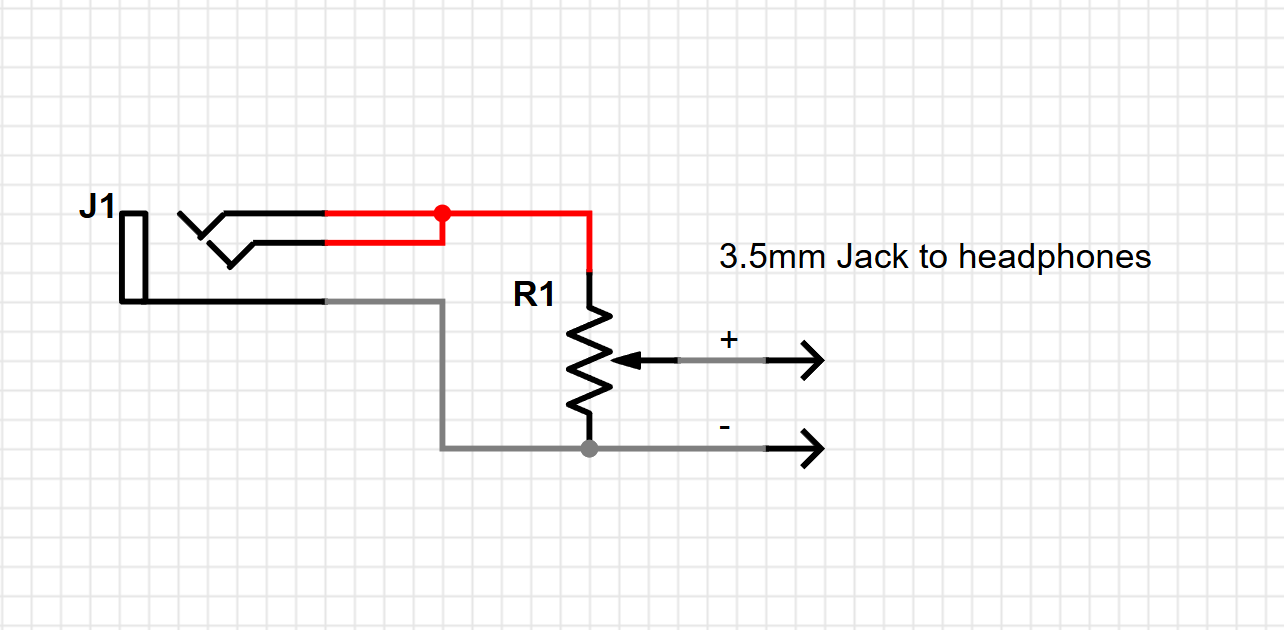
Here are some schematics for the audio IN portion. A baseline comfort with electronics is assumed here. Since this headset will be used in an aircraft, it's important that every connection is sound. If the schematics raise more questions than they answer, consider partnering with someone experienced before building.
The Ear Muffs
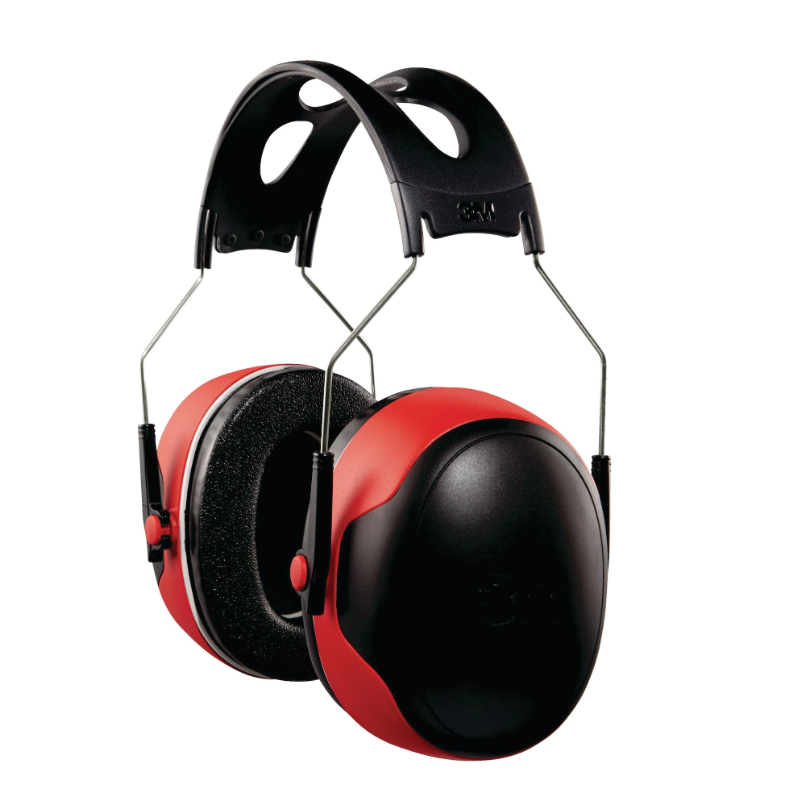
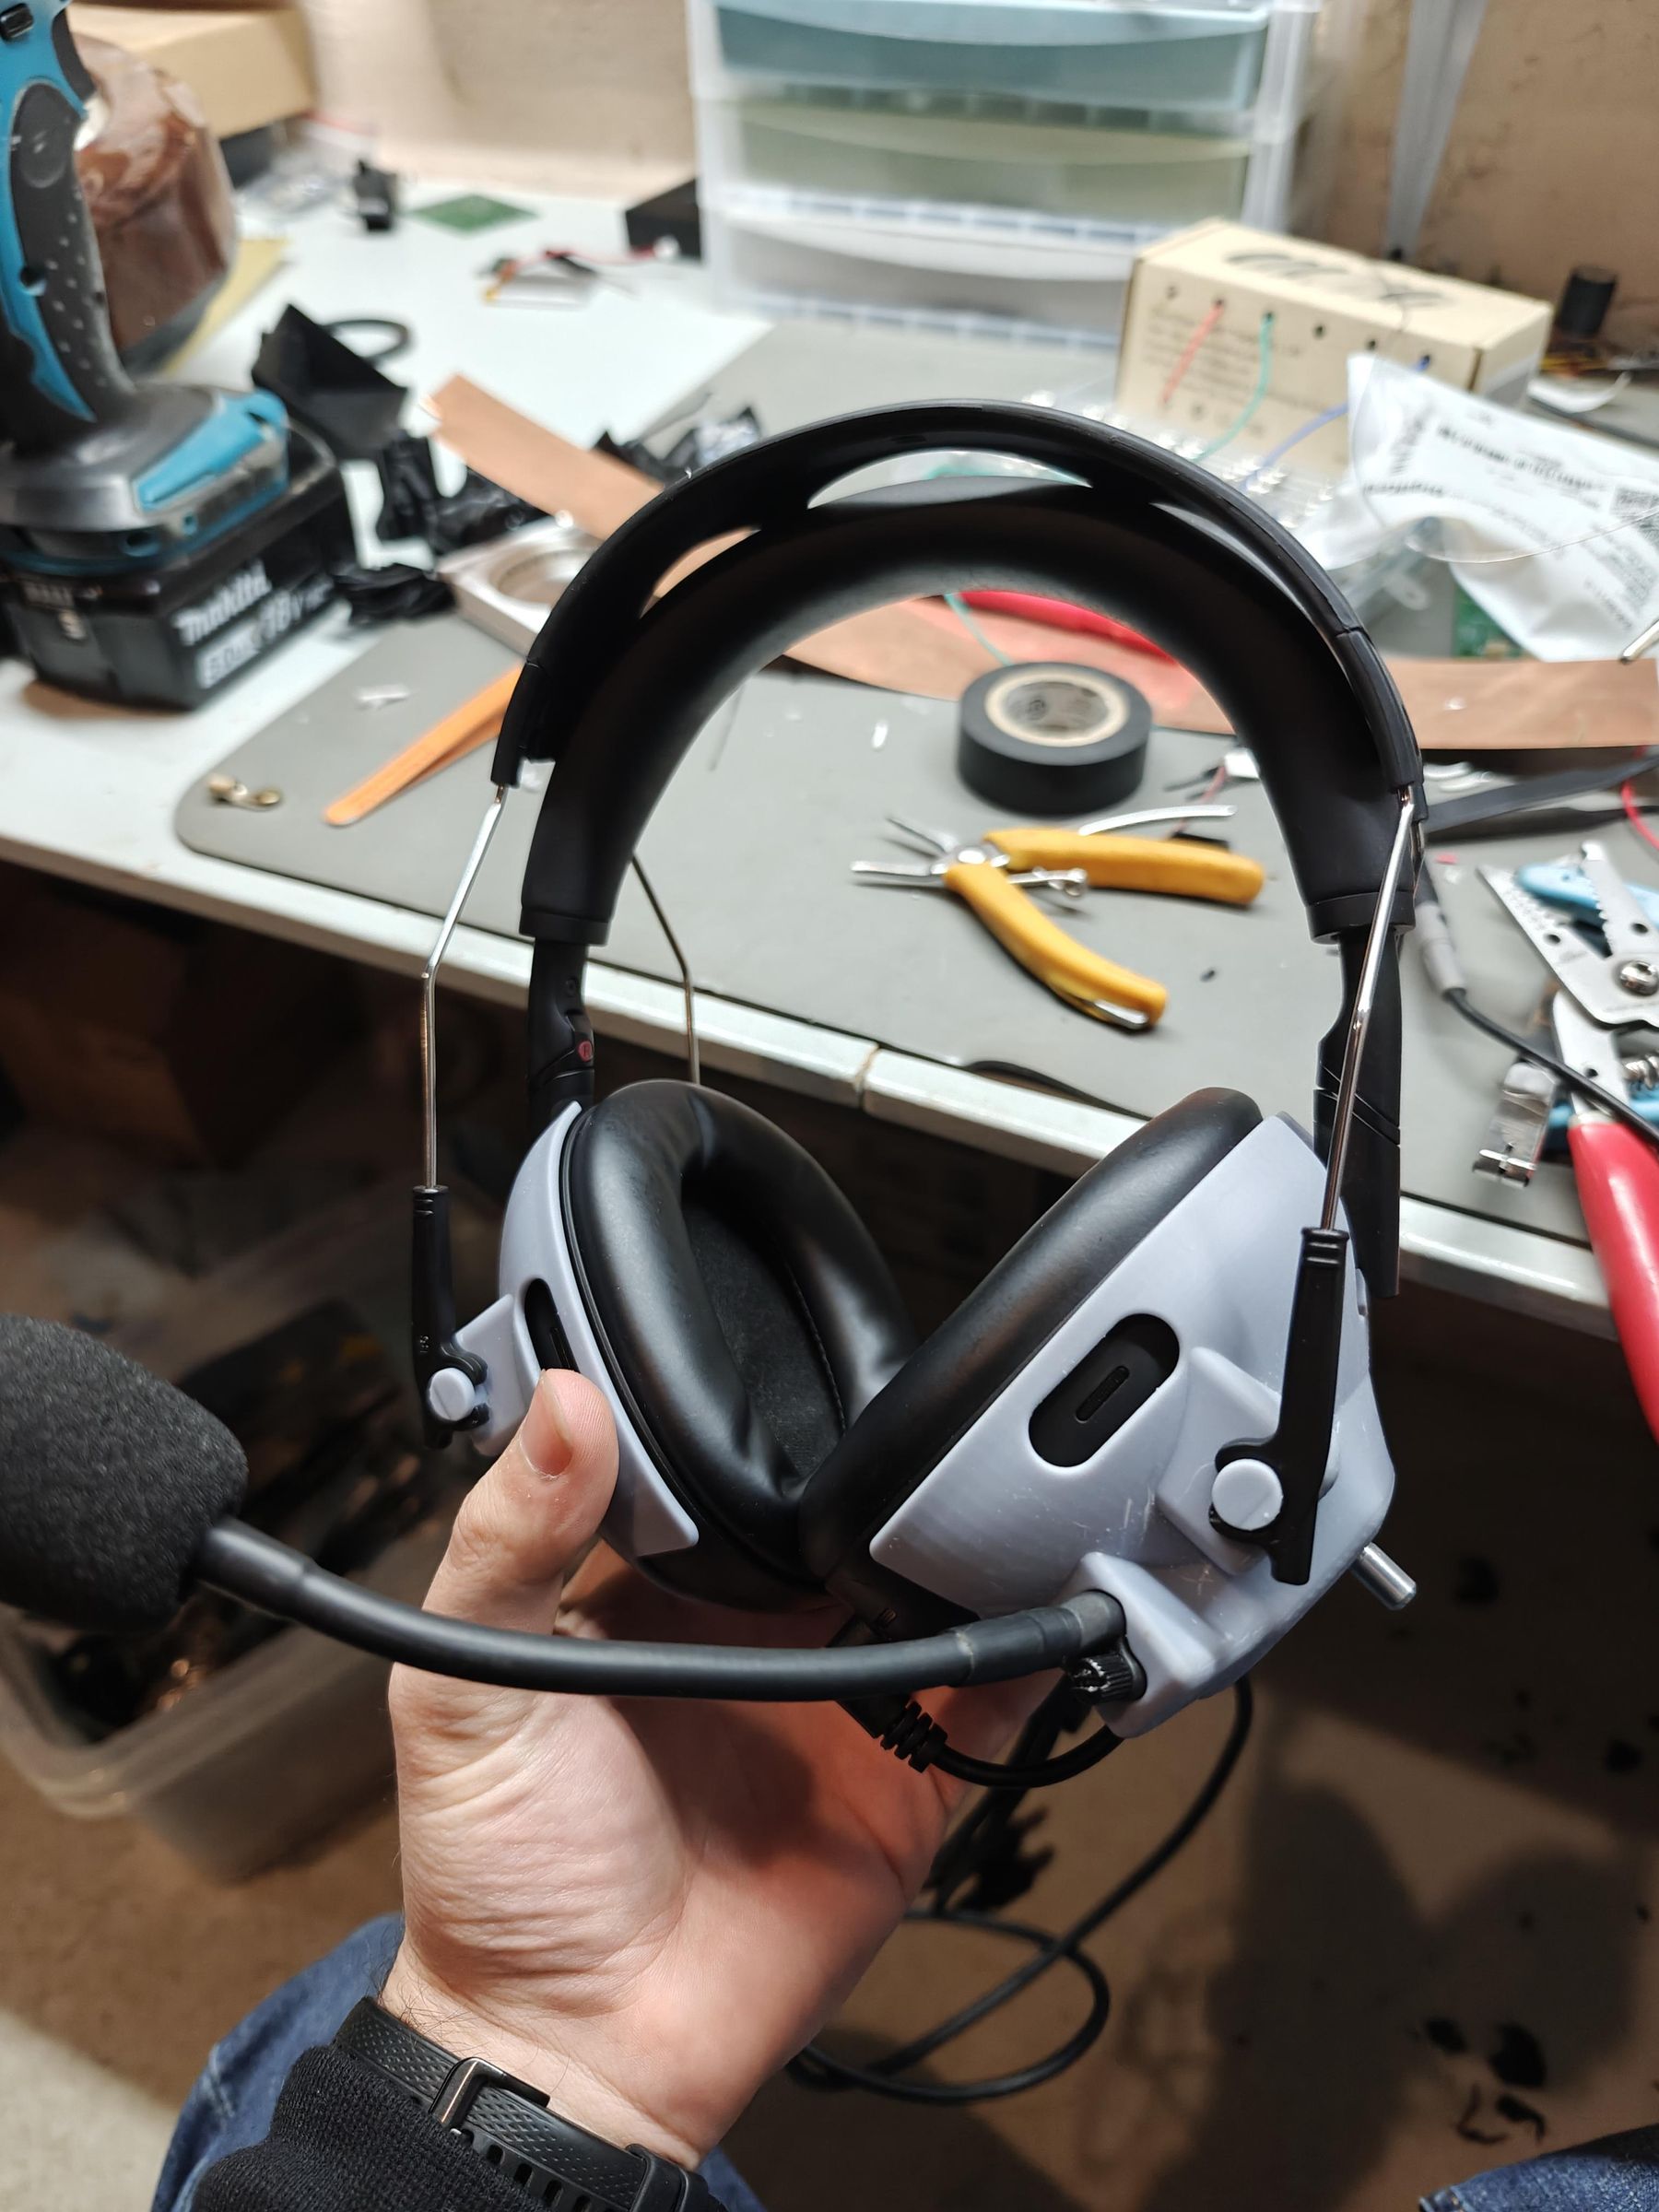
Once you have all the wires in place, take the 3M ear muff and remove the ear cups, and our 3D printed clamps should clip right on. You can twist the clamp to decrease or increase the clamping pressure to your liking.
Field Test 2
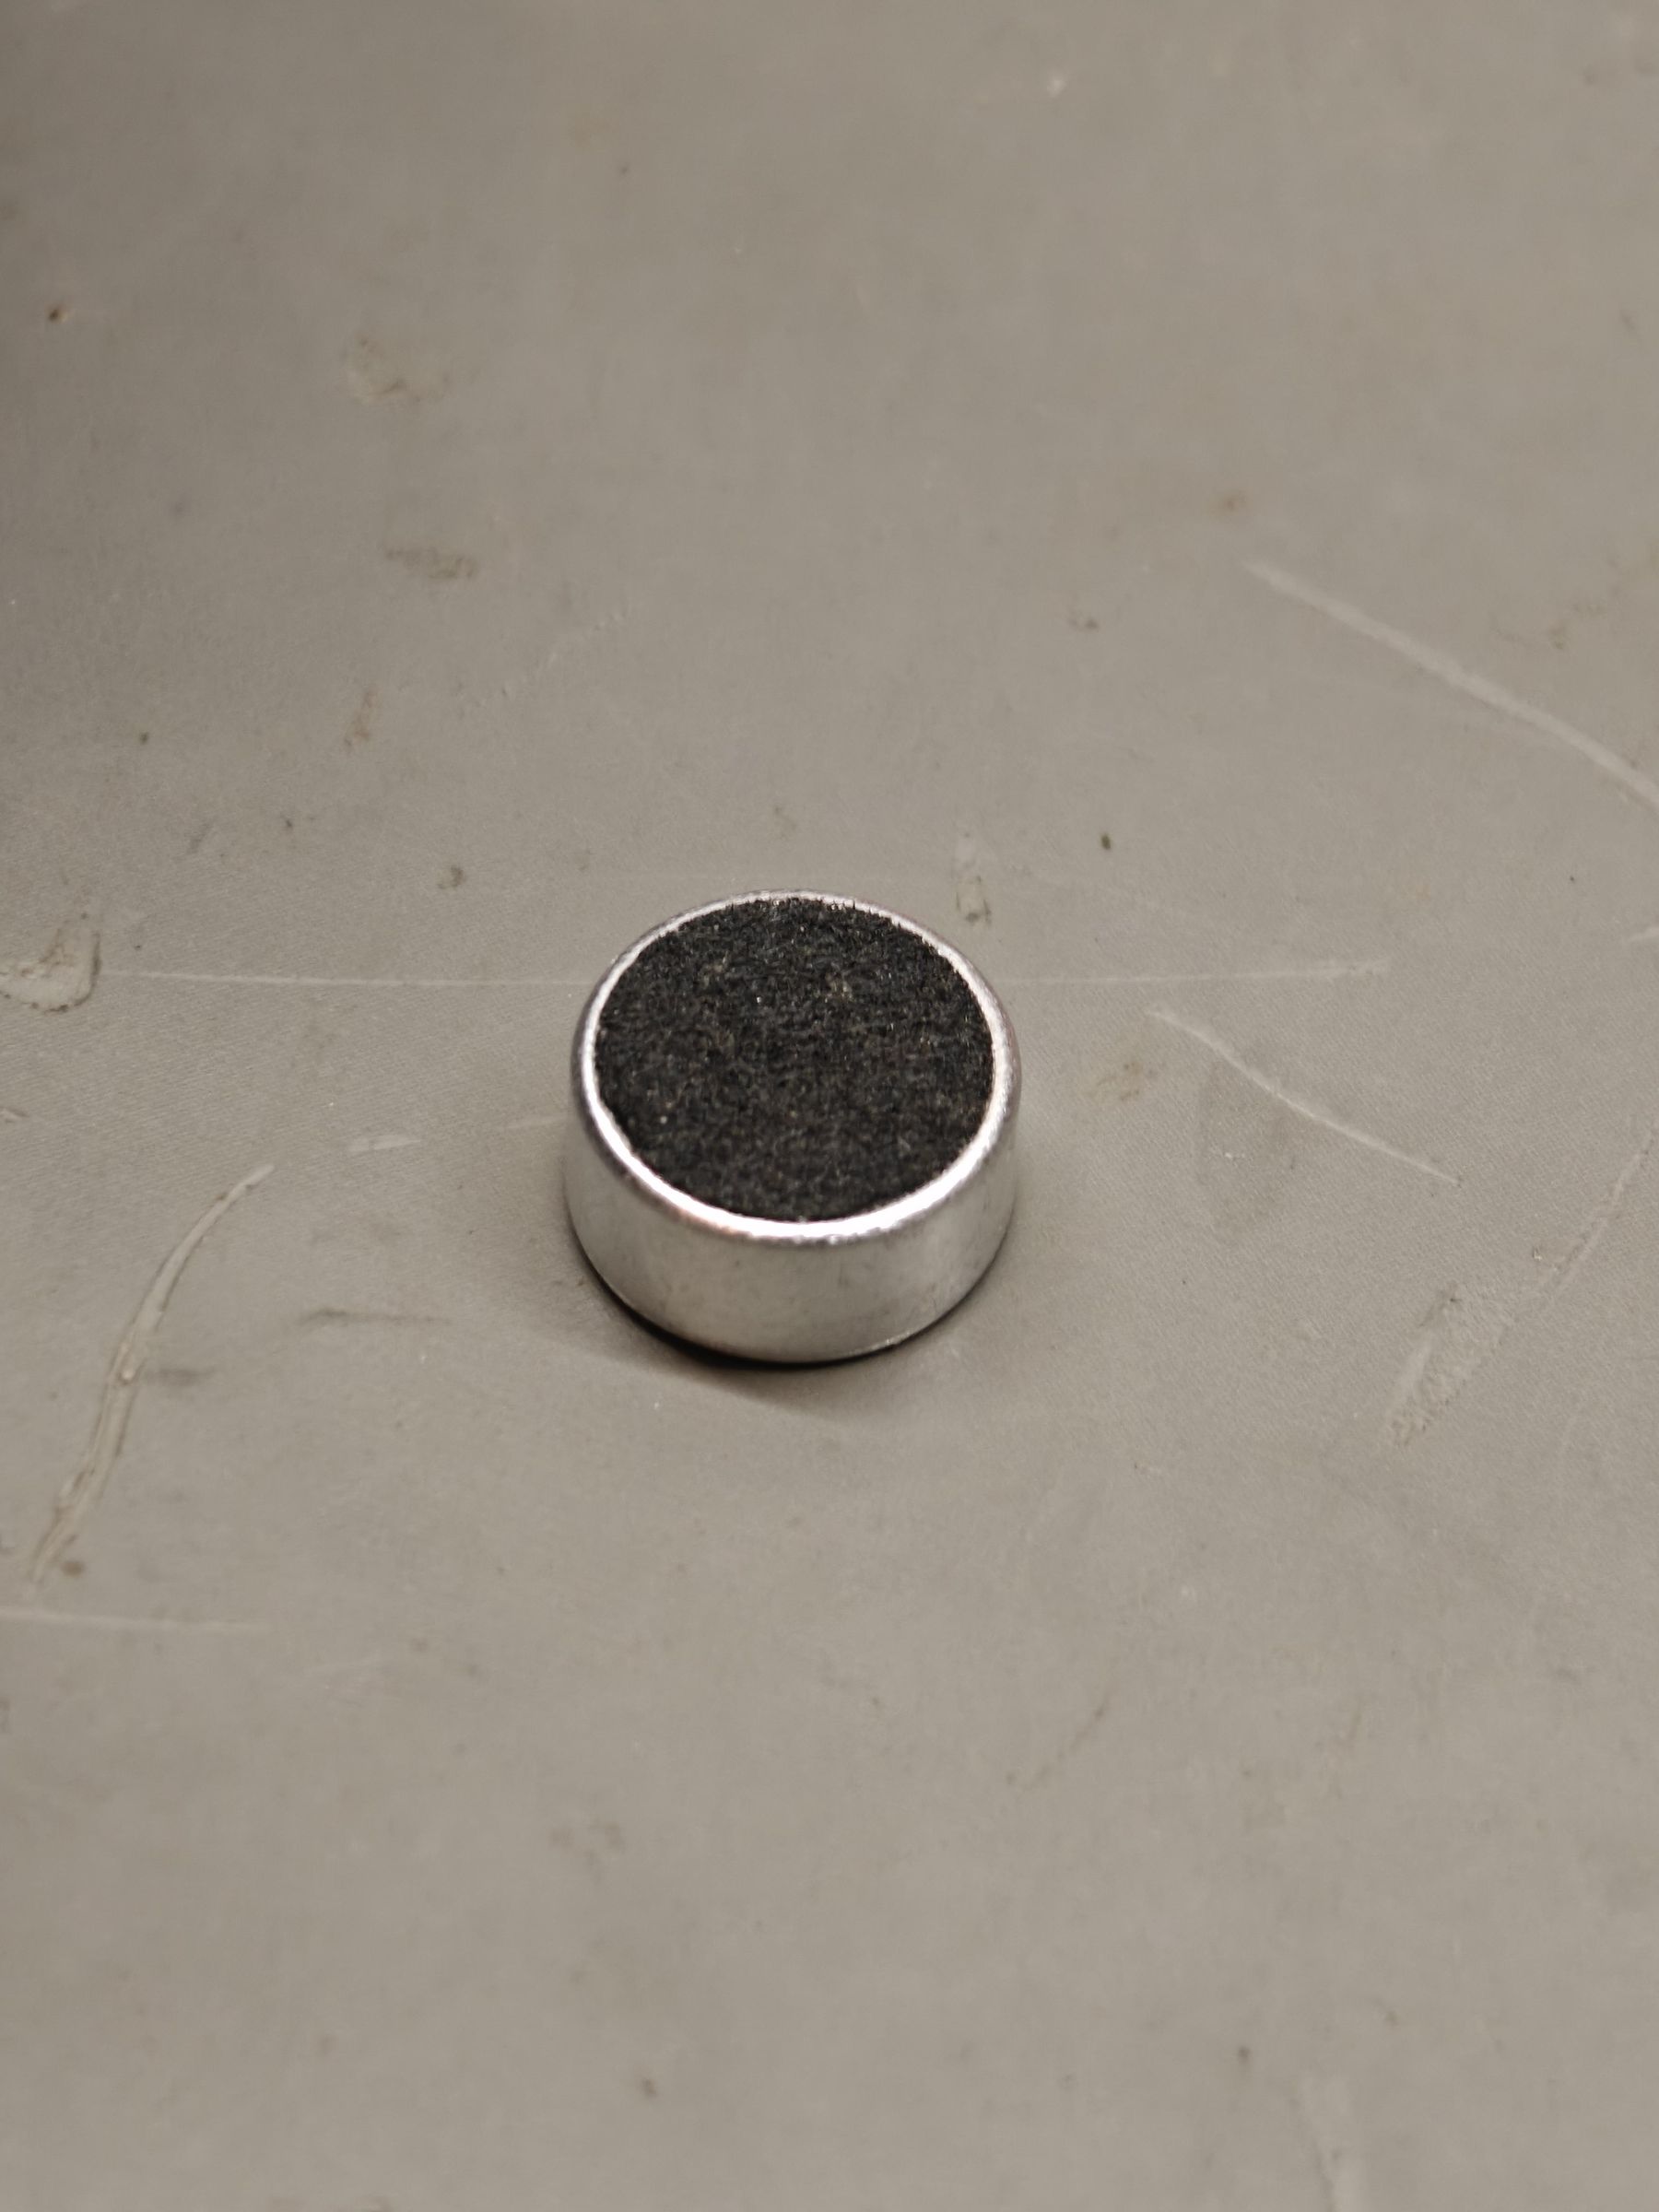
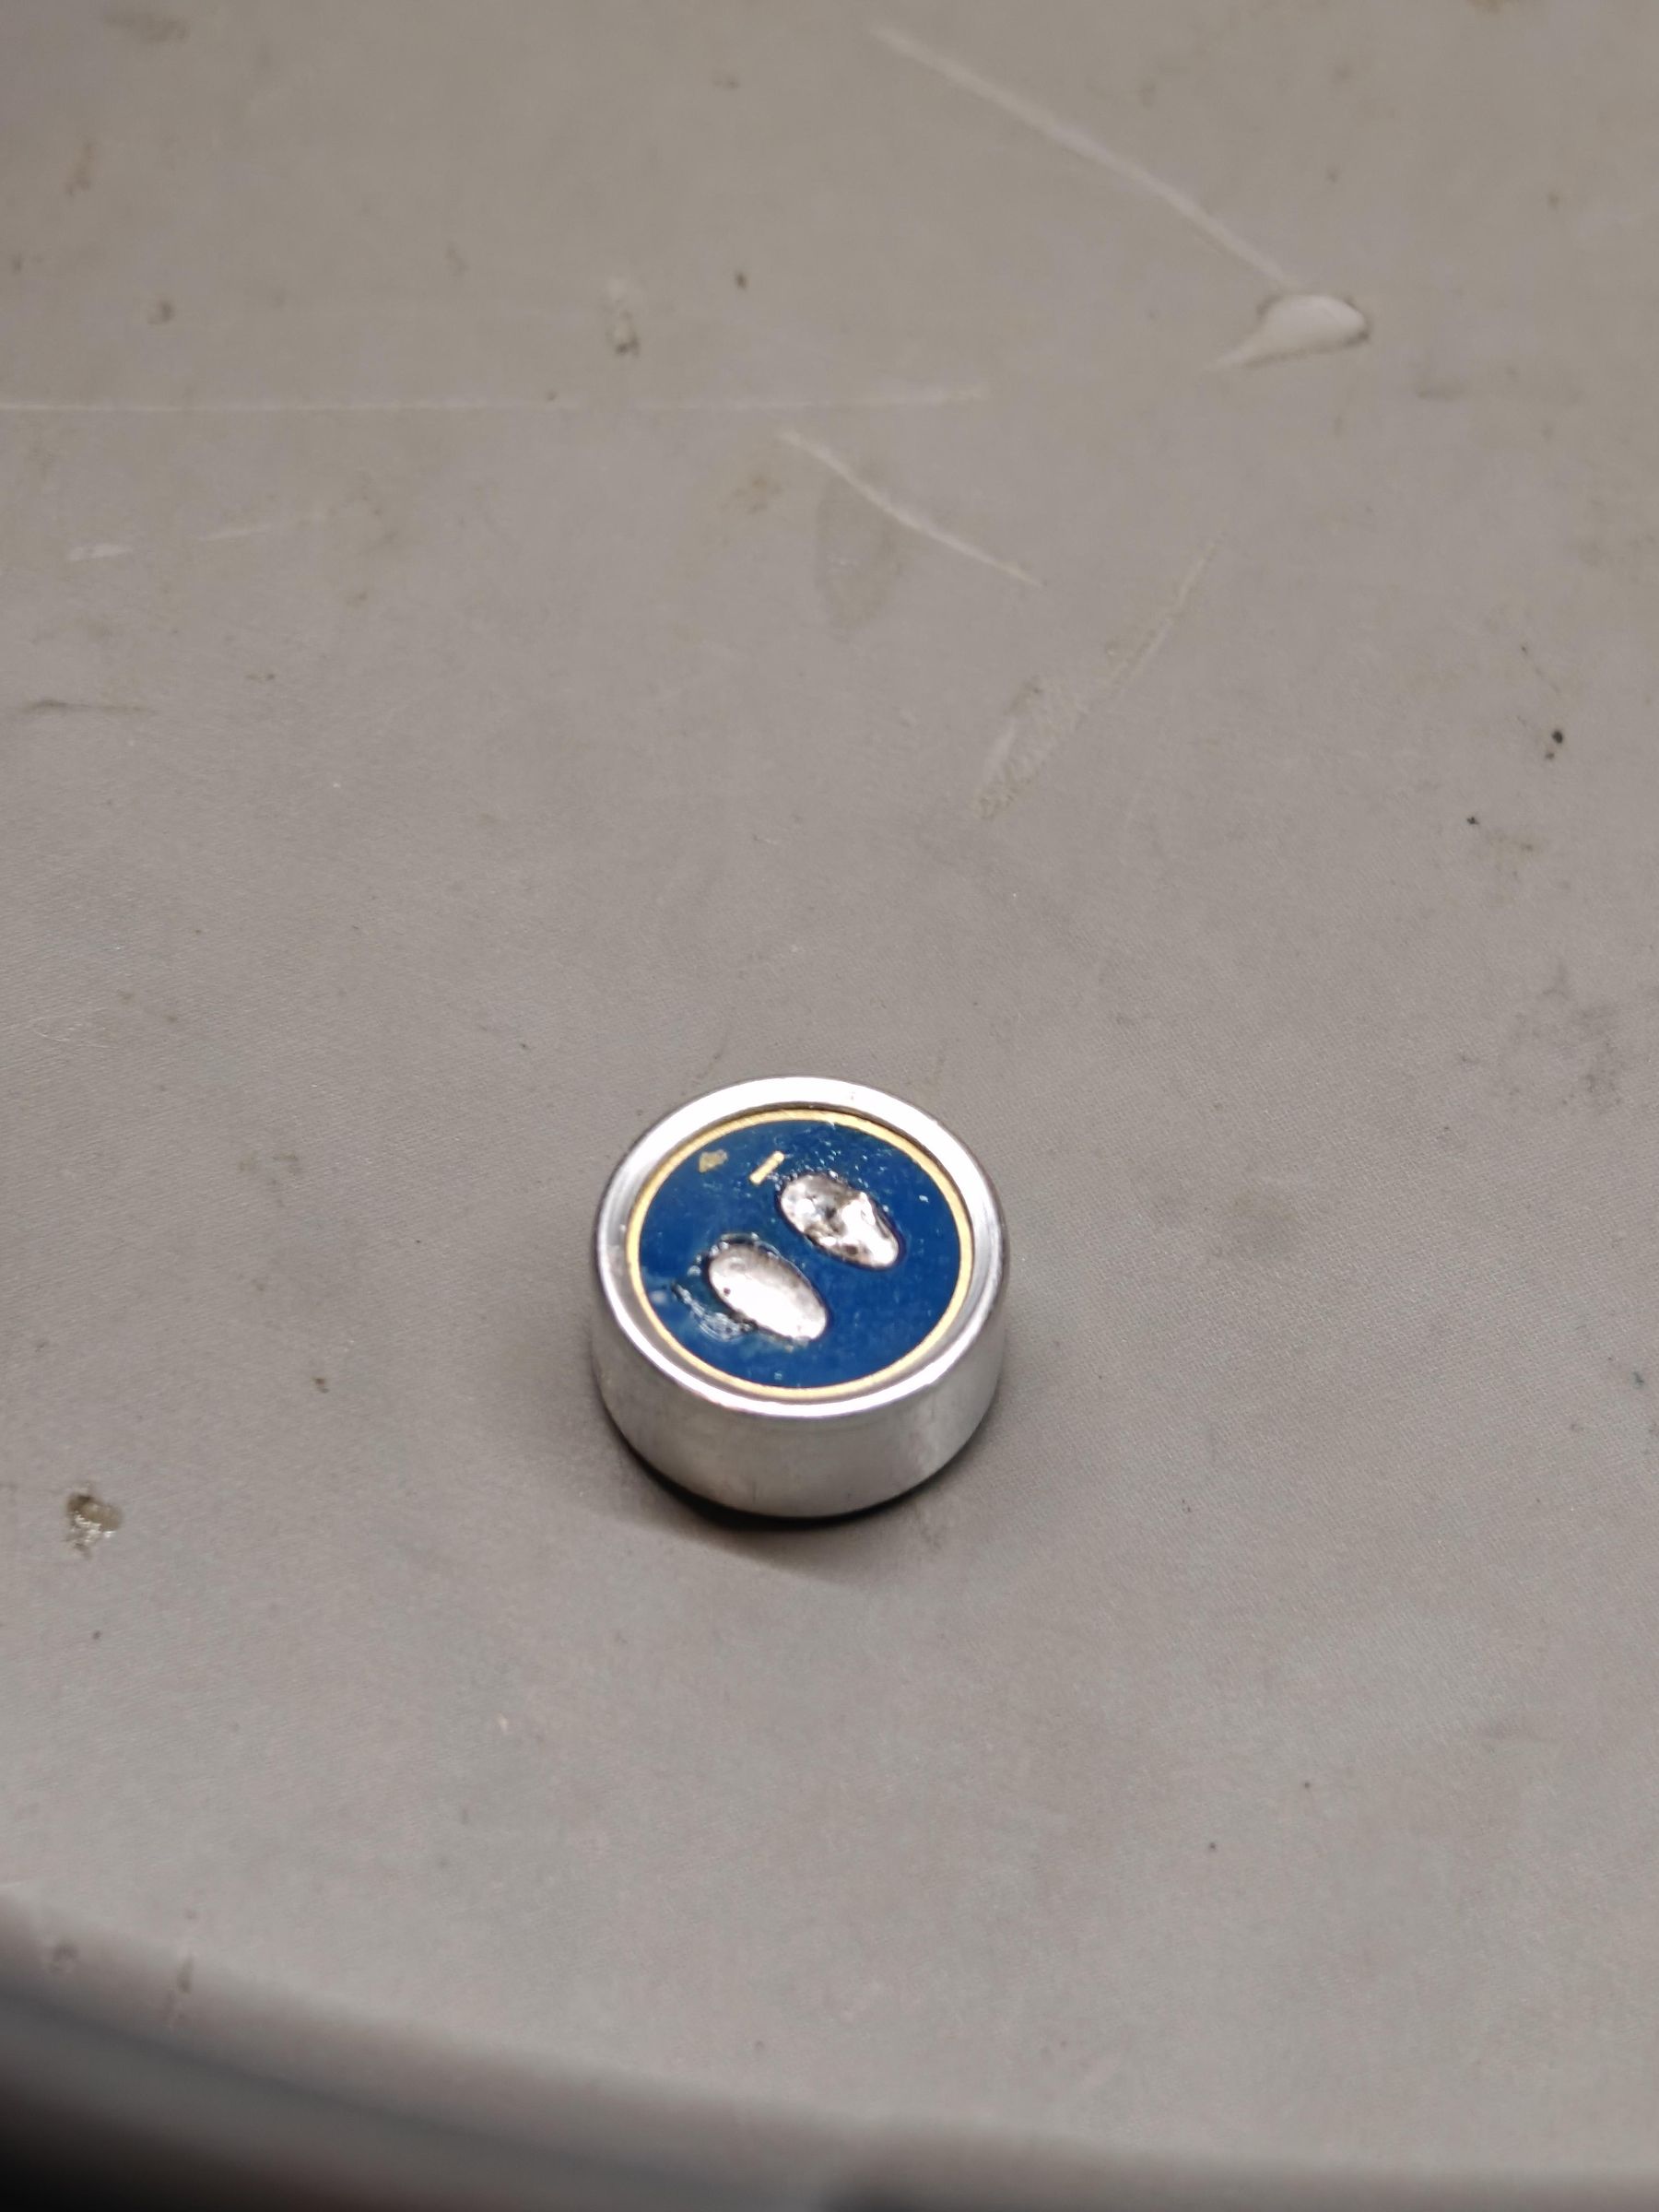
Here is where I ran into big issues. If you use this in a Cessna 150, where the cabin noise is considerably less, you might get by with the microphone component that comes with our boom mic. In my case, it did not work at all! After opening it up, I found it was not a noise-cancelling mic at all! Just your regular cheap electret mic you find in cheap consumer electronics. Classic AliExpress scam I guess 😒. This was good though, because now I was pushed to deep dive into the noise-cancelling microphone world, and found a gem!
Real NC Mic
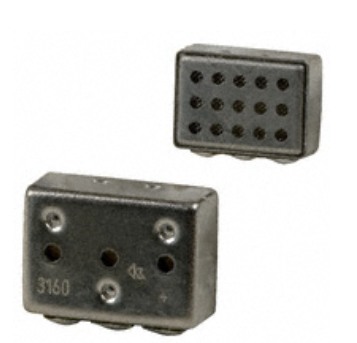
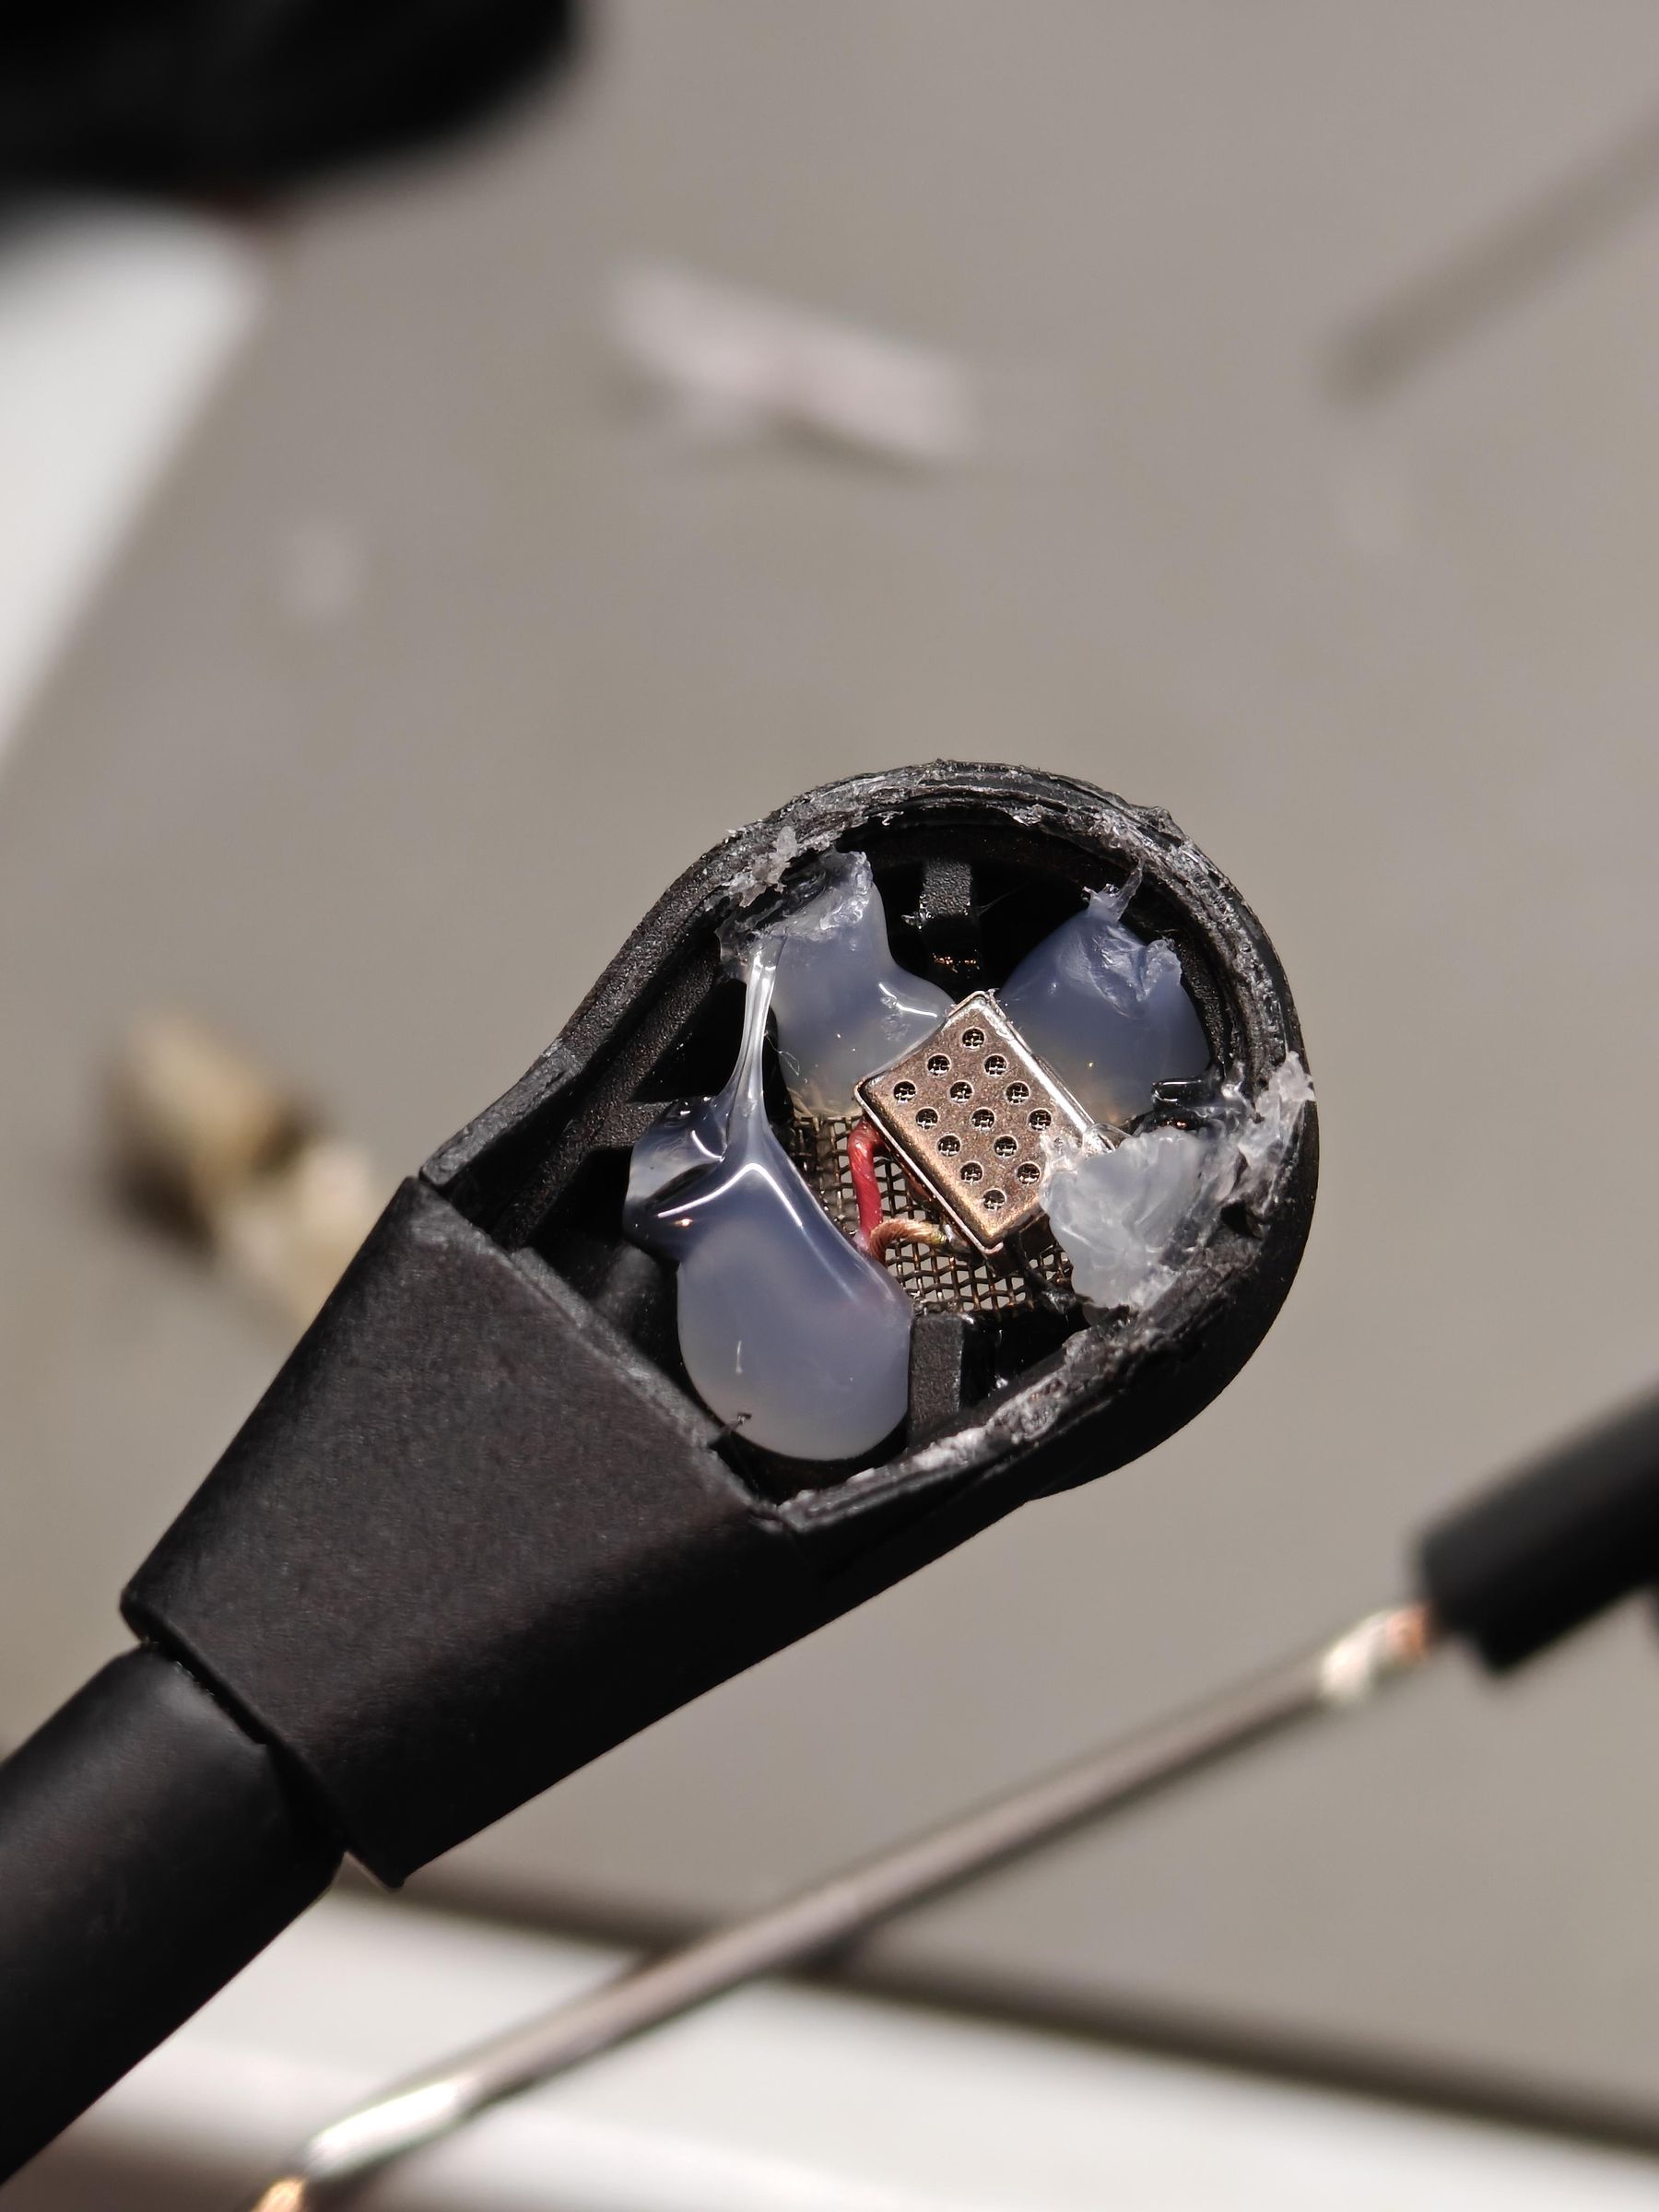
After some digging, I decided the NR-23160 by Knowels is my best bet. You can also get it on a boom mic, which actually is probably your best option if you are starting fresh and willing to modify the 3D clamp to account for that change. However, I just pried open my AliExpress mic and replaced the mic component with some solder and hot melt glue.
Field Test 3 - PreAmp Build
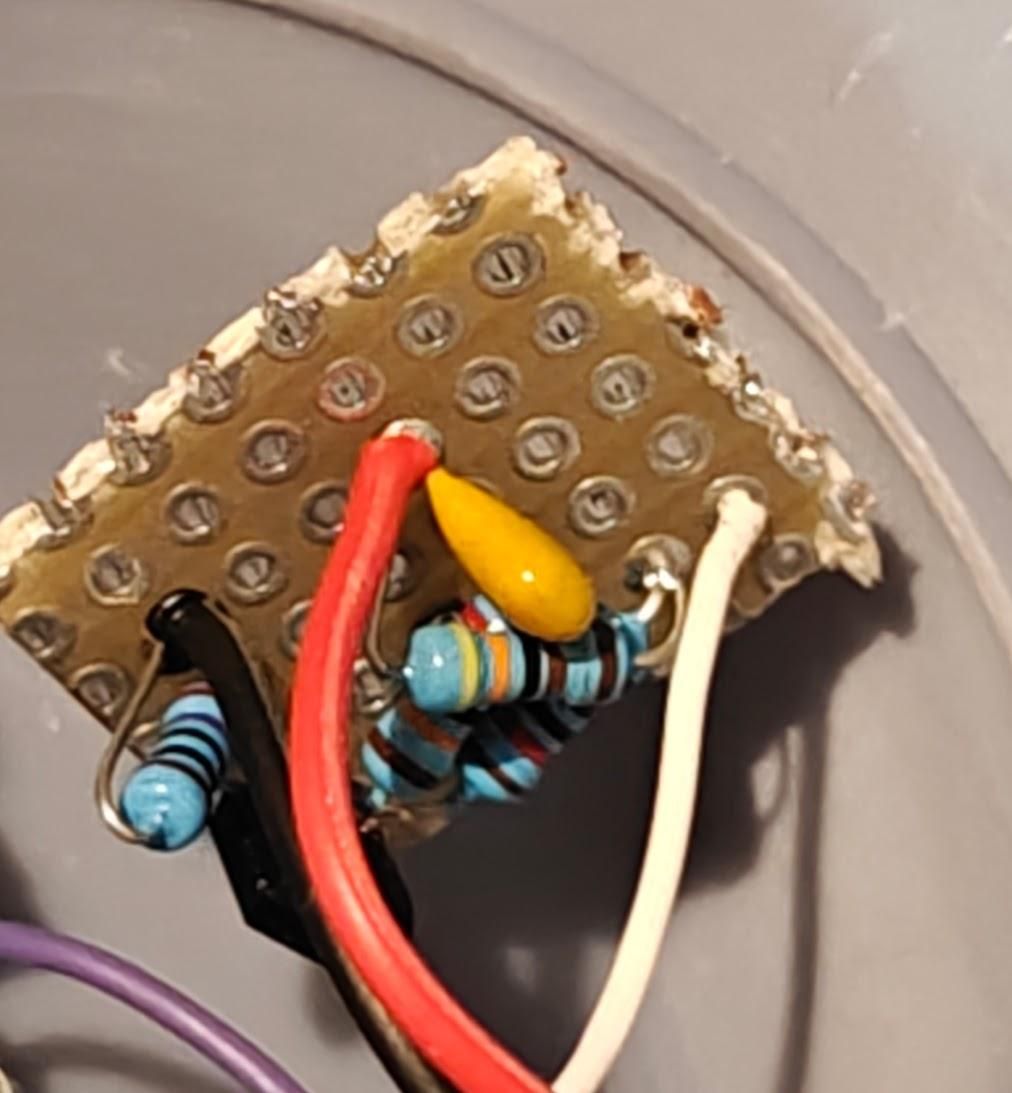
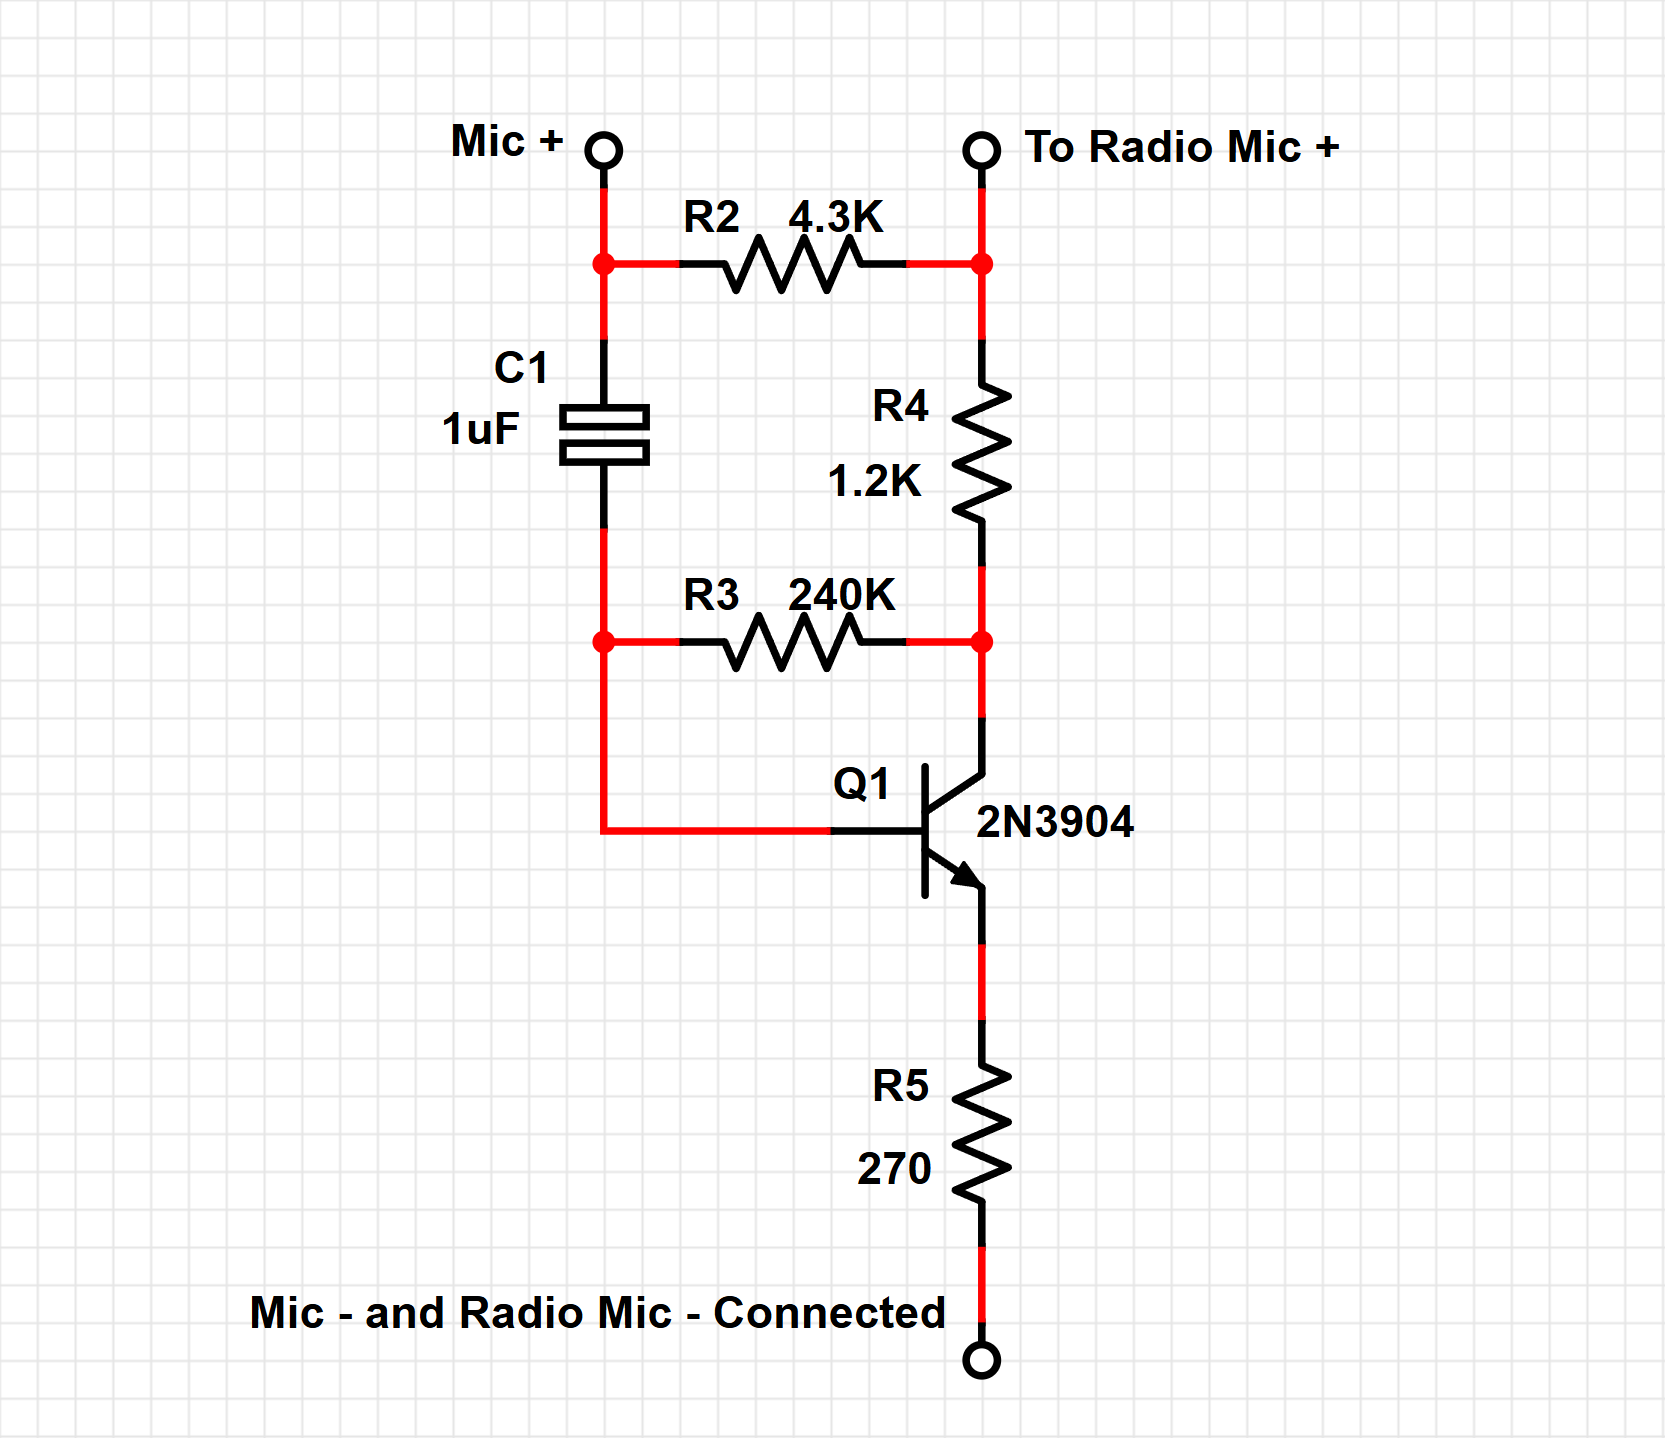
Out in the plane for another test, I found the levels off the mic are not as strong as that of an ASA, Litespeed or Bose. This means you need to turn up the volume for yourself, but now your passenger is yelling in your ears. So back to the workbench again. Here I built a simple pre-amp, it simply runs off the 10V bias voltage from the aircraft radio and boosts the mic levels by about 60%. Again, if you don't know what this means or have trouble following this step, I suggest you get some help from a professional.
Mission Accomplished
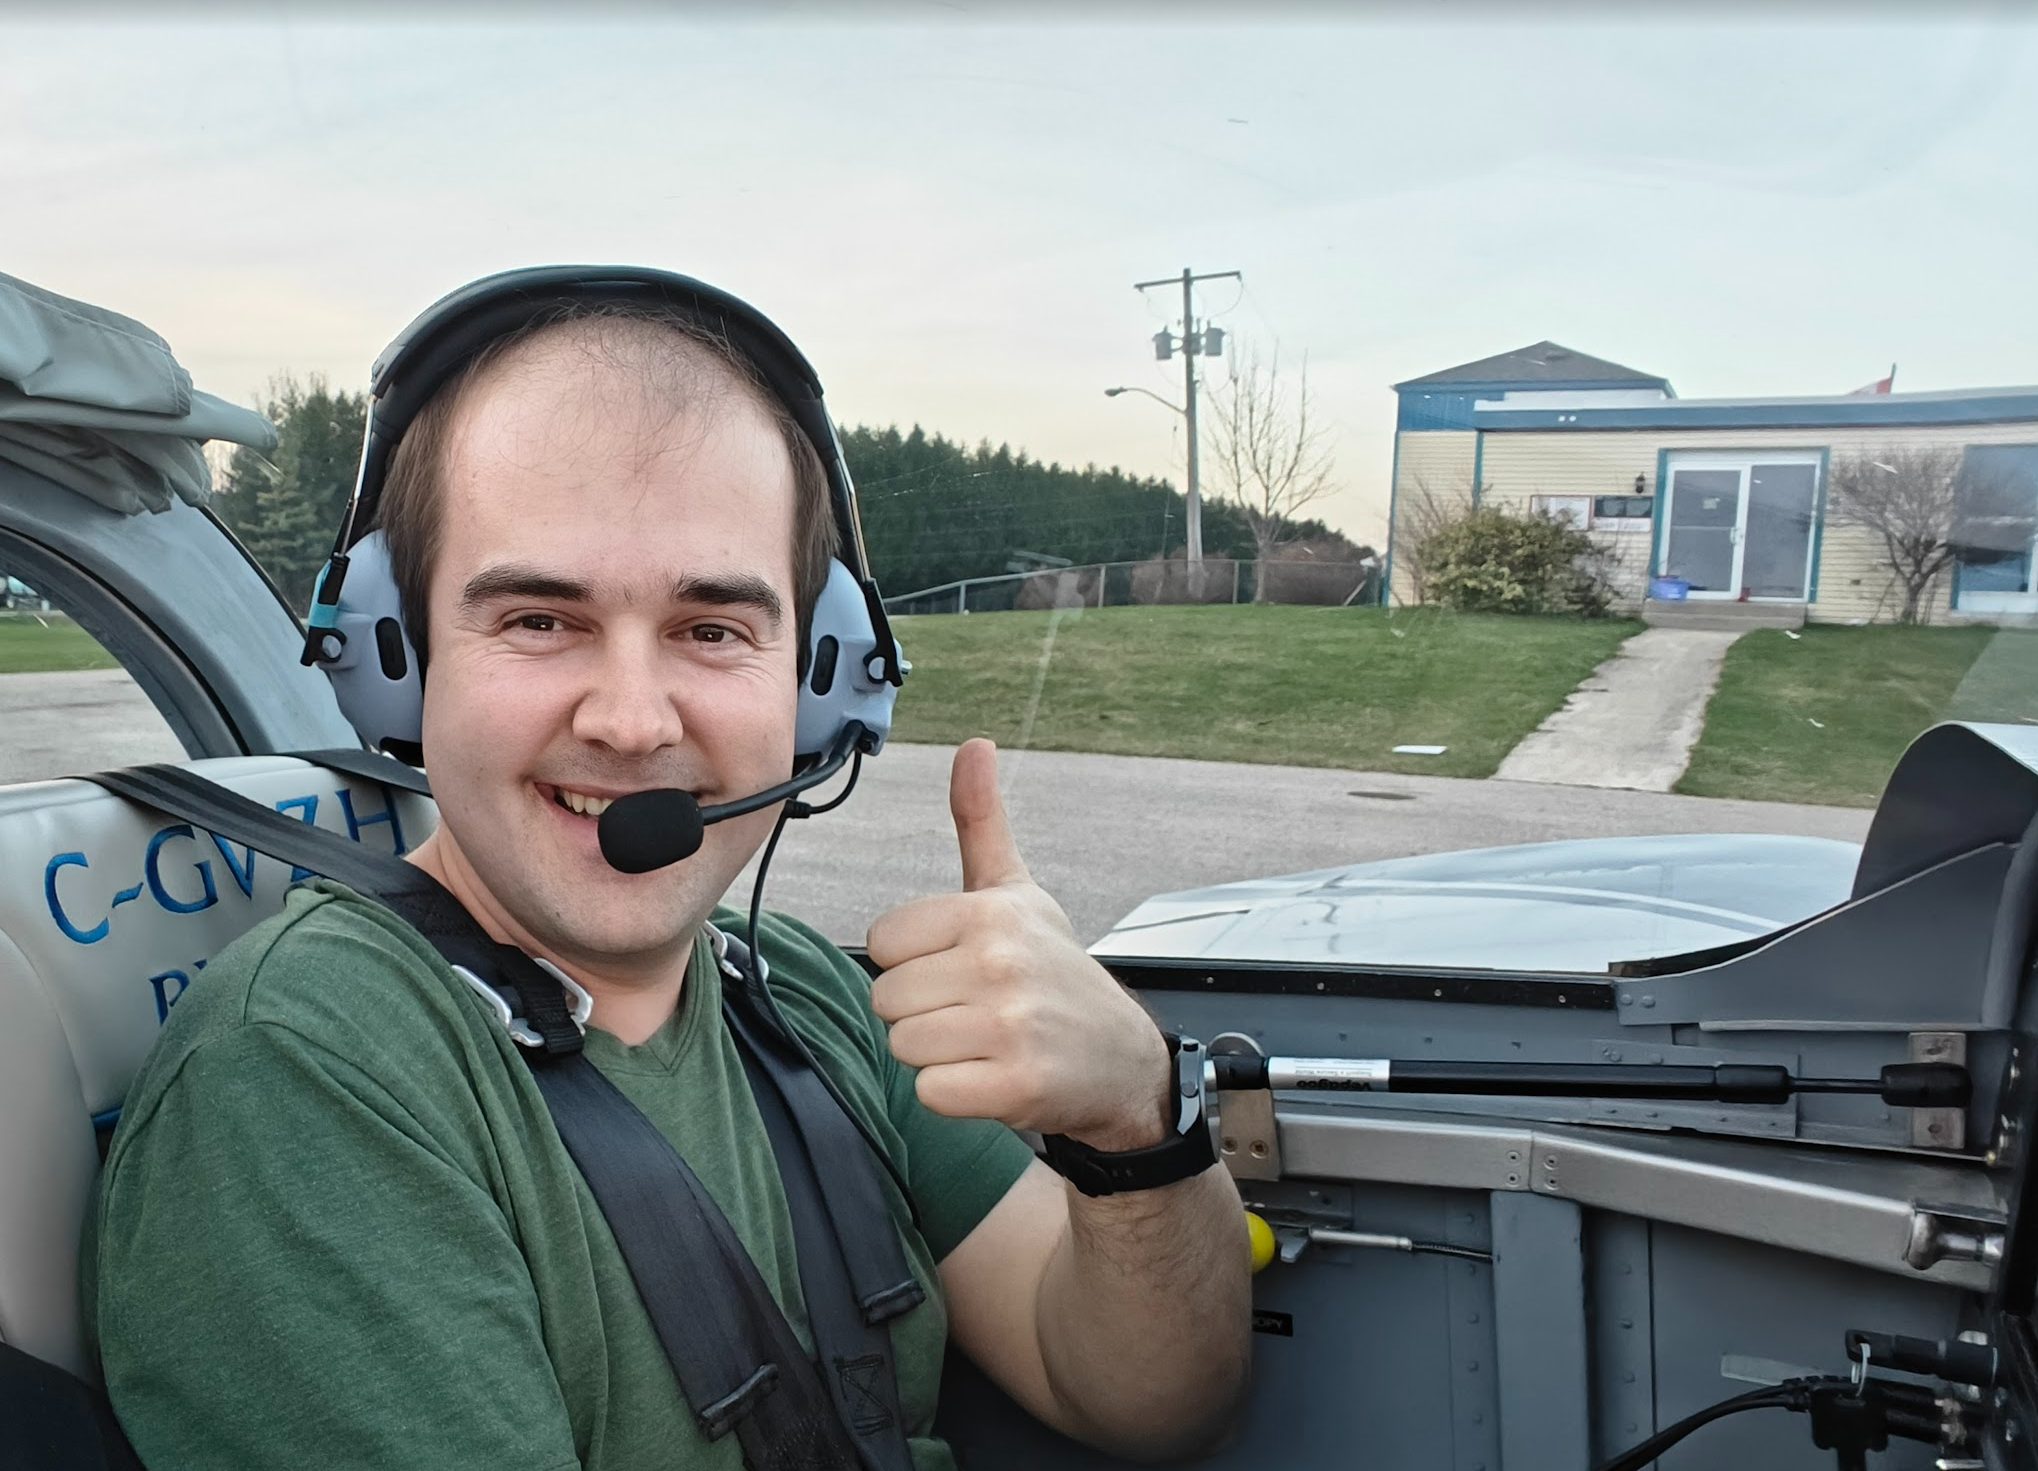
Now with the preamp installed, it's the same volume as my passenger's Lightspeed 🎉and much better mic audio quality as well, if I may say so myself😎! When playing music through the Garmin G3X at medium volume, the engine is inaudible when about 1200 RMP or below. And while in cruise flight, it's greatly diminished. Which is actually a problem if it's own, but easily fixable by keeping your music at a level so you can still hear the engine for any anomalies.
I have yet to compare side by side with the Bose, but from what I recall, they are not that much better than the Lightspeed, and while the Sony DESTROYS the Lightspeed, I wouldn't be surprised if the Bose stands no chance either.
As for the battery problem, NONE! I roll my eyes watching my friends fumbling around with AAA batteries, gripped with fear the headset might die mid-flight. I just casually press the power button on my Sonys and hear an audible battery level announcement. If it's low, I can plug it in while doing the walk-around and fueling, and in 15 minutes, have 5 hours of battery life added. Or mid-flight, just plug them in with the USB-C charger! Although neither of those has happened. Likely because an added benefit of using them in the office means they almost always will have 10+ hours remaining anyway, since they start yelling at 20% and charge them as needed.
All in all, I would say this project was a smashing success 🥳!