Backyard Boardwalk, Firepit and Grill Area!
by dadw3rk in Outside > Backyard
1084 Views, 7 Favorites, 0 Comments
Backyard Boardwalk, Firepit and Grill Area!
First Instructable!
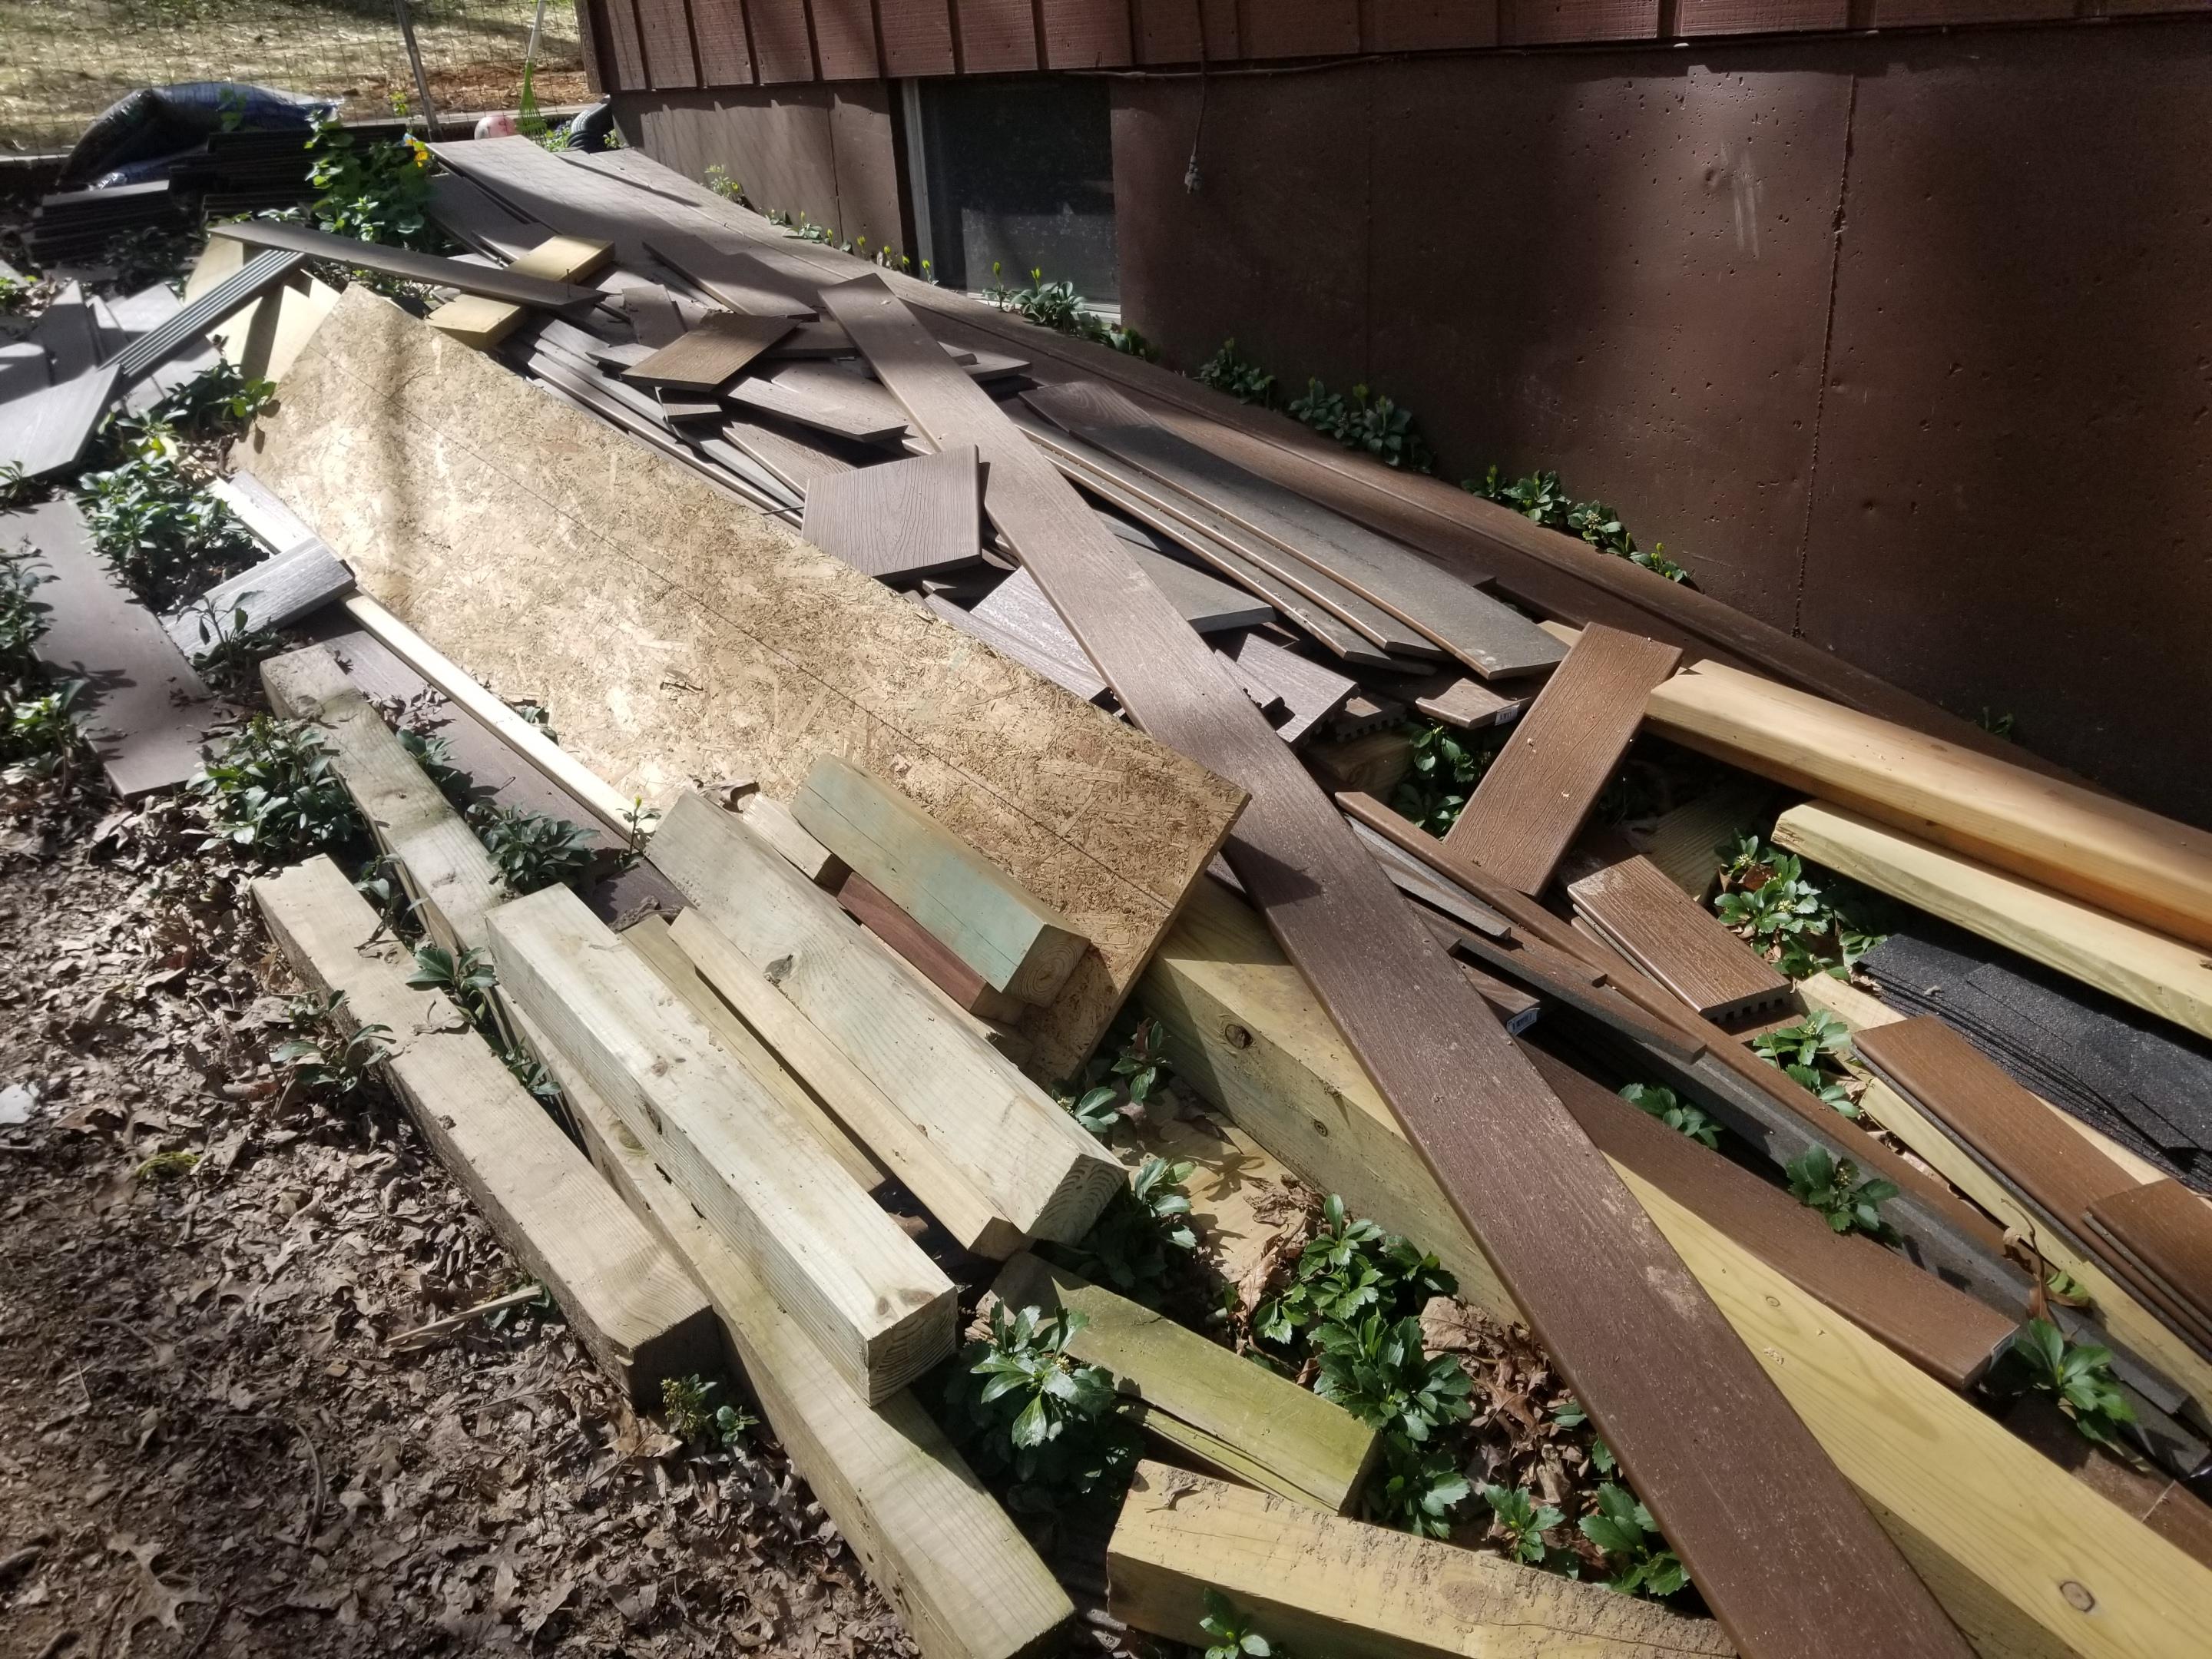
We recently hired a contractor to upgrade our deck from 1960s splintering, rotted wood to maintenance free trex - awesome results, but what surprised us was the amount of material waste accumulated that was totally usable!
I spent many trips dumpster diving in my own front yard to rescue what builders deem "trash", but I view as treasure!
The main ingredients of my backyard DIY upgrades are:
Supplies
From trash:
(65) bricks - found under the old deck
Mortar or grout (found in the basement from previous owner)
3 sections of bench railings (some slats needed replacing/sanding/painting)
Slate tiles (or pavers)
A LOT of "scrap" boards (varying sizes)
From store:
4x4s
Screws or deck fasteners/spacers (I used leftover trex spacers)
Cement (for bench posts)
Tools:
Drill
Saw
Shovel (trencher was useful for laying 4x4s)
Post hole digger
Trowel (for bricks)
Fire Pit

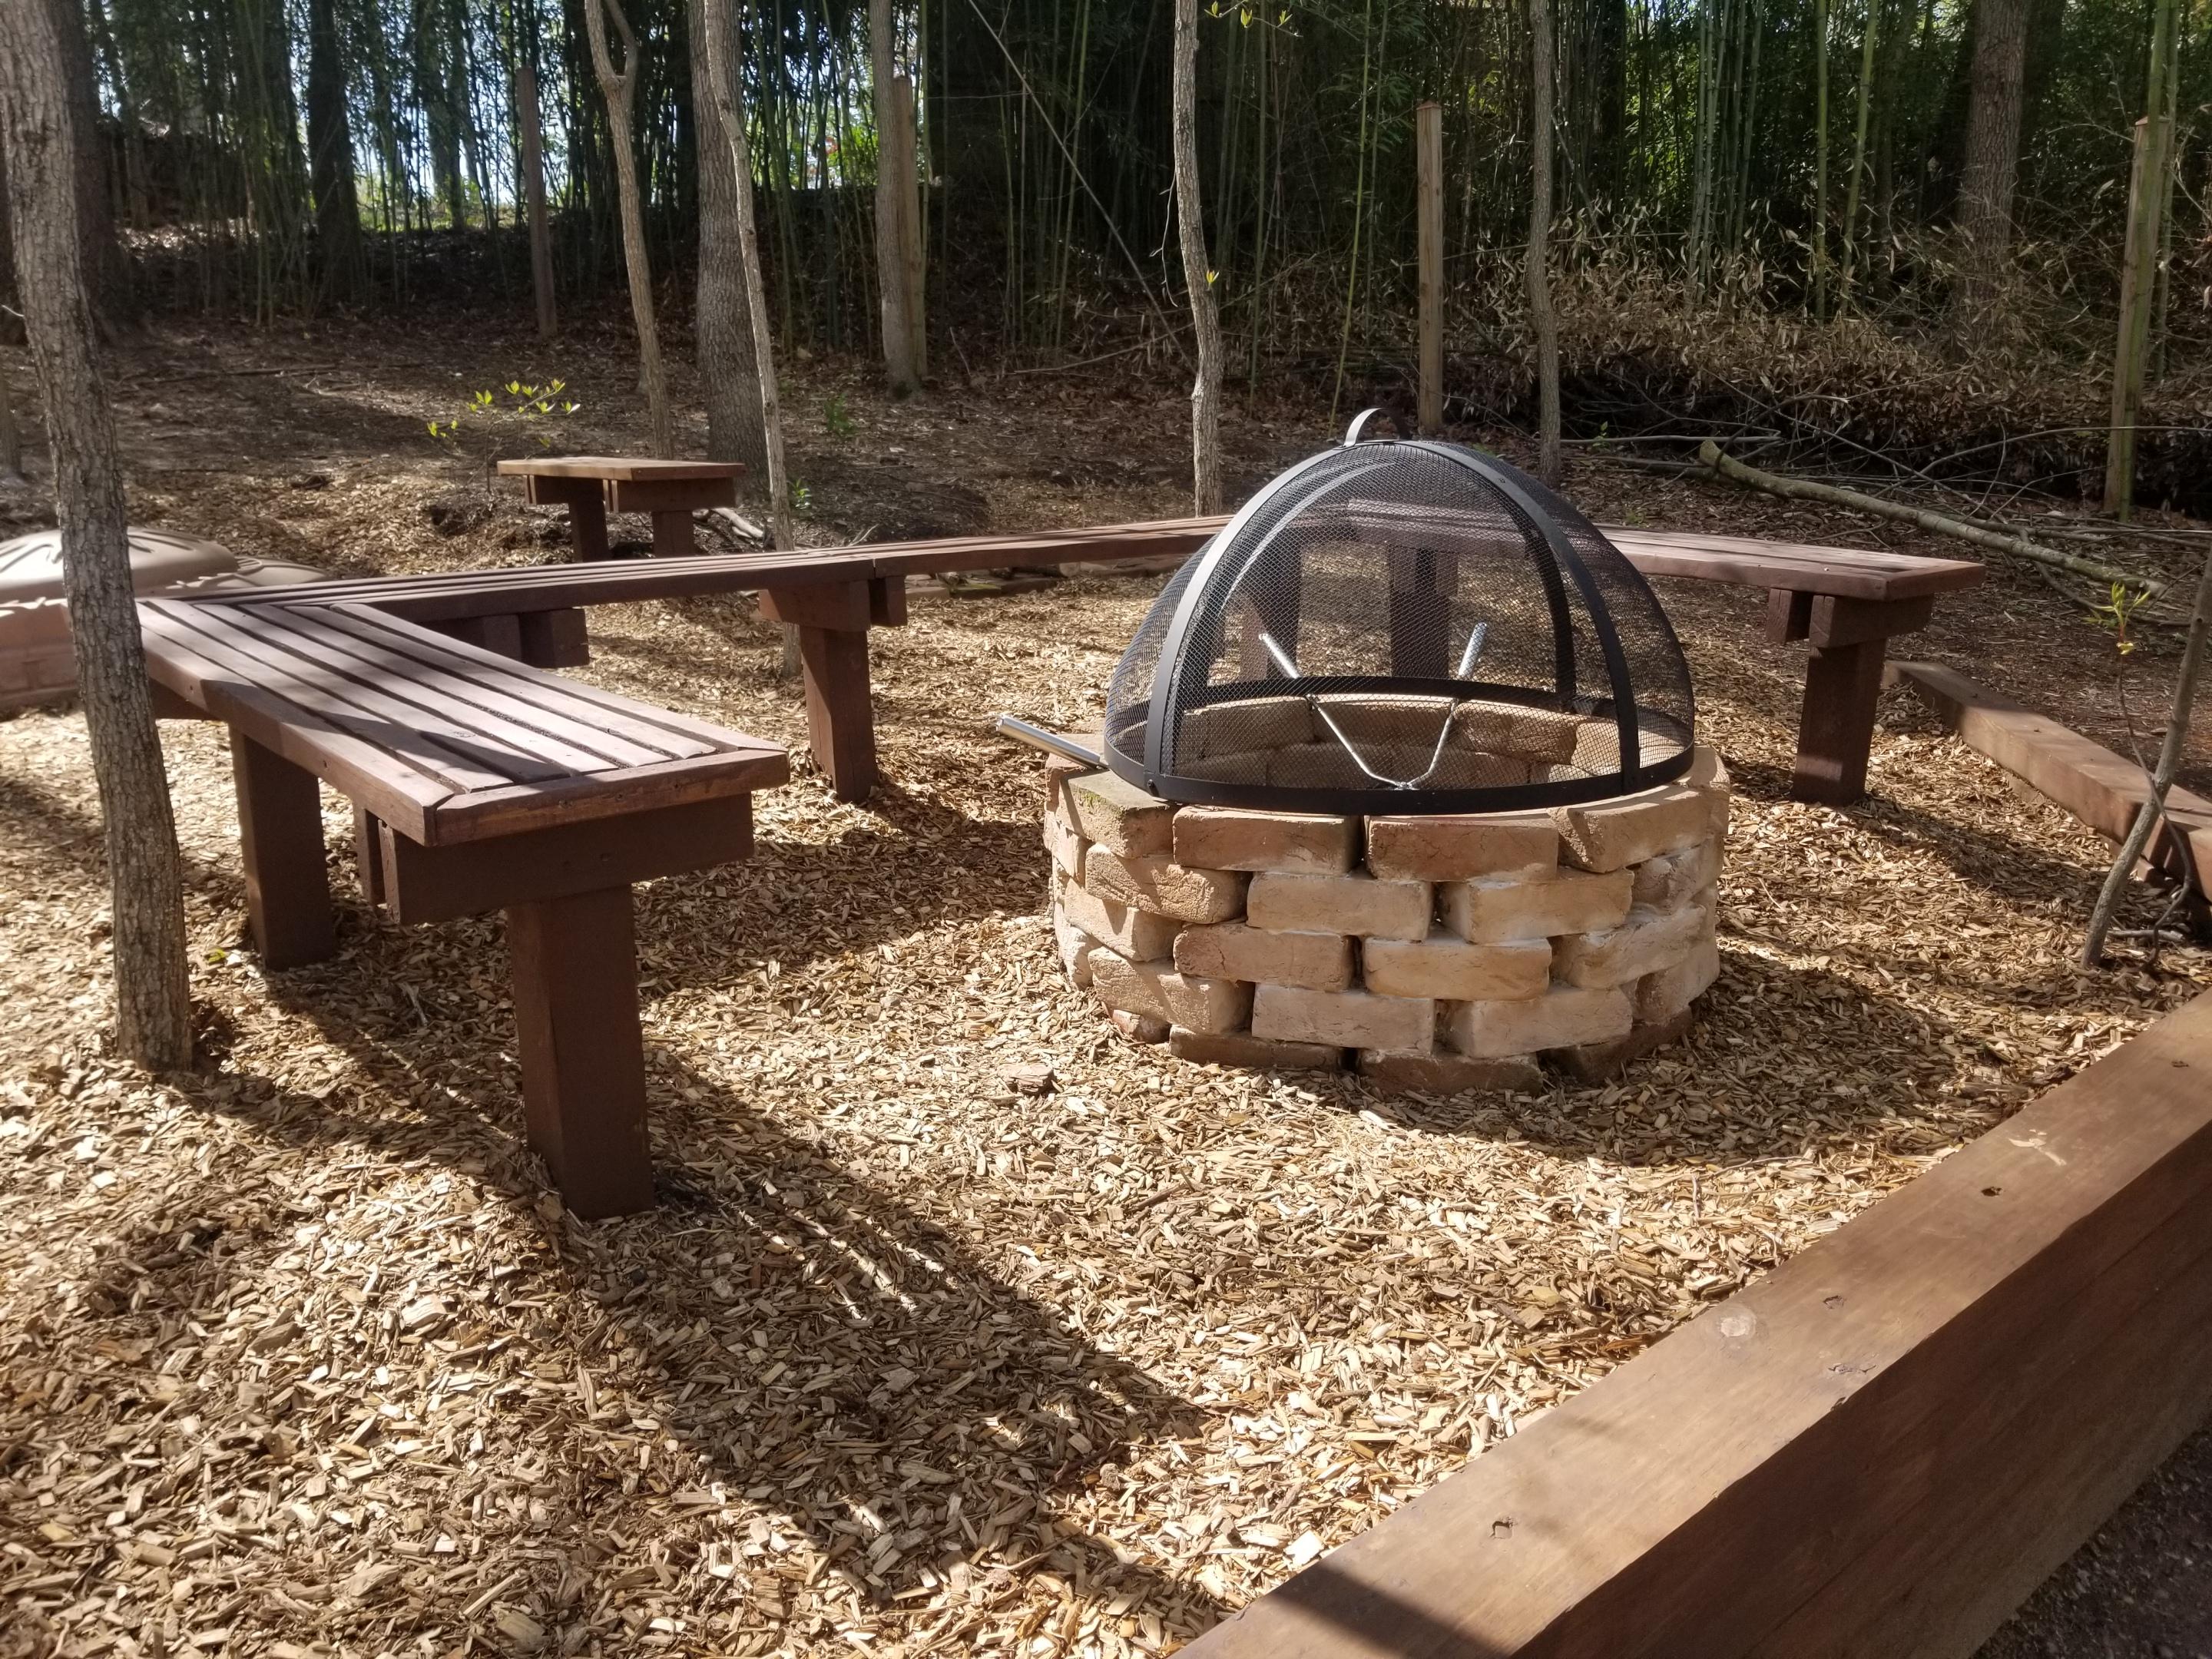
The fire pit was pretty straight forward...except the mortar!
1. Create a level surface. This is crucial so your fire is not on a slope, your bricks don't topple over, etc.
2. Measure and mark the diameter circle you are looking to build. Ours was driven by the cover we had (36in)
3. Lay your first layer of bricks along your marked circle with the brick corners on the inside touching.
4. Lay your mortar **important** we used thin skin grout from a previous project and it required a VERY small amount. I layed too much, it became blobby and required a LOT of cleanup after.
5. Stack the next layer of bricks halfway between the first layer (staggard)
6. Repeat steps 4-5 until desired height (5 layers for us)
7. Optional: place gravel or bricks in center to keep fire off ground
8. Optional: I had some bench sections leftover from my deck, so I inspected them, replaced slats where needed, sanded (stripped), painted, dug post holes and cemented them 2ft on all sides from the fire pit.
Note: if the mortar is blobby, clean before it dries!!!
Grill Area
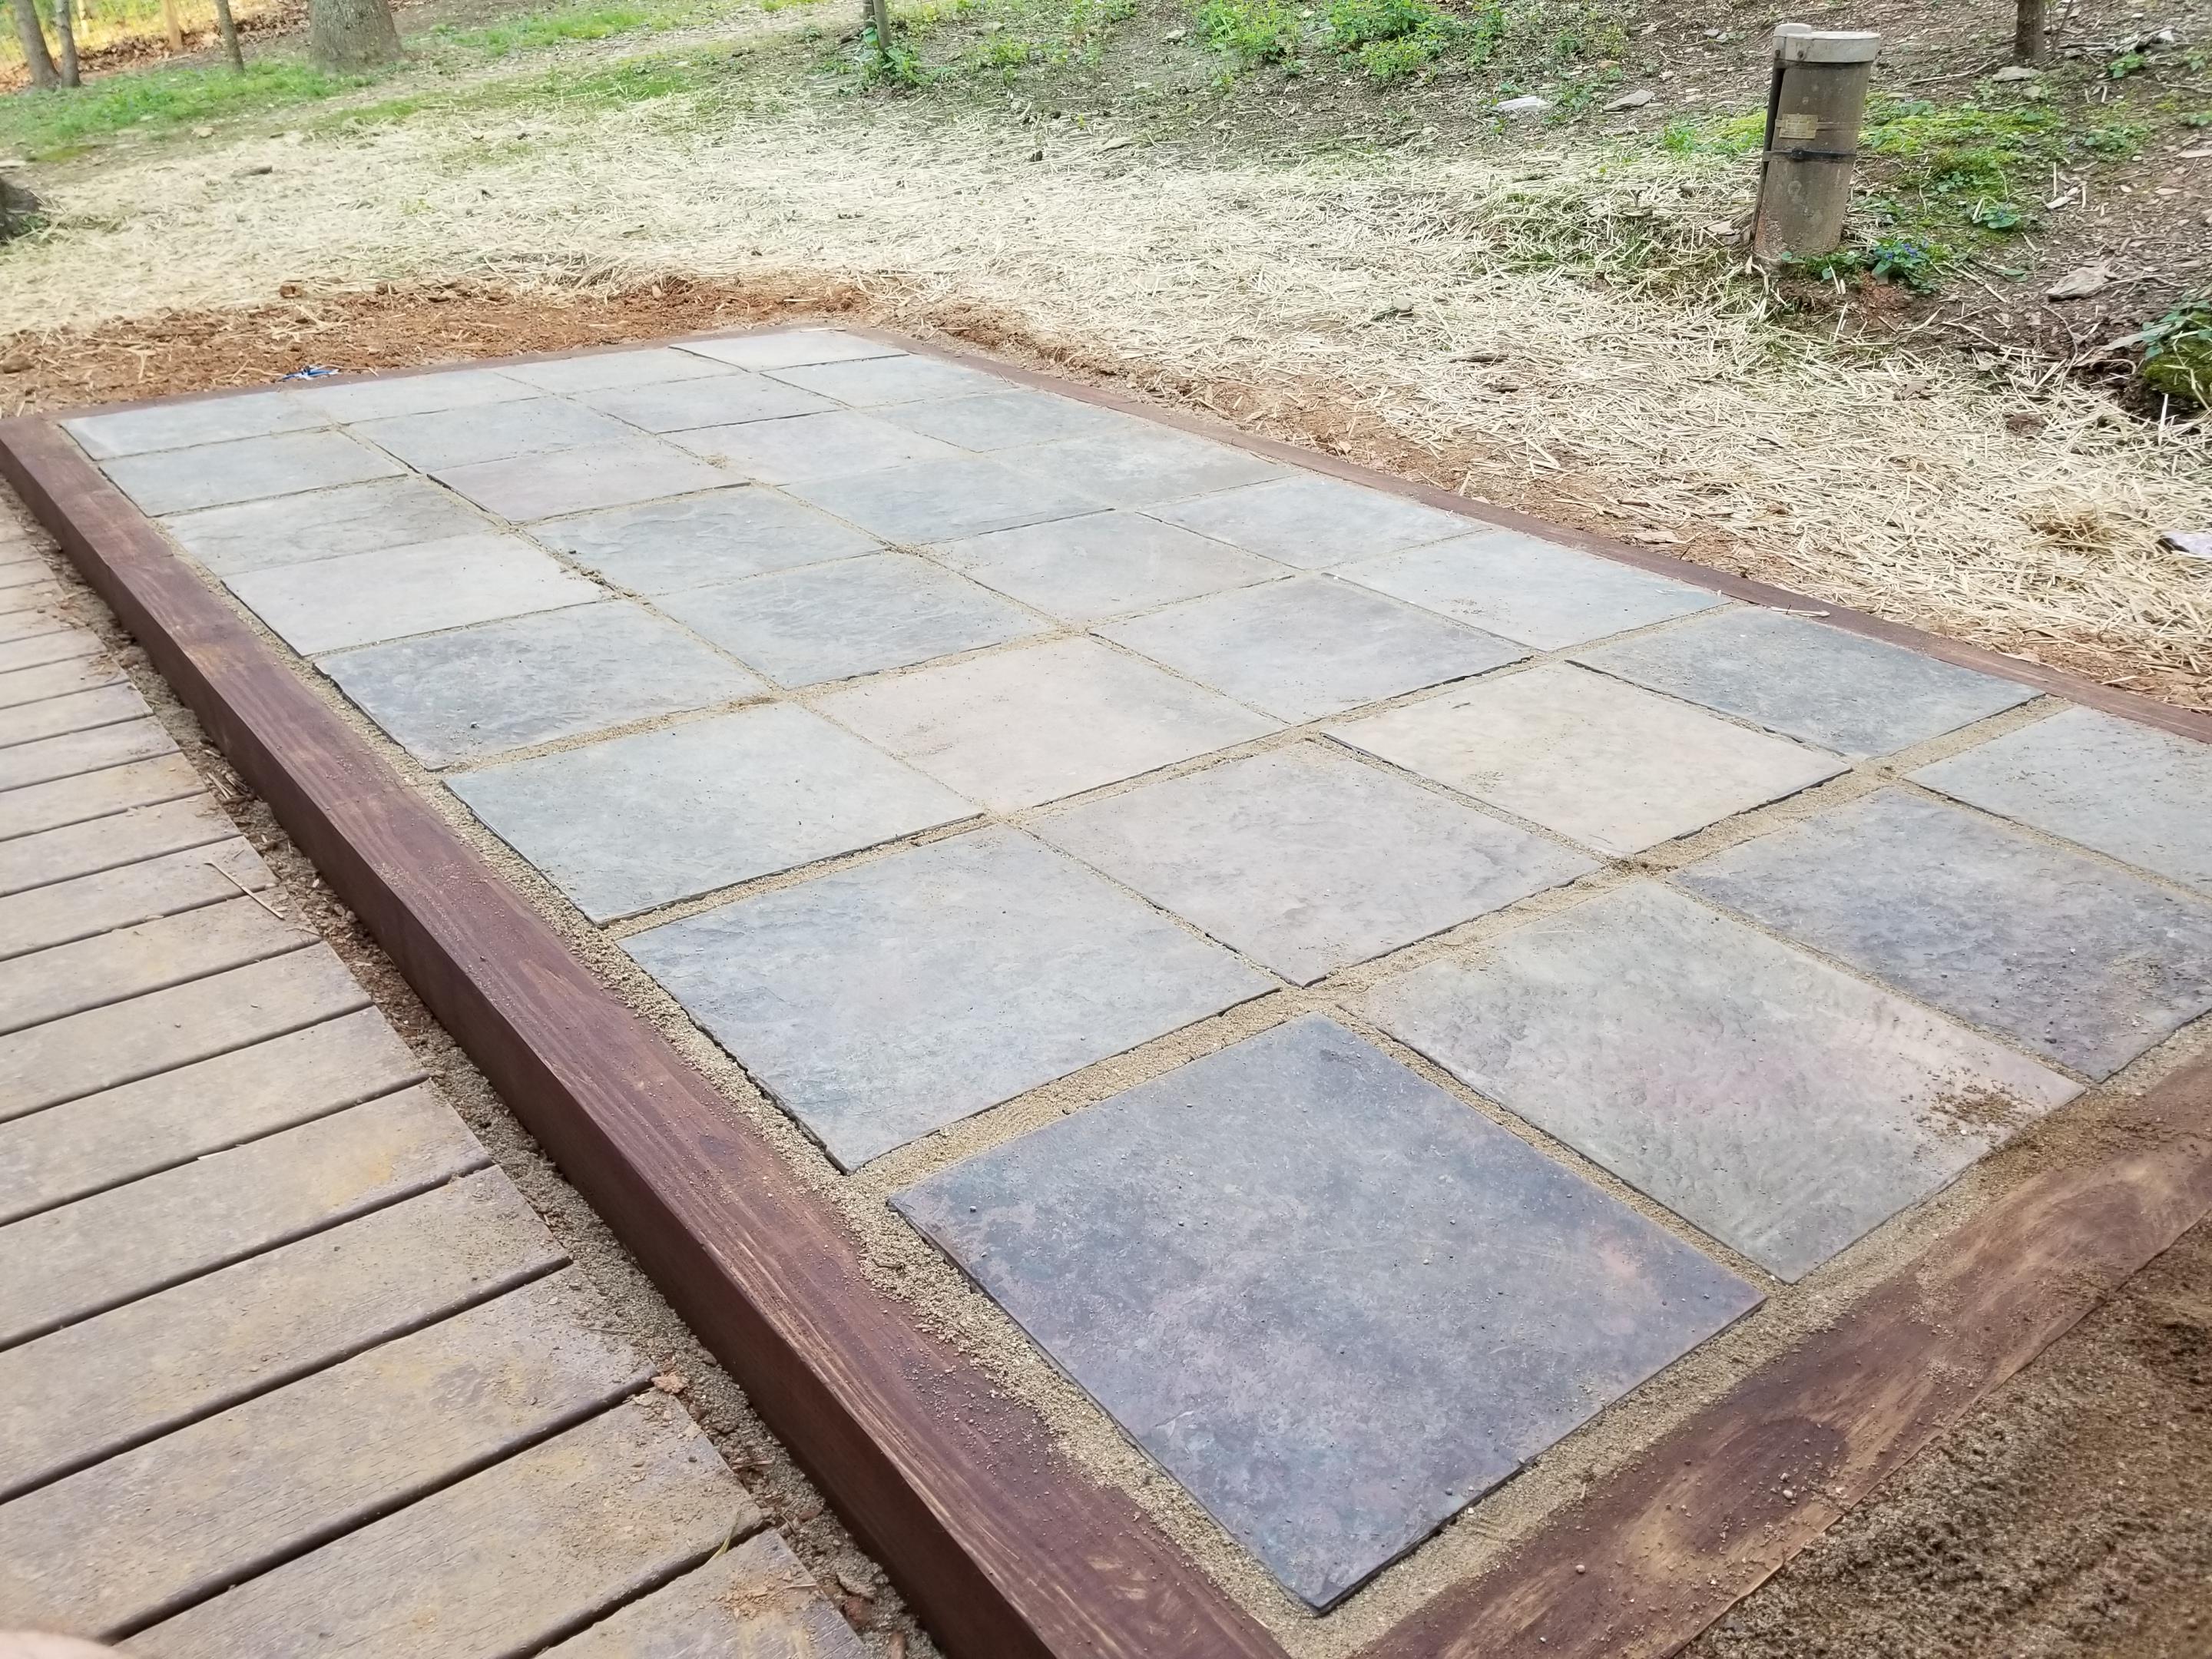
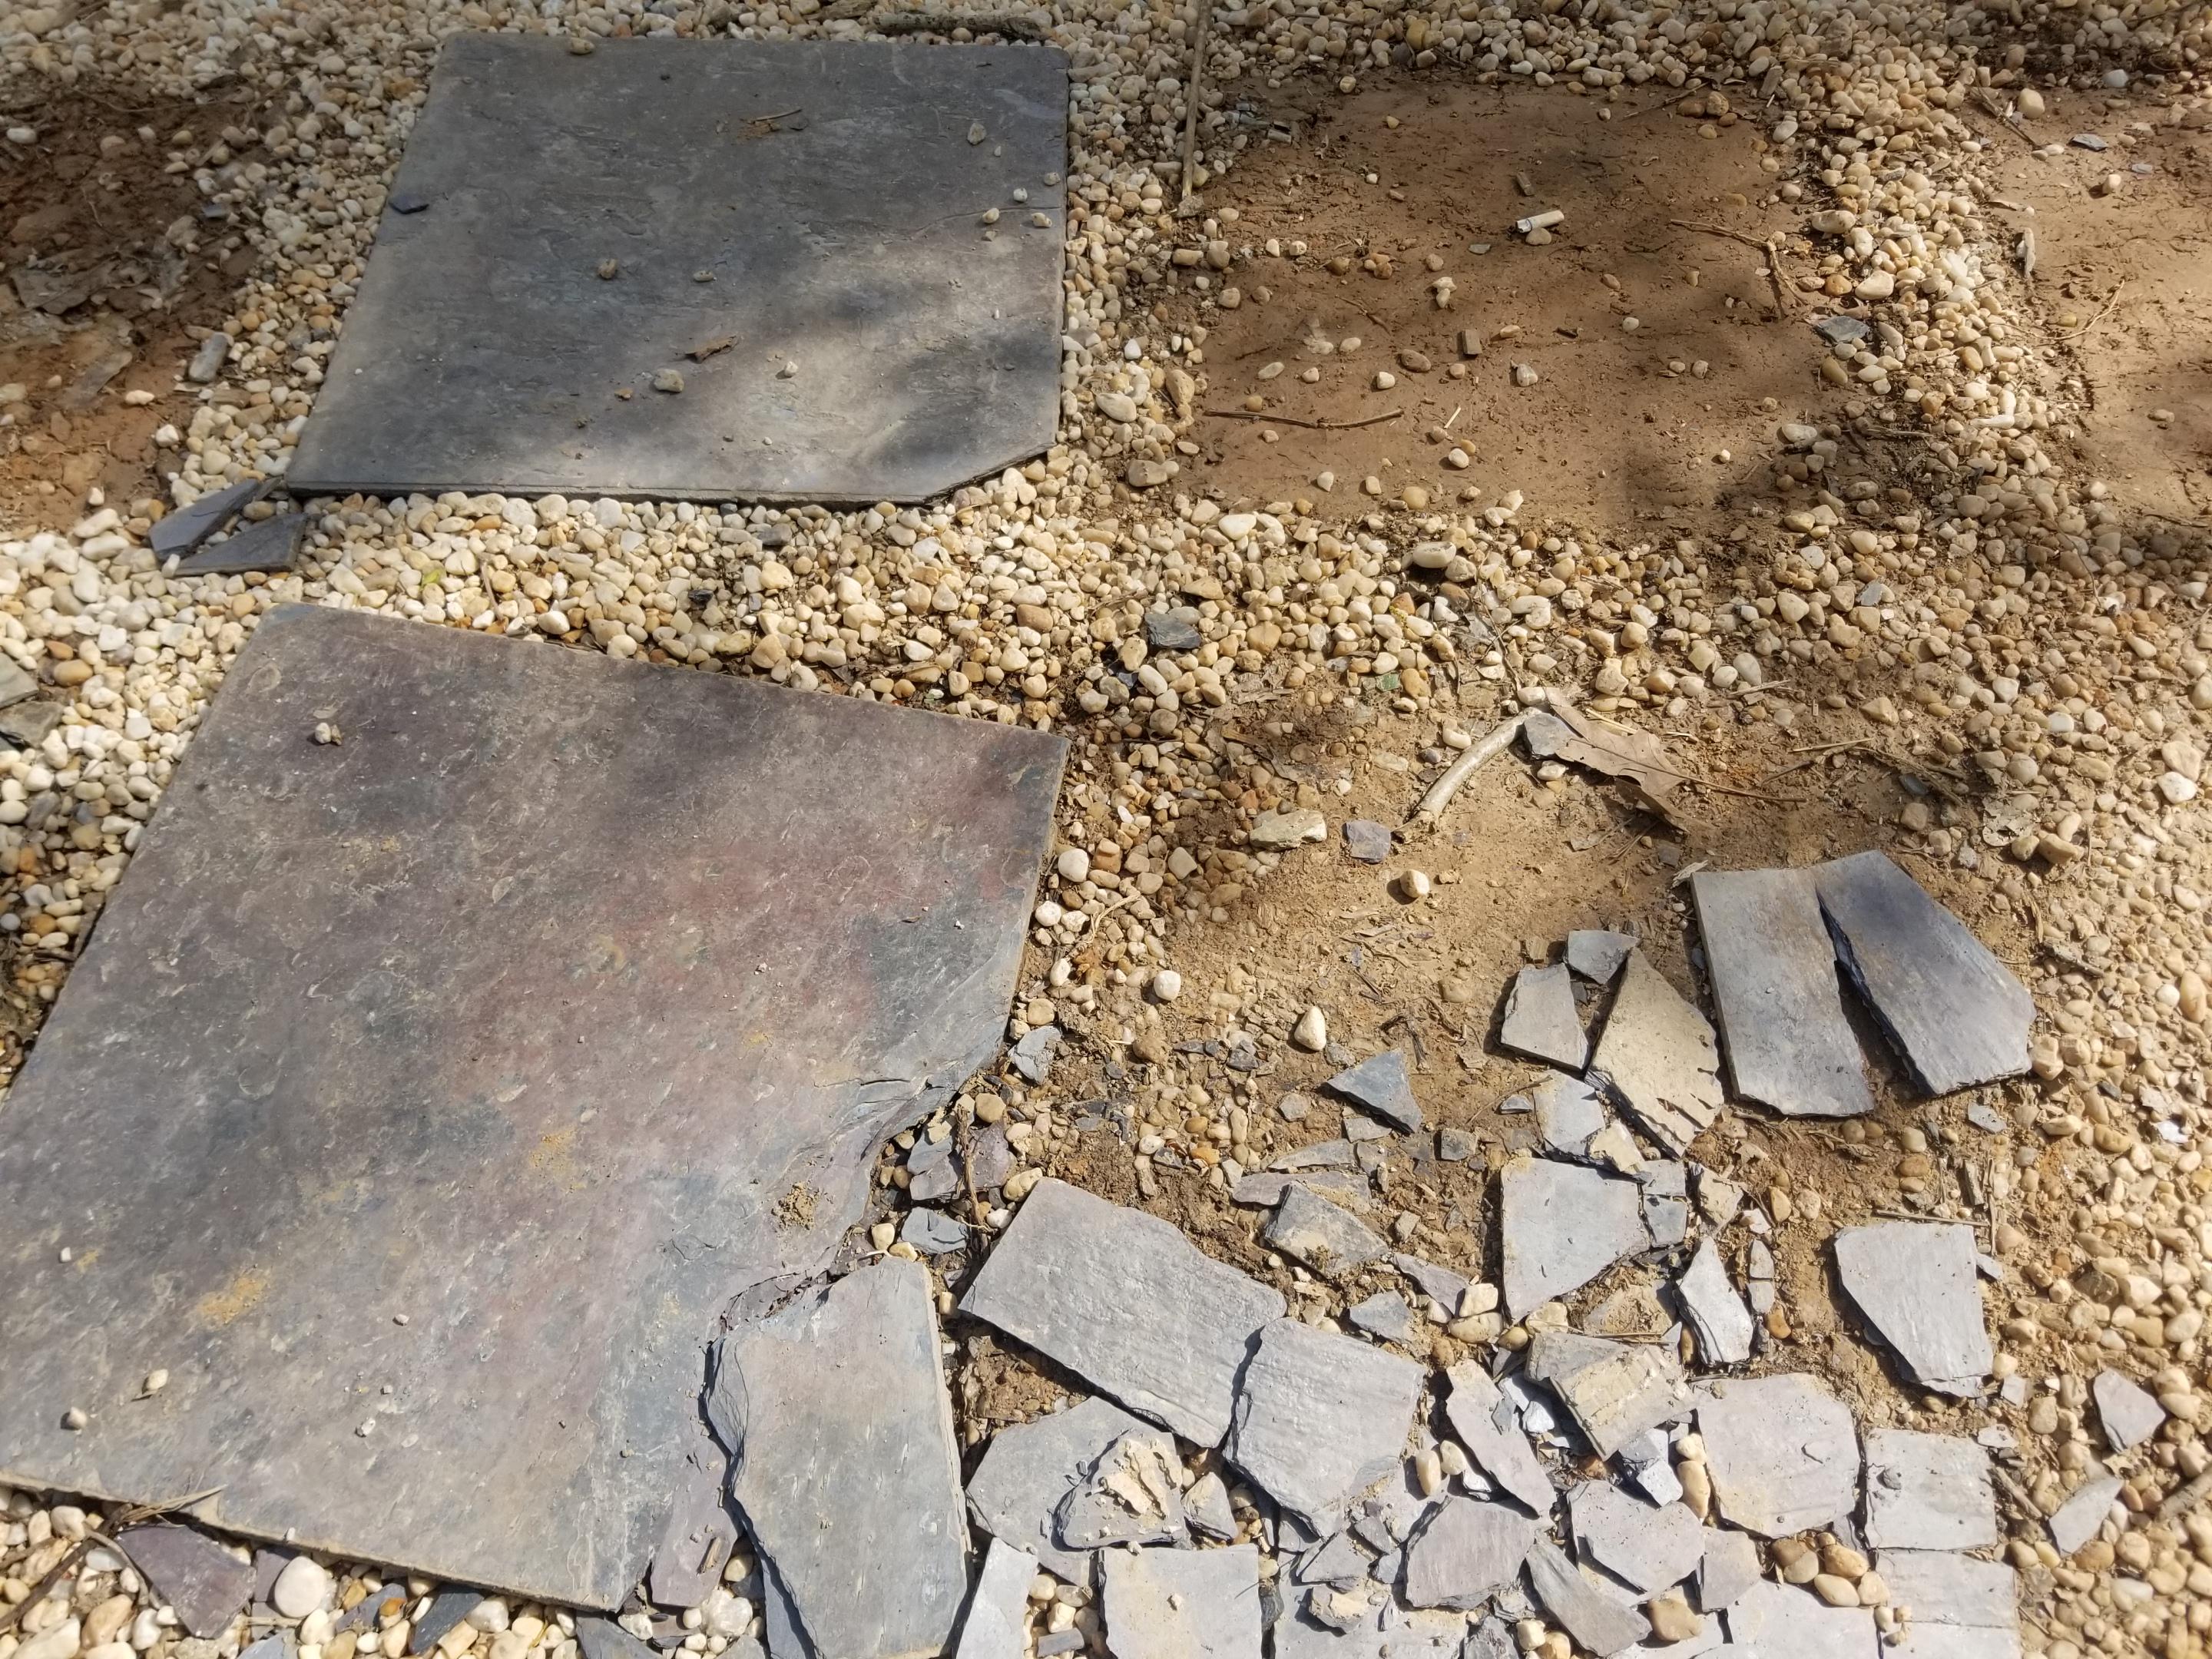
It was pretty sad to see such nice stone wasted... so I didn't!
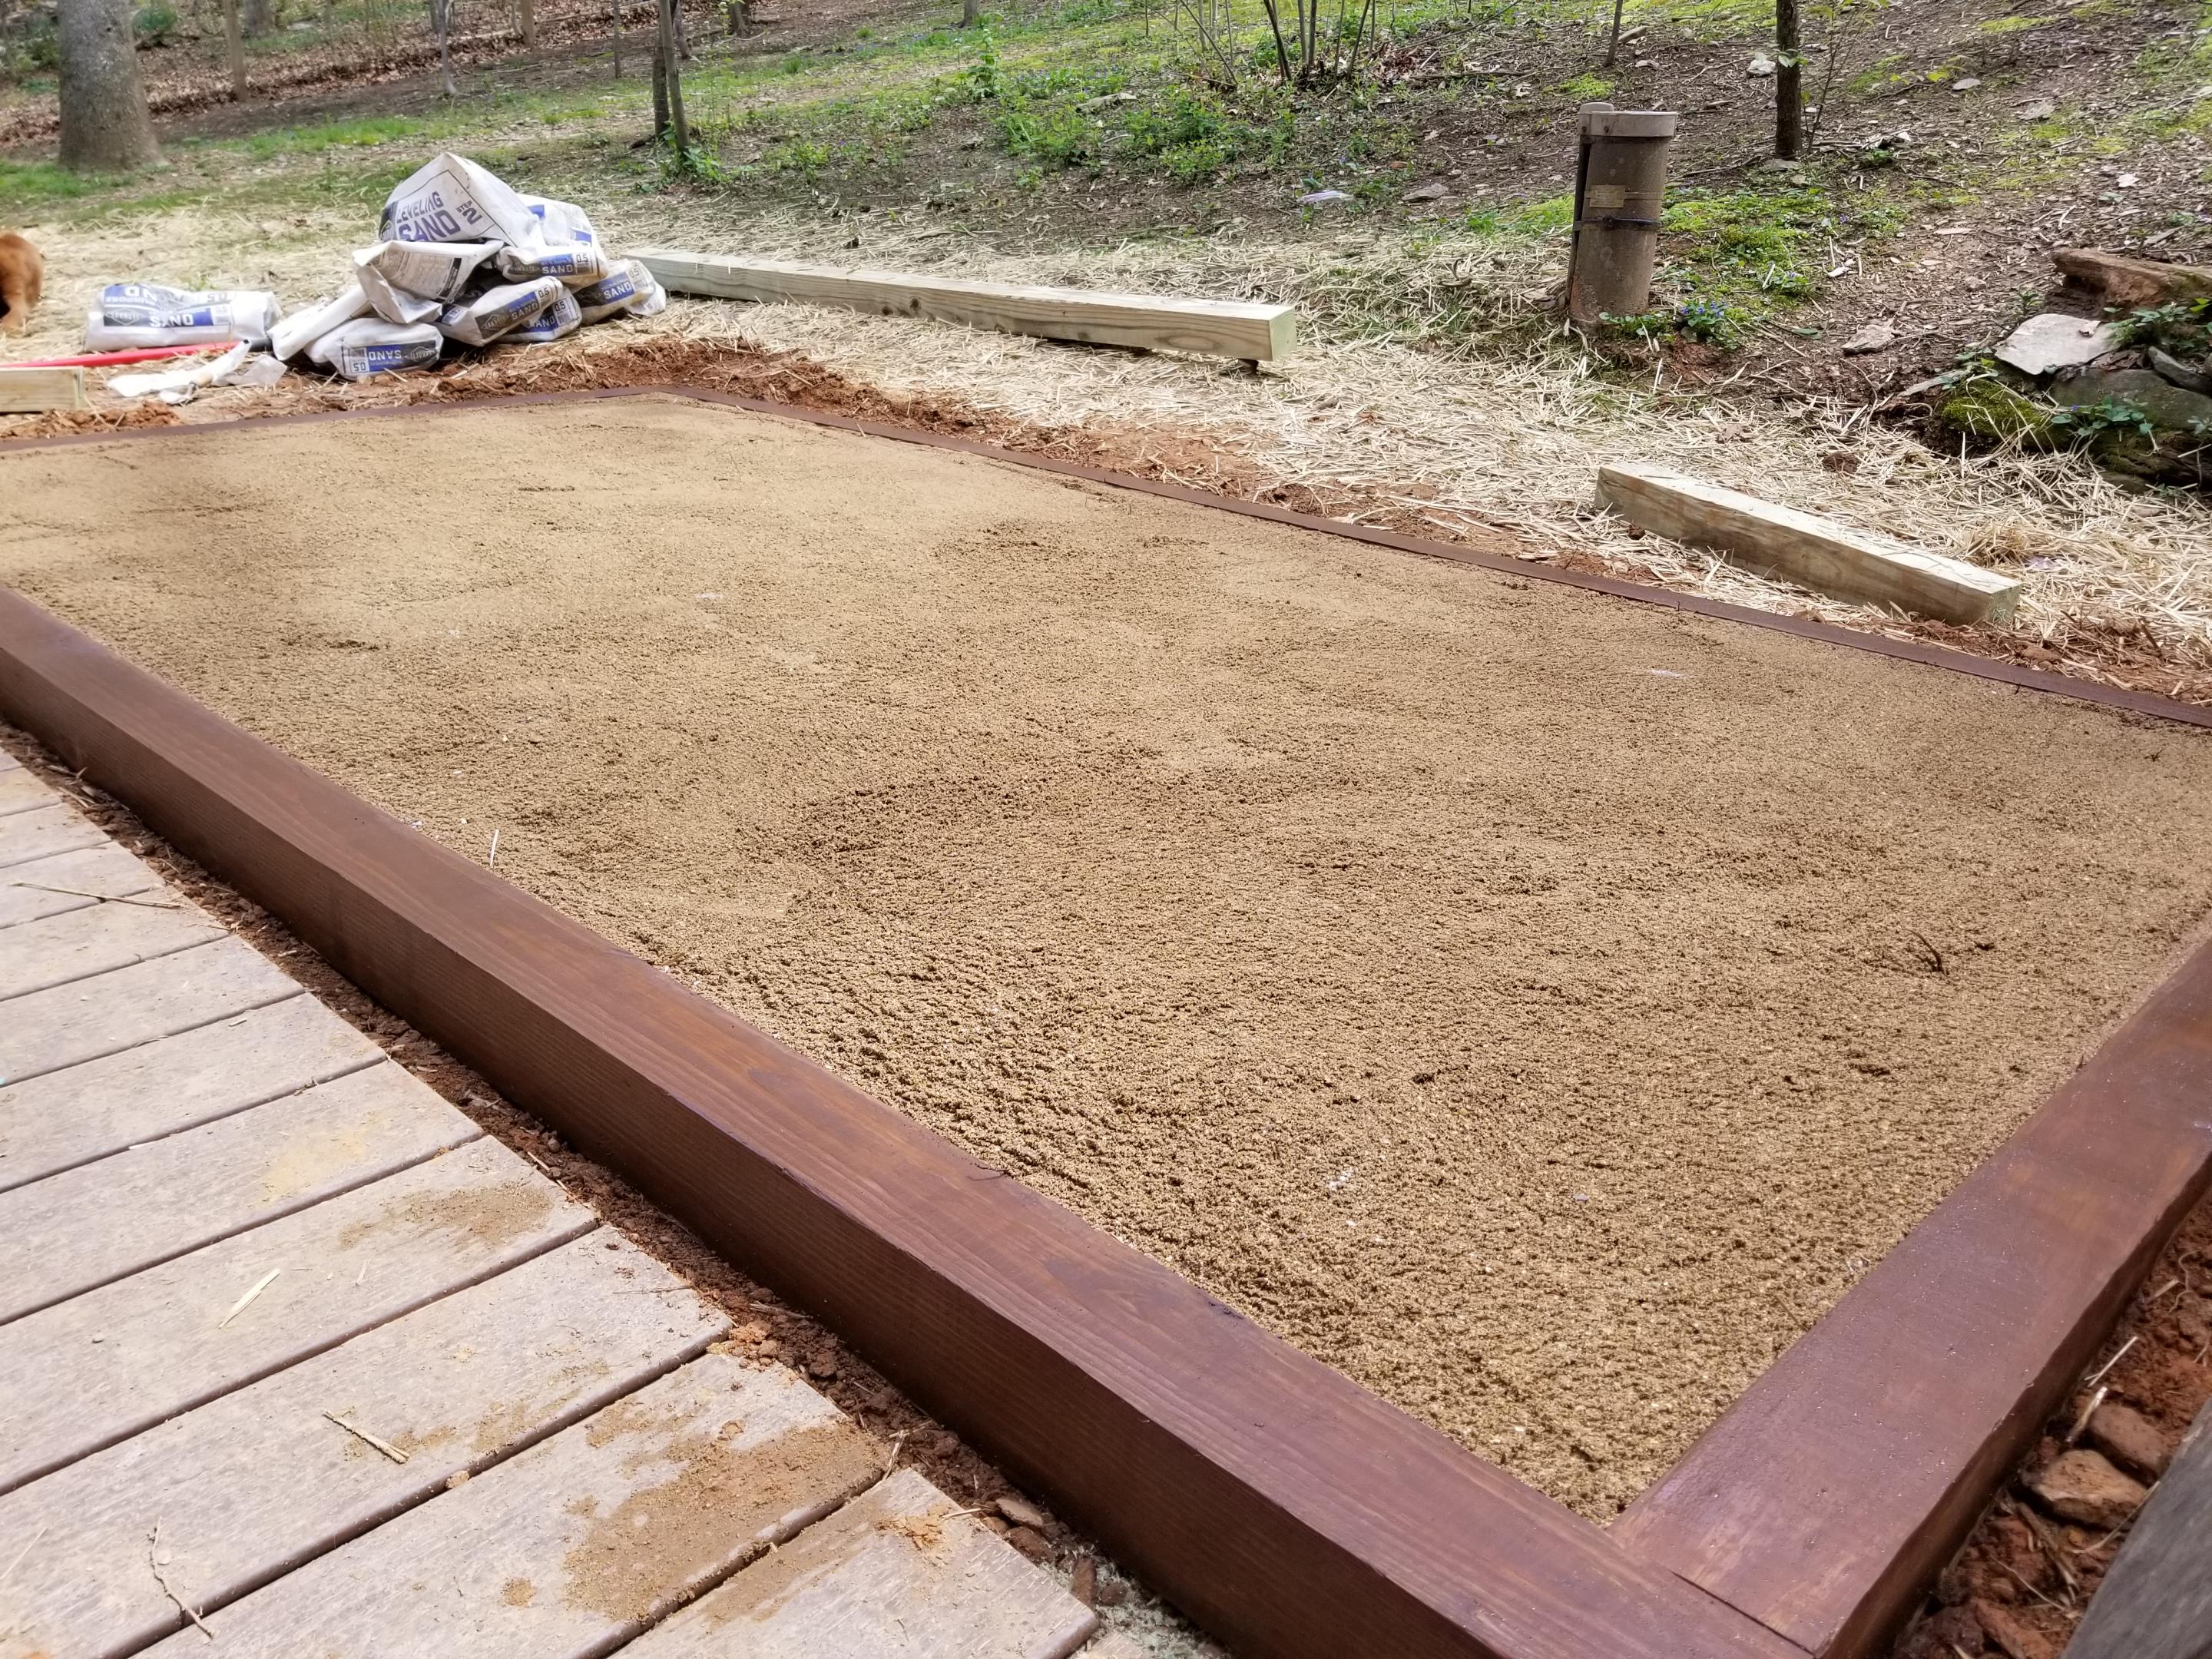
1. Level the area you are looking to work on. For me it was 12ft x 6ft approximately
2. Cut 4x4s to create the desired frame size (I did an 8ft section + 4ft for the width to keep material at 3 4x4s there, then 67.5in x2 for length to match the width of 4 tiles + space)
3. Dig trench for 4x4 frame, place 4x4s and ensure they are level.
4. Fill area with leveling sand (and gravel base if desired) to the tip of frame - thickness of pavers.
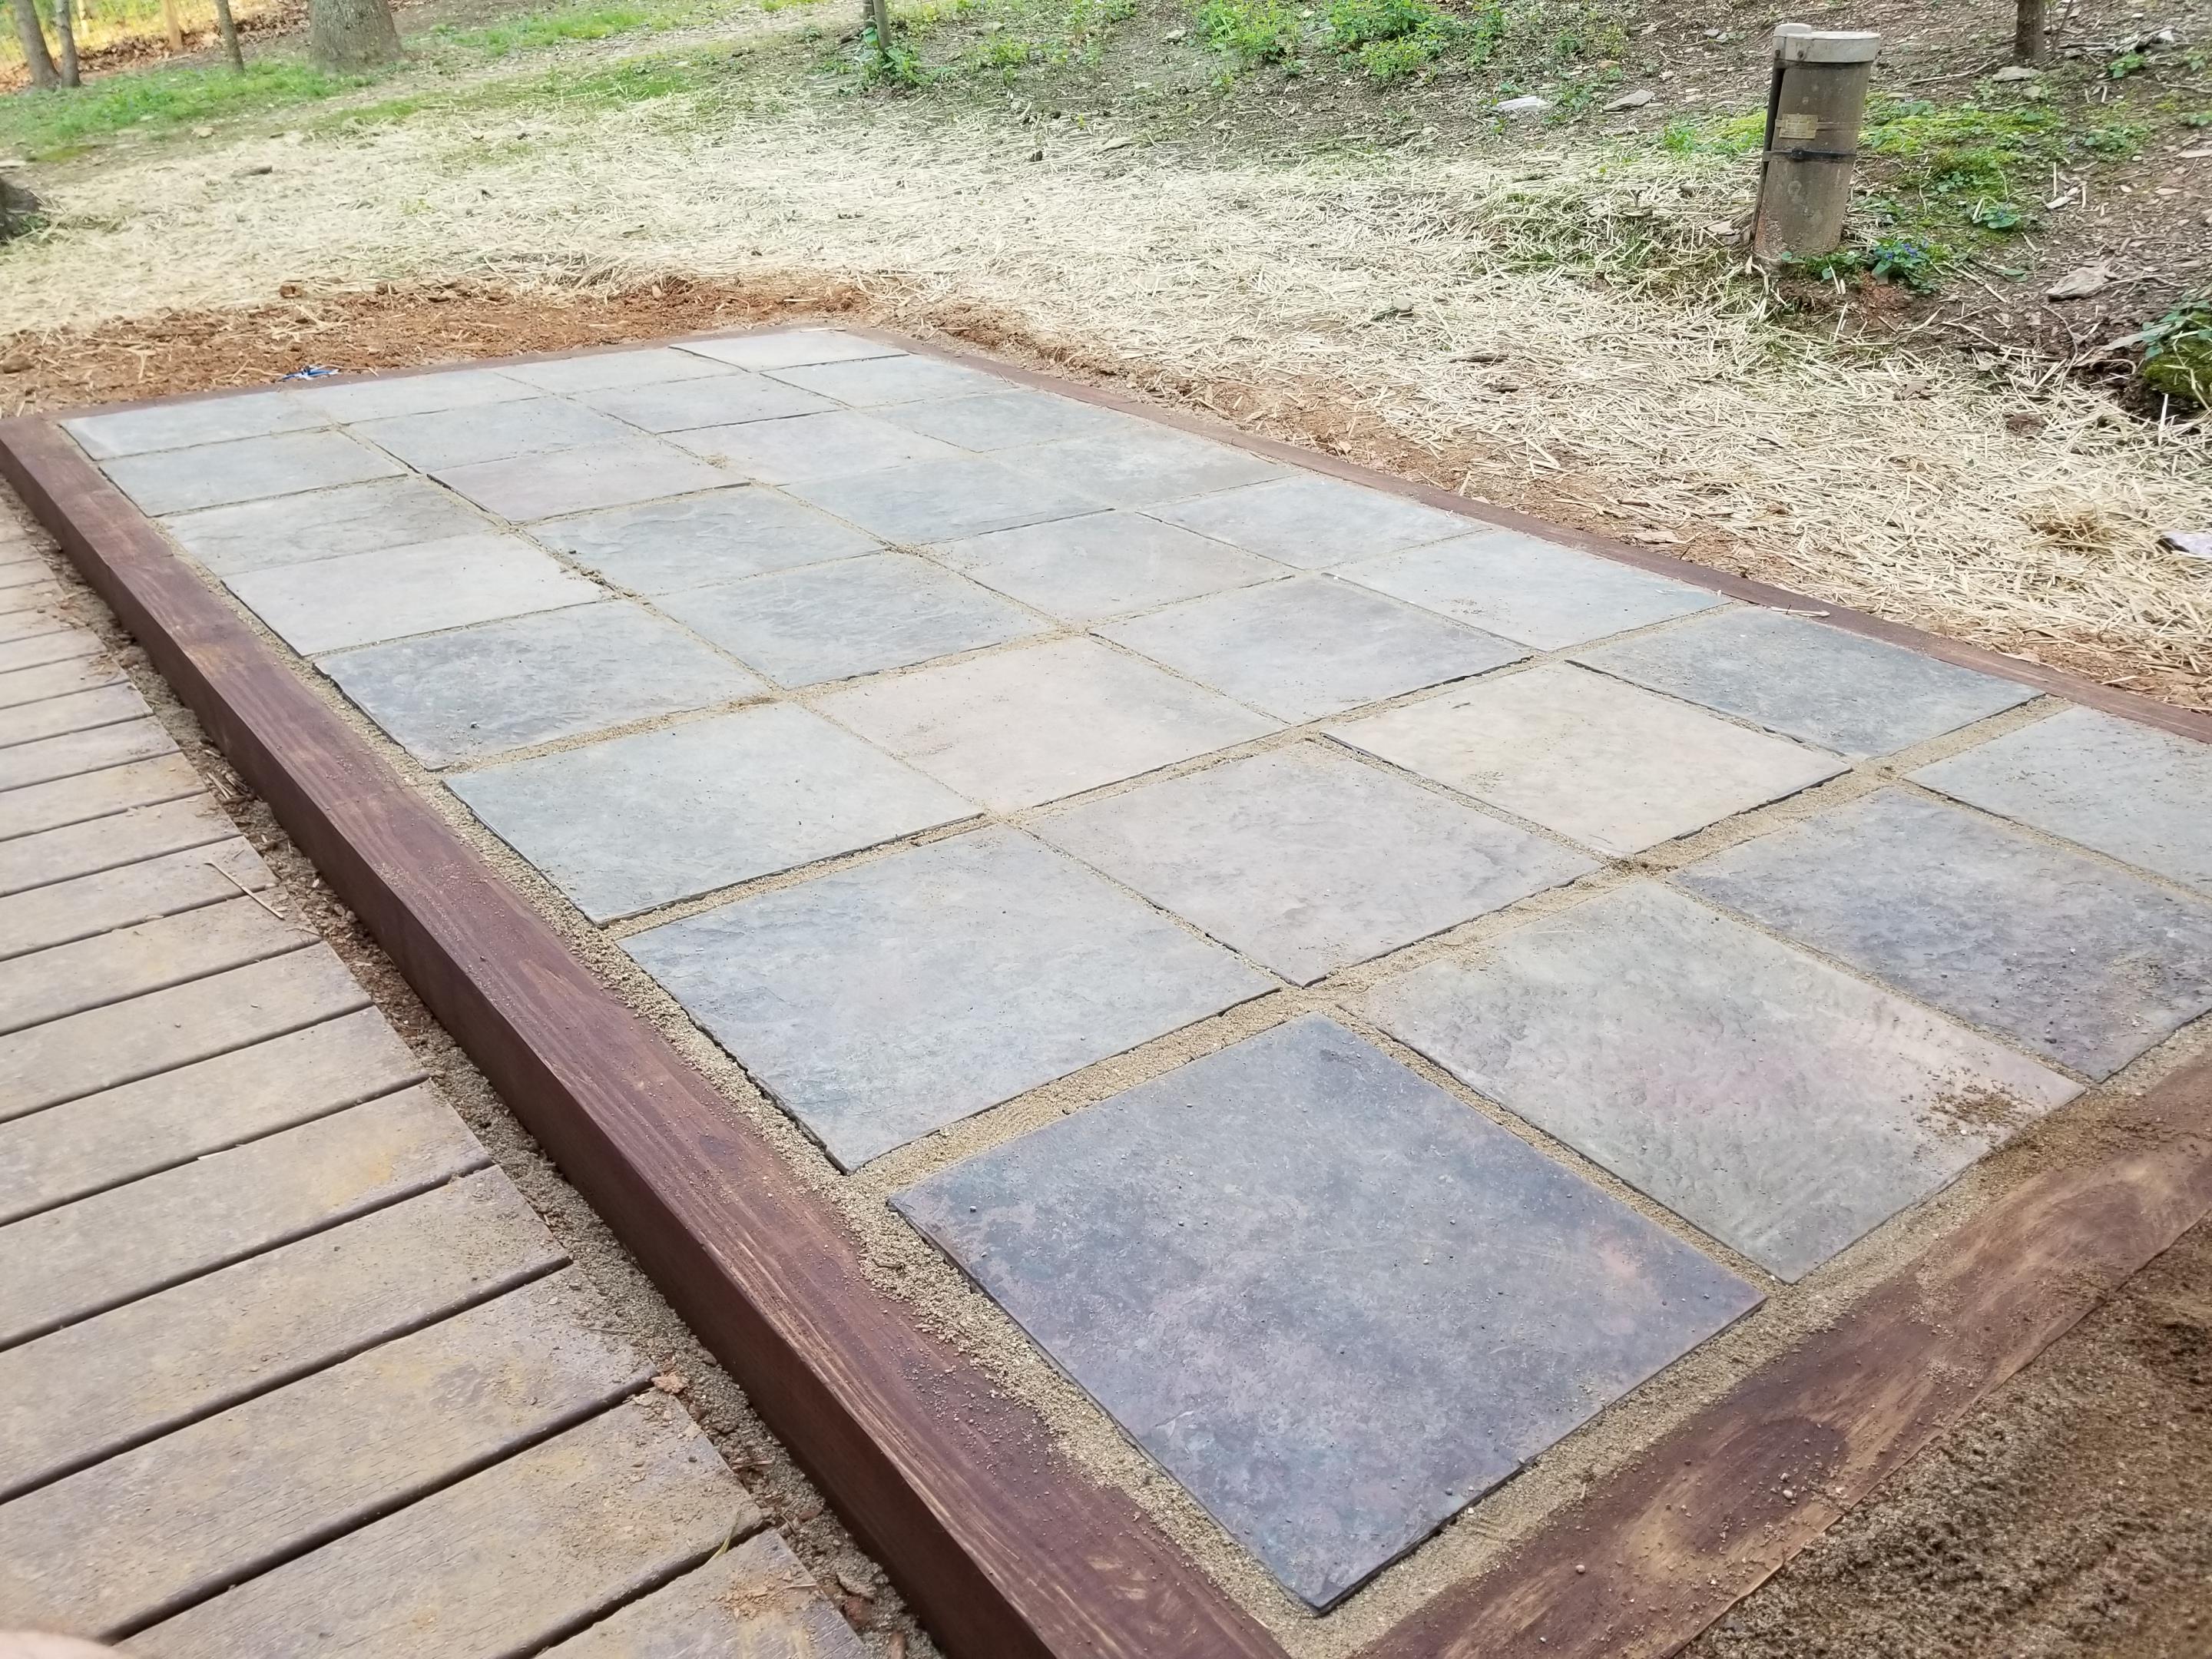
5. Place tiles/pavers
6. Fill gaps with either polymeric sand or leveling/paver gap sand - I used leveling sand because my tiles were only .25in thick. Use a broom to sweep sand over cracks to fill gaps.
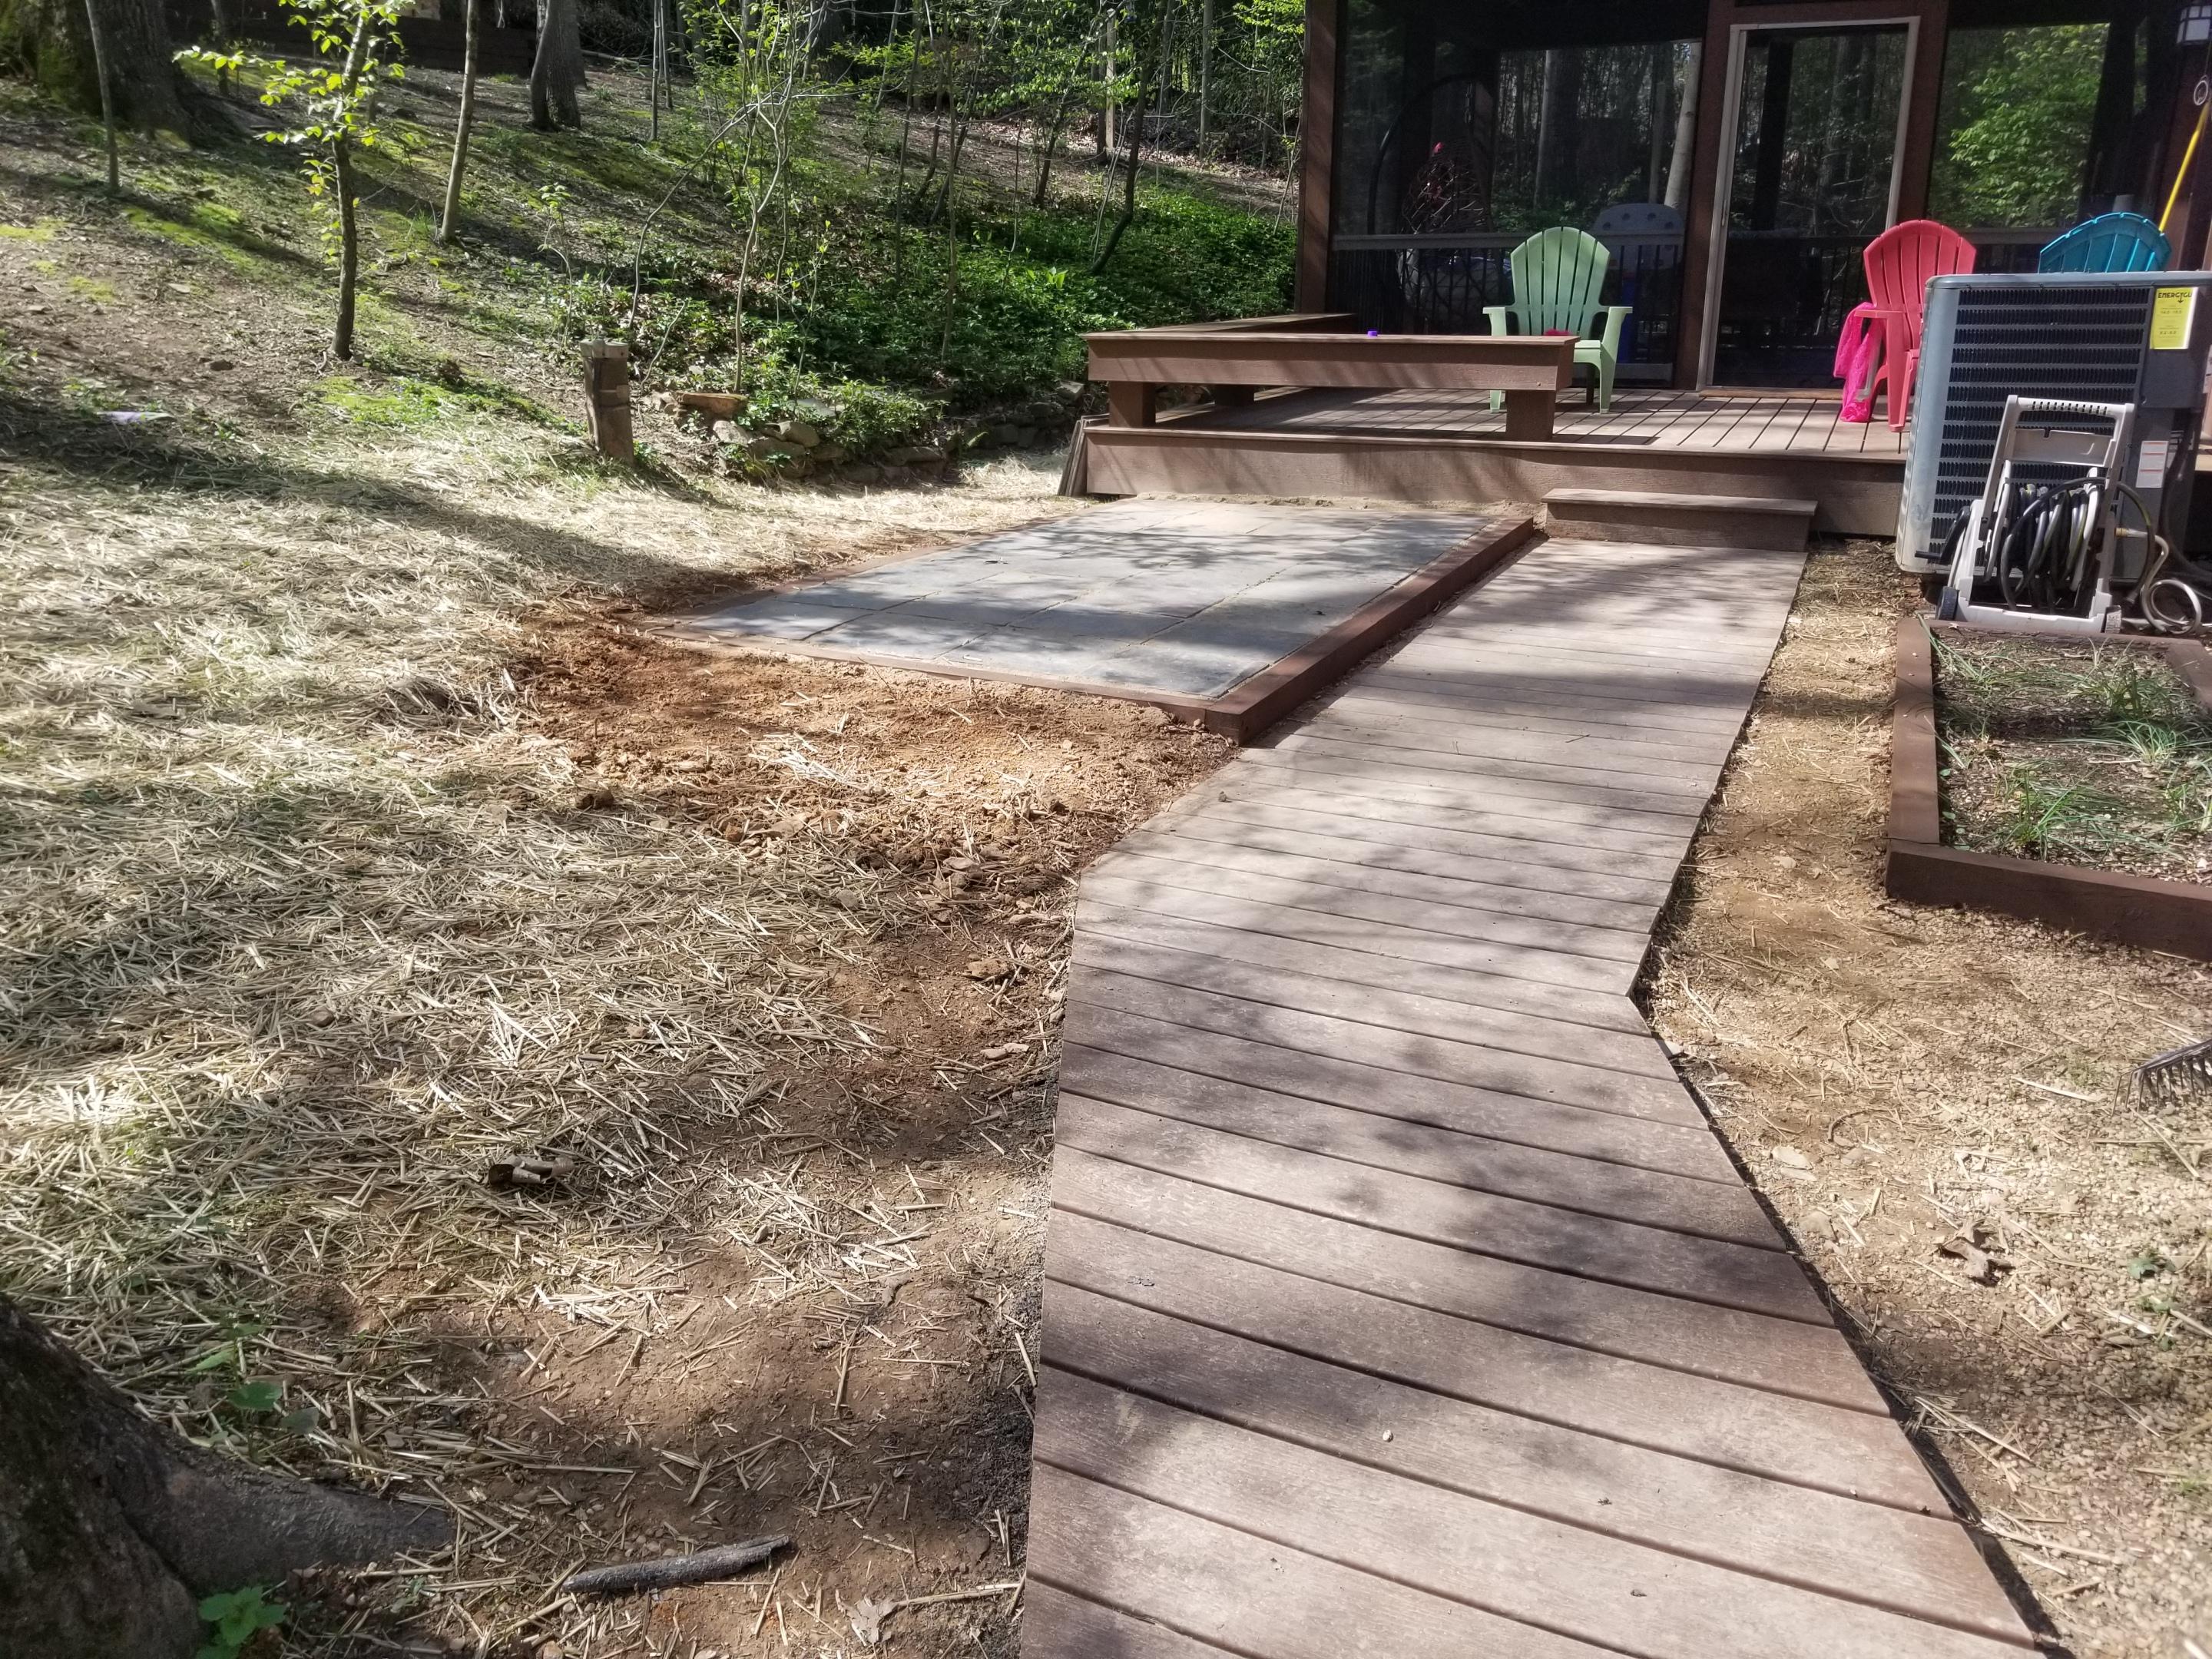
Boardwalk!
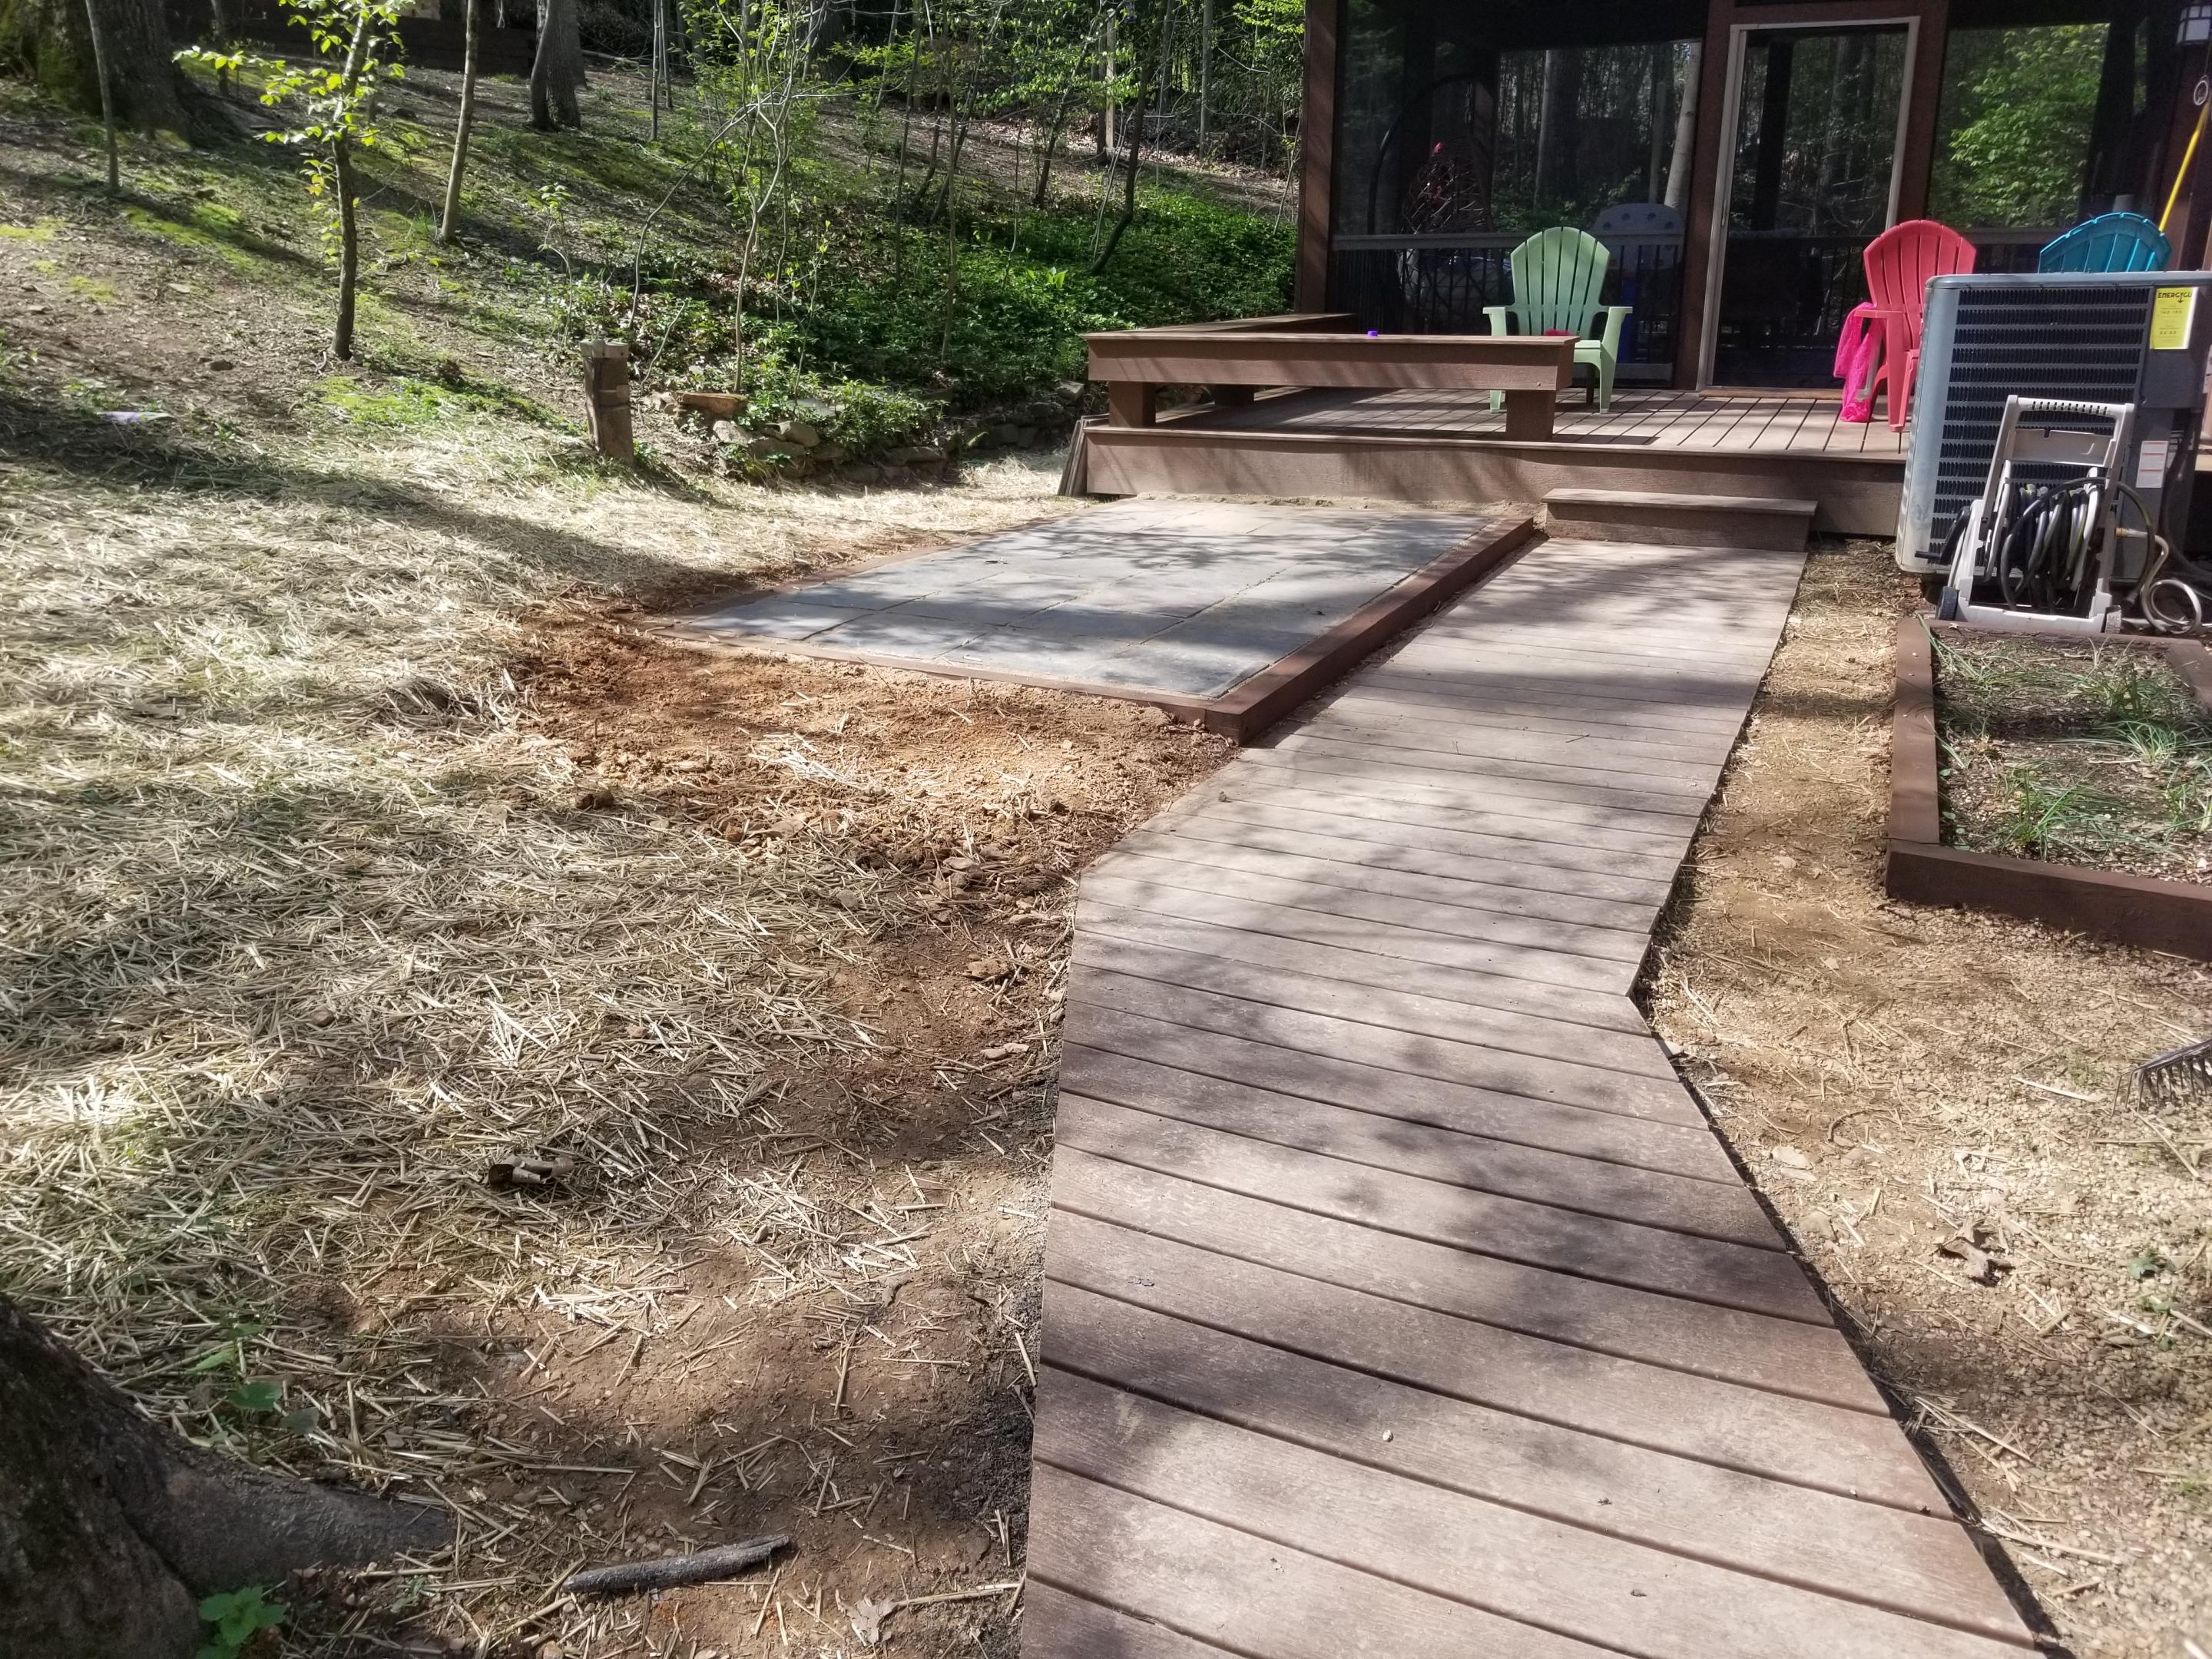
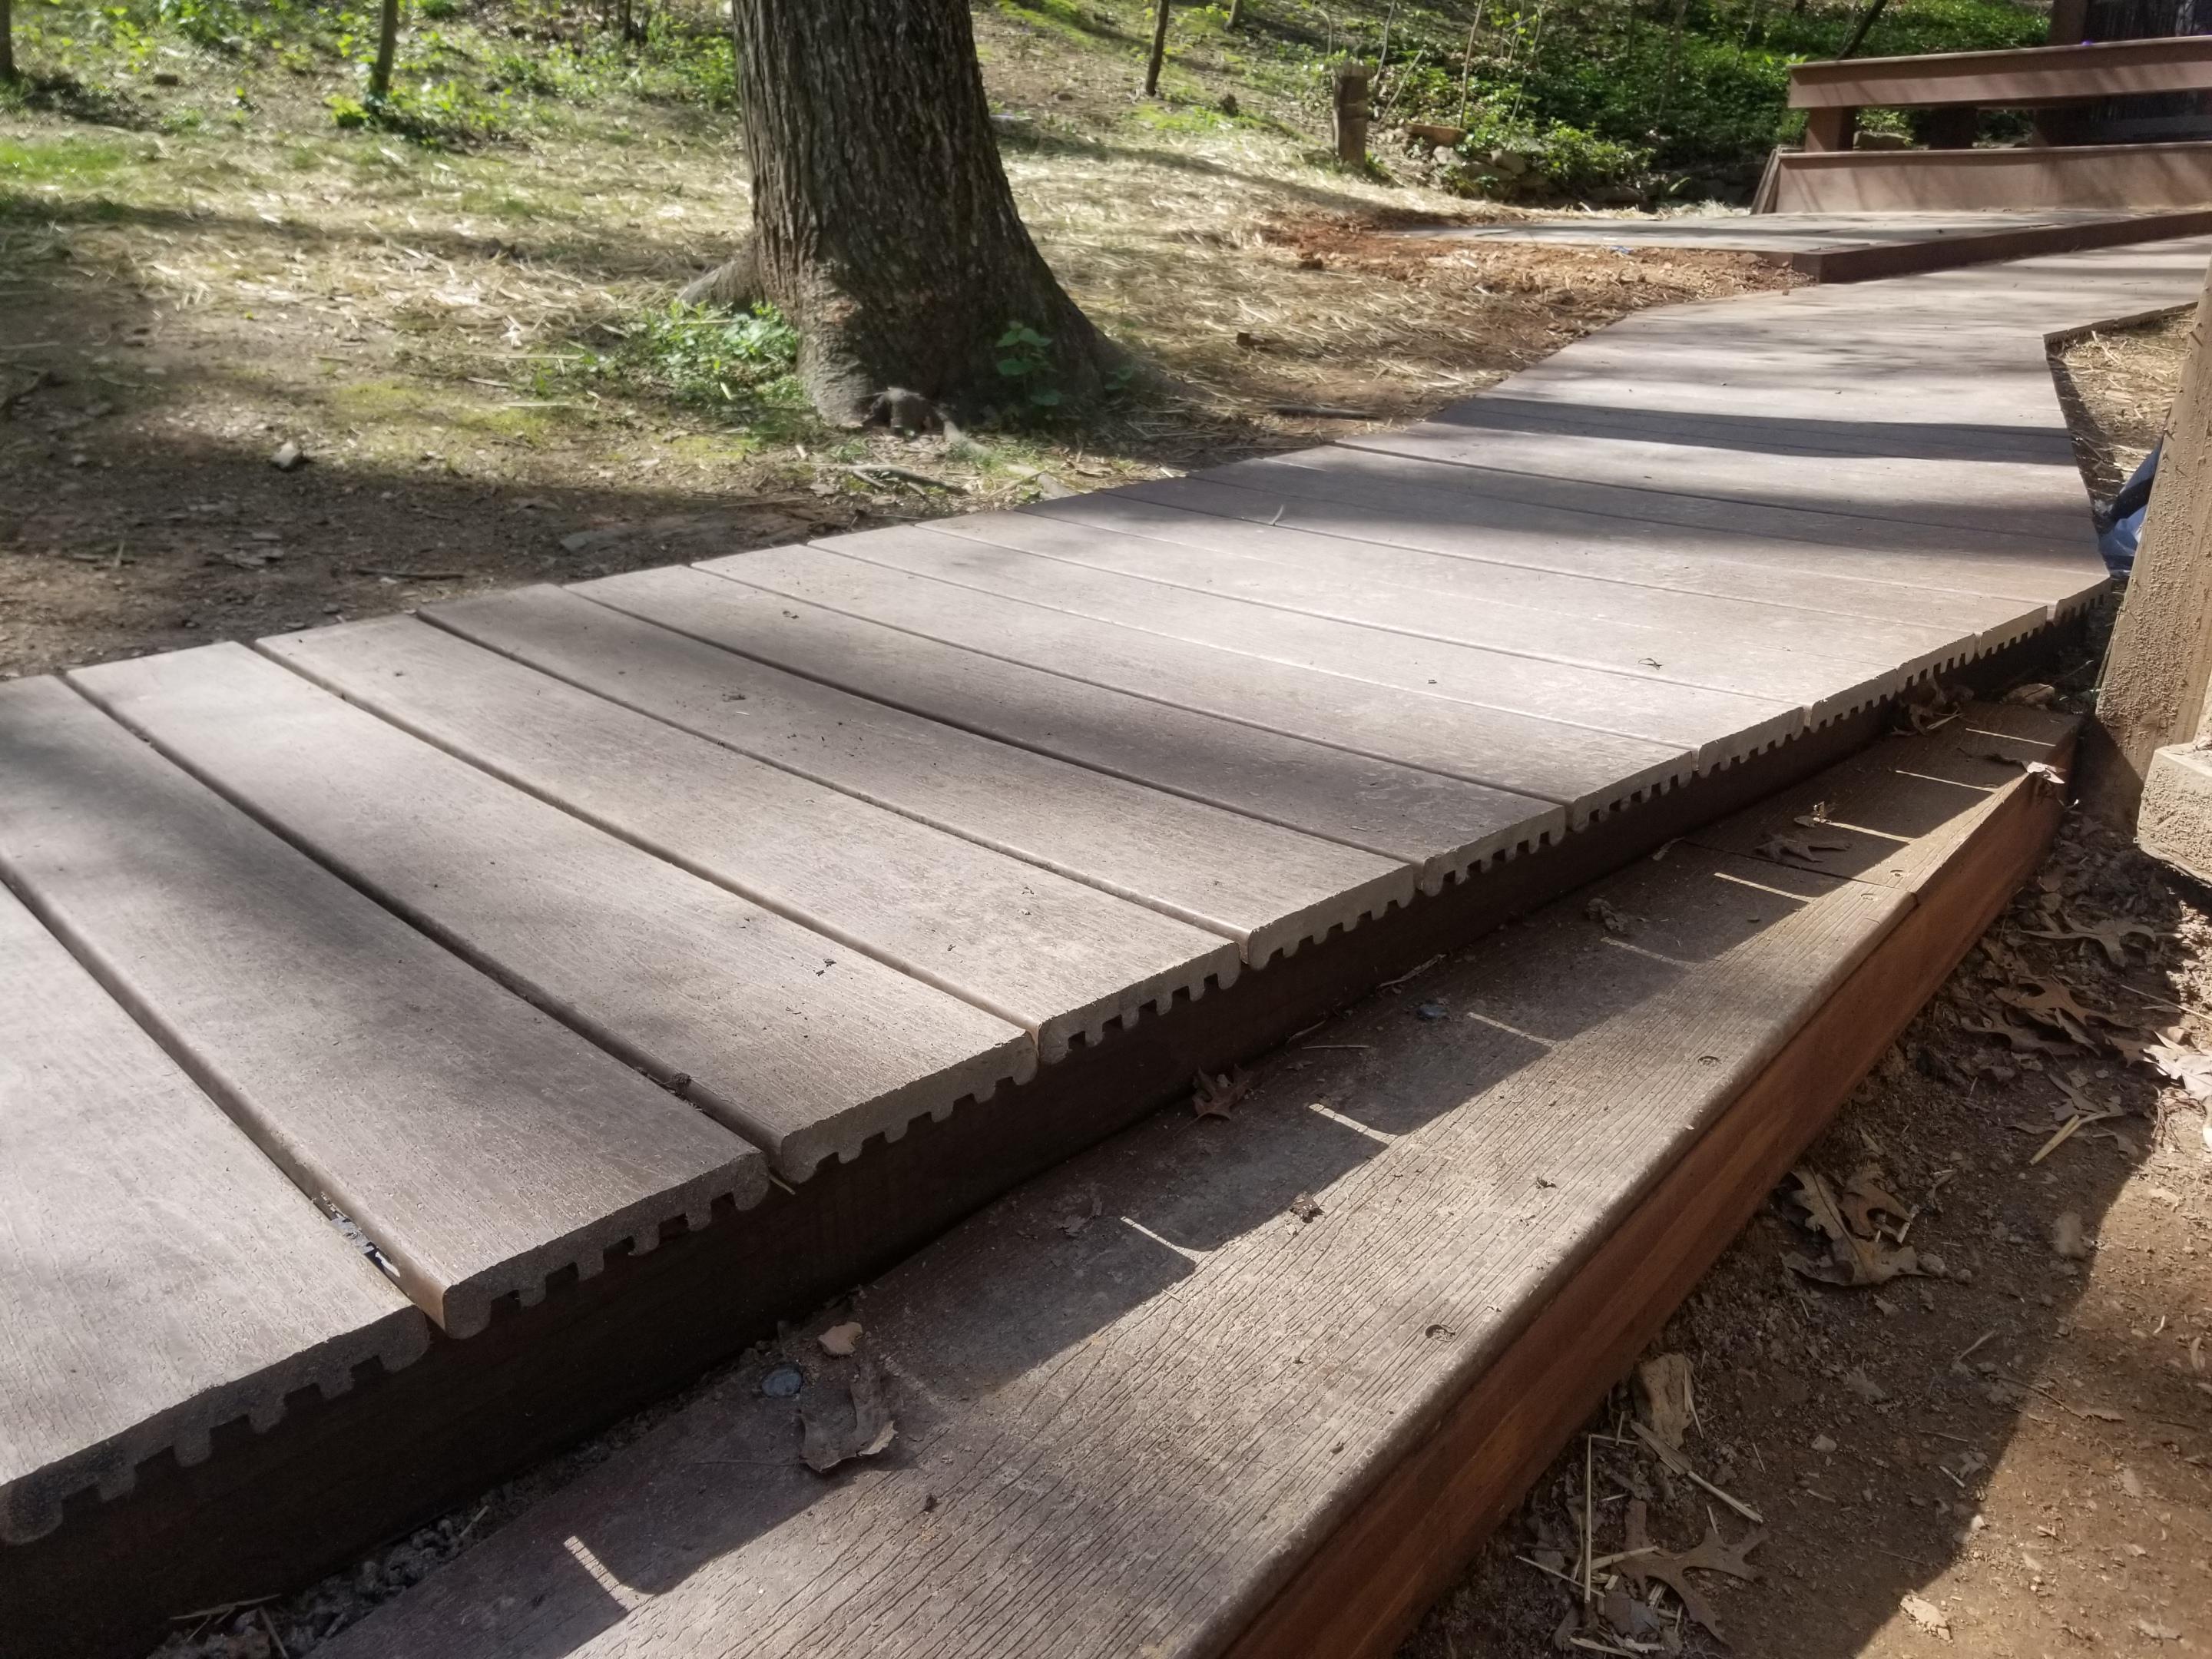
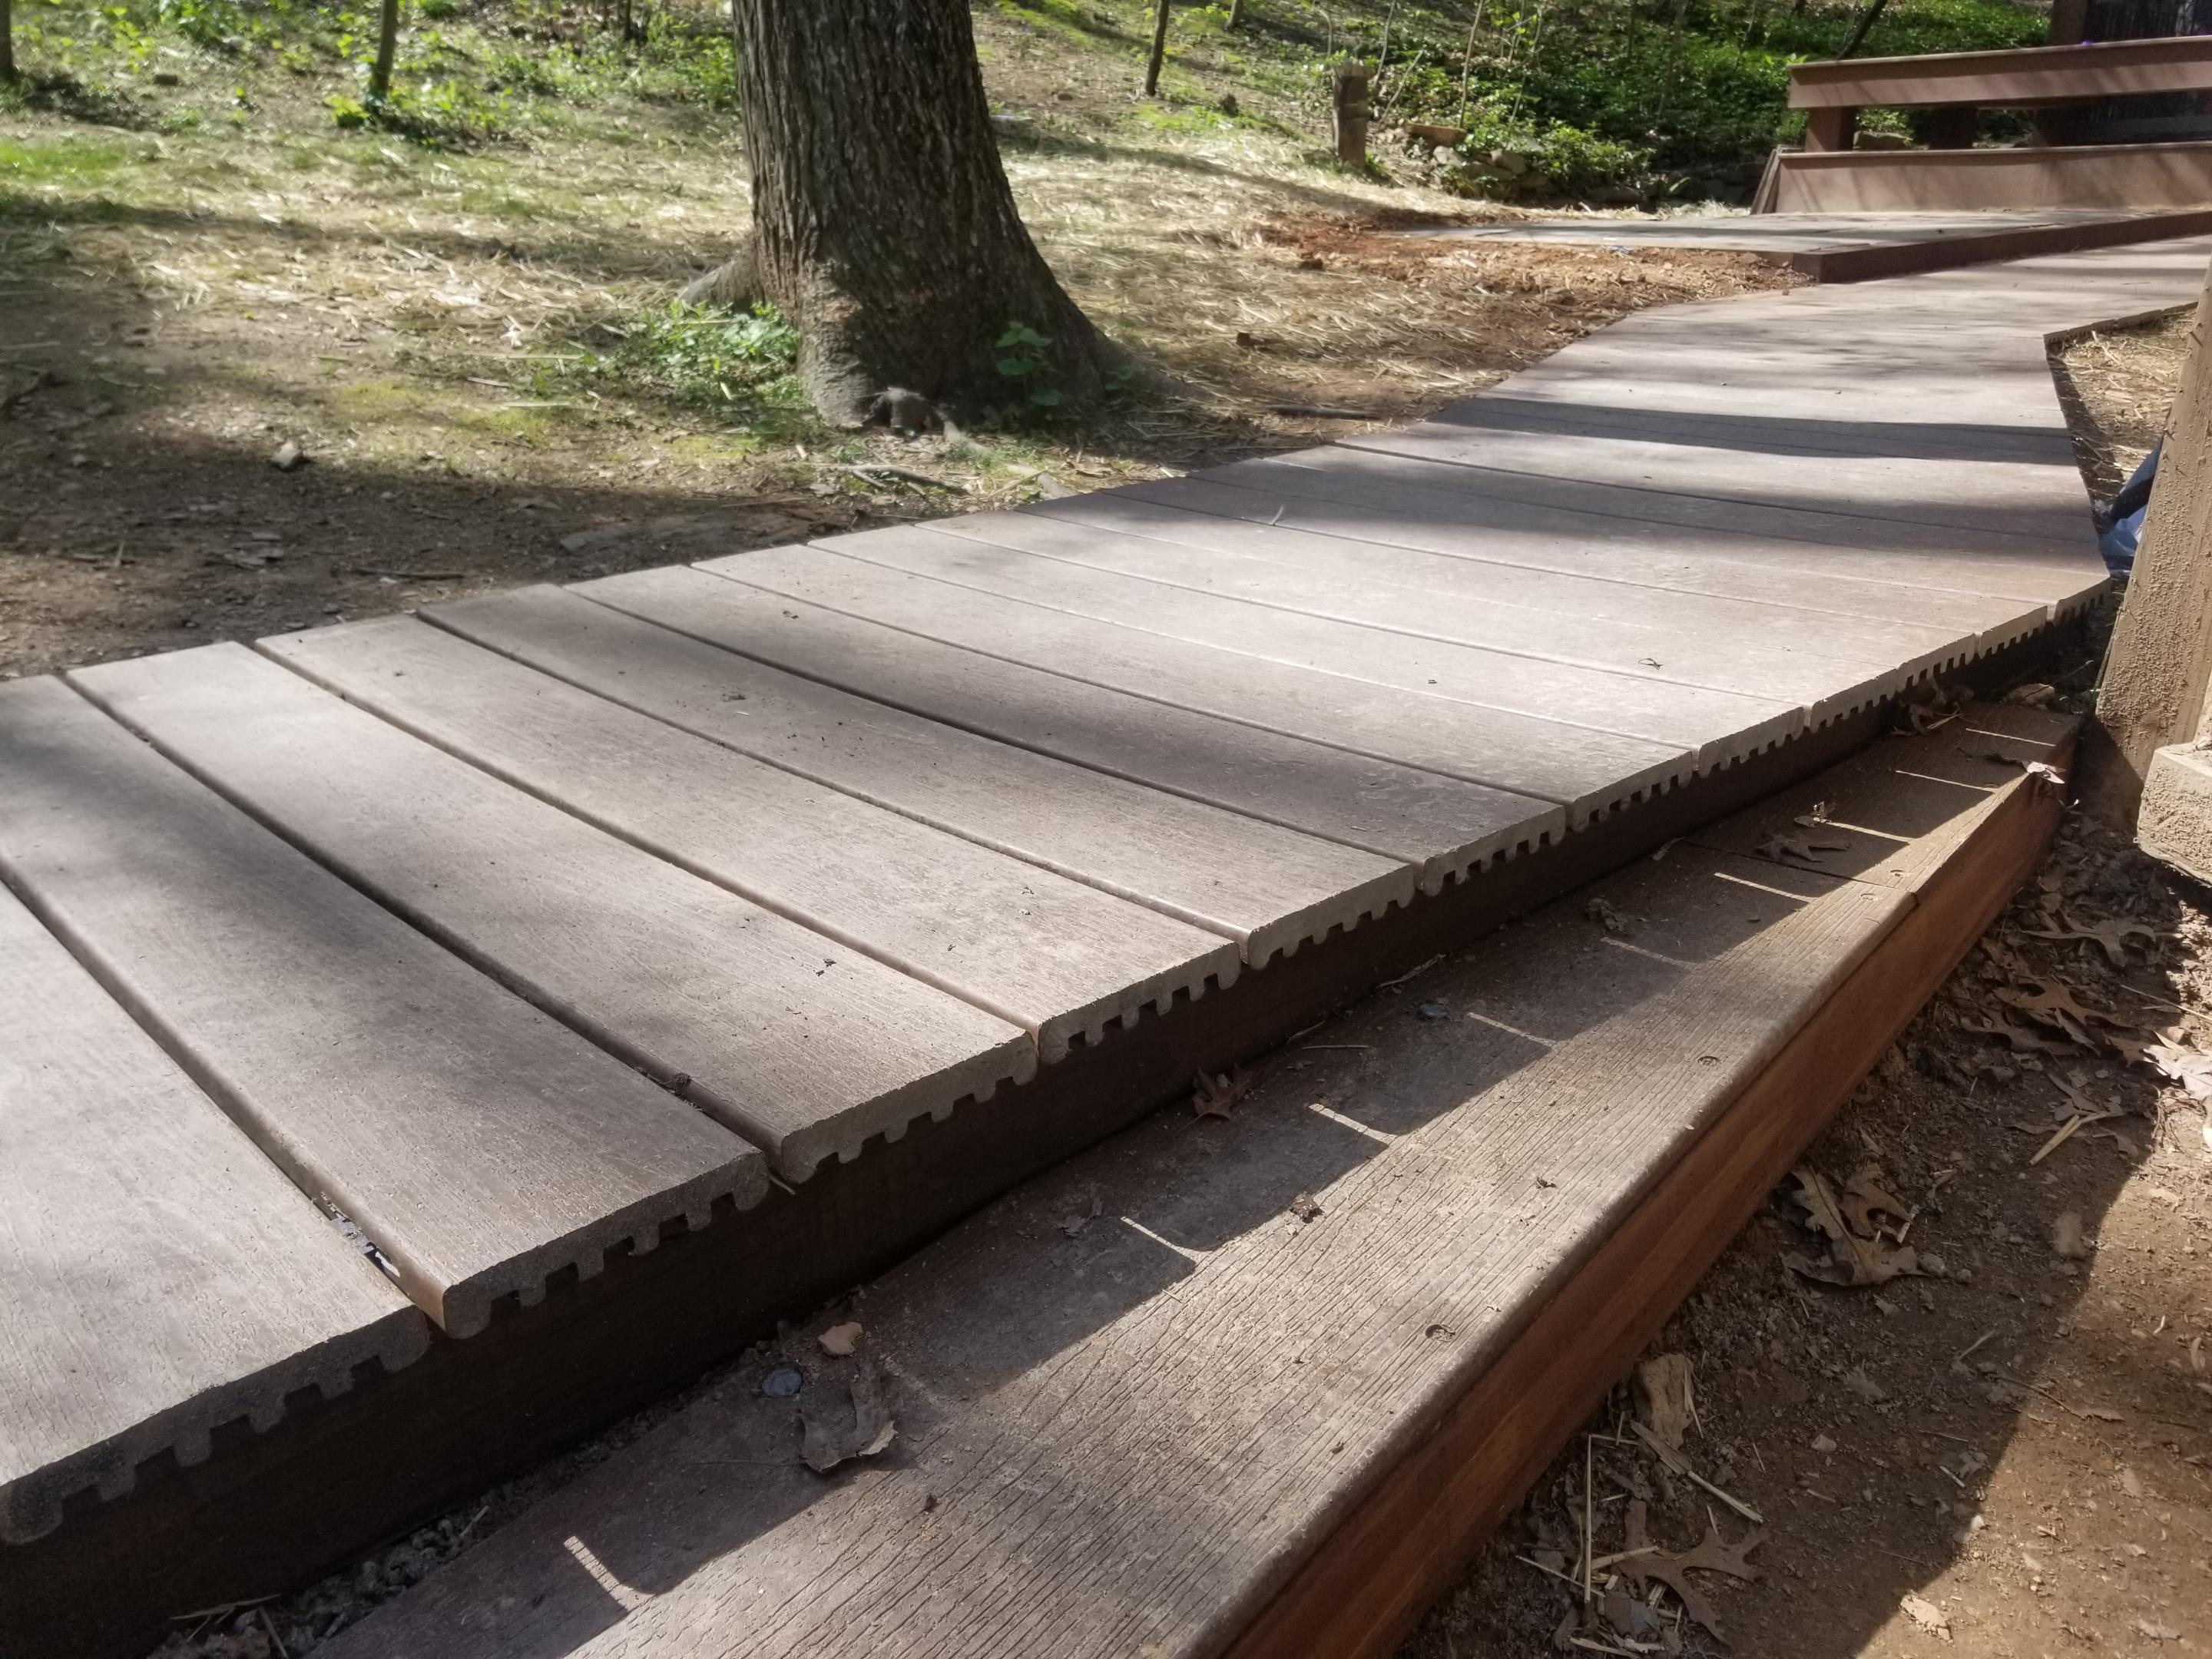
As noted in the intro, we were blown away by what contractors consider "waste" ... boards with nicks, miters slightly off, any discoloration, etc. And I get that they want every "brand new" but c'mon! We can build great things!
1. Figure out any size/placement limitations (for us this was path width)
2. Trench out an area for 4x4s that's parallel, level, and about 2-4inches from the edges of your path width (underneath where the planks will lie). If your path is wider than 3ft, you may want to add a beam in the center as well for support. I did not - I back filled the area between the 4x4s with dirt so the ground was flush with the underside of the planks.
3. Cut boards to desired width
4. Using deck spacers (connect to groove on side of boards), or a combo of screws and a spacers for uniform gaps, attach planks to the 4x4s until complete.
5. Repeat steps 2-4 as long/far as needed!
6. If there is a turn (like mine), cut 4x4s at an angle, but leave planks "square". Offset them each step by a fixed amount (ie 1/2in), draw a straight line using a ruler or chalk line from the first edge to the last edge, then go back and cut them straight when complete.
7. Enjoy!!