Battery Powered RC Car Control Box
by JonathanL178 in Circuits > Remote Control
498 Views, 5 Favorites, 0 Comments
Battery Powered RC Car Control Box

To pair with my modified RC Car (in previous Instructable), I decided to package up the rc controller electronics into a neater 3D printed structure. This would consist of the wireless serial radio, arming switch and 2-axis joystick. All this is powered off a 2S 2700mAh LiPO battery.
Supplies
1 x M9 Hall-effect Gimbal (https://www.nextfpv.com.au/collections/frsky/products/frsky-m9-hall-sensor-gimbal-for-taranis-x9d-x9d-plus)
1 x Toggle Switch (SPST - https://www.jaycar.com.au/spst-standard-toggle-switch/p/ST0570)
1 x Arduino Uno (for initial tests)
1 x Arduino Uno Shield (for initial tests)
1 x 915 MHz Telemetry Radio (paired to RC Car)
1 x 2S 2700 mAh Dualsky LiPO
12 x M3x6 machine screws (https://www.jaycar.com.au/m3-x-6mm-steel-screws-pk-200/p/HP0401)
1 x Velcro Strap
CAD


I made an assembly on Fusion 360 for the layout of the components and the overall design and structure for the RC joystick box. The remaining parts were made as mock-up items such as the battery and the toggle switch for accurate dimensions and height clearances for the 3D printed parts.
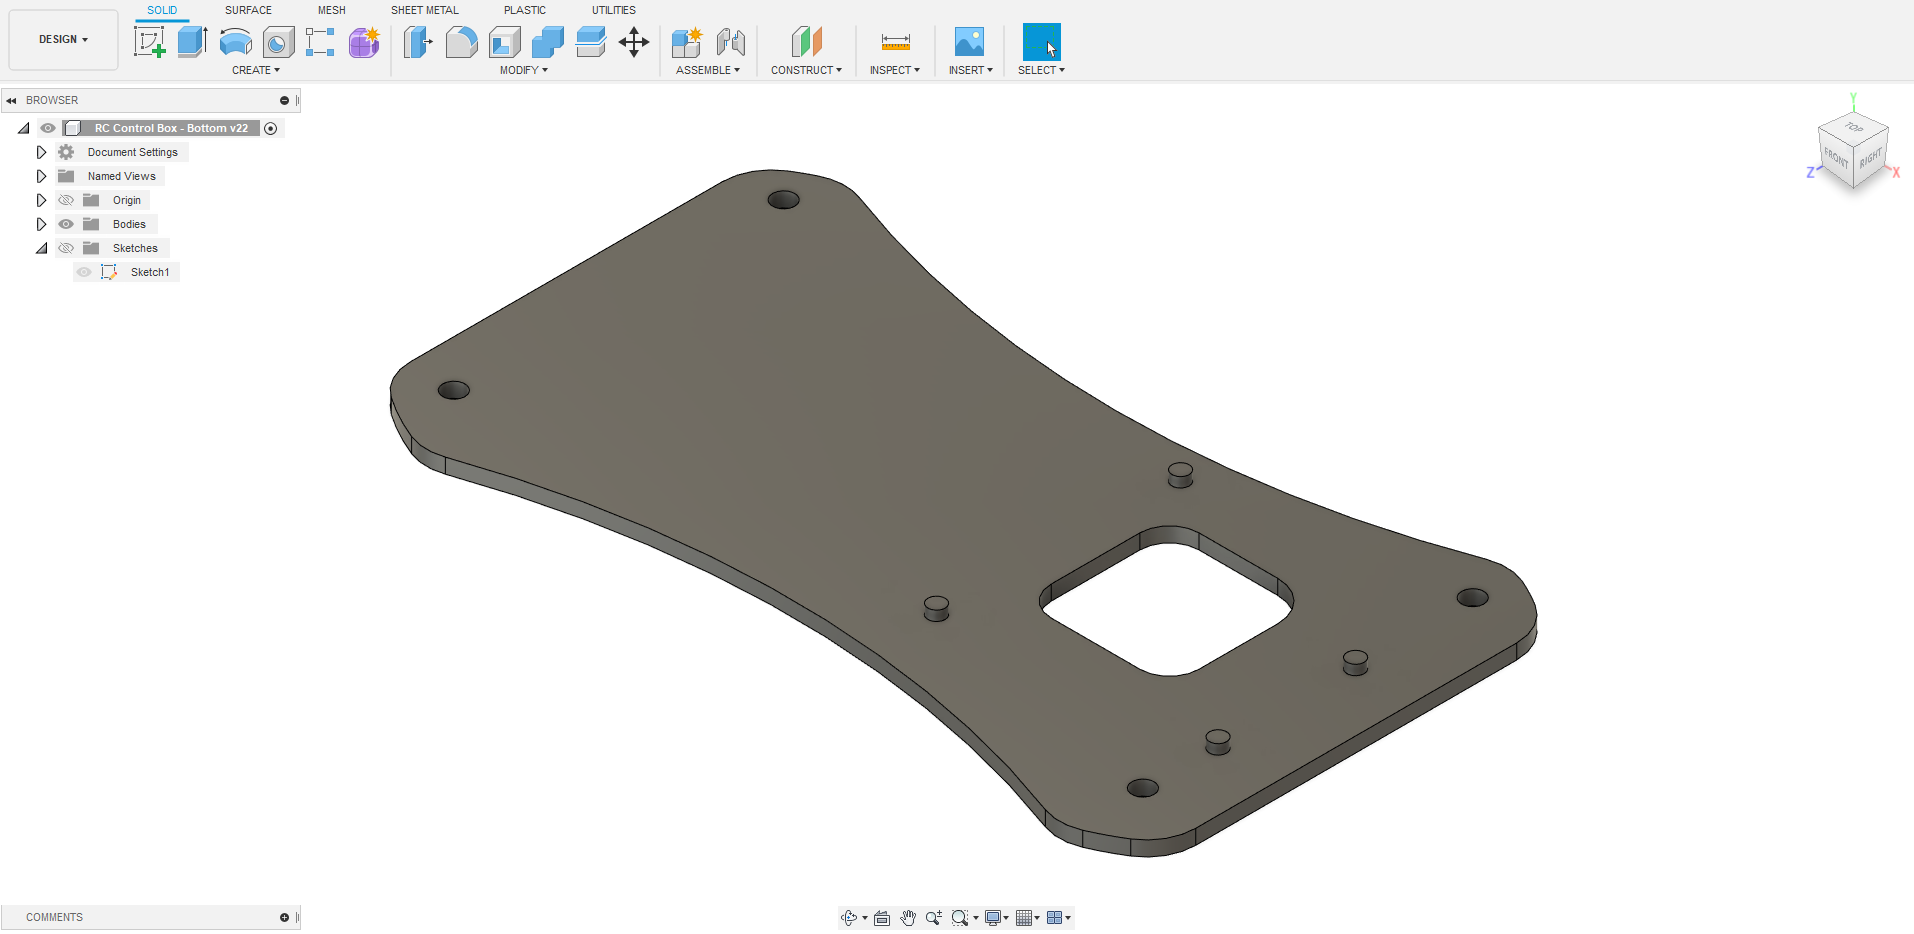
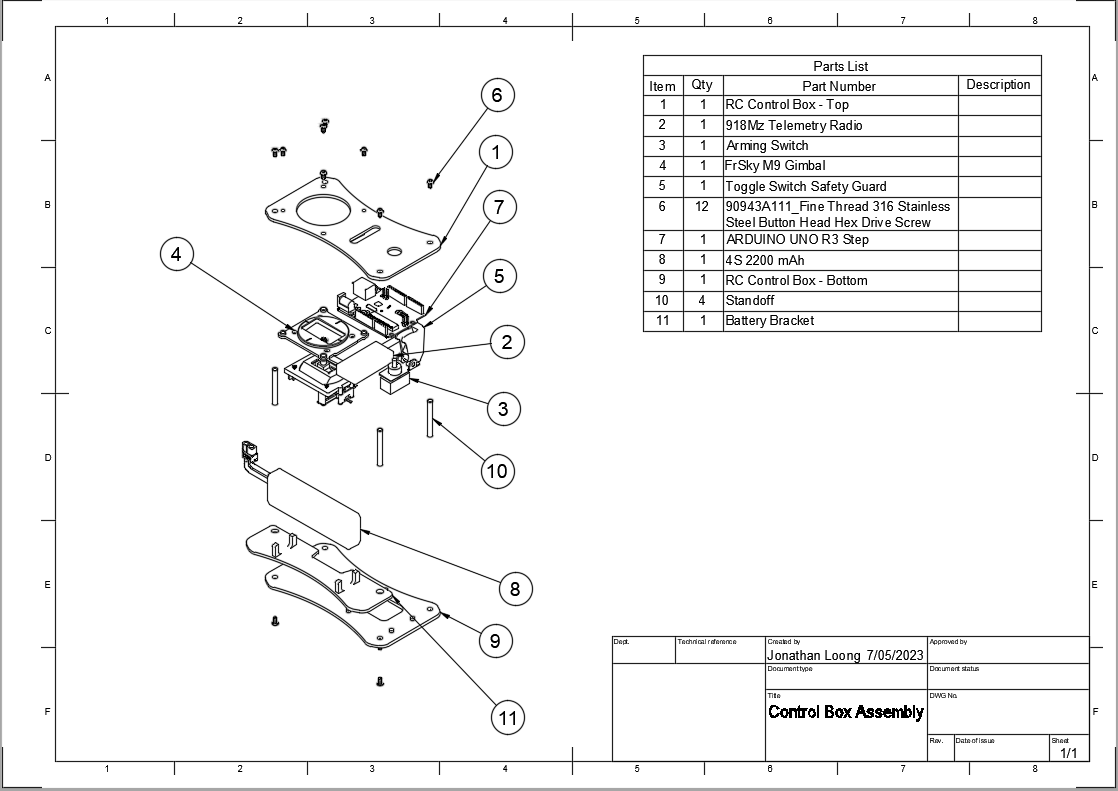
There were three plates designed to accomodate the hardware:
- Top Plate - hold the gimbal, switch and telemetry radio
- Bottom Plate - mount Arduino board and power regulator
- Battery Plate - secure battery
CAD attributions from GrabCad:
https://grabcad.com/library/toggle-switch-safety-guard-1
https://grabcad.com/library/frsky-m9-rc-controller-gimbal-1
https://grabcad.com/library/arduino-uno-r3-13
https://grabcad.com/library/xt60-connector-male-and-female-1
Assembly


Exploded view of assembly and images of physical assembly of the hardware and 3D printed plates
Downloads
Electronics & Schematic
The electronic interfaces for the RC car joystick were:
- ADC - two gimbal hall-effect outputs, one for steering and one for throttle
- Power - 2S (8.4V) to 5V/1.5A
- Serial - hardware serial output to telemetry radio (To control the RC car)
- Digital I/O - toggle switch to arm and disarm RC car
A basic schematic of the joystick is added here:
Arduino Programming
To keep it simple, an Arduino Uno and Prototyping Shield were used for the initial version of the RC joystick.
The Arduino sketch started with defining the input ADC pins and the arm/disarm button (defined as TRIGGER)
//#define DEBUG_MODE //debug_mode shows raw ADC
#define STEER_ADC A0
#define THROTTLE_ADC A1
#define LED 10
#define TRIGGER 2
Calibration of the two gimbal axes:
Each gimbal will have different limits to its axes. The map function was used to change the raw inputs into values which the servo and motor would respond to, between 1000-2000us at 50Hz.
// ADC (steer)
int tx_steer()
{
  return map(analogRead(STEER_ADC),946,107,1000,2000);
}


// ADC (throttle)
int tx_throttle()
{
  return map(analogRead(THROTTLE_ADC),188,870,1000,1300);
}
Main loop:
The main loop is where the pwm commands are sent to the RC car over the wireless serial link.When the switch is in the OFF position, the drive motor will be in the 'disarmed' state and the servo will be in the neutral/trim state (centered). Once the switch is in the ON position, the RC car will receive valid pwm commands to affect the steer and throttle.
void loop()
{

  if (digitalRead(TRIGGER) == LOW)
  {
    if (millis() - blink_ctr > BLINK_TIME)
    {
      blink_ctr = millis();
      //digitalWrite(LED,HIGH);
    }
    else
    {
      digitalWrite(LED,LOW);
    }

    #ifdef DEBUG_MODE
      sprintf(tx_array,"T: %d S: %d\n",analogRead(THROTTLE_ADC),analogRead(STEER_ADC));
    #else
      sprintf(tx_array,"%d,%d#\n",tx_throttle(),tx_steer());
    #endif
  }
  else
  {
    sprintf(tx_array,"%d,%d#\n",990,1500);
  }
  Serial.print(tx_array);
  delay(50);
}
Downloads
Testing With RC Car
- The RC Car was powered on with the 2S LiPo and the power switch was turned to ON.
- The telemetry radio showed steady green/orange LED when paired to the Car's receiver
- When the arming switch was set to ON, the rear motor throttled up and the front two wheels were steerable
Future Work
Later on, instead of an Arduino Uno board, I also want to try the use of a STM32 F042 Nucleo board and later design a bare-bones interface PCB for a more compact design.