Beat the Heat: All-in-One Beach Umbrella Smart Console
32 Views, 1 Favorites, 0 Comments
Beat the Heat: All-in-One Beach Umbrella Smart Console
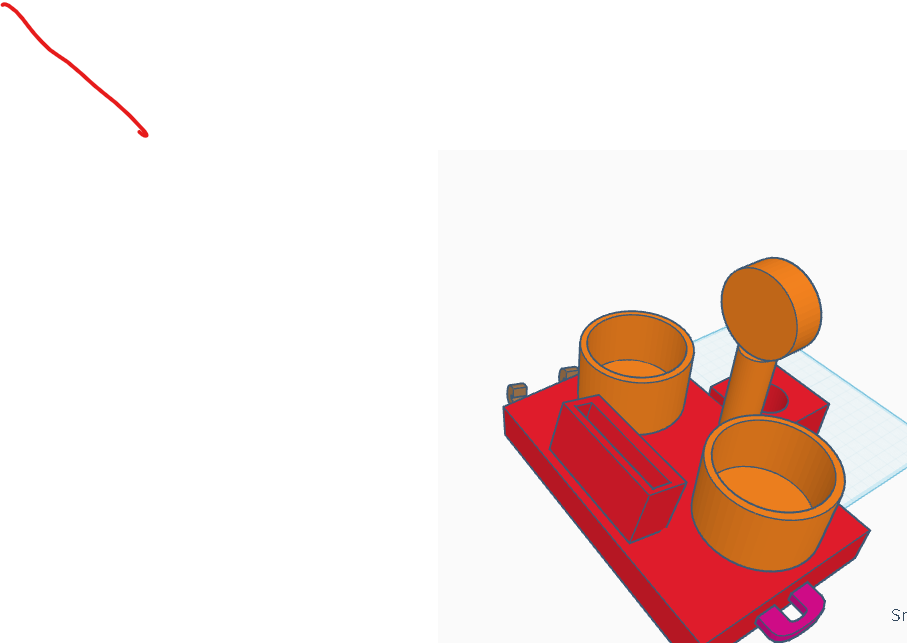
Beach trips are amazing, but the summer heat can quickly ruin the day. Phones overheat in the direct sun, drinks get warm, sunglasses get scratched up by abrasive sand, and sitting under a standard umbrella can sometimes feel like an oven without a breeze.
As a student without access to physical building materials, I wanted to solve all of these problems at once by engineering a digital solution. This project is a completely integrated, 3D-modeled Beach Umbrella Cooling Console designed in Autodesk Tinker cad. It features a universal pole clamp, dual deep cup holders, an angled smartphone viewing dock, a dedicated "U" shape sunglass hanger, an accessory "J" hook, and a built-in hands-free cooling fan centered right where you need it. This guide will show you exactly how I built the digital prototype step-by-step so that anyone with a 3D printer can download it and beat the heat!
Supplies
Software & Files:
- The completed Beach Umbrella Console .STL file in step 6
- A 3D slicing software (like Cura or Prusa Slicer) to prepare the file for printing.
Physical Materials:
- 3D Printer Filament: 1 spool of outdoor-safe plastic filament (like PETG or ABS) so the tray does not melt or warp under the hot beach sun.
- Umbrella Hardware: One standard M6 thumb-screw wing nut to tighten the clamp mechanism securely to the umbrella pole.
- Cooling Fan: One small 5V USB personal fan or stroller fan to slide inside the fan neck housing.
- Power Source: A portable USB phone power bank to plug the fan into.
Project Setup and Concept
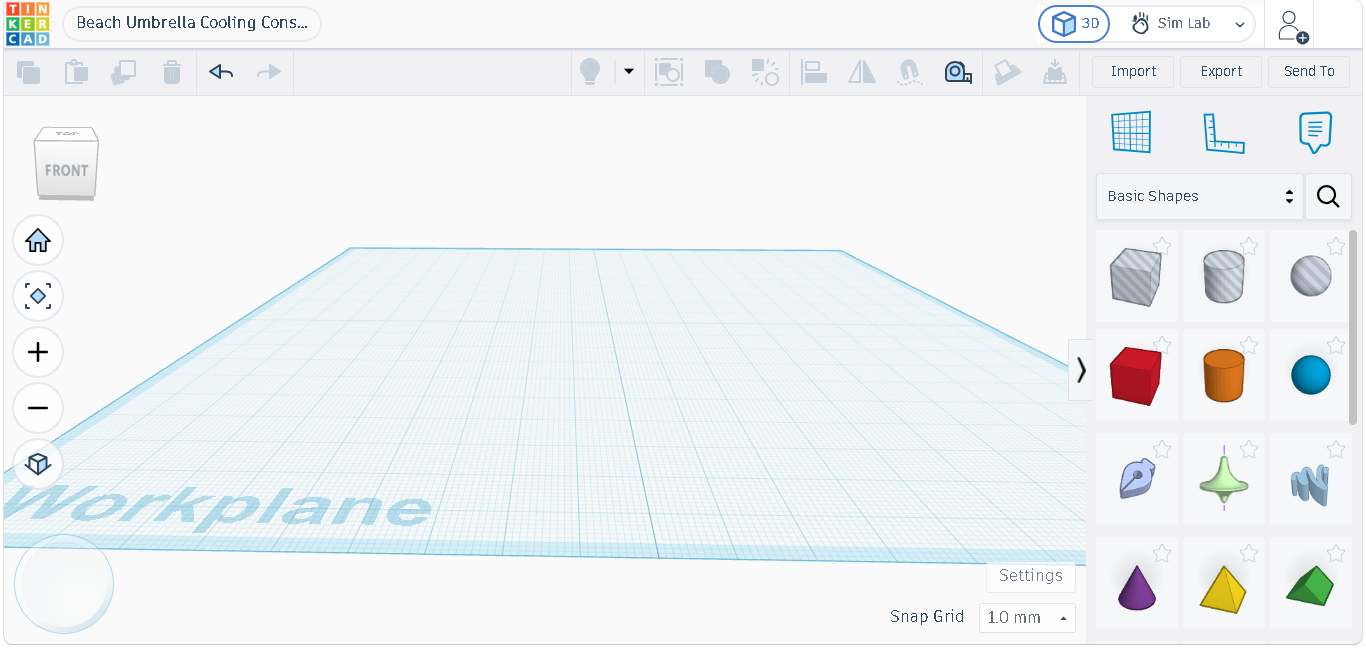
As a student entering the Beat the Heat contest, I am designing an all-in-one cooling console that attaches directly to a beach umbrella pole. Because I do not have physical building materials, I am using Autodesk Tinkercad to create a digital prototype. This console will keep smartphones out of the hot sand, hold two drinks, secure sunglasses, and feature an integrated hands-free cooling fan. I started by opening a fresh, empty 3D workspace.
Designing the Umbrella Pole Clamp
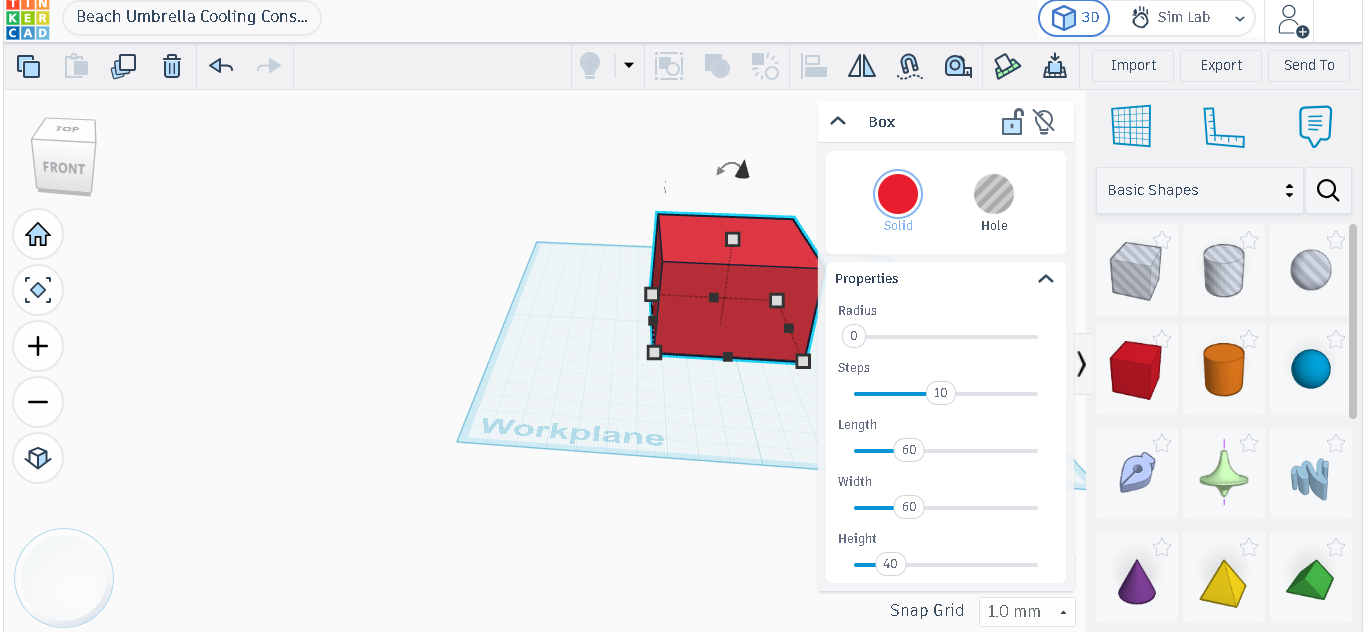
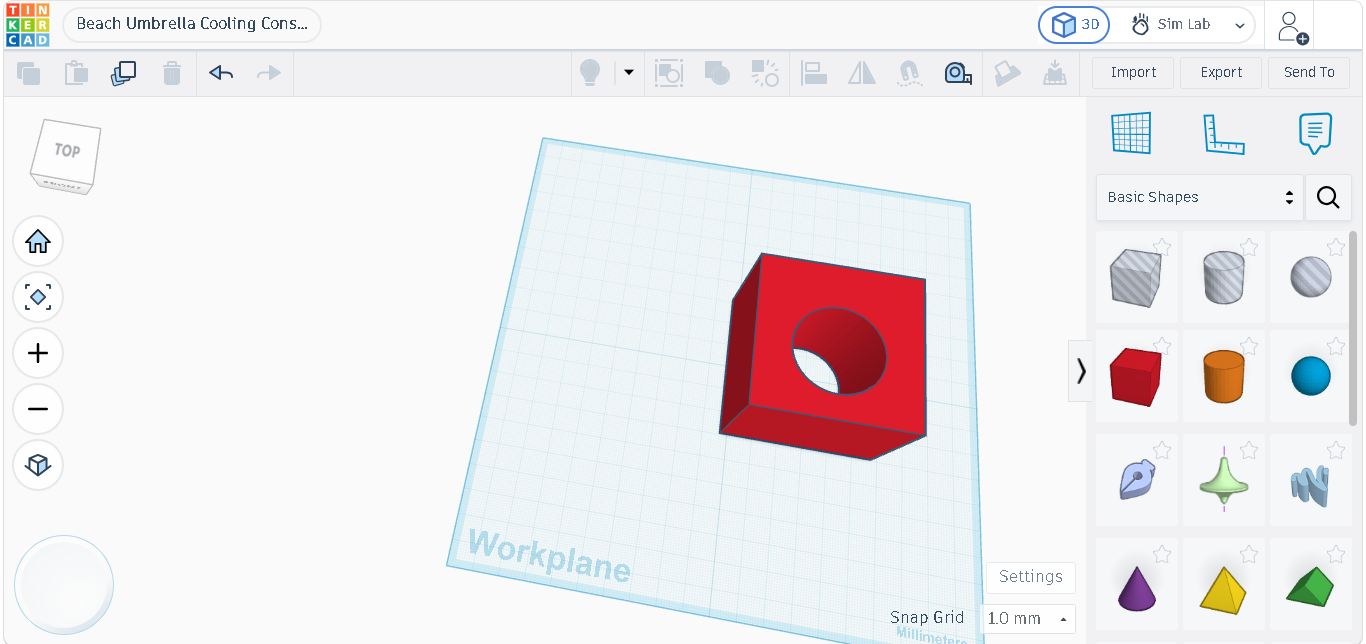
To begin creating the umbrella pole clamp, I dragged a solid red box onto the grid workspace. I opened the properties panel in the top-right corner to modify its exact geometric dimensions. I changed the Length to 60mm, the Width to 60mm, and the Height to 40mm. This creates a solid, heavy-duty block that will serve as the strong anchor for our entire beach console.Next, I needed to create the inner channel for the umbrella pole. I dragged a striped cylinder hole onto the grid and clicked its corner handle once to change its floor dimensions to 34mm by 34mm. I set its height to 45mm. This leaves a small tolerance gap for standard 32mm beach umbrella poles. I held shift to select both shapes, used the Align tool to center the cylinder inside the box, and finally clicked the Group tool to cut a clean hole right through the center.
Creating the Utility Tray and Dual Cup Holders
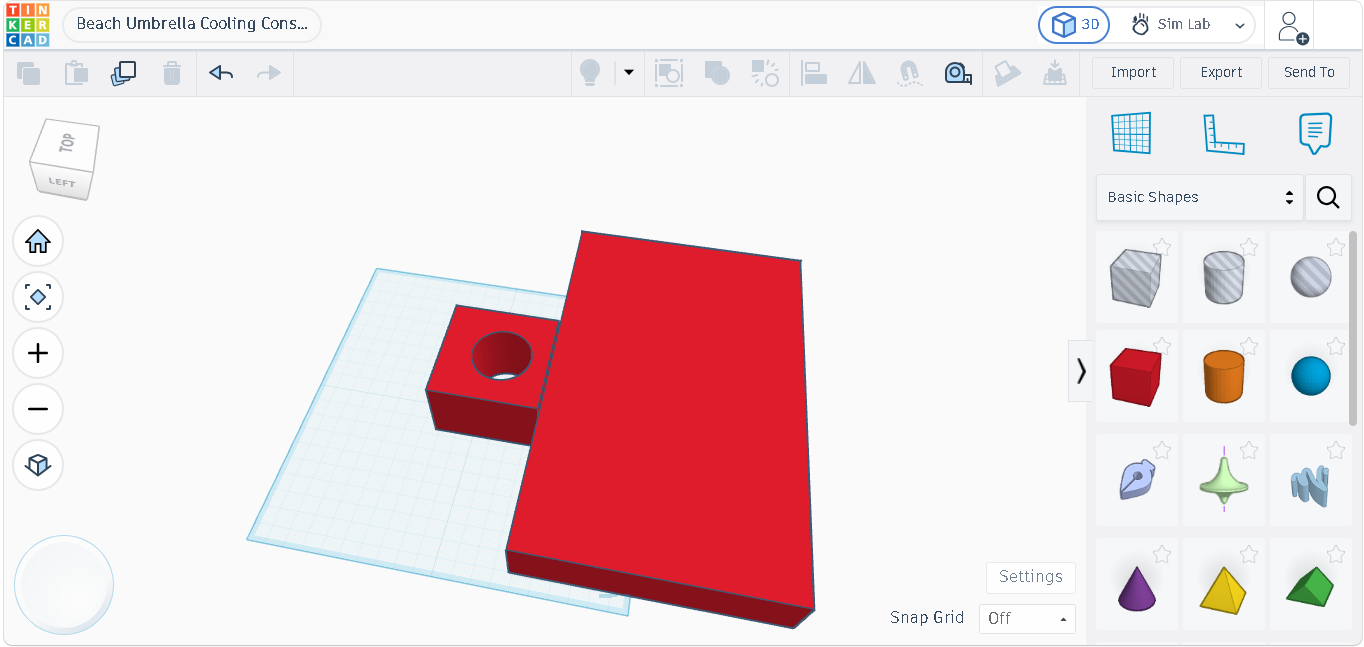
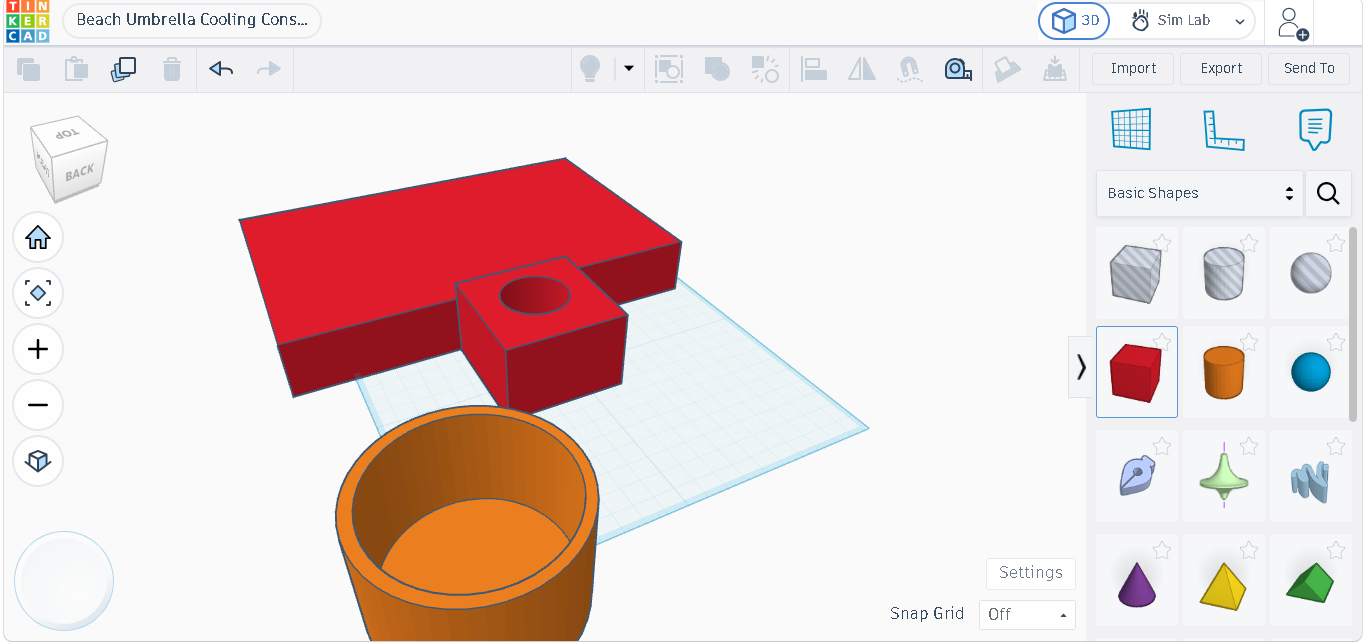
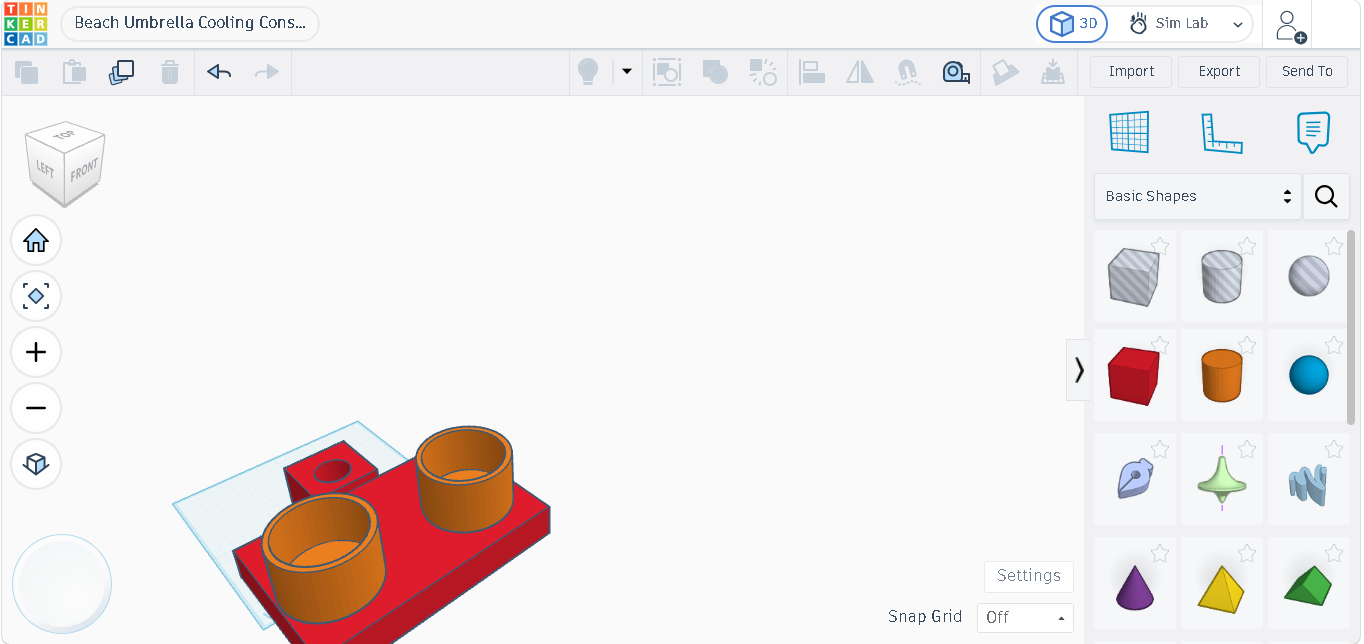
To expand the console, I created the main utility surface area by dragging out a new solid red box. I opened the properties panel and modified its dimensions, changing its length to 220mm, its width to 140mm, and its height to a flat 30mm. Once the tray was sized, I manually dragged it across the workspace until its back edge directly lined up against the front face of my previously constructed umbrella pole clamp.To make the beverage storage, I dragged a solid orange cylinder into an empty space on the workplane. I selected its corner handles to type in a floor size of 80mm by 80mm and a height of 50mm. To hollow it out, I used a striped cylinder hole sized to 72mm by 72mm with a height of 45mm. I used the vertical black cone handle to lift the hole 5mm off the floor so it would not cut through the bottom. Finally, I selected both cylinders, used the Align tool to center them, and clicked Group to create a perfect hollow cup holder bucket.With one perfect cup holder bucket created, I selected it and used the Ctrl+D keyboard shortcut to duplicate it. I manually dragged the first cup holder bucket over to the far-left edge of my large flat table tray, letting the walls slightly overlap so they would fuse together. I then dragged the second duplicate cup holder bucket over to the far-right edge of the tray and then i bundle grouped all the shapes.
PHONE STAND
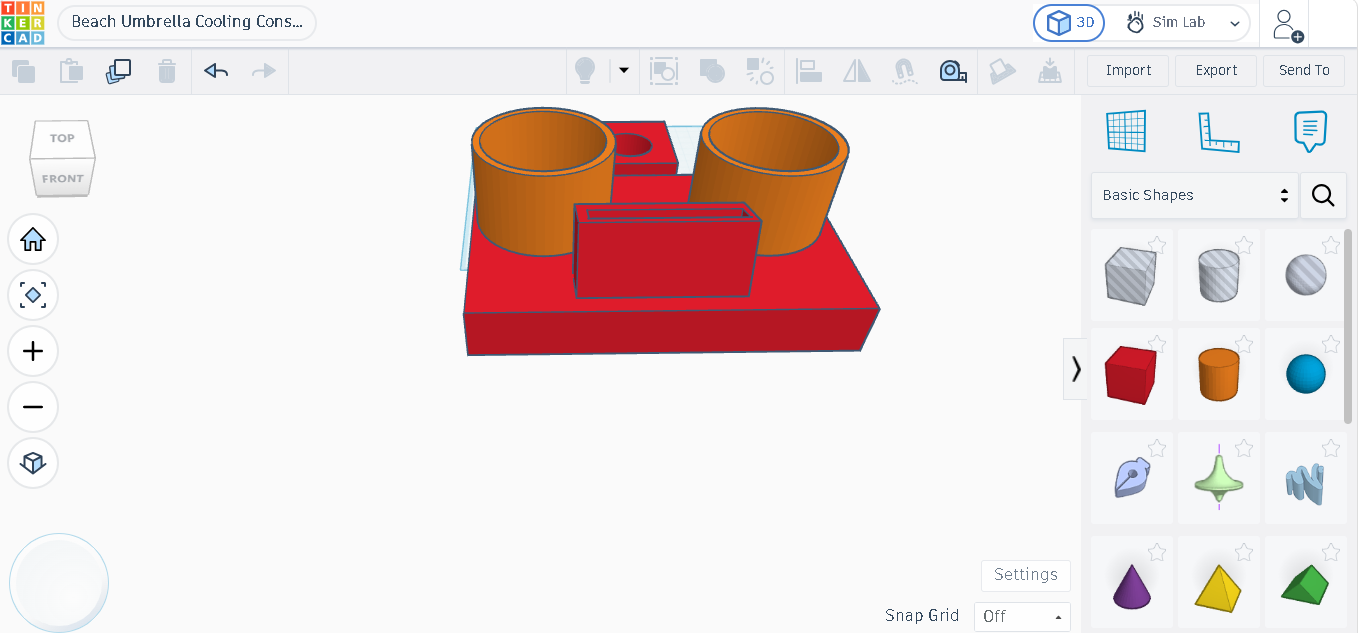
To construct the smartphone stand, I dragged a new solid red box onto the center of the tray and used the properties menu to size it to 90mm long, 30mm wide, and 40mm tall. Next, I dragged out a striped box hole tool and used the corner sizing squares to set its dimensions to 82mm long, 15mm wide, and 45mm tall to match the profile of a standard mobile device. To make it easier to read the screen while sitting under the umbrella, I clicked the curved rotation wheel and tilted the box hole backward away from the user by 15 degrees. I slid this tilted hole directly into the center of the solid block, selected both, and clicked the Group tool to slice out a clean, slanted smartphone pocket.
Integrating the Hands-Free Cooling Fan
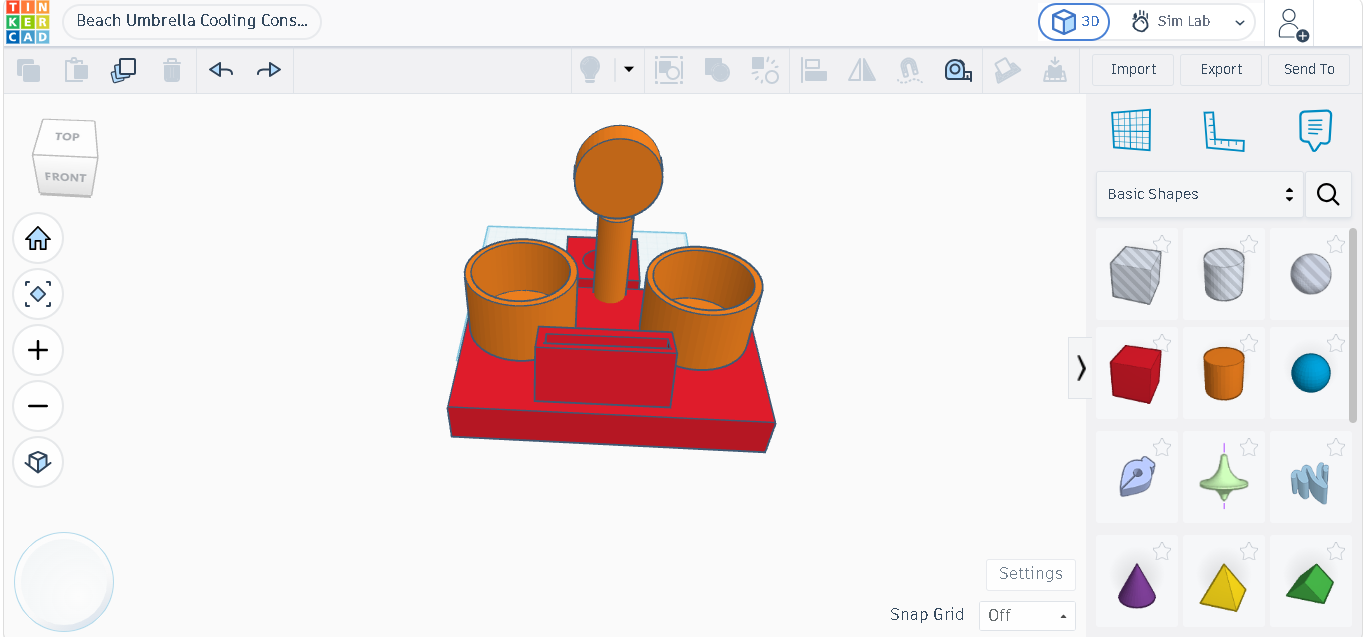
The core cooling feature for the Beat the Heat contest is the built-in fan system. I designed a sturdy vertical cylinder neck using the corner sizing handles to measure 25mm wide by 80mm tall, placing it directly behind the center tray clearing against the umbrella clamp. On top of this pedestal, I mounted a large circular fan . Finally, I grouped the console pieces together to create a single cohesive unit.Since this is a digital 3D model, the printed plastic fan blades will not spin on their own. To make this console fully functional, the circular housing is designed to hold a standard 5V DC hobby motor or a stripped-down USB stroller fan. A builder can route the thin power wires straight down through the hollow center of the vertical pedestal neck. The wire can then plug directly into a portable phone power bank sitting safely right inside the middle tray, delivering continuous, hands-free cooling all day long using standard USB power.
Adding the Sunglass Hook
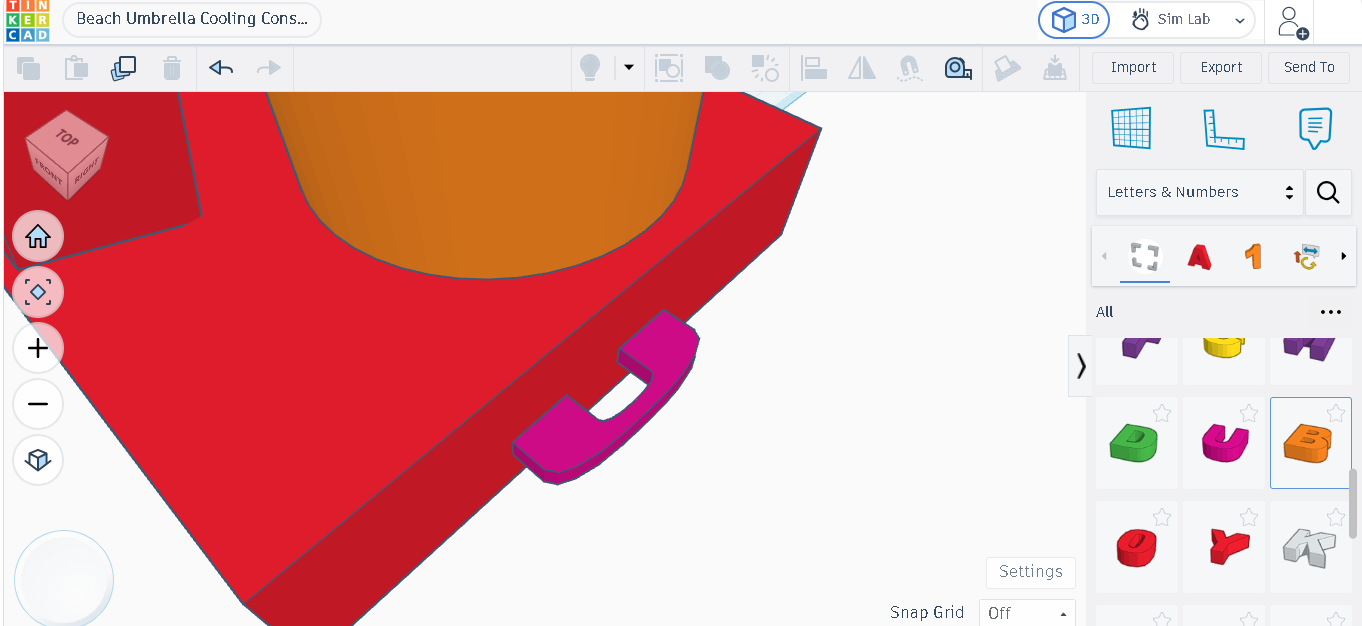
To create a safe storage spot for sunglasses away from abrasive beach sand, I used a clever design shortcut. Instead of cutting shapes from scratch, I opened the Tinkercad text library and dragged a capital letter "U" onto the grid workspace. I used the properties text boxes to resize it to 12.51mm by 41.74mm with a thickness of 6.20 mm. I rotated the letter 90 degrees so it stood upright as a functional hanger hook and slid it flush against the outer wall of the right cup holder. Finally, I grouped it to the main tray so a beachgoer can safely hang their glasses by the arm.
Downloads
Towel Smart Watch and Car Key Hook
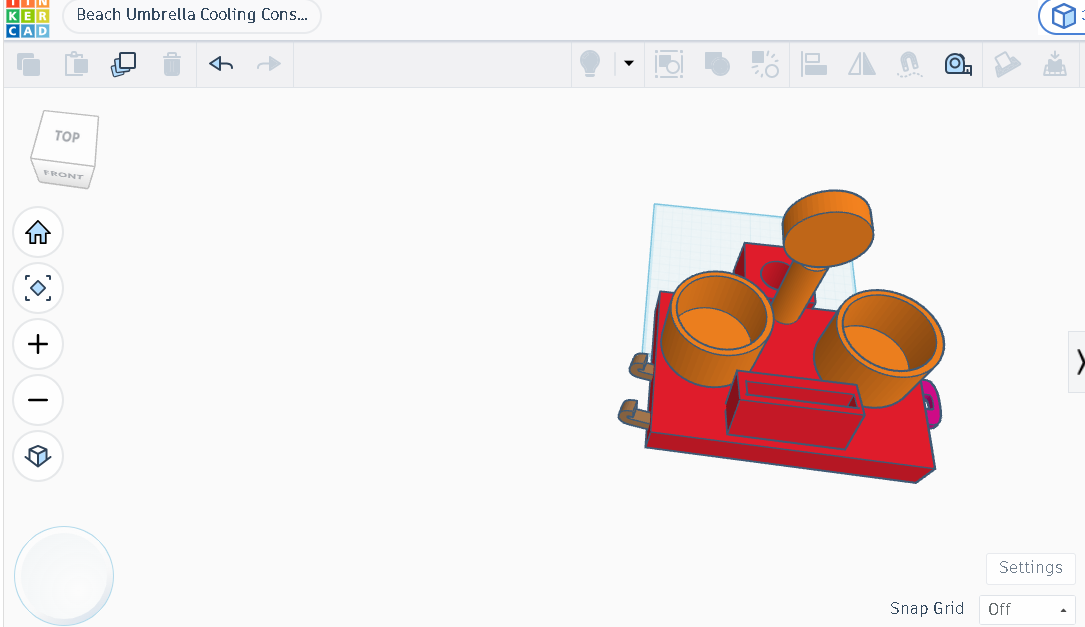
To balance out the utility tray and maximize space, I decided to add one final convenience feature on the opposite side. I went back to the text library and pulled out a capital letter "J." I resized it using the input boxes to appropriate size , and fused it to the outer left wall of the left cup holder. This creates a perfect downward-facing accessory hook that allows users to hang up car keys, a smart watch, or a small hand towel to dry off after swimming.