Belt Repair: 101

Sometimes you get a really good belt that you just don't want to let go of. Oddly enough, the one I'm most loathe to lose is one I found at Goodwill. Unfortunately, when you wear a belt everyday it takes quite a beating so sometimes you have to do some general maintenance to keep it in tip-top condition (okay maybe not tip-top, I'll settle for functional).
Now before I get into what I did let's talk about belt quality and tricky manufacturers first. Most people look on the back of a leather belt and if they see a "Genuine Leather" stamp they think, "I'm good to go. This is a top quality belt right here!" This is not the case. I mean, honestly, that belt might be fine for what you need it for but don't be fooled by the sneaky marketing. Basically "genuine leather" just means that it's definitely made out of leather. It doesn't speak to the quality at all and, in fact, most genuine leather belts are made by laminating strips of lesser quality leather together. Thus it's still "genuine" leather but you might find it de-laminating (often at the back where it gets the most pressure) after a year of wear.
"Full-Grain" Leather belts, on the other hand, are belts made of a solid strip of leather. These are much tougher and, consequently, usually more expensive. If you shell out the money for one, make one yourself, or happen upon one in a thriftstore it pays to keep them in good condition, which is why this instructable was born.
Repairs

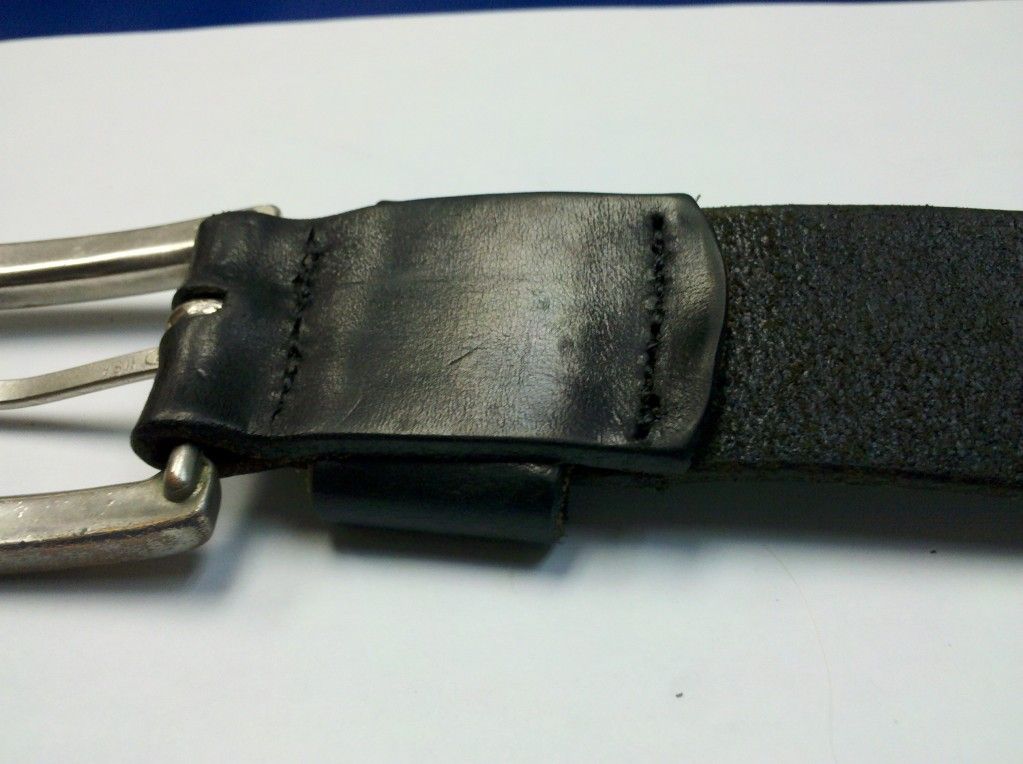
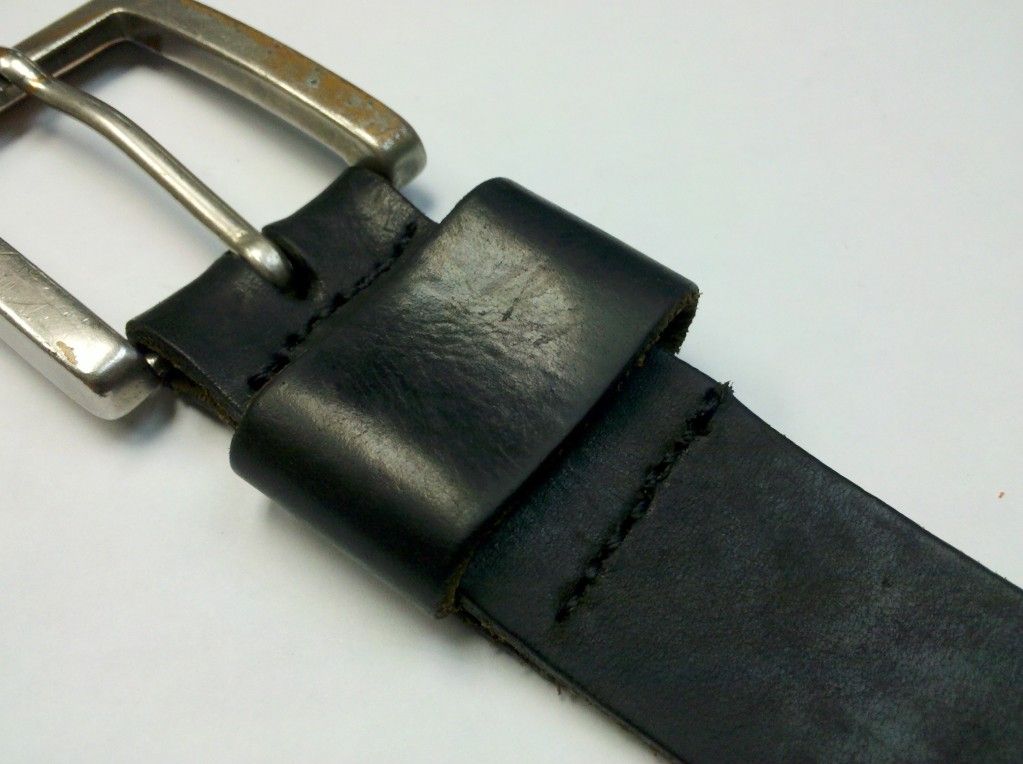
Some belts utilize snaps and some are sewn. Mine is sewn. A blown out snap on a belt might be a 2.0 problem but the problem I was dealing with was just worn and broken threading.
All of the holes were intact (i.e. none of them were torn, so they could be reused with no problem) so I just pulled out all of the old thread and re-sewed it. This can be done with a basic needle and thread since the holes are already there but I used my sewing awl because, well, why the heck not.
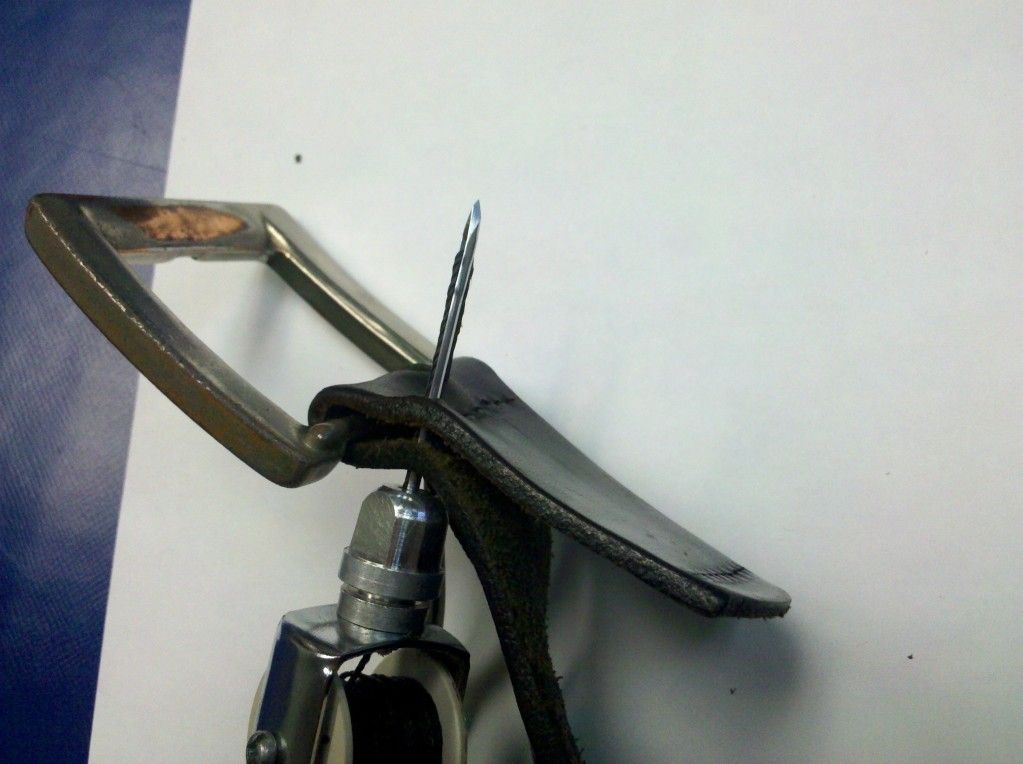
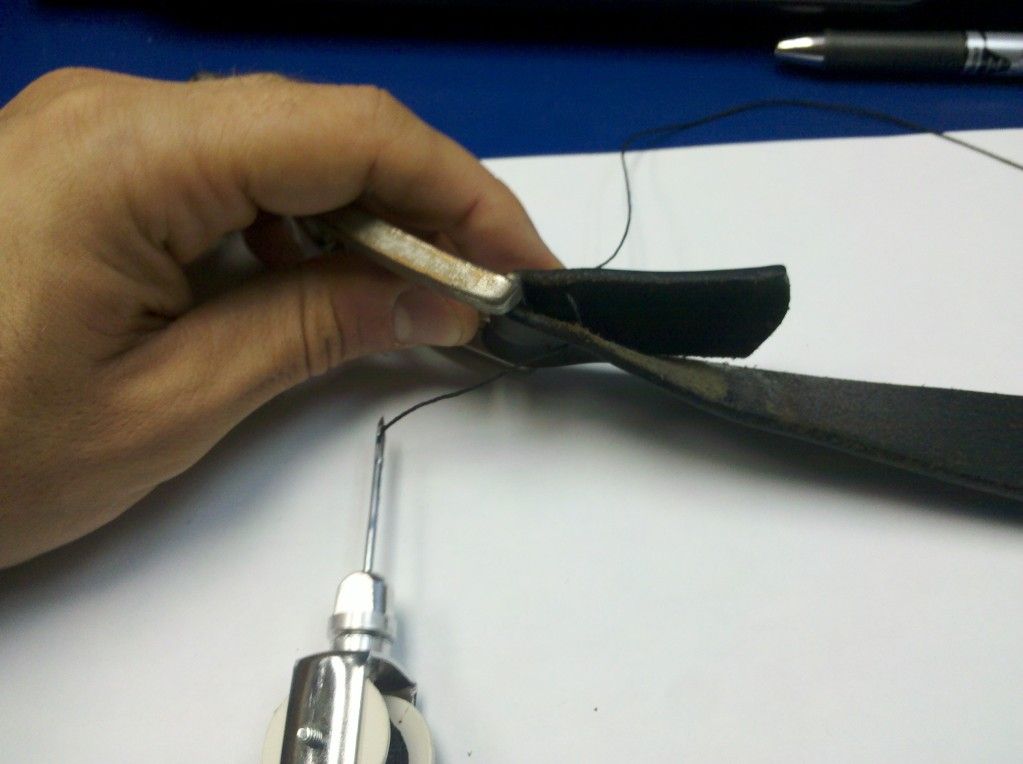
To use a sewing awl you'll need to thread the needle in the awl and push it through one of the holes. Then pull the loose end of the thread through until you have a decent bit of excess.
Then pull the needle back out so it looks like this:
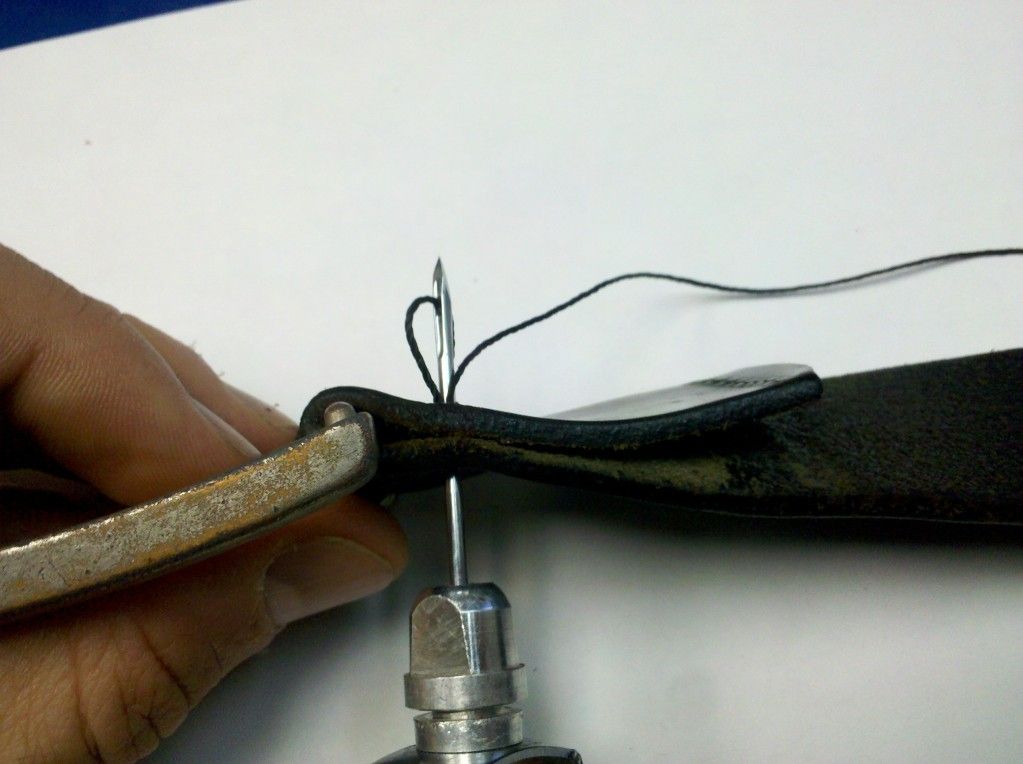
Then push the needle through the next hole and pull it back a little bit so it forms this little loop.
Run the end of the thread through the hole all the way, pull it taught and pull the needle back out. Repeat that process until you're finished. Make sure to keep it tight as you go along but make sure that the tension on either side is even or else it will pull to one side and look messy.
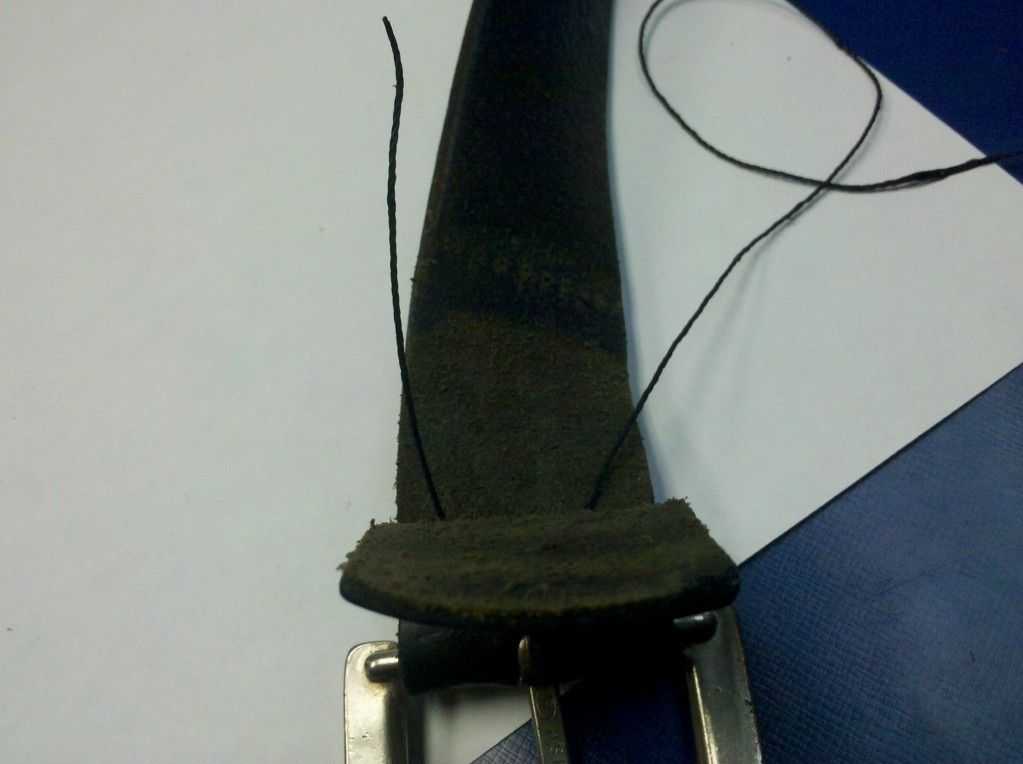
To tie it off I pulled the loose end of the thread through one layer and left it in between the layers. Then I pulled the awl back out and pushed into the adjacent hole, also only going through only one layer, pulled some extra thread through and cut it free. That gave me two ends that I could tie together with a square knot.
I repeated the whole process on the other side of the little strap and voila! Good as new! Or at least good as "gently loved".
Adjustments

As it turns out this belt was actually a bit long as well. I had been folding the end over and sticking it back through the belt loop to keep it from flopping about but I decided to finally take the plunge and shorten it. You can buy a special tool for cutting belt ends the perfect shape but I don't regularly make belts so I don't find it necessary to own. I just used my leather scissors and cut it off at the length I wanted it. Then I cut the corners off so it was slightly pointed. Easy Peasy.
You can also add holes with a simple leather punch or awl if need be. I've added at least a couple to this belt. I just measured the distance between the other holes to find out where to place the next one and then made sure I was centered on the belt so that all of the holes were lined up perfectly.
Modifications (or Adjustments 2)

One of the guys I work with happened to see me working on my belt (I do a lot of that kind of stuff on my lunch breaks, eating isn't that important right?) and asked me if I'd take a crack at shortening a belt of his that was unnecessarily long. I figured sure, why not and gave it a go.
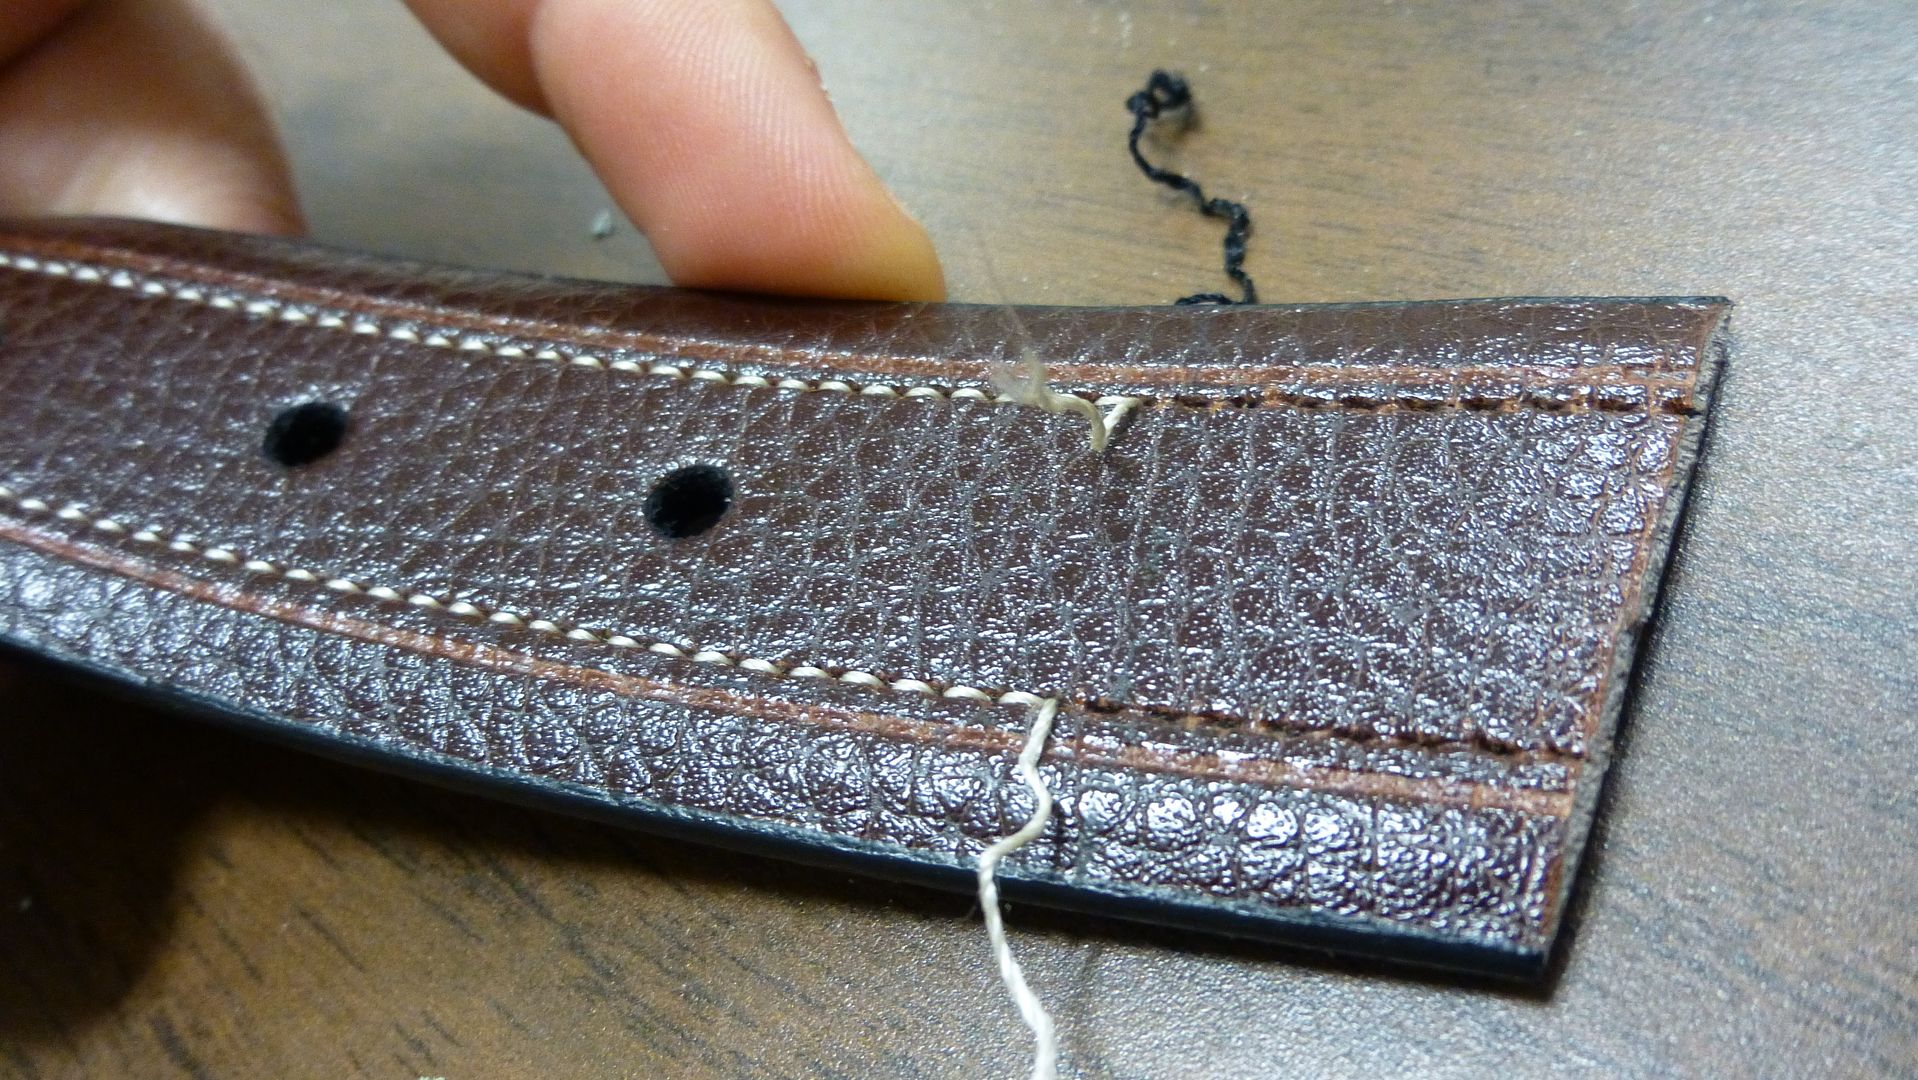
His belt was a little more complicated than mine. It had two lines of stitching running the length of the belt which meant that I couldn't just cut it off or those threads would come loose and ruin the whole thing. So first thing I did was cut it off about an inch longer than he wanted it. Then I pulled the thread out so I had some excess thread to work with.
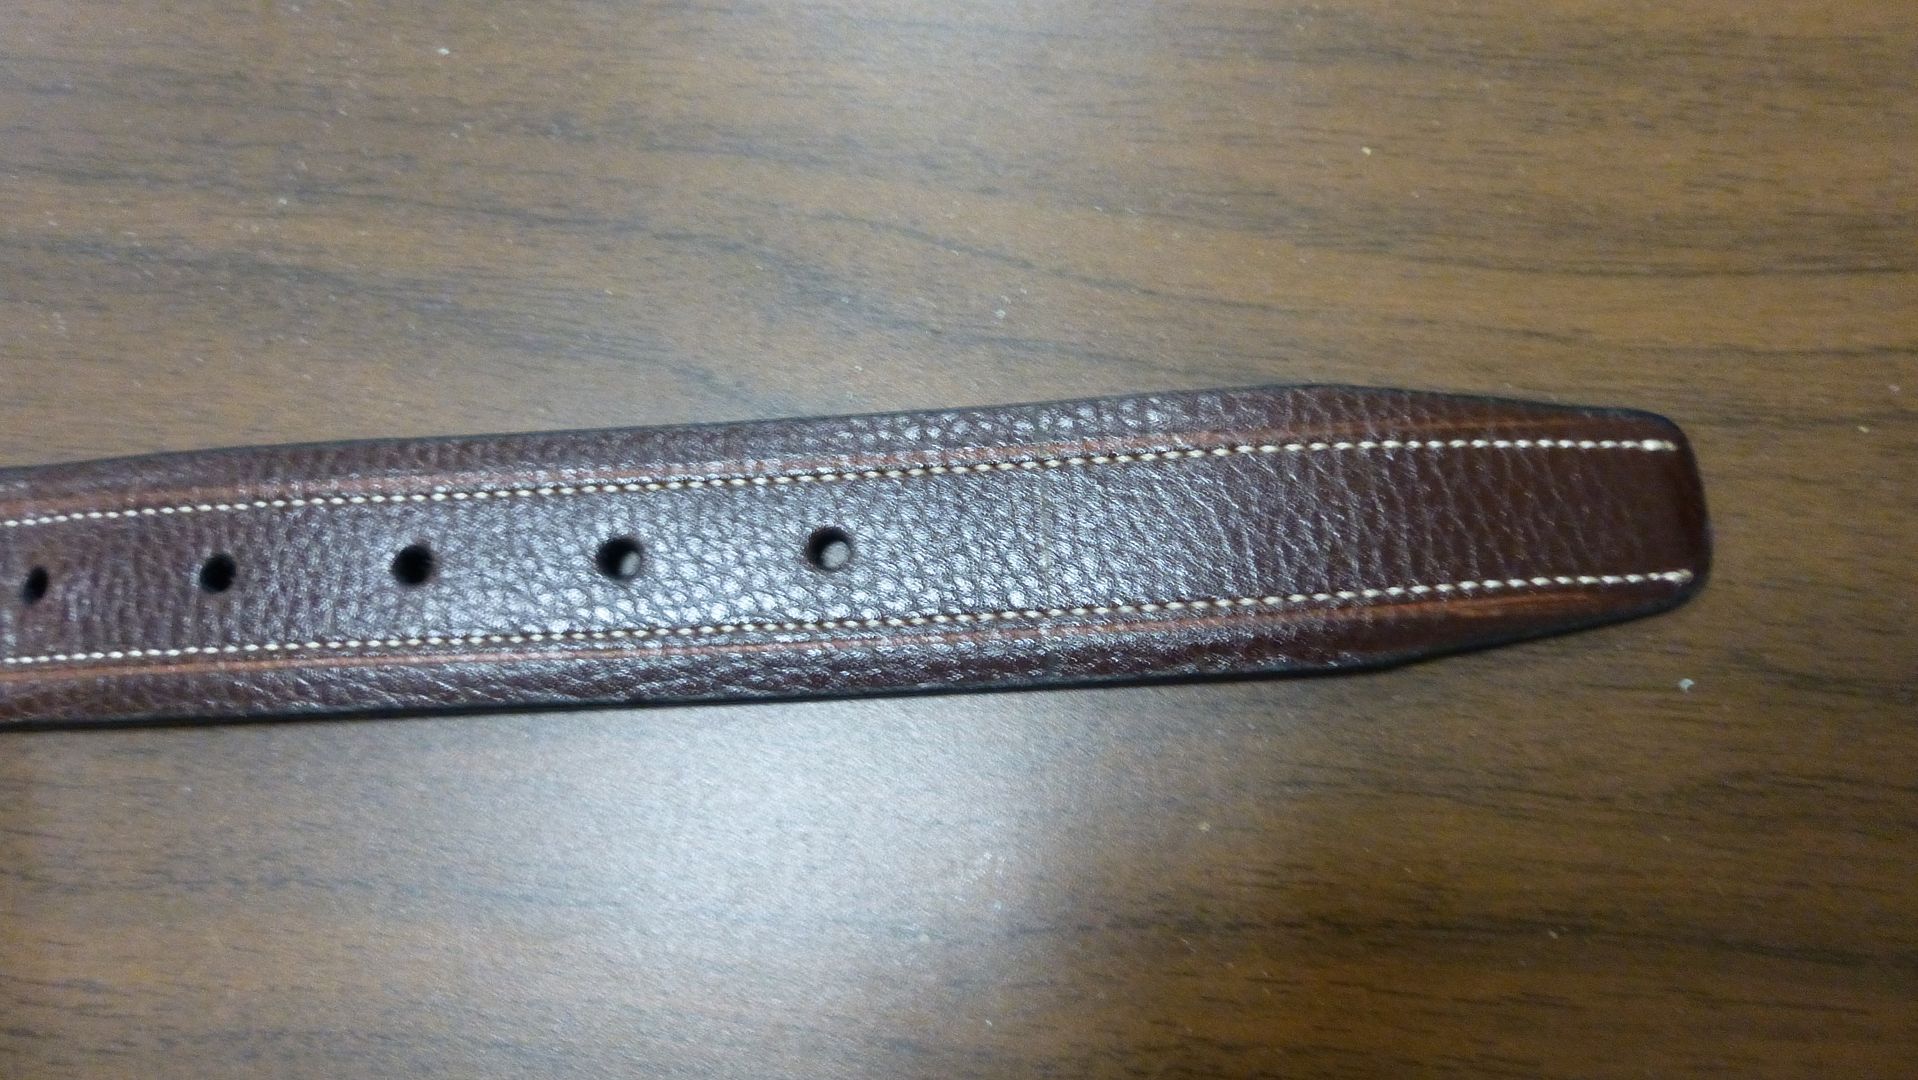
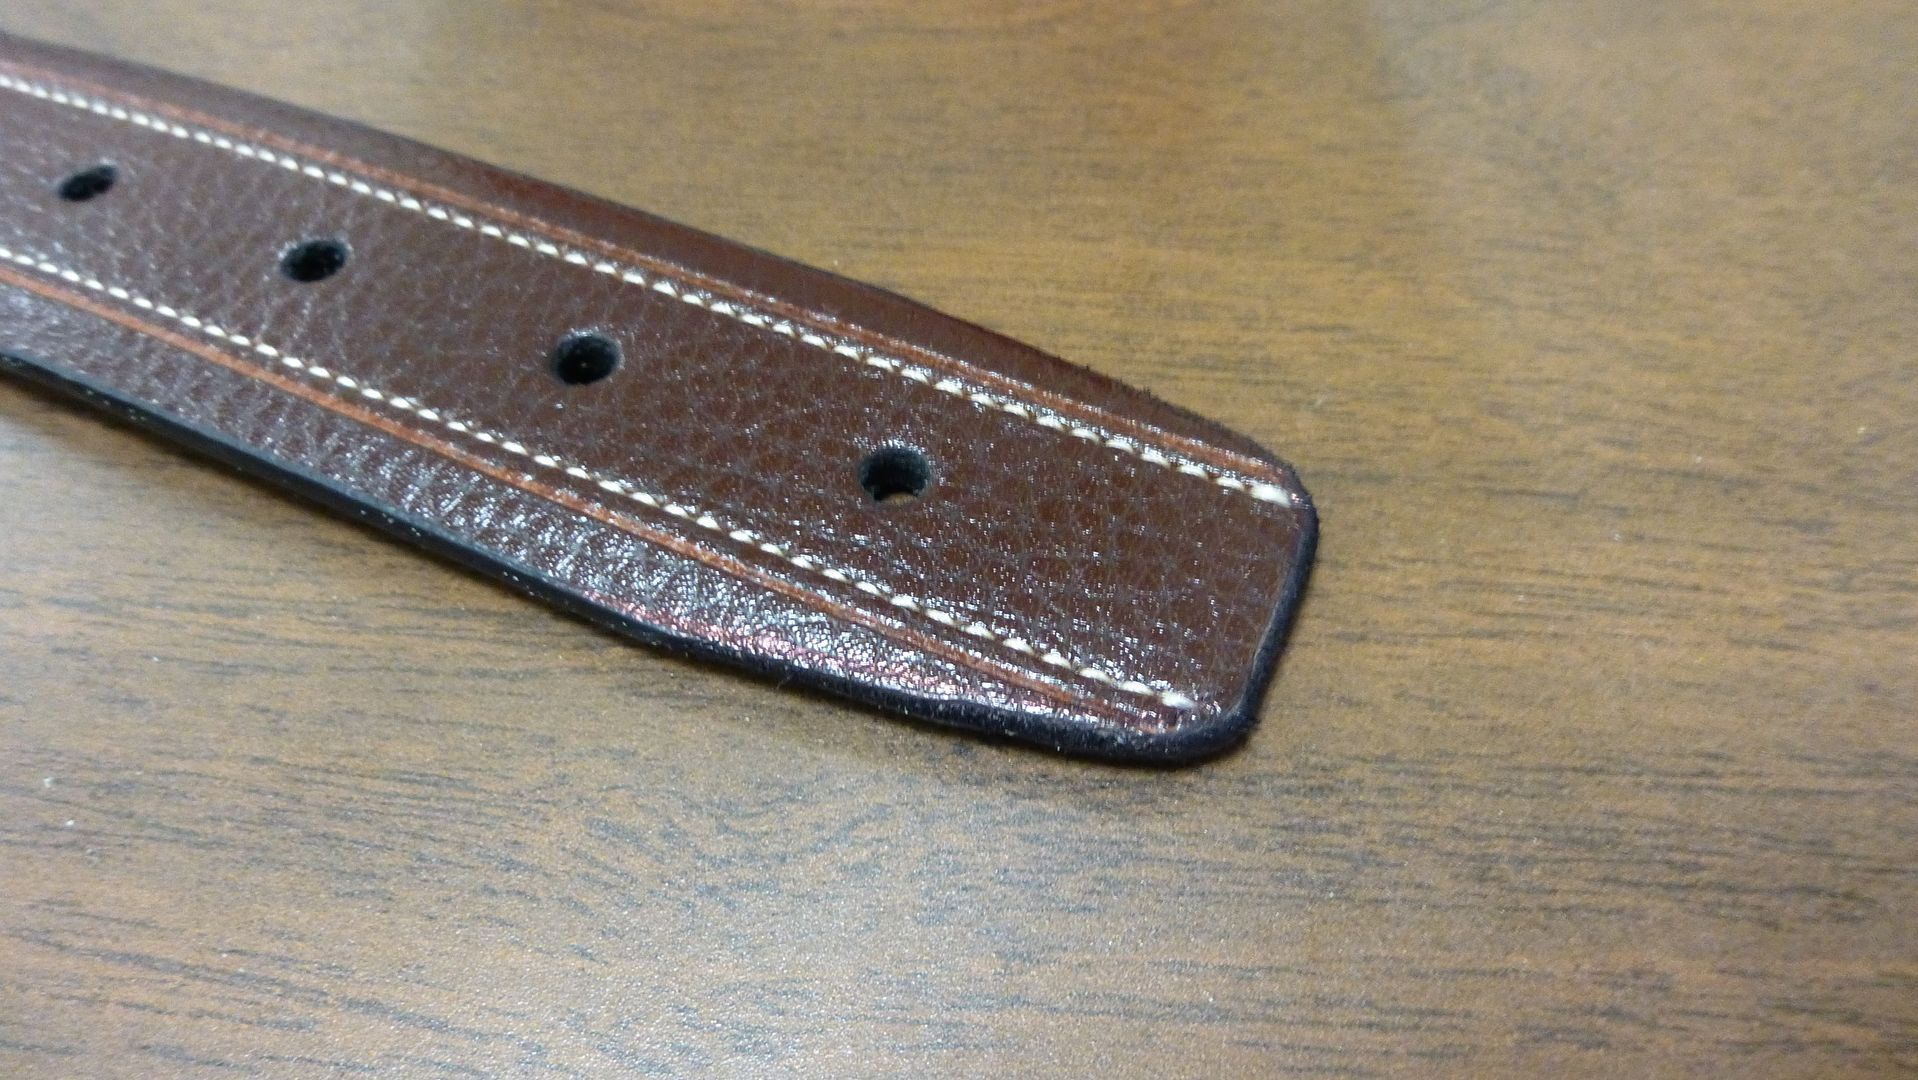
Once I had that extra thread loose I trimmed off the excess leather and shaped the tip with my leather scissors and cutting blade. To get it the right shape I just set the original tip on top of the new tip and traced around it. I don't know why I didn't think of that for my belt but I might have to go back and fix it...
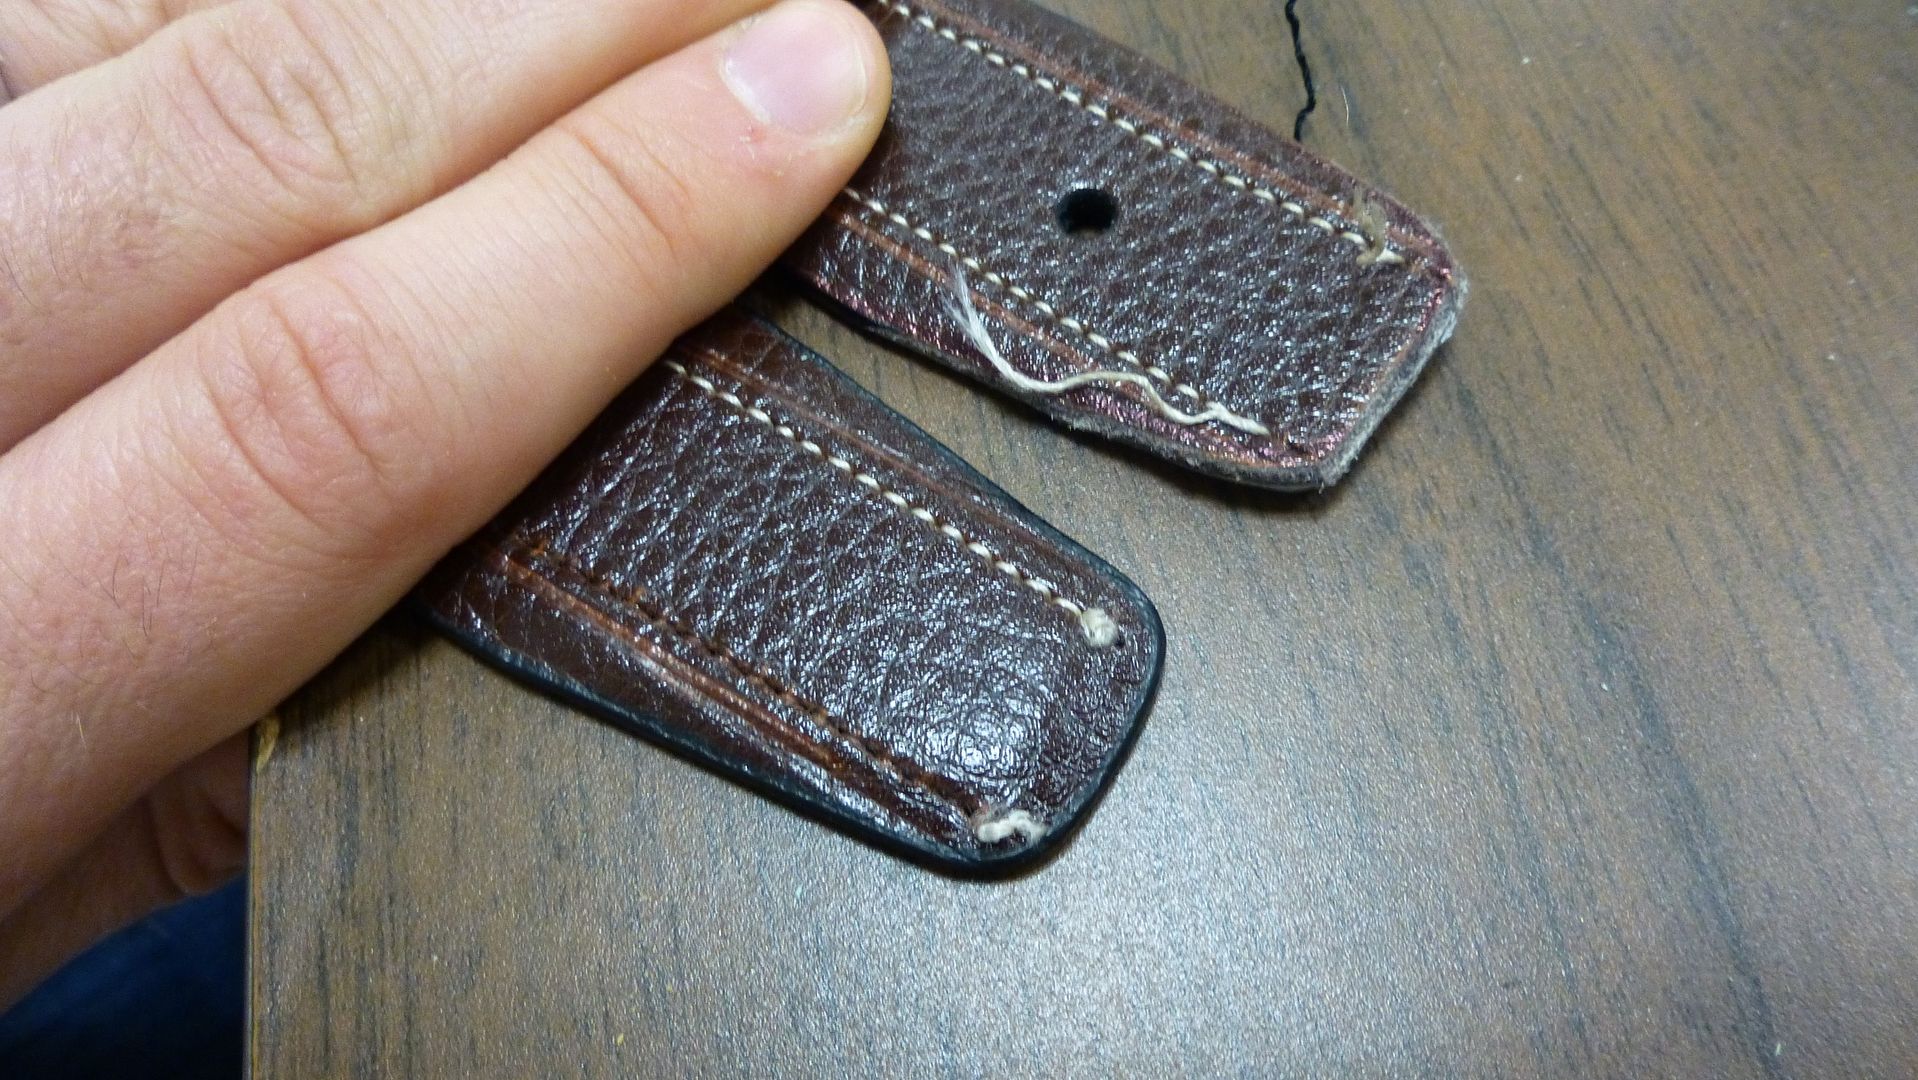
After I had it shaped correctly I used a needle and stitched the lose thread back into the holes at the end. I used a sharpie and colored the edges so they would be black again. Then I used some glue to seal the edge as well as the thread.
And there you have it. Here's the before:
And here's the After:
In summary, if your belt doesn't work for you, make it work. It's not that hard, and it's worth it over replacing the whole thing.
Edit: It has been pointed out to me by a couple people in the comments that I could have made this job a lot easier on myself by unscrewing the tiny screws on the back of the buckle, removing it, and cutting off the excess on that end. That way I wouldn't have had to fuss with the stitching and everything. Oh well, you live and you learn. Next time...
