Black Jack Folks: AI Dealer Robot for Elderly Companionship Howest CTAI
by Hugo Gómez-Cornejo Sorgato in Circuits > Assistive Tech
62 Views, 0 Favorites, 0 Comments
Black Jack Folks: AI Dealer Robot for Elderly Companionship Howest CTAI
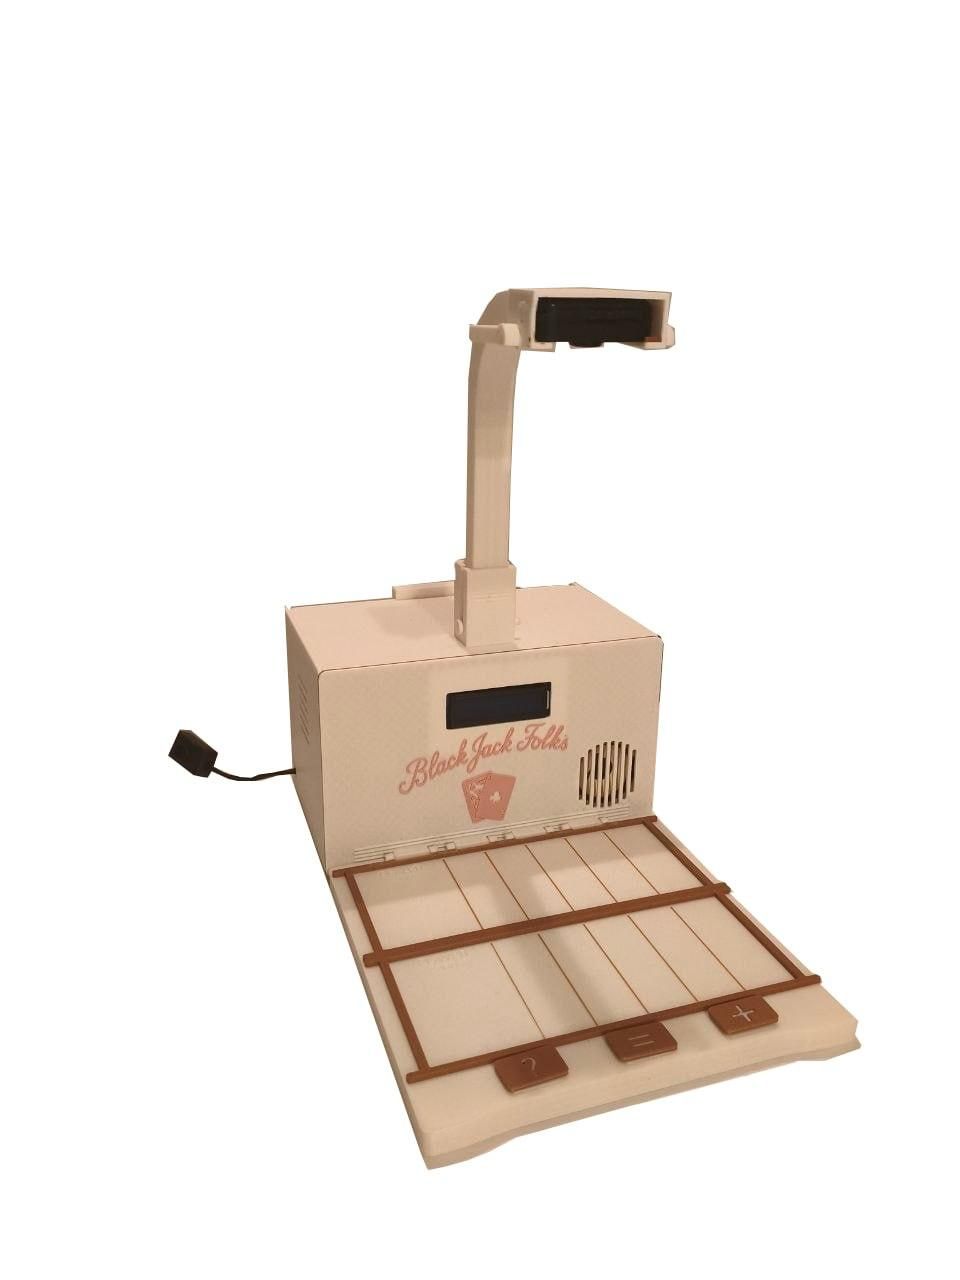
"Loneliness is a silent struggle for many seniors. Sometimes, all they need is a friendly face—or in this case, a friendly robot—to play a simple game of cards with them."
This project is Black Jack Folks, an interactive, AI-powered robot dealer built specifically for elderly users. It uses a Raspberry Pi, a camera, and a custom-trained YOLOv26 Nano model to detect physical playing cards in real-time. A large LCD screen guides the player step-by-step, and 3 buttons control the entire game (Hit / Stand / Help).
I built this robot to combat loneliness through a familiar game, but I learned a lot about product design along the way. The first prototype had issues: the camera was blocked when pressing the button, the 3D-printed shell was too fragile, and I wasted time training 52 separate card classes.
In this updated version, I fixed all of that. The button is moved to the side, the camera is elevated, the enclosure is rock-solid, and the AI logic is simplified to only care about card values (not suits), making it faster and more robust.
Let's build your own Black Jack Folks!
Supplies
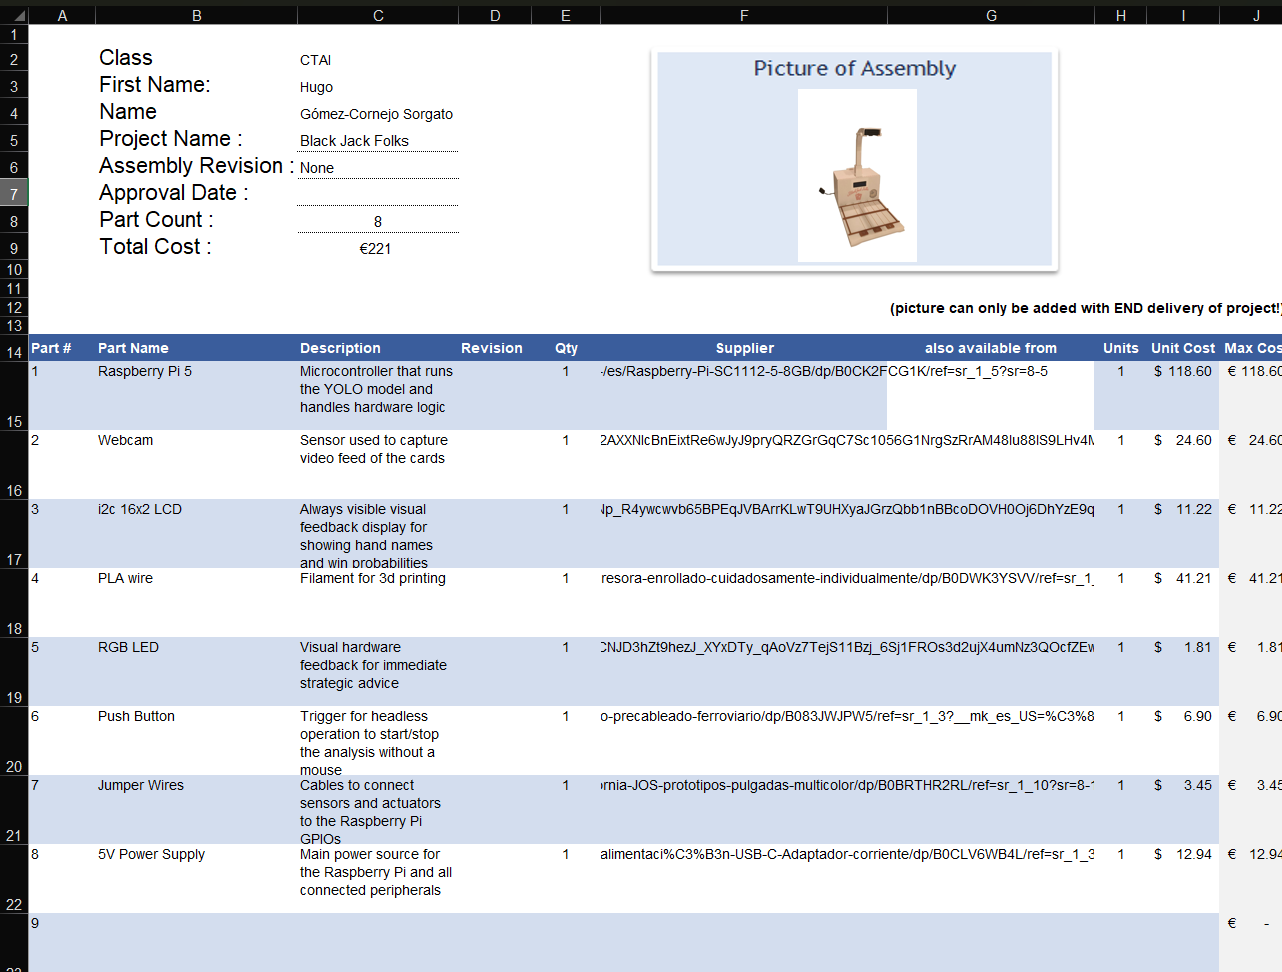
Before starting, gather all the hardware. Below is a clear list of what you need. Check the BOM Excel for exact prices and links.
Electronics & Hardware:
Raspberry Pi 5
Webcam
i2c 16x2 LCD
PLA wire
RGB LED
Push Button
Jumper Wires
5V Power Supply
Designing the 3D Enclosure
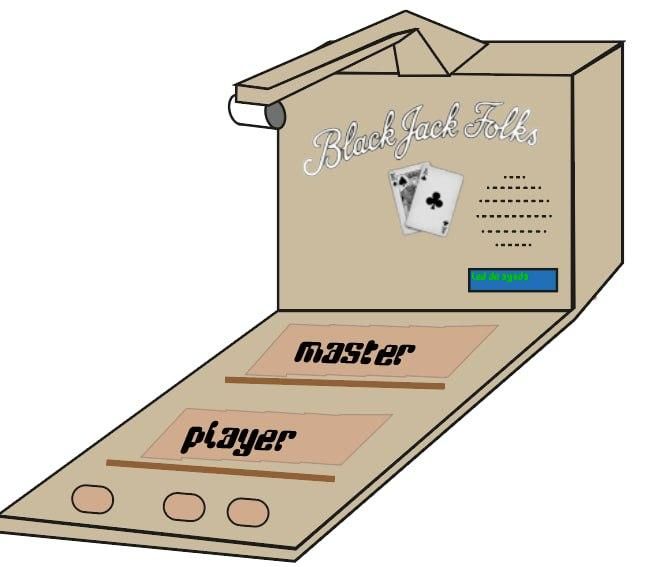
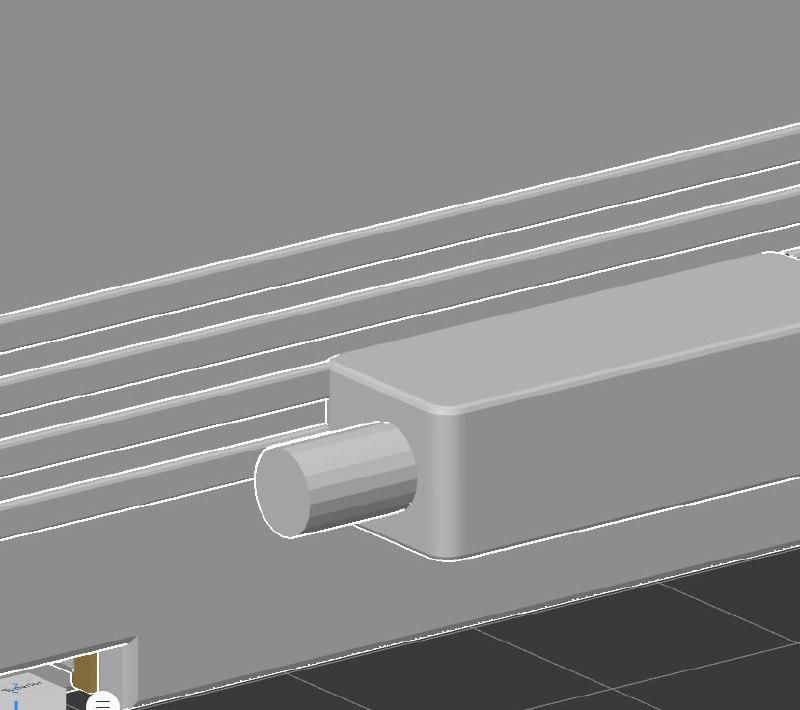
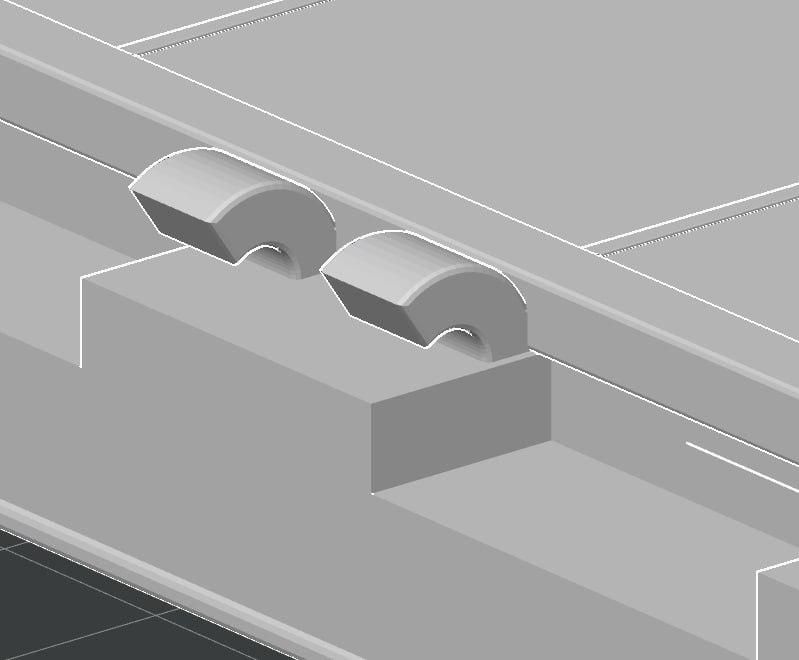
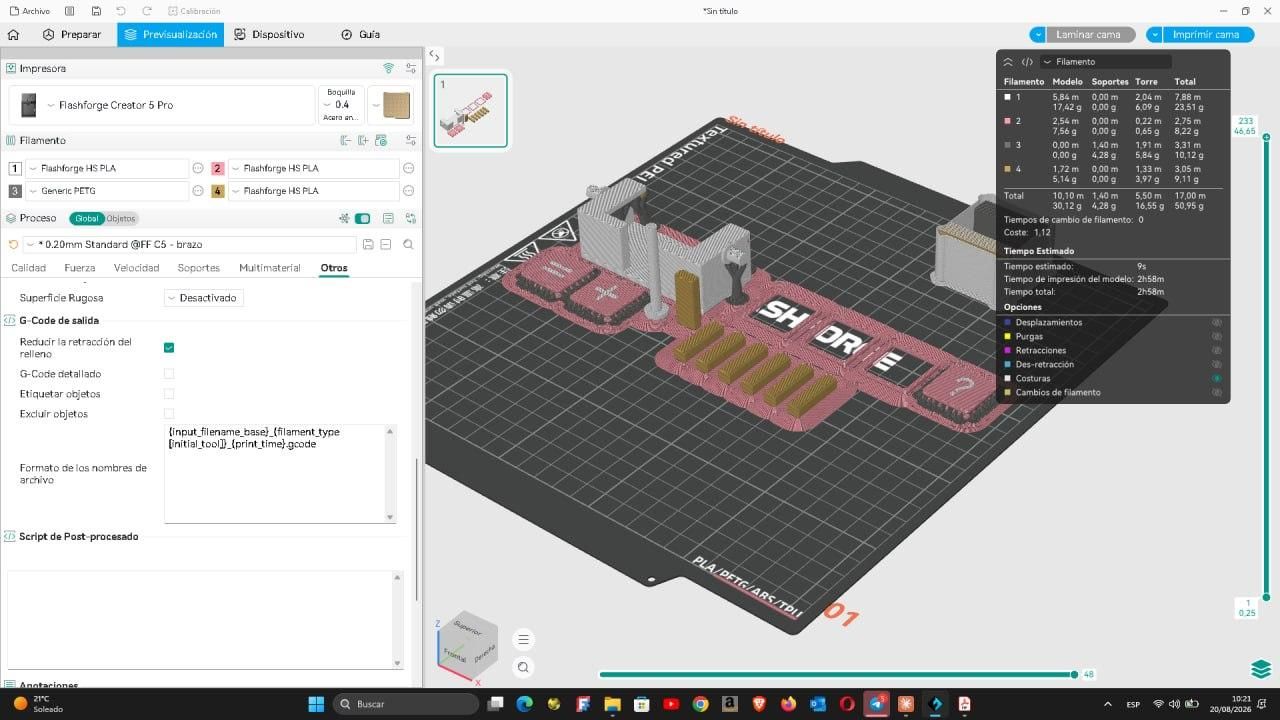
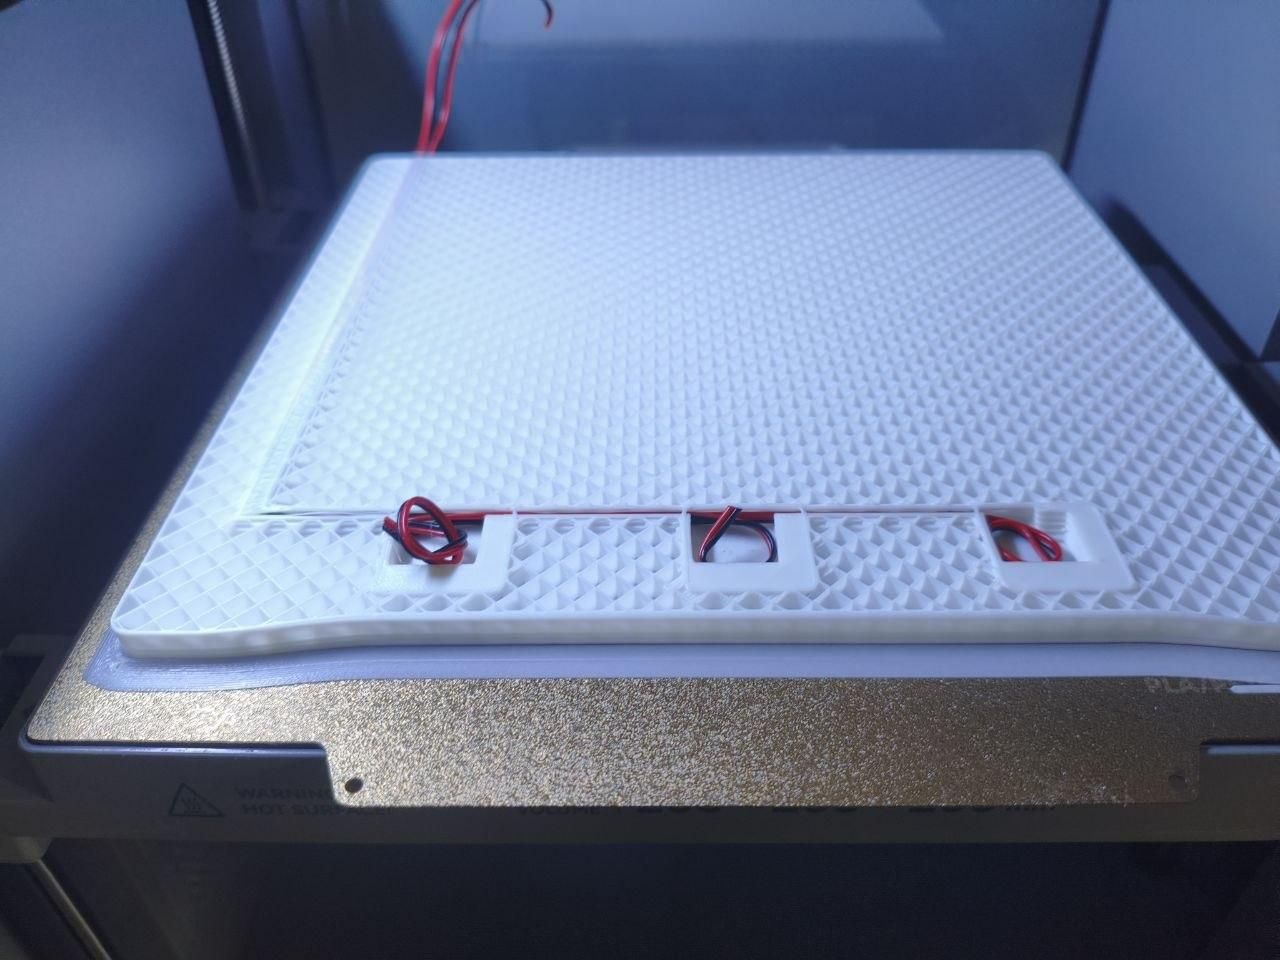
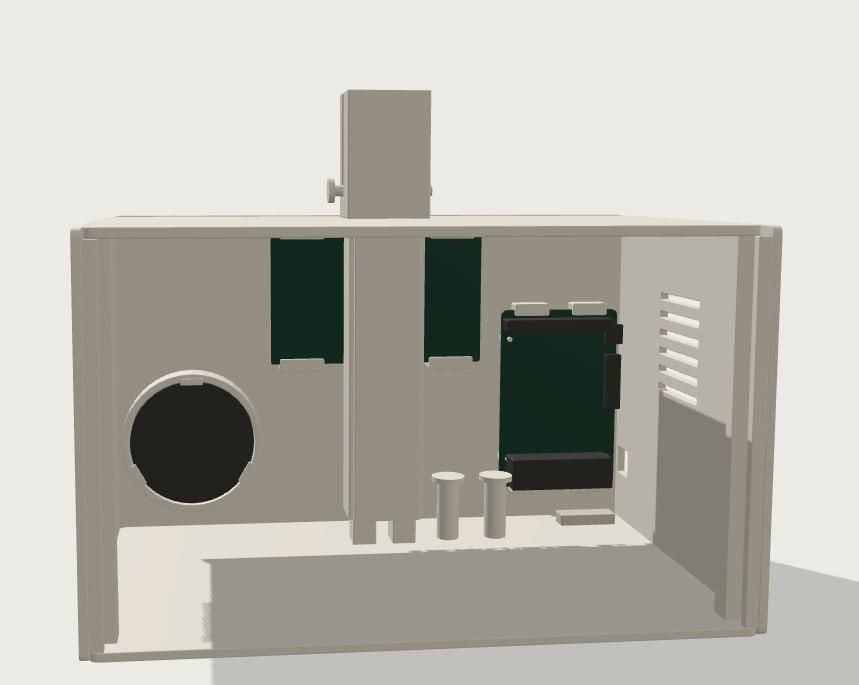
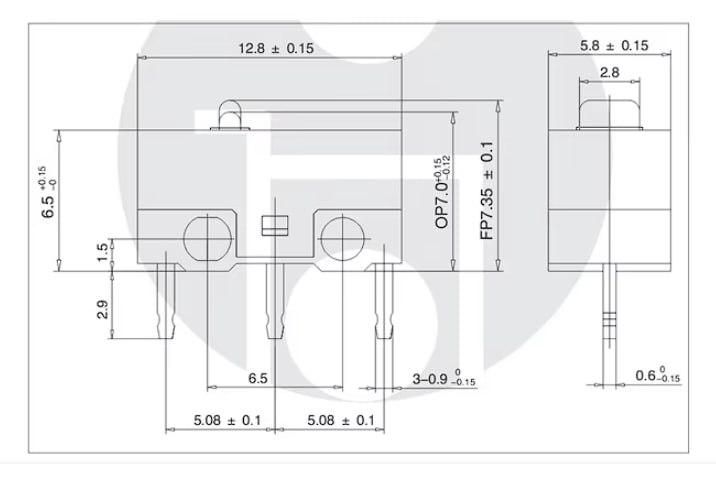
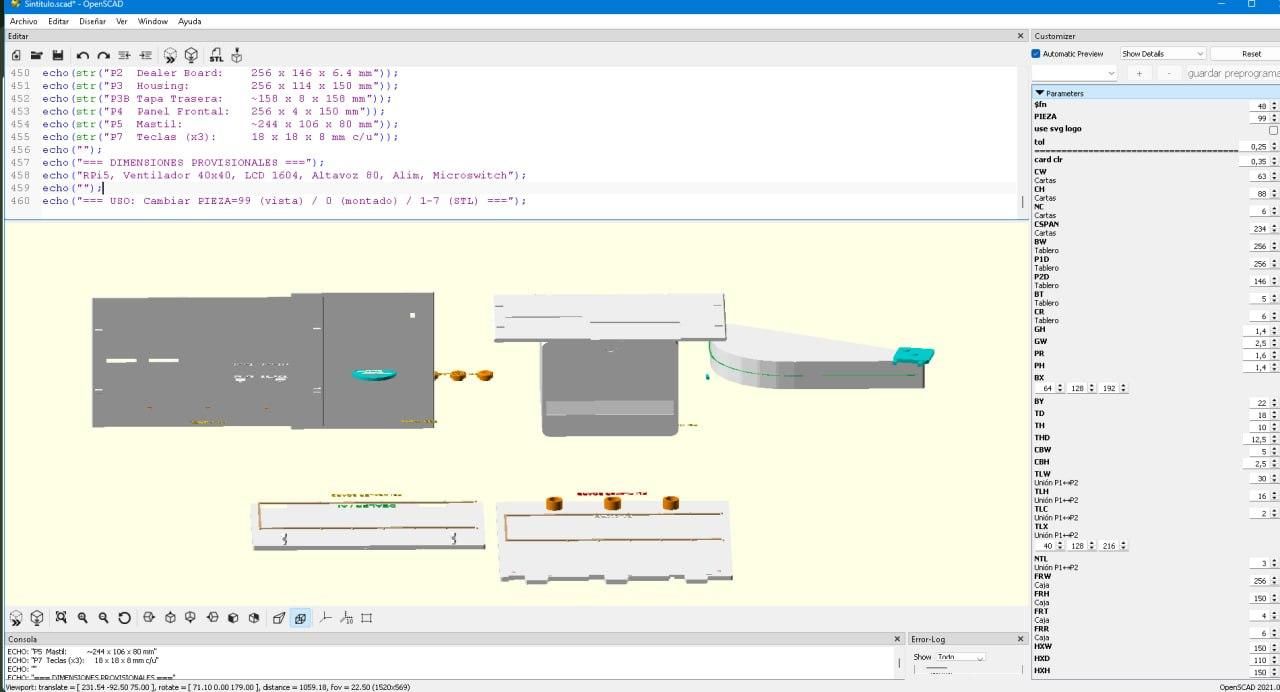
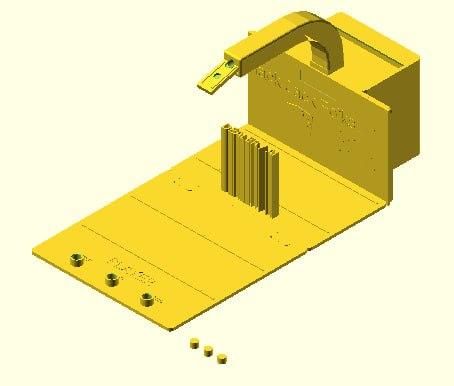
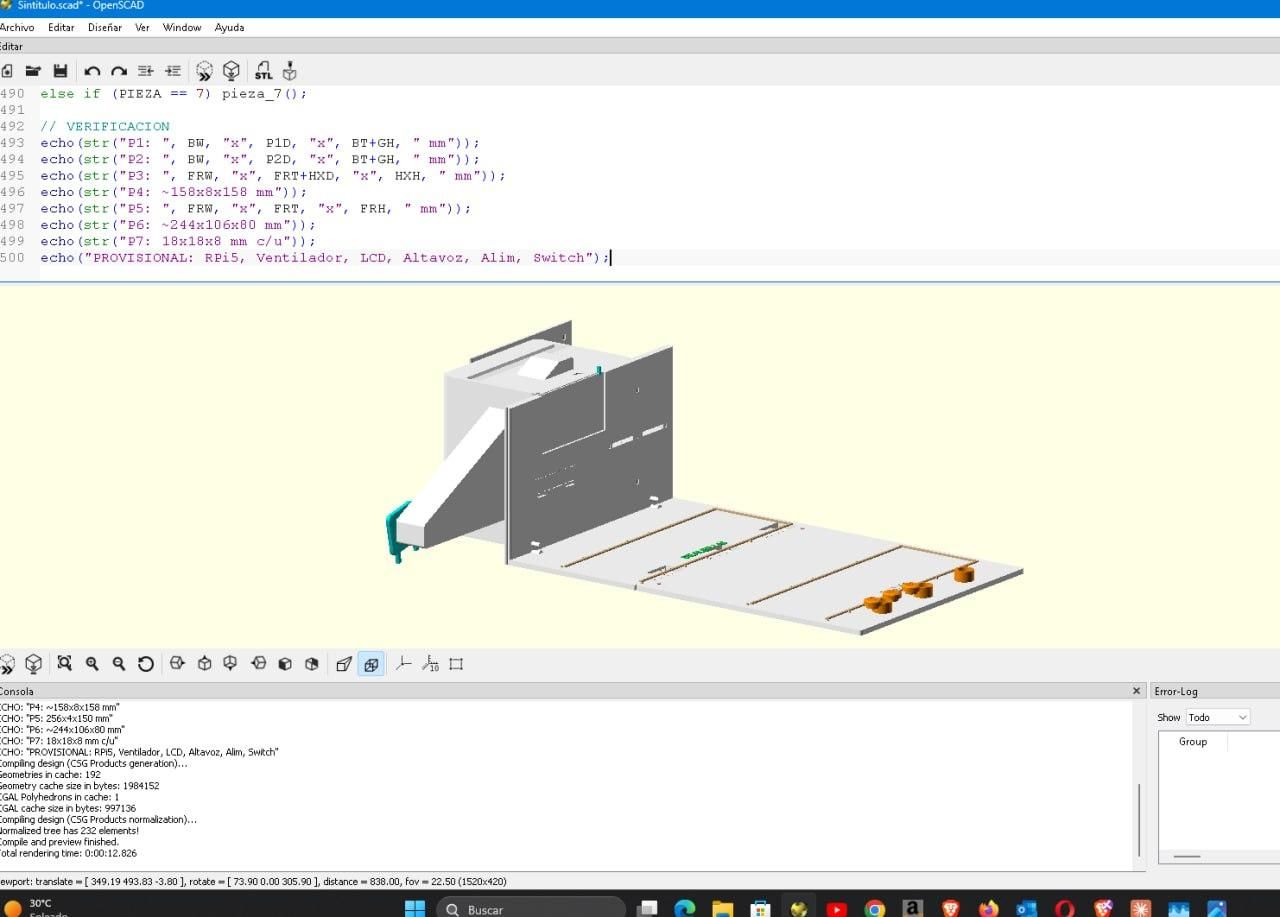
The first version of my enclosure was too fragile and the camera was placed behind the button—users accidentally covered the lens while playing.
For this version, I redesigned everything in Siemens NX:
- Elevated Camera Mount: The lens is positioned higher and further forward.
- Buttons: The buttons are moved to the front side, so you never block the camera while pressing it.
- Cable Channels: Built-in grooves keep the internal wiring organized and protected.
Download the STL files here: [BlackJackFolks_STL_Files.zip] (Attach your files).
Hardware Assembly and Wiring
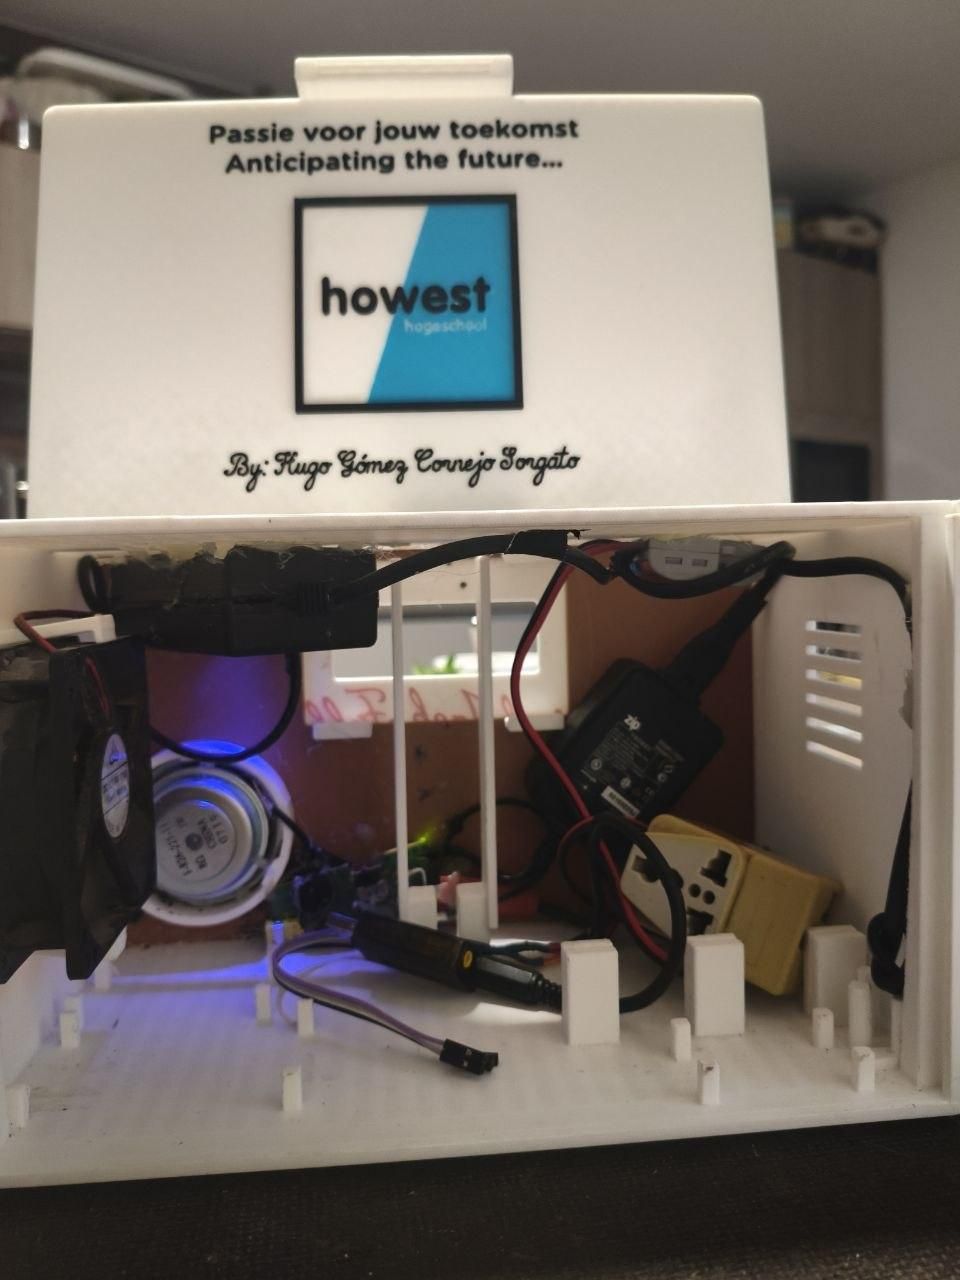
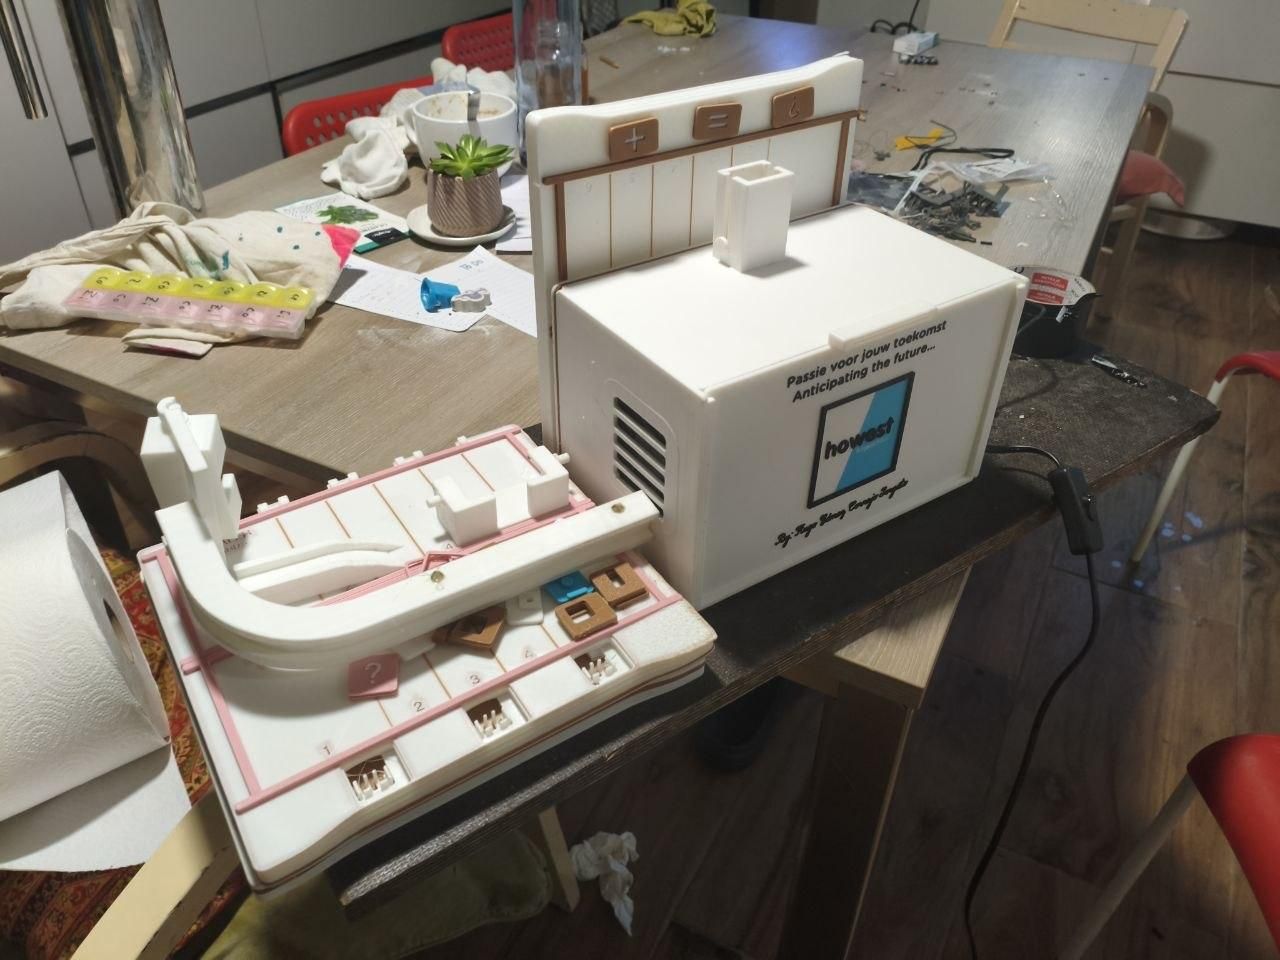
Now, mount the electronics. Keep the wiring clean to prevent short circuits.
GPIO Pin Mapping (Raspberry Pi 40-pin header):
Component GPIO Pin Notes
Connect ALL grounds together
(Insert Photo 4: Clear photo of the wiring inside the enclosure before closing it, showing cable ties and soldering)
(Insert Photo 5: The fully assembled robot from the front)
Software Setup
I used Python 3.9+. The project runs inside a Docker container for easy deployment, with a PostgreSQL database for storing game history.
1. Clone the Repository:
Open a terminal on your Raspberry Pi and run:
bash
2. Install Dependencies:
bash
3. Run Docker Compose (for the Database & Gradio App):
bash
This sets up the PostgreSQL database with persistent volumes, meaning your data stays safe even after a reboot.
4. Launch the Game:
bash
You should see the LCD light up with "WELCOME FELLA!".
(Insert Photo 6: Screenshot of the terminal running the script)
The AI Model
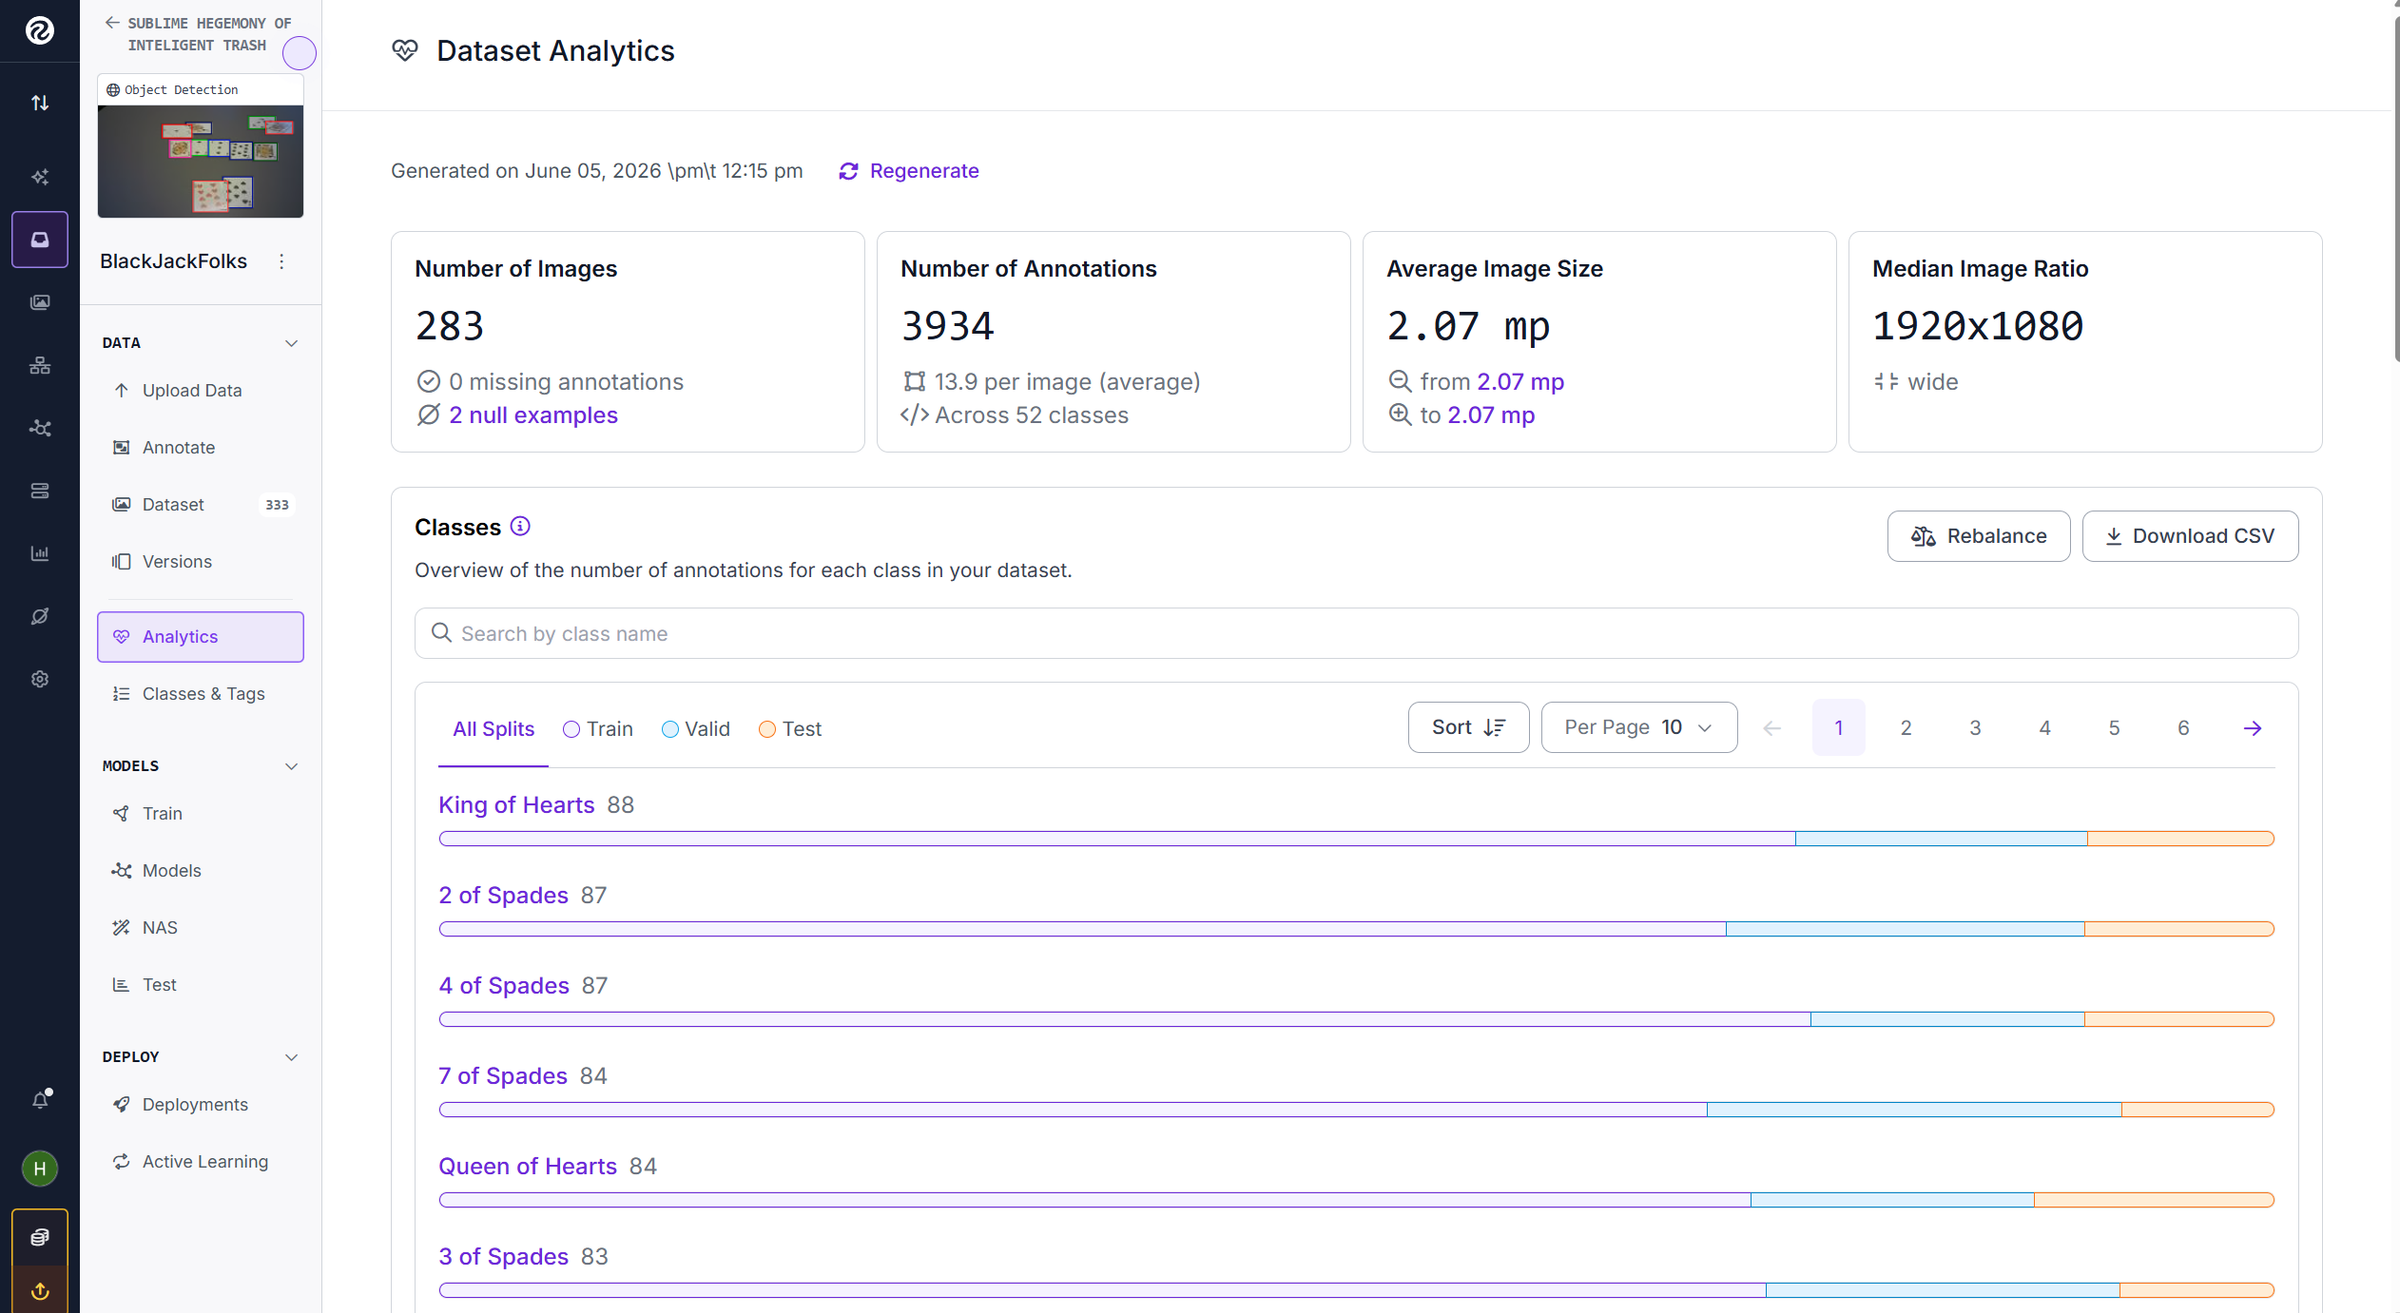
I initially trained a model with 52 classes (each card and suit). This was a mistake—Blackjack only cares about the value! So, I trained a YOLOv26 Nano model on 5,200 images (100 per class) but wrote a simple Python function to map the 52 detected suits into just 13 values (A, 2-10, J, Q, K).
- Framework: PyTorch (.pt file). Note: I used PyTorch, not TensorFlow.
- Accuracy: ~80% mAP@0.5. While this is slightly below cutting-edge, it works perfectly for this real-world application because of my next trick: the IoU tracker.
The IoU Tracker (The "Anti-Flicker" System):
When the camera detects a card, the robot saves its exact location (bounding box). If the user's hand passes over the card, the AI might get confused. I calculate the Intersection over Union (IoU) between new detections and confirmed cards. If a new detection overlaps more than 50% with a confirmed card, I ignore it. This stops the system from "flipping out" when cards are partially covered.
The Game Flow
The game runs on a very simple 10-state machine. Because this is for seniors, there are no timers—the player clicks the button to advance when they are ready.
The flow:
- Welcome -> Click to play.
- Place Cards -> User puts 2 cards down, clicks.
- Verify -> Robot shows the total. (Click = OK, Double-Click = Wrong -> sends you back to re-arrange).
- Decision -> Click On + symbol is "Hit" (Draw another), Click on = symbol is "Stand" (End turn).
- Robot's Turn -> Robot uses its AI to draw cards (with occasional silly mistakes to be friendly).
- Result -> Shows who won. Click for Menu, or click for Re-match.
The Gradio App & PostgreSQL Database
The robot is connected to a web interface (Gradio) so family members can check in.
The 4 Gradio Pages:
- About: Explains the project's mission.
- Operating: Shows the live camera feed and manual override buttons.
- Visualization: Charts showing win rates and match history pulled from Postgres.
- Debugging: Logs for technical troubleshooting.
Database Structure:
- Sessions: Tracks date/time and total rounds.
- Hands: Stores player hand, dealer hand, and result (Win/Loss/Push).
Final Results & Lessons Learned
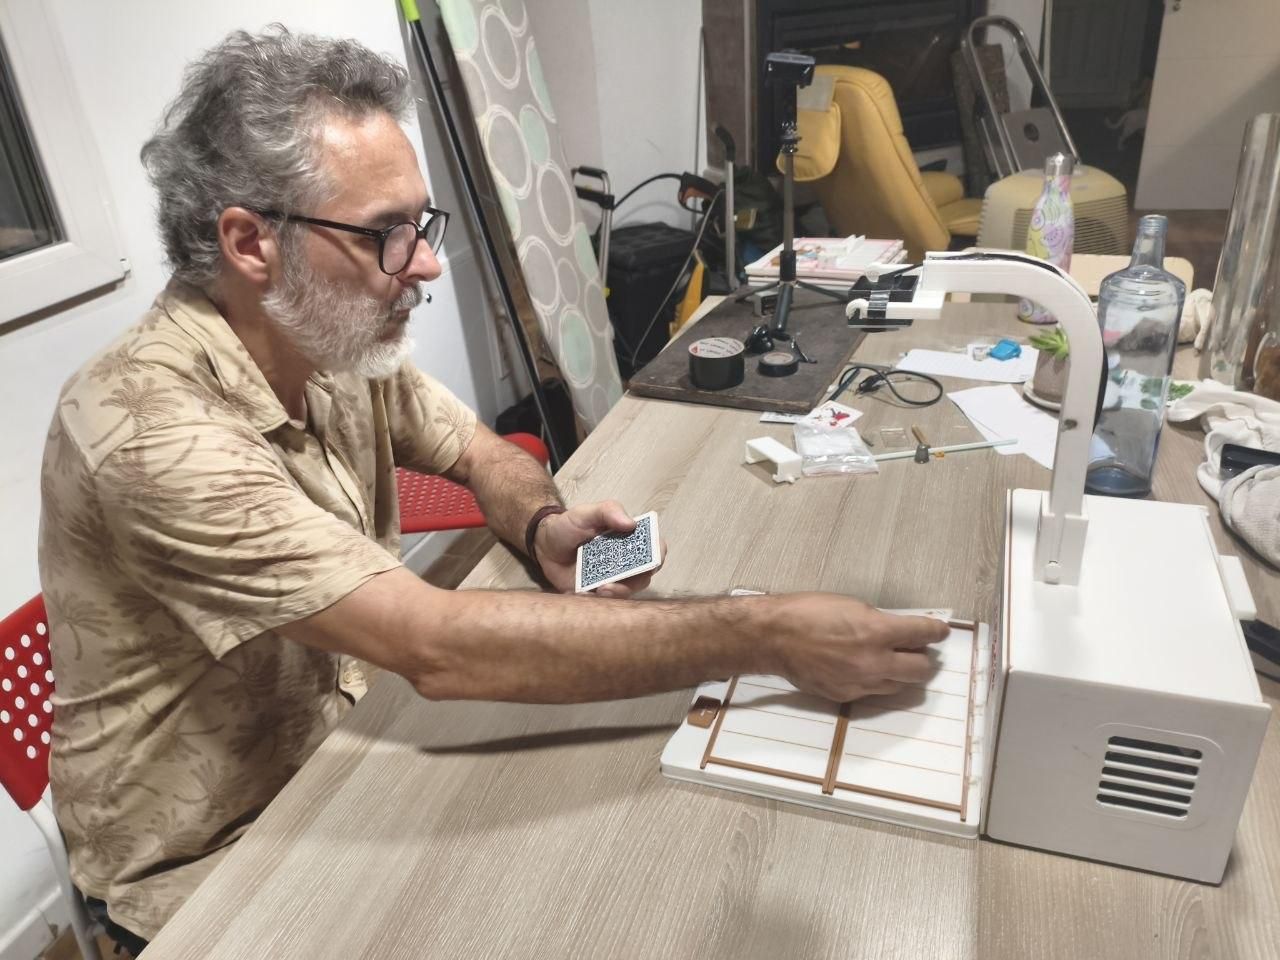
The Final Product:
Black Jack Folks is now robust, user-friendly, and genuinely fun. The button doesn't block the camera, the 3D print doesn't break when you pick it up, and the AI smoothly ignores hand obstructions.
What I Learned :
Don't overcomplicate your AI (52 classes is overkill). The physical design (enclosure & camera placement) is just as important as the code. And always test the button placement before printing the final shell!
AI Use Disclosure
I used AI (specifically, a large language model) to assist me in structuring this Instructables guide, optimizing grammar, and brainstorming the step-by-step narrative. The actual hardware assembly, model training, debugging, and final engineering decisions are entirely my own.