Bleeding Silhouette Photo Edit

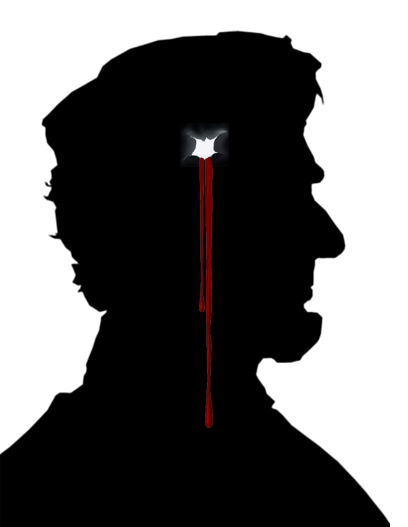
In this instructable I'll demonstrate a reproducible photo-edit that is simple, graphic and striking. For the purposes of this demonstration, I chose a photograph of Abraham Lincoln because of his recognizable silhouette and the obvious historical significance, but you can choose any photograph you want.
Time: 30 minutes
Tools: Adobe Photoshop (or a similar photo-editing software)
Time: 30 minutes
Tools: Adobe Photoshop (or a similar photo-editing software)
Summary of Steps


This photo-edit is comprised of three basic steps:
1. Creating the silhouette
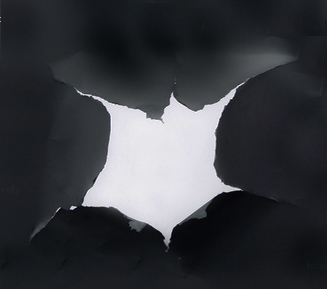
2. Adding the bullet hole
3. Adding the dripping blood
I've attached blood drip and bullet hole images for you.
1. Creating the silhouette
2. Adding the bullet hole
3. Adding the dripping blood
I've attached blood drip and bullet hole images for you.
Silhouette


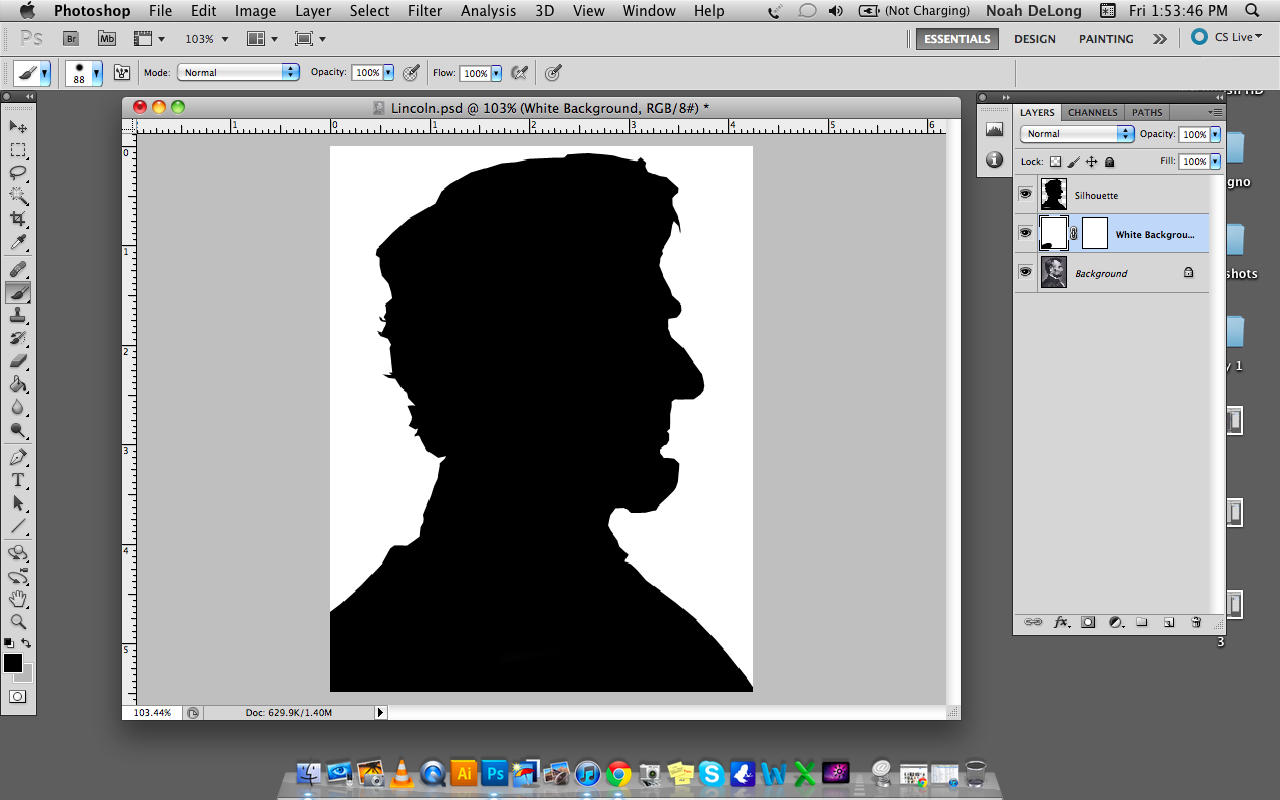
Once you'e chosen a photograph, open it in Photoshop. Turning the photograph into a silhouette requires creating a selection, filling it with black, and adding a white background.
1. Use the "Pen" tool, located in the tool bar, to create a path. Then right click on the path and choose "make selection" with a feather radius of "0".
2. Once the selection is made, create a new blank layer and use a black paint brush to fill the selection with black.
3. Create a new "Solid Color" layer, and fill it with white. Move the white background behind the black silhouette.
Bullet Hole


1. Open the bullet hole image in Photoshop and place it on the silhouette. Edit the scale and placement until you're satisfied. You'll notice there's still a square surrounding the bullet hole, so the next step is to feather and blend the edges.
2. Because the silhouette is pure black, we can just darken and soften the edges of the bullet hole. Choose the "Burn Tool" from the toolbar and select "Shadows." Choose a medium sized brush with a soft edge. Set "Flow" to around 25% and "Opacity" to 100%.
3. Lightly brush around the edges of the bullet hole image until the edges are blended into the silhouette.
Dripping Blood


The last step in creating this image is to add the dripping blood.
1. Open the dripping blood file in photoshop. Use the "Quick Selection Tool" with a tolerance of around 15 to select and delete the white background.
2. Drop the blood drips into the image and place them so that the top is just above the bullet hole.
3. Use the eraser to delete any unnecessary drips, as well as to round the top of the drips to create the appearance that the blood is running out of the hole.
Final Product


That's it! For a spook, print out a copy of your silhouette and put it into an antique oval frame, like these images are known for and hang it in your house without telling anyone.