Board Game Timer

The CPX device design for the Countdown Timer for Family Games is 3D printing a large box with cut outs for all of the different aspects of the timer – there are cut outs for showing the remaining time left, where the wires would go inside the box, where the CPX would sit and where the flag would be moving in relation to the numbers counting down.
Supplies


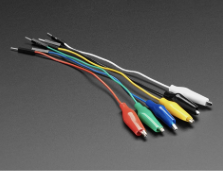

All necessary supplies and equipment are provided with links. Photo(s) of the supplies are shown
- Adafruit Circuit Playground Express Basekit
- Continuous Rotation Micro Servo
- Alligator Clips to Male Wires
- Battery Pack
- 3D Printed Pieces x5
- Hot Glue
Downloading the Design

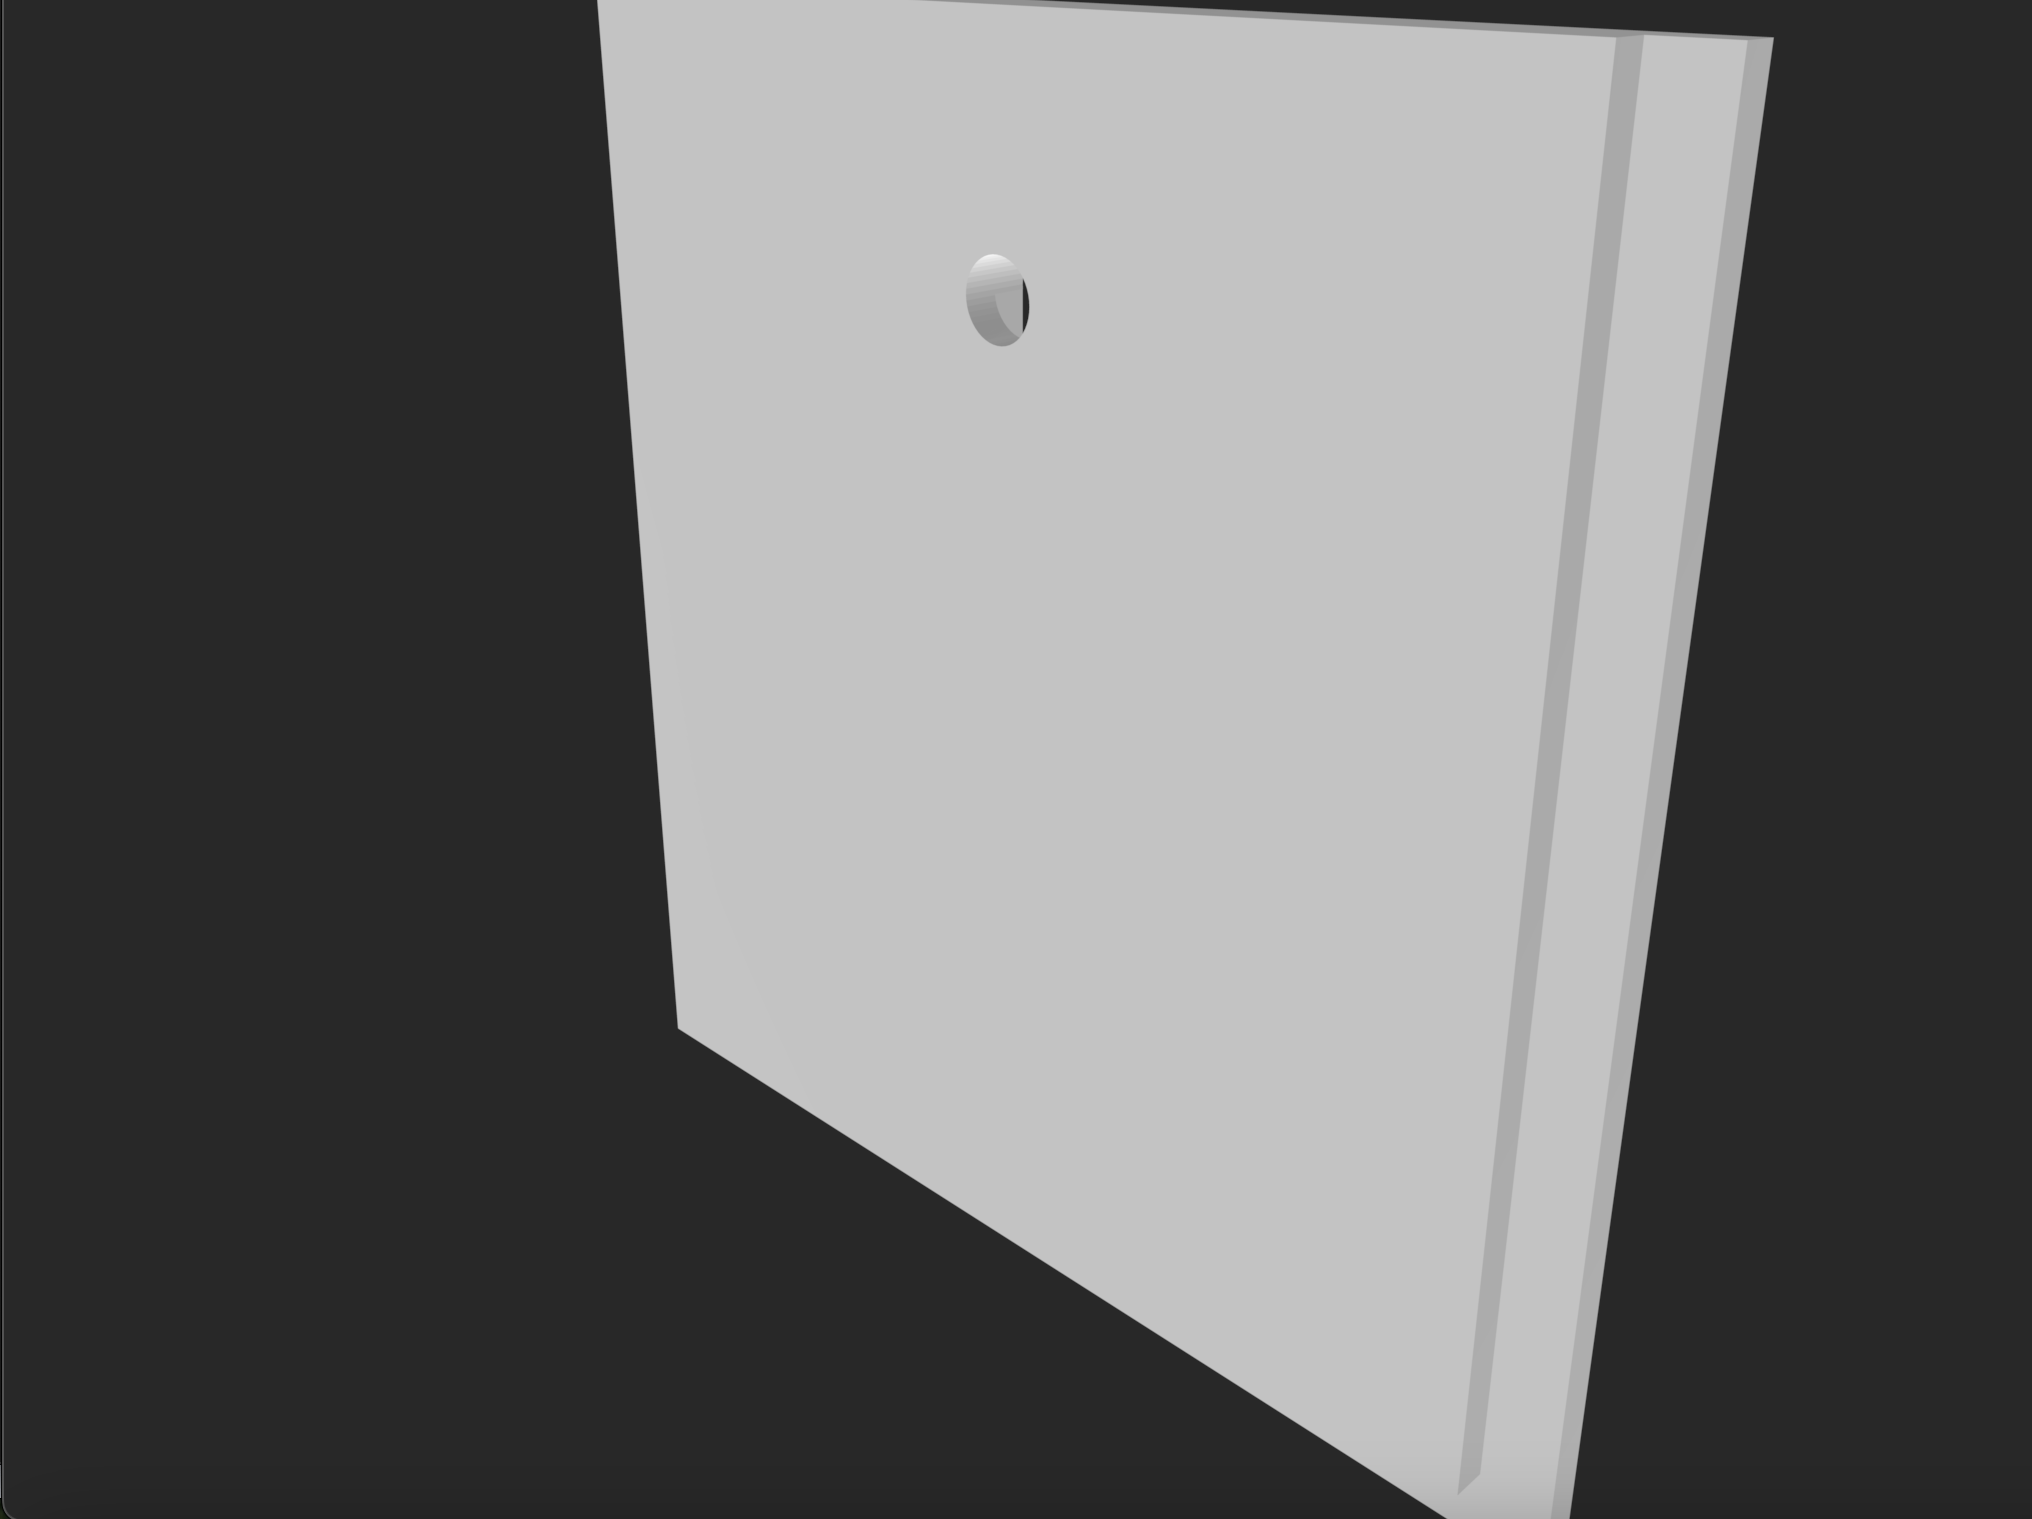
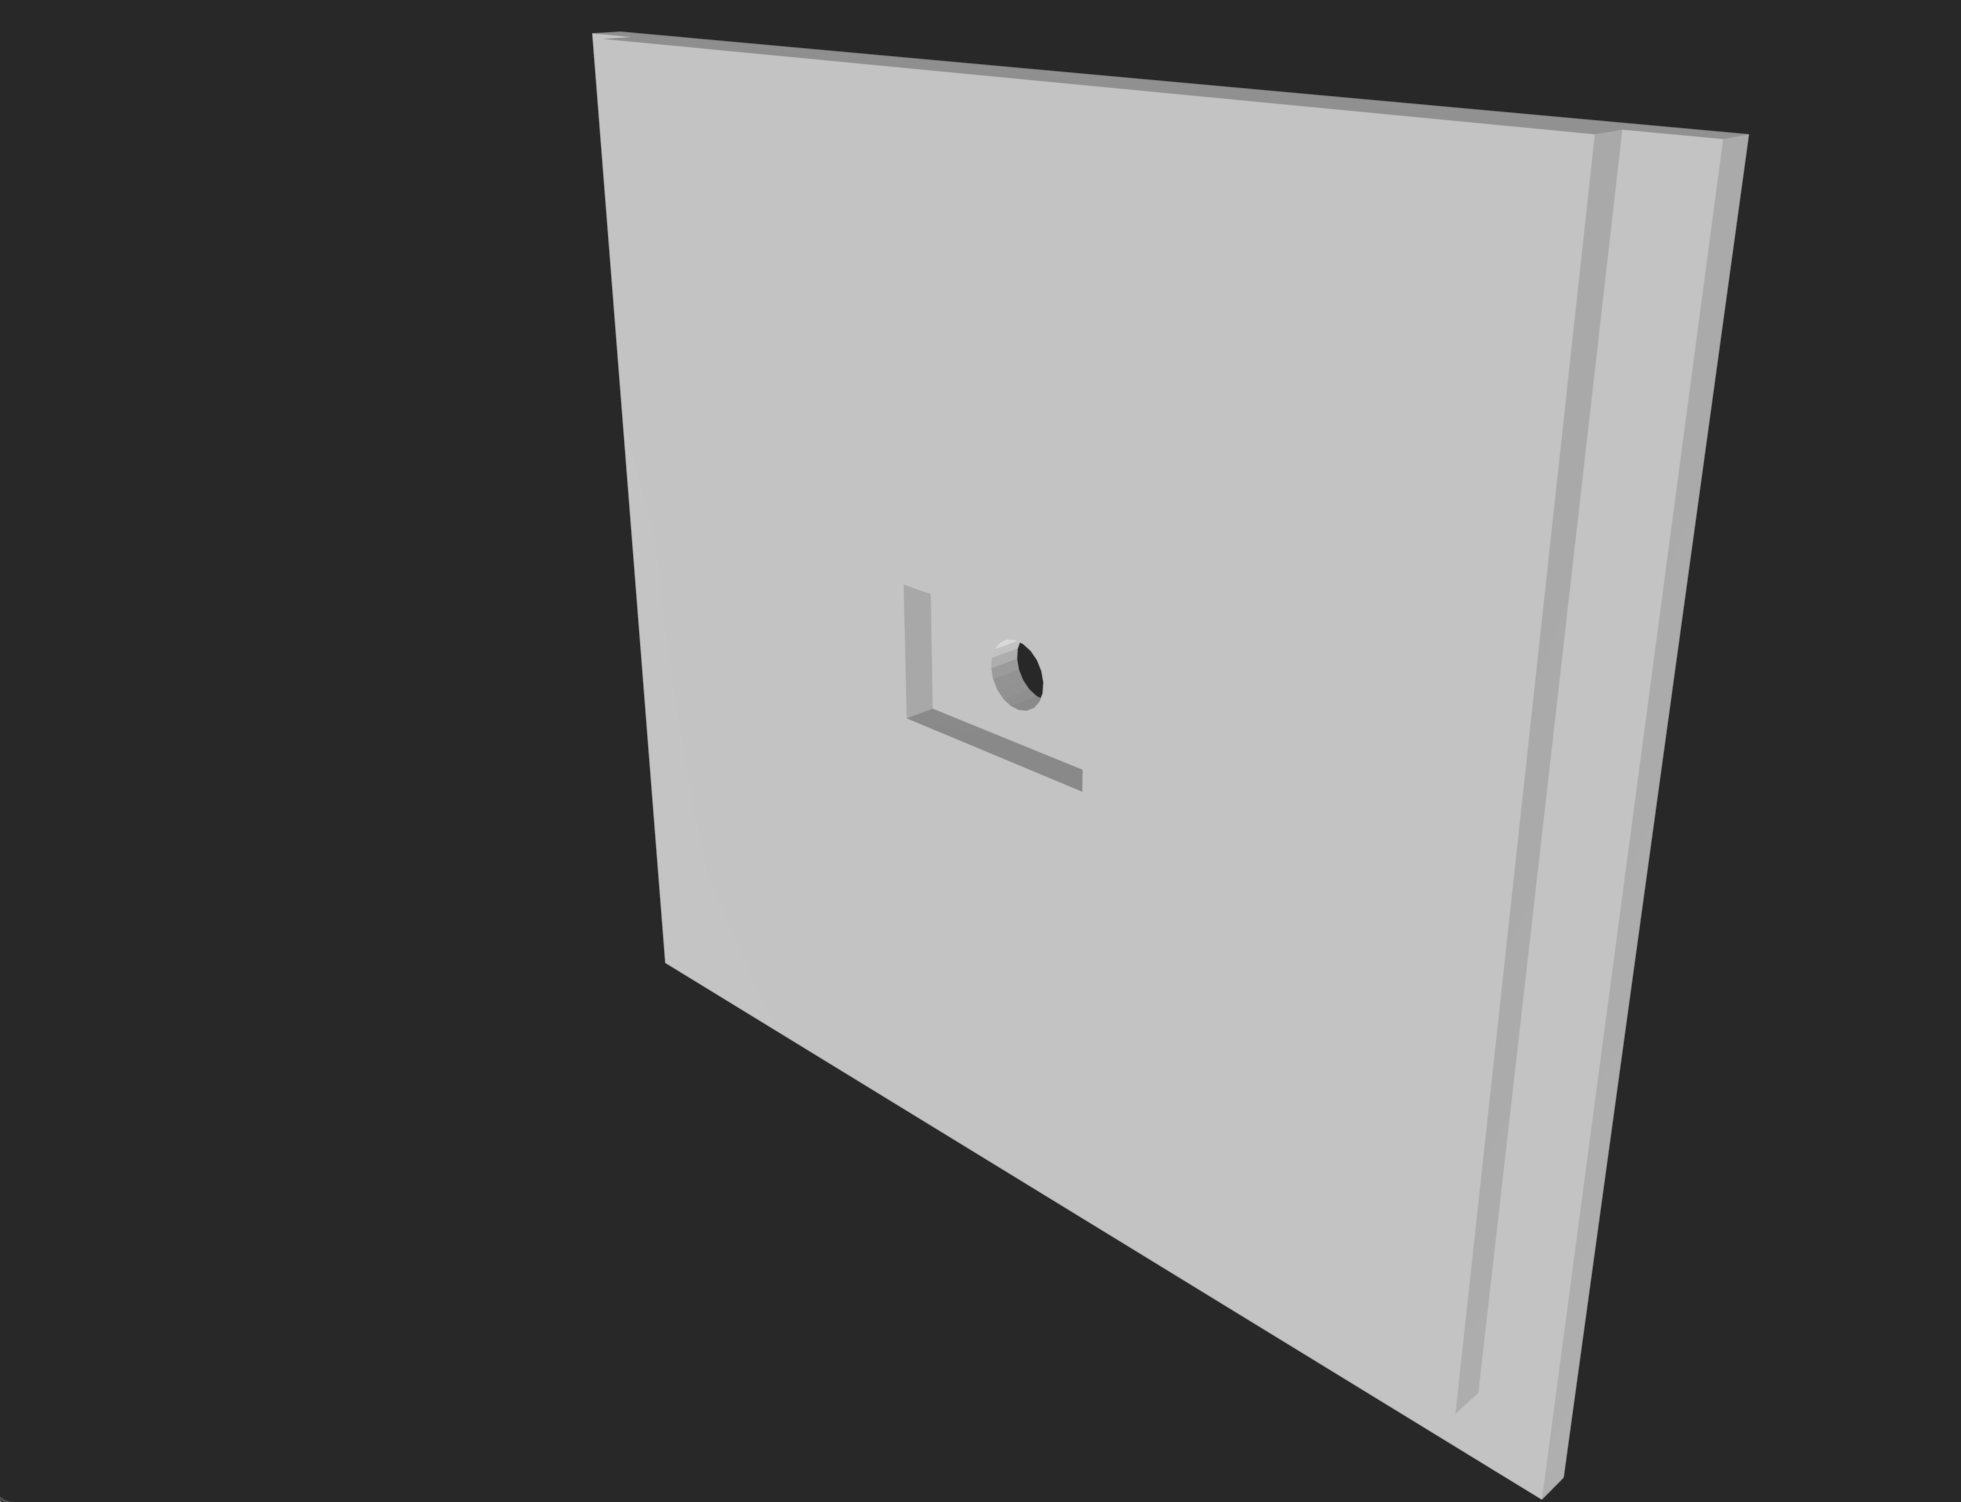
To download the 3D design you must build it on TinkerCAD and then you use a Makerbot to print the parts out. There are 5 panels to print out (front, back, bottom, top, and sides). They must all be the same size, can be whatever size you want. Need to make sure the hole on the back panel can fit all the chords.
MakeCode

One way to code for the CPX device is to use Adafruit MakeCode. For the family timer, we wanted to make it so that as the timer continued to count down there would always be flashing lights coming from the CPX showing that it had started (Fig. 9). To translate, drag in a forever coding block from loops to the workspace. To add the flashing lights animation, go to light and select the show animation block and set that to the lights setting for 500 ms. In a separate area of the work space, drag in the on shake block from the input panel. To connect the CPX to the servo, go to the advanced panel and hit extensions. This will give a variety of options of what the CPX can connect to, find the servo and drag in inside the on shake block, set servo A1 angle to 90 degrees, change the angle to say 0 degrees by clicking on the number and dragging the line all the way to the left. Going back to the loop panel, drag in the pause 100 ms to underneath the servo block and change the number to 10000 ms to equivocate to 10 seconds. To alert the players when the timer is finished, add in the play sound ba ding block from the music panel. At the same time as the sound, the servo will move the flag connected to the hourglass as another indicator the timer has finished. Also at the same time, we changed the lighting that is coming from the CPX to the sparkle setting - also coming from the lights panel. To code this, copy and paste the previous set servo block and put it under the play sound block. This time, change the angle to say 180 degrees. The final step of the code, go to the input panel and drag in the on button A block to a new section of the workspace. Next, go to music and add in the ba ding sound block again. This is here to indicate that the device is on and ready to countdown once shaken. Be sure it is the same sound that will play when the timer has finished.
Python Code

If Button A is Pressed:
- The servo moves from 0 to 180 degrees, in steps of 5 degrees.
- While it moves, the built-in NeoPixels (LEDs) turn red.
- Once it reaches 180 degrees:
- LEDs turn green.
- It plays two sound files: "dip.wav" and "rise.wav".
If Button B is Pressed:
- The LEDs turn blue while the button is held.
- The servo moves backward from 180 to 0 degrees, in steps of 5.
- When finished, the LEDs turn yellow.
How to assemble and connect the servo motor:
- Understanding the servo wires:
- Brown/Black – GND (Ground)
- Red – V+ (Power, usually 4.8V–6V)
- Orange/Yellow/White – Signal (PWM)
- Connecting to the CPX:
- Red: VOUT
- Brown: GND
- Orange: A1 or A2
- Standard Servo: 180 degrees
Assembly
To put the panels together you must use hot glue to connect them. Then the CPX rest on top of the box with the chords and servo inside for an eloquent design
Final Print


Once you have all your pieces printed out and hot glued together as well as the code made and connected to the CPX then you will have a functional board game timer.