Bold Ballet

Hello! I'm Makenna, a 3D character animator! As one of the more in-depth animation projects I have completed, I wanted to push my storytelling and entertainment abilities through this project. Through each aspect of the project, from ideation to layout to animation, I carefully crafted my scene and ultimately created a blissful ballerina taking flight through the jungle... and now you can too!
Supplies

You will need access to Autodesk Maya (preferably the 2022/2024 version). This can either be purchased or access via the student version.
Another extremely helpful tool (though not required) is creating a SyncSketch account. This website allows you to upload videos for draw-overs and frame-by-frame analysis to help your animation!
The third main aspect of this project is the Kayla Unlimited Rig. From FRigging Awesome Studios, this character has many customization options and an advanced body mechanics rig! You can find this on their website and purchase off the Gumroad website ($30).
Ideation

Now for one of the most important parts... getting started! Having a solid foundation can propel the rest of your project and truly make it fly (pun intended:). Furthermore, taking a prompt and making it unique can showcase your storytelling abilities! Ask yourself the question: If I already have a character available for animation (such as for this project), how can I tailor them to my story? By brainstorming ideas, this allows you to generate numerous possibilities for your animation shot. After utilizing an idea matrix, I finally crafted a story I found exciting, entertaining, and a unique spin on the prompt of flight!
Reference

"And... action!"
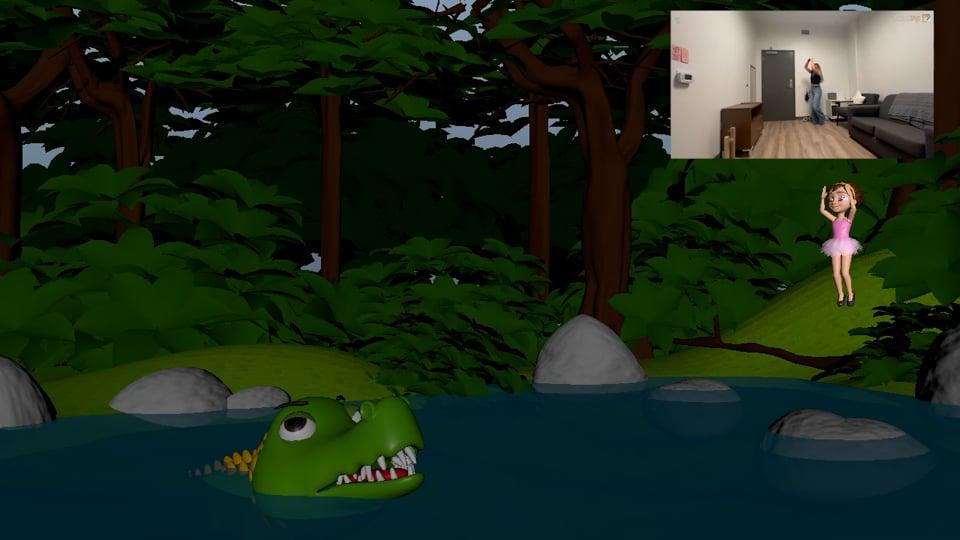
One of the most fun aspects about working in animation is shooting/gathering reference for your shot! Now, reference is not required but is VITALLY helpful in assuring your animation behaves as you had envisioned. In addition, don't be afraid to go all in! The more enthusiastic you are with shooting reference, the easier transferring the poses into your animation will be.
Scene Preparation


Now that you have your main idea and reference, it's time to head into Maya and start laying out your scene!
I find it easiest to import the character first then begin working the environment. After Kayla is imported, clicking the sun icon within the bottom world node allows you to customize her body, hair, and outfit! Next door, the moon icon allows you to customize her colors. Pretty cool right? After making some adjustments, Kayla transforms into a ballerina!
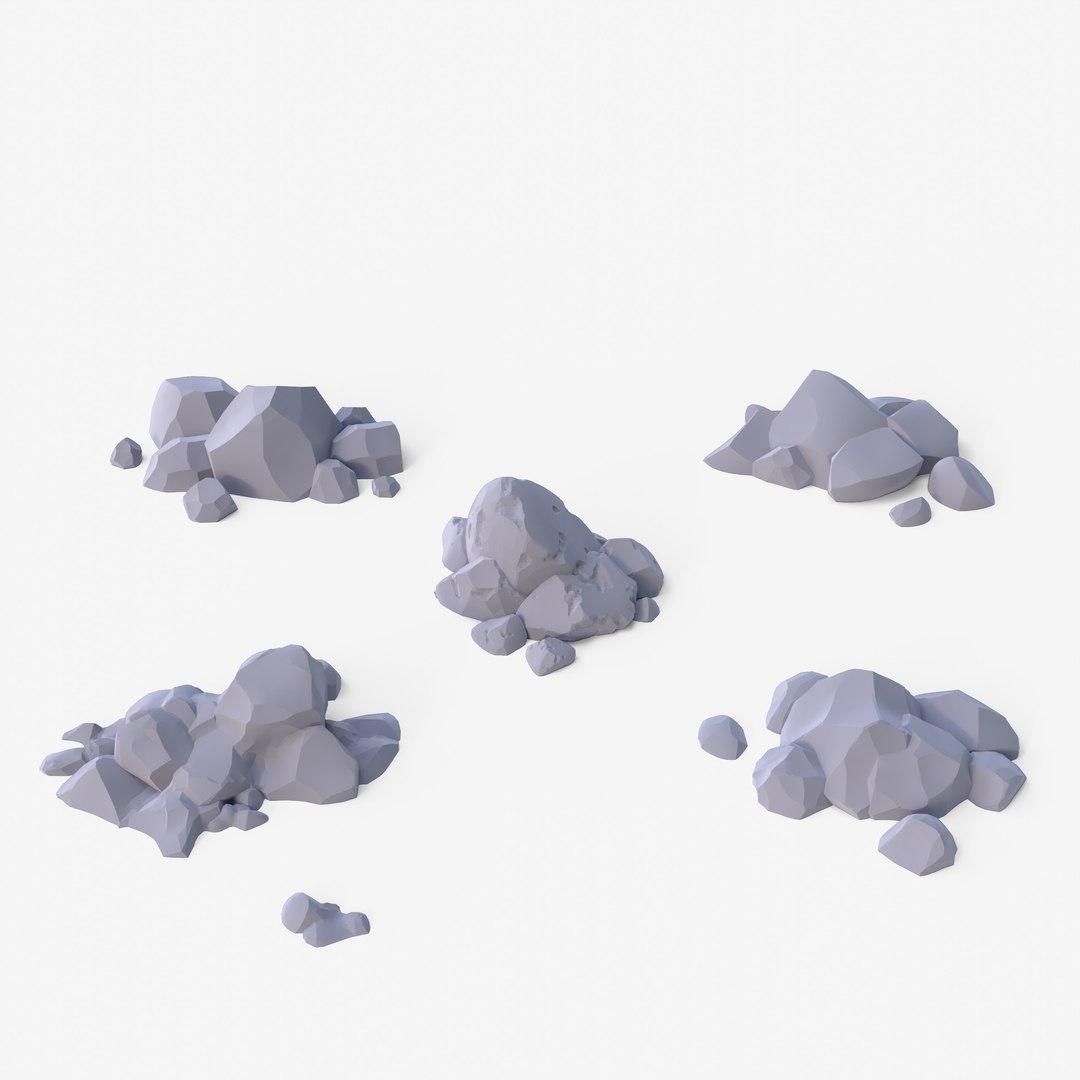
Next you can begin your environment design. Remember, this isn't permanent and can be adjusted for improvement any time throughout the process. If you are also a skilled modeler, this step can be a great way to showcase your talent! If you are not as experienced with this (I am not an advanced modeler), you can utilize websites like Turbosquid and SketchFab to find great, free 3D assets! Since you want the look of a forest/jungle for your scene, download or model some trees, bushes, or twigs. You can also play around with textures and materials to create different elements. Spoiler alert, the water in this shot is simply a transparent plane!
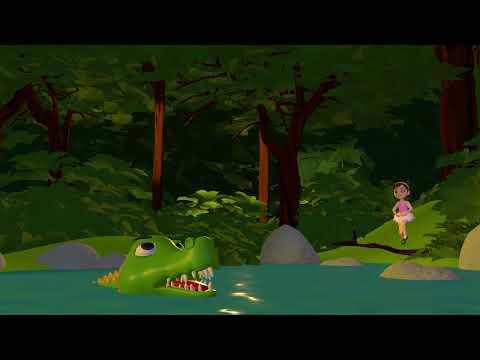
For the conflict of the scene... a lurking crocodile! As you want everything in your animation shot to have a cohesive style, I opted for a cartoon rig off of Turbosquid and imported this into my scene.
When designing your environment, also keep in mind its staging in comparison to the camera. How will your character traverse the shot? Where is the framing? Is your character meant to be in the spotlight, or a secondary factor? These are questions important to ask yourself when creating your composition. For this shot, Kayla traverses screen right to left, and is the primary focus of the animation.
An important final step to preparation is adjusting your camera settings. Click the Render Window and go to Render Settings at the top of the page. Here, ensure you render from Camera1 (or the camera you've created for the scene). Also, here you can adjust the quality of the render, which will be turned to HD720 for this project.
Blocking

With your preparation complete, you can finally begin your animation! Blocking is the first, and one of the most important steps during the animation pipeline. Here, utilizing your reference, you "block out" key poses during important moments of your shot. It can be helpful to physically mark spots on your reference video to look back on as you set poses on the rig. You don't need to set every pose, but make sure its enough to convey the story you're trying to tell your audience.
You may also notice my composition was adjusted at this time. After receiving some feedback on how to improve my shot, I filled the scene with more assets and added some asymmetry to illustrate a more realistic forest.
During this stage, you can click on the Timeline > Playback > Enable Stepped Preview to only play the poses you set when reviewing your work.
When ready to record your scene, click the Timeline > Playblast. If you click the button next to Playblast, this opens a window to add adjustments to the video. Ensure the Save To File button is selected on the bottom and ensure you're exporting to the folder of your choosing. Additionally, make sure Quality is 100 and Scale is 100 to maximize the quality of your playblast.
This stage is where your SyncSketch account comes in handy. After exporting a playblast of your animation, you can upload this to the website, where draw-overs can be made on each frame for review!
First Pass

The next stage, once you believe you have enough key poses, is to start your first pass.
At this point you can disable Stepped Preview to playback your work entirely. It is in this stage you can add in-between poses as well as add onto the detailing of your key poses.
A crucial part of the animation pipeline is review. If available, find someone, whether it be a professor, classmate, coworker, or peer to check over your work before moving on.
Second Pass

This step is similar to the first pass, simply another addition. Continue adding poses wherever needed and clean up any issues or mistakes you may encounter. Due to the fact many poses have already been added, this is where you can begin refining some details, such as facial expressions and movement fluidity. For example, the first ballerina spin proved smoother when turning counterclockwise as opposed how she moved beforehand, so this was altered.
Near Final Pass

This stage occurs when you are almost complete with the shot. Many if not all of your poses have been crafted, and you are comfortable to begin polishing over your work.
This is where you can definitely have some fun! The movements of your body mechanics can be smoothly transitioned from pose to pose, and the nuances of your character can be developed for the final pass.
Final Pass

You've finally made it! Your final pass is where you add those little tweaks and polishes to your animation to make it pop!
This stage is also where you can add a refined and appealing display of your work through lighting and shadows! Each texture in Maya interacts with lighting a little differently, so feel free to experiment with what types of materials fit best with your ideas! The main material used throughout this piece is the AI Standard Surface, as it allows for numerous adjustments in its appearance (found in the Attributes Editor).
To view lighting, click 7 on your keyboard, and click 6 to return to flat textured shading.
By clicking Create > Lights this opens the library of many available lights to add to your scene. For this project, first add an Ambient Light and lower the intensity and color to a goldish brown in the Attributes Editor. By doing so, this creates a lighter brown overlay for Maya's generally black default shadowing. Next create a Directional Light entering through the trees in the background to capture a ray of sun peeking through the foliage. This color can be a brighter gold as it represents direct sunlight. Finally, add a larger Spot Light shining onto the scene. The intensity and color can be nearly identical to the Directional Light, and the positioning can be slightly shifted so some of the scene is still coated in shadowing.
Reflection and Final Thoughts

Ta-Da! Your flying ballerina is complete! Through dedication, focus and creativity, you have completed your project! Here are some tidbits of knowledge and reflection from my experience with this animation shot.
I was fortunate enough to have this contest submission also represent one of my previous animation class assignments. Because of this, I was able to receive a substantial amount of feedback and guidance through each stage of my work. Even if you approach this project alone, it is immensely beneficial to seek out feedback from available peers to polish your work! While seeking critique may seem daunting, it is important to keep an open mind and embrace constructive feedback, as this will truly make a difference in your improvements as an animator.
I sincerely hope this Instructable has been an engaging, insightful, and above all encouraging article for all you passionate creatives out there.
Be your authentic, inspiring self and happy animating!